Origami Spinner Airplane
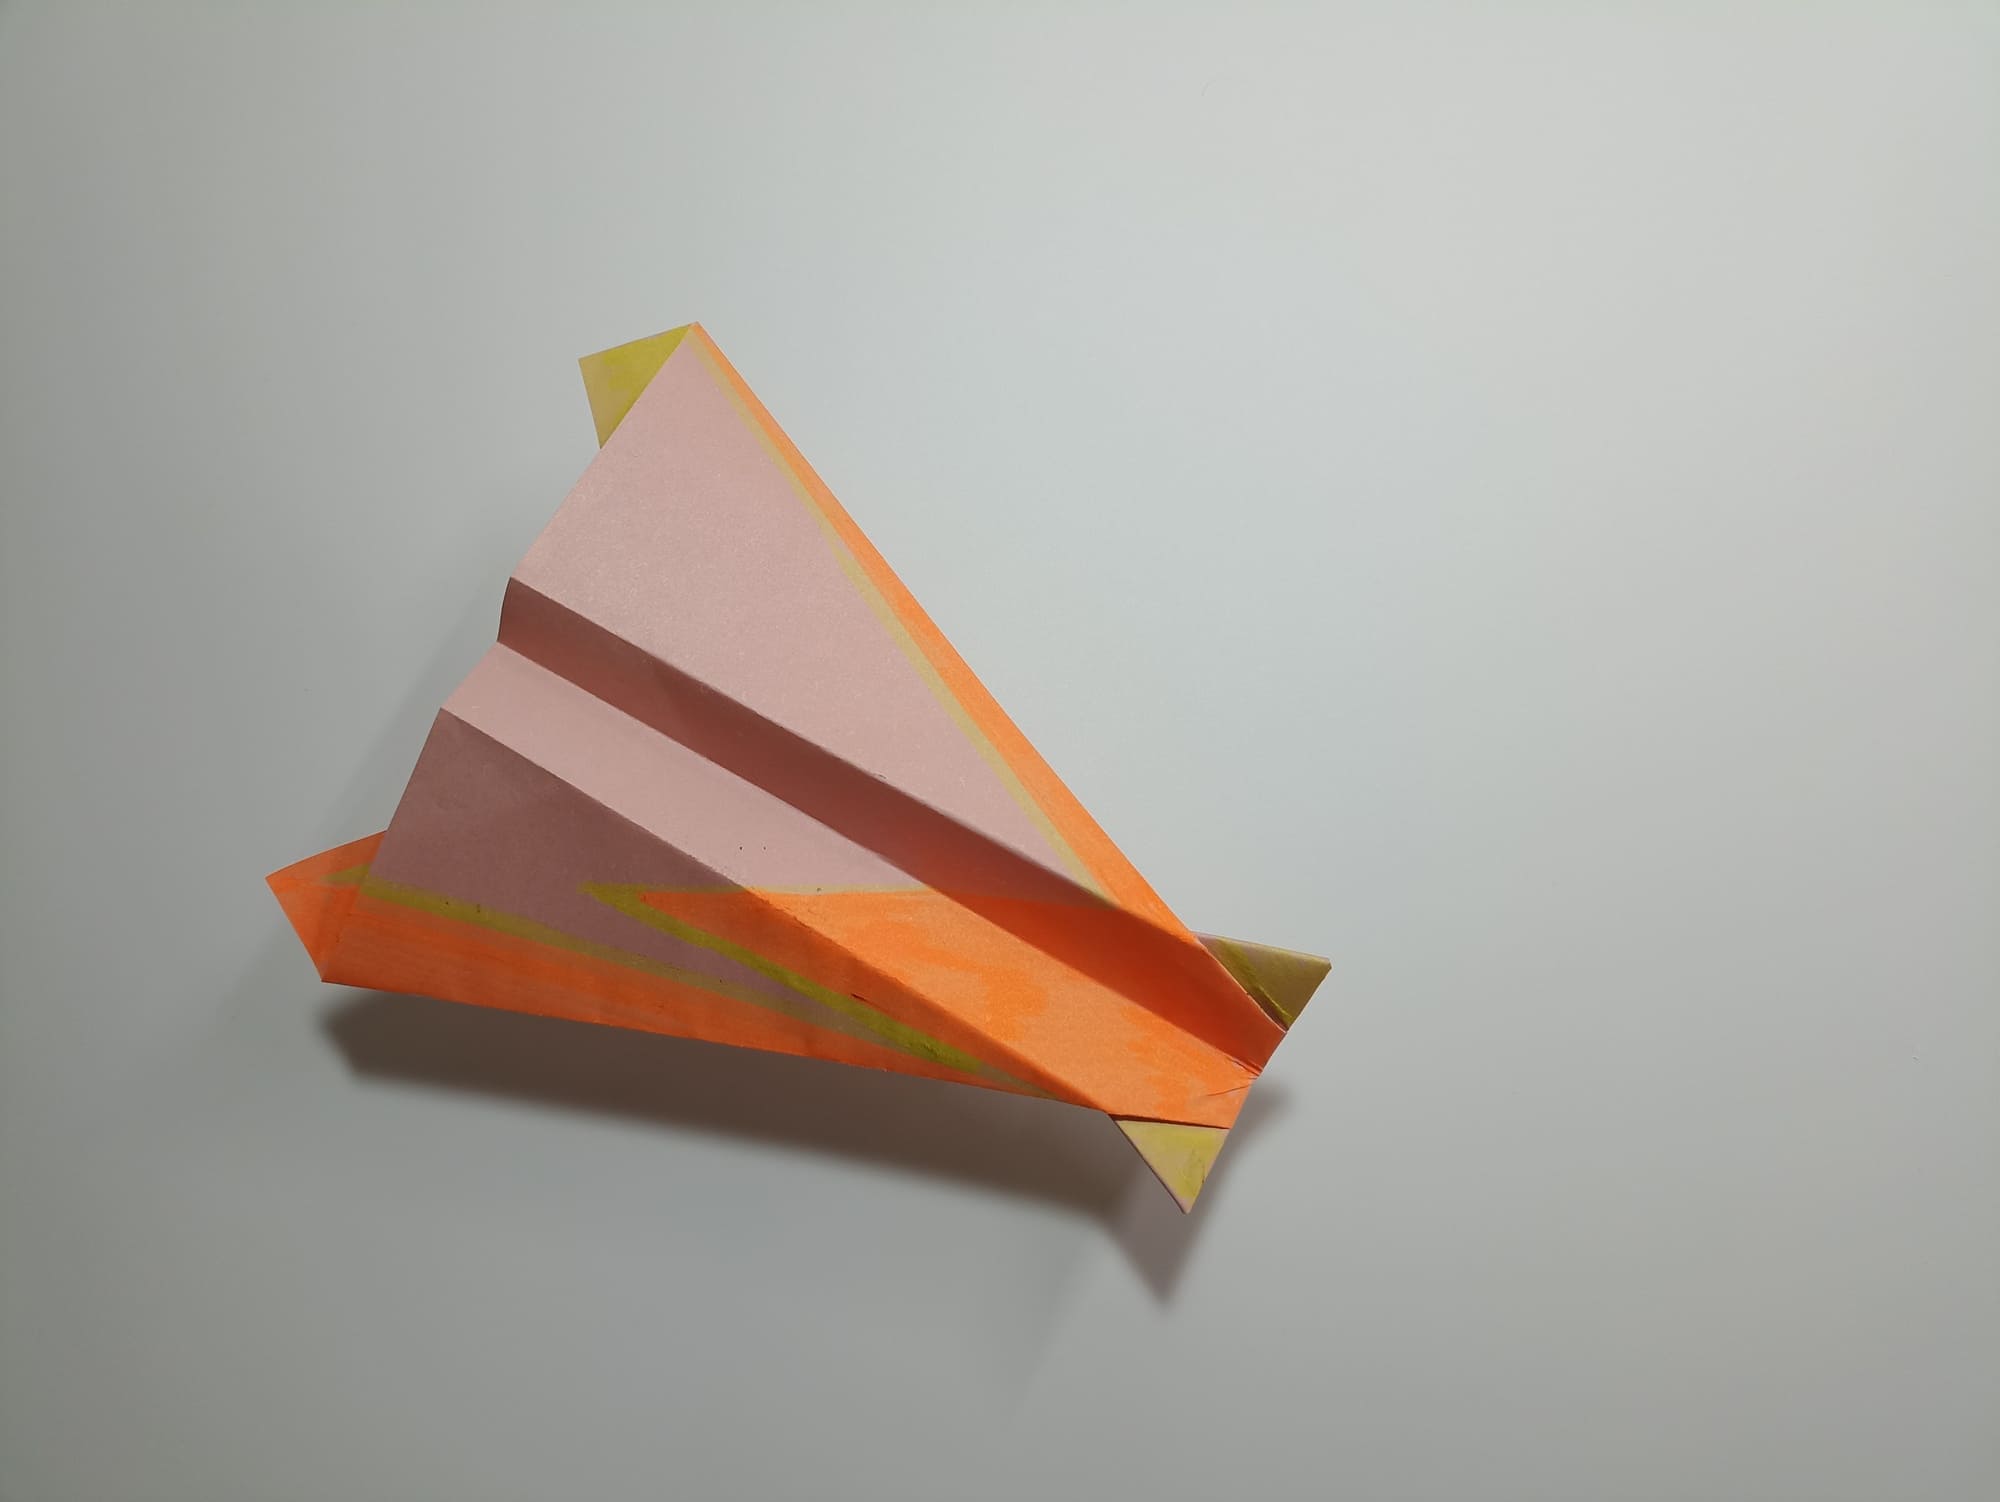
Every paper airplane modeler dreams of making their own unique design with interesting flight characteristics and appearance. However, it’s also interesting to embody on paper a ready-made artistic image or a real prototype of the aircraft industry. The finished Spinner airplane is made in the style of fantastic space interceptors from the legendary space series.
It is an oddly shaped silhouette, like an hourglass. The wide nose gives maneuverability, and the large area of the load-bearing wings combined with the hull ensures long-term gliding in the air. Flaps pointing in different directions cause the airplane to rotate. Spinner can make you feel a little dizzy as it performs such amazing aerobatic maneuvers in the air.
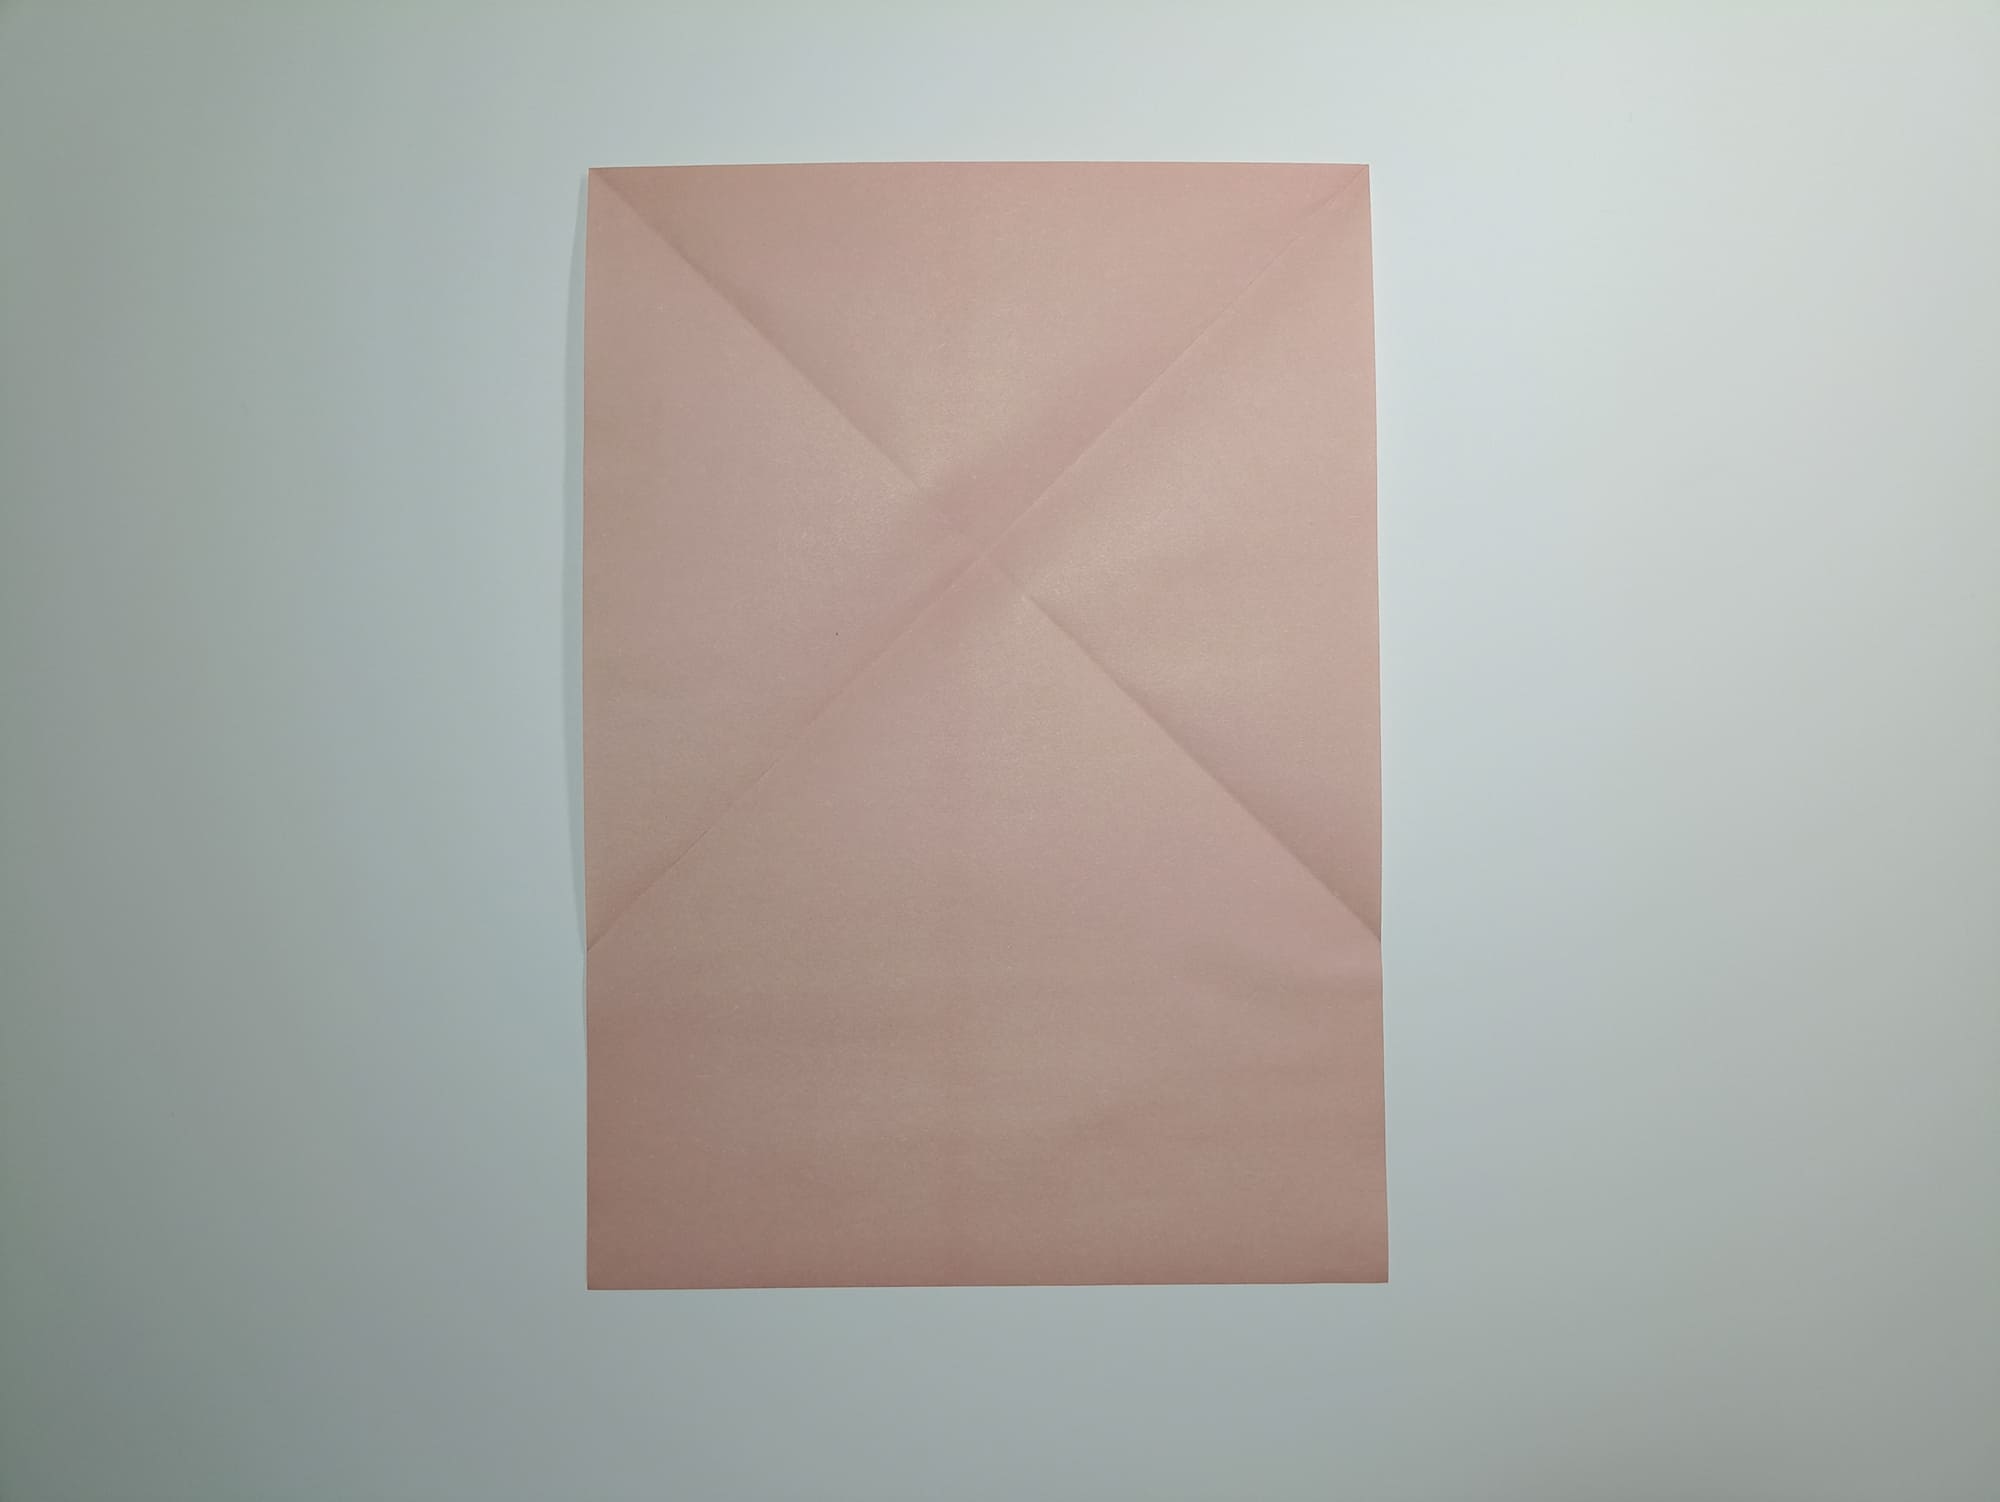
Draw assisting lines for making a complex fold.
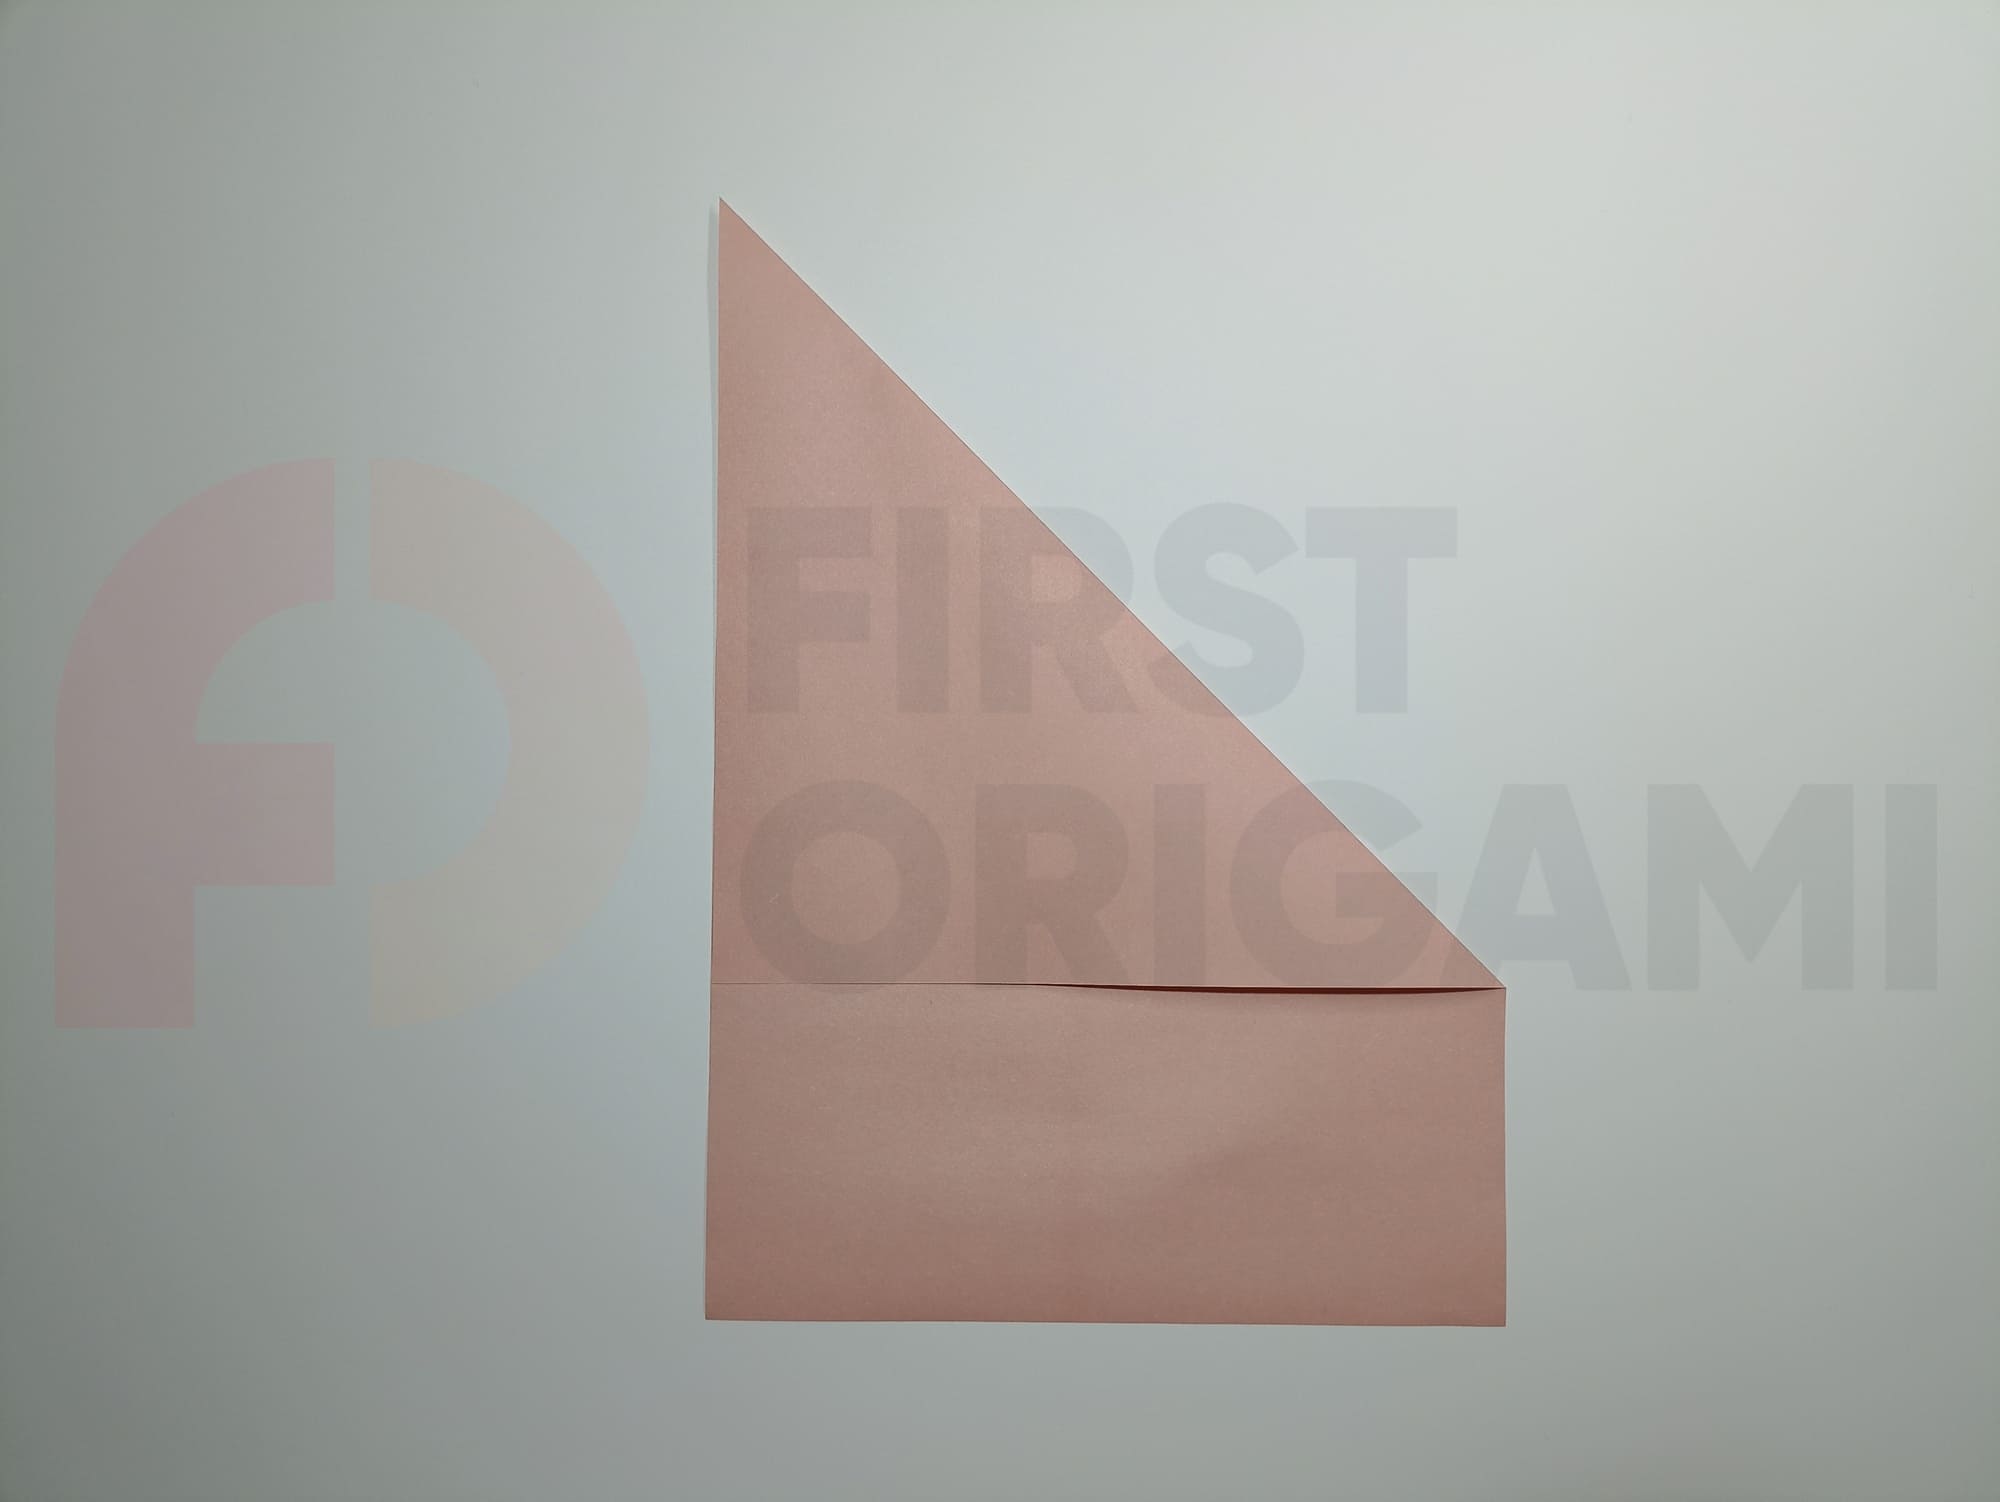
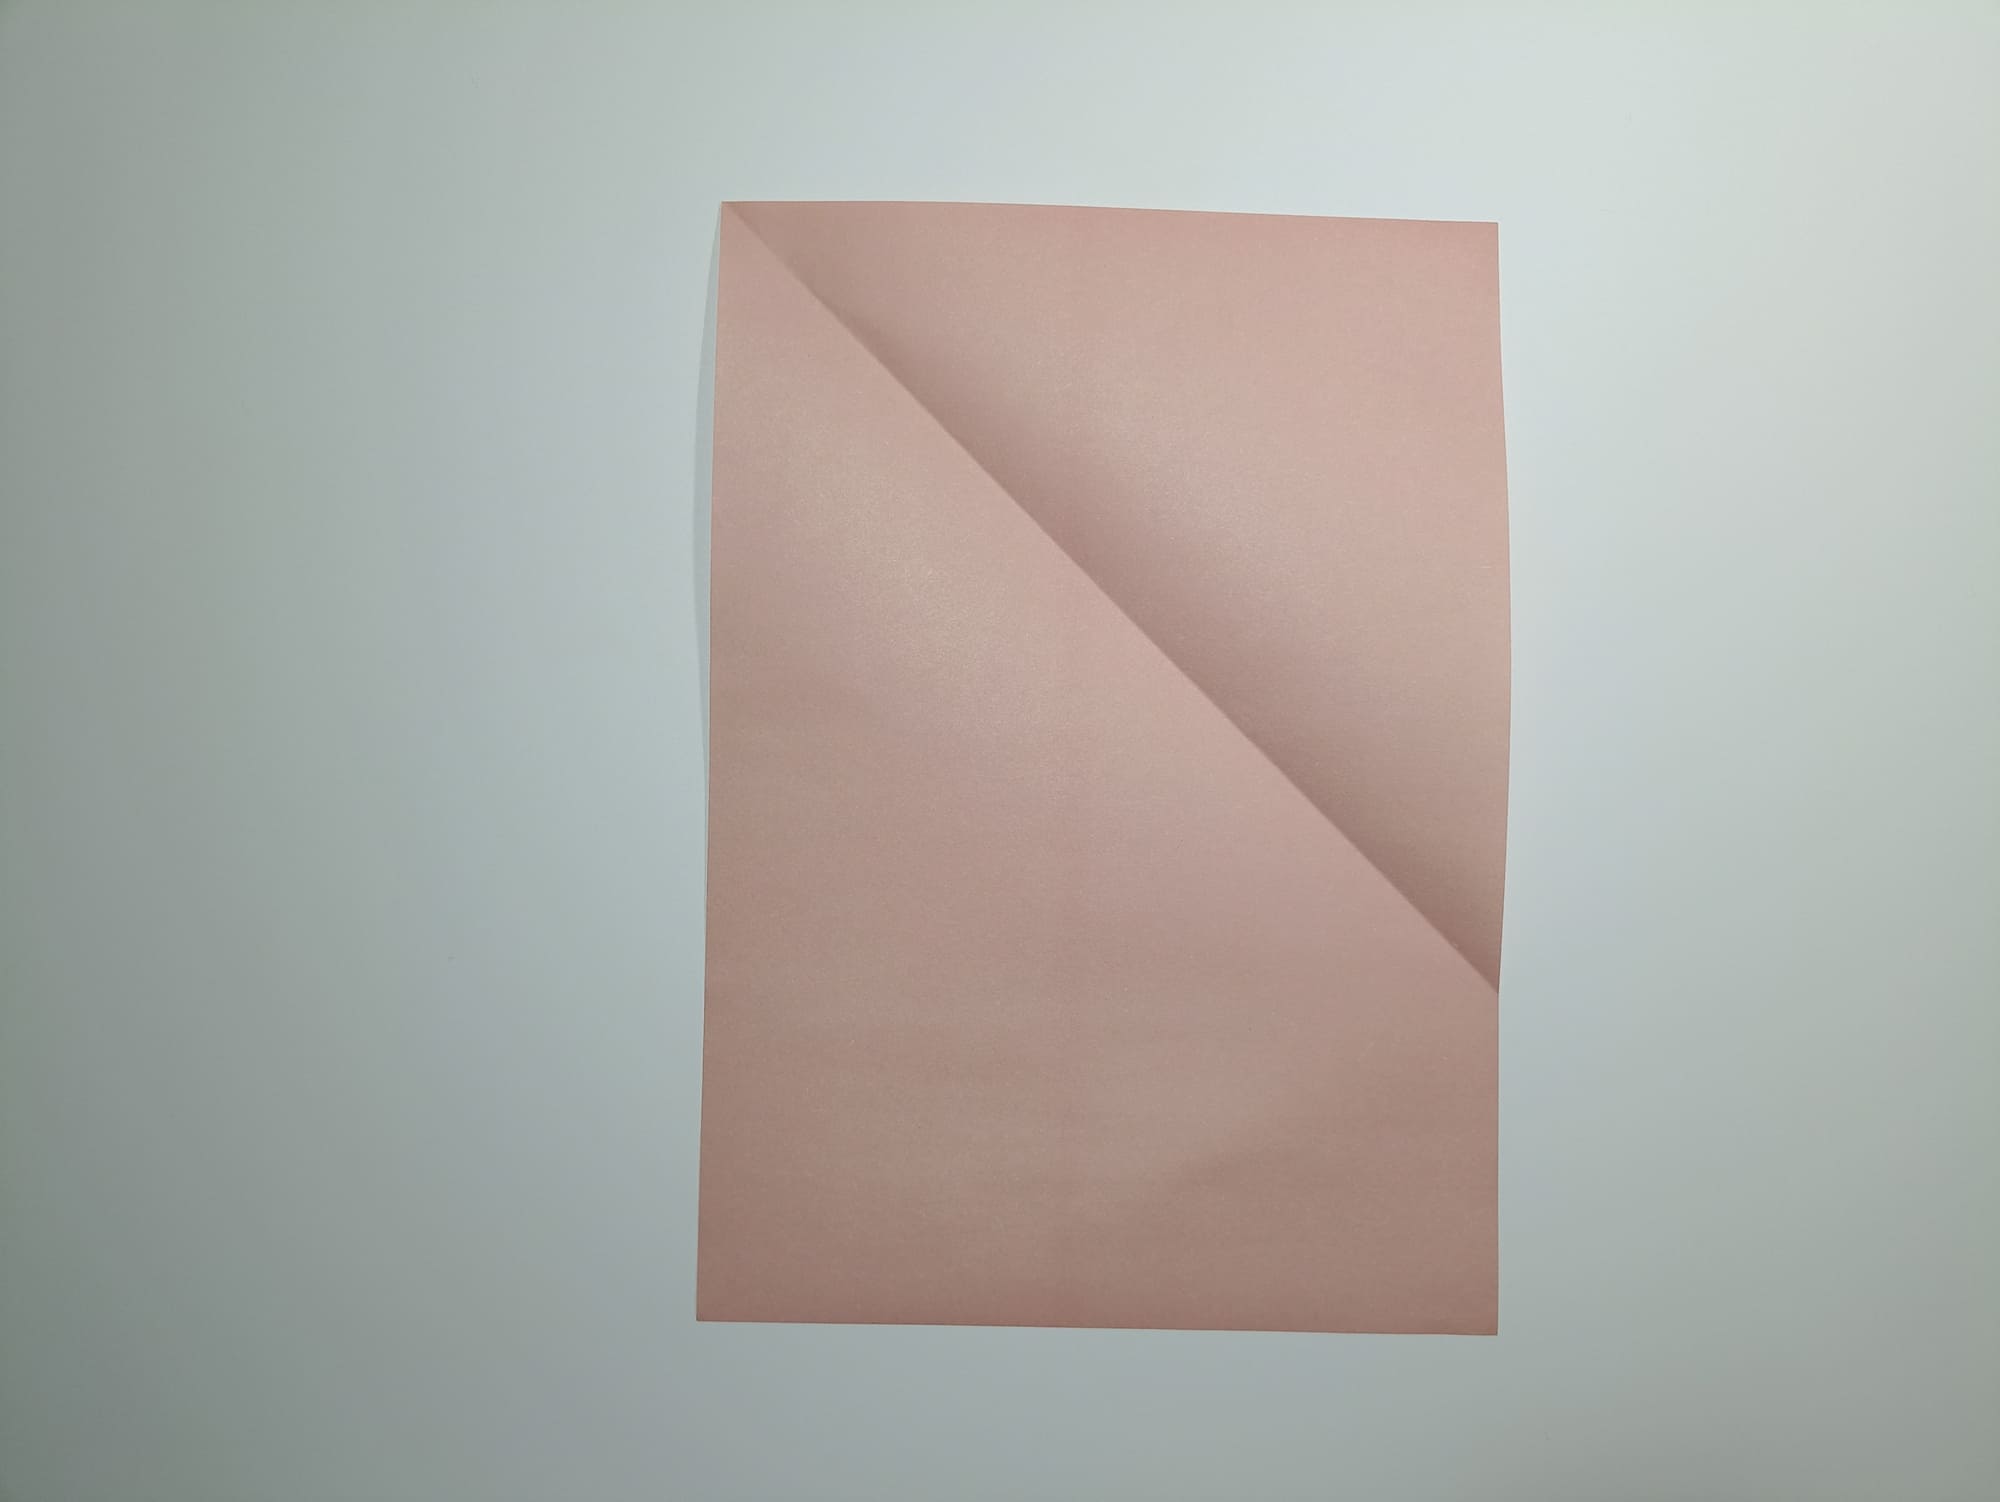
Alternately align the top of the paper with the right and left sides, opening the sheet of paper back each time.
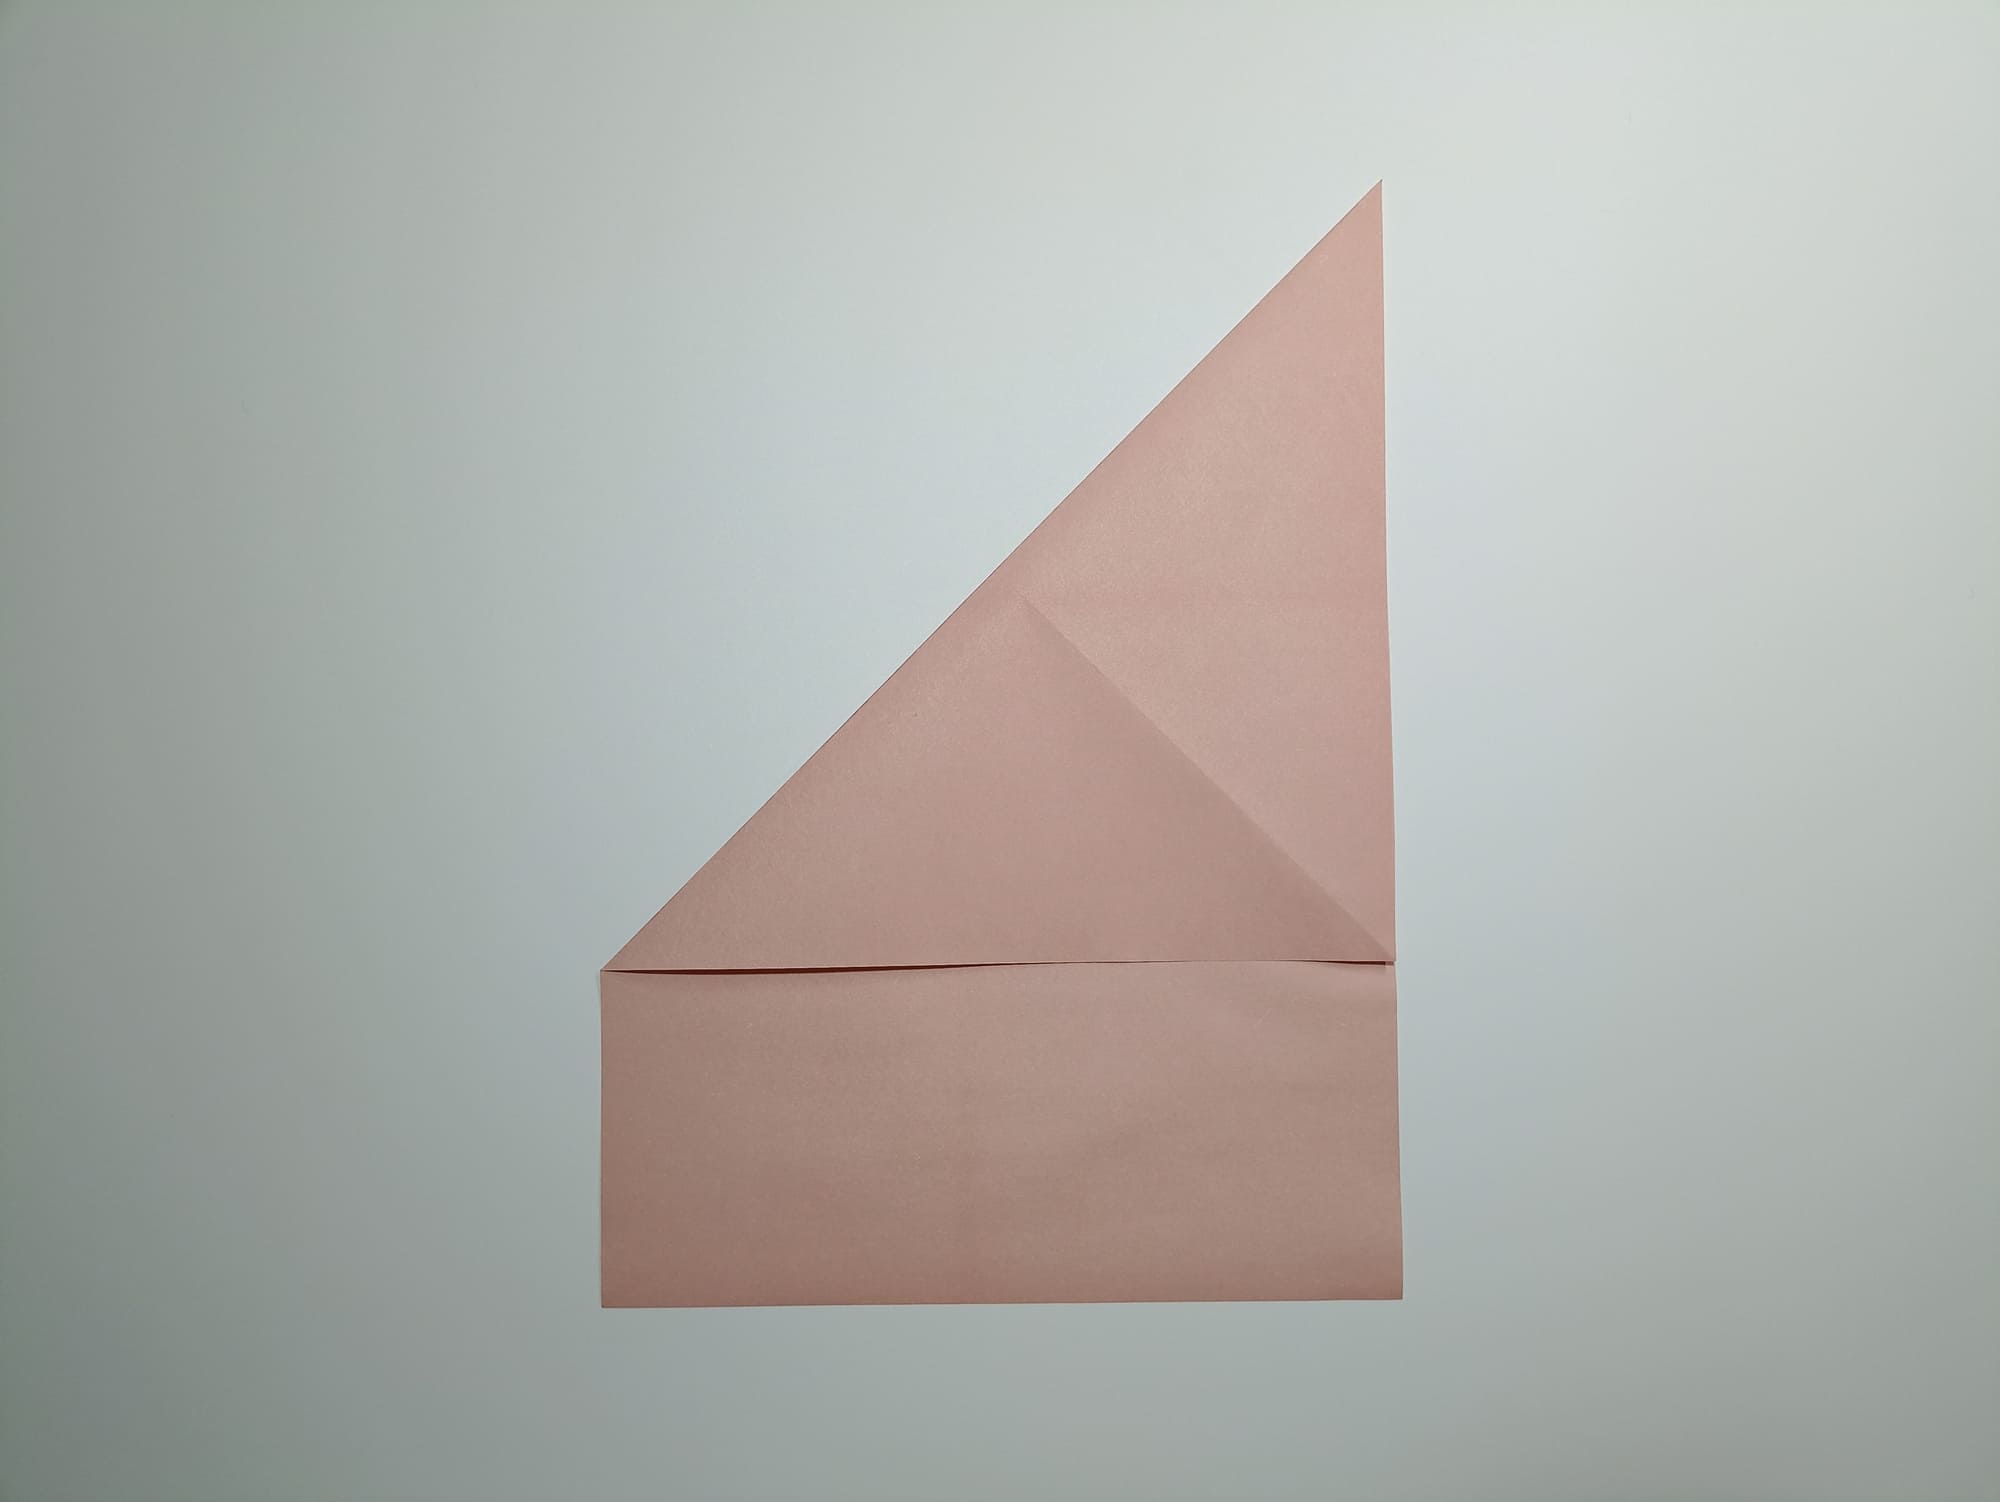
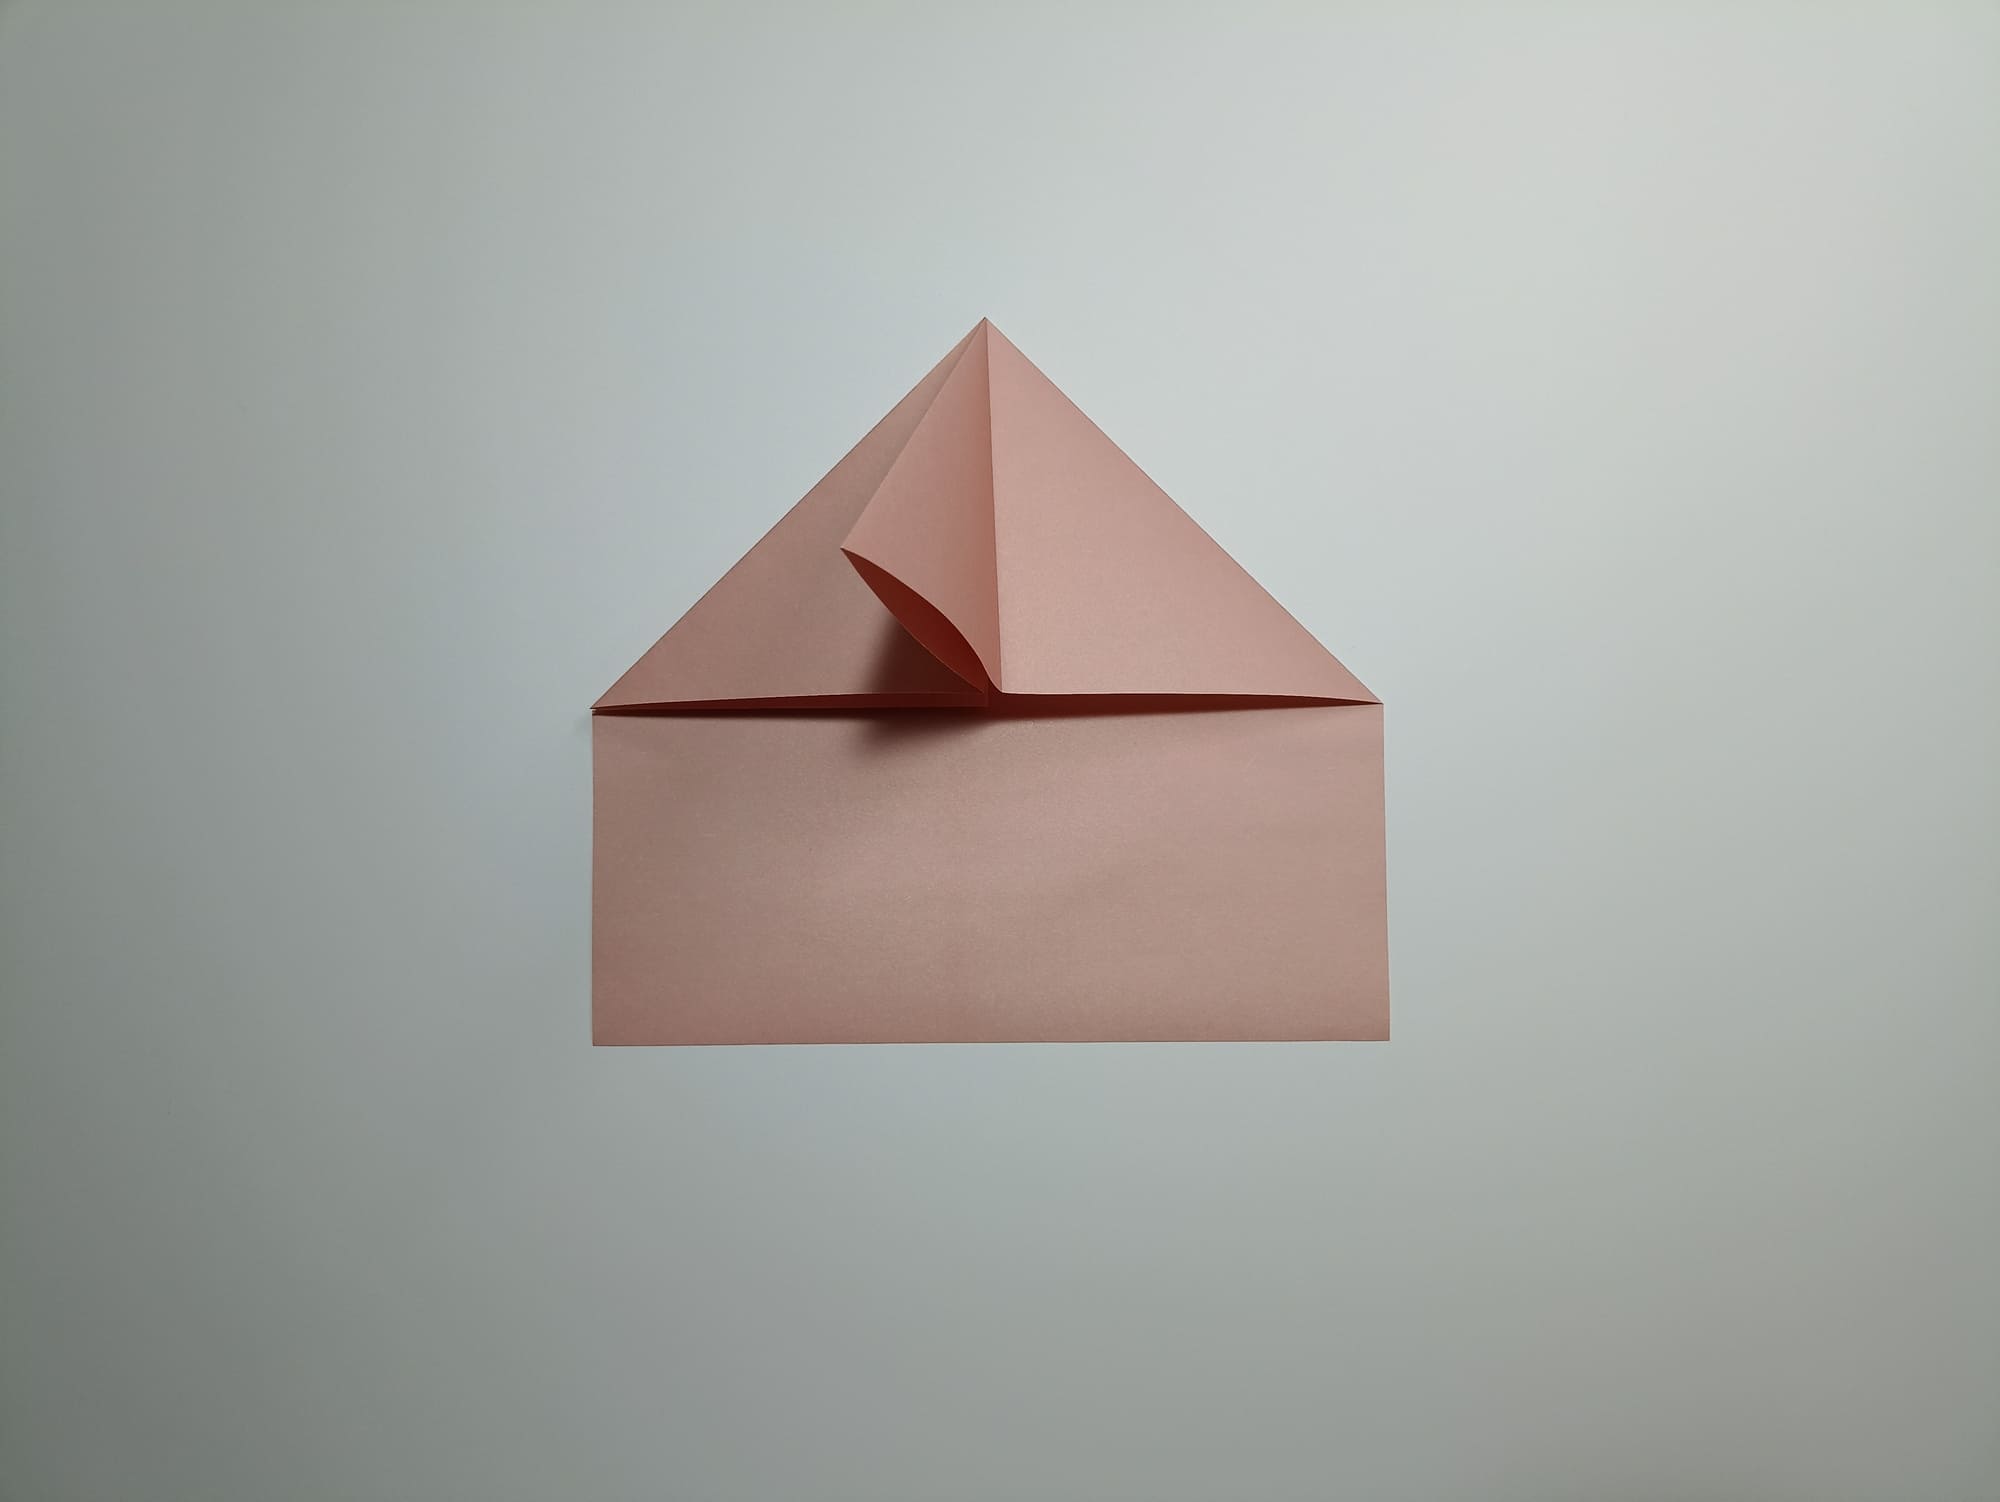
Make a fold, squeezing the sides towards the vertical middle line, aligning the sides and corners.
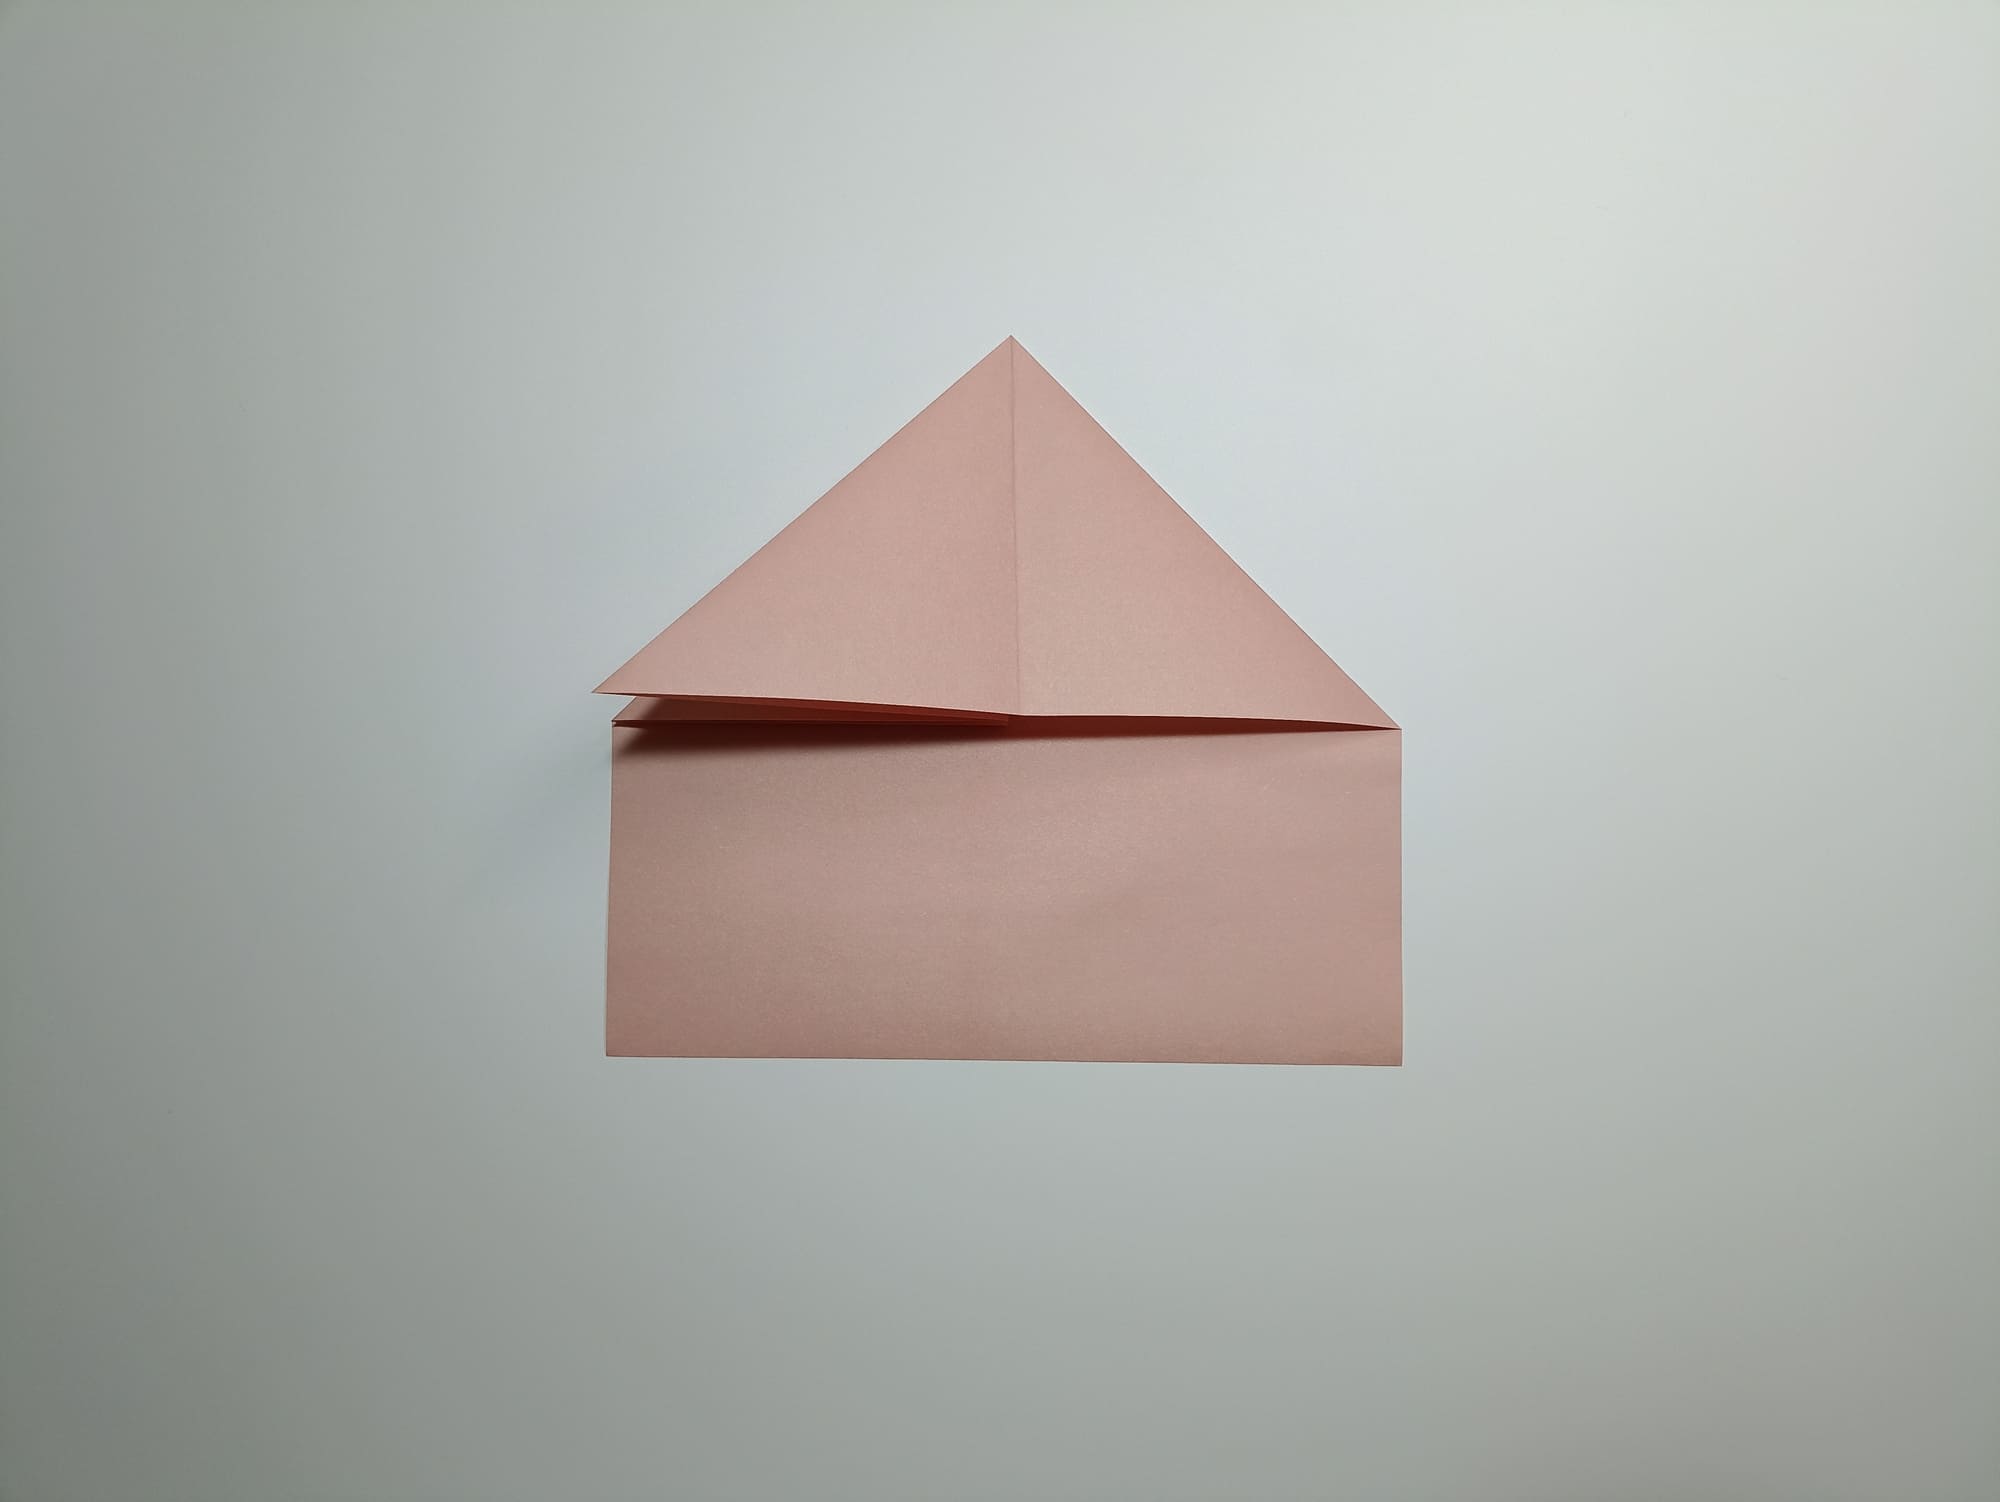
You should get a lower and upper large triangle.
Move the corner of the upper triangle to the side and align the side of the lower triangle with the middle.
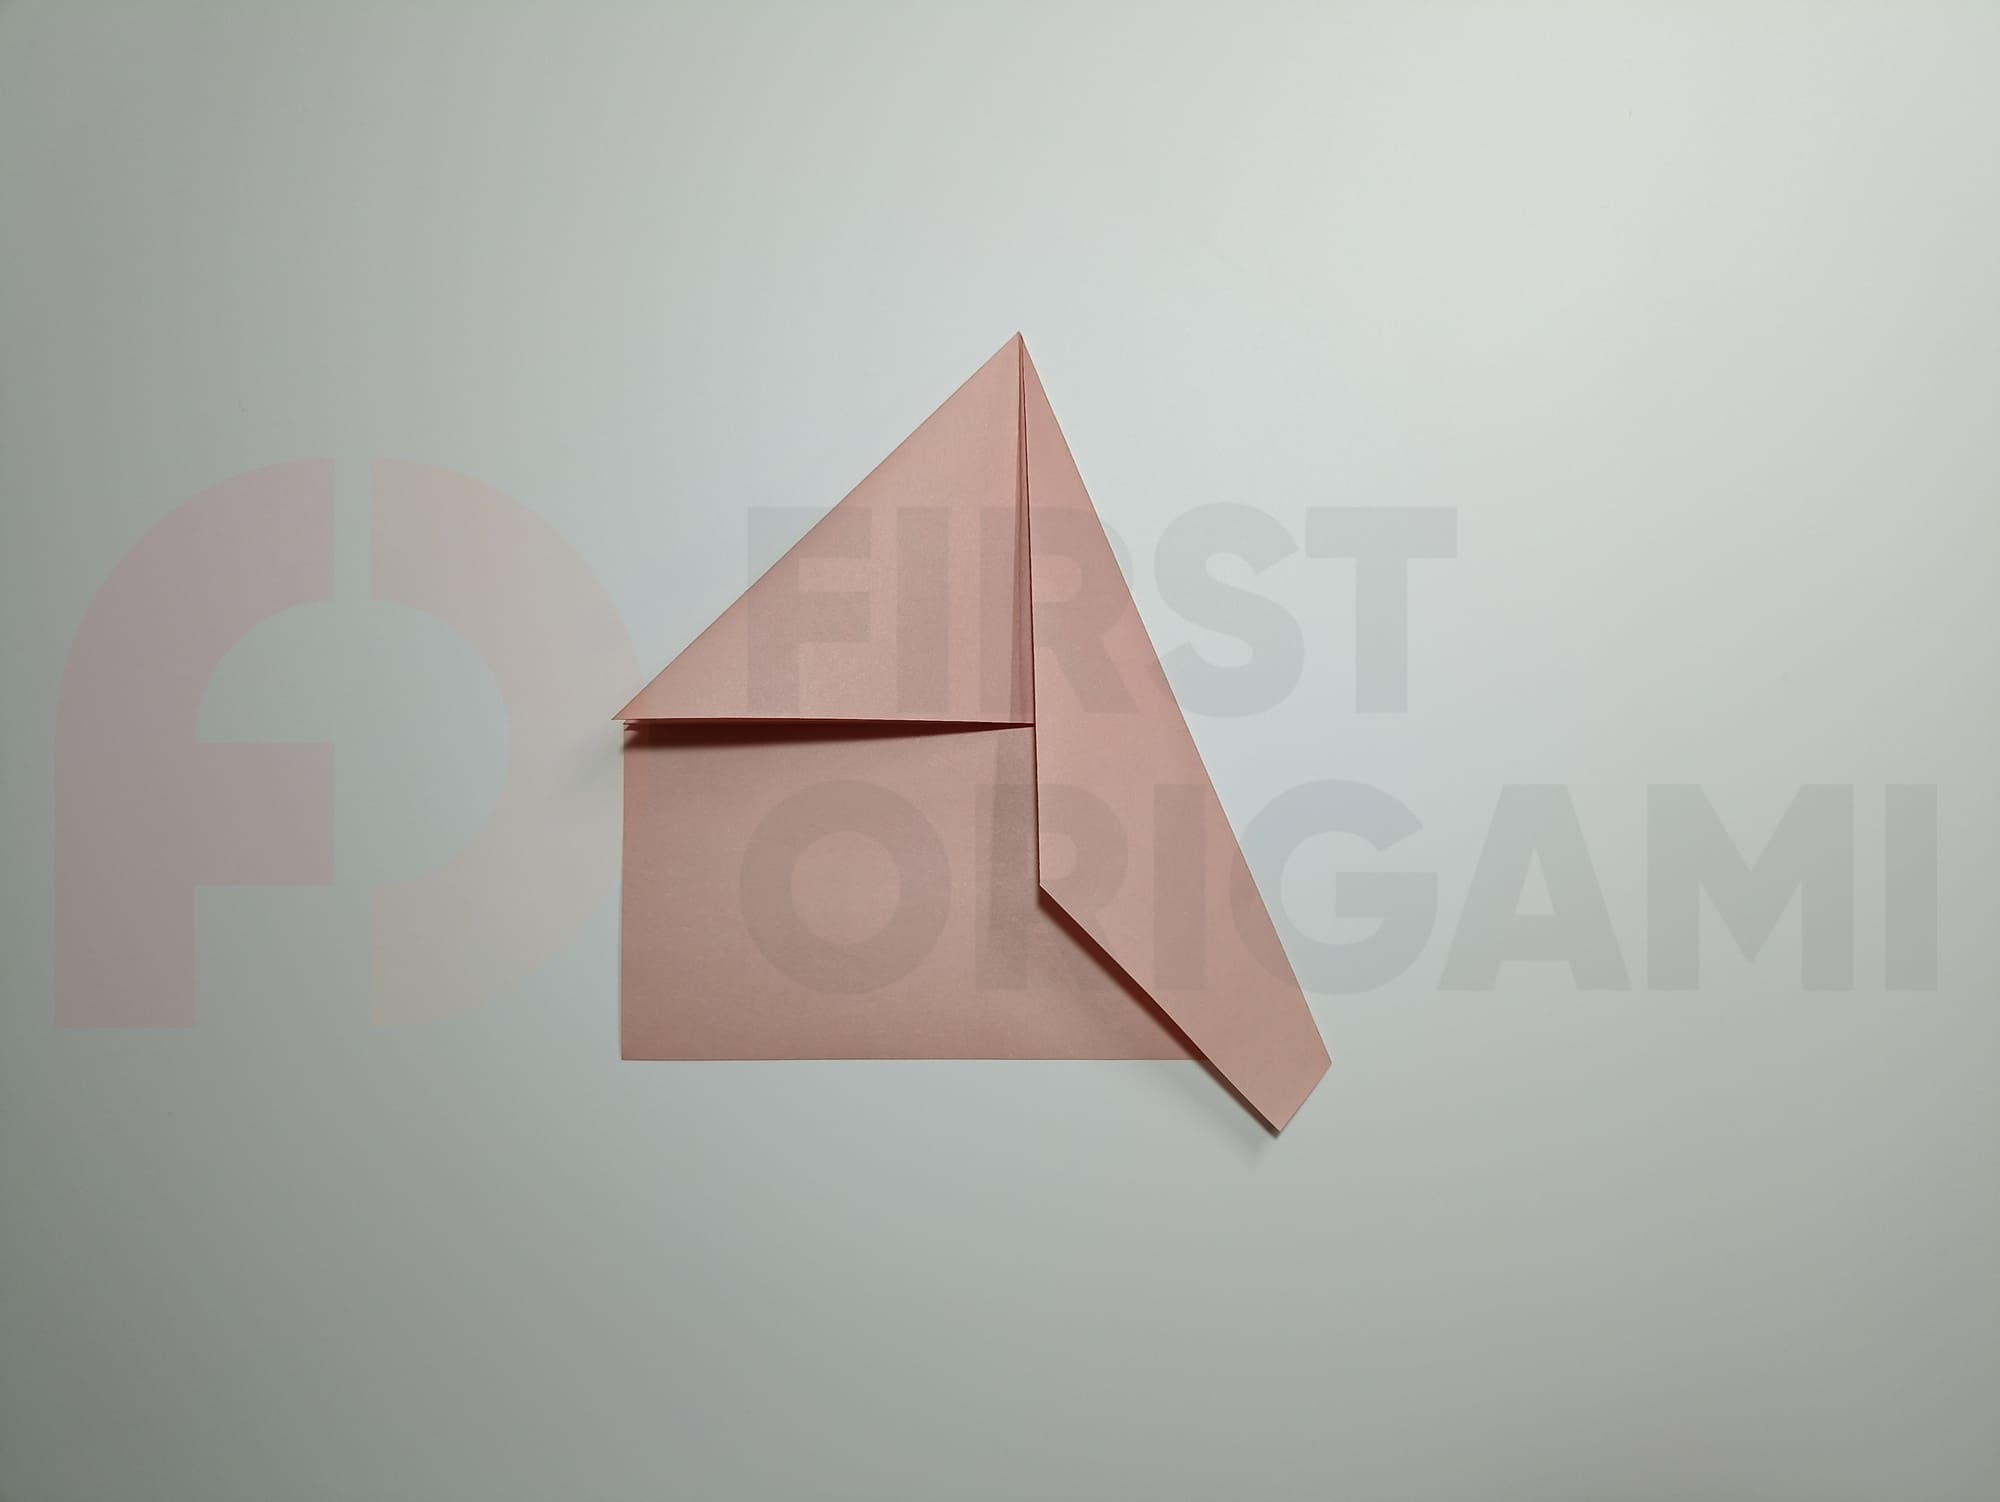
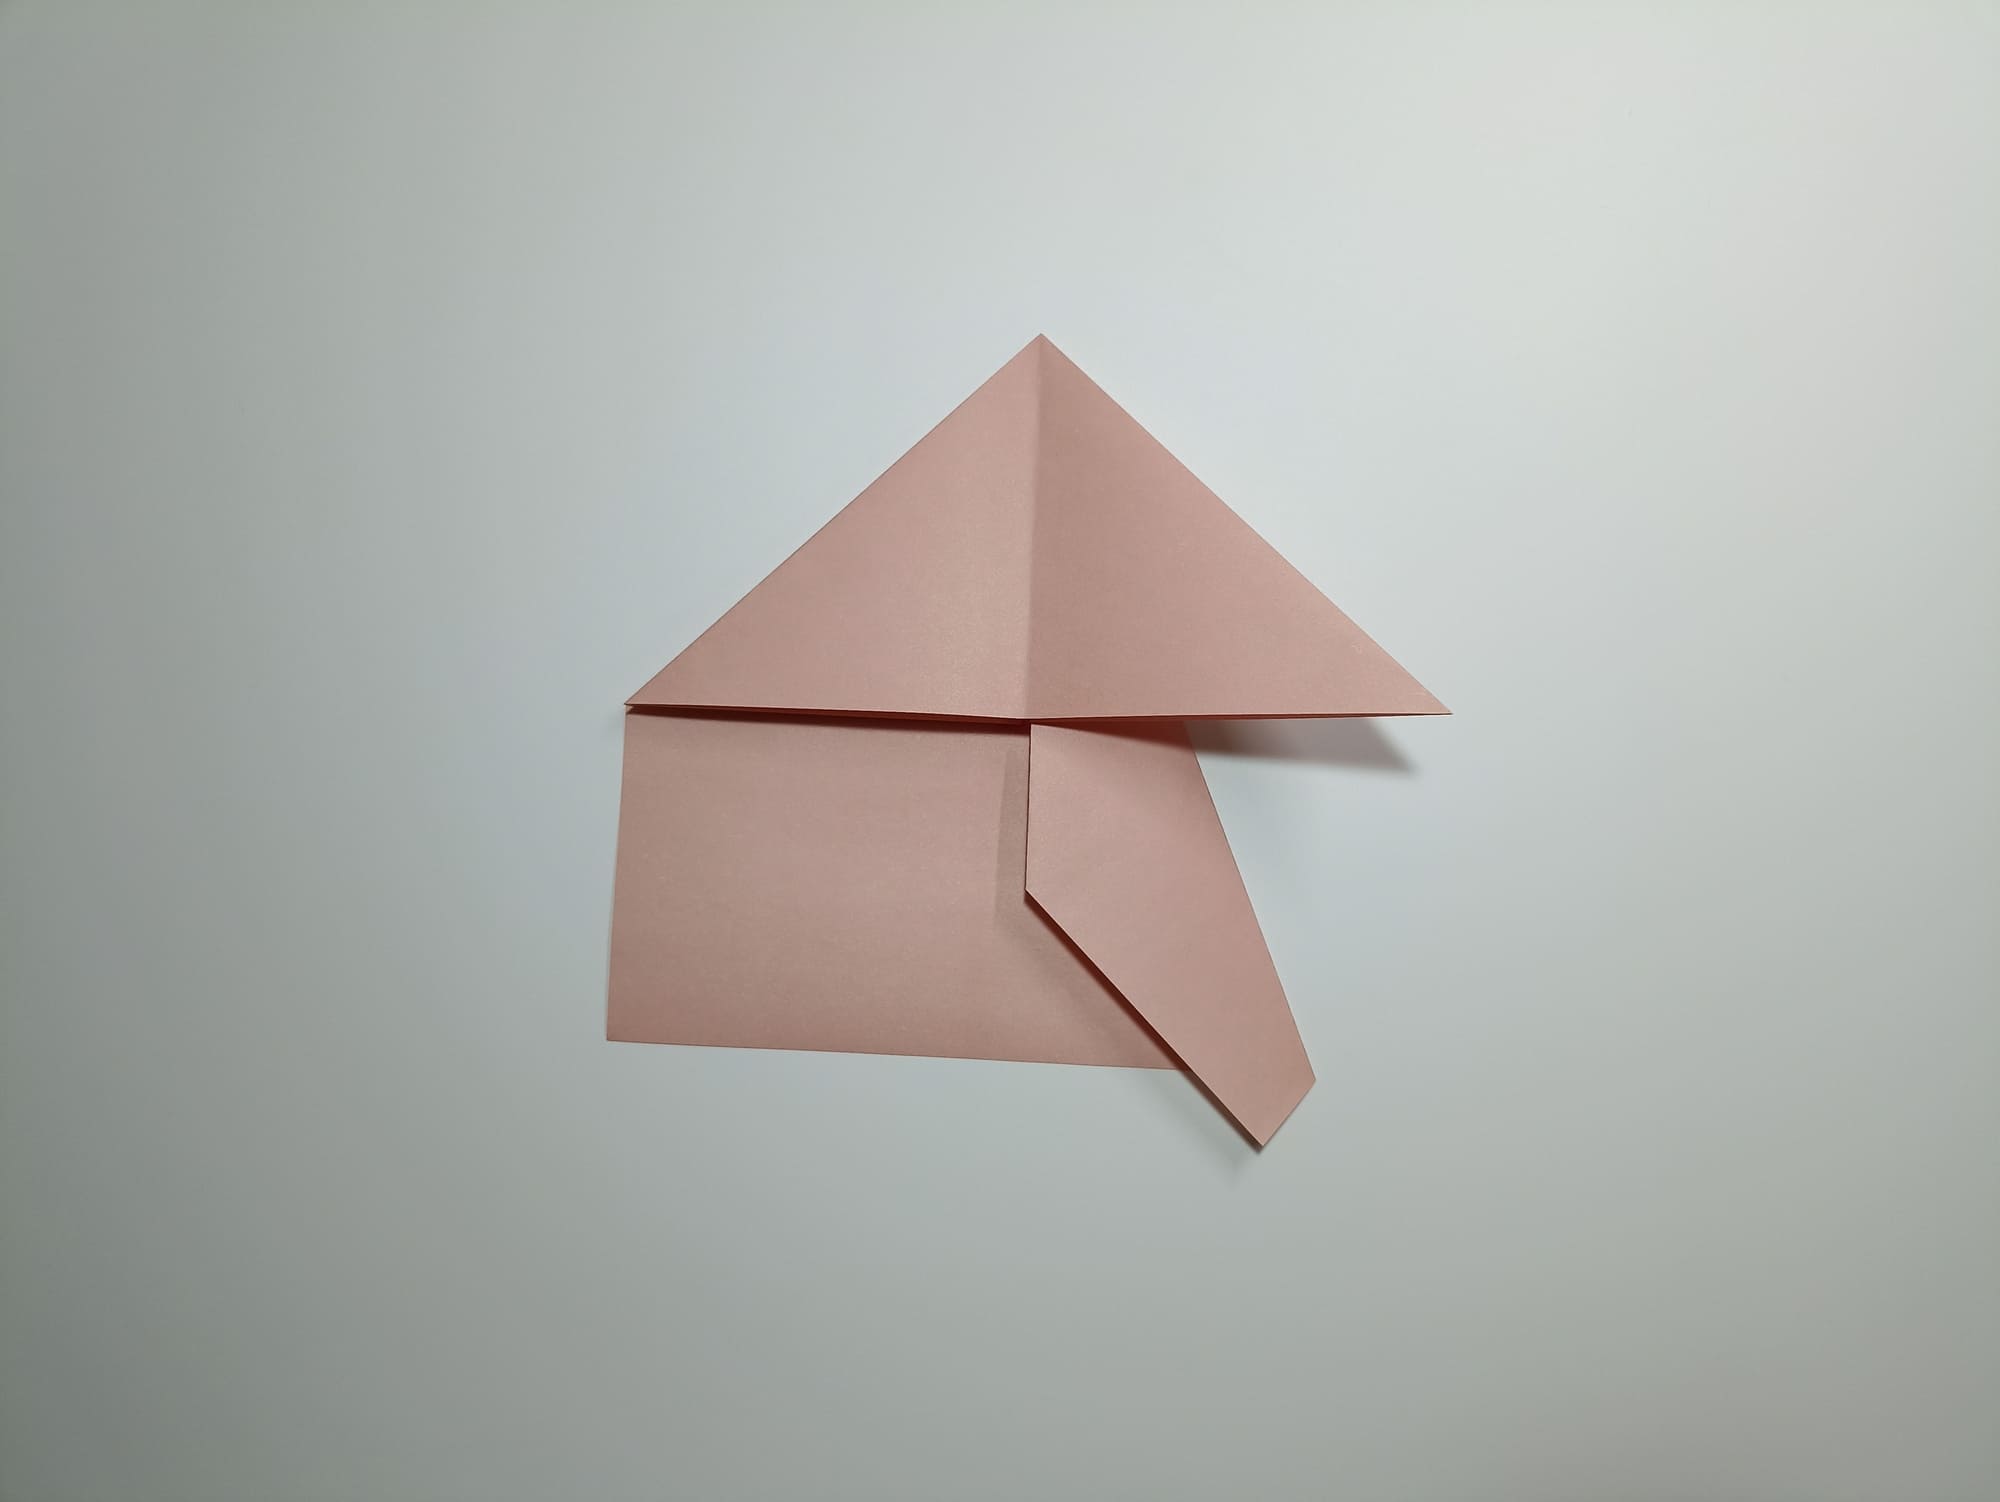

Crease the folds and repeat on the left side.

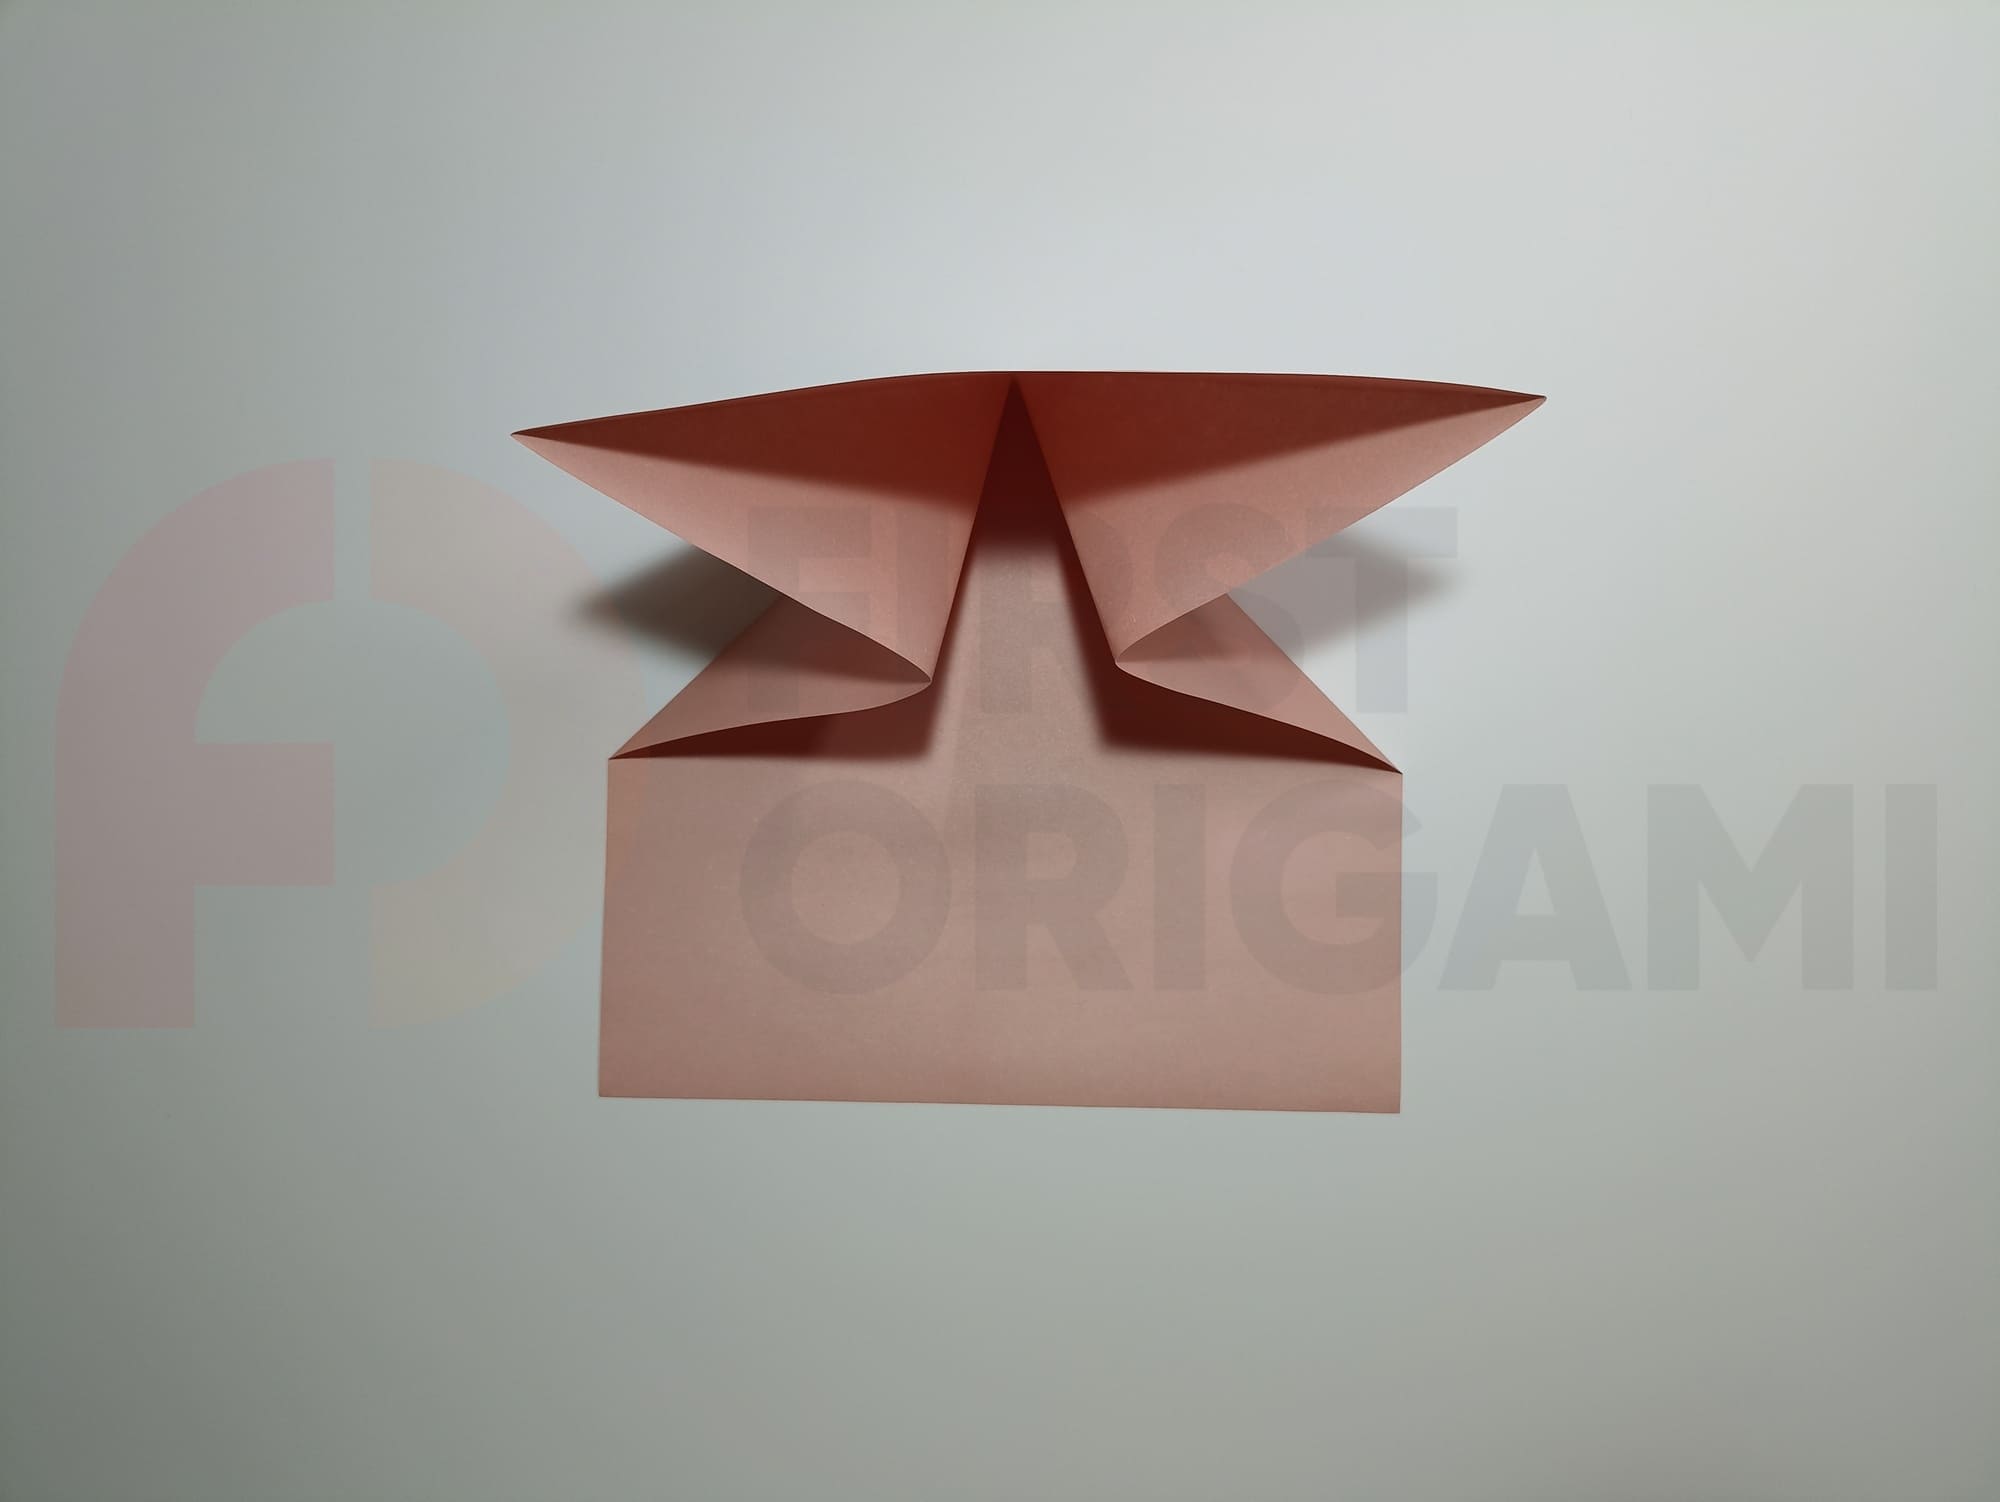
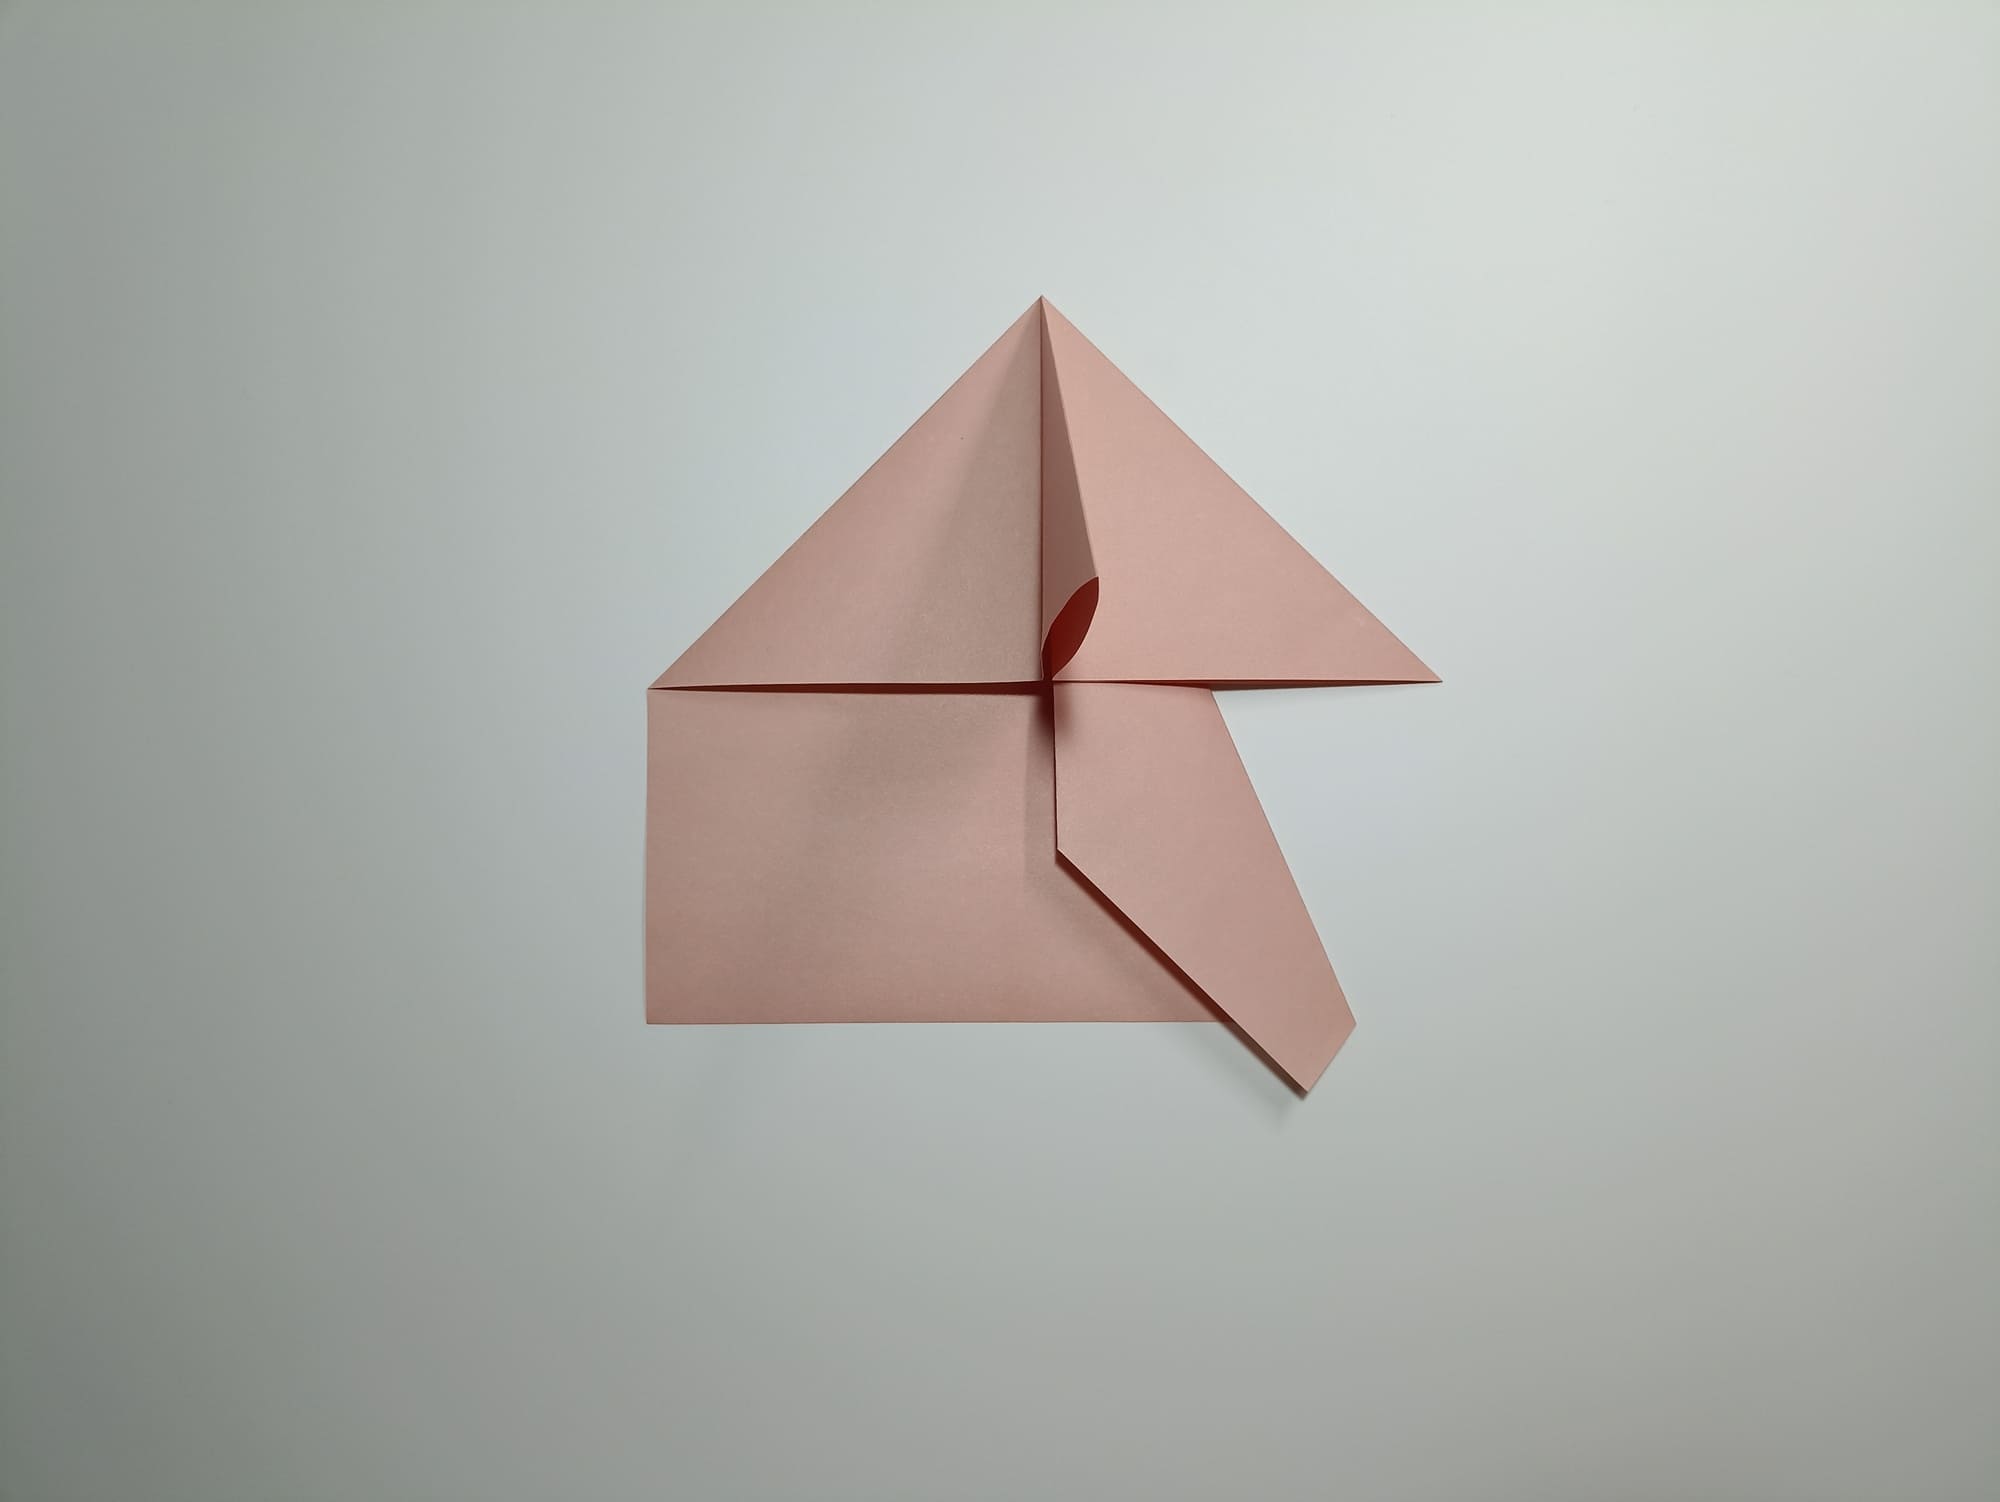
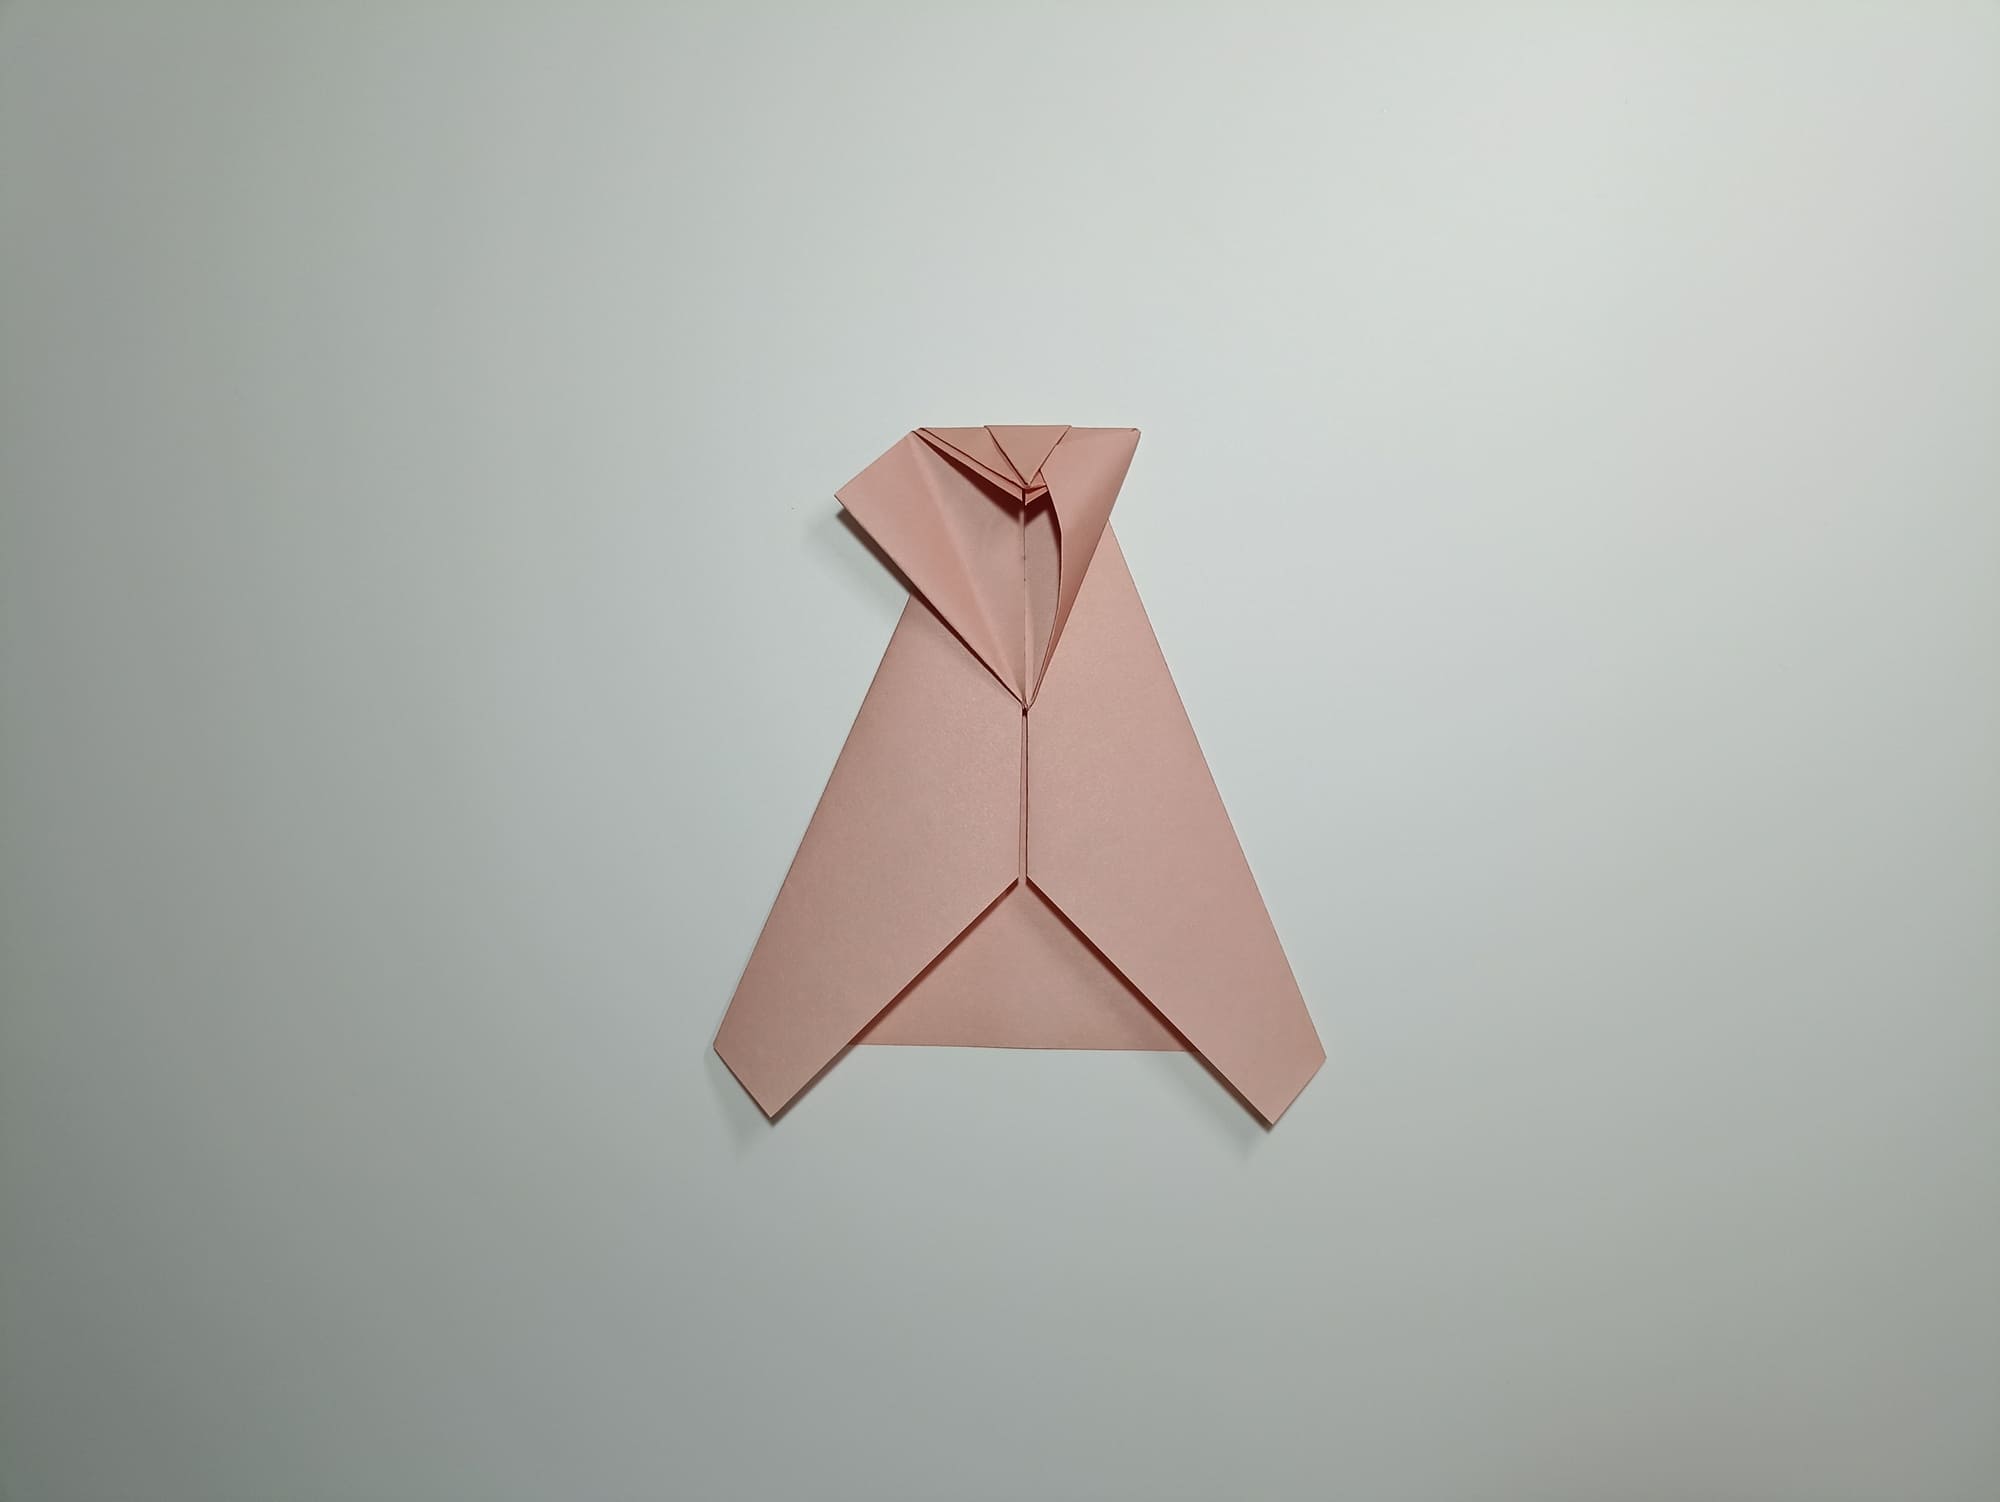
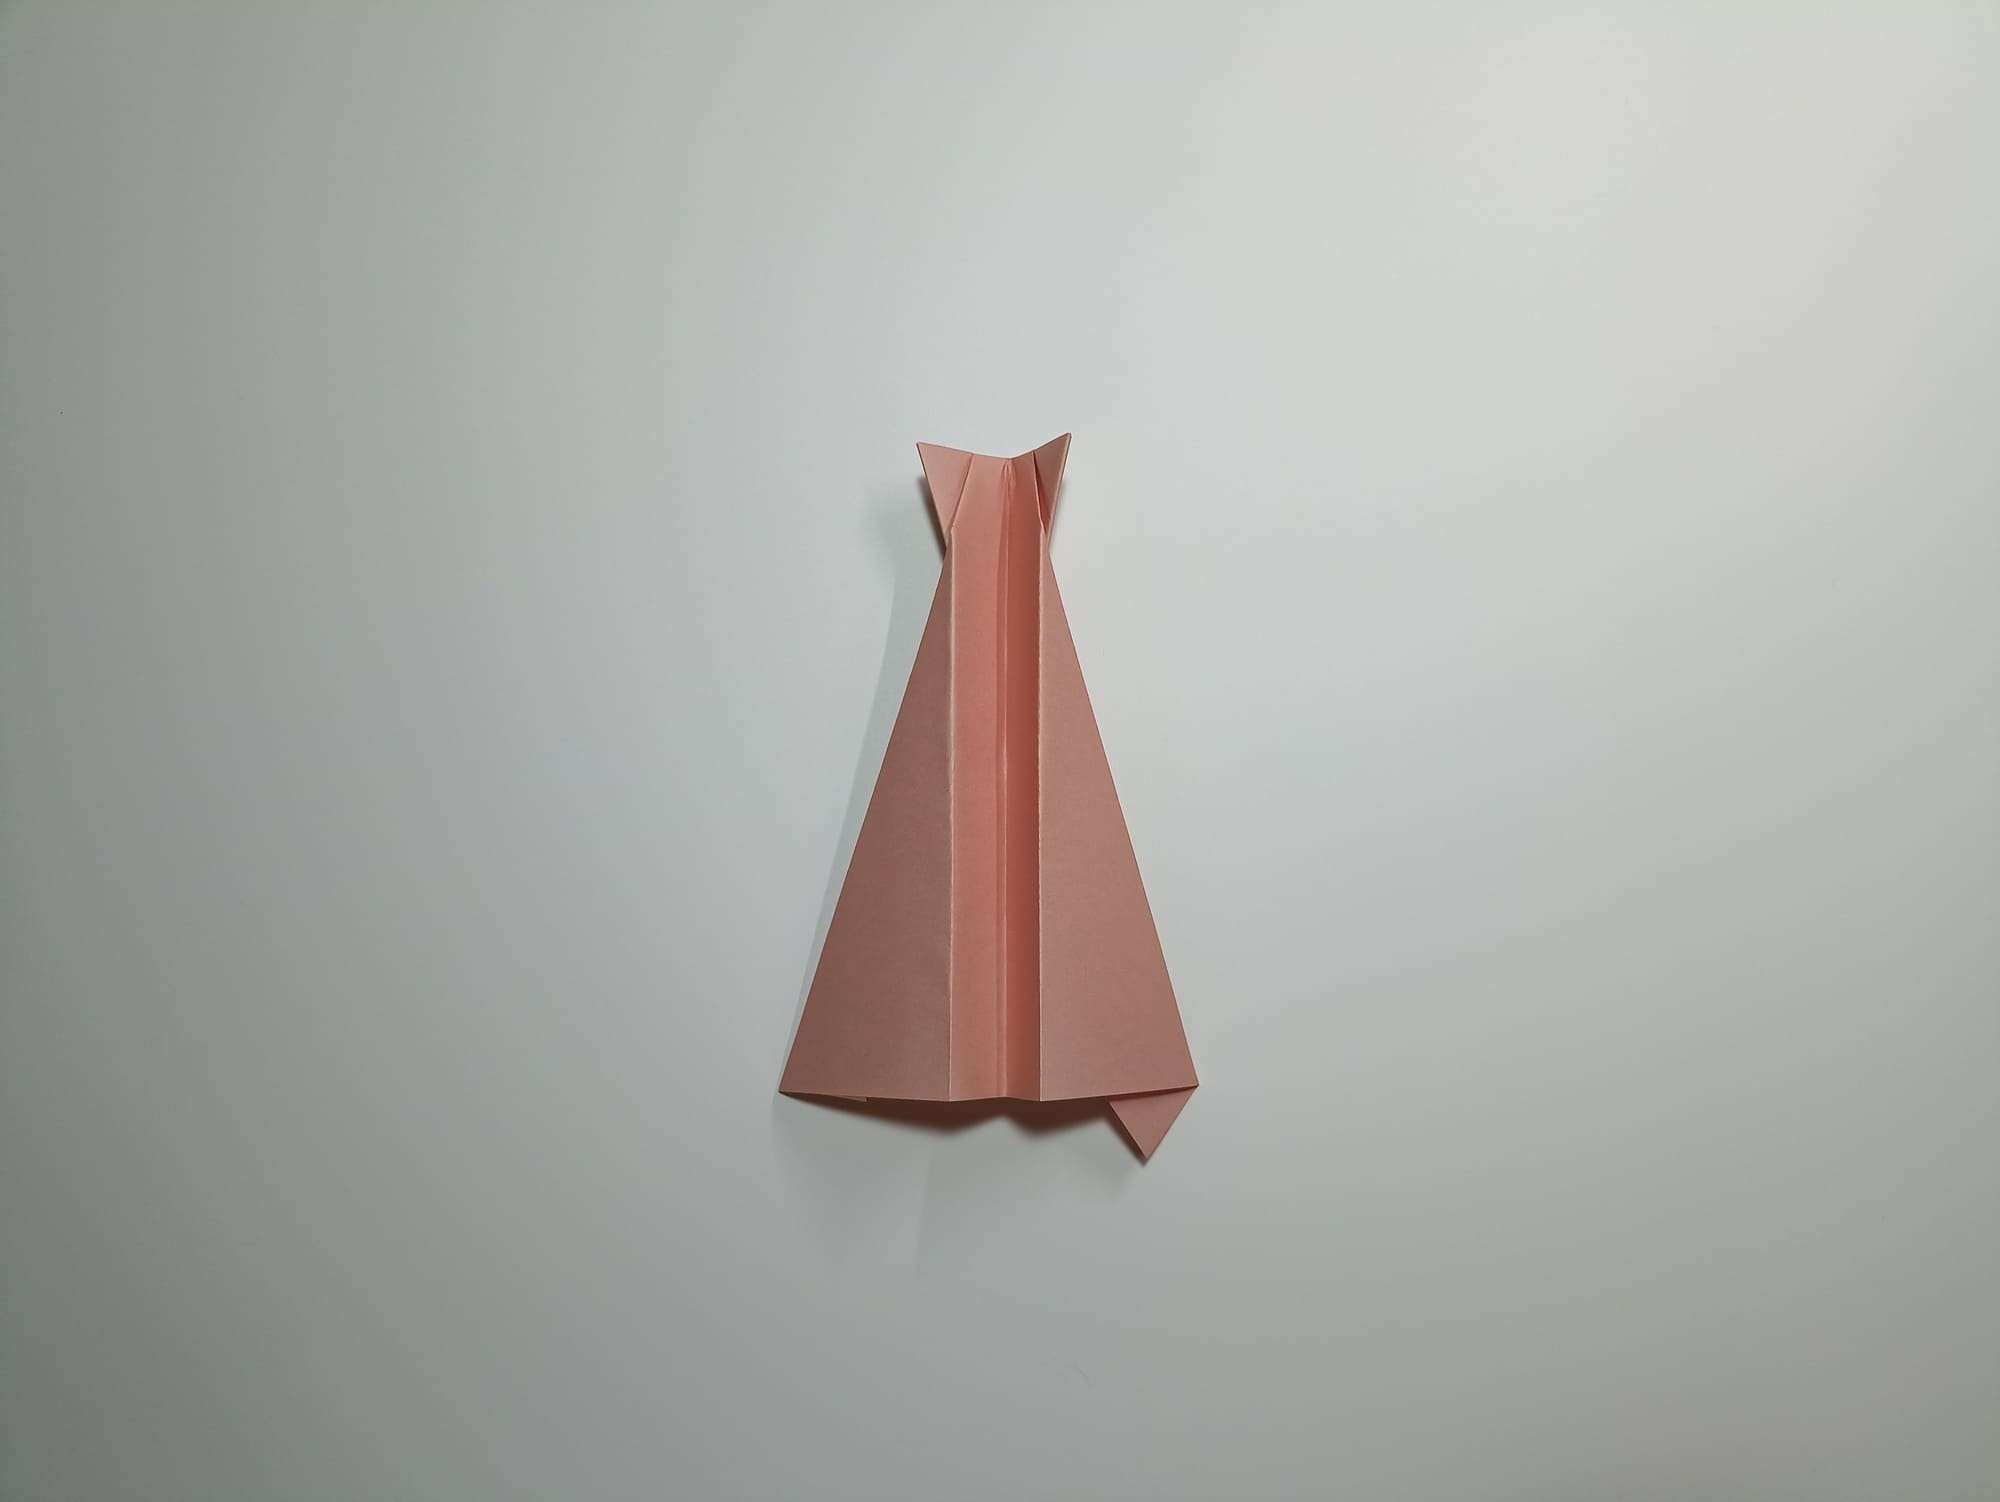
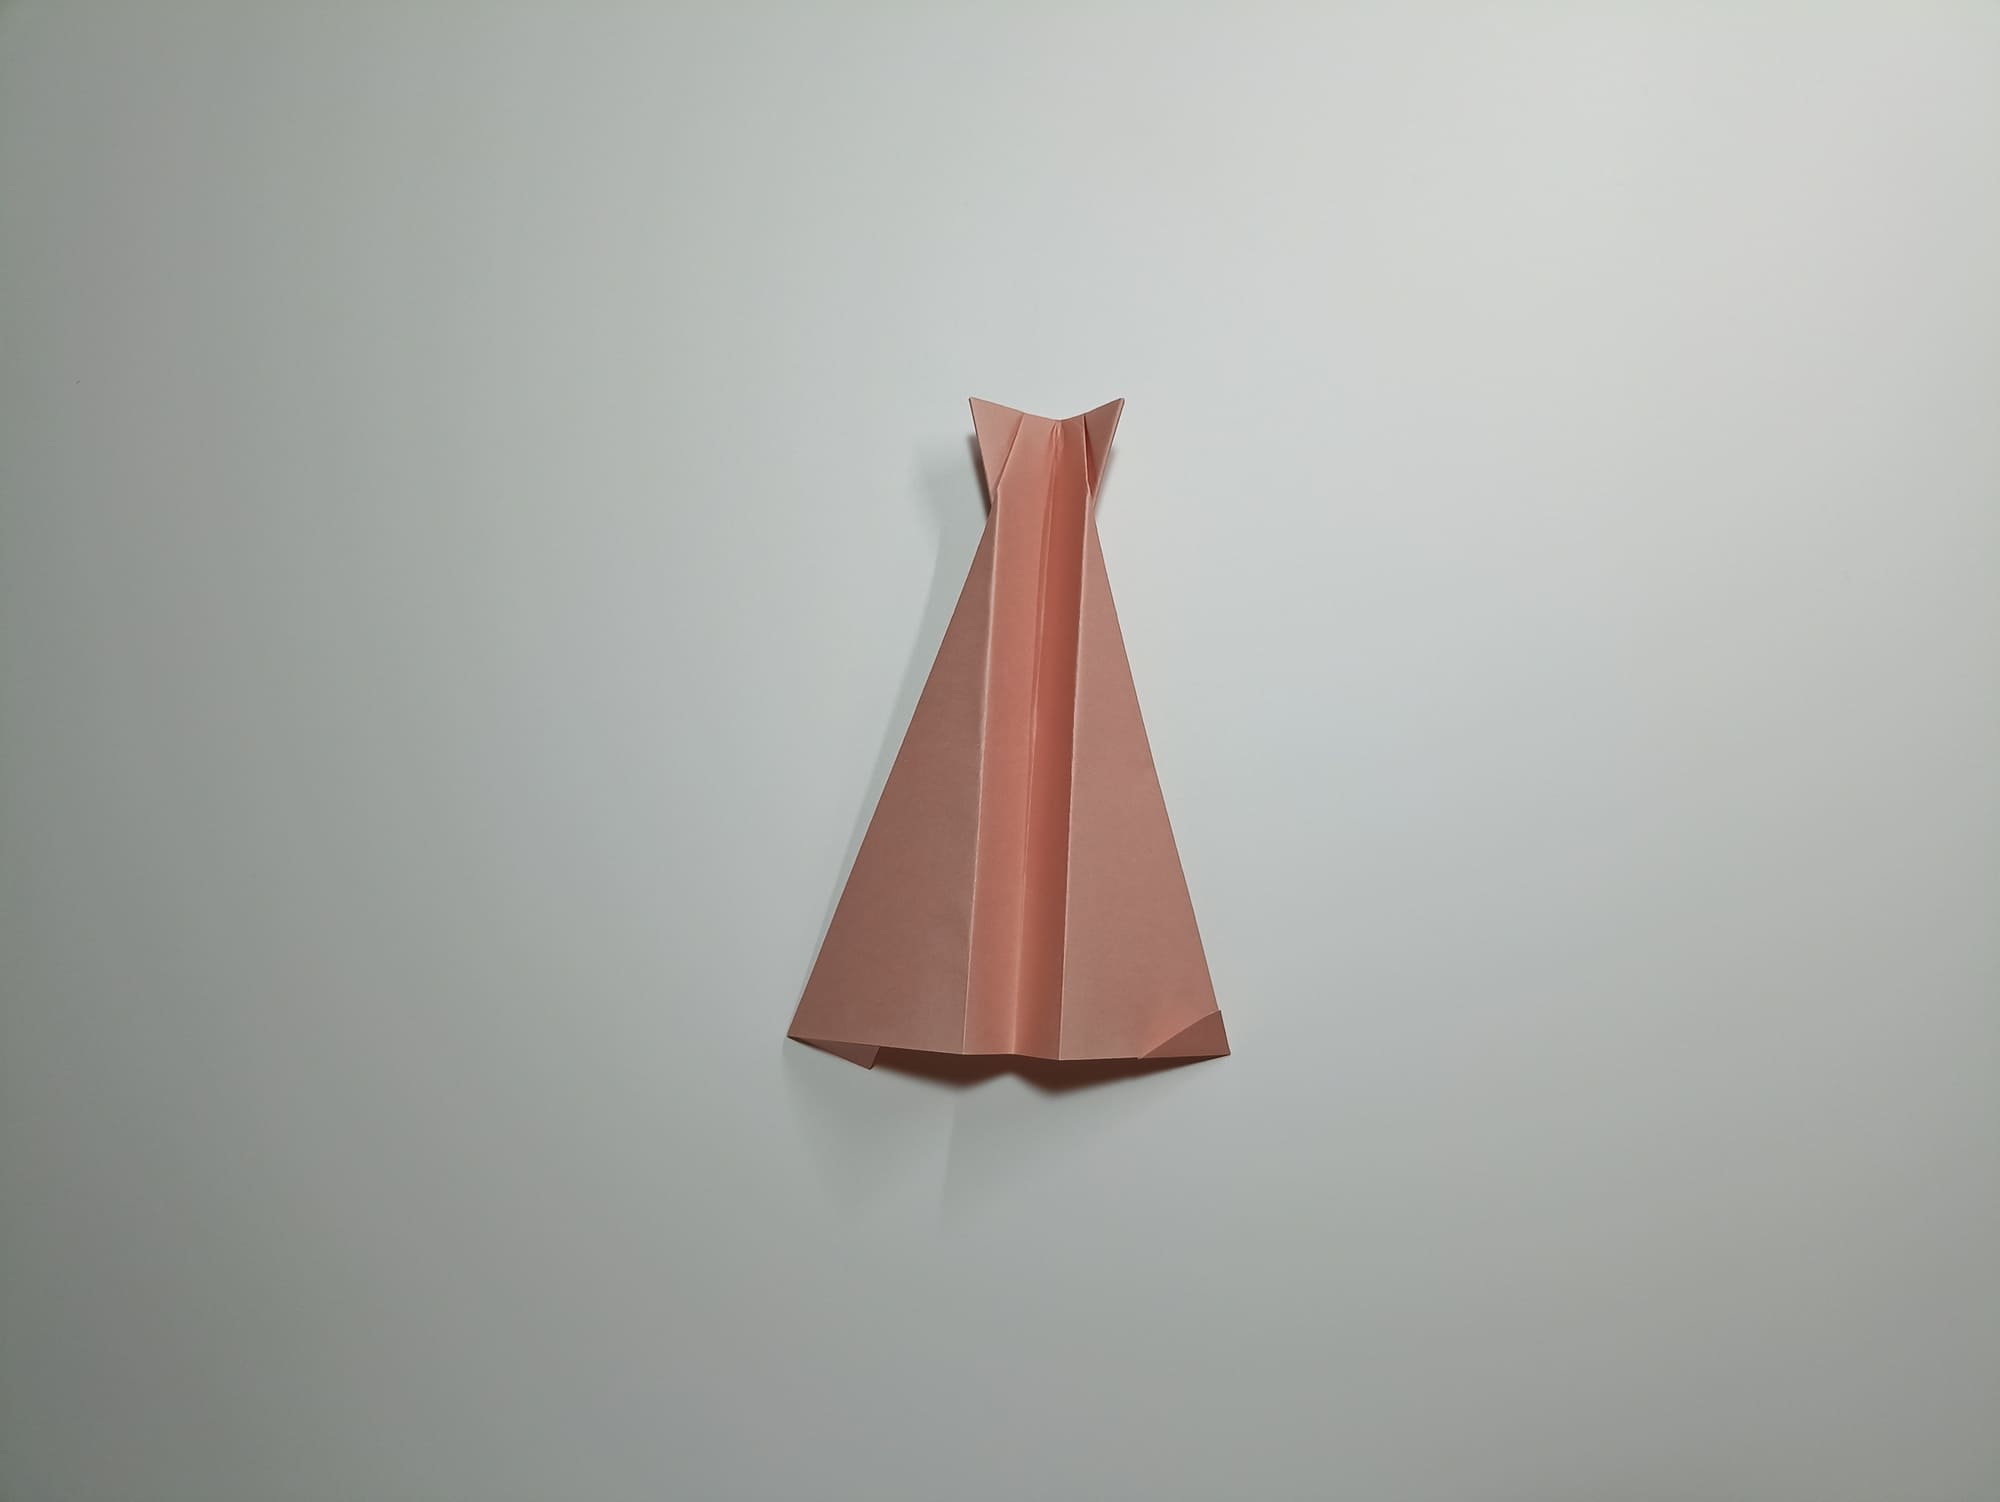
Align the lateral corners of the resulting triangle with the vertex.
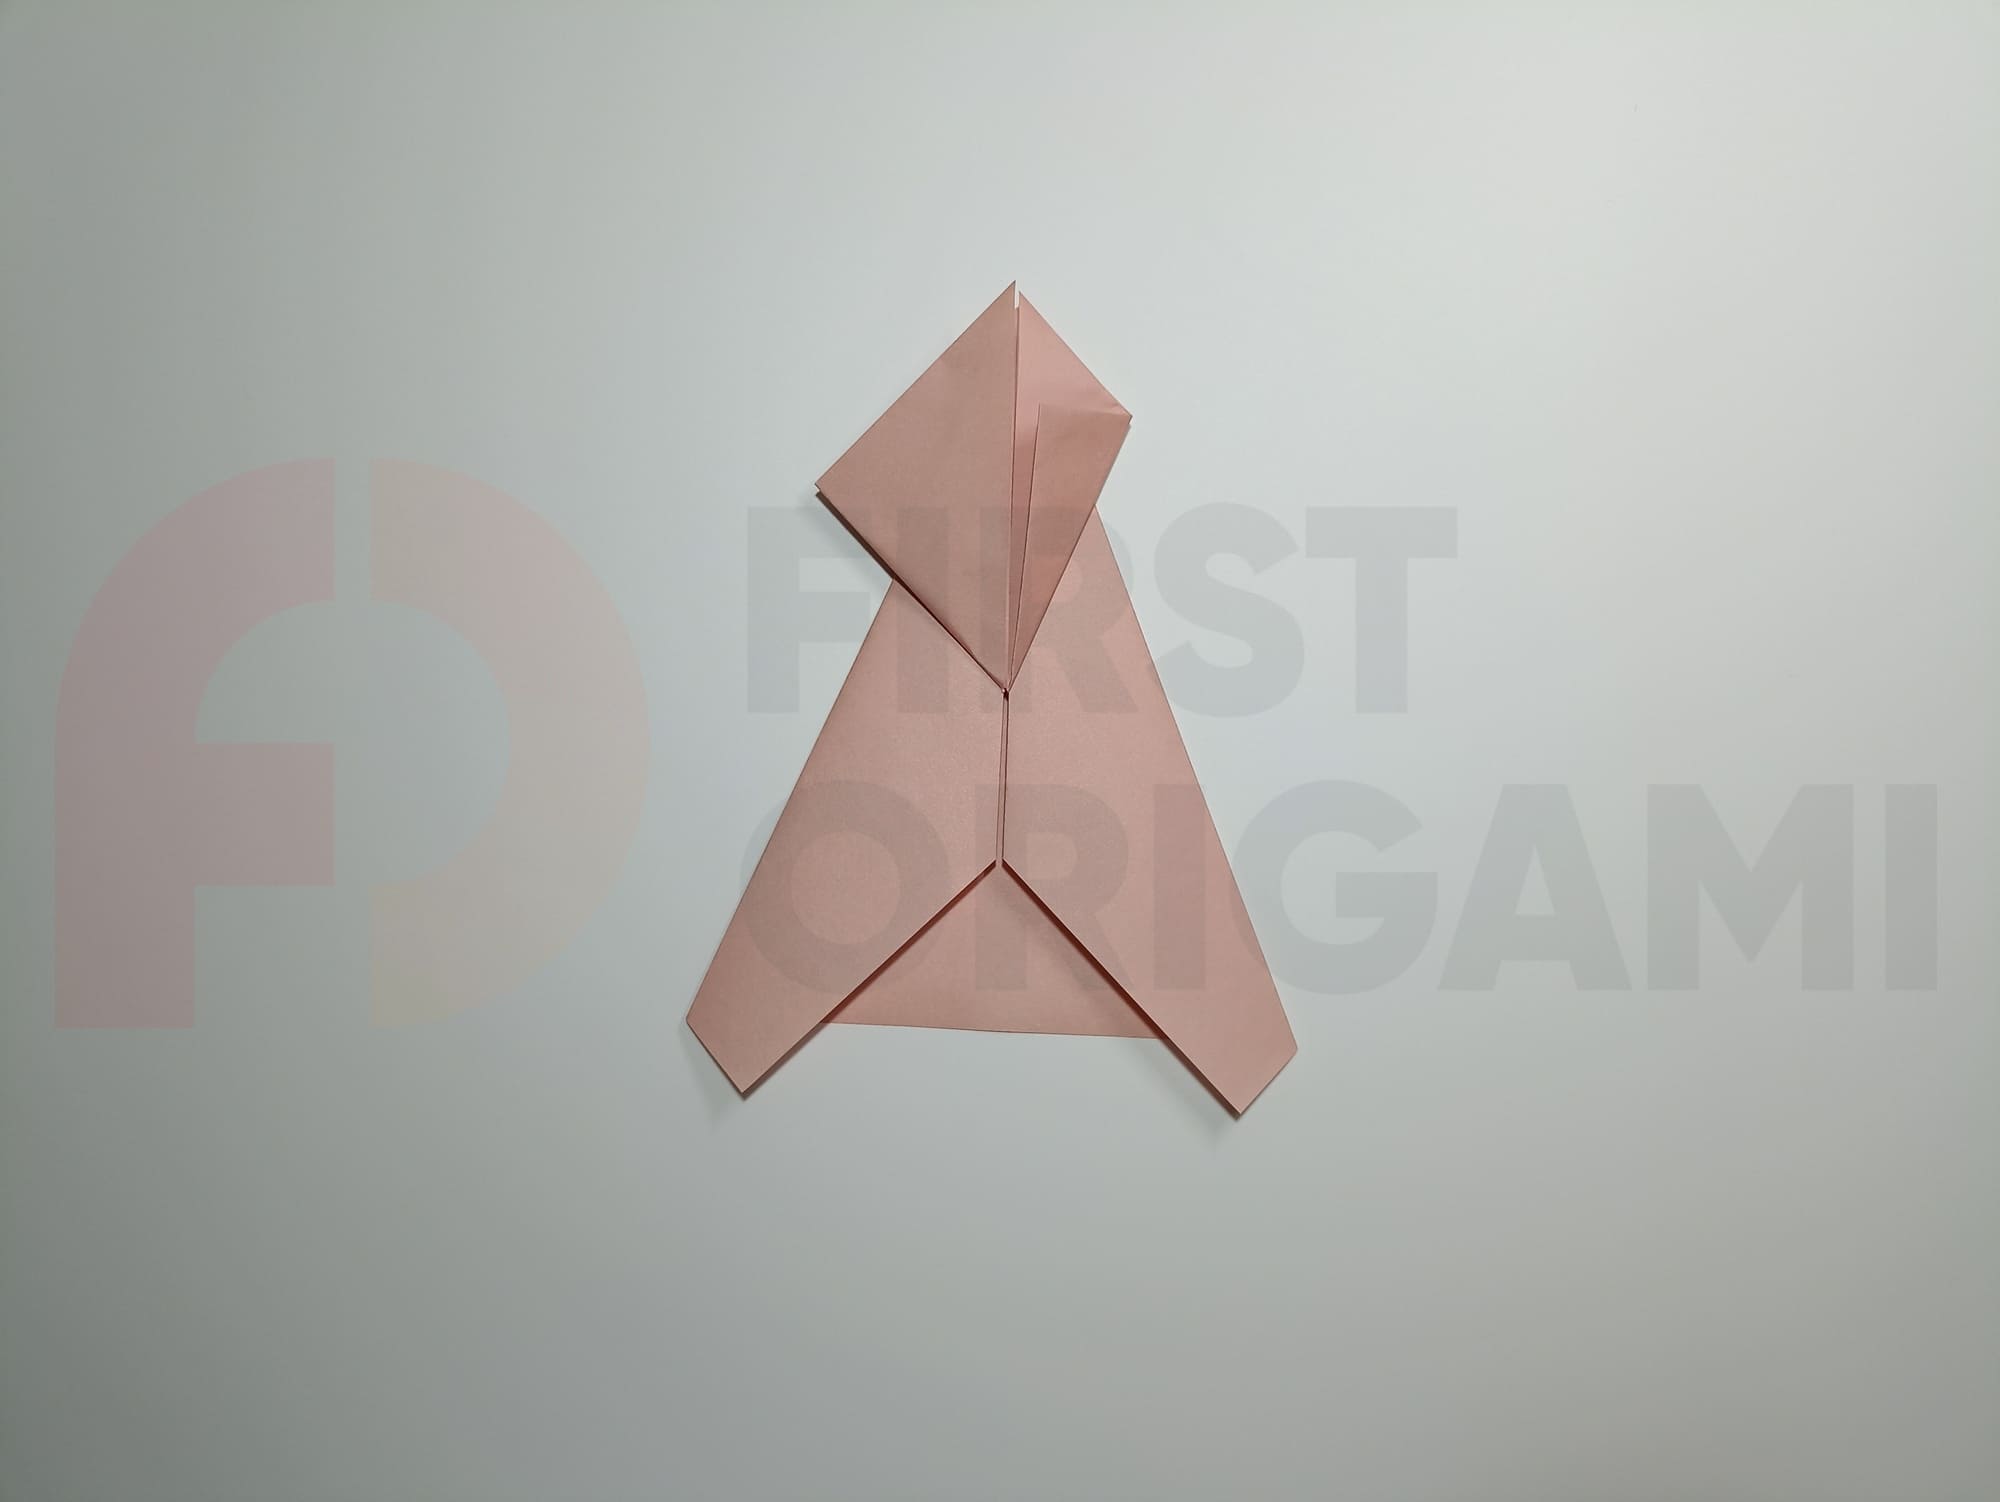
Align the bottom sides of the diamond with the vertical center line.
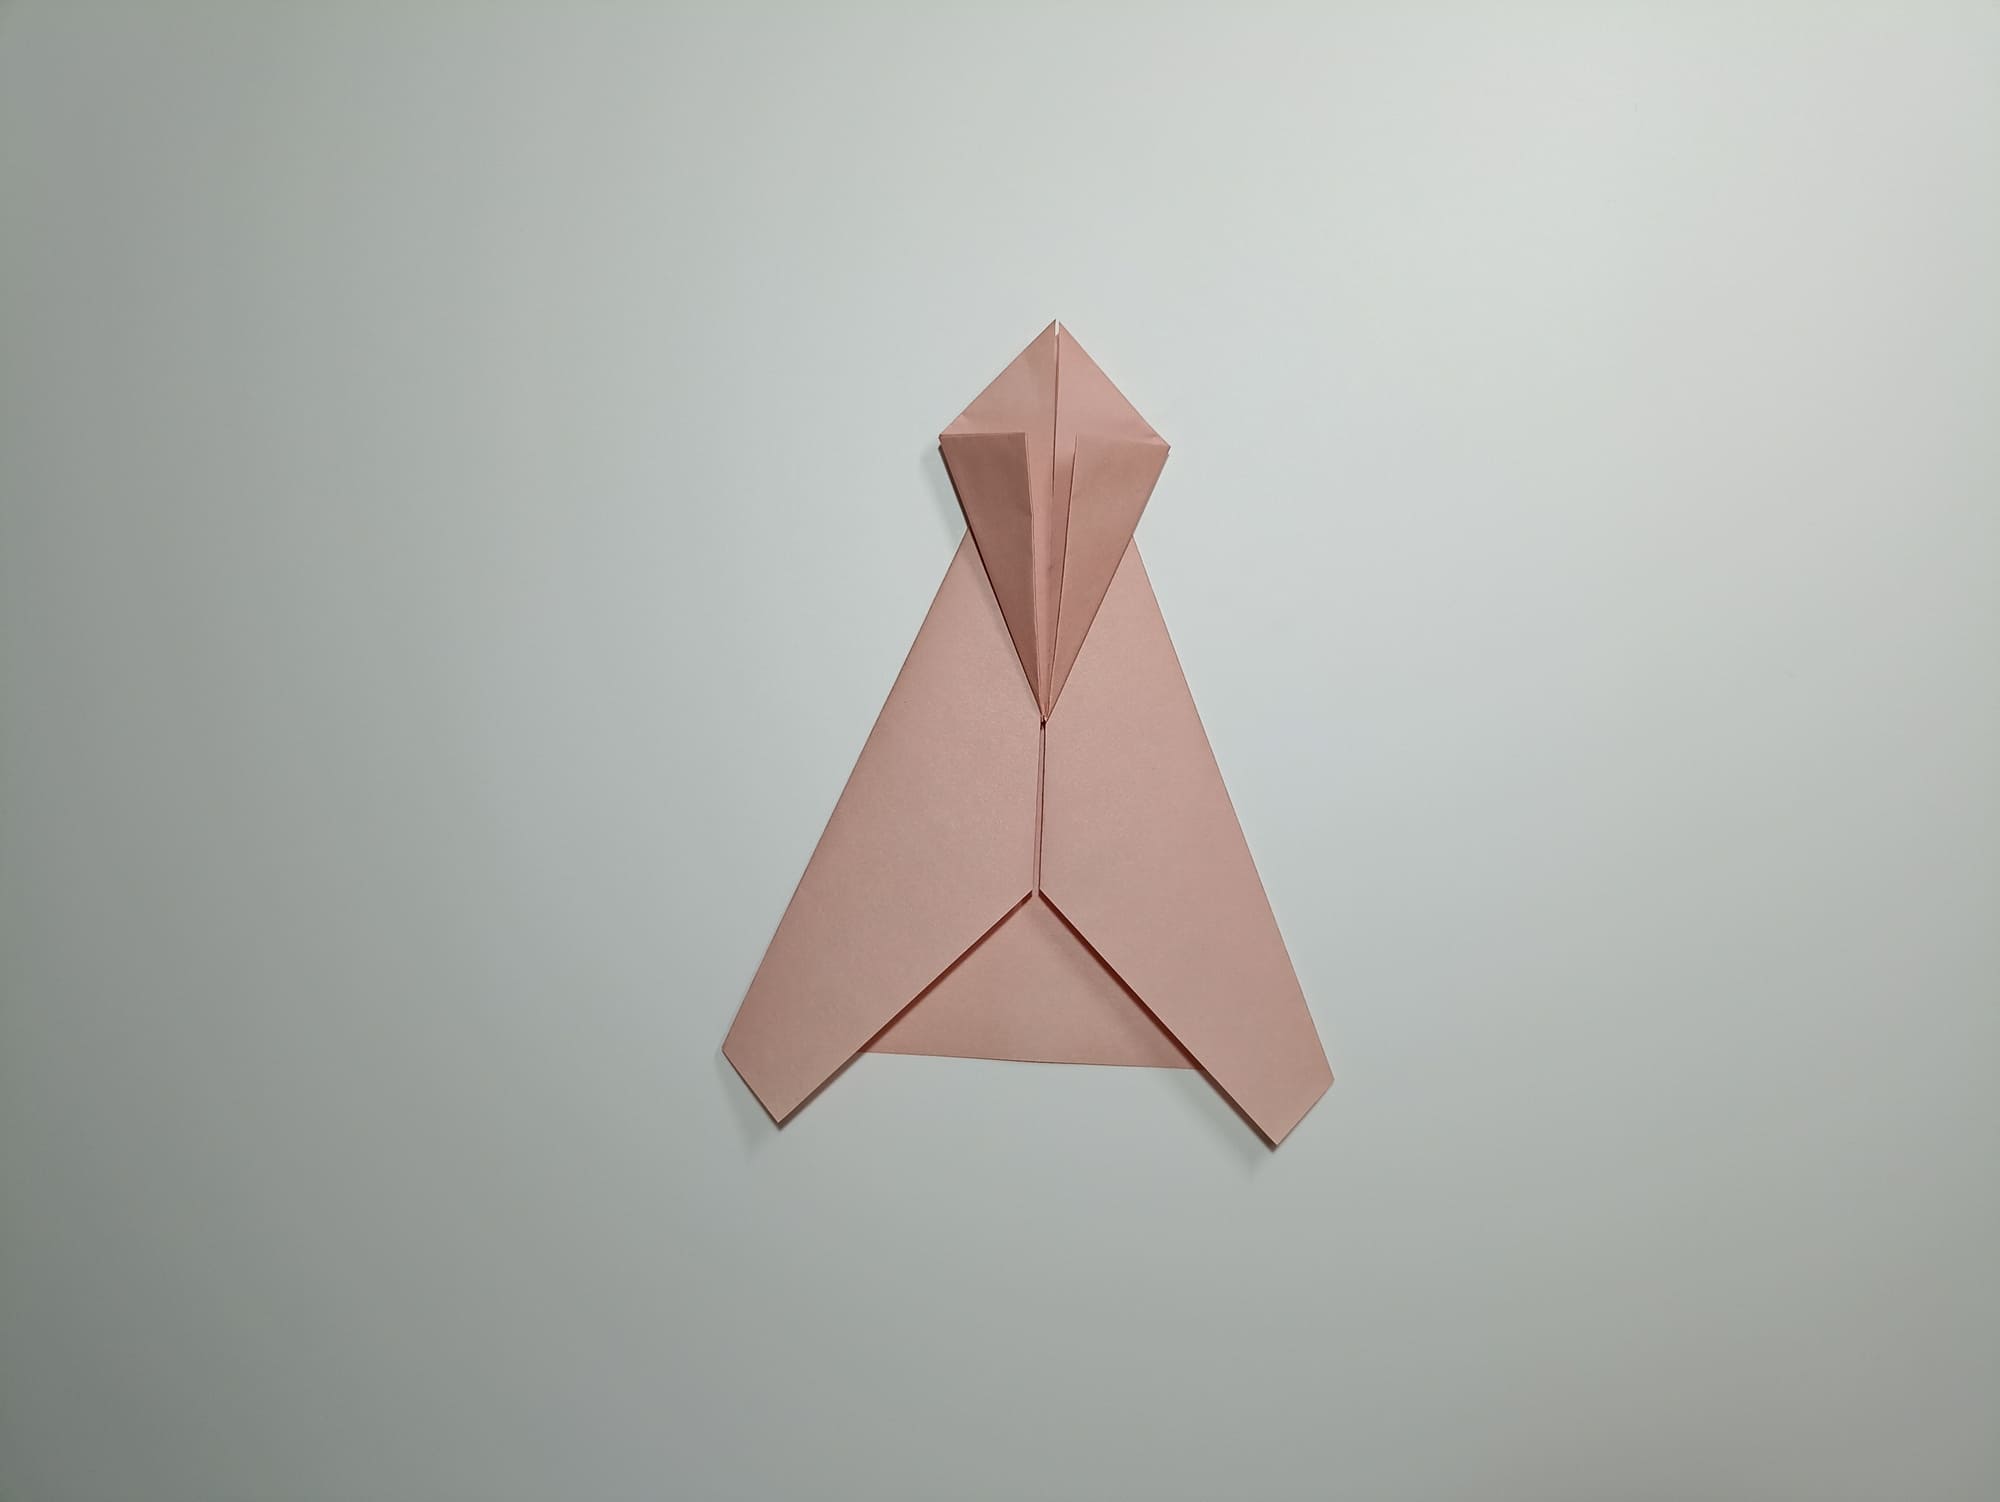

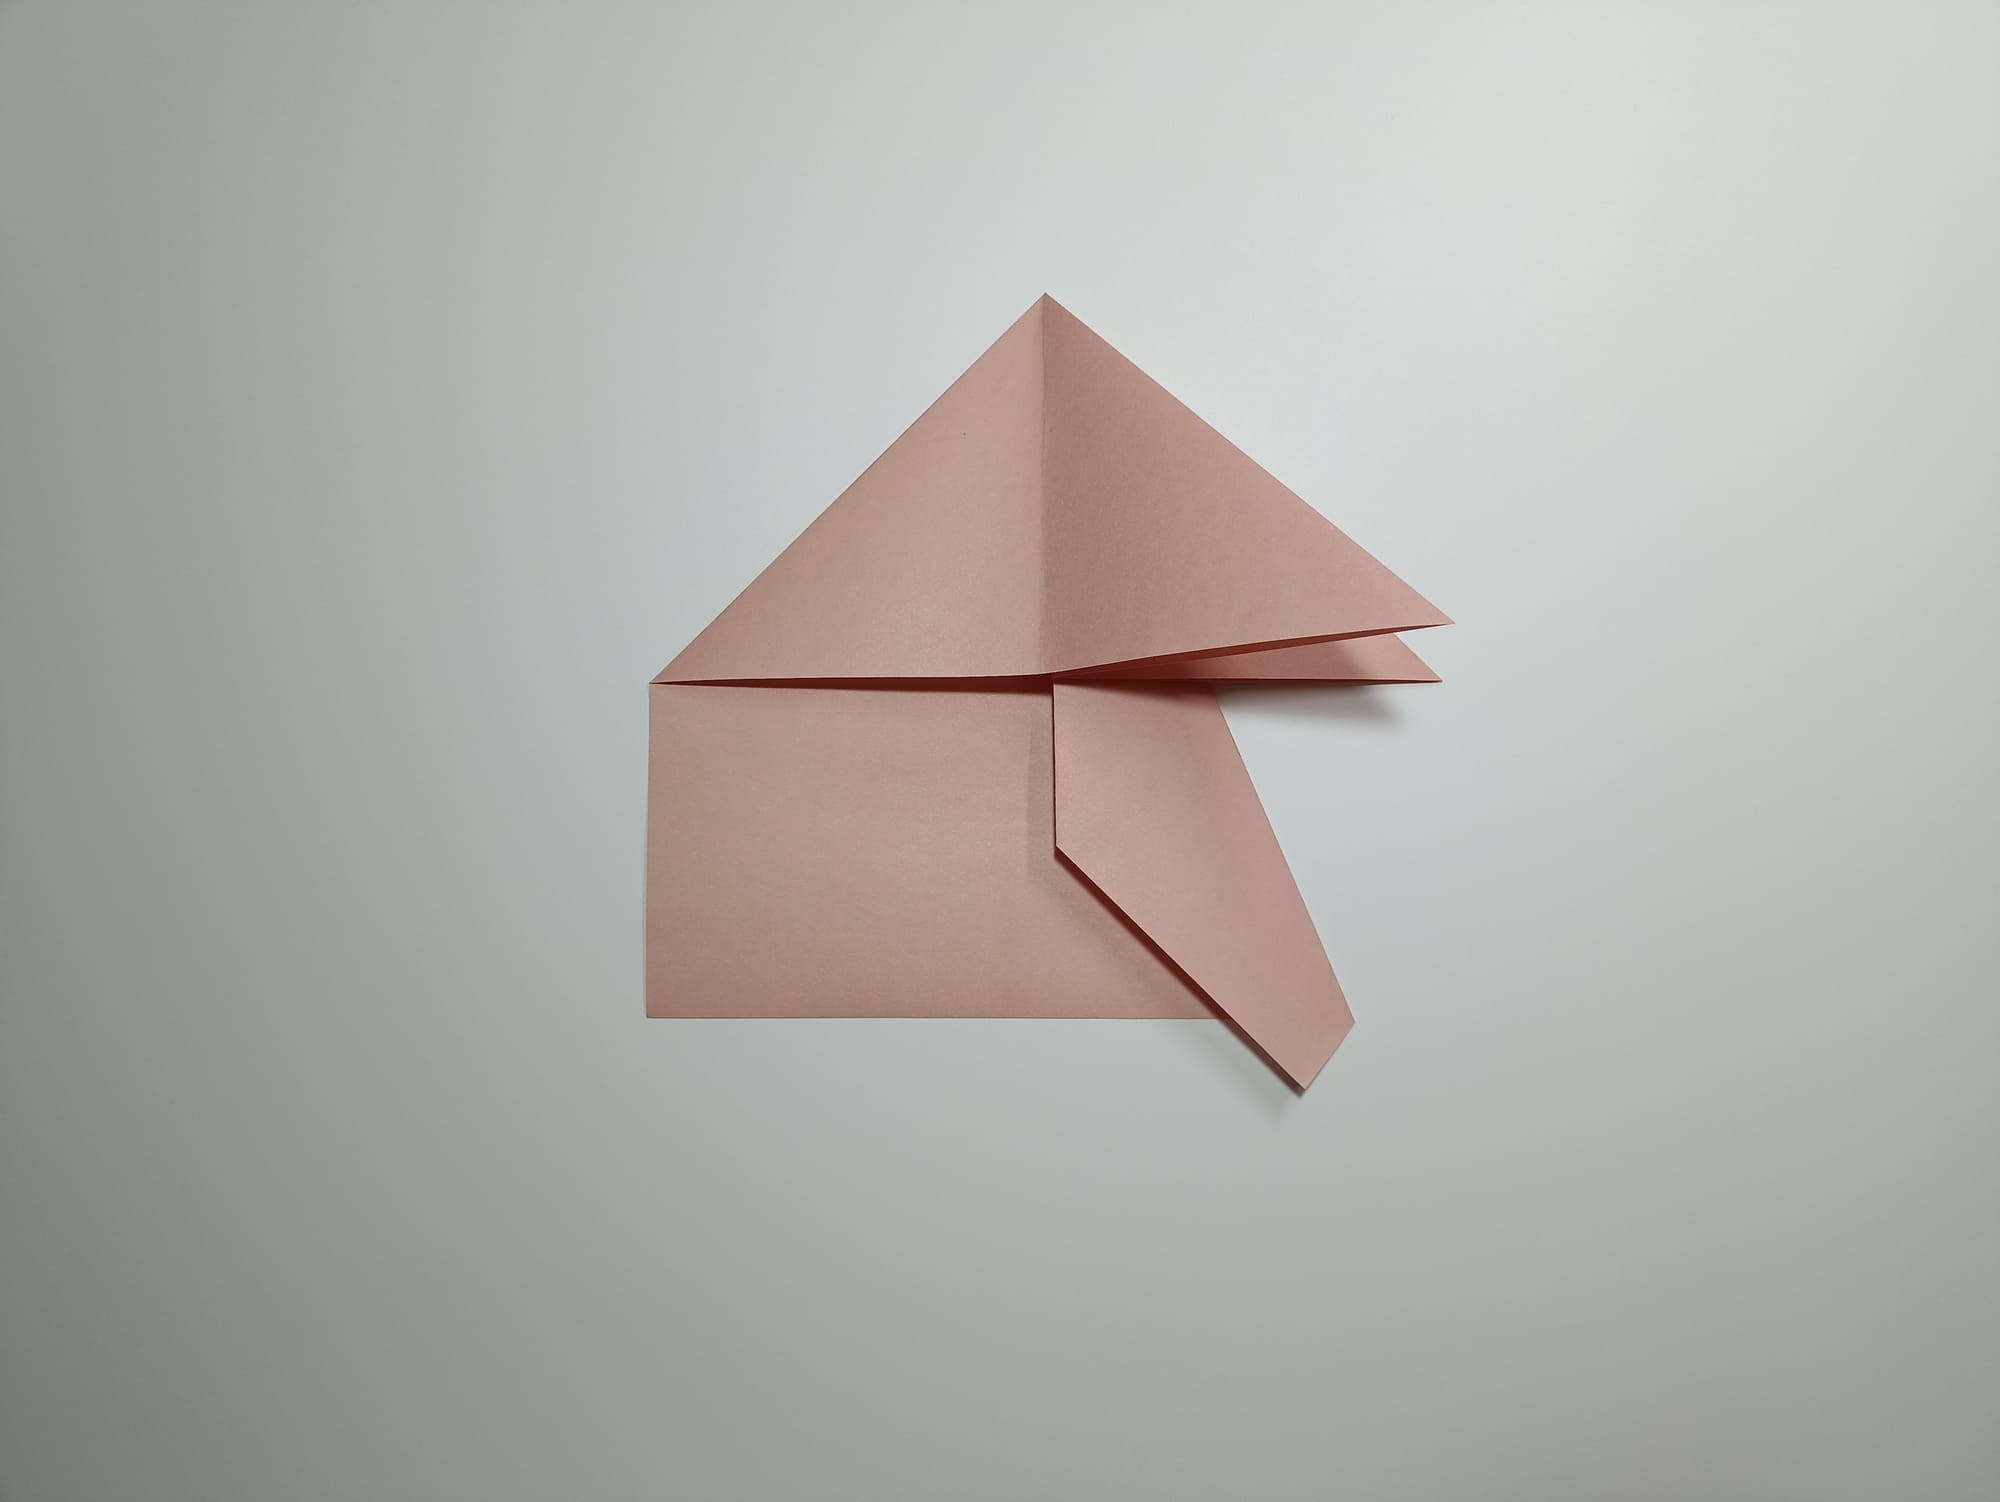
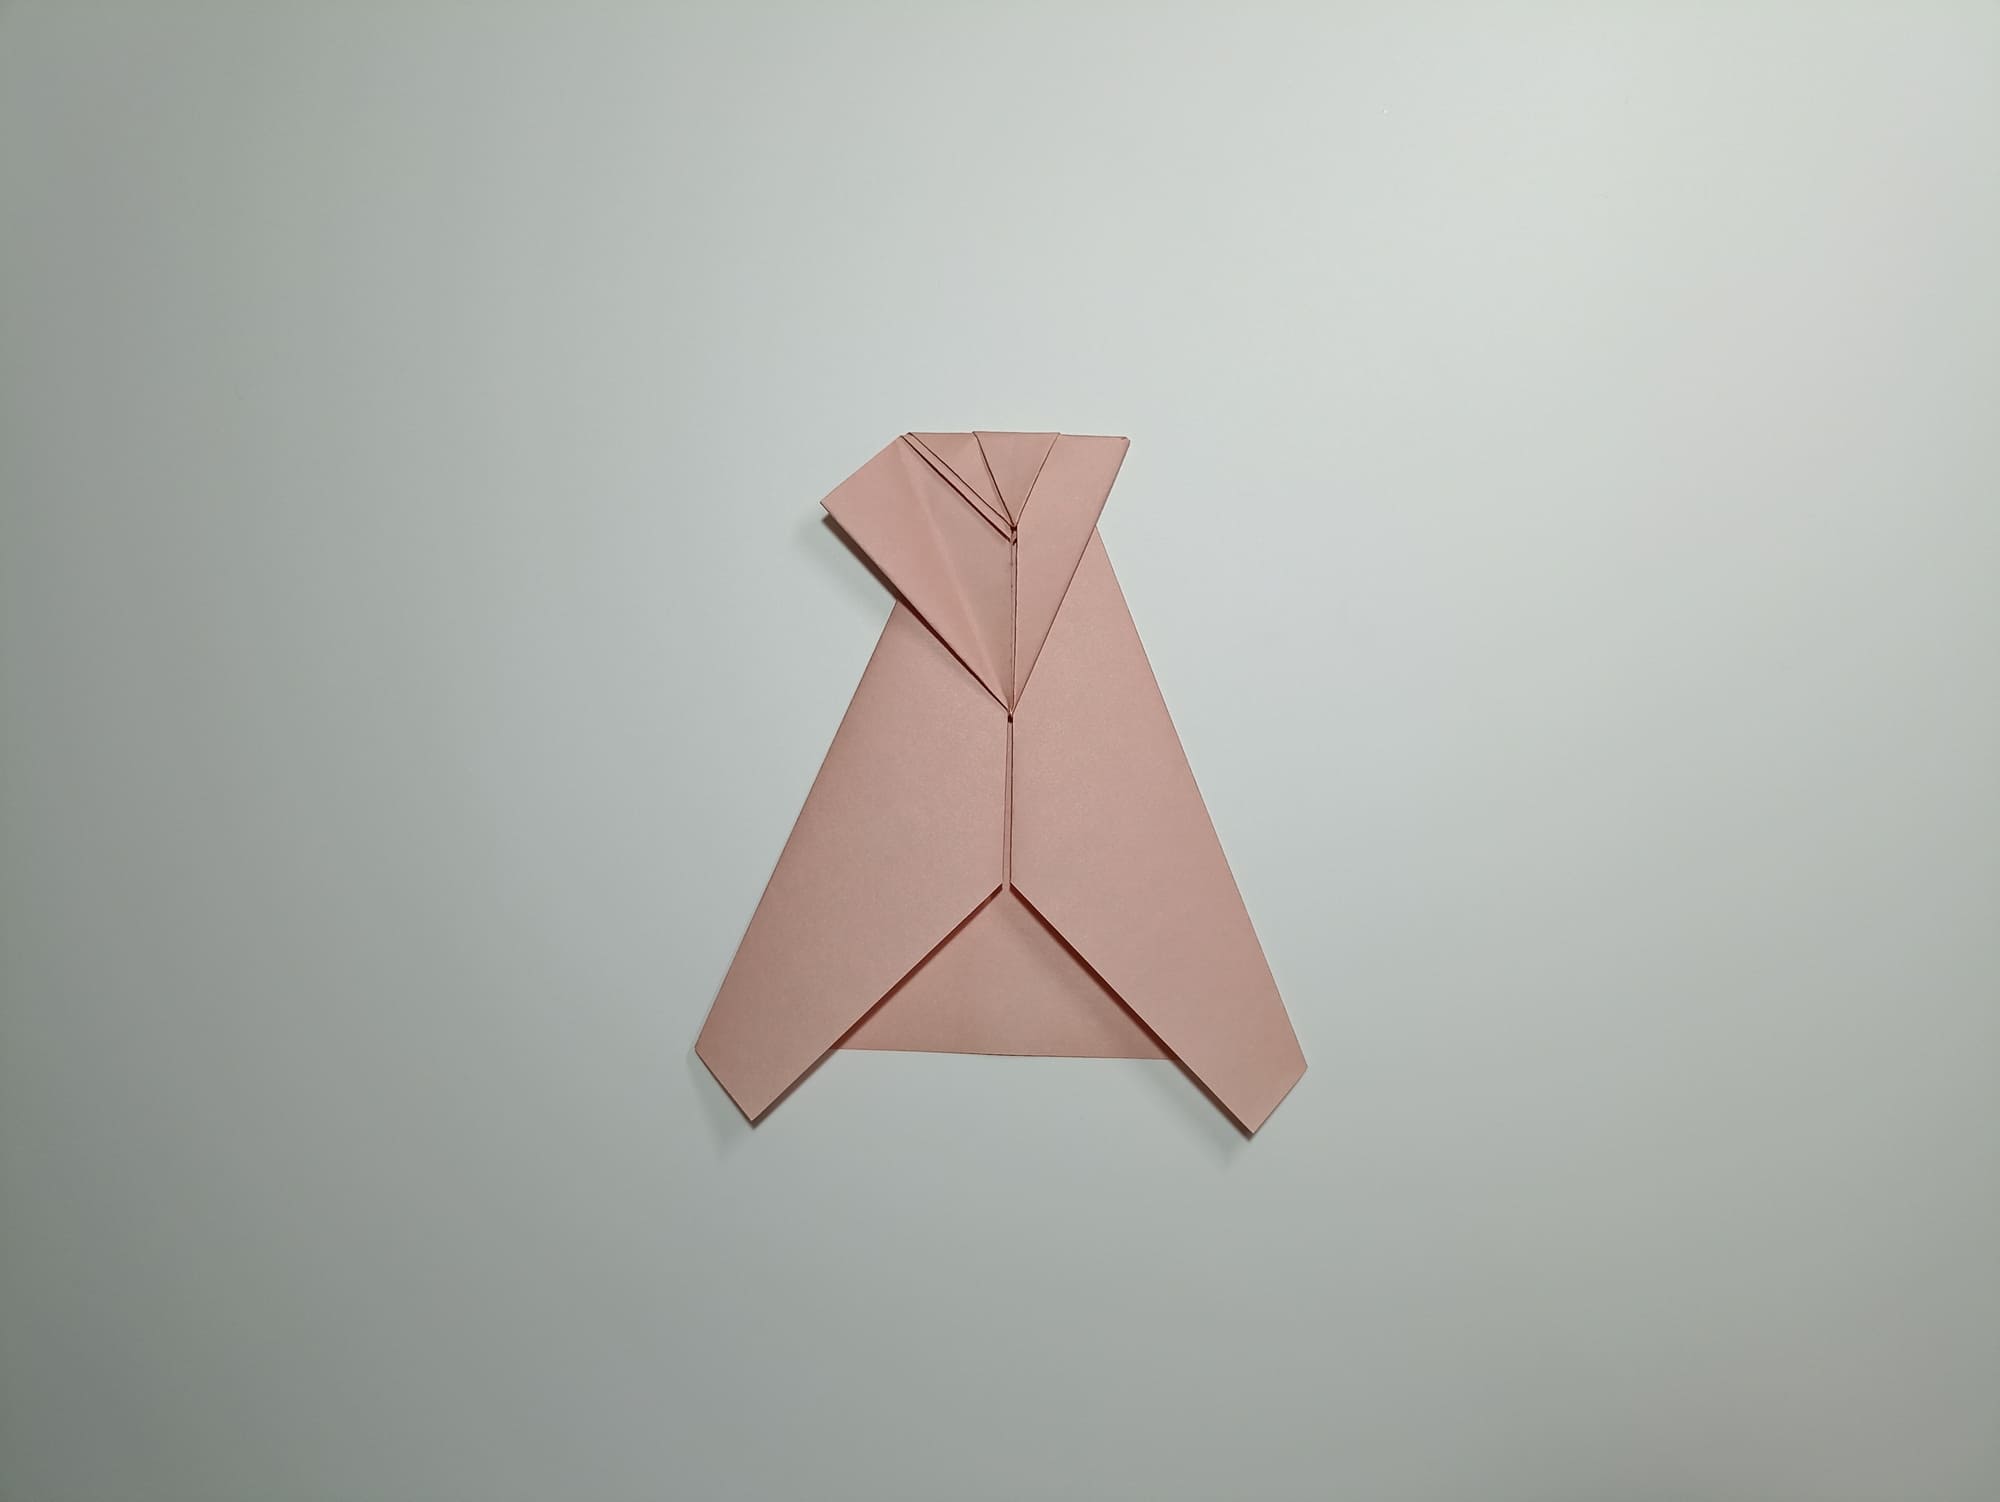
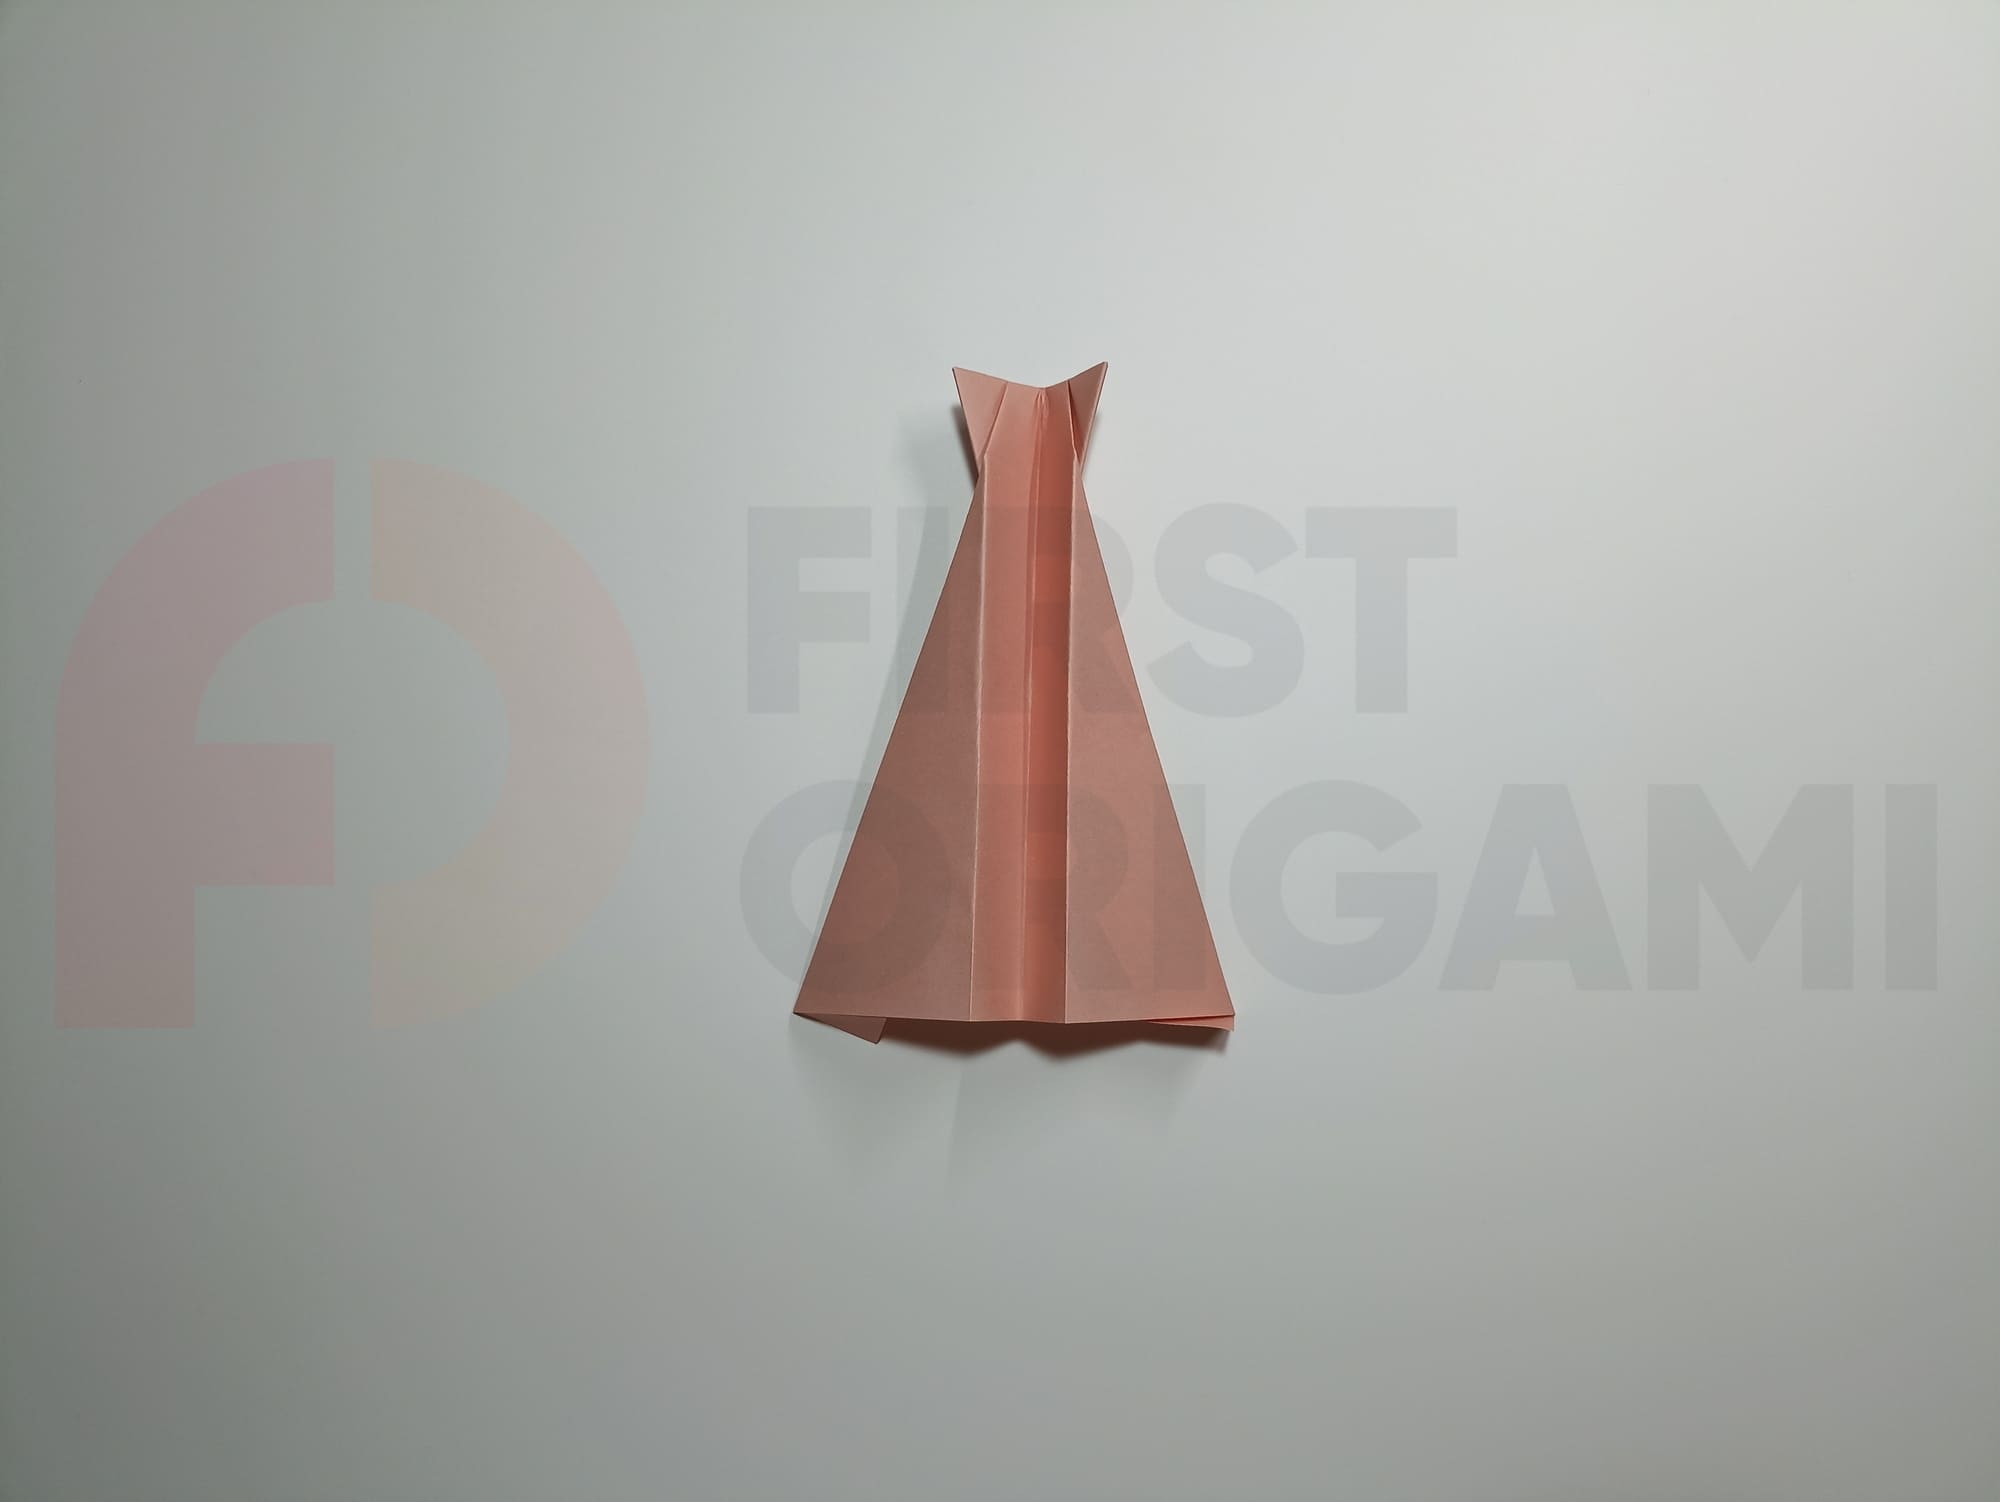
Fold the top of the small triangle, as shown in the illustration, and open the folds of Steps 18 and 19.
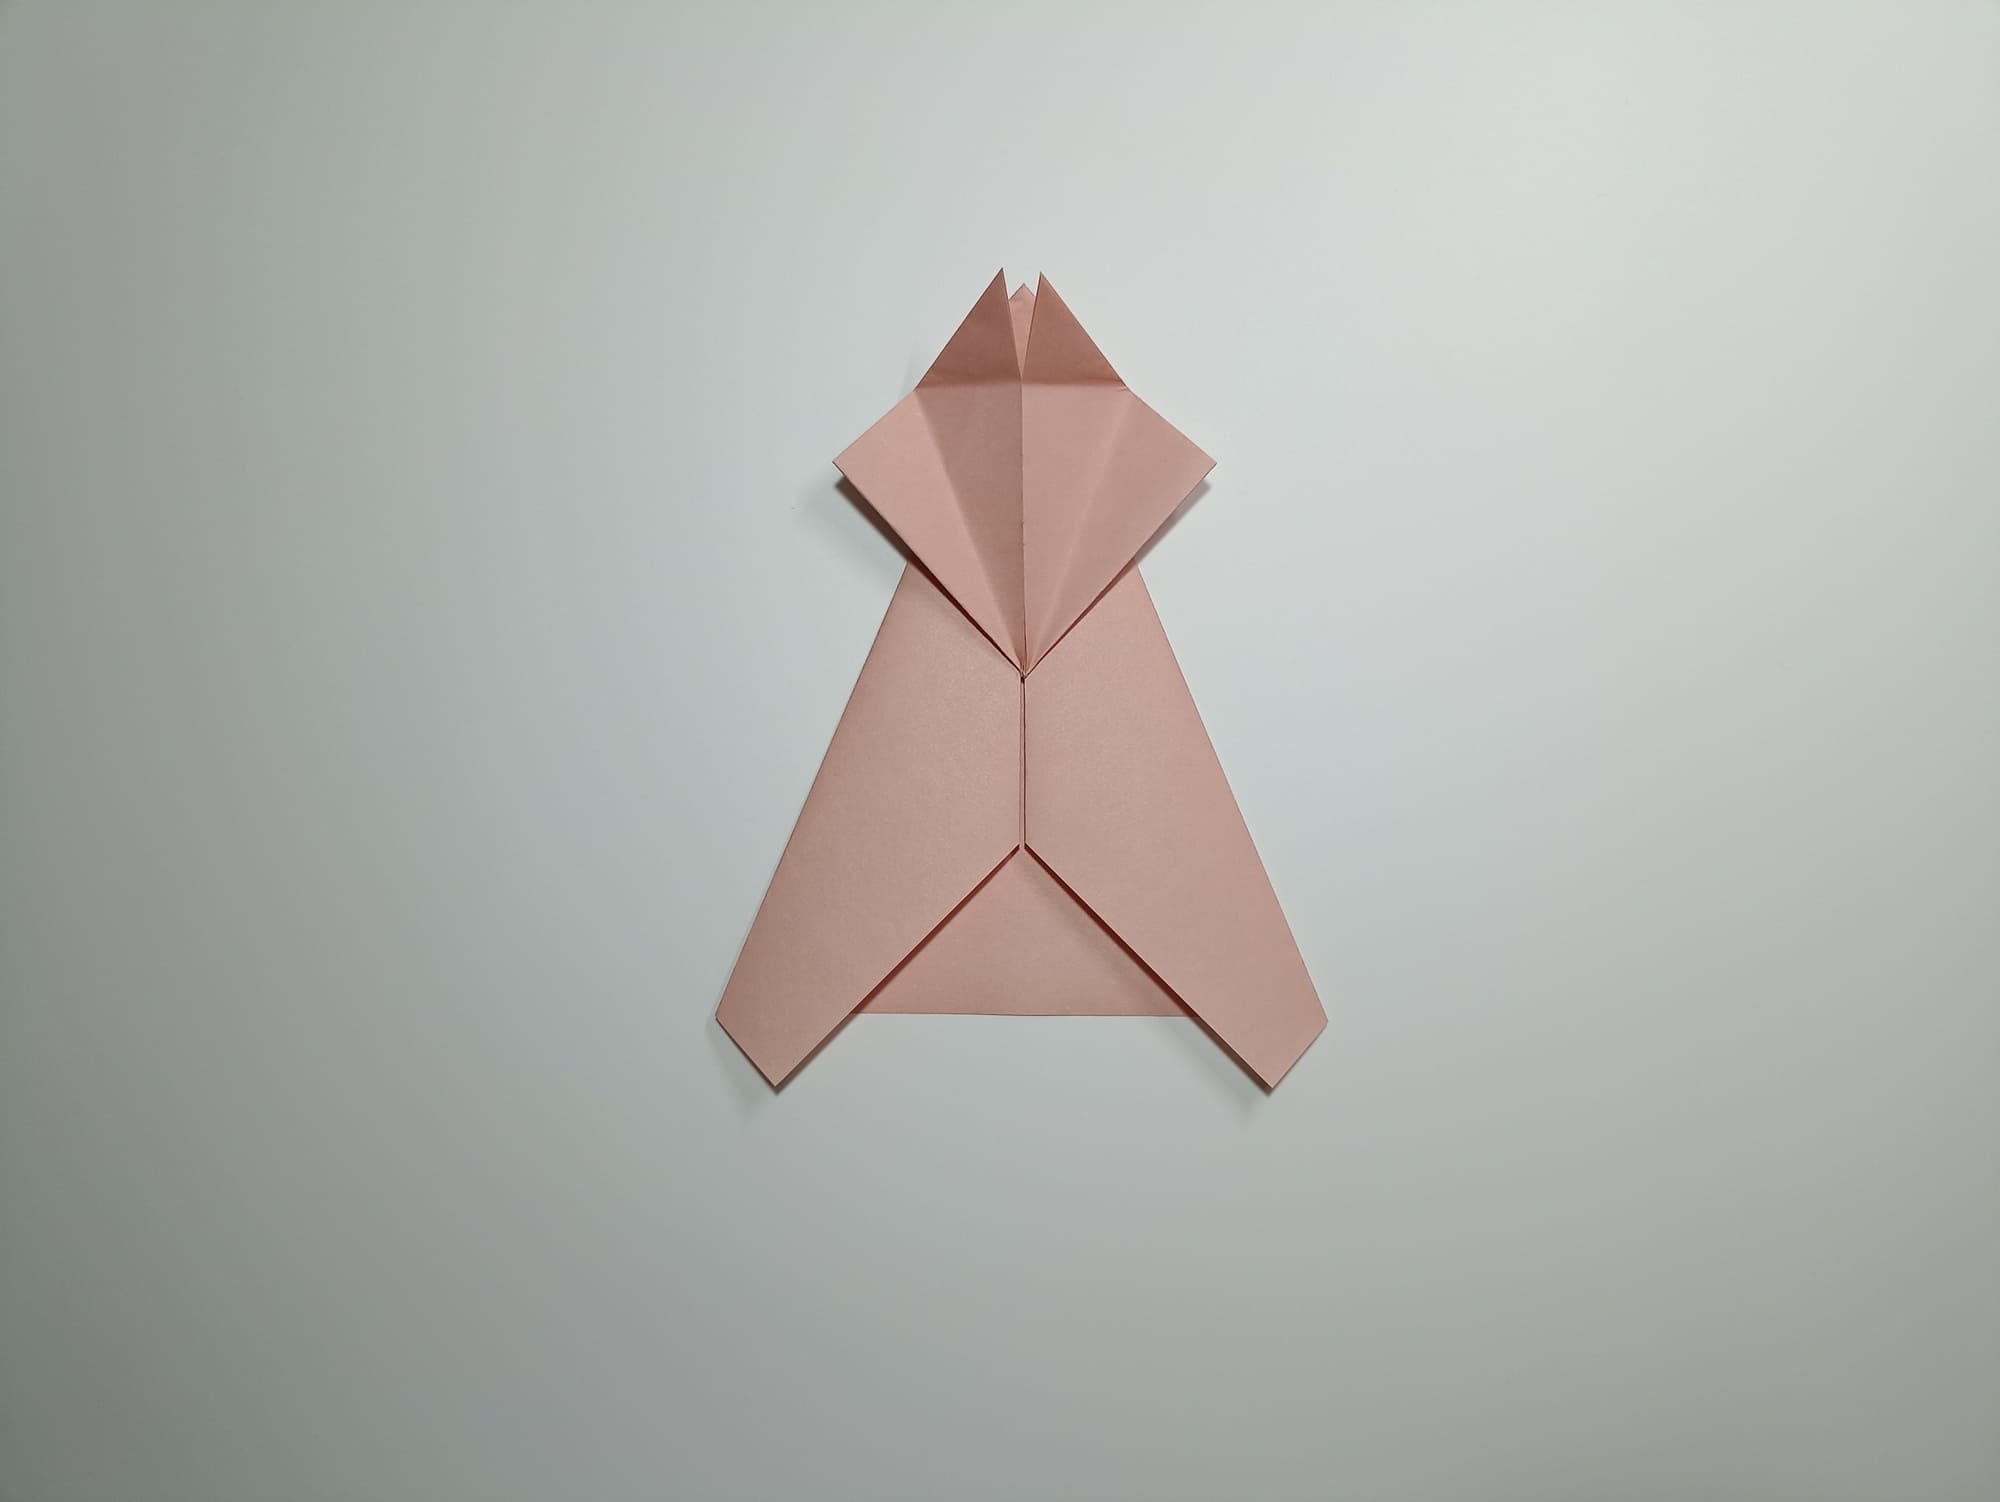
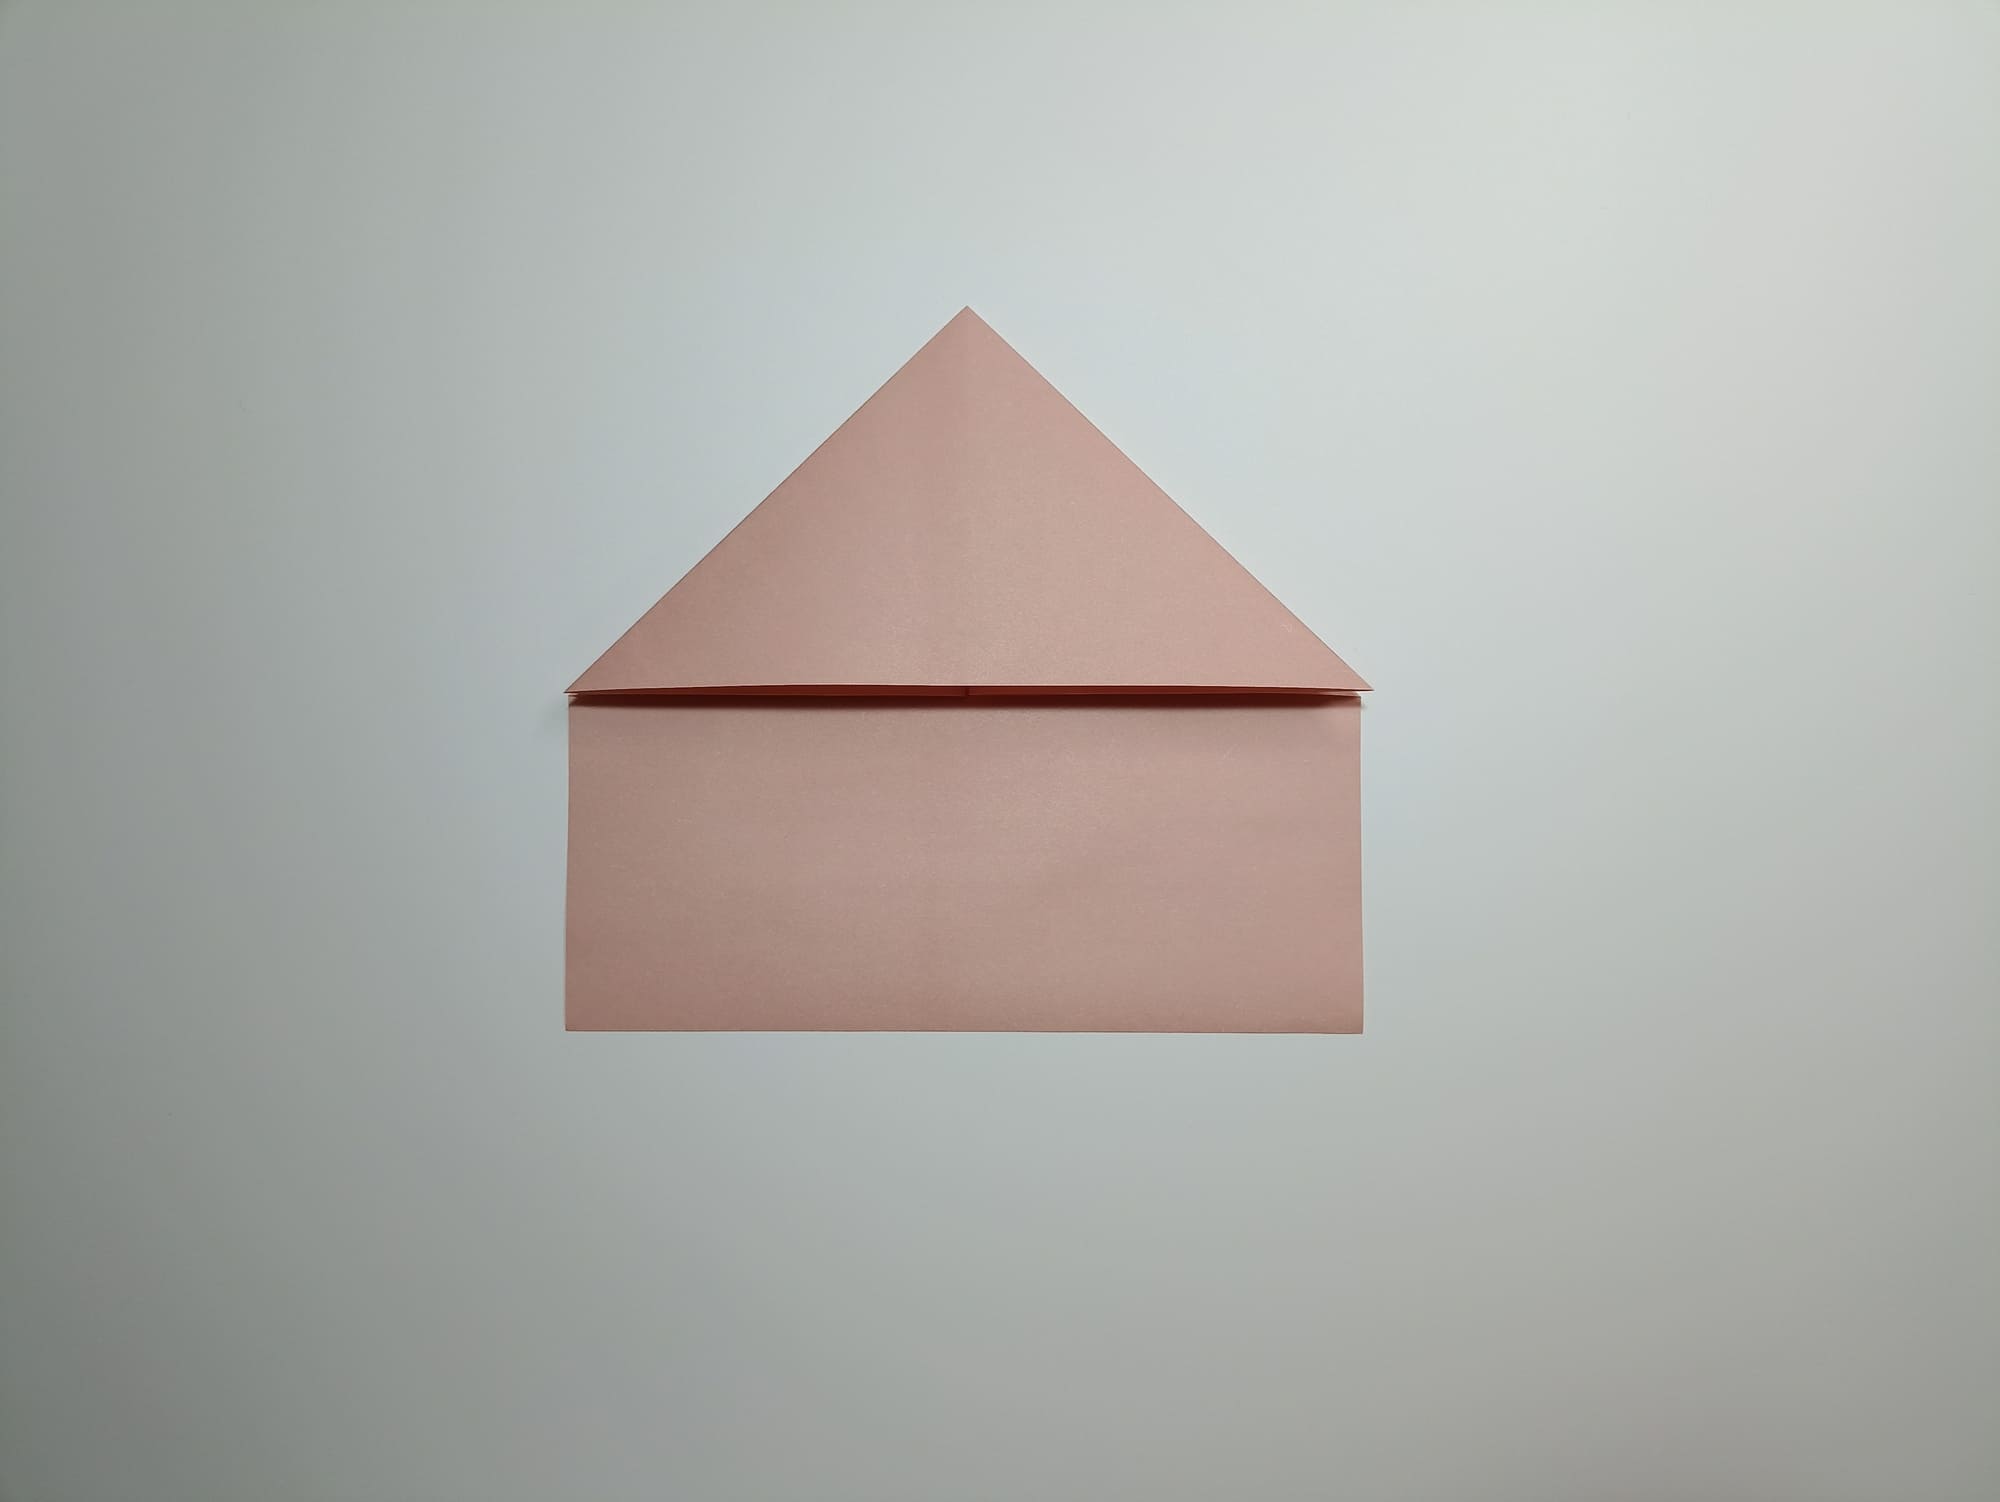
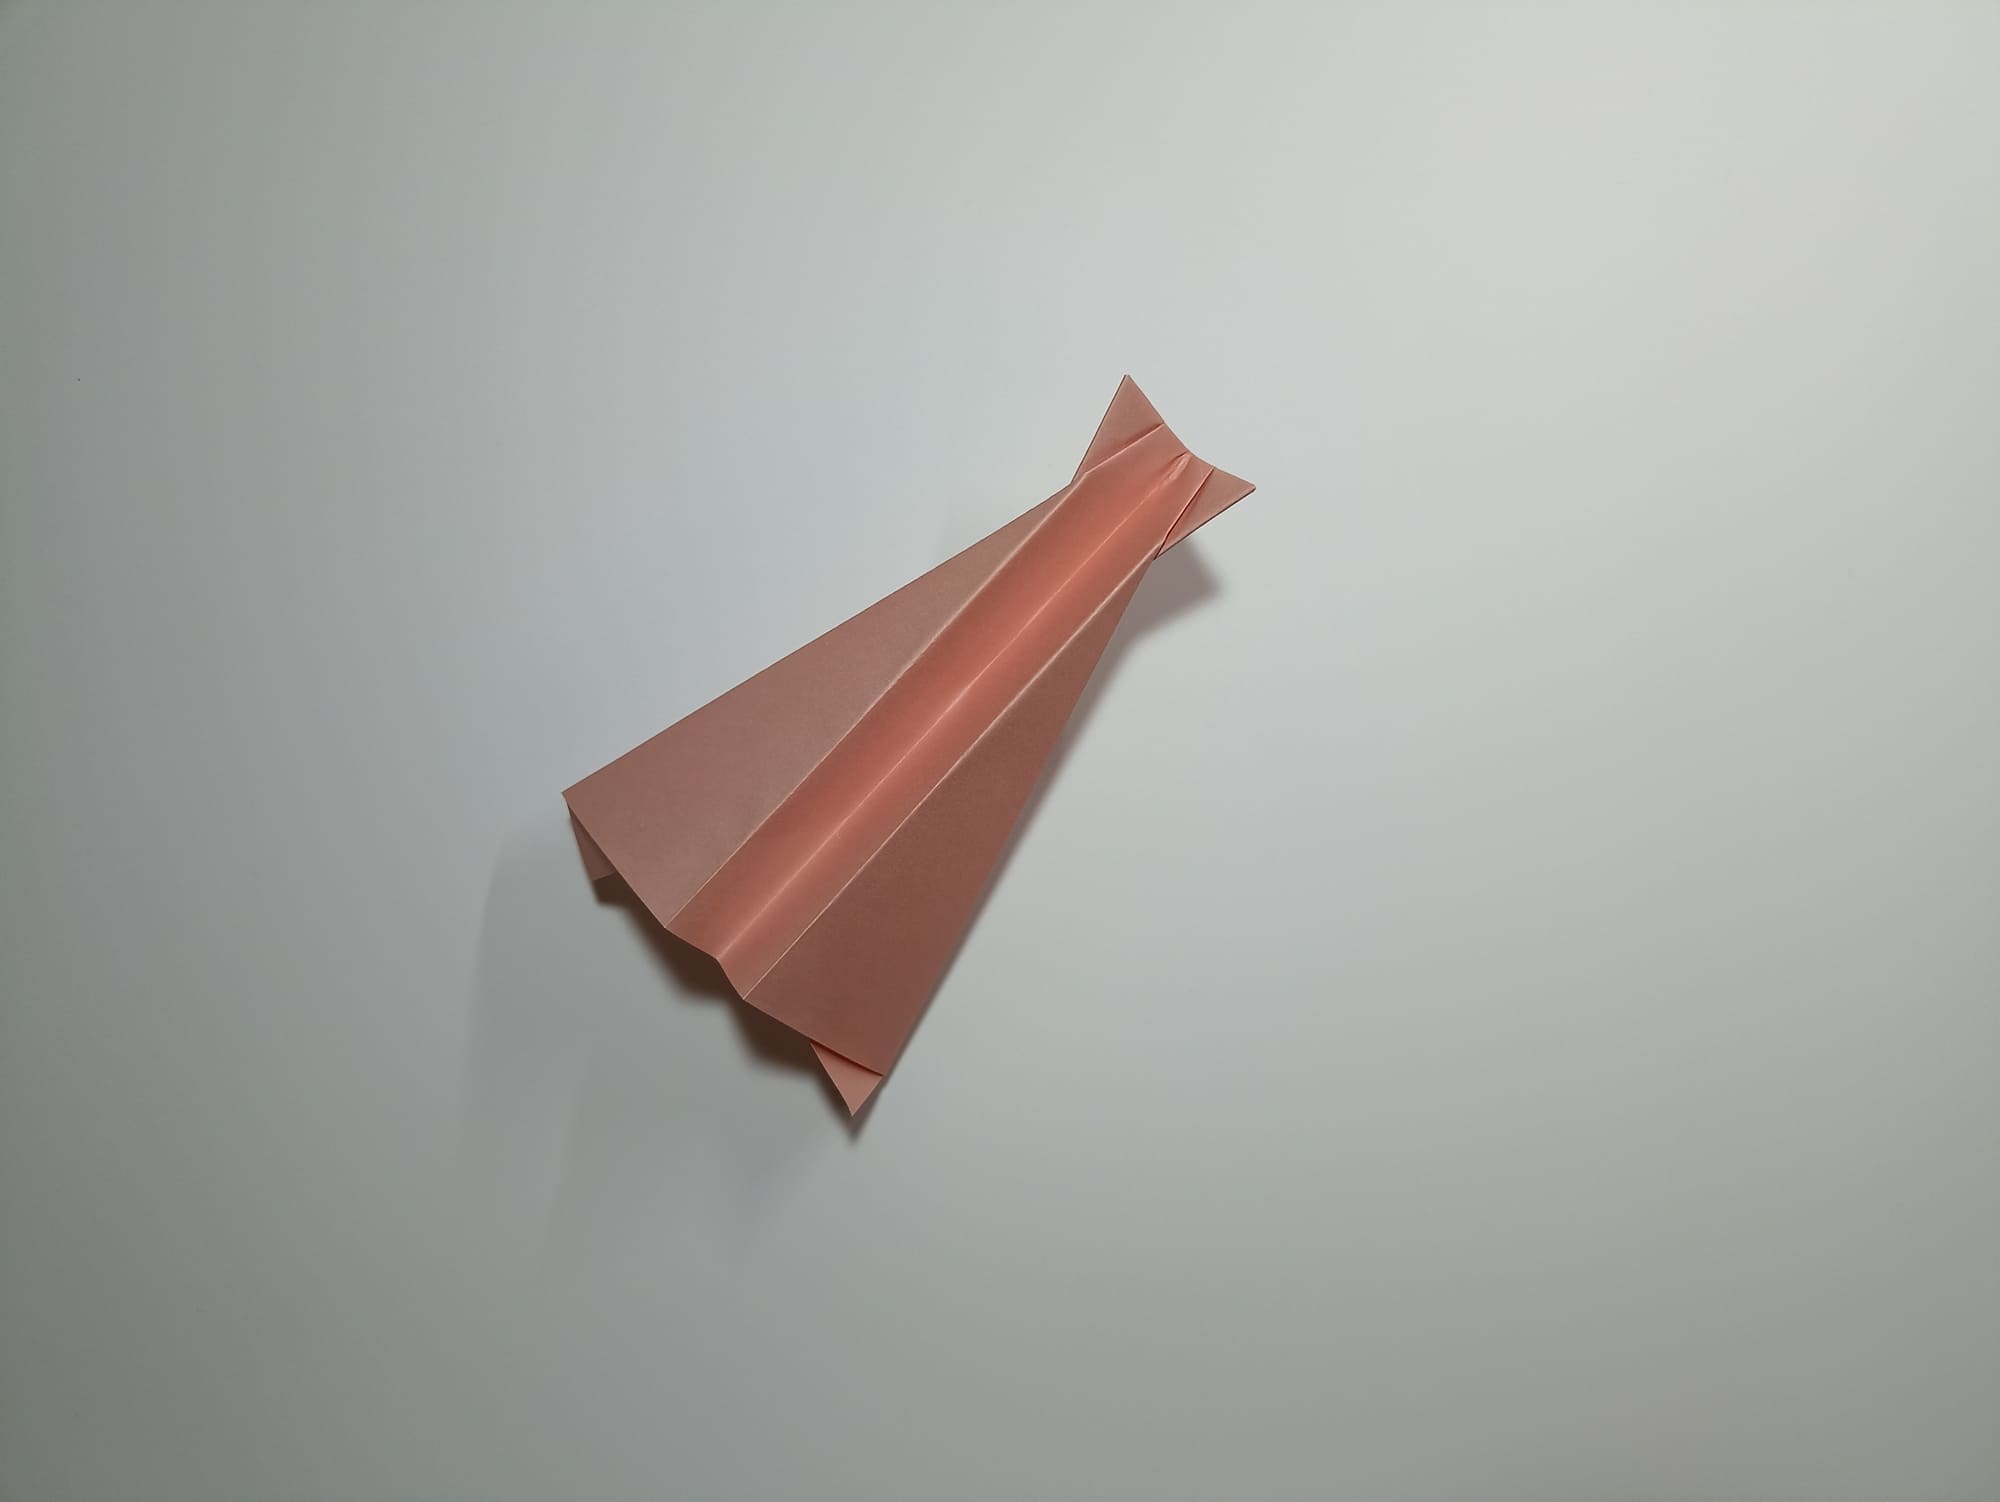
Tuck the corners of the marked side triangles into the pockets and crease all the folds well.

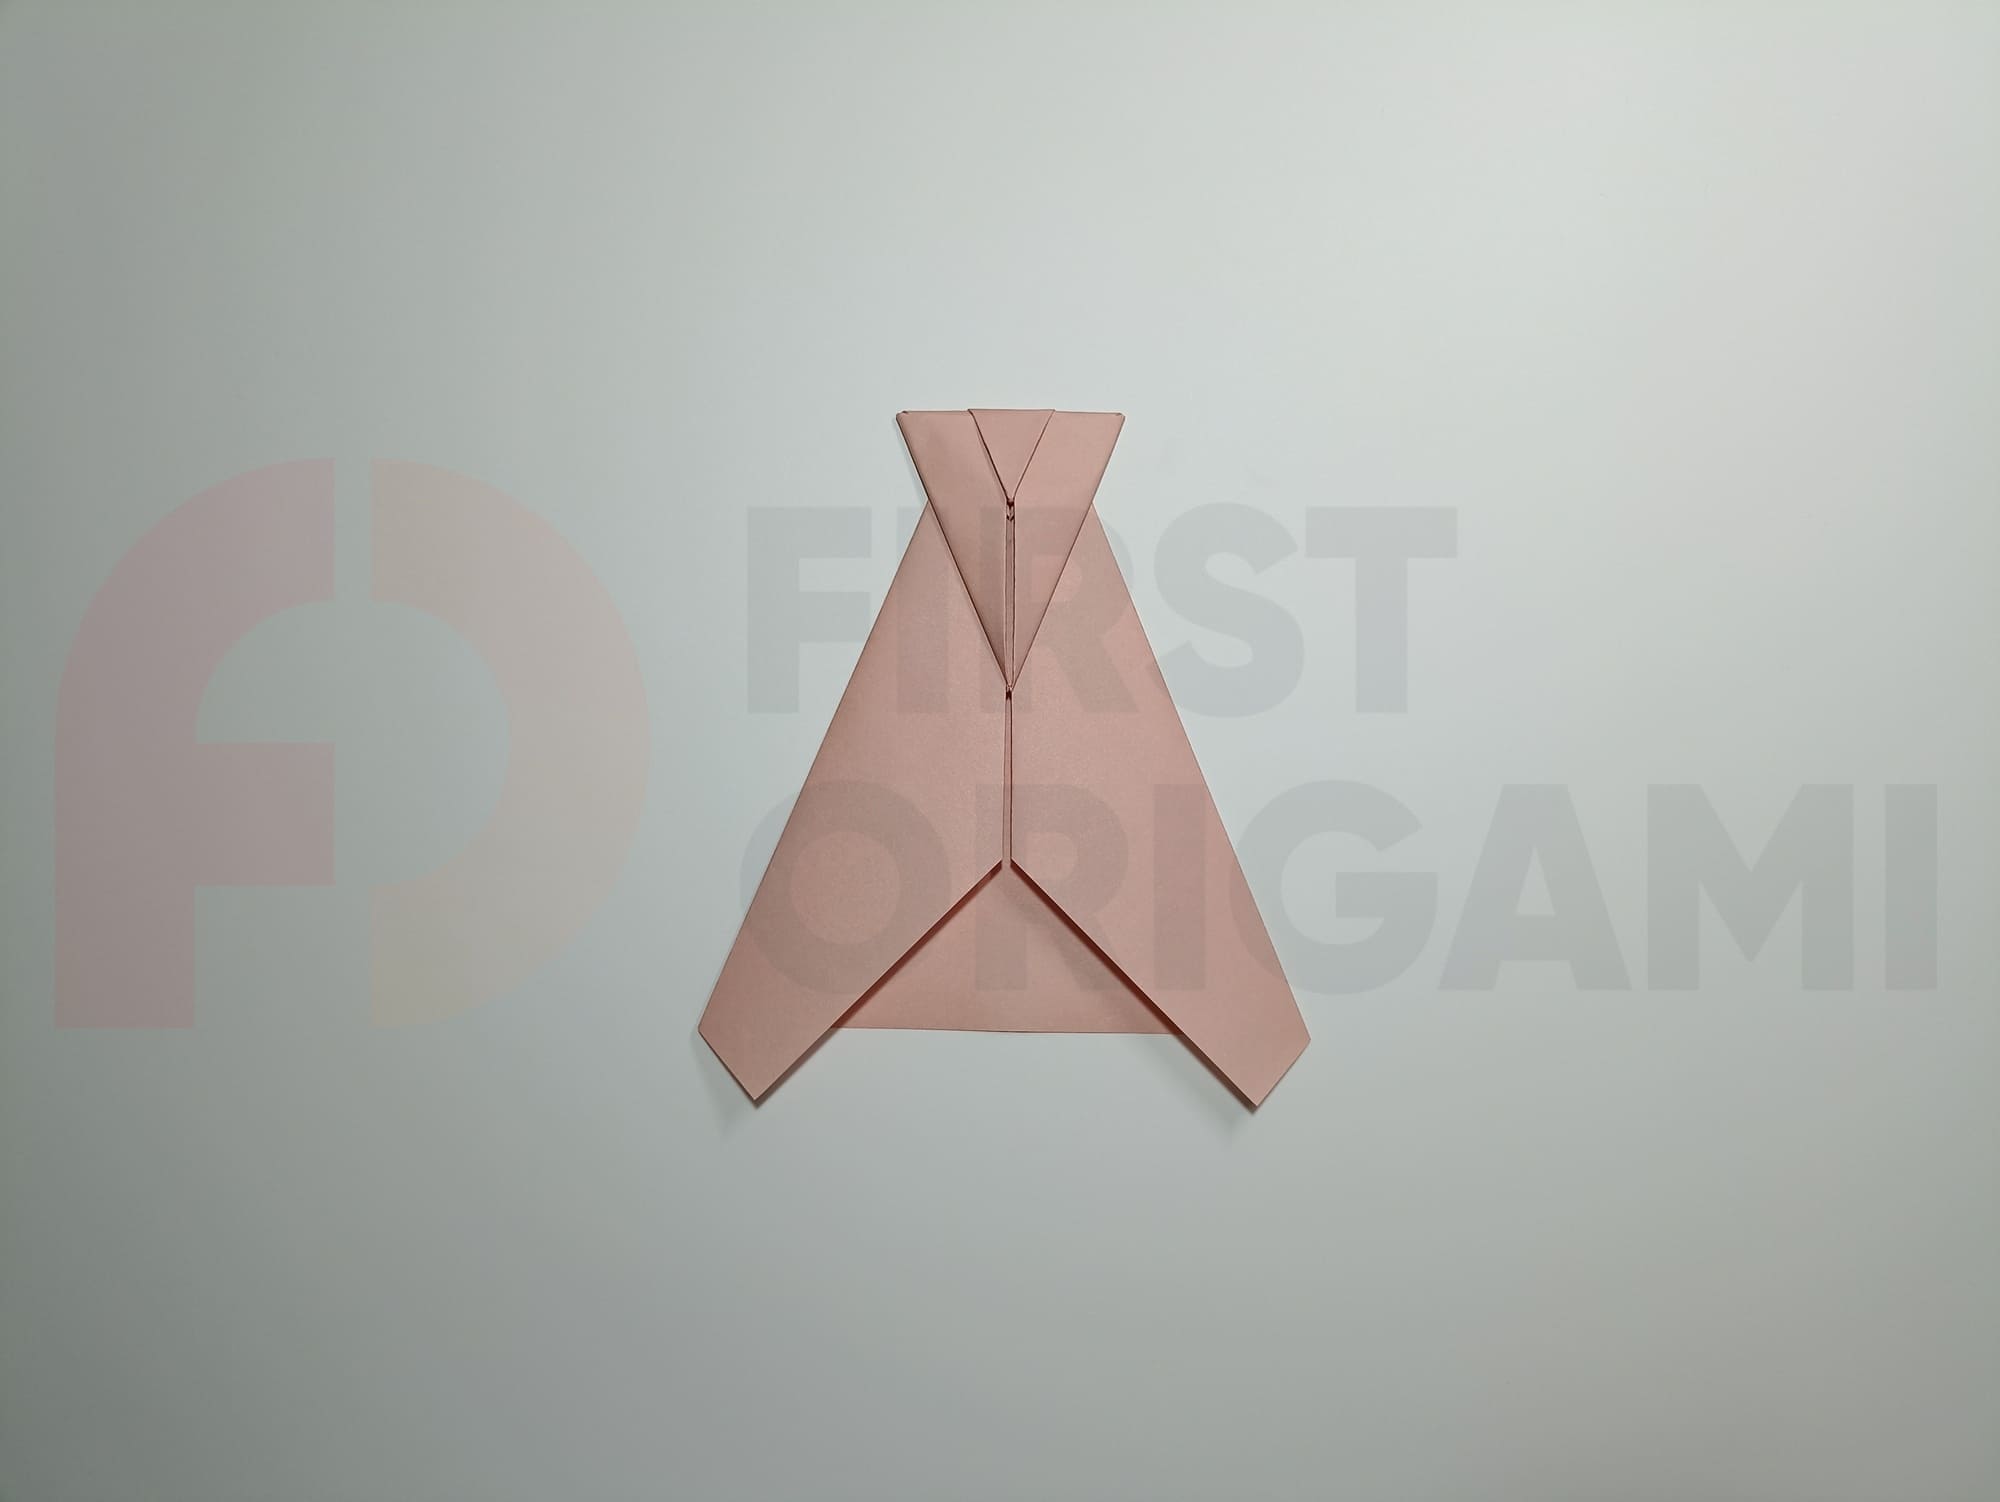
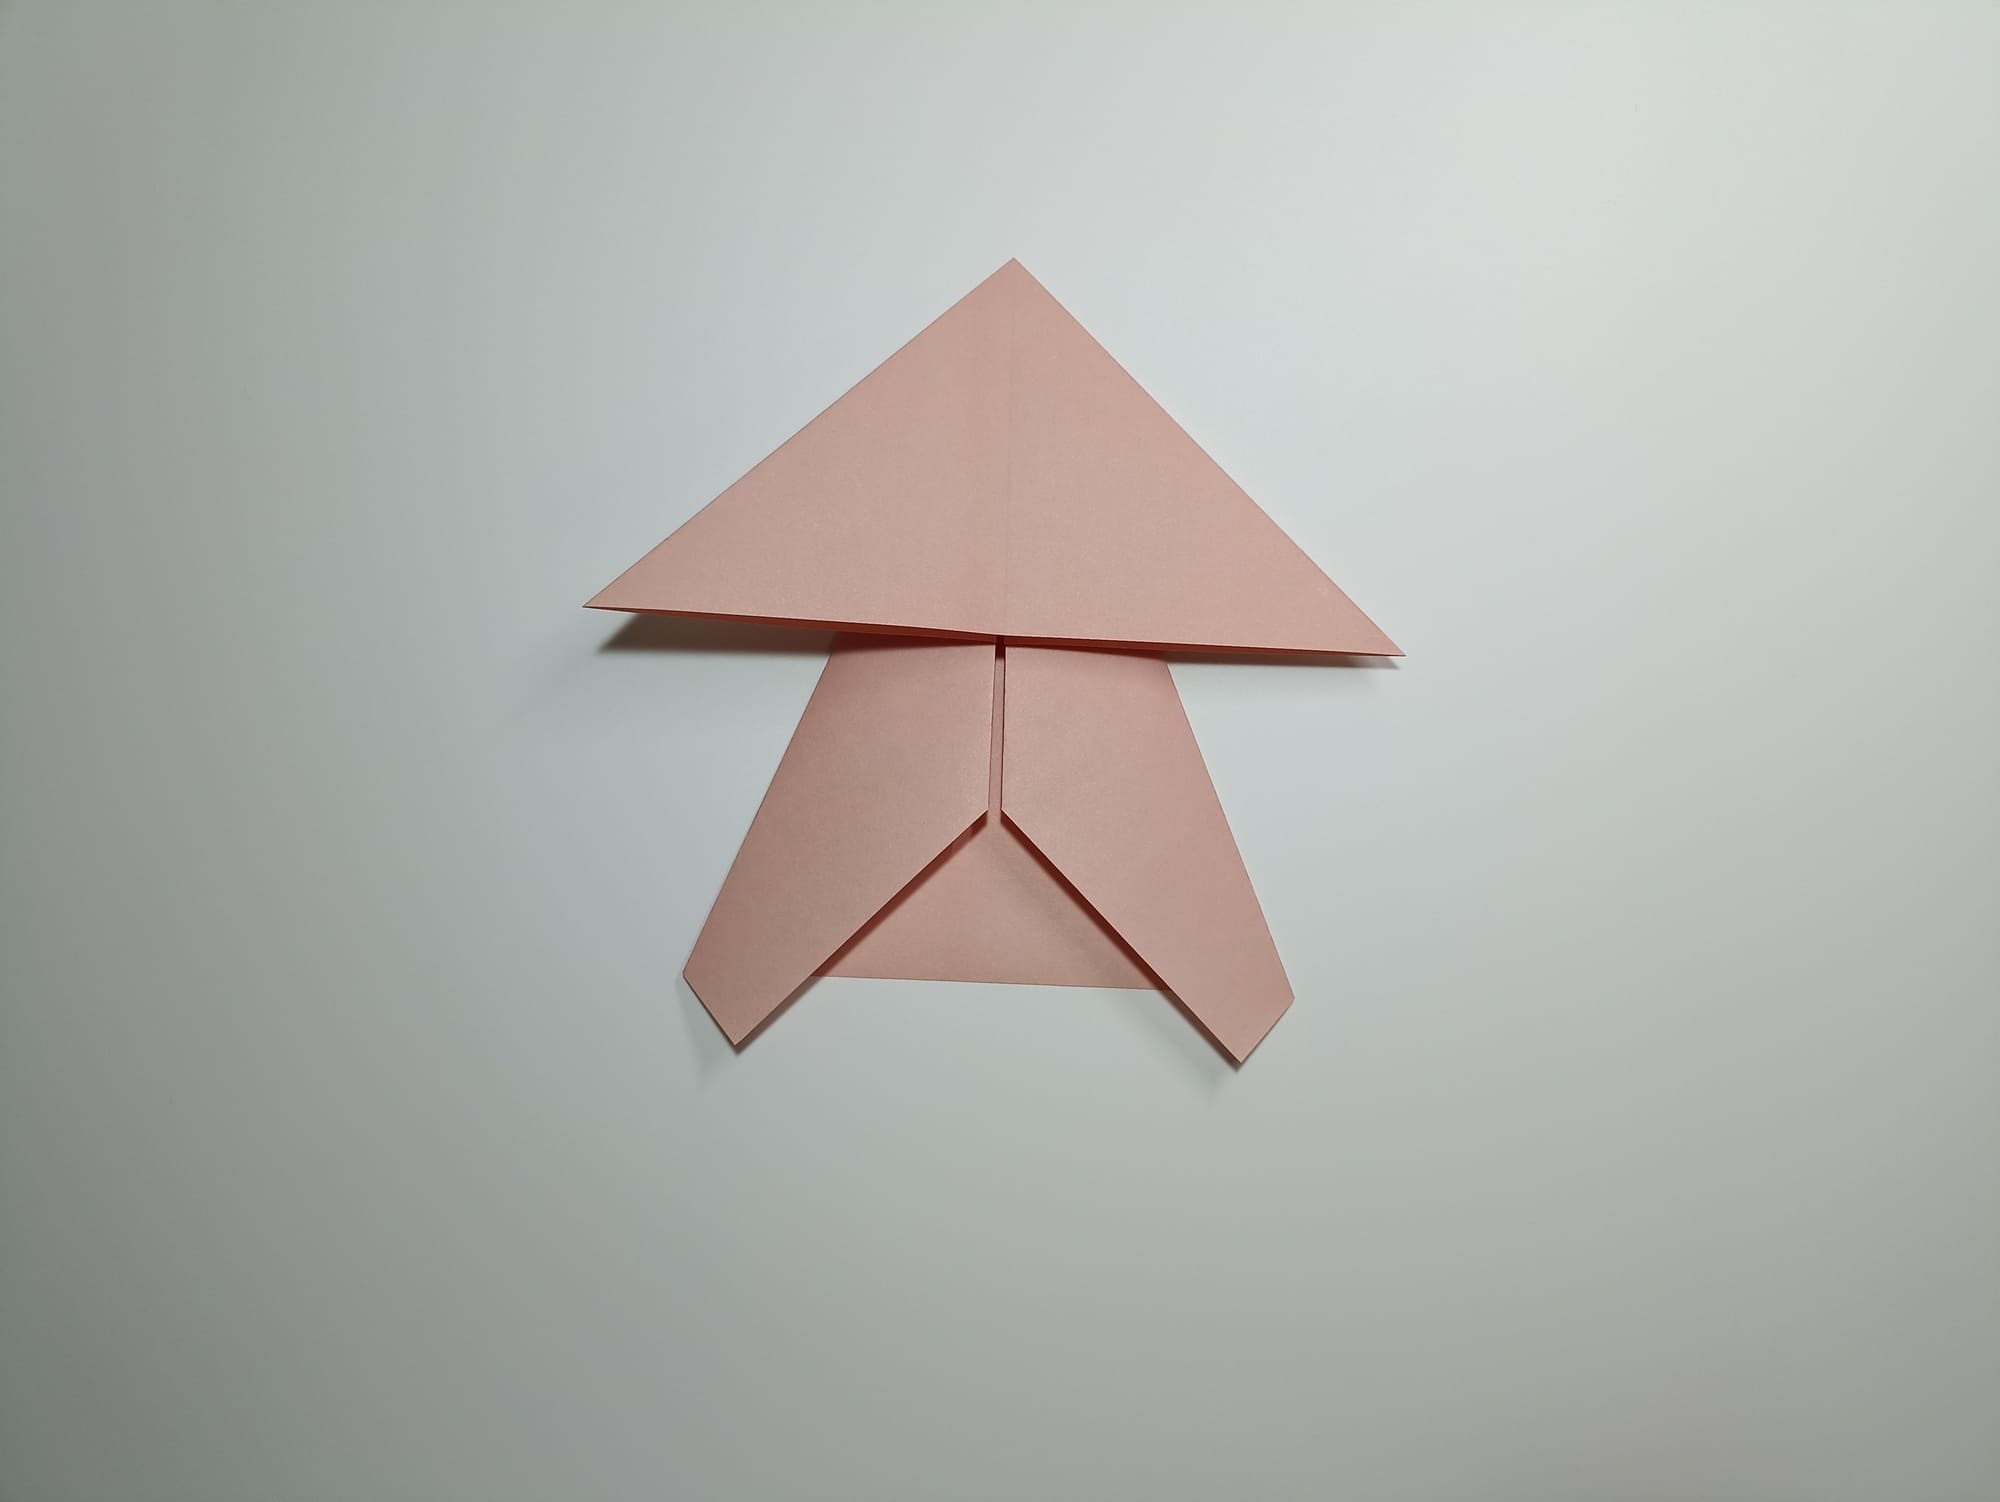
Turn the airplane sideways.
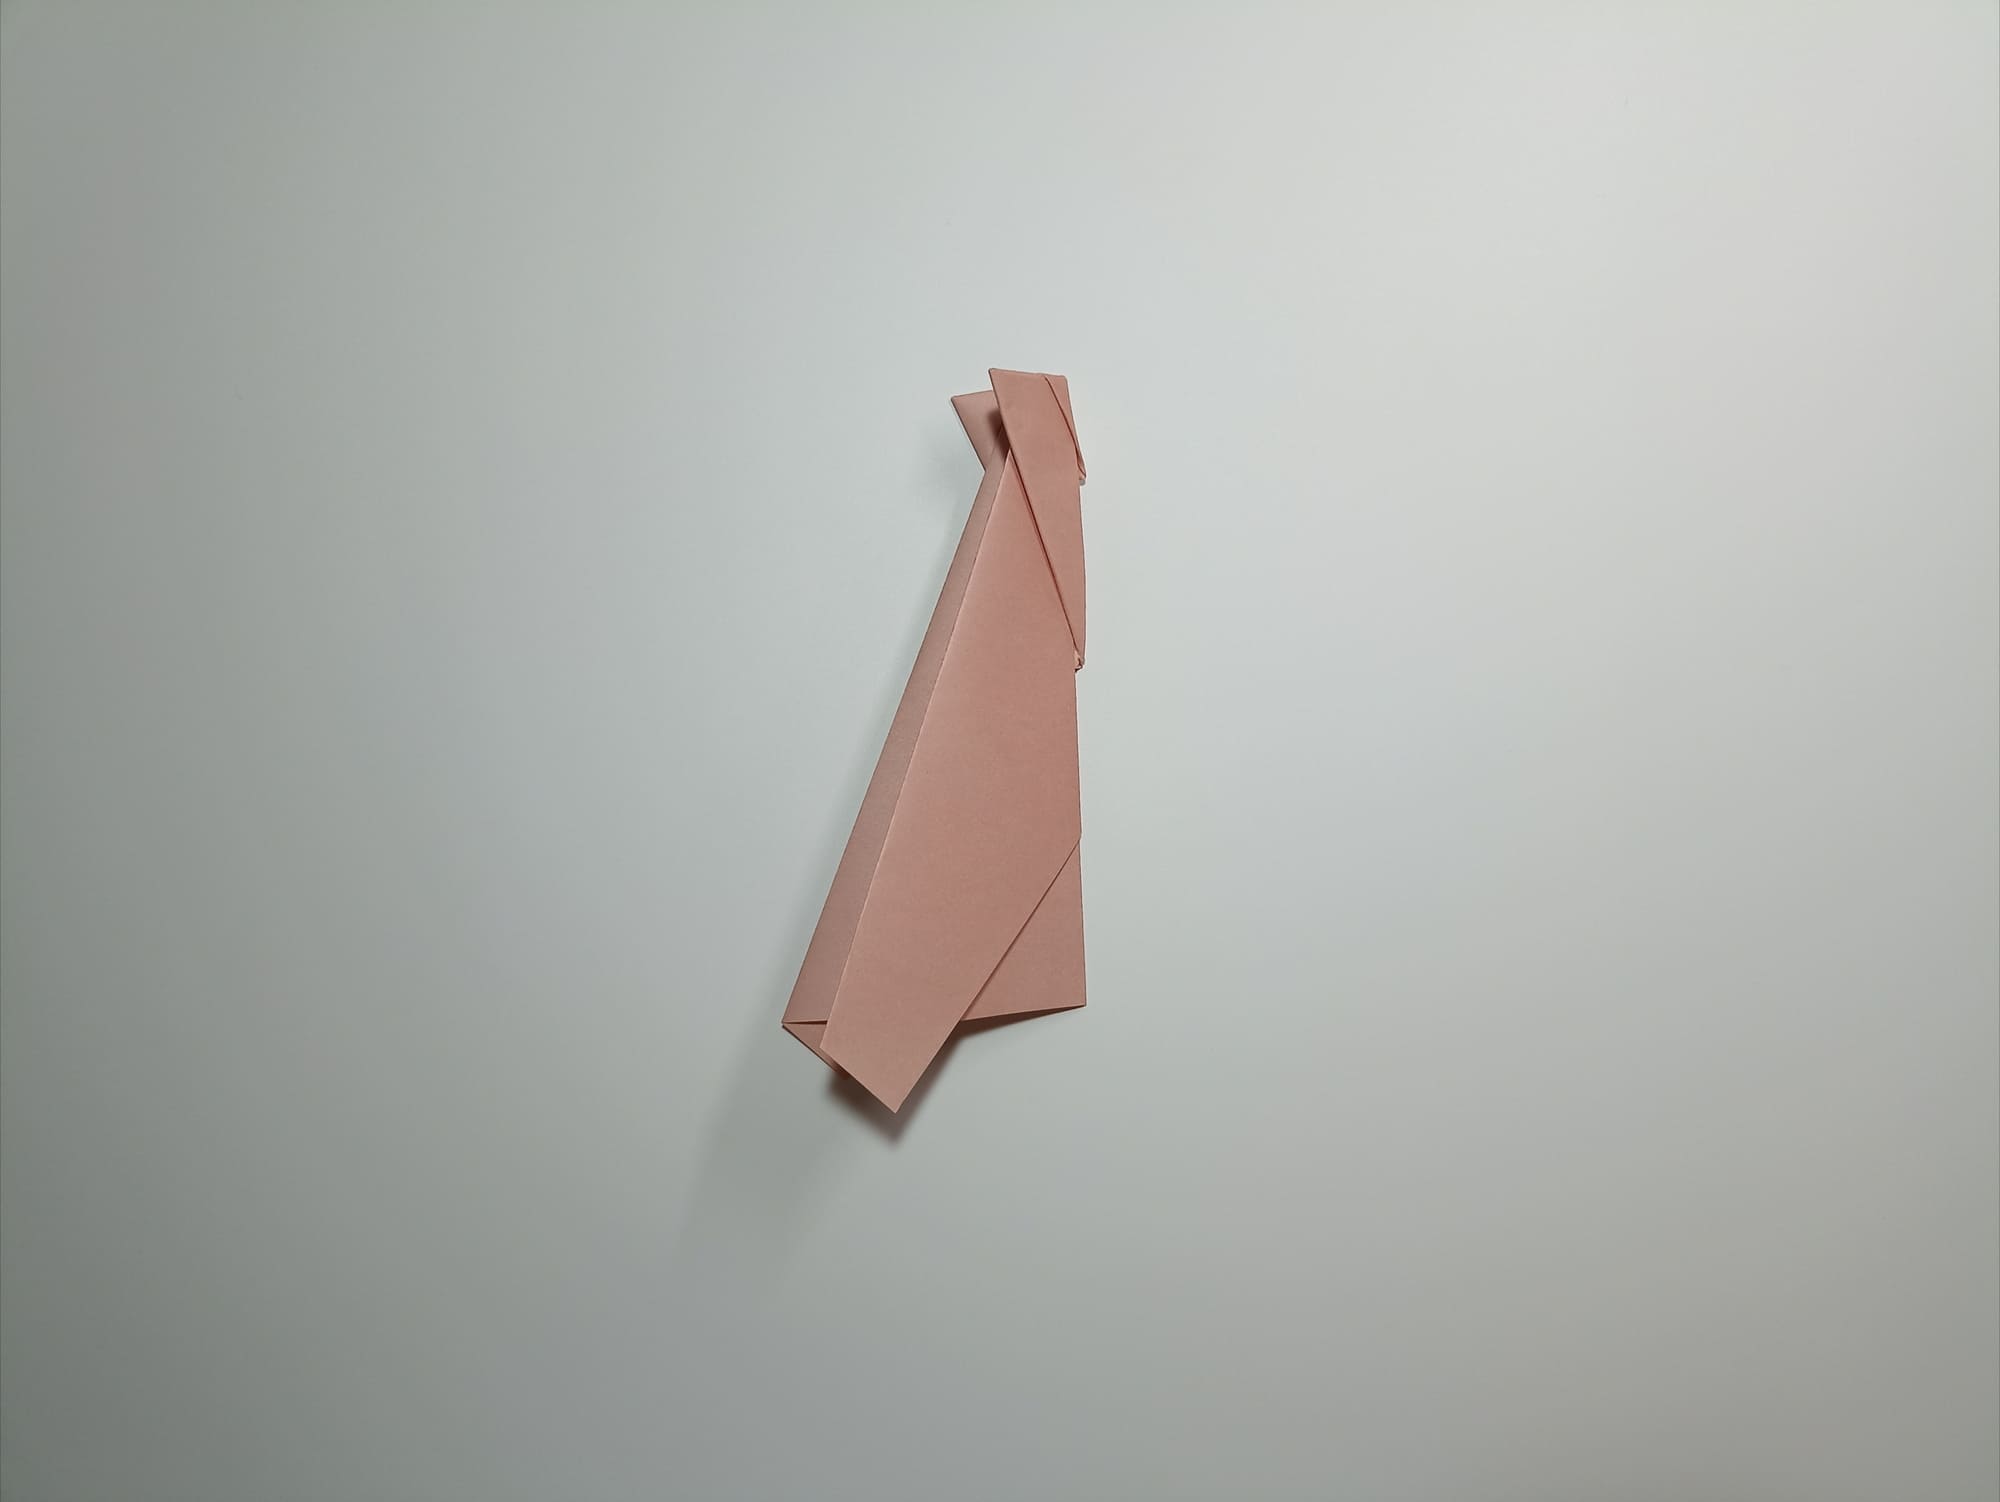
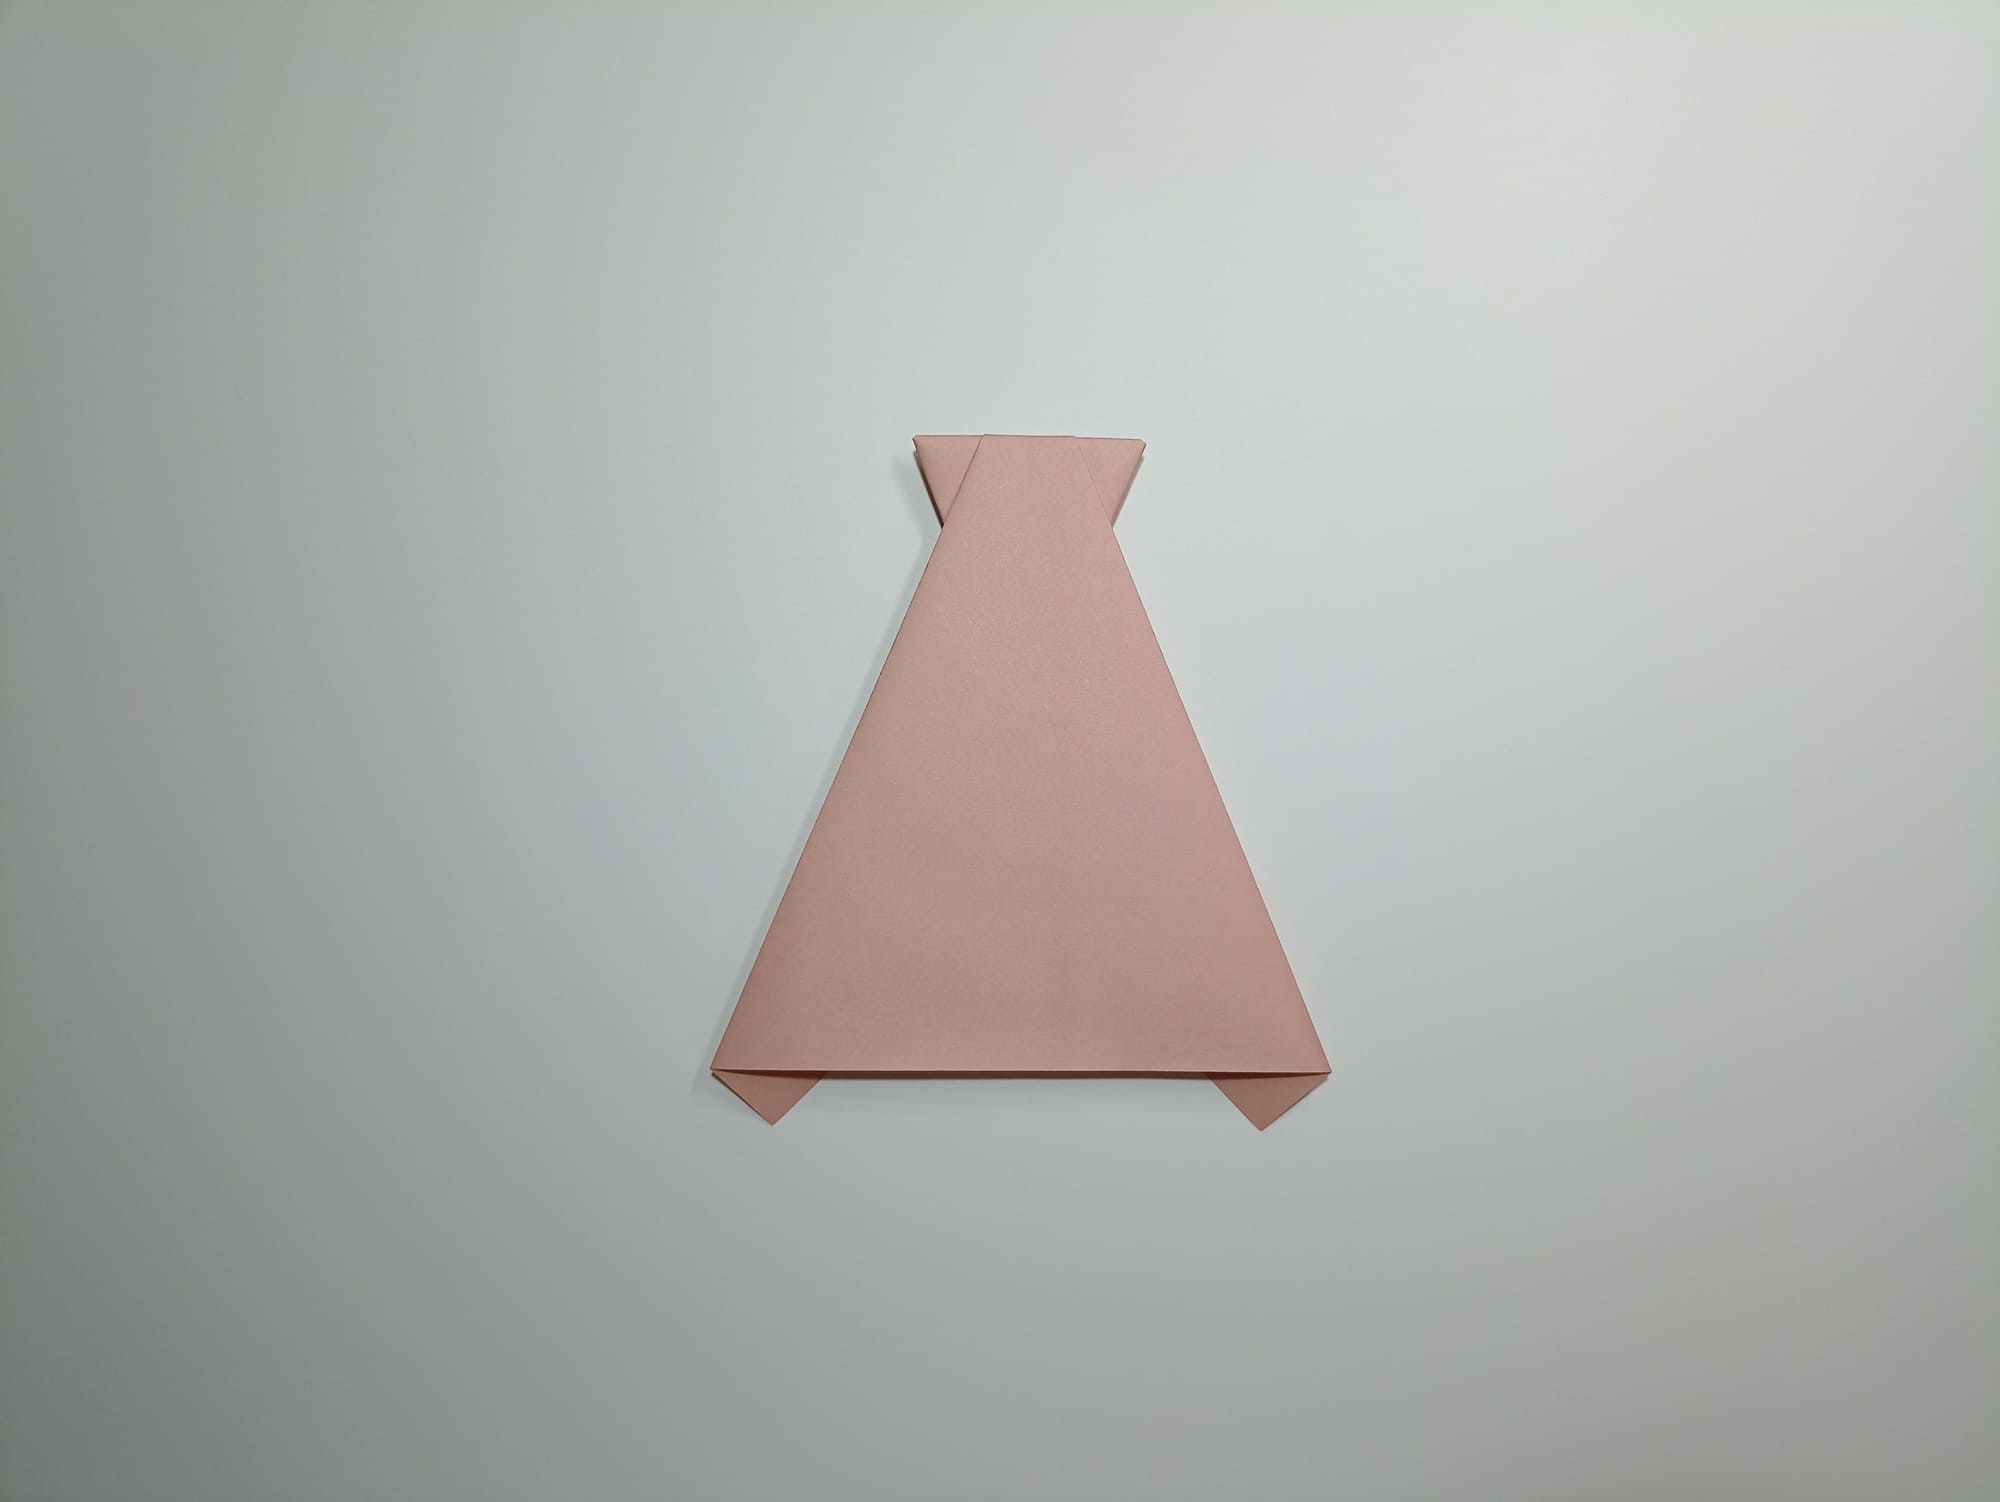
Fold along the vertical line to form a body fold and turn the fold upward.
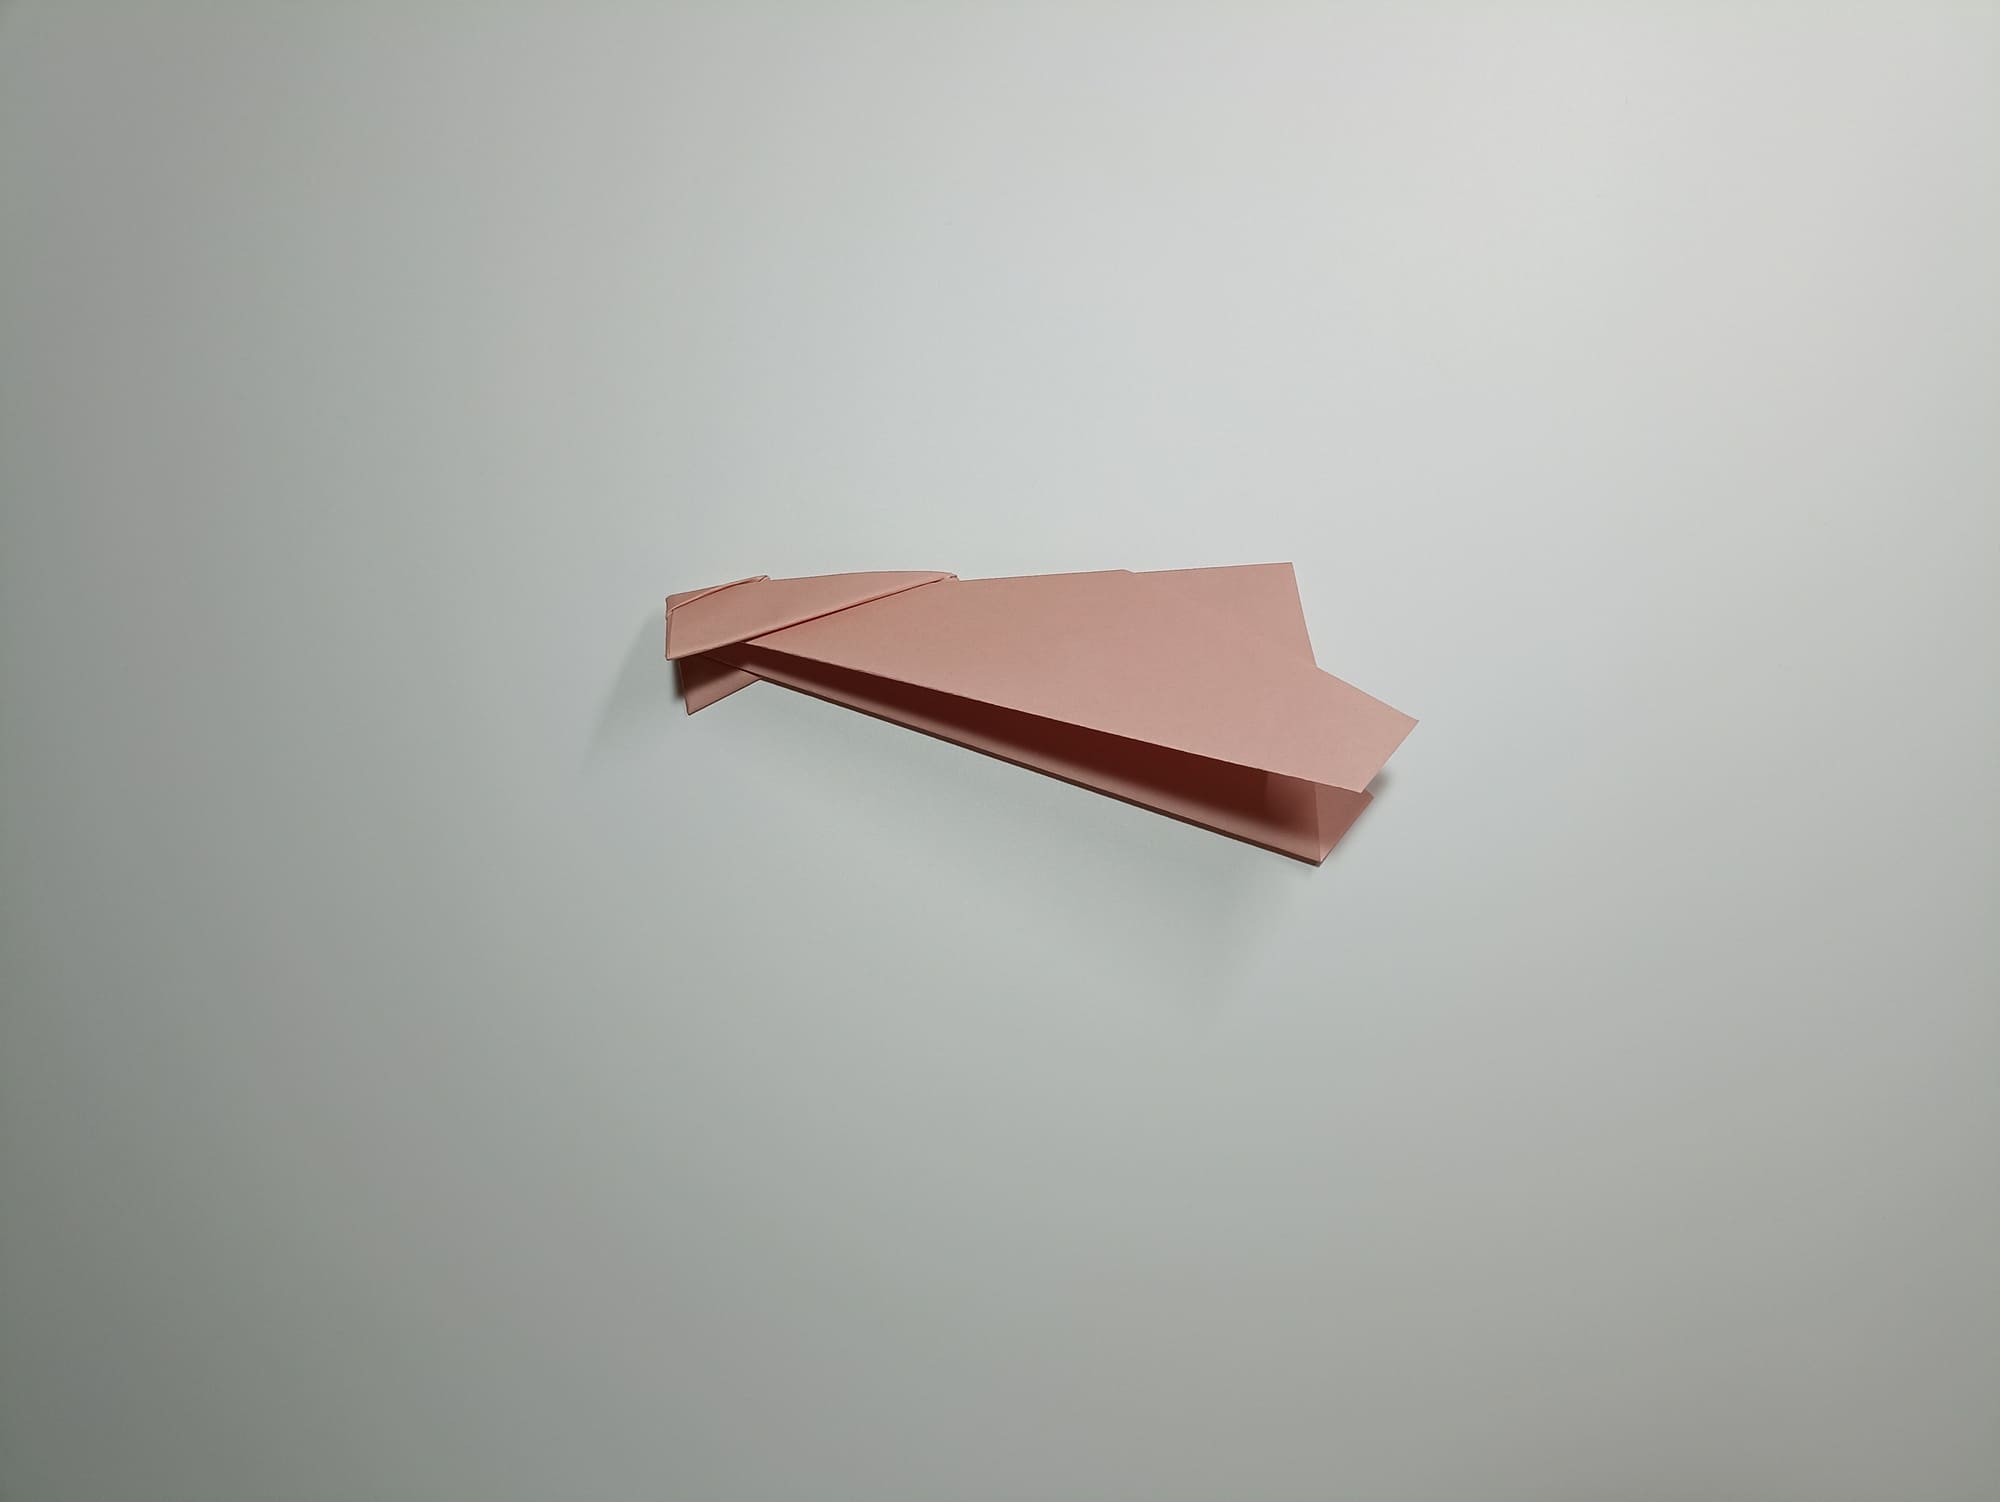
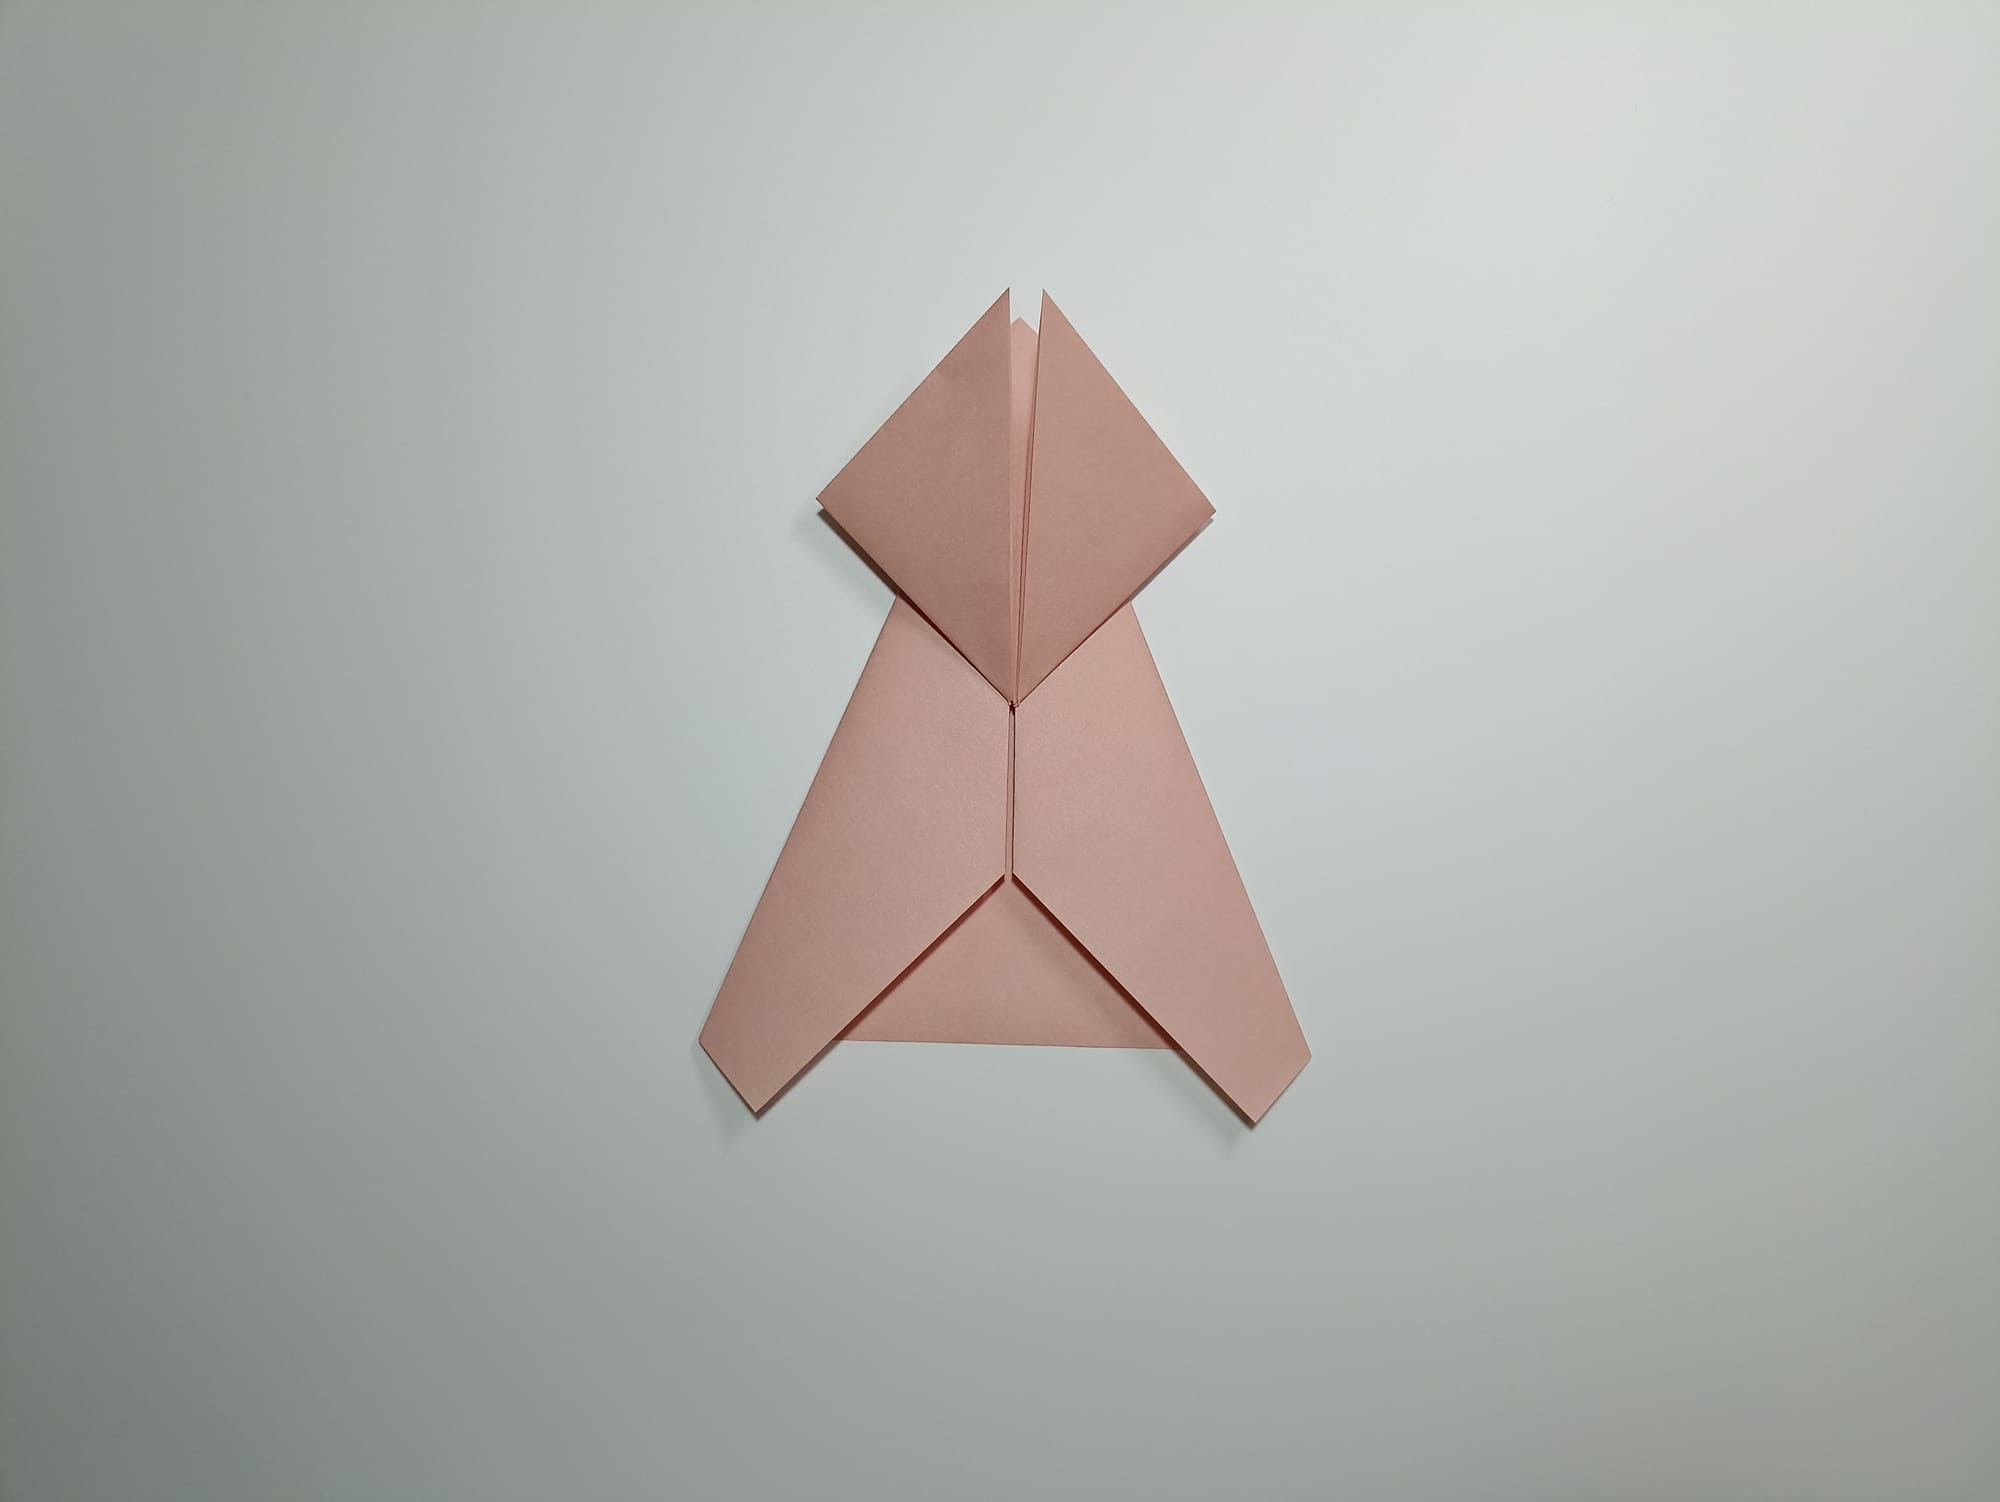
Bend the wing to the top line of the fold.
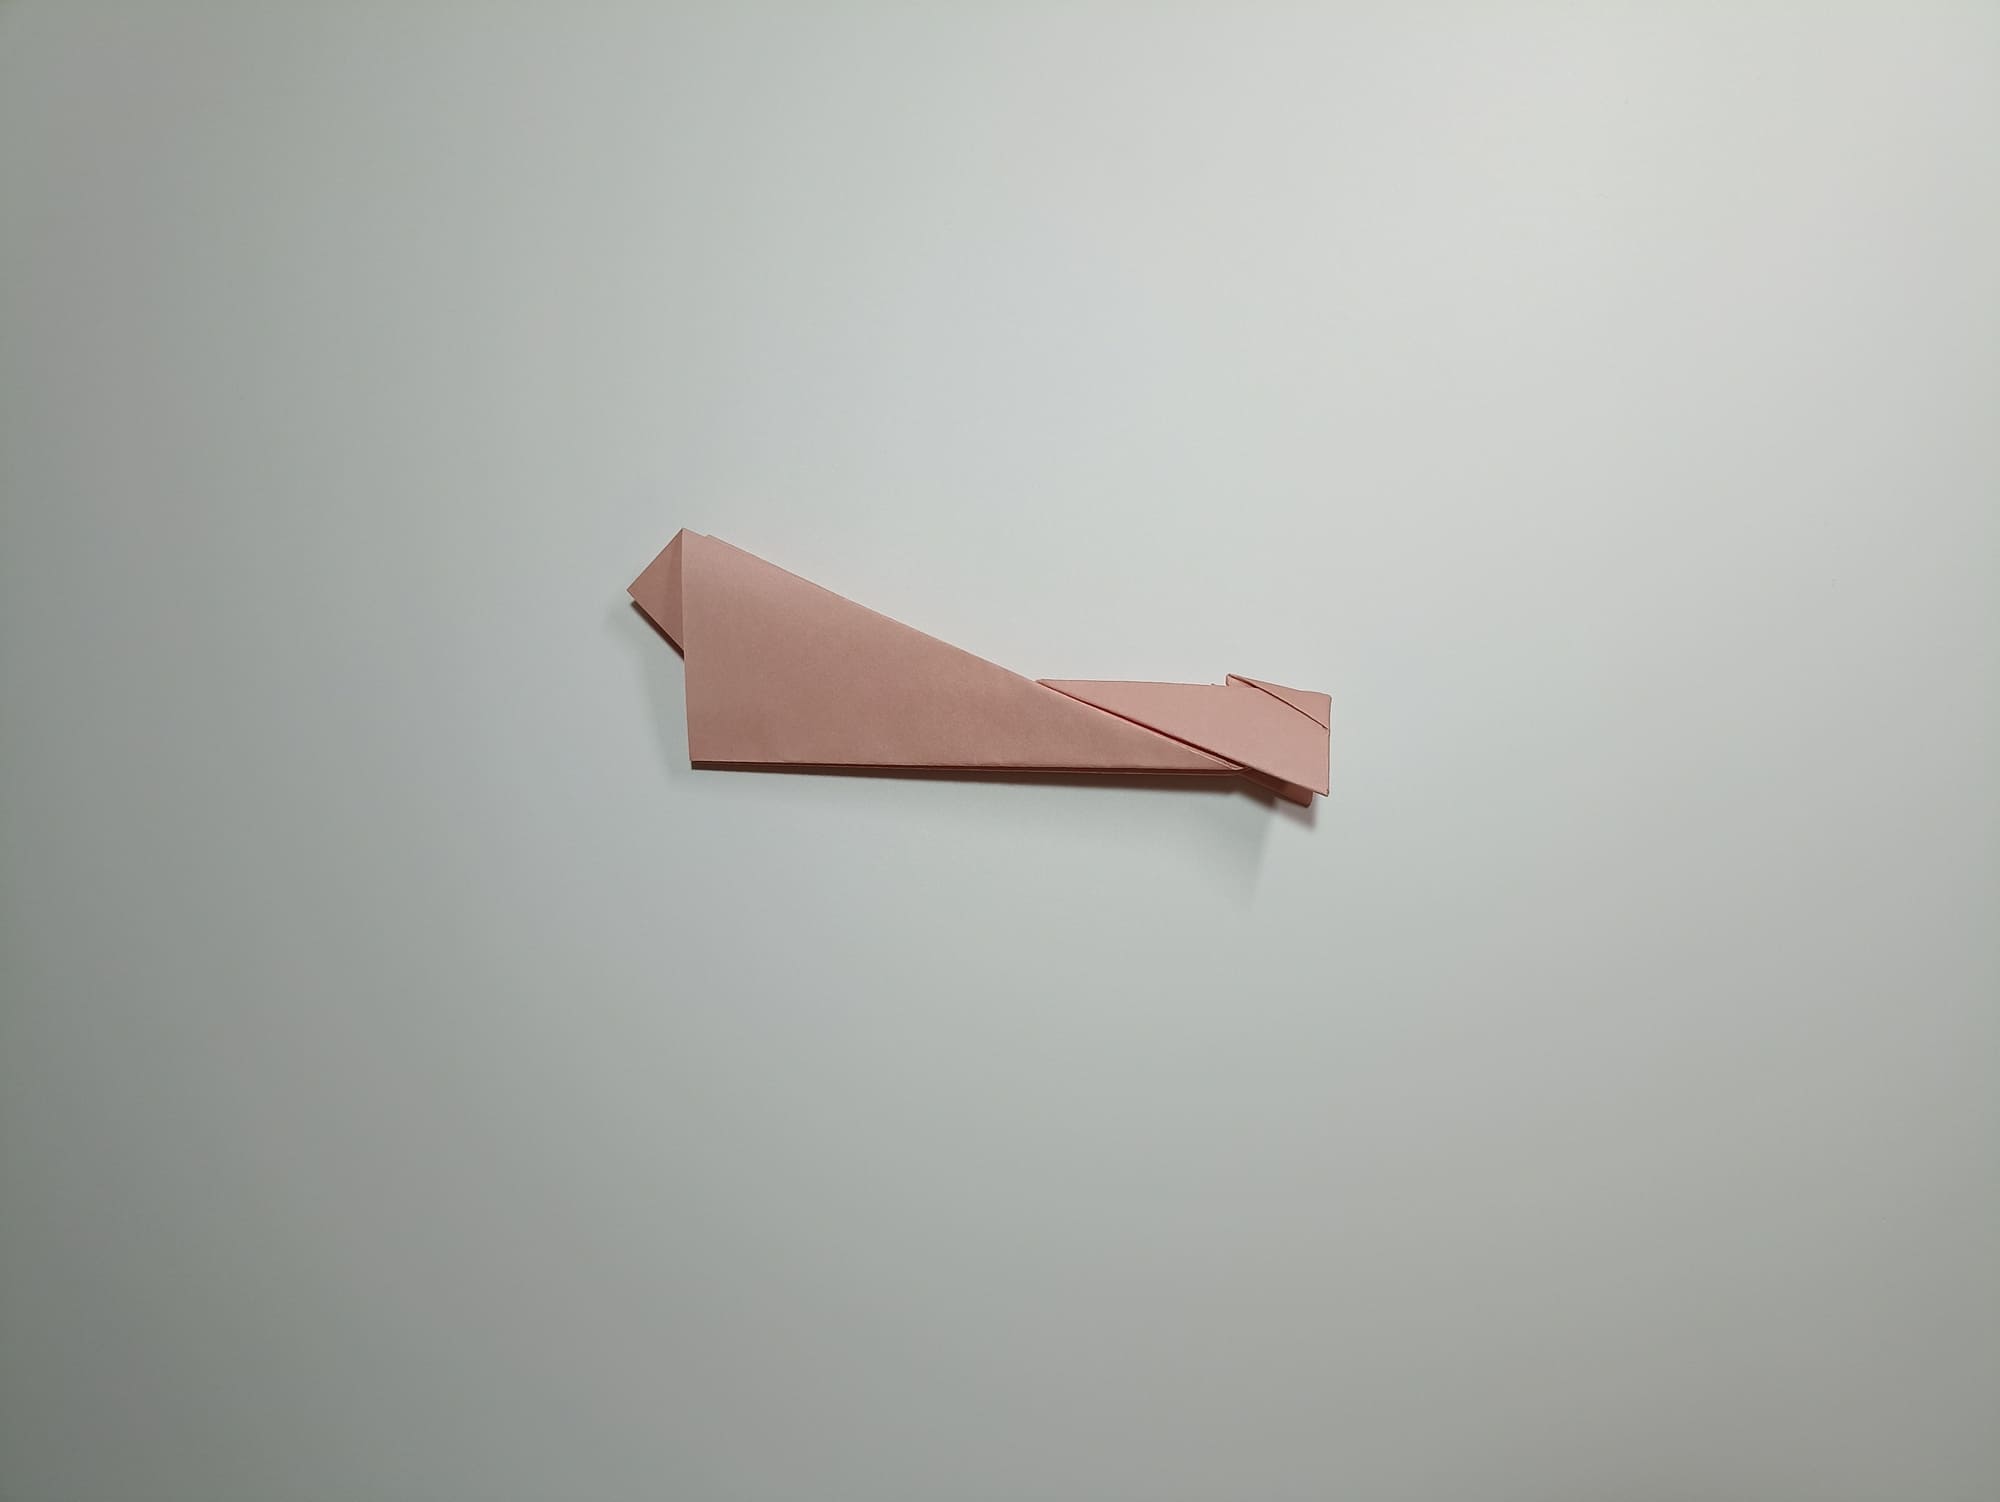
Repeat the same fold on the other wing.
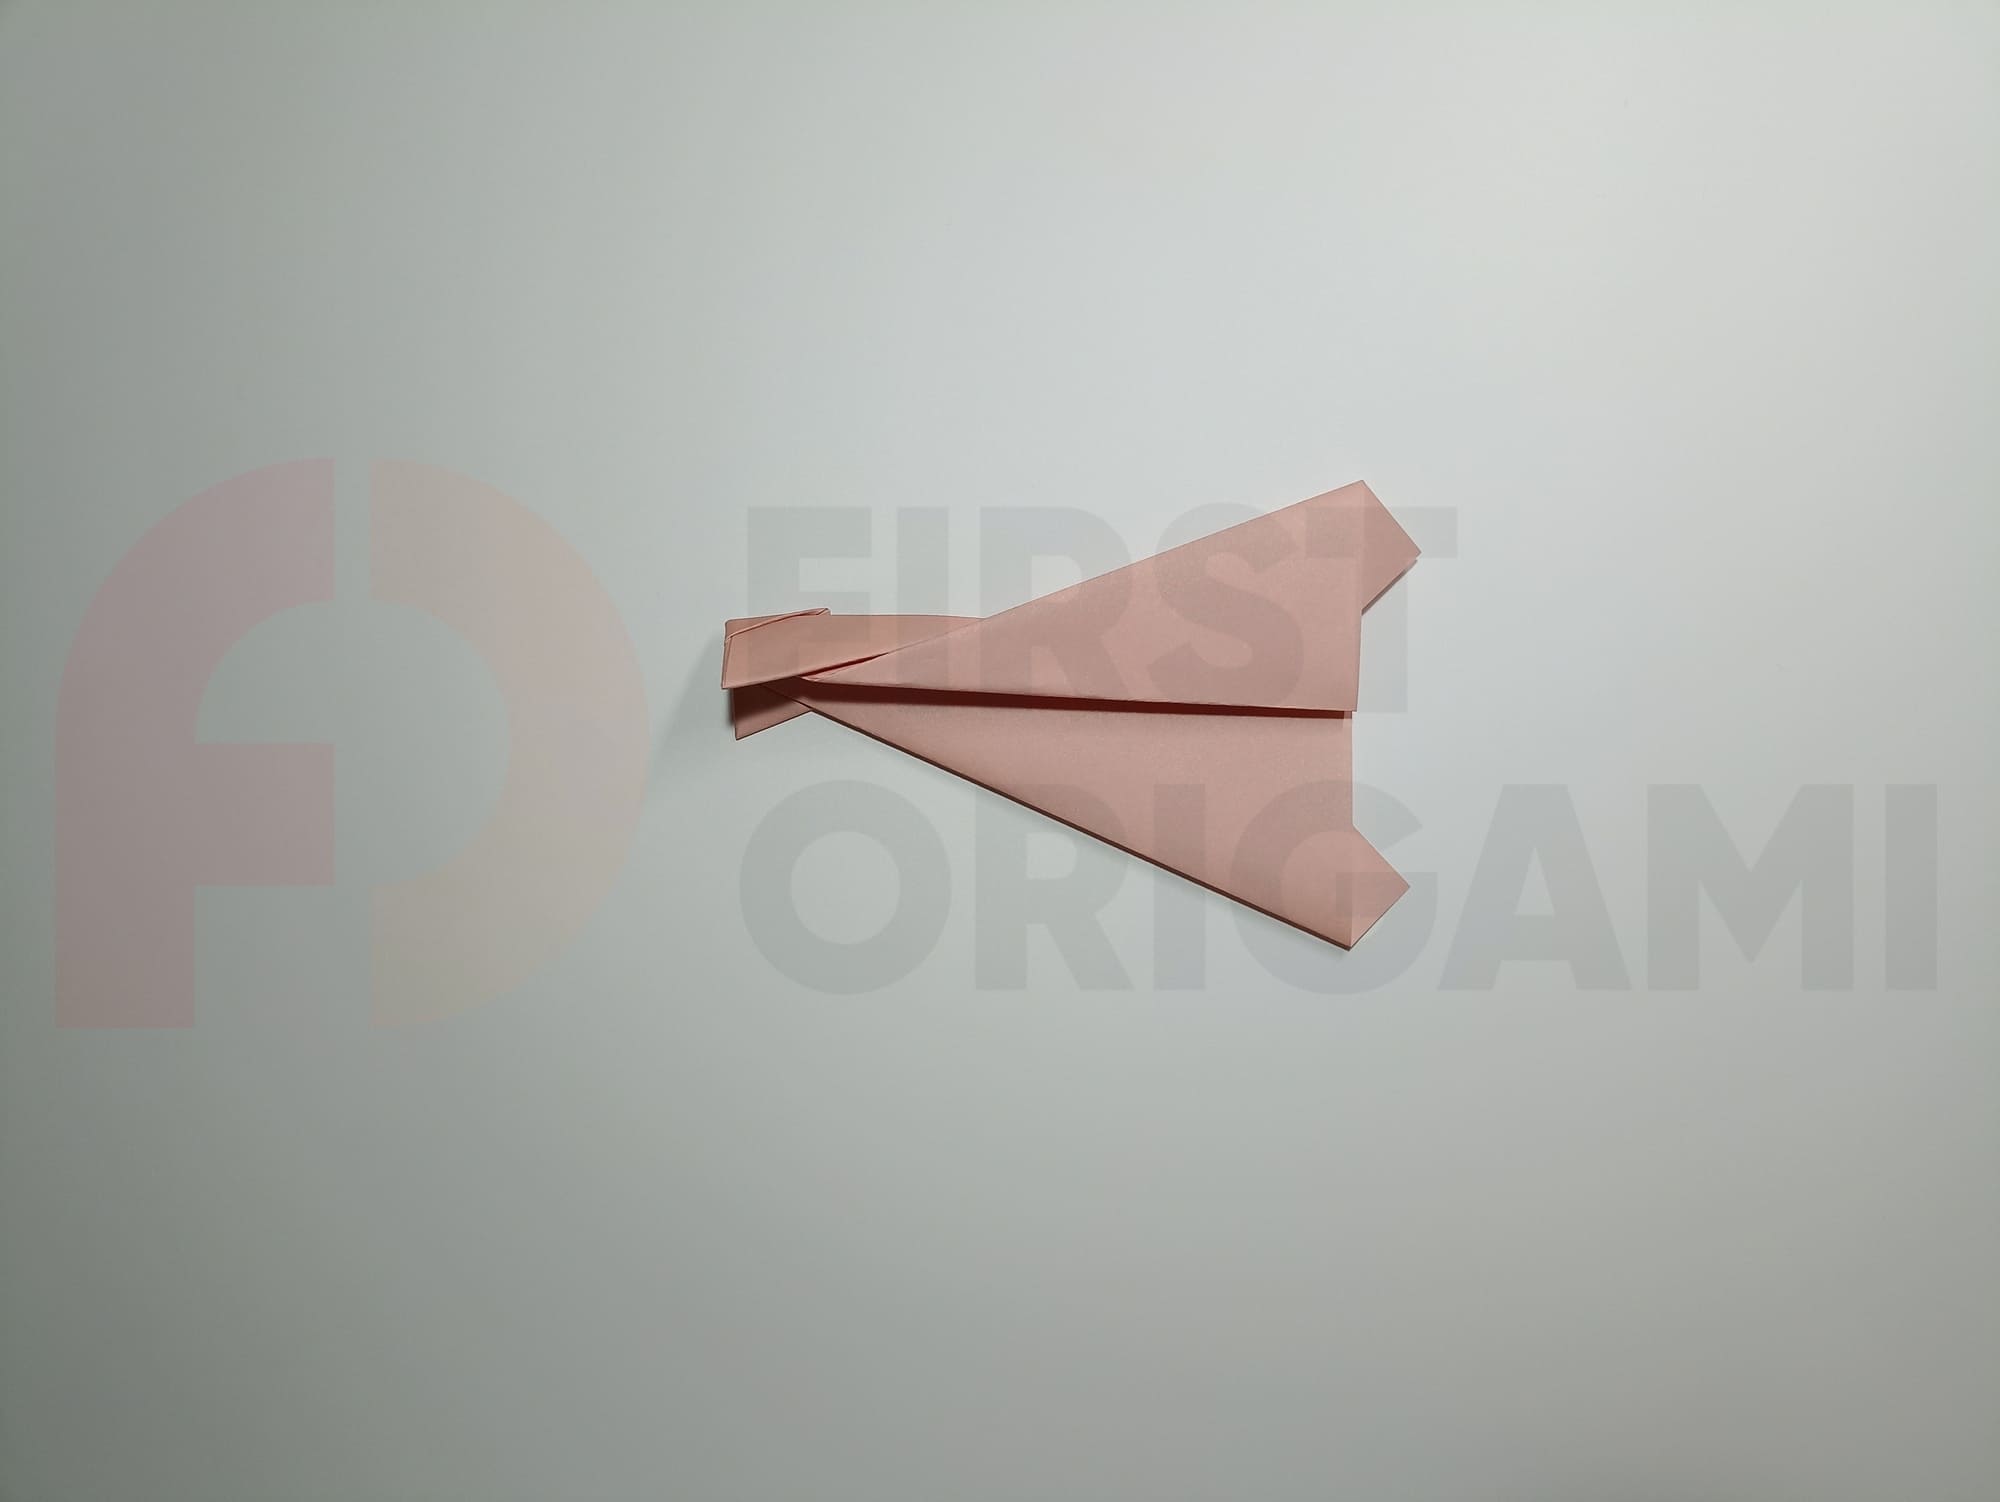
Bend the end of the wing protruding upward from under the base and place it on the edge.
Turn the airplane over and repeat the same again on the right side.
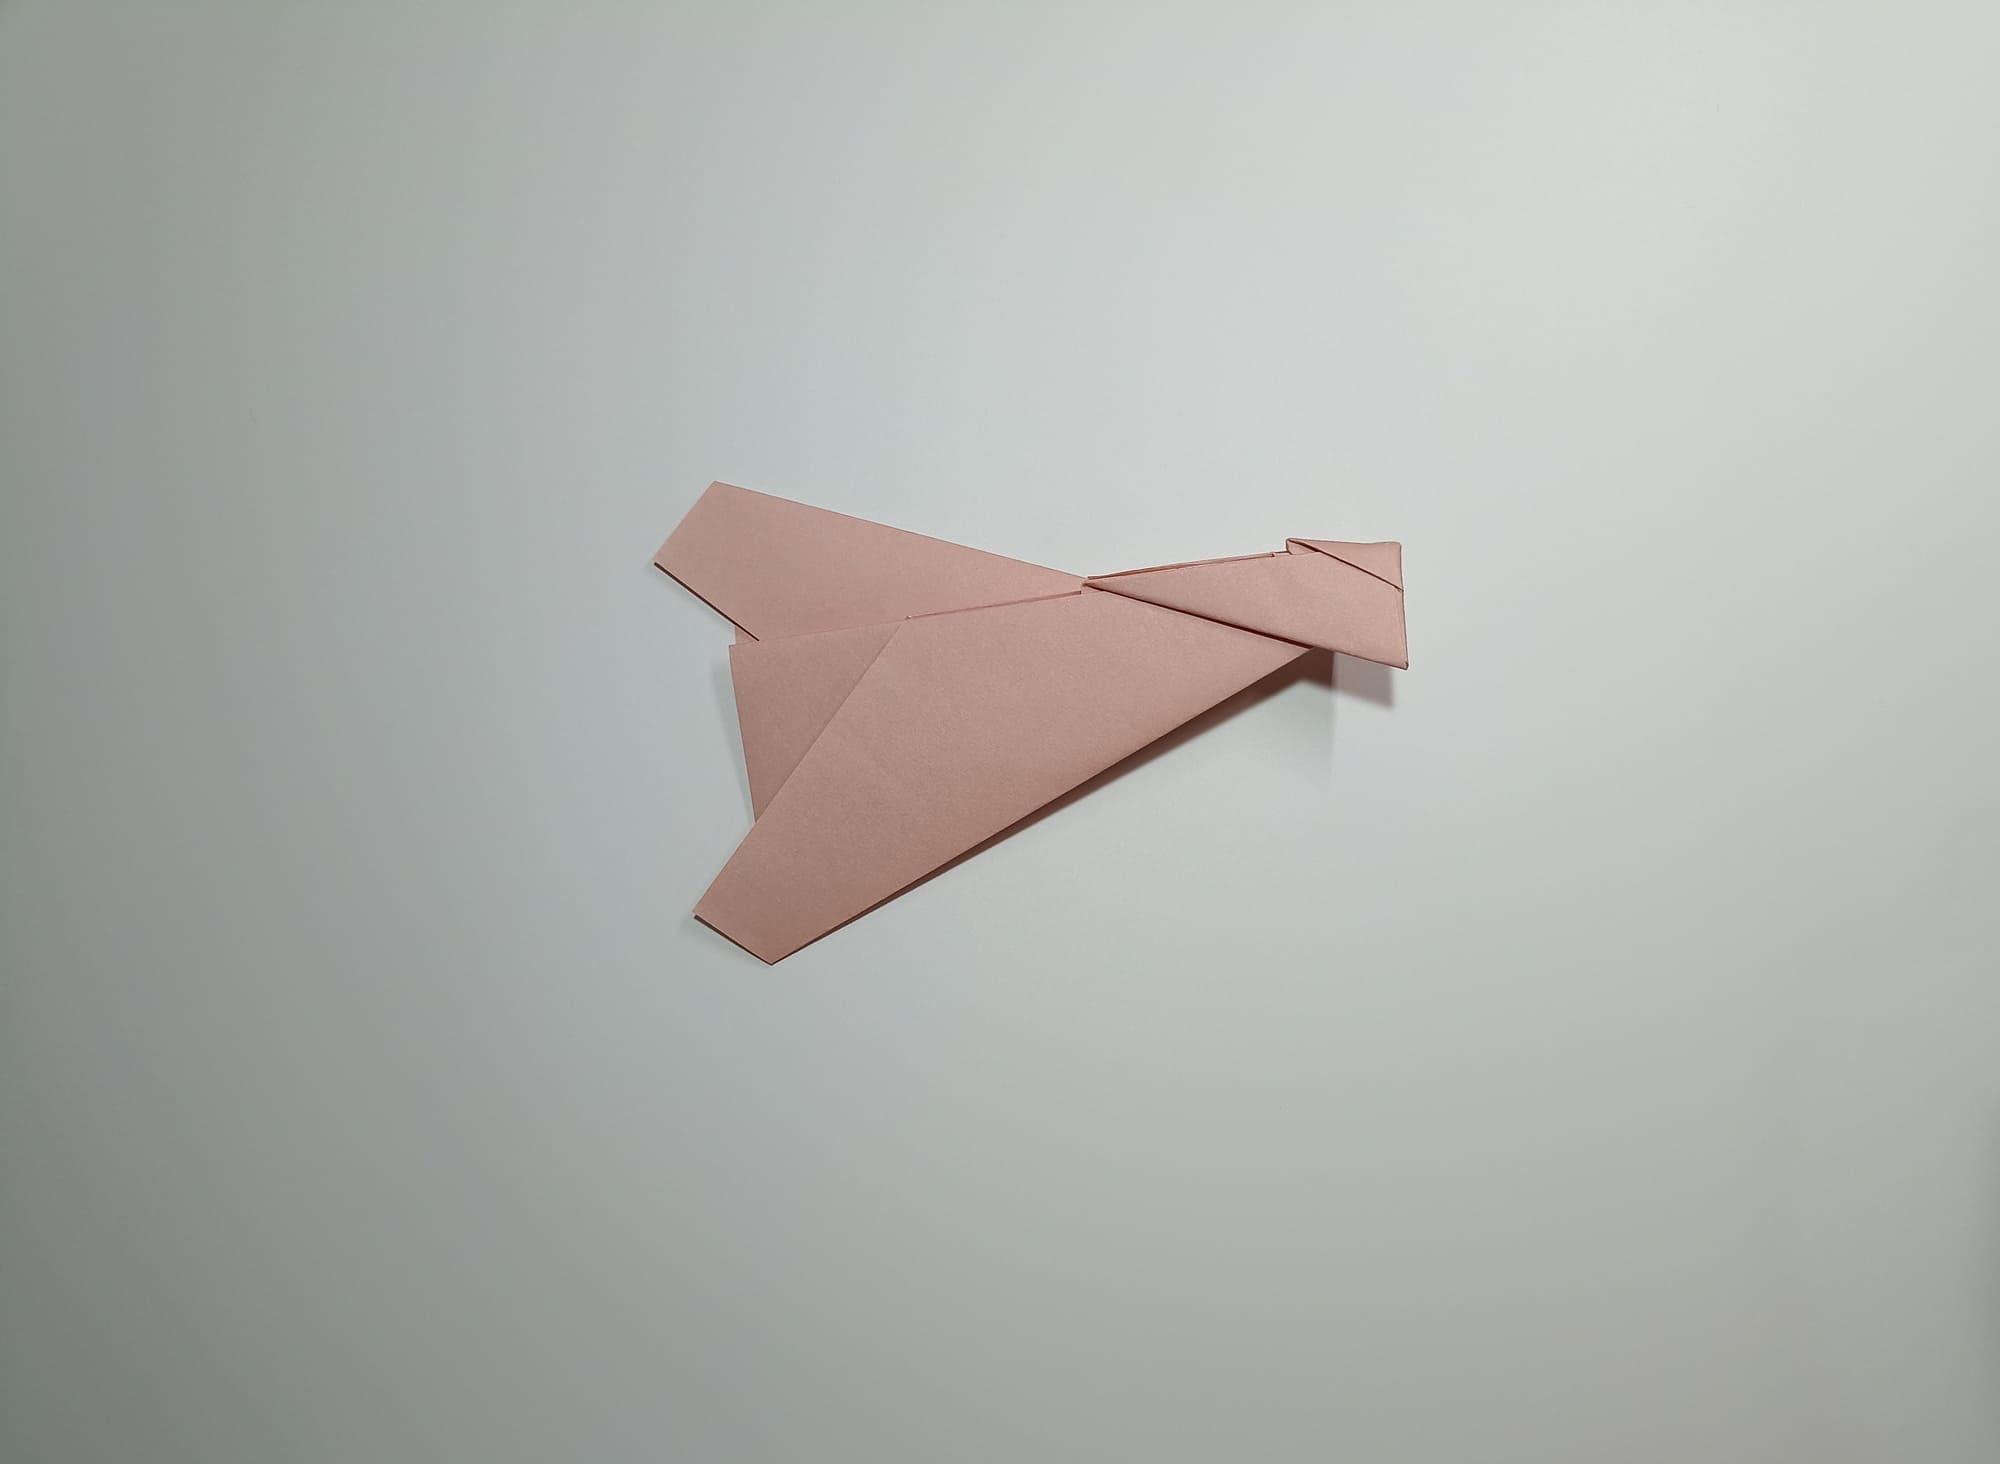
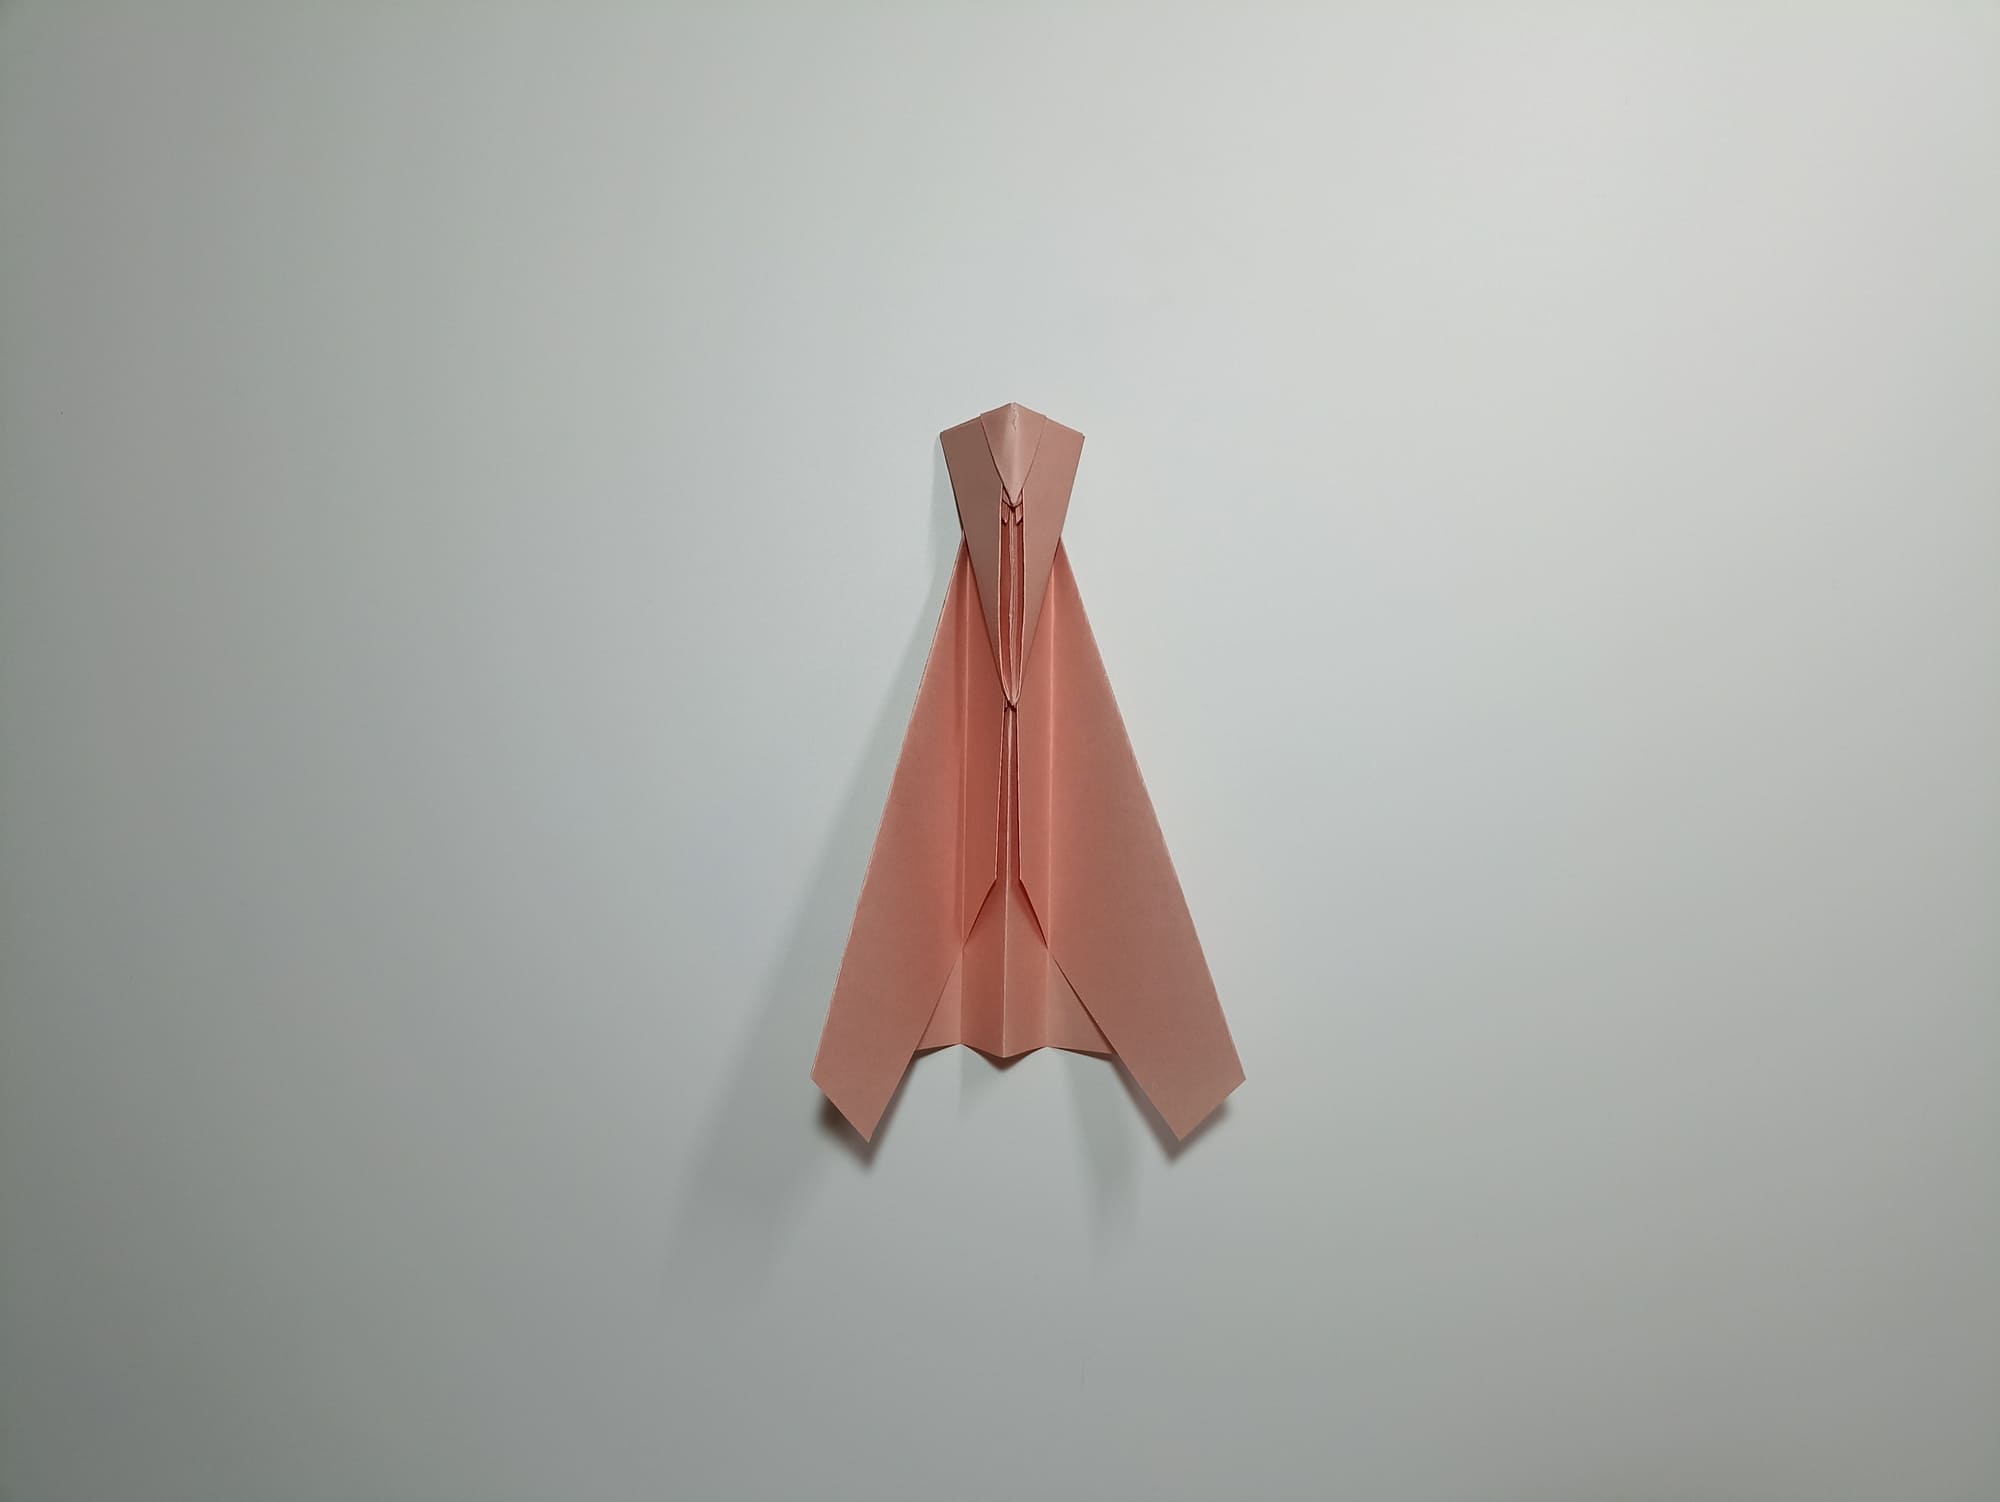
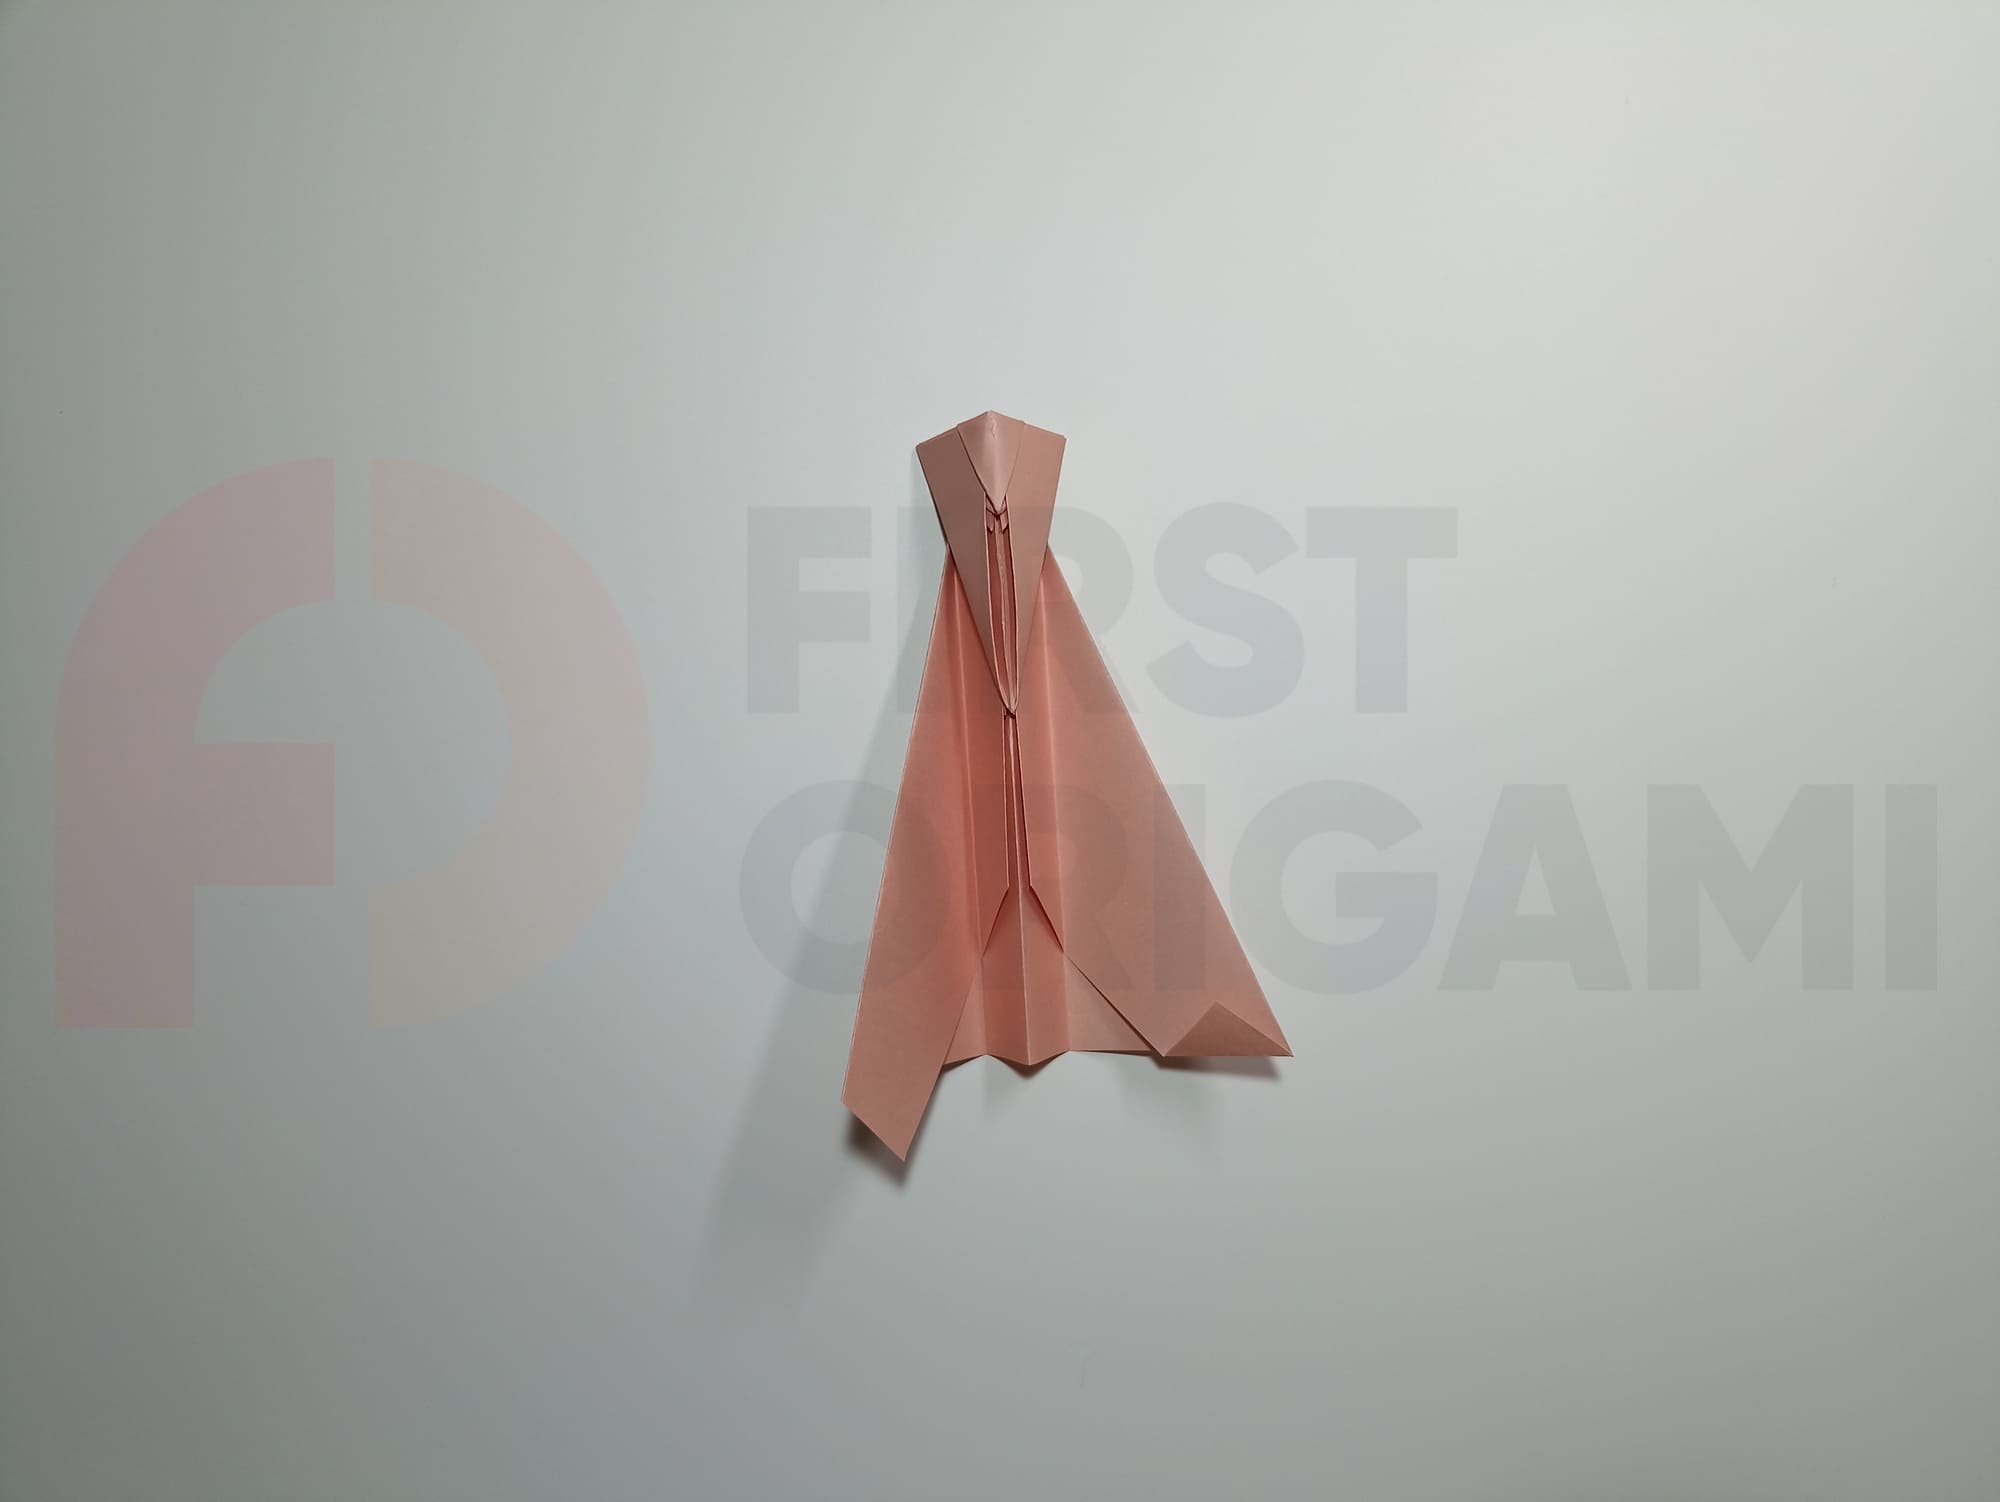
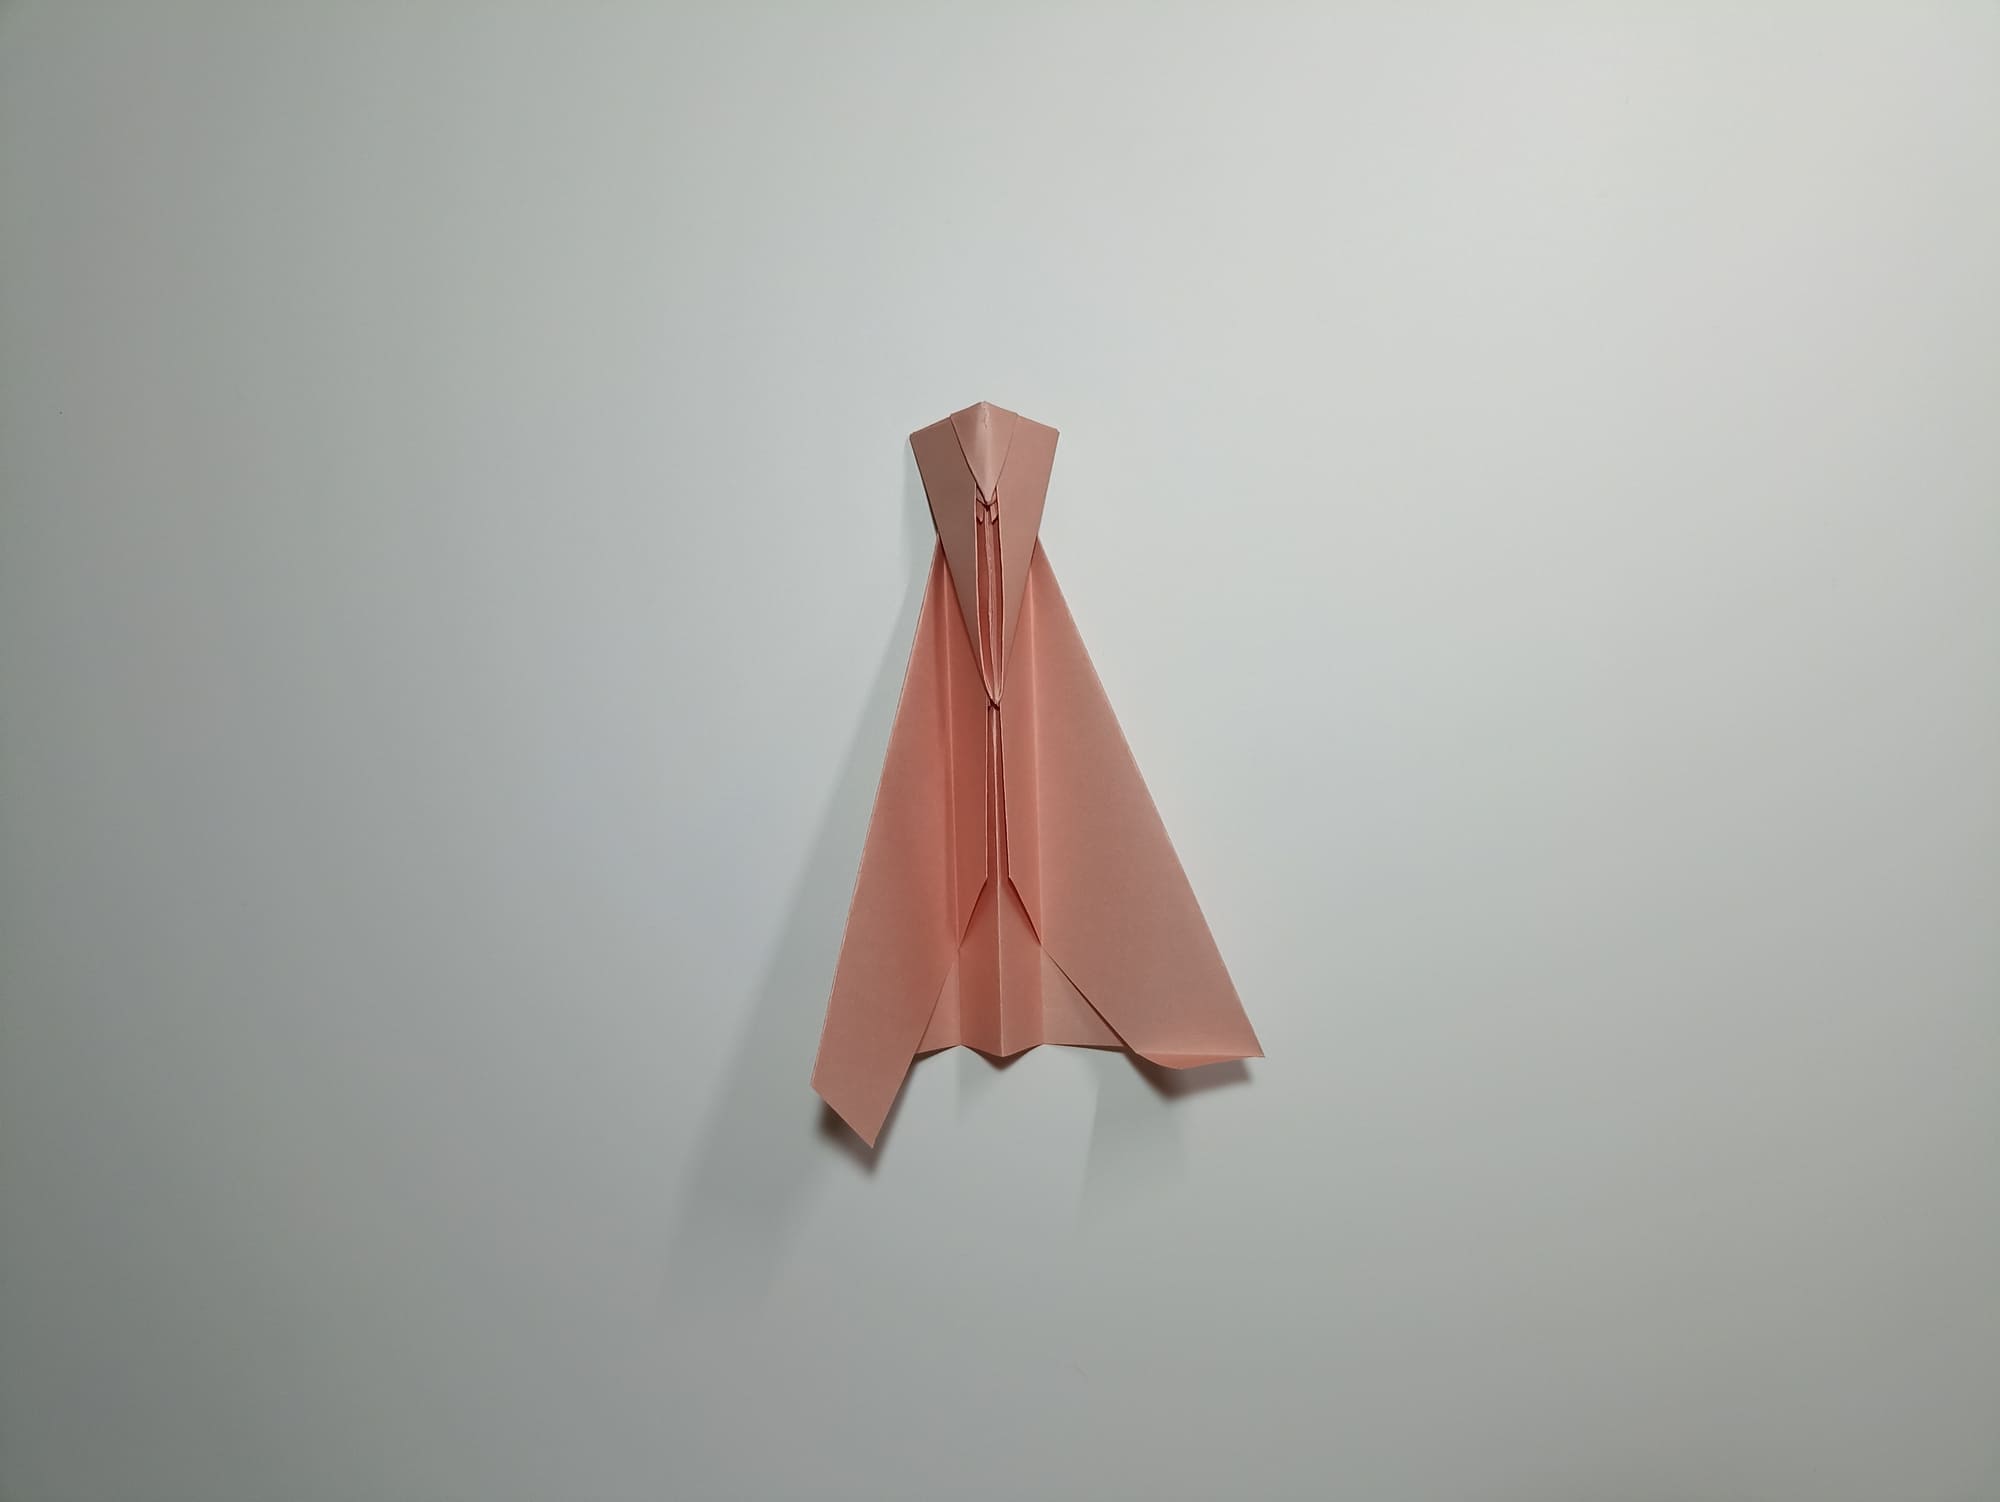
Adjust the slope of the wings and draw the details.
Cosmic result!
To adjust the Spinner’s rotation speed in the air, you need to bend the tips of the wings at different angles and observe the flight path. You don’t have to adjust the flaps and the airplane will fly in a straight line.


