Origami Sprinter Airplane
The Sprinter has an unusual design that allows it to fly smoothly and evenly. It is easy to assemble, lightweight, and has wide wings and a fin tail. The model can be launched at different speeds. Each time you launch the airplane, you can make it move in a new way during flight.
To make this airplane, it is better to take double-sided colored or white printer paper so that it turns out beautiful and neat. You may also need glue or a stapler. Let’s start assembling this origami creation, so you can test it for yourself!
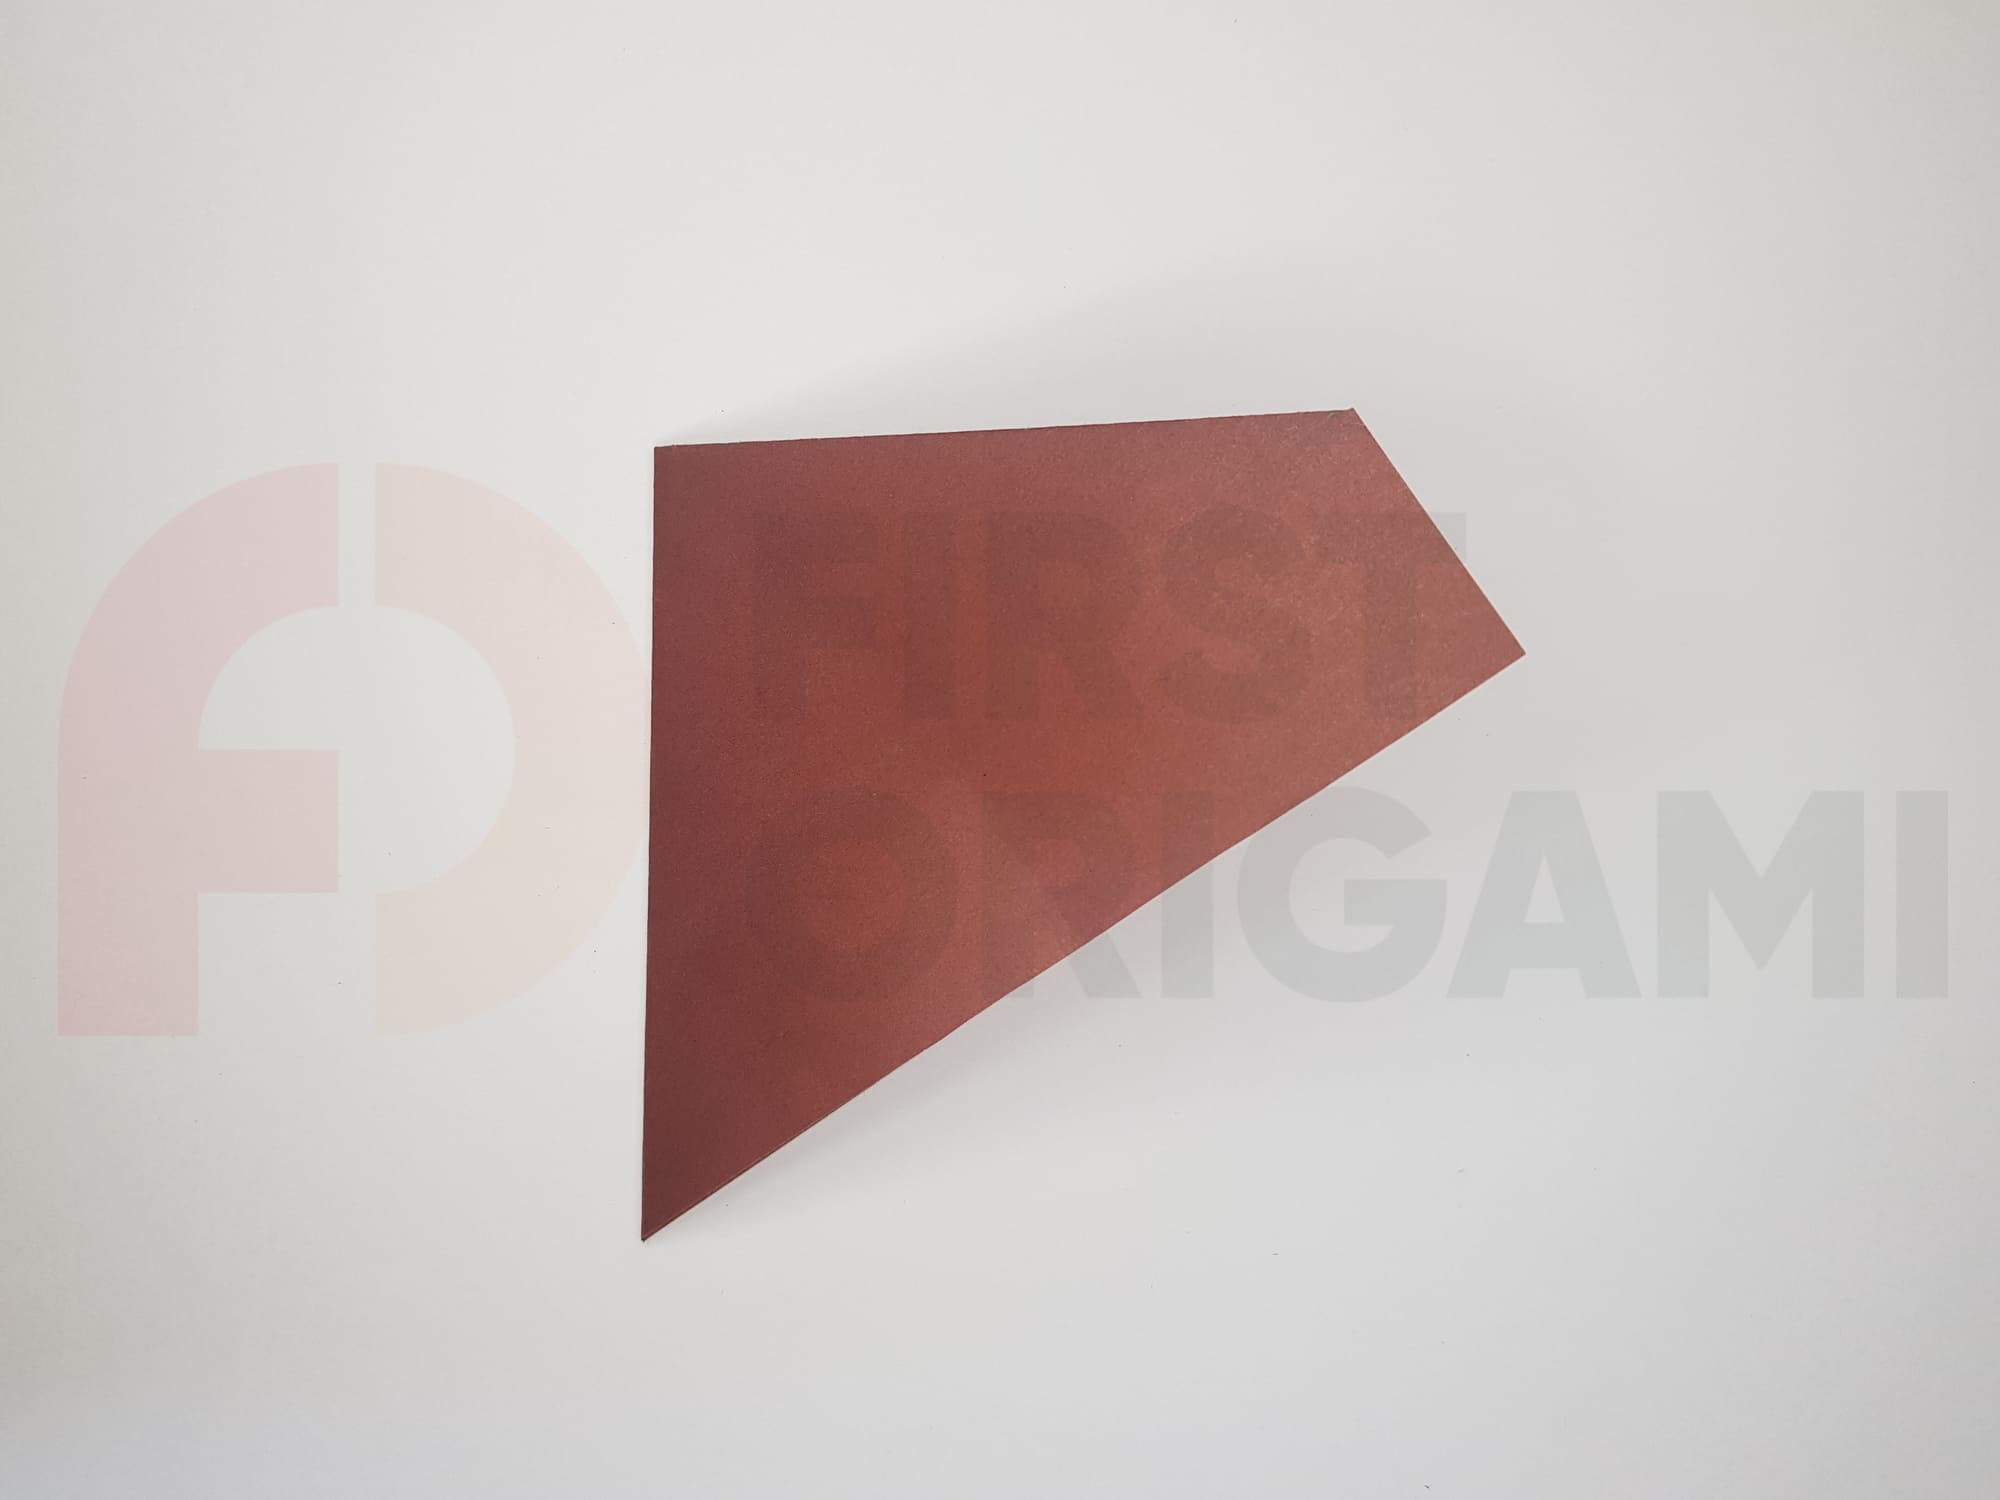
Prepare a sheet of A4 paper or another size but with approximately the same aspect ratio.

Fold the paper so that the top left and bottom right corners match. Crease the fold you just made.
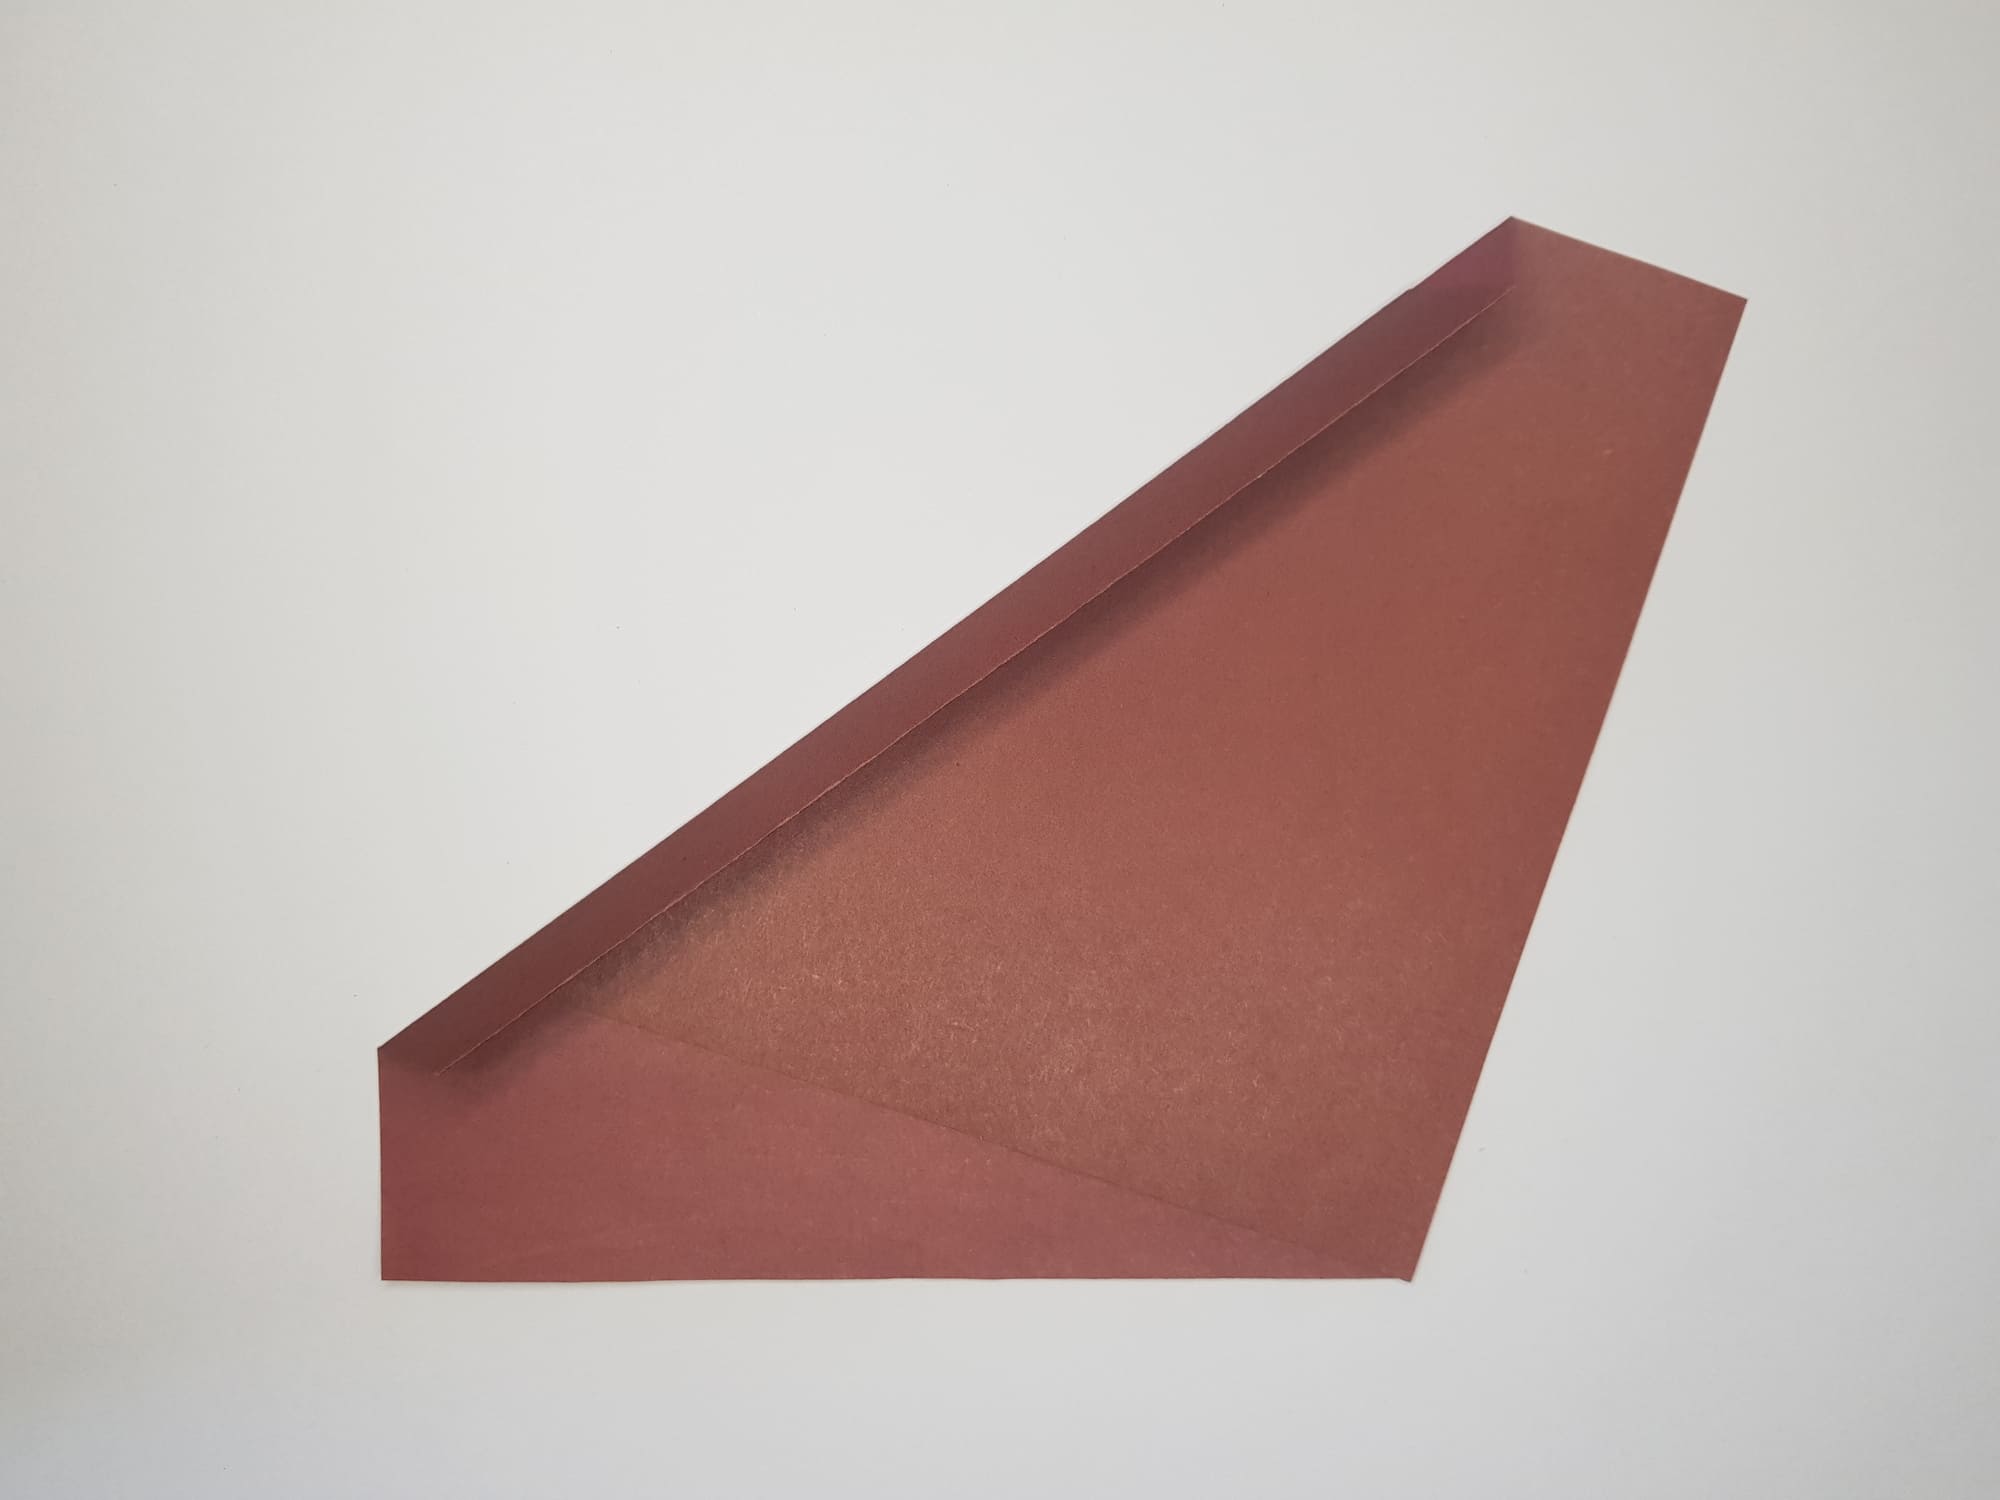
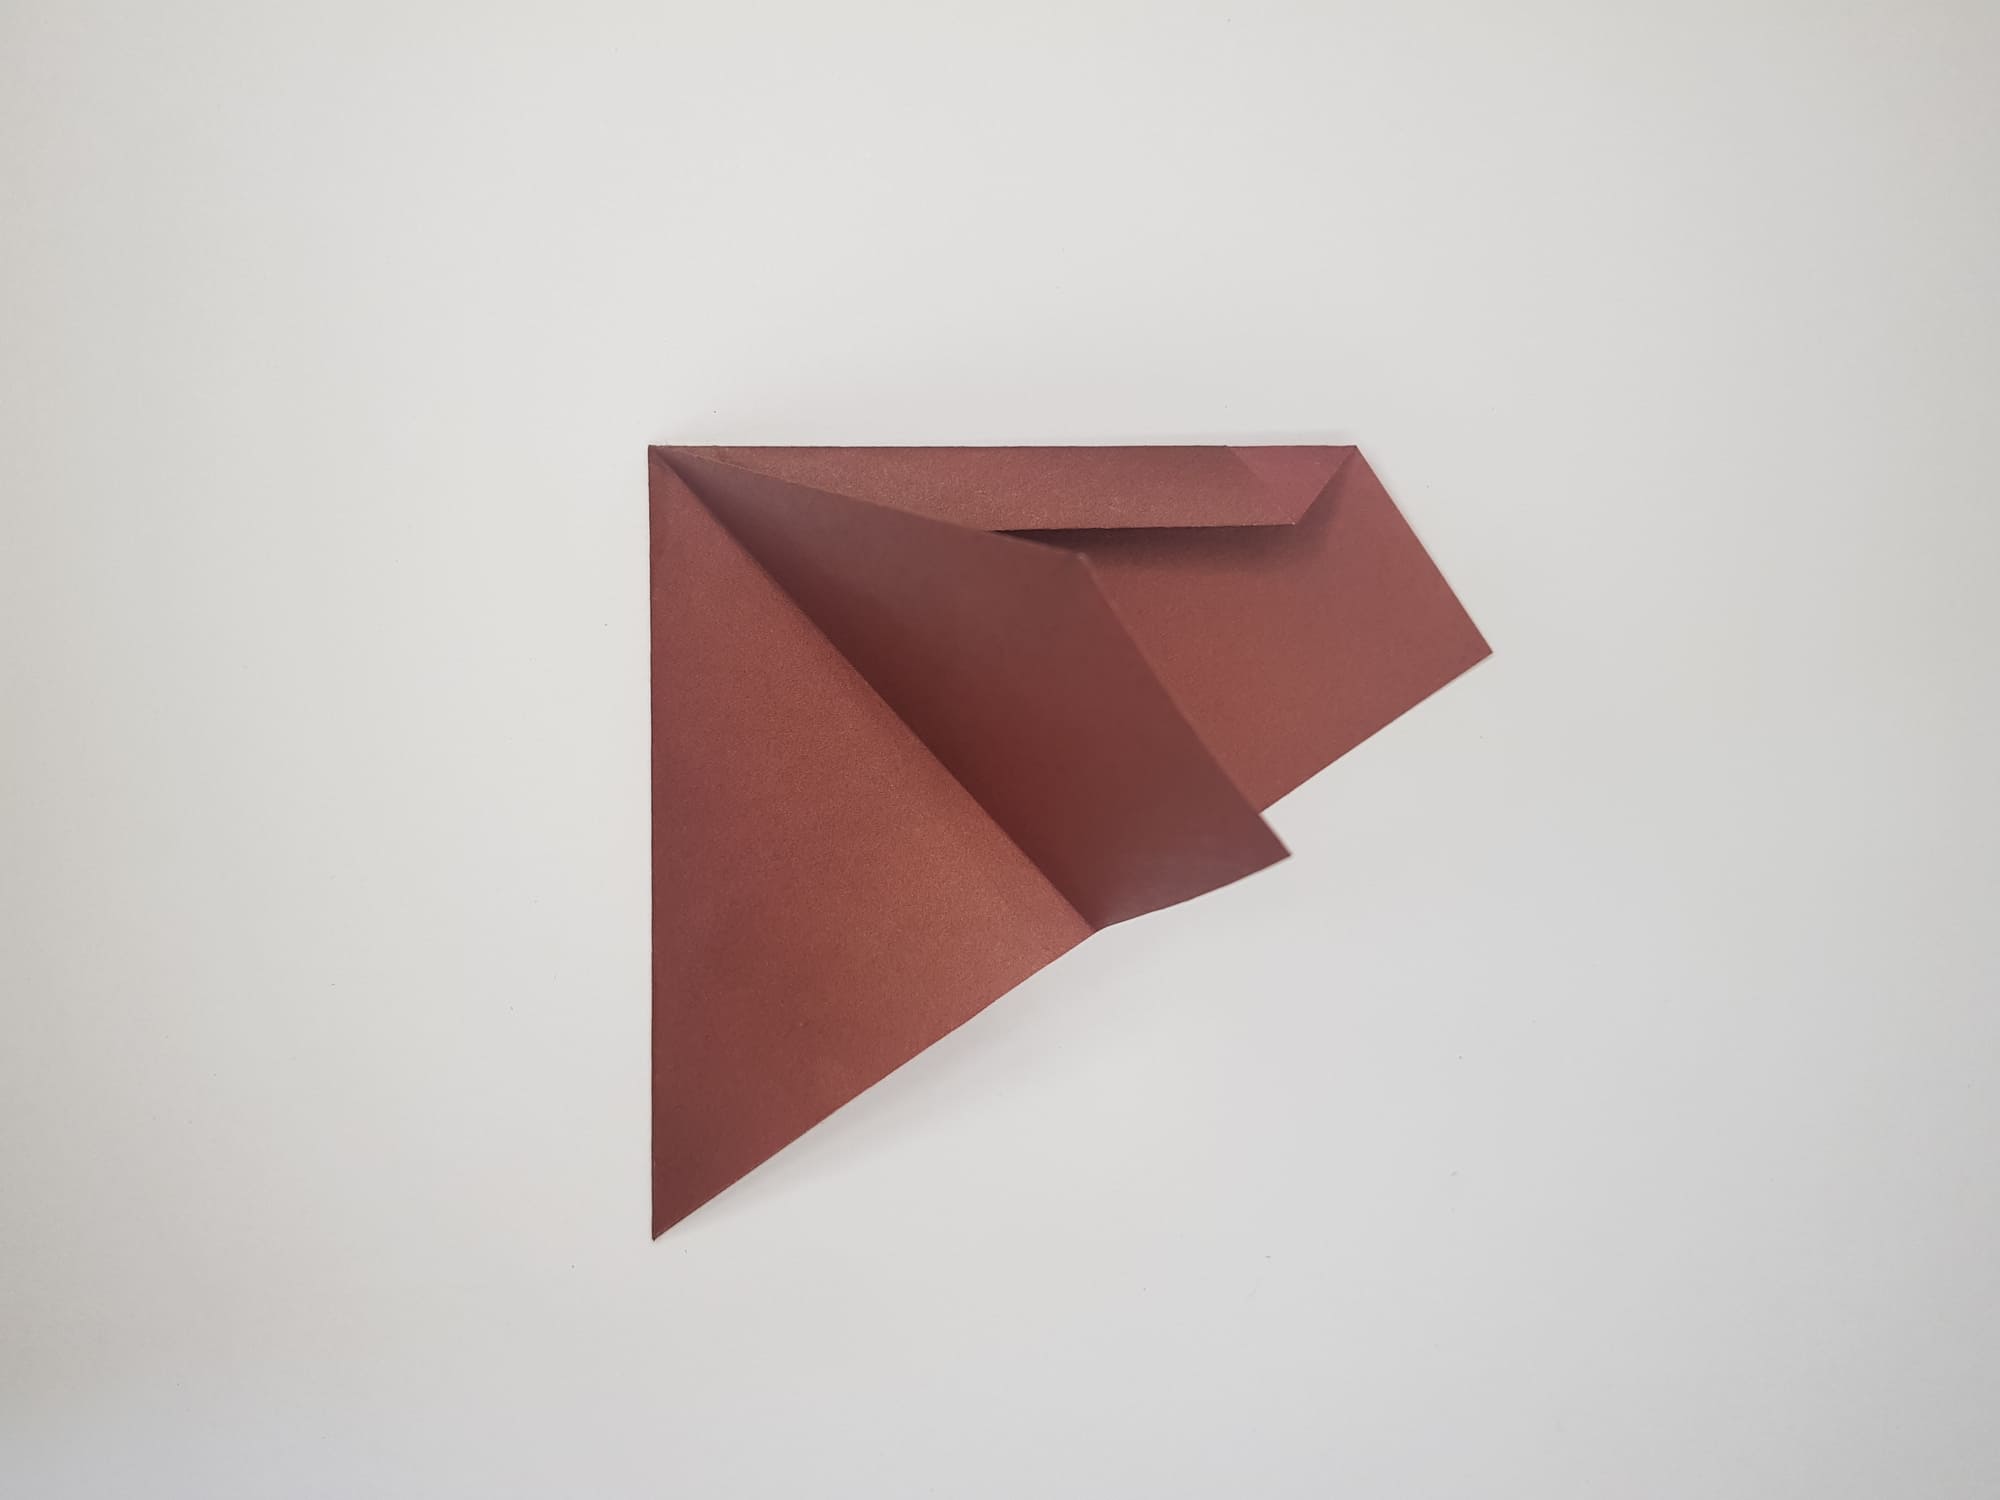
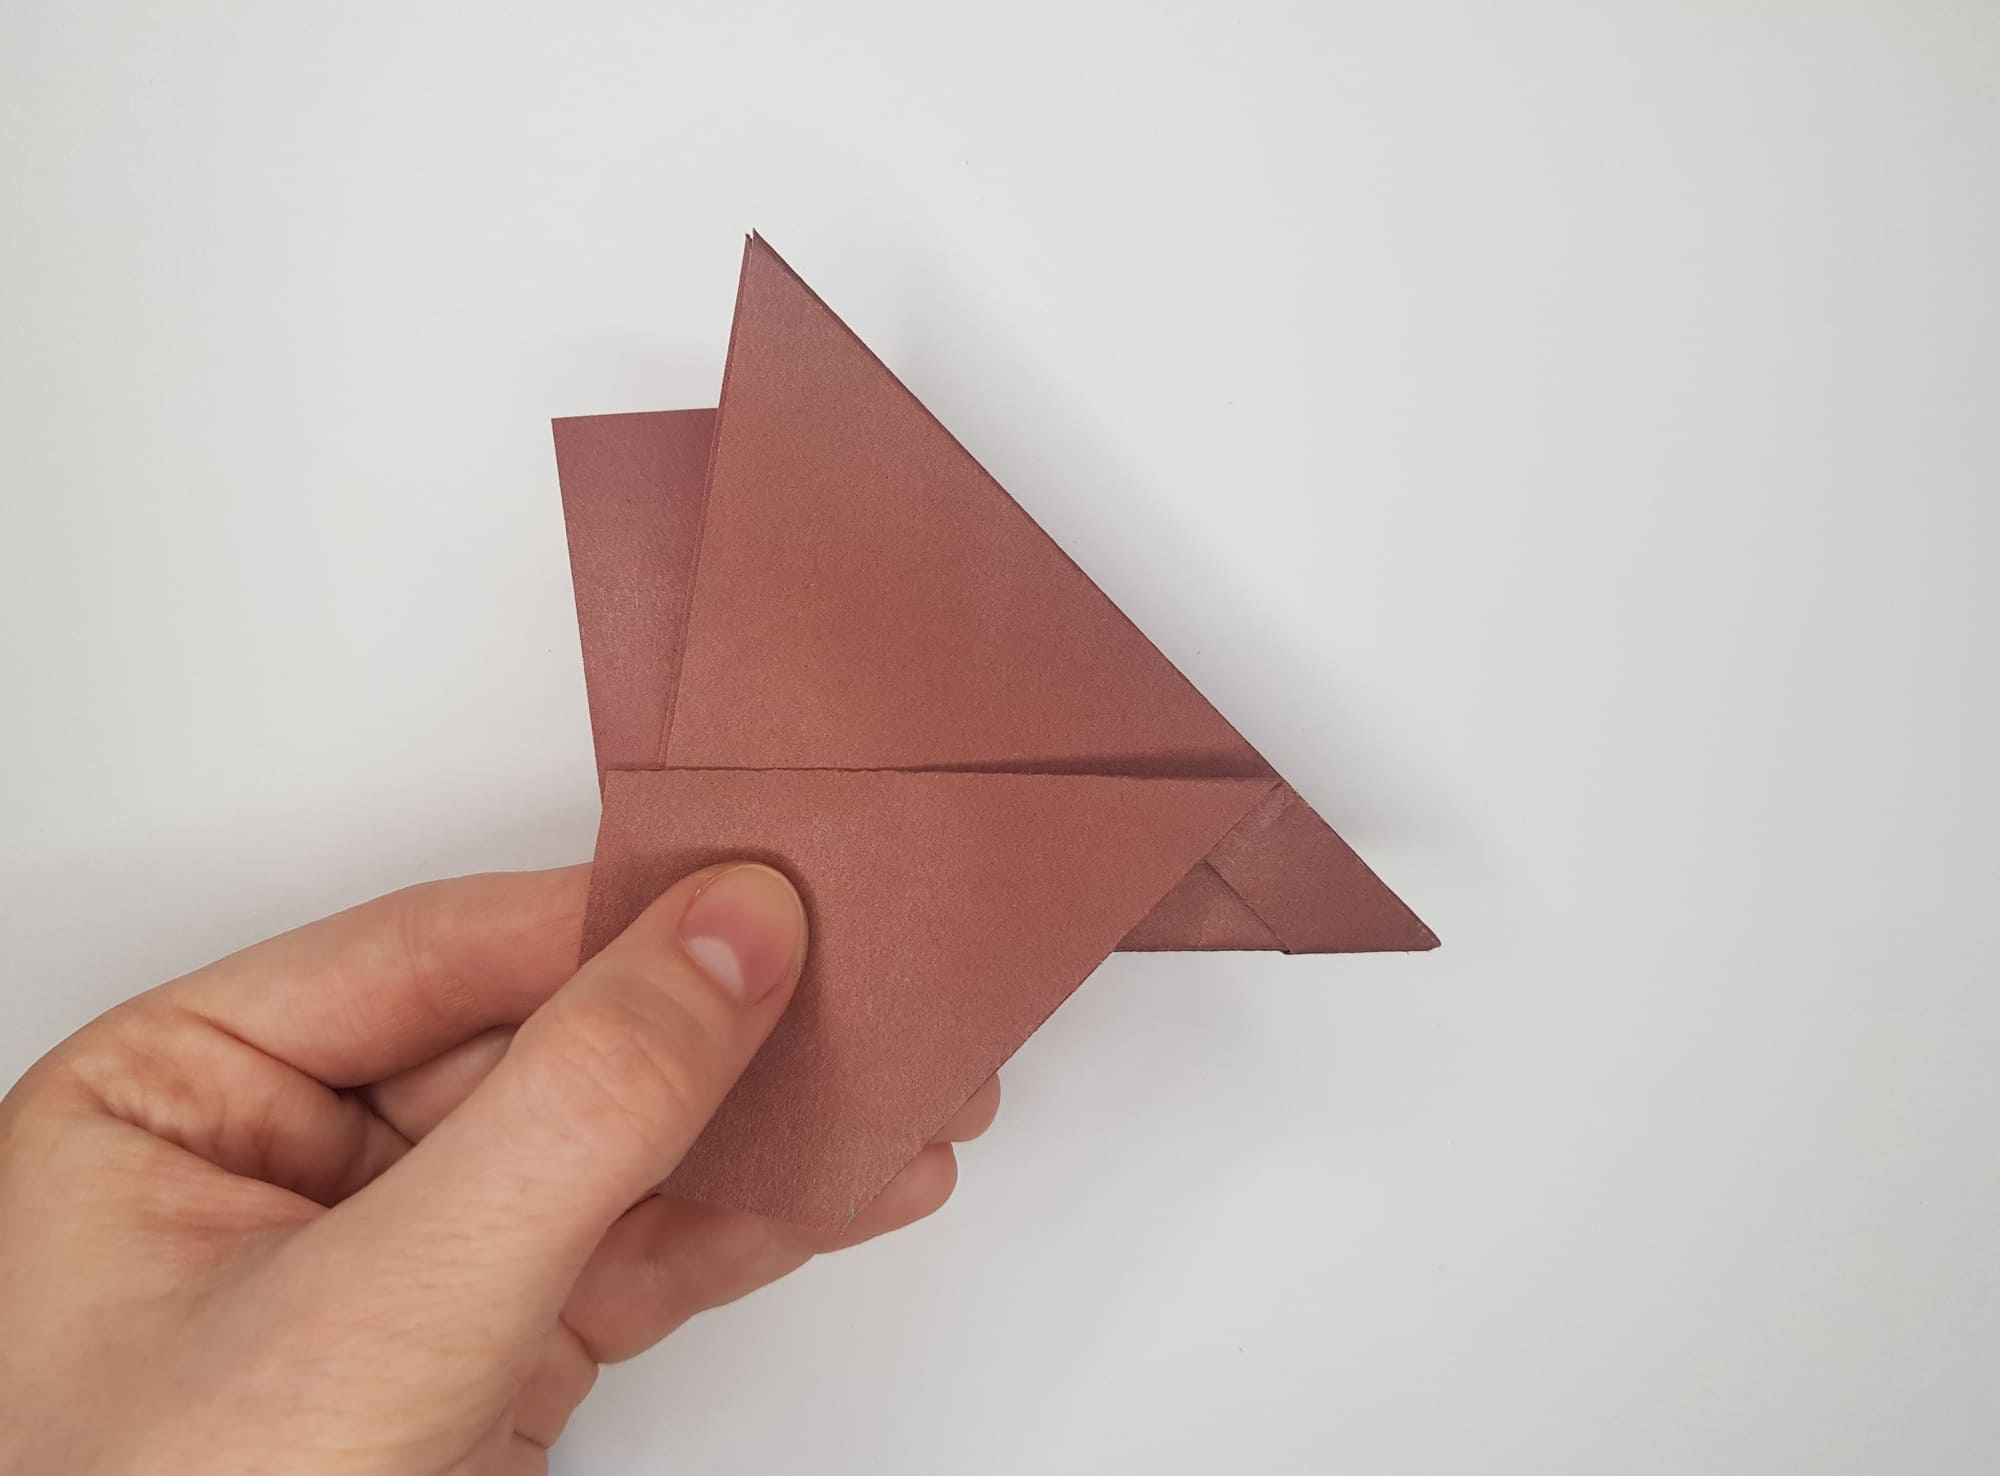
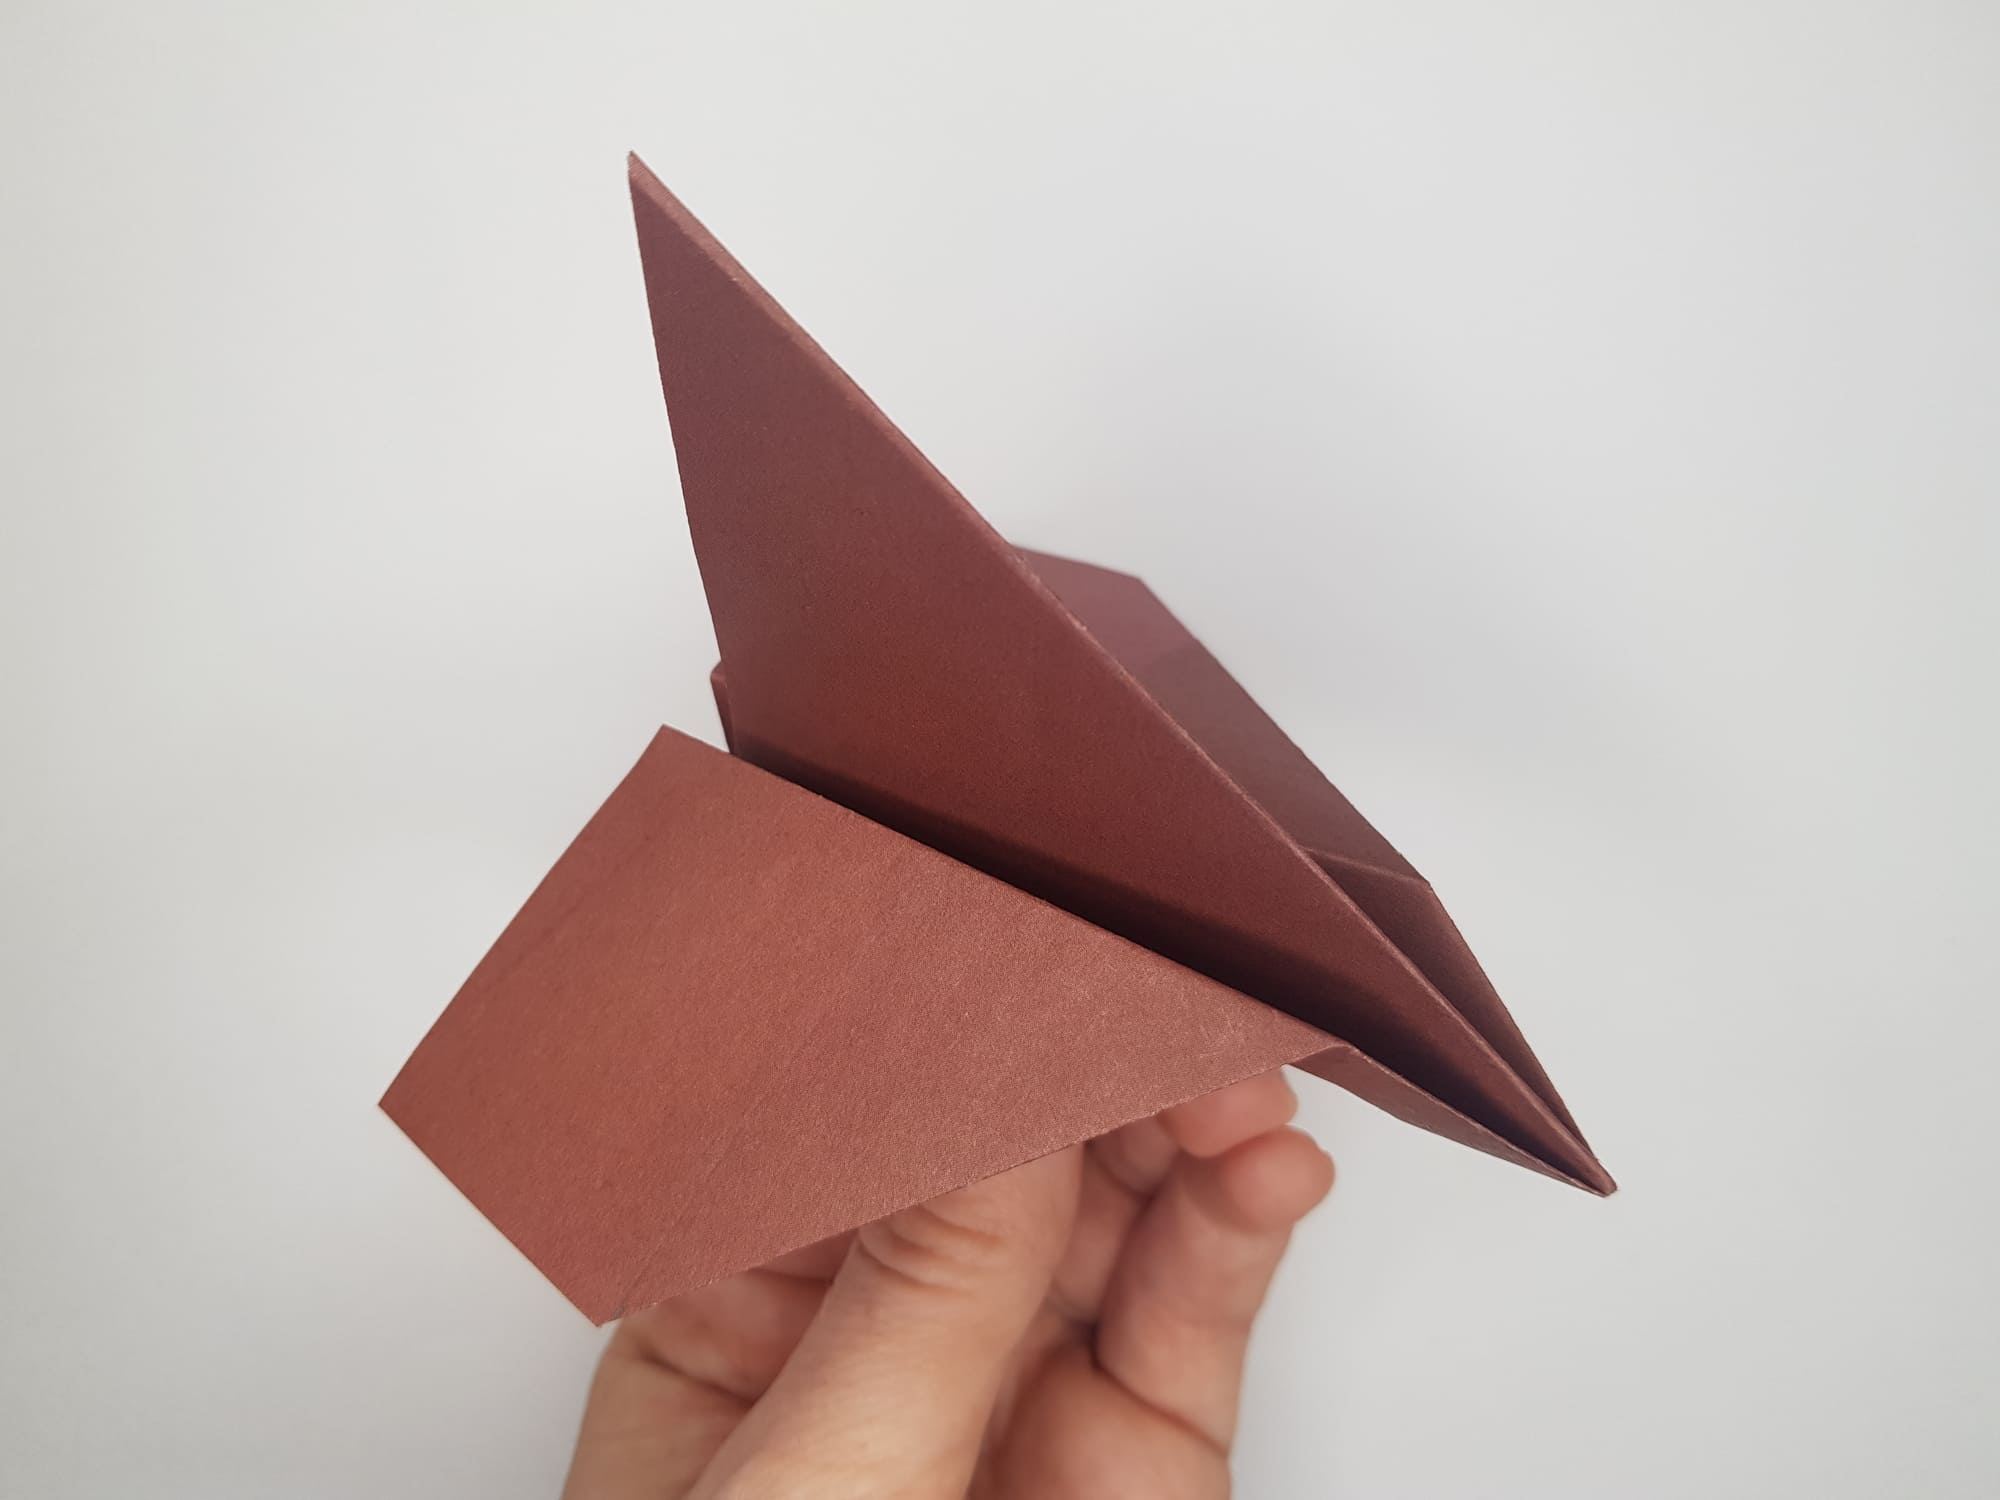
Bend the edge of the resulting shape towards you, as shown in the photo.
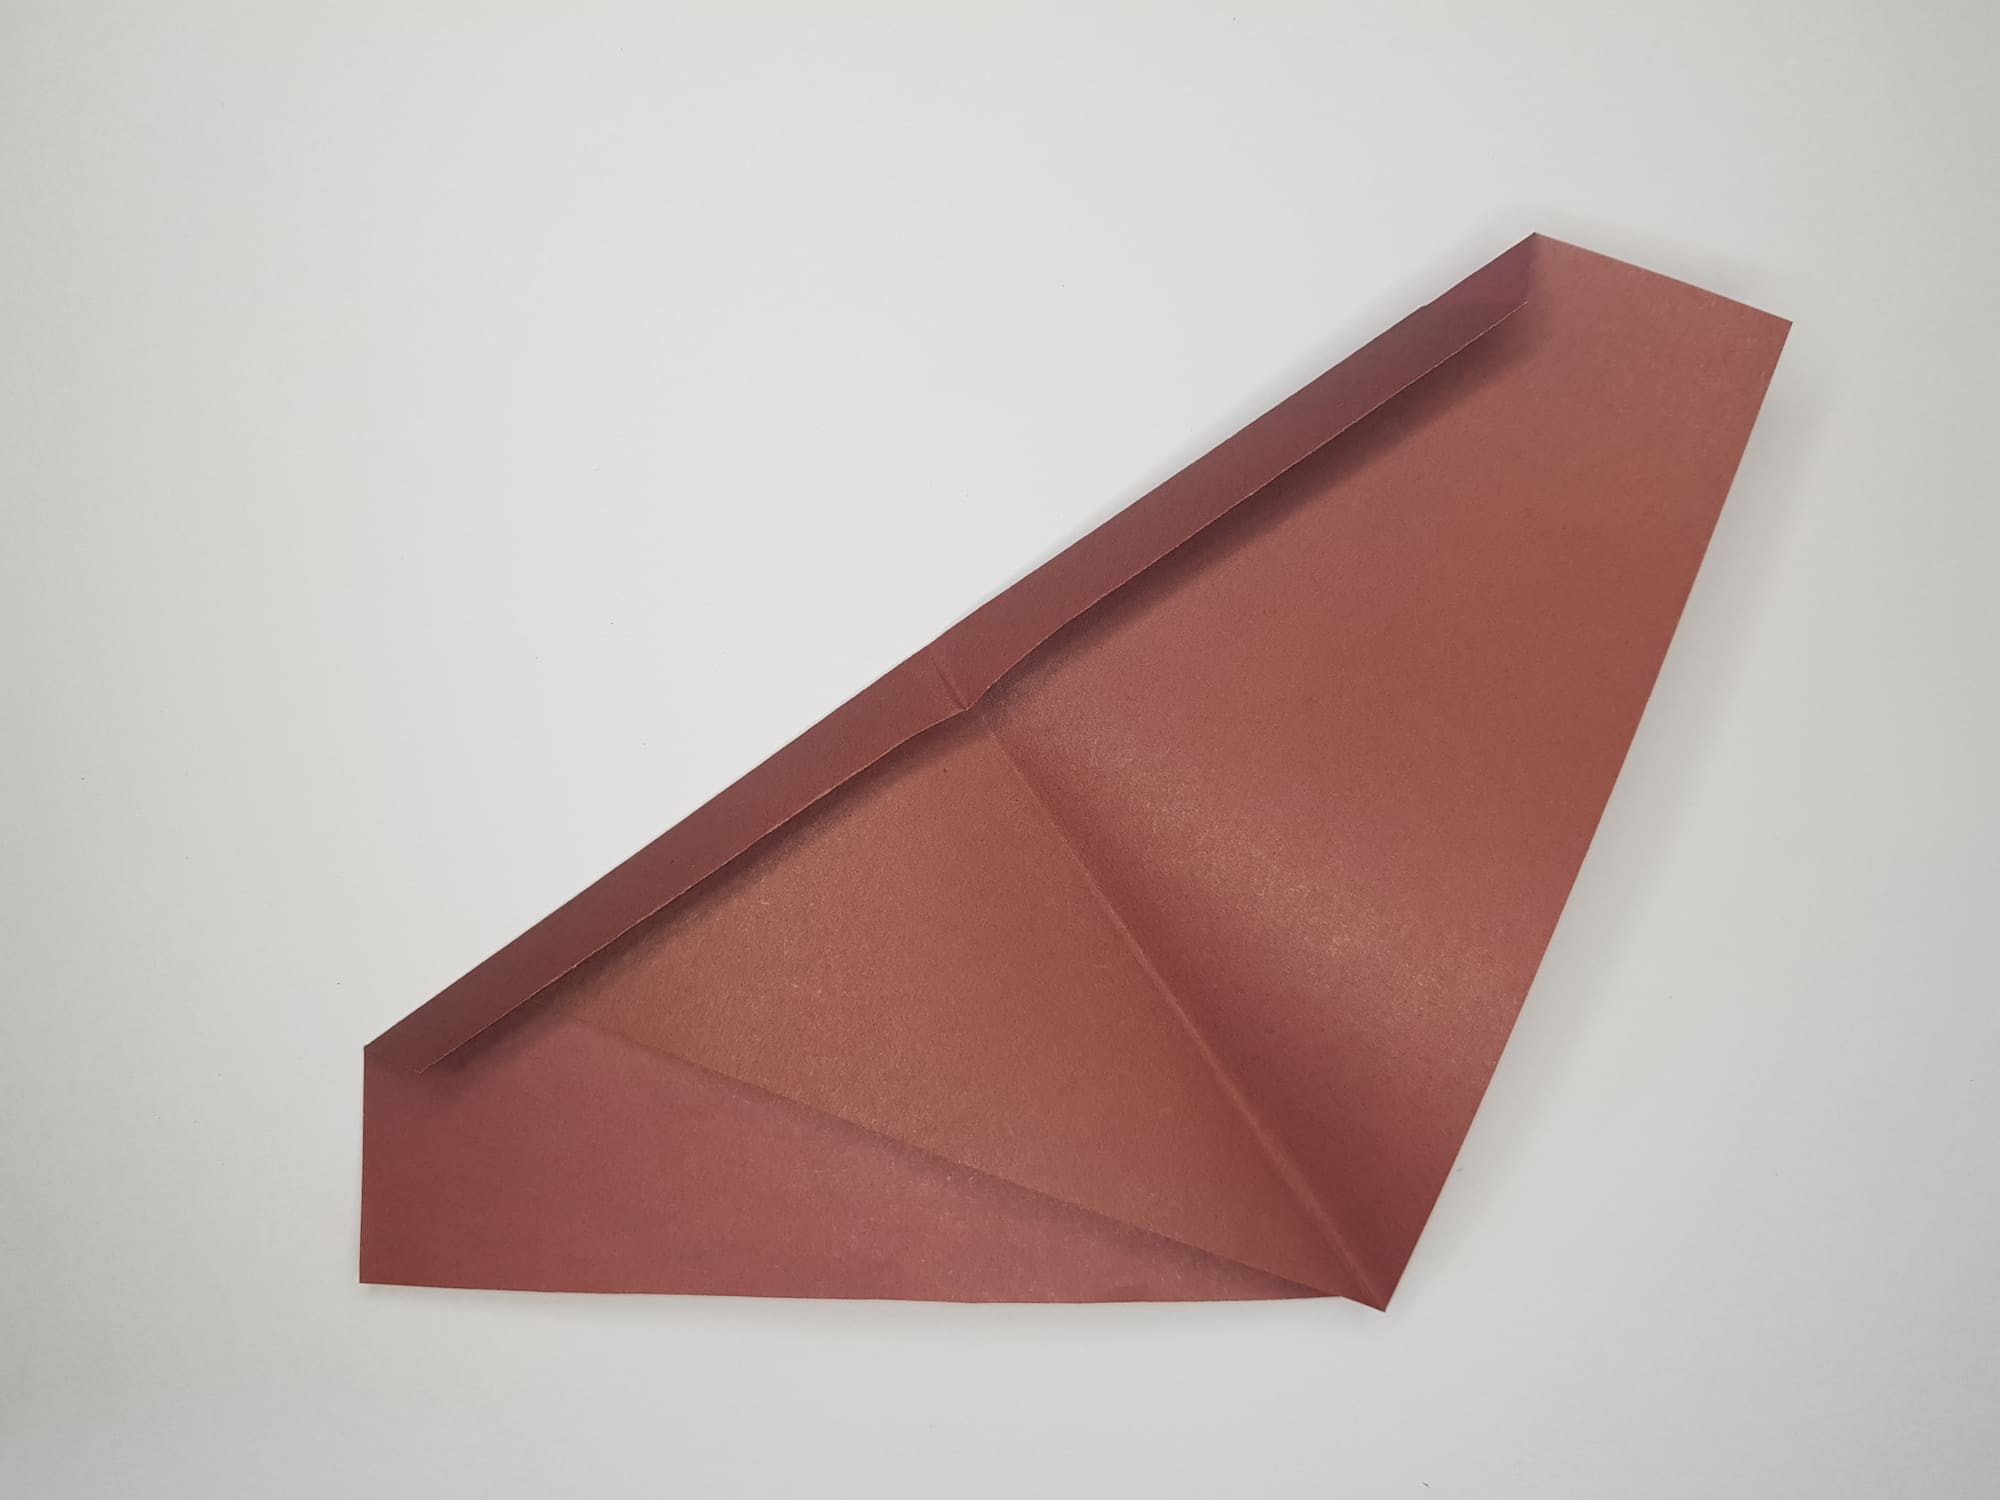
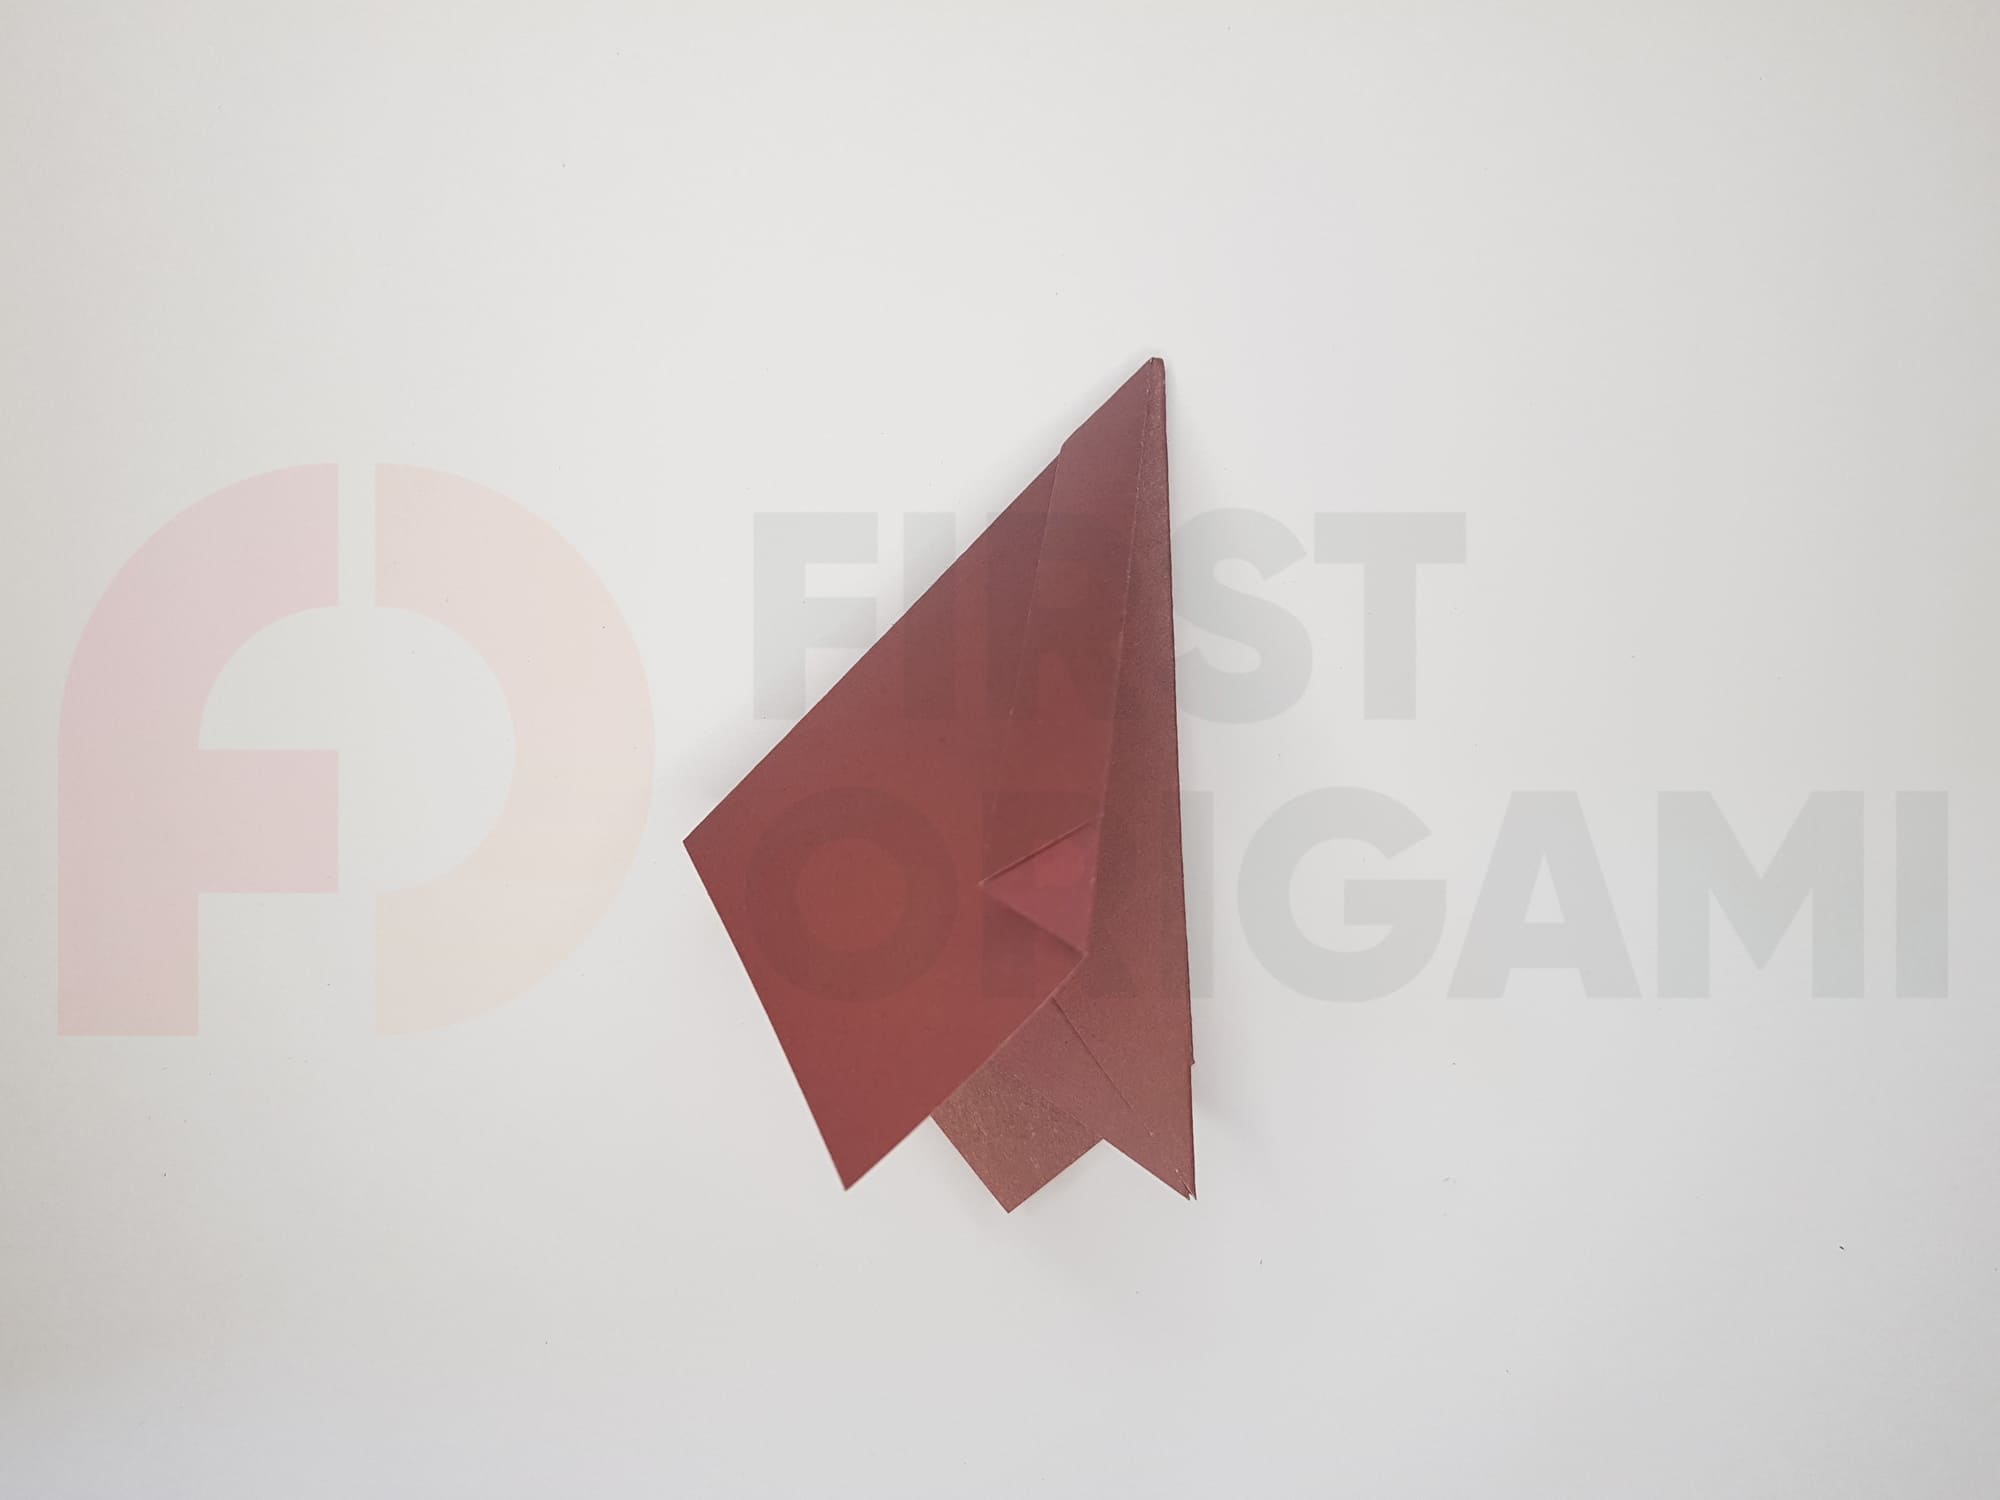
Fold the shape in half, moving away from you.
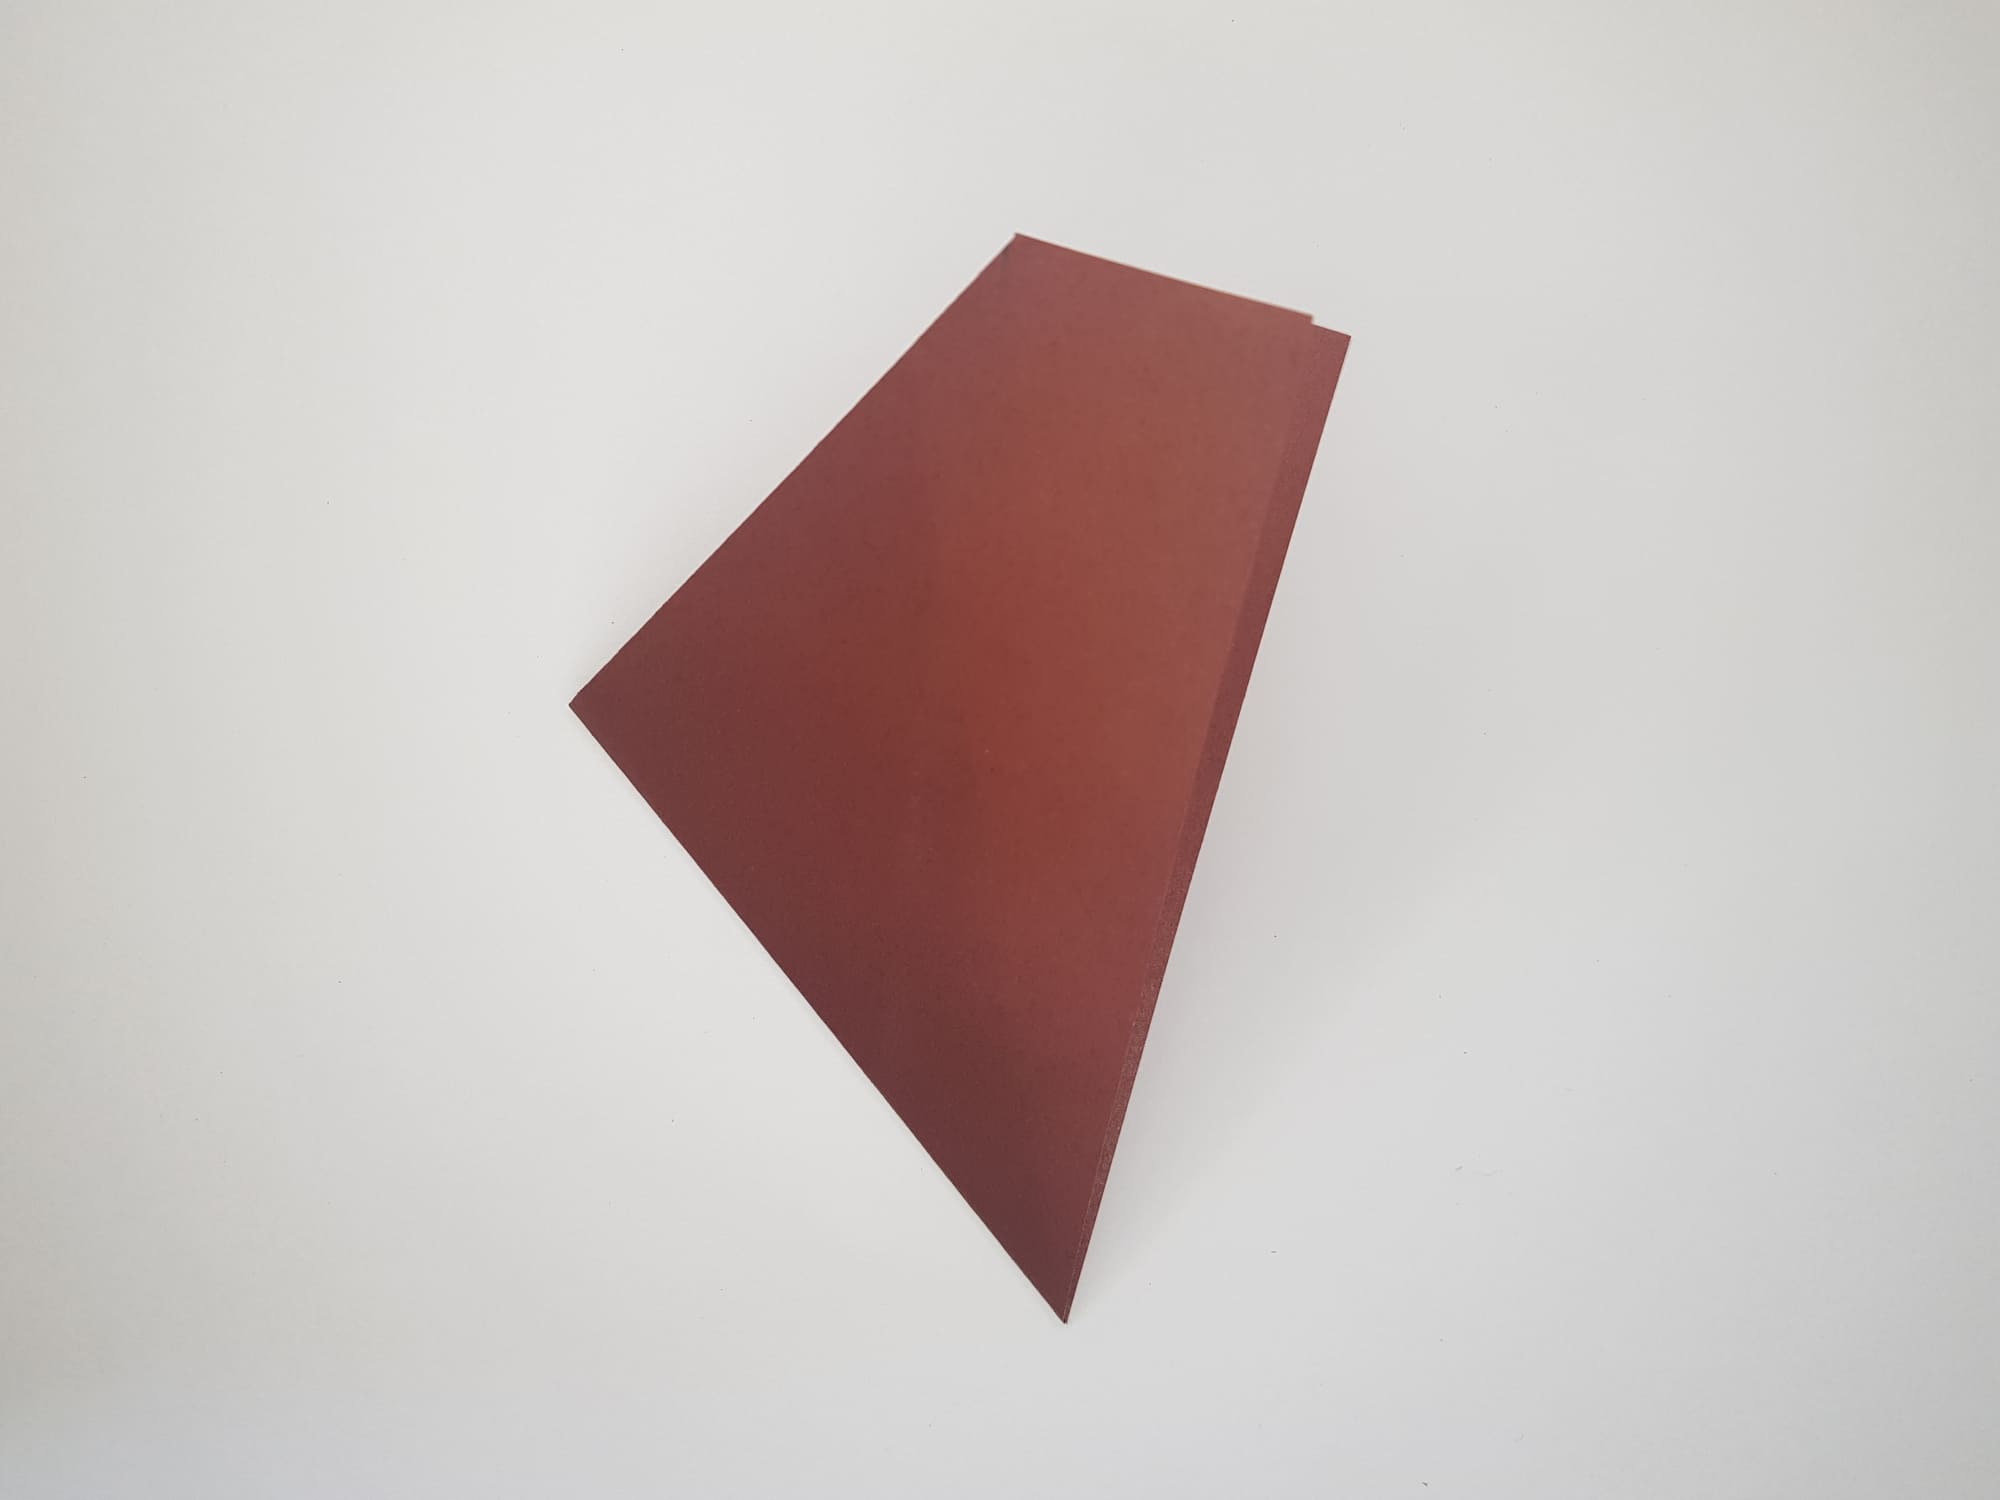
Iron the fold.
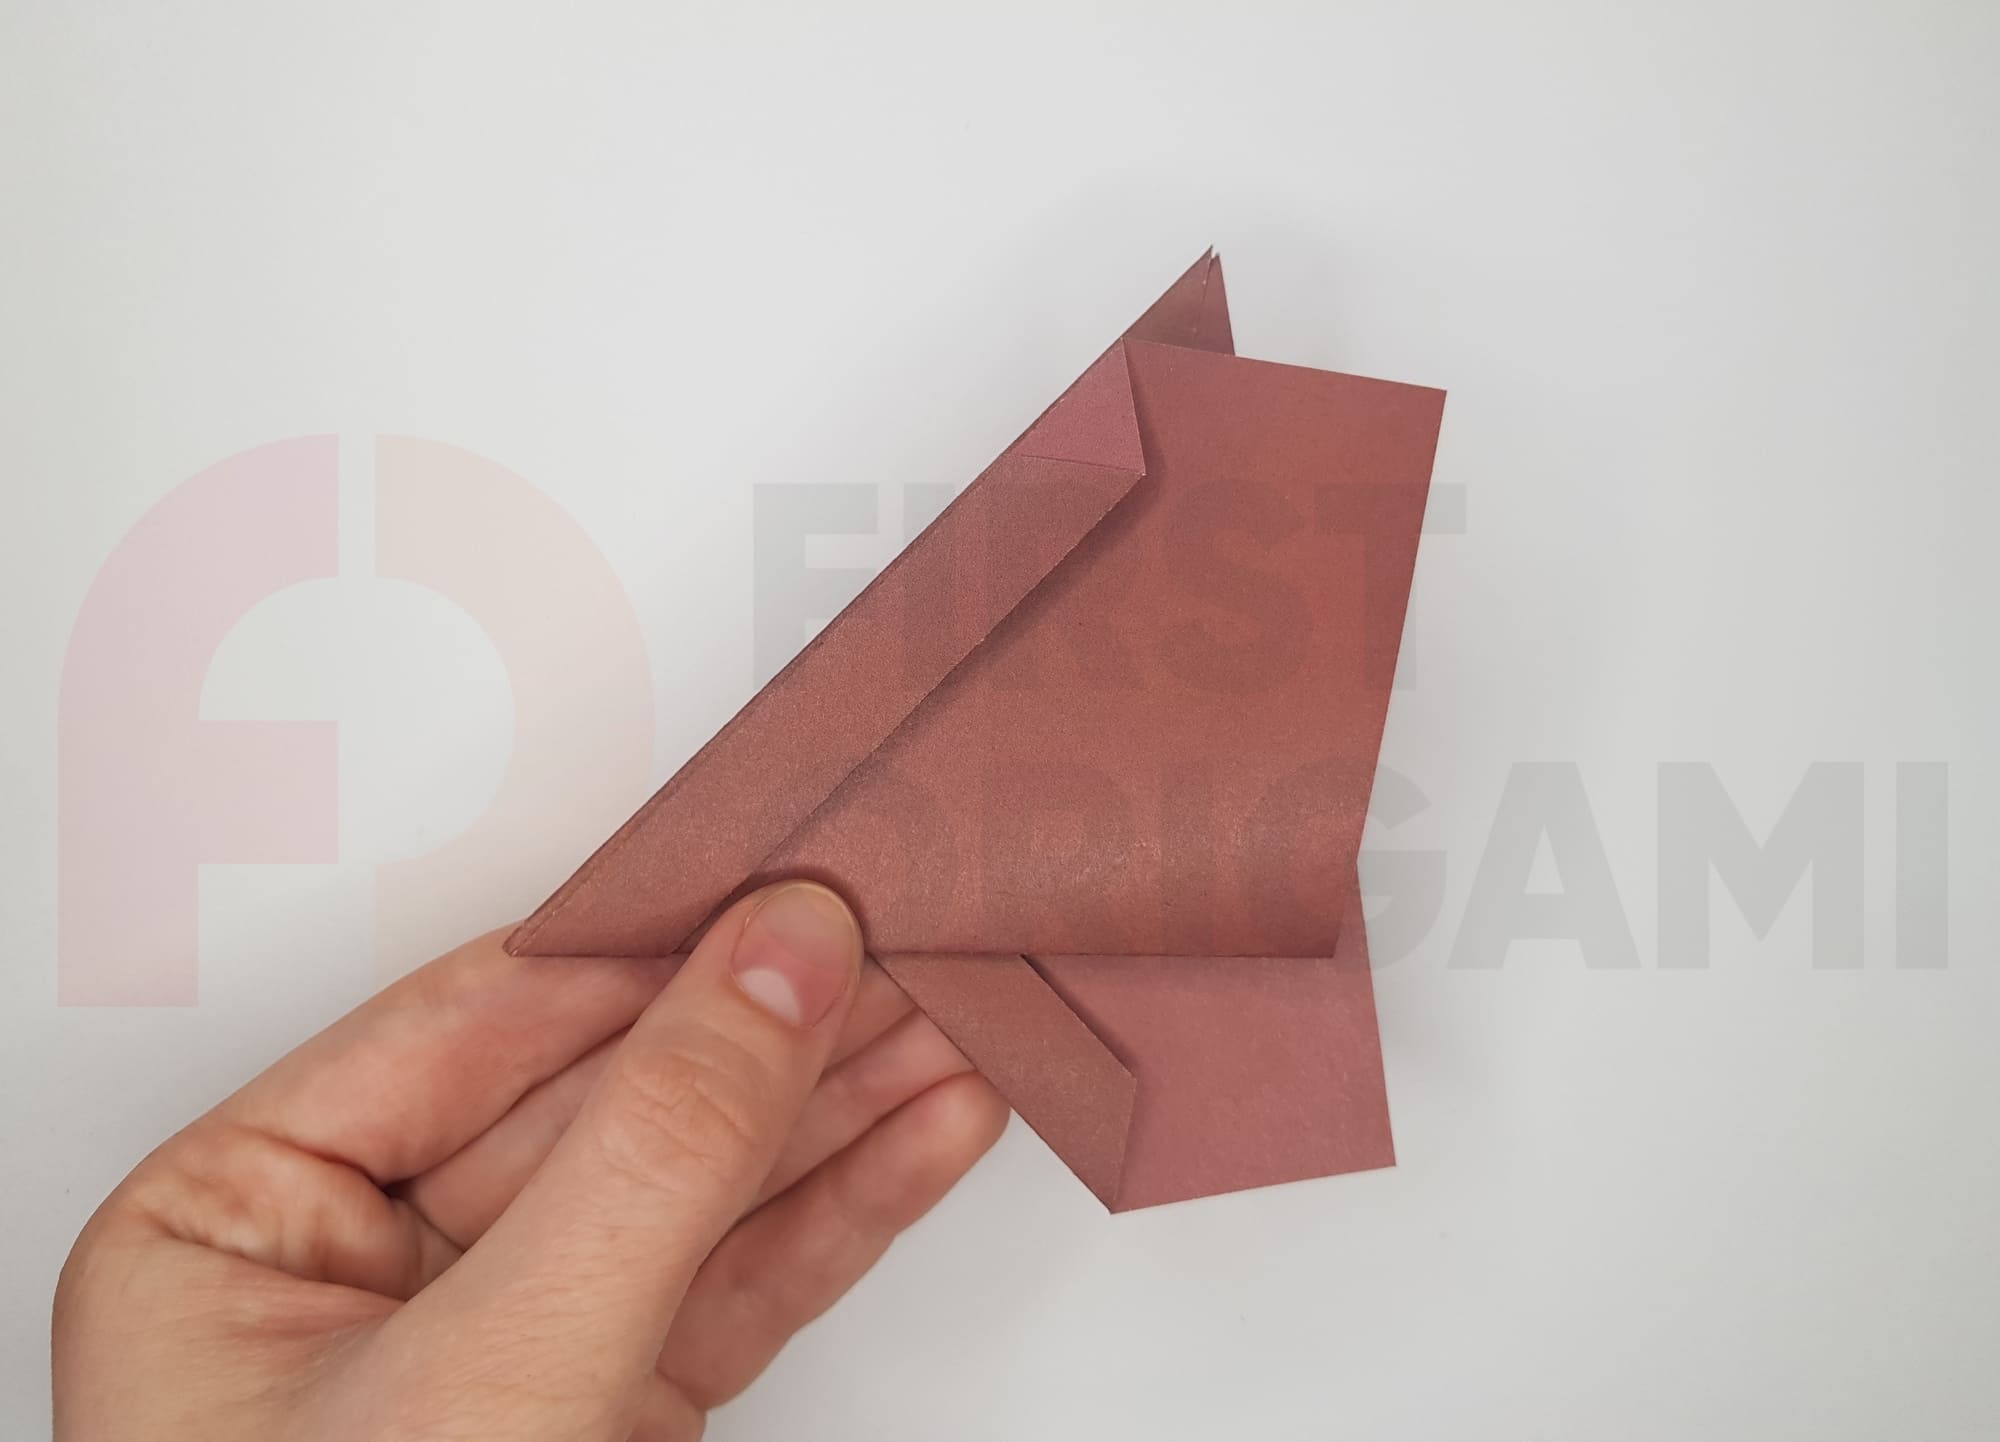
Bend the upper part of the origami figure in half towards you.


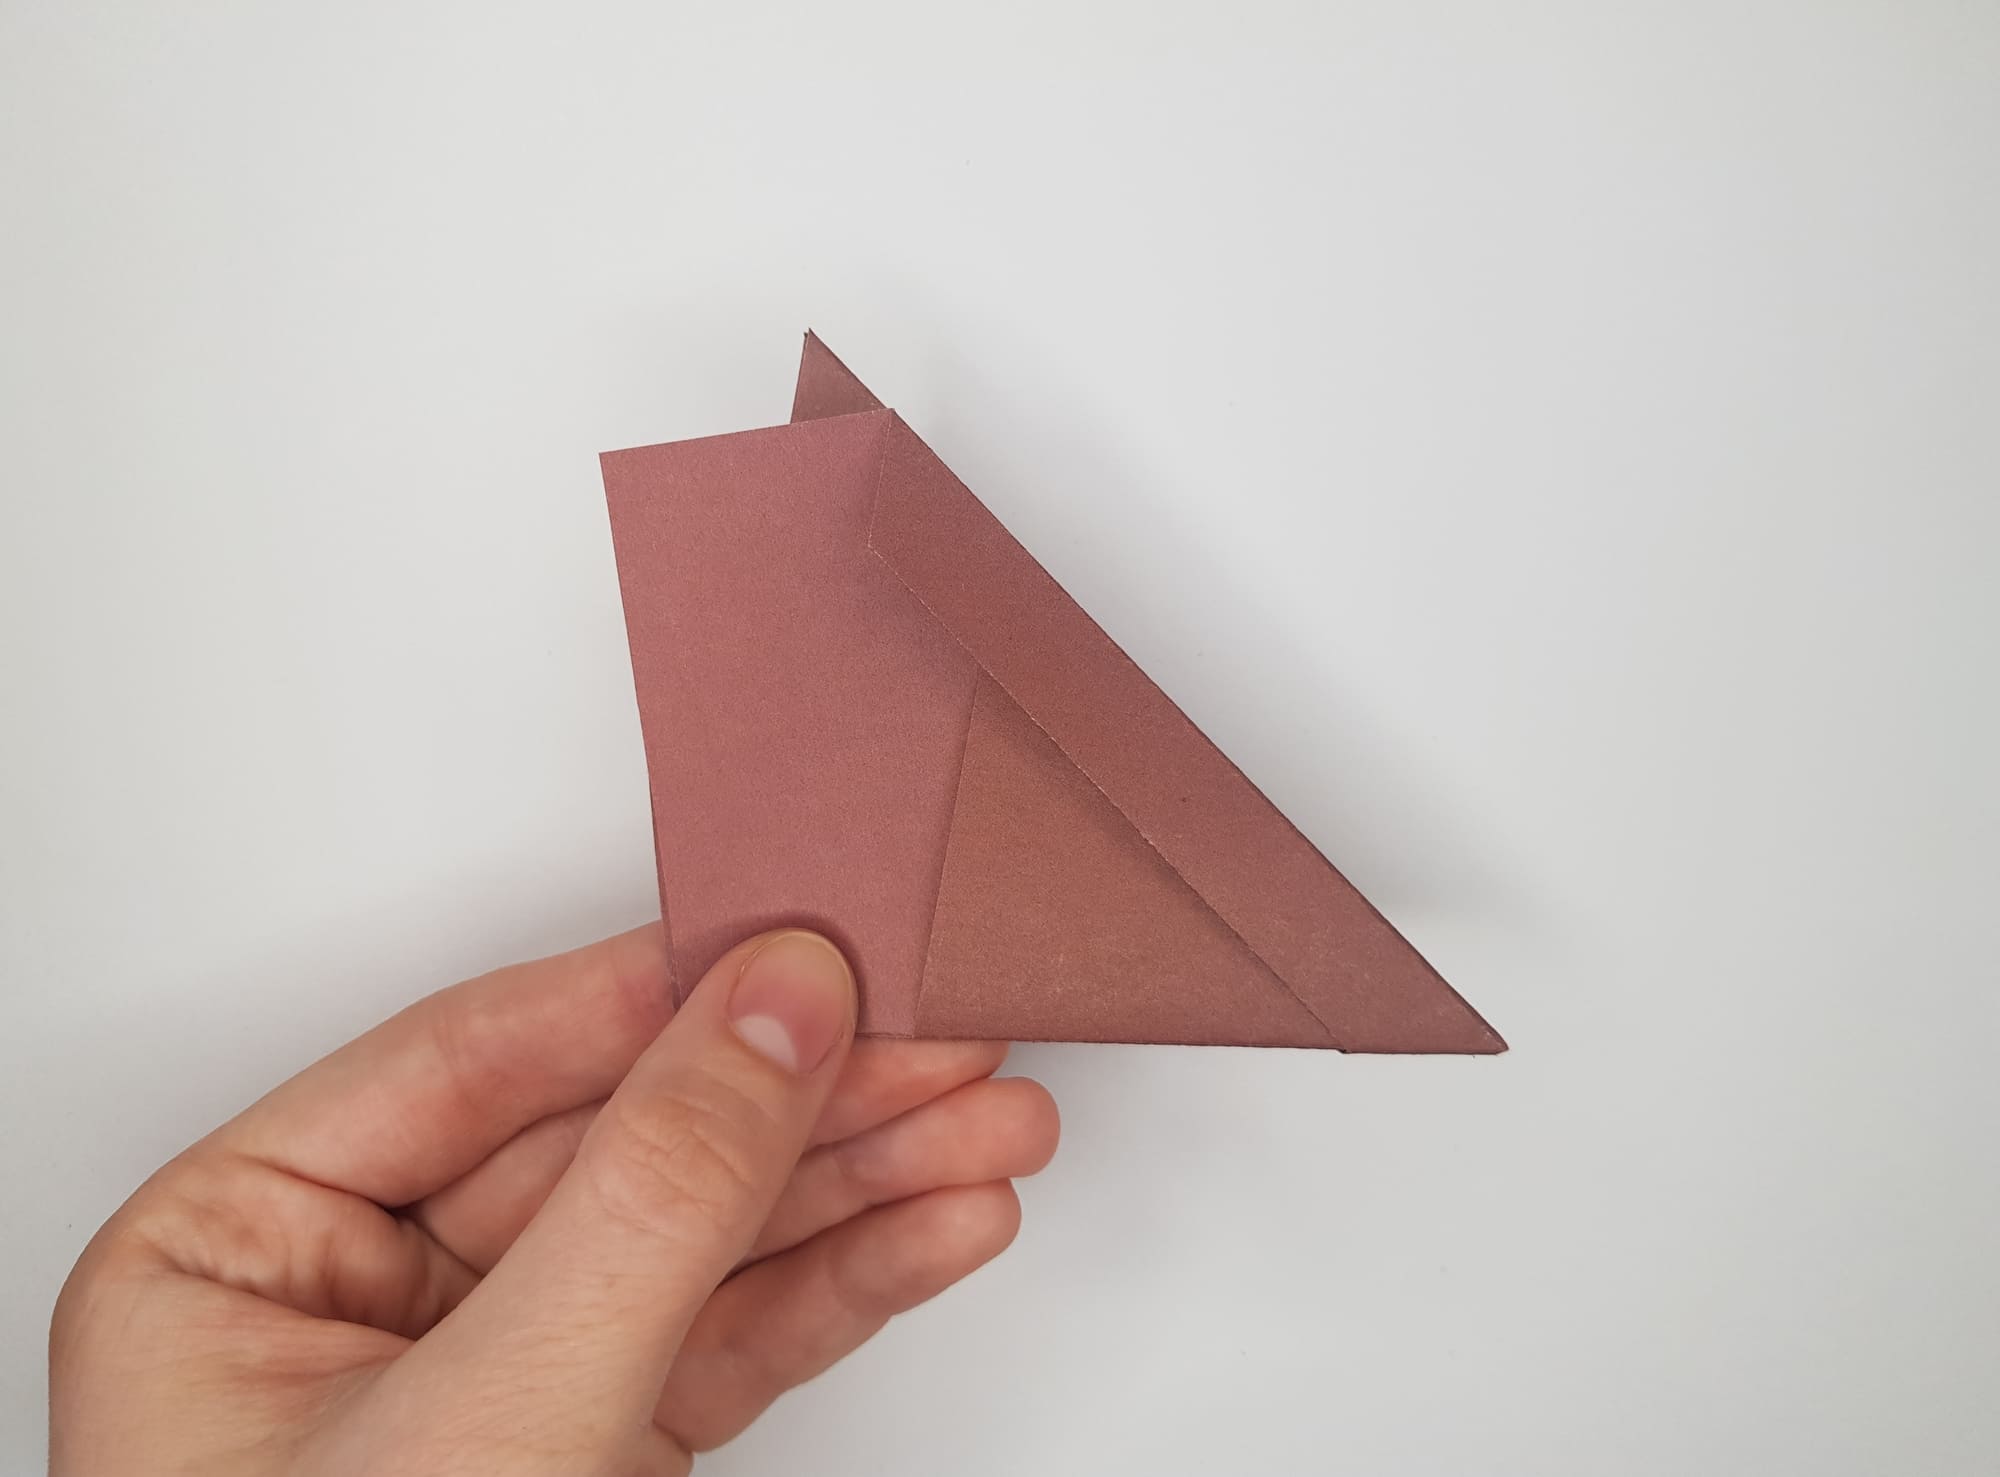
Turn the paper over to the other side and repeat the action from steps 6-8.
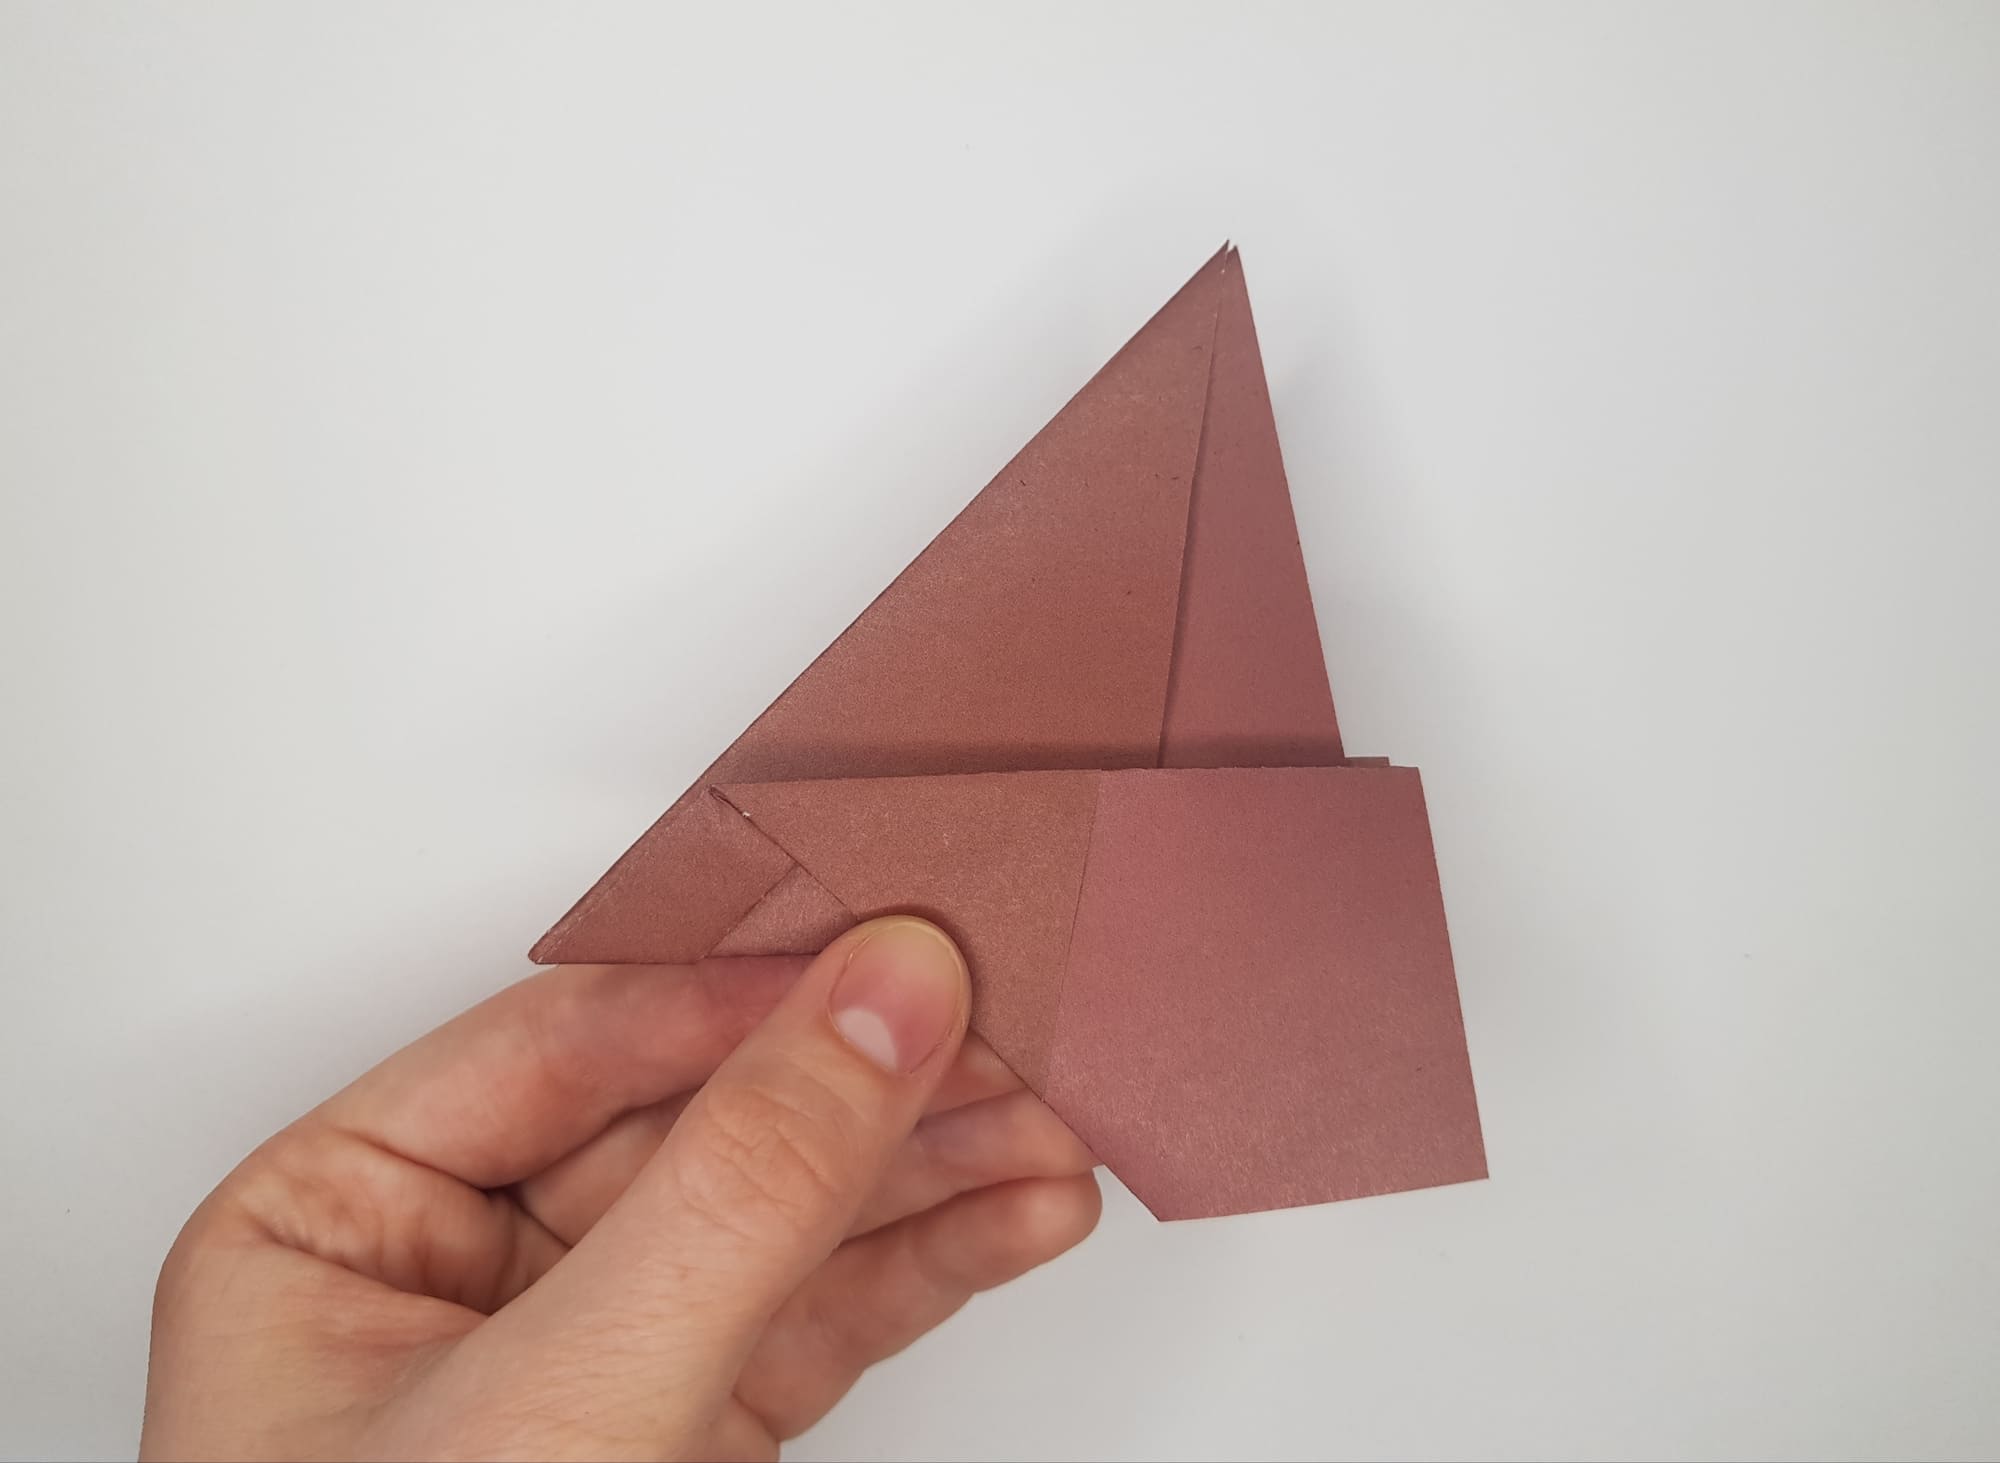
Bend the edge of the wing downwards towards you.
Repeat step 12 with the other wing. You are almost done!

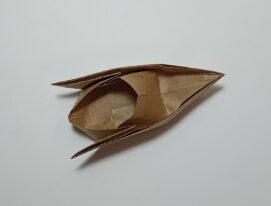
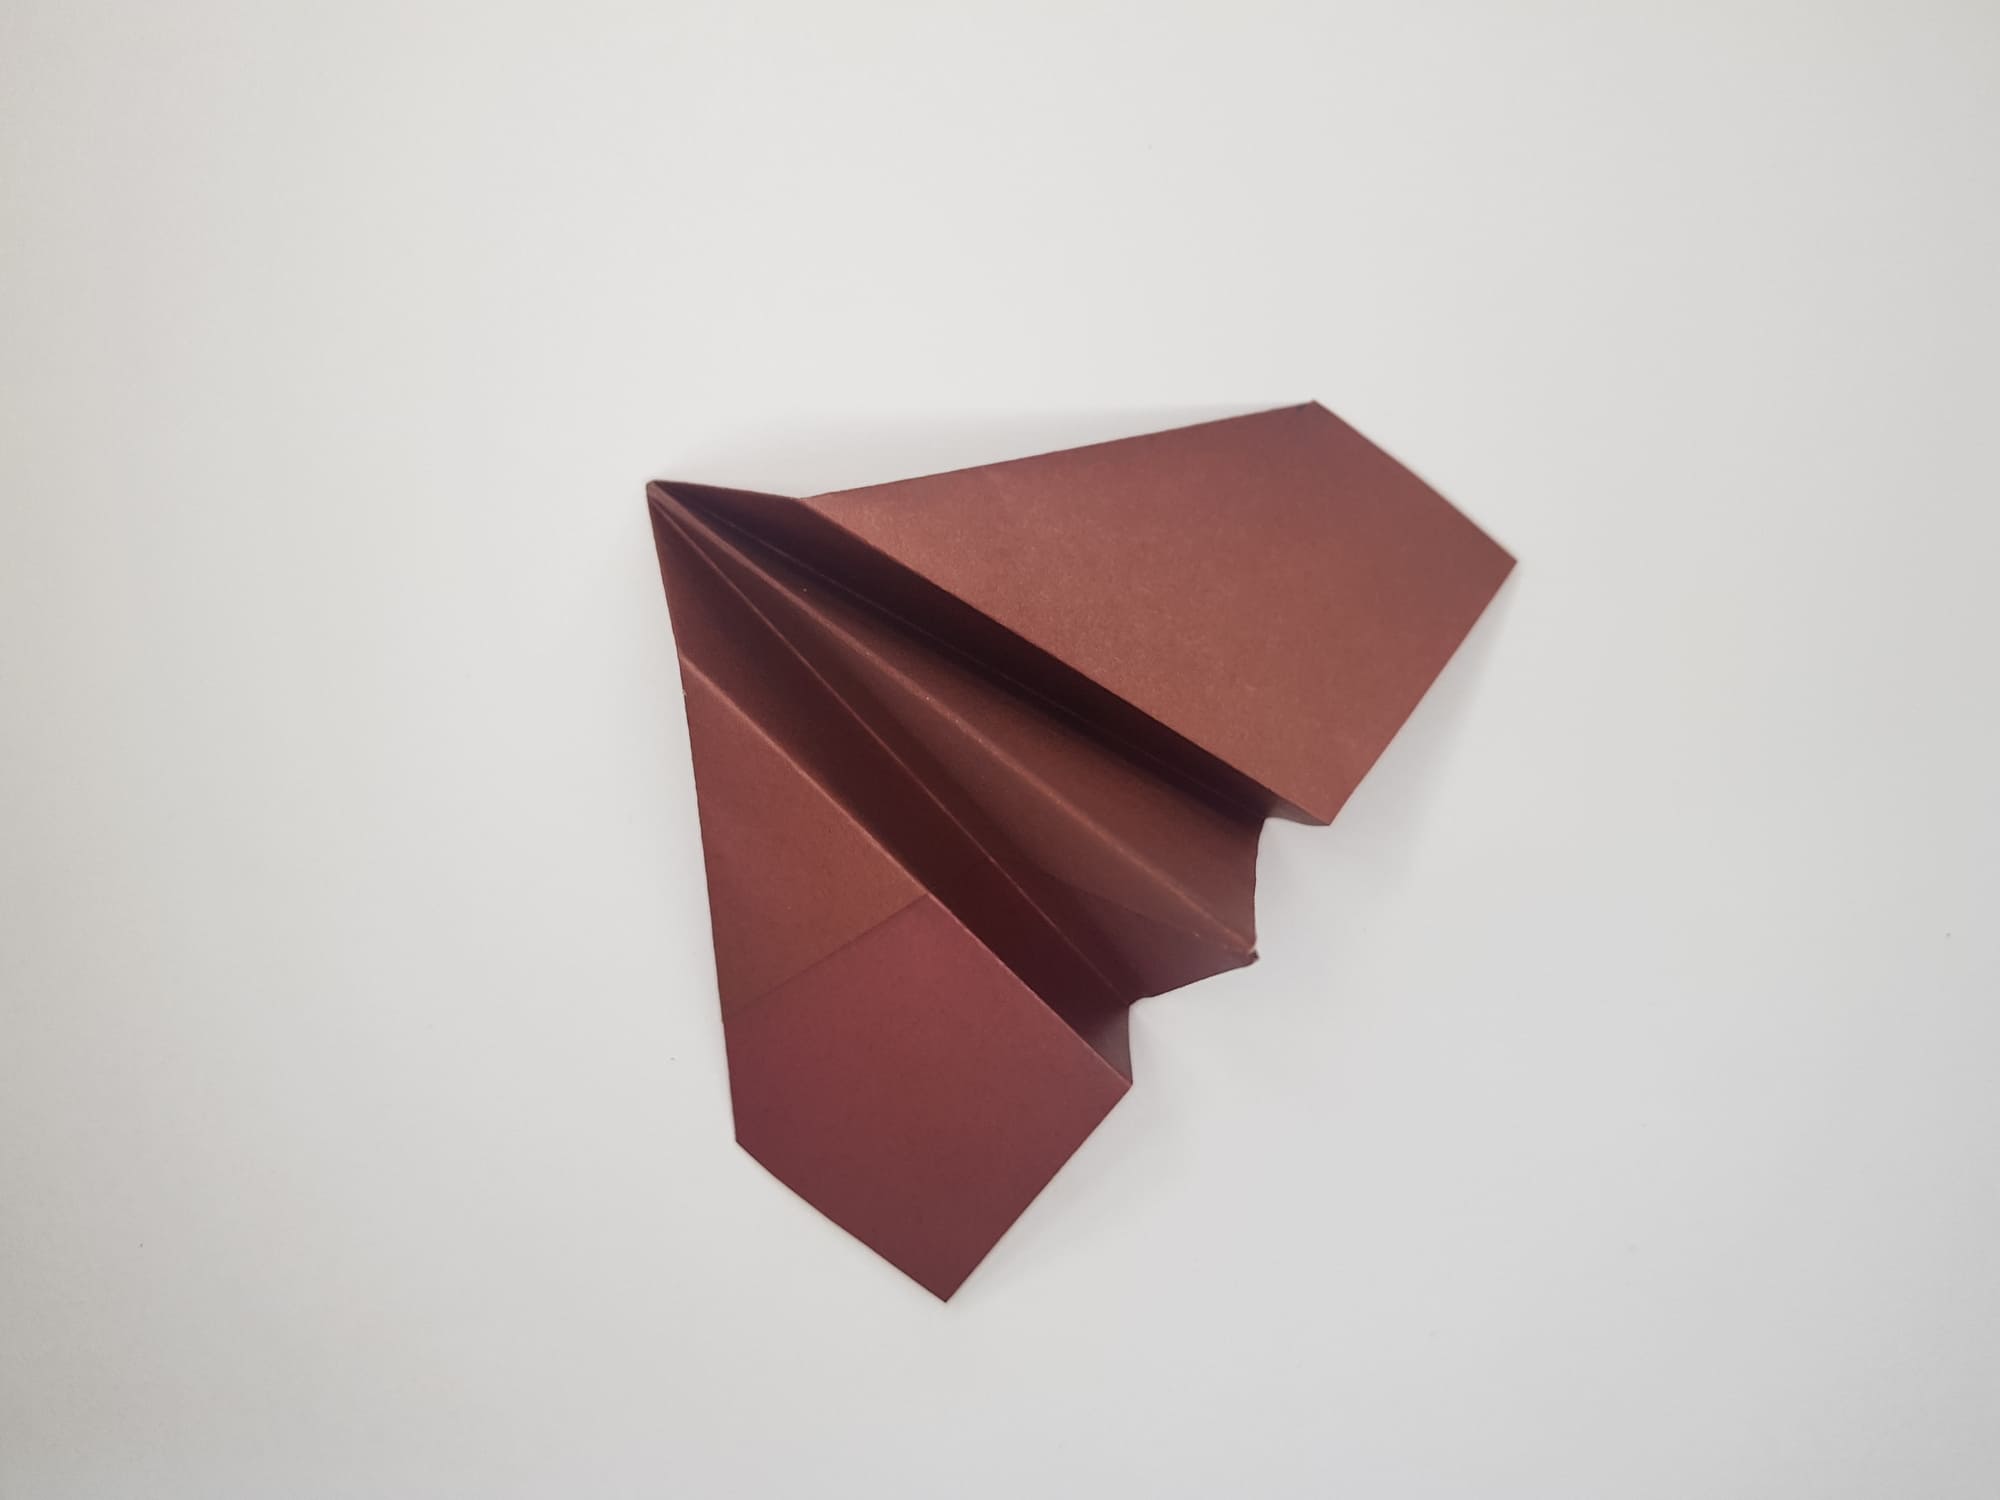
Straighten your origami figure, giving it a finished and neat look.
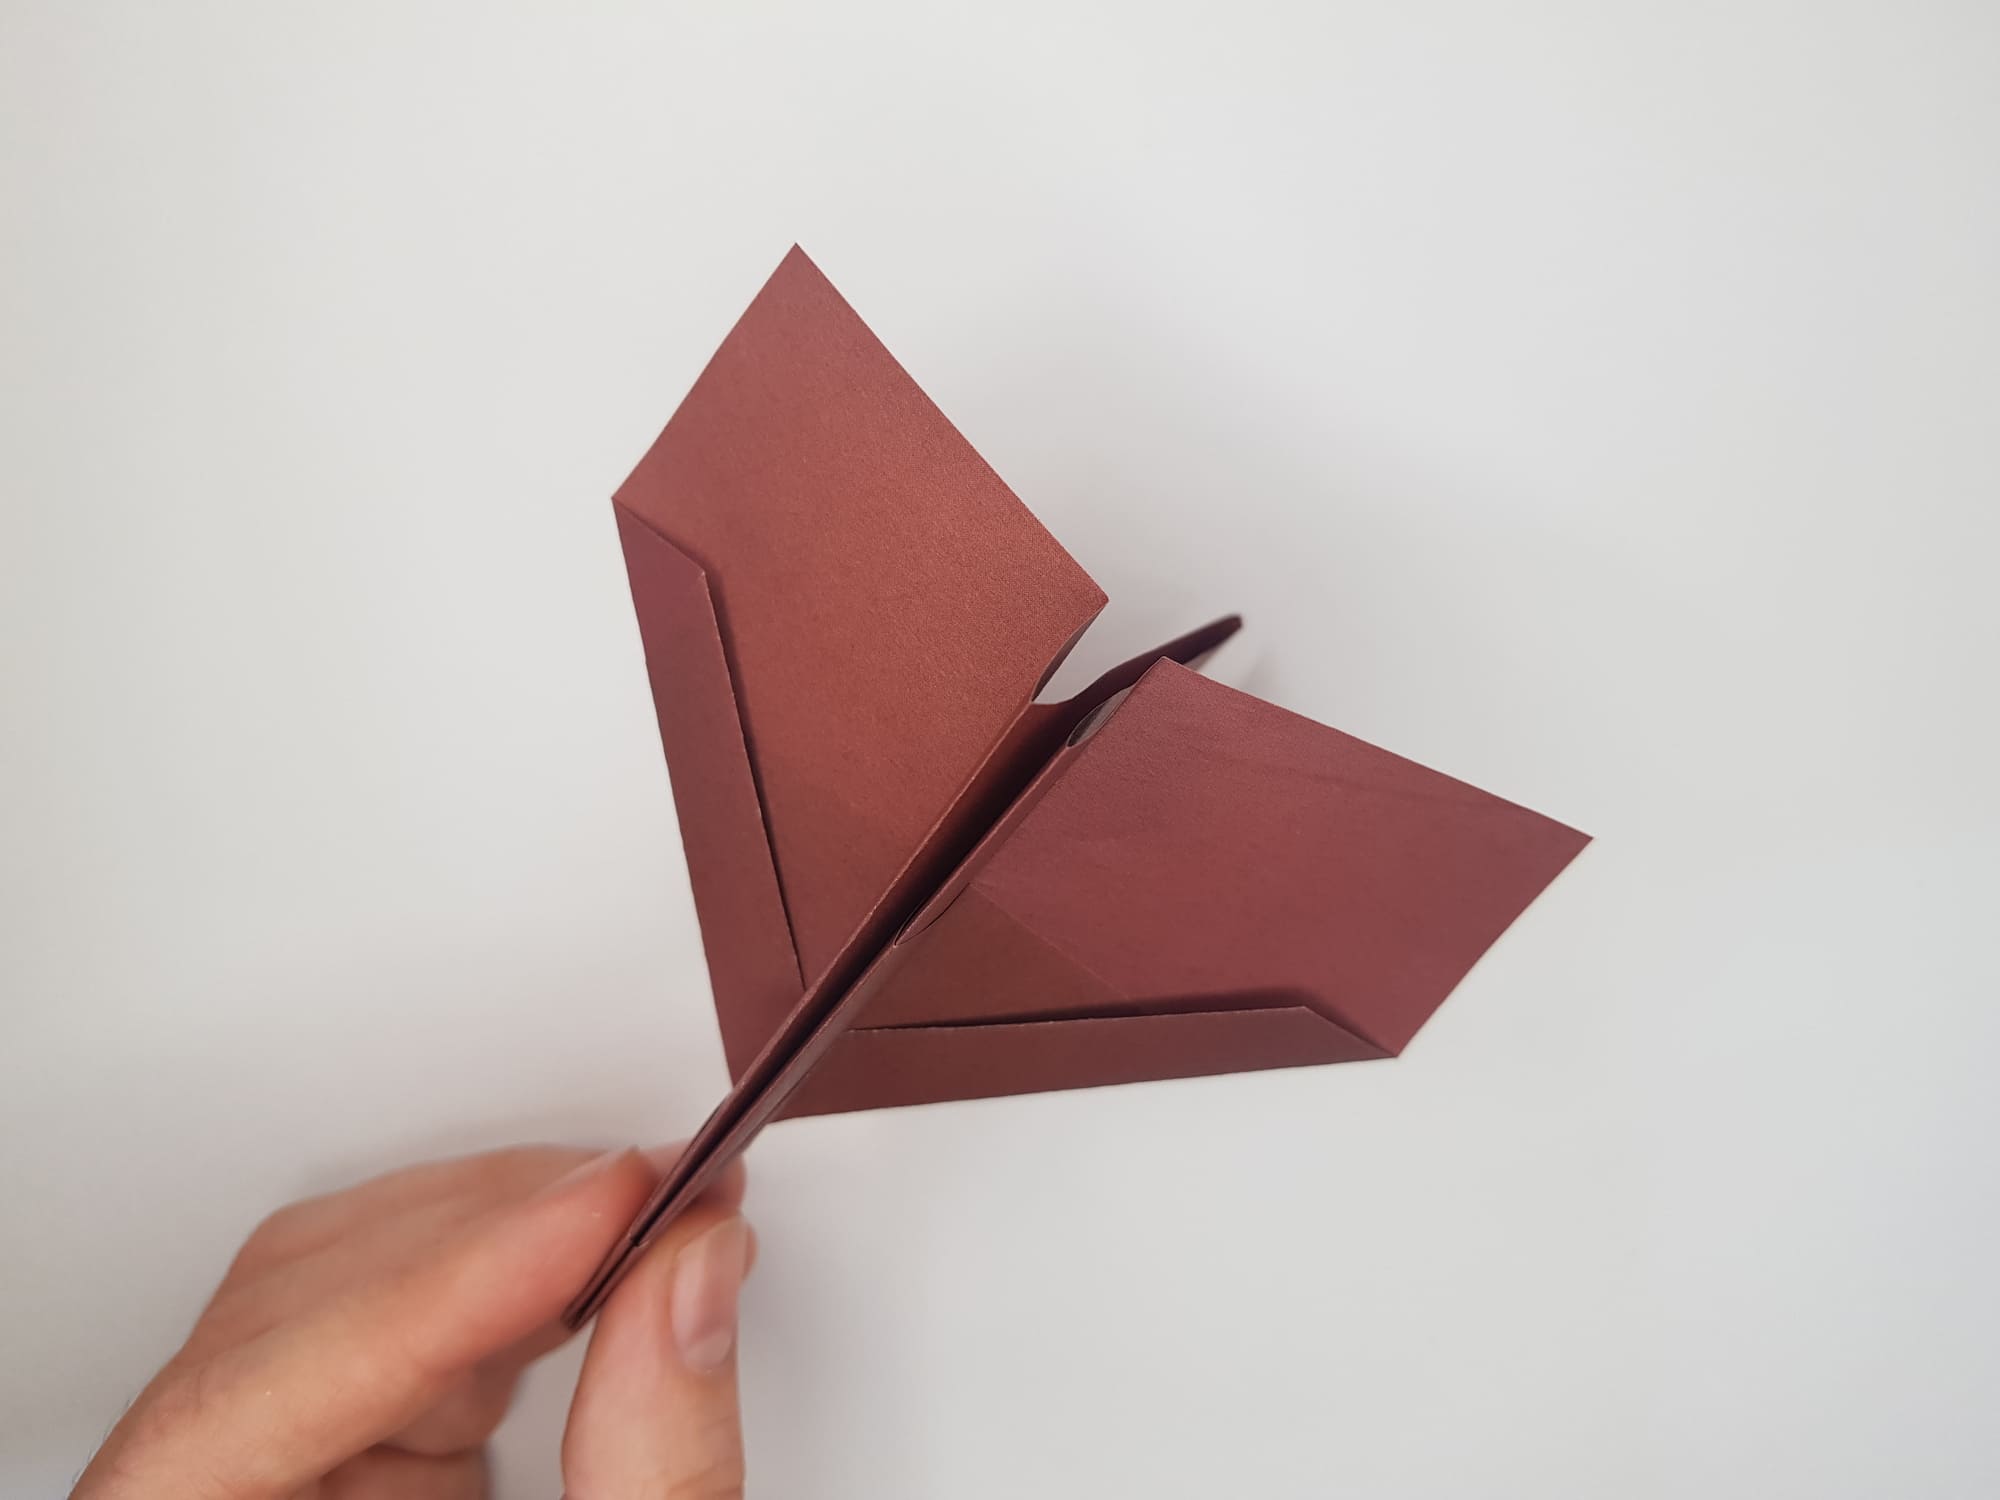

You can also experiment with the design. For instance, we suggest stapling or gluing the front fuselage together to add weight, or bending the edges of the wings down or up to adjust the movement in the air. It will also be interesting to build several models of different sizes or from different papers to observe how material and weight affect the trajectory and range of flight.