Origami Squash Fold №1
The squash fold technique is a very famous origami variant. Perhaps you have already made pockets in this way before, but did not know that this technique is called that. Or have already forgotten how to make these pockets.
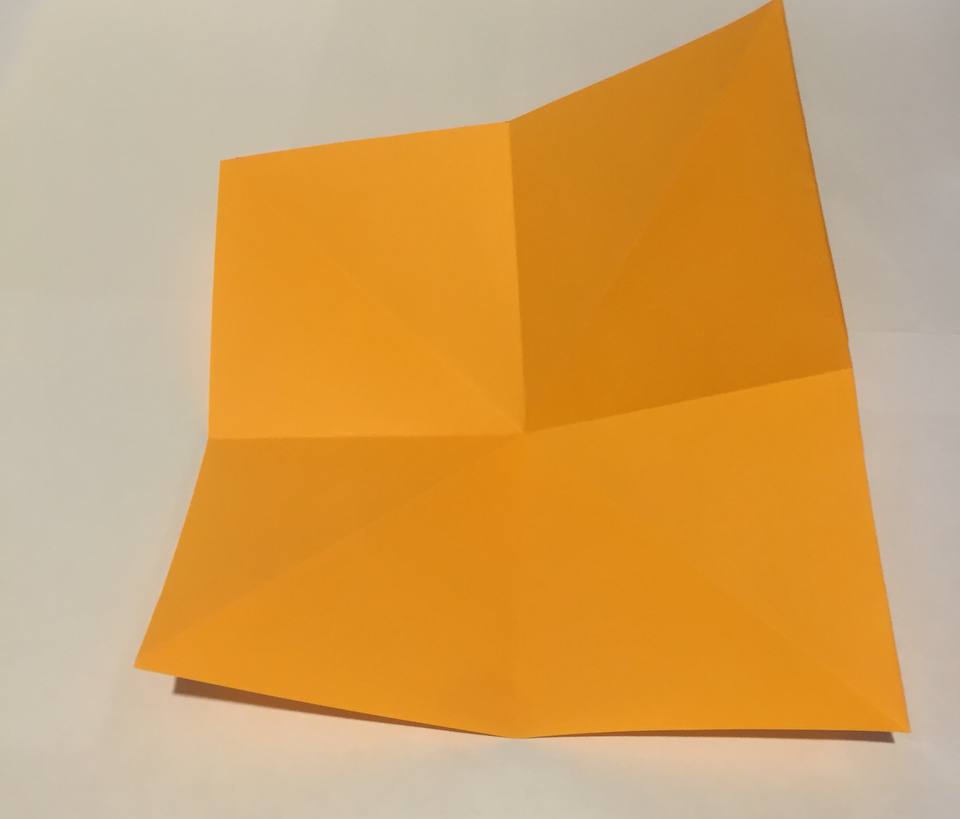
First, you need to prepare a square base.

First, make two diagonal folds and unfold them. Then two horizontal ones.
Iron the lines, making up a square shape, which is also often called a “double square”.
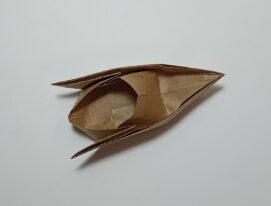
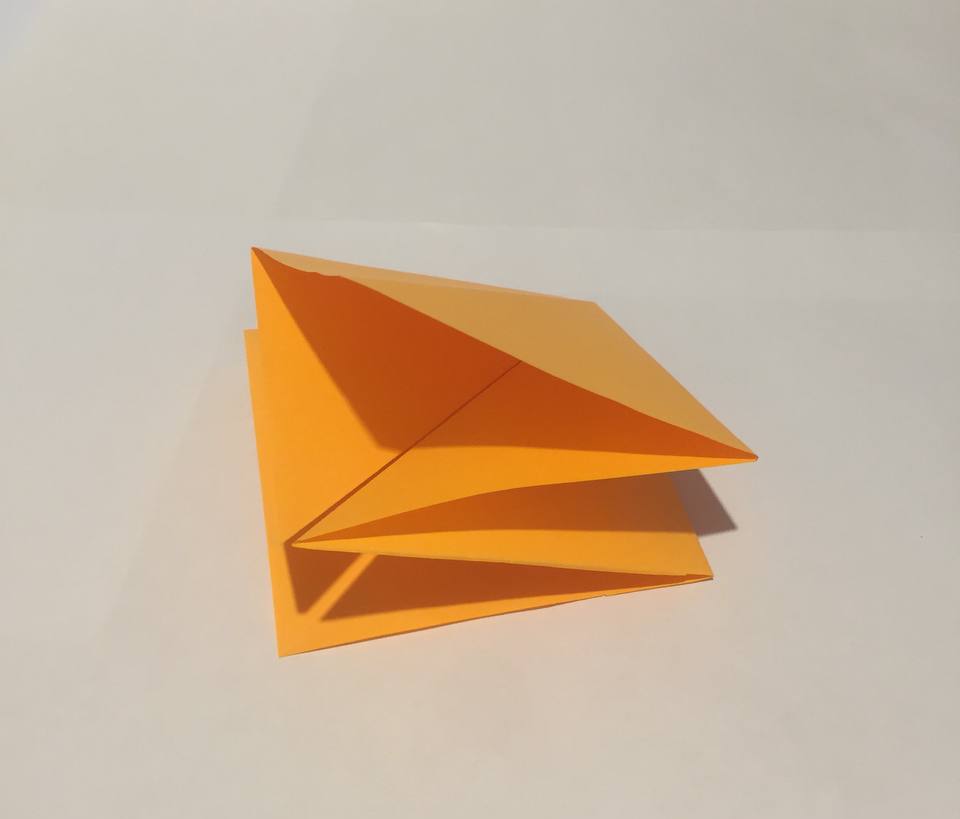
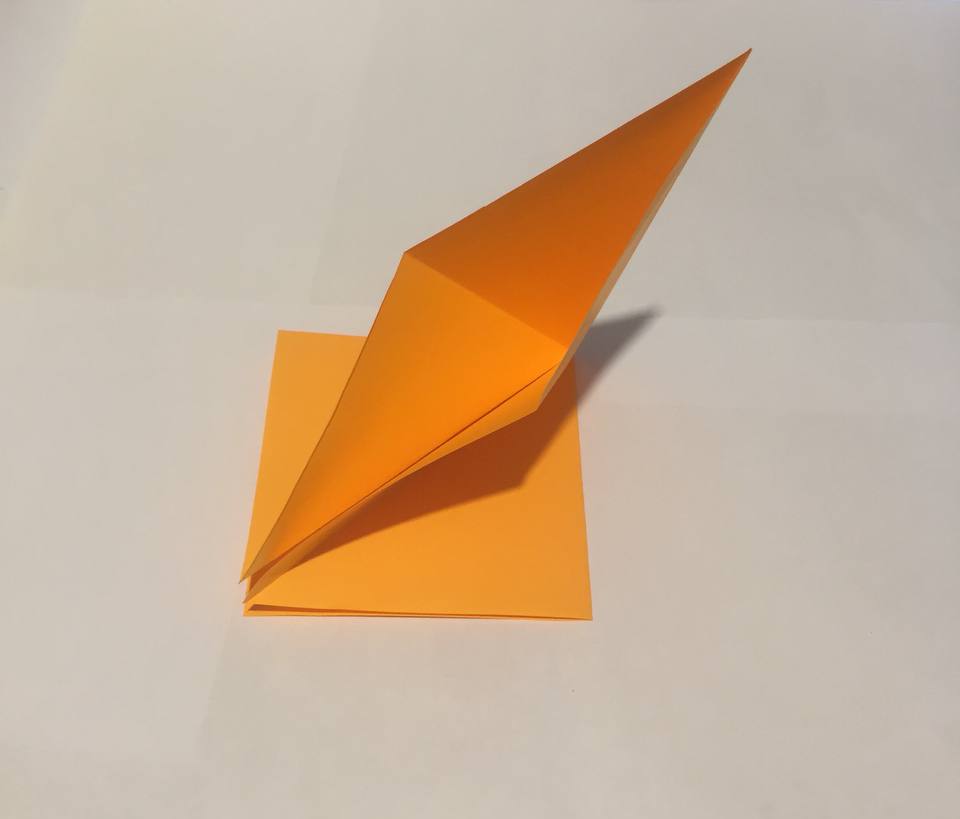
Thanks to an even diagonal fold, you need to get a large triangle. The latter, in turn, should be folded diagonally again, but not completely. One of the folds should be pulled back and opened to get a voluminous pocket.
You should turn your model over to the other side. The valve should go from right to left. Slightly open the inner pocket, then press to the base.
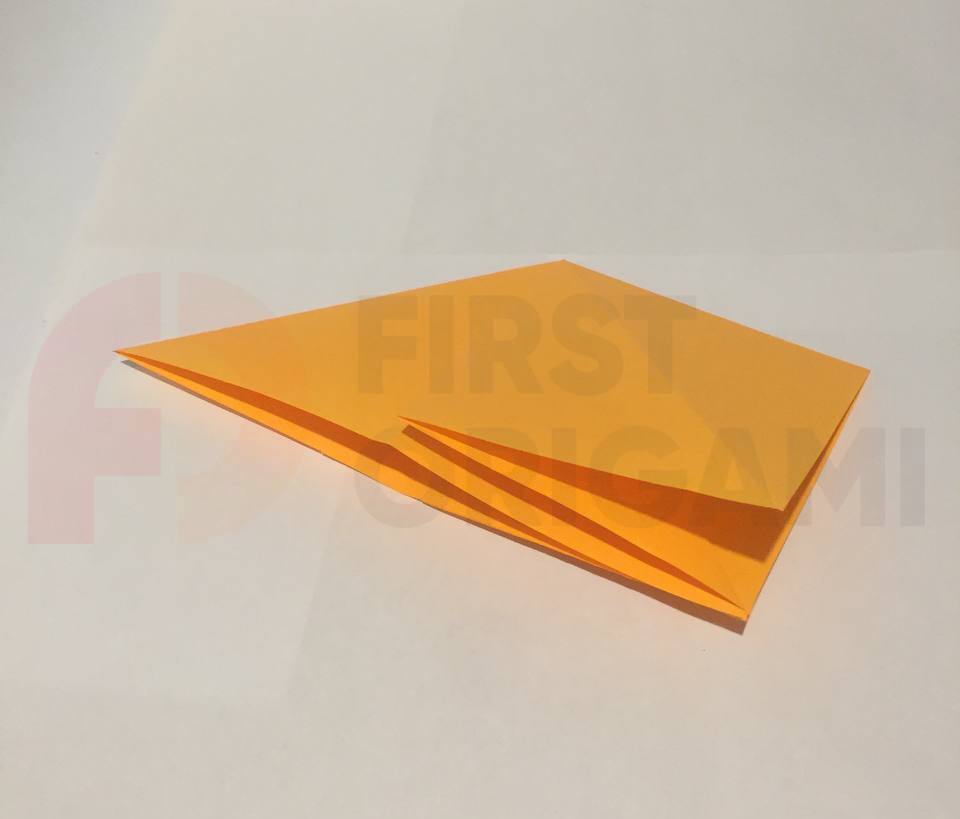
Work out the surface of your figure, flattening it.
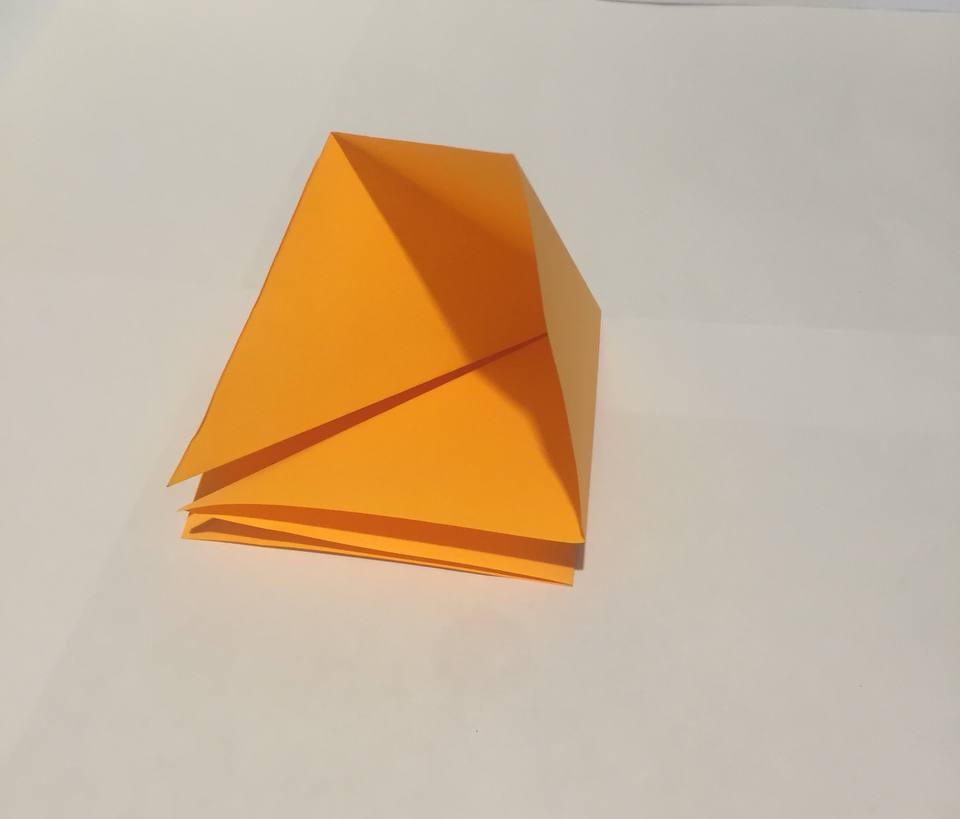
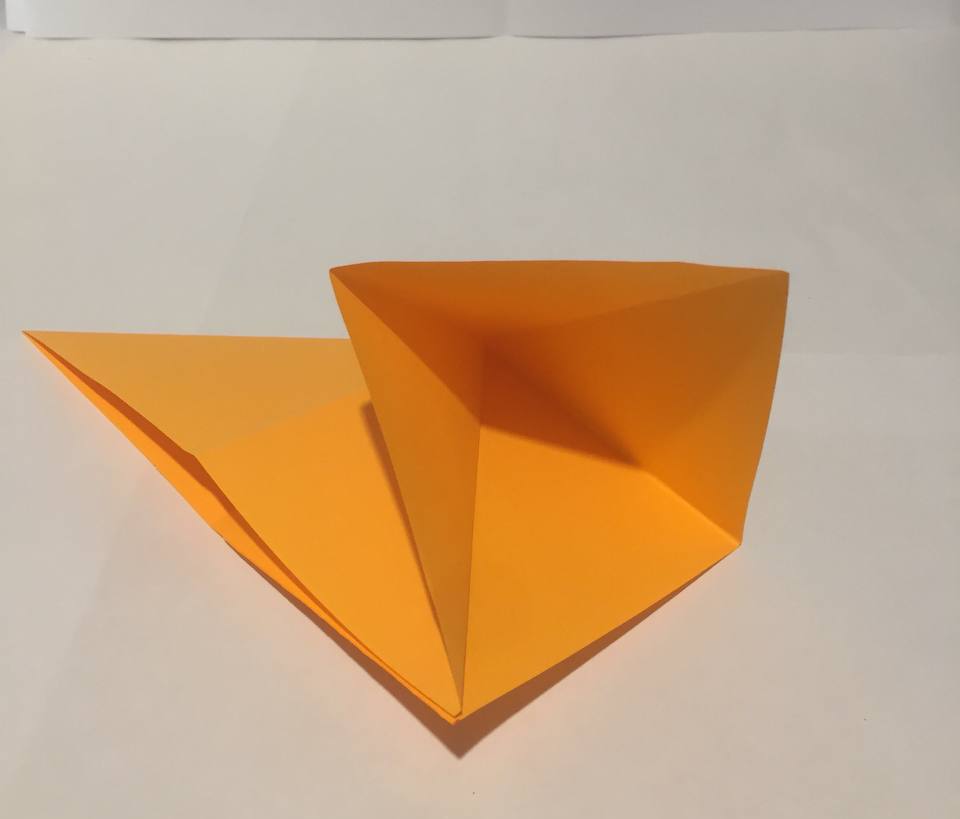
Lift the right corner of the figure and open the resulting pocket.
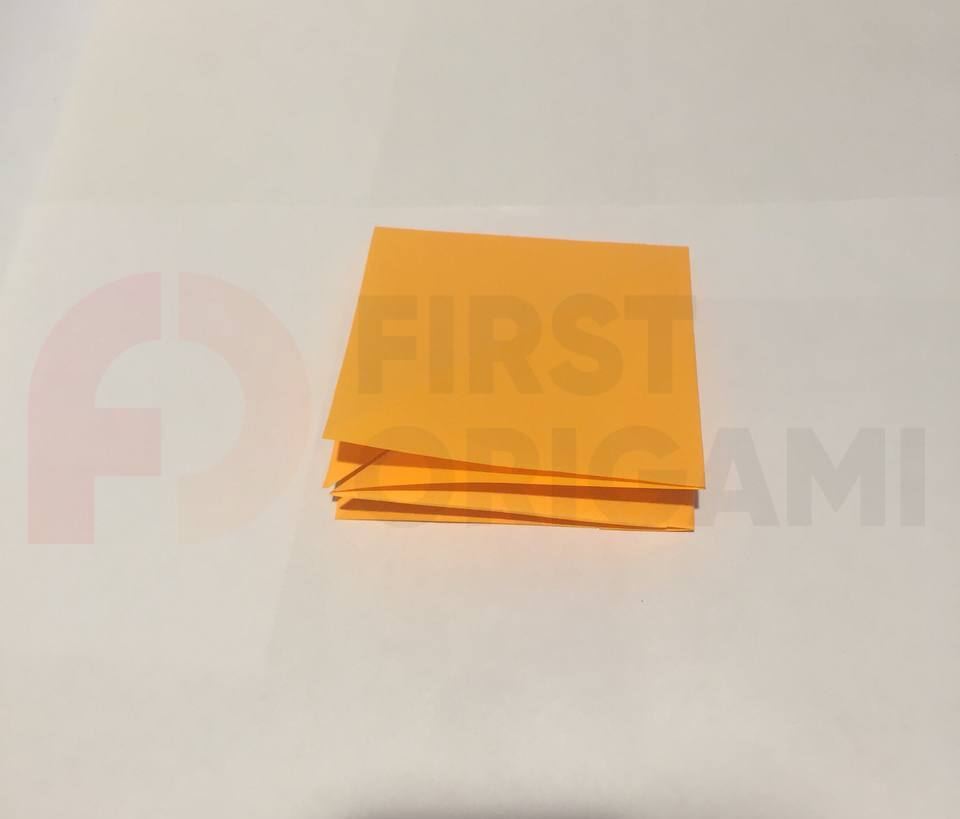
Flatten the upper part of the figure and press it to the bottom, making up a square again.
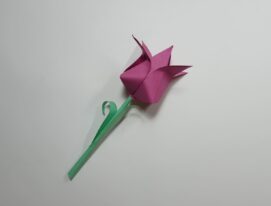
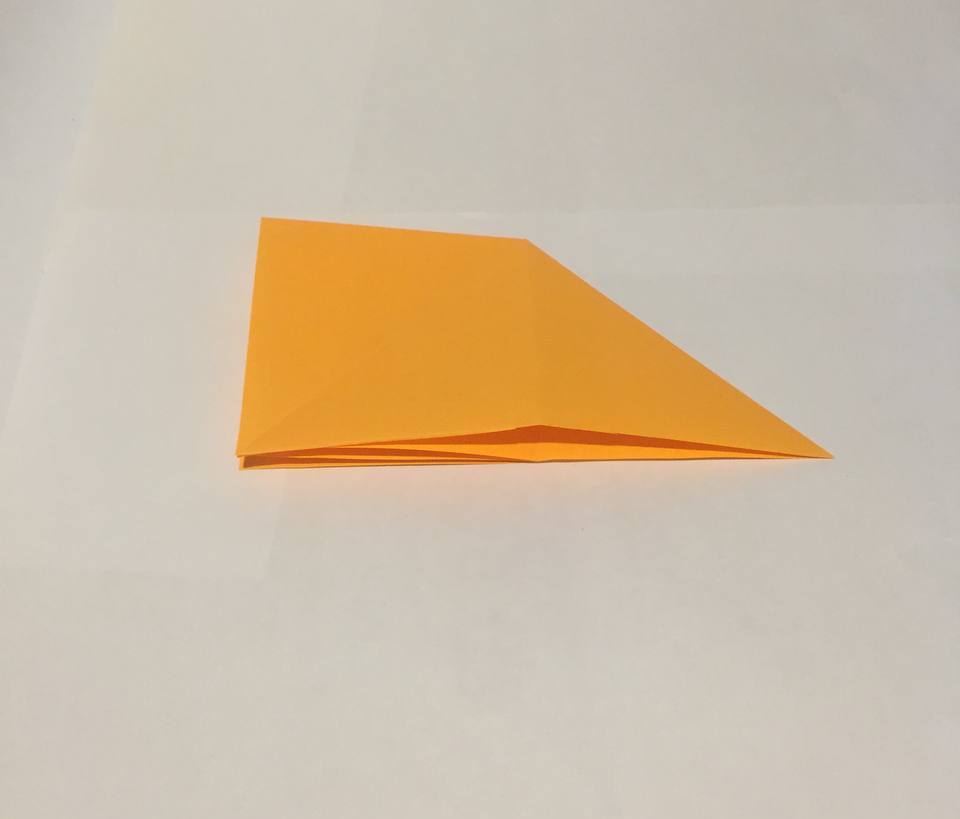
As a result, we got a simple fold, which will serve us many more times in more complex origami figures.
To get a squash fold, you need to fold the paper in a certain way, then press and straighten it – you get a voluminous pocket. We made step-by-step instructions with a photo – for convenient needlework, and also examined in detail one of several ways to make pockets.