Origami Star Box
We would like to introduce you to this very beautiful and practical origami. Its use is limited only by your imagination: to store candies, and stationery, to set the table for the arrival of friends, or even at a wedding. When choosing the size of the paper, be guided by the fact that a 15×15 cm square sheet will make a box about 5 cm wide, so feel free to take a larger square, and there is nothing to say about the color – let your imagination run wild!
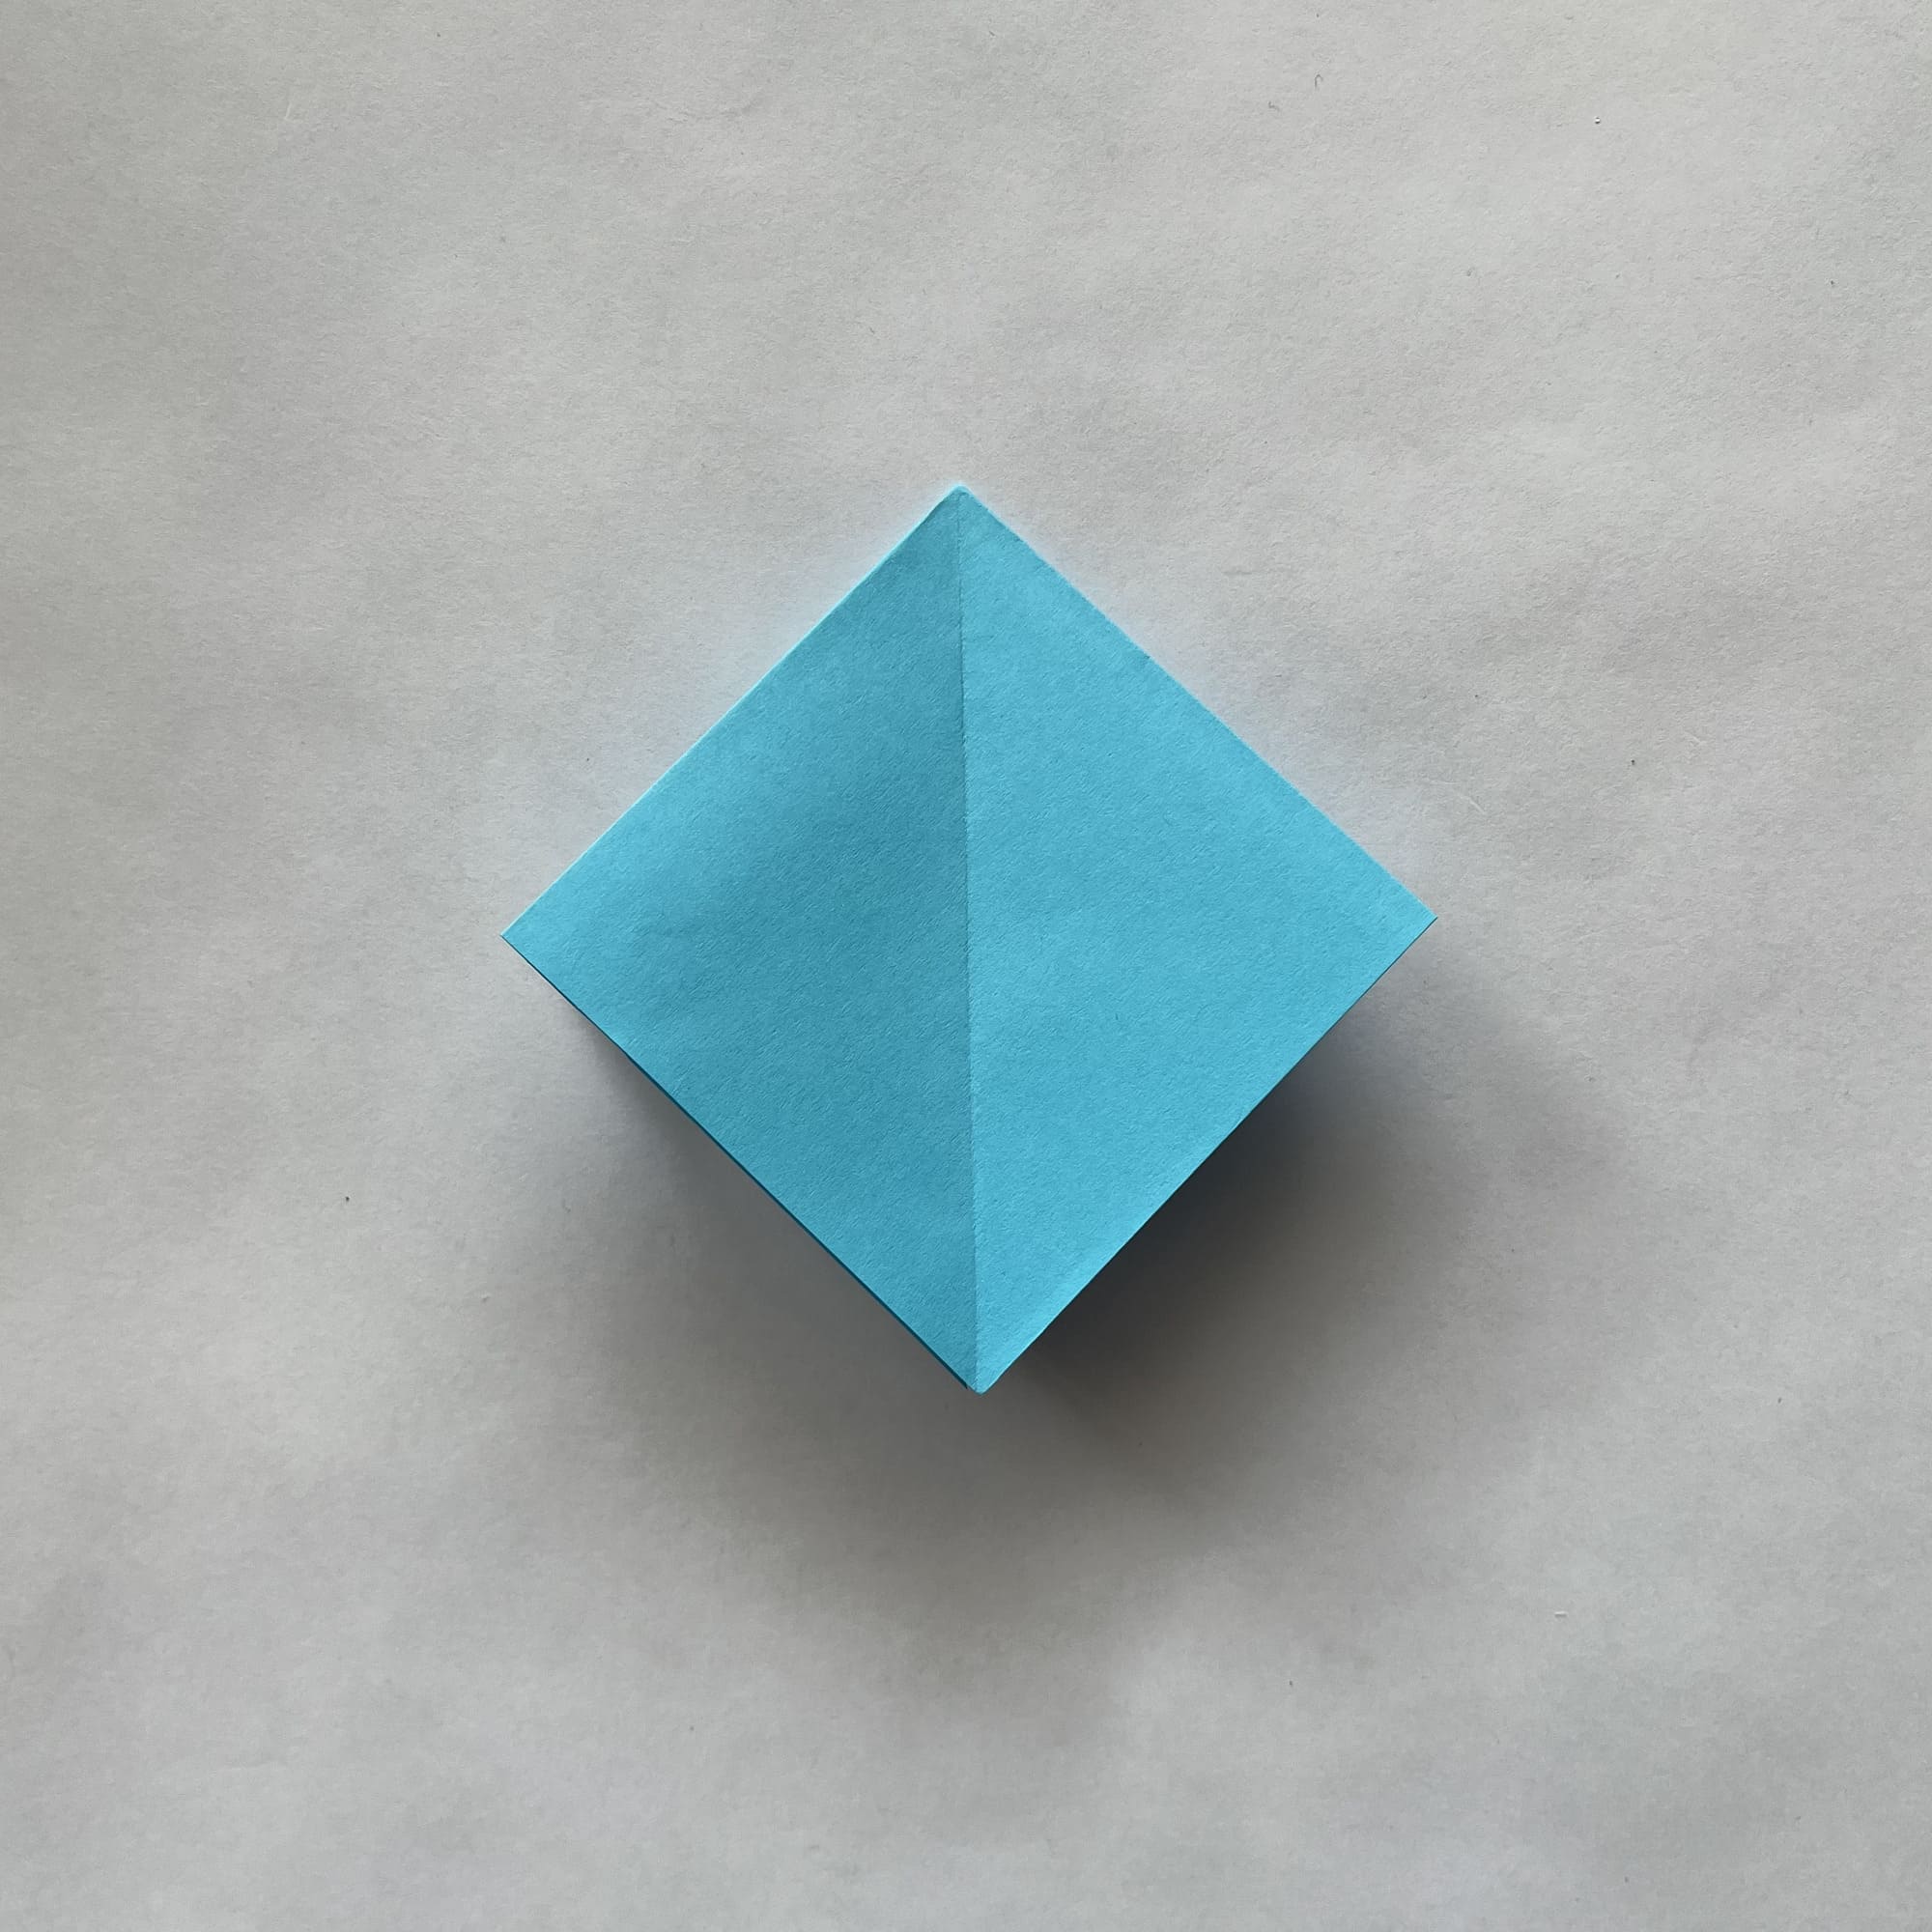
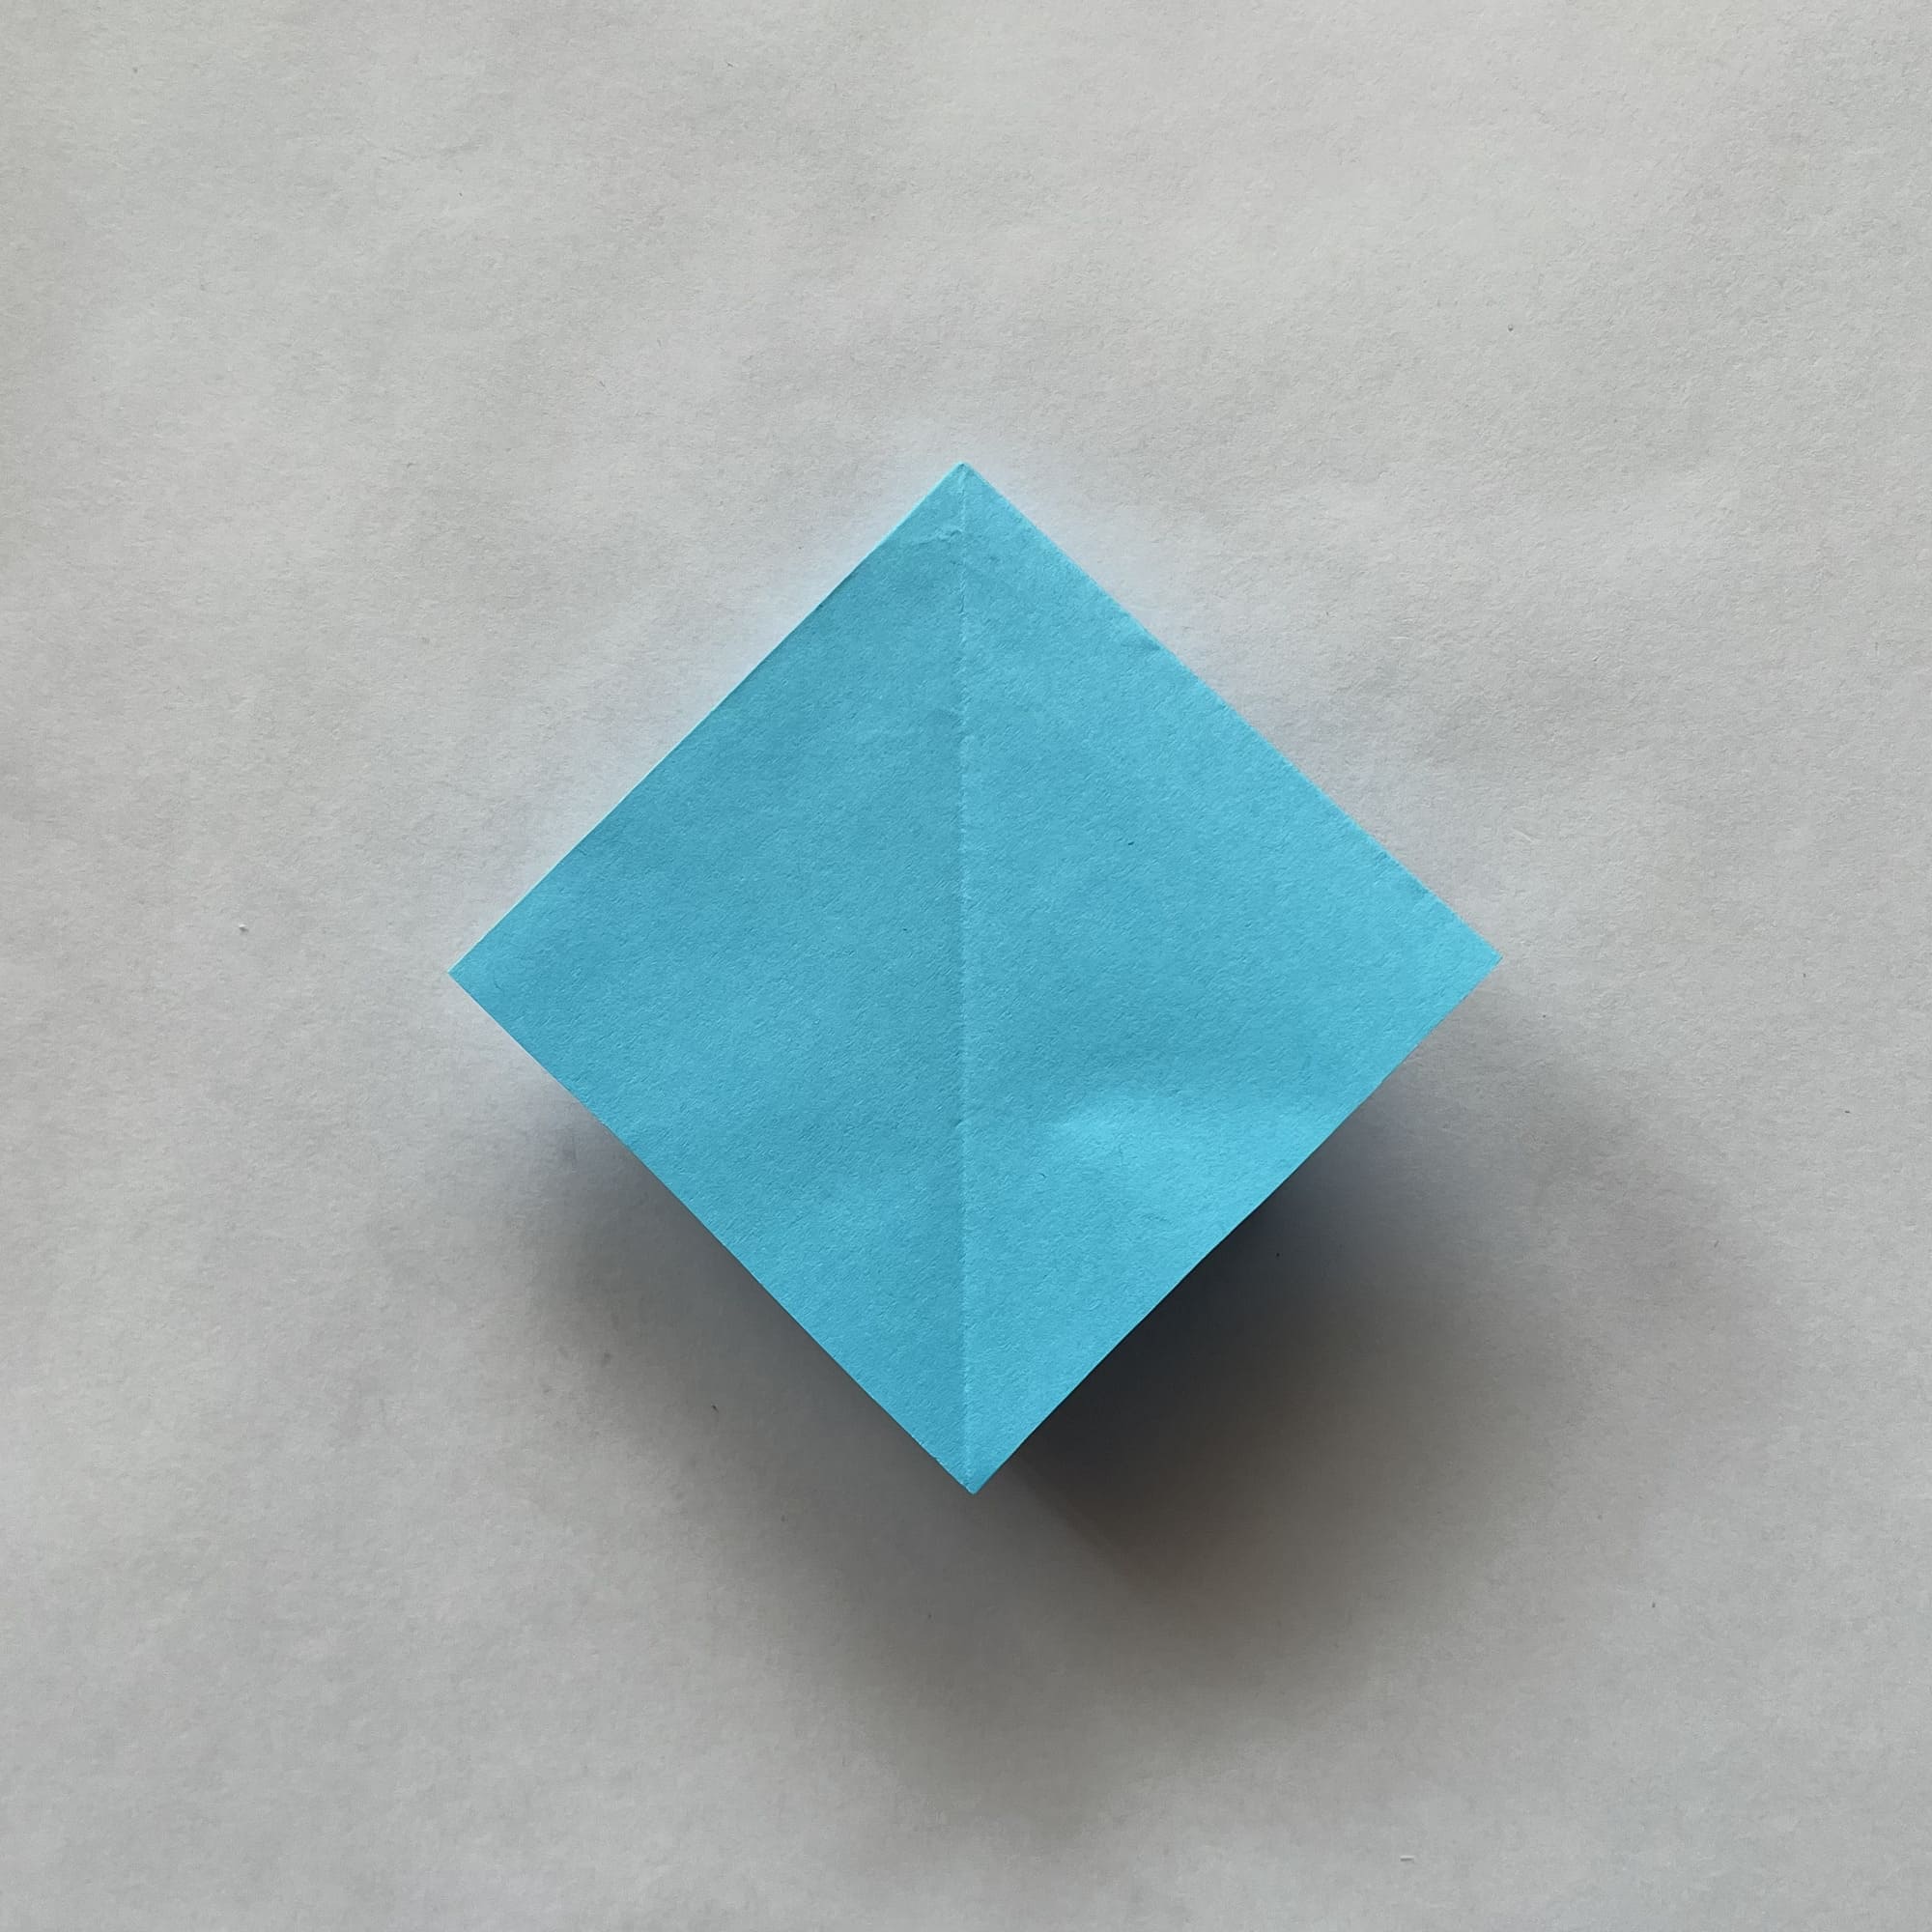
Make the square origami base.
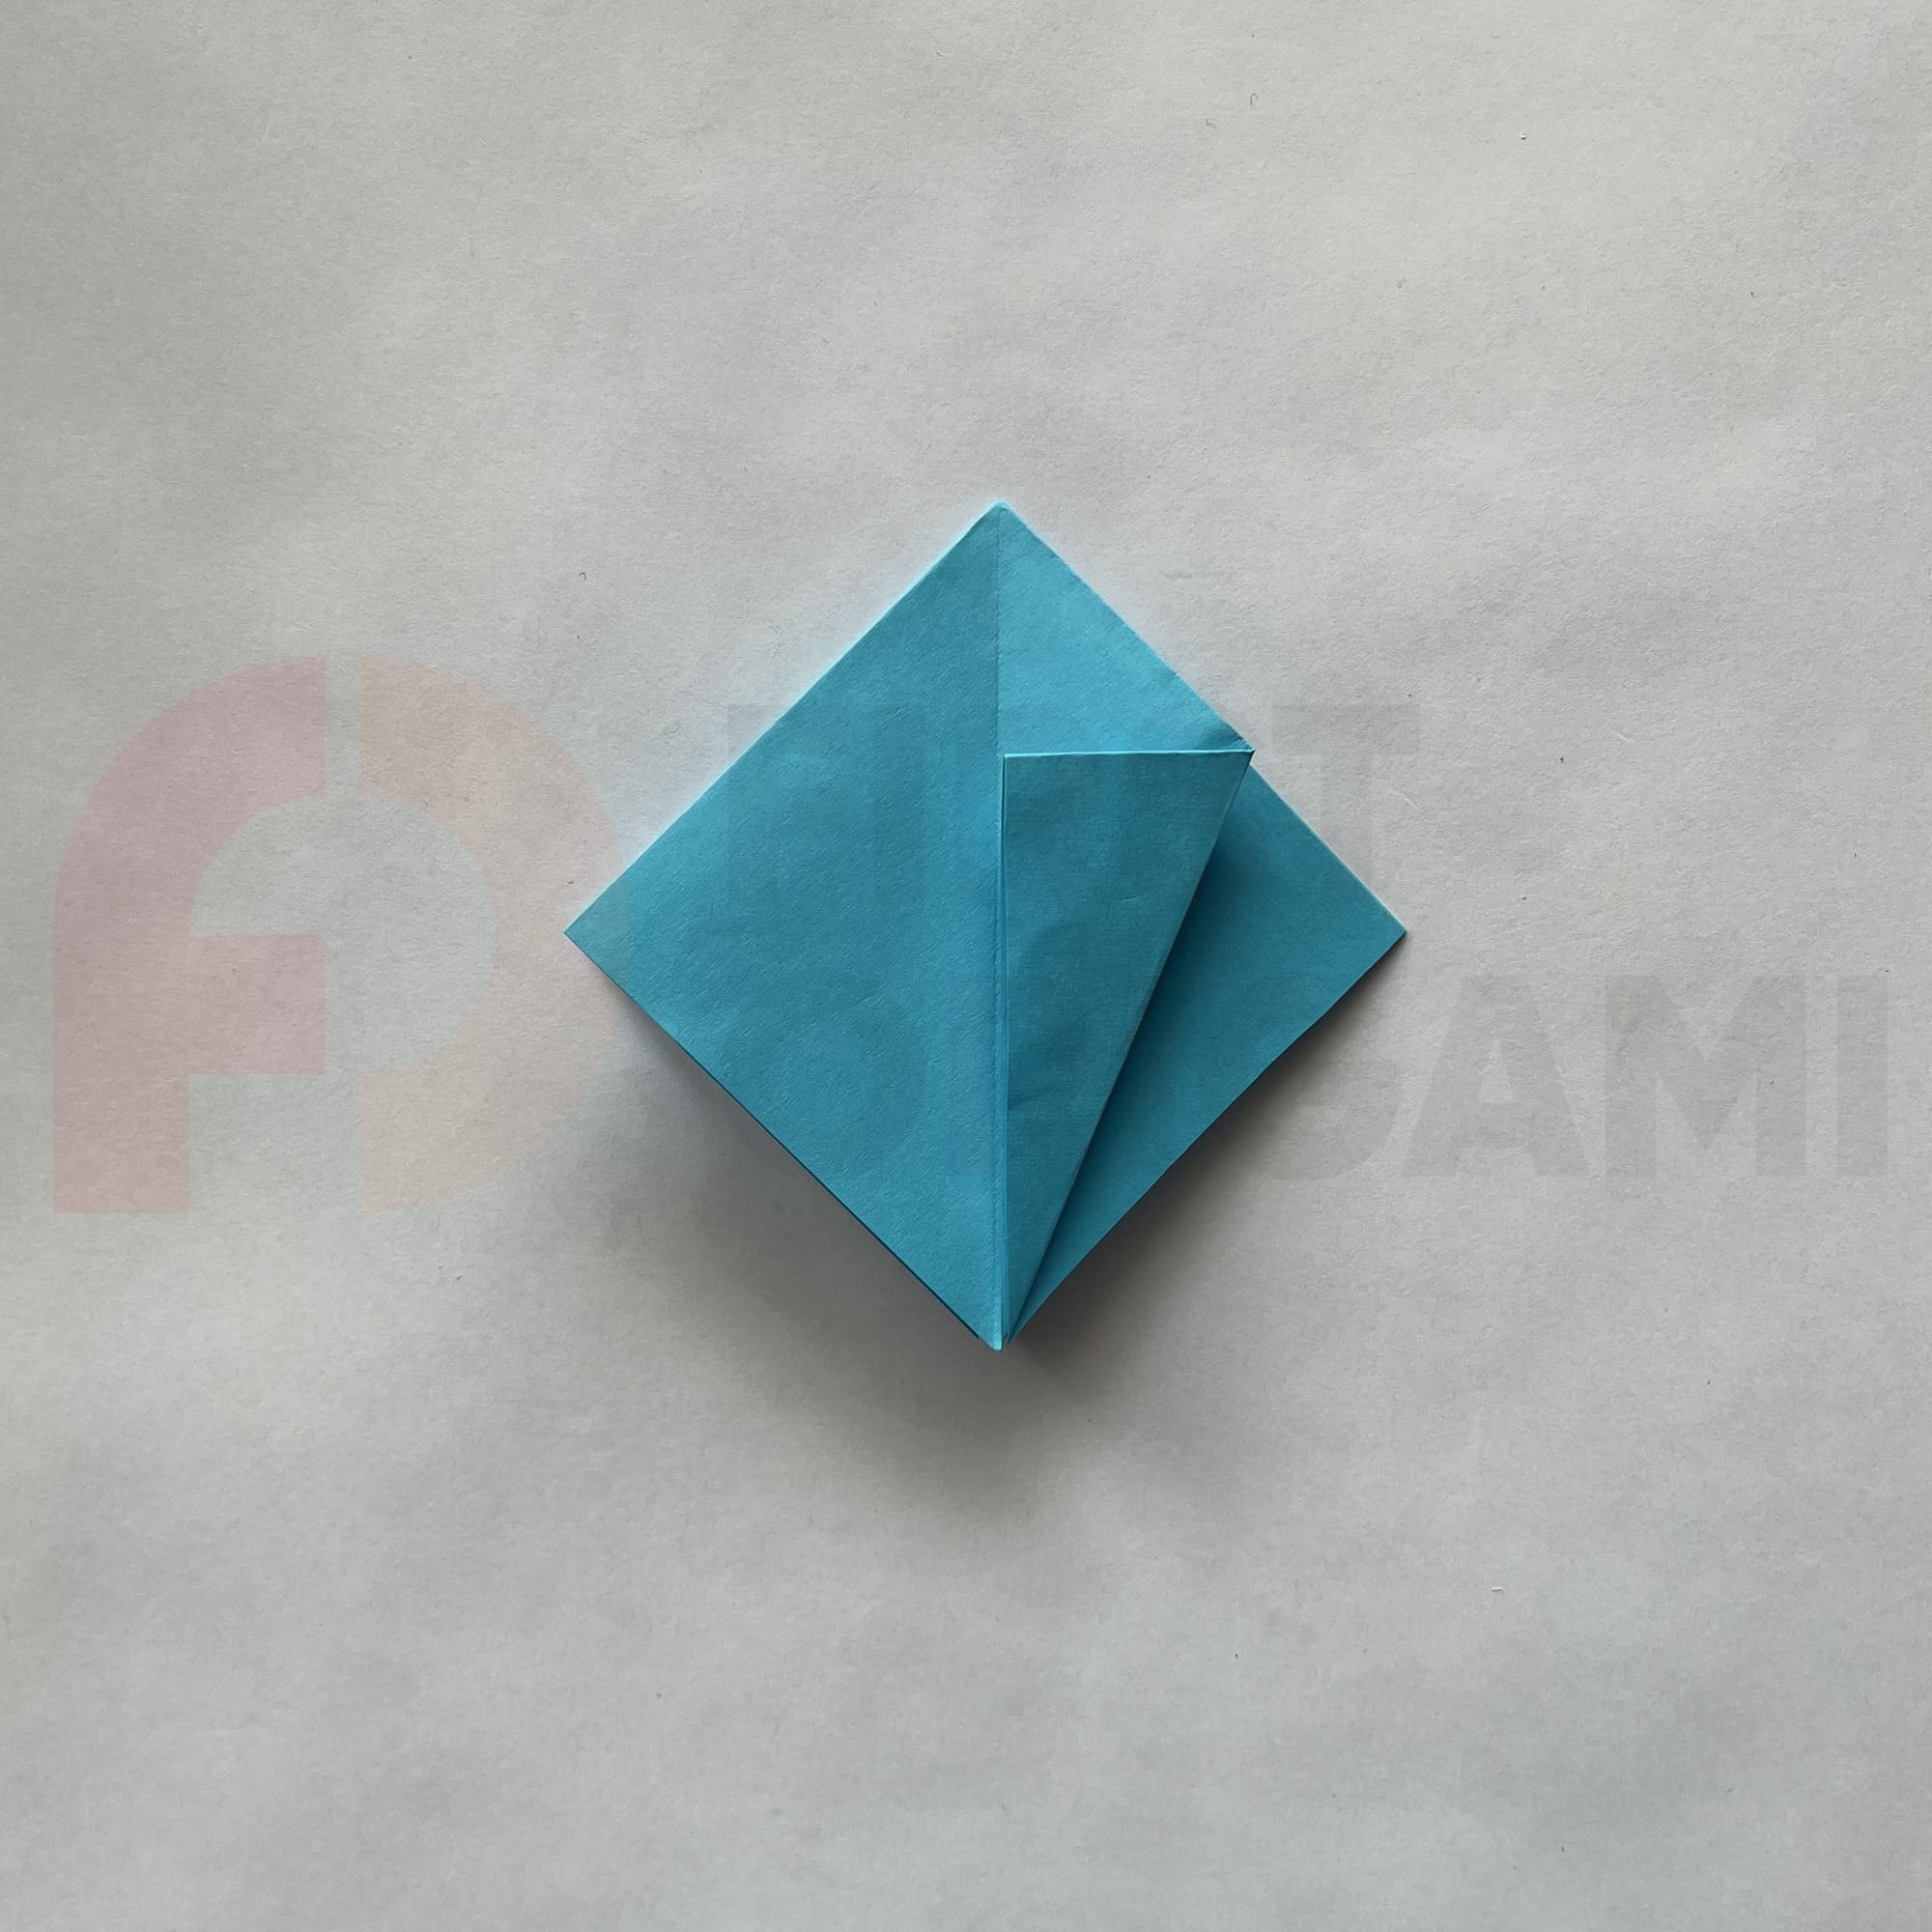
Bend the side corner to the center line, and work the fold well.
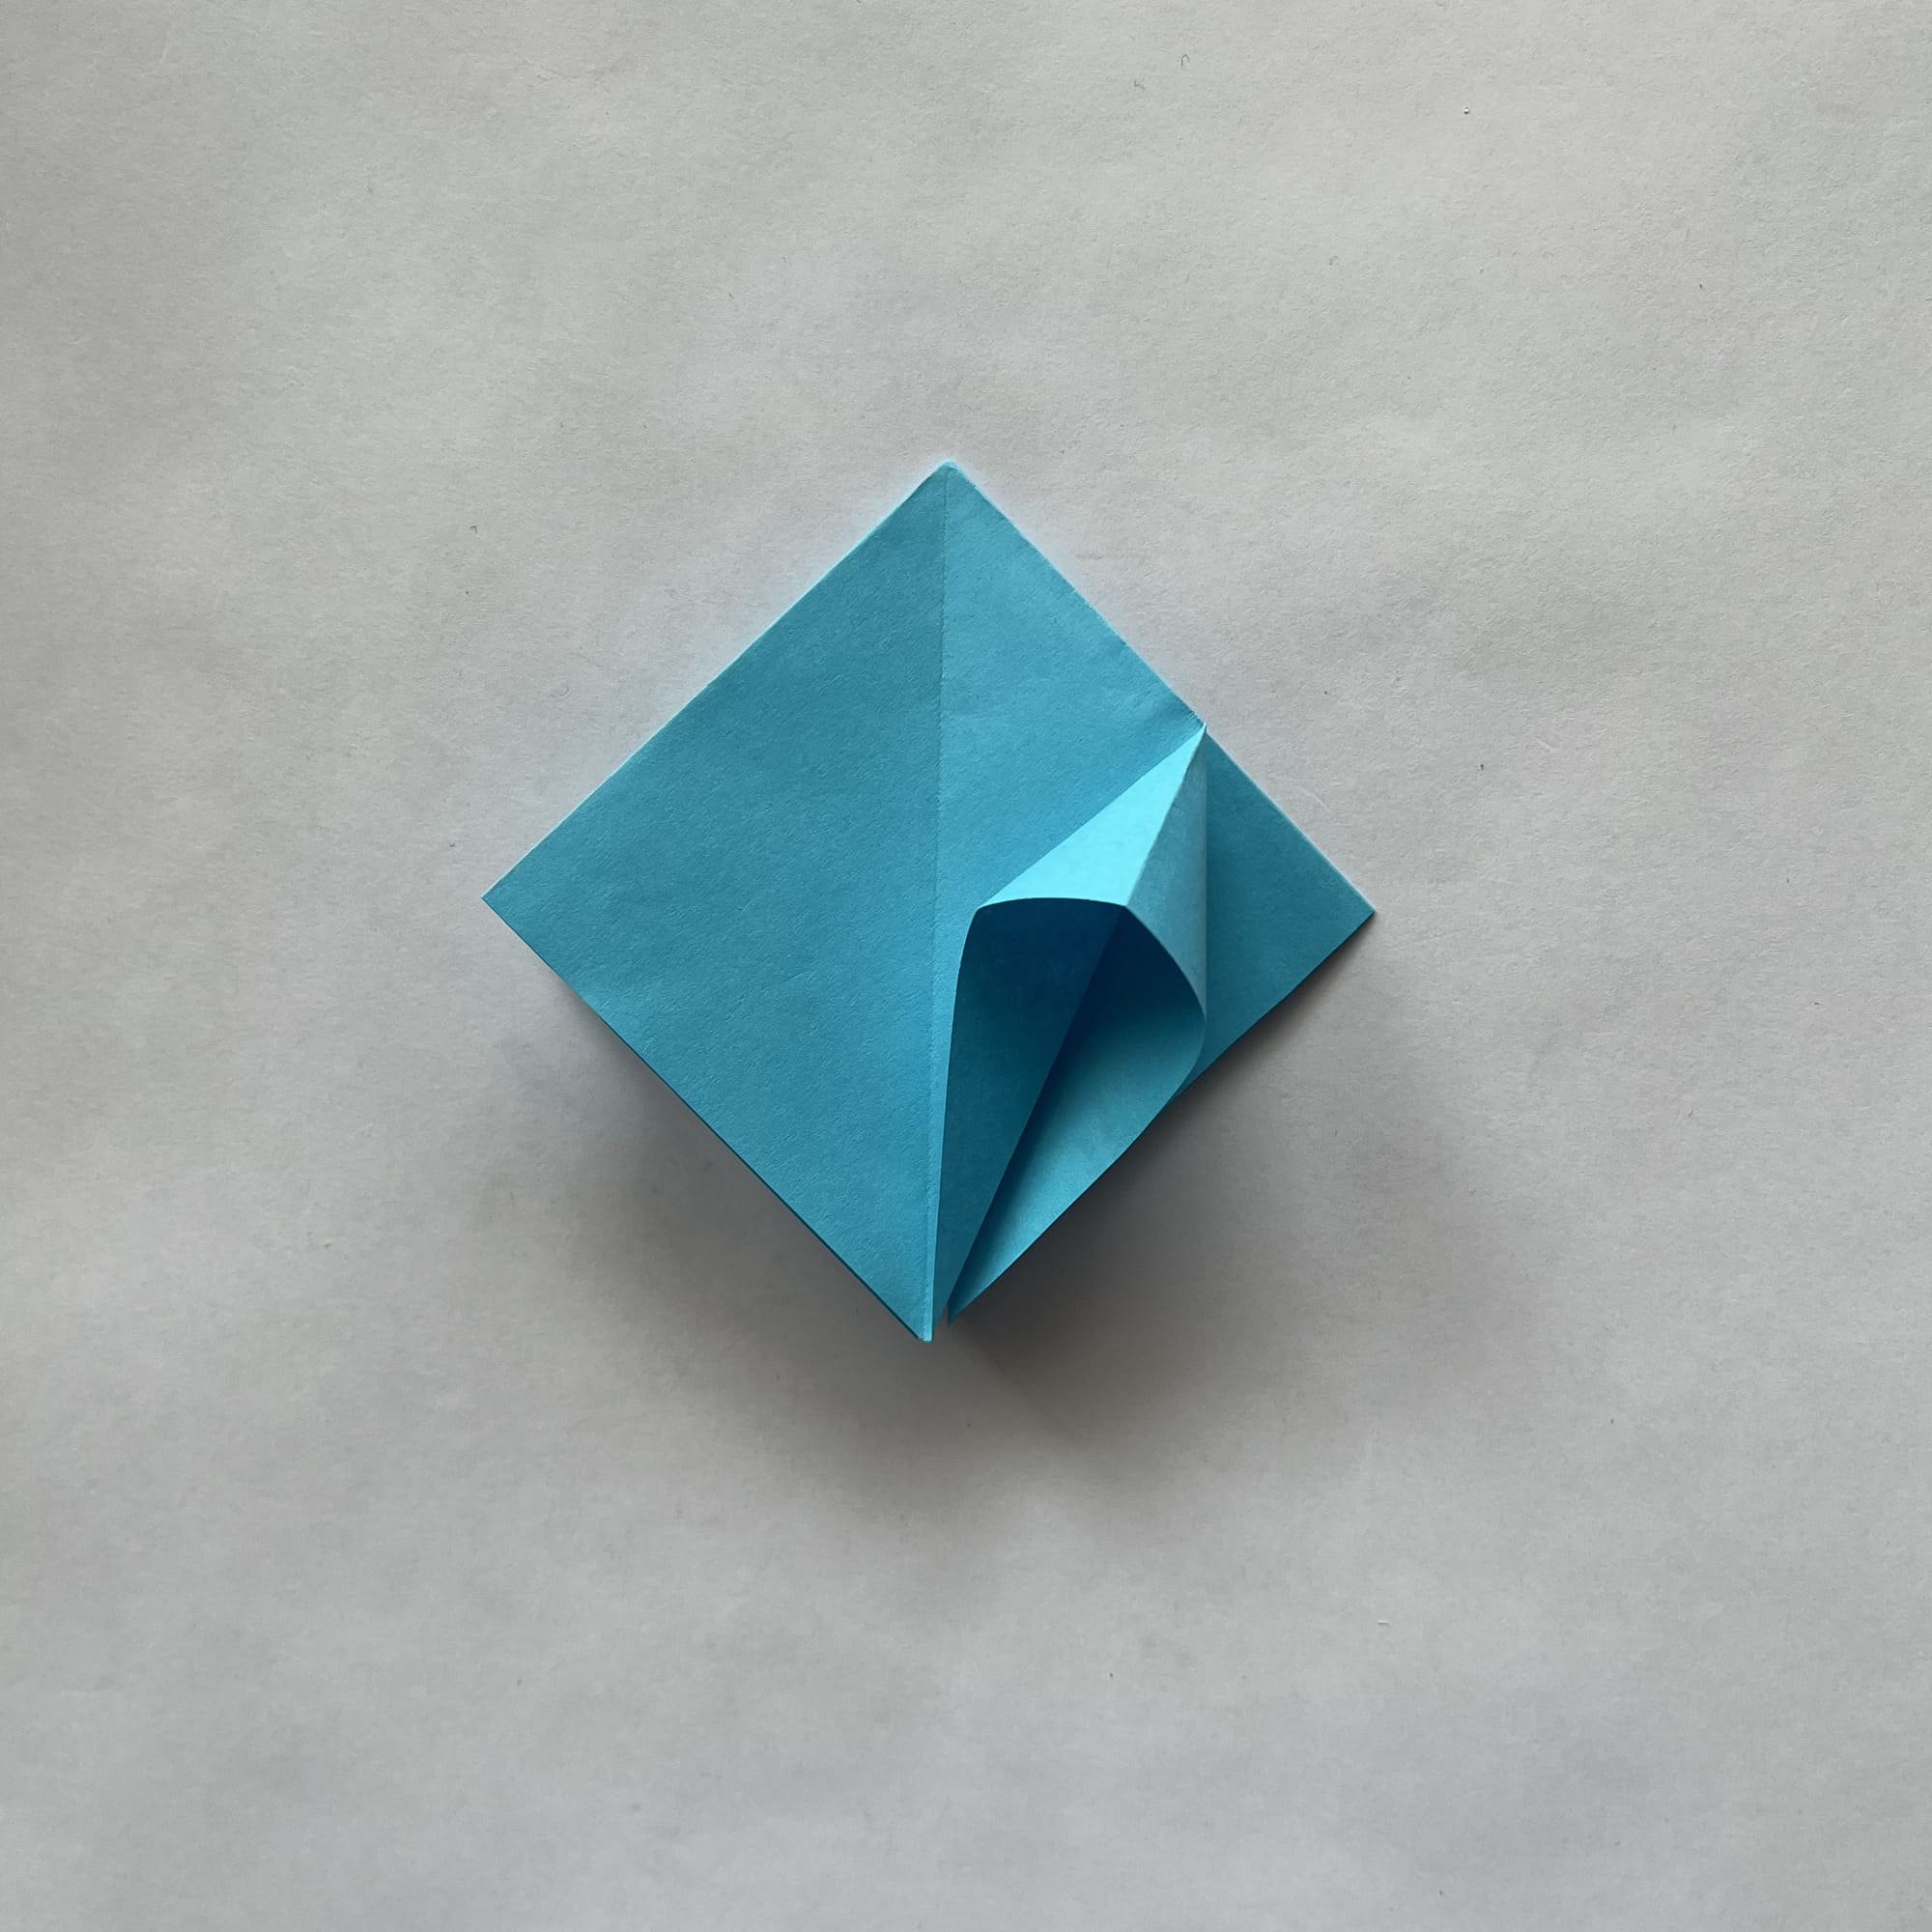
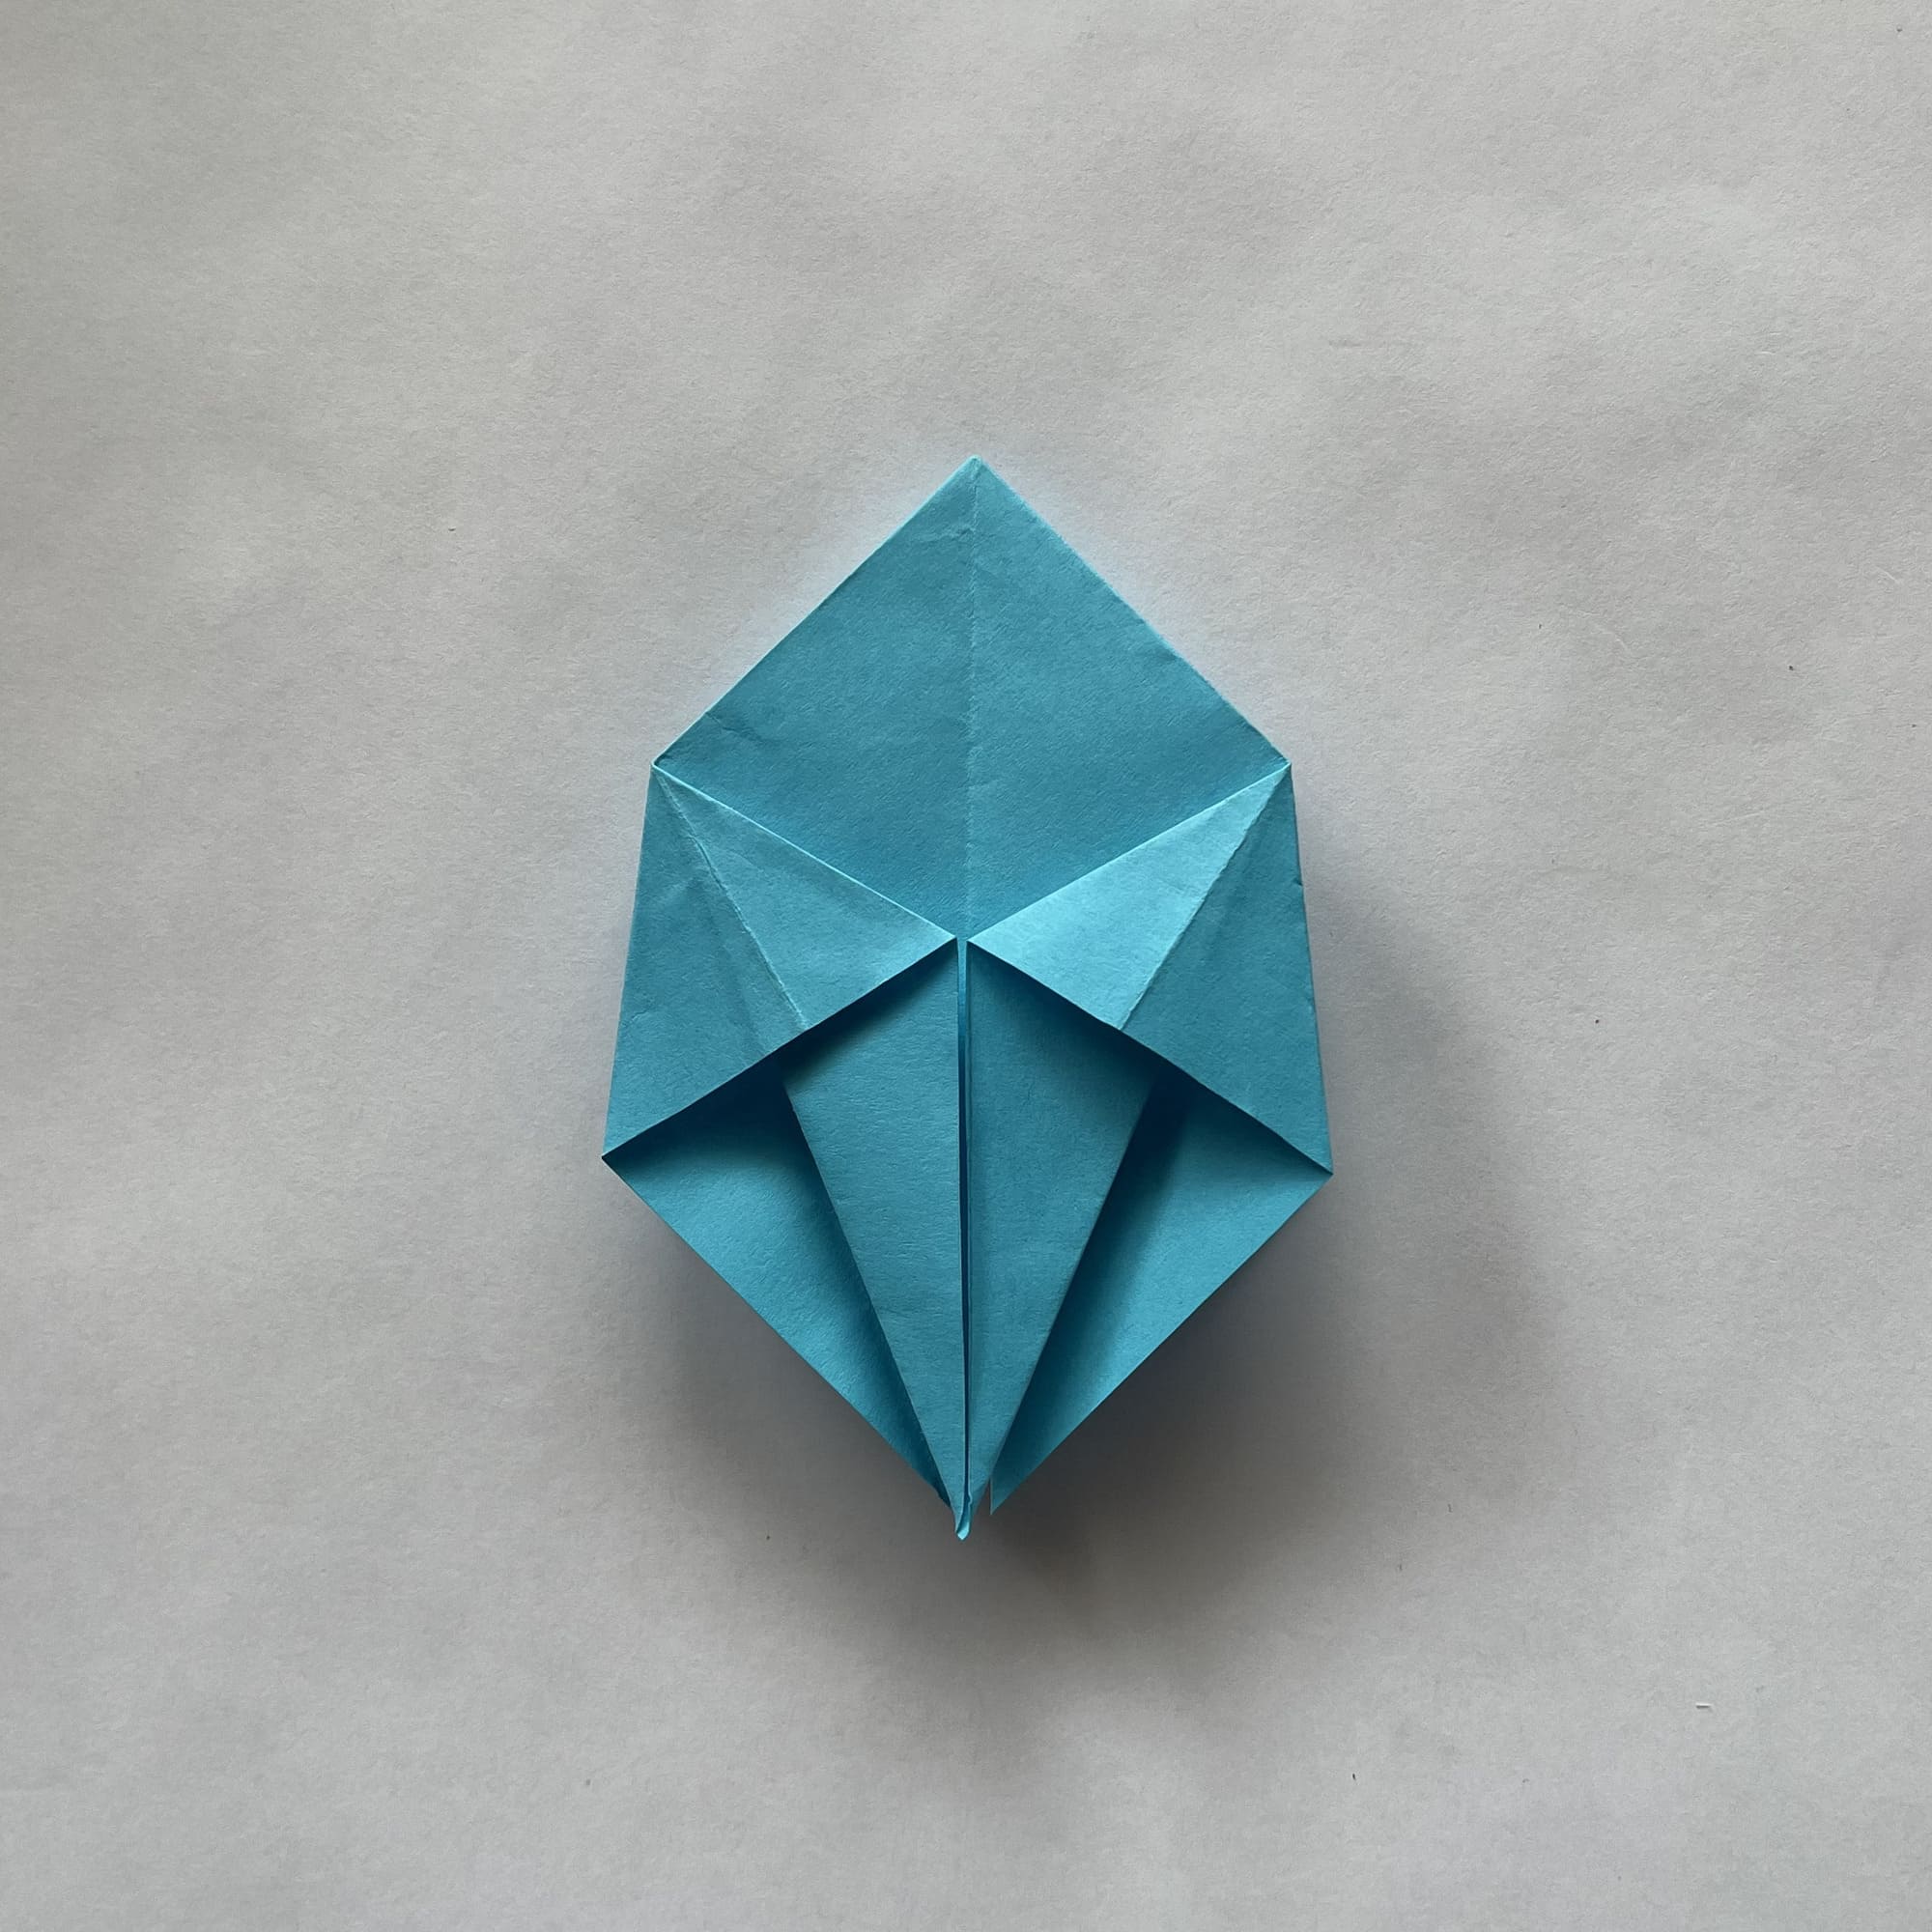
Make a squash fold at this point.

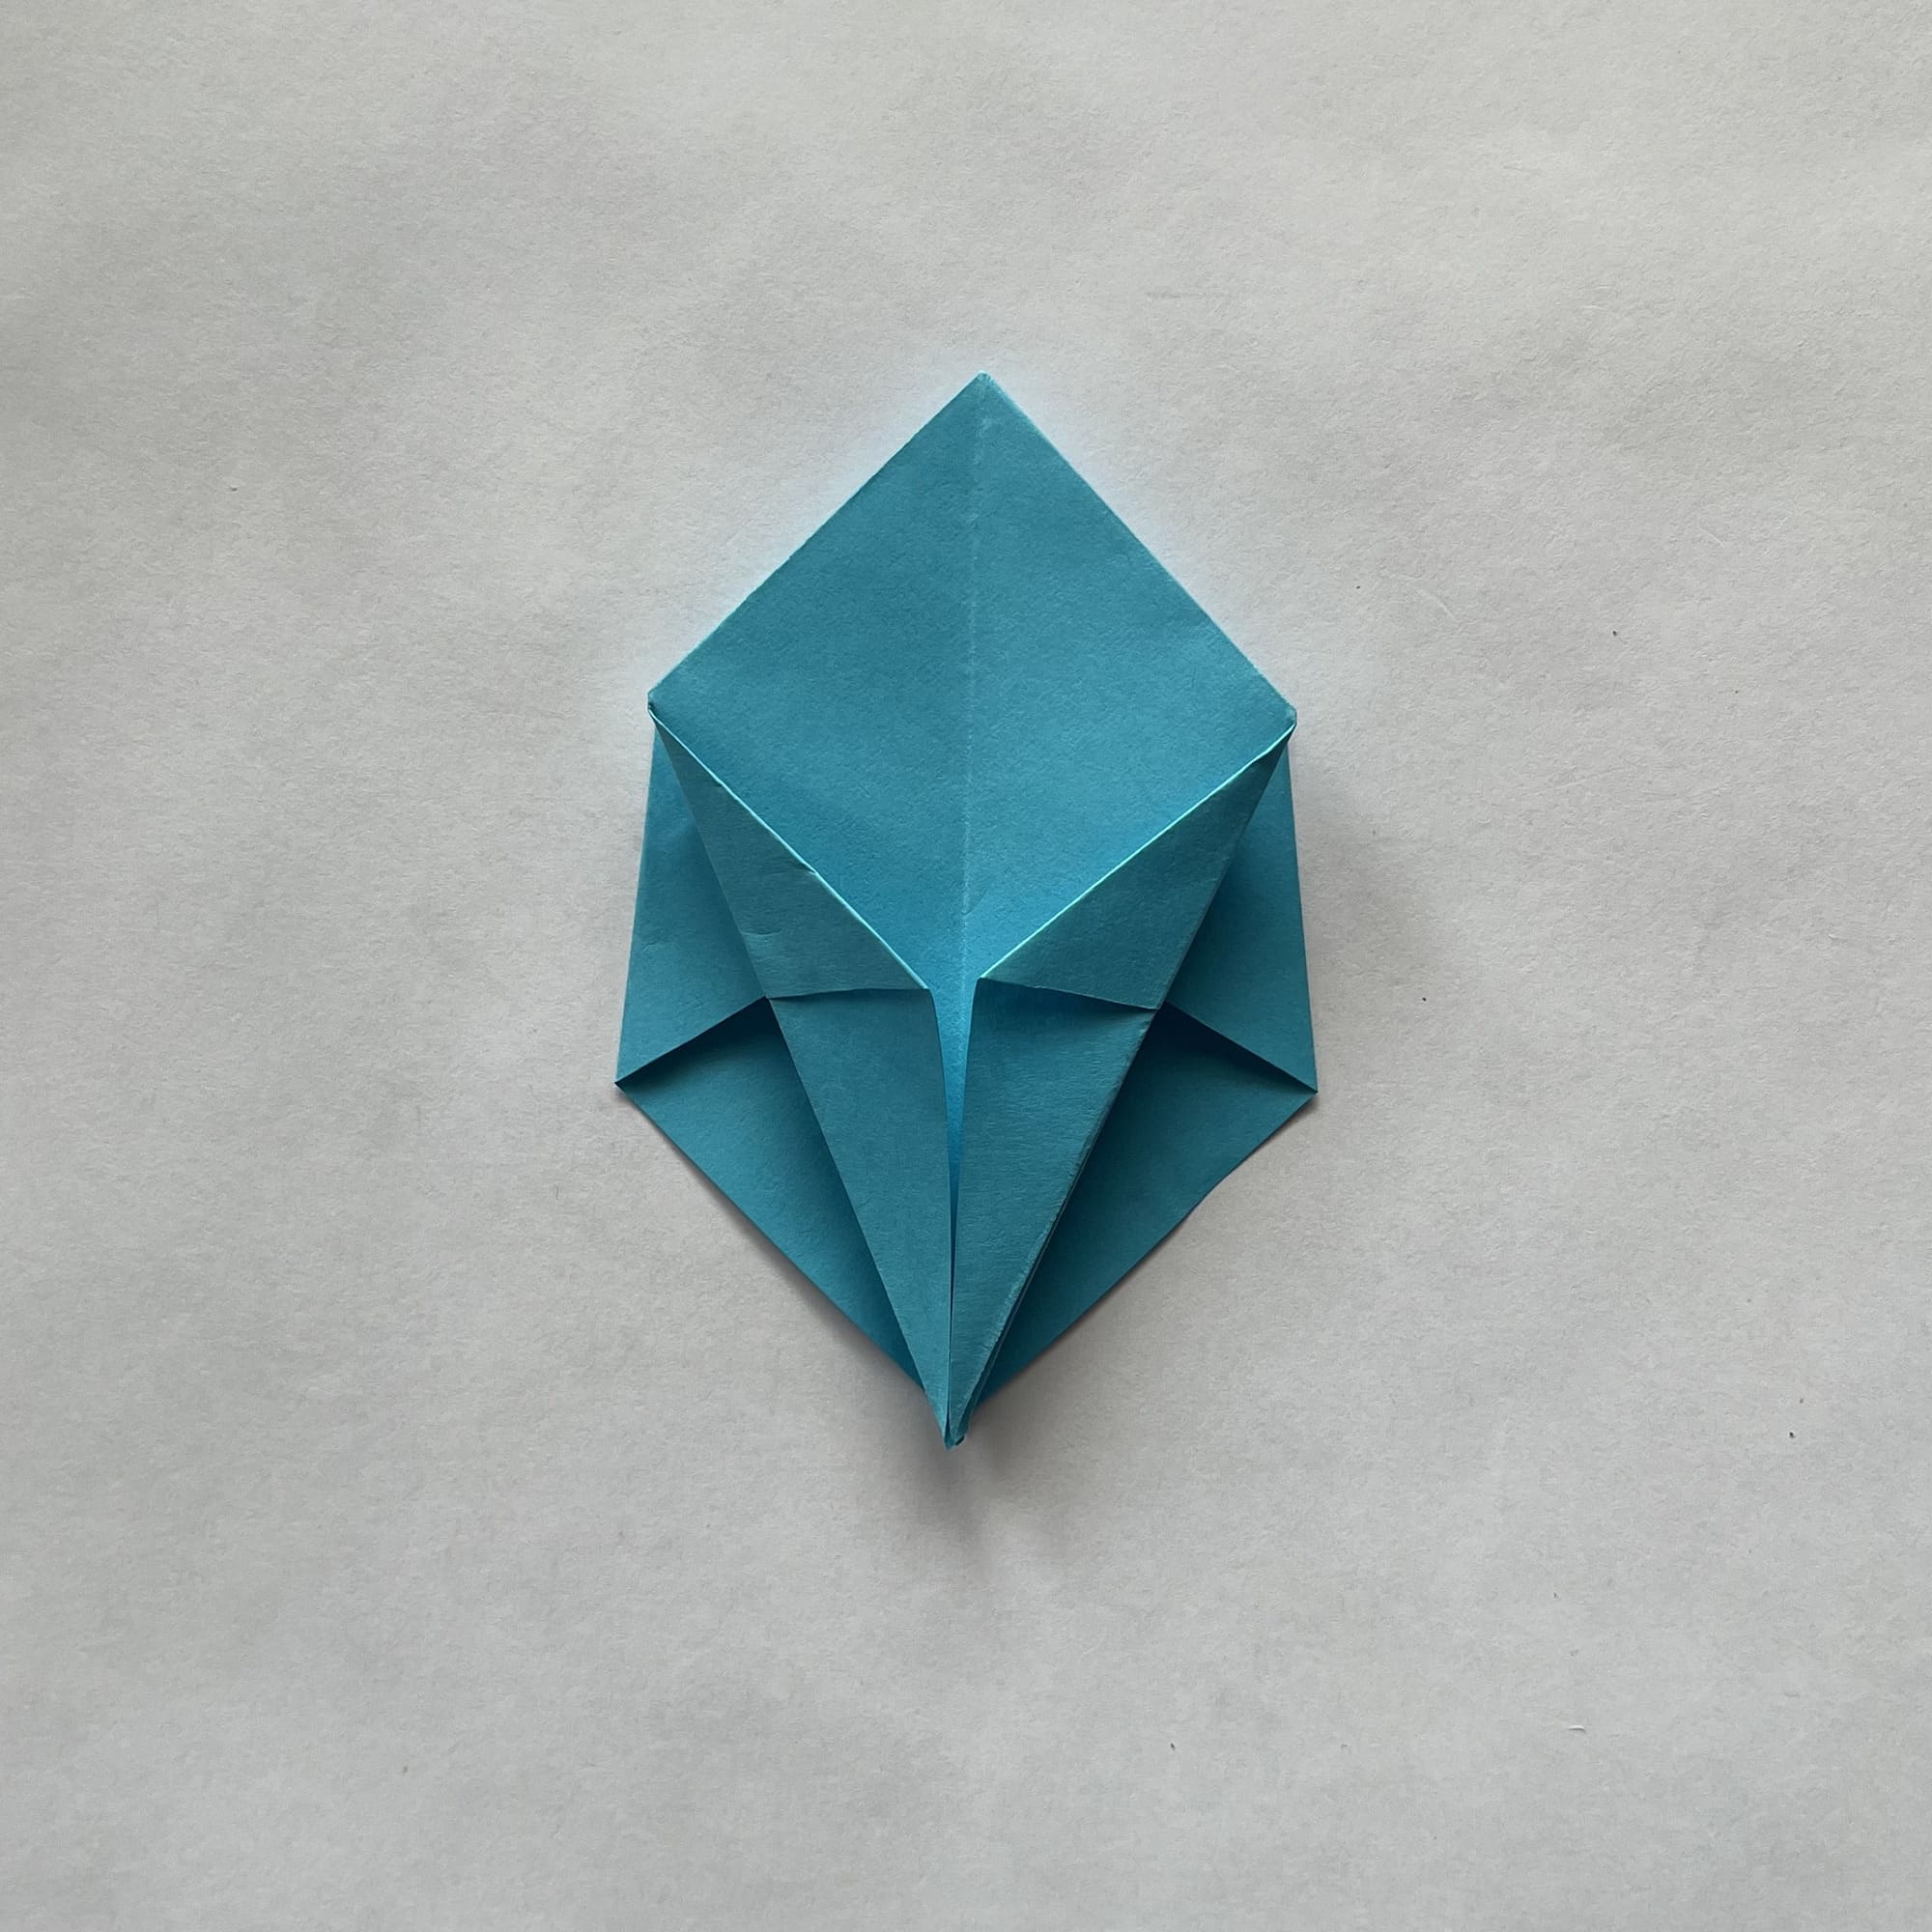
Repeat Steps 2-4 on the opposite side.
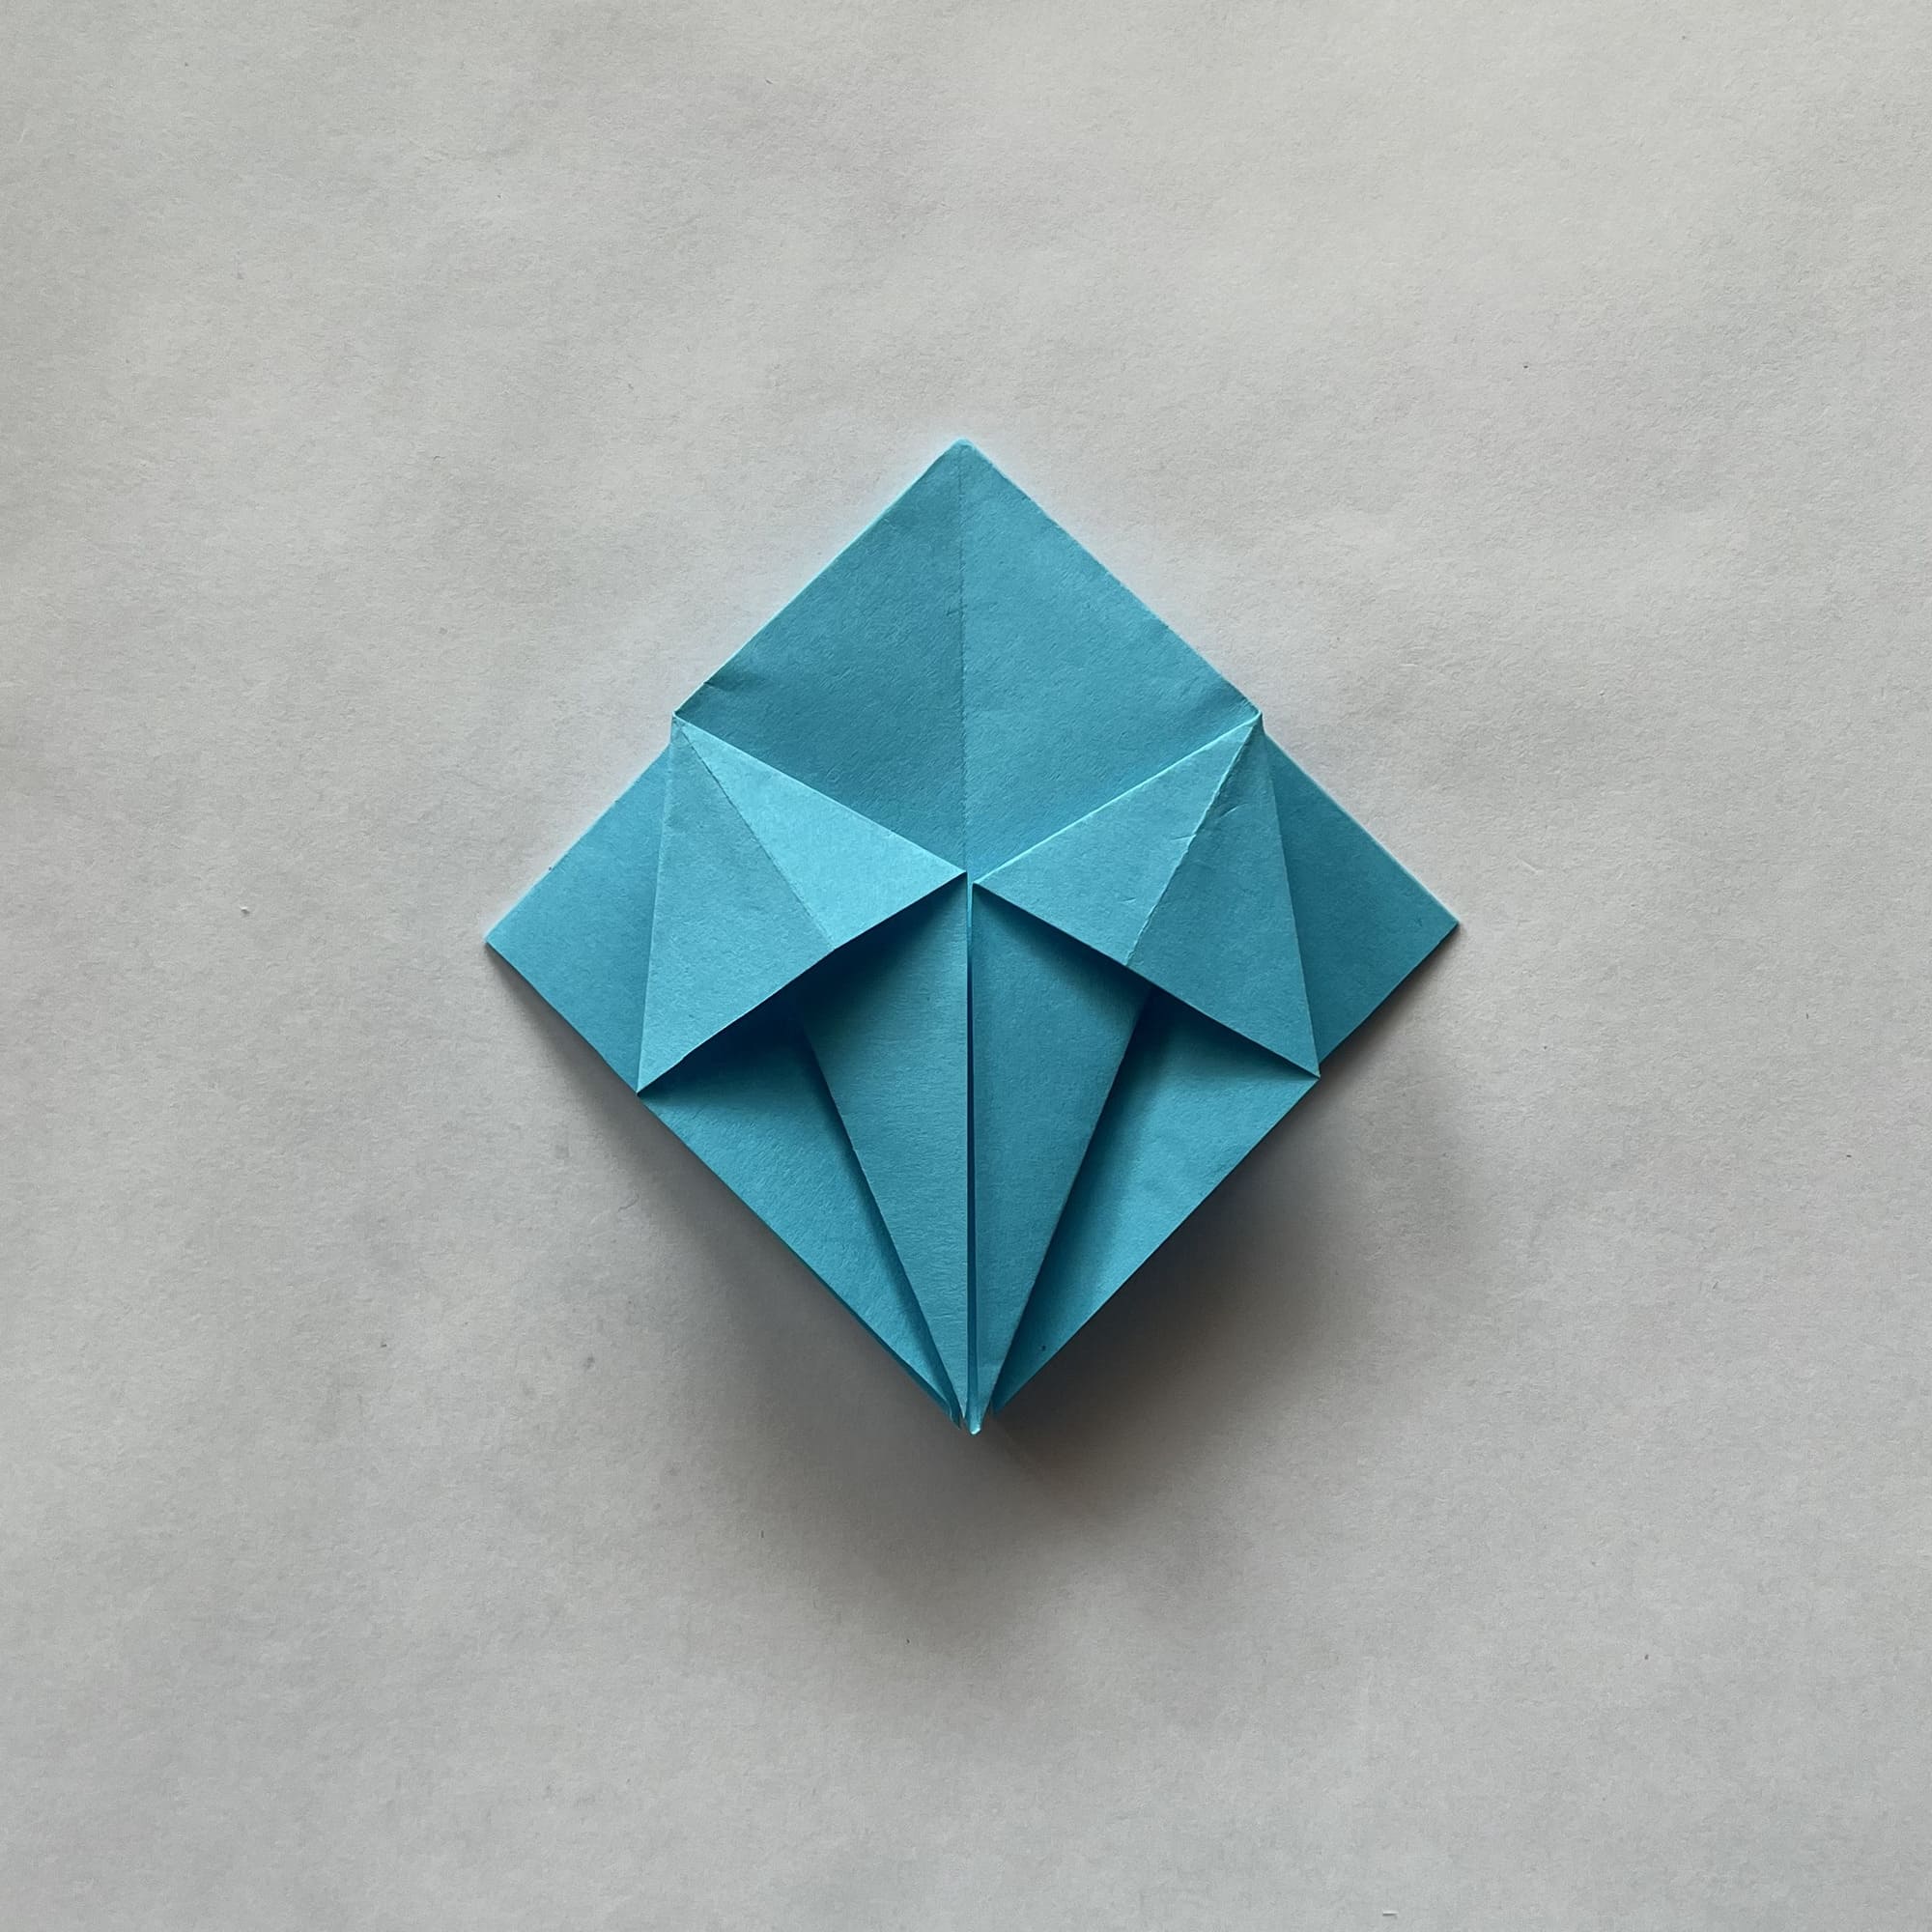
Turn the paper over and repeat Steps 2-7.
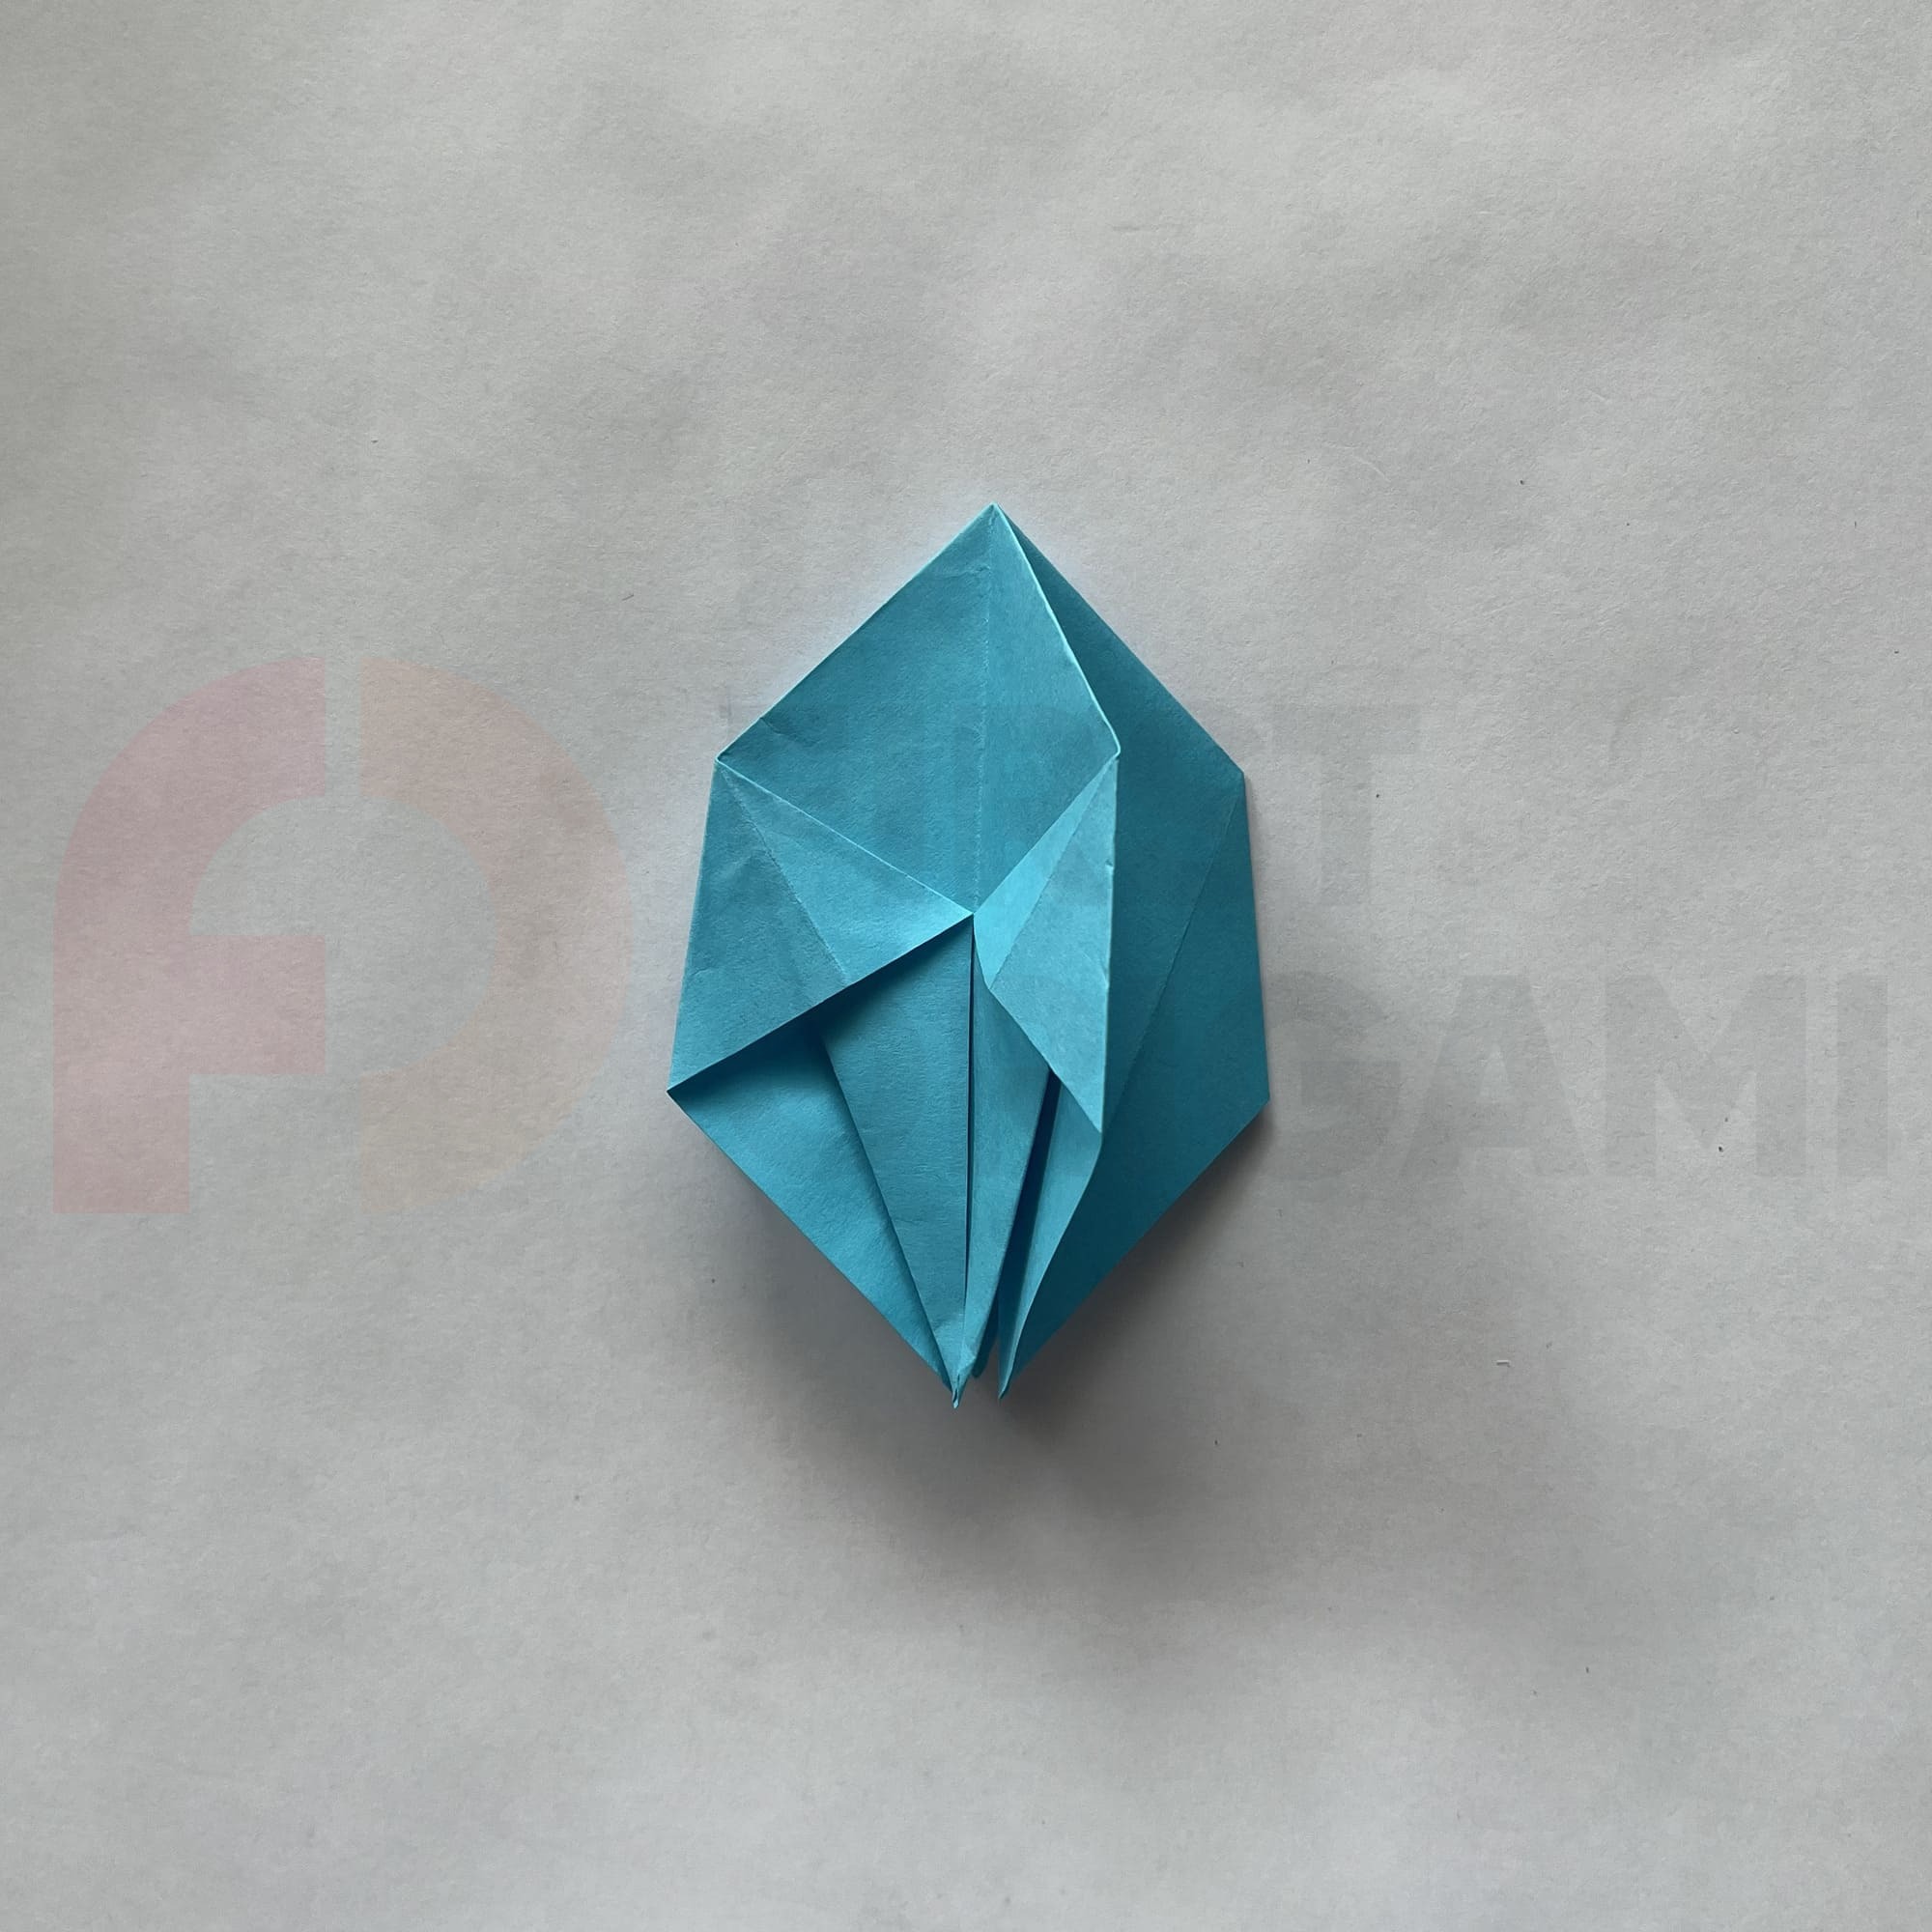
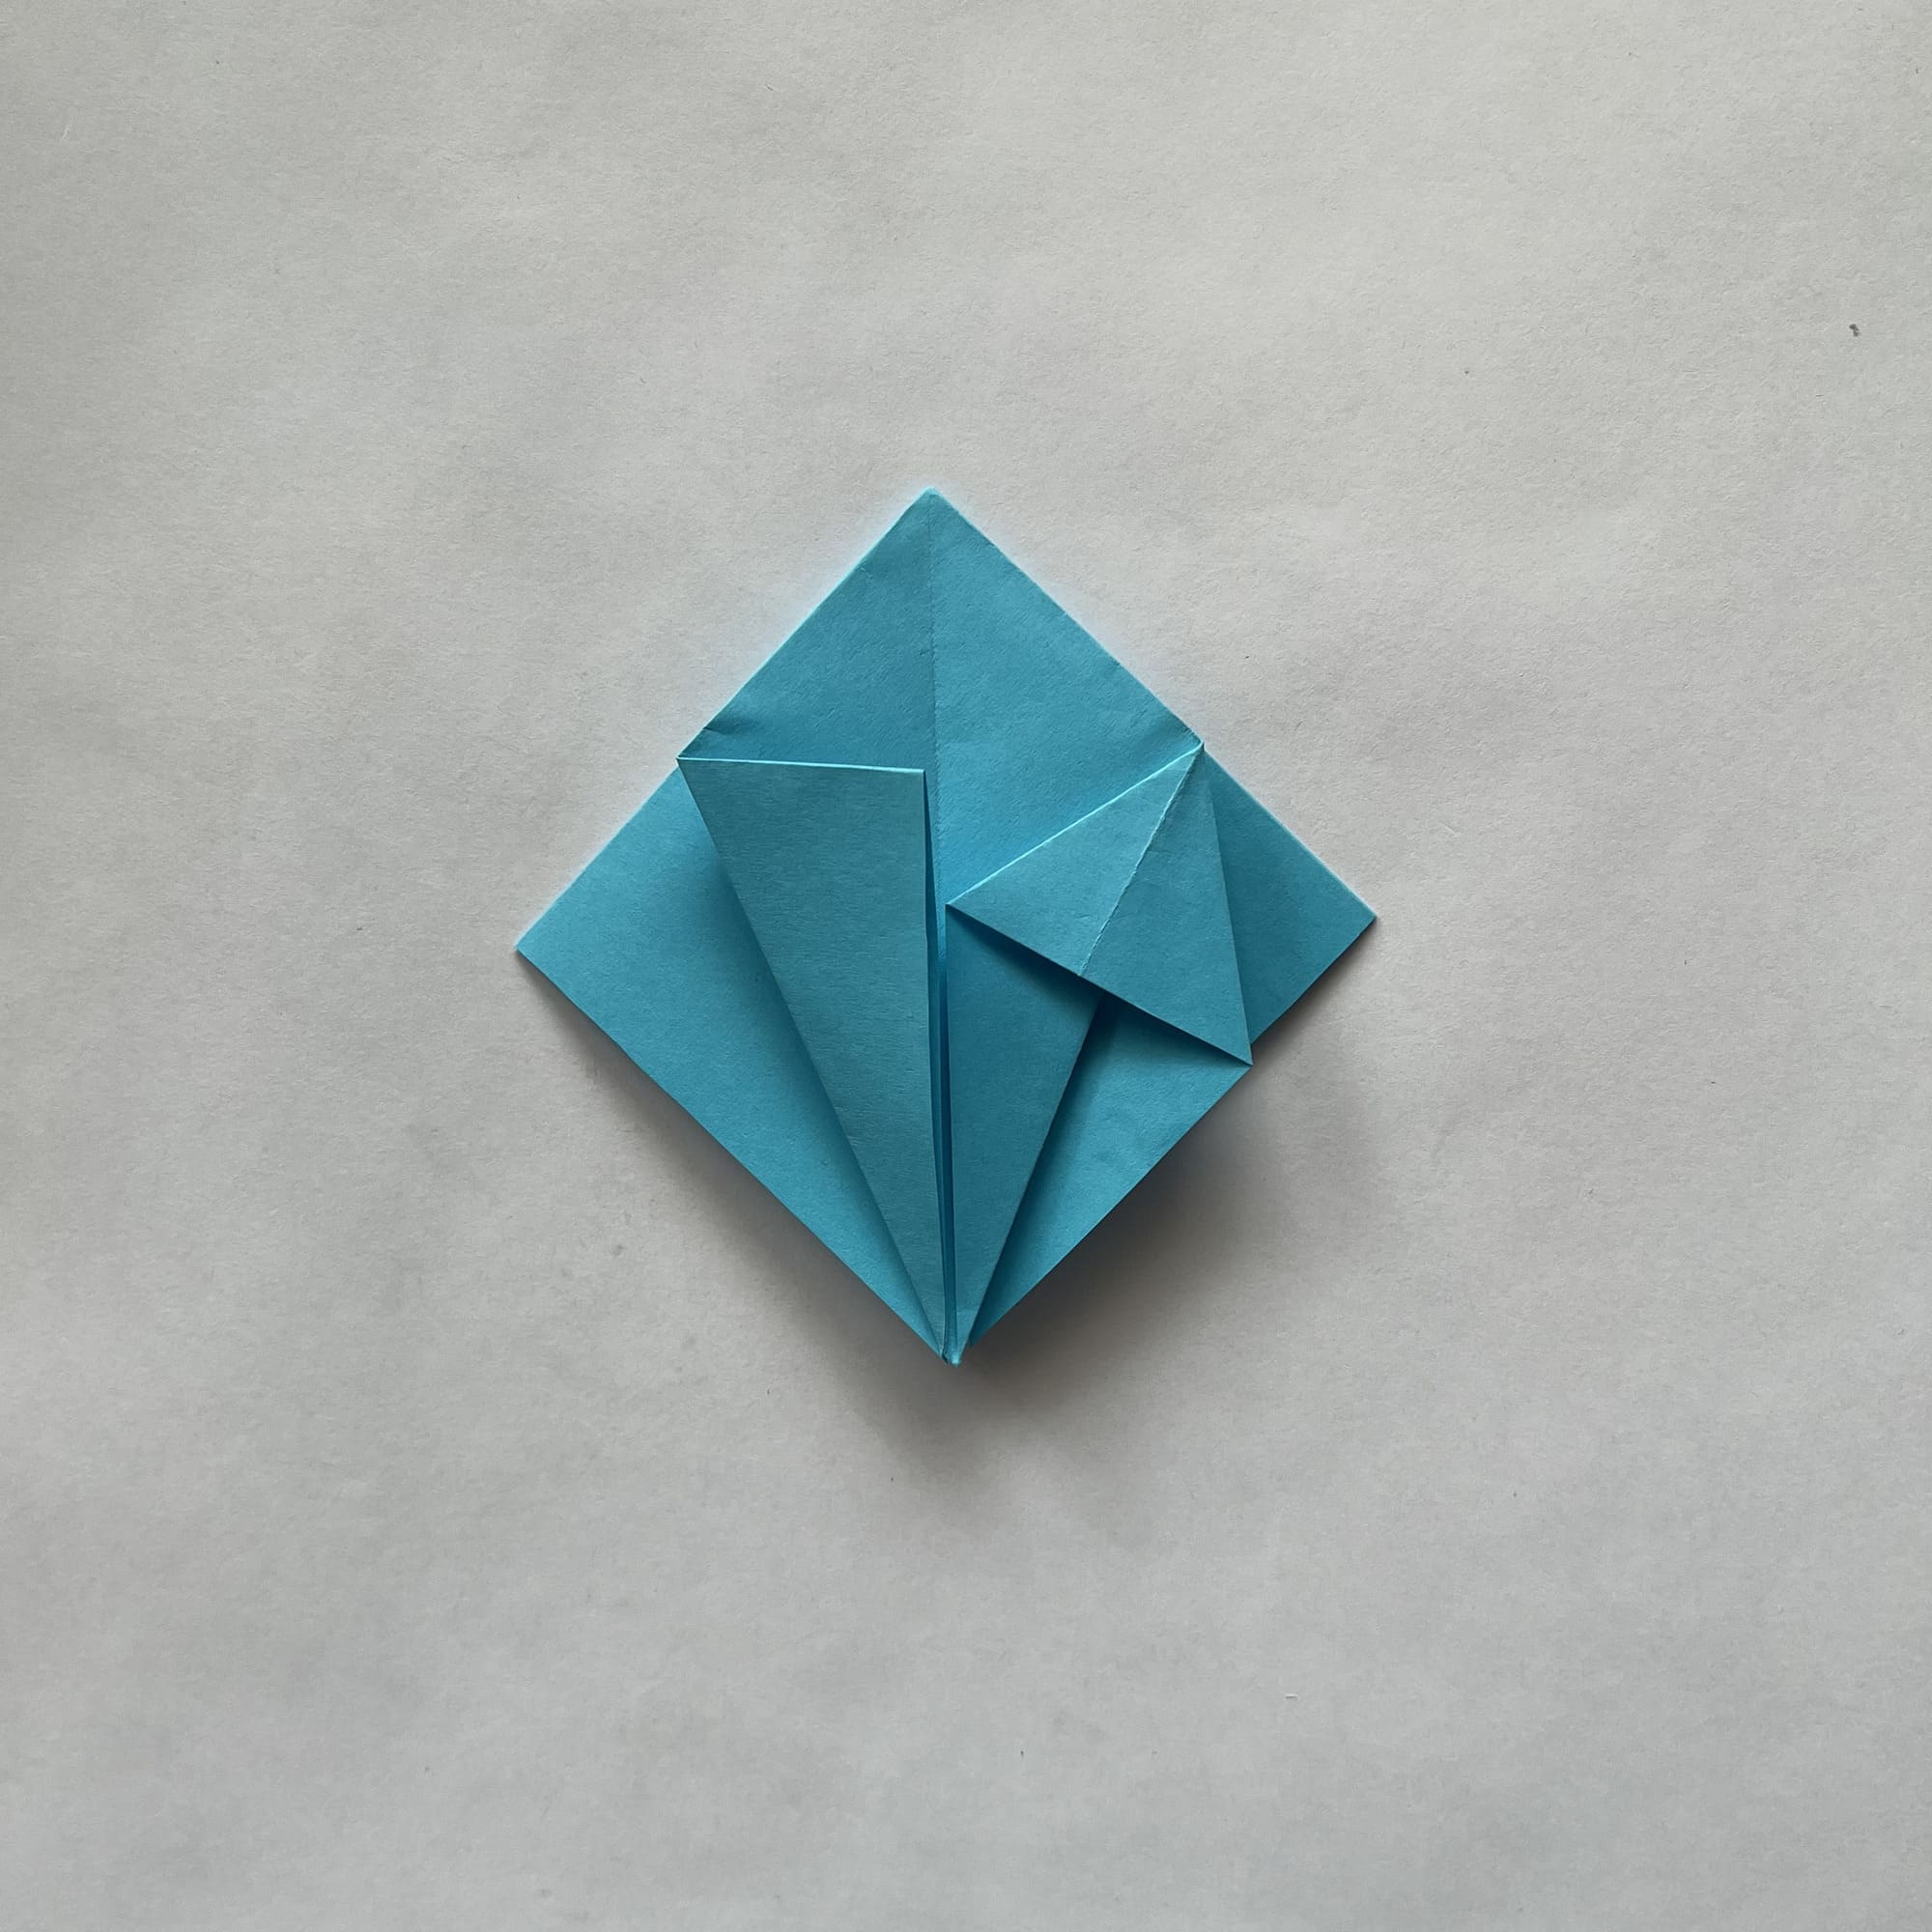
Fold the top layer of the right side to the left to reveal the third side of the square base.
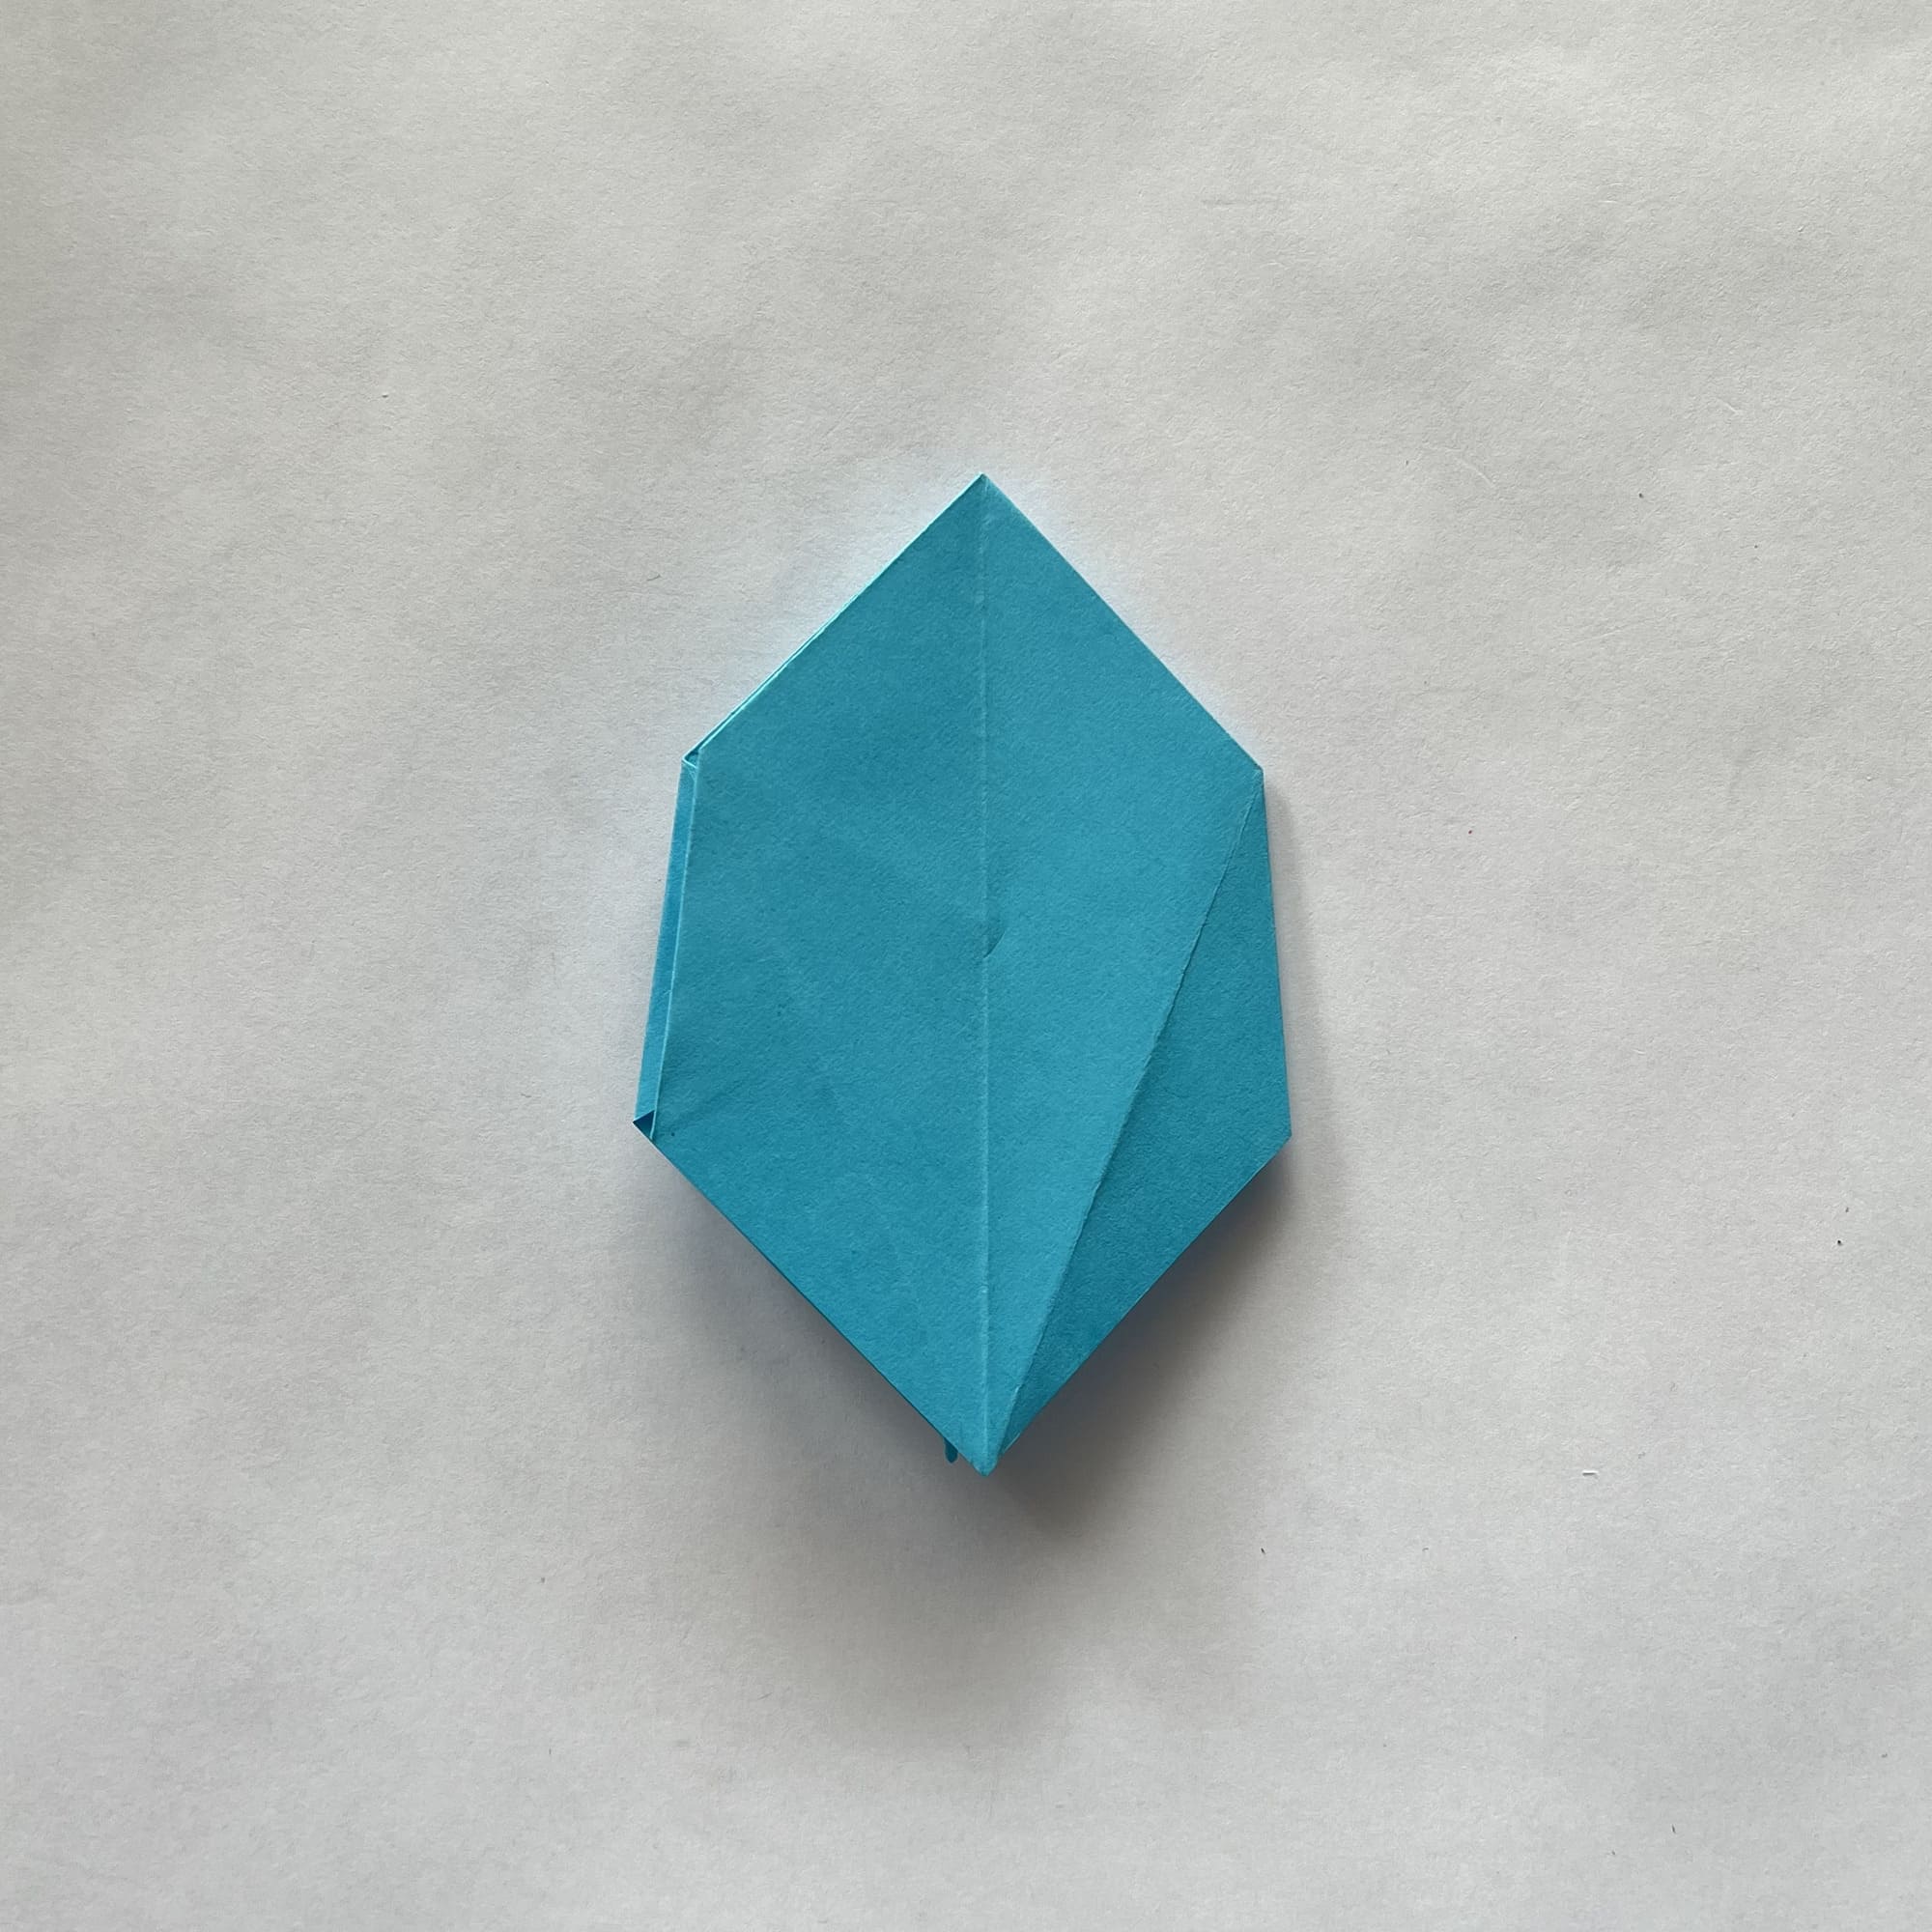
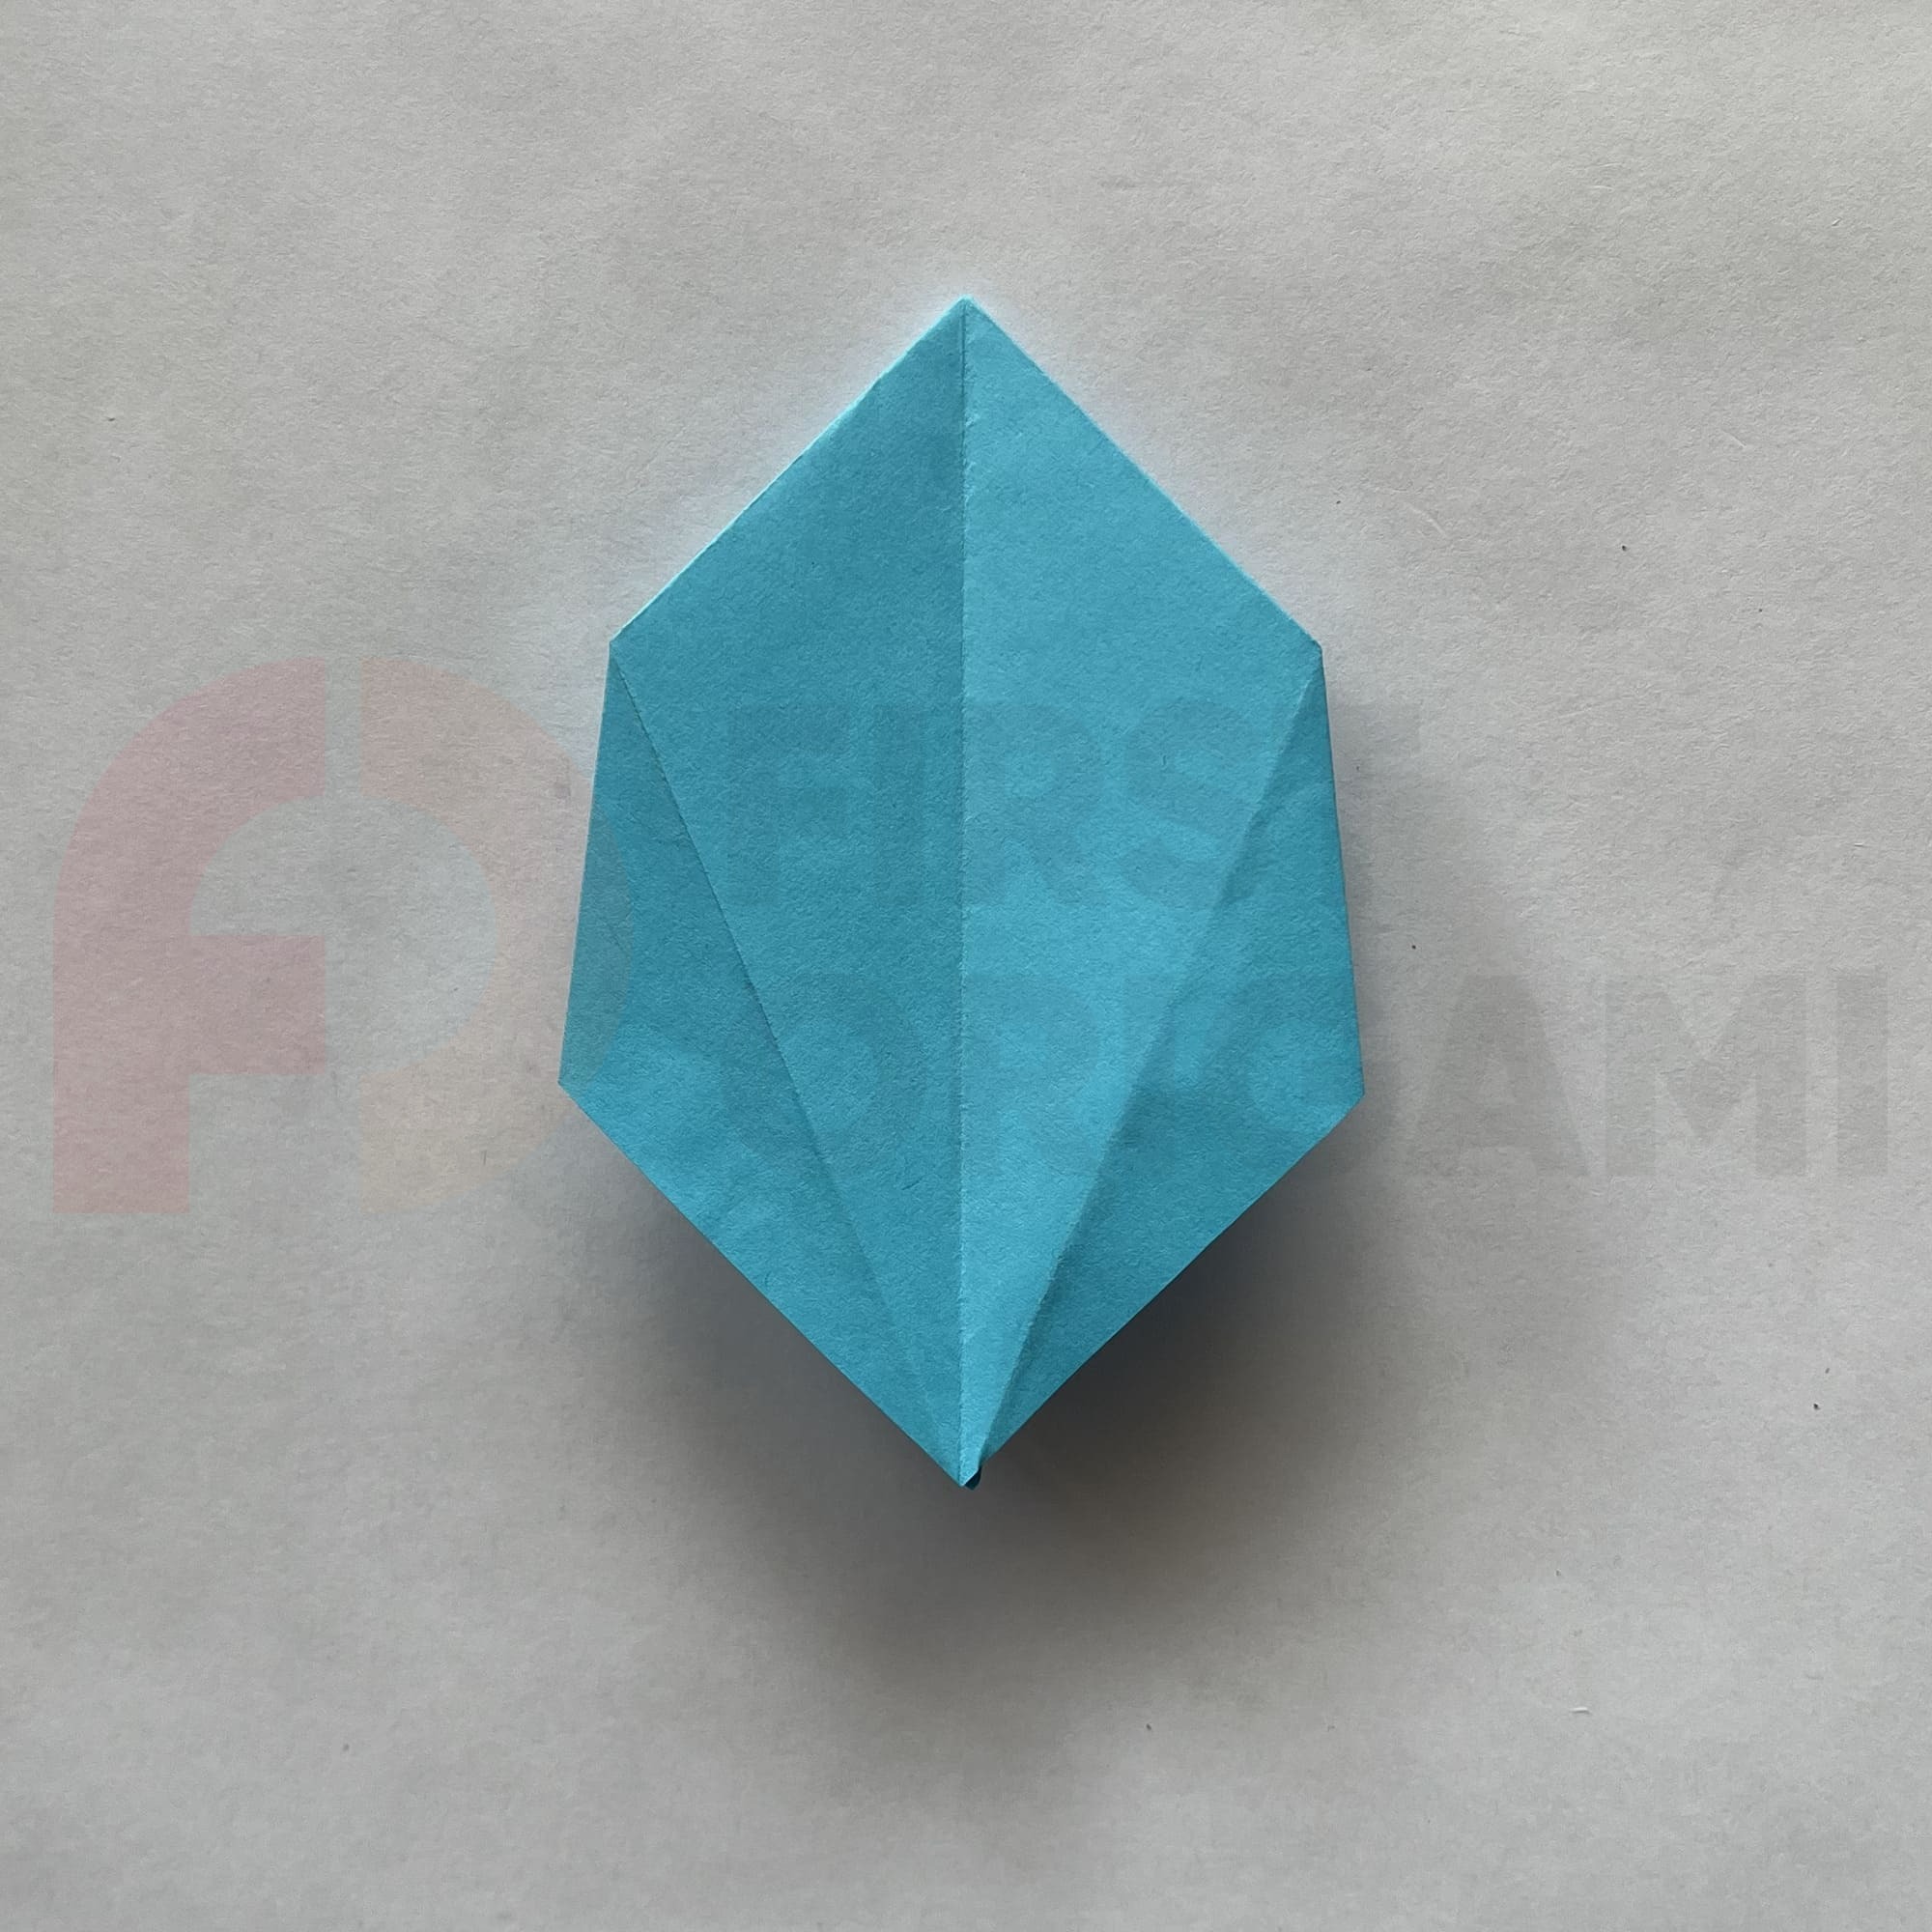
Fold the bottom side corners toward the center.
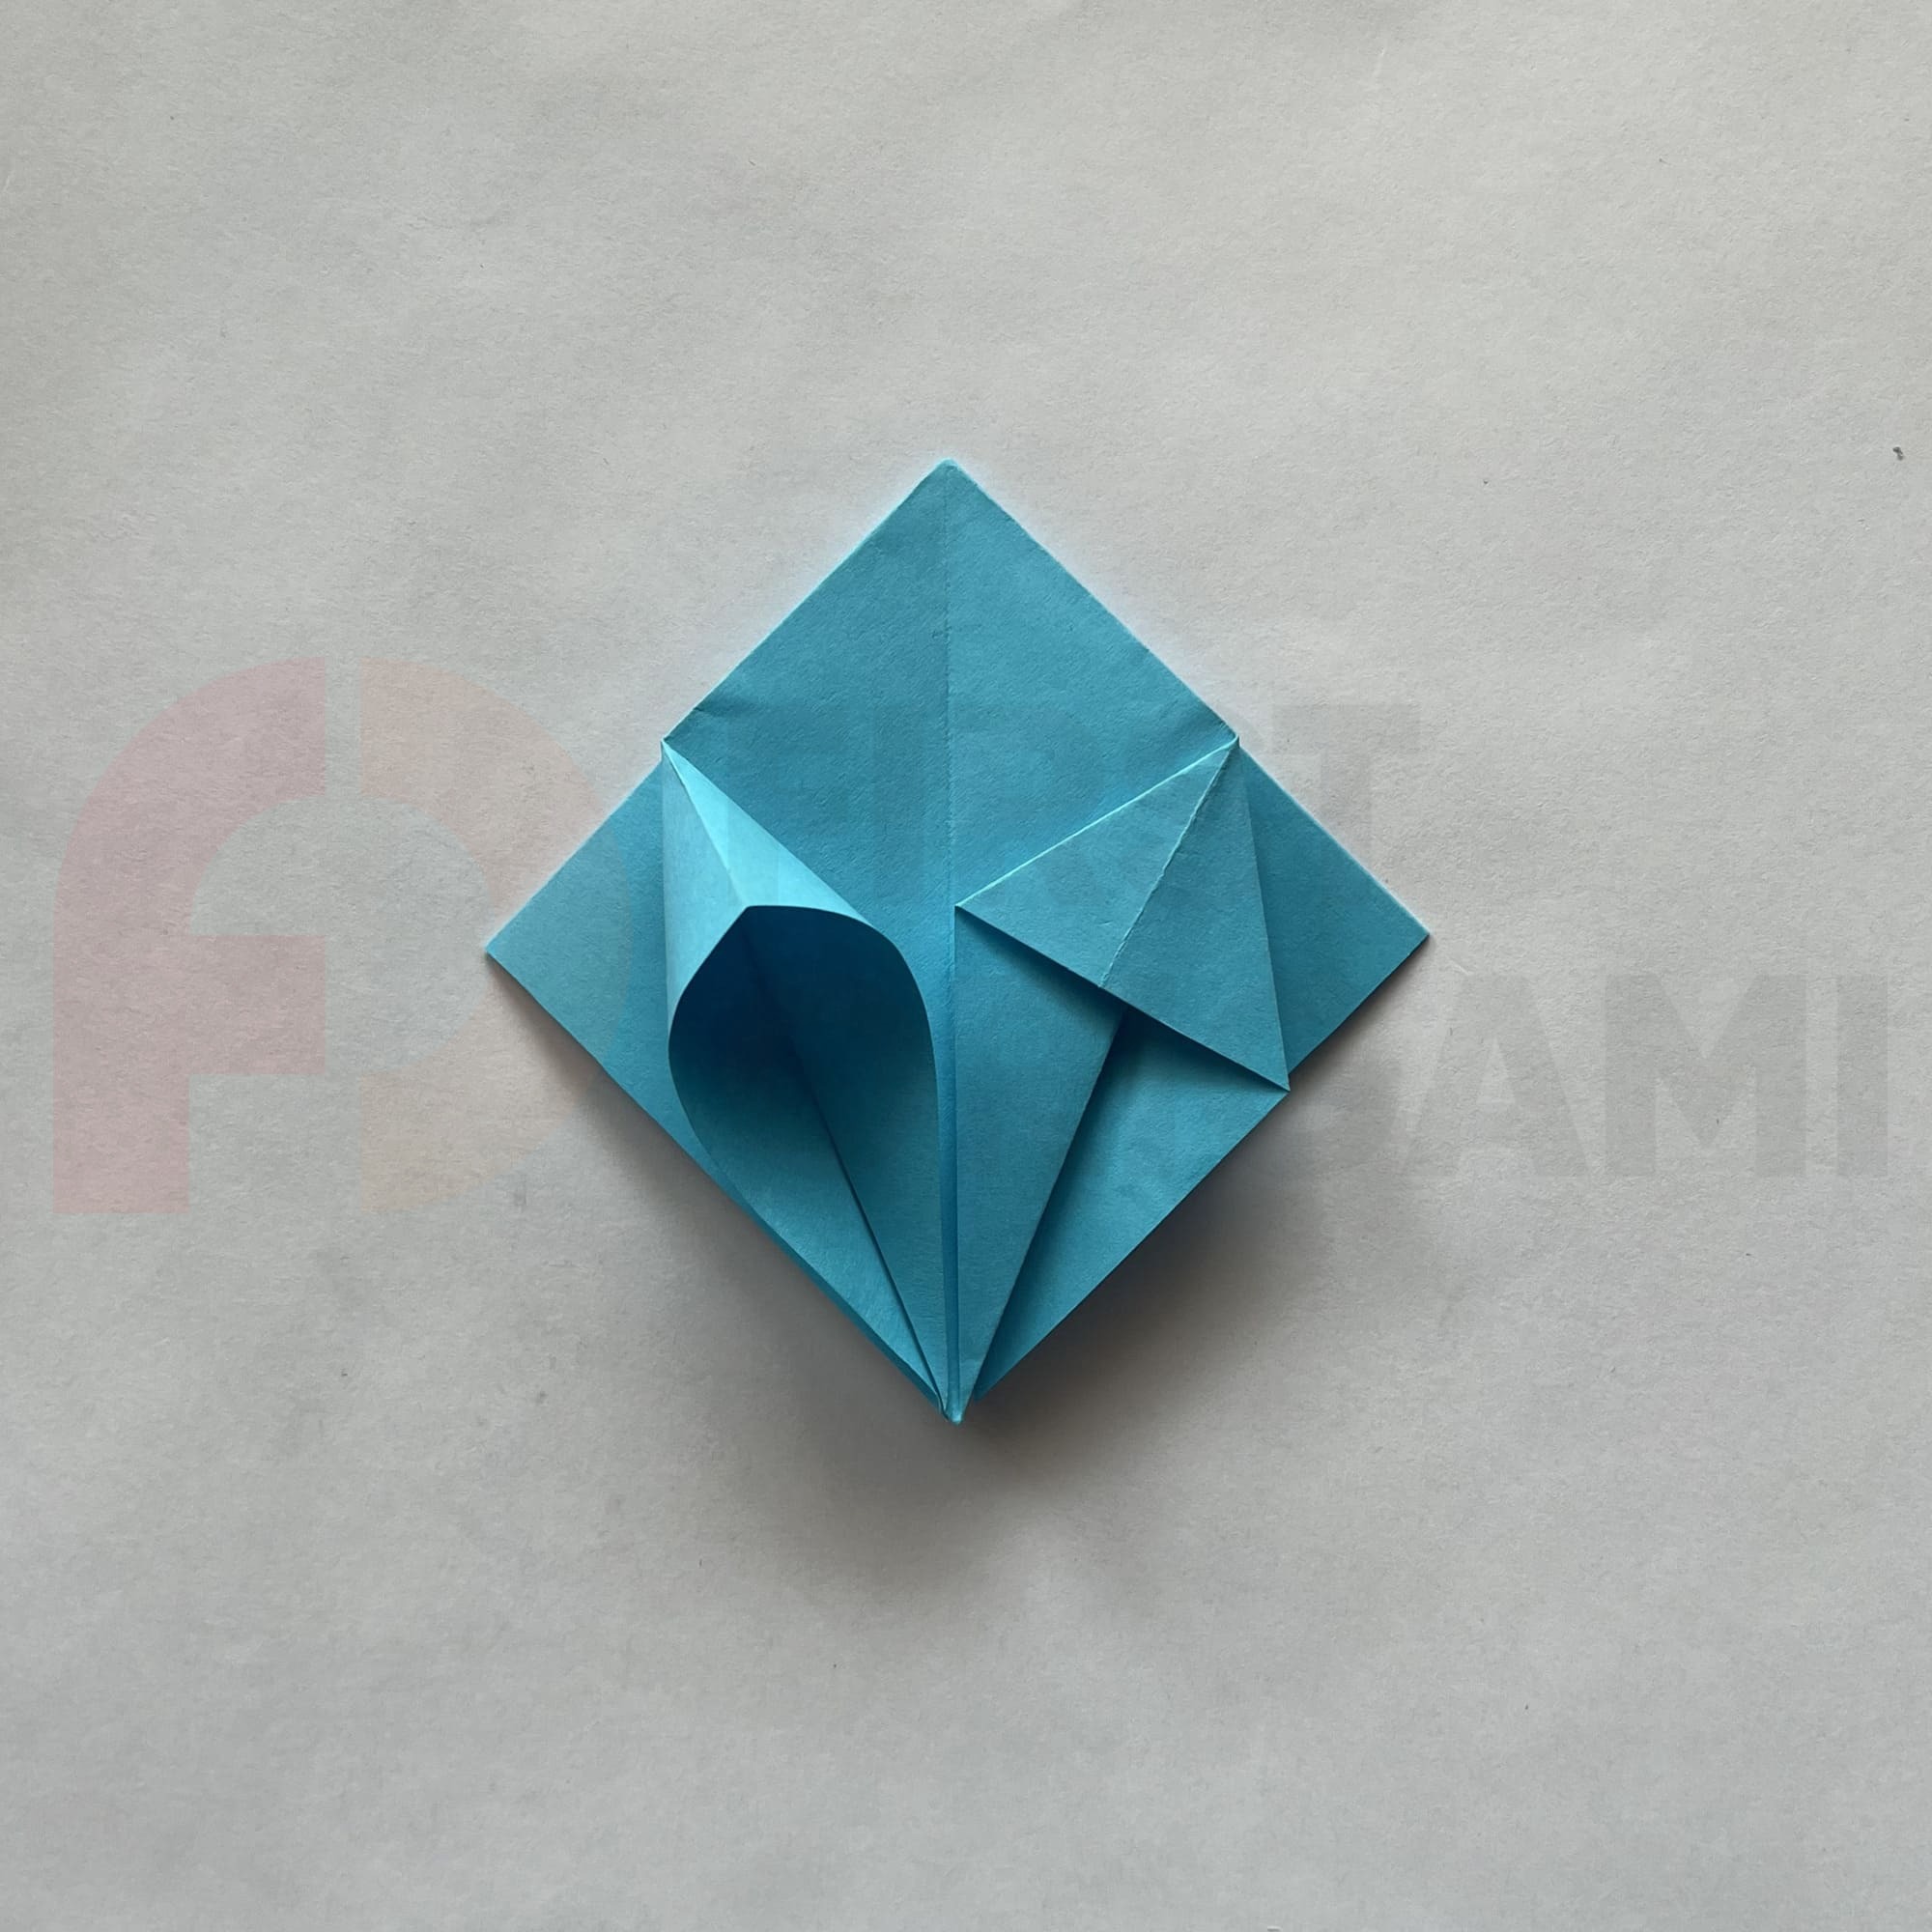
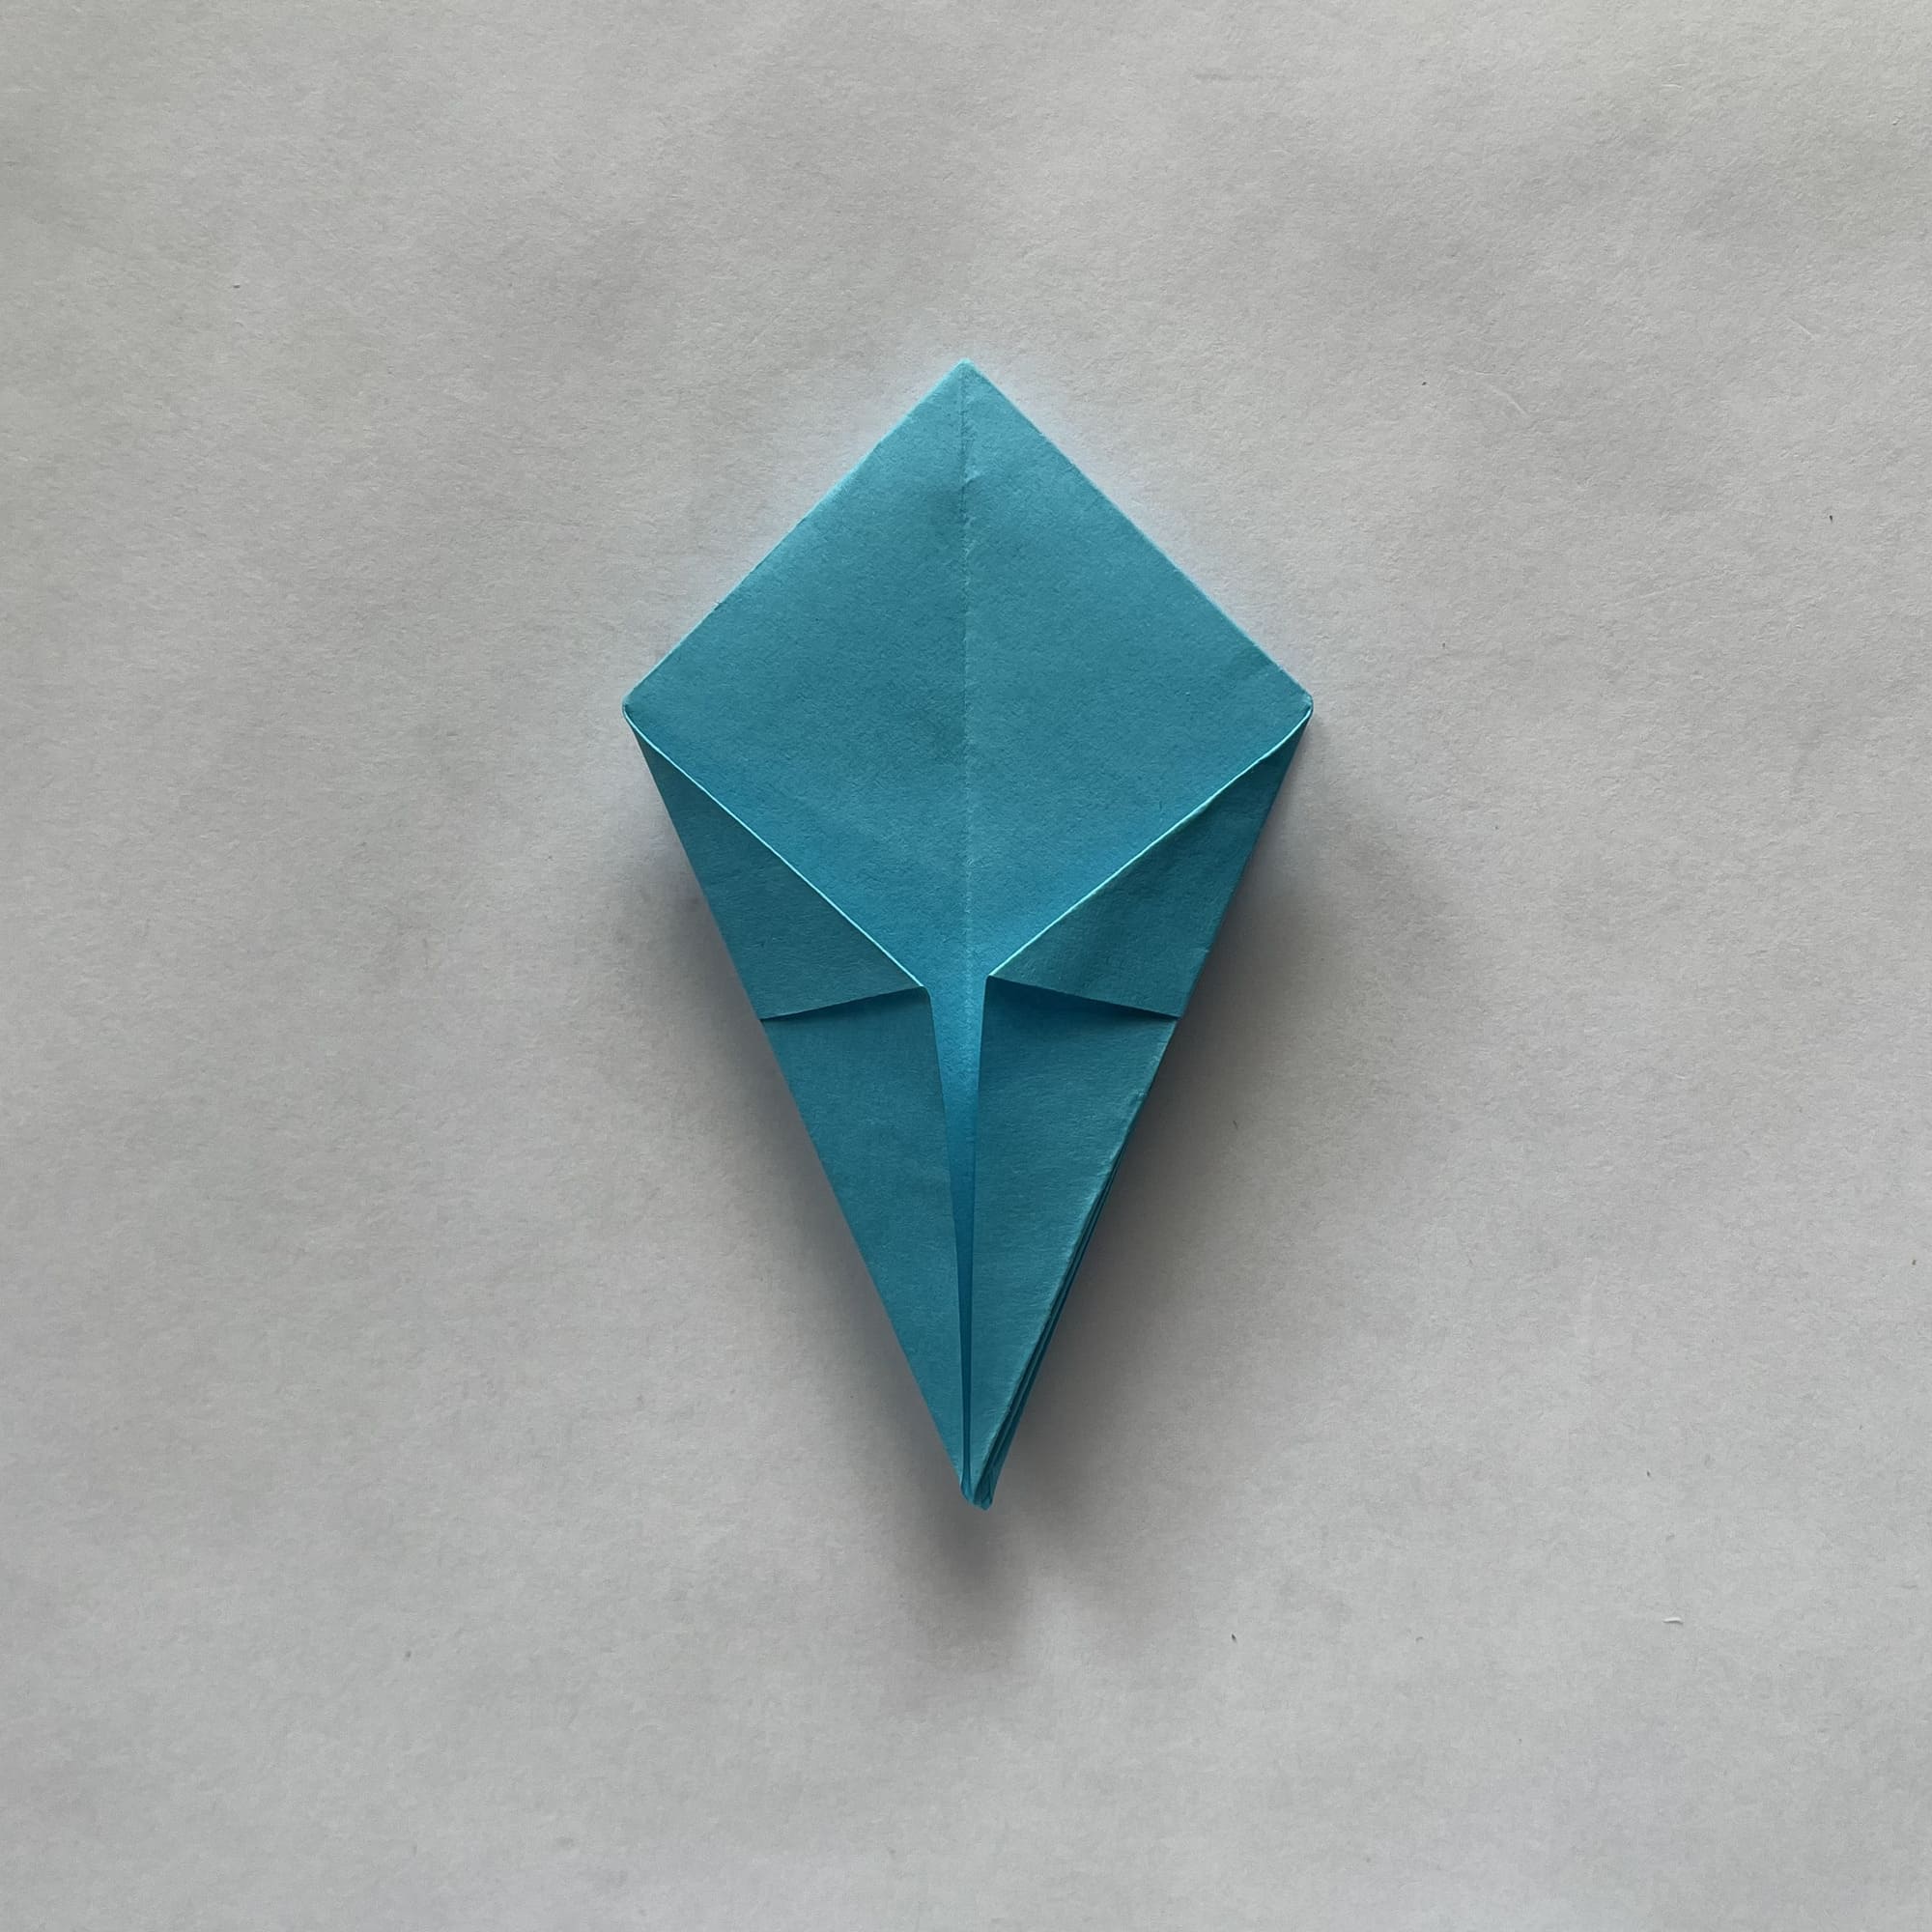
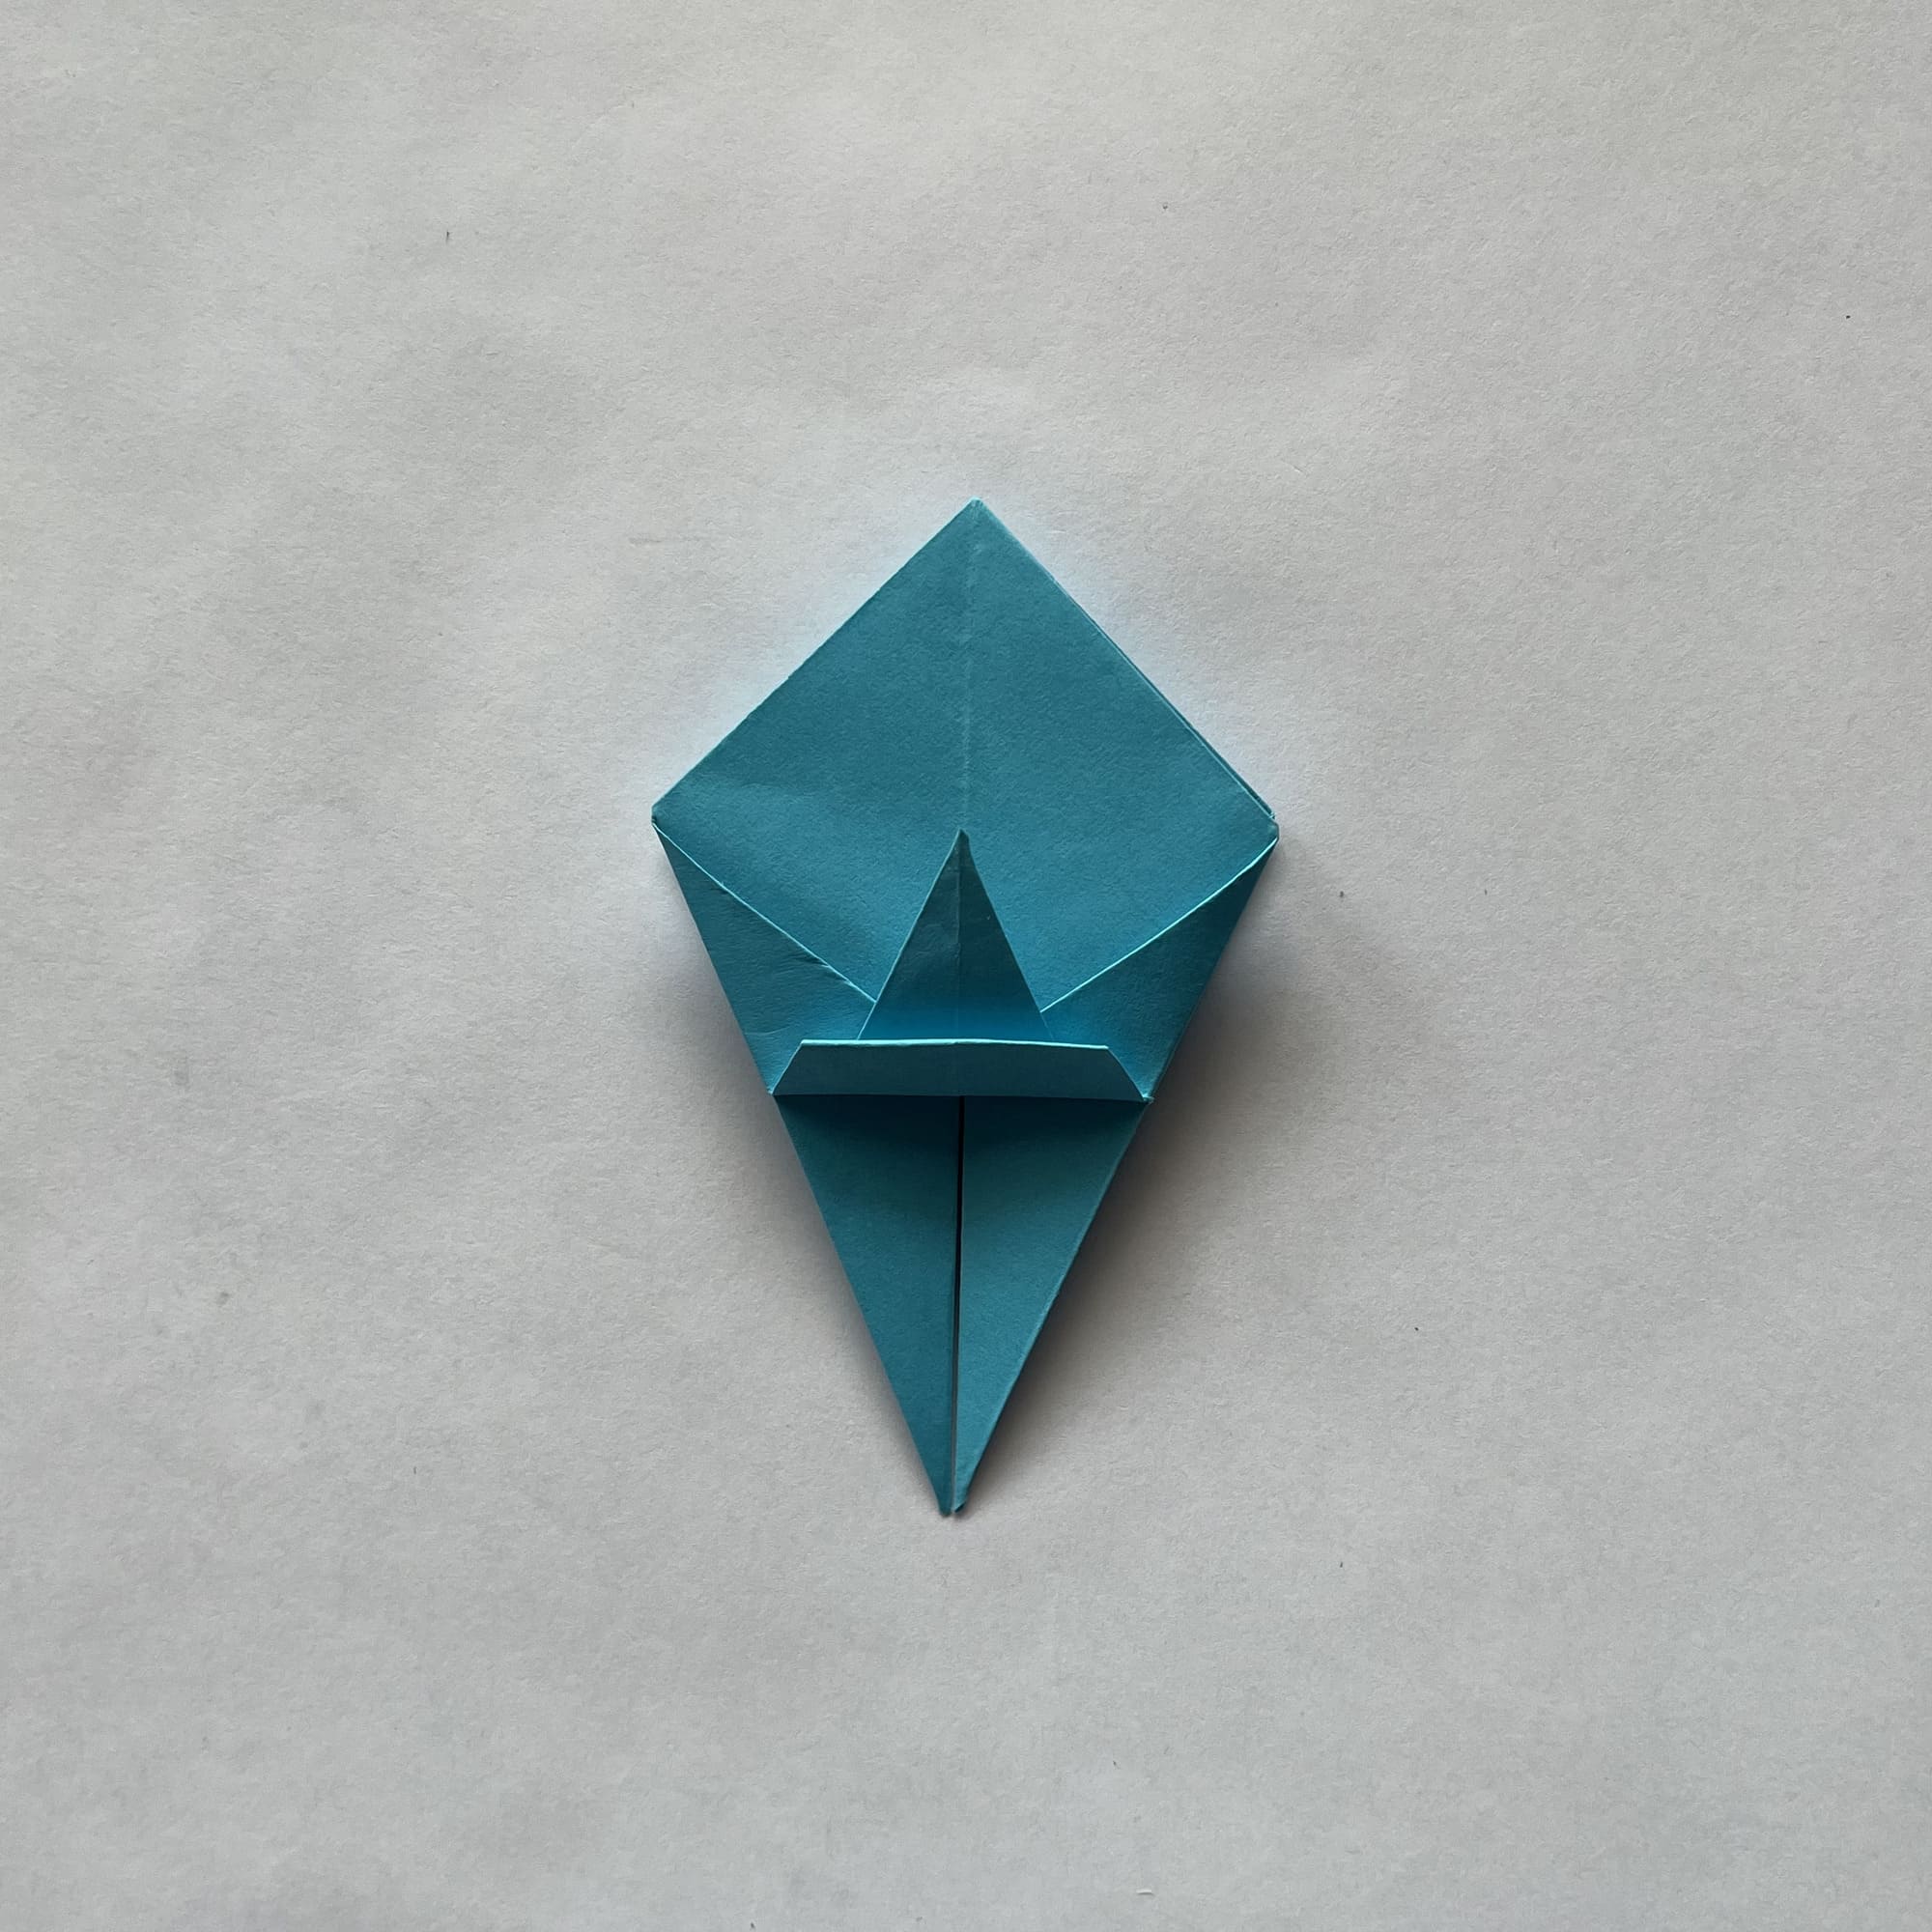
Open the fourth side of the square base and repeat Steps 12-13.

We are almost done, the only thing left is to decorate the edges of the box. There are two ways to do this, so below are steps 17-18 (1) and 19-21 (2). Scroll through all the images to the end and choose the option you like best. The final step will be the same for both options.

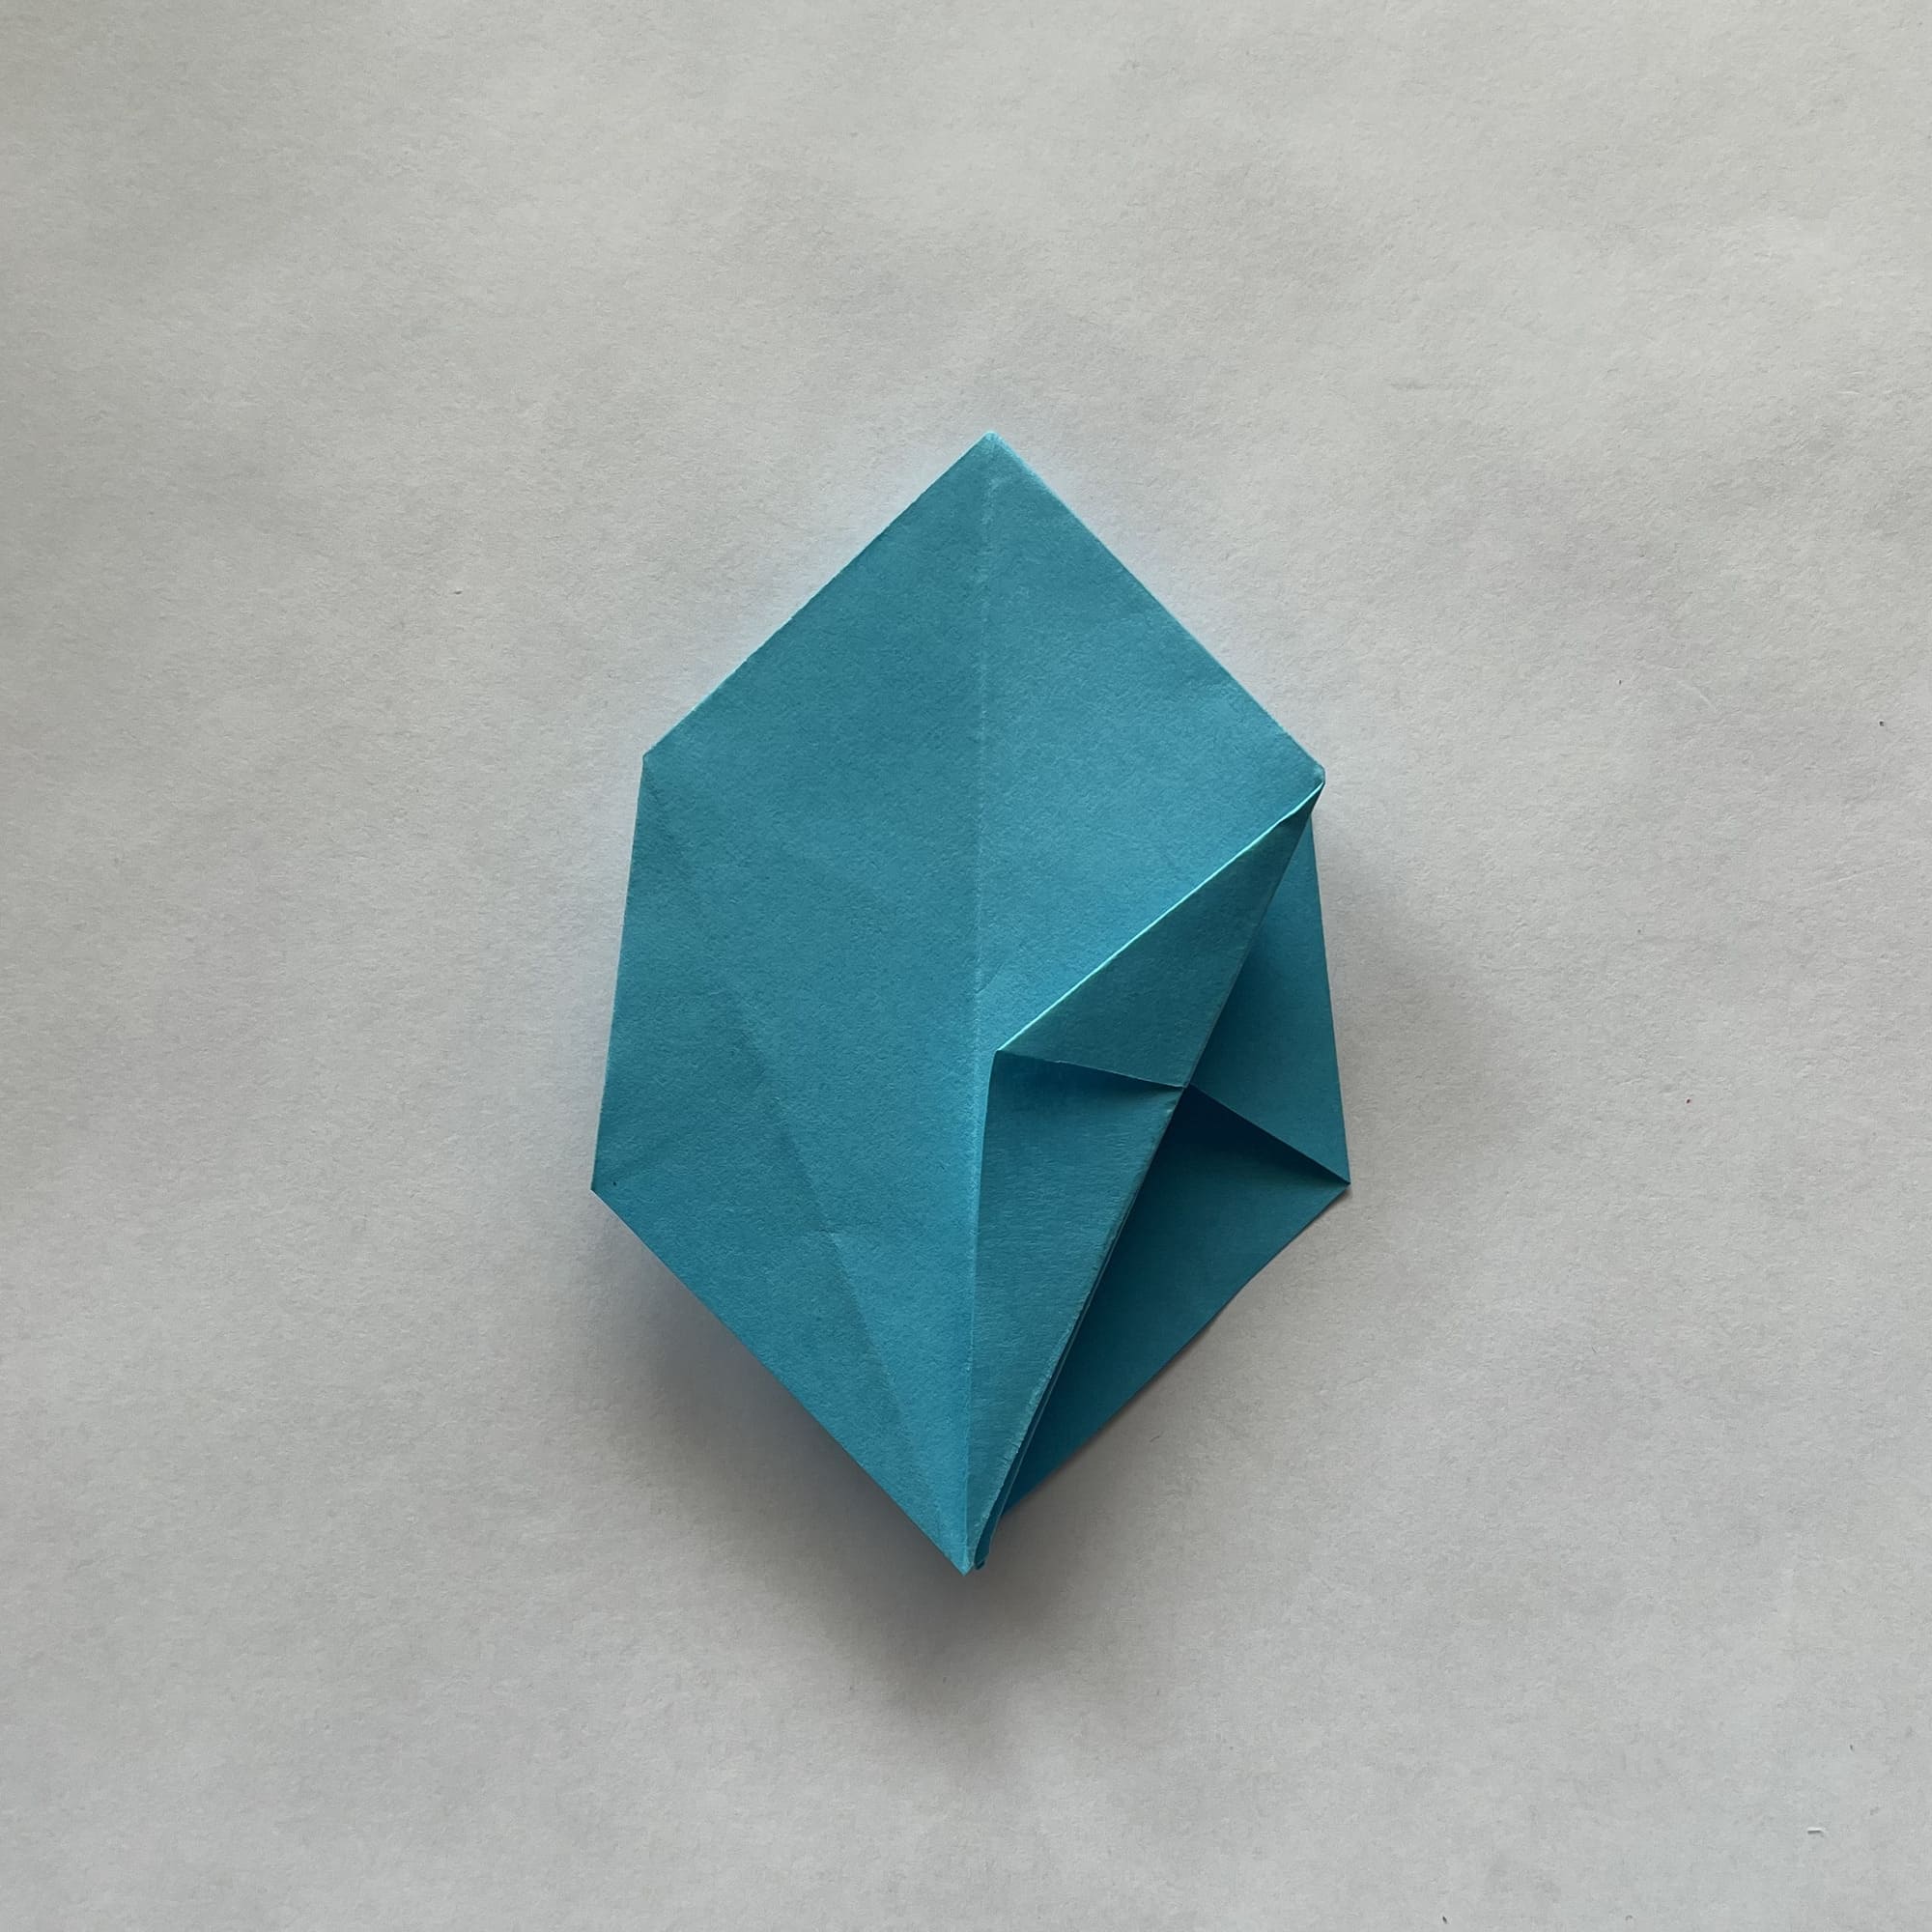
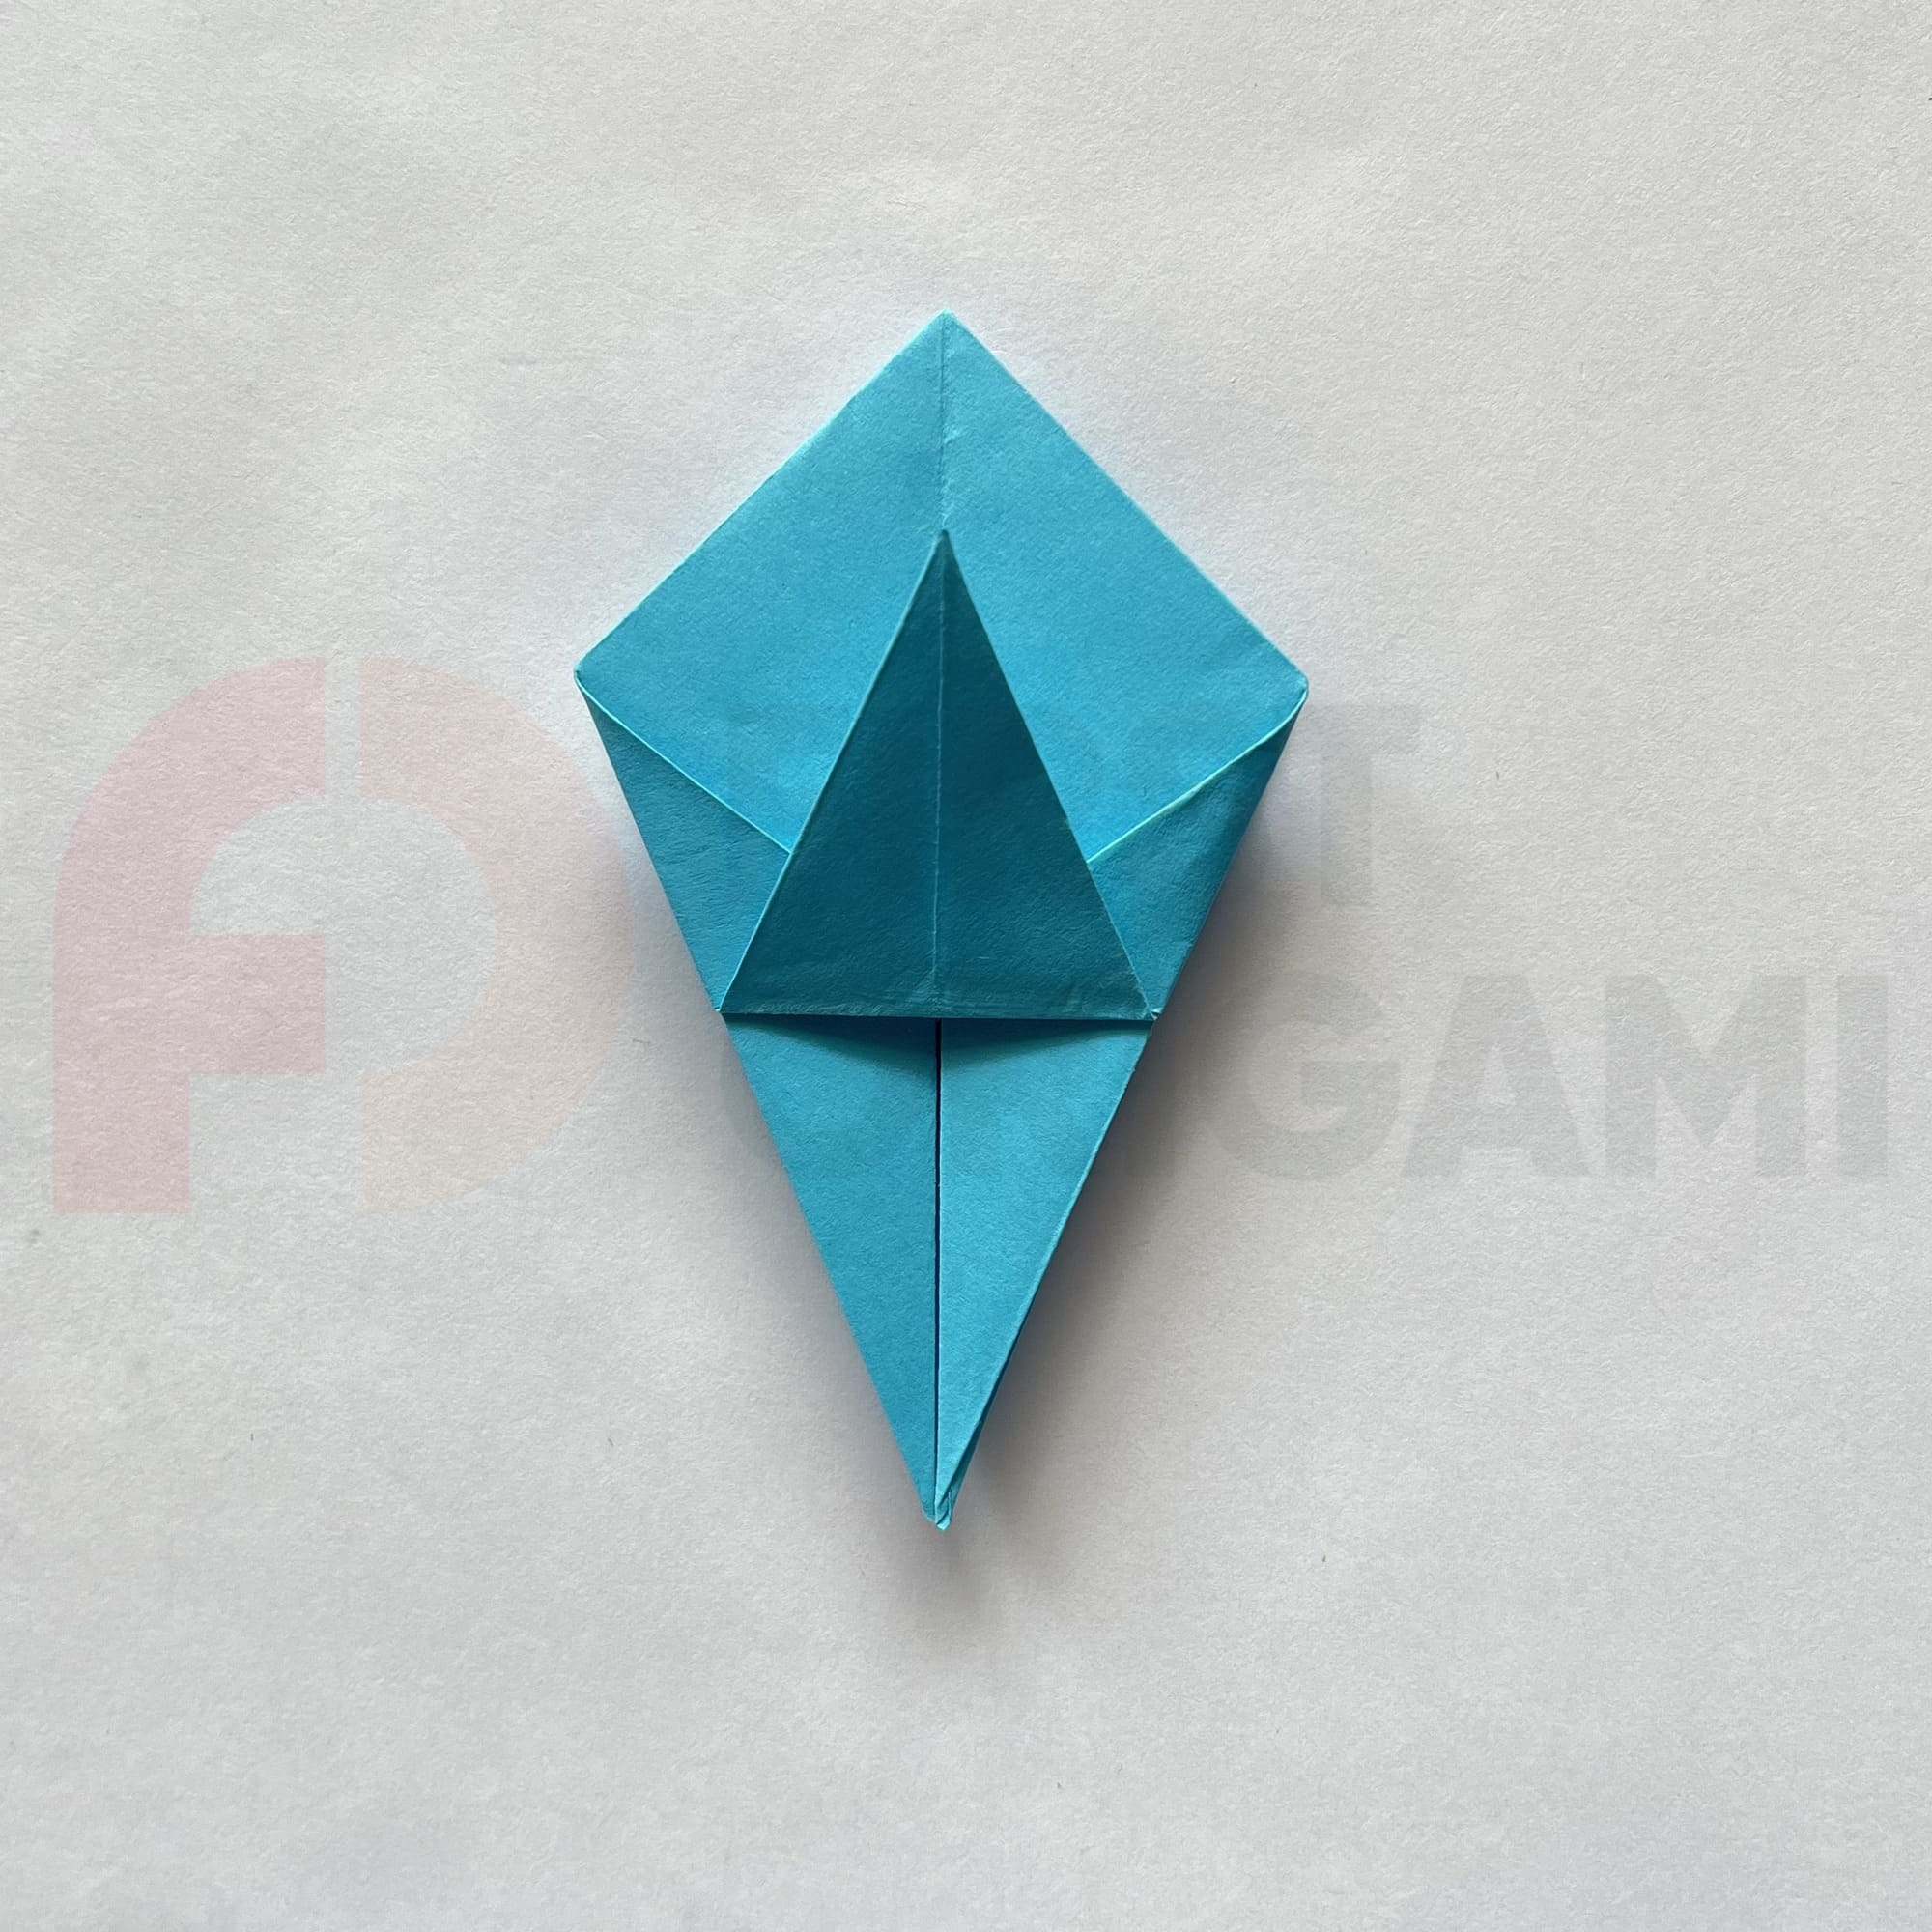
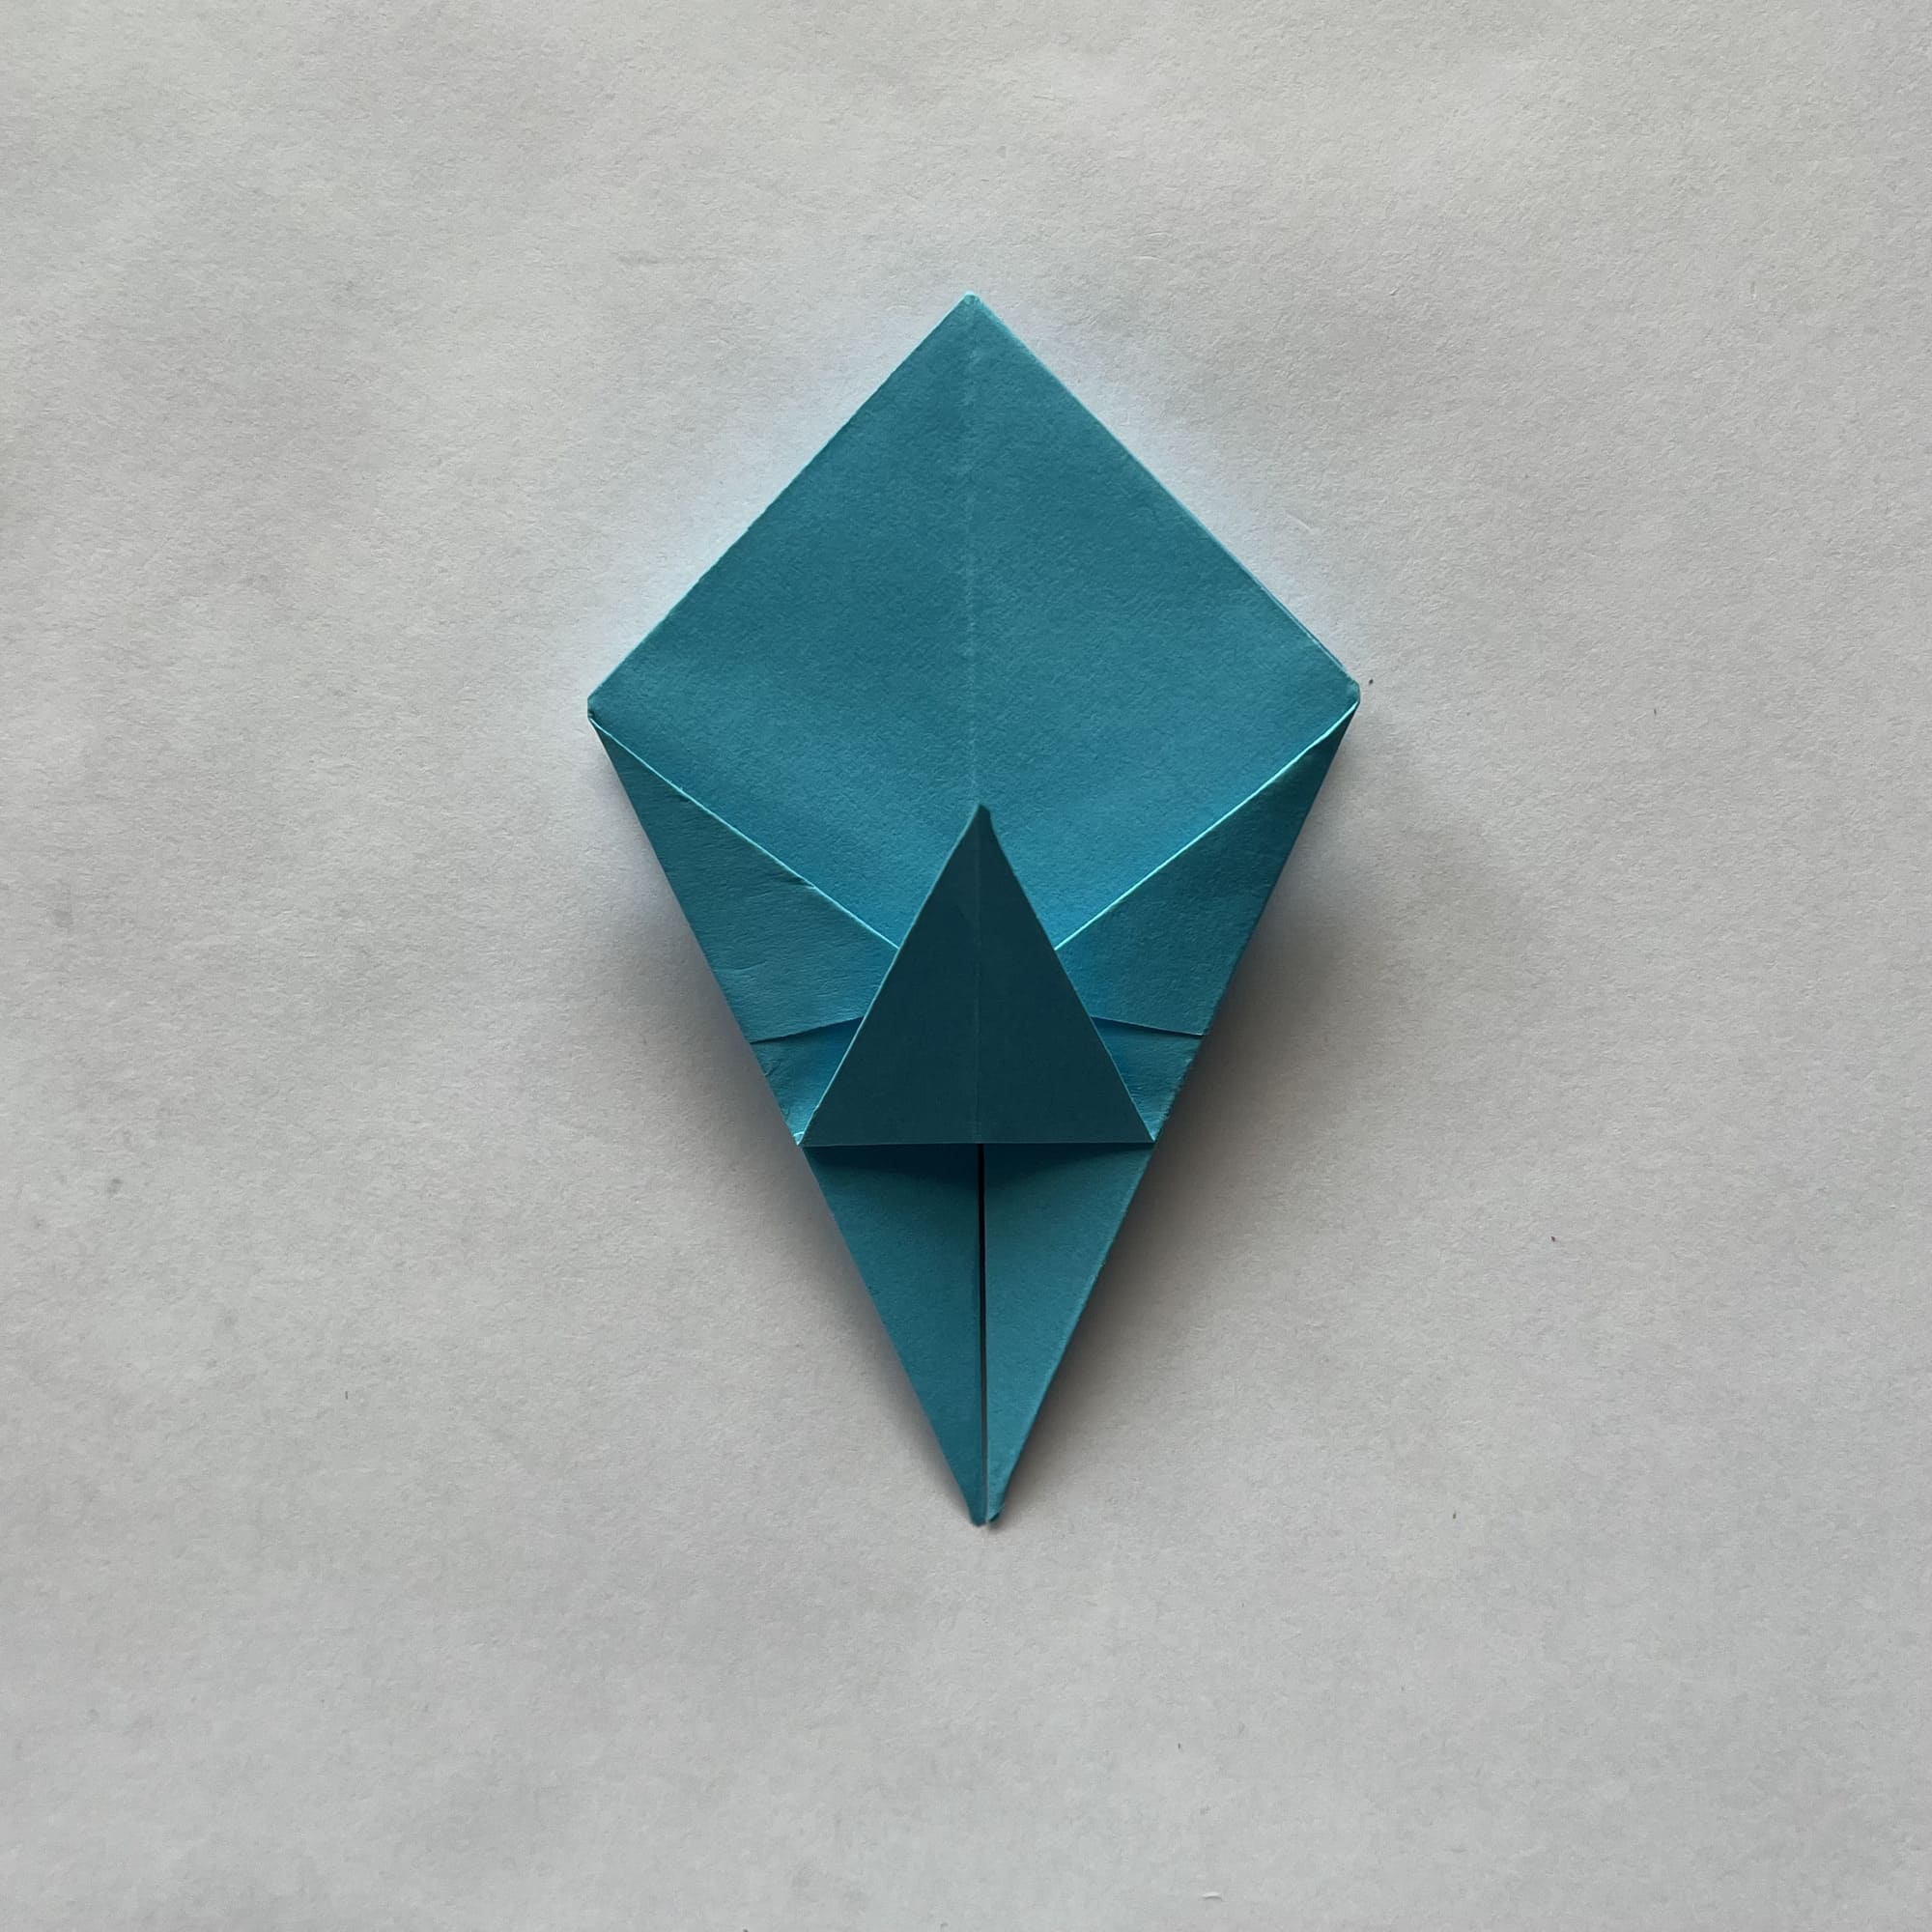
Fold the bottom corner up, then repeat for the other three sides.
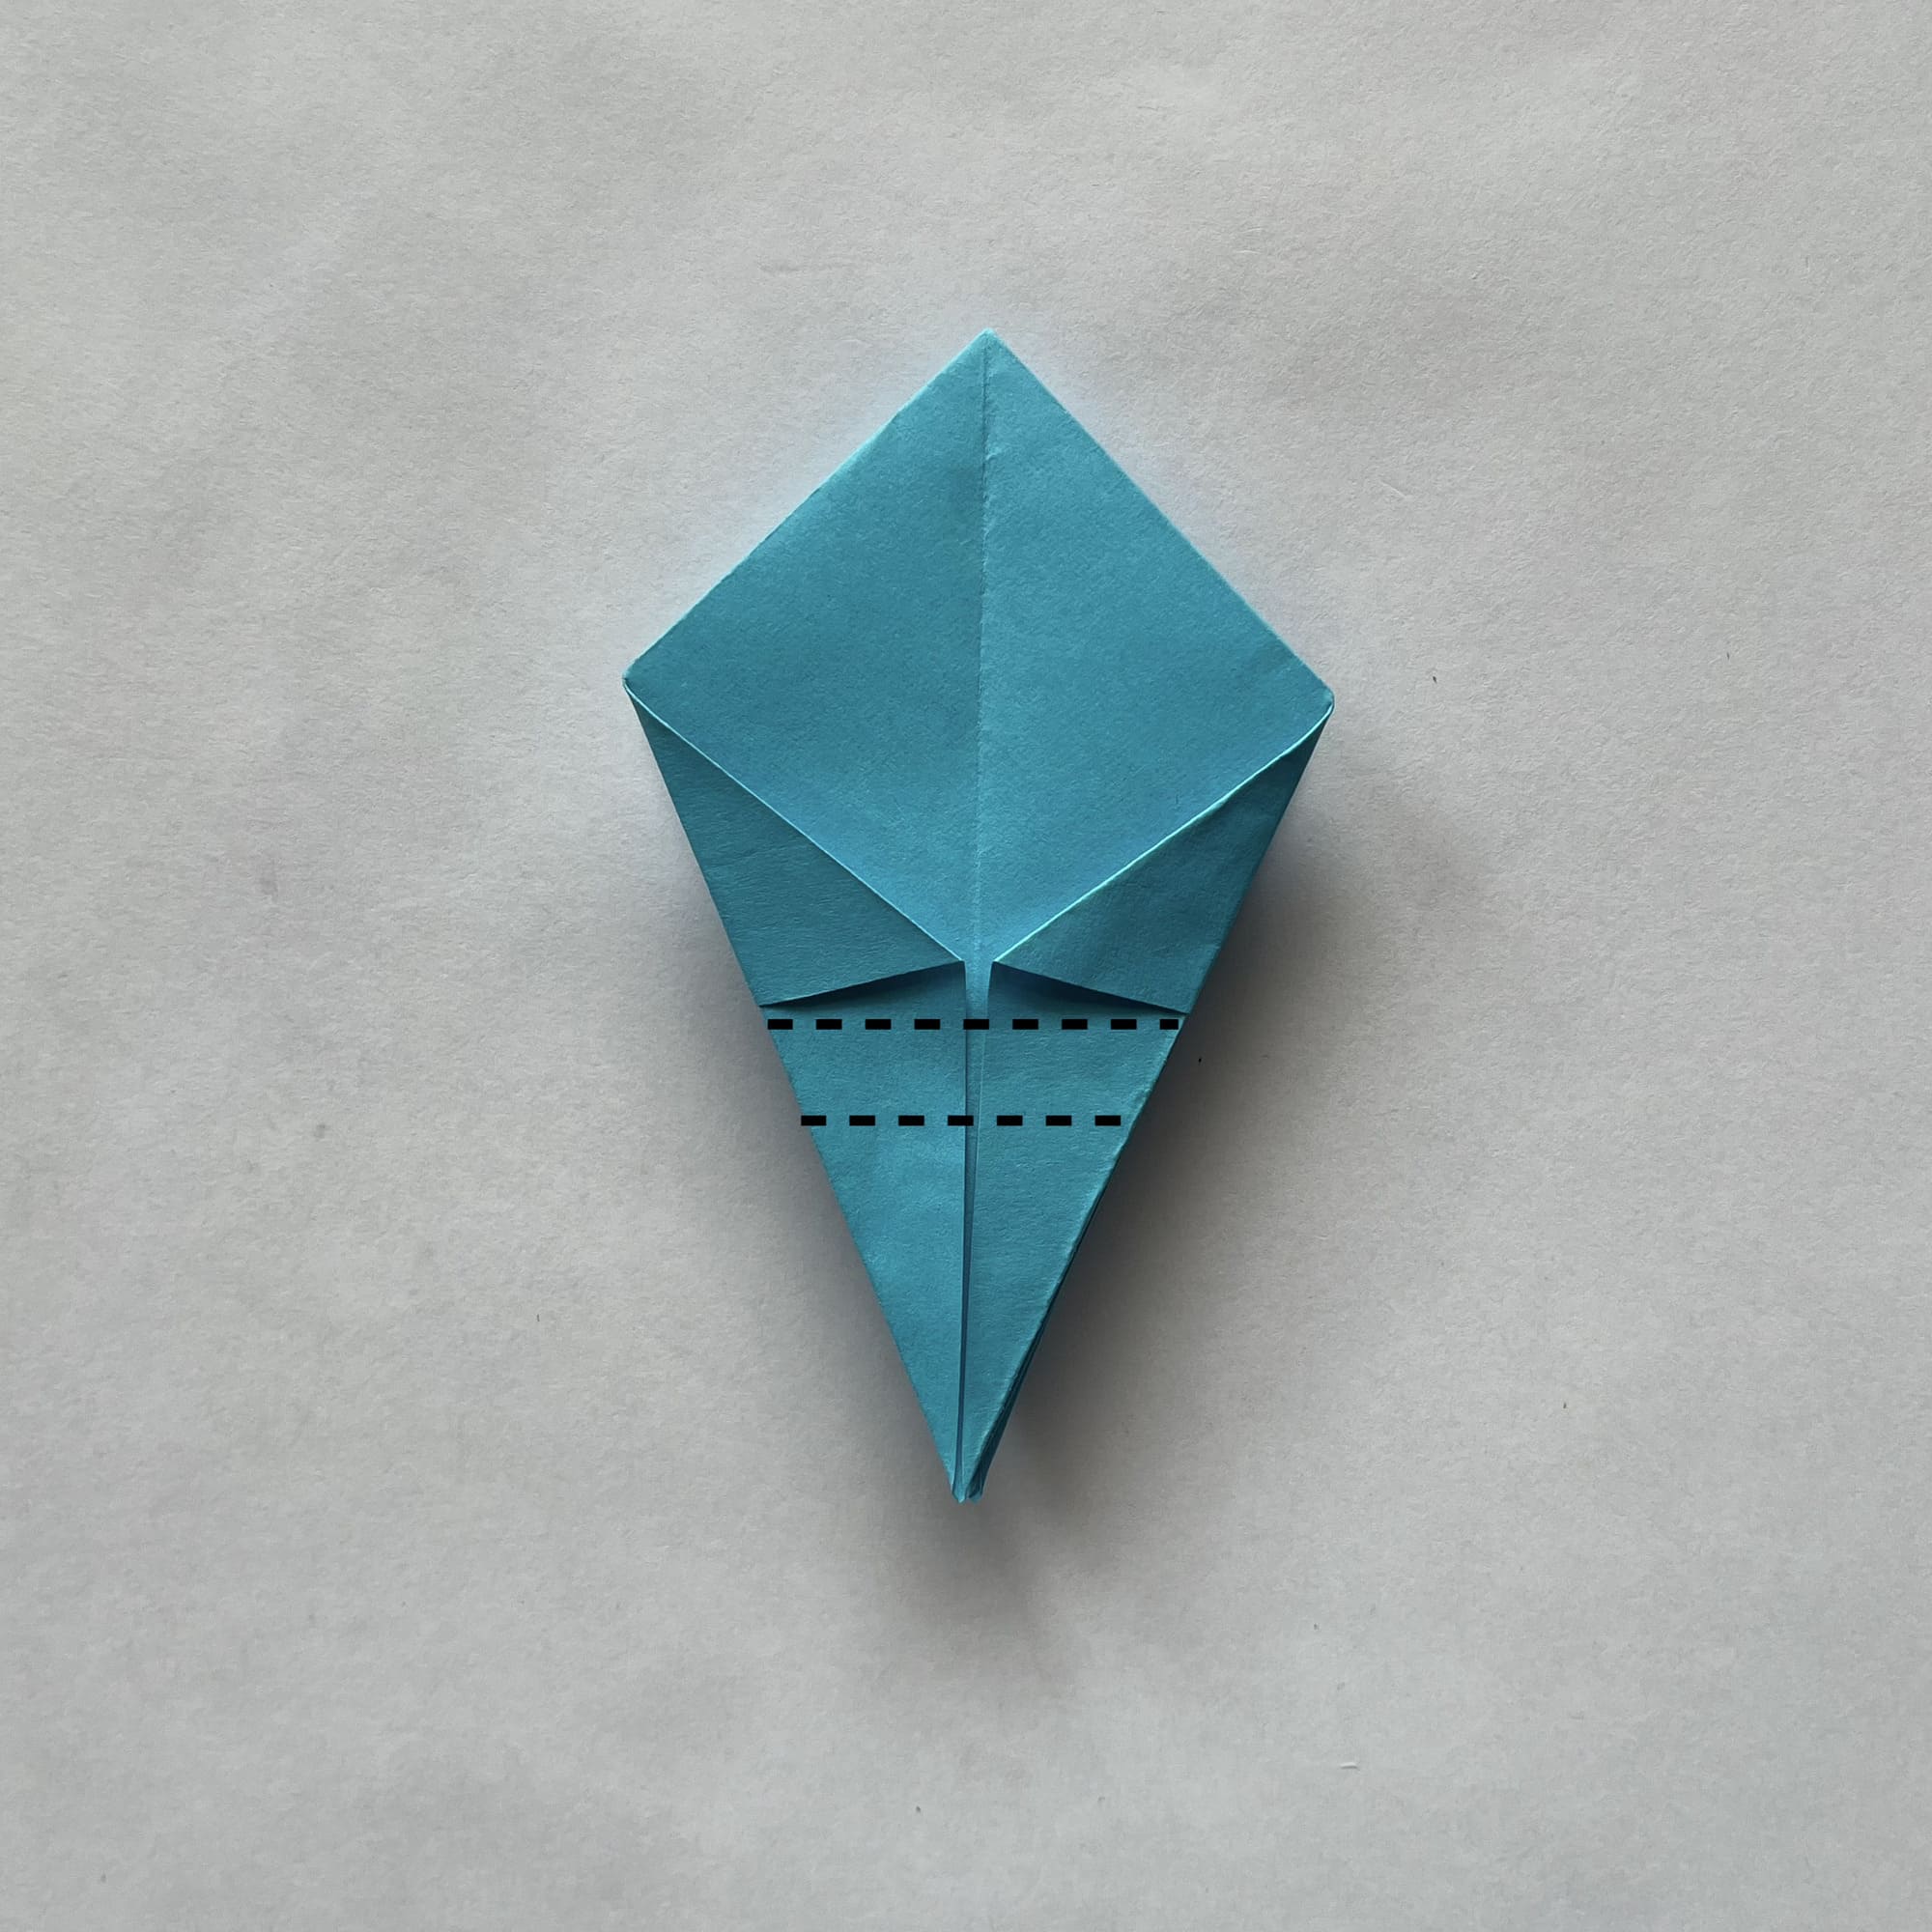
You can see the two dotted lines in the photo.
First, fold the corner along the bottom one, then make a fold along the top line with it.

Gently pull the corners apart while flattening the bottom of the box.

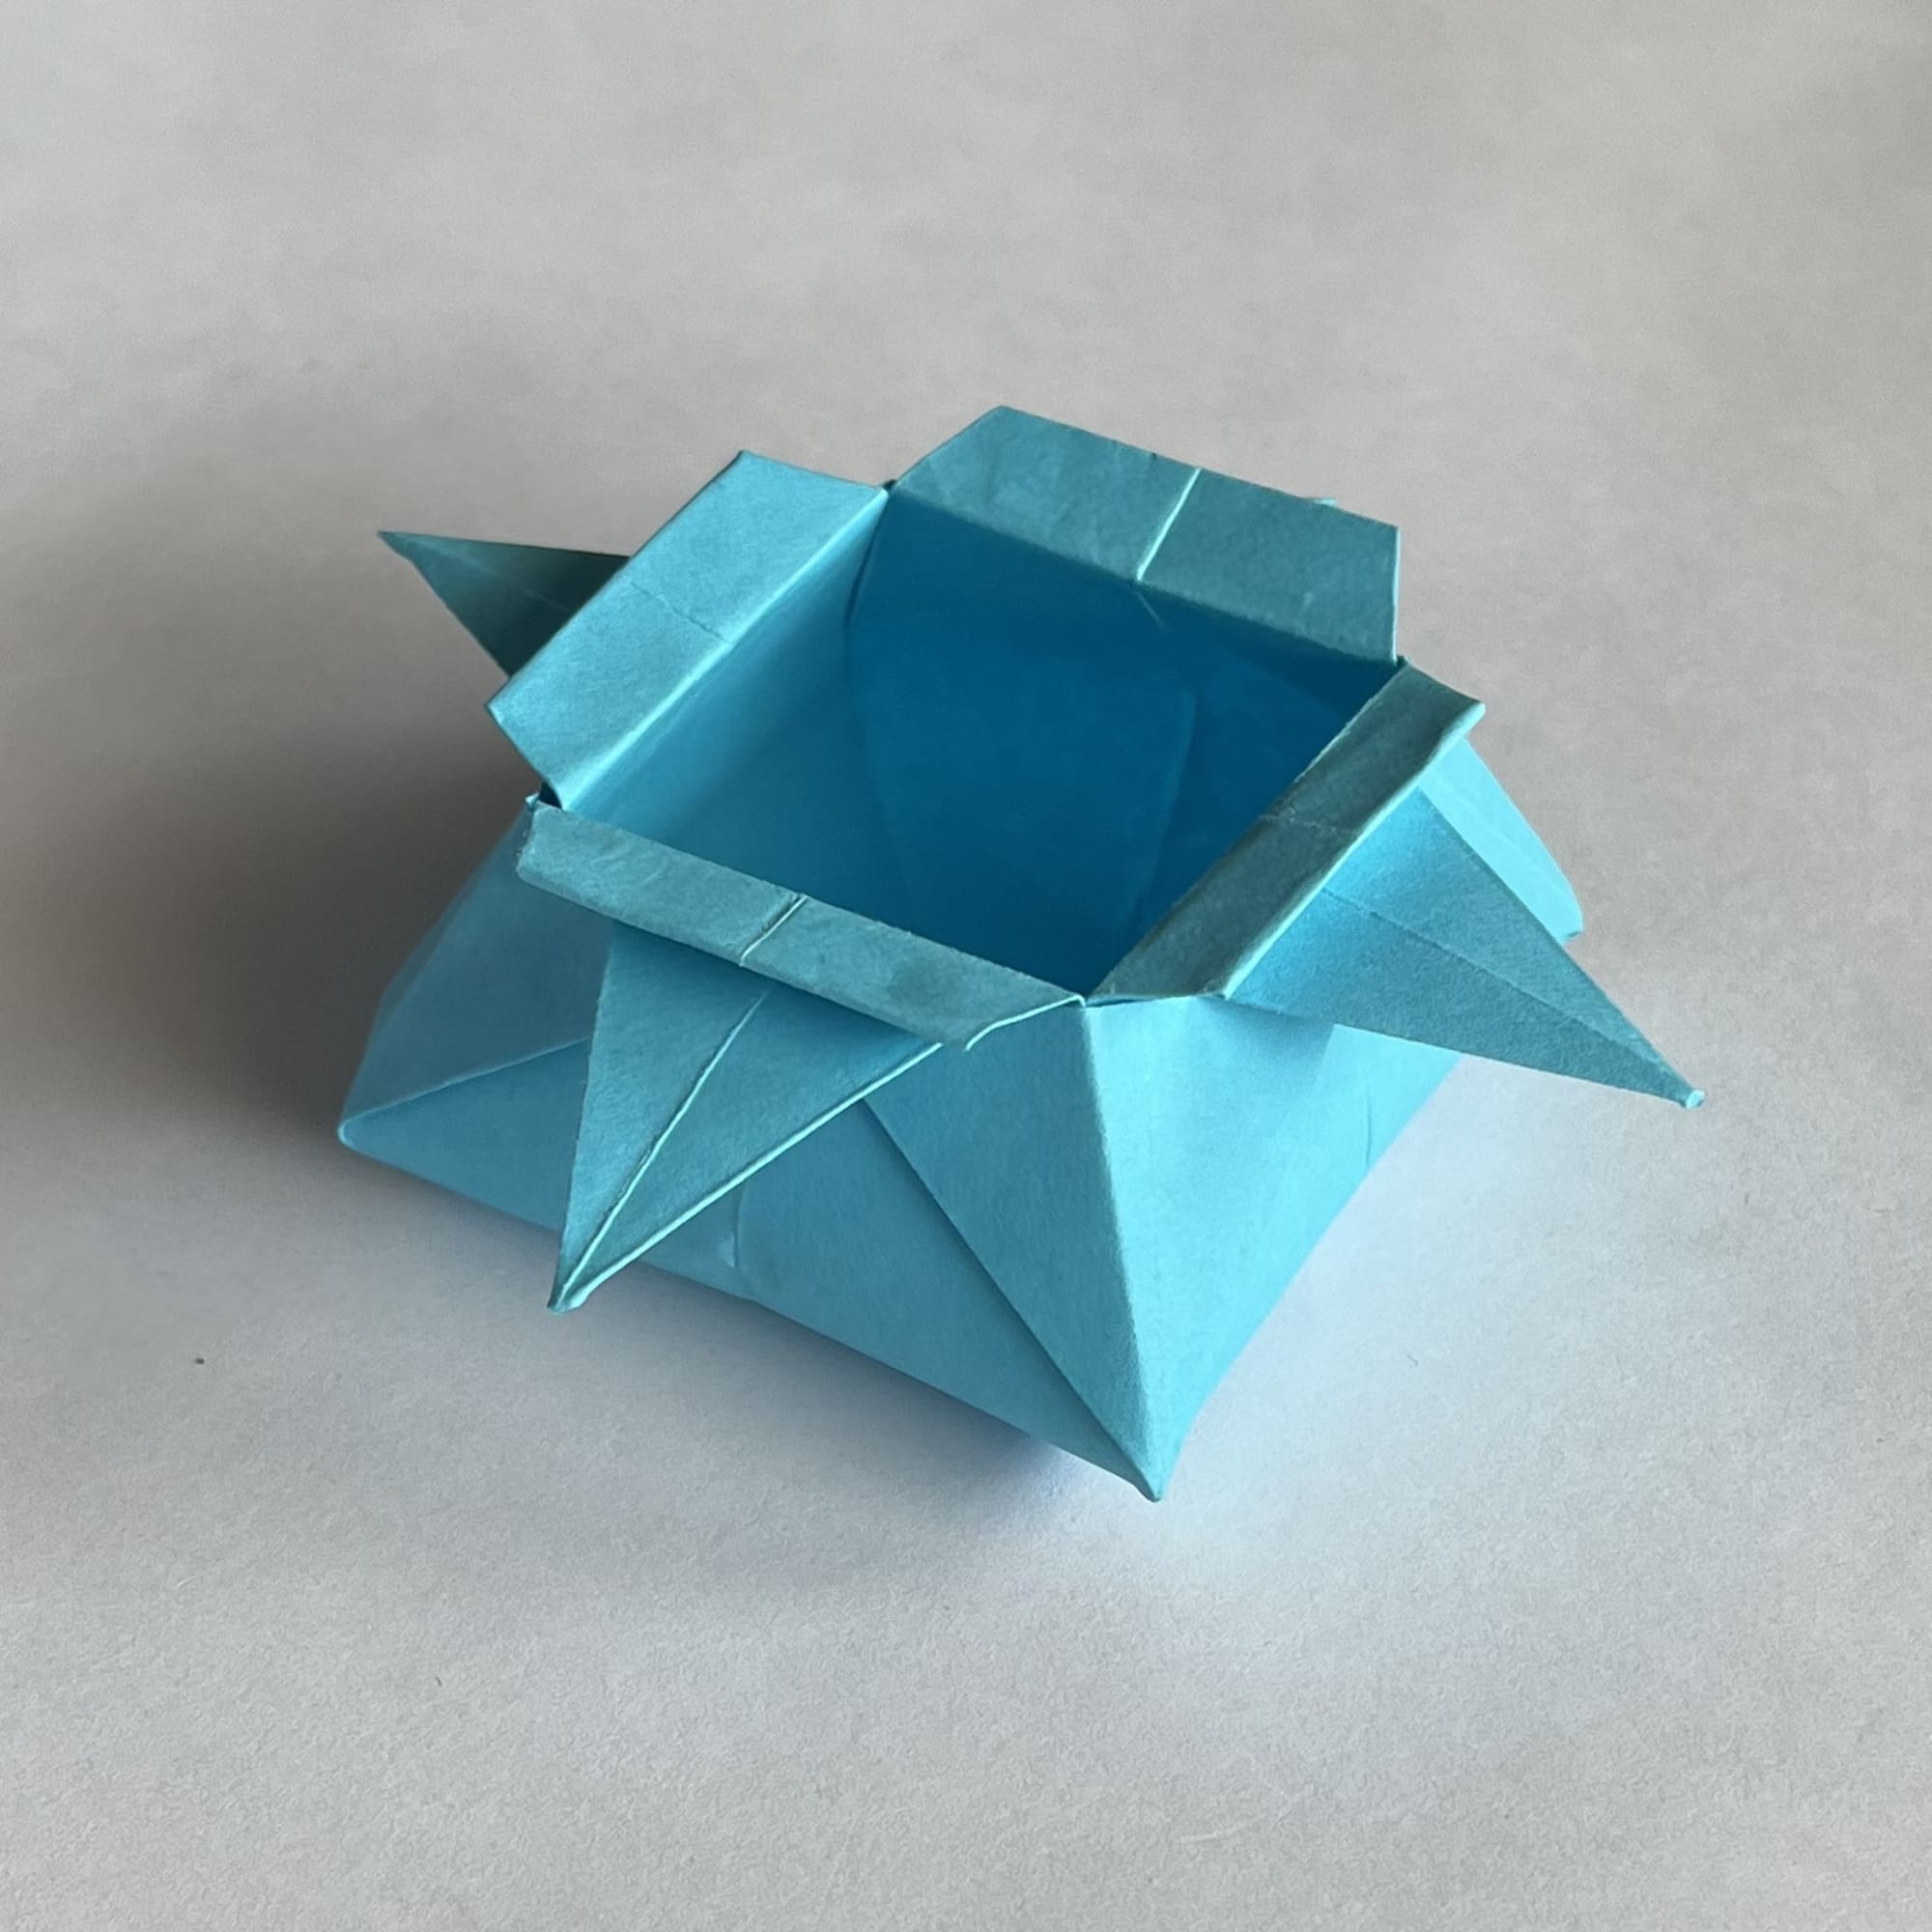
Whichever of the two options you choose, you got a very cute storage box. And if it’s hard to decide, try making both!


