Origami Swashbuckler Airplane
This is an unusual model of a paper plane, which fully justifies its name. Designers of origami figures know a lot about entertainment, so each plane they have is not just a shape and instructions for its creation, but also its own unique flight pattern.
This little bully loves big loops and flips in the air. Therefore, if you were looking for a plane not for long-range and accurate flights, but for fun, then you have found it!
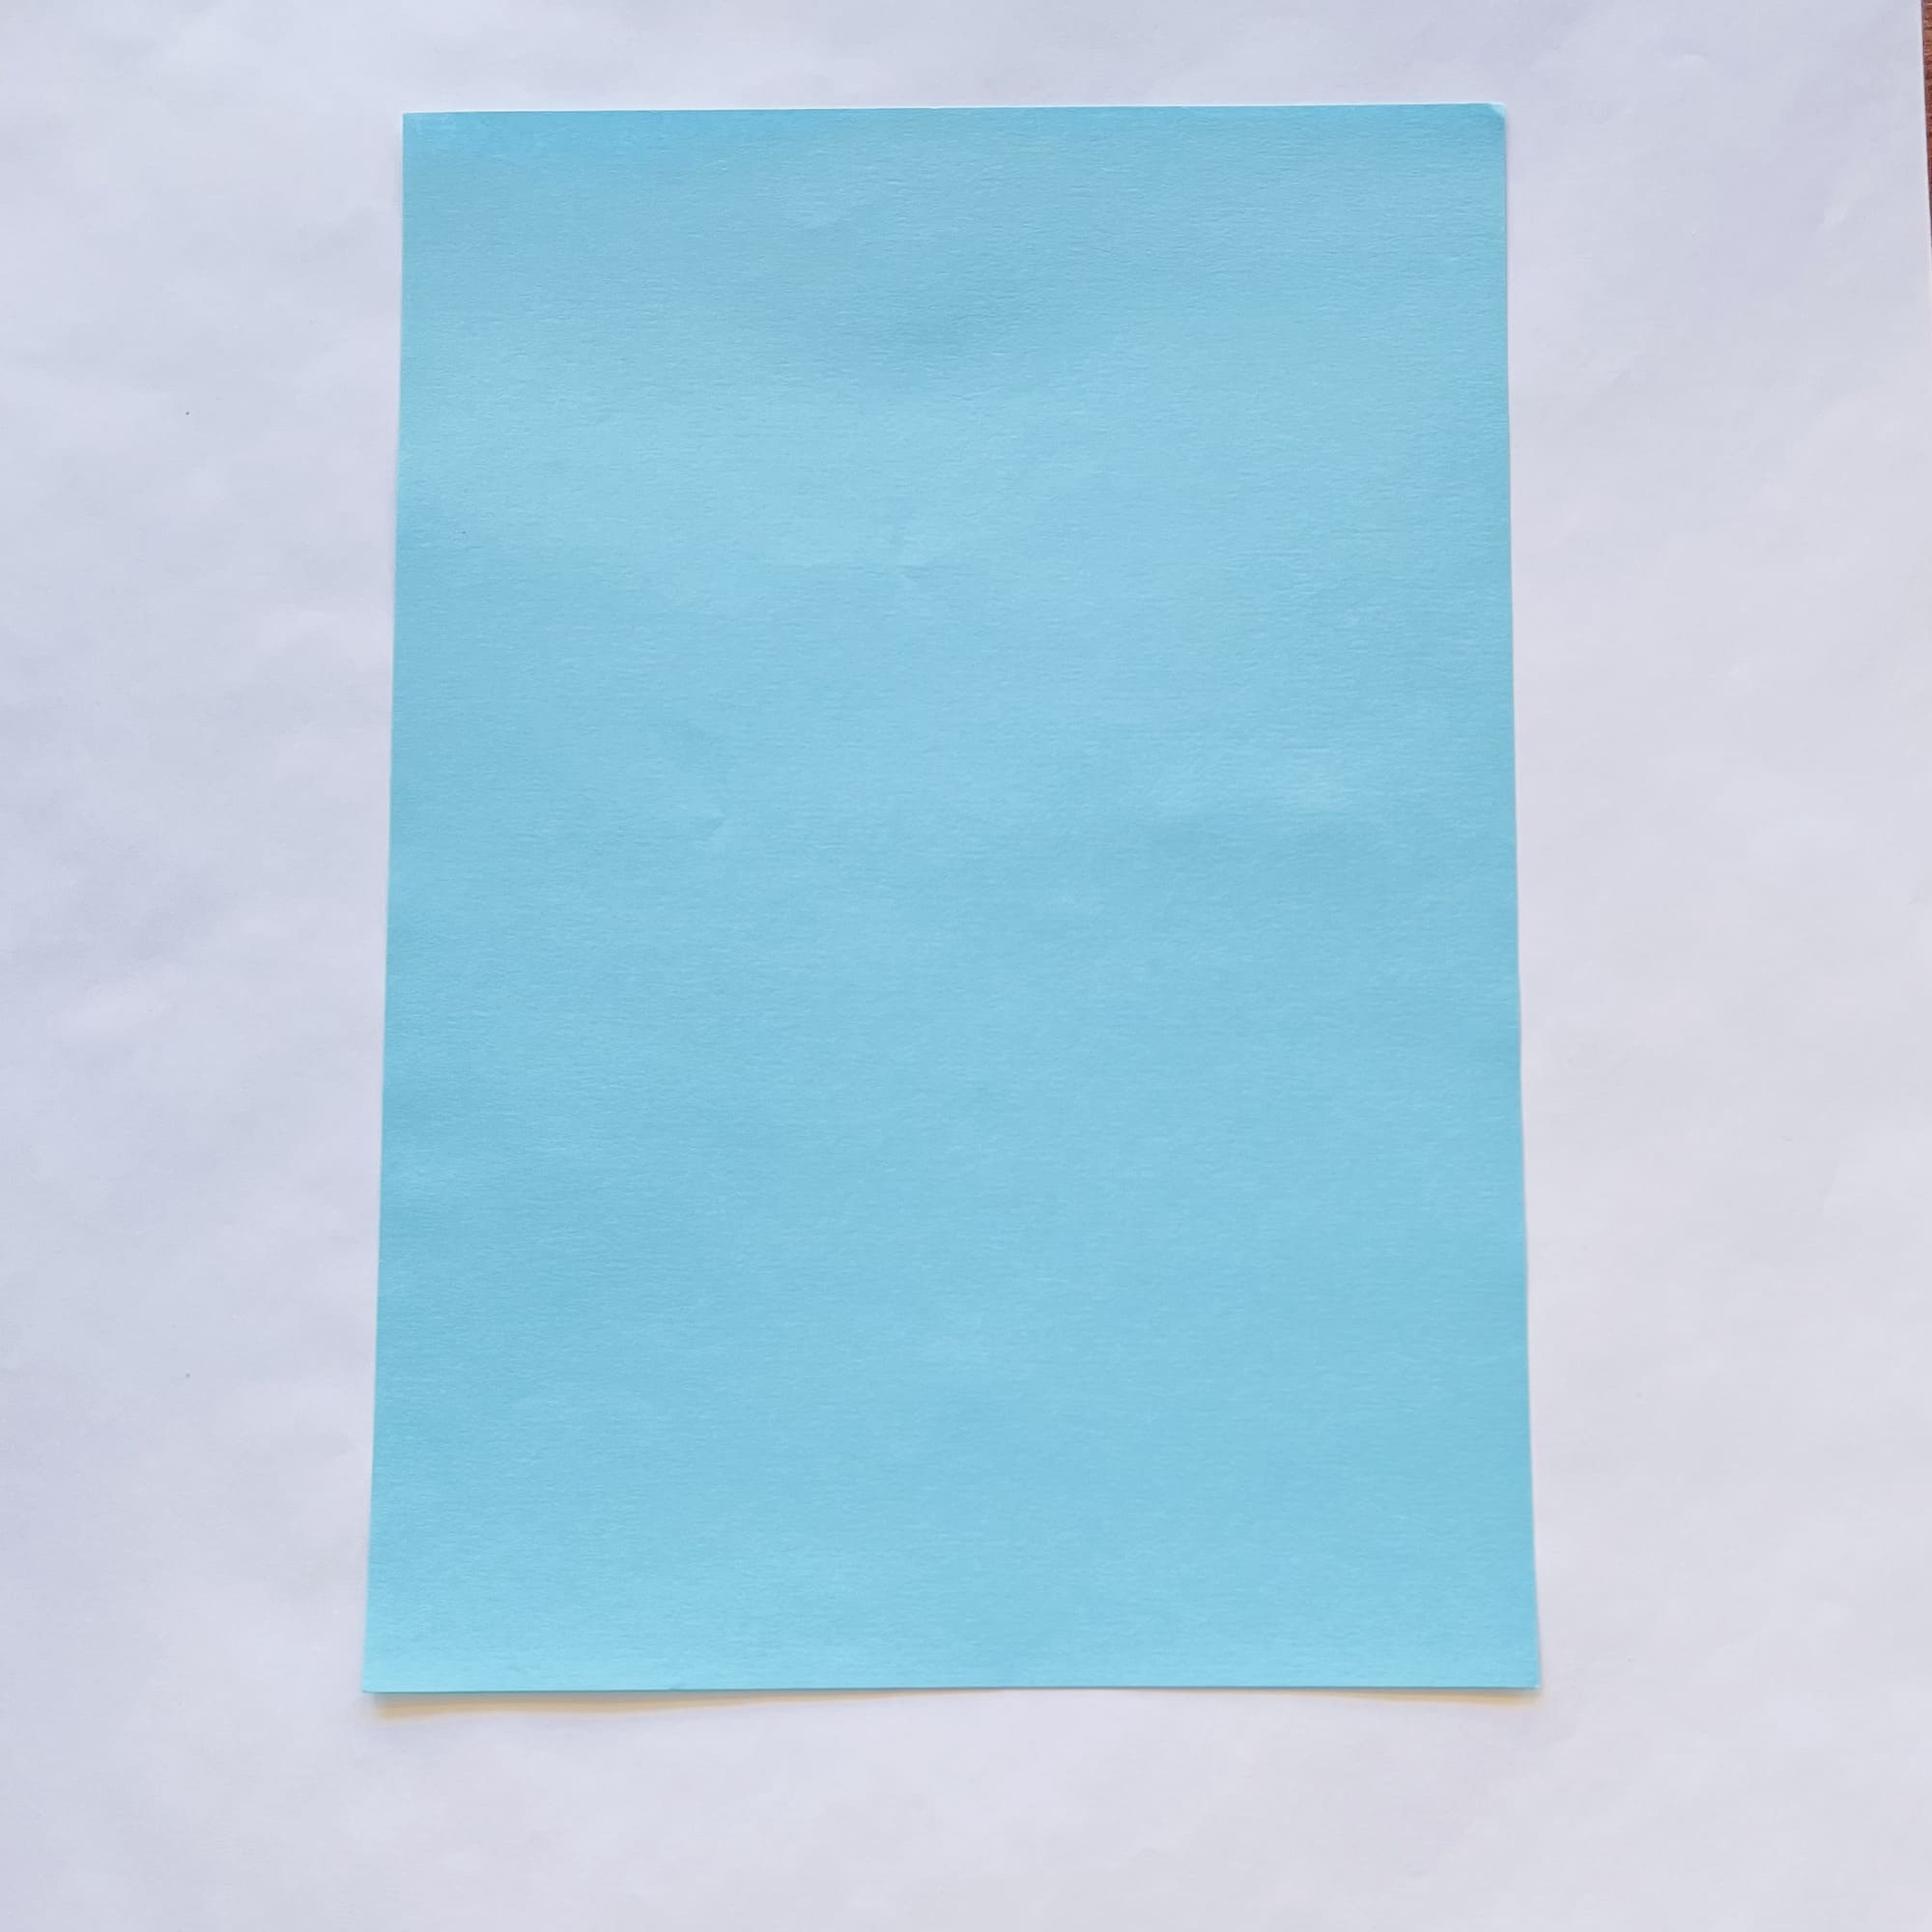
Like the vast majority of paper planes, this model is based on an ordinary A4 sheet of paper. Printer paper is great for this origami. However, if you have a desire to make the plane from colored paper, then this is also a great idea!
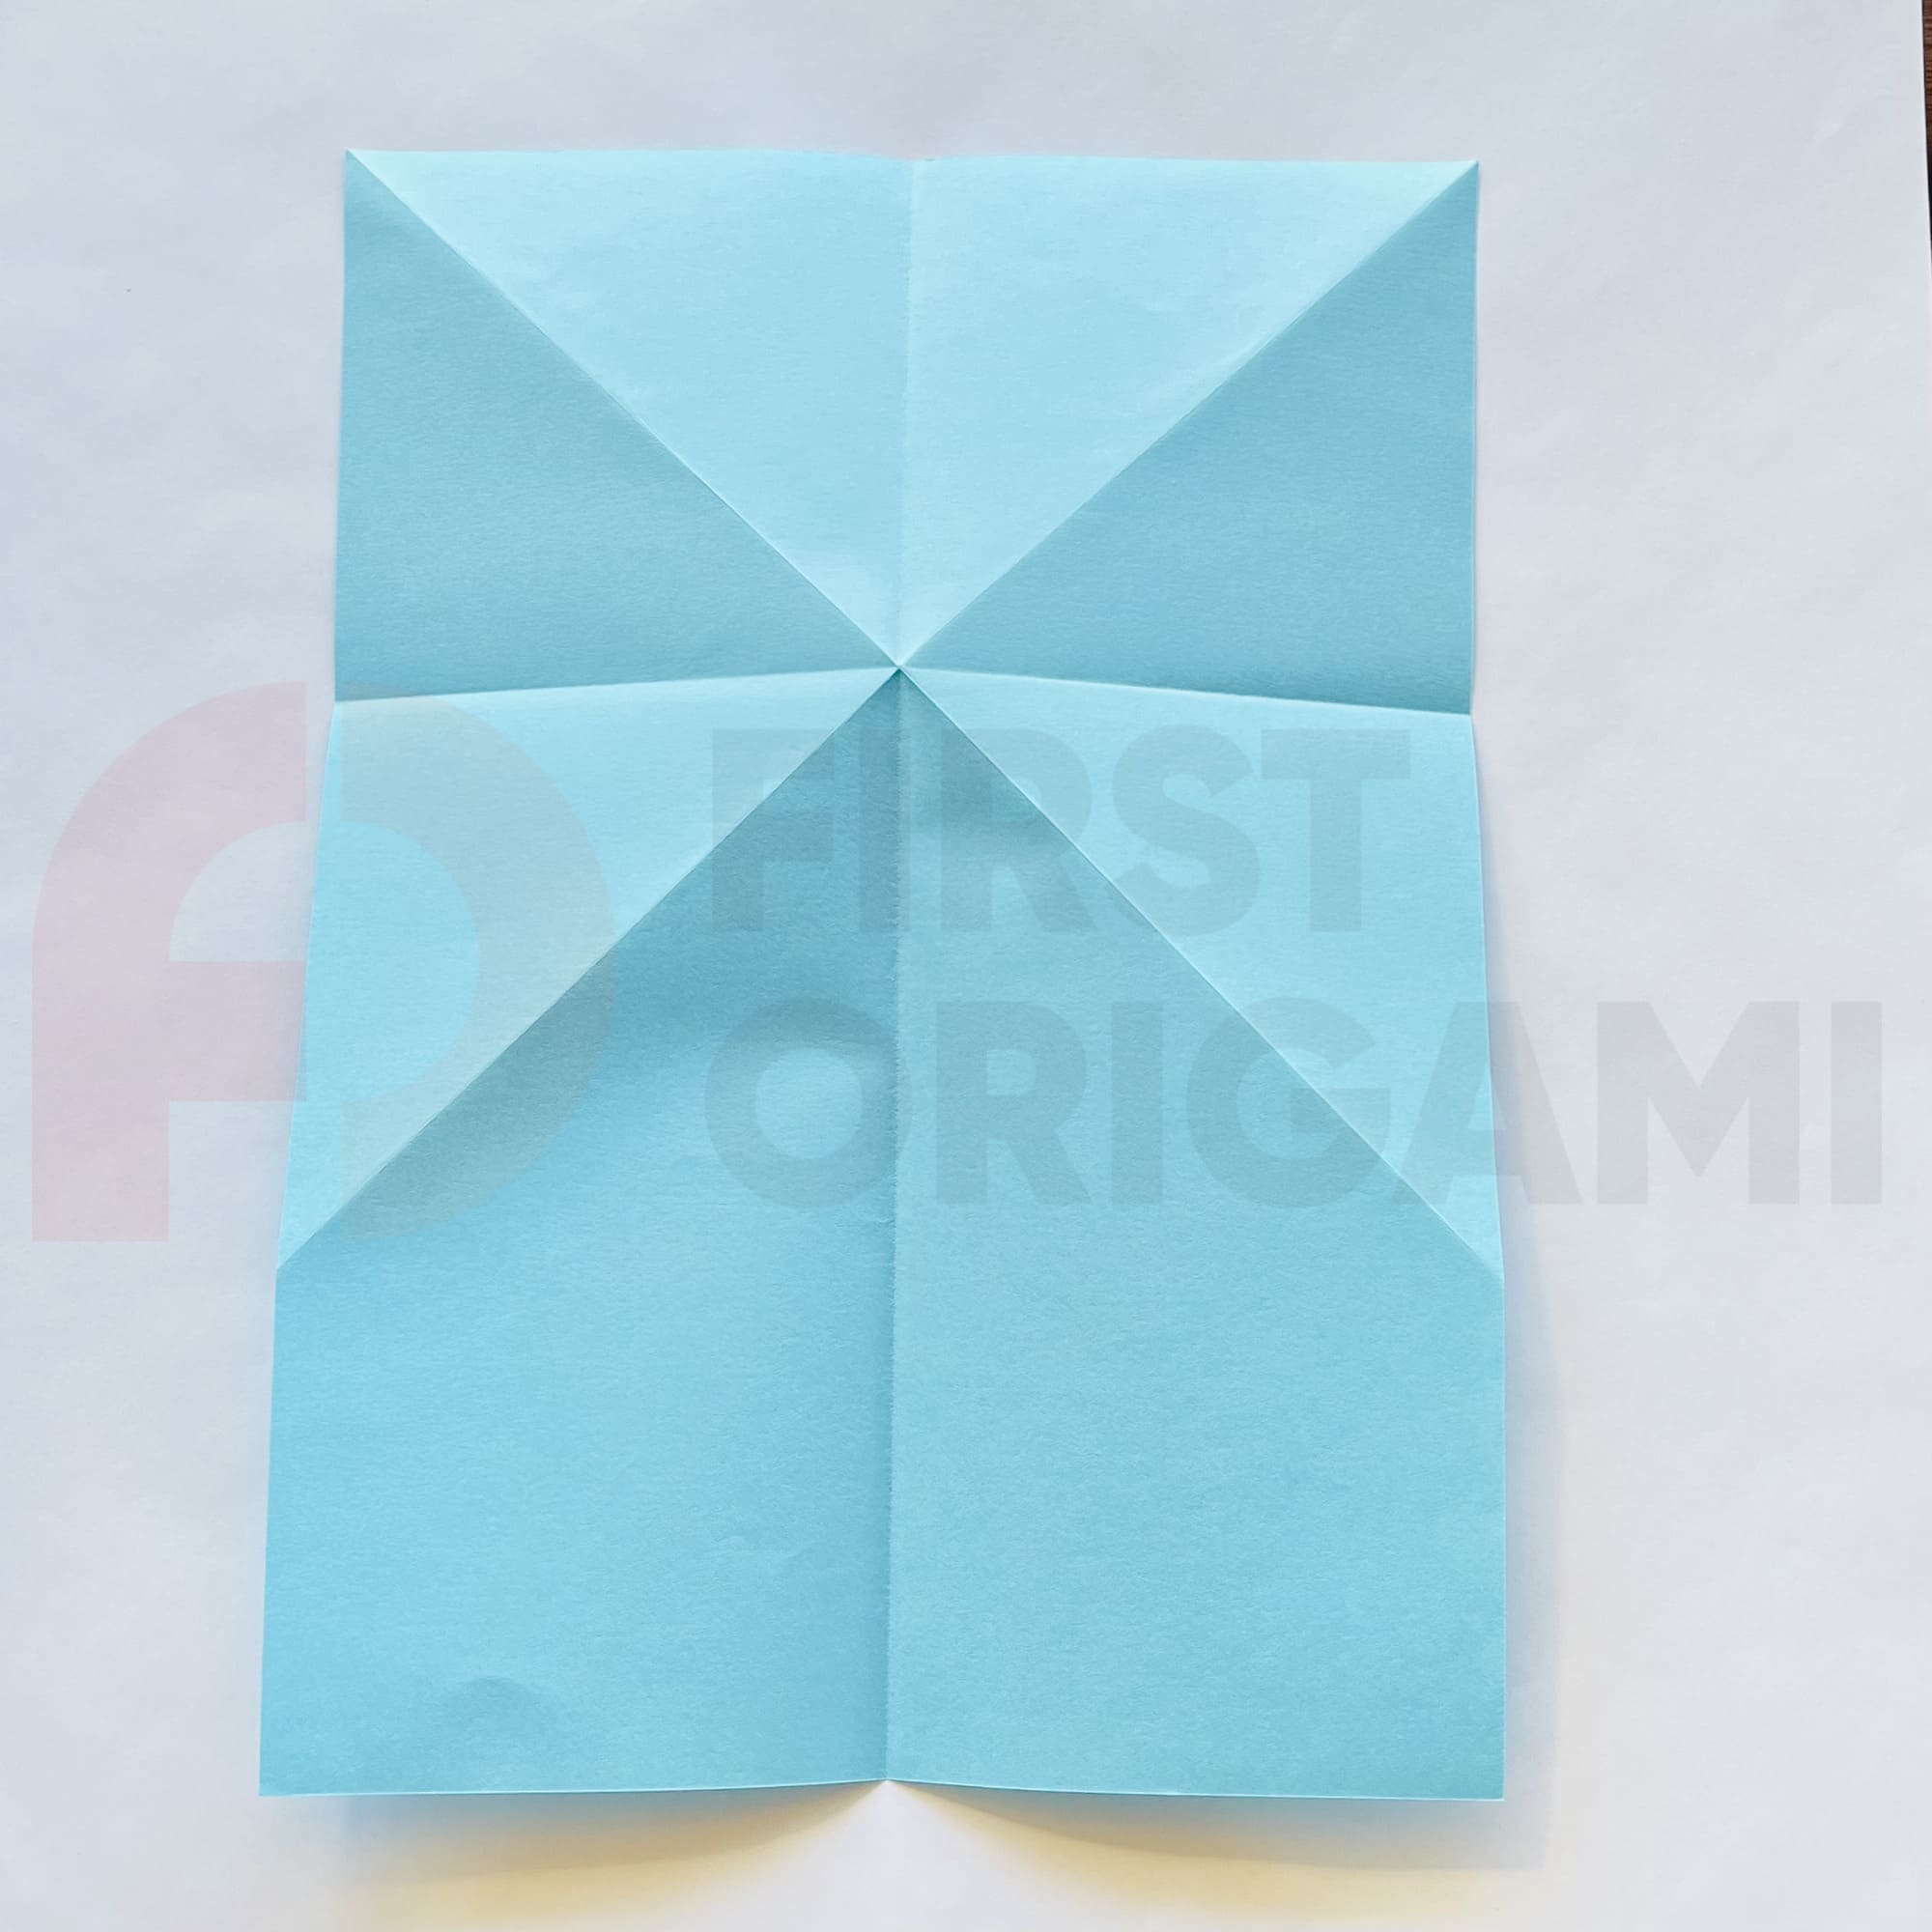
First, you need to fold the top left corner to the right edge.
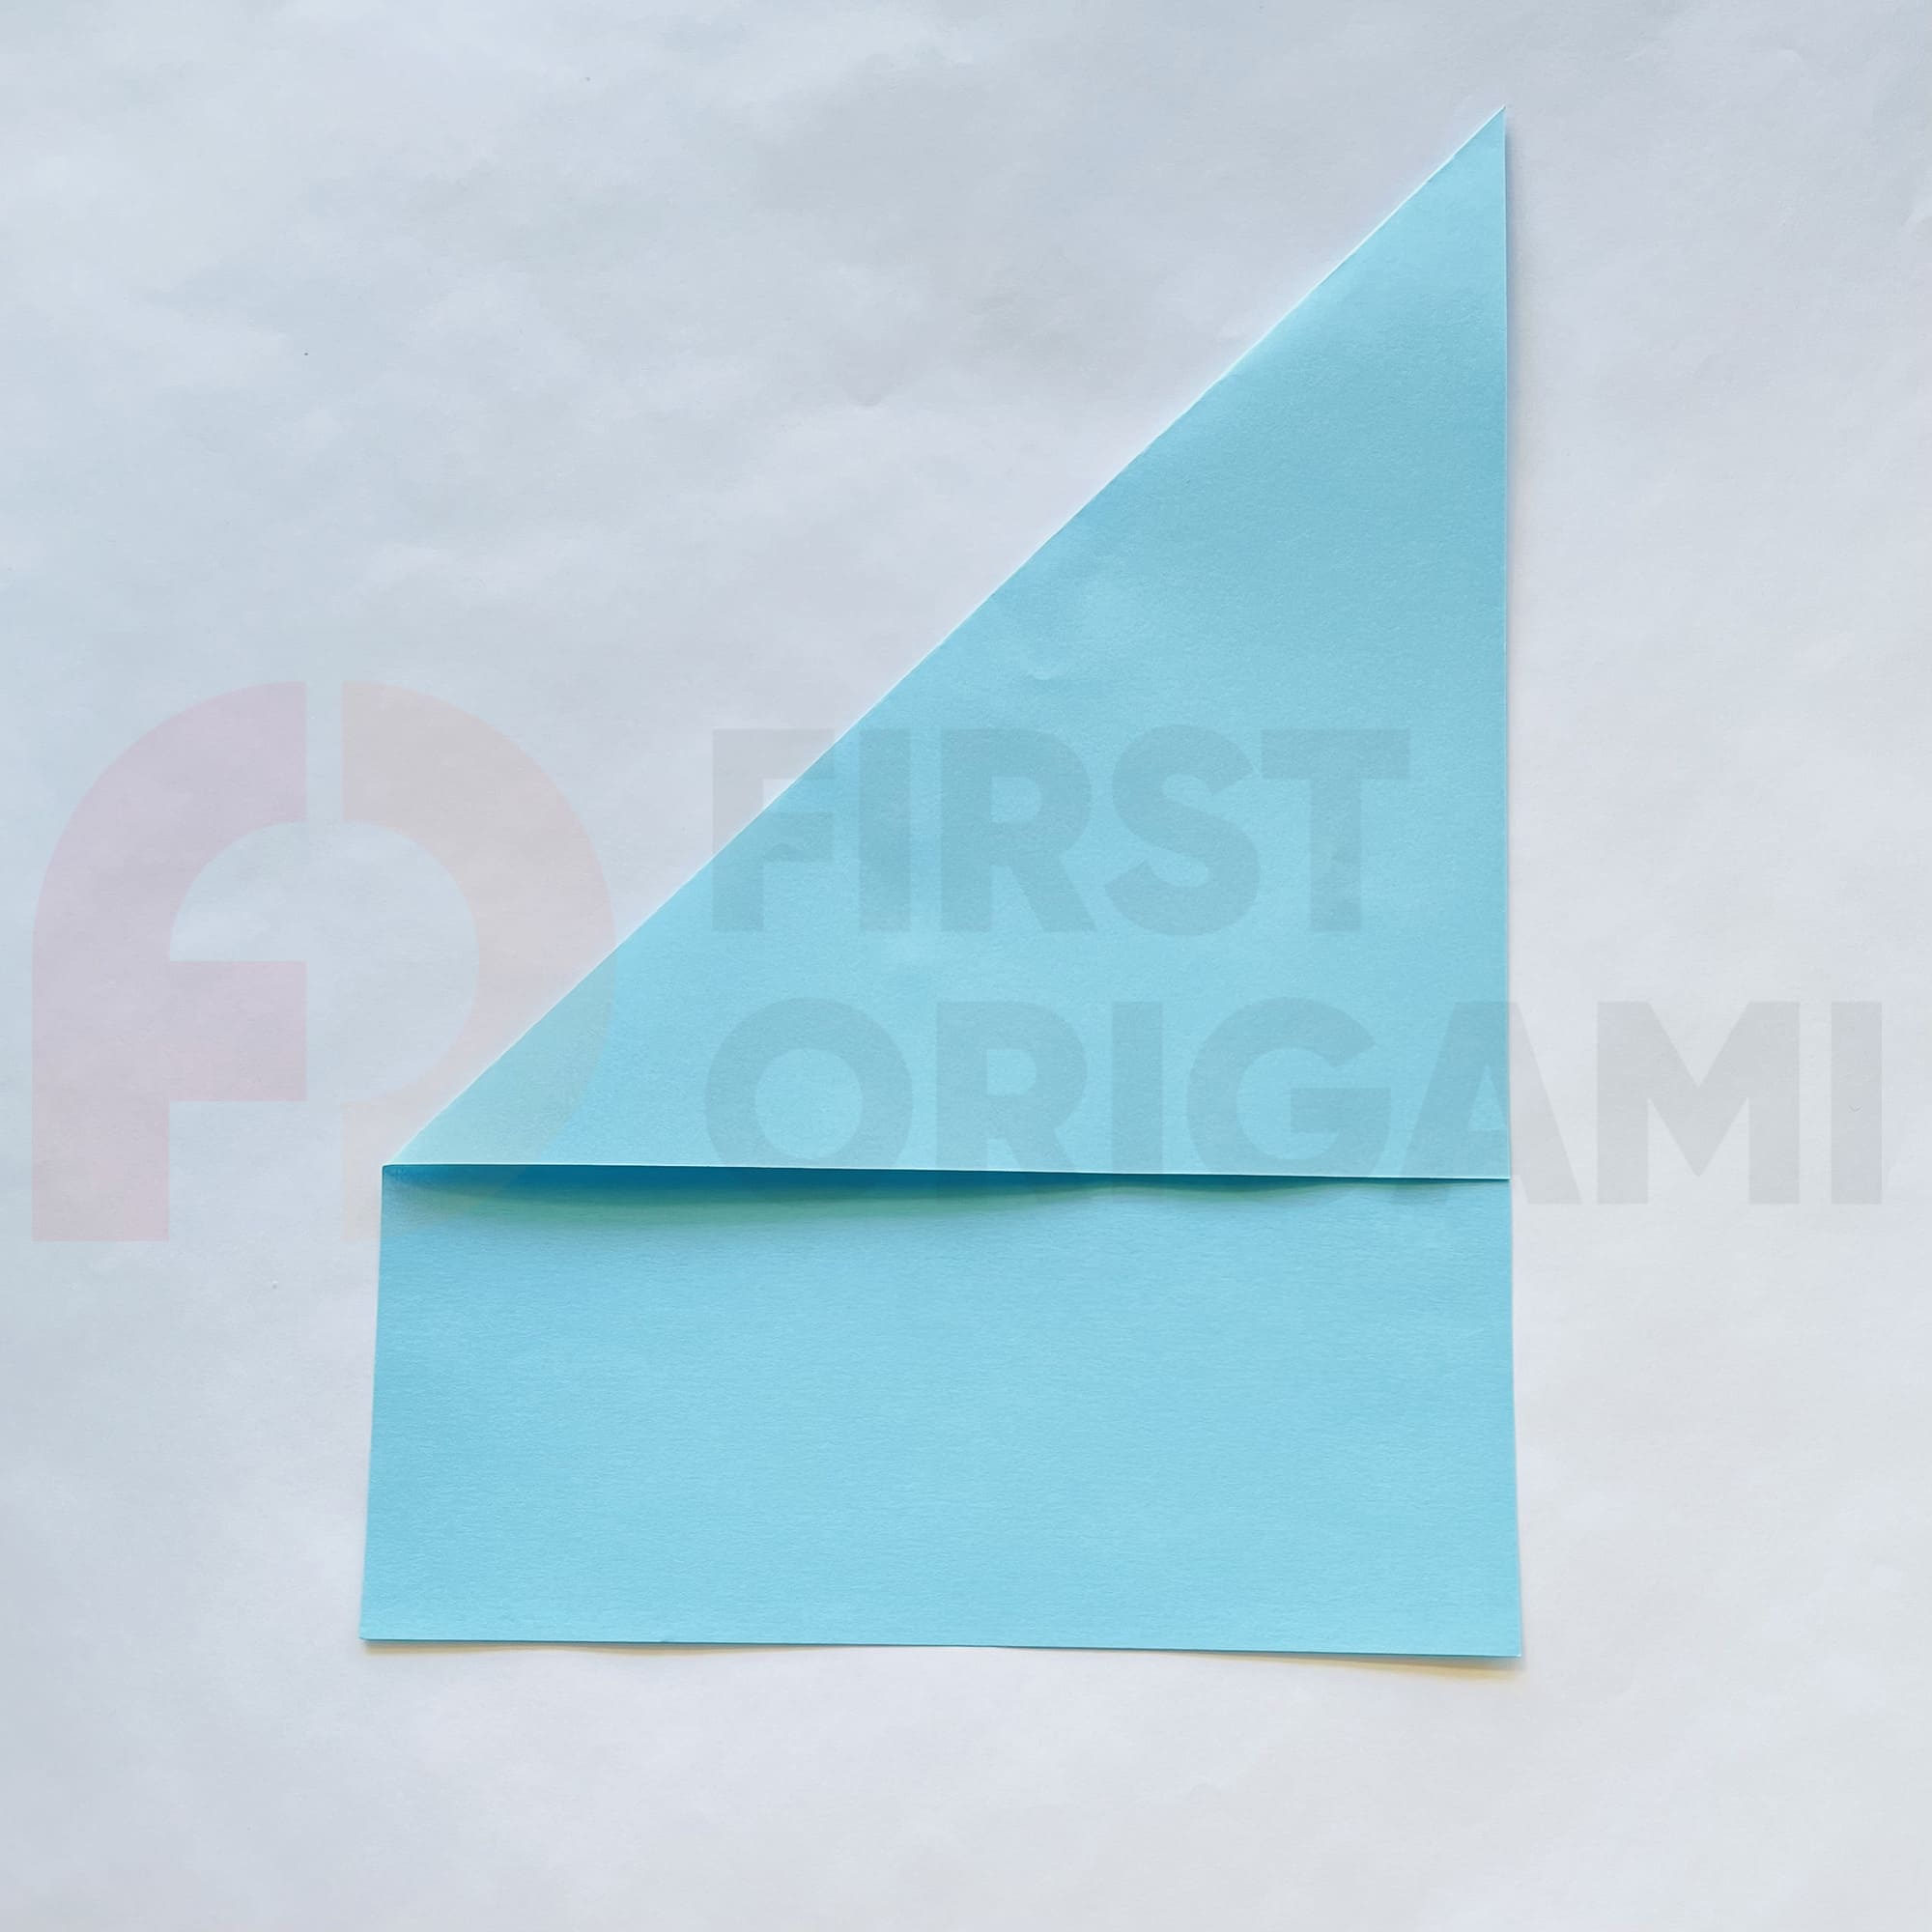
You should make sure the resulting top corner is as sharp as possible.
You should not forget to crease the fold, then you can unfold.

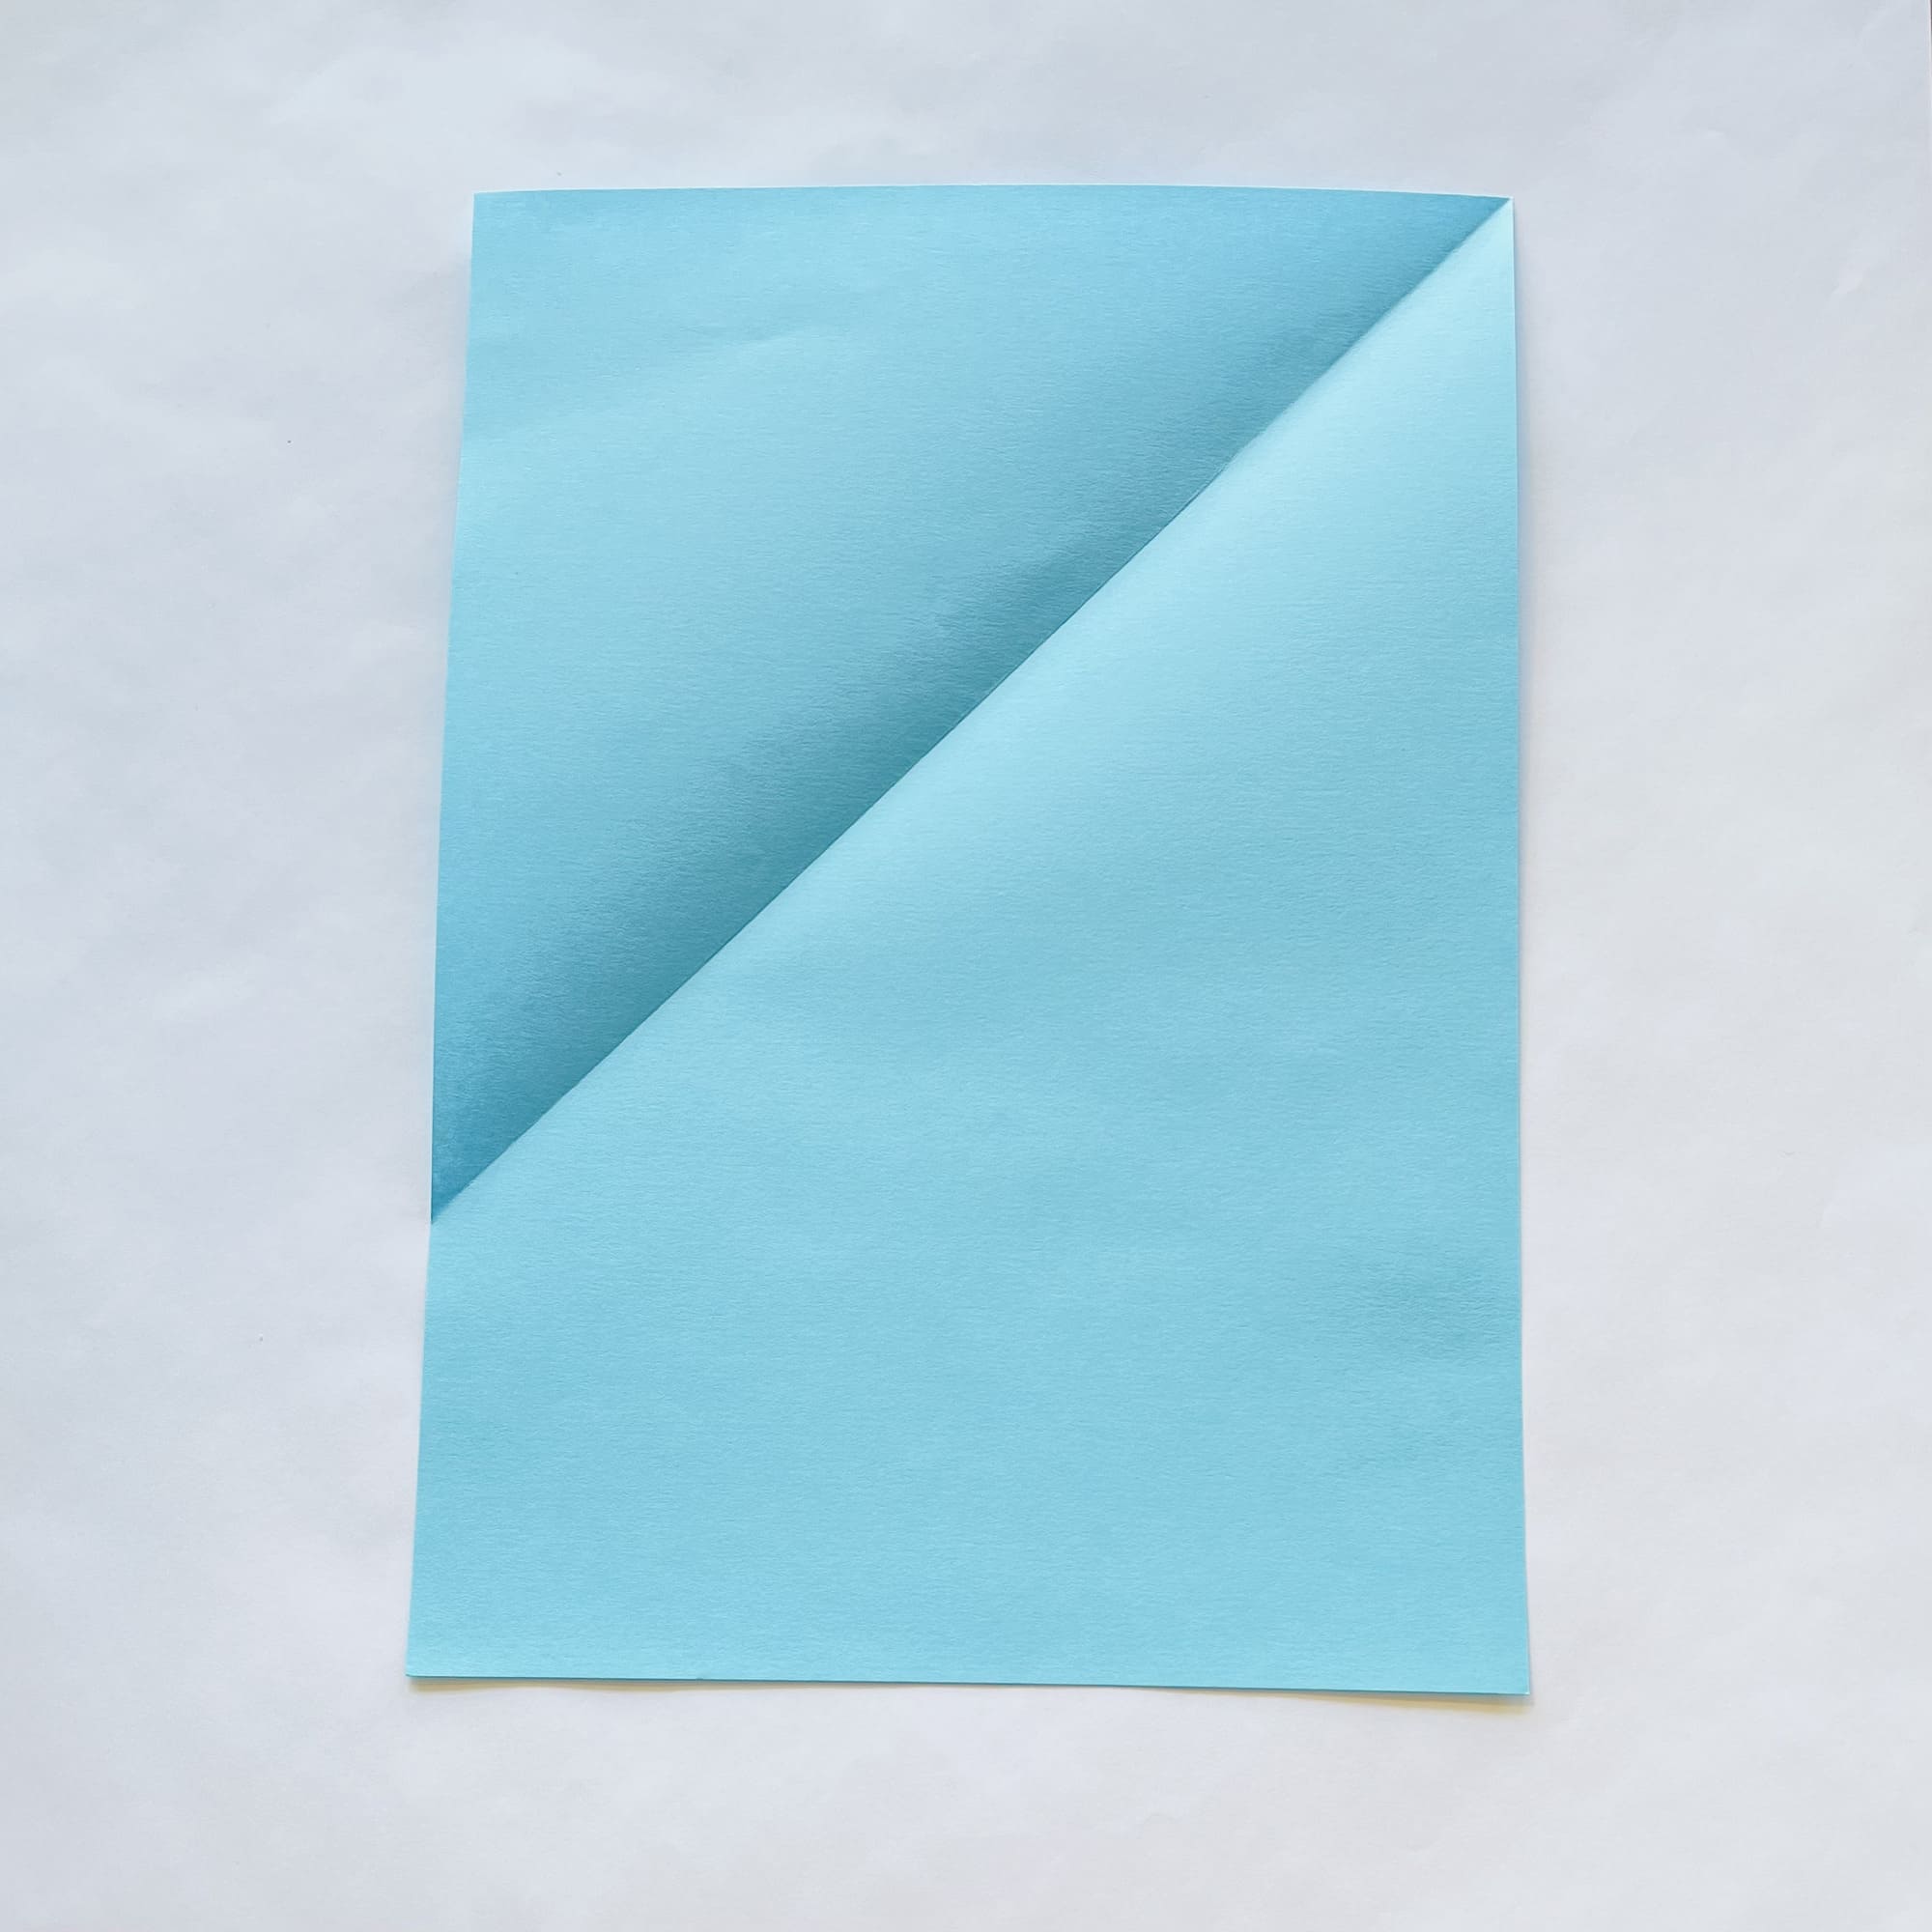
Now, you would bend the upper right corner in a similar way and unfold it too.
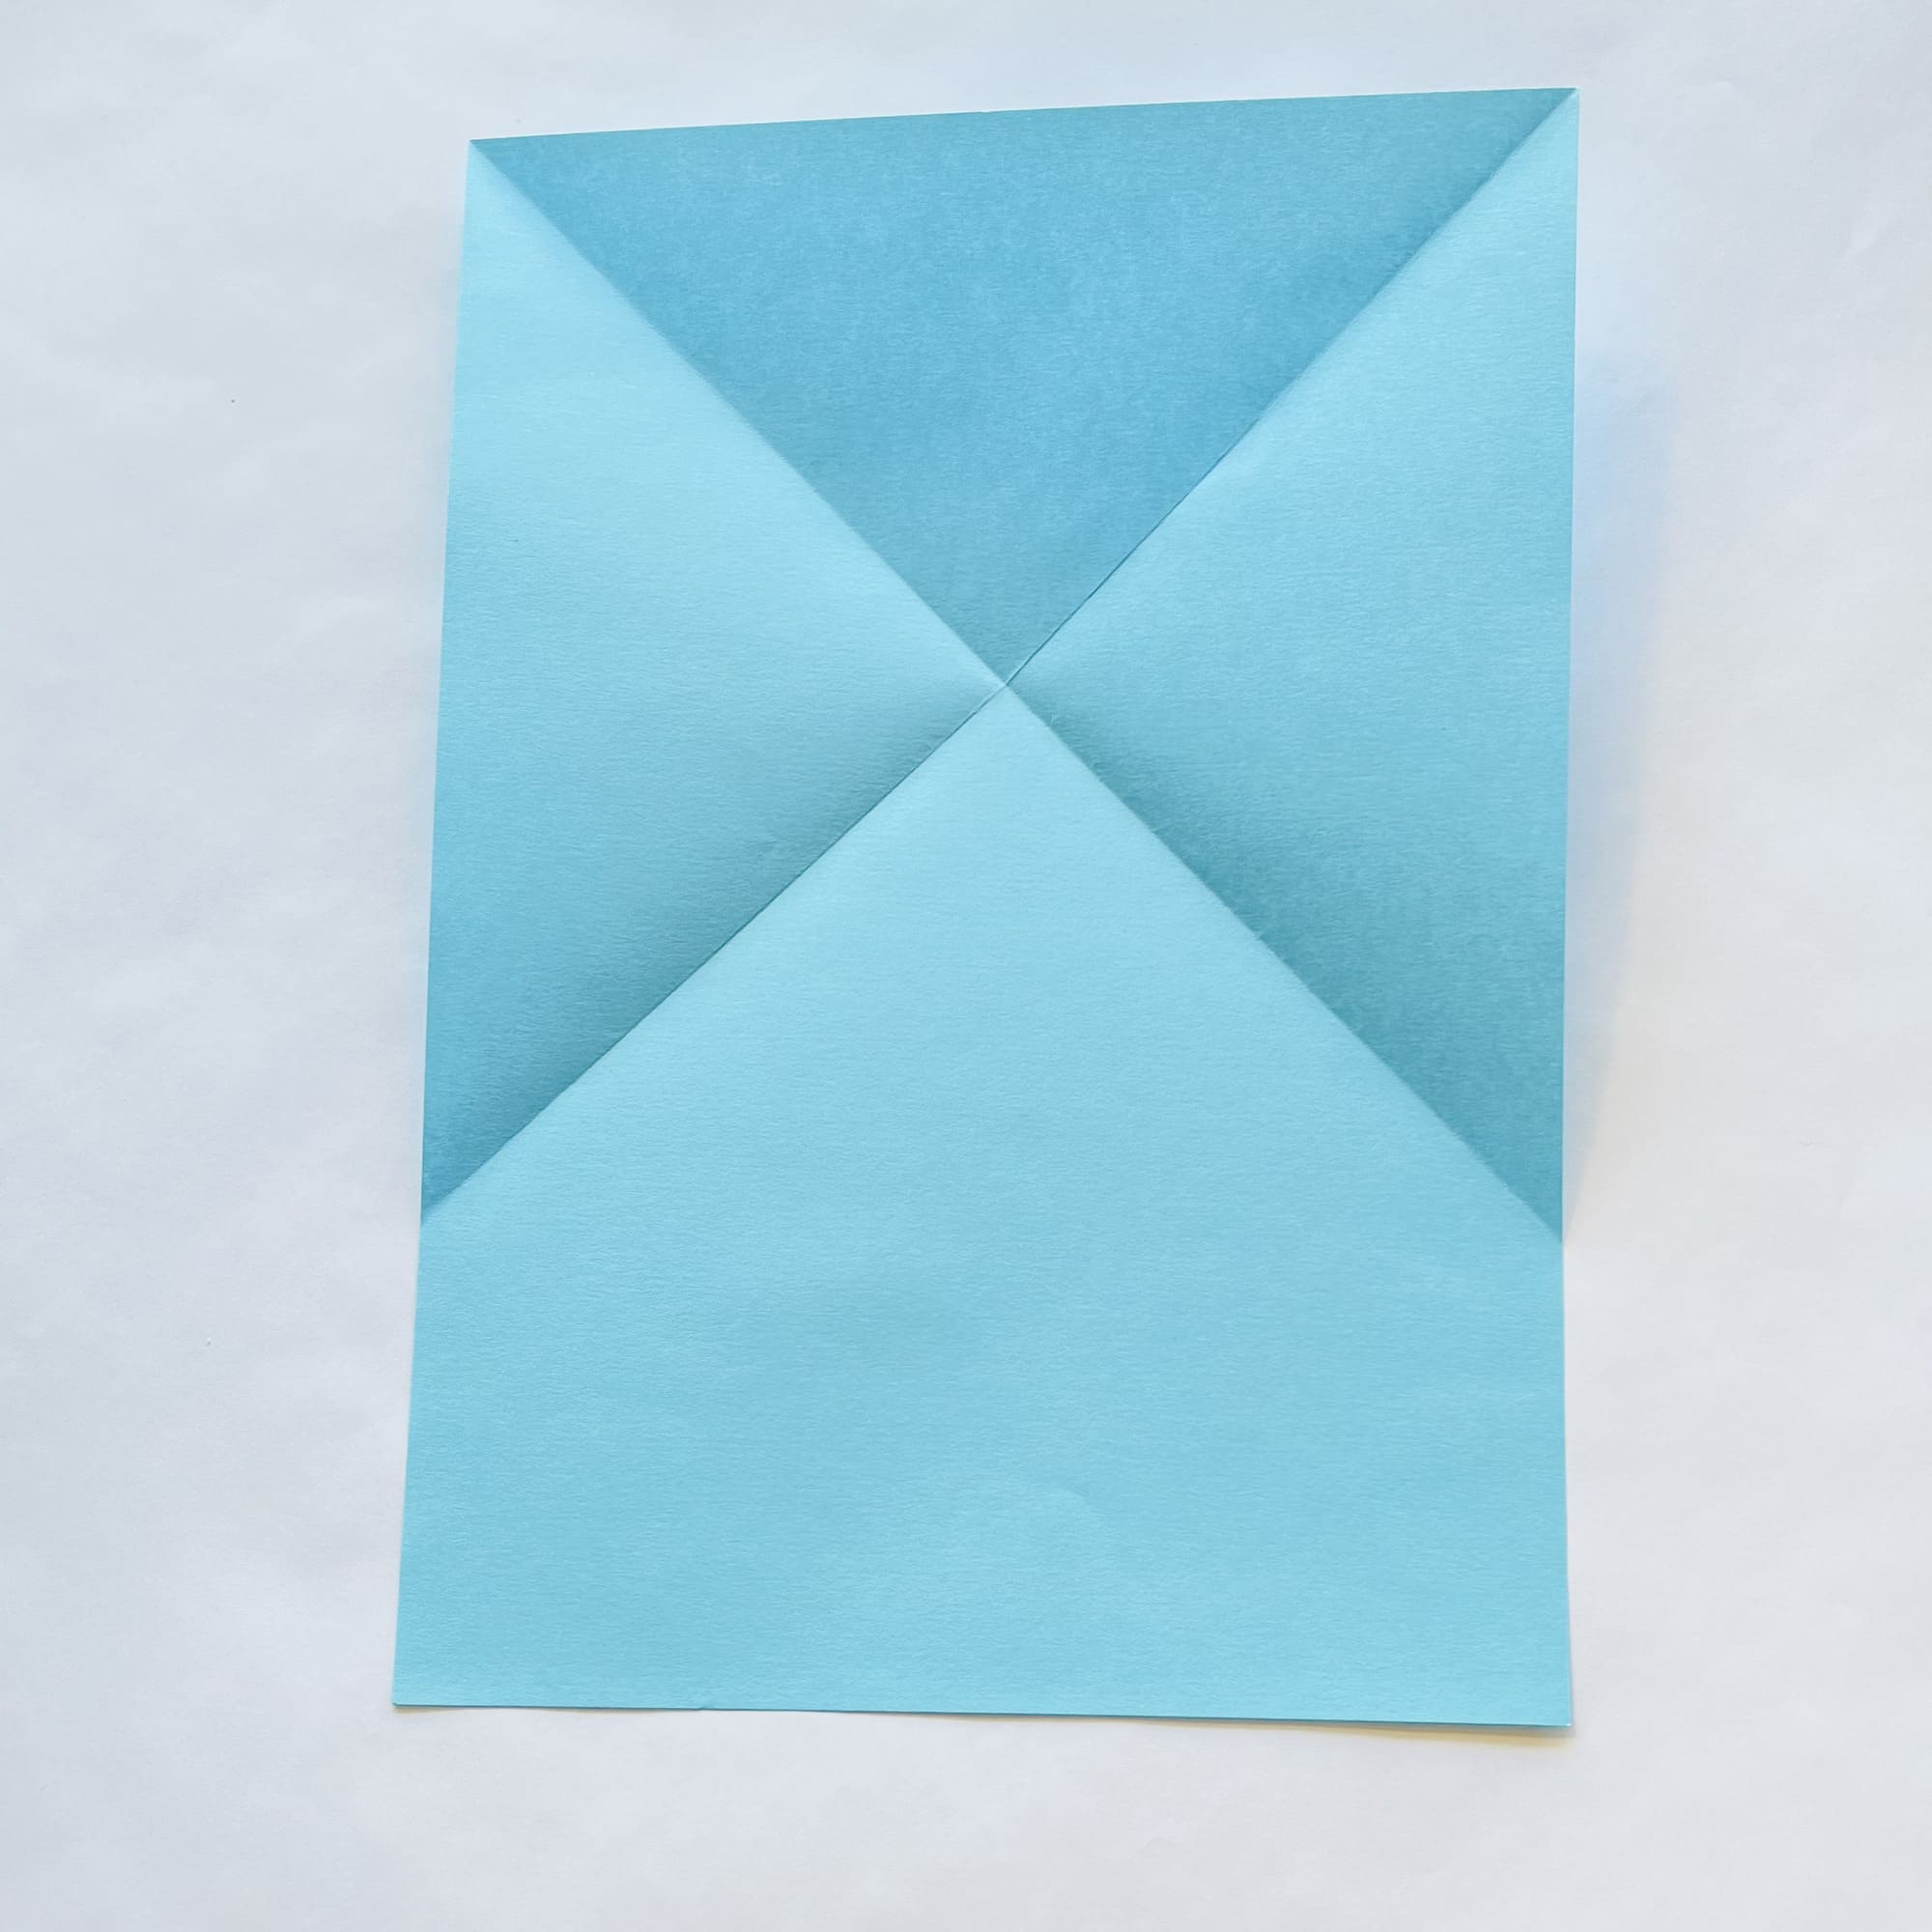

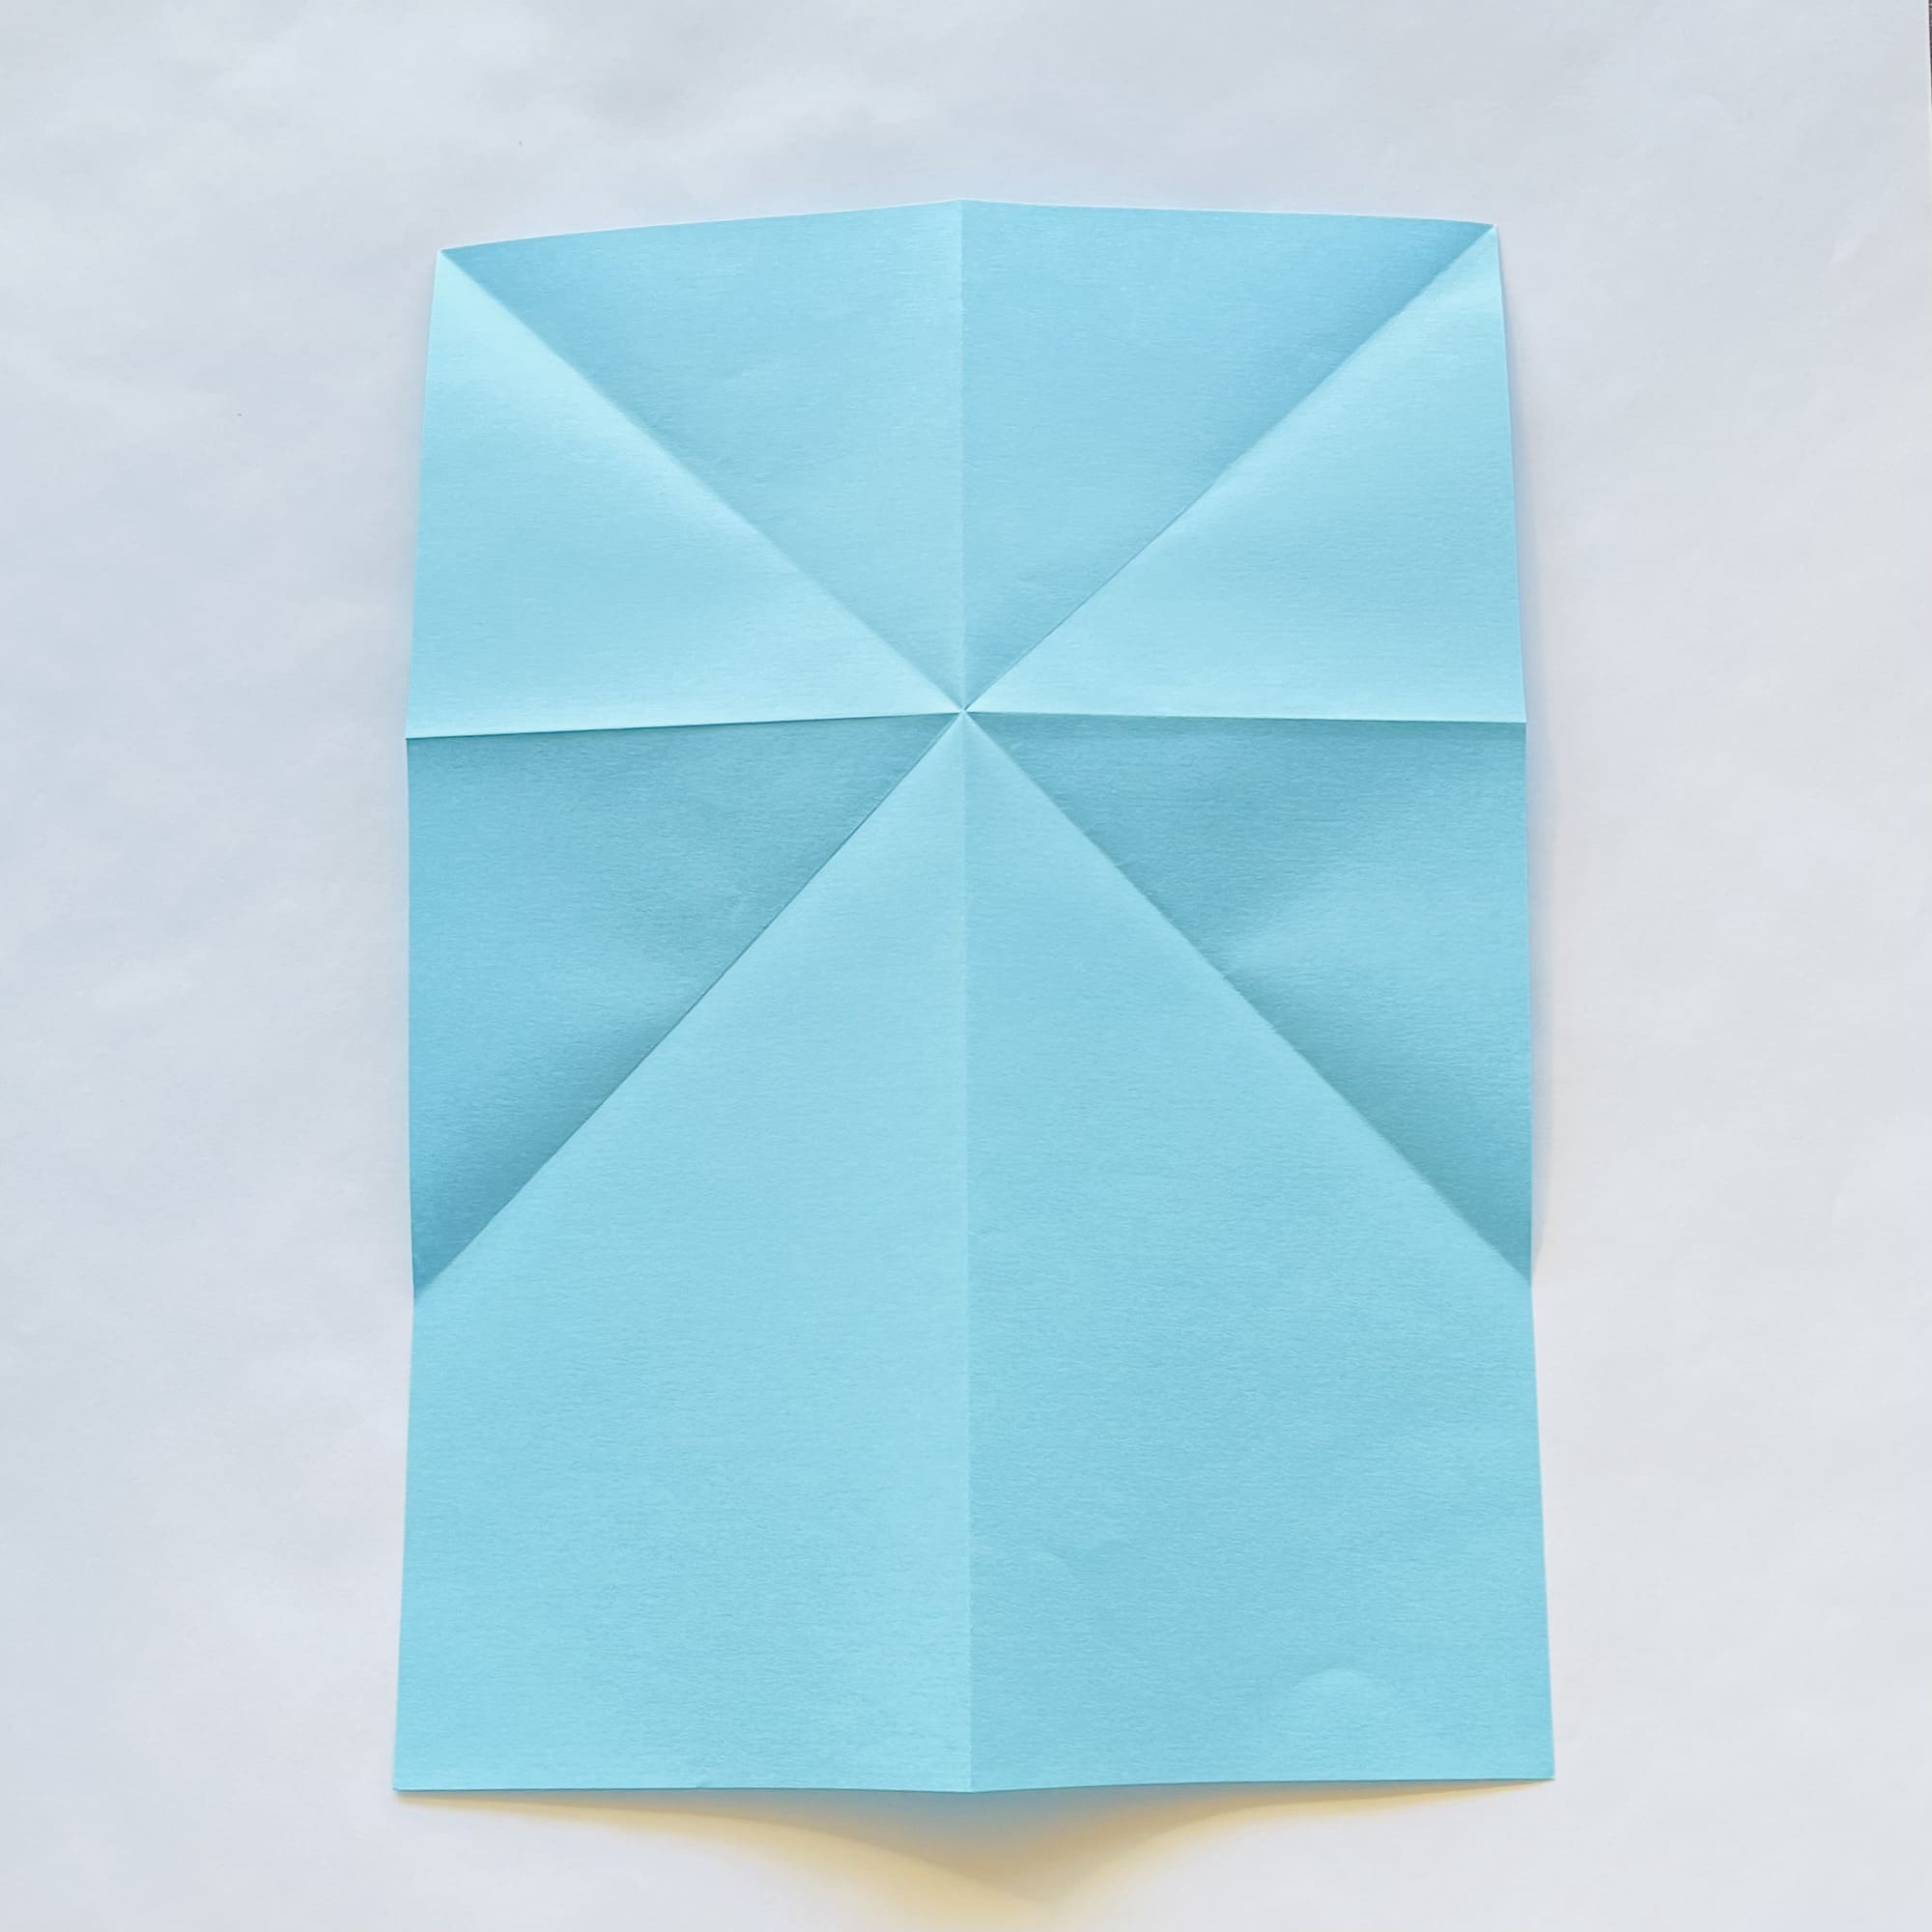
Turn over the sheet. The letter X is marked in the upper part.
You need to bend its upper part down so that the fold line passes in the center of the letter.

Once again, you should carefully crease the fold, then unfold.
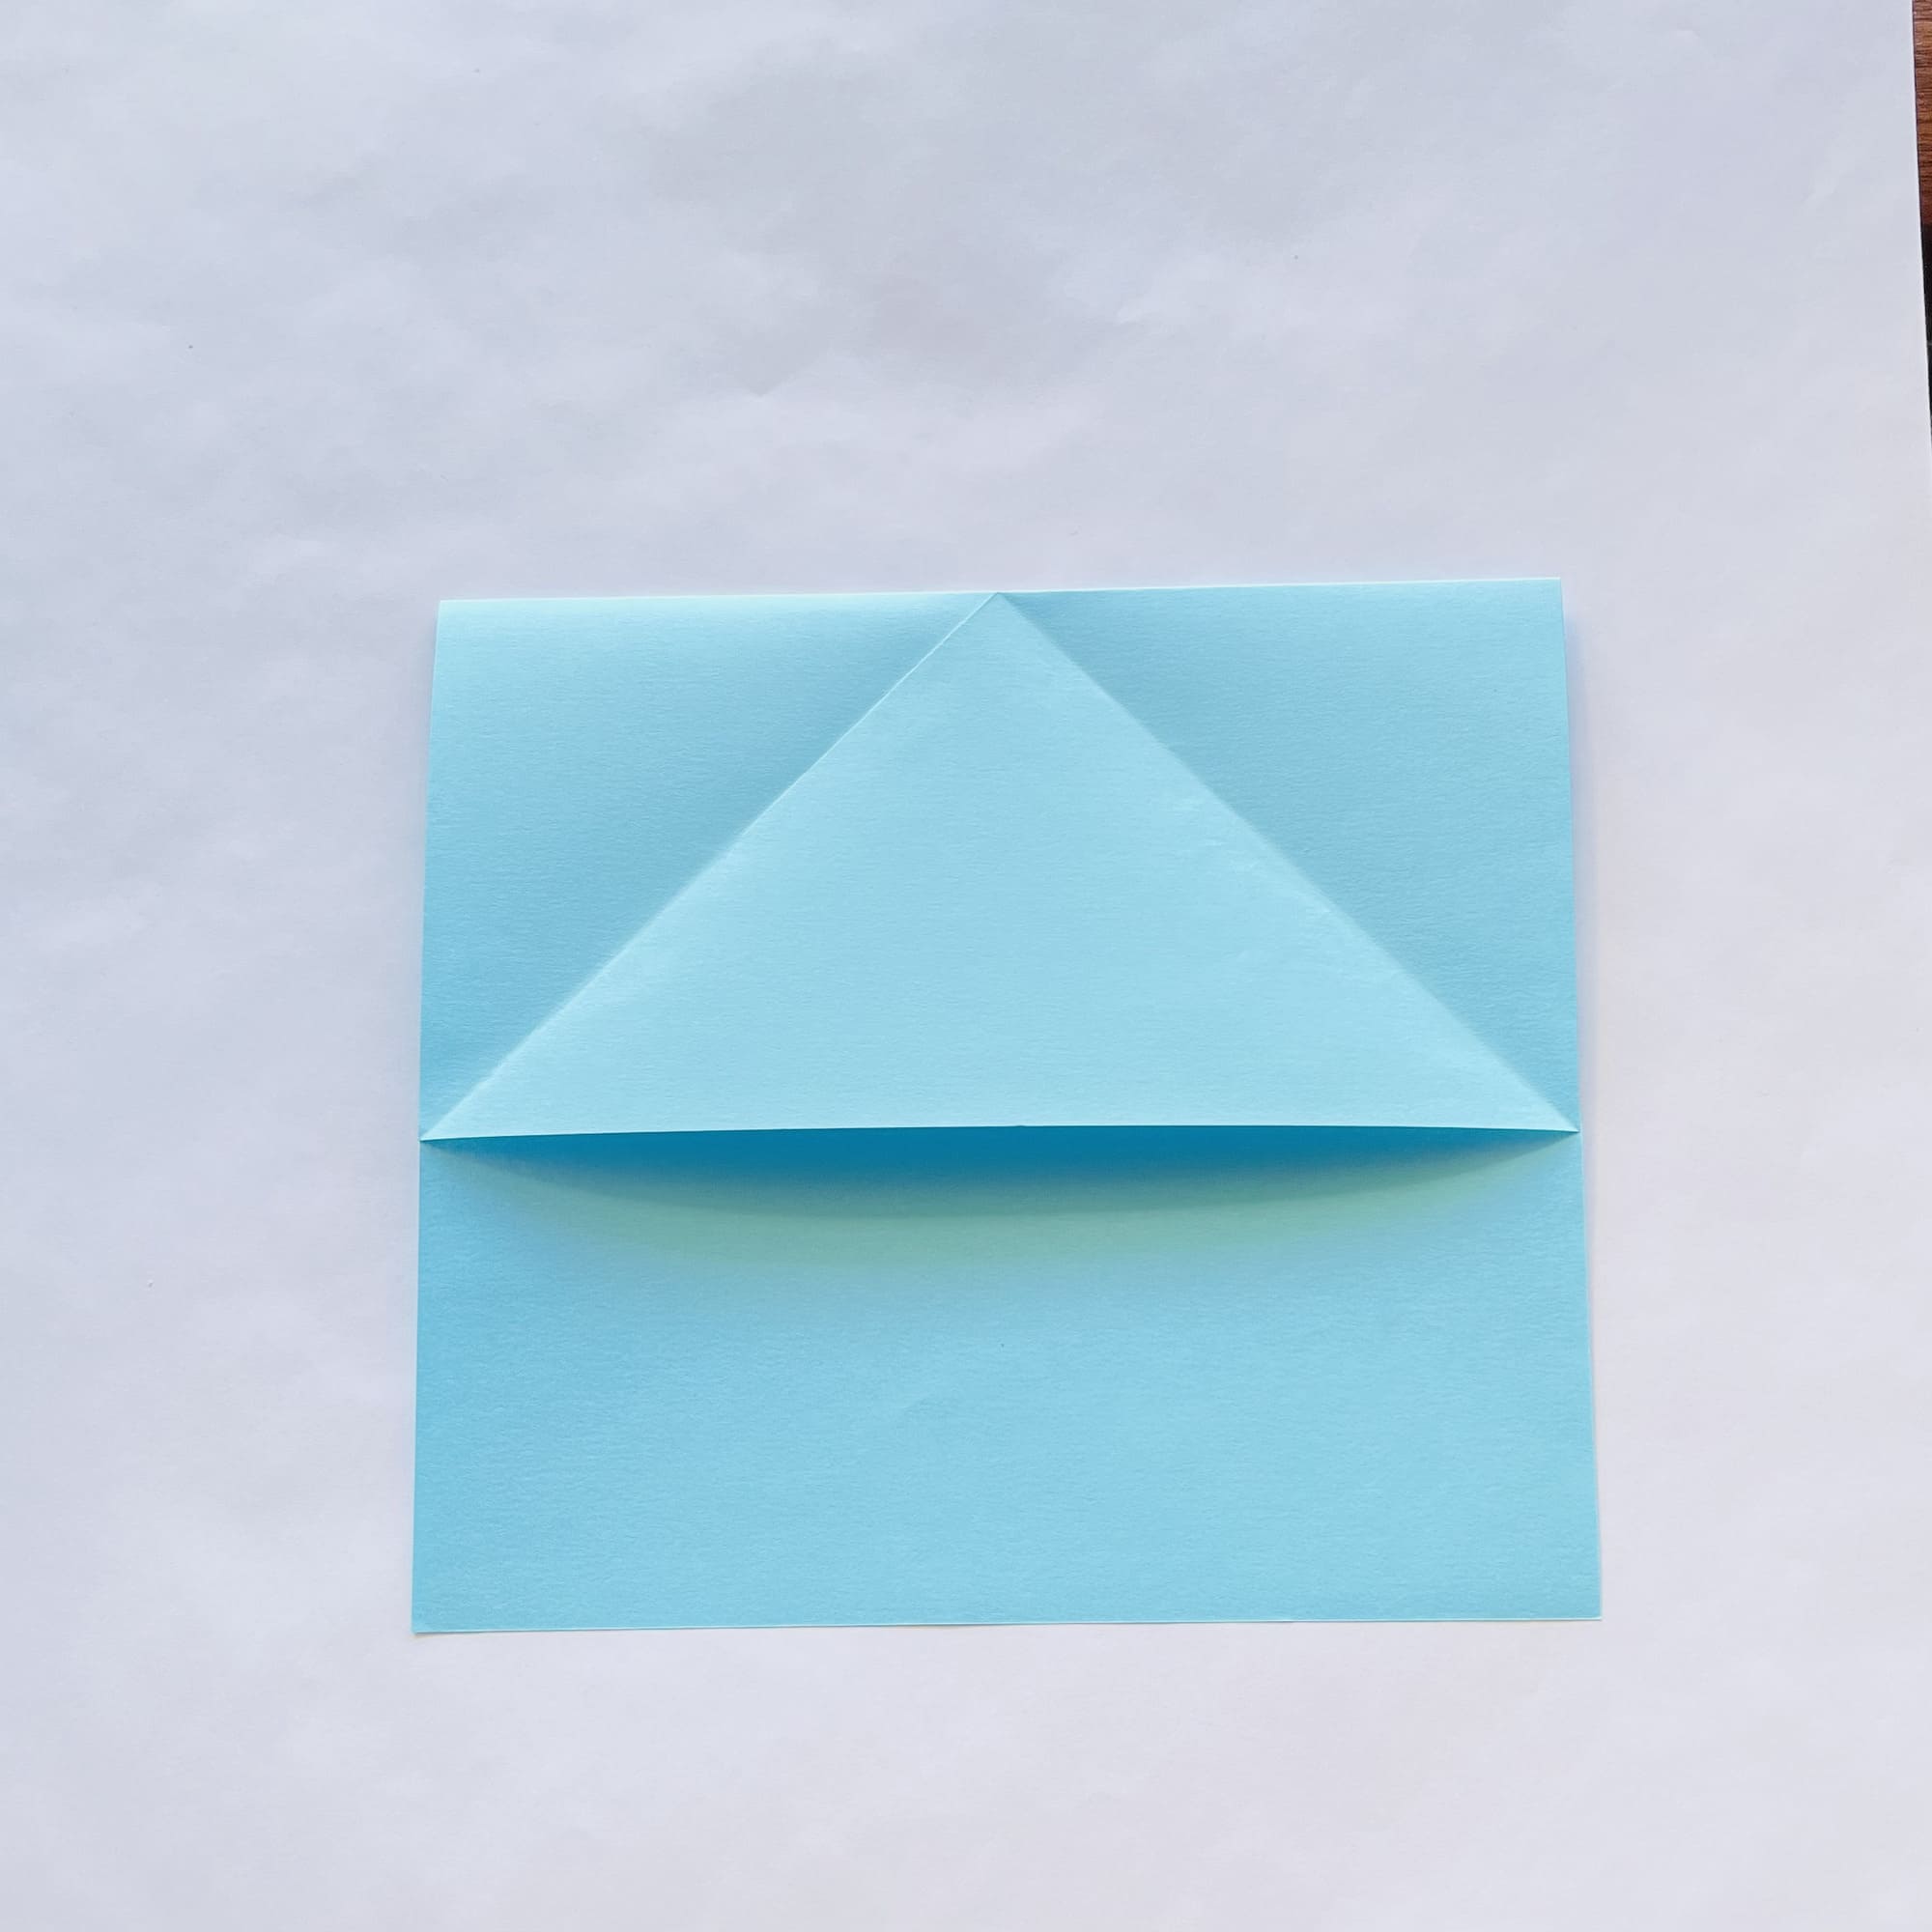
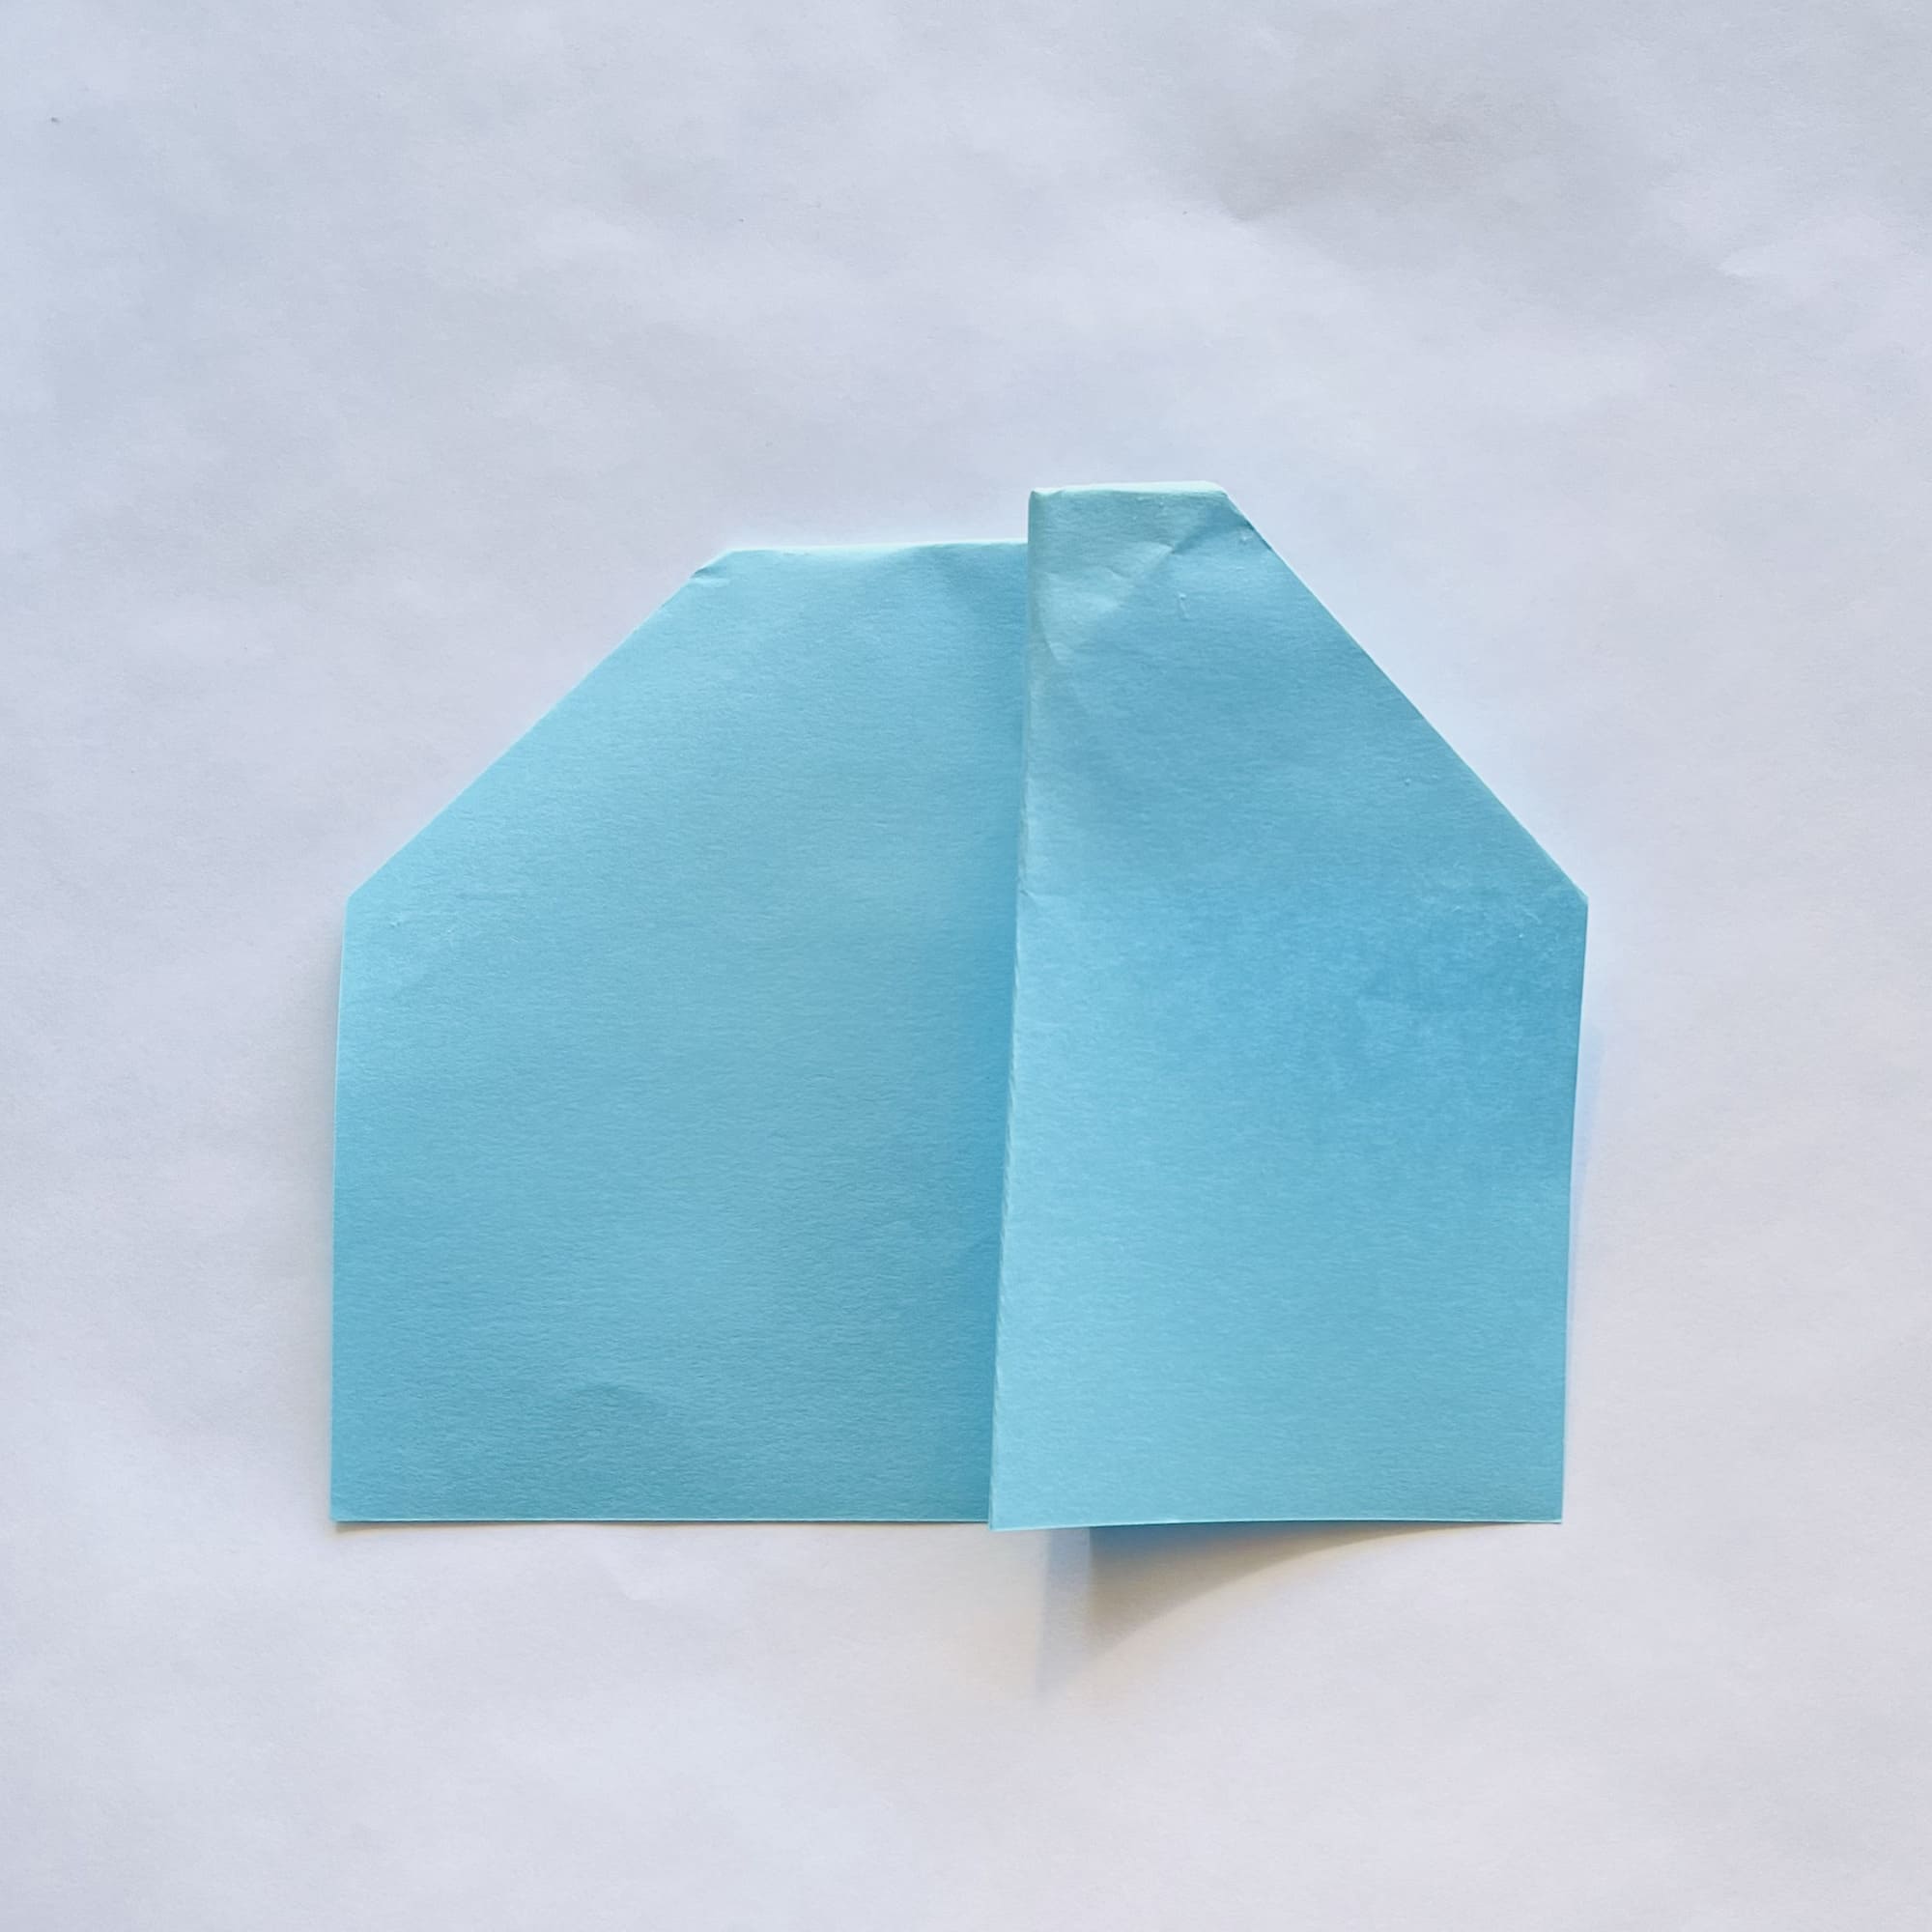
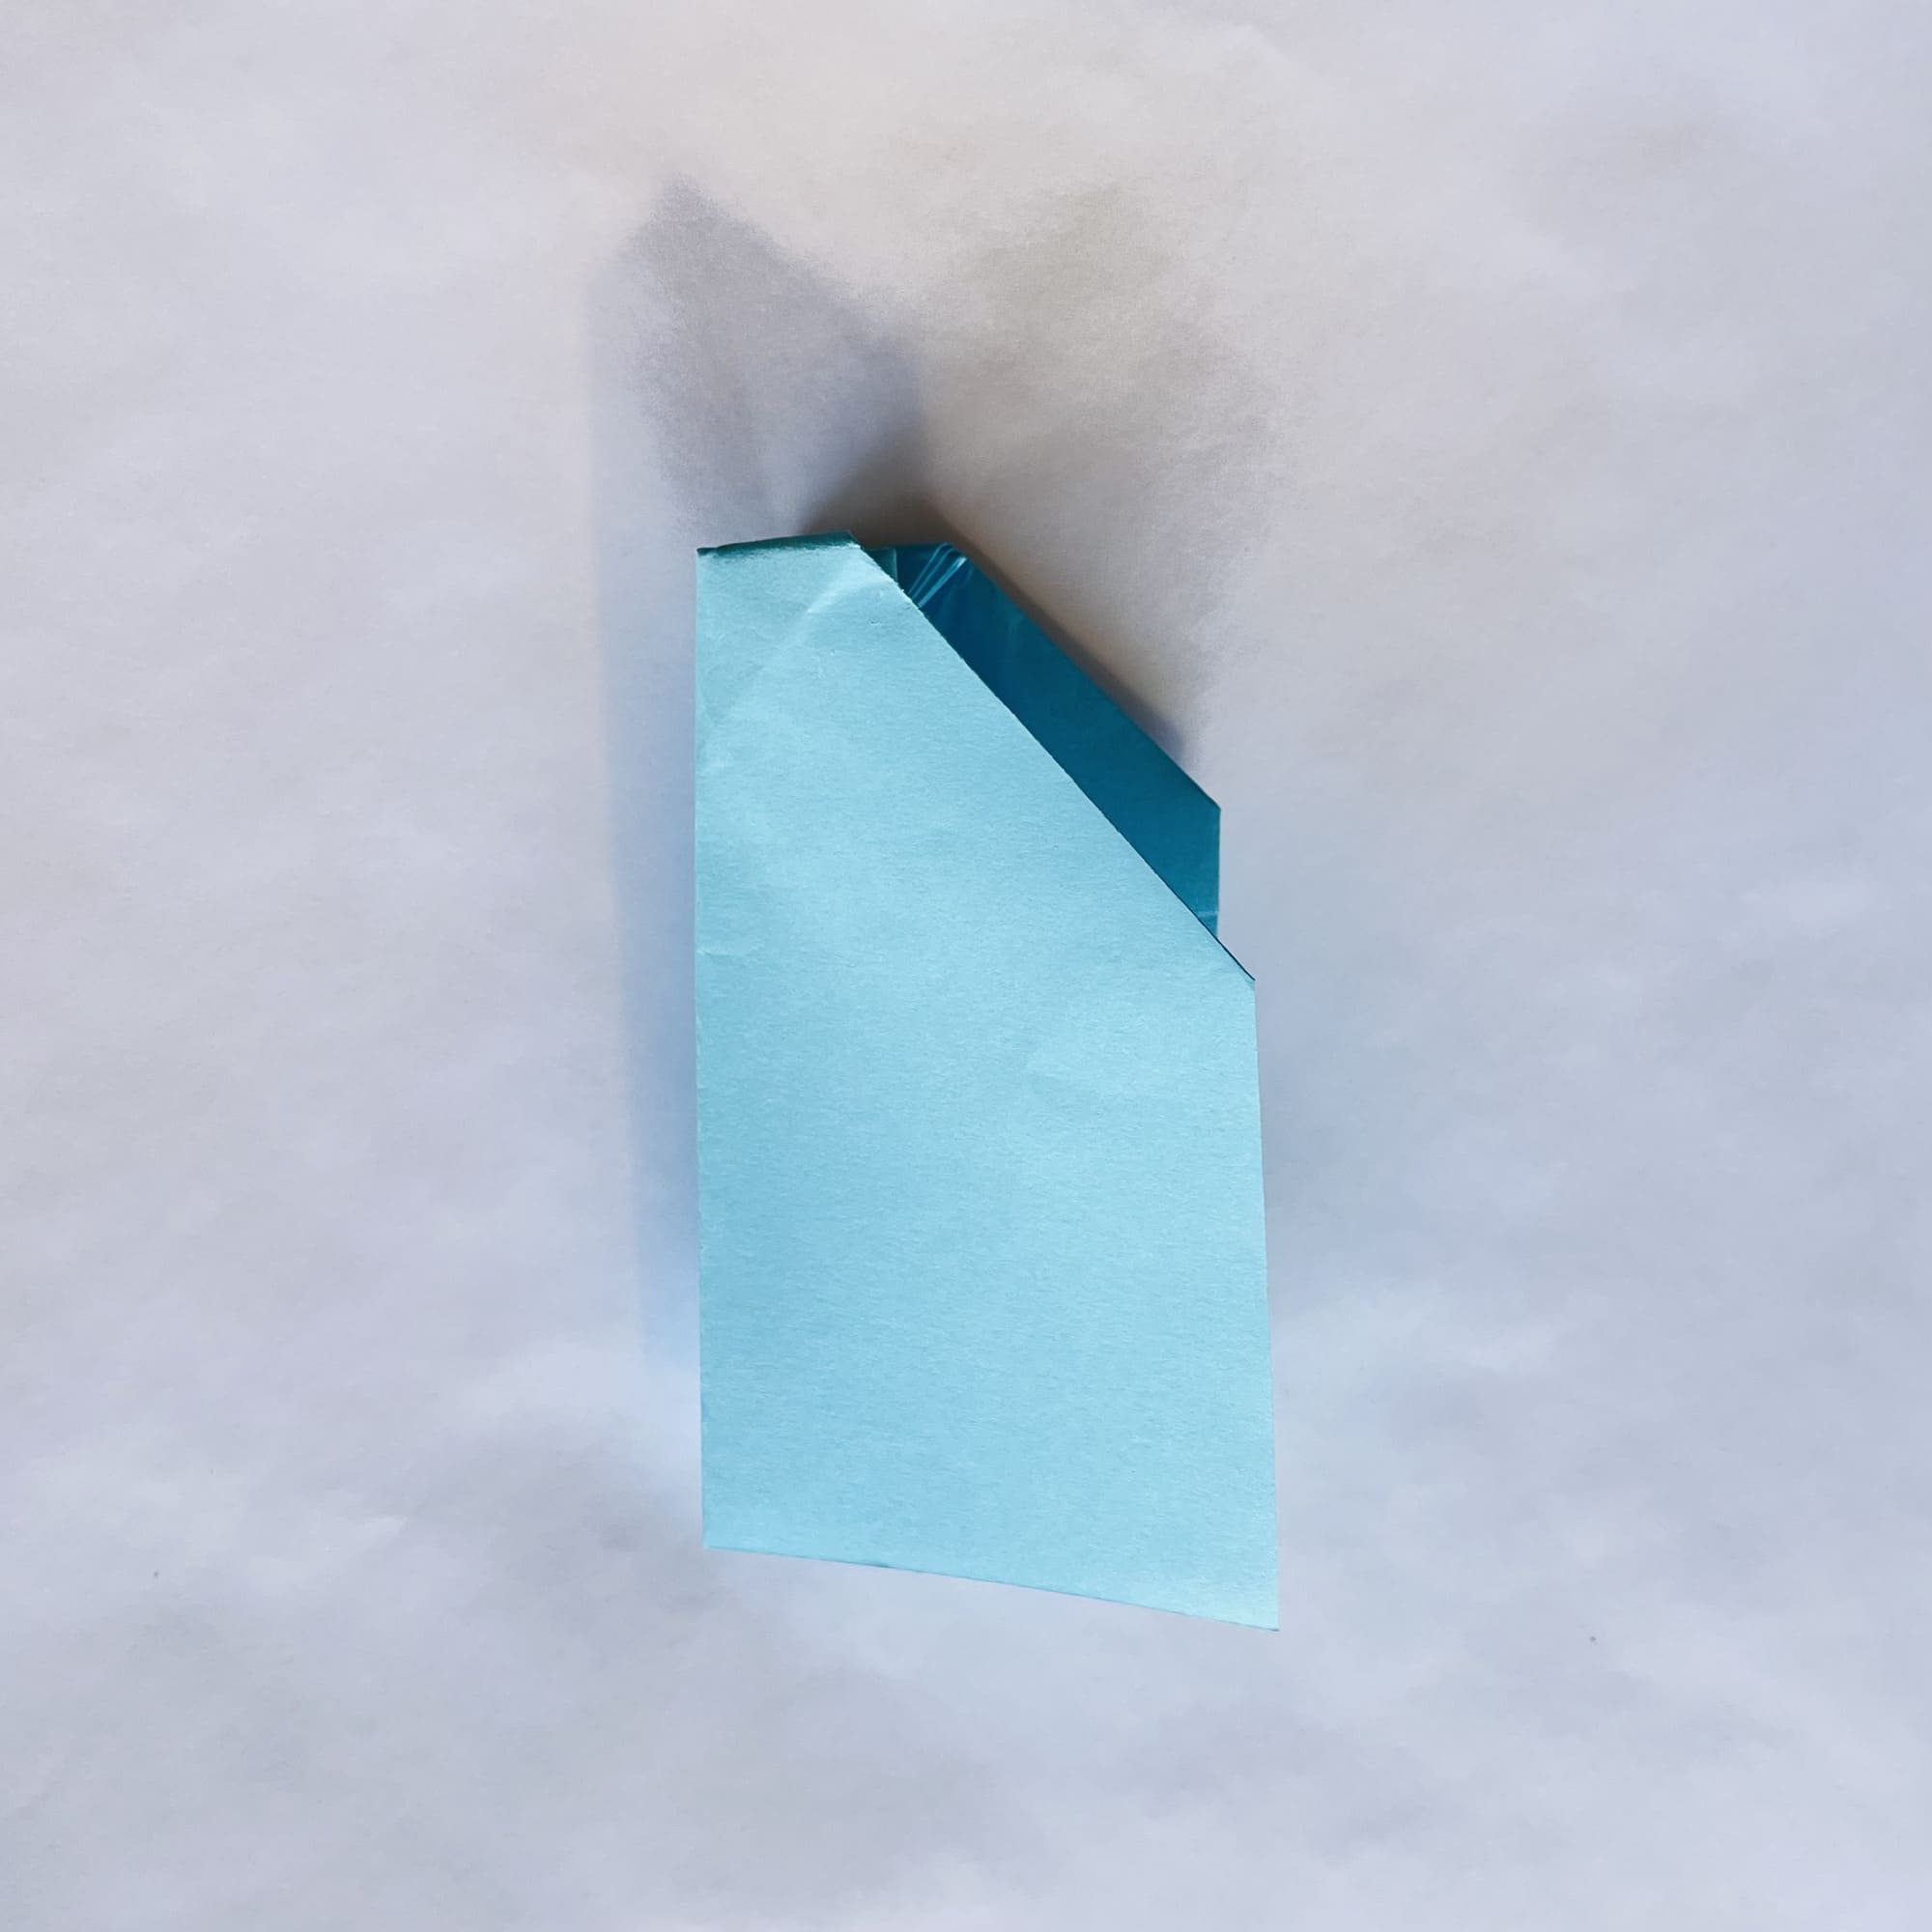
Next, you need to fold the sheet in half, folding the left side to the right, then unfold.
Turn over the paper again.

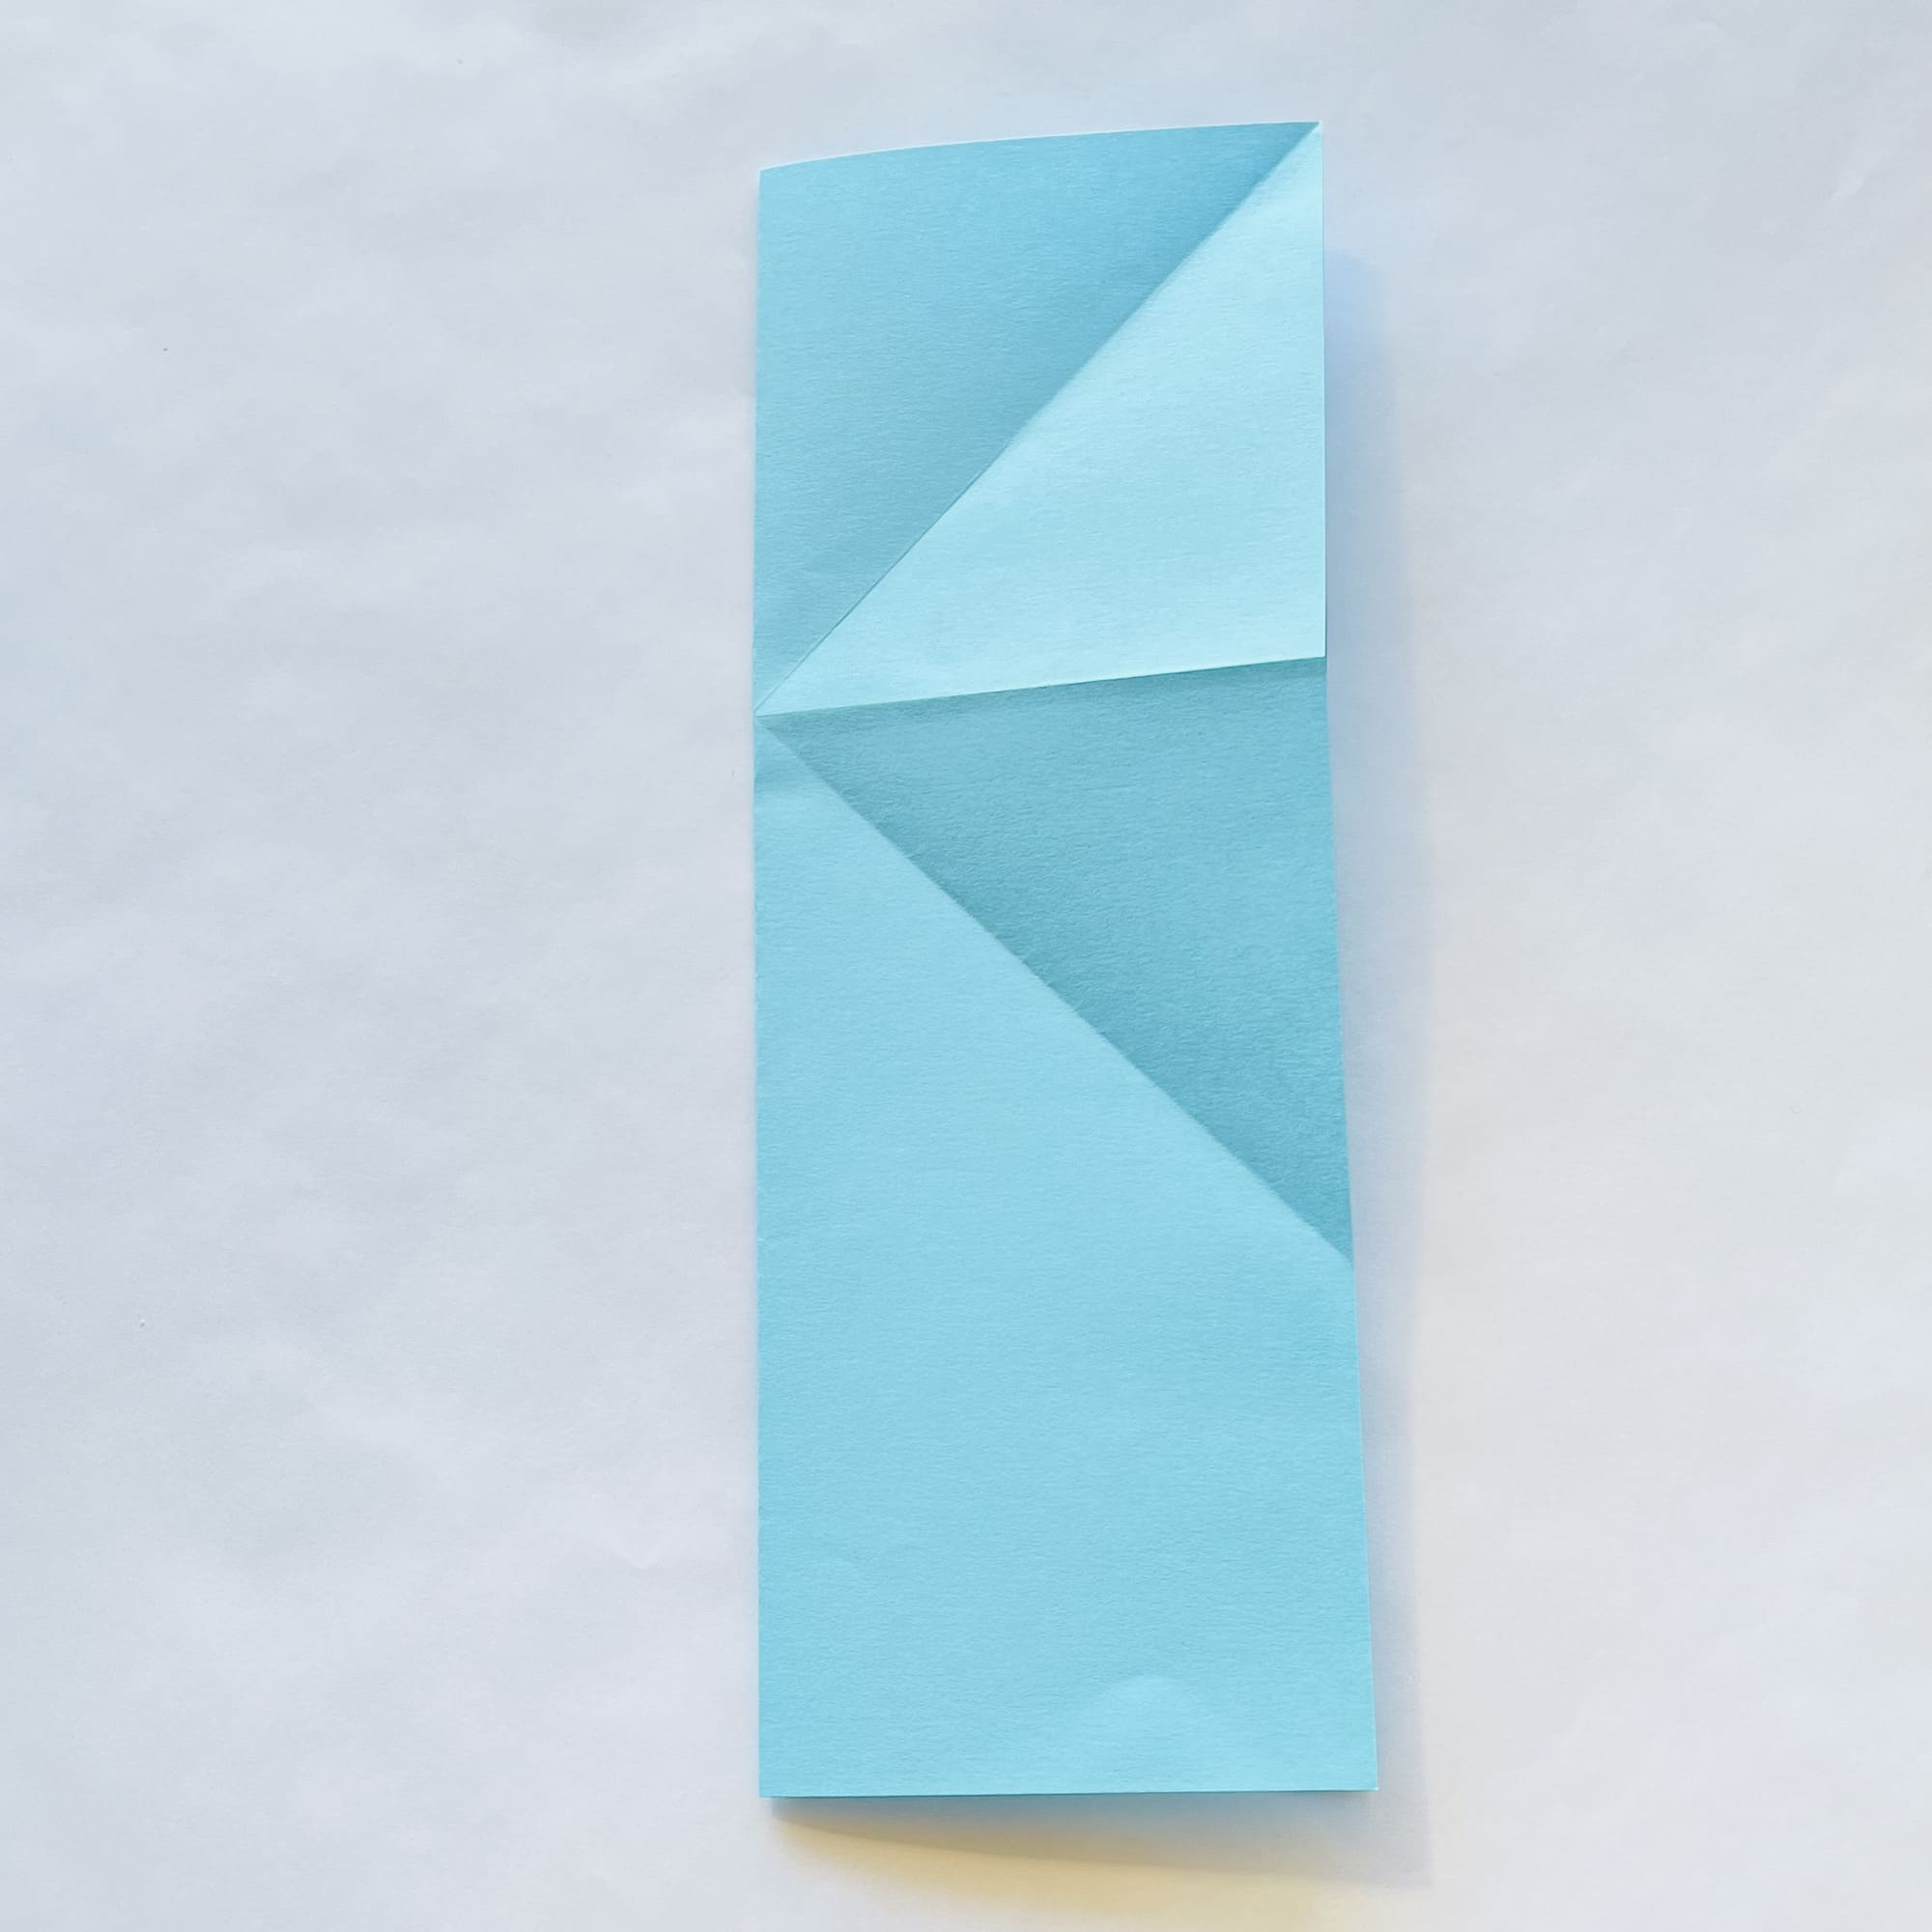
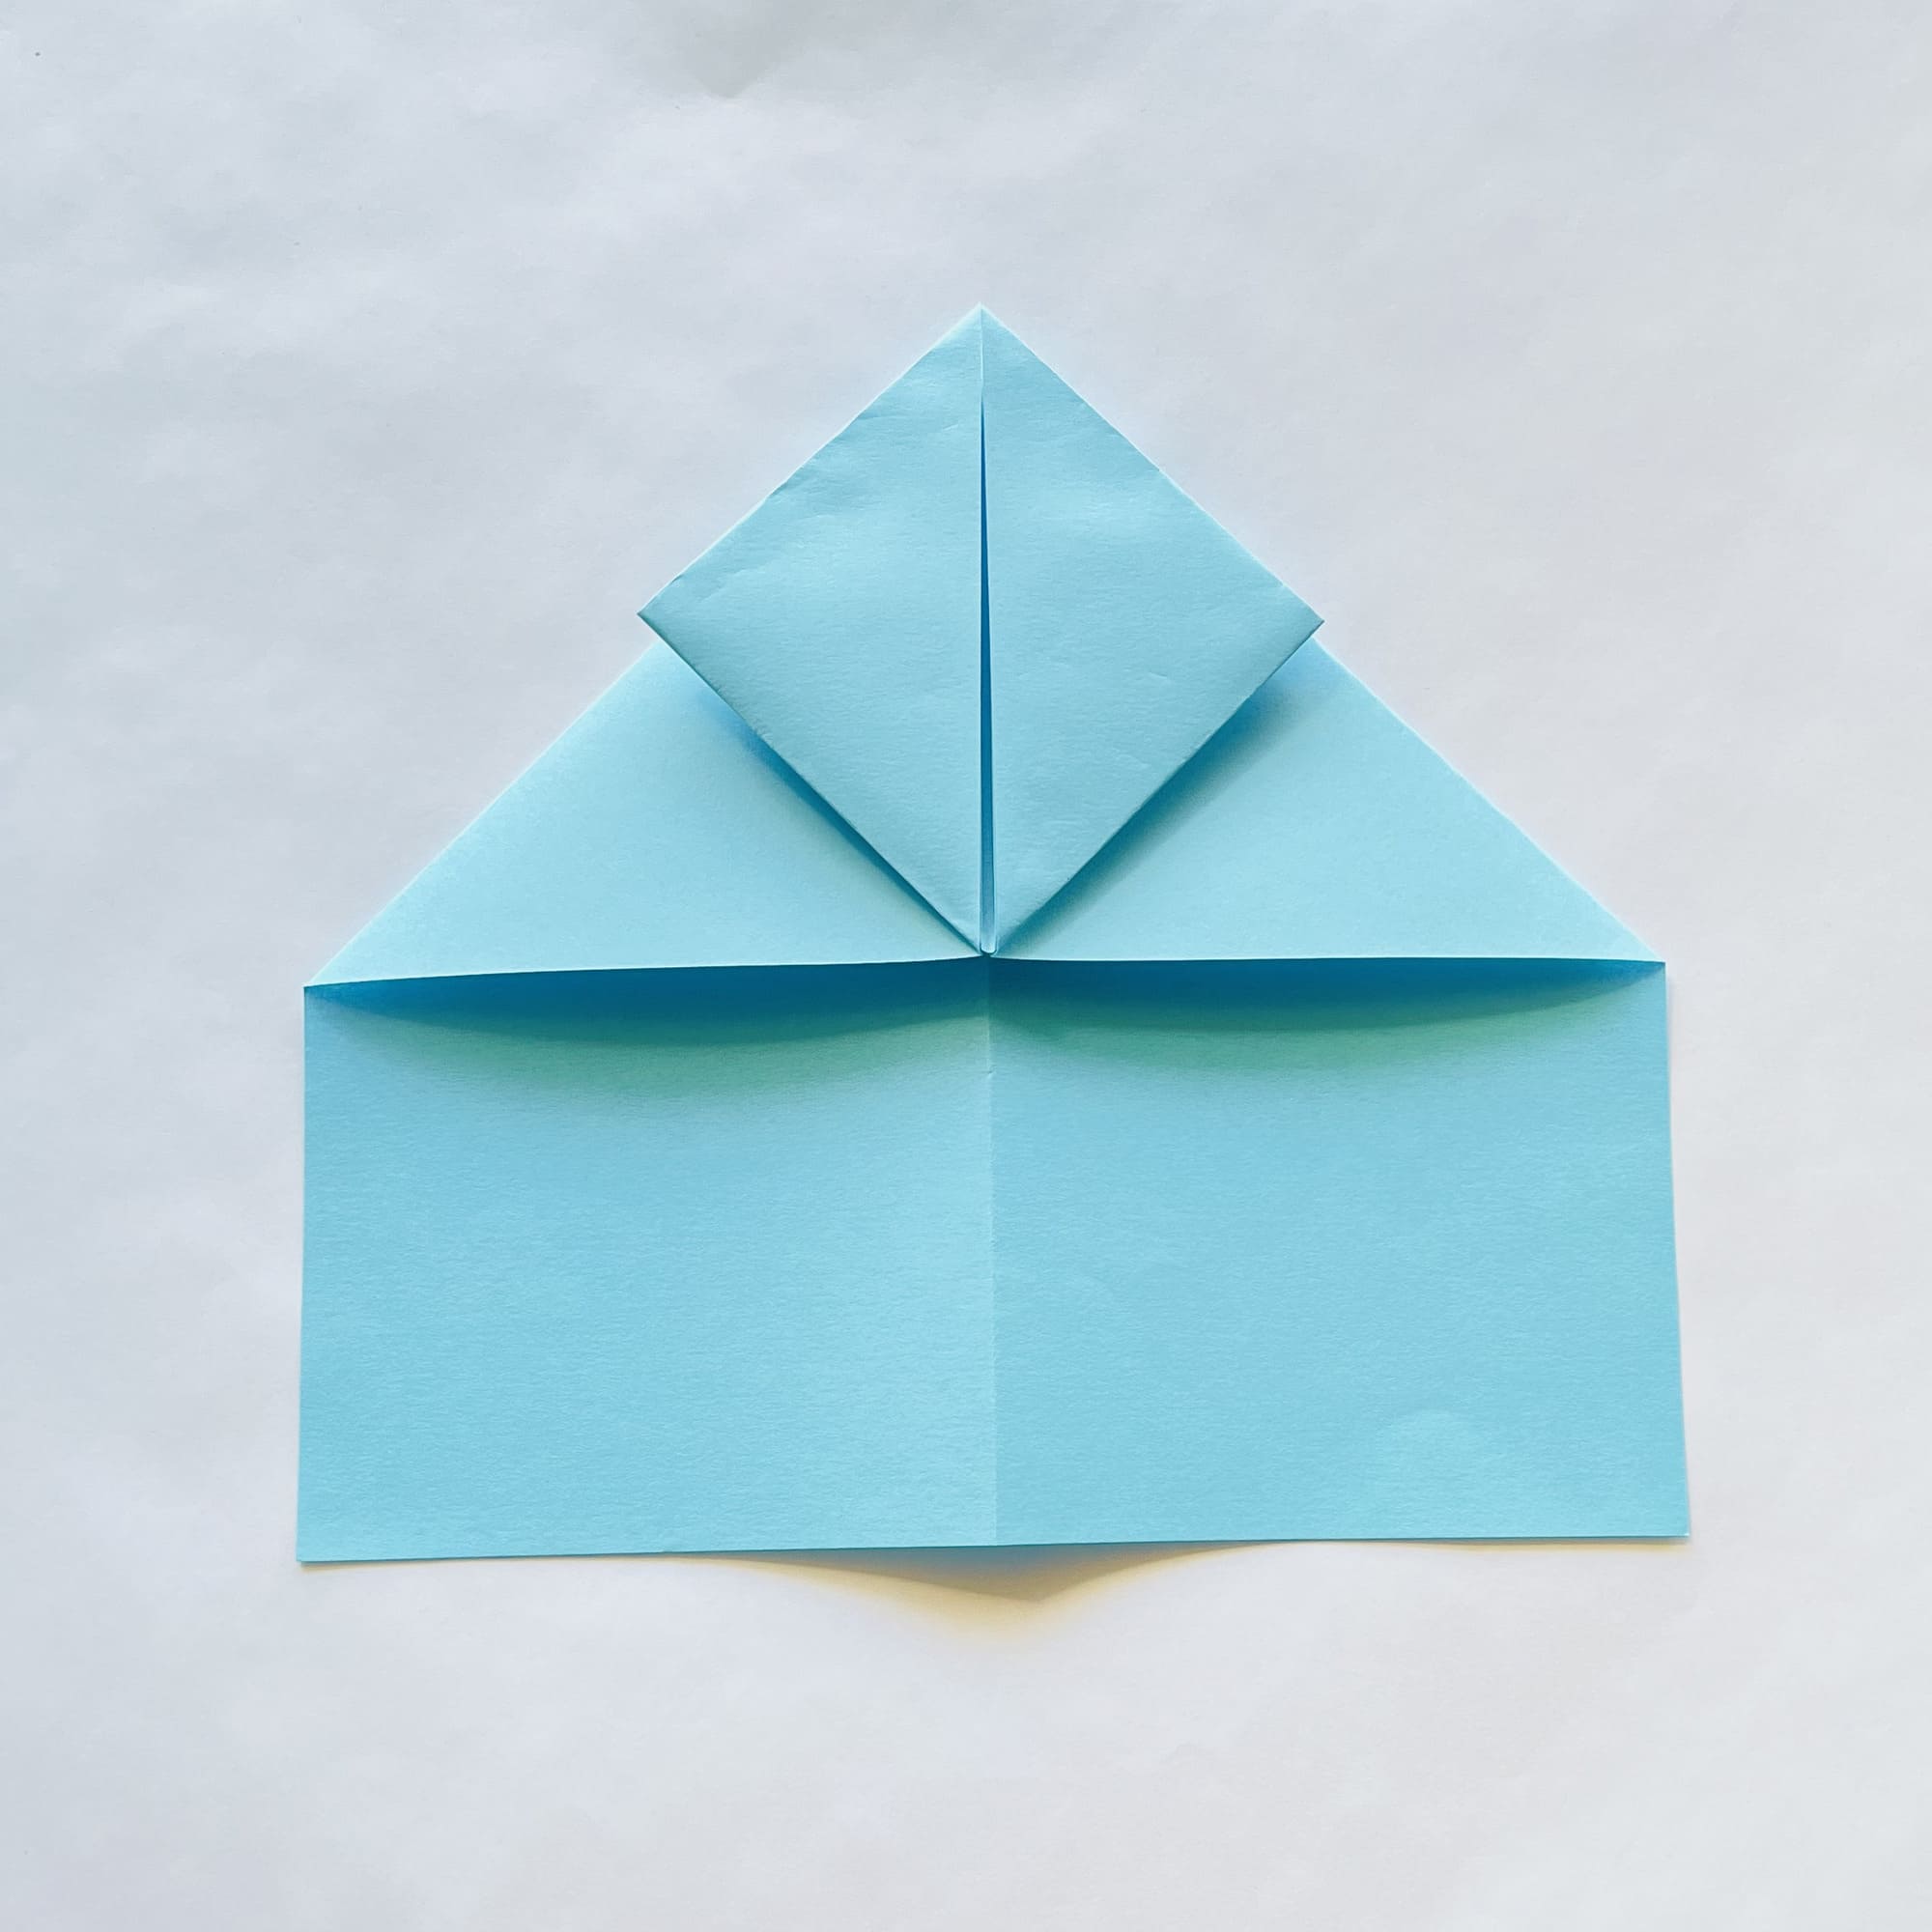
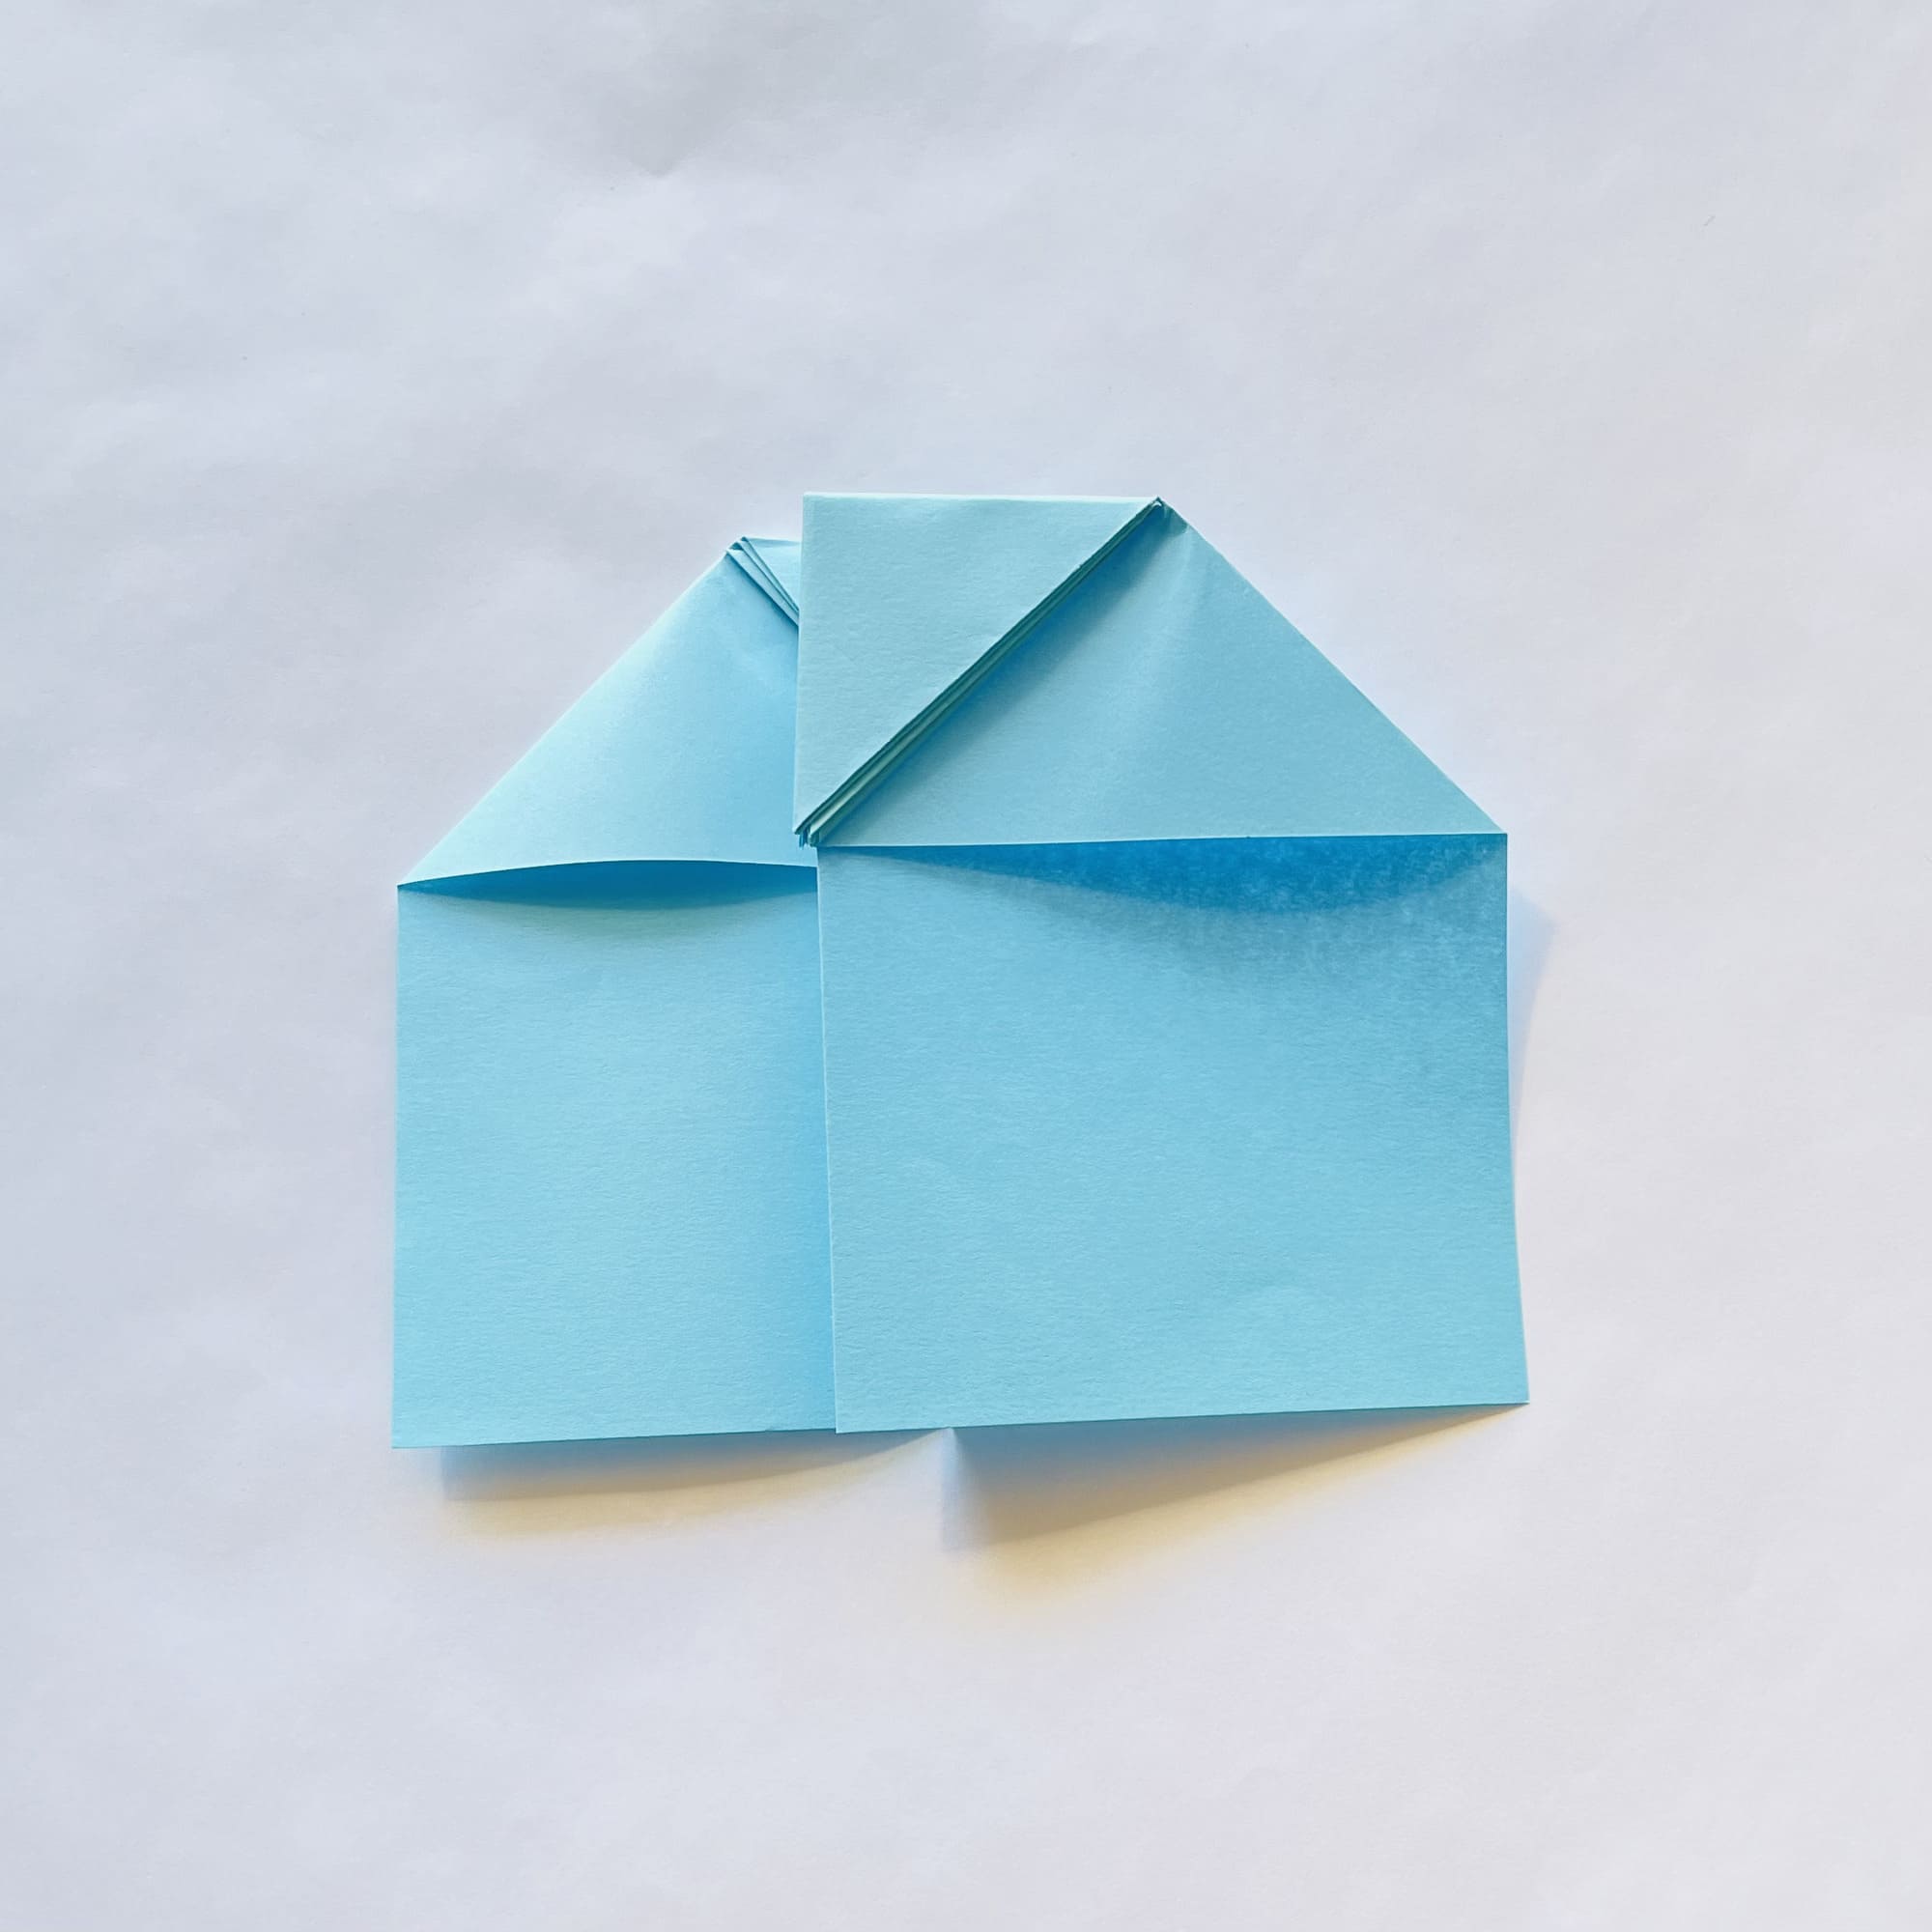
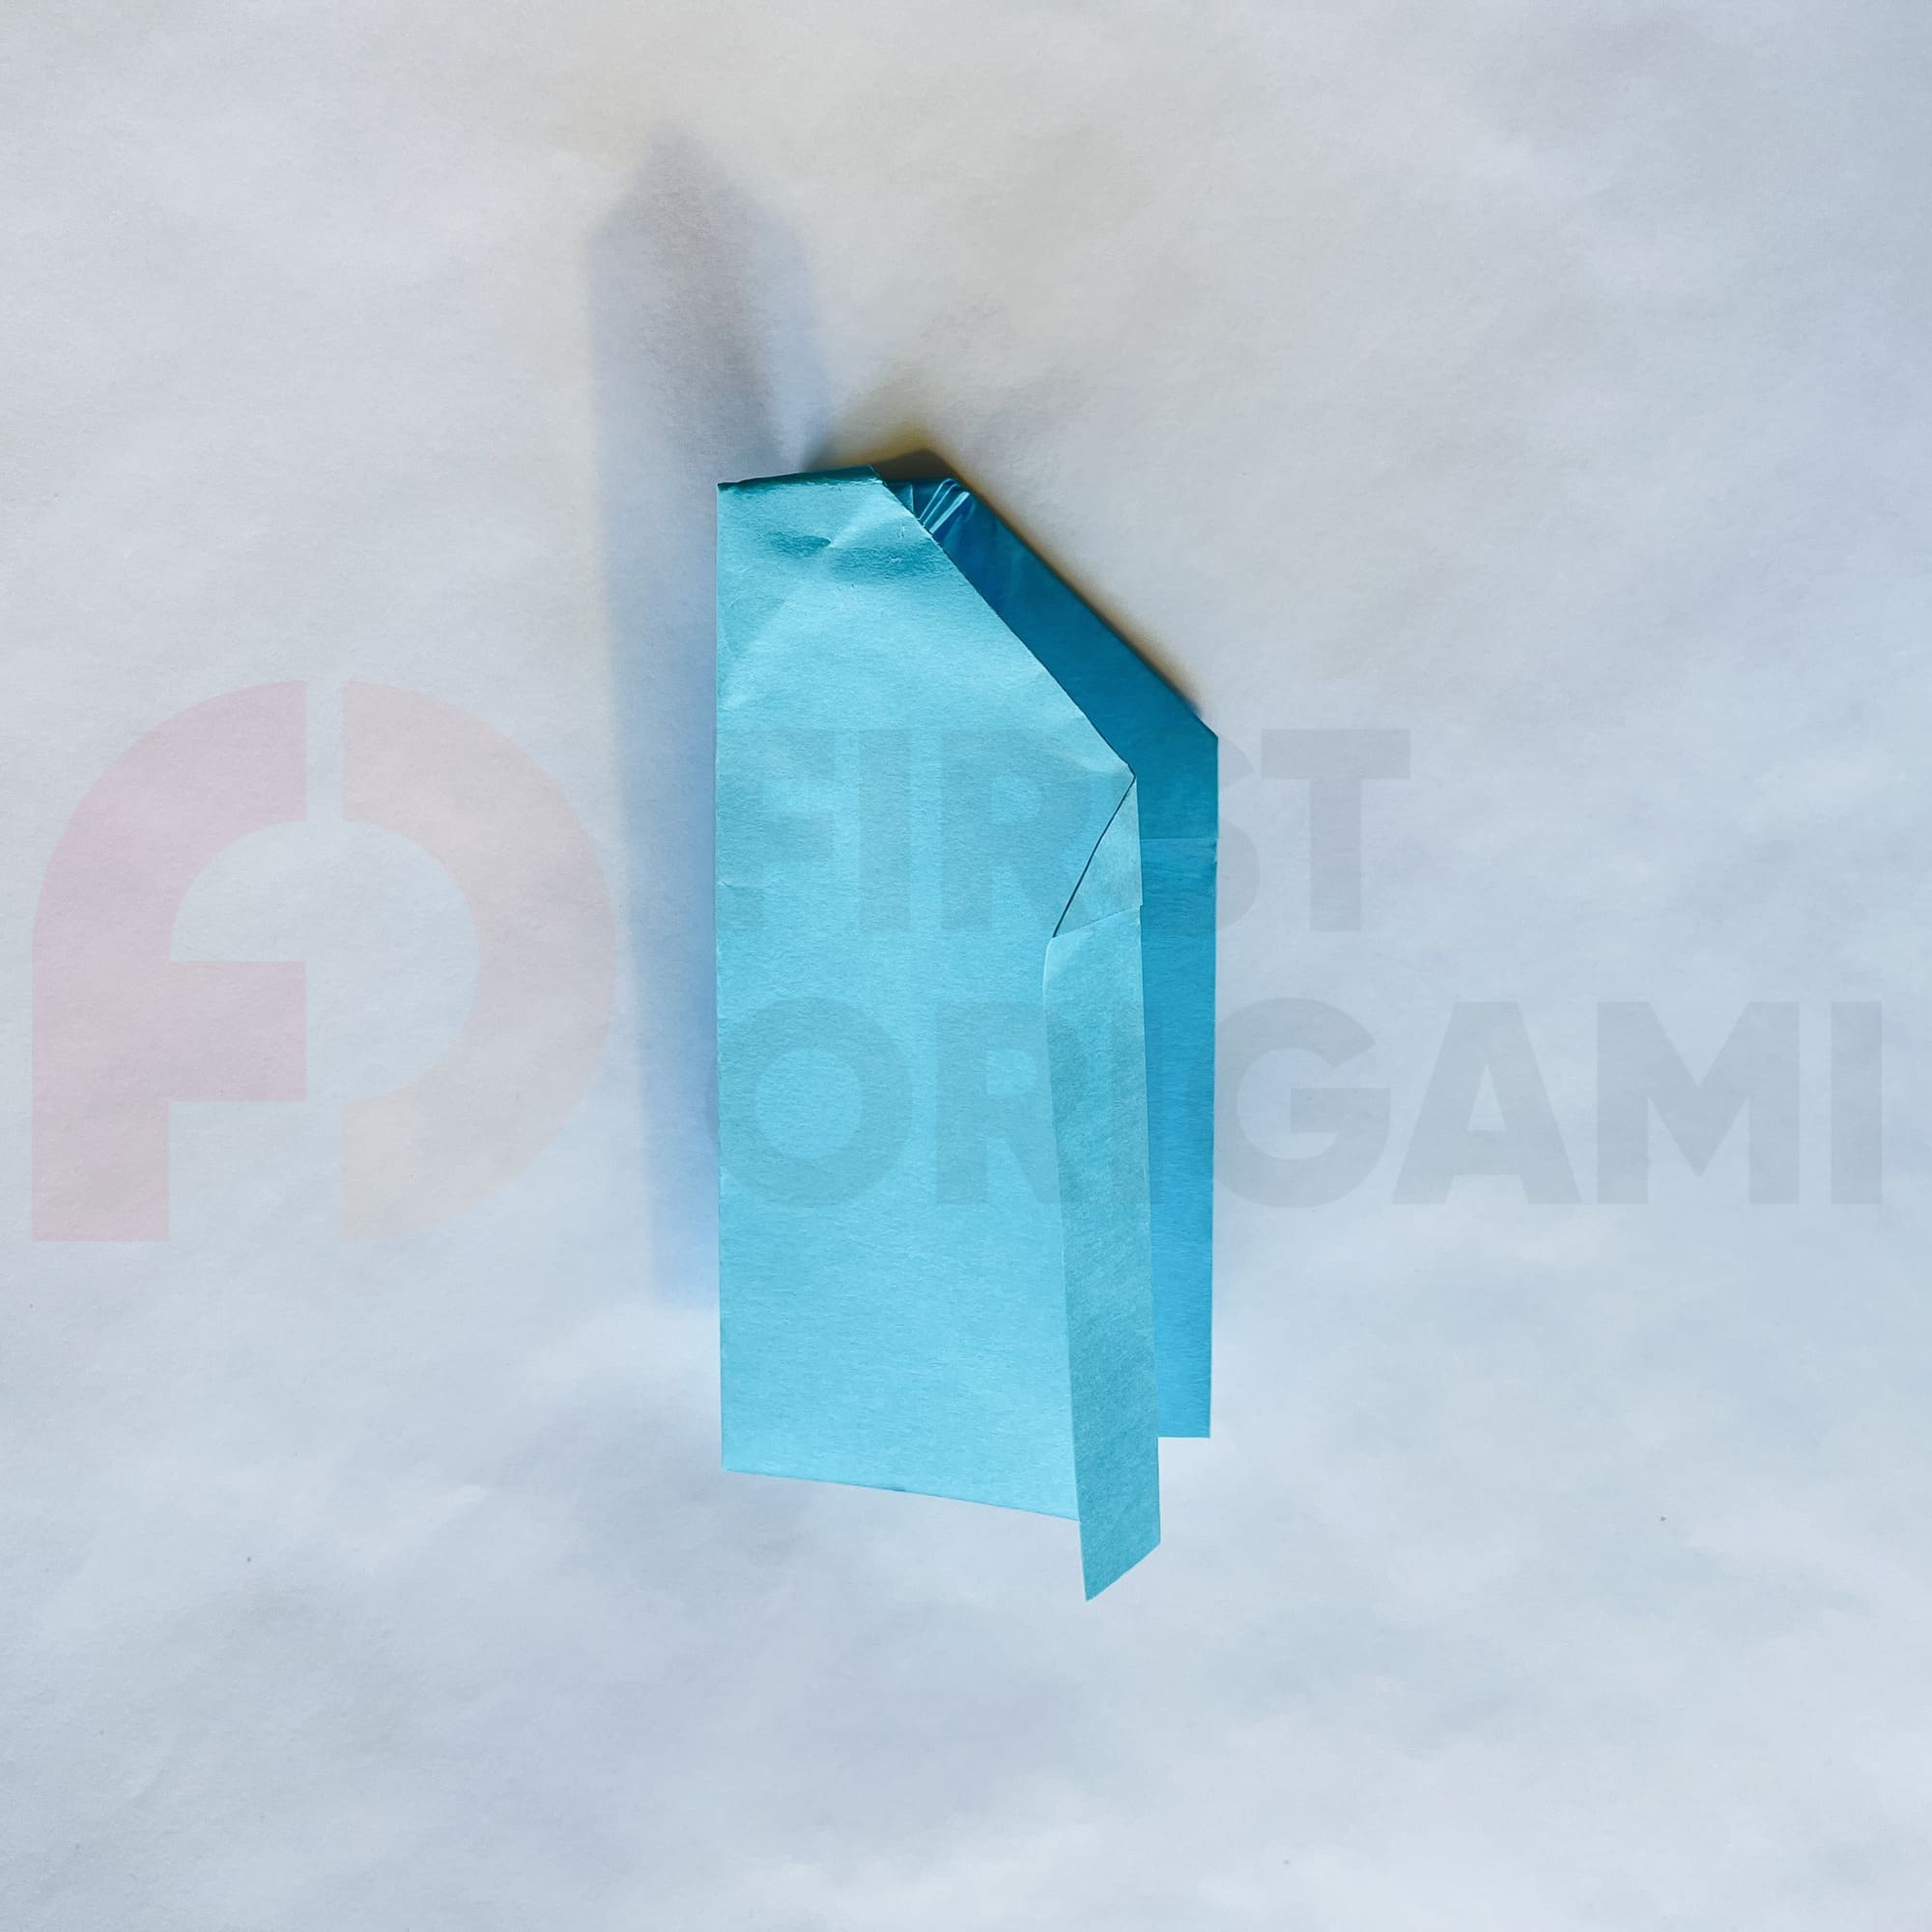
You can now press on the center point so that it “collapses” inward, then fold the paper by pressing down from above.
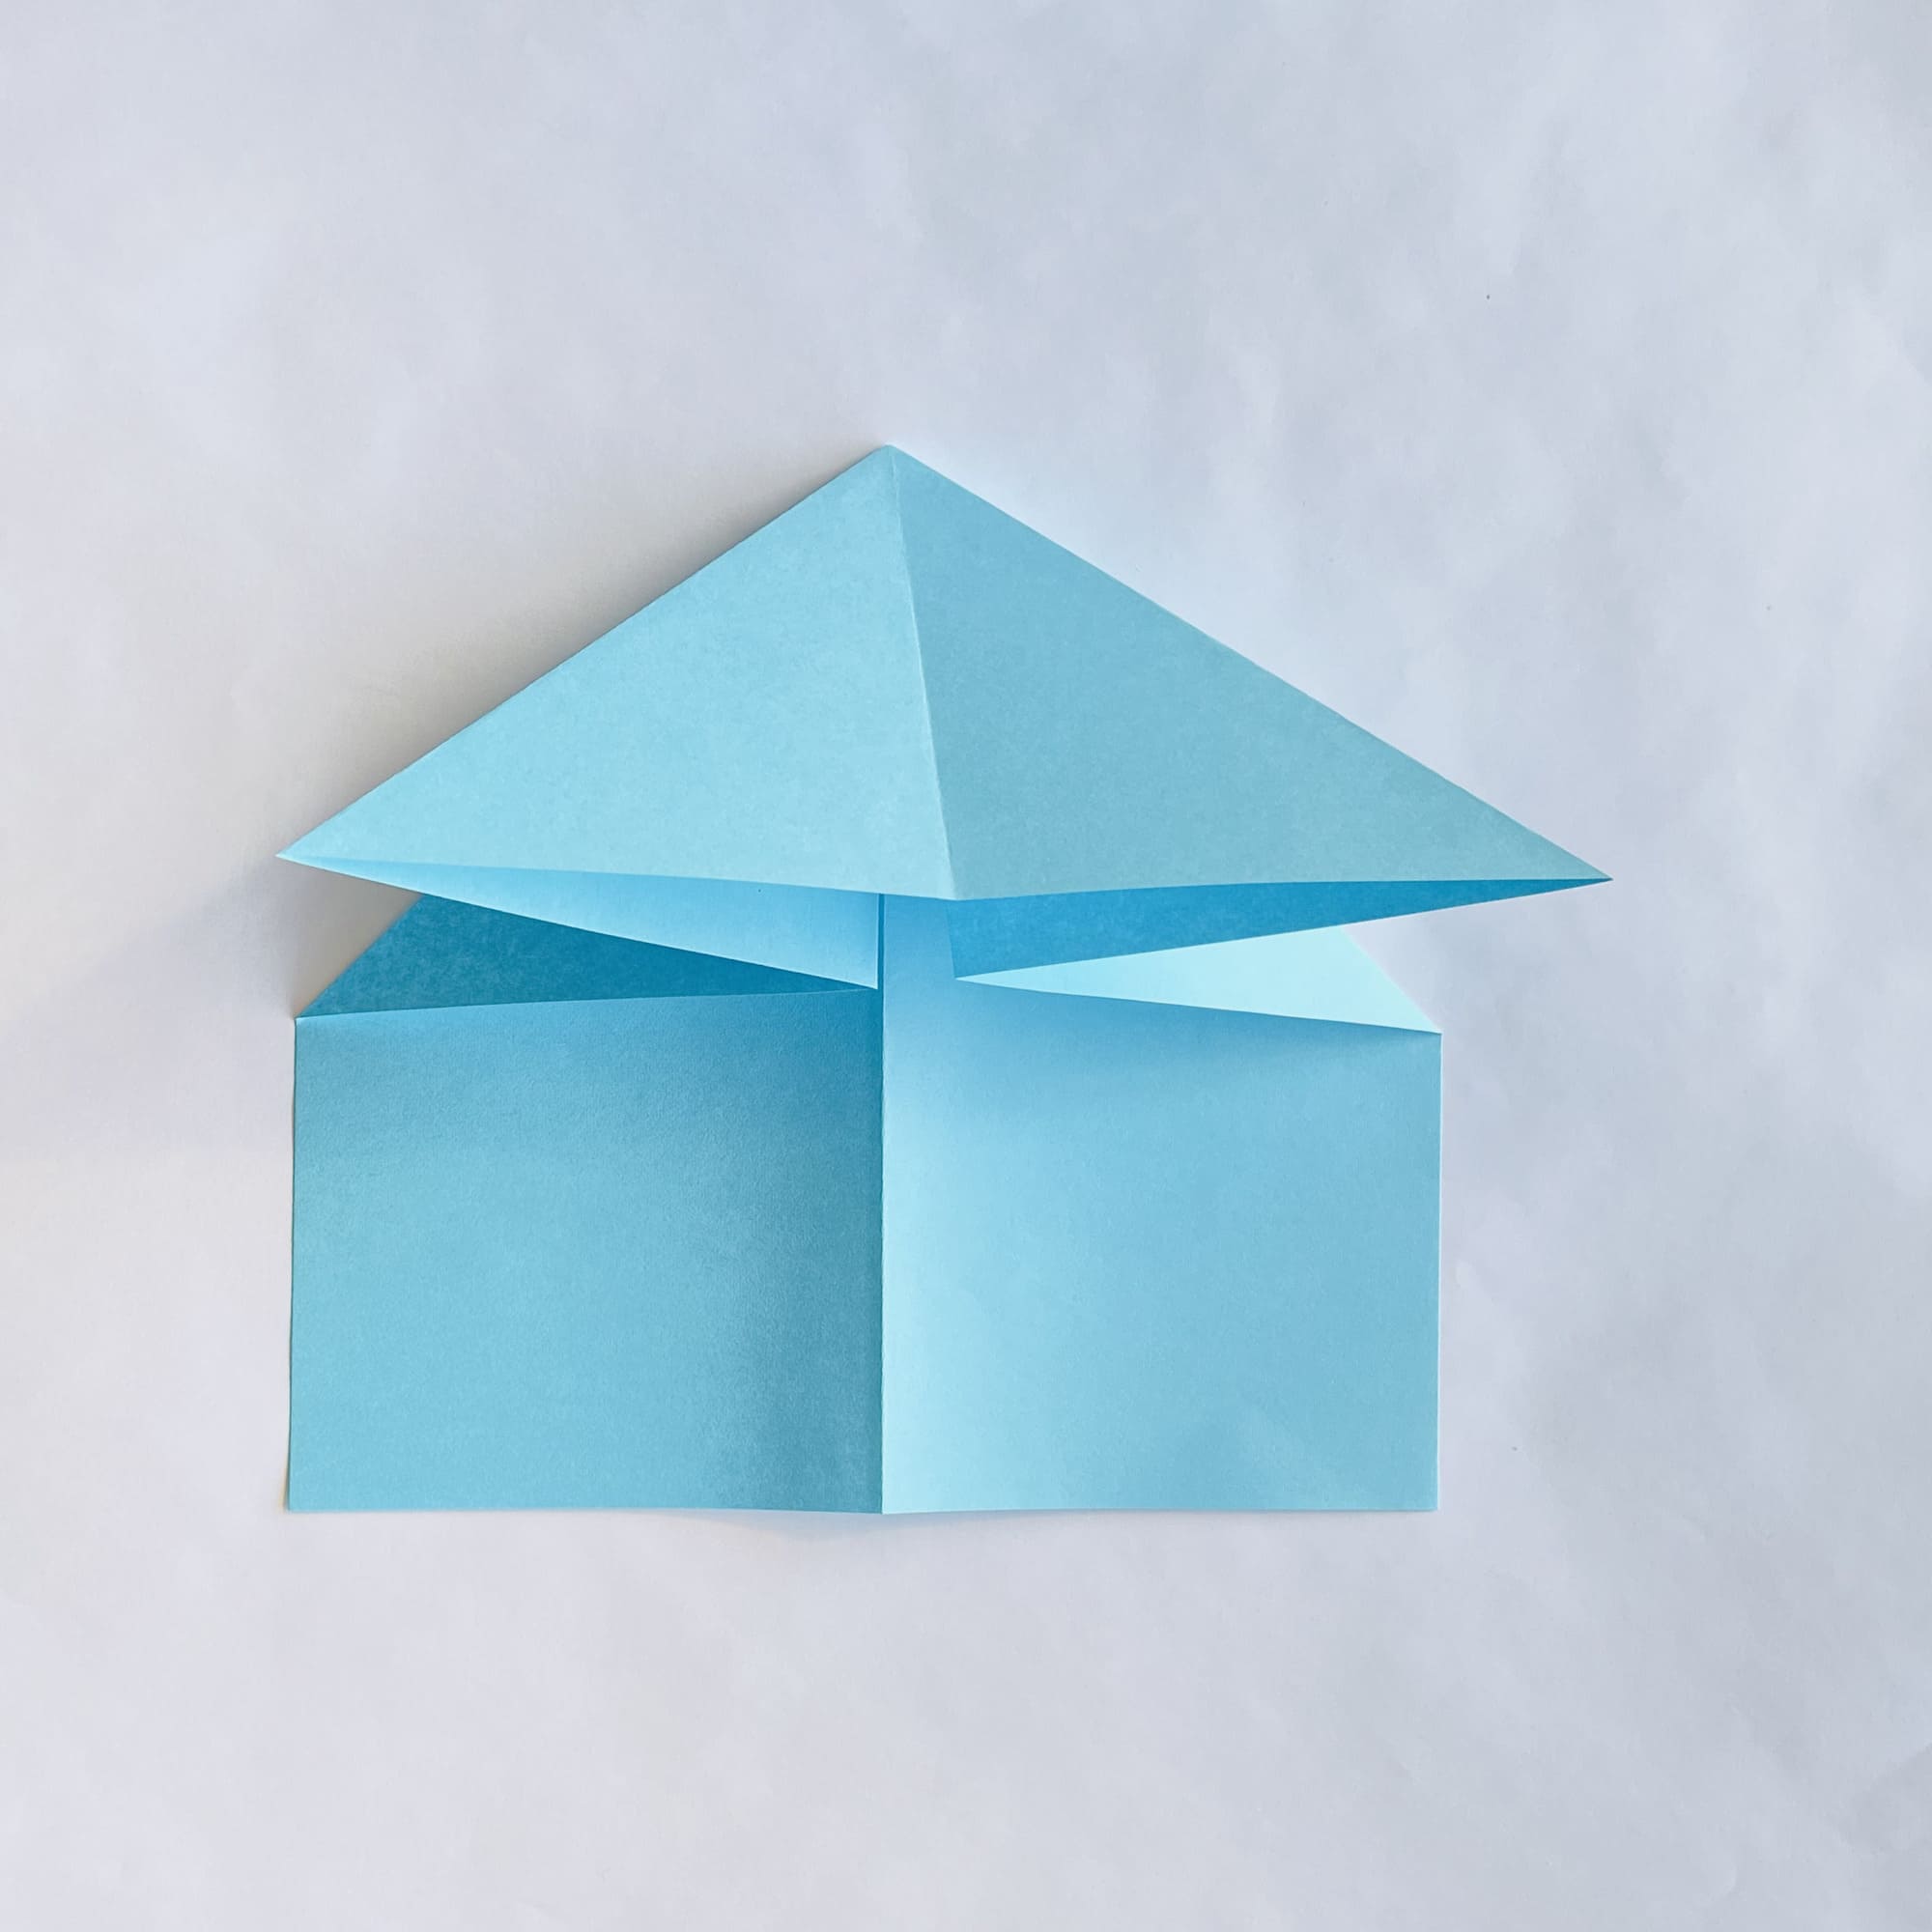
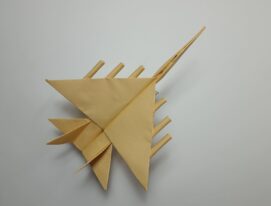
A triangle has formed in the upper part of the figure.
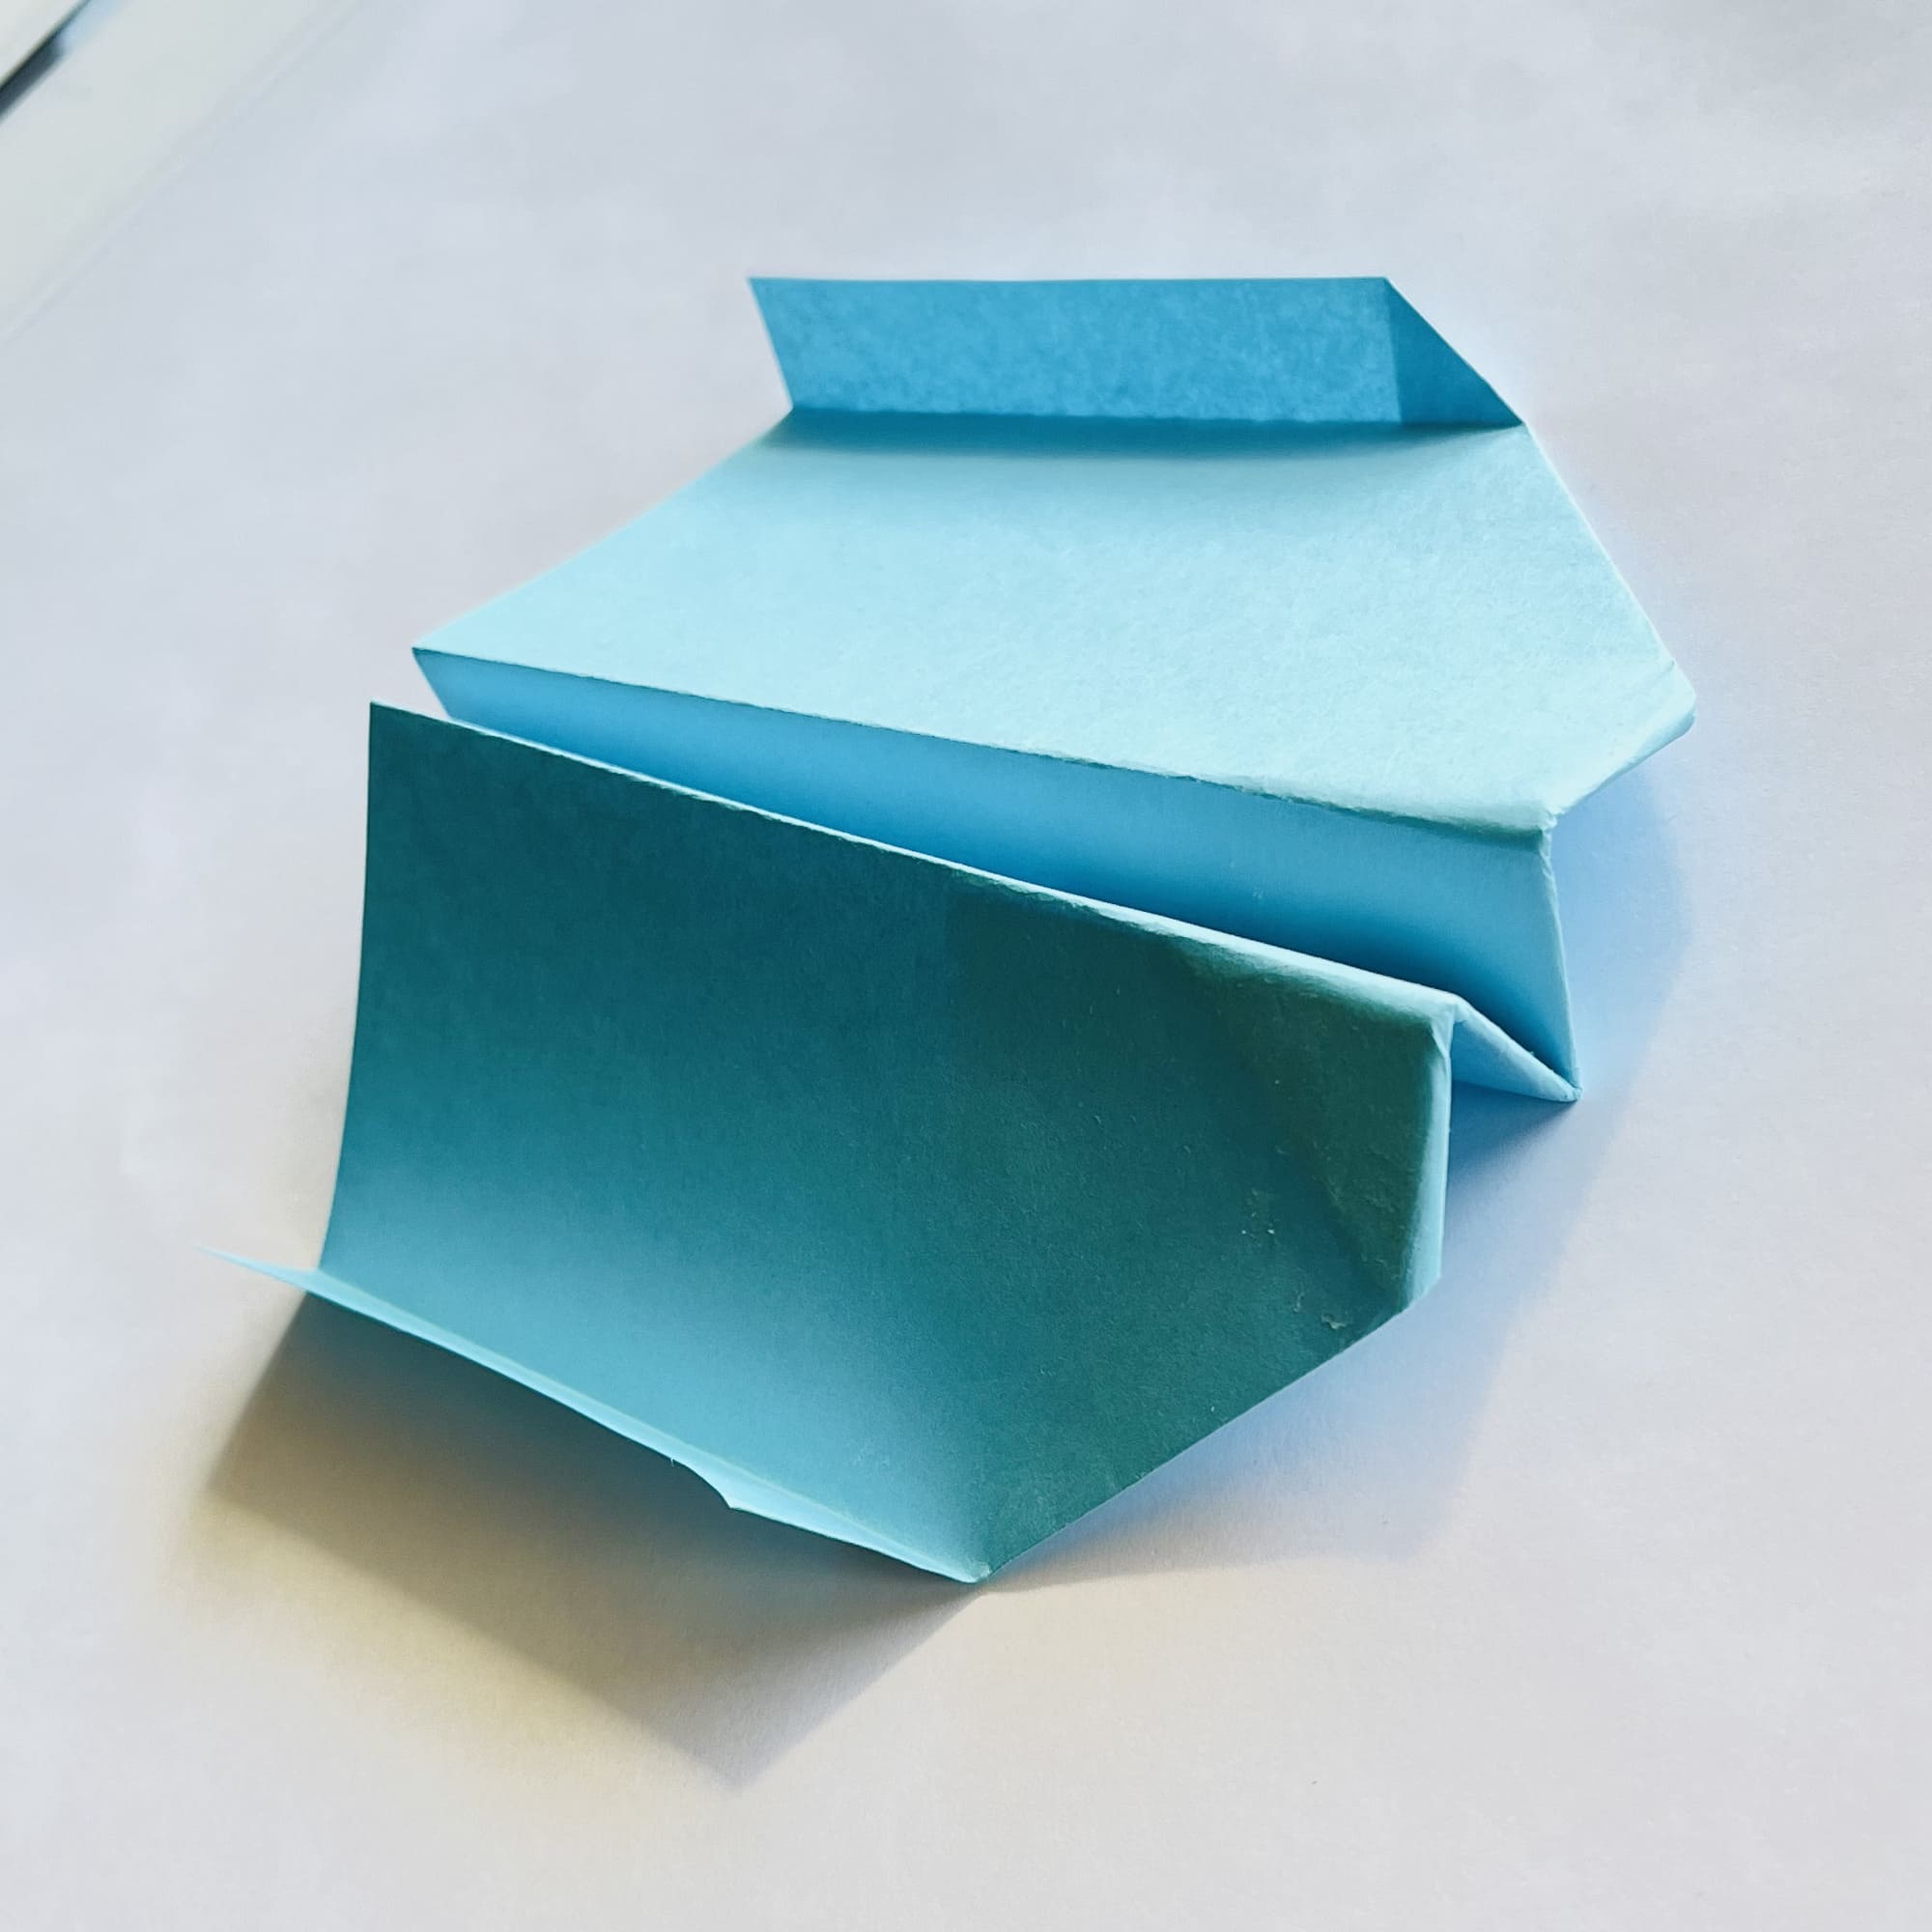
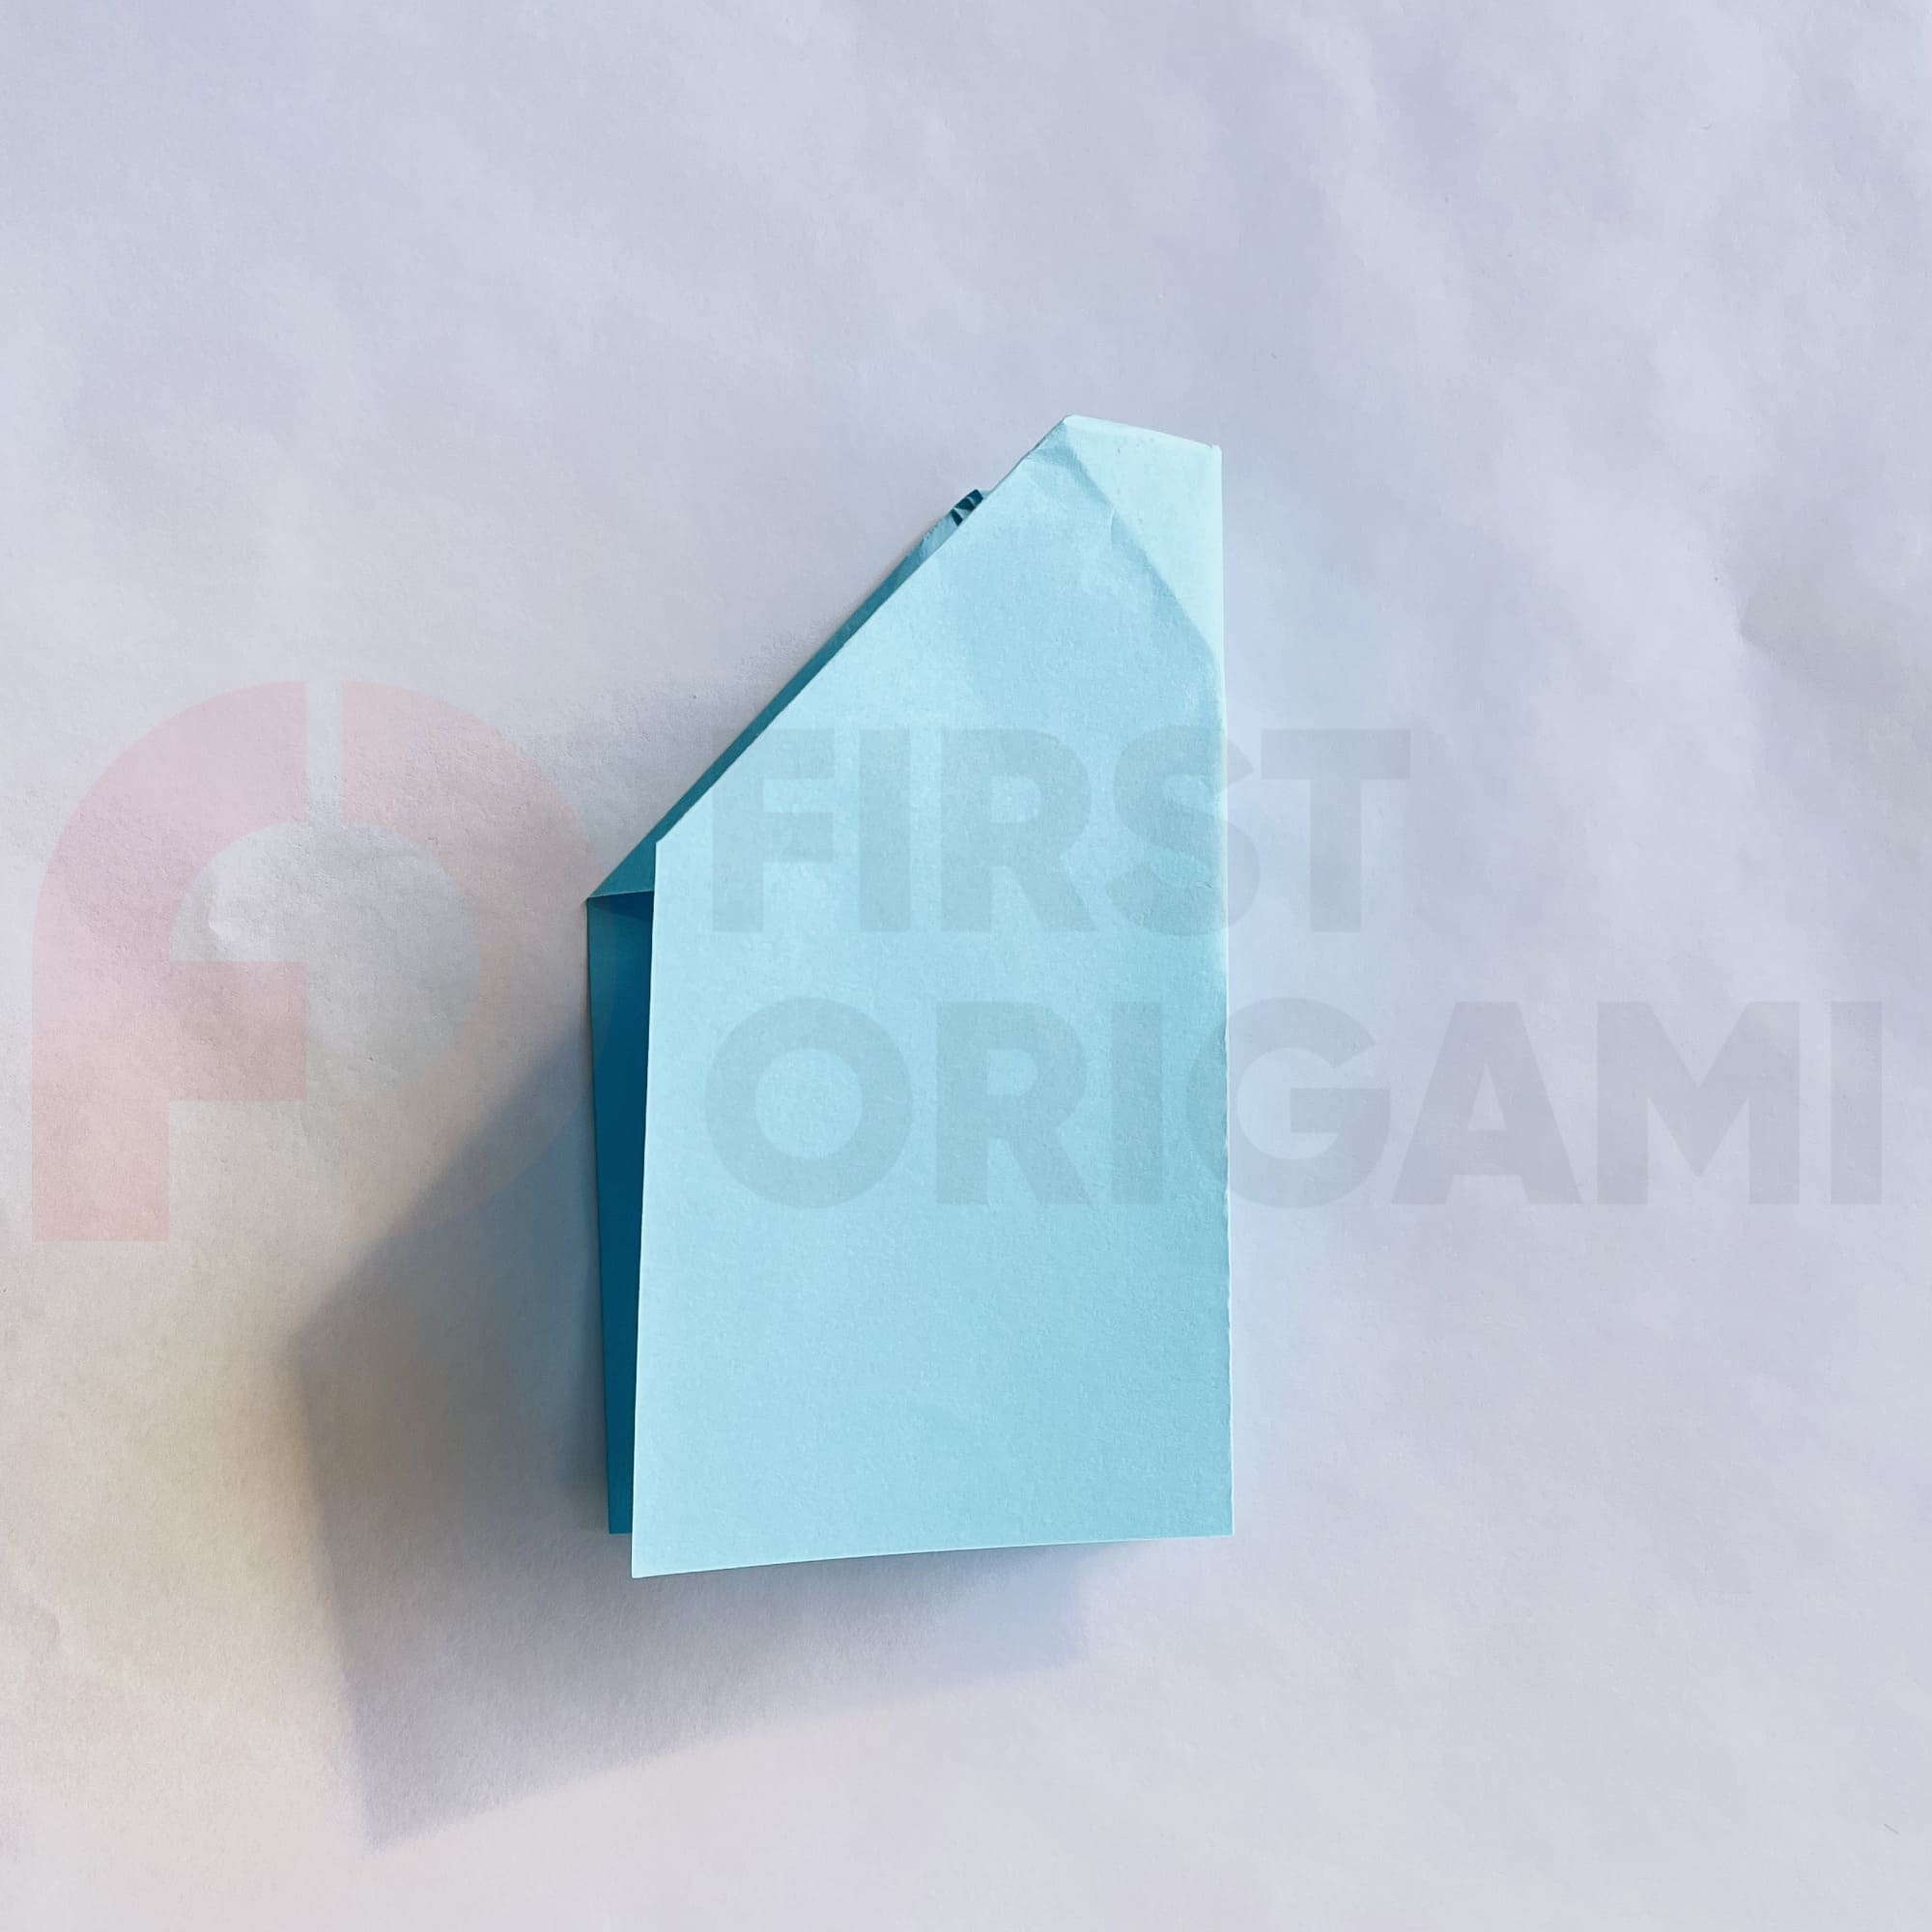
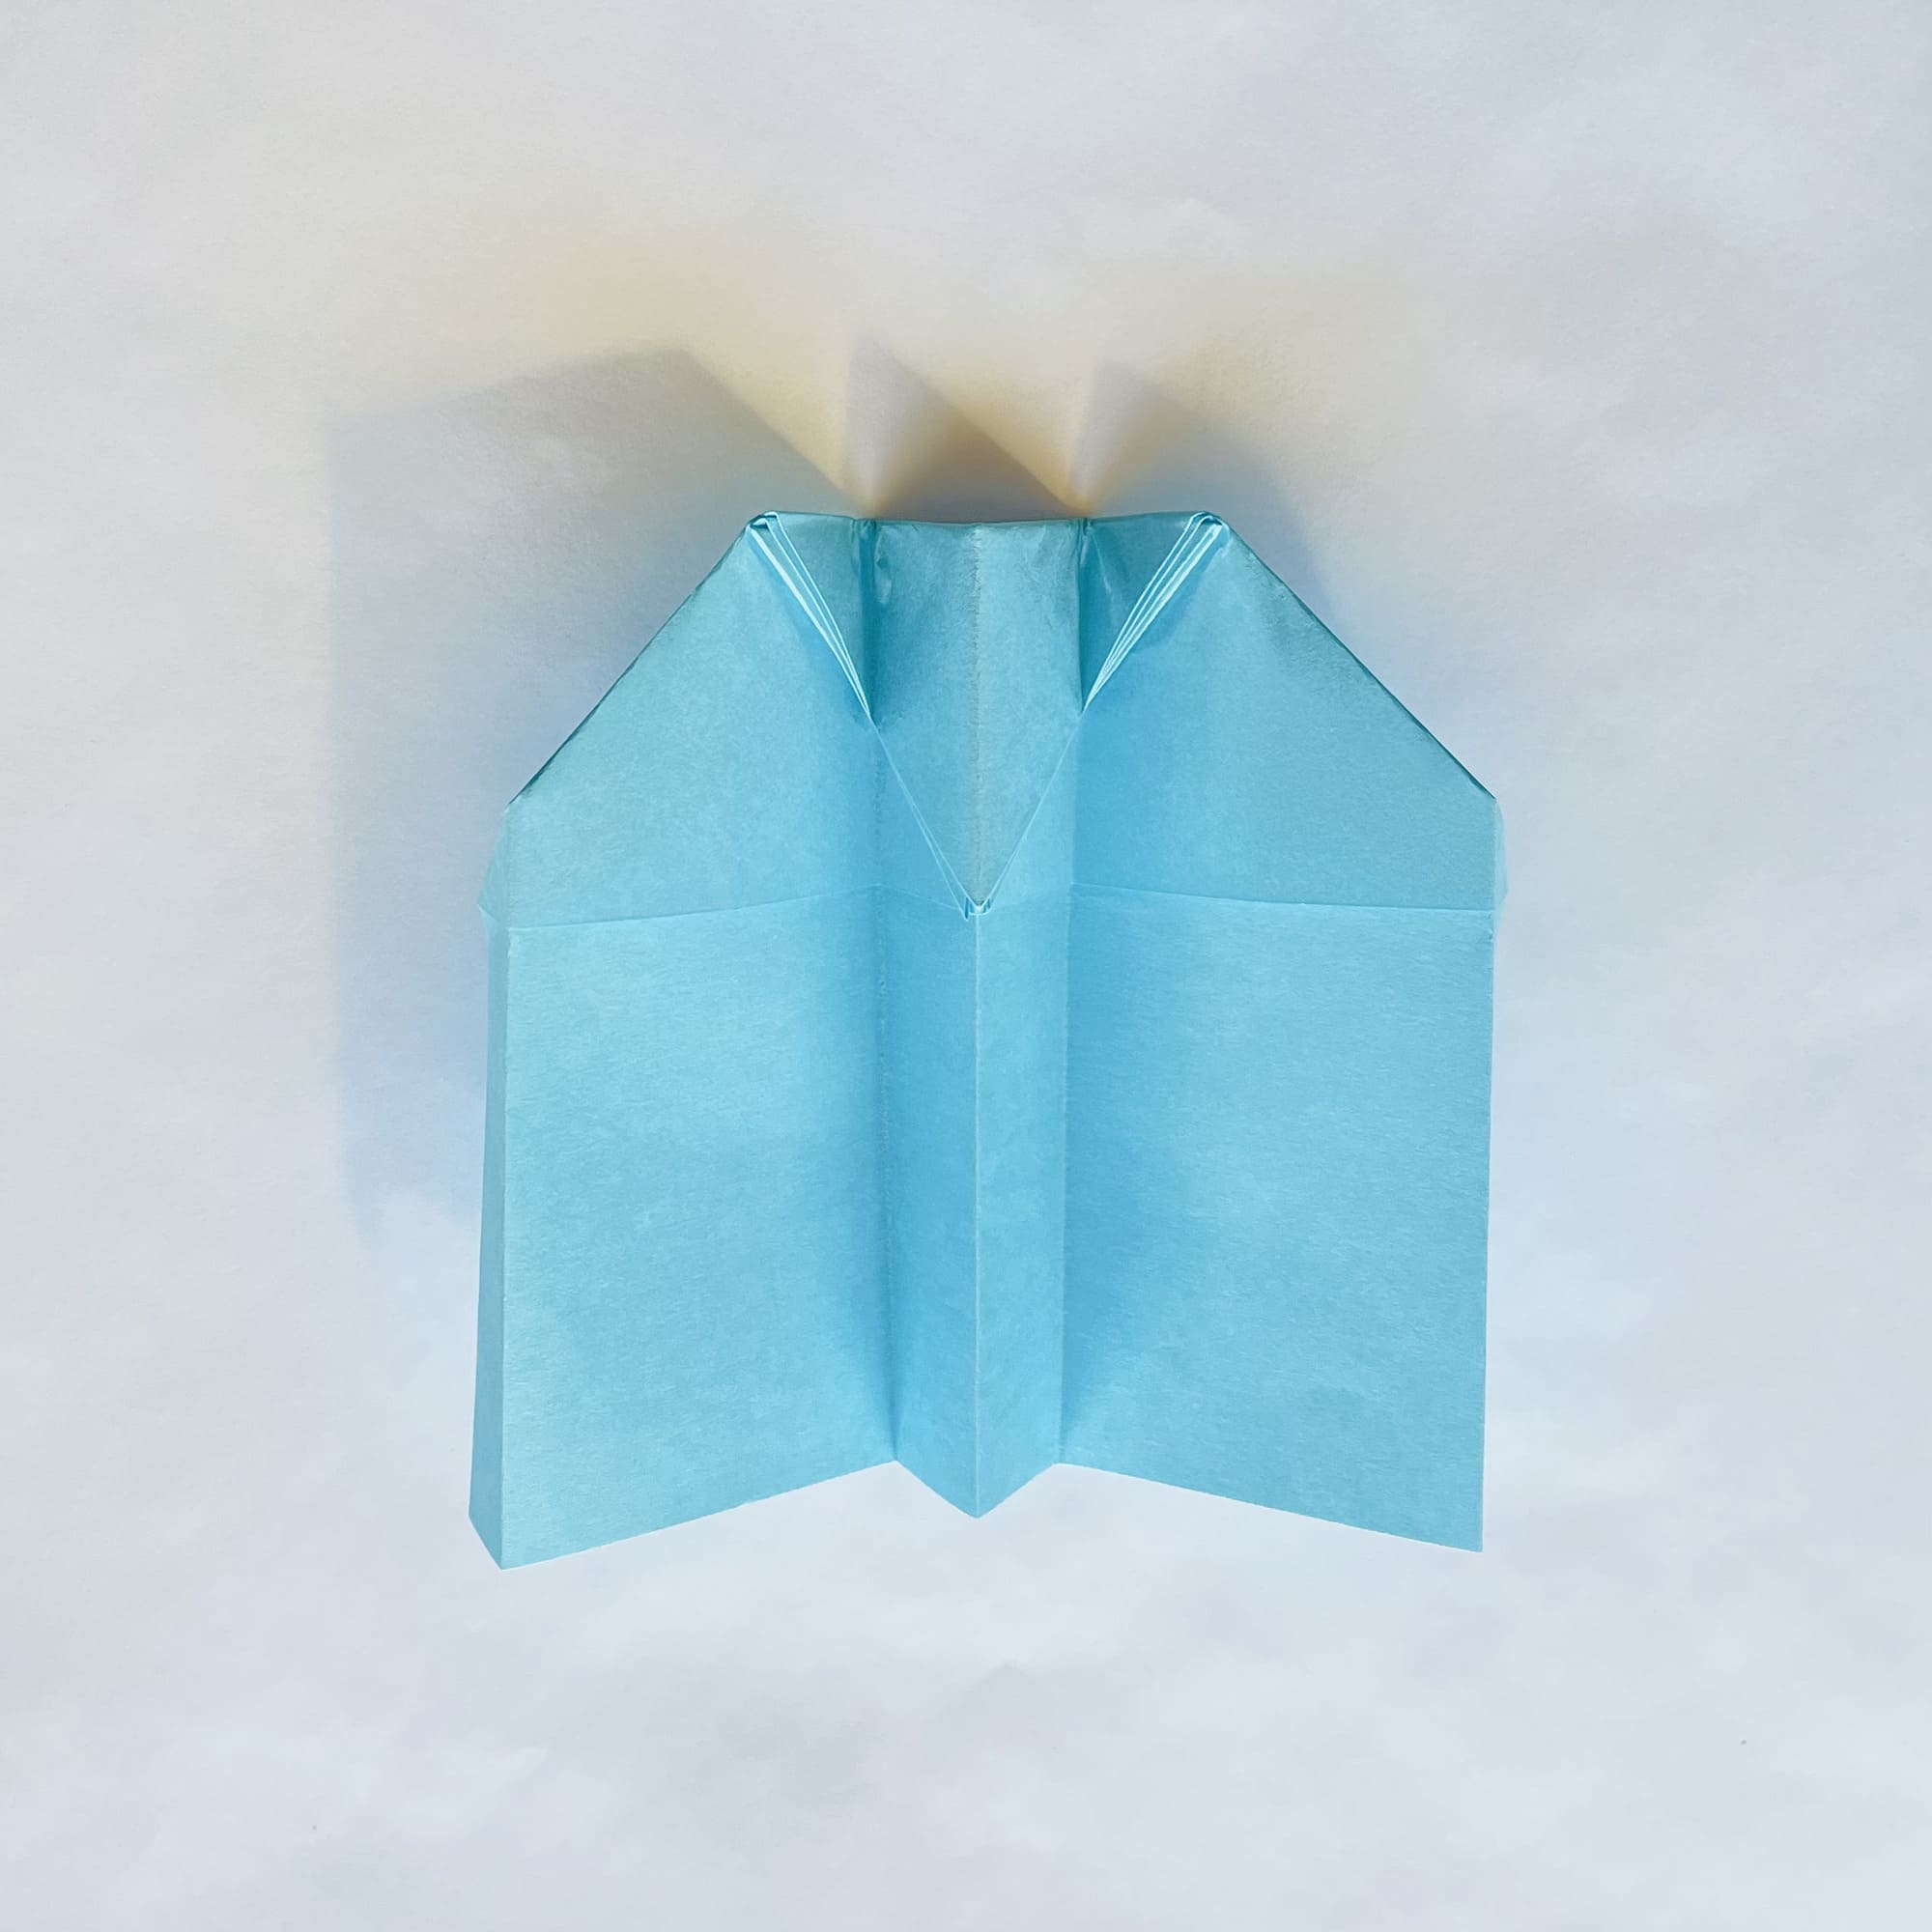
You should bend its side corners up, as shown in the photo.
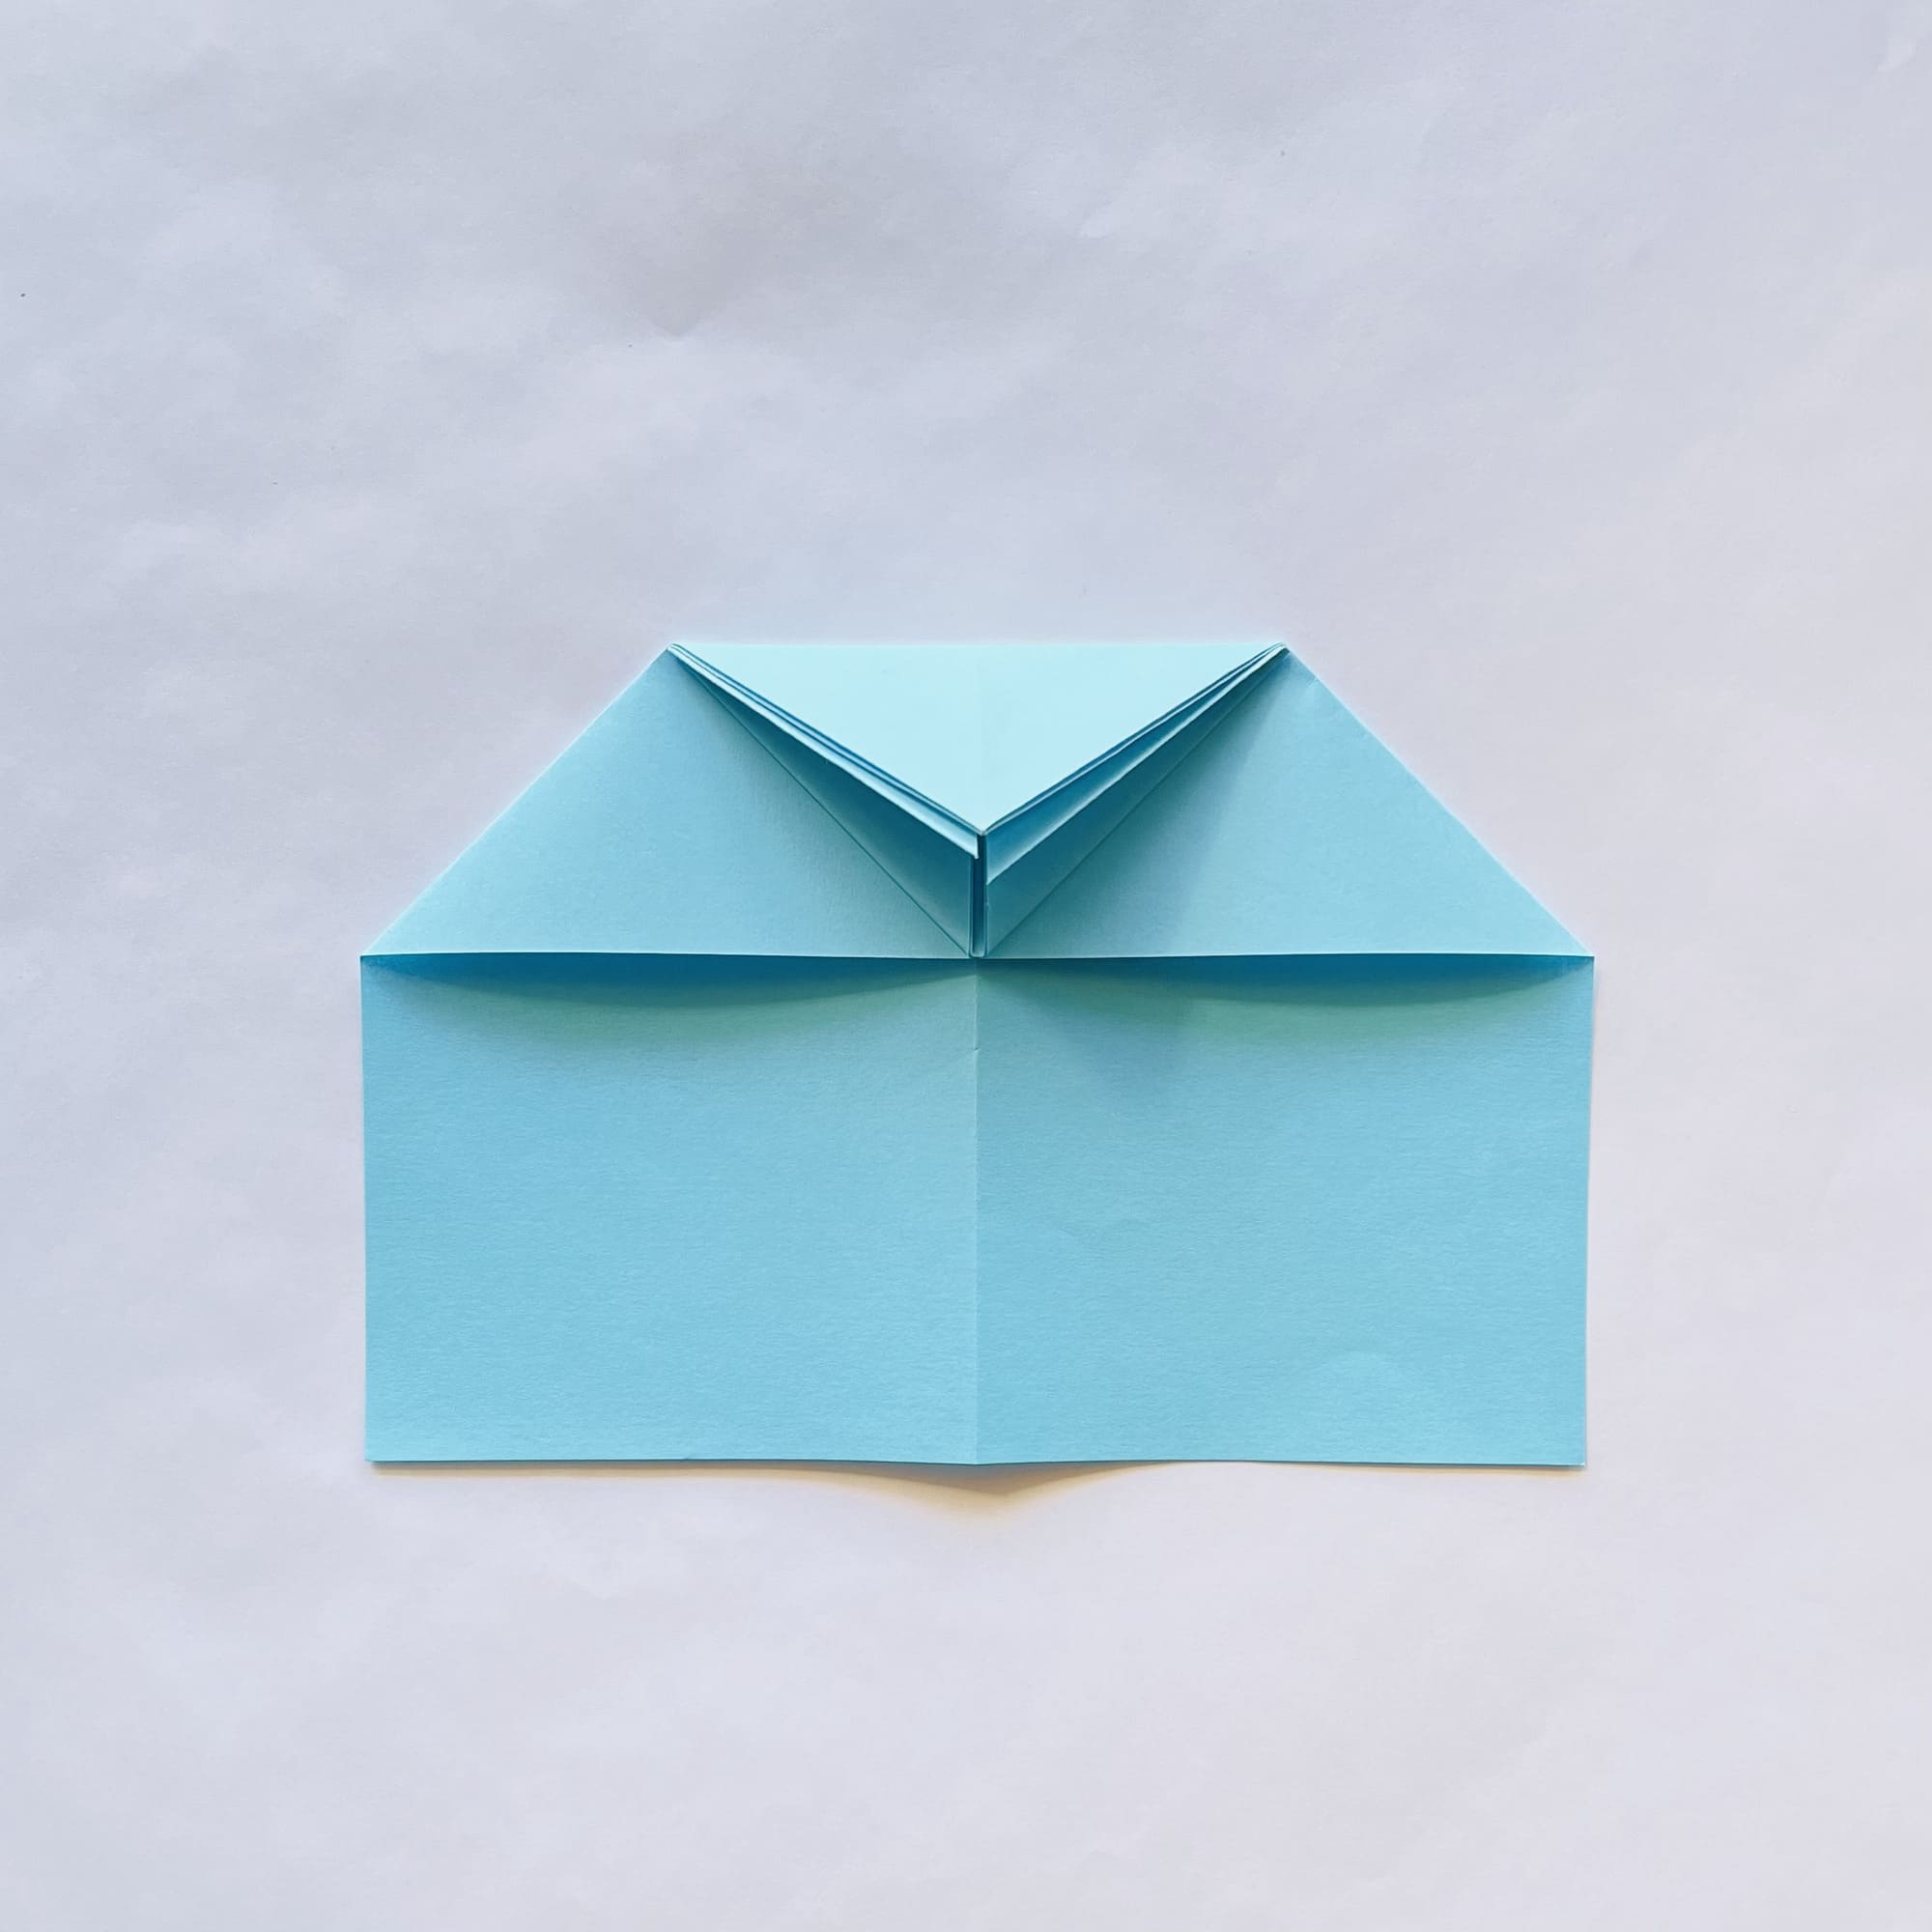
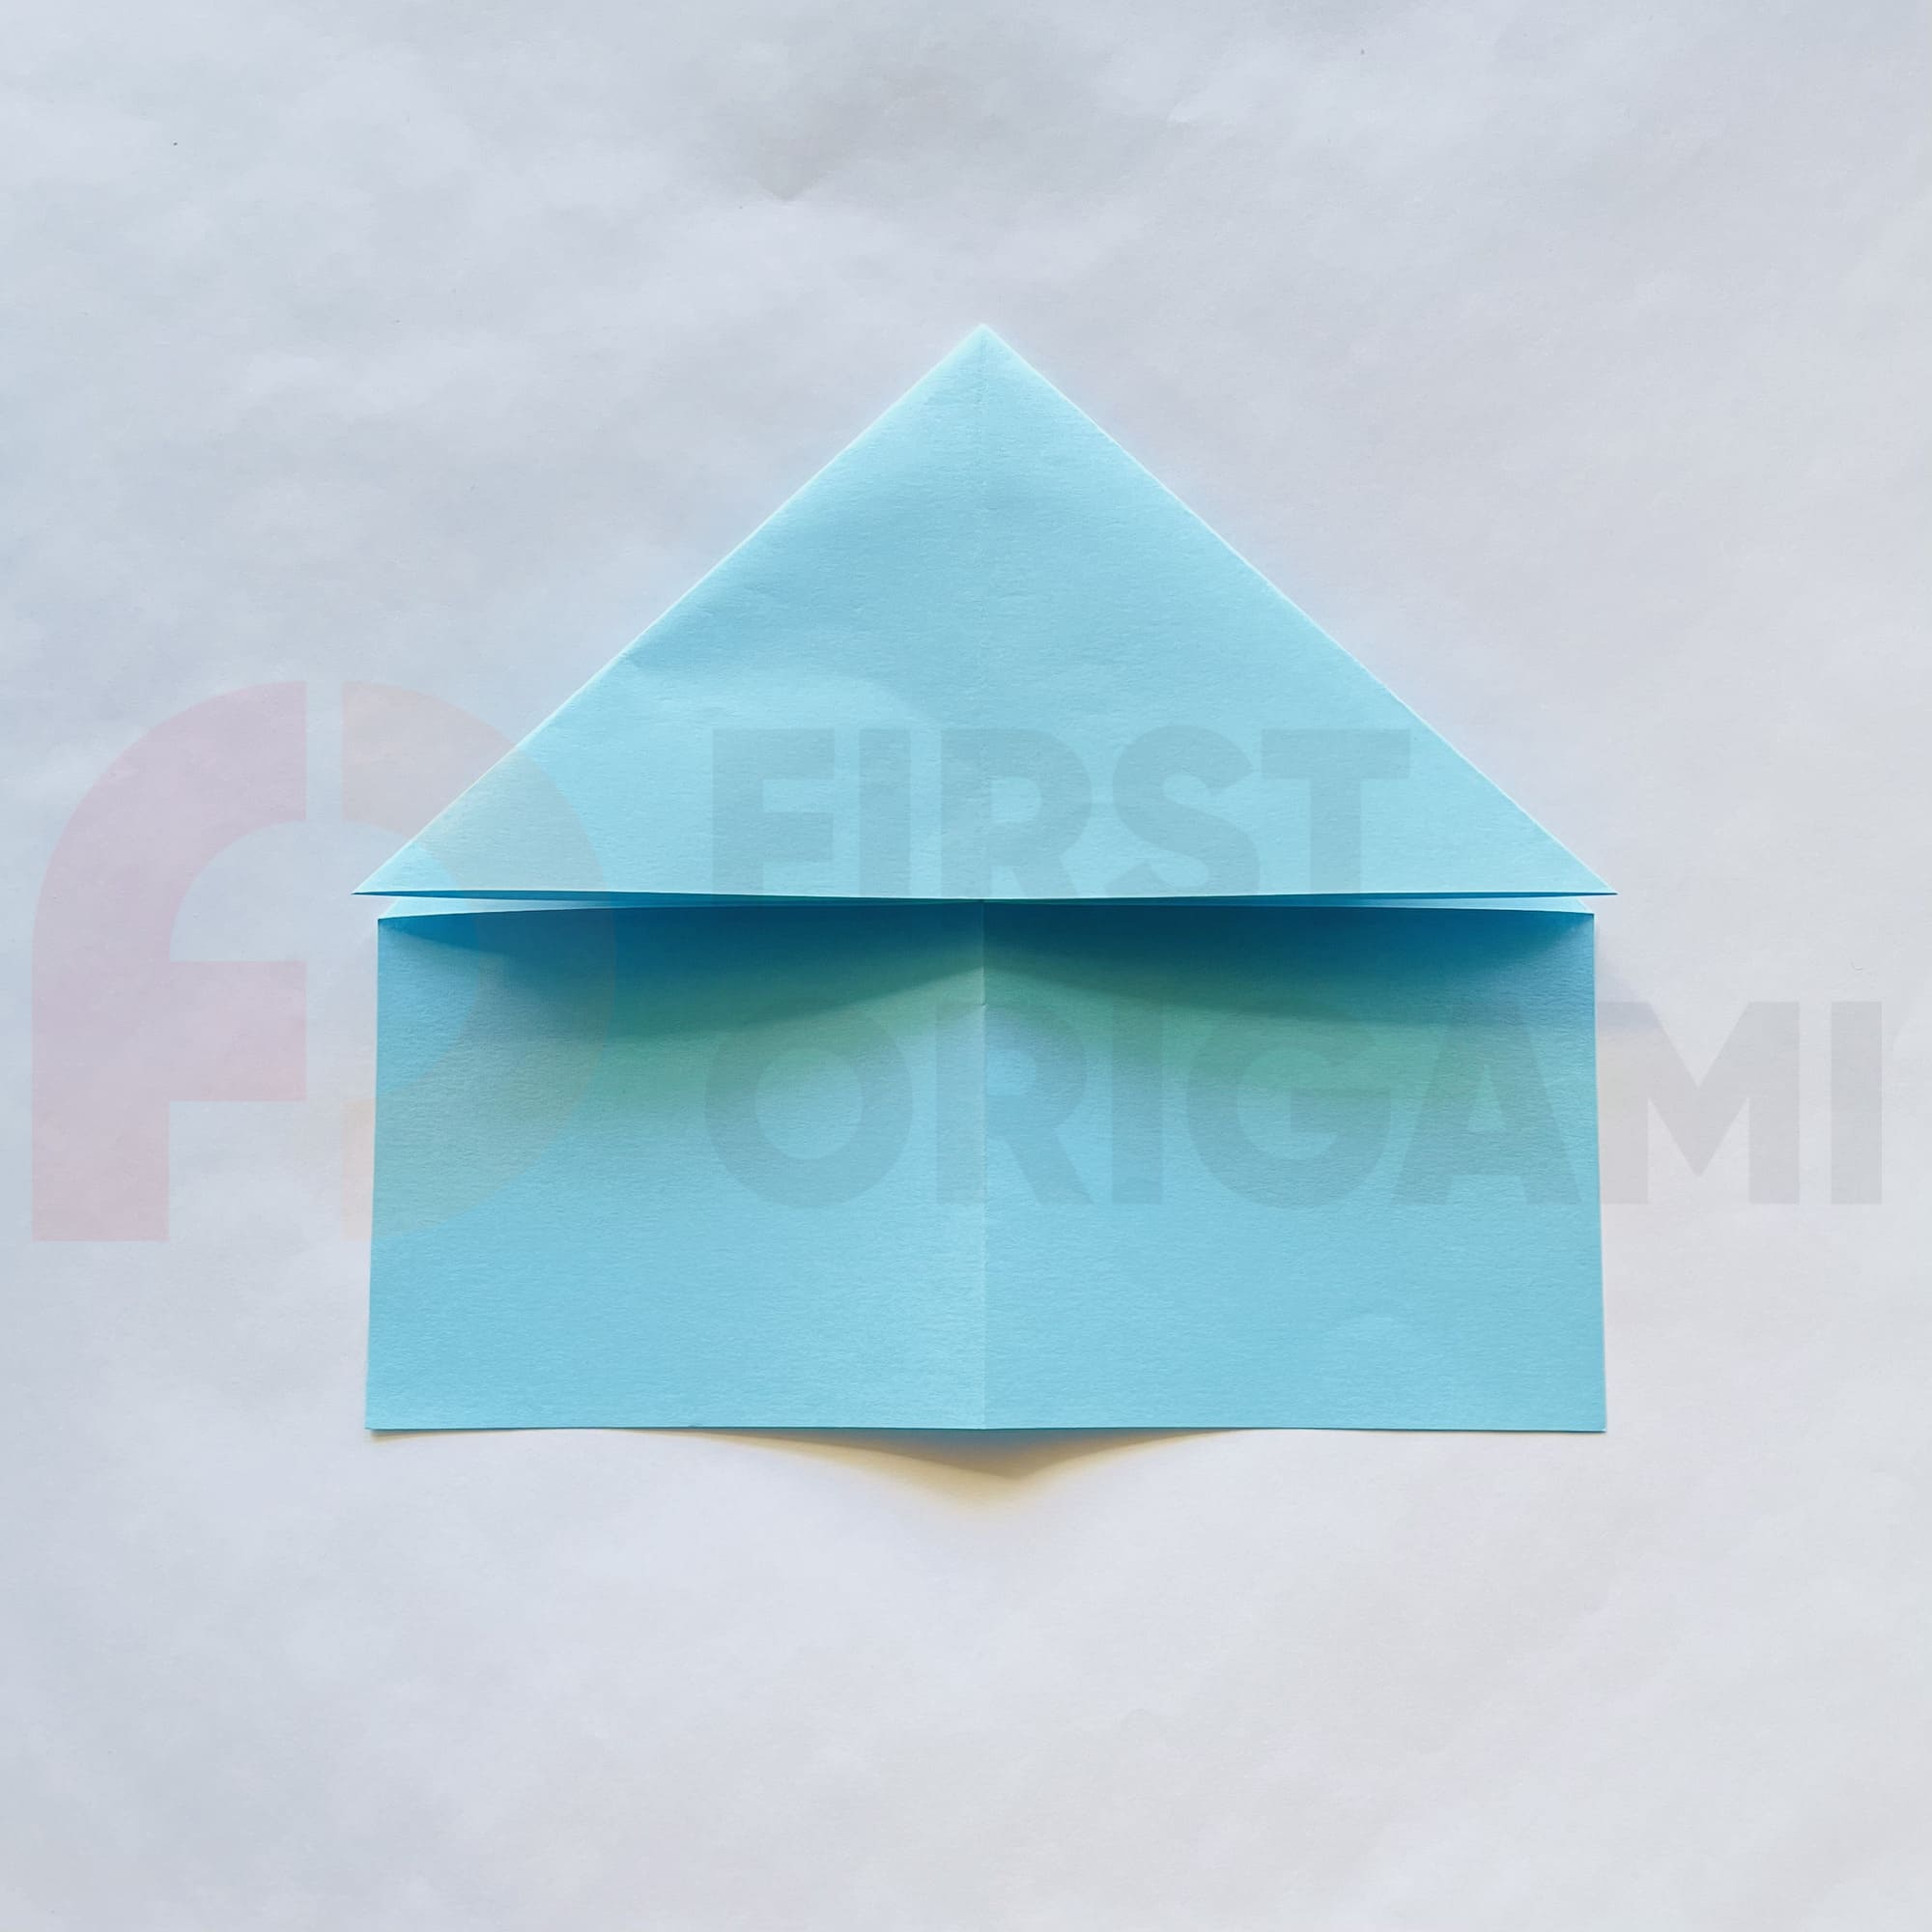
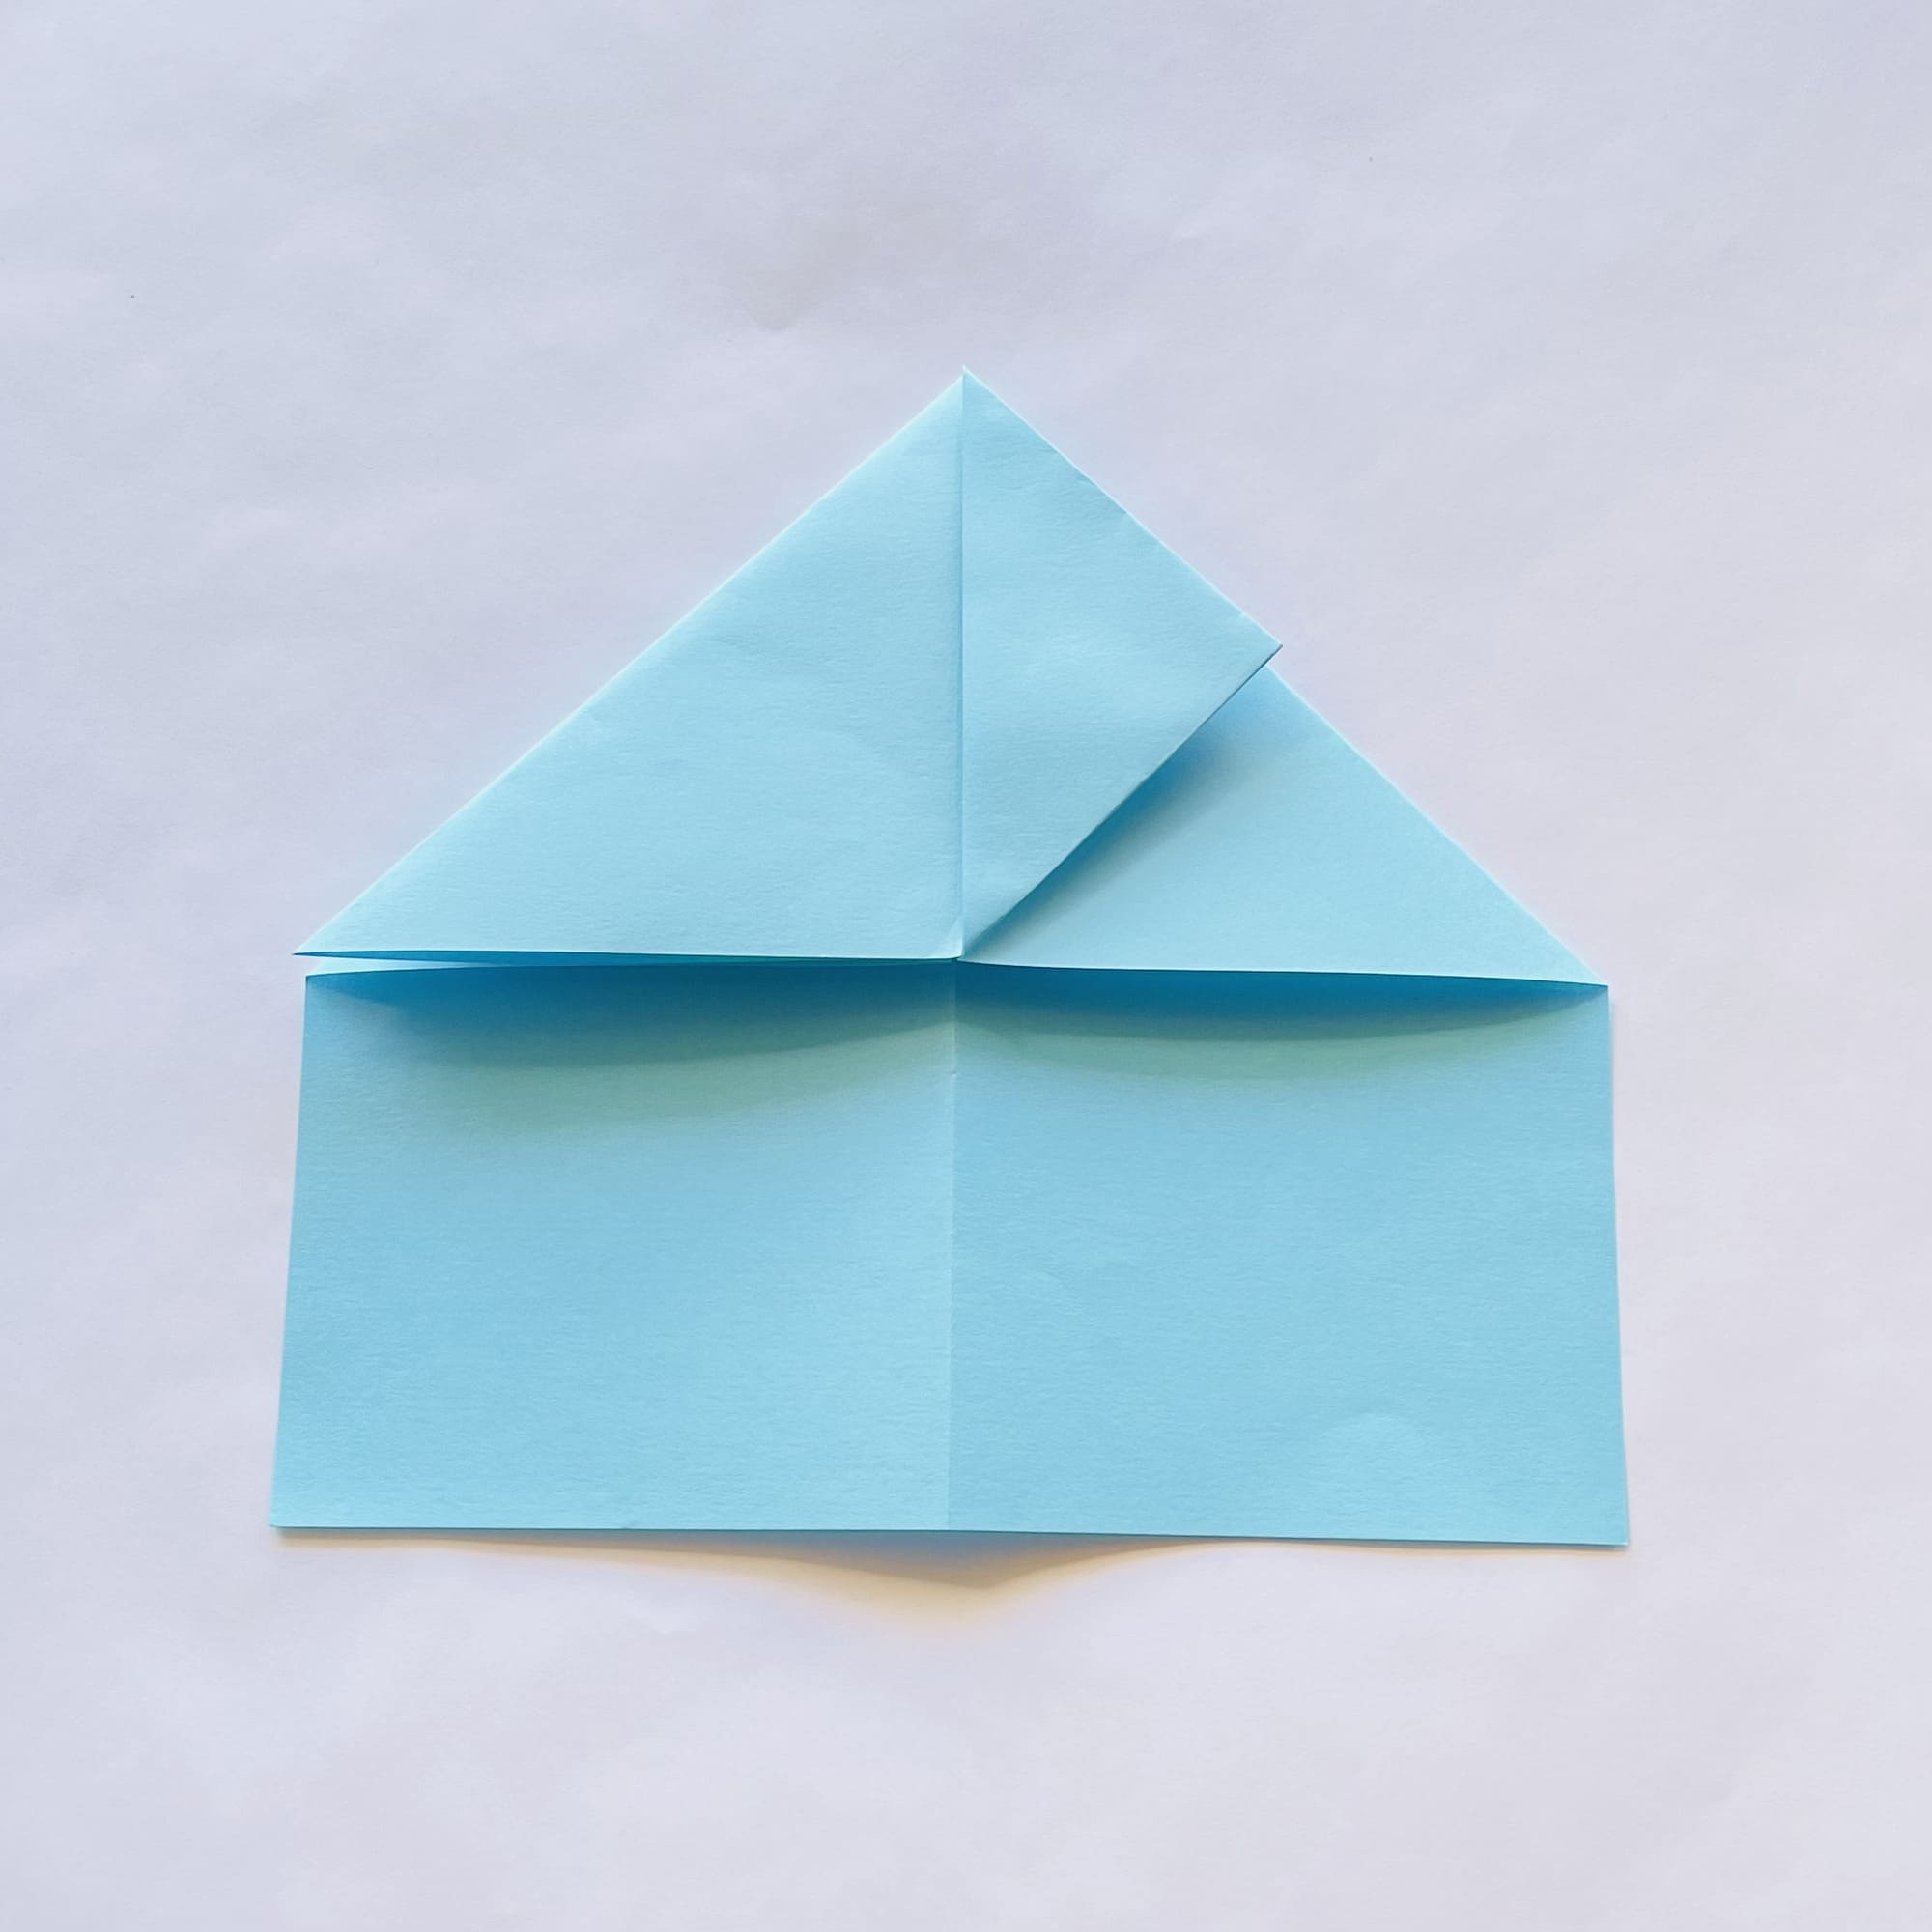
Now, you can fold the top half of the triangle down.
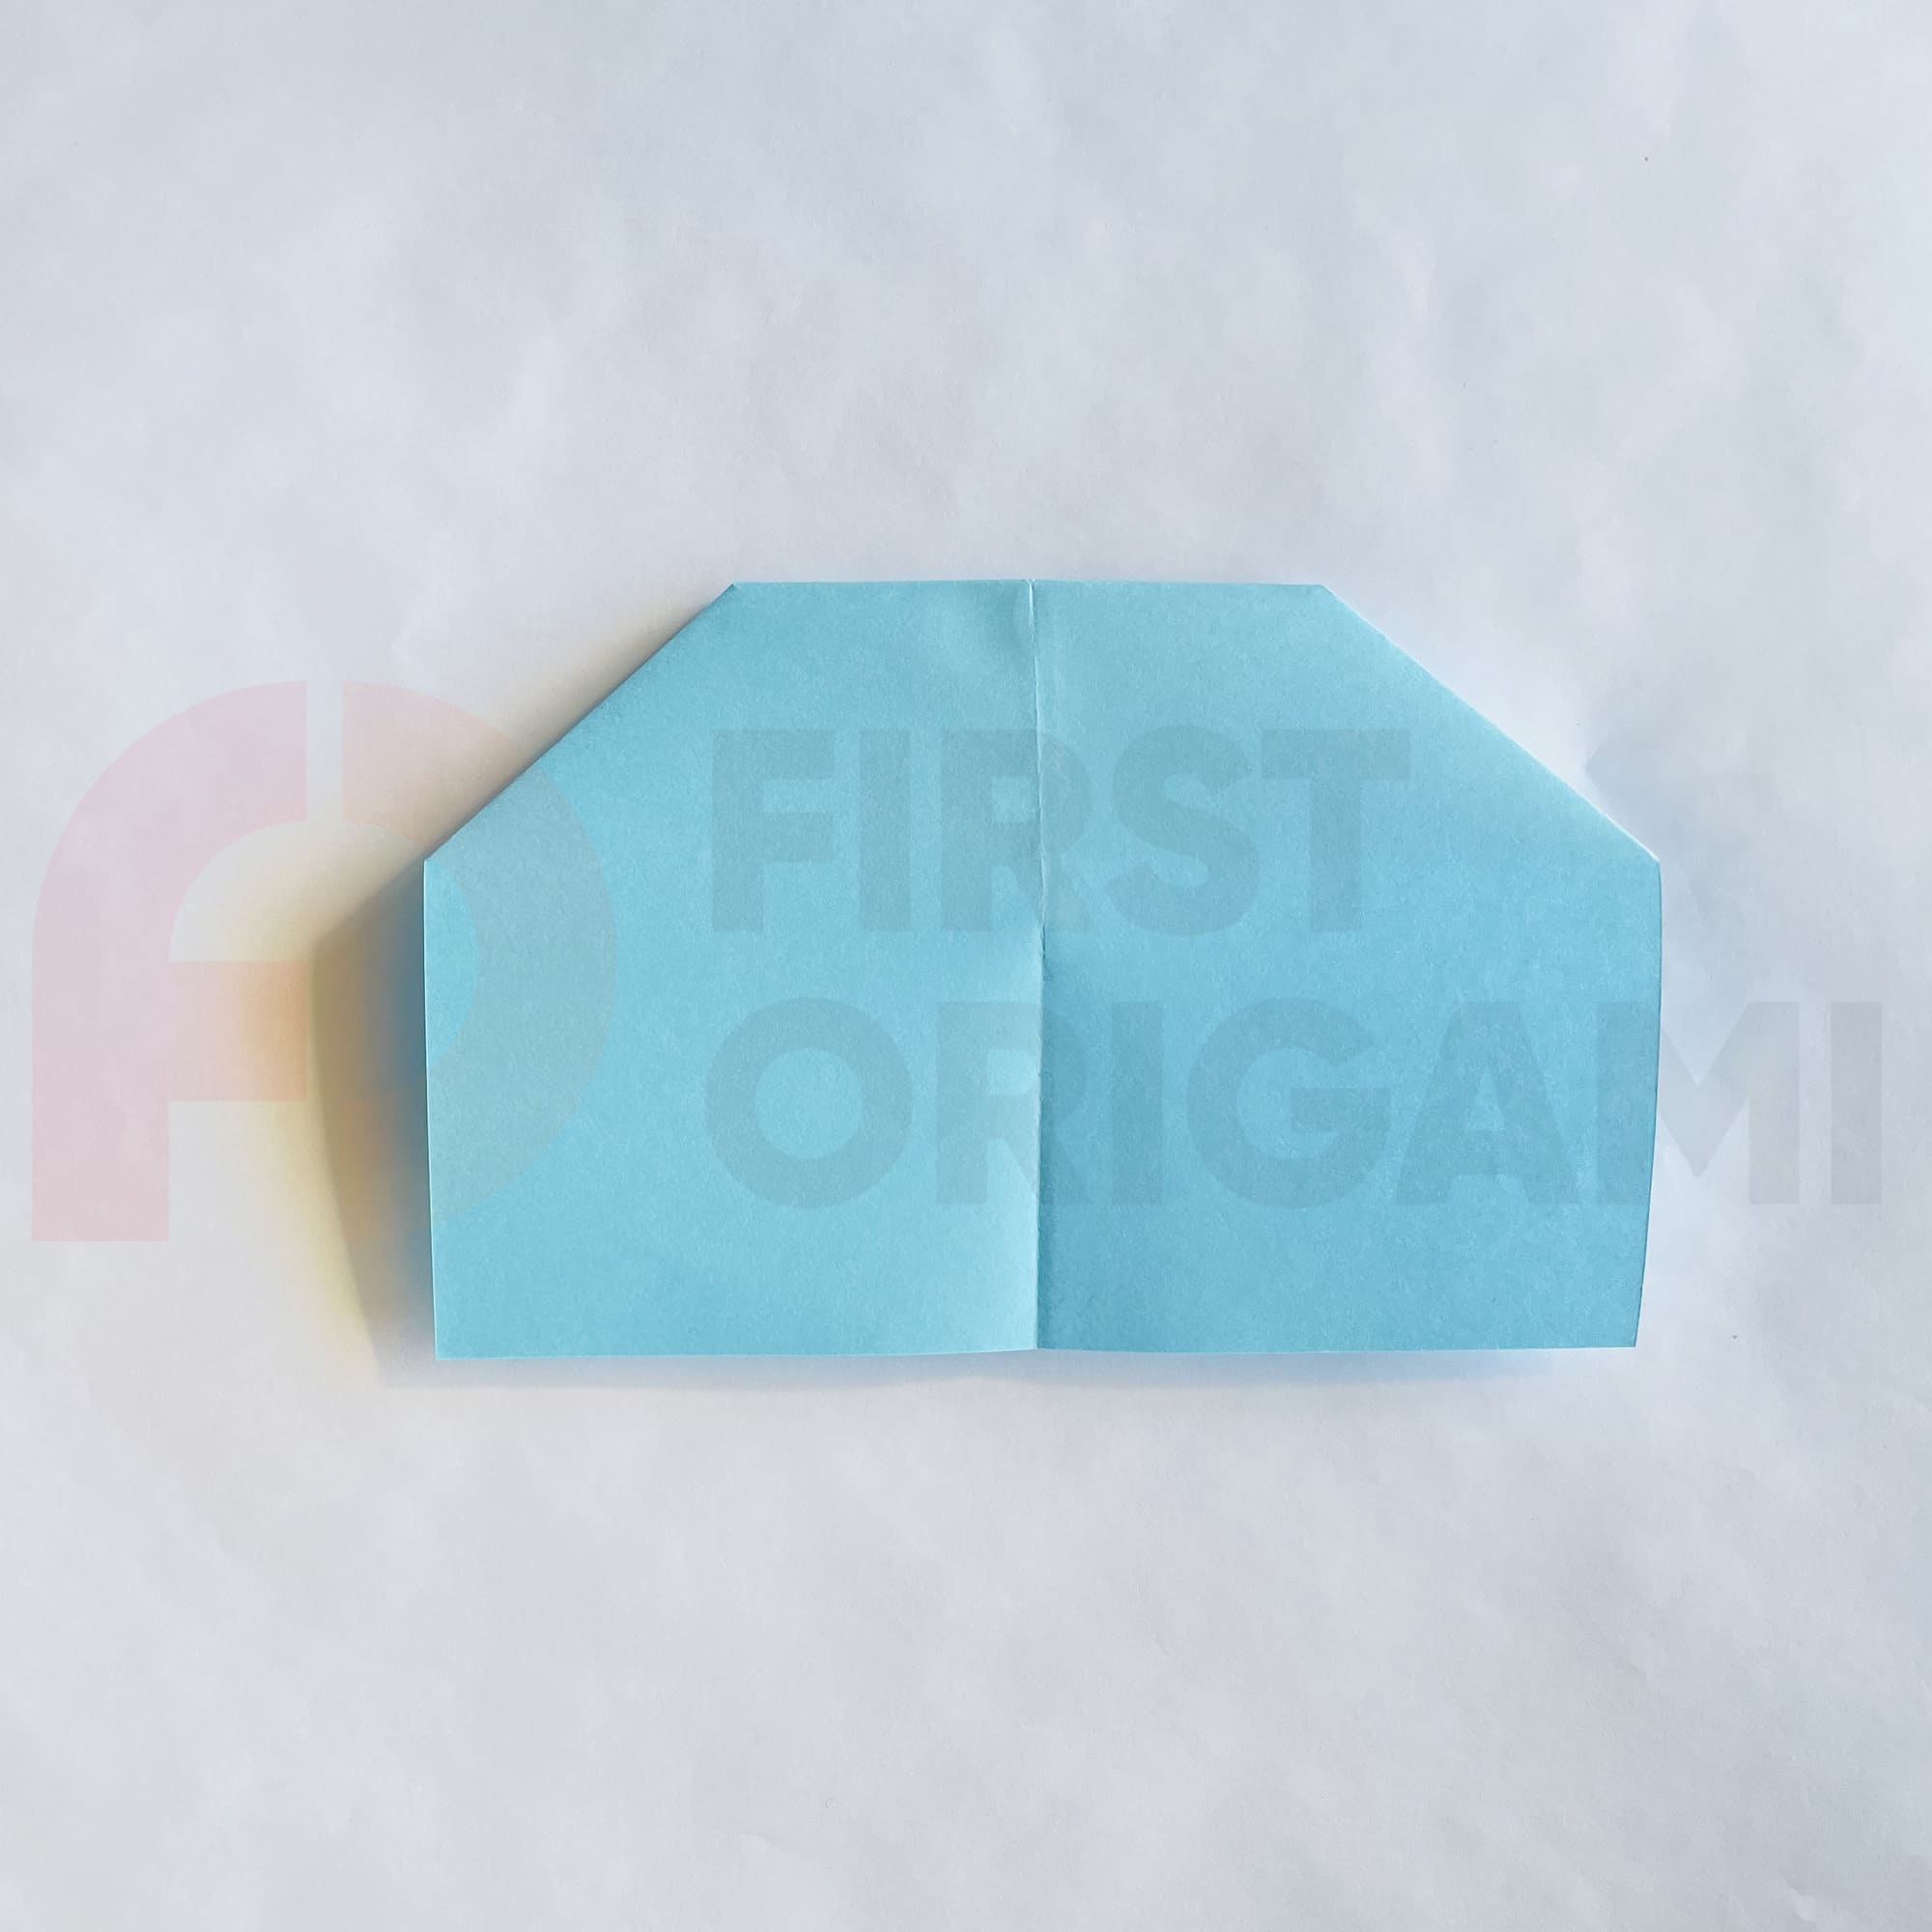
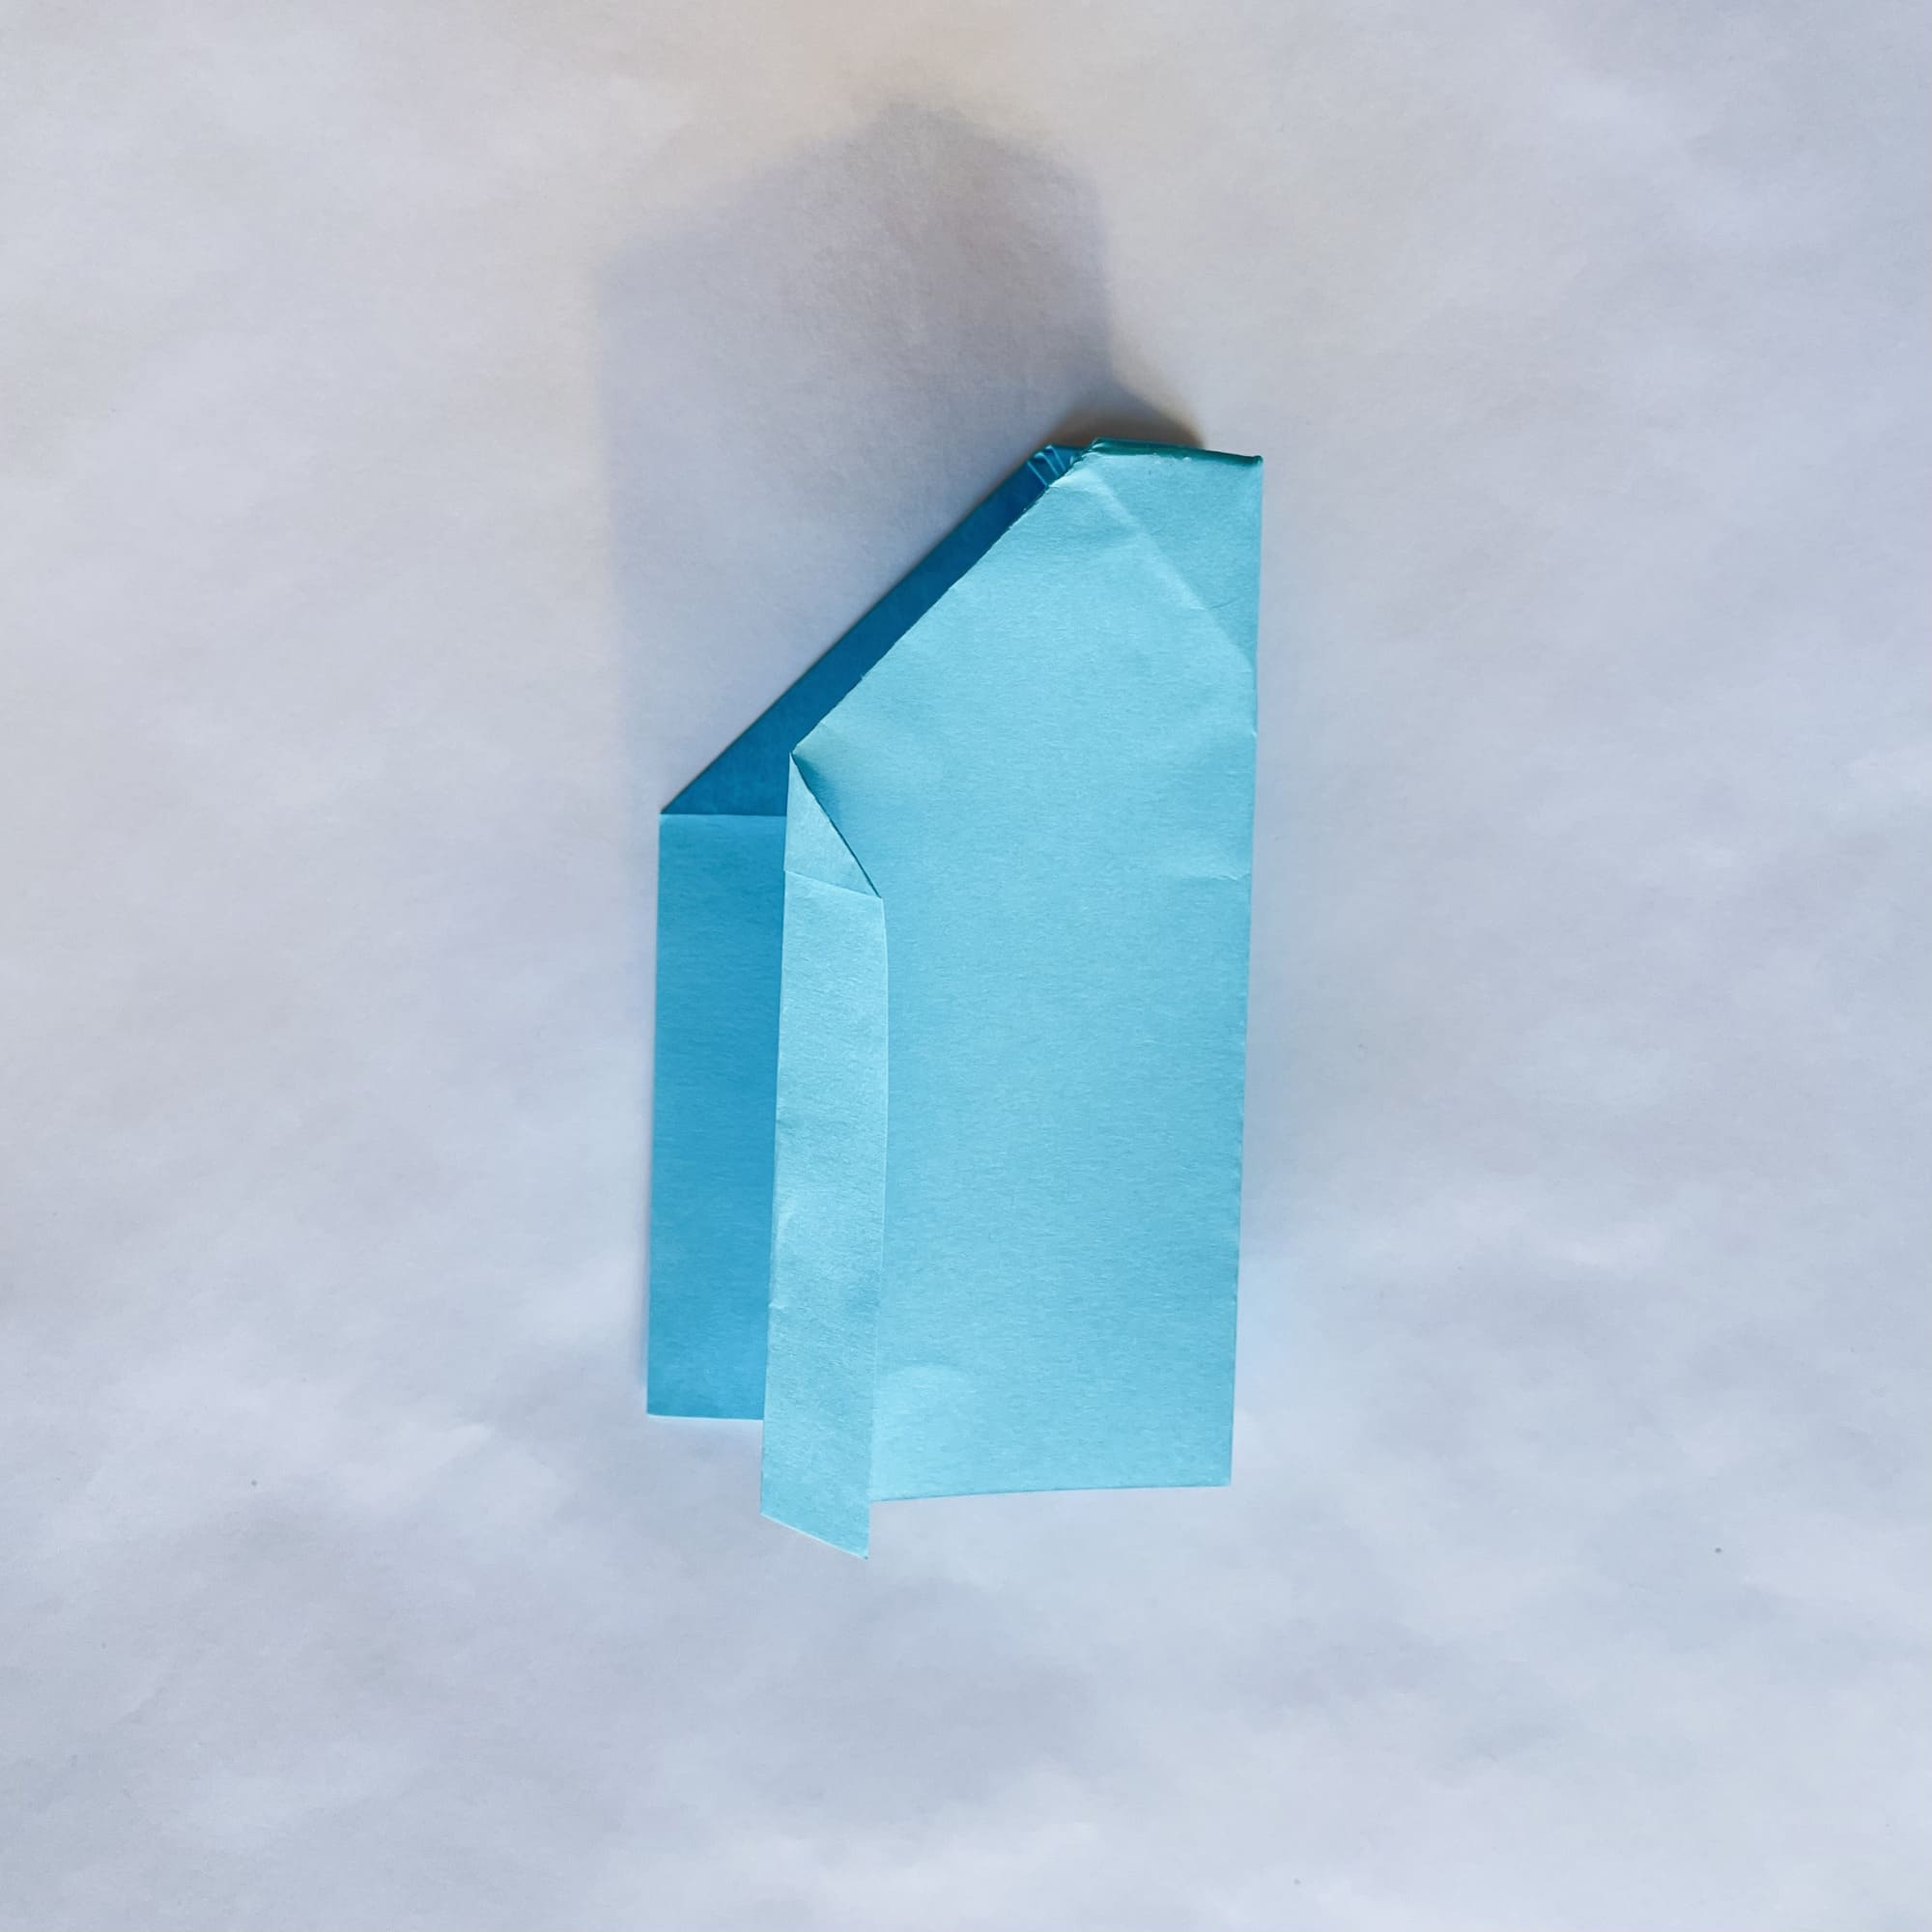
Turn the paper over before you fold it in half.
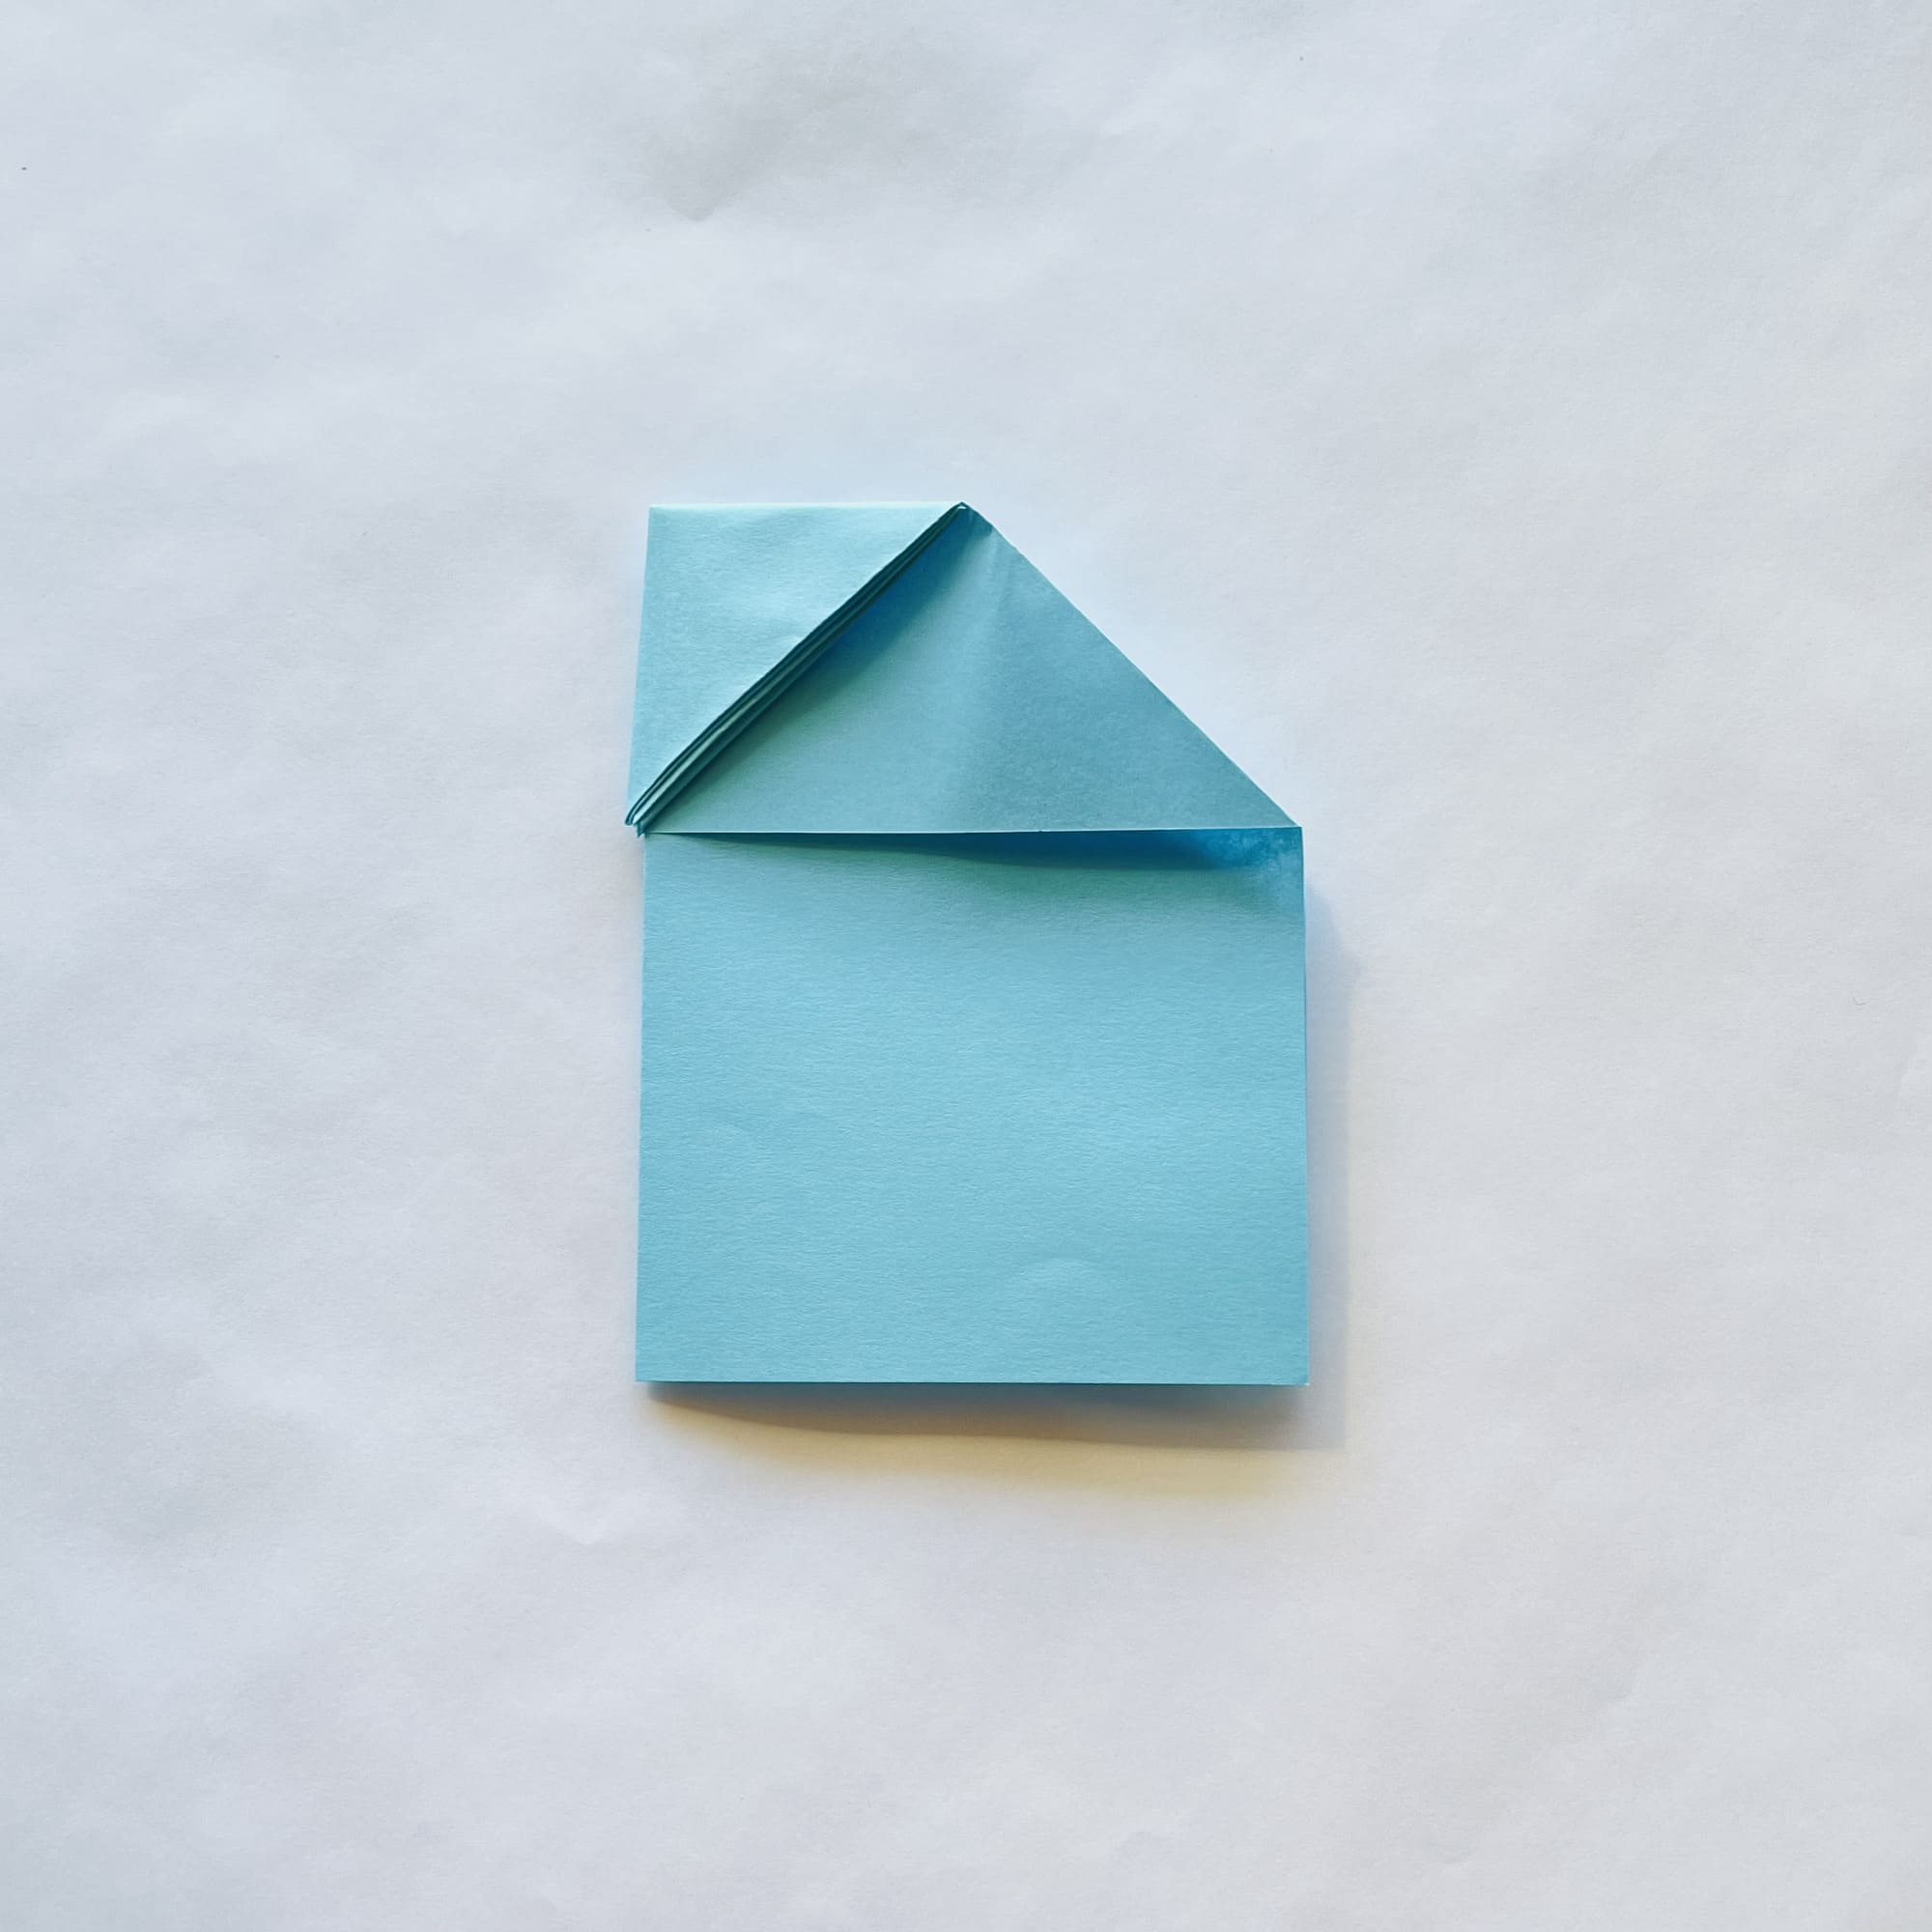

Taking turns, you should fold both wings symmetrically, connecting the corners marked with arrows.
At this stage, the paper is already quite difficult to bend, so work through them carefully.
Stepping back from the edges of both wings by about 1.5 cm, you need to bend them up.
Finally, you can expand the wings and their fins to complete the plane.
Done!
You did a great job! Before flying, make sure that the wings are slightly raised and the fins are upright. Now, it’s finally time to test the plane in action. Enjoy your time with this plane!