Origami Table Base
With this basic base, you can create some very interesting shapes. For example, a table or a diamond star. The base is not the easiest to make, but it deserves attention because in terms of the number of steps it reaches a full-fledged figure.
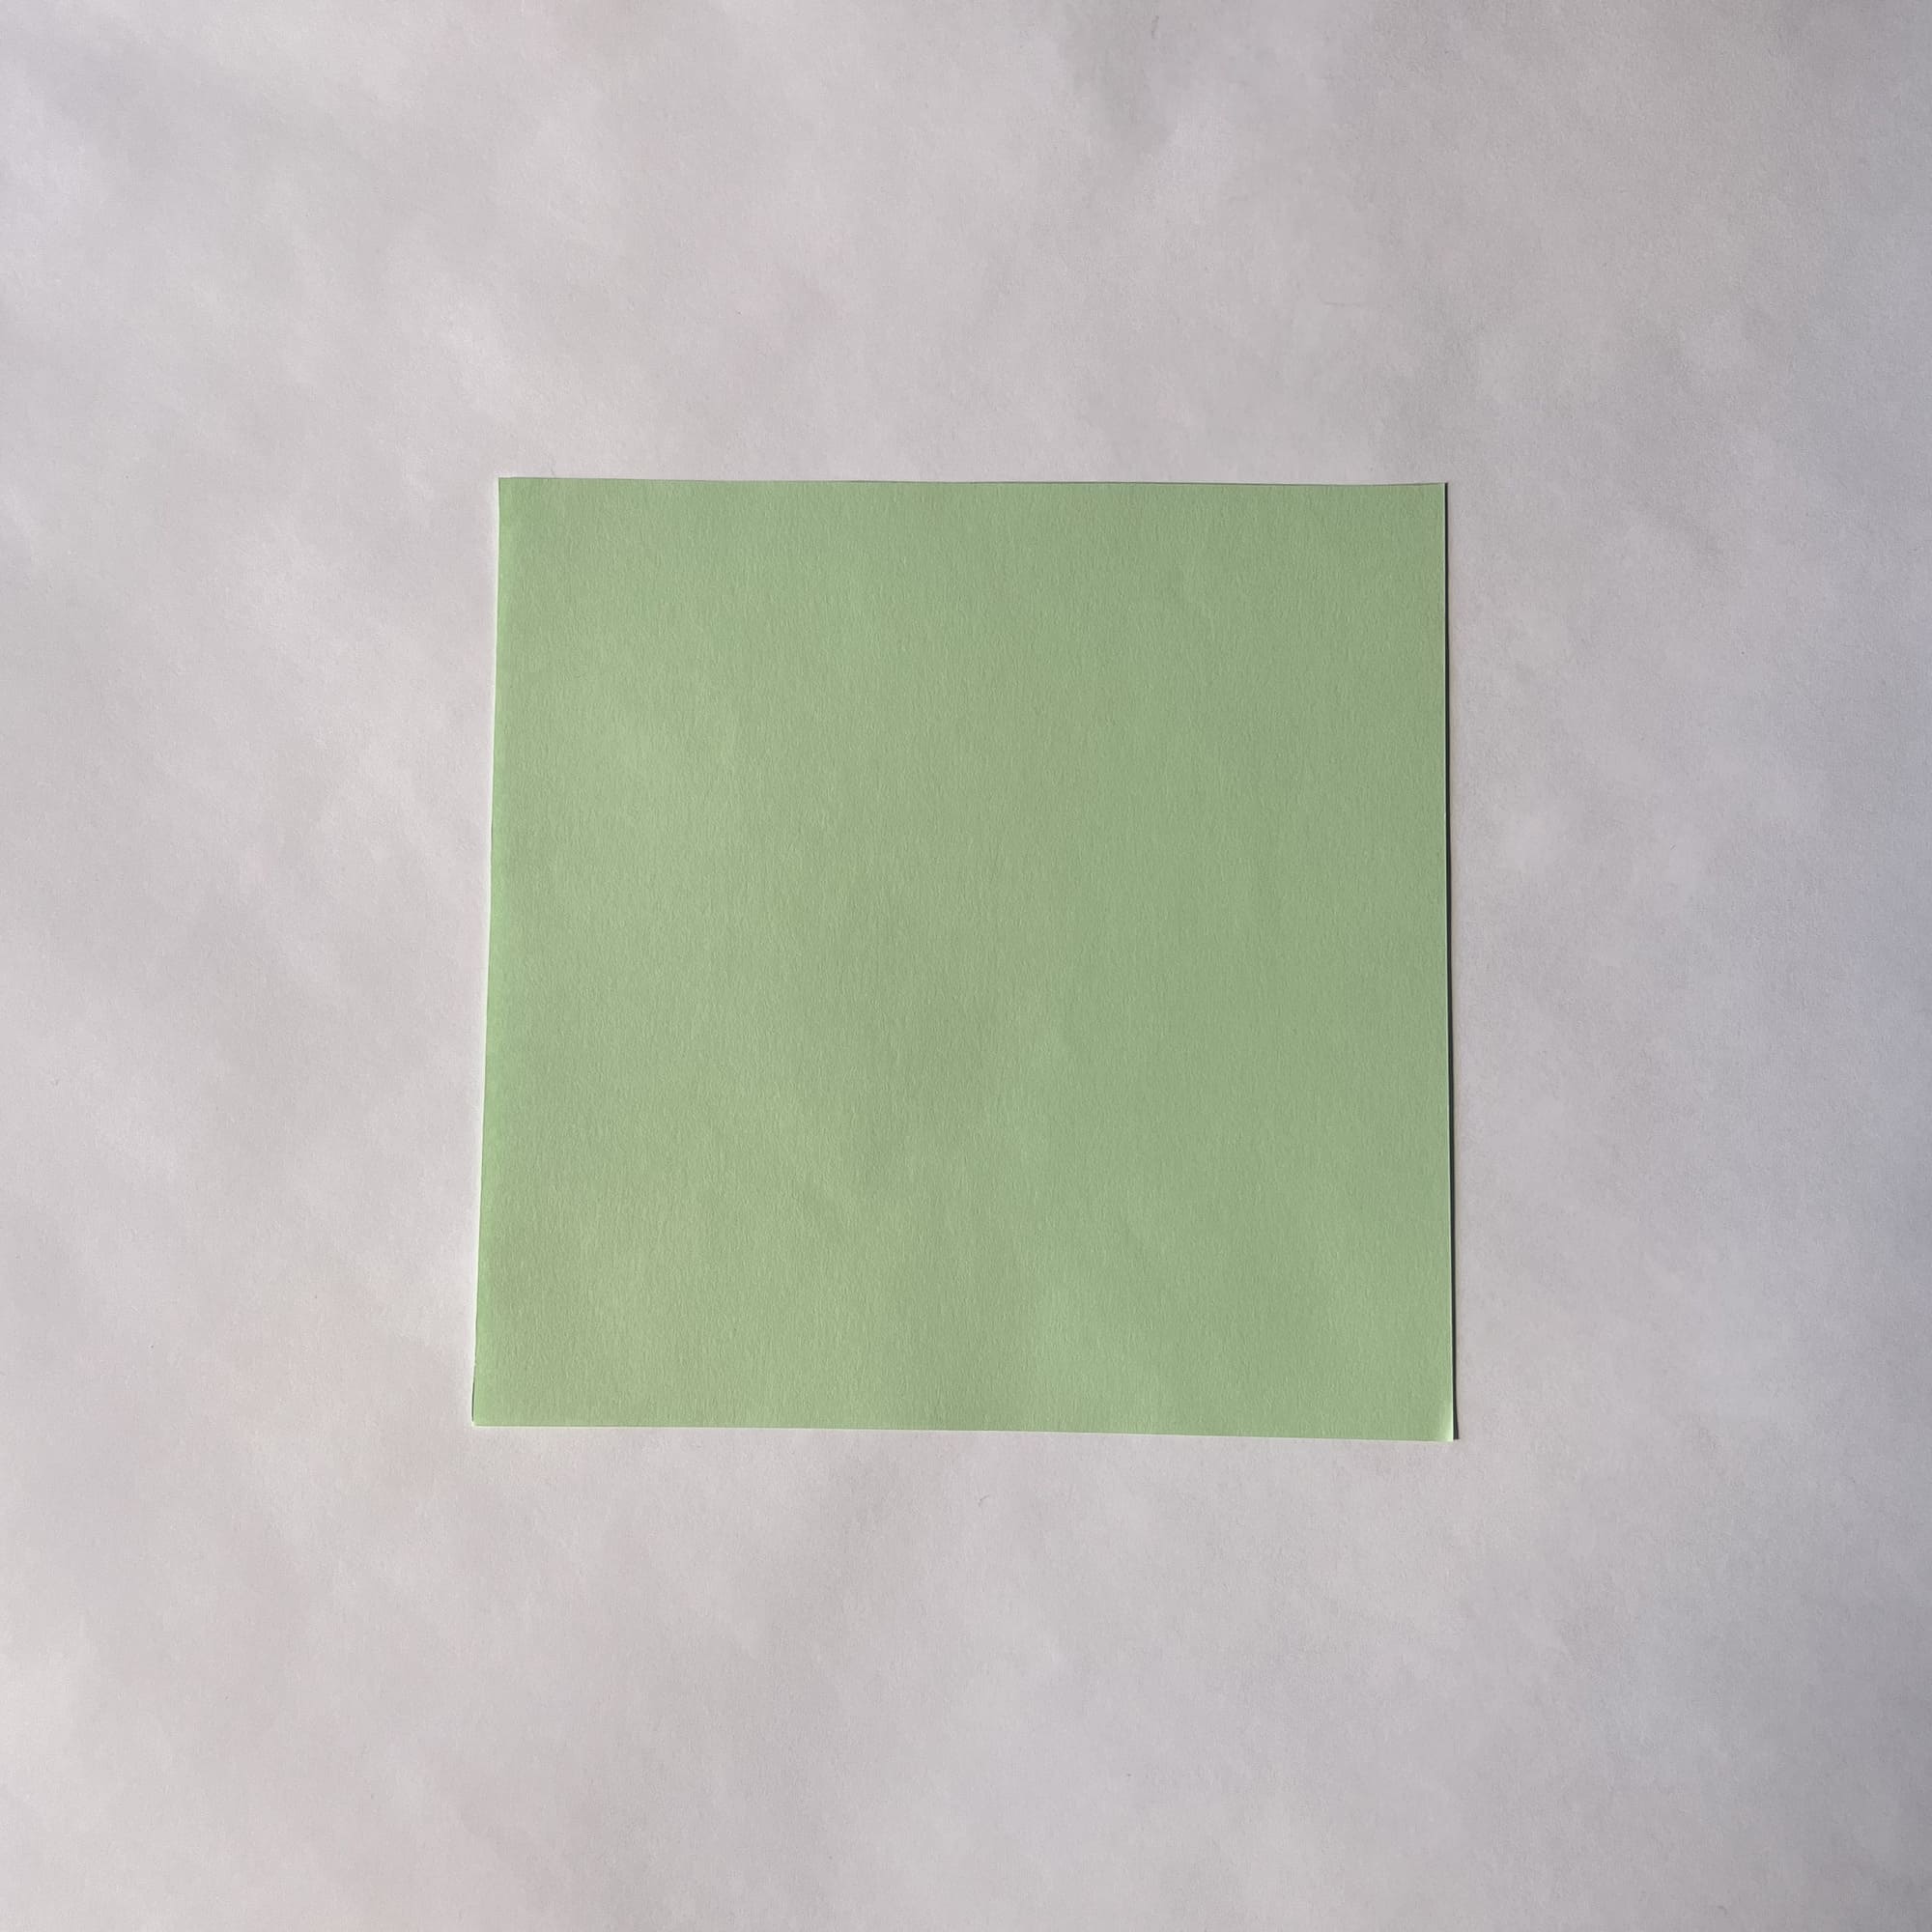
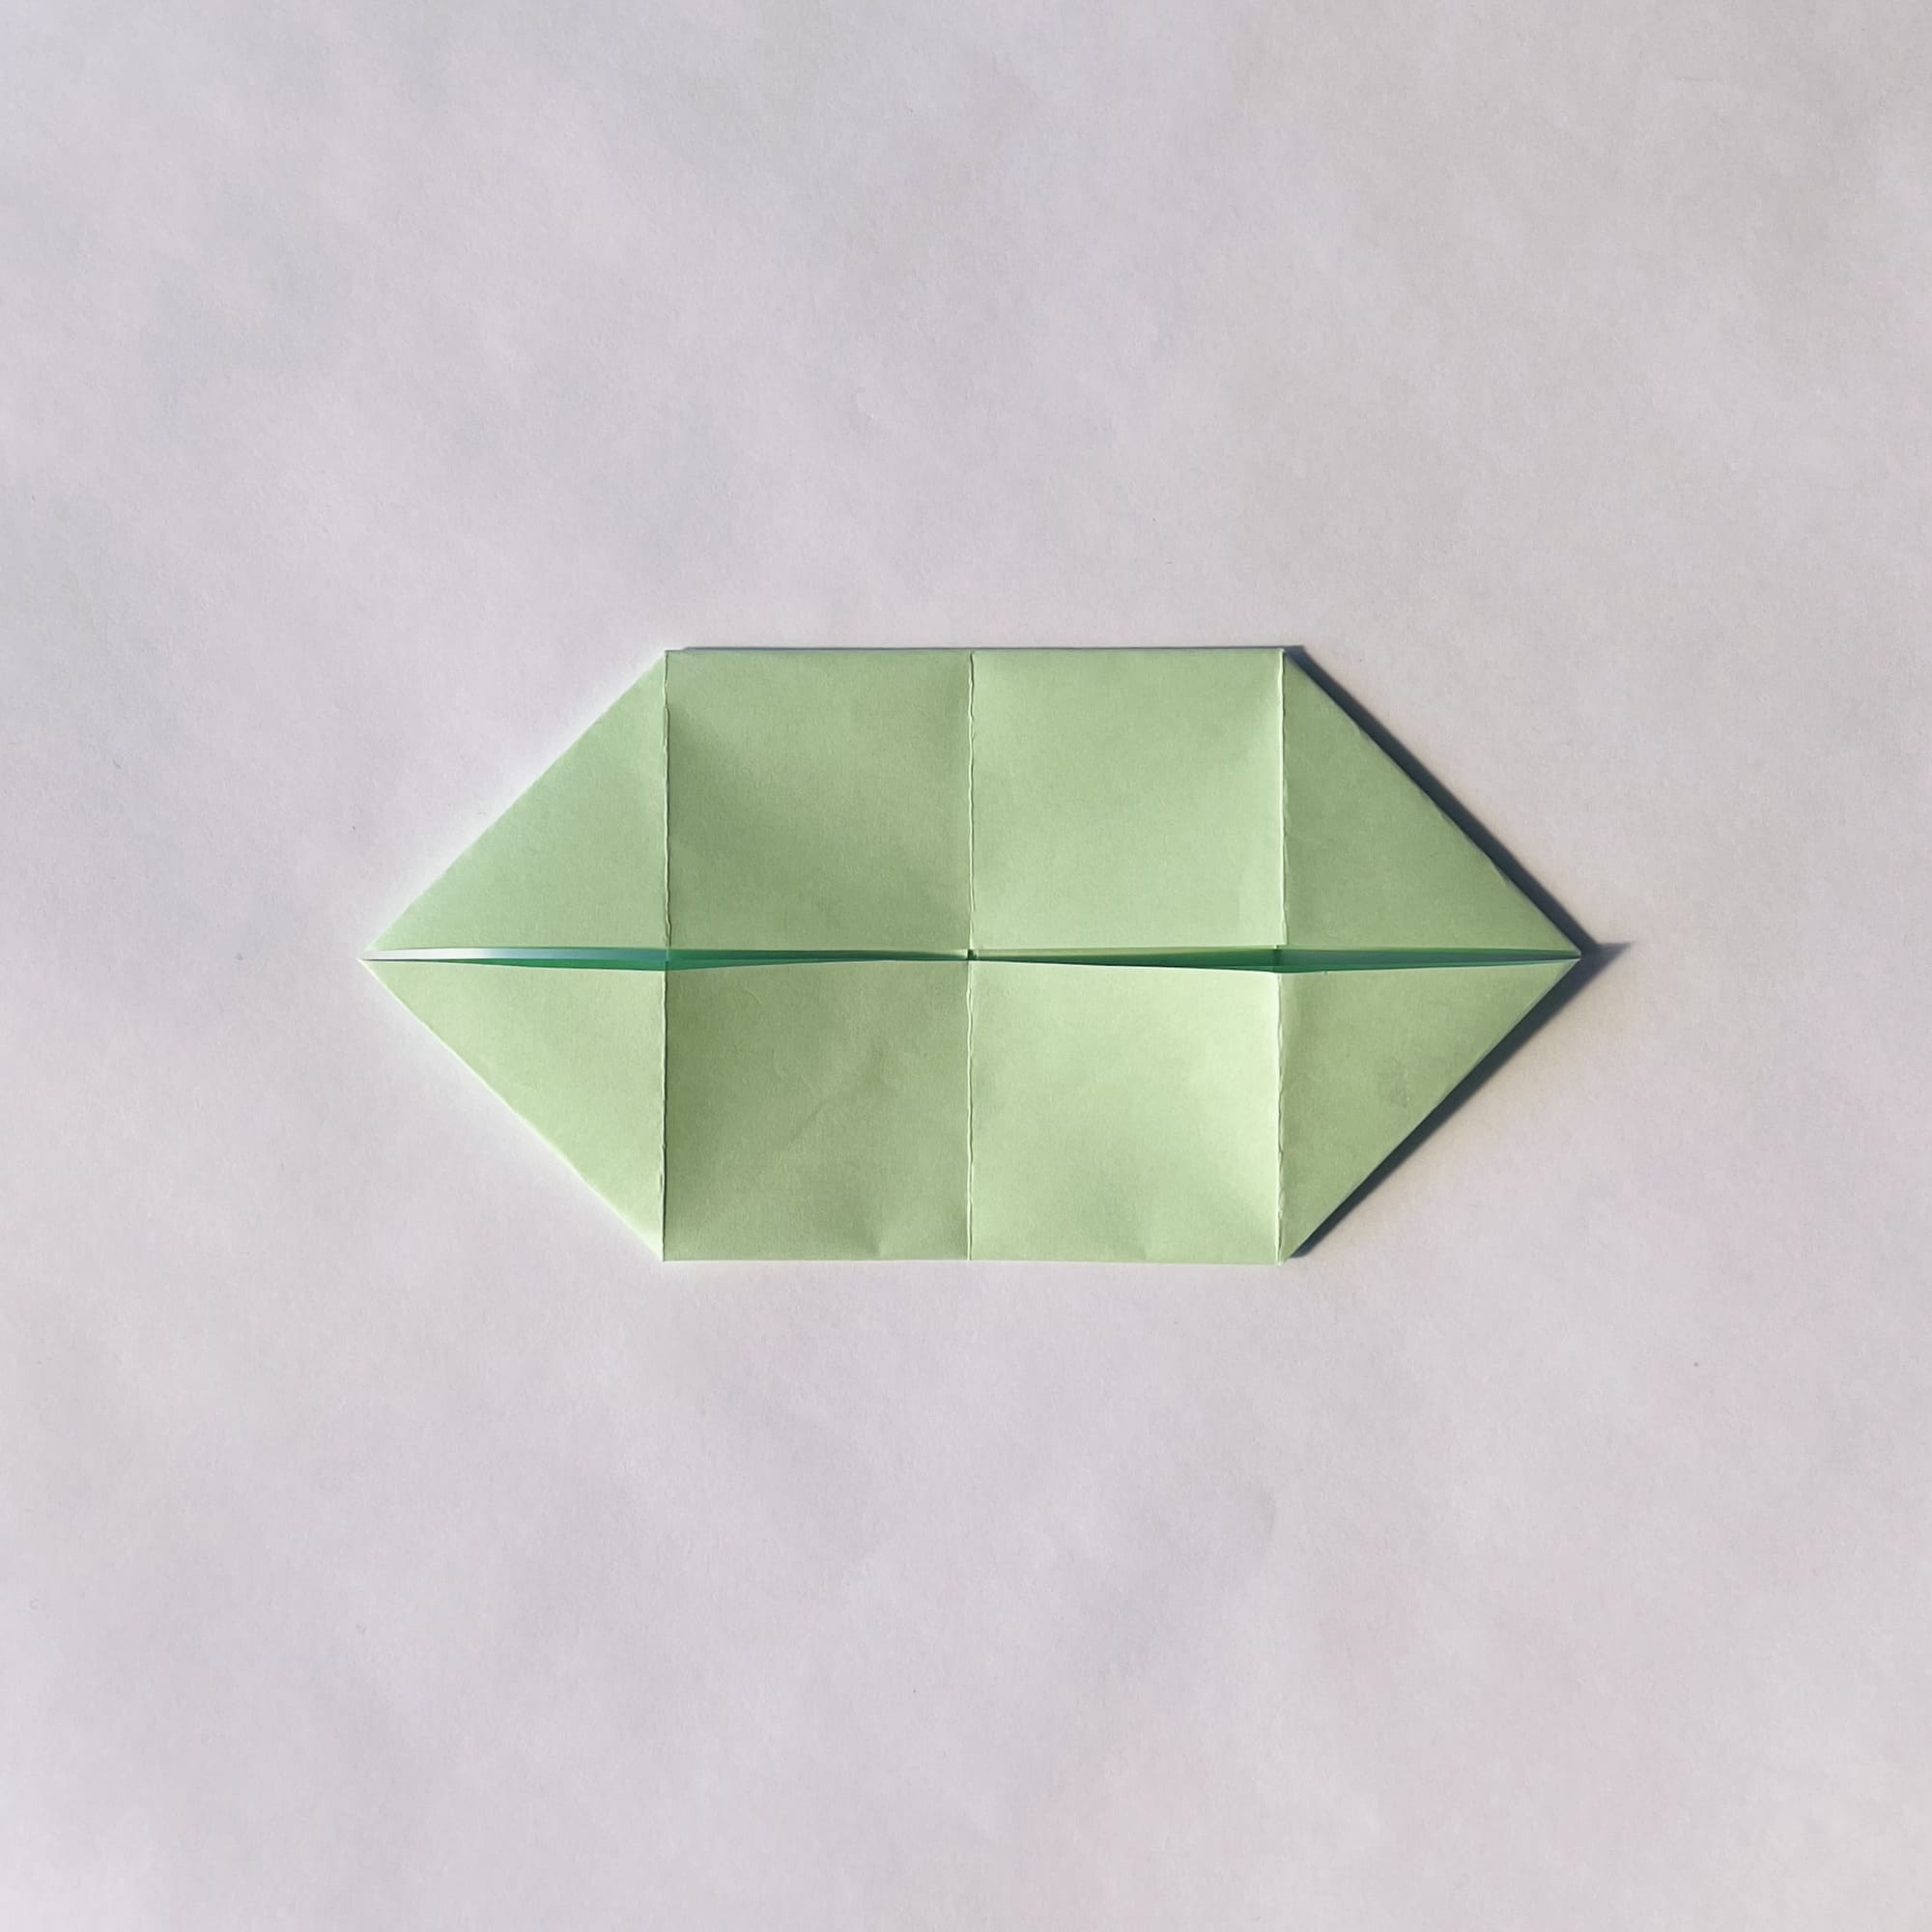
Take a square sheet of 15×15 cm and place it with the colored side down.
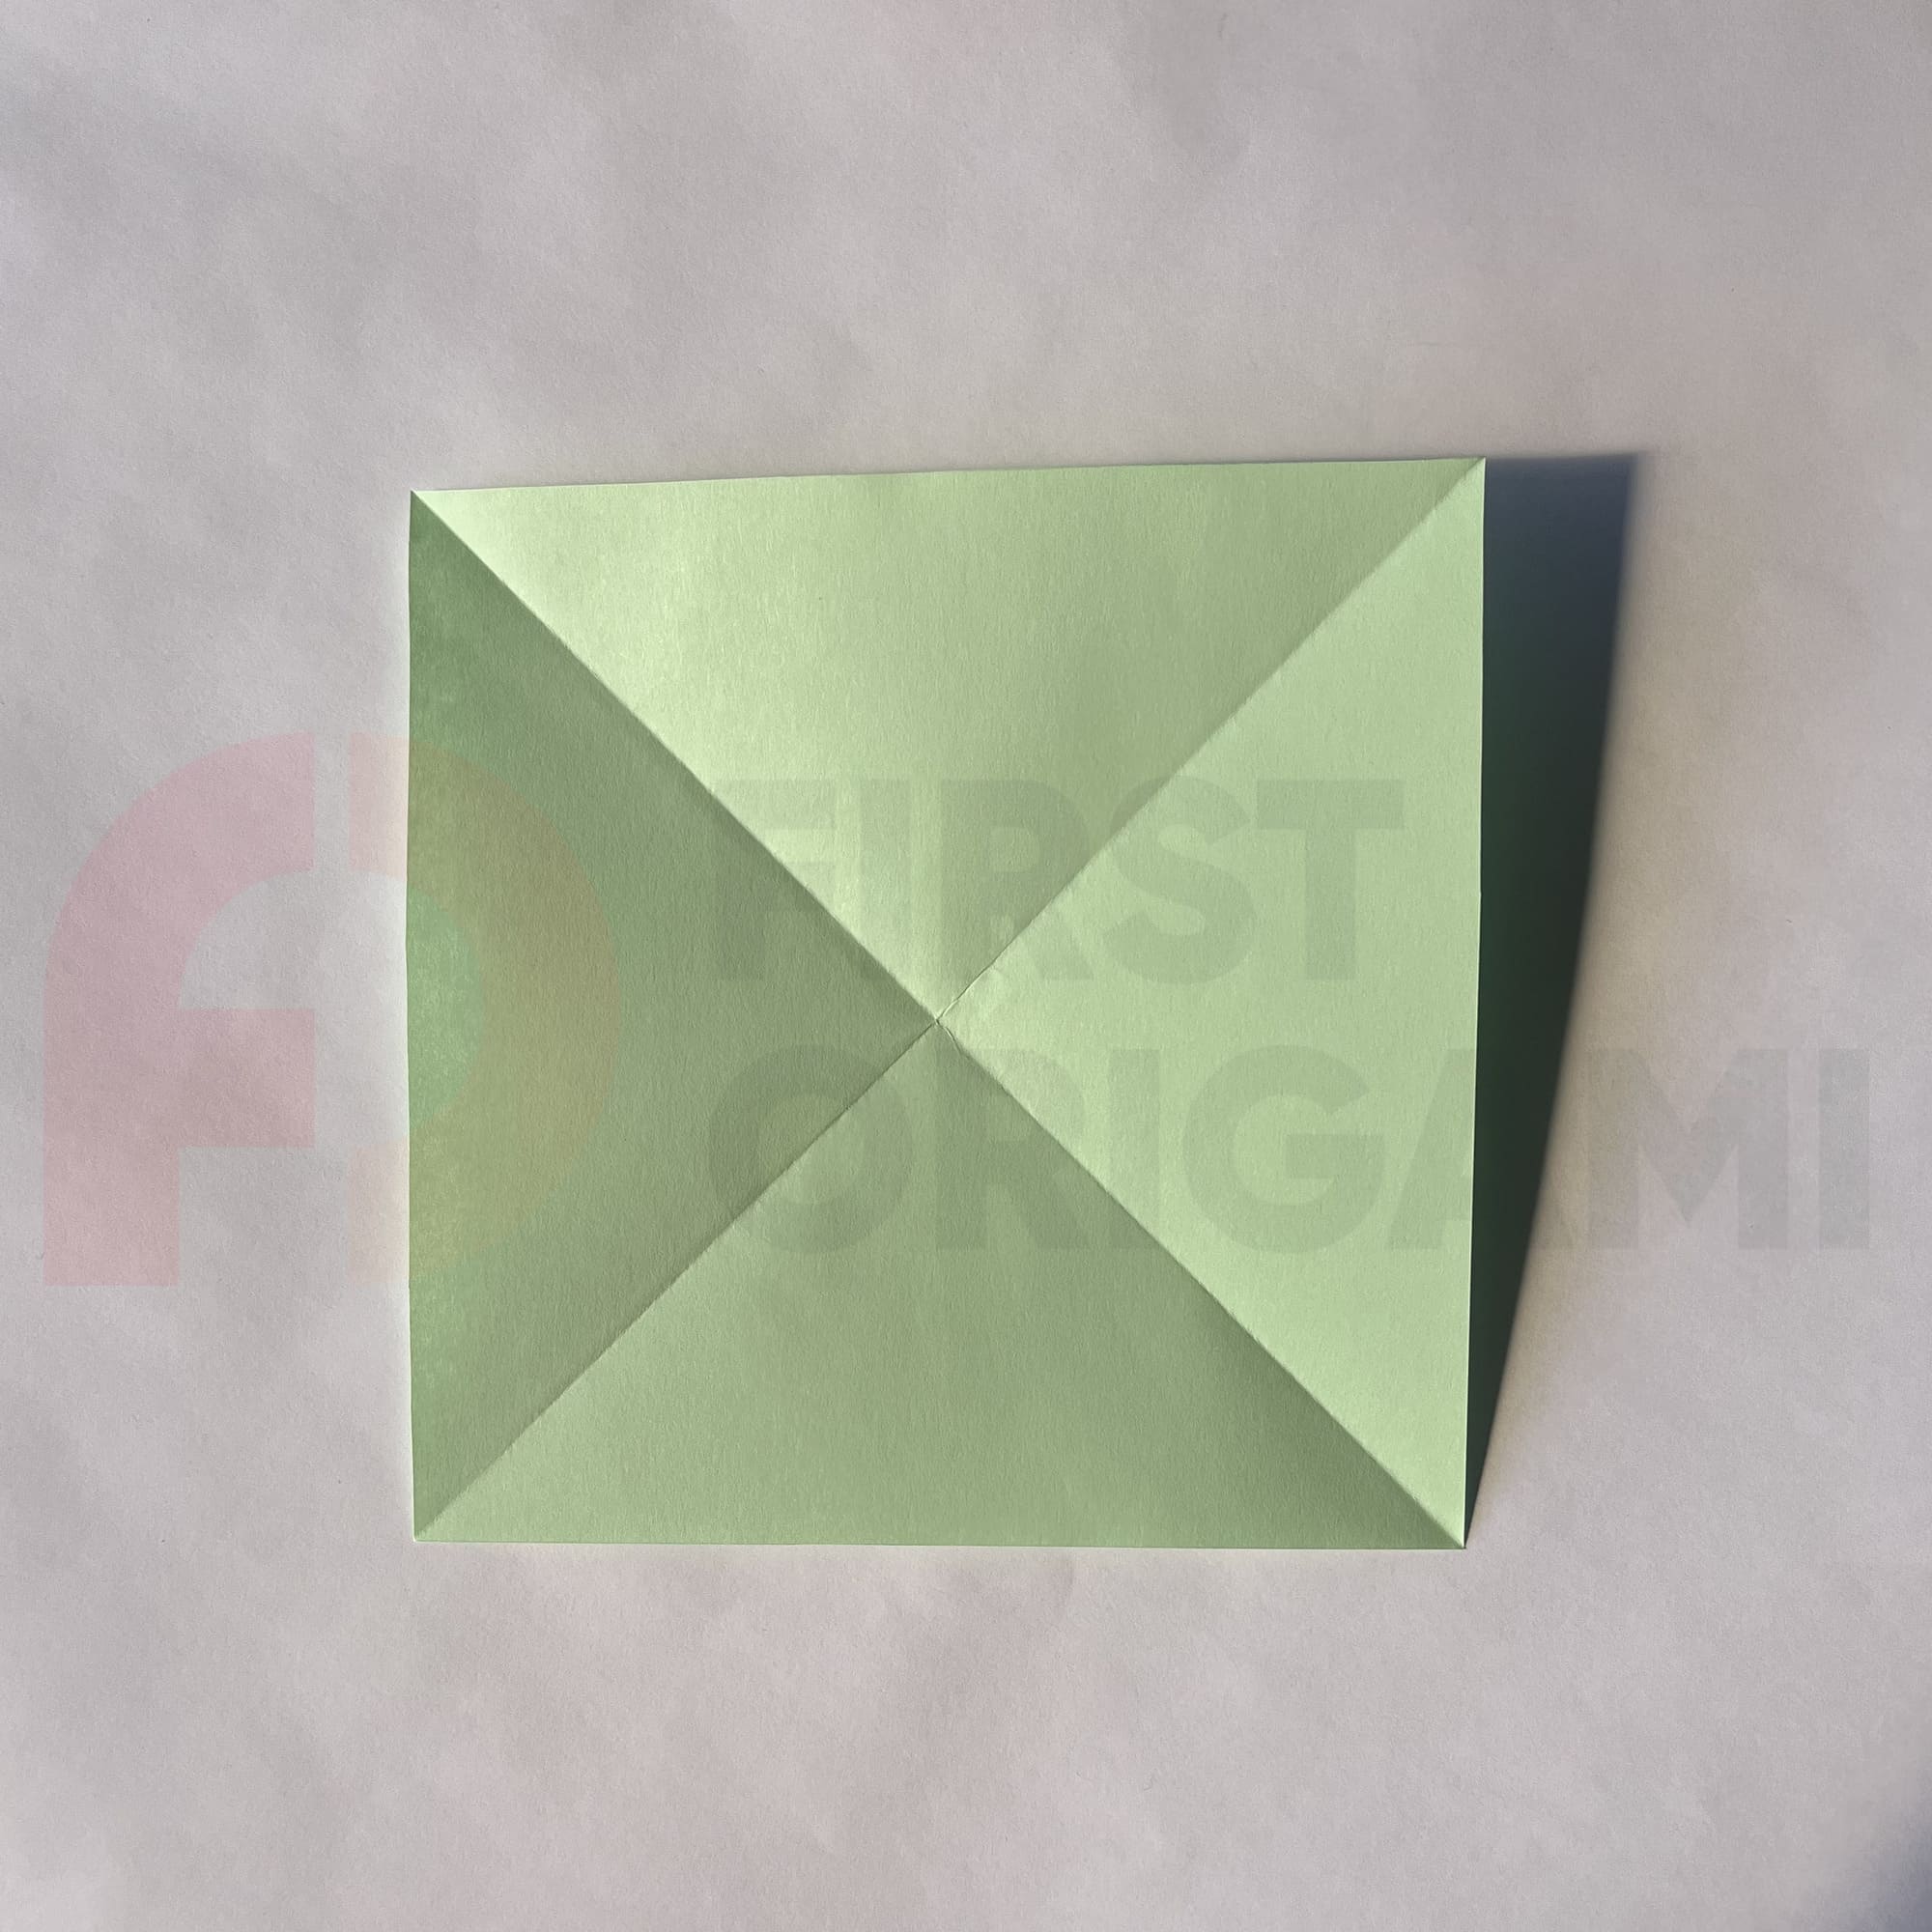
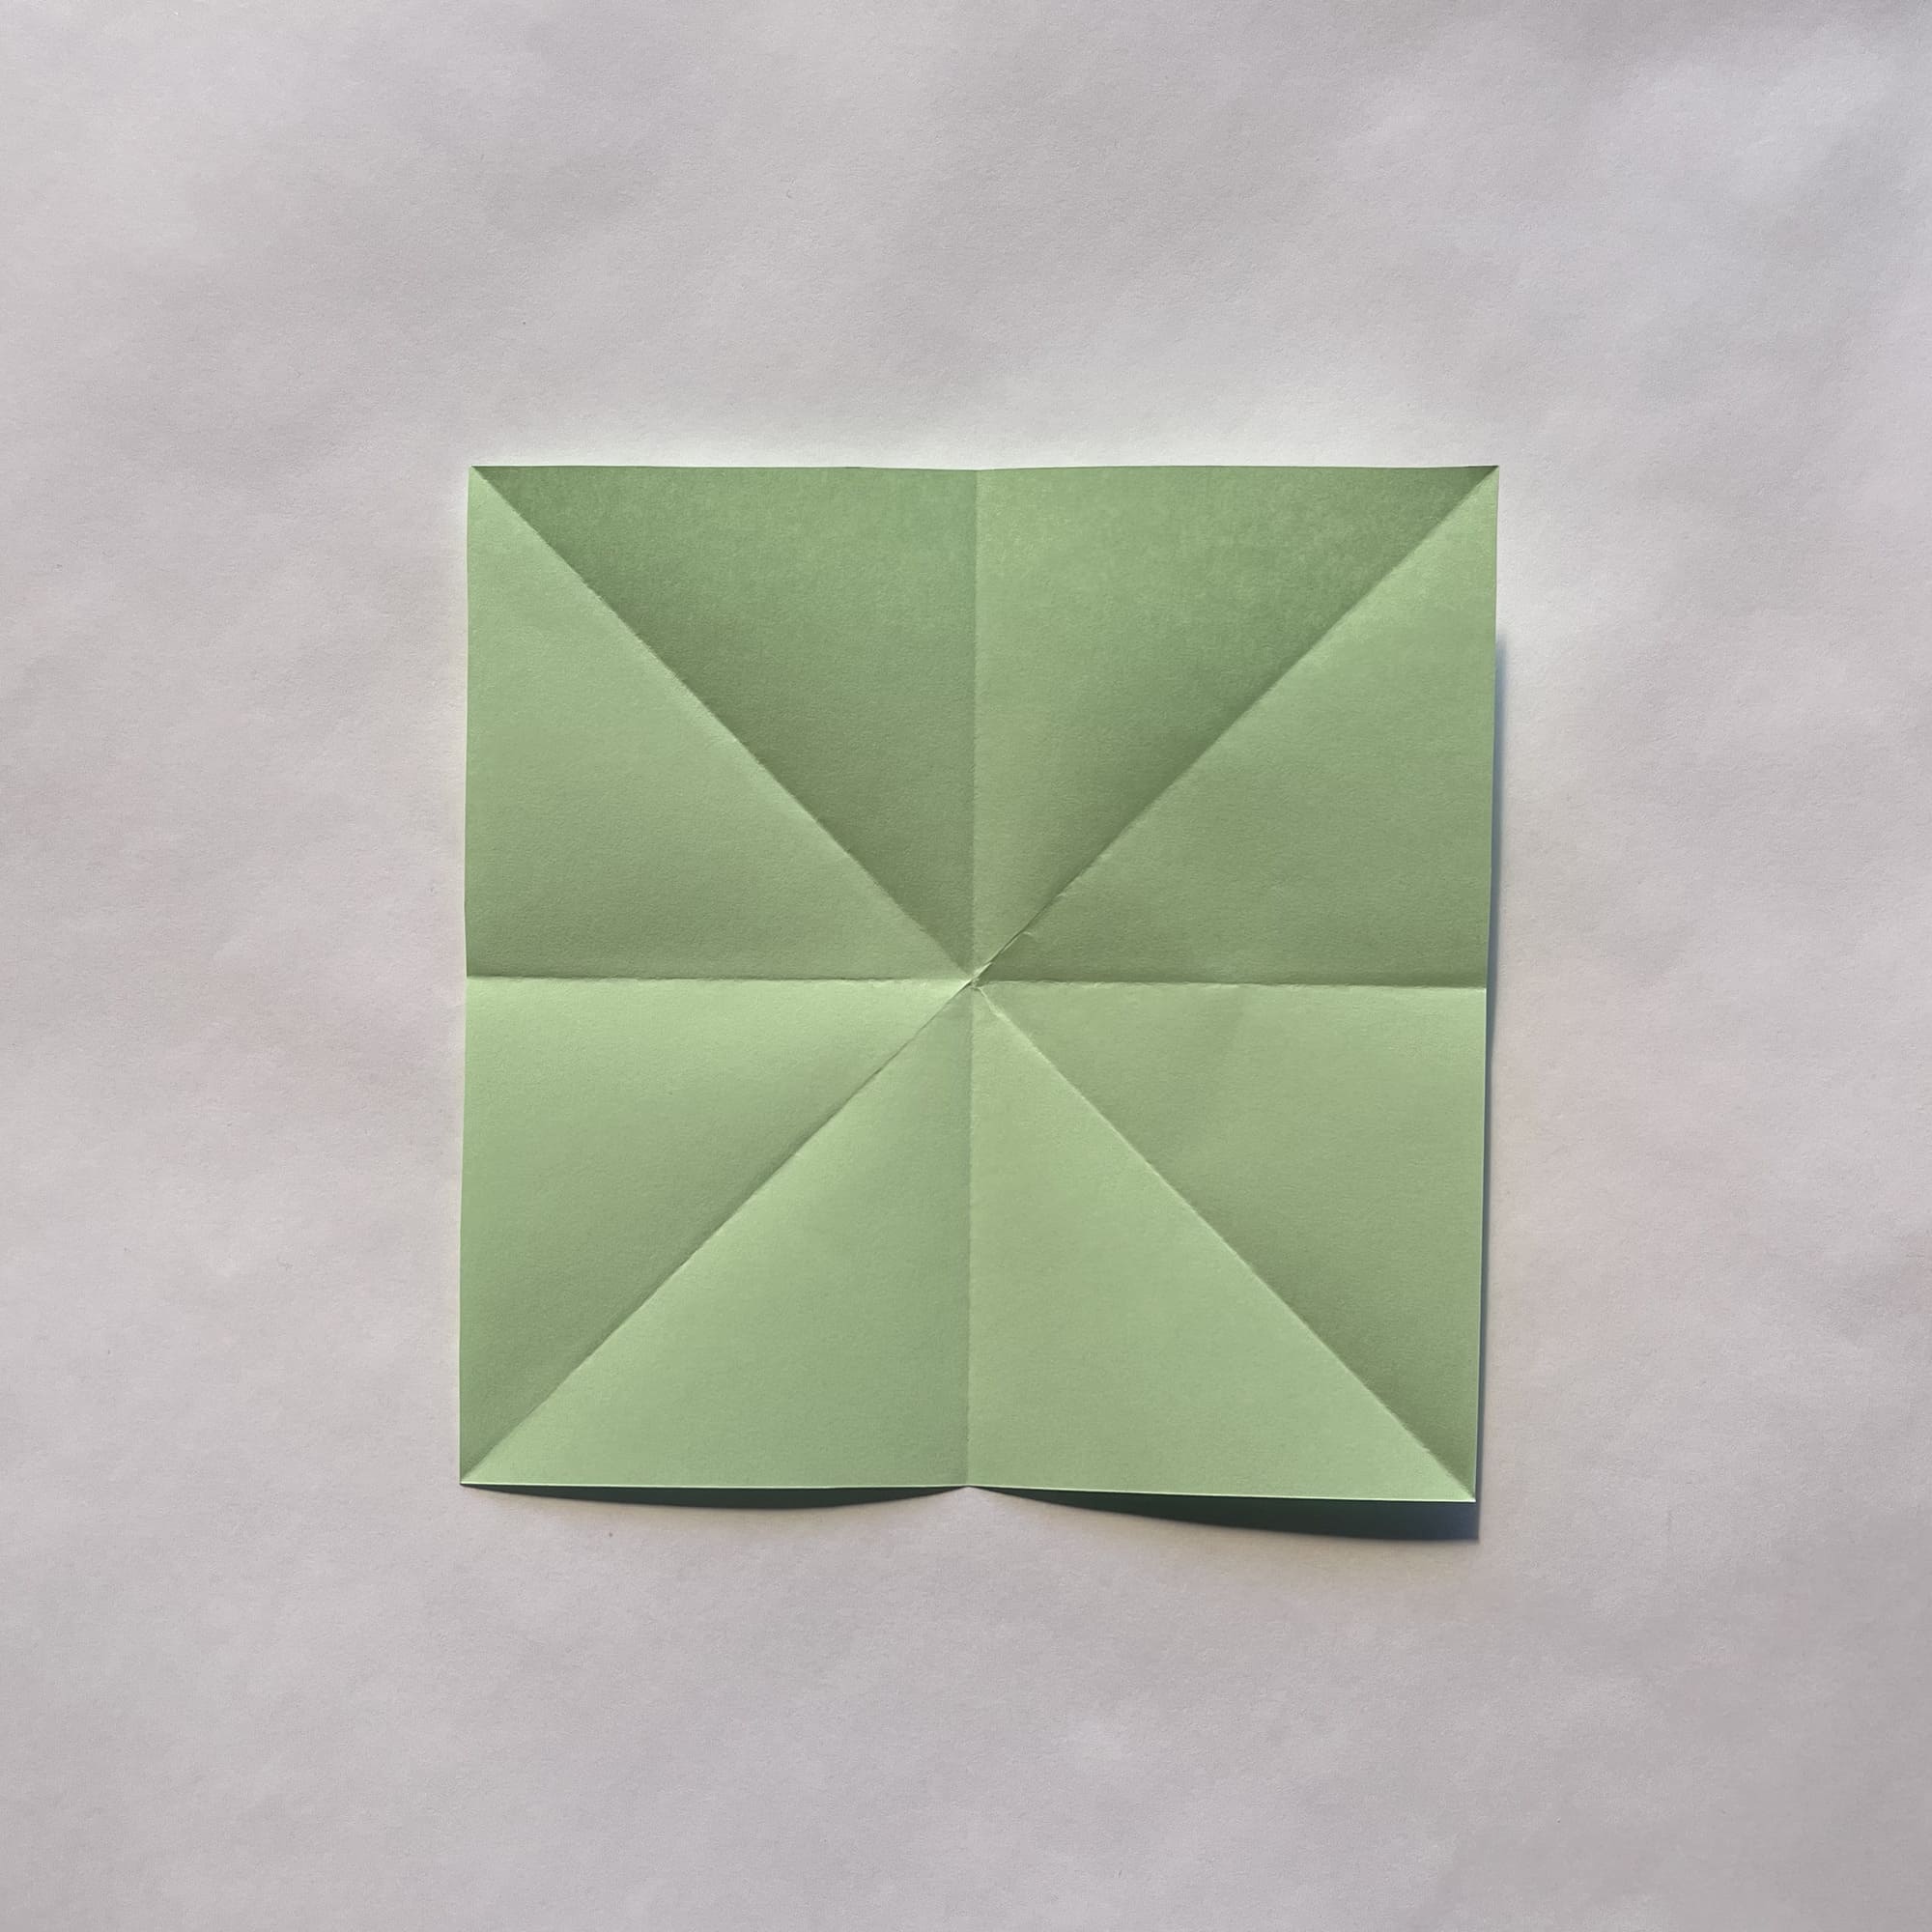
Fold the paper first along the two diagonals, then along both horizontal axes.
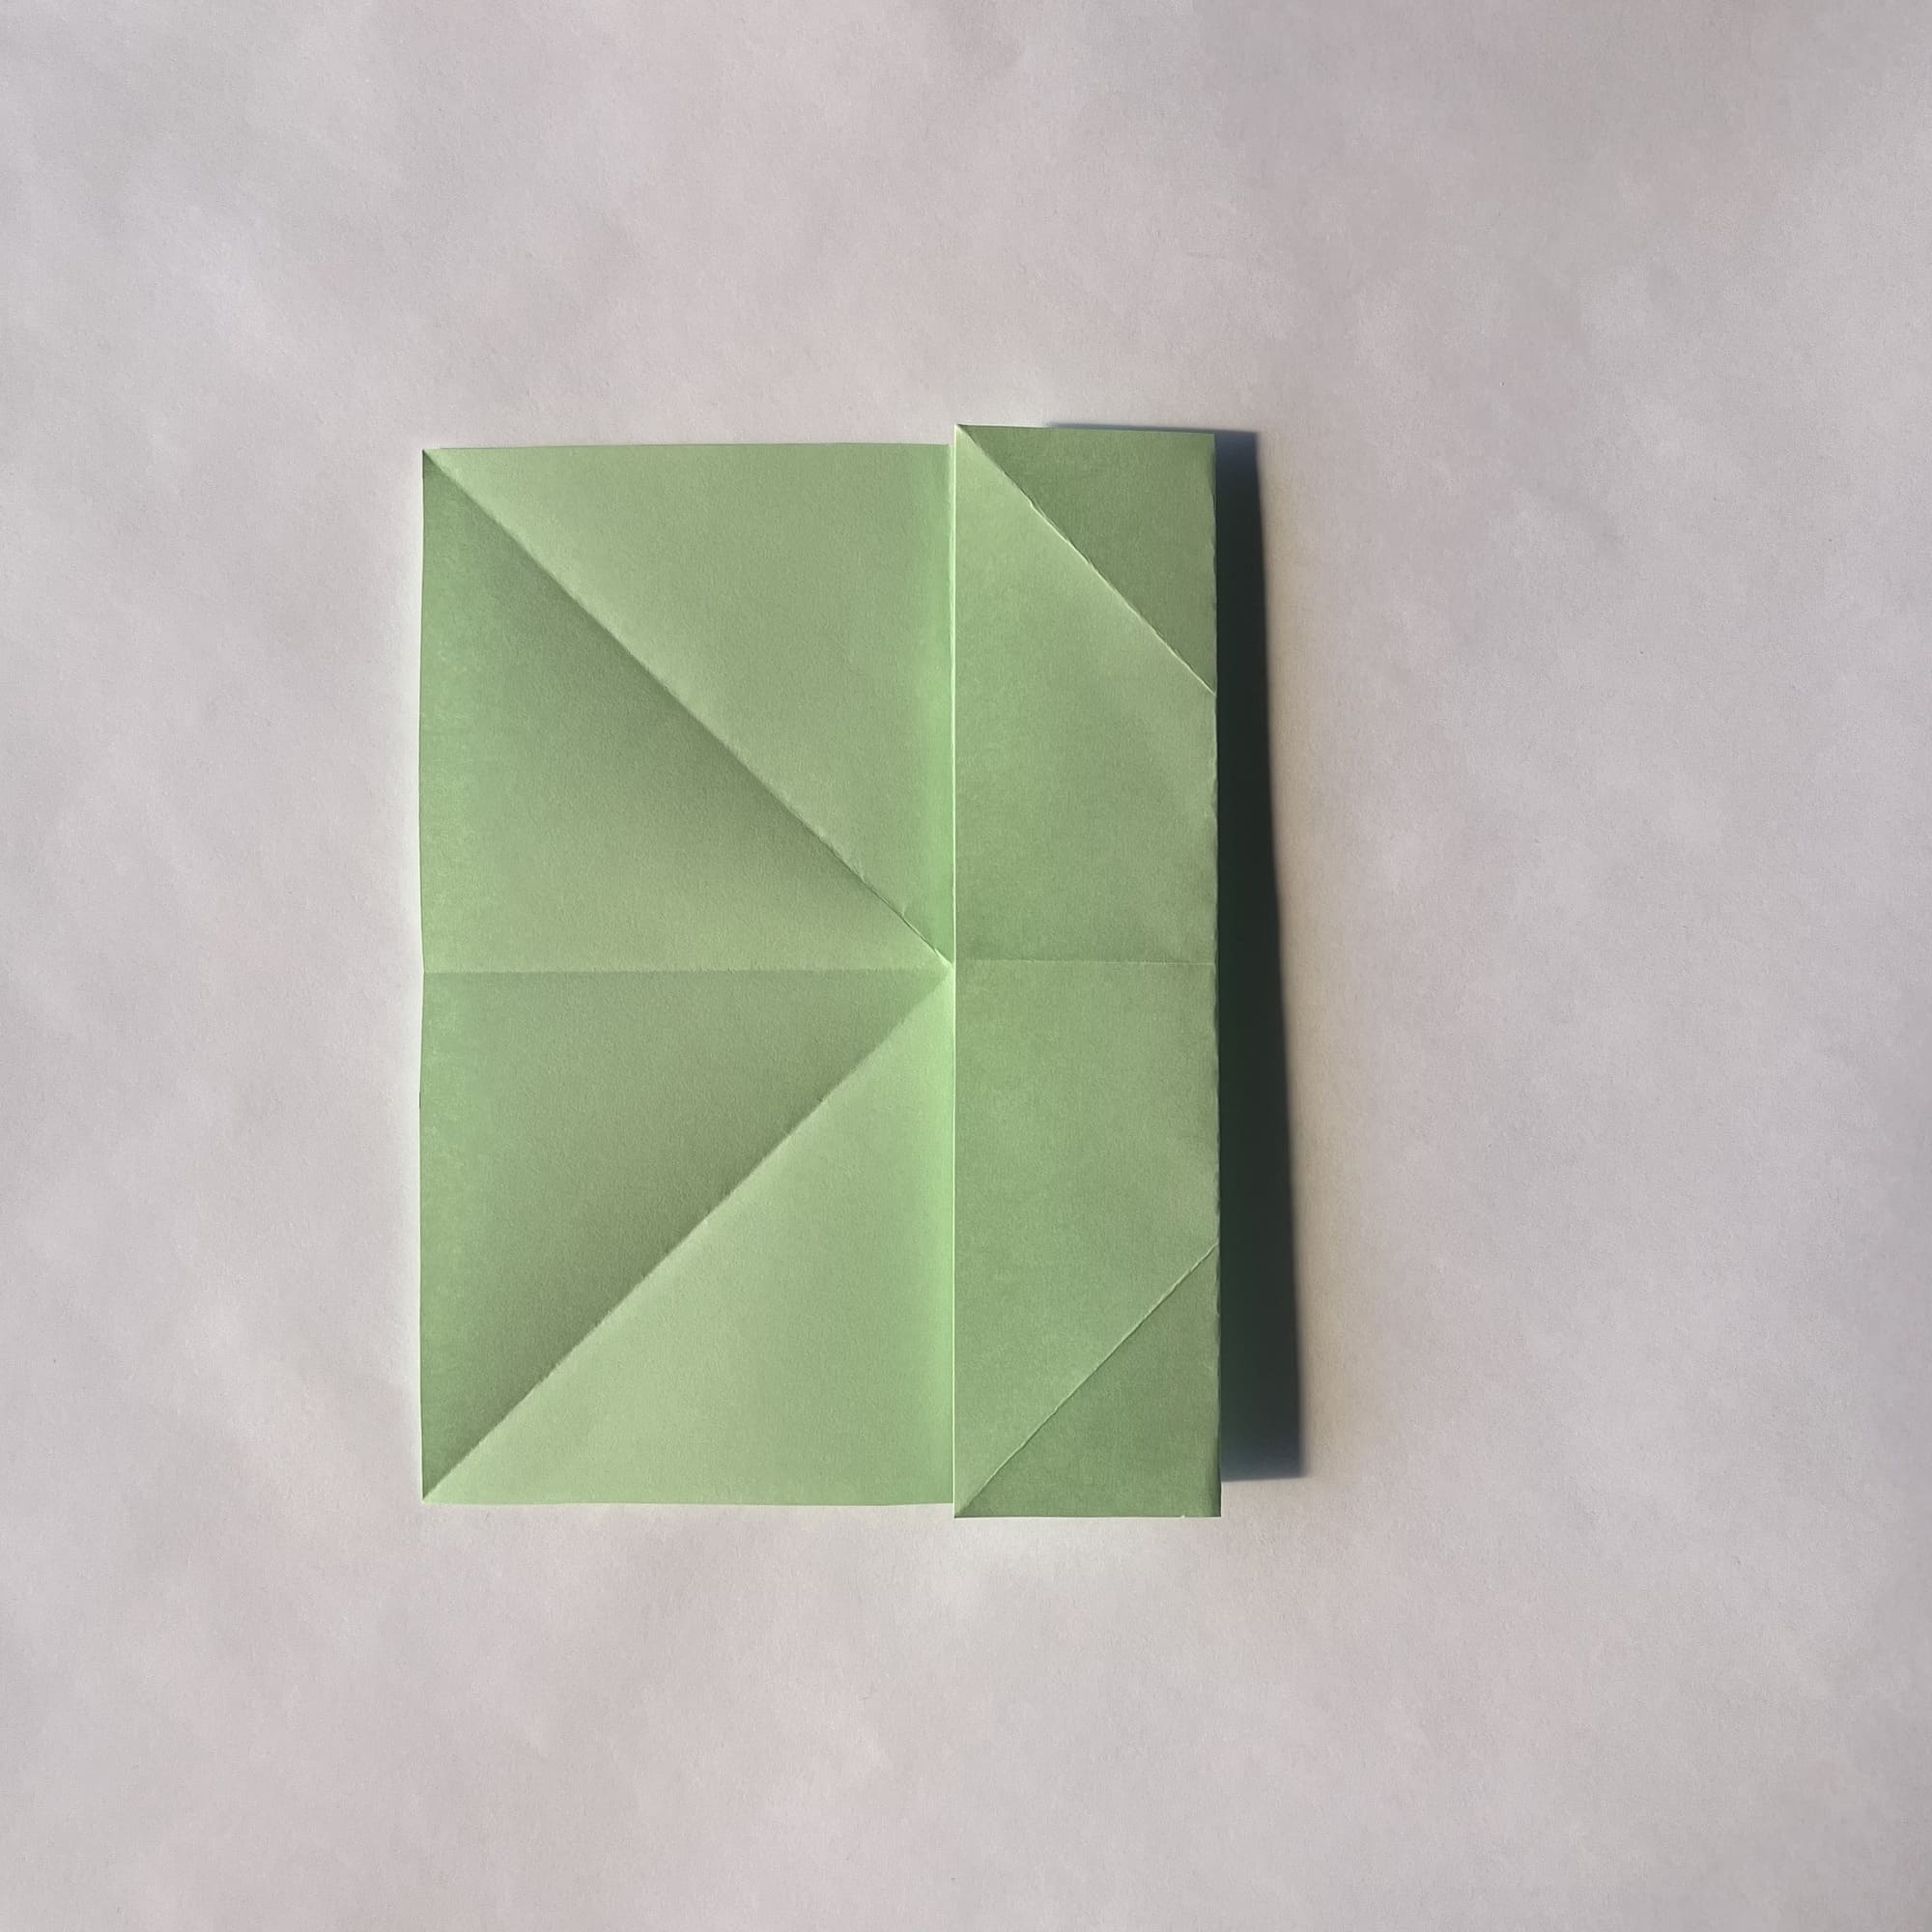
Bend the sides to the midline so that they meet, but do not overlap each other.

Fold the top and bottom parts inward to the center horizontal line.
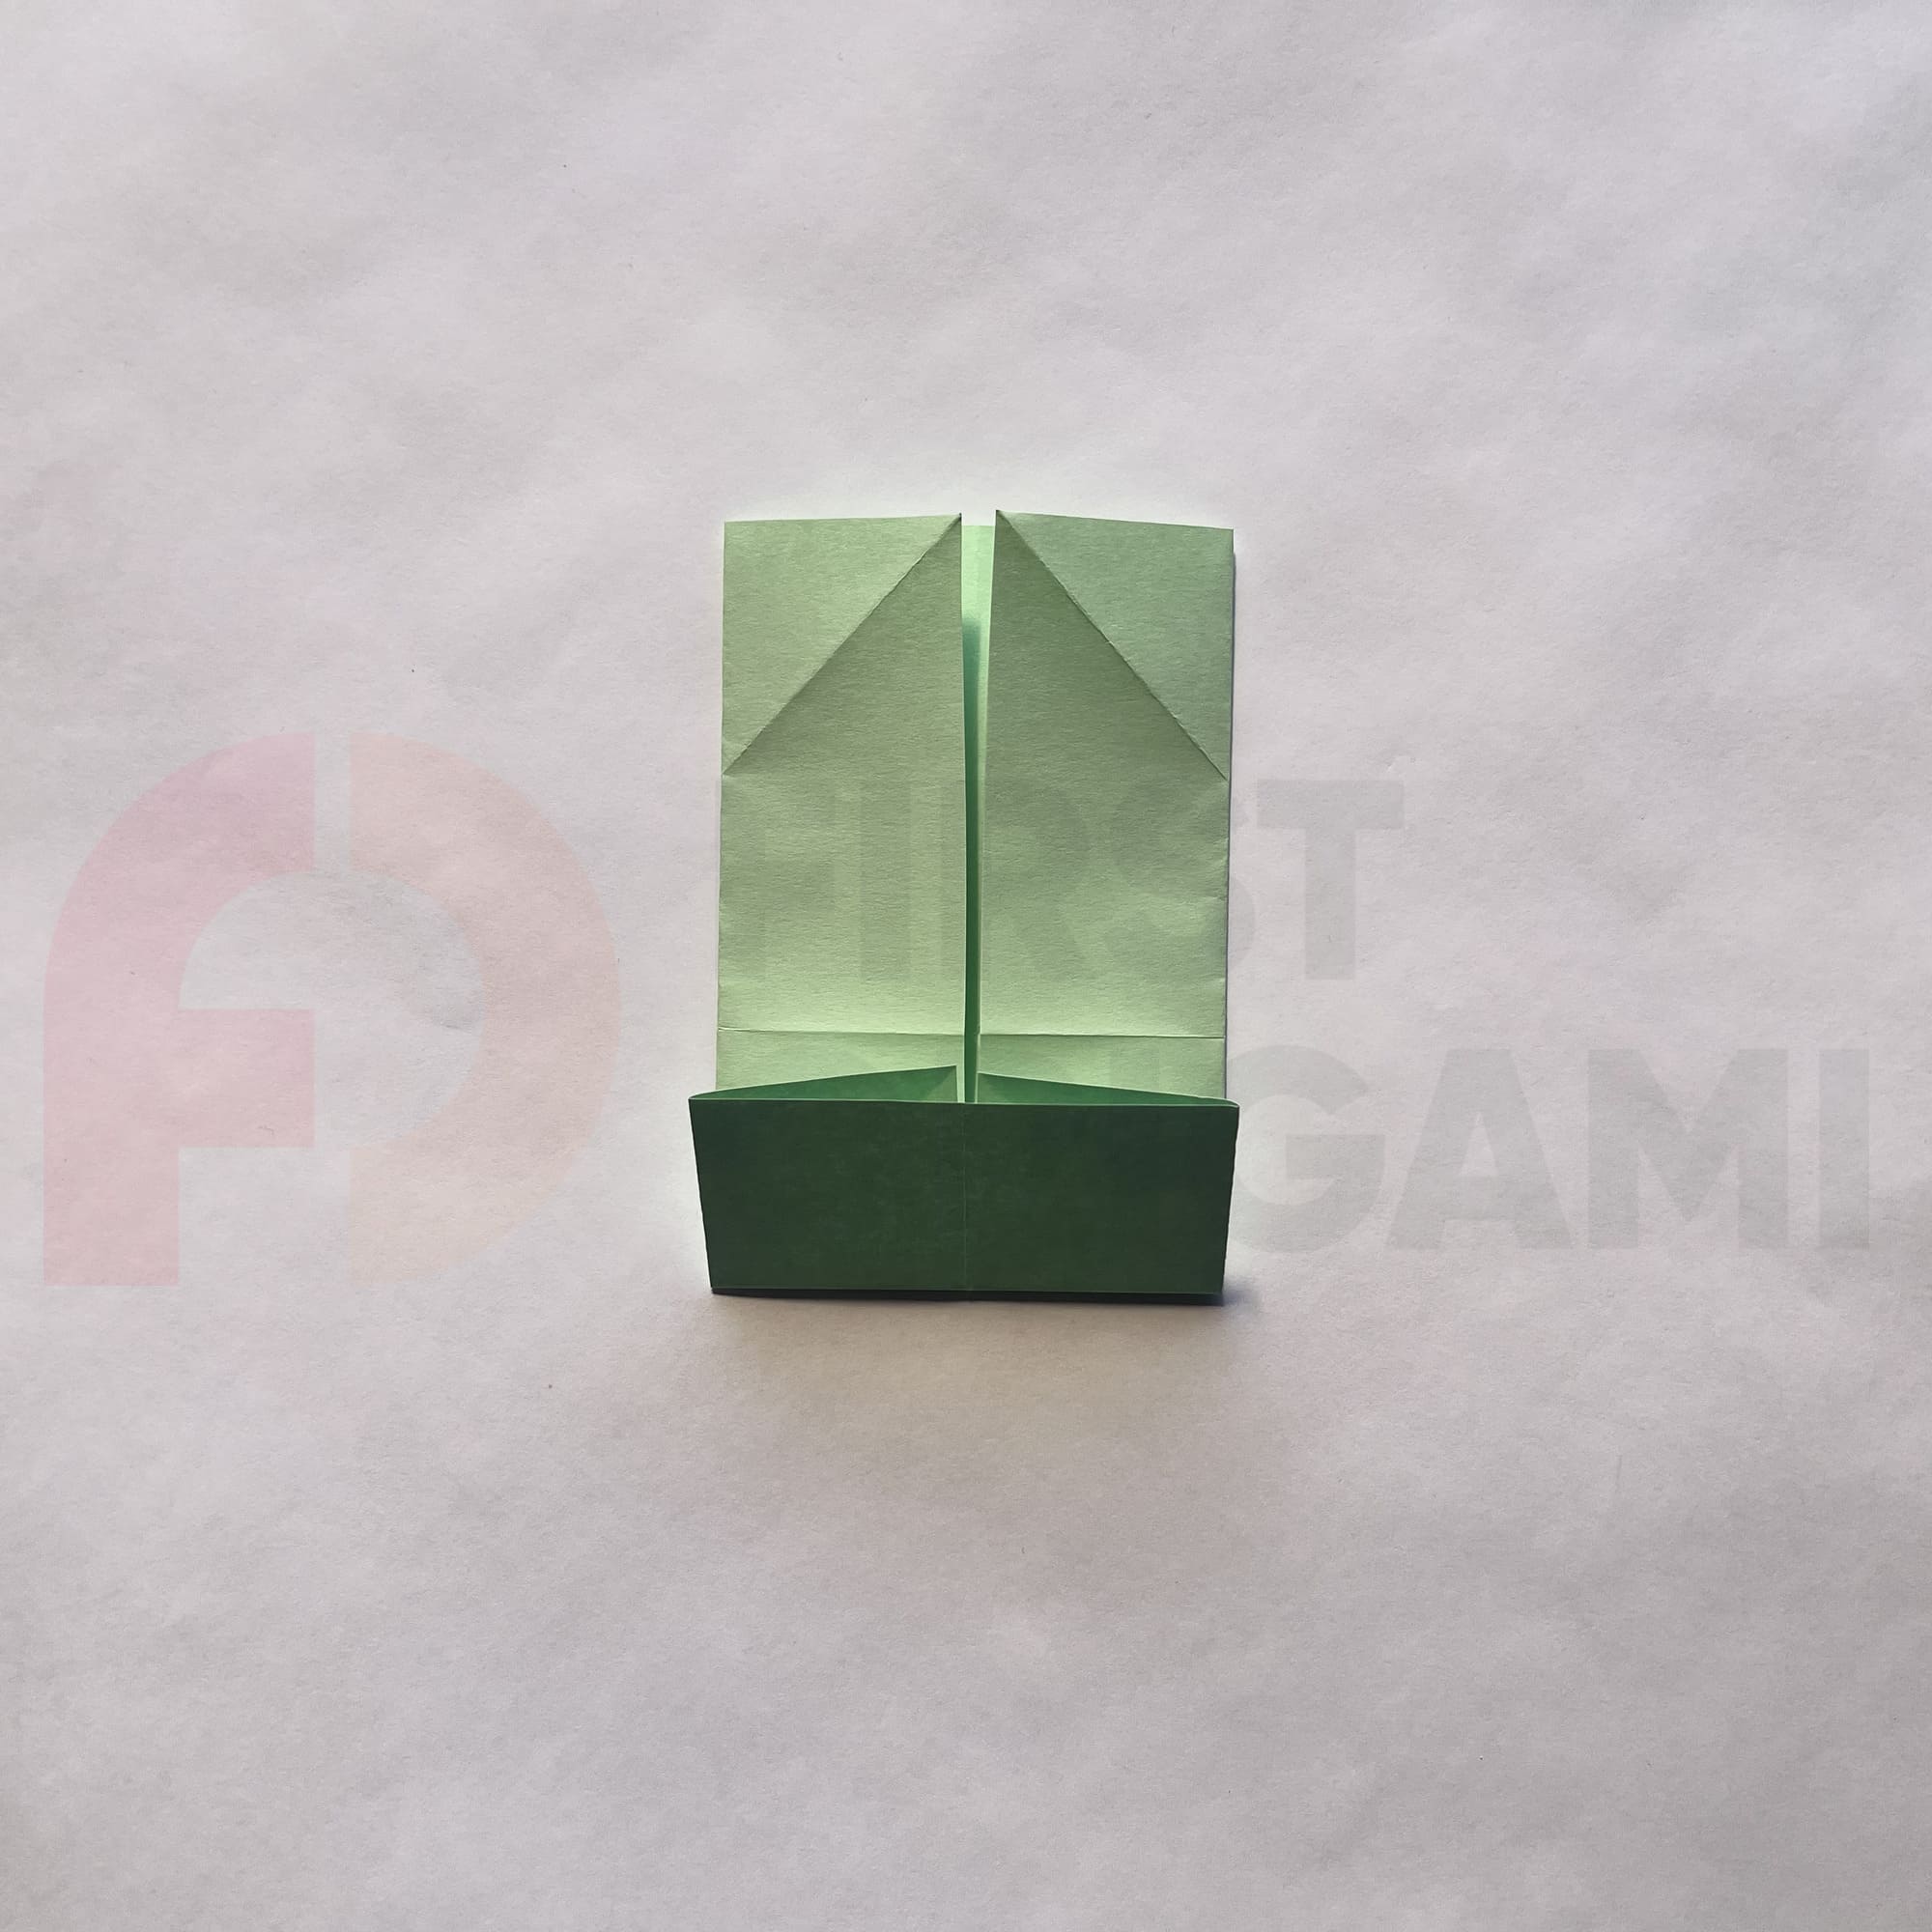
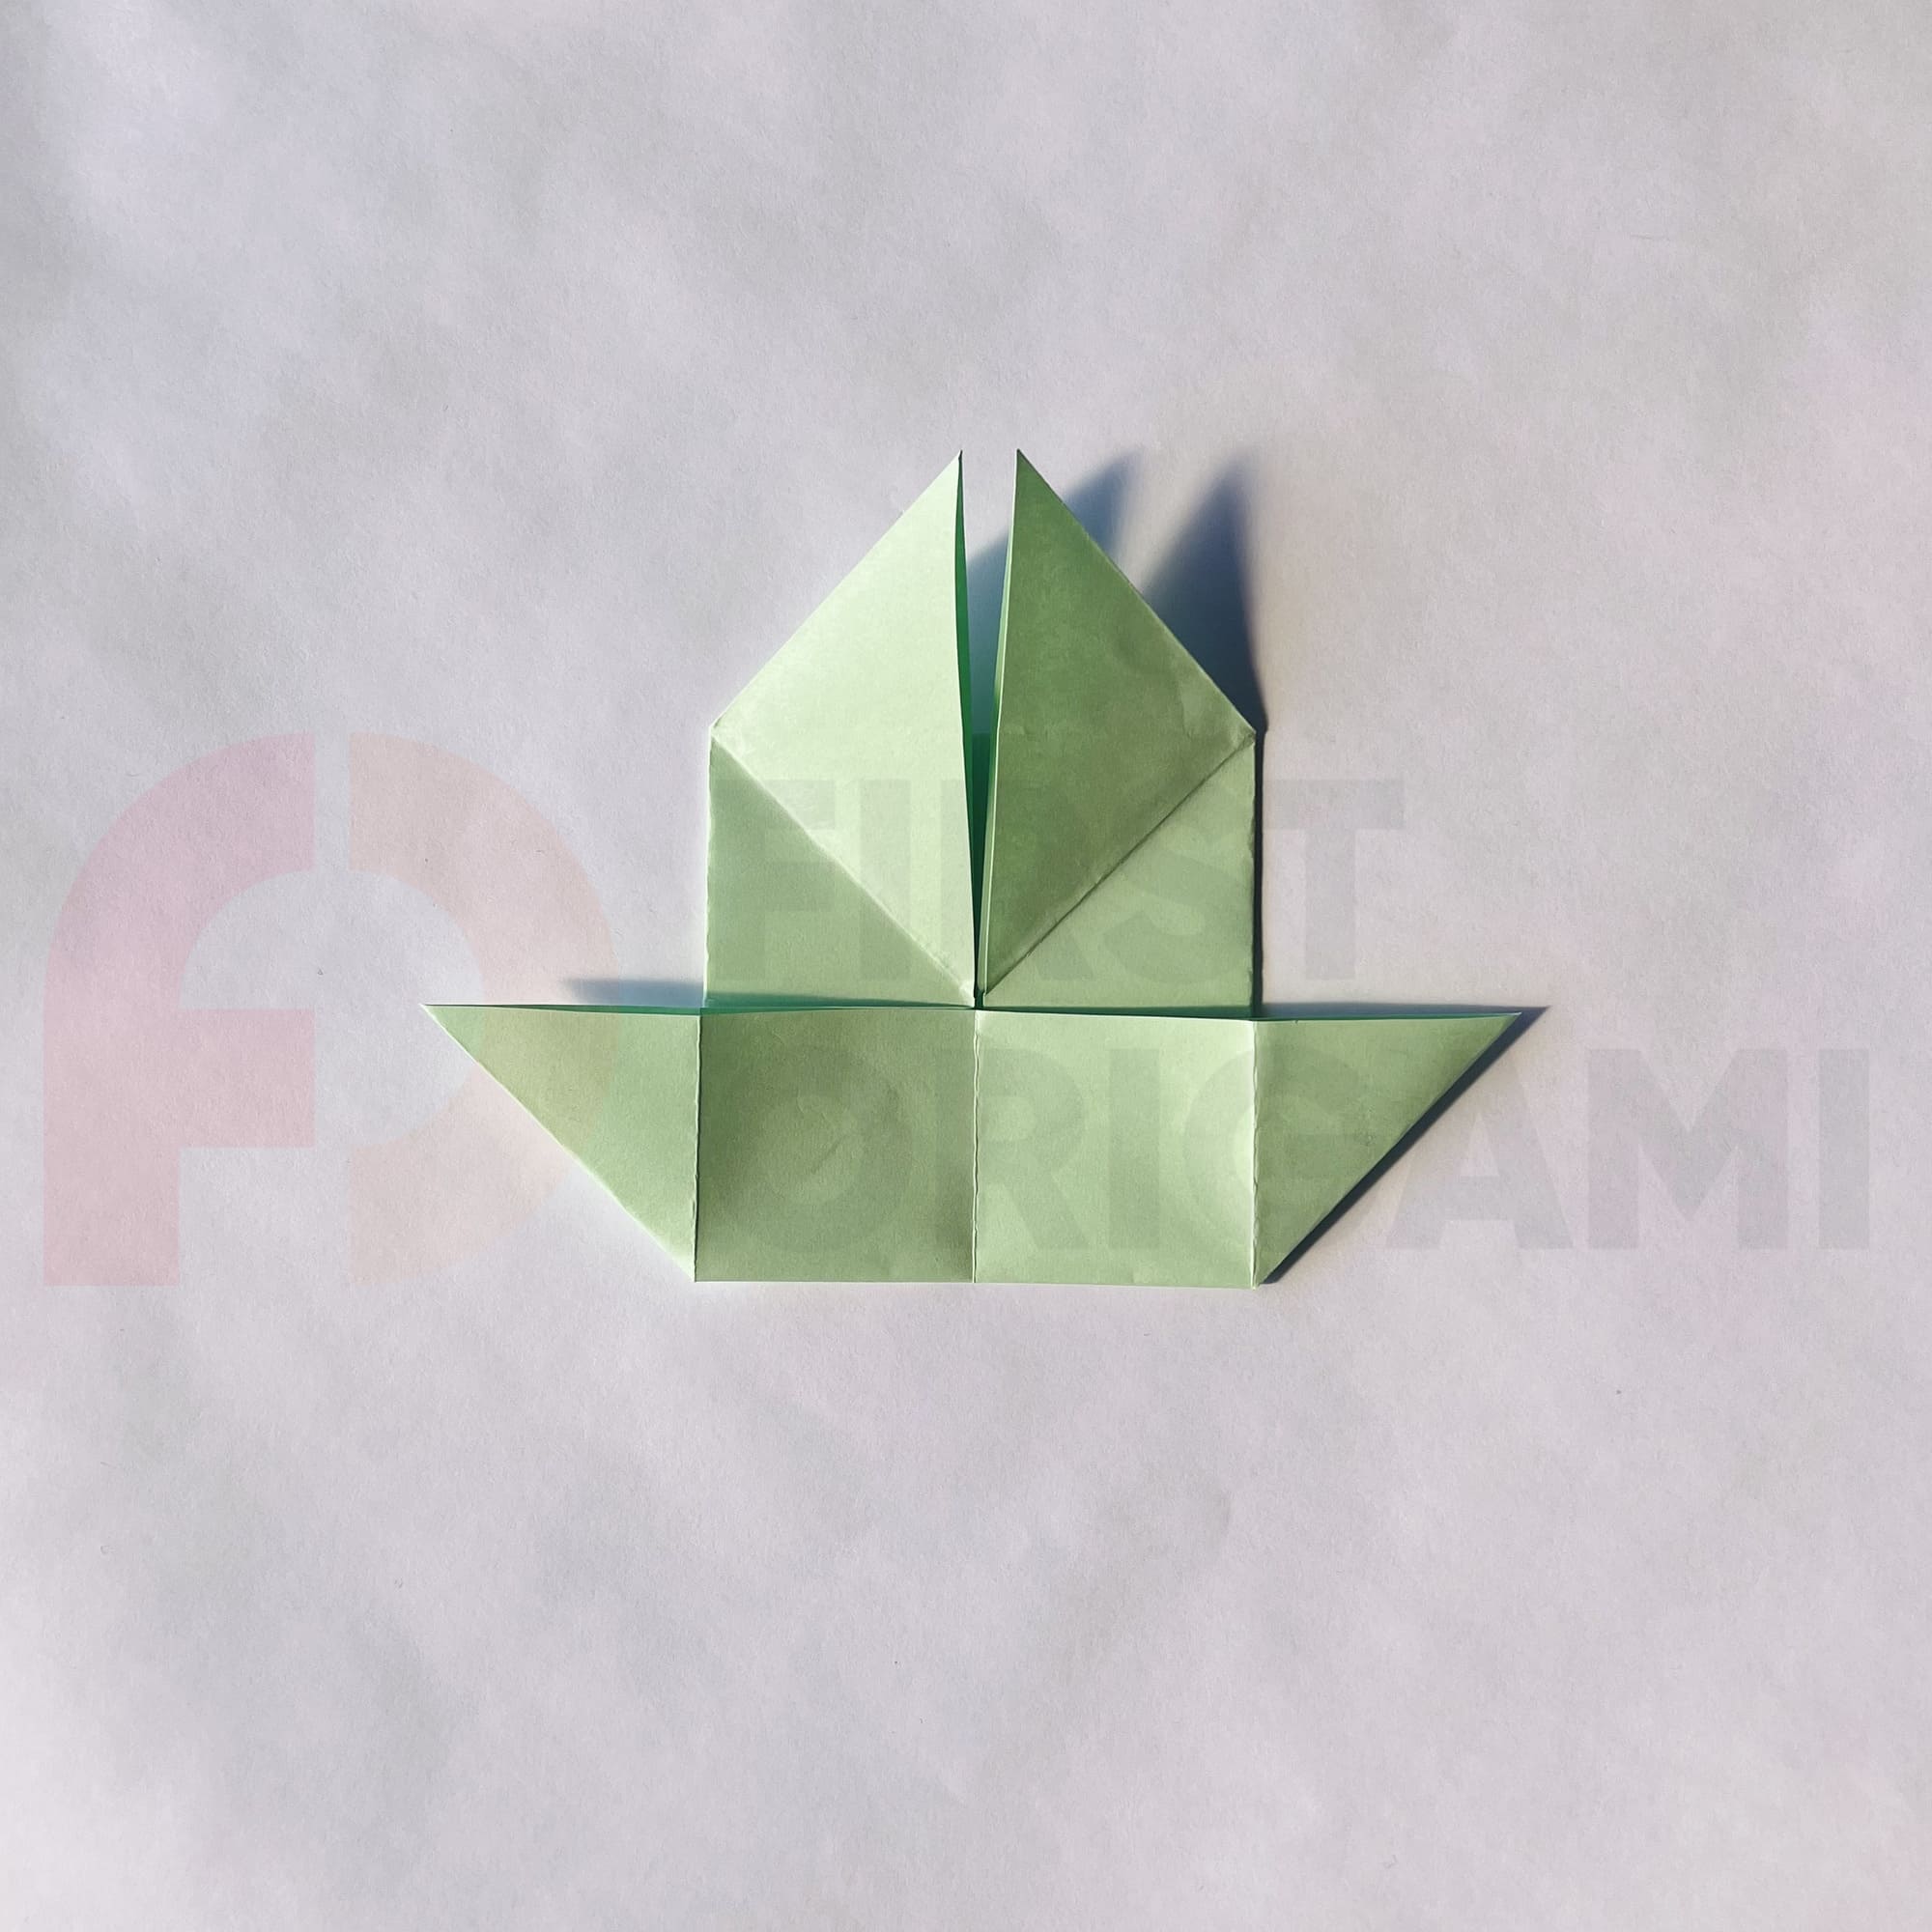
Unfold the paper slightly at the top so that it stands vertically.
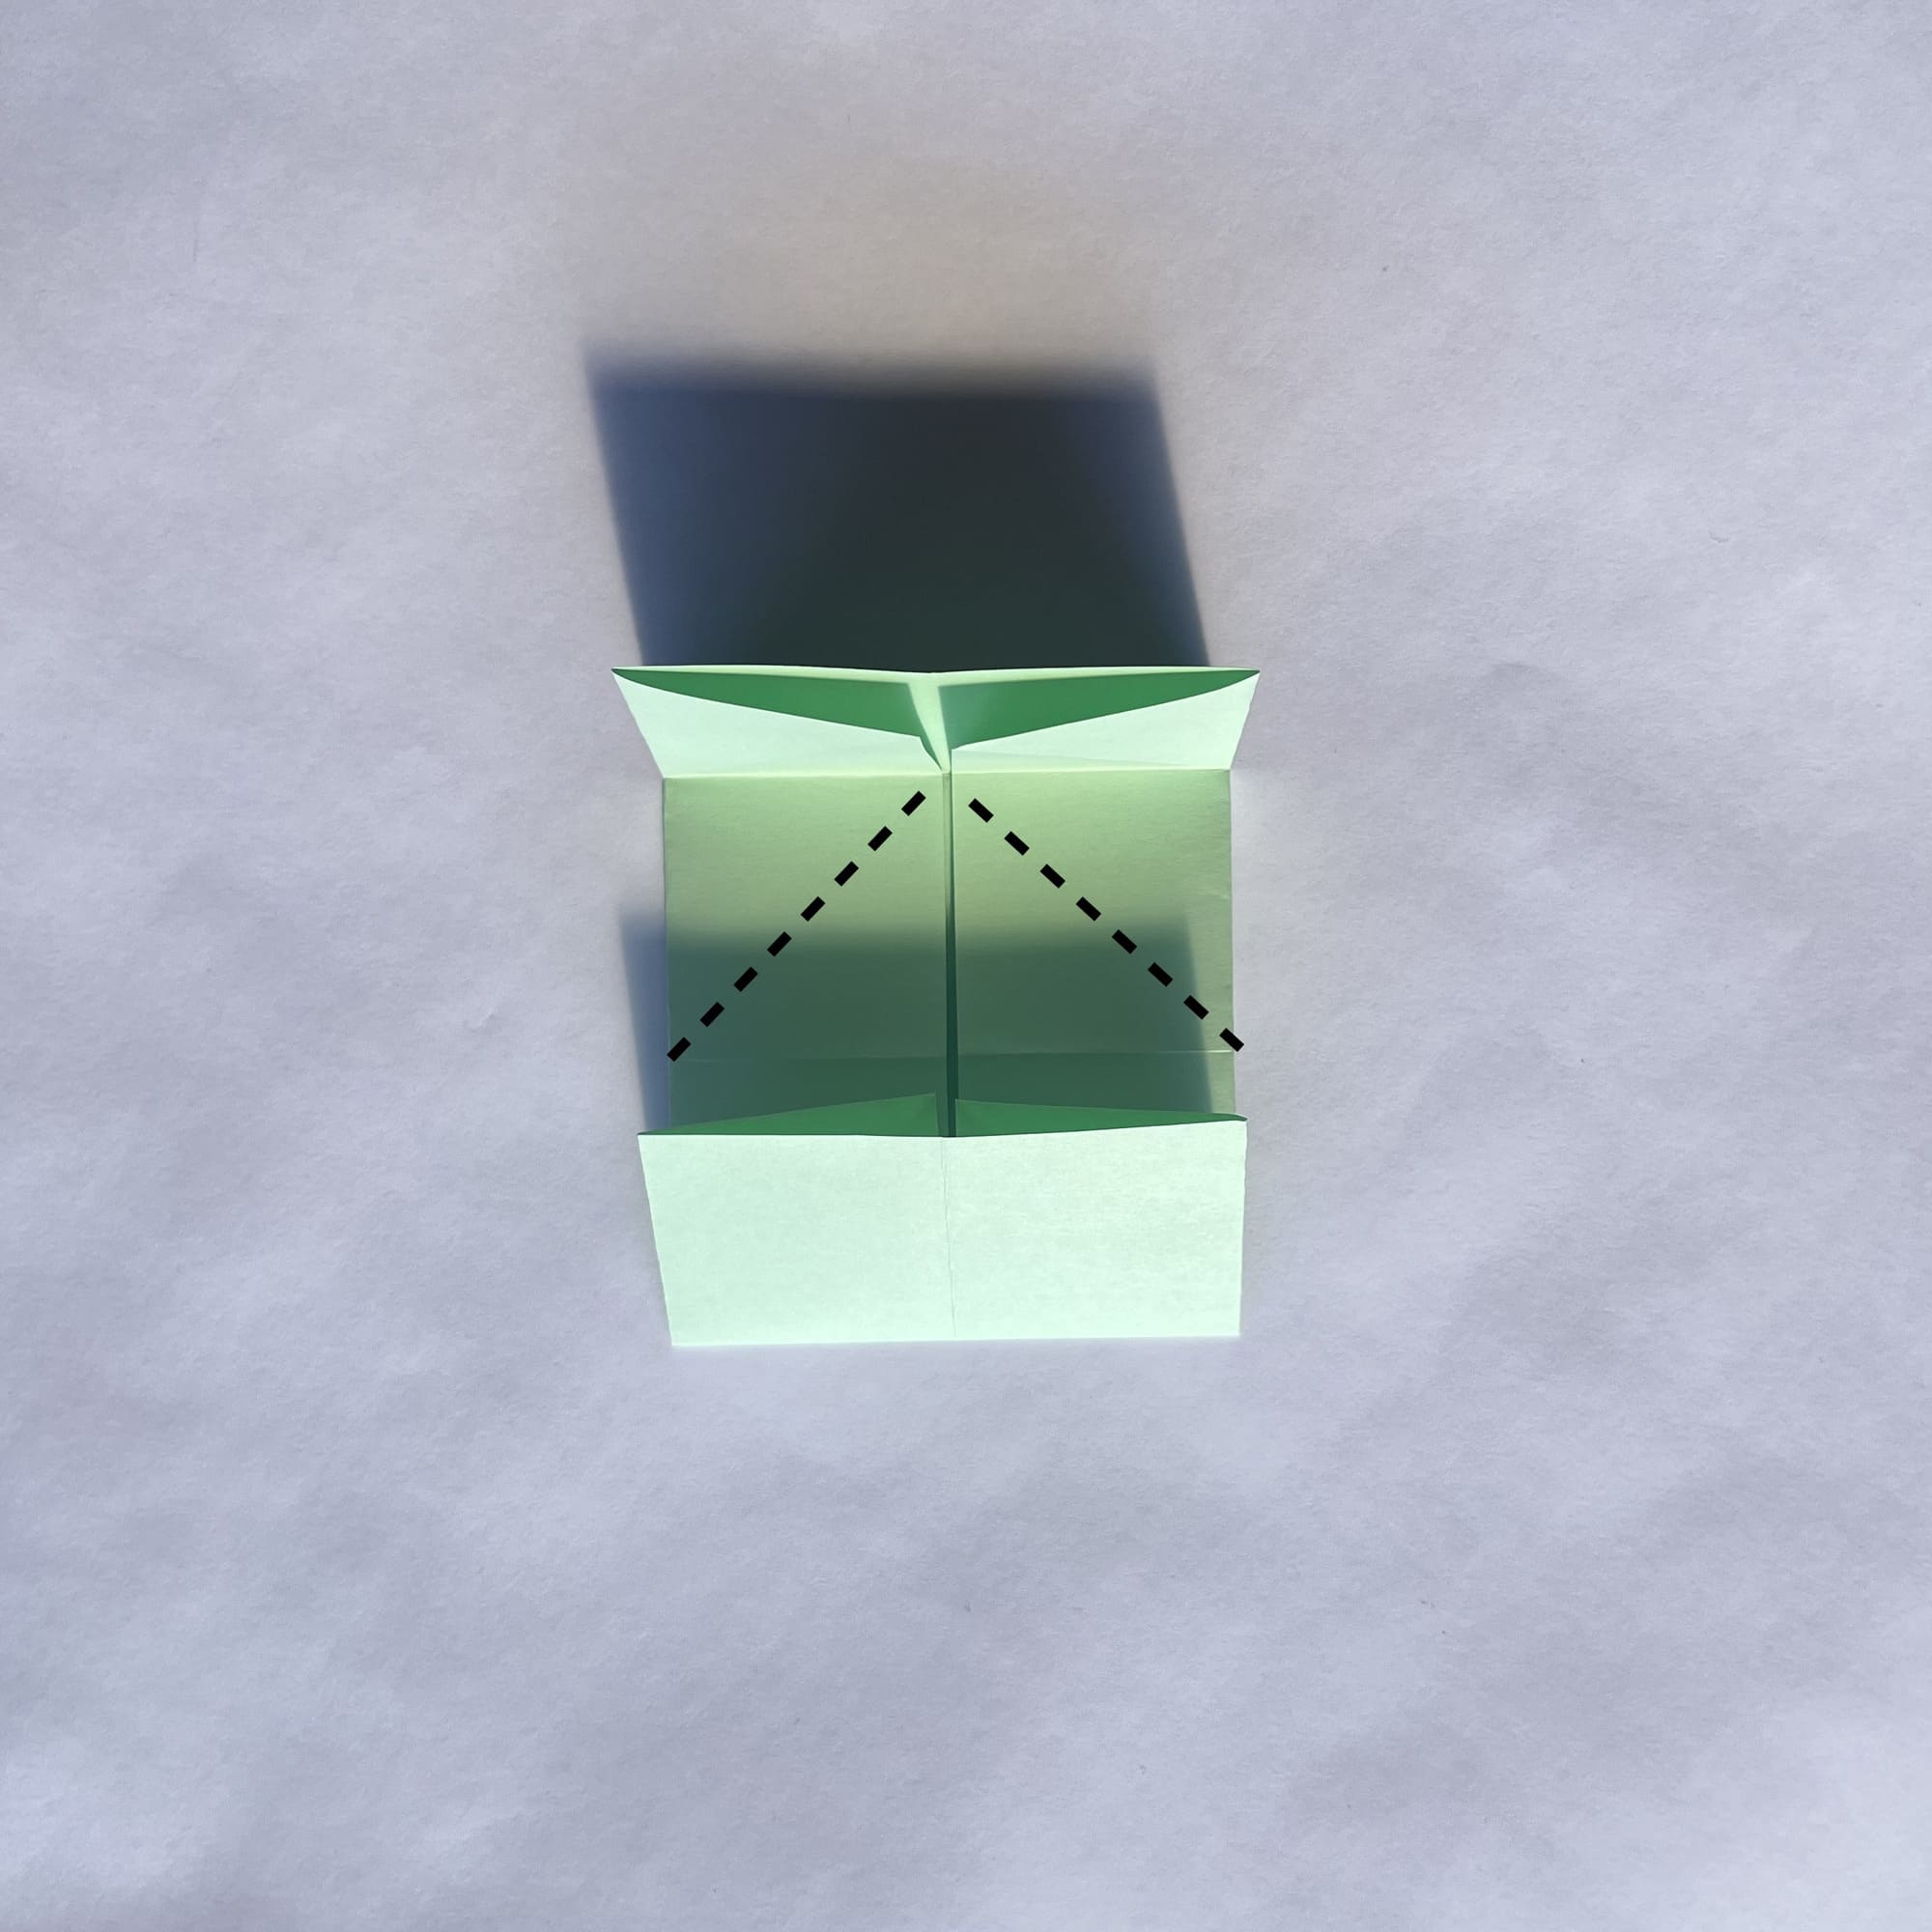
Make two diagonal folds along the dotted lines.
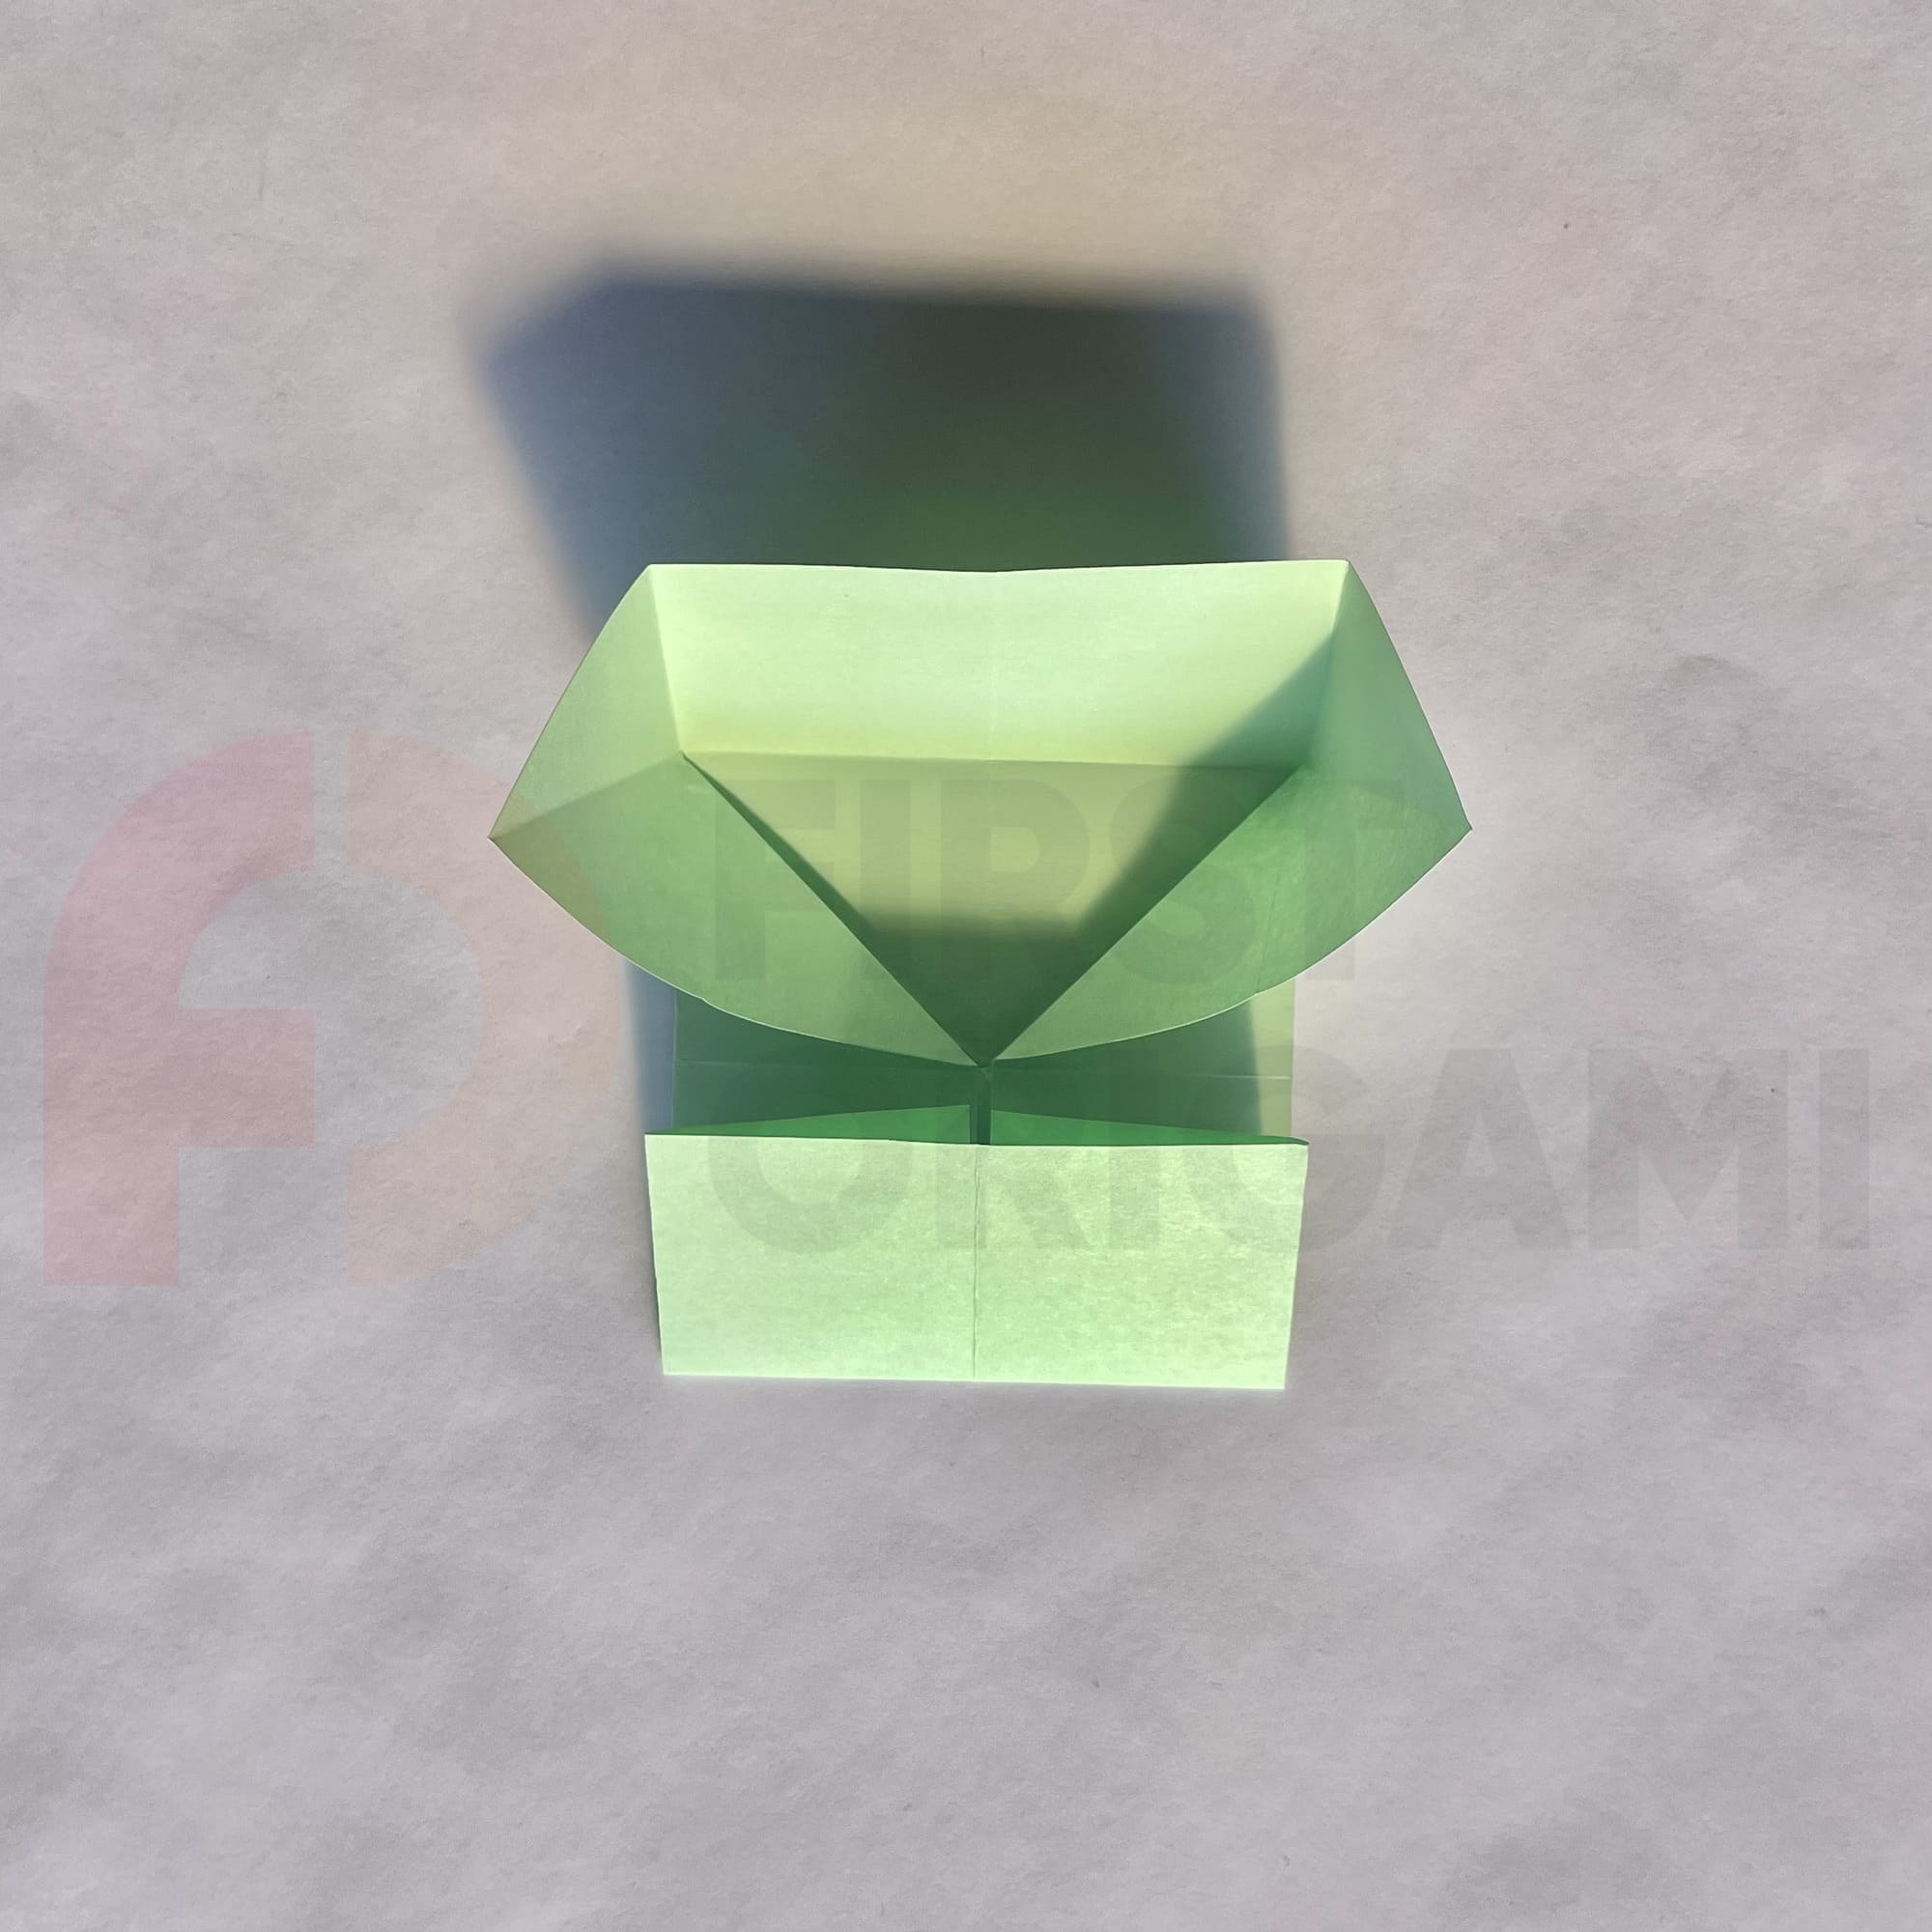
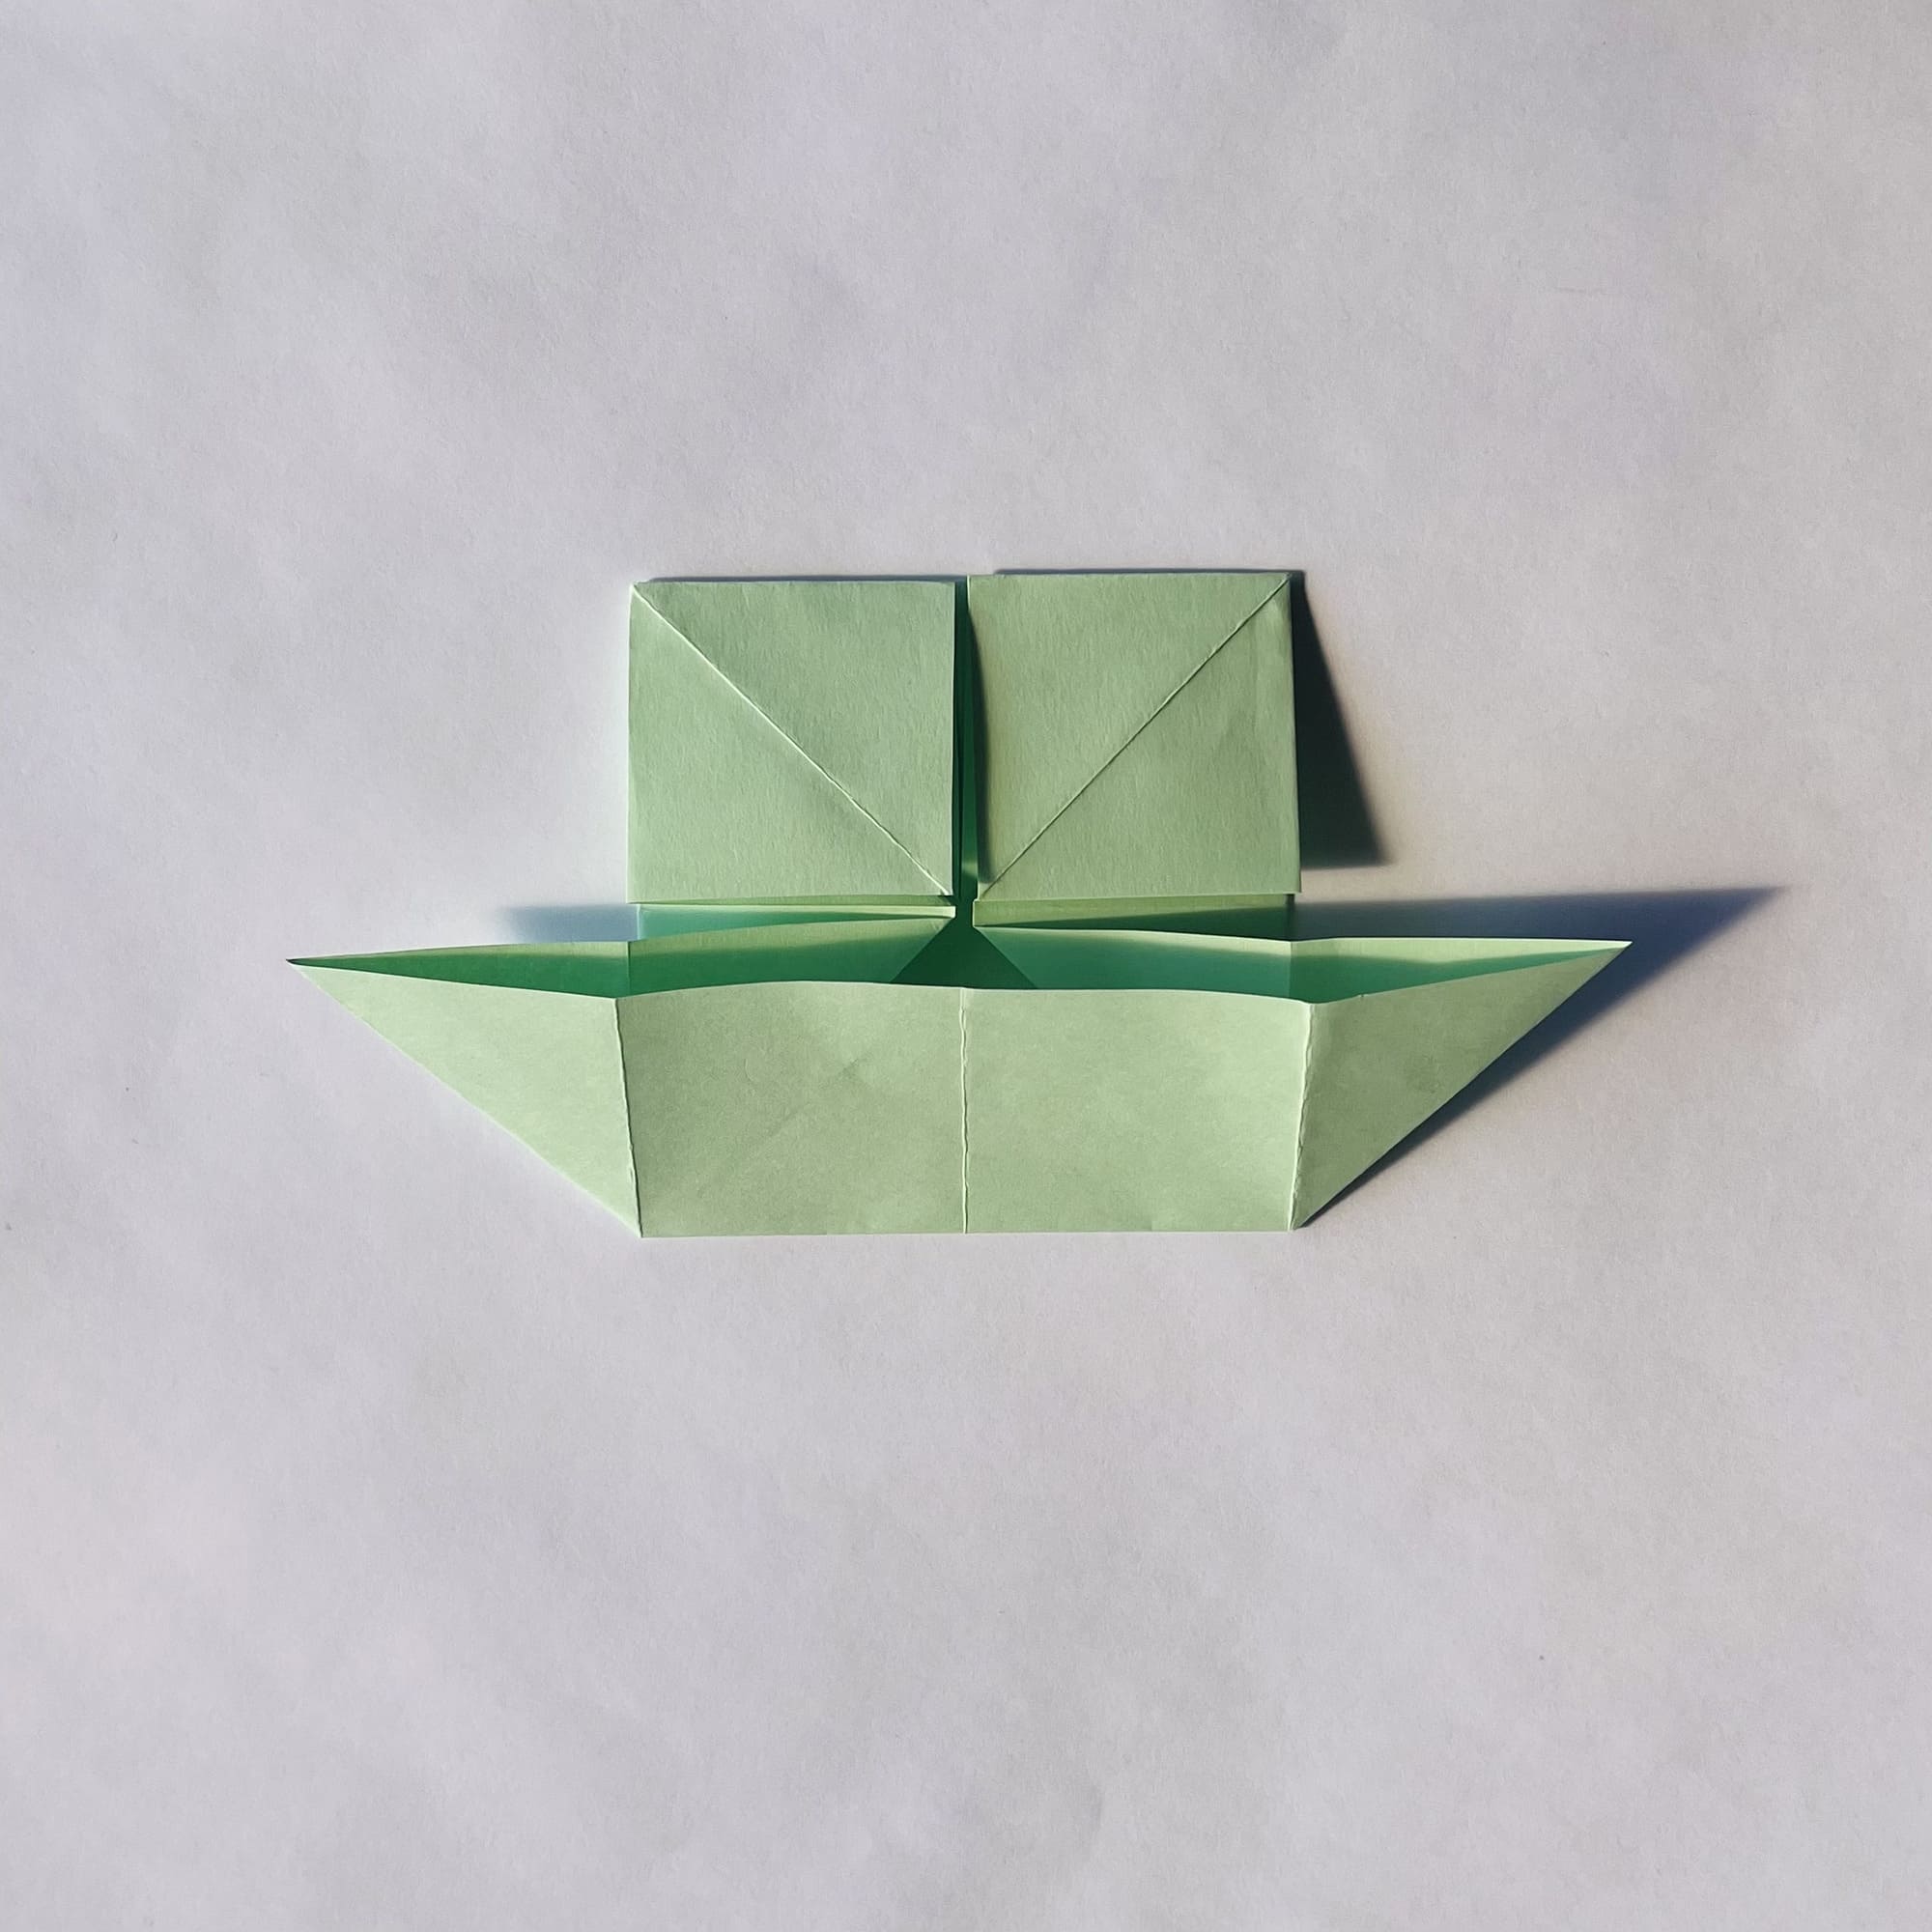
Push down on the top to fold the paper.
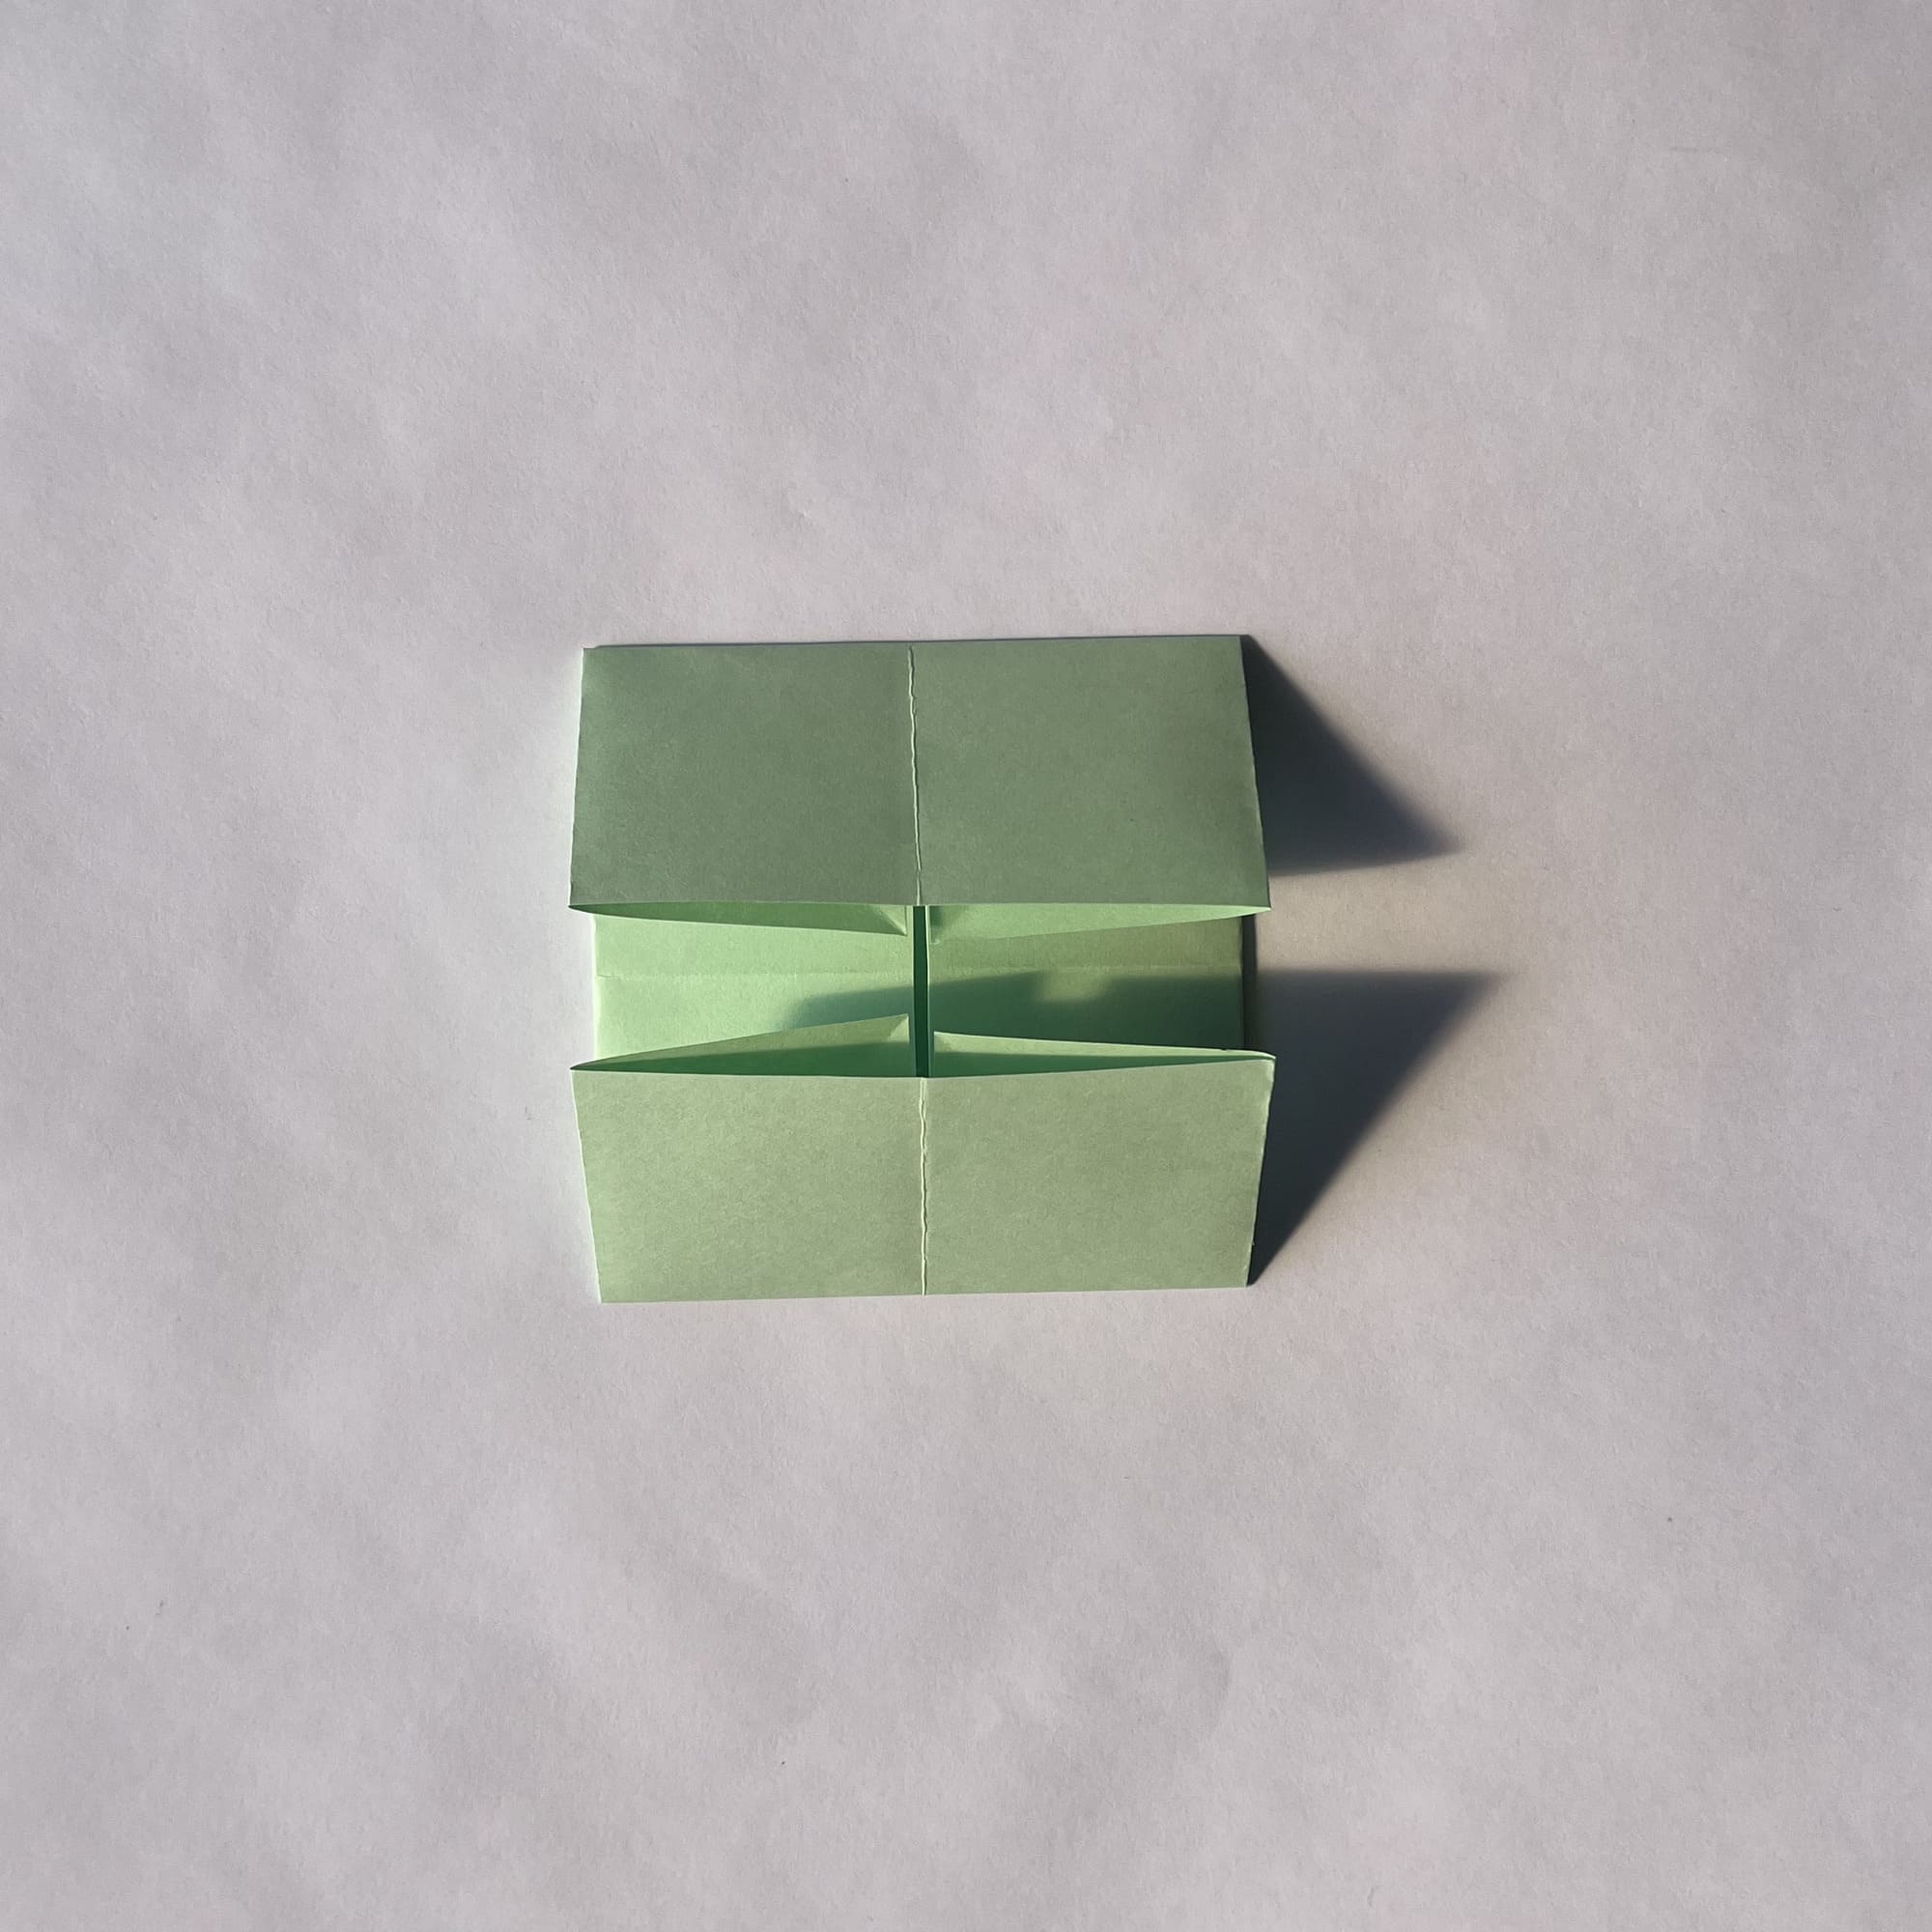
Repeat steps 8-11 at the bottom of the figure.
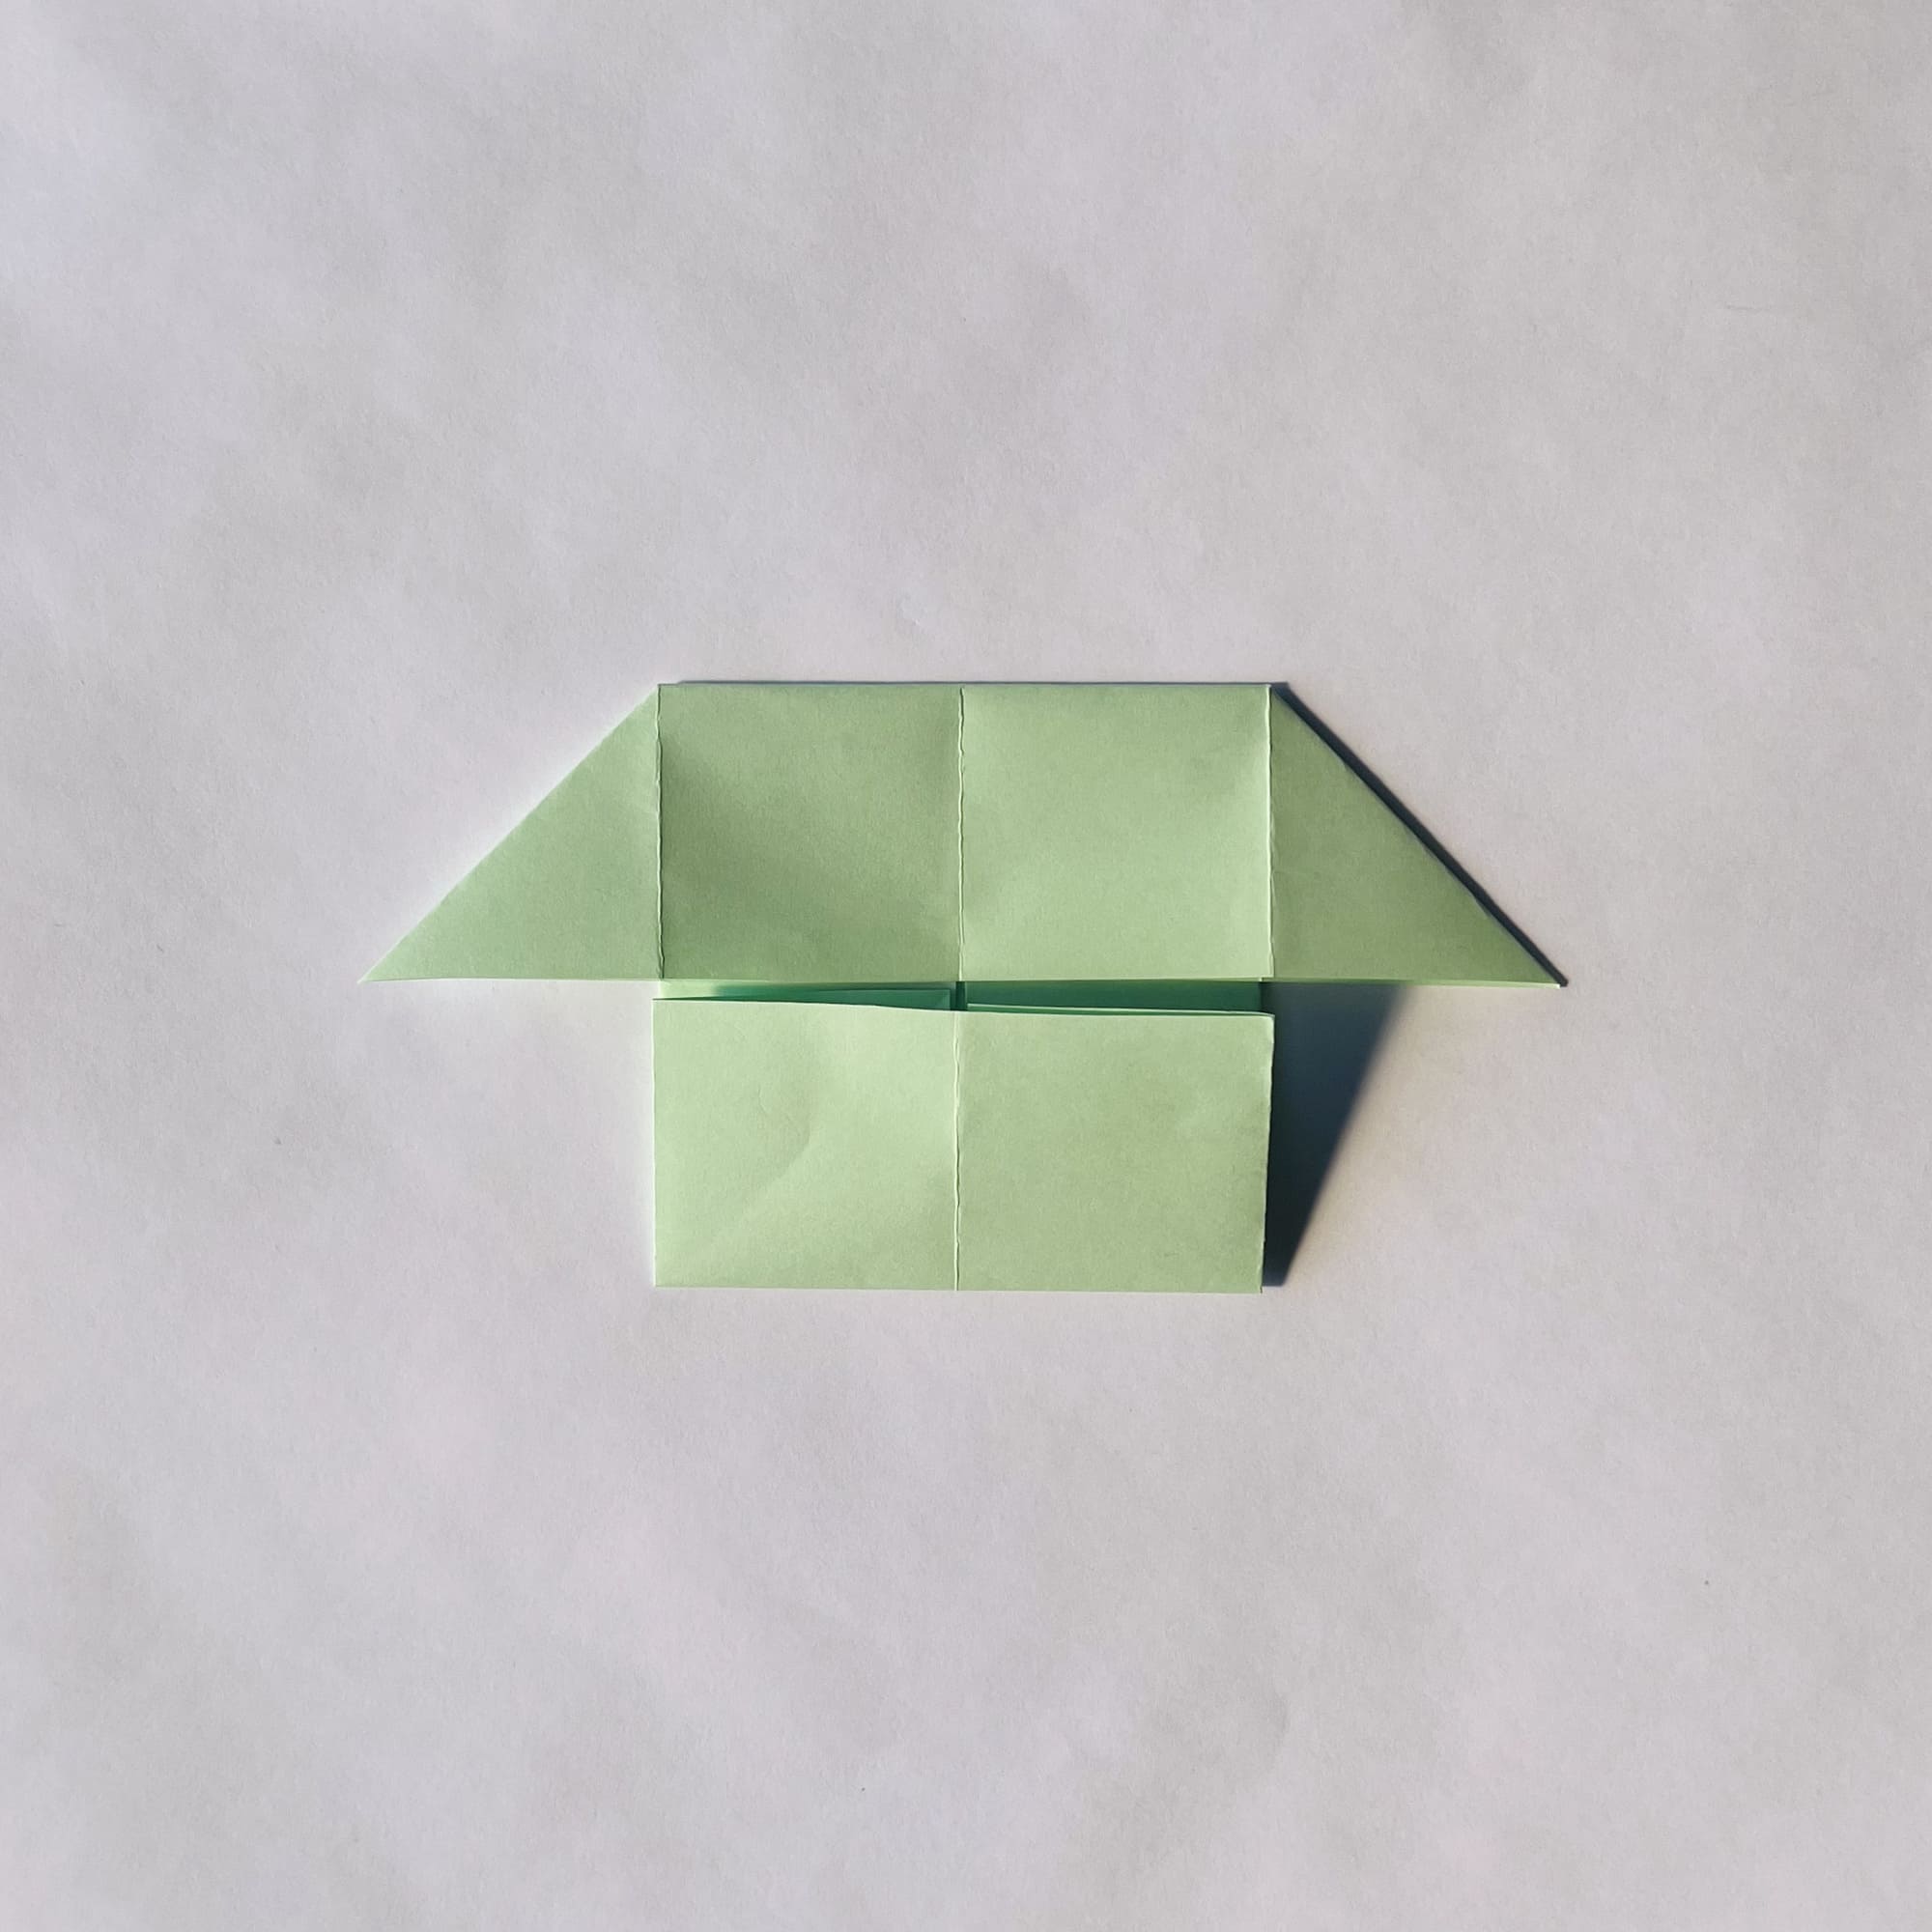
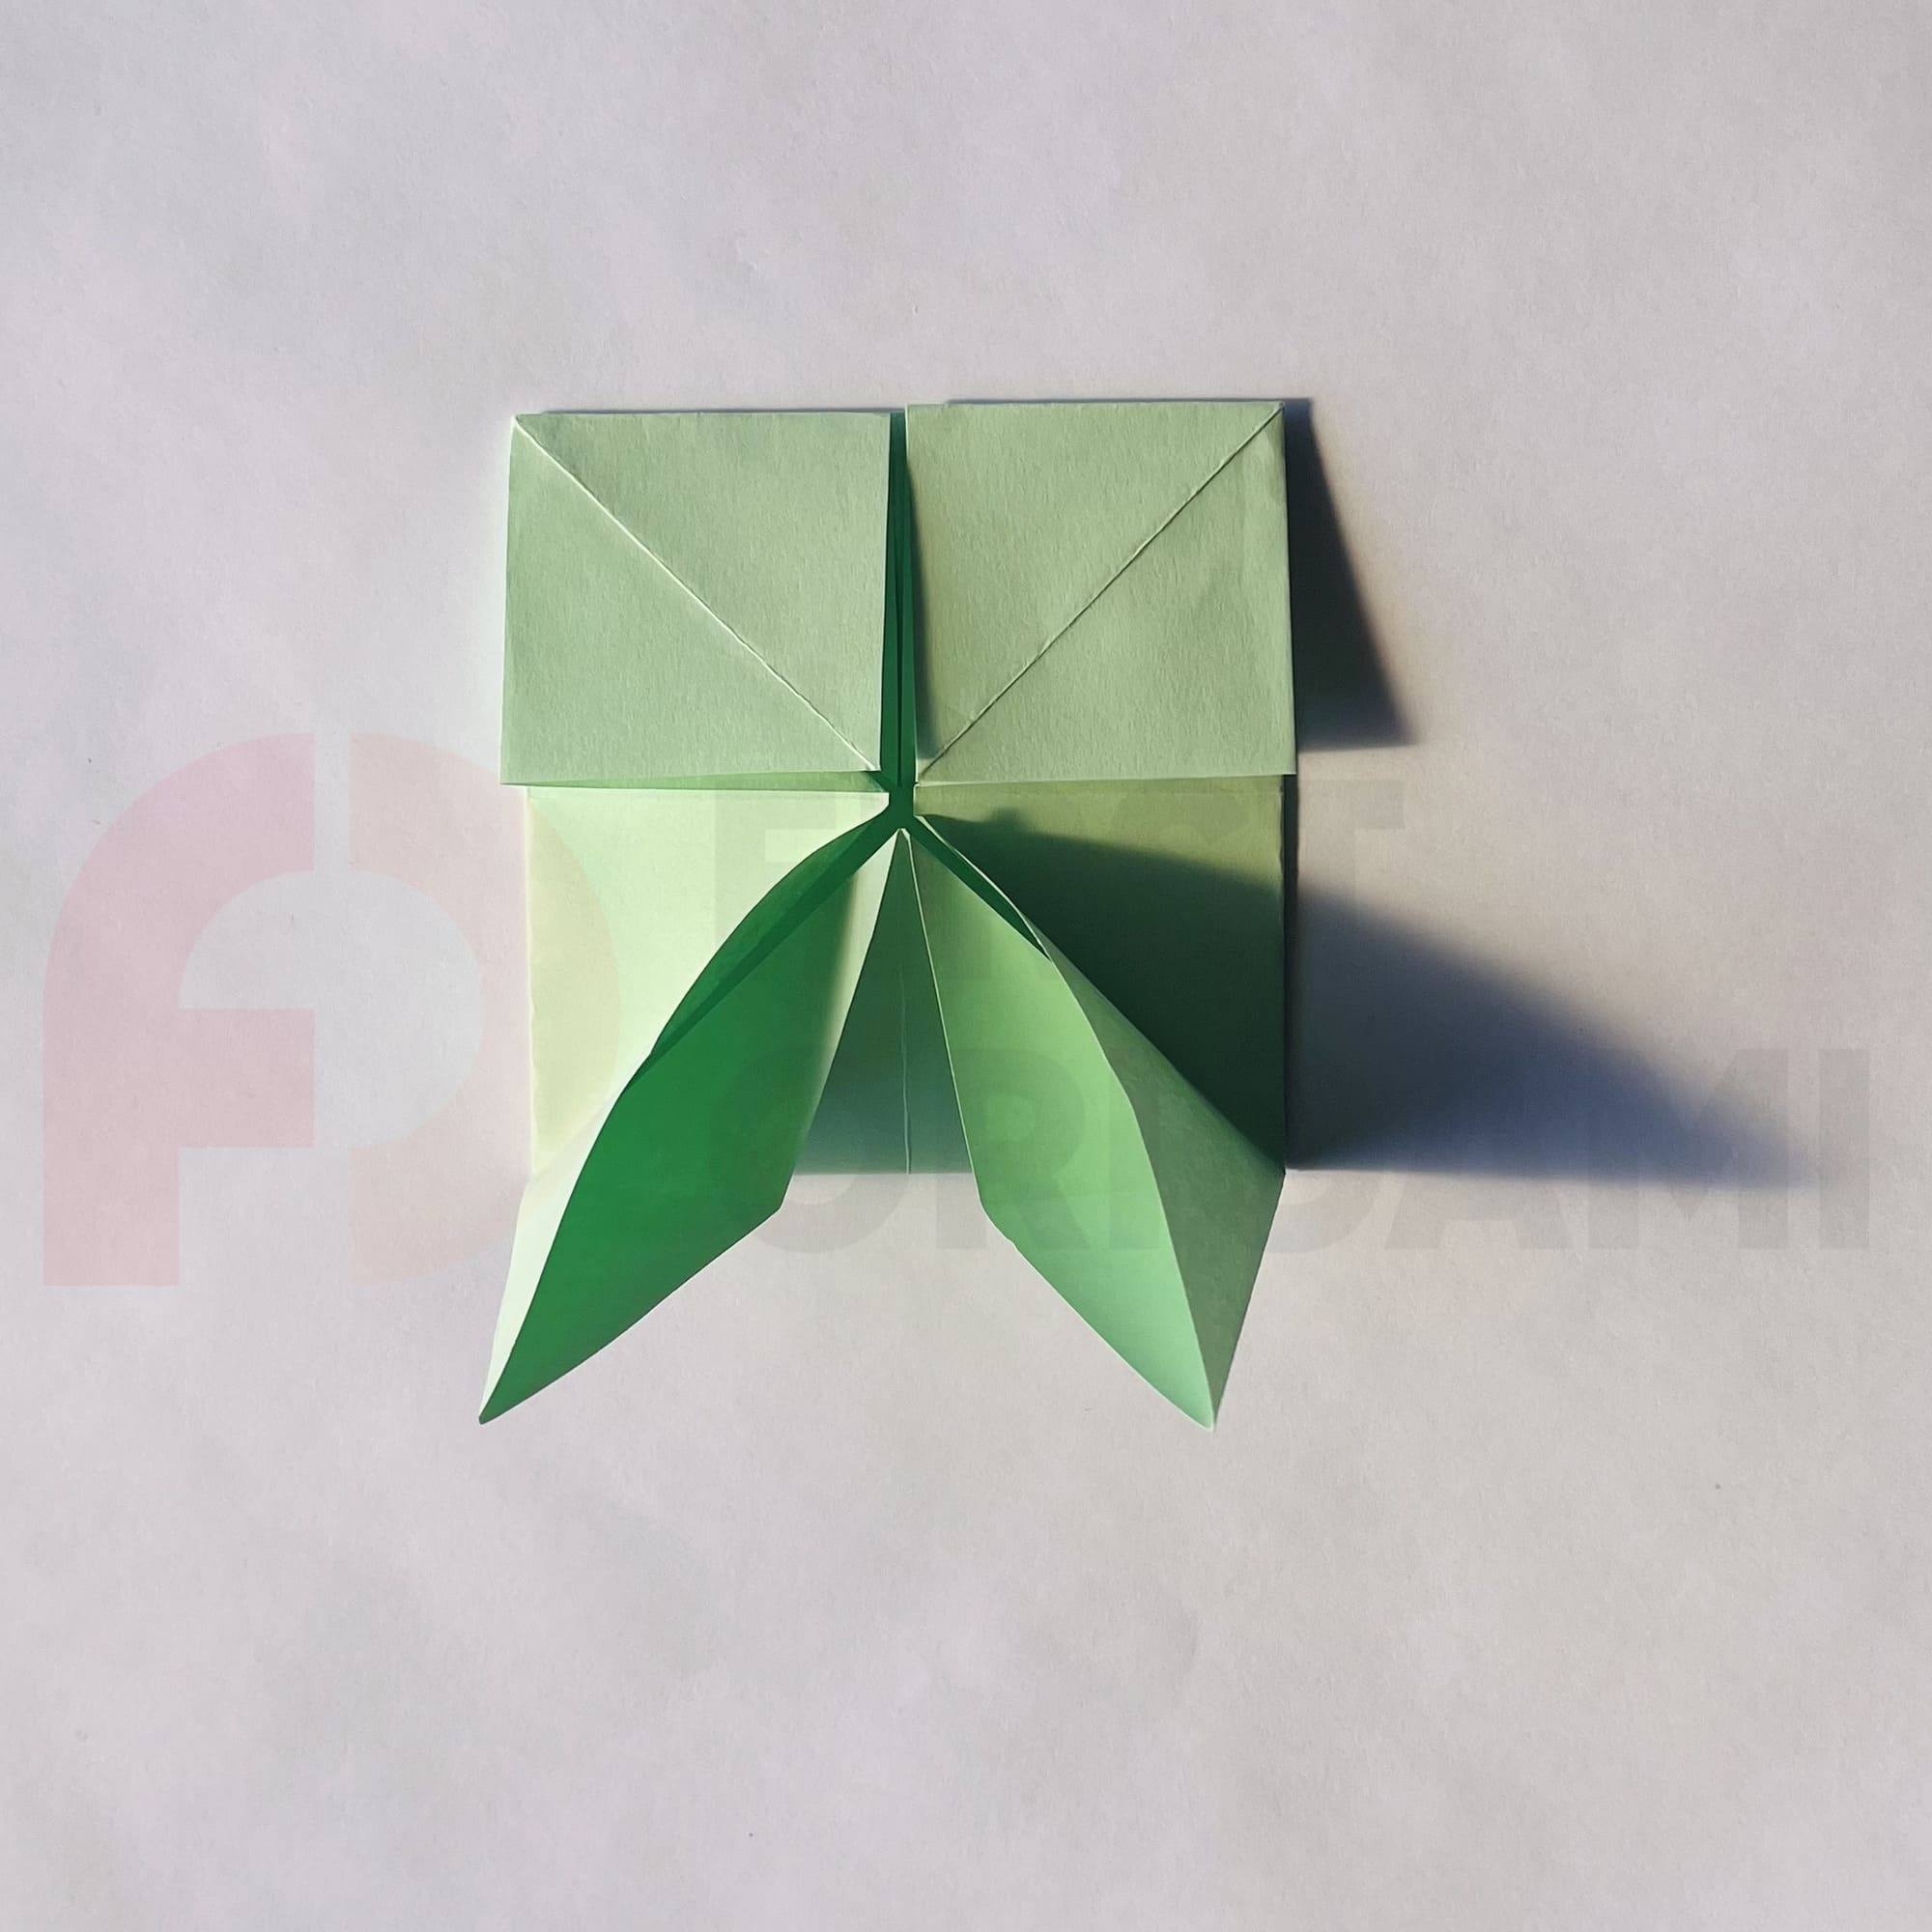
Fold the top halves of the side corners up.

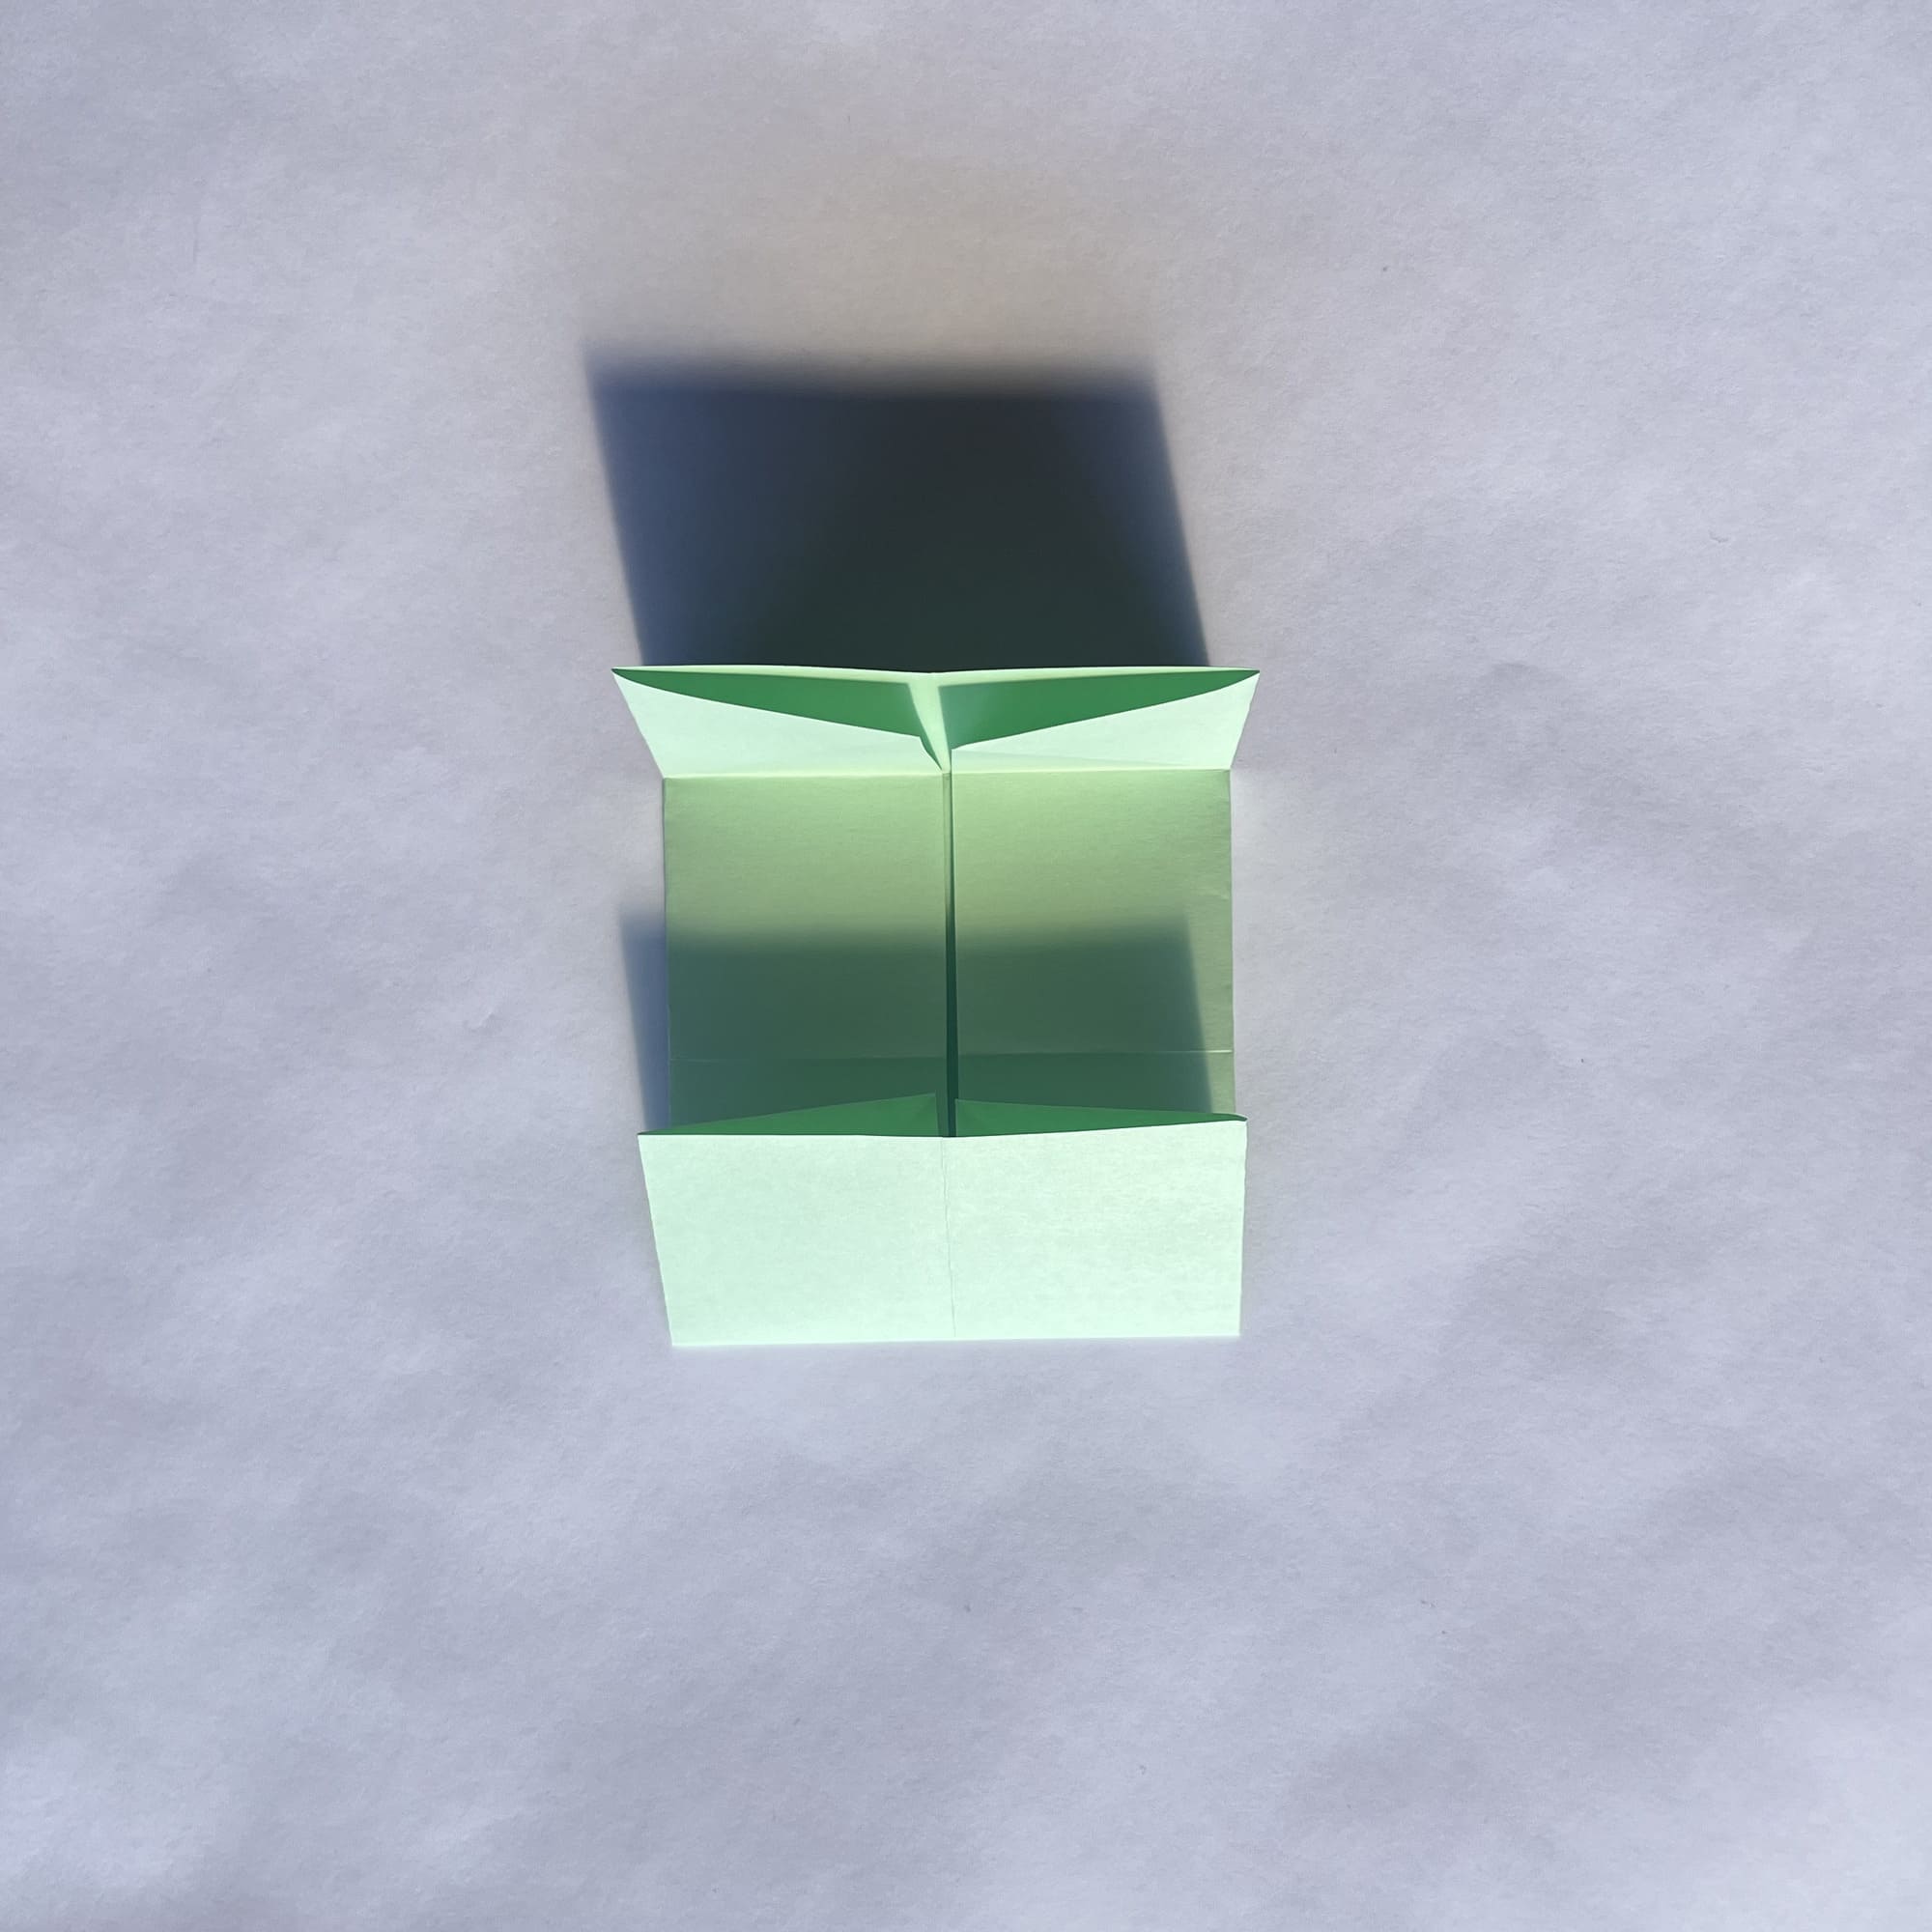
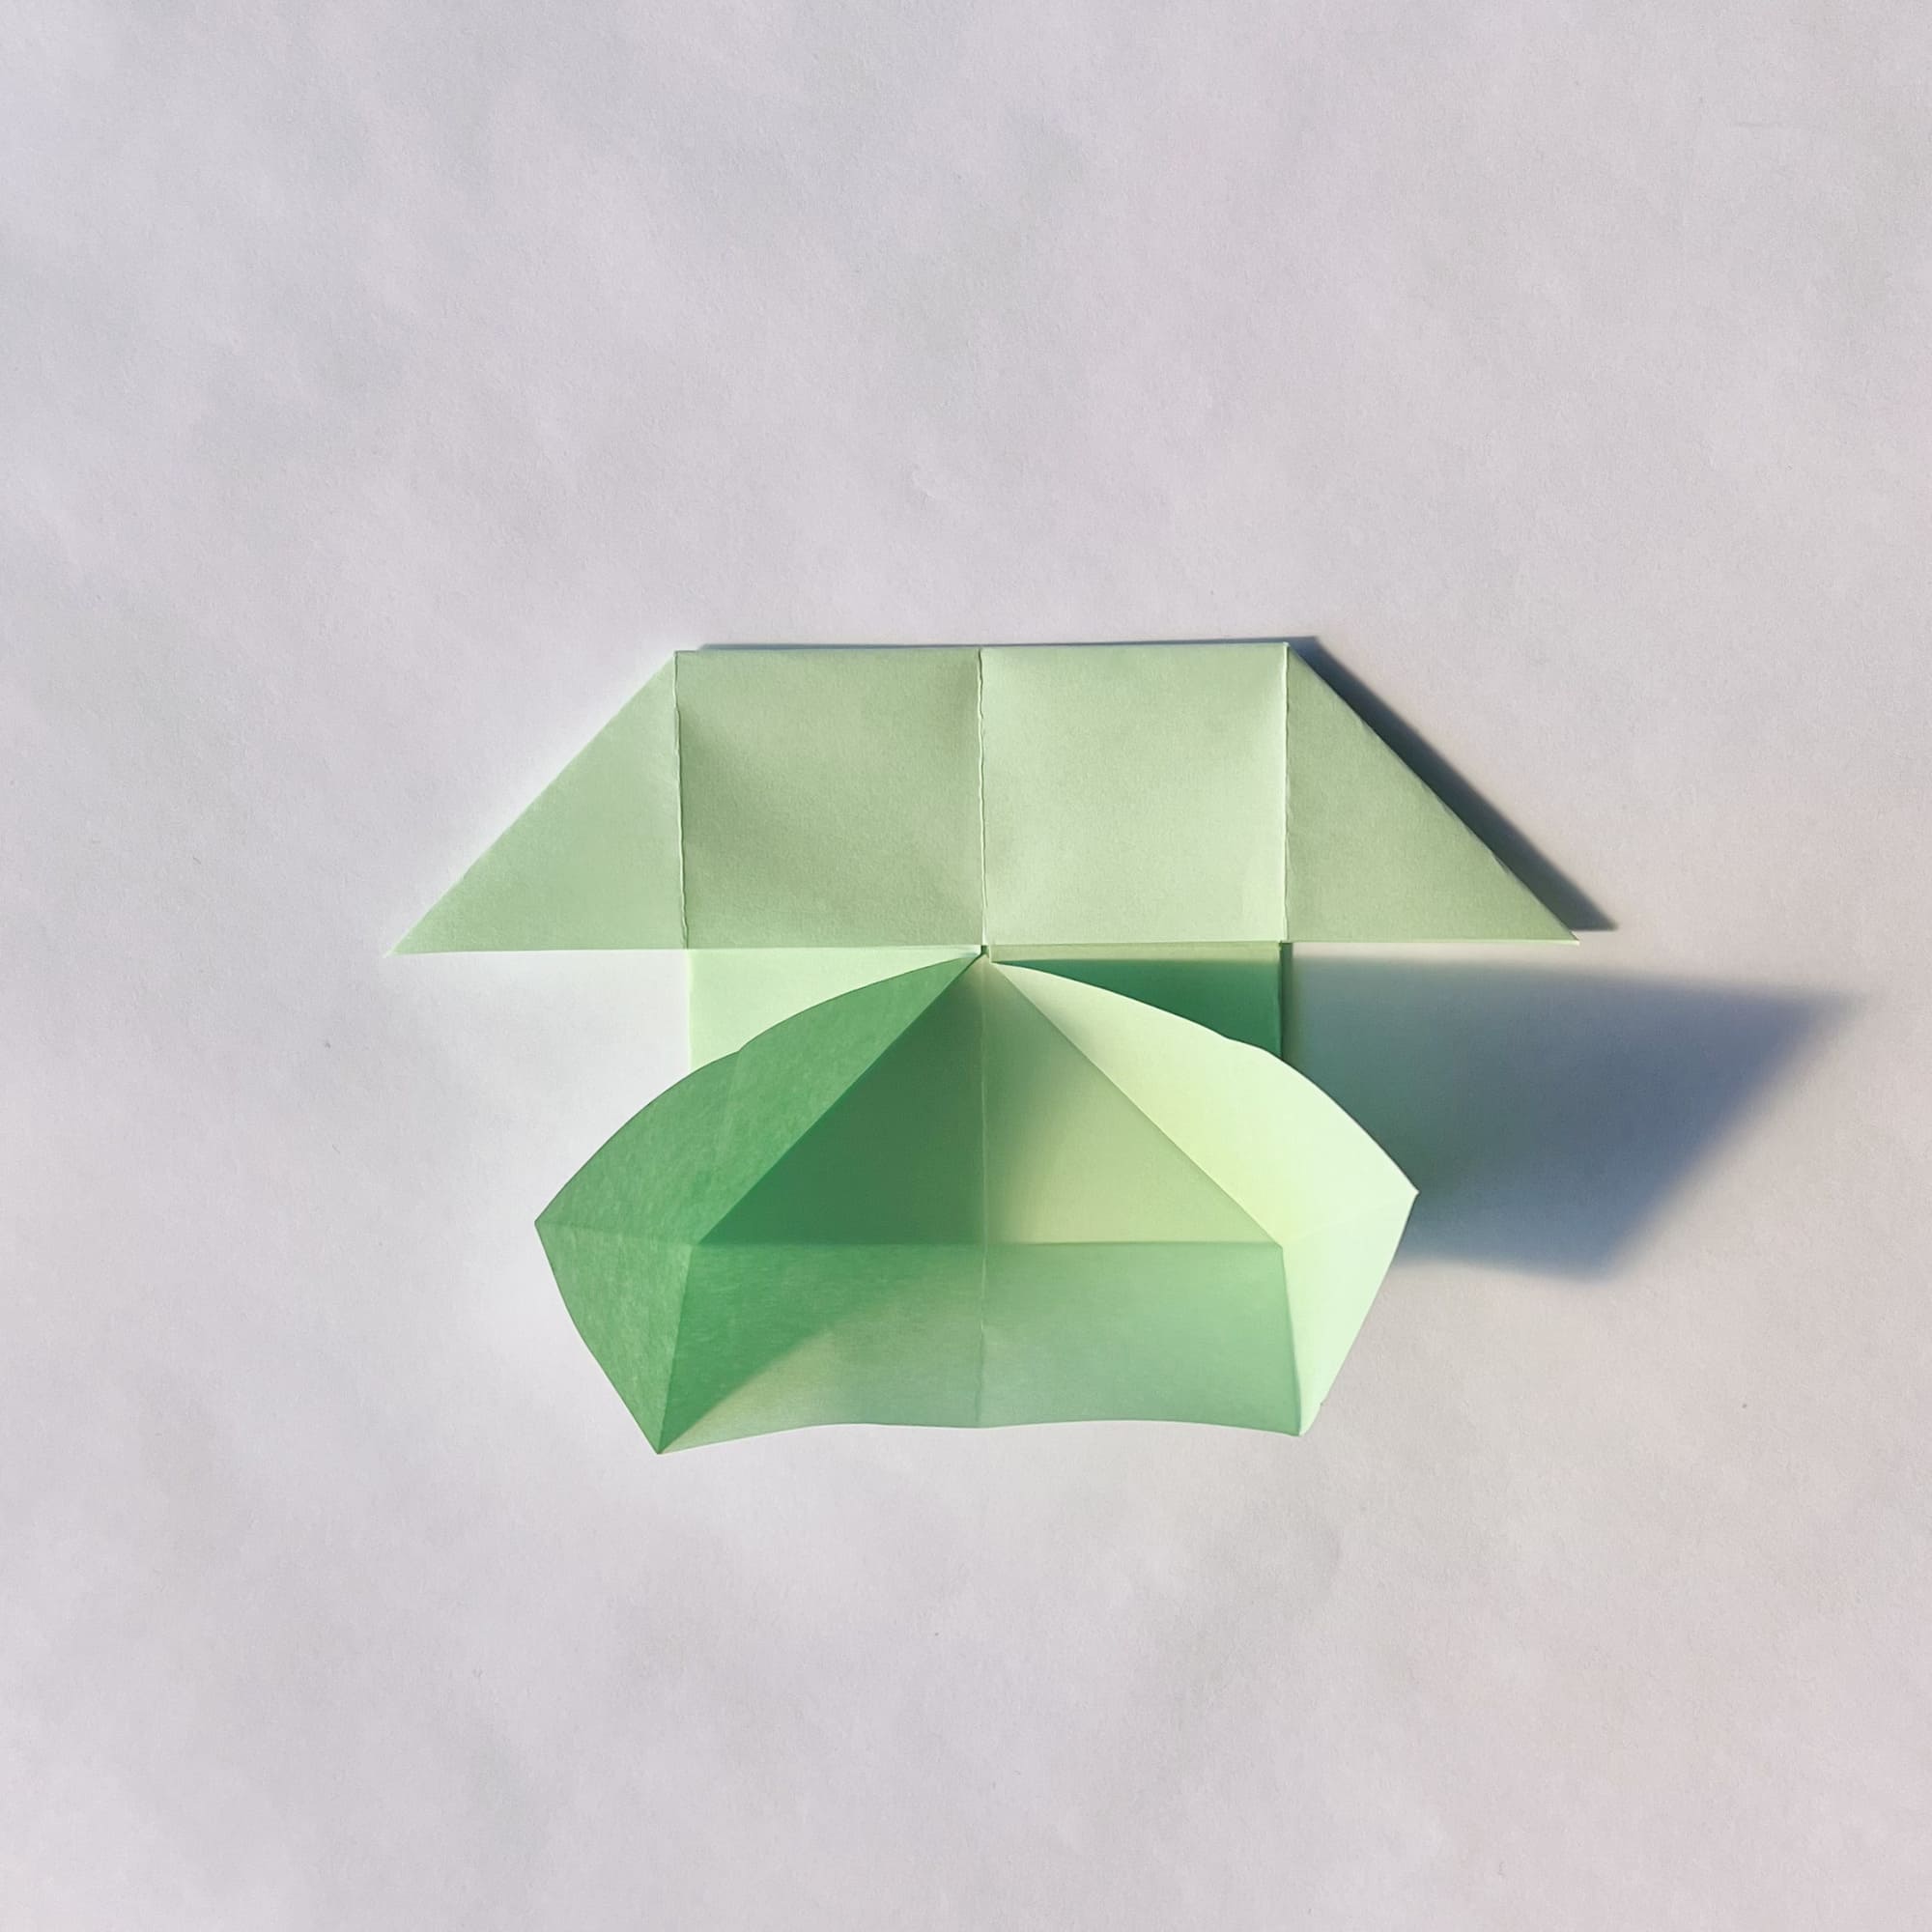
Open the corners and make flattening folds.
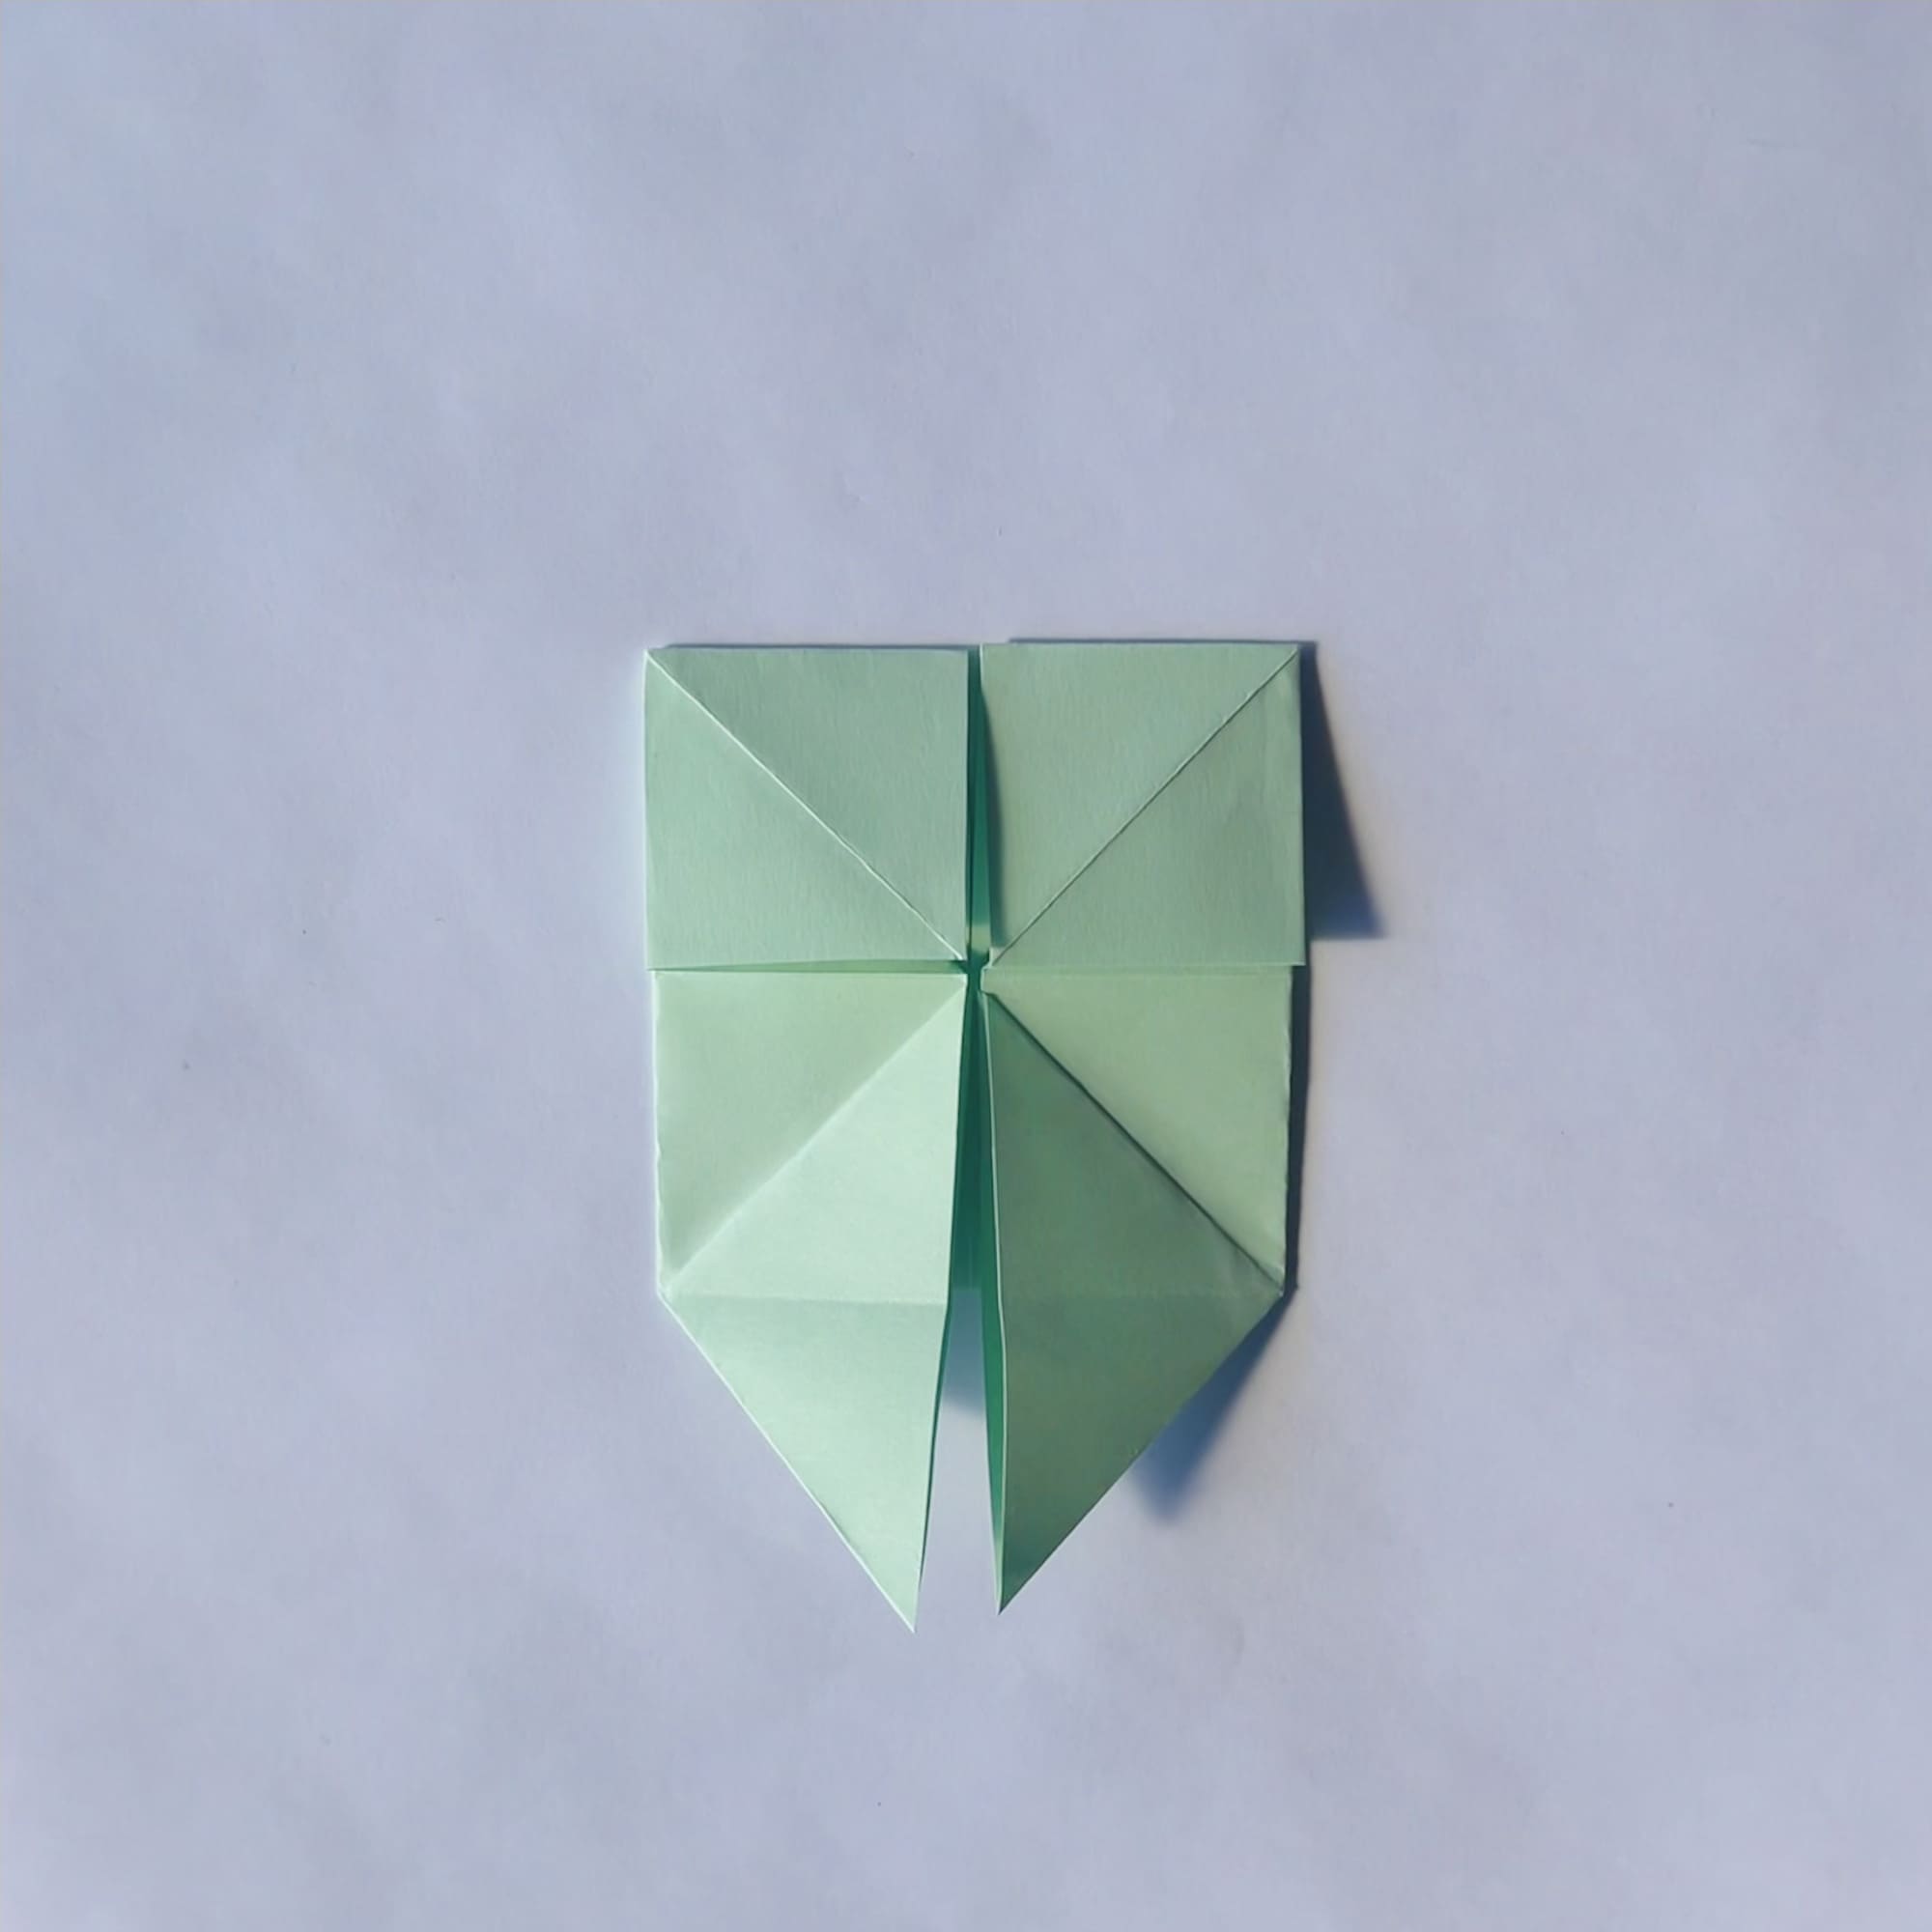
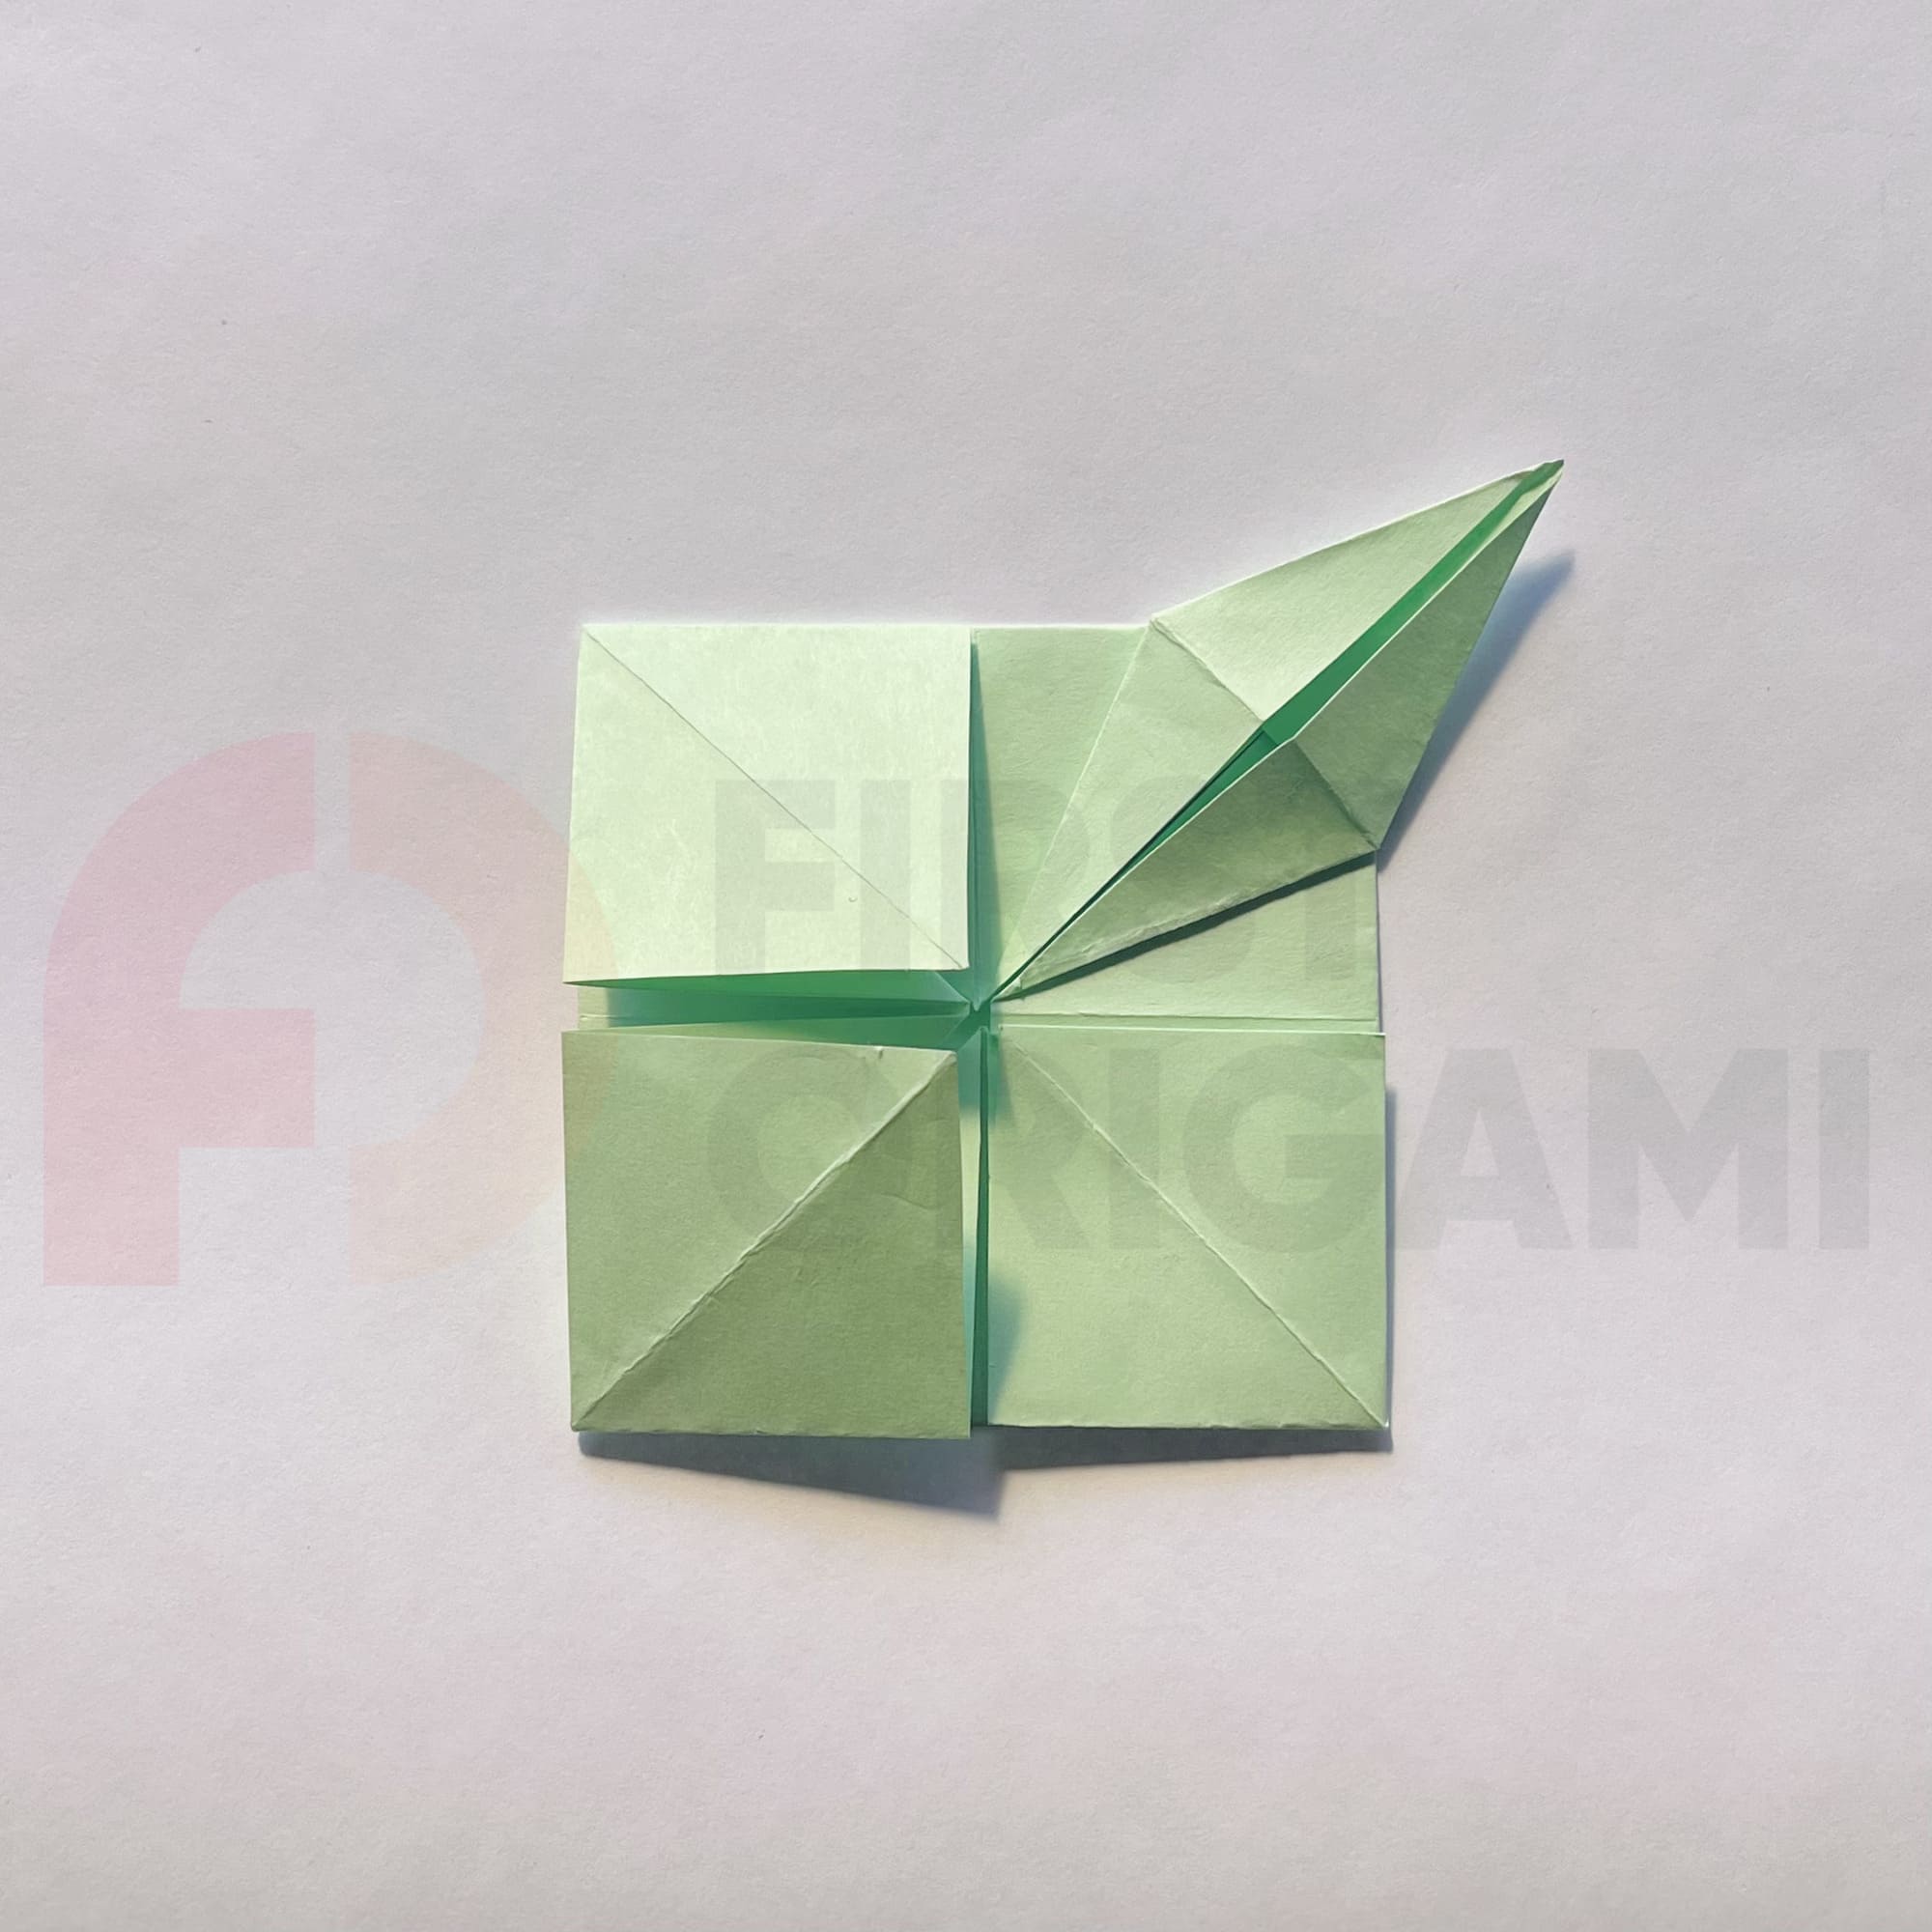
Do the same symmetrically at the bottom of the figure. You should end up with a square made up of four smaller squares.
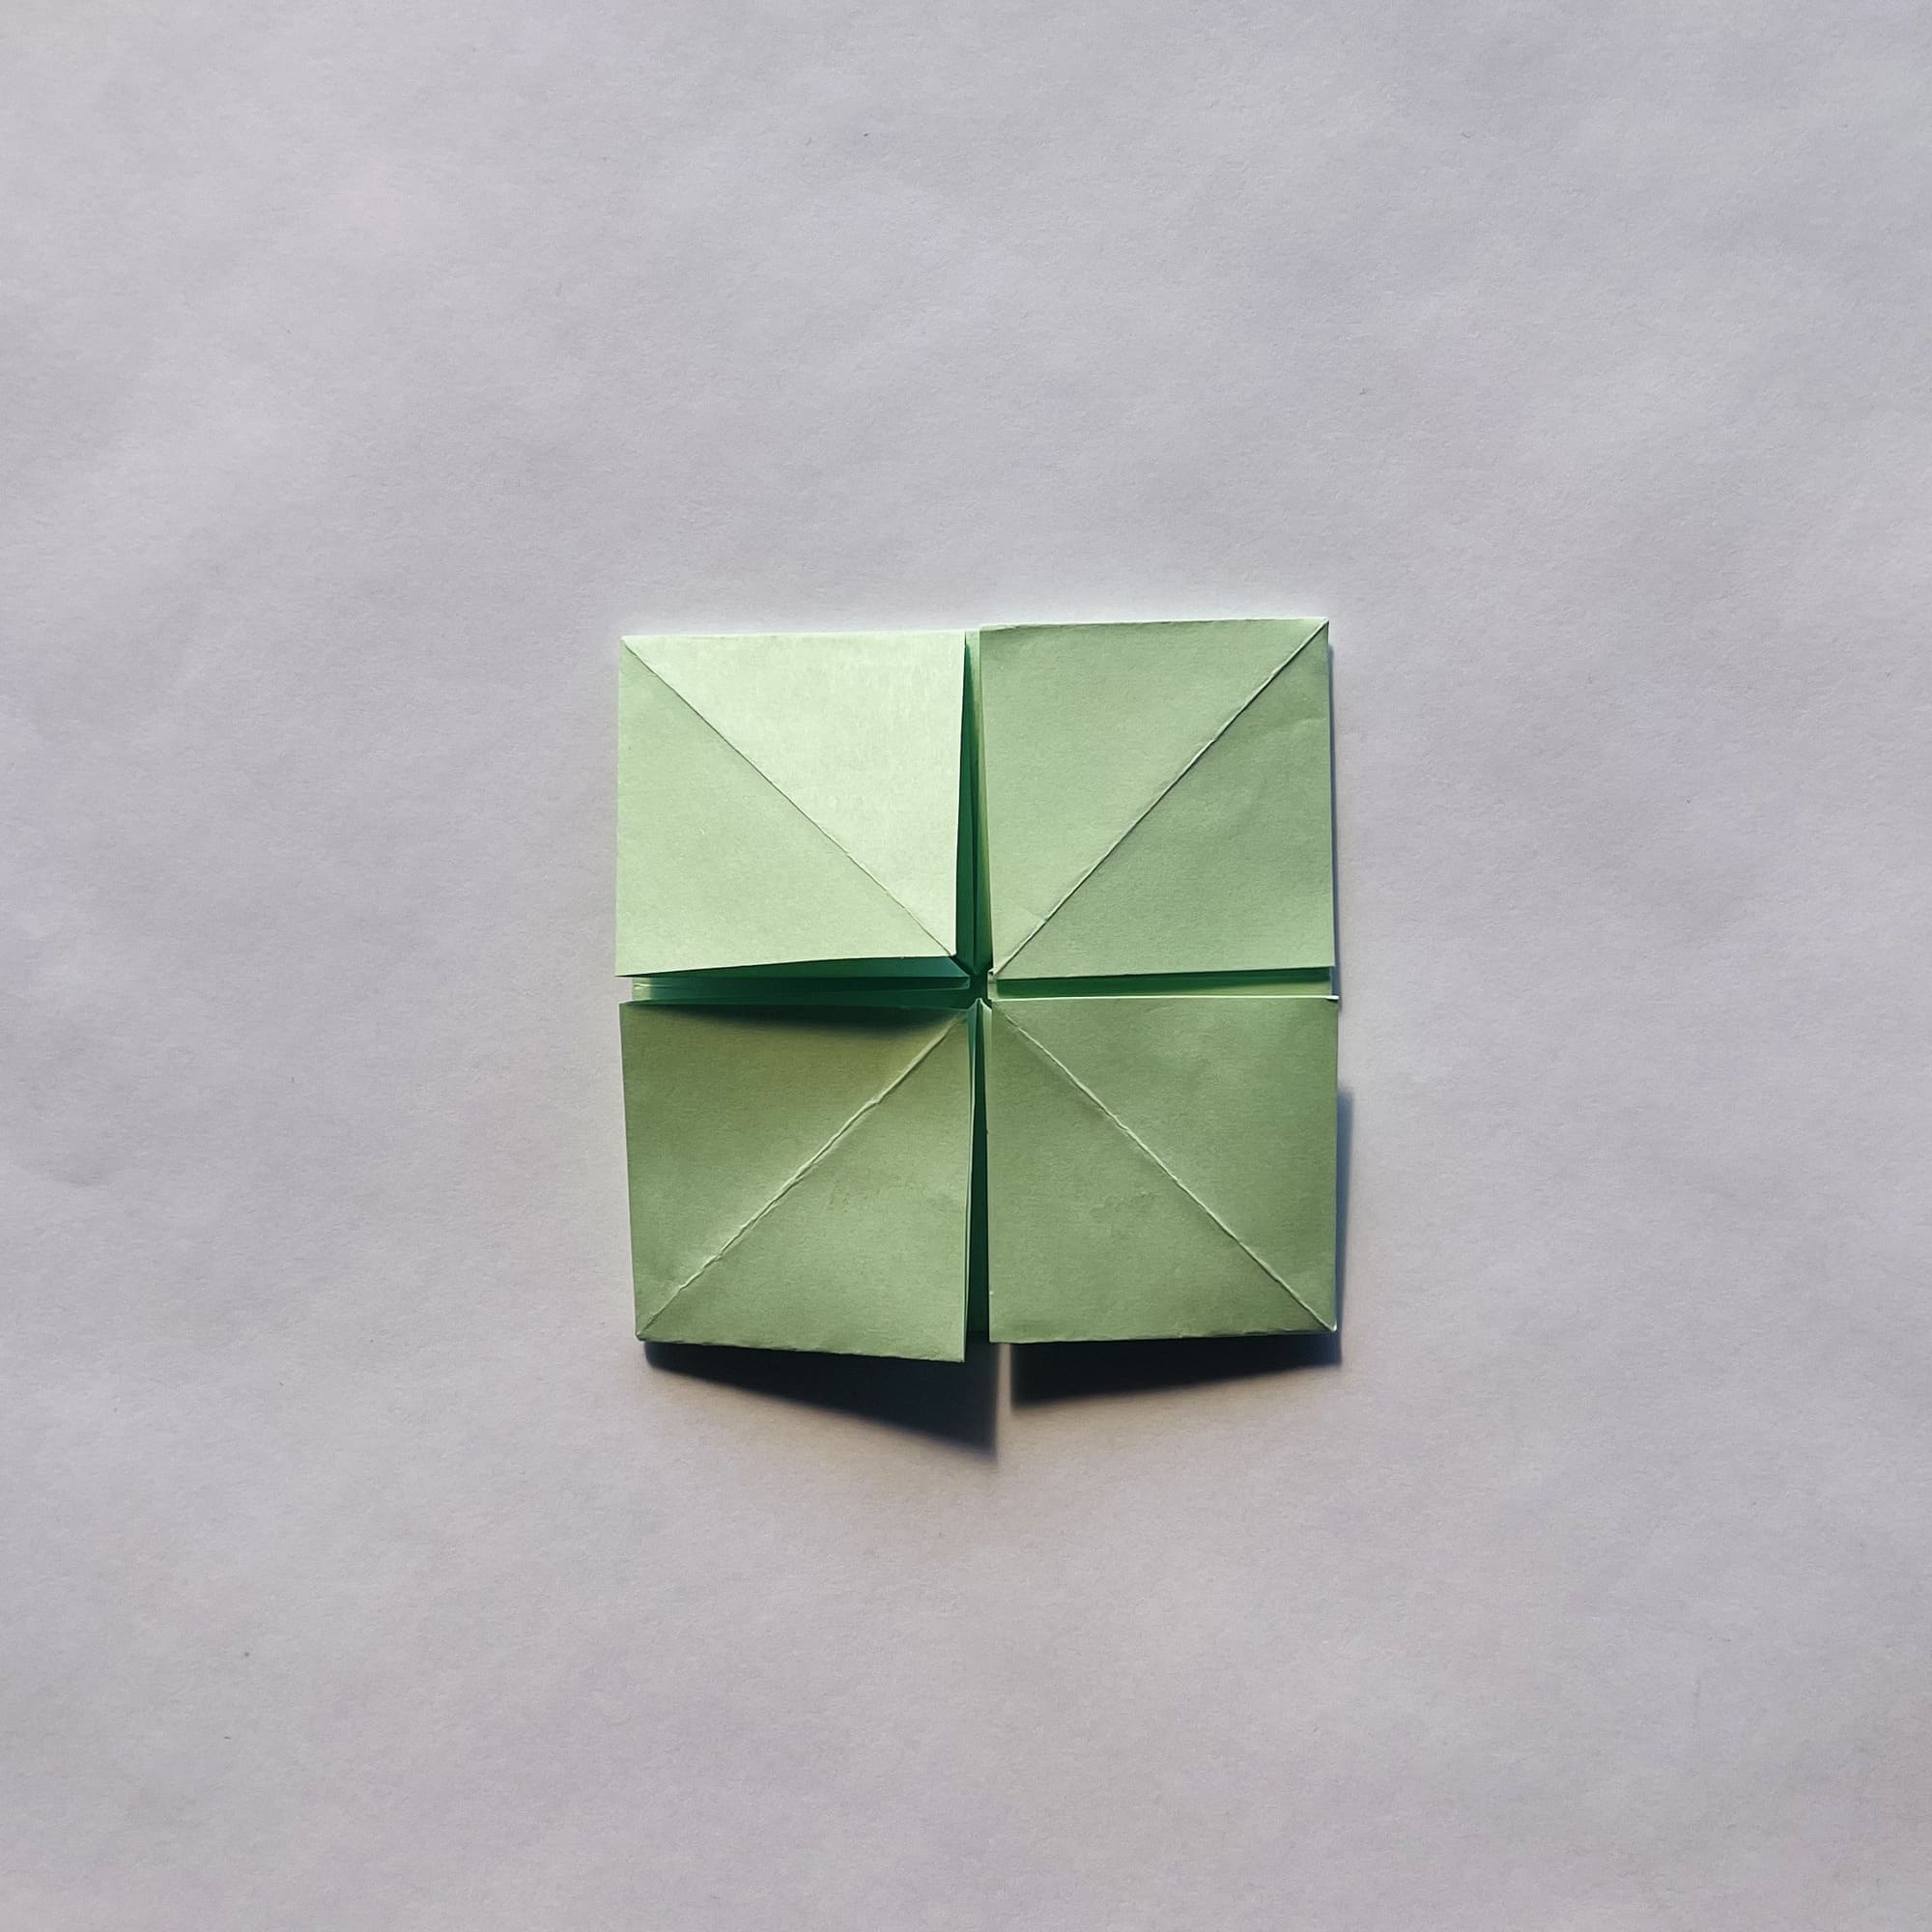
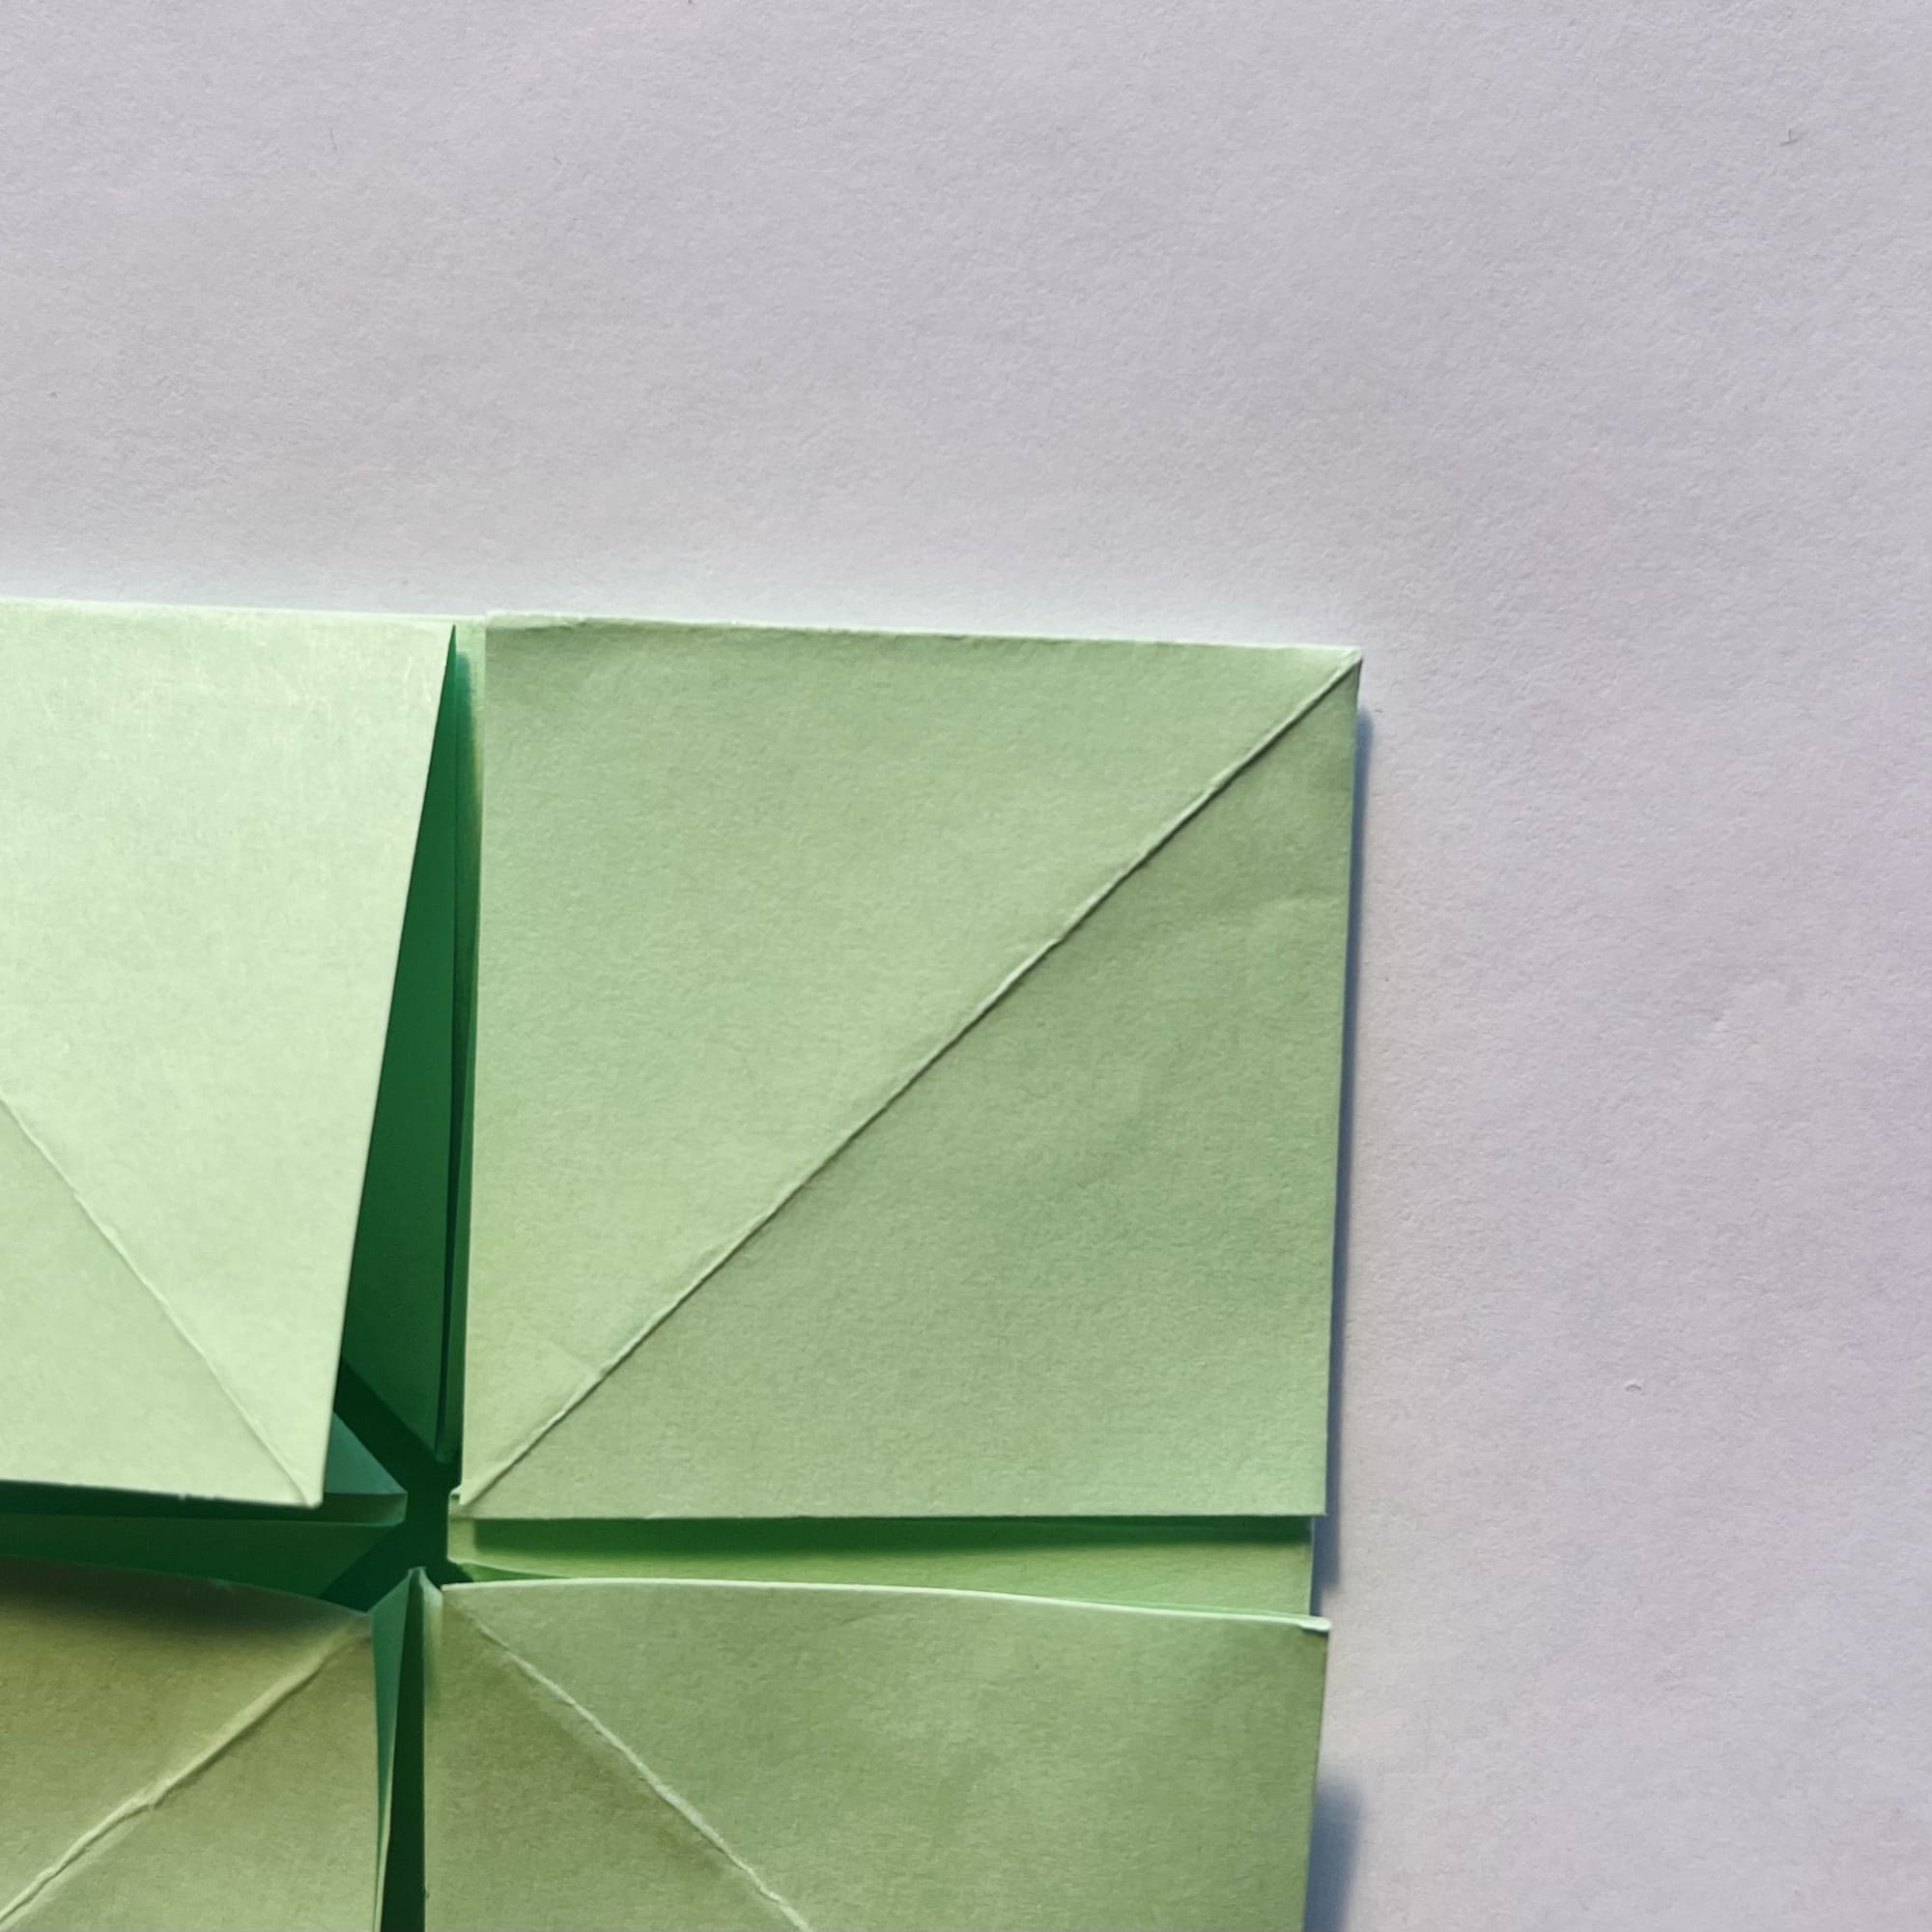
In the upper small square, fold the opposite corners inward, as shown in the photo.

Bend the outer corner inward too.

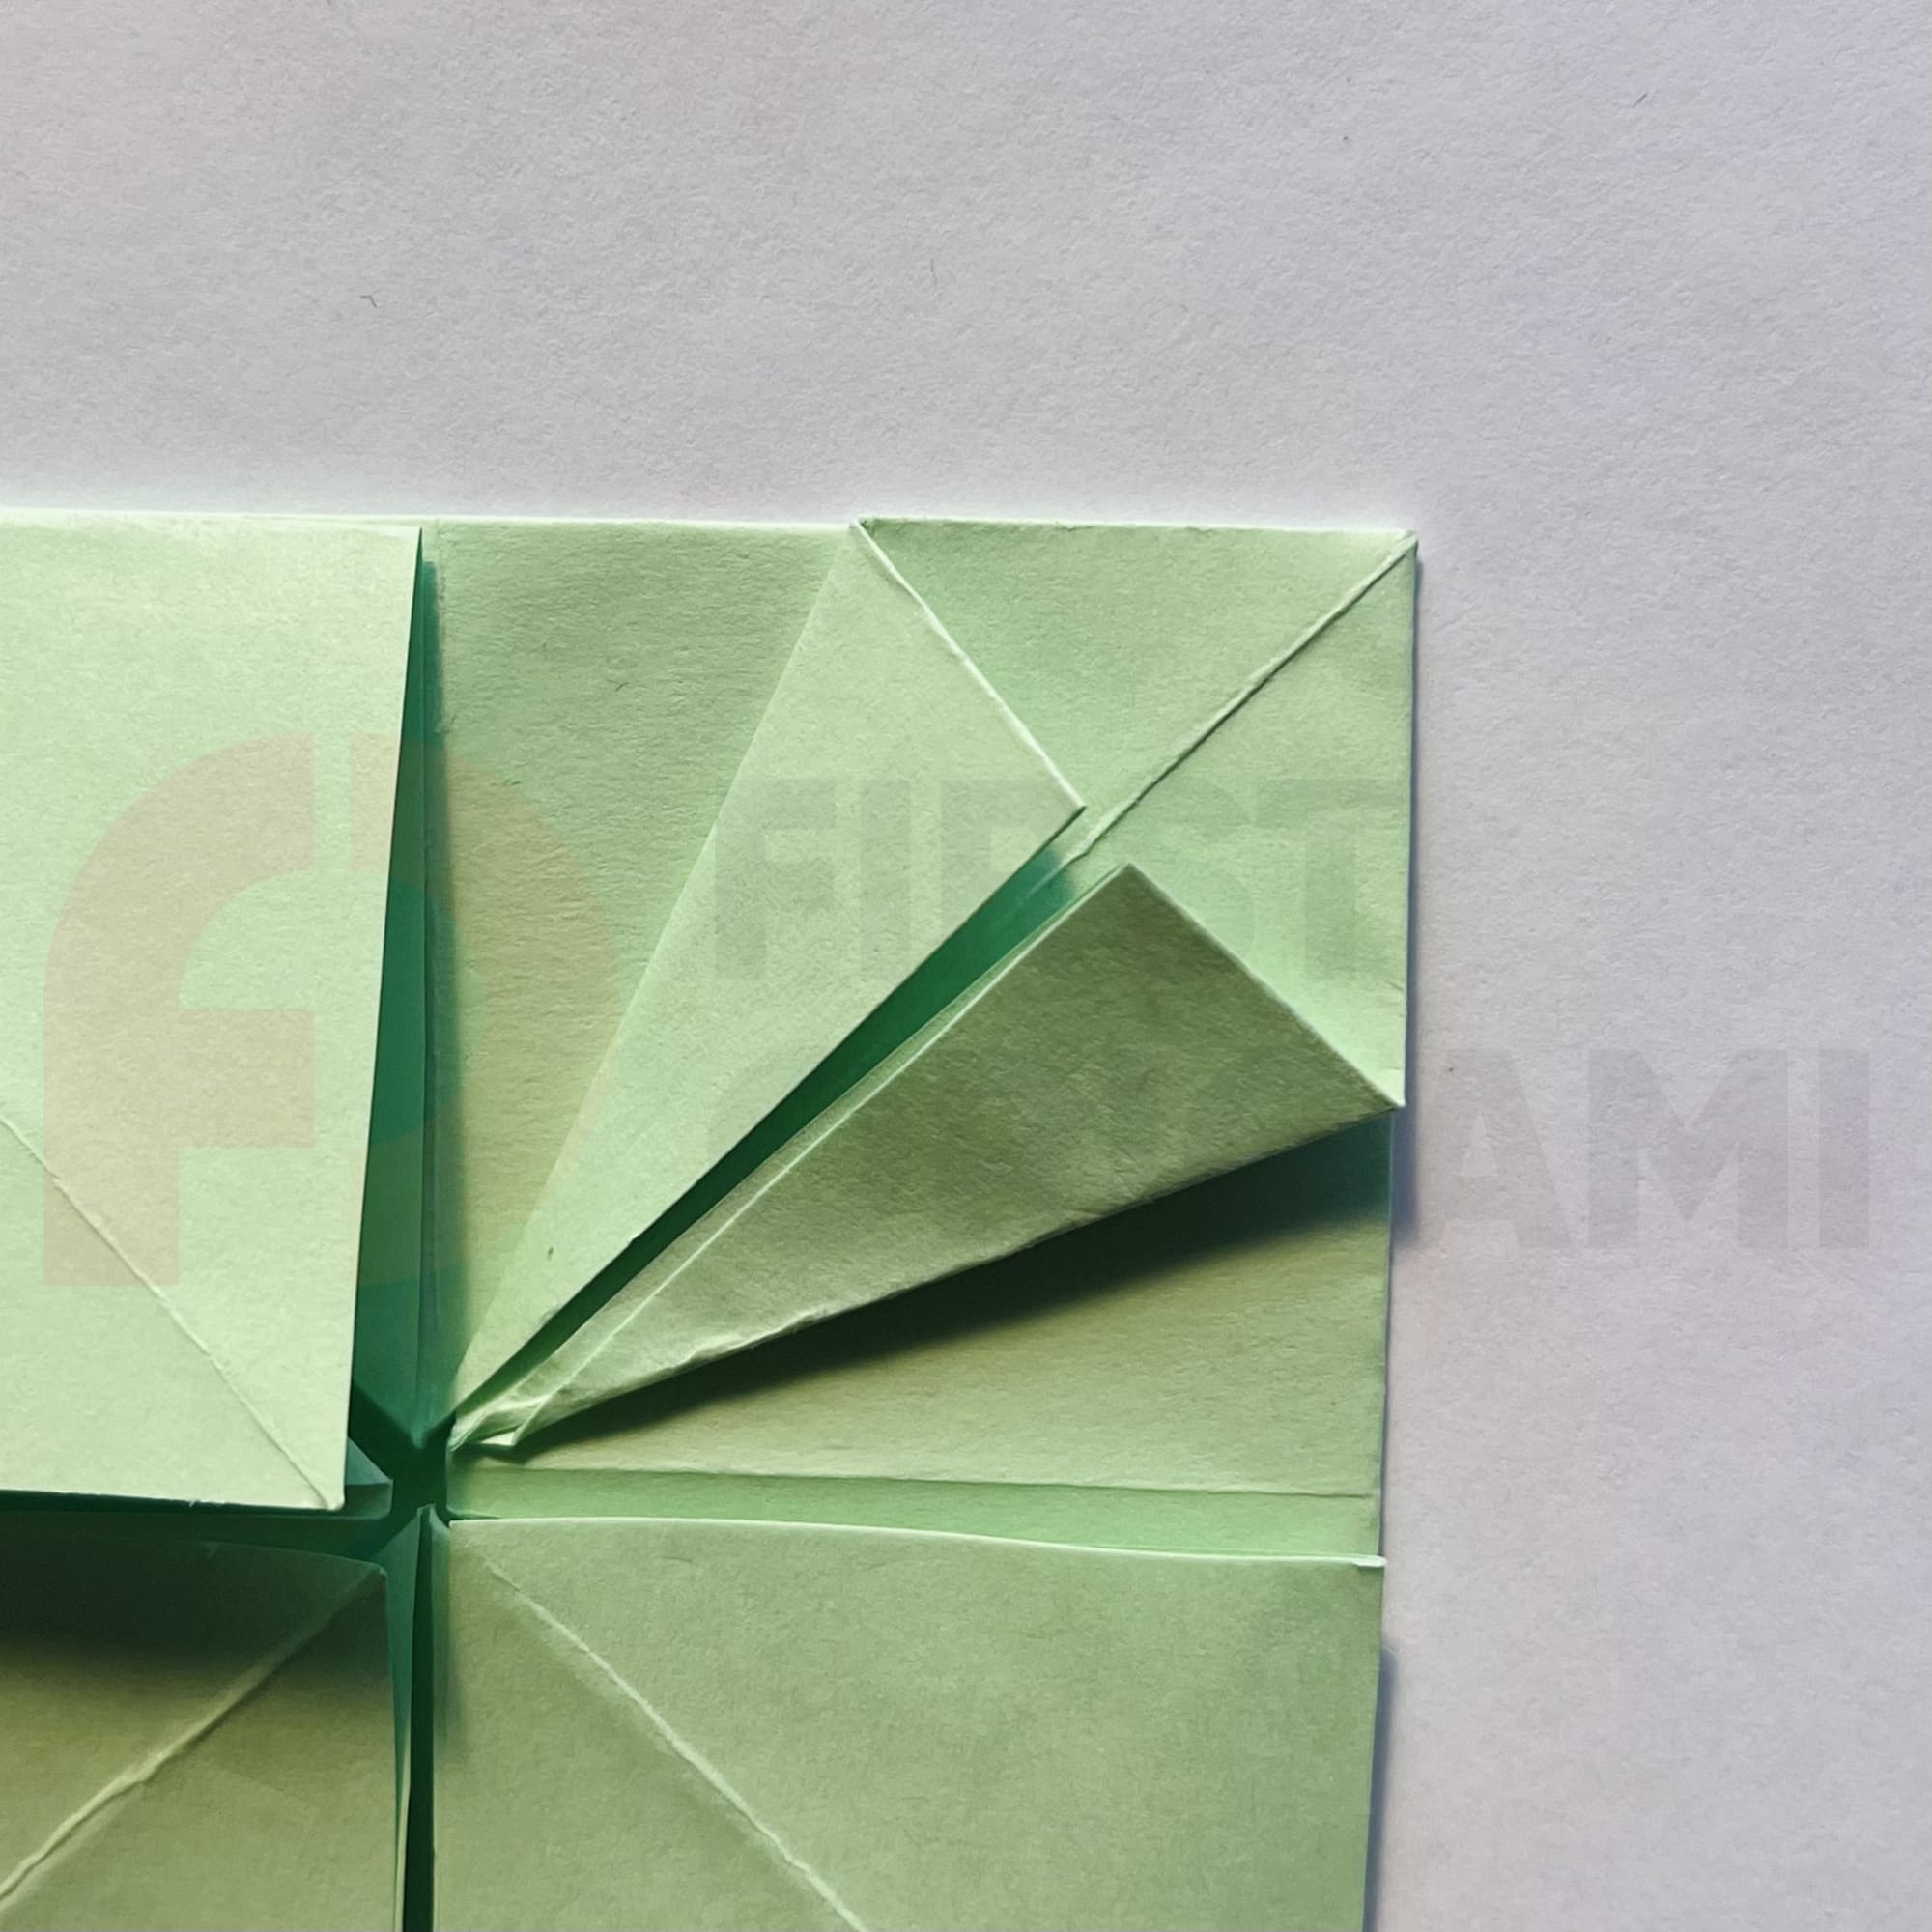
Work through all the folds and unfold them.

Grasping the inner corner, open it outward, and fold the sides inward.
The same actions must be repeated with the remaining three squares.
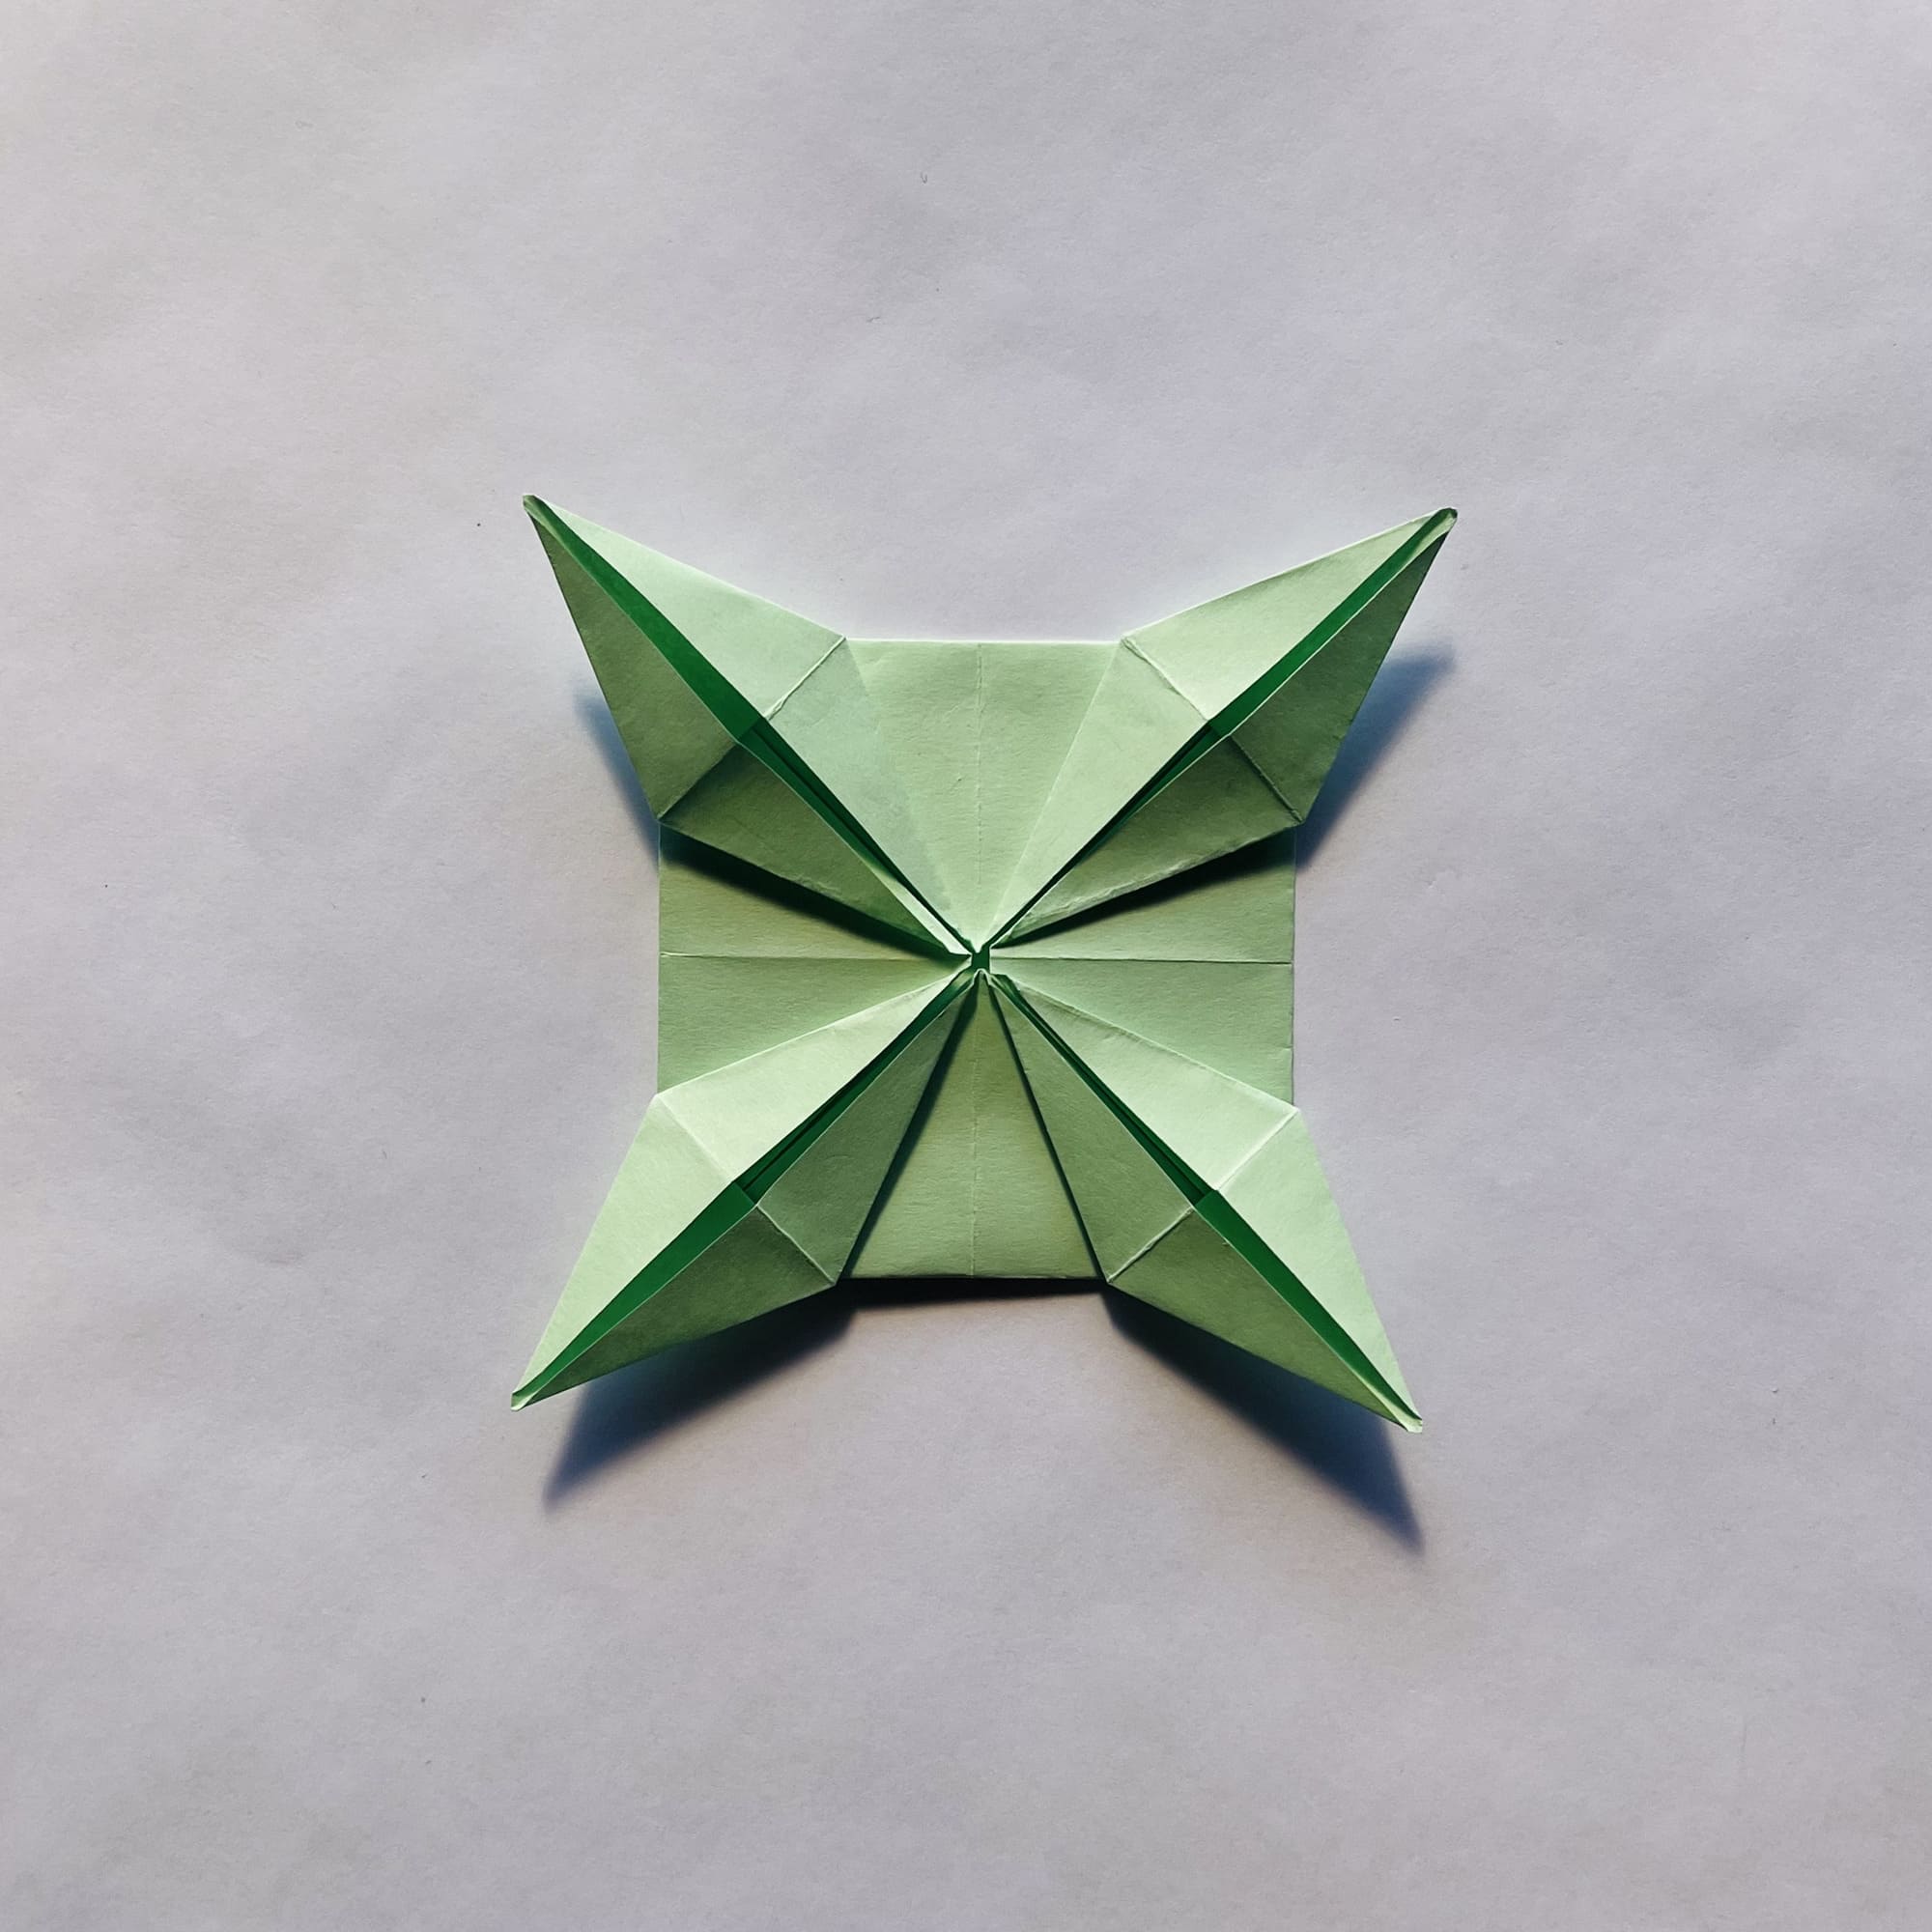
The base is completed. It seems that it already looks great, even if it is not yet a finished origami figure.


