Origami Tailed Airplane
It seems easy to guess why this aircraft model was given this name. Its design is quite unusual and actually has a long tail.
Classically, an origami airplane is made from a horizontal sheet of paper. This time, though, there is a rare peculiarity in the instructions: you will need scissors. This approach to origami is rare but arouses great interest. The level of difficulty and the need to use scissors make this model a fun activity for adults and older children, but little ones should only assemble it with supervision.
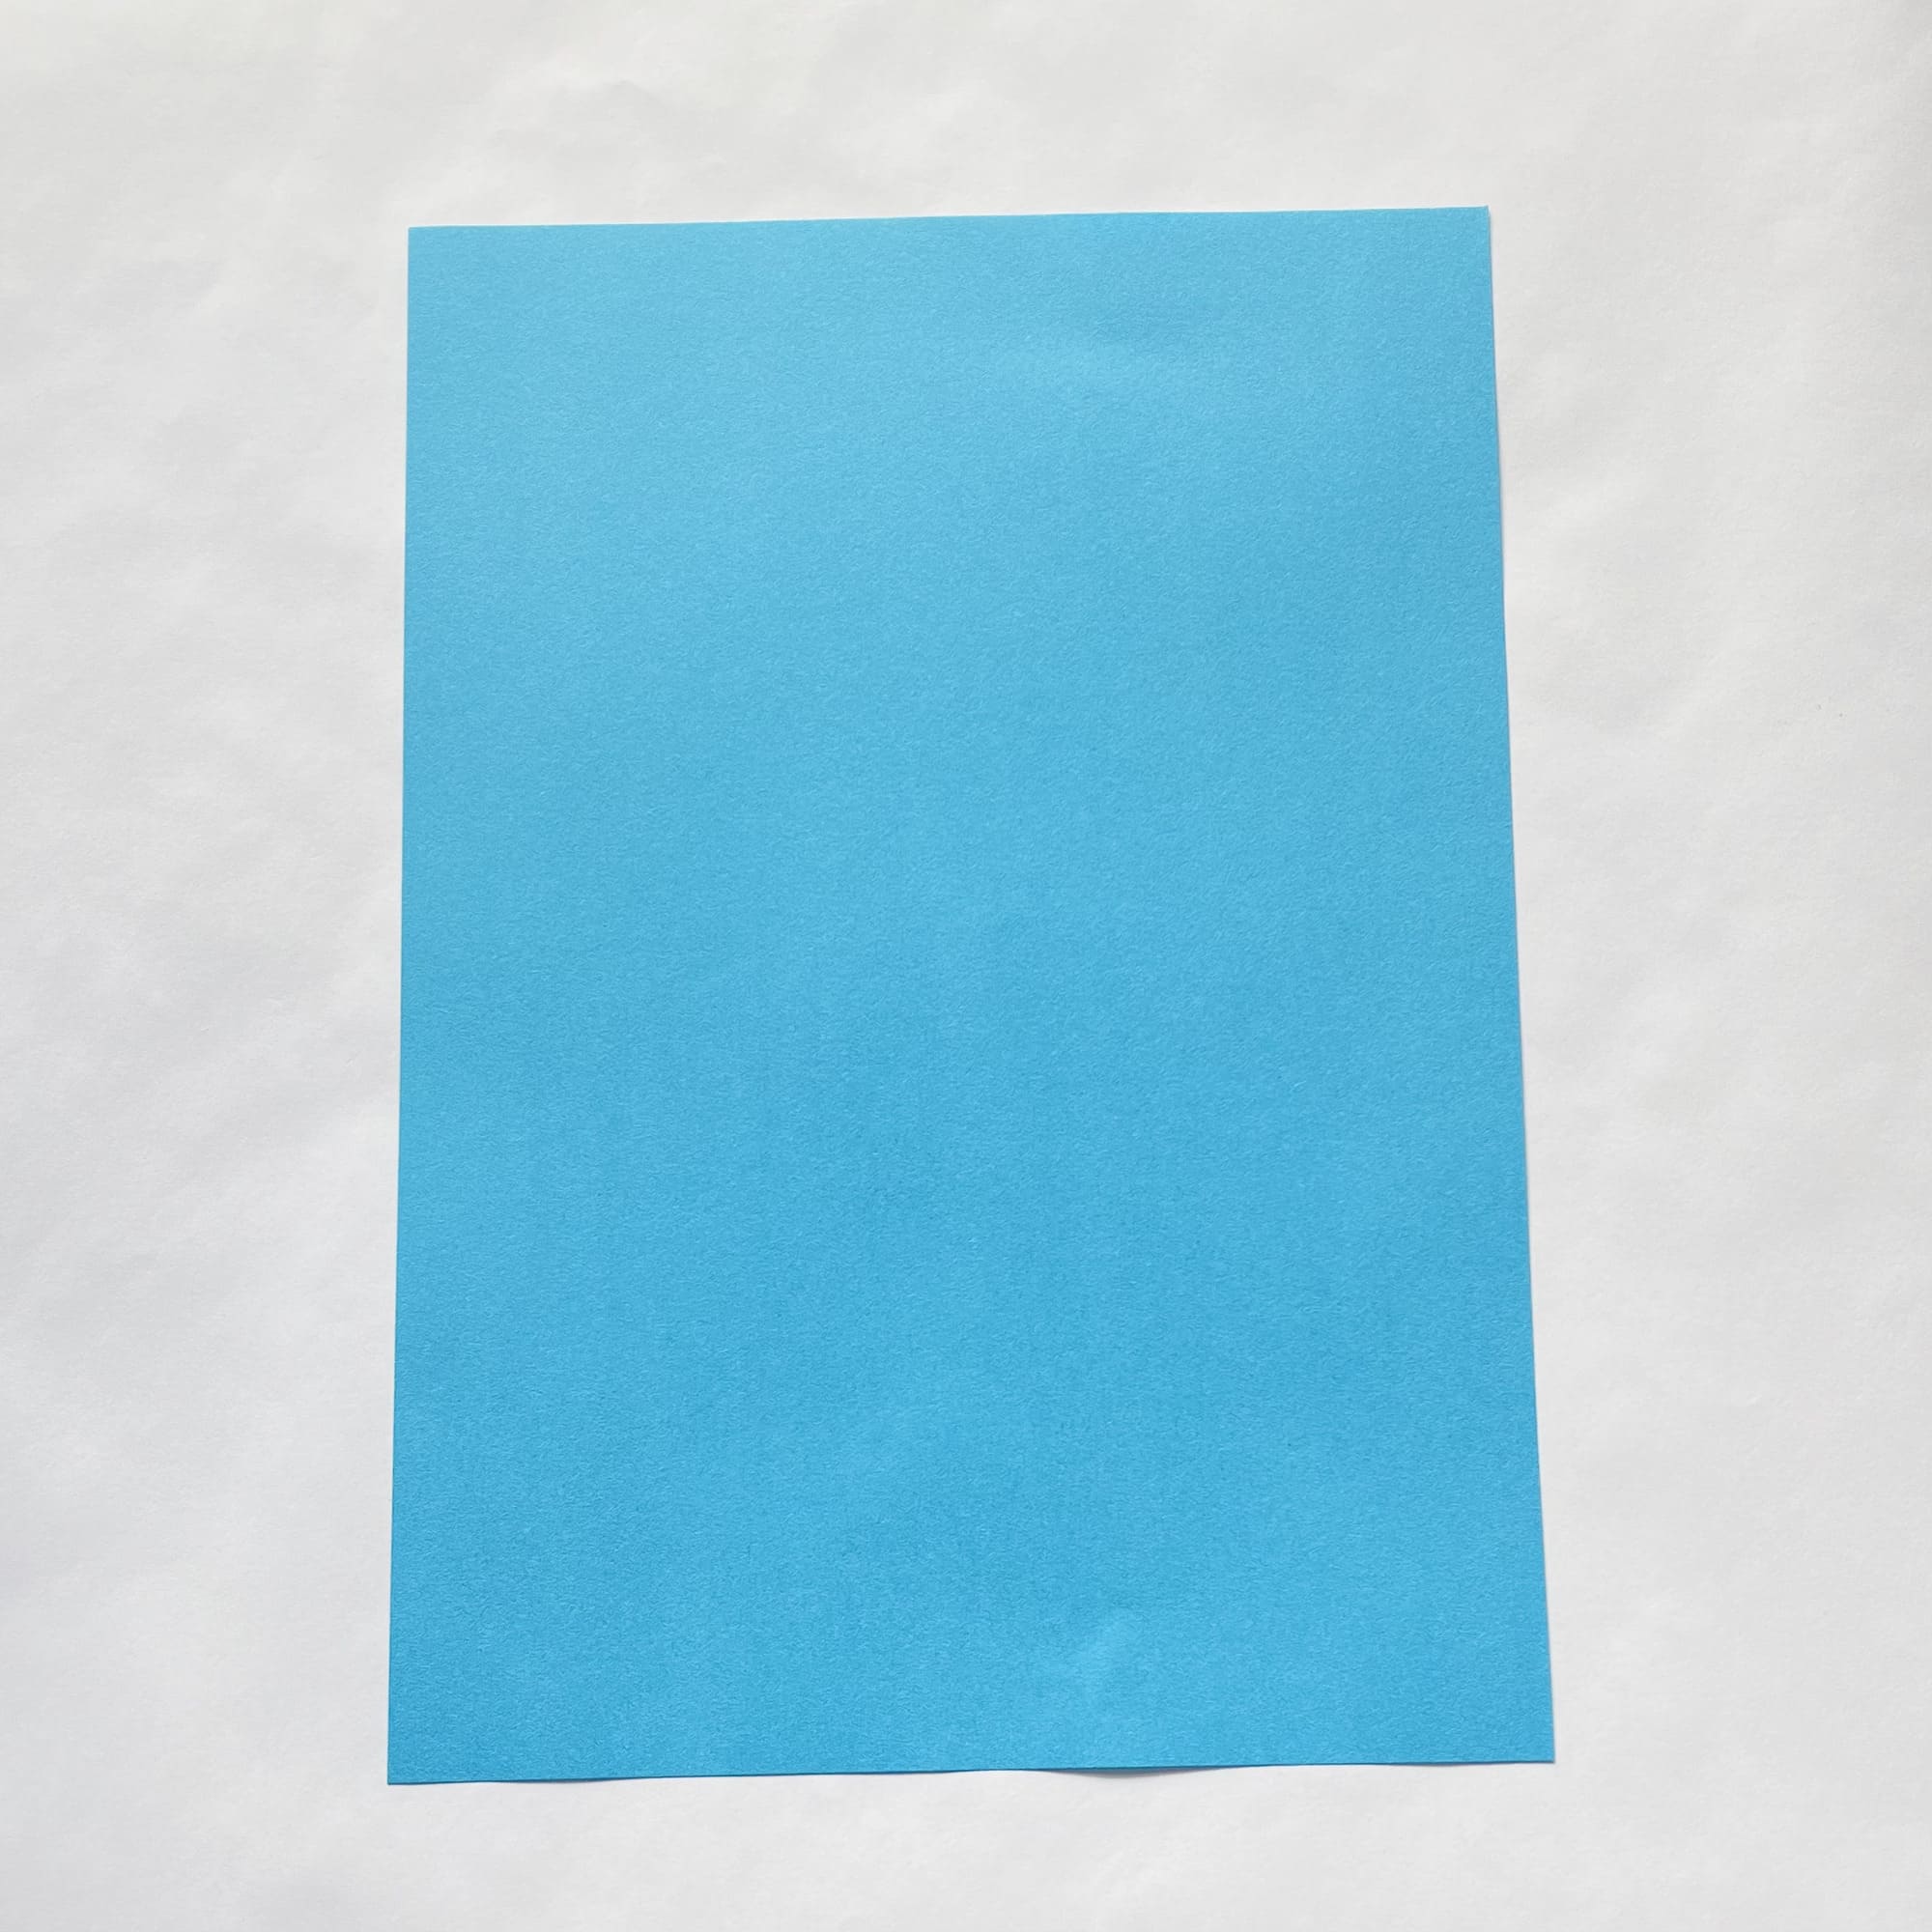
Prepare a sheet of A4 paper and place it vertically.
Fold the top right corner toward the left side of the paper, then fold it back out.
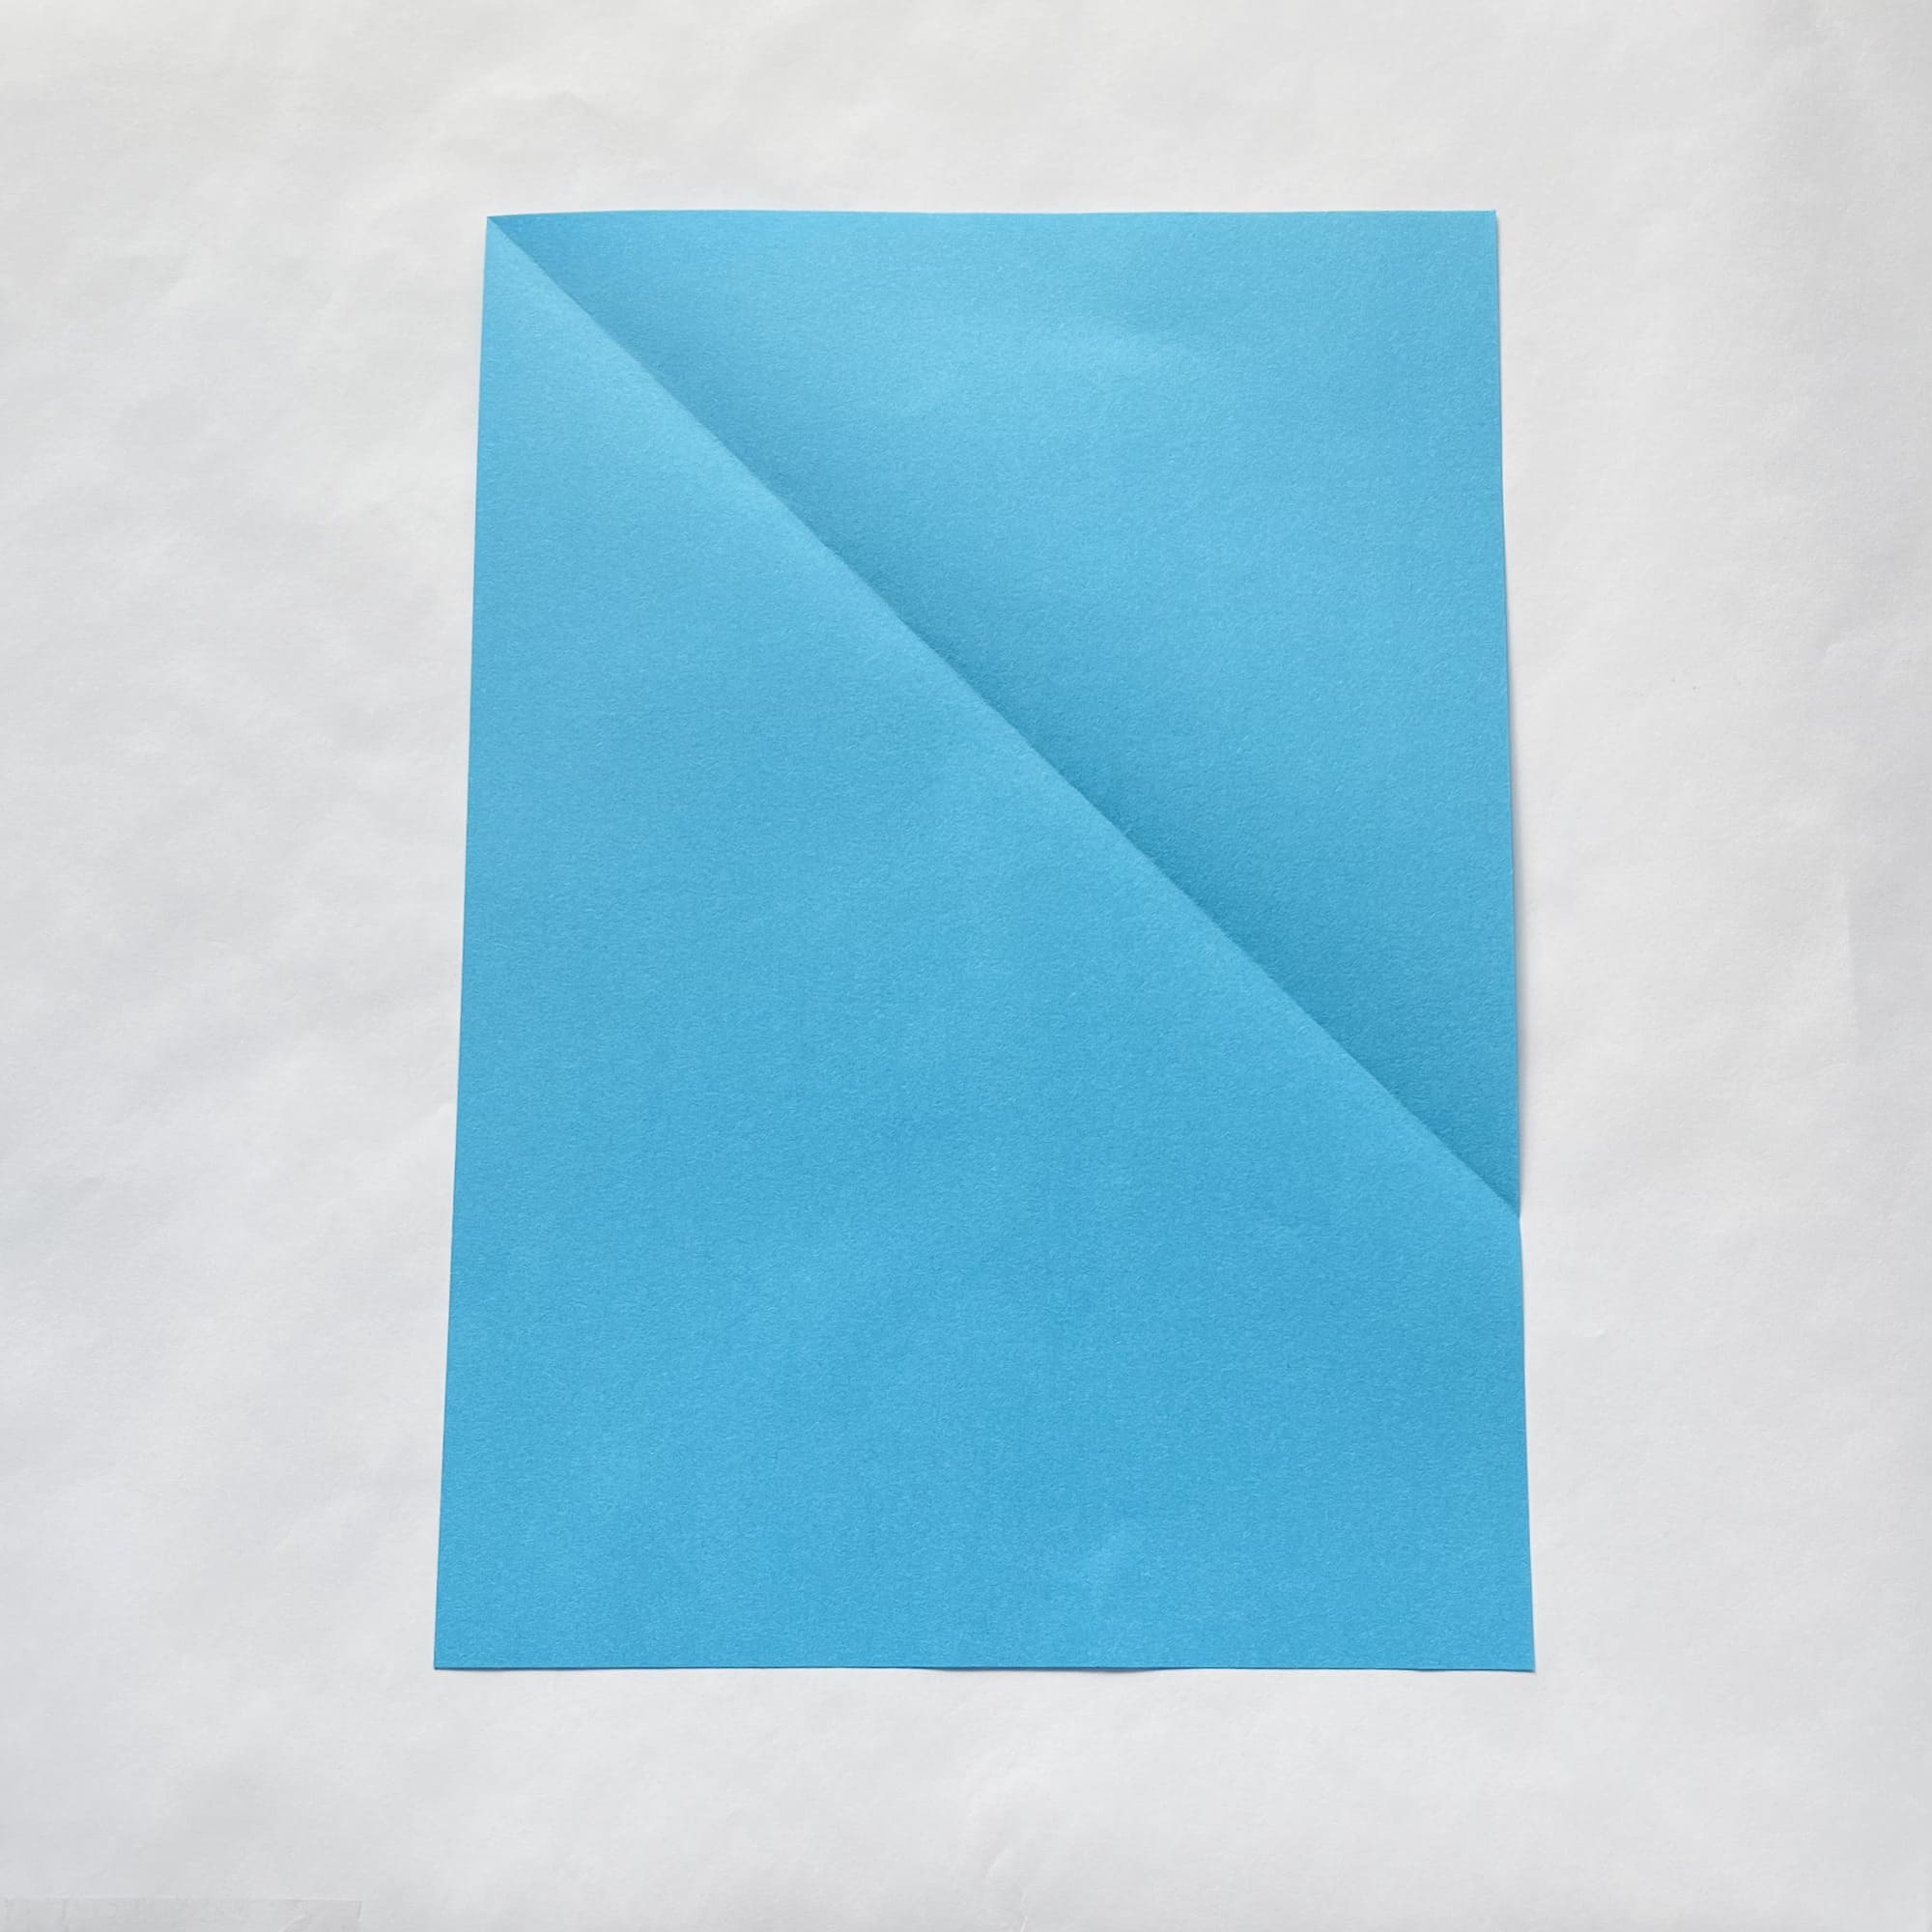
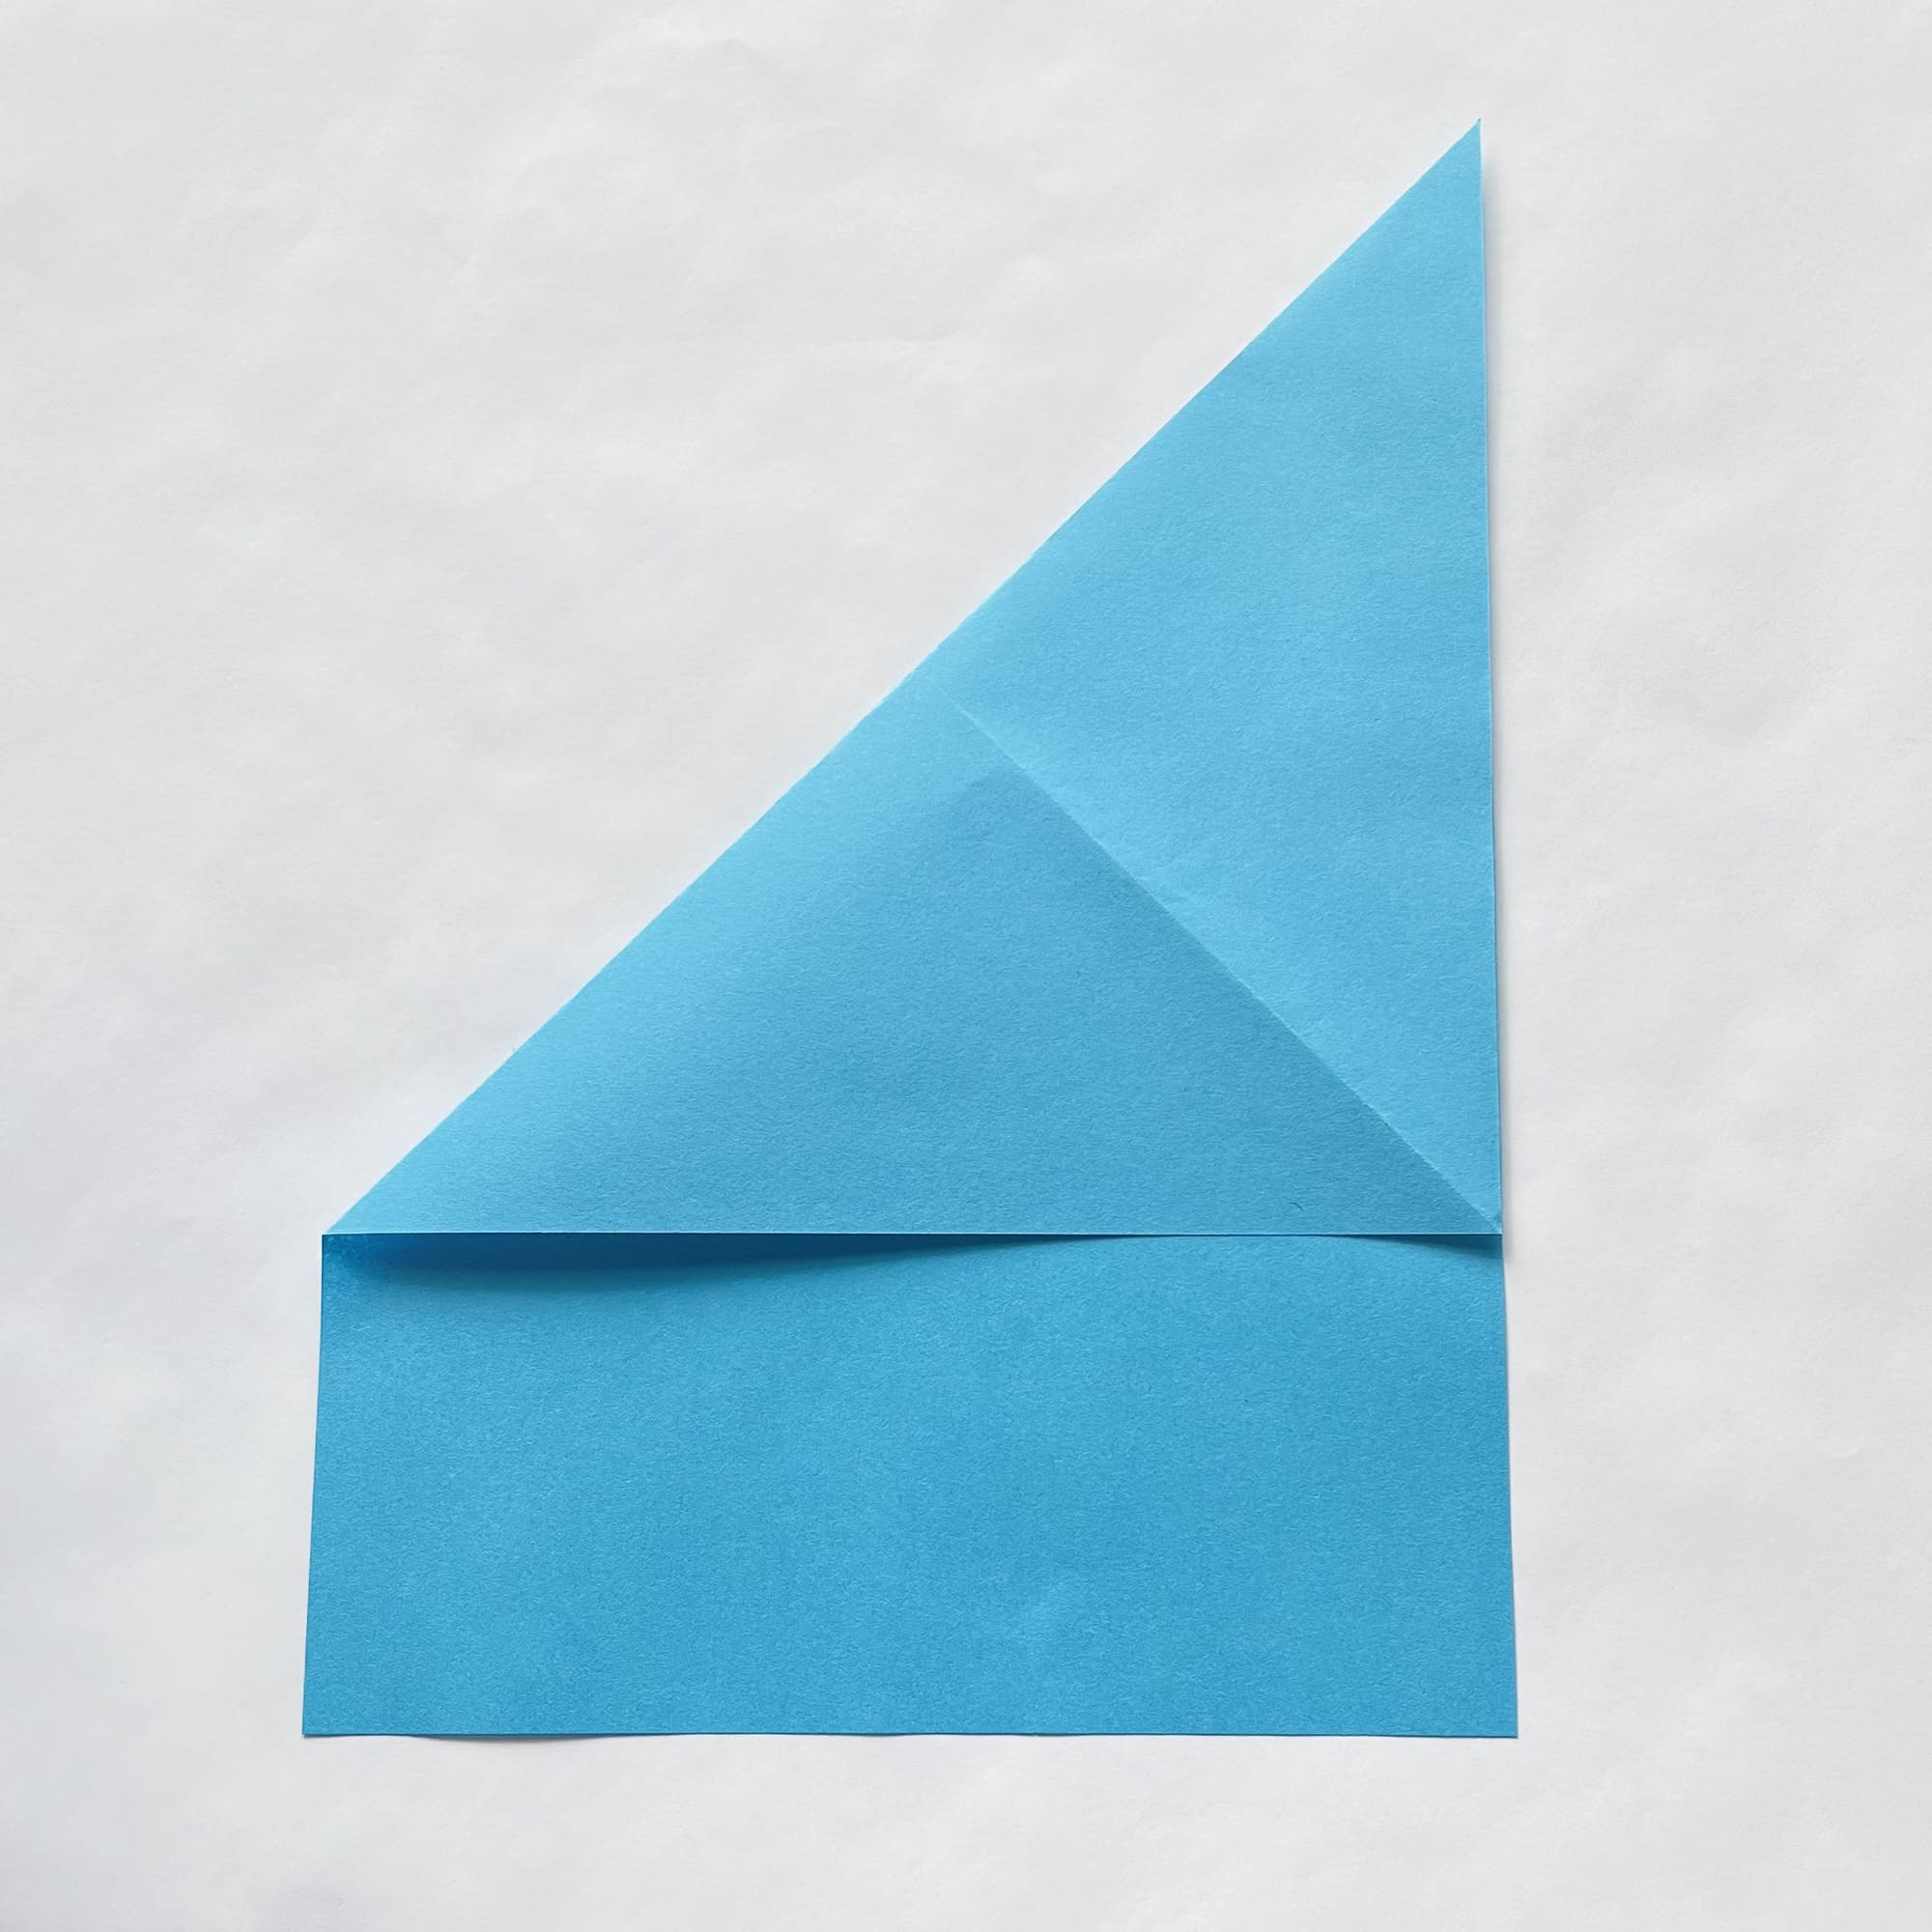
Now, fold the upper left corner to the right side, crease the fold well, and unfold.

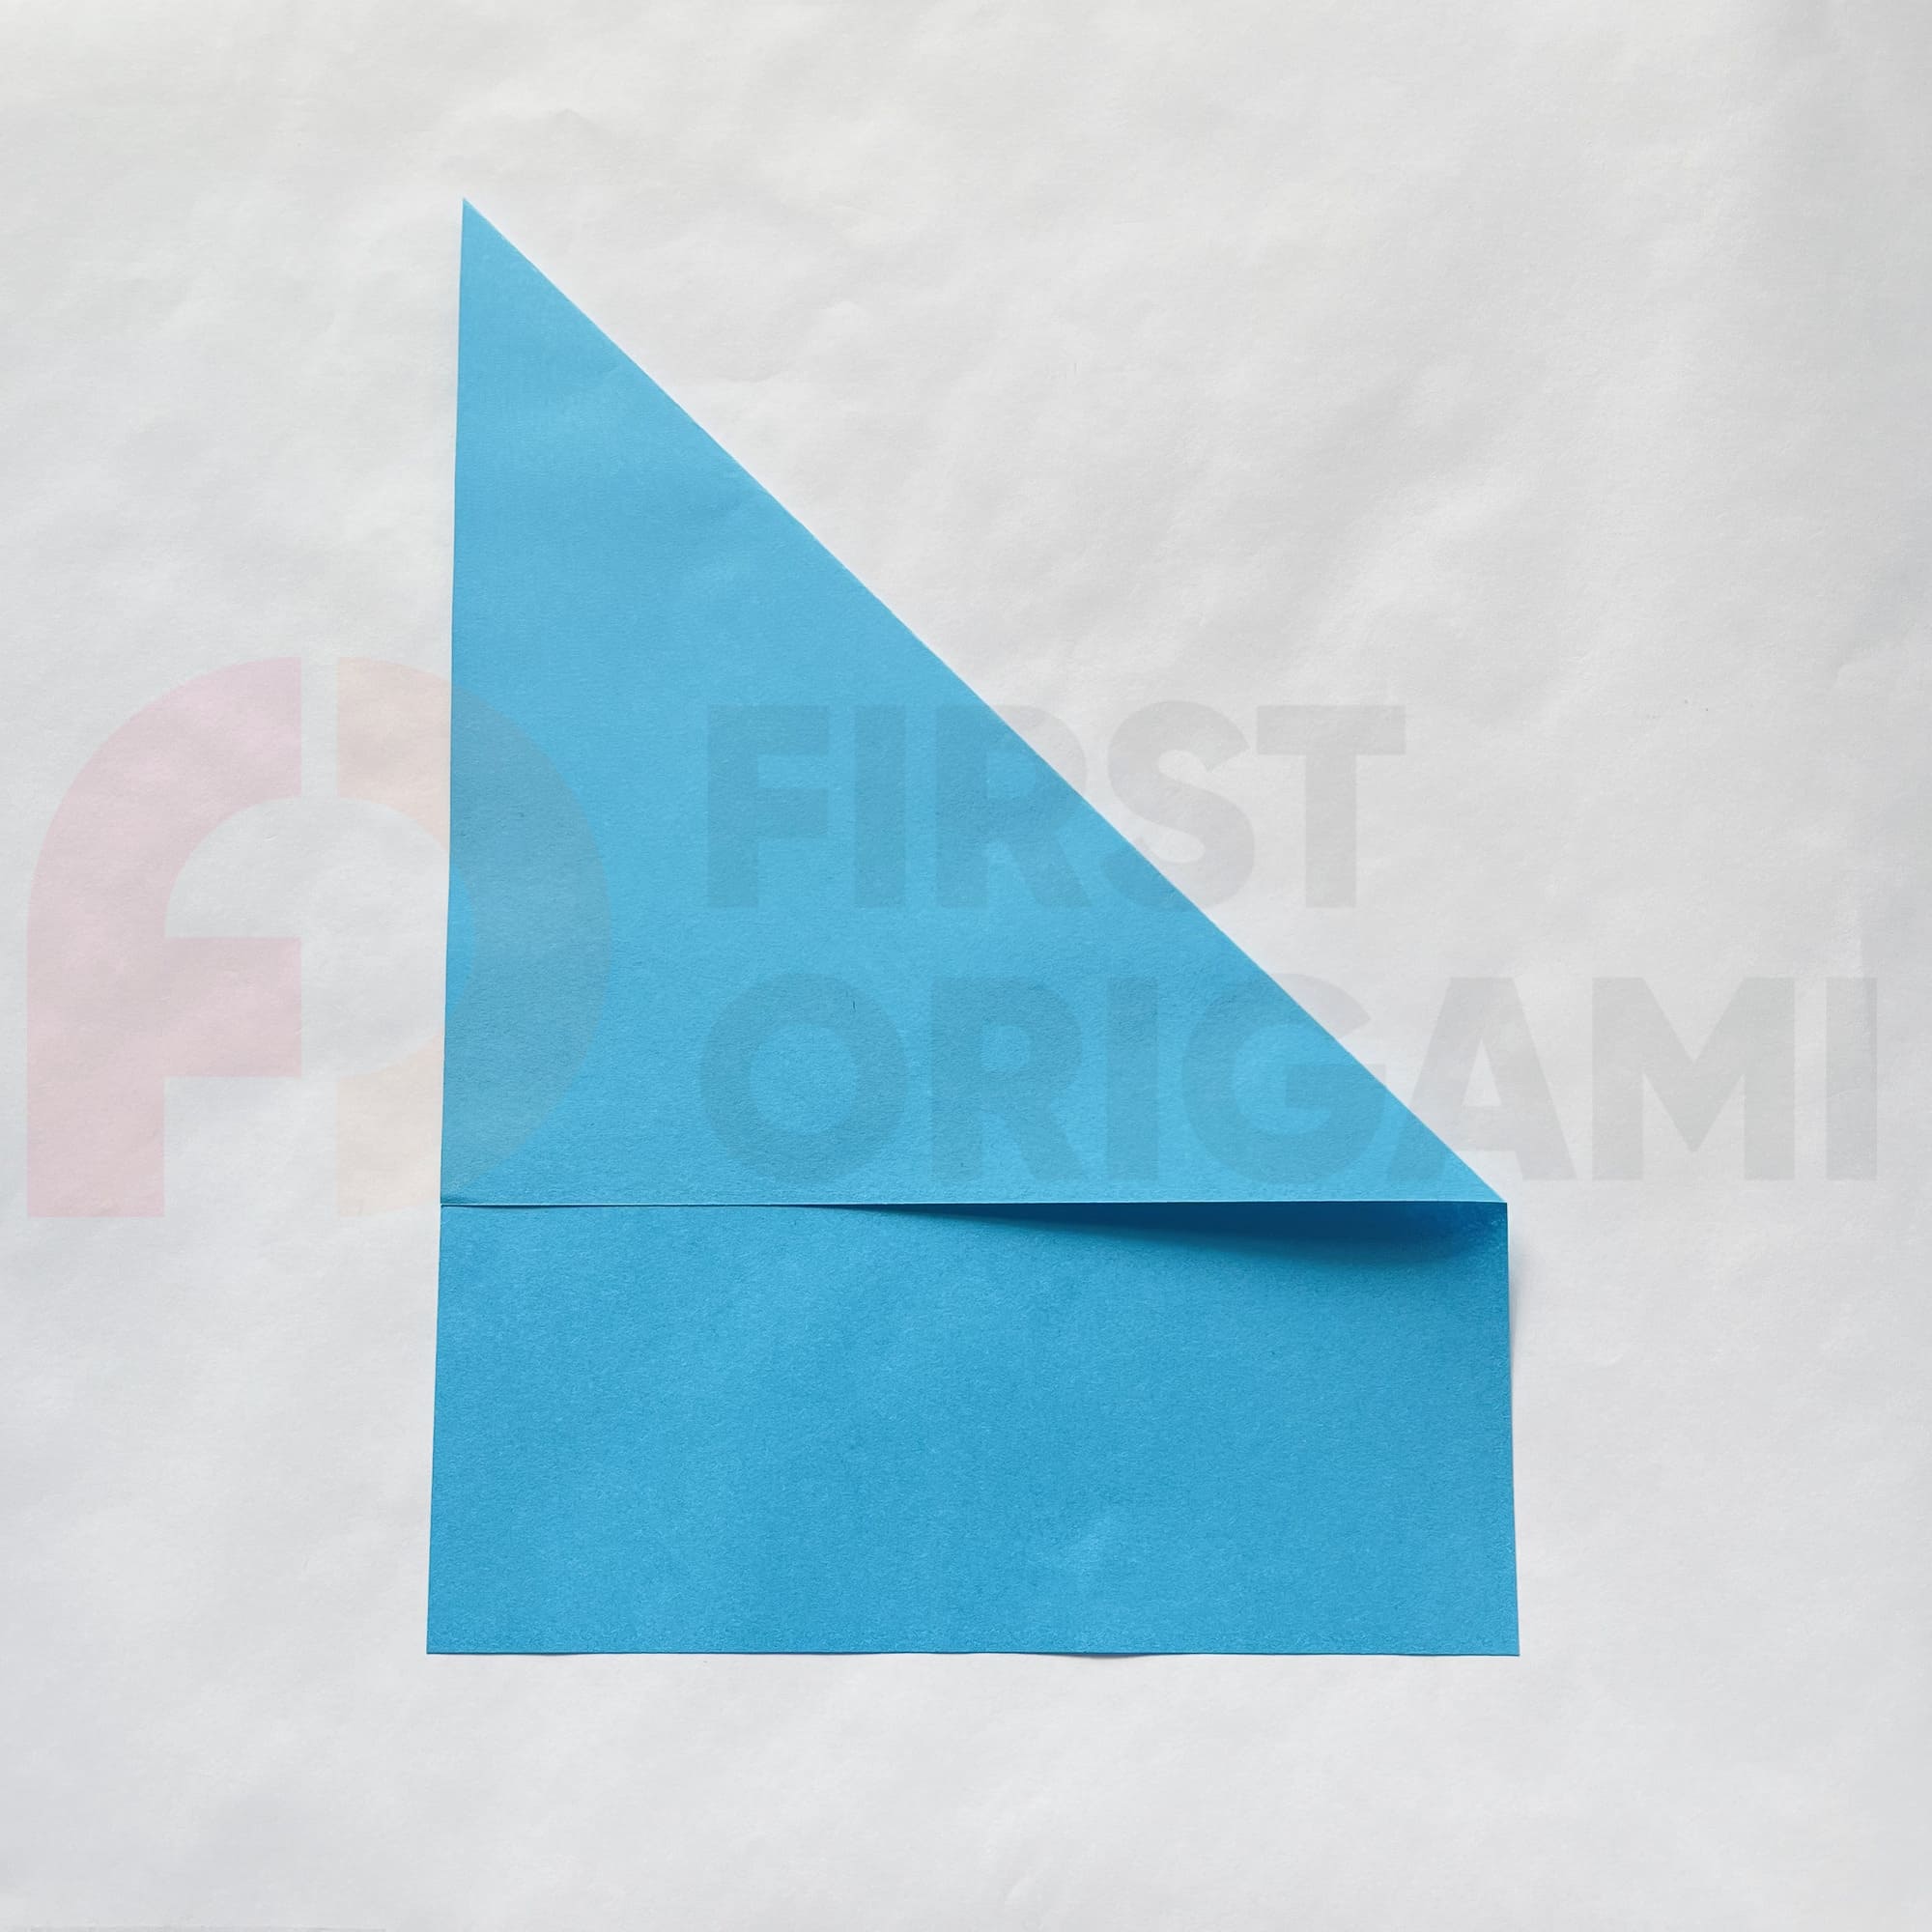
Cut the bottom rectangular part of the paper along the dotted line and set aside.
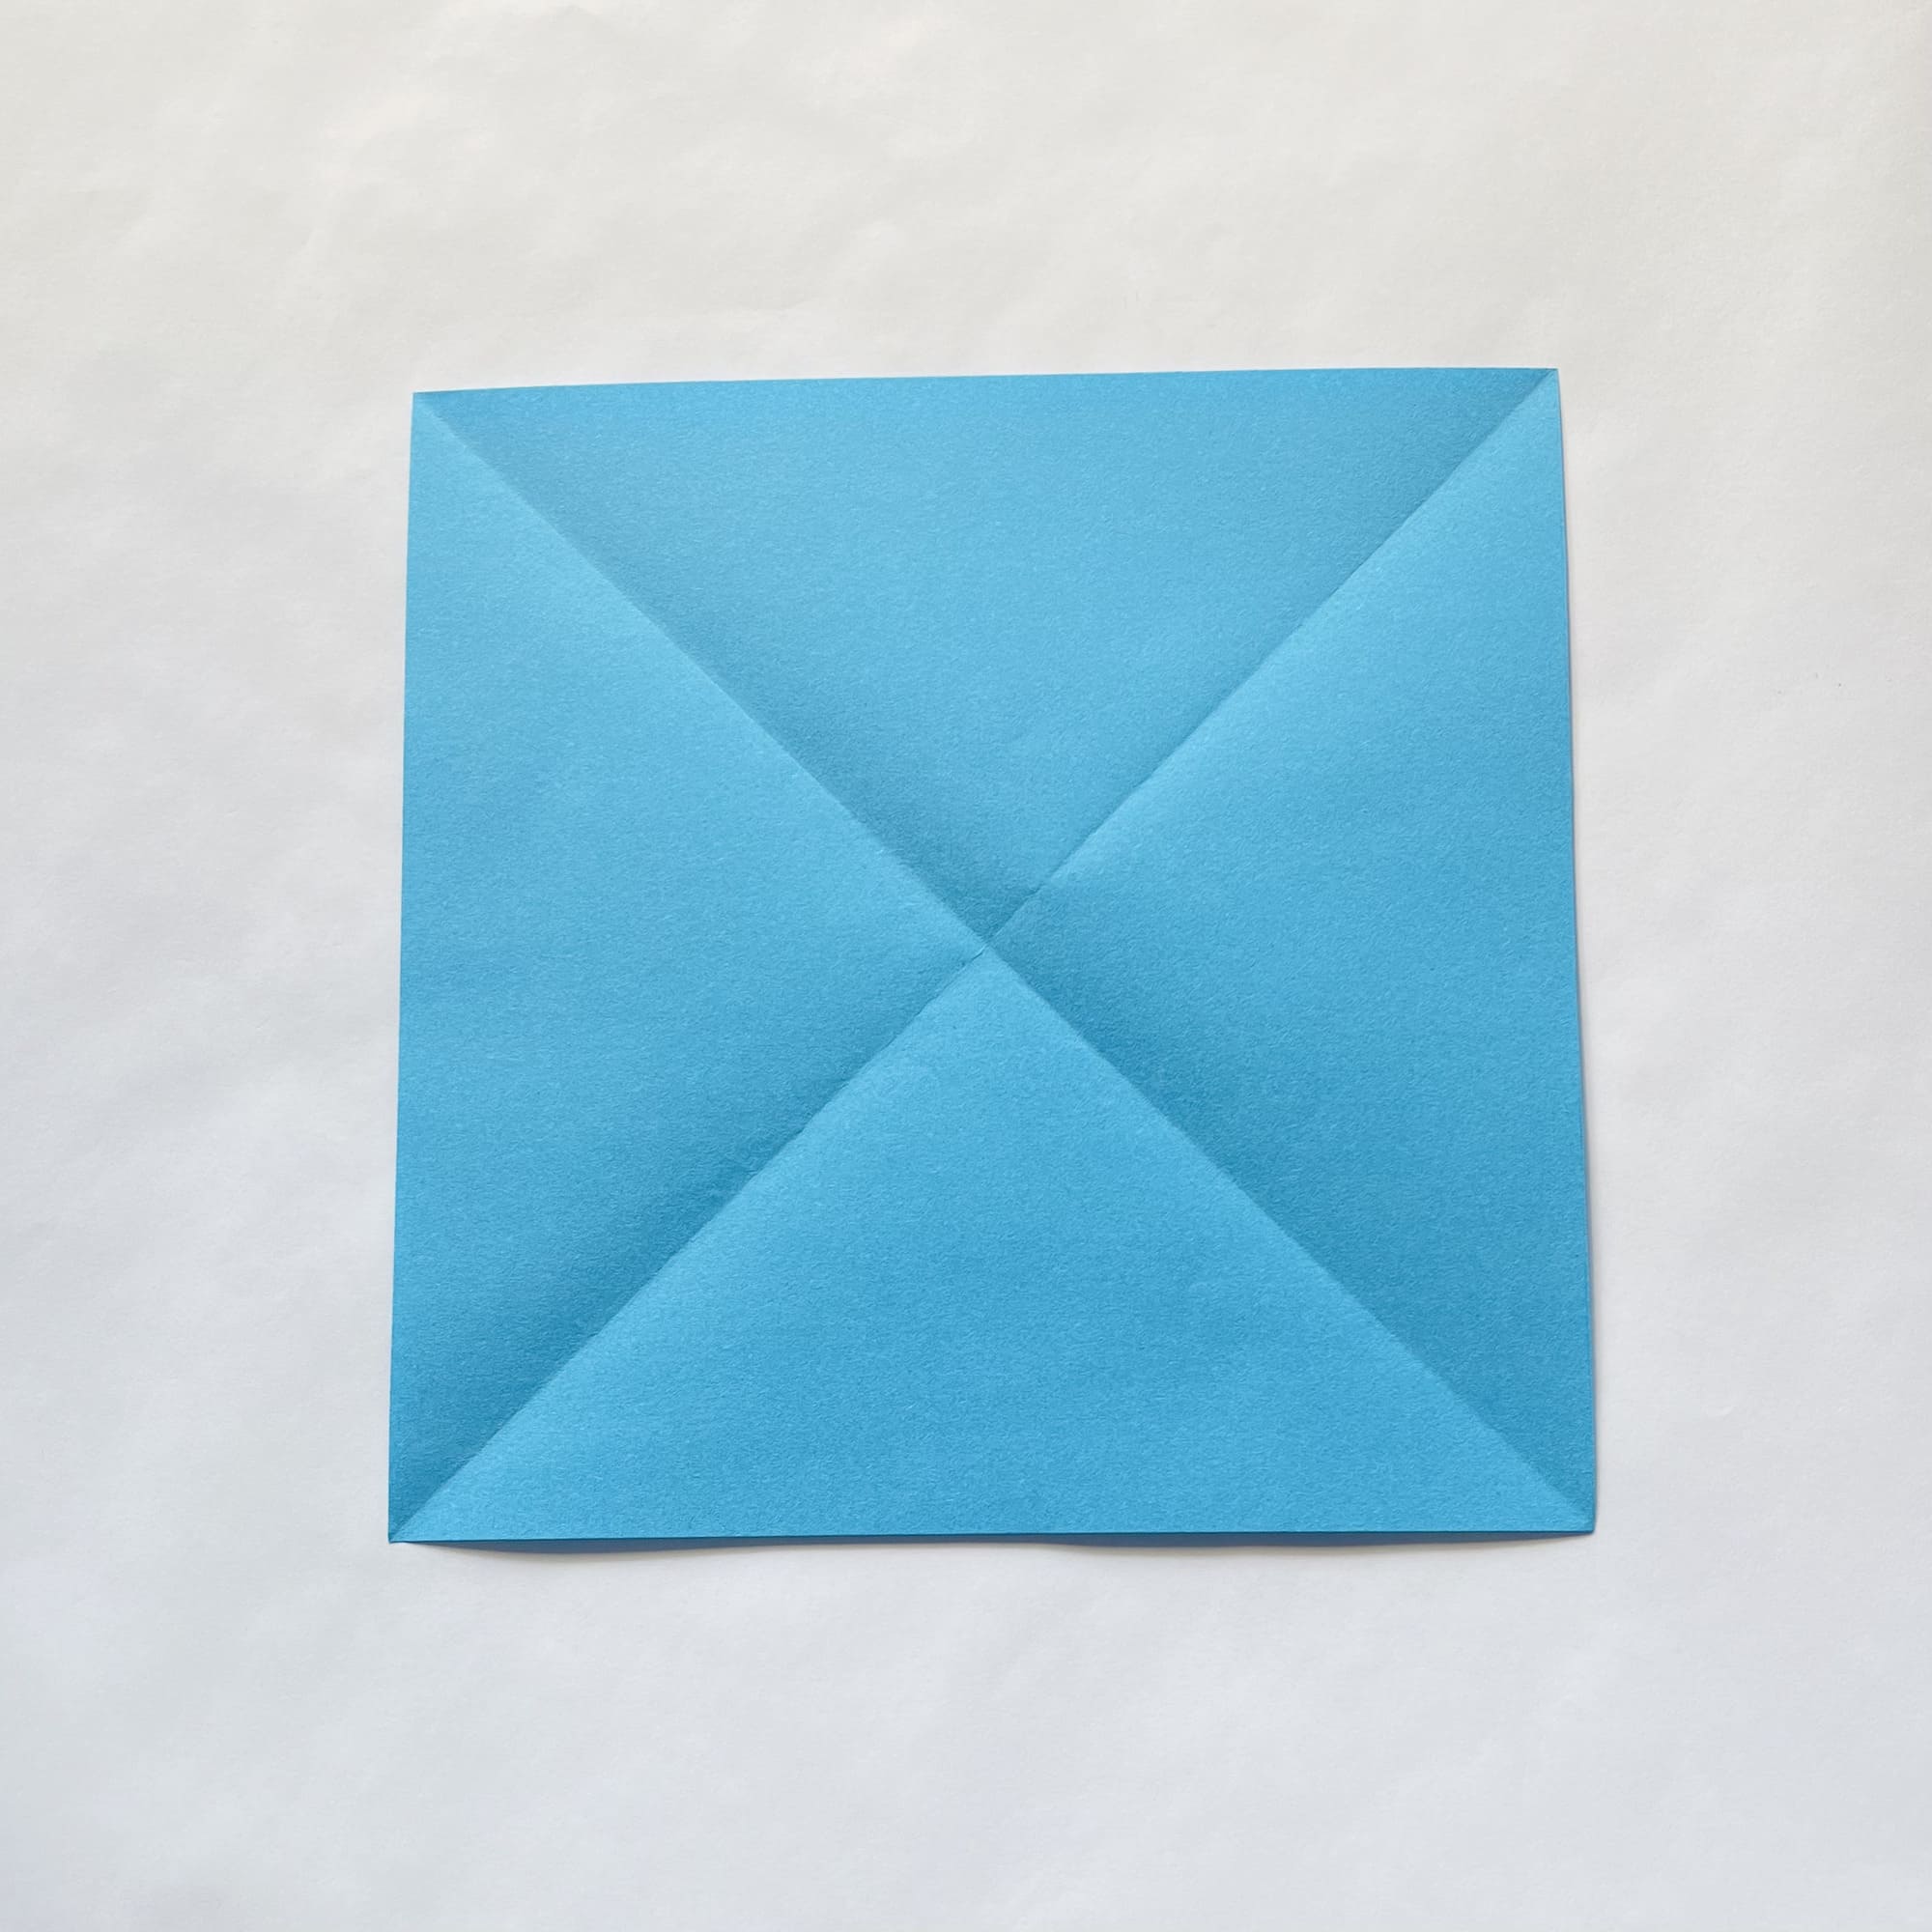
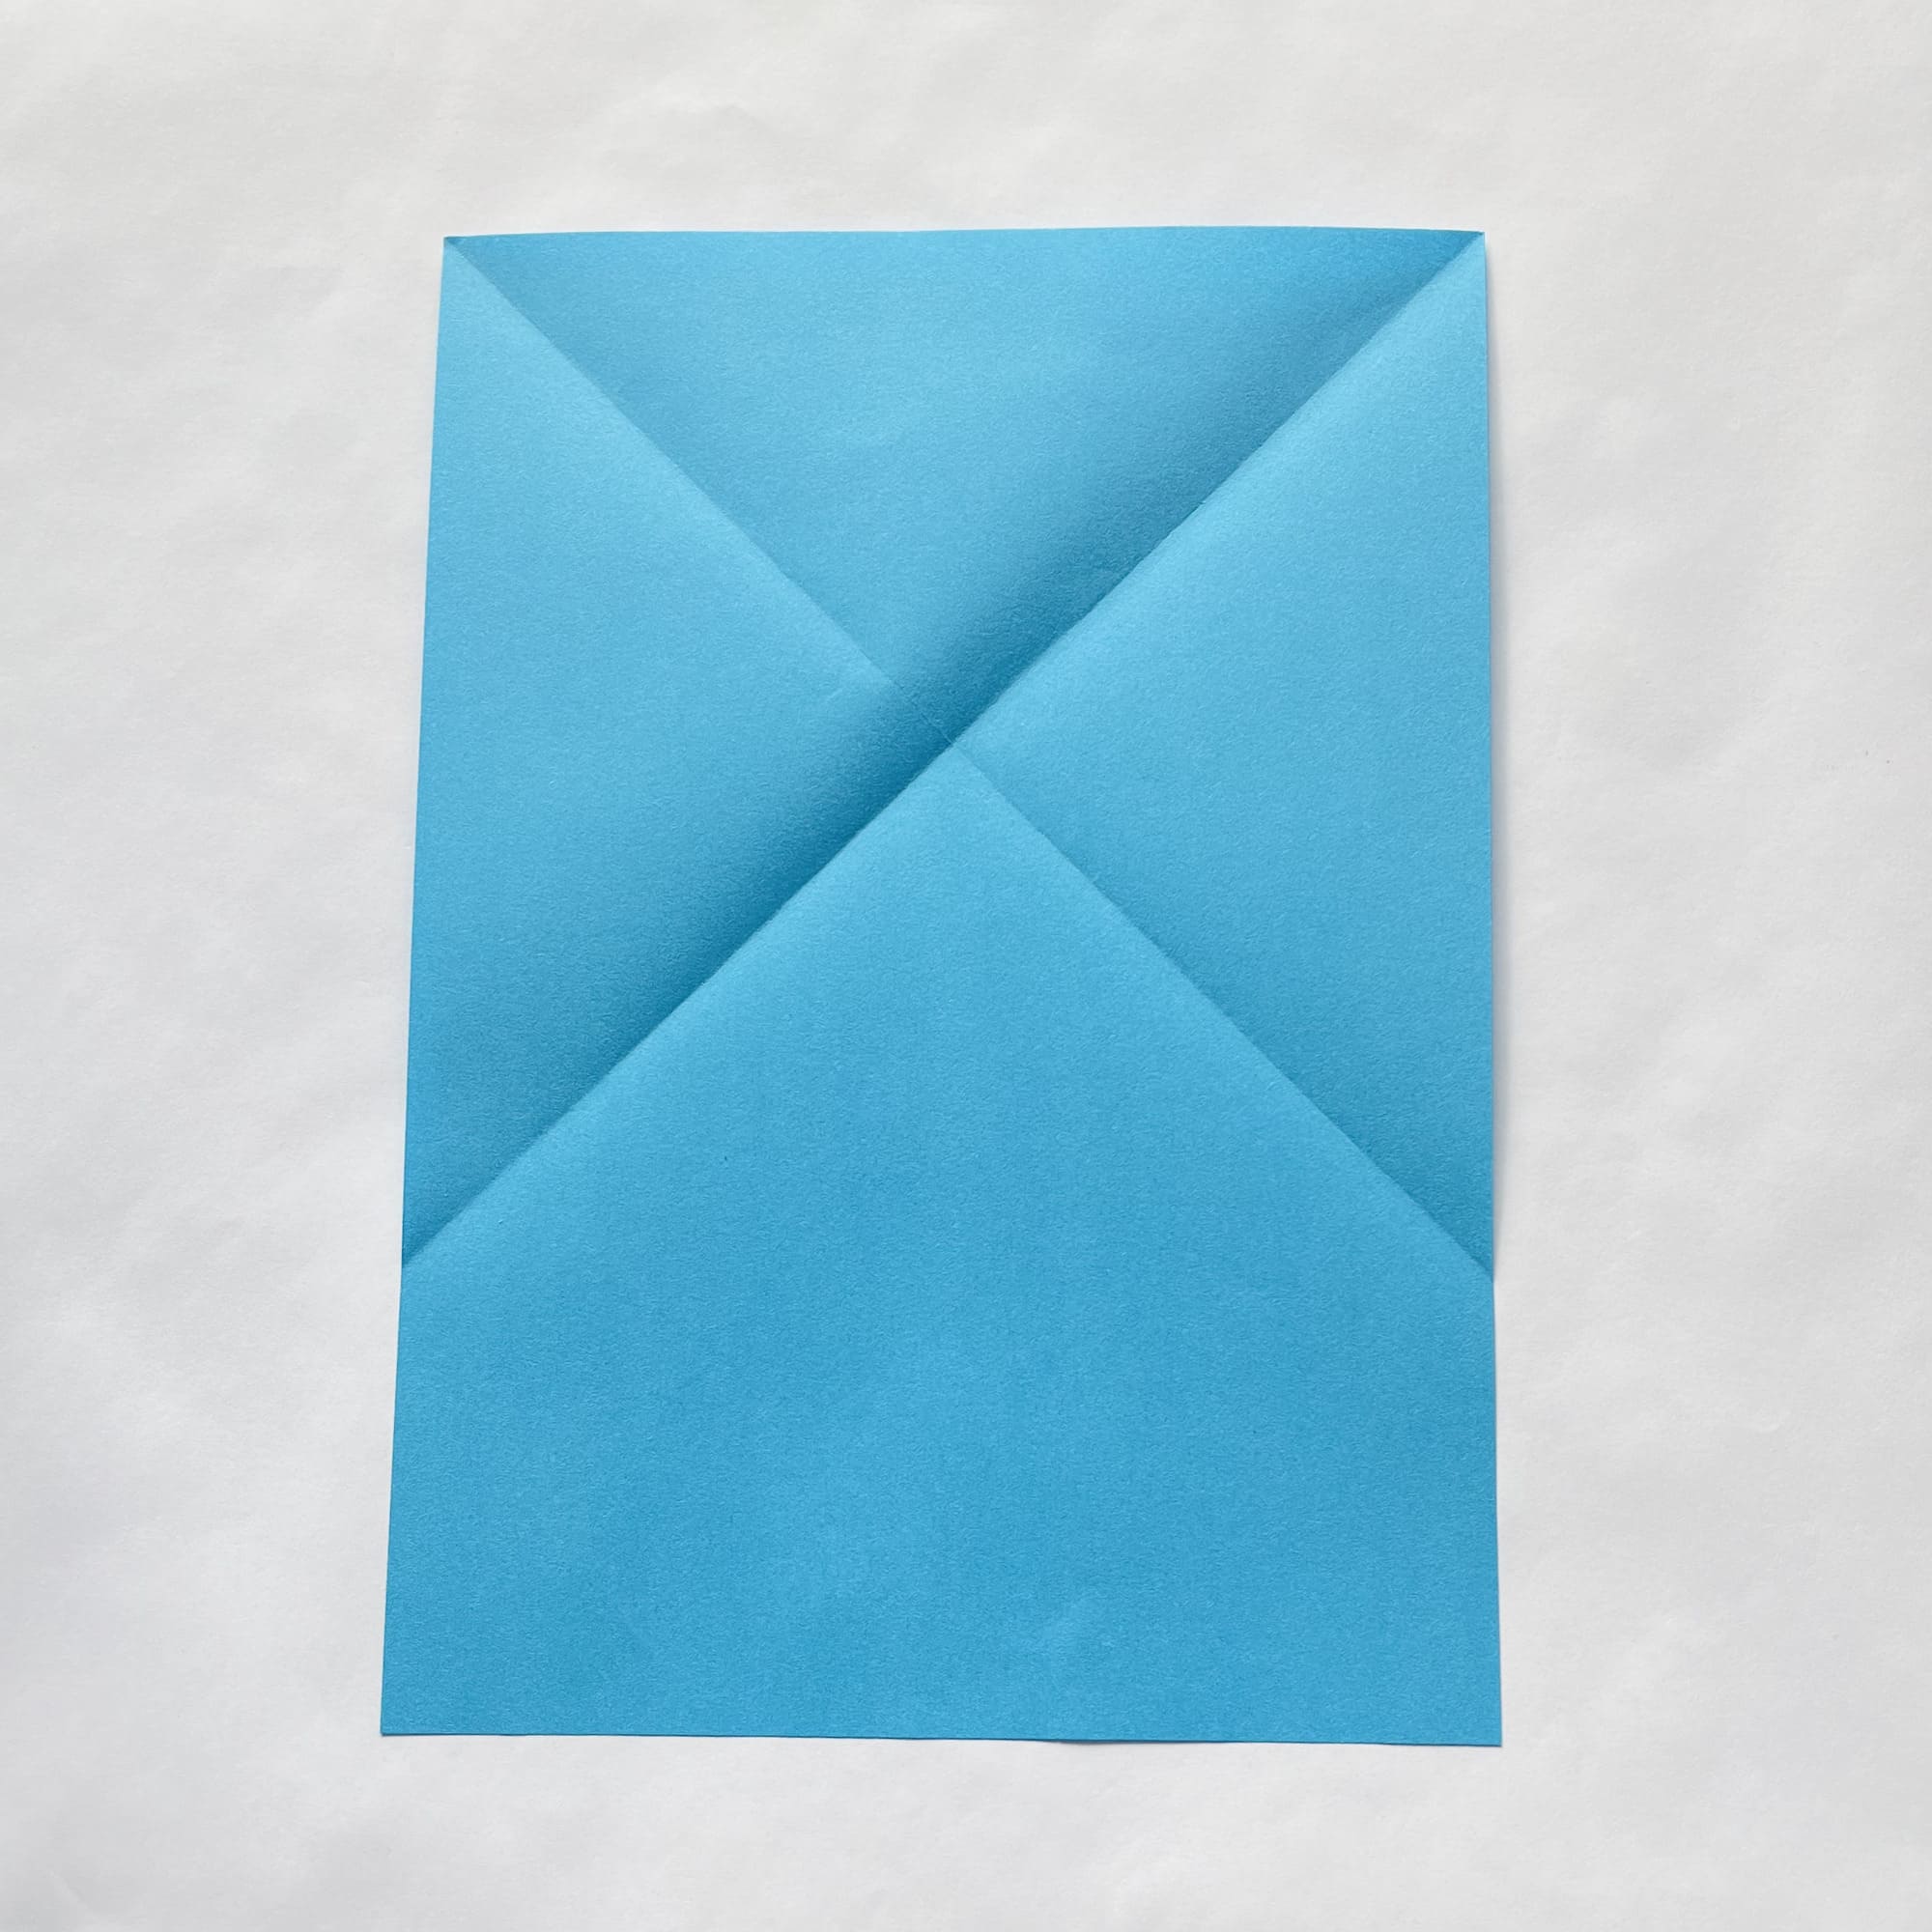
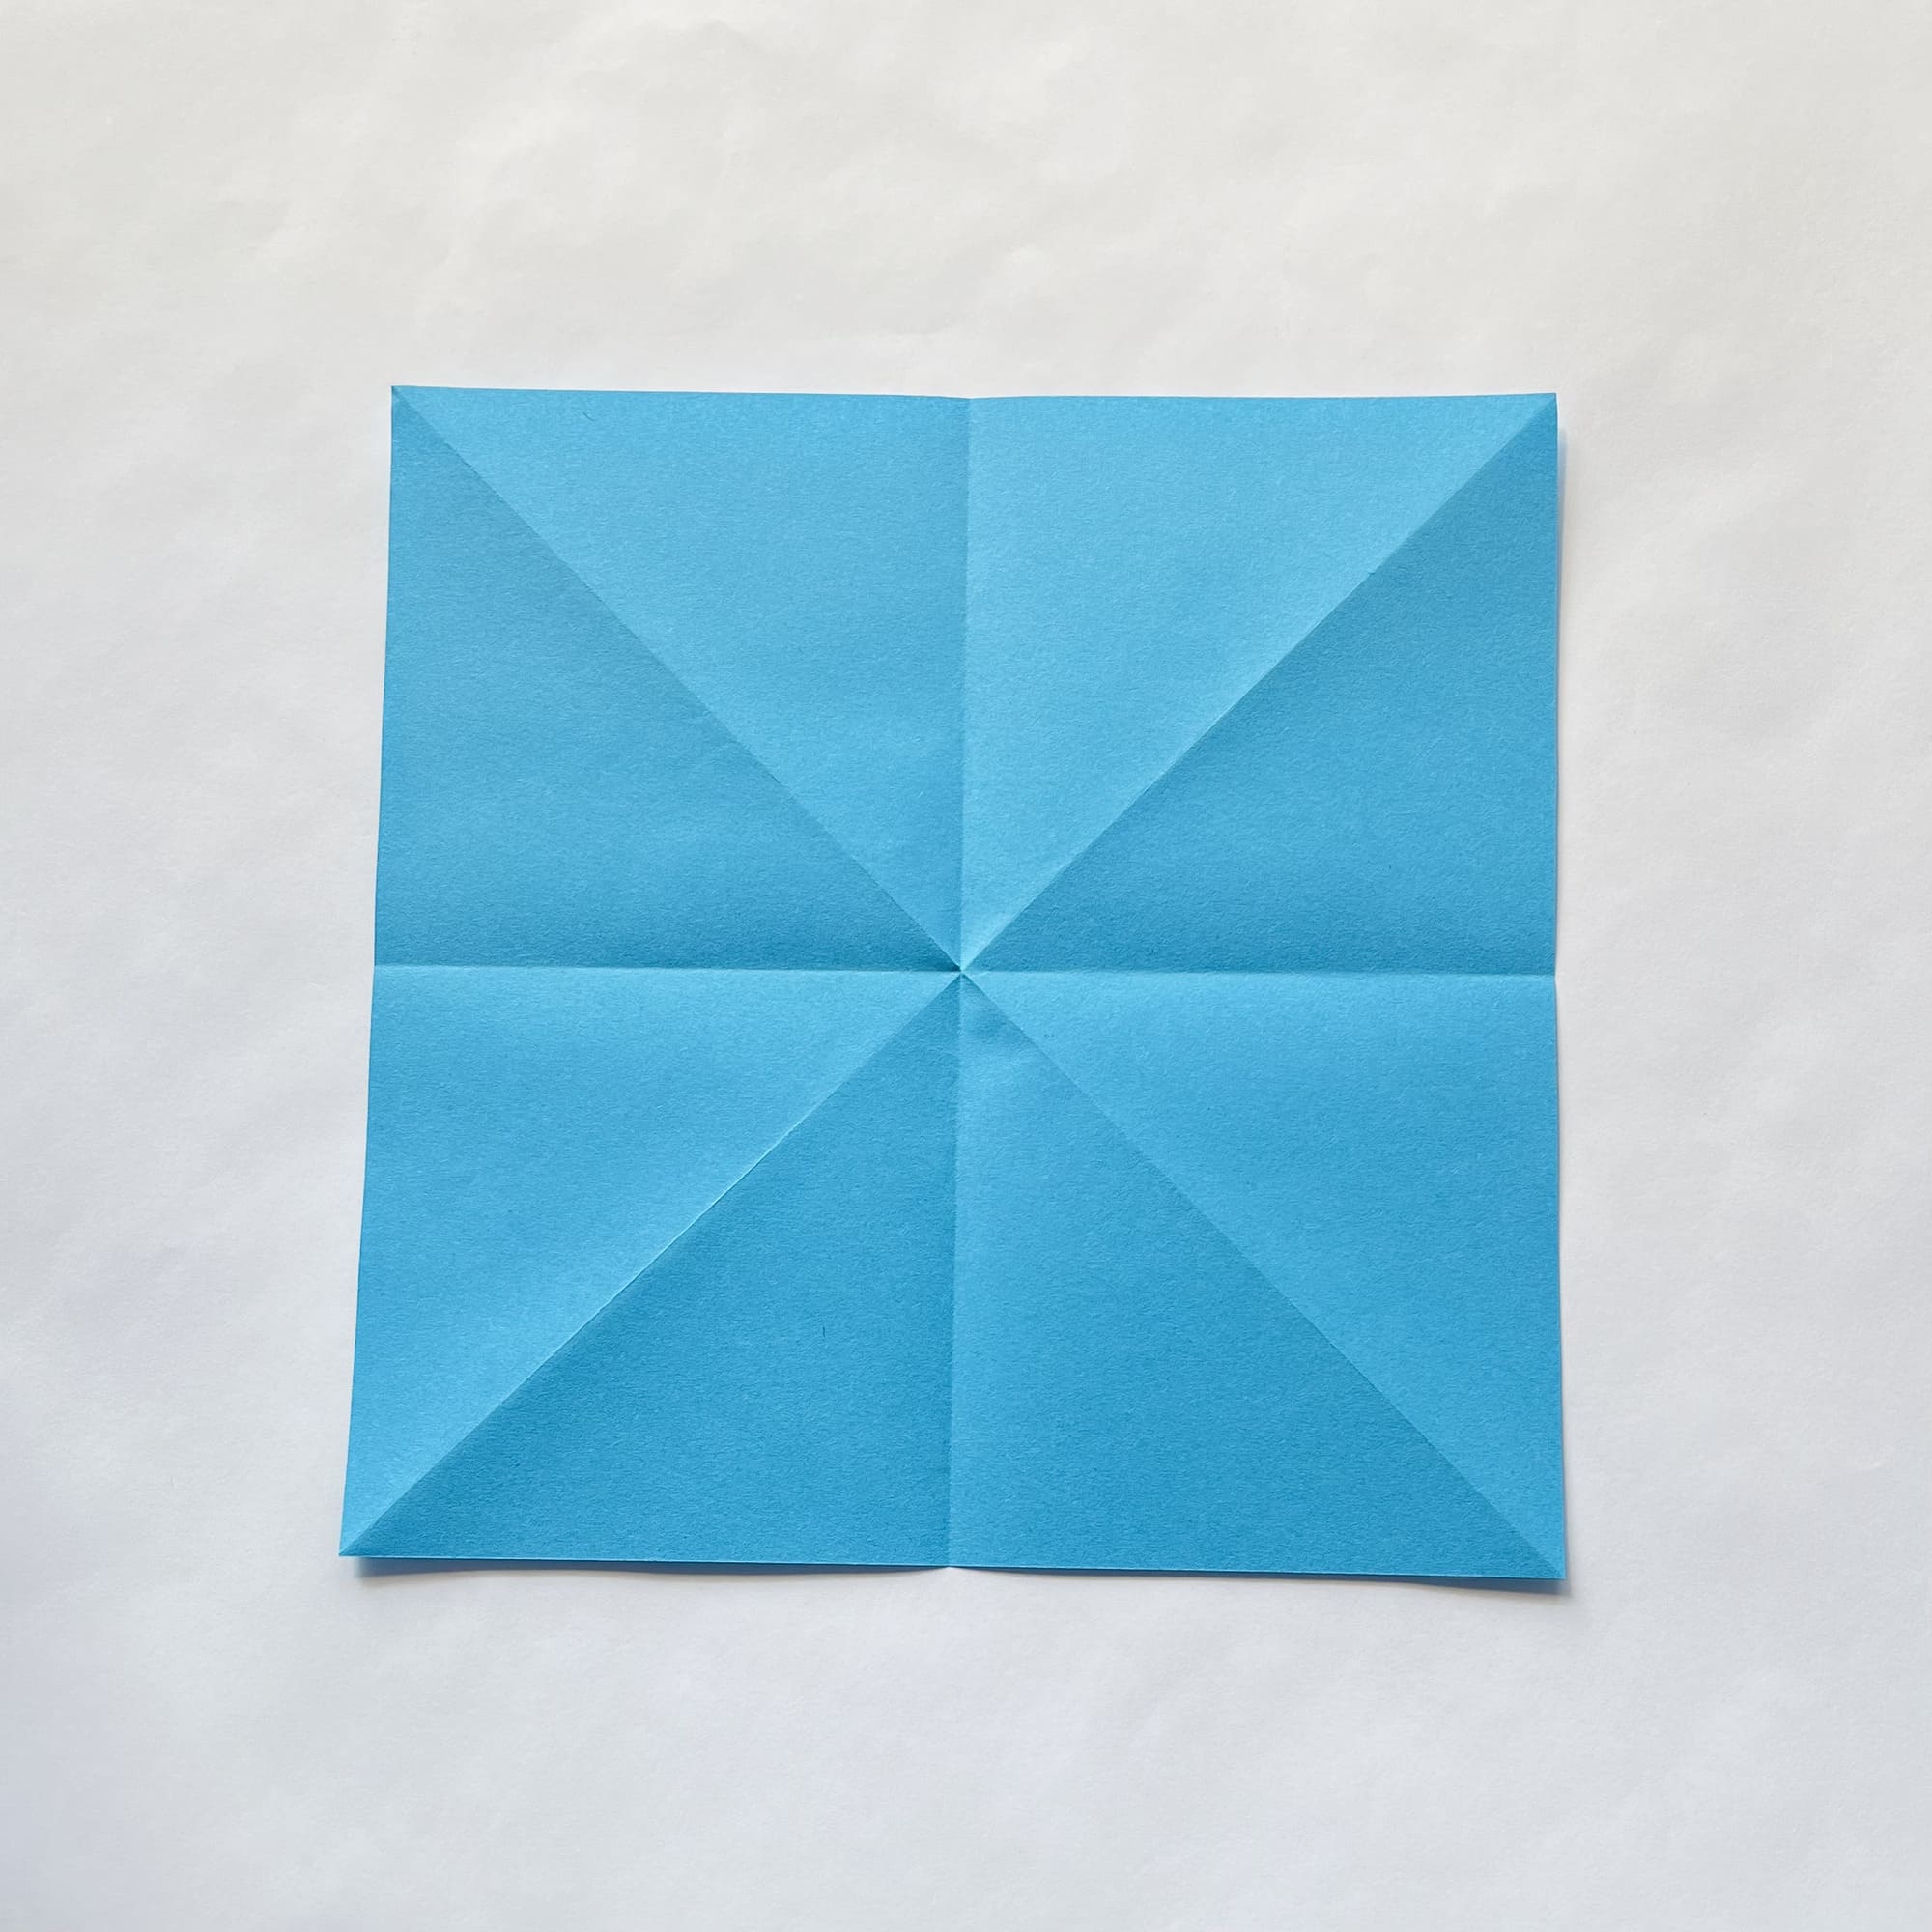
Turn the paper over and bend it along the vertical axis, crease the fold, and unfold it.
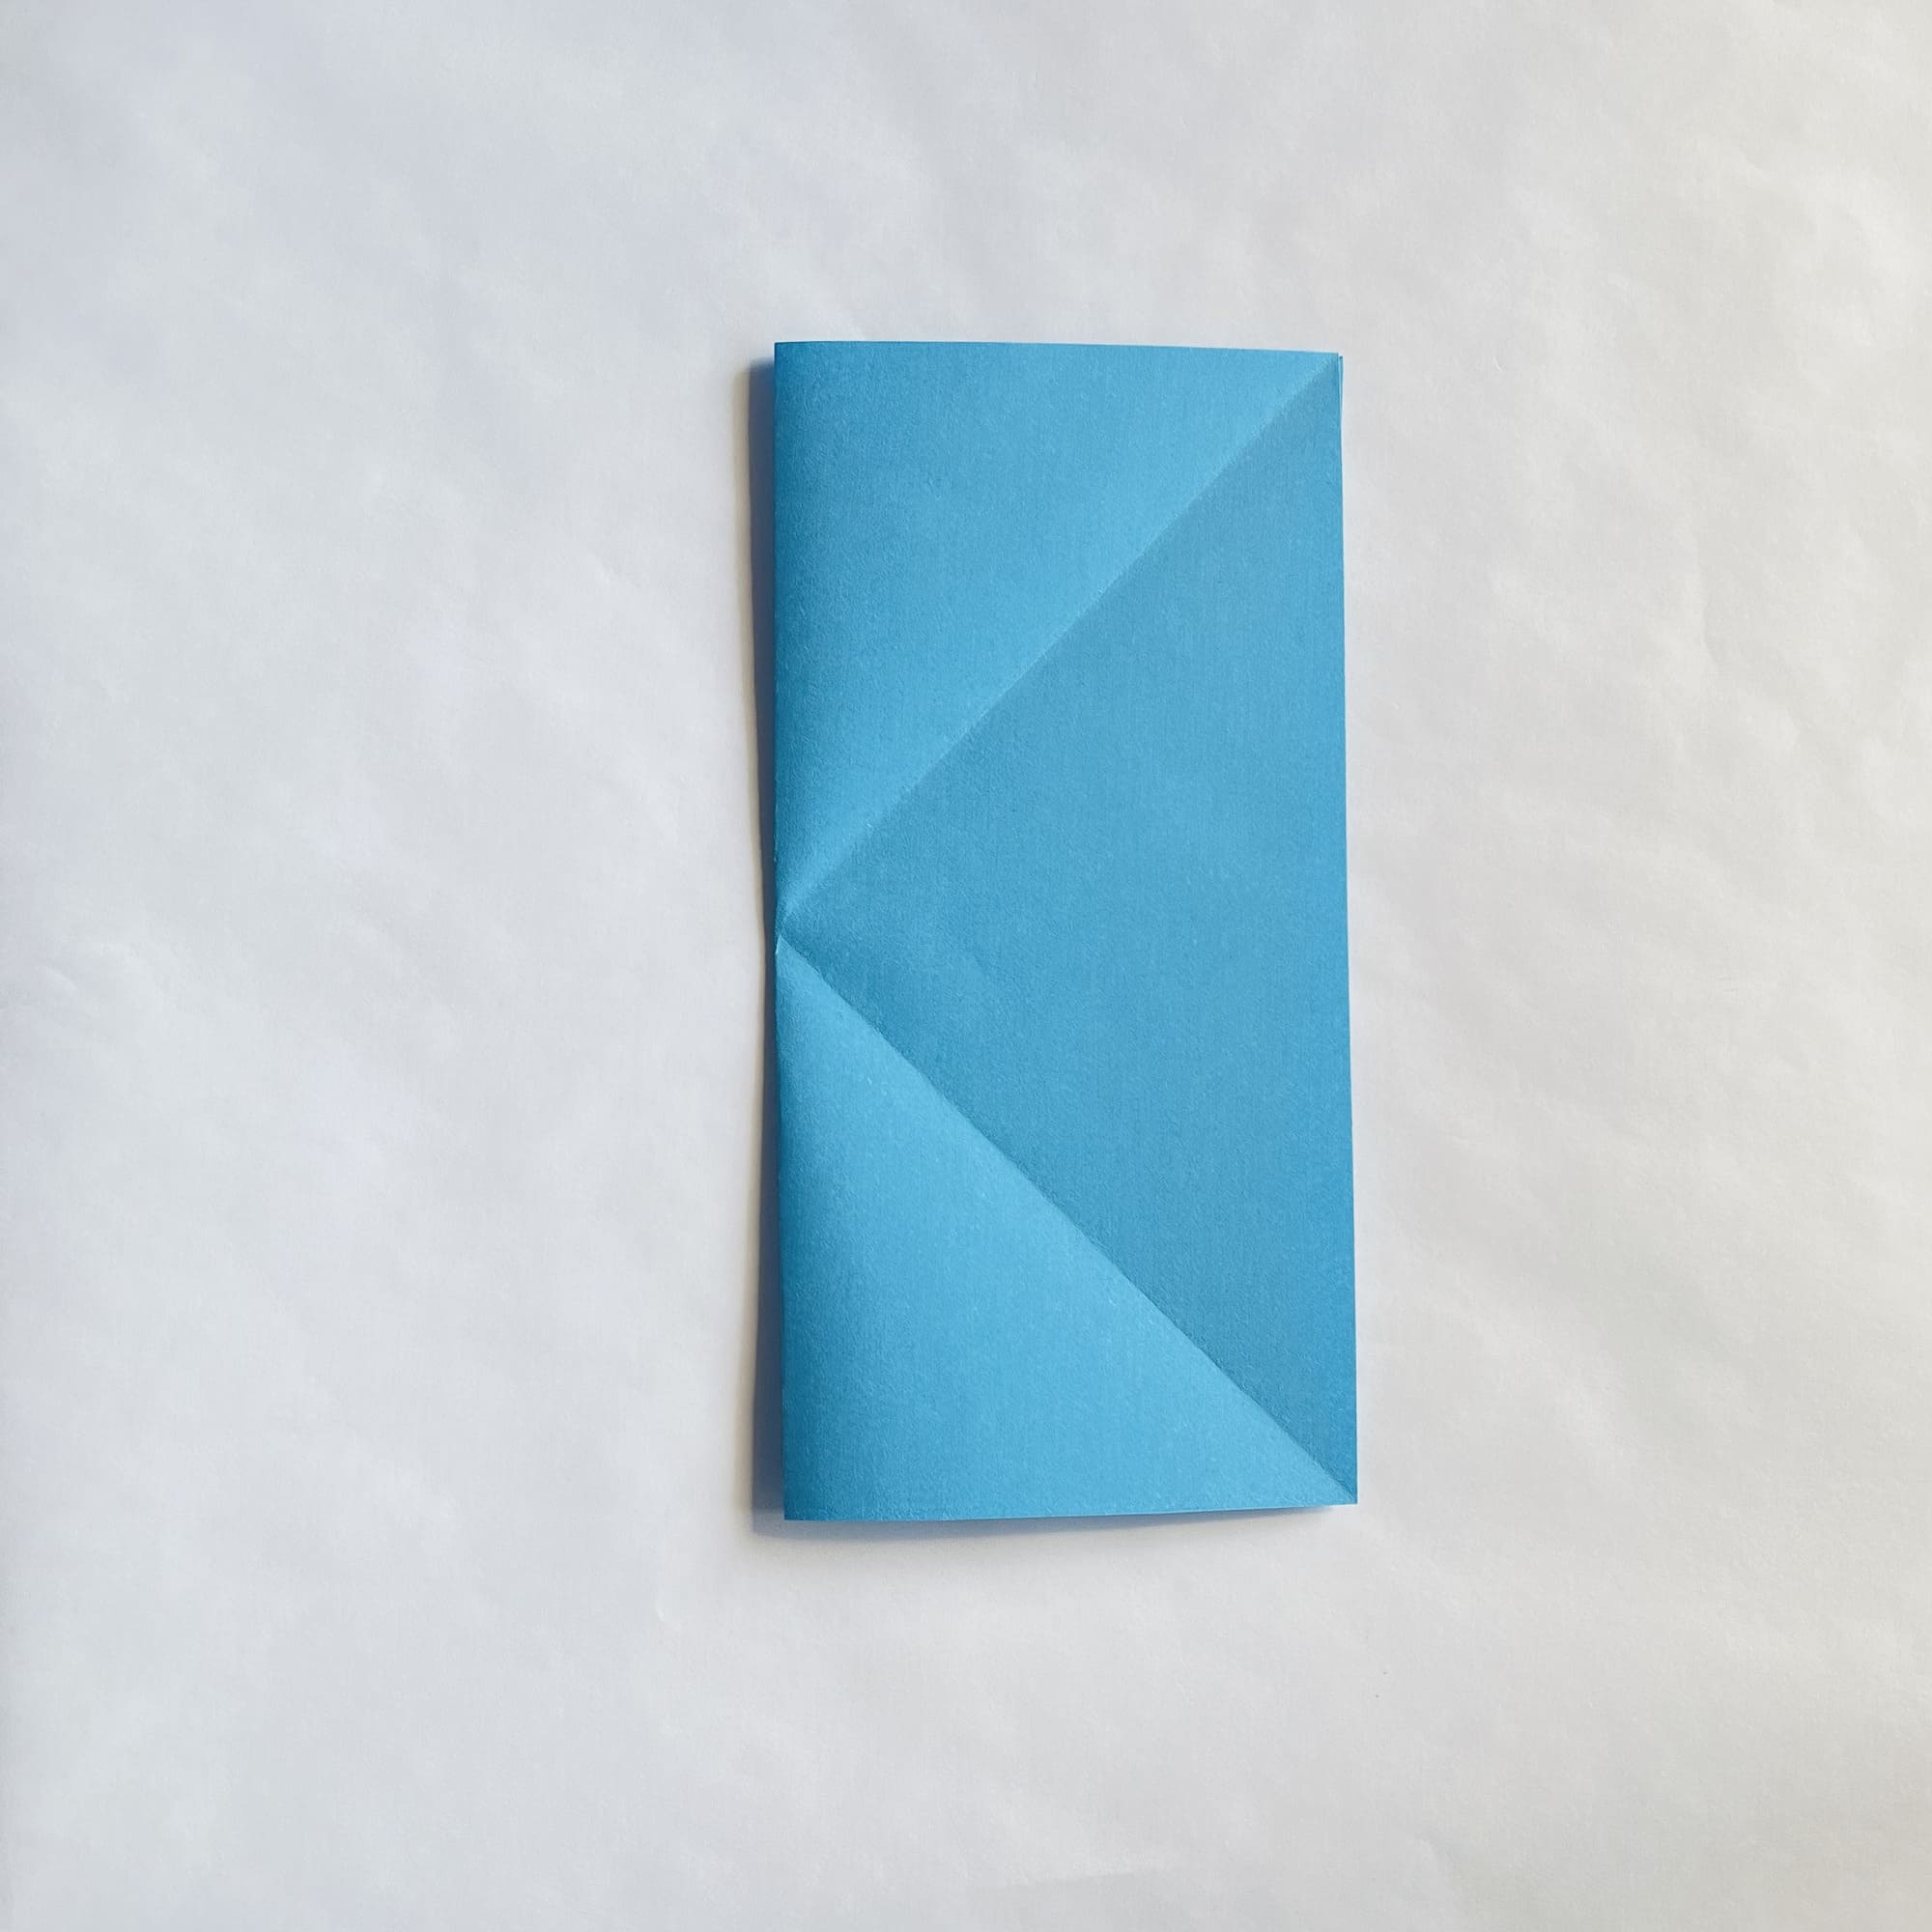
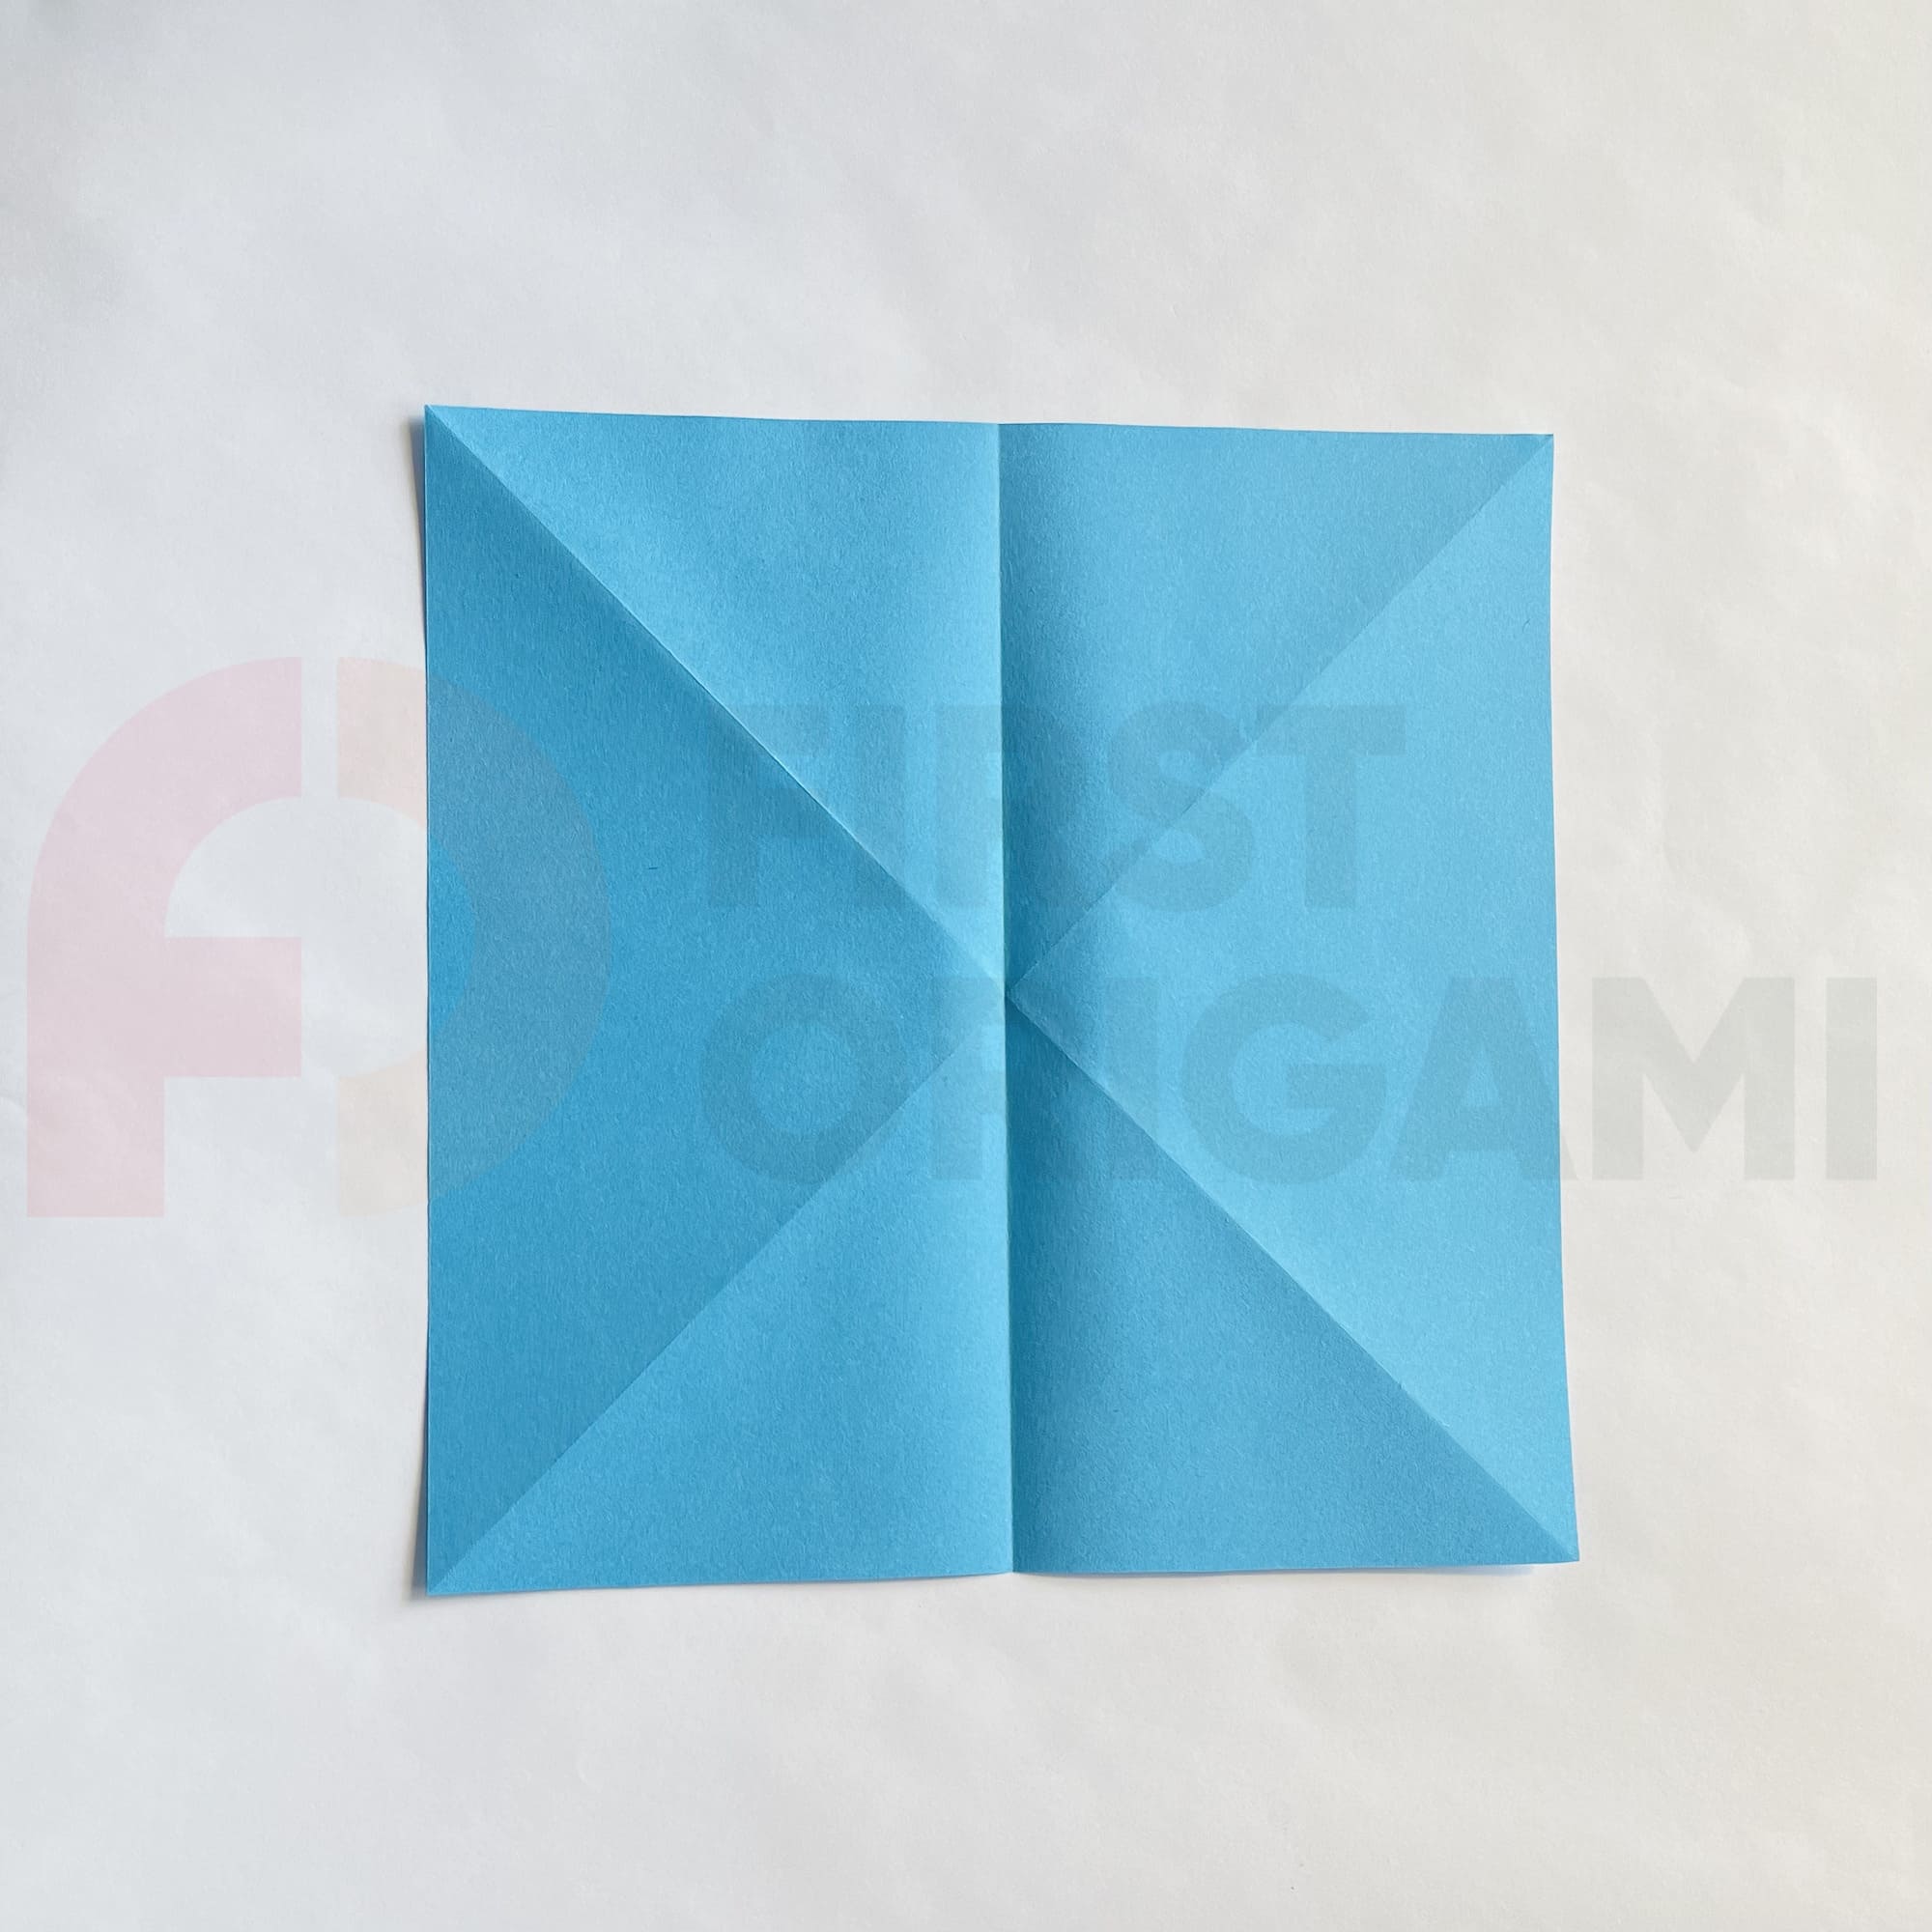
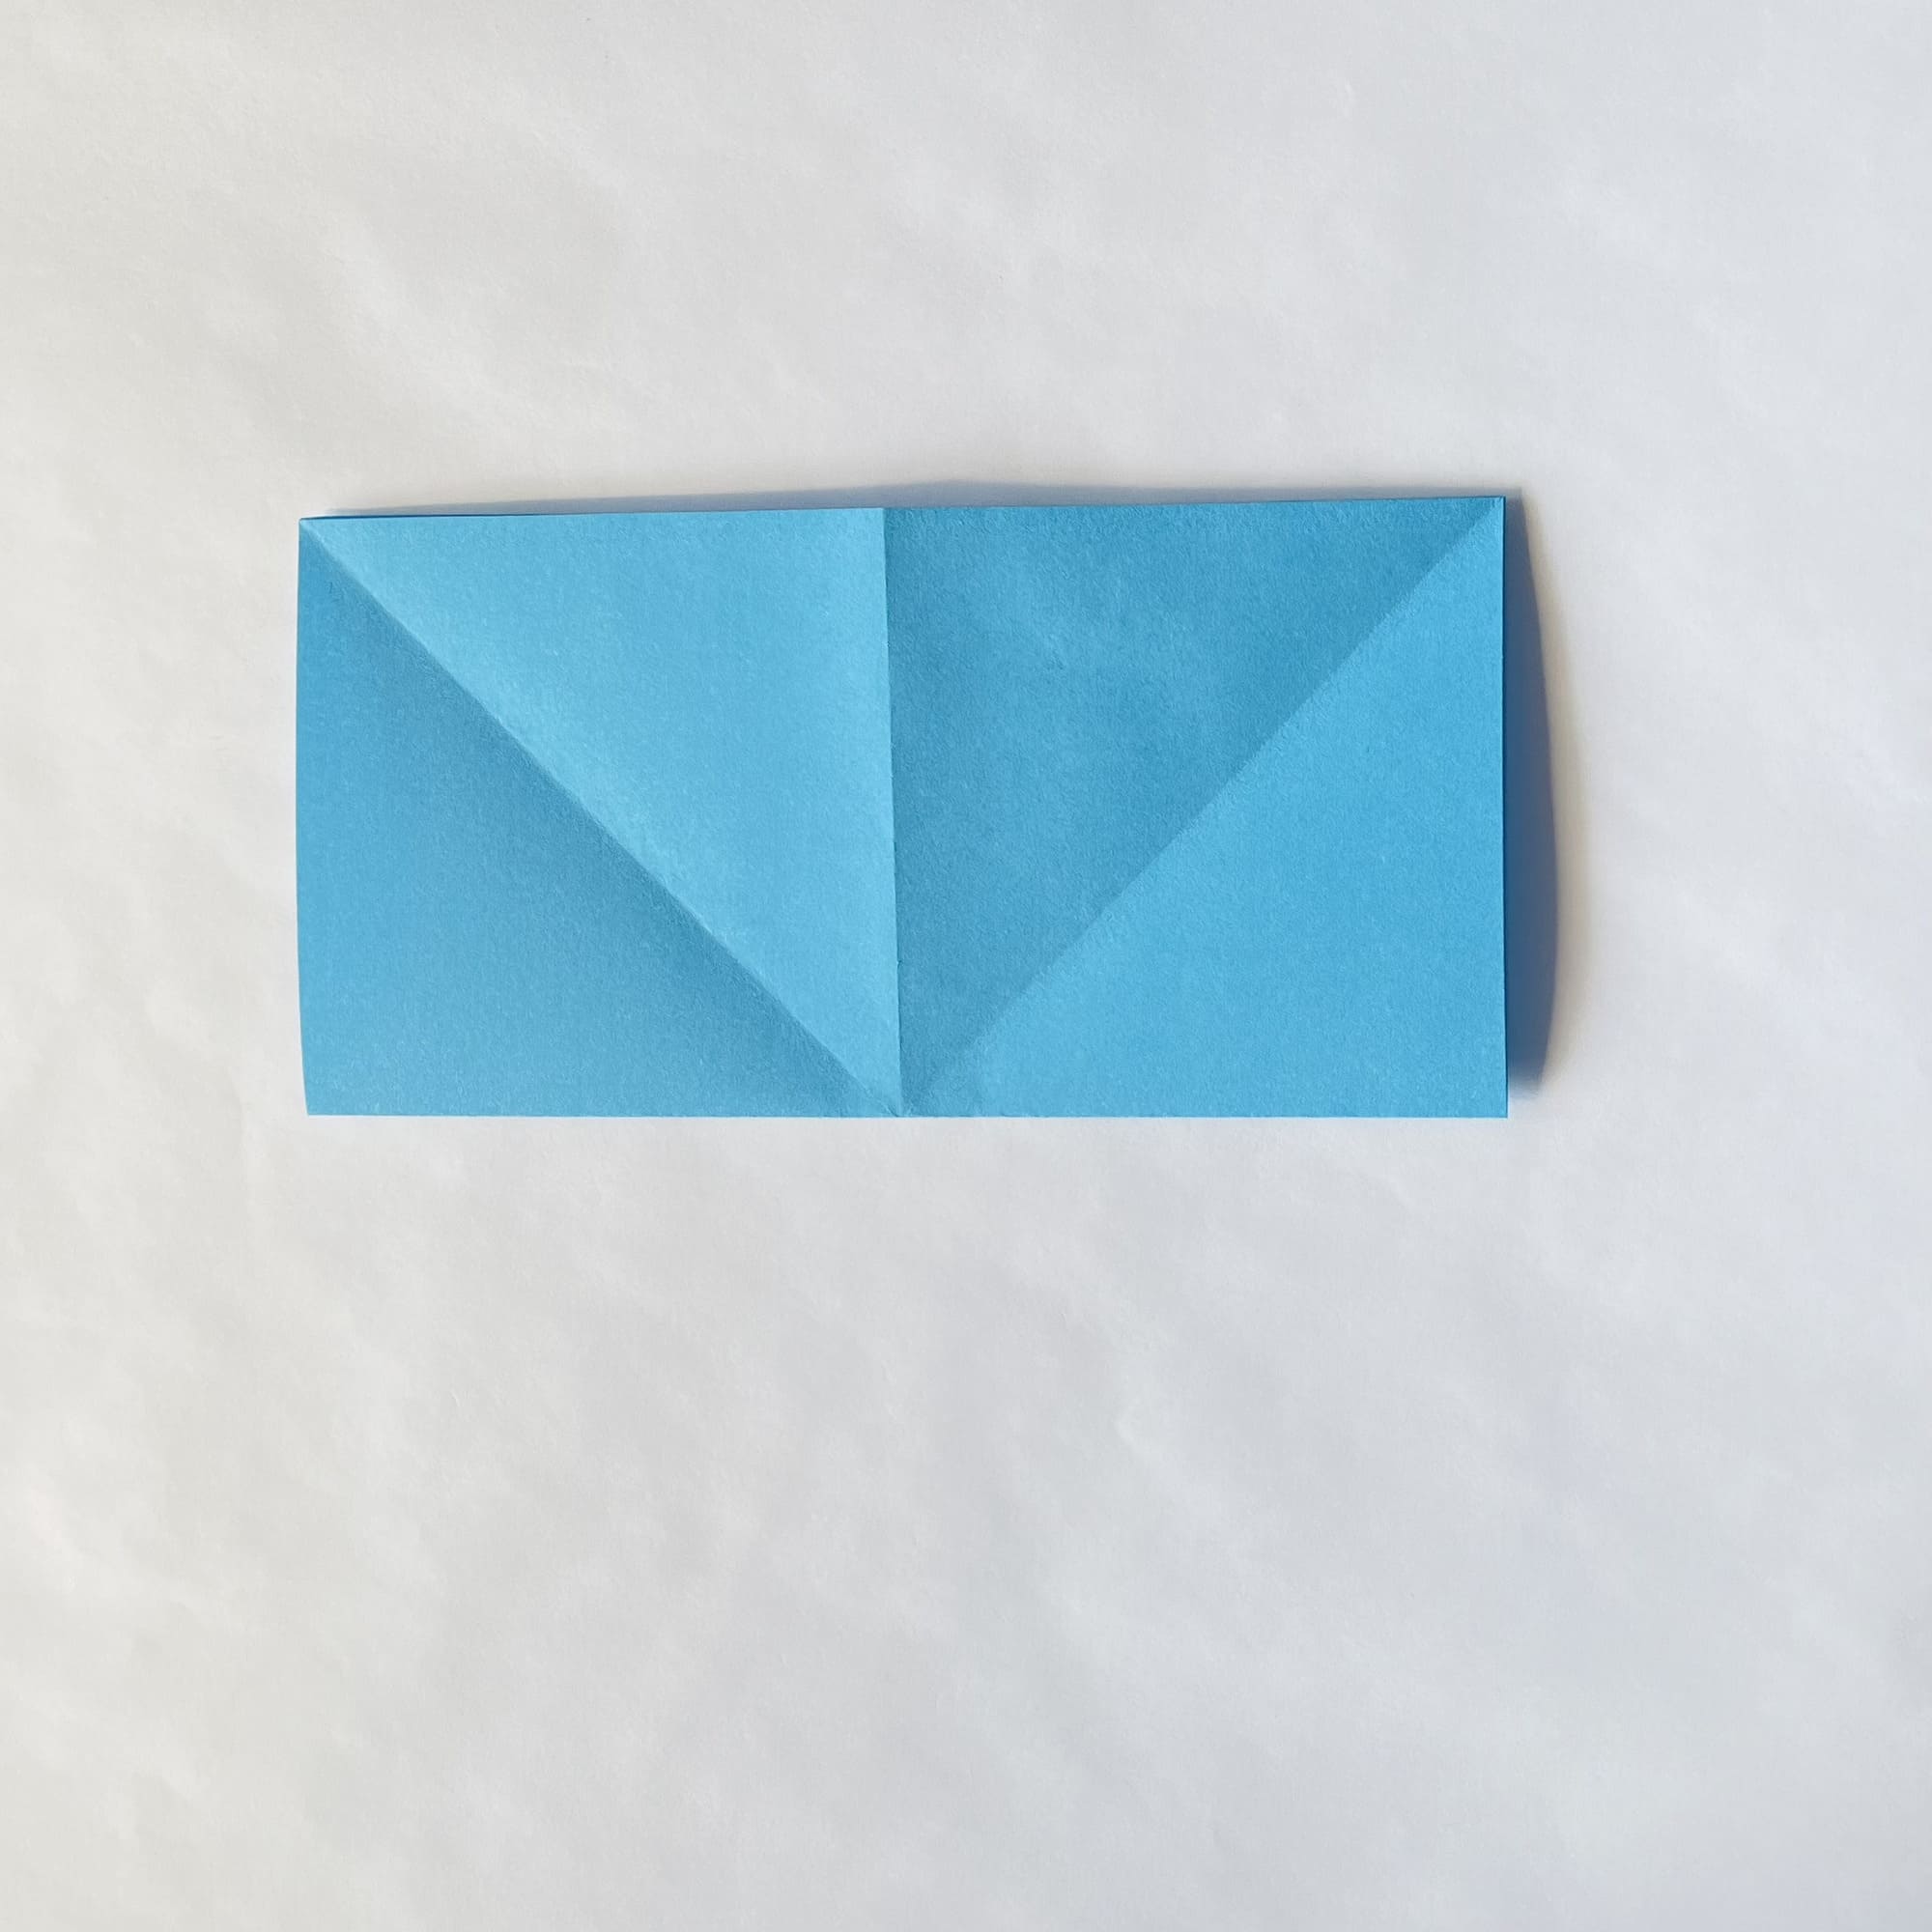
Fold along the horizontal axis, then unfold.
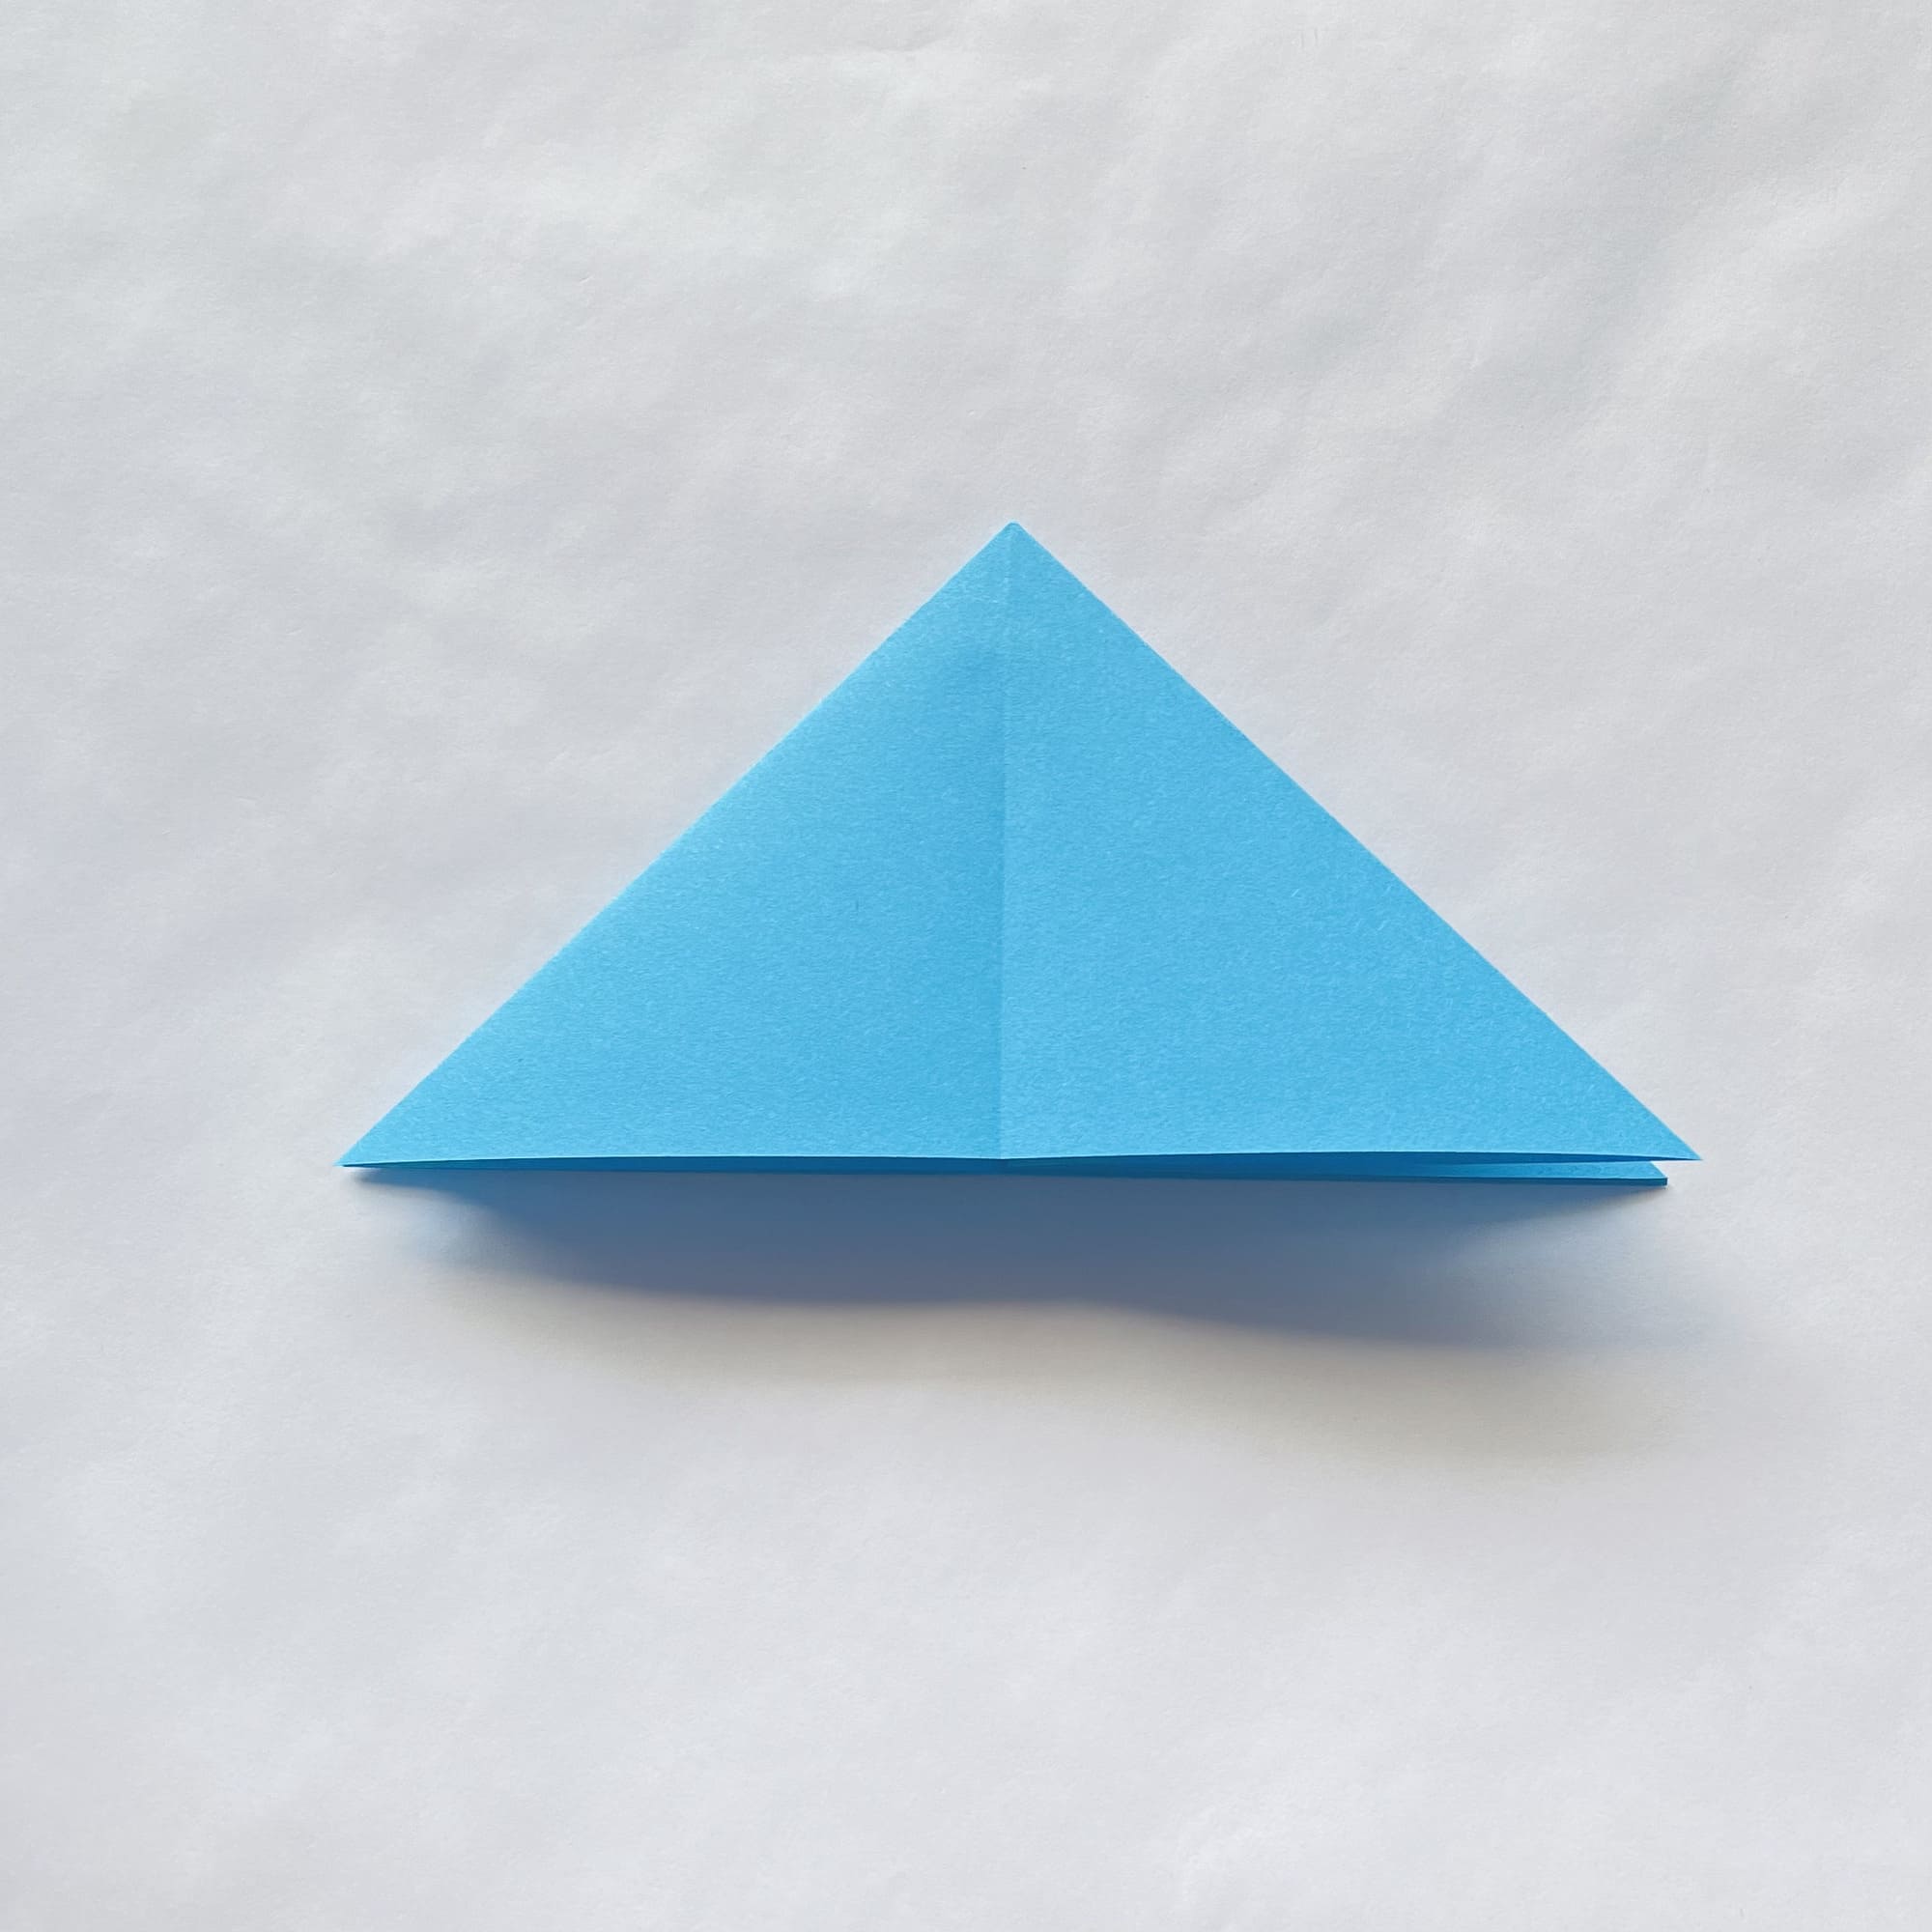
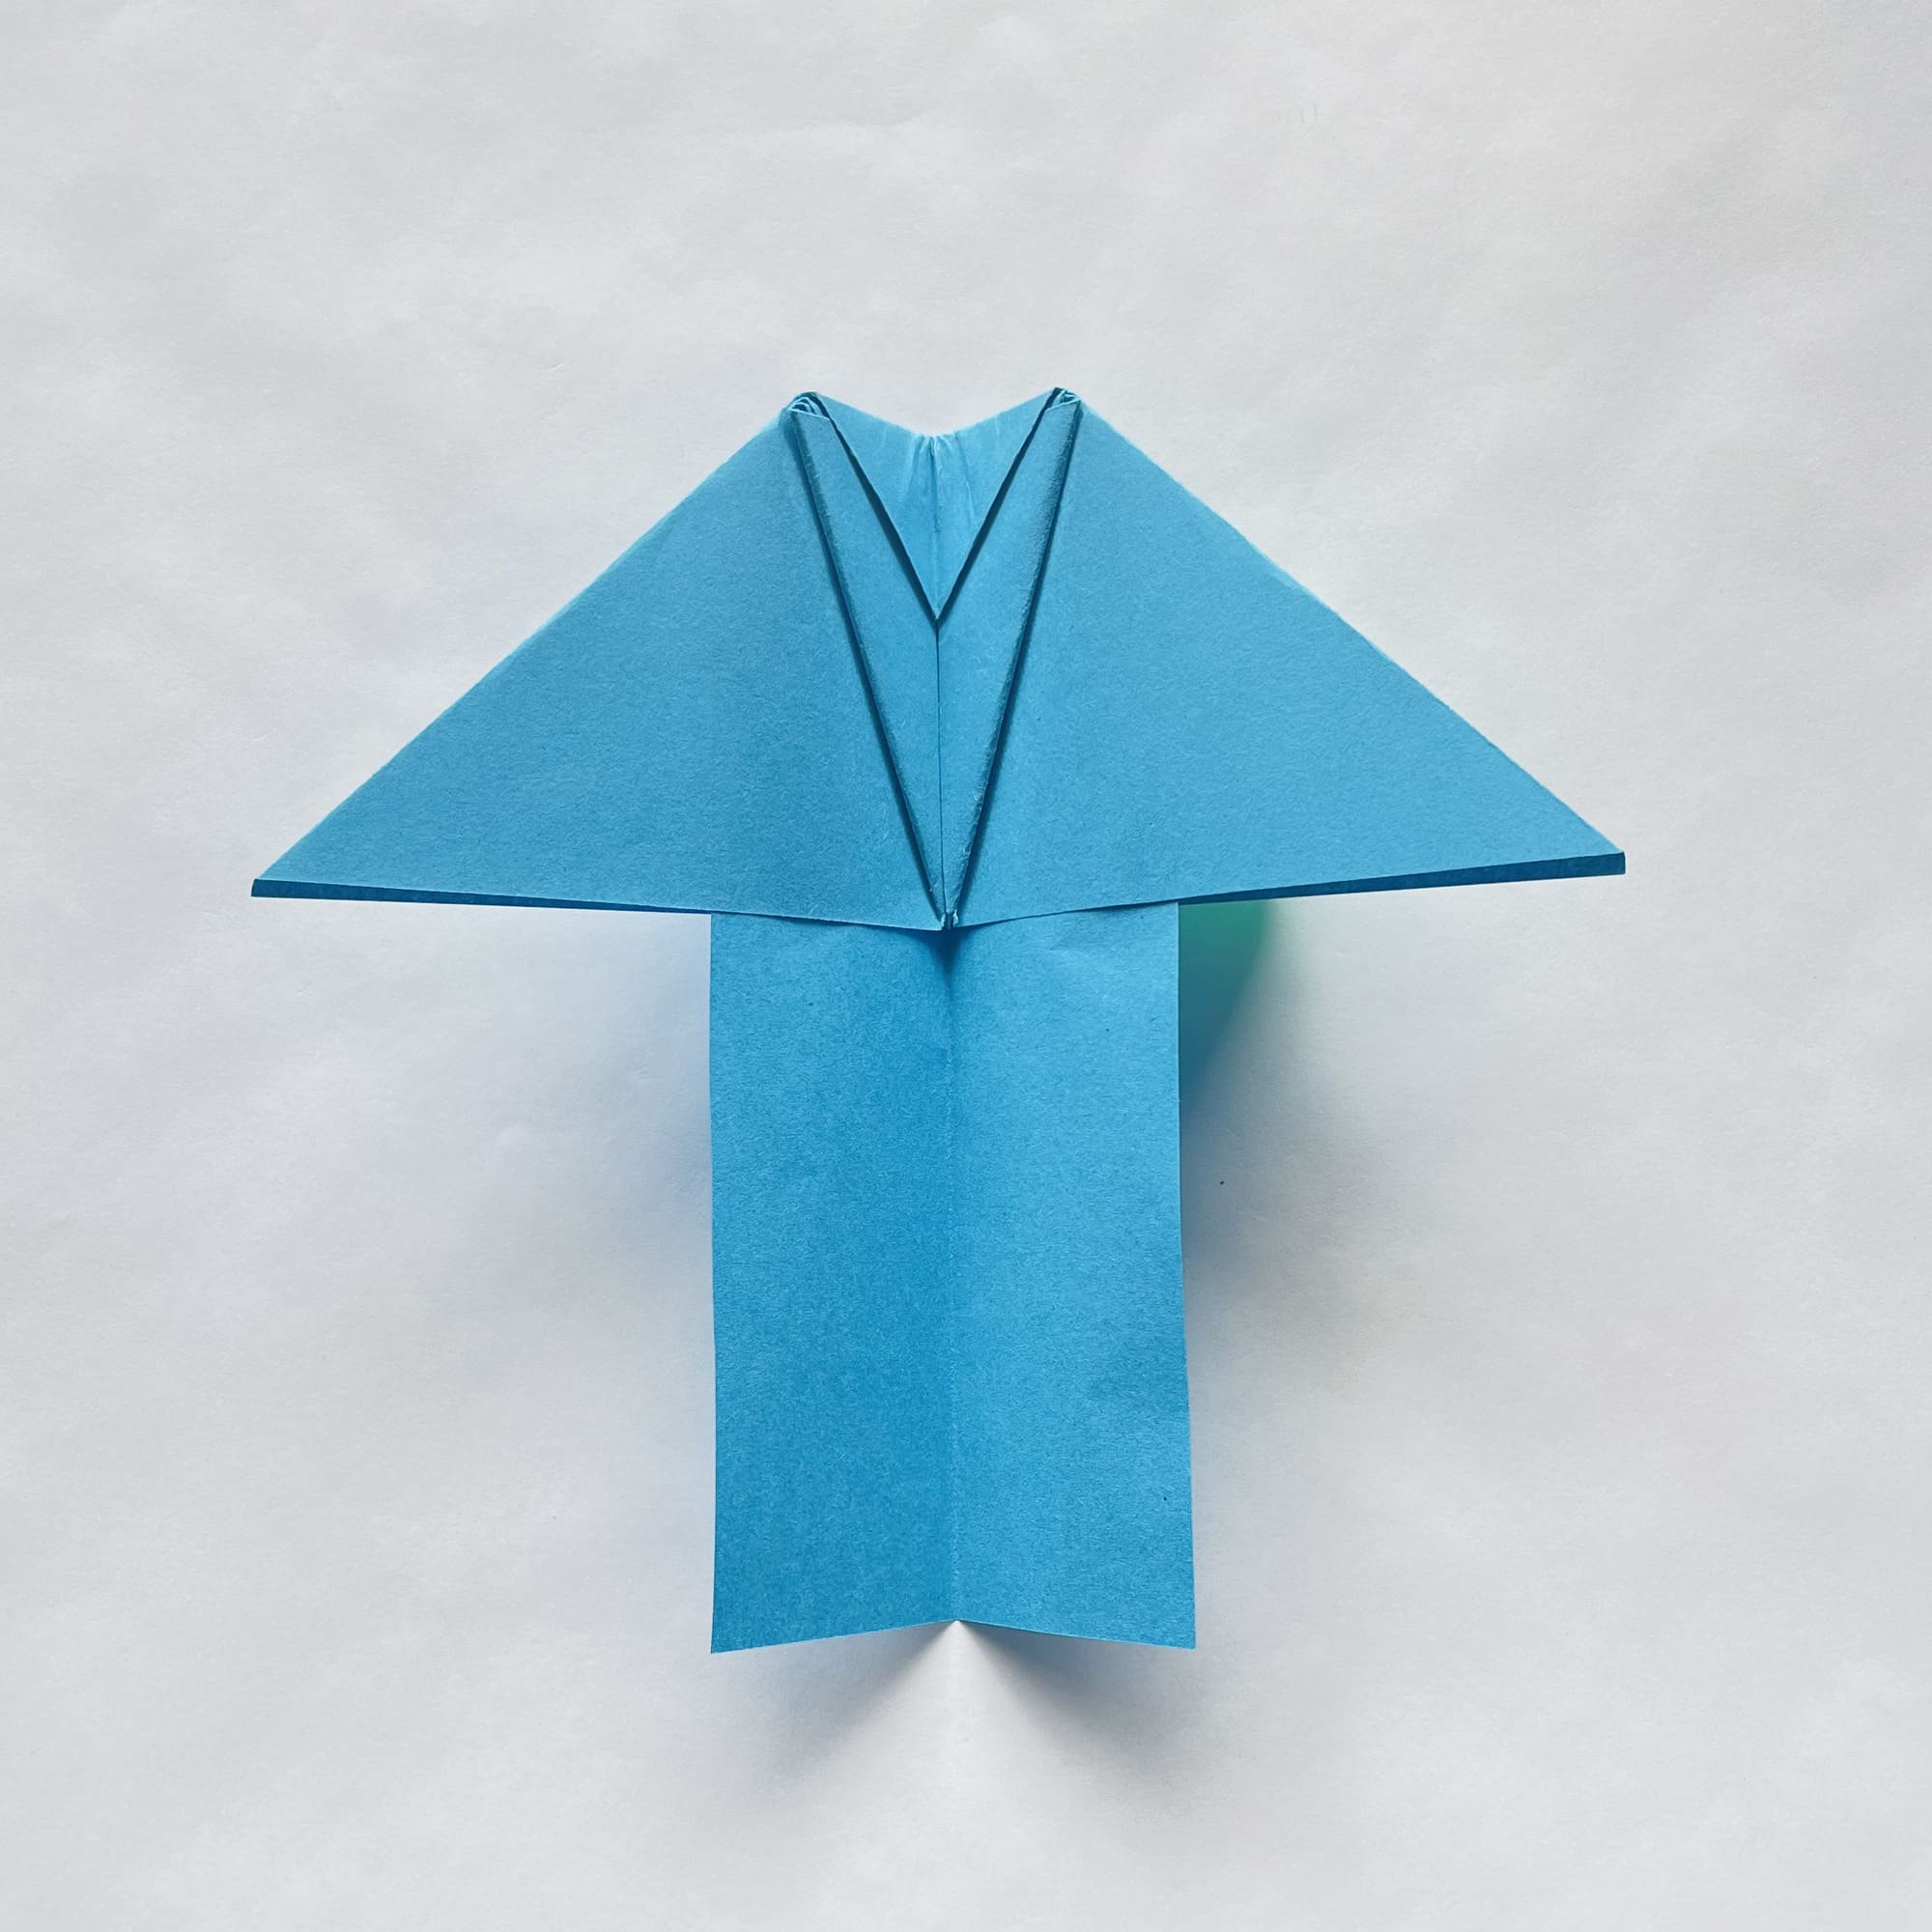
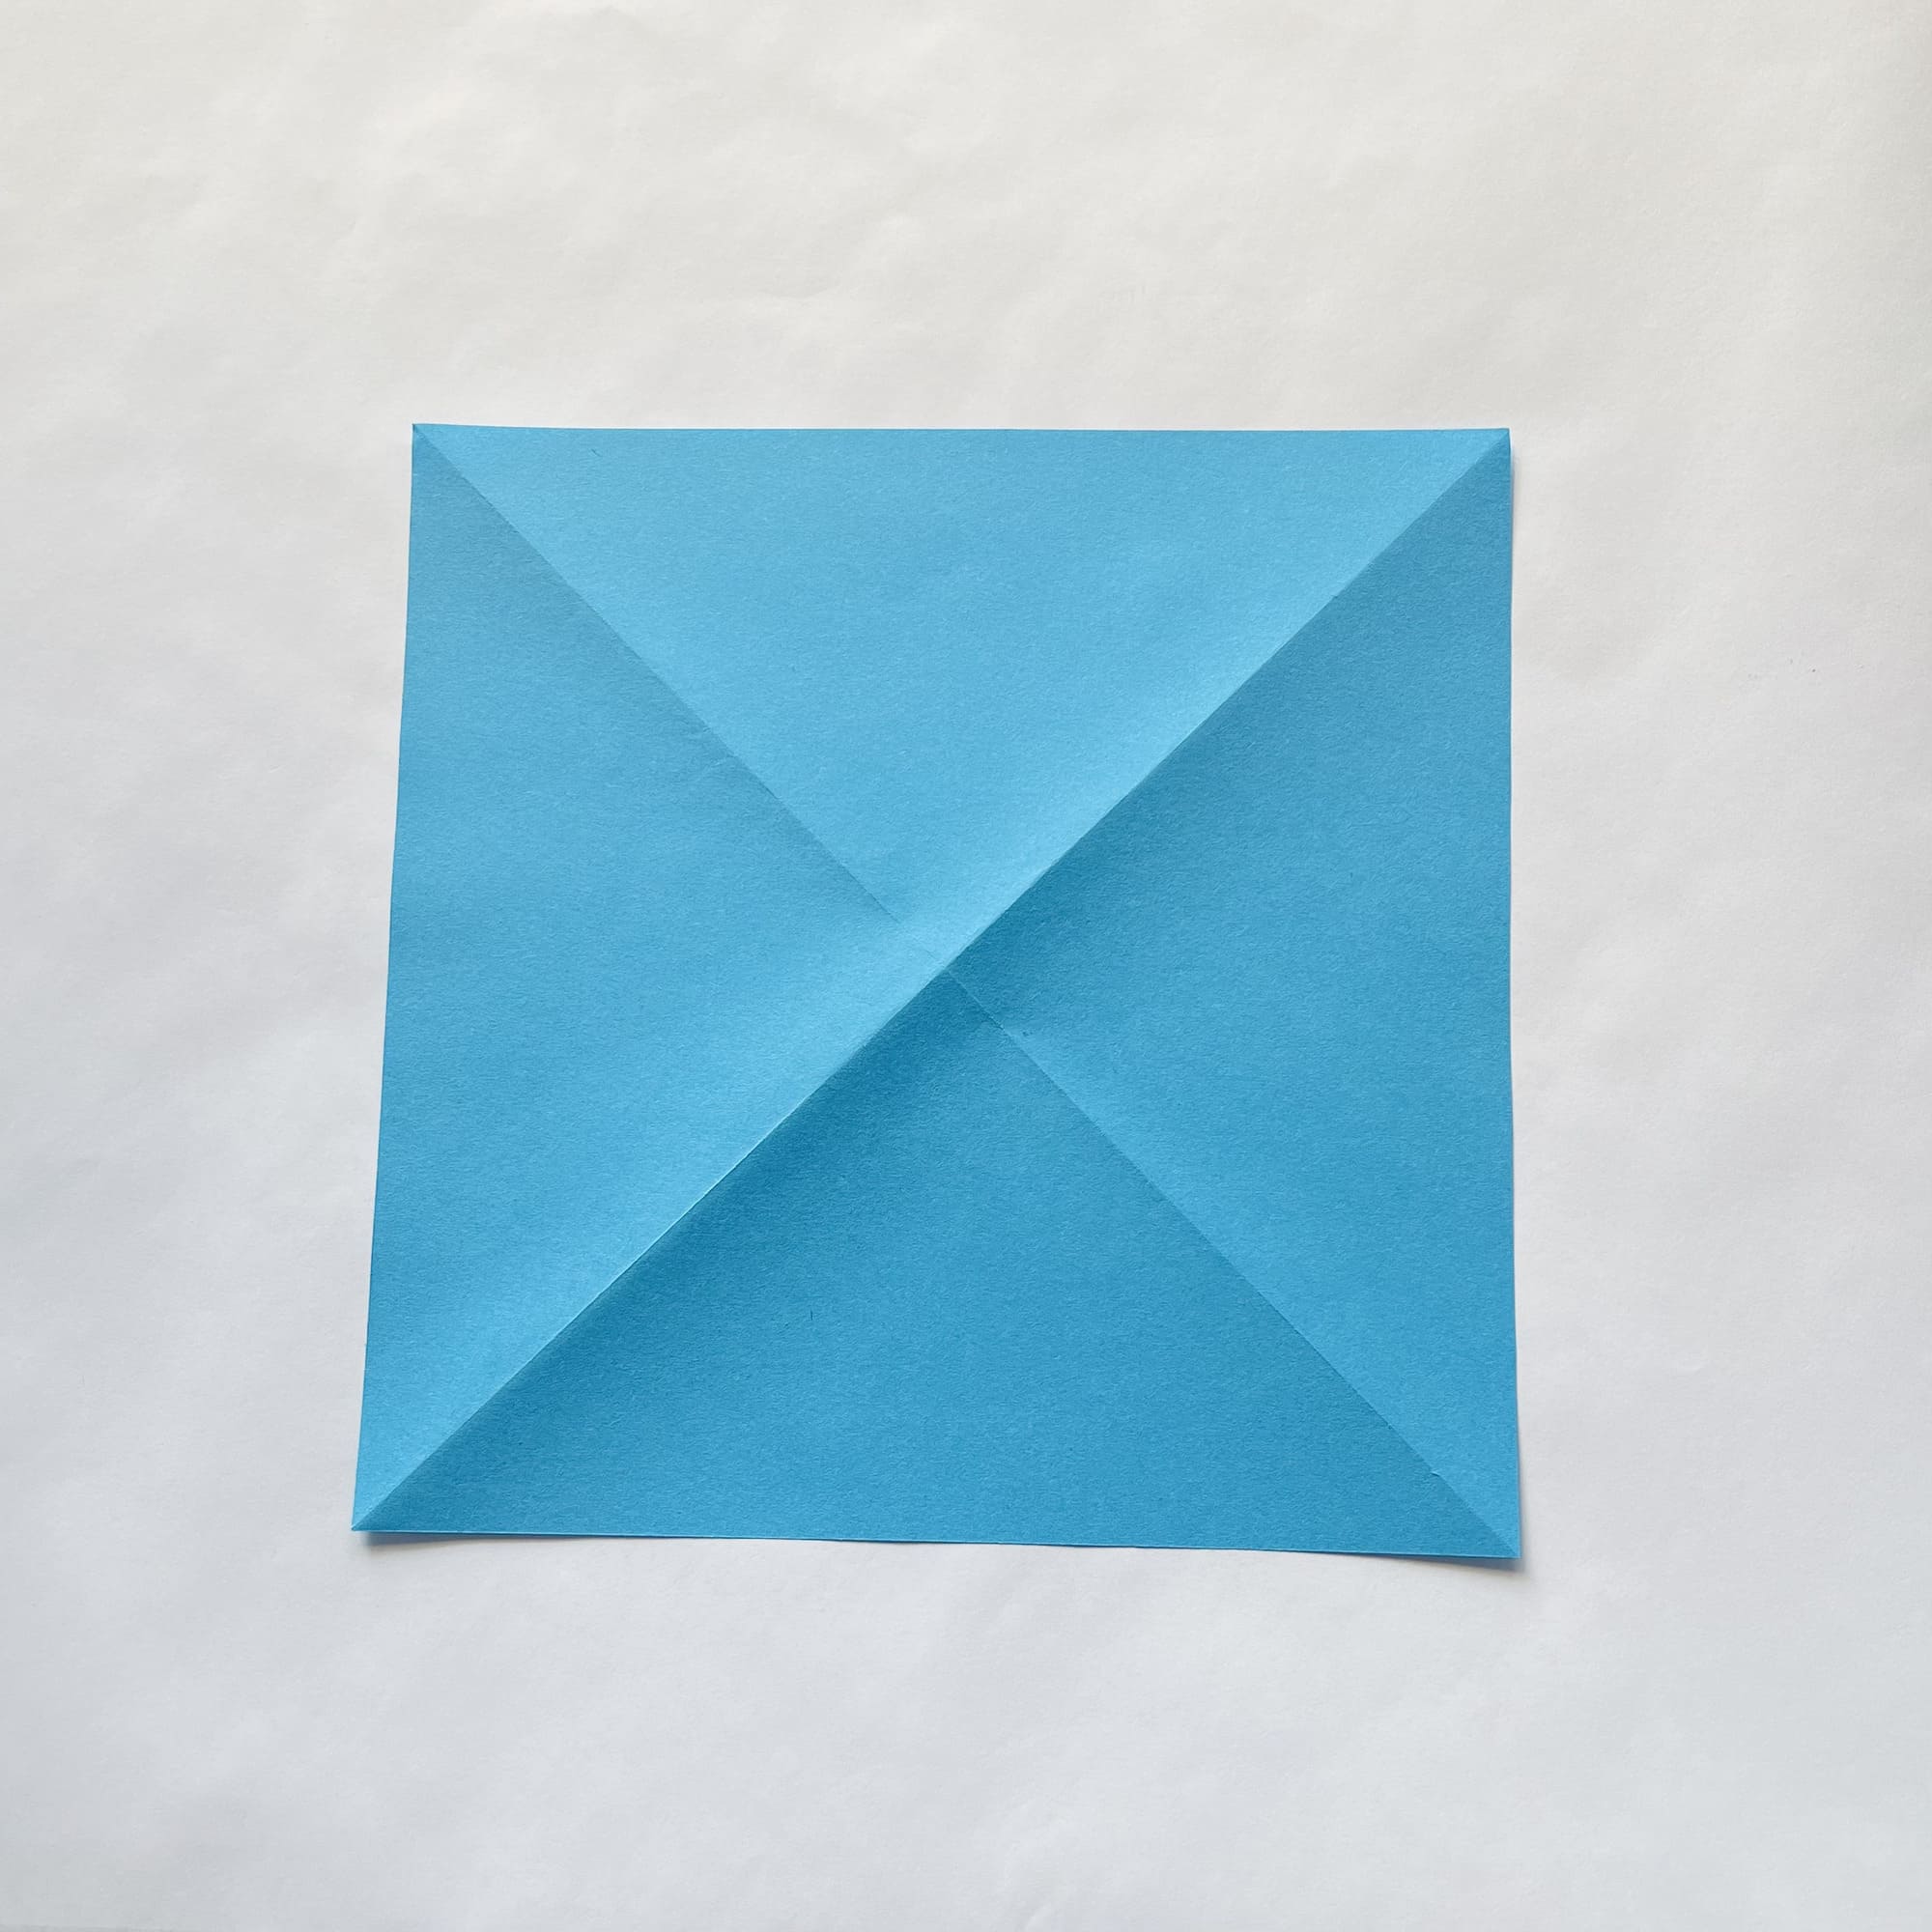
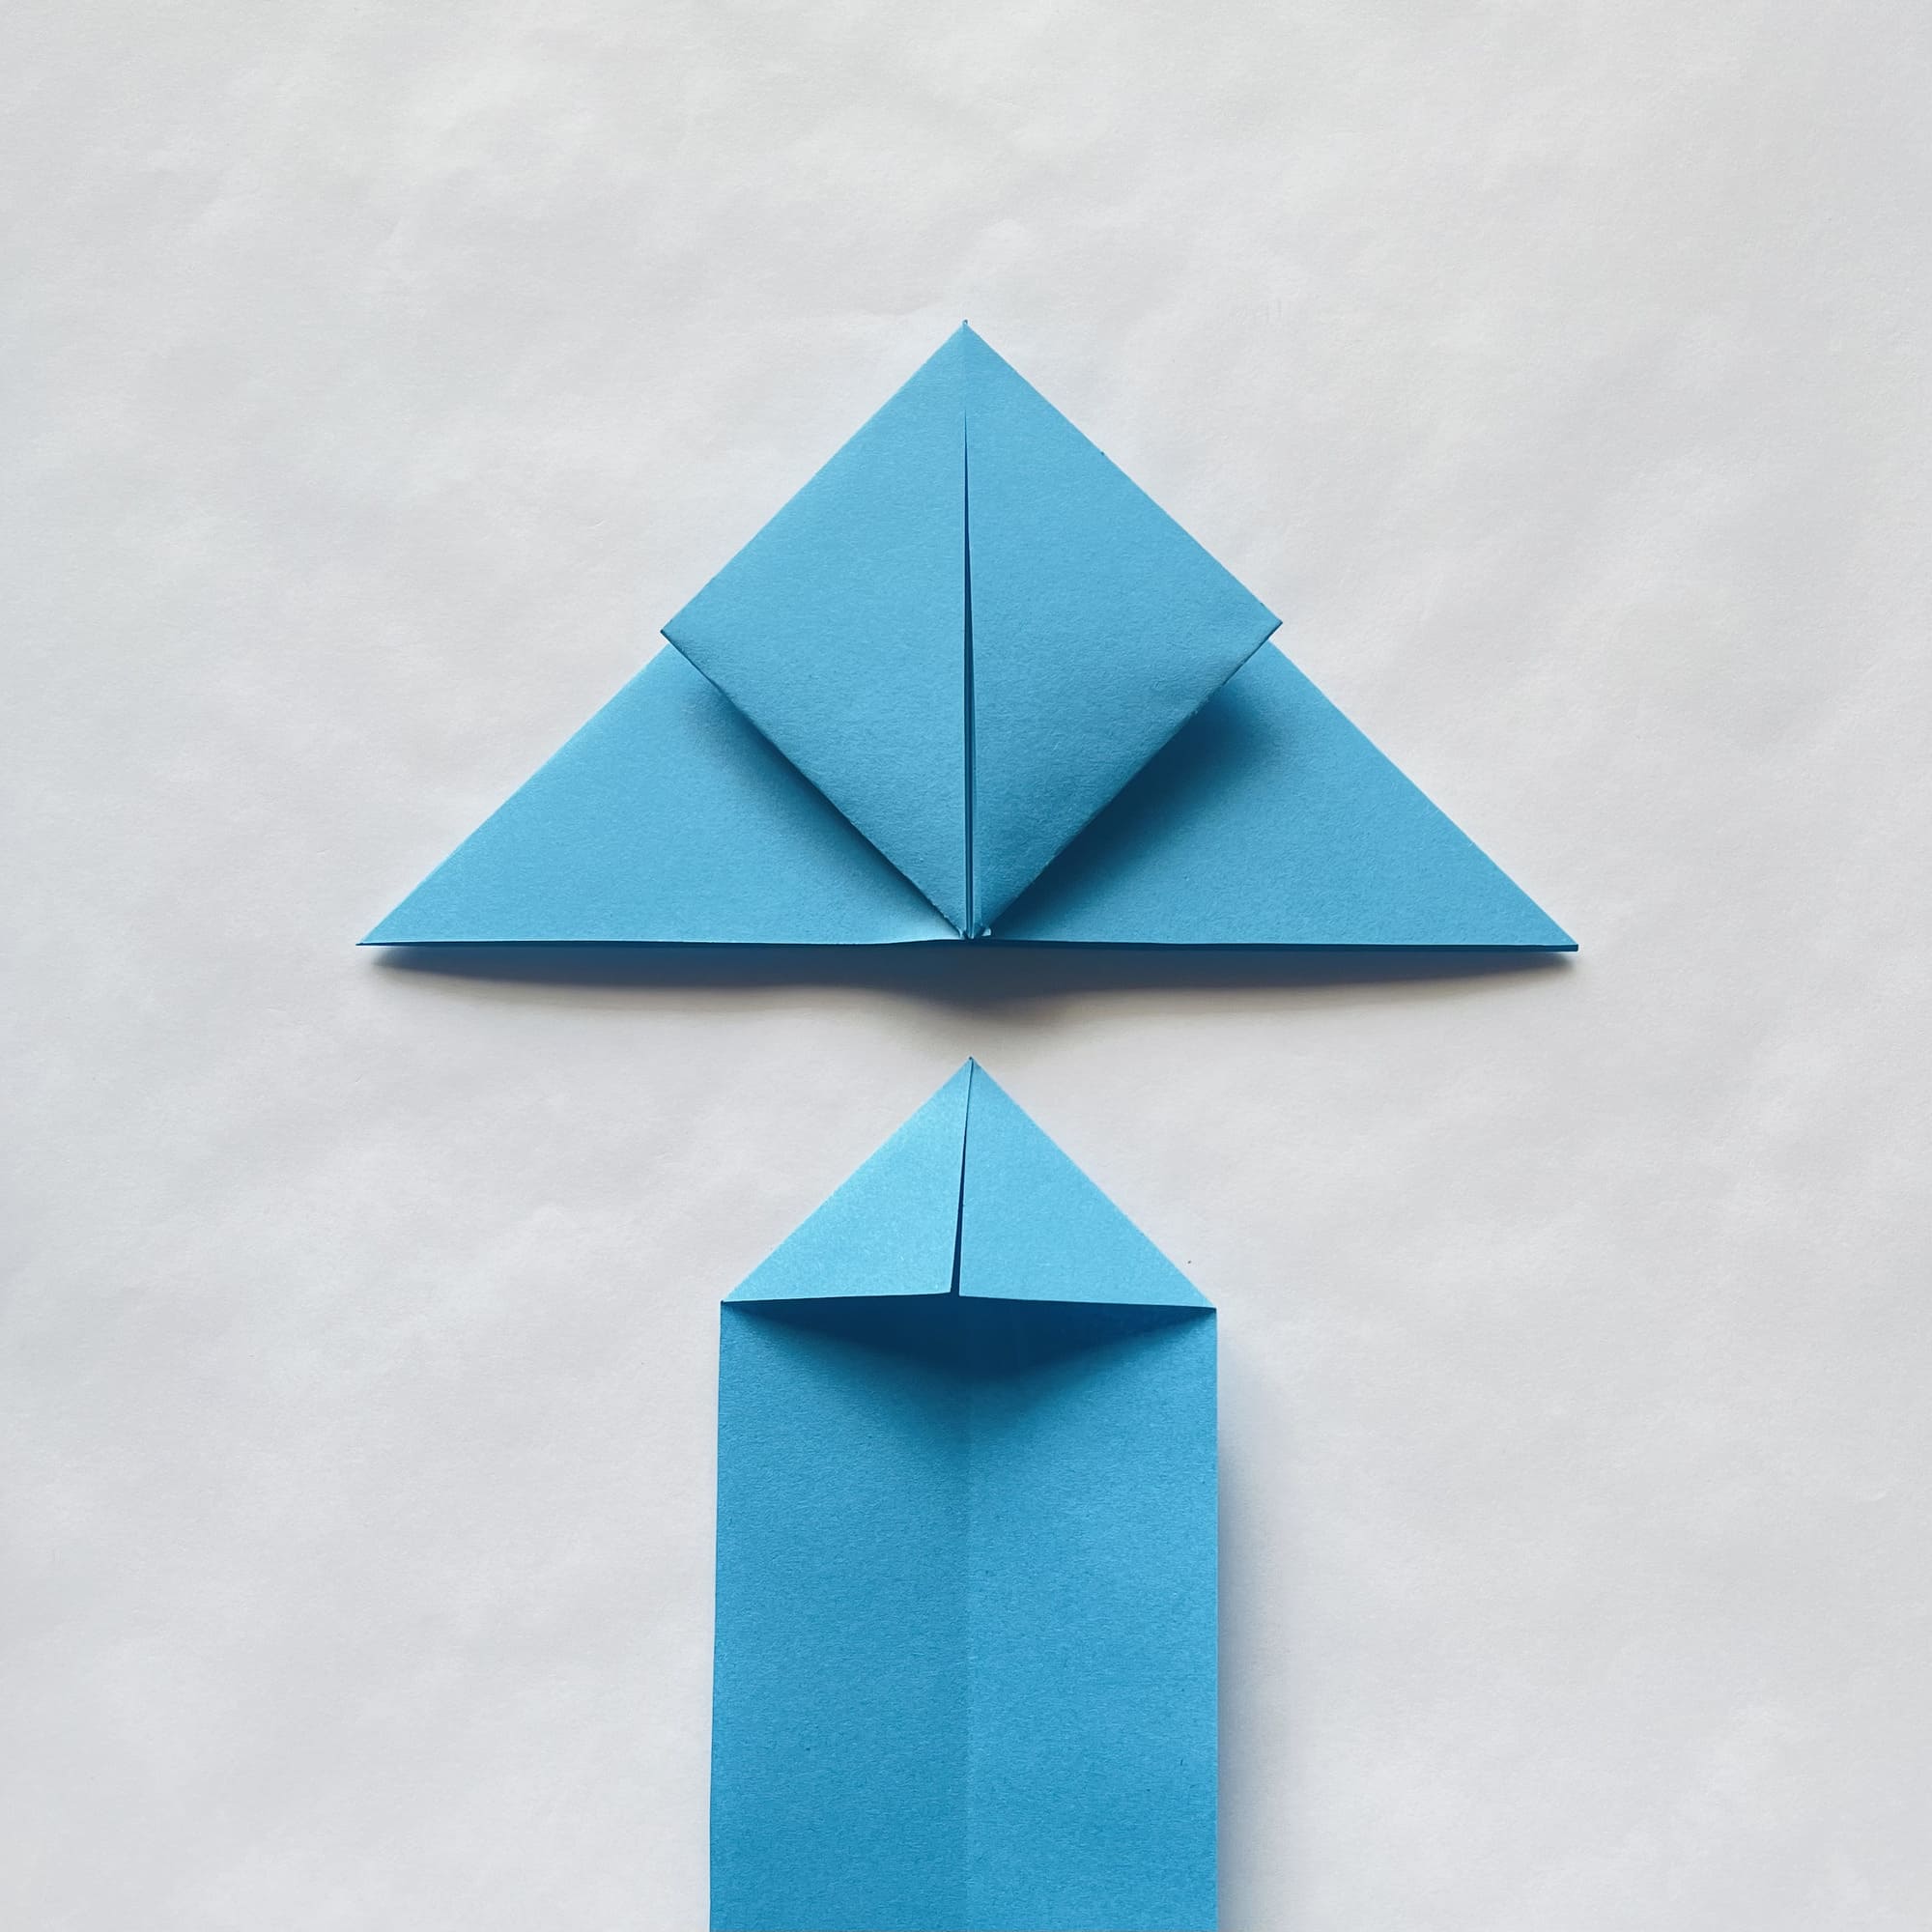
Fold the origami triangular base, focusing on the folds.
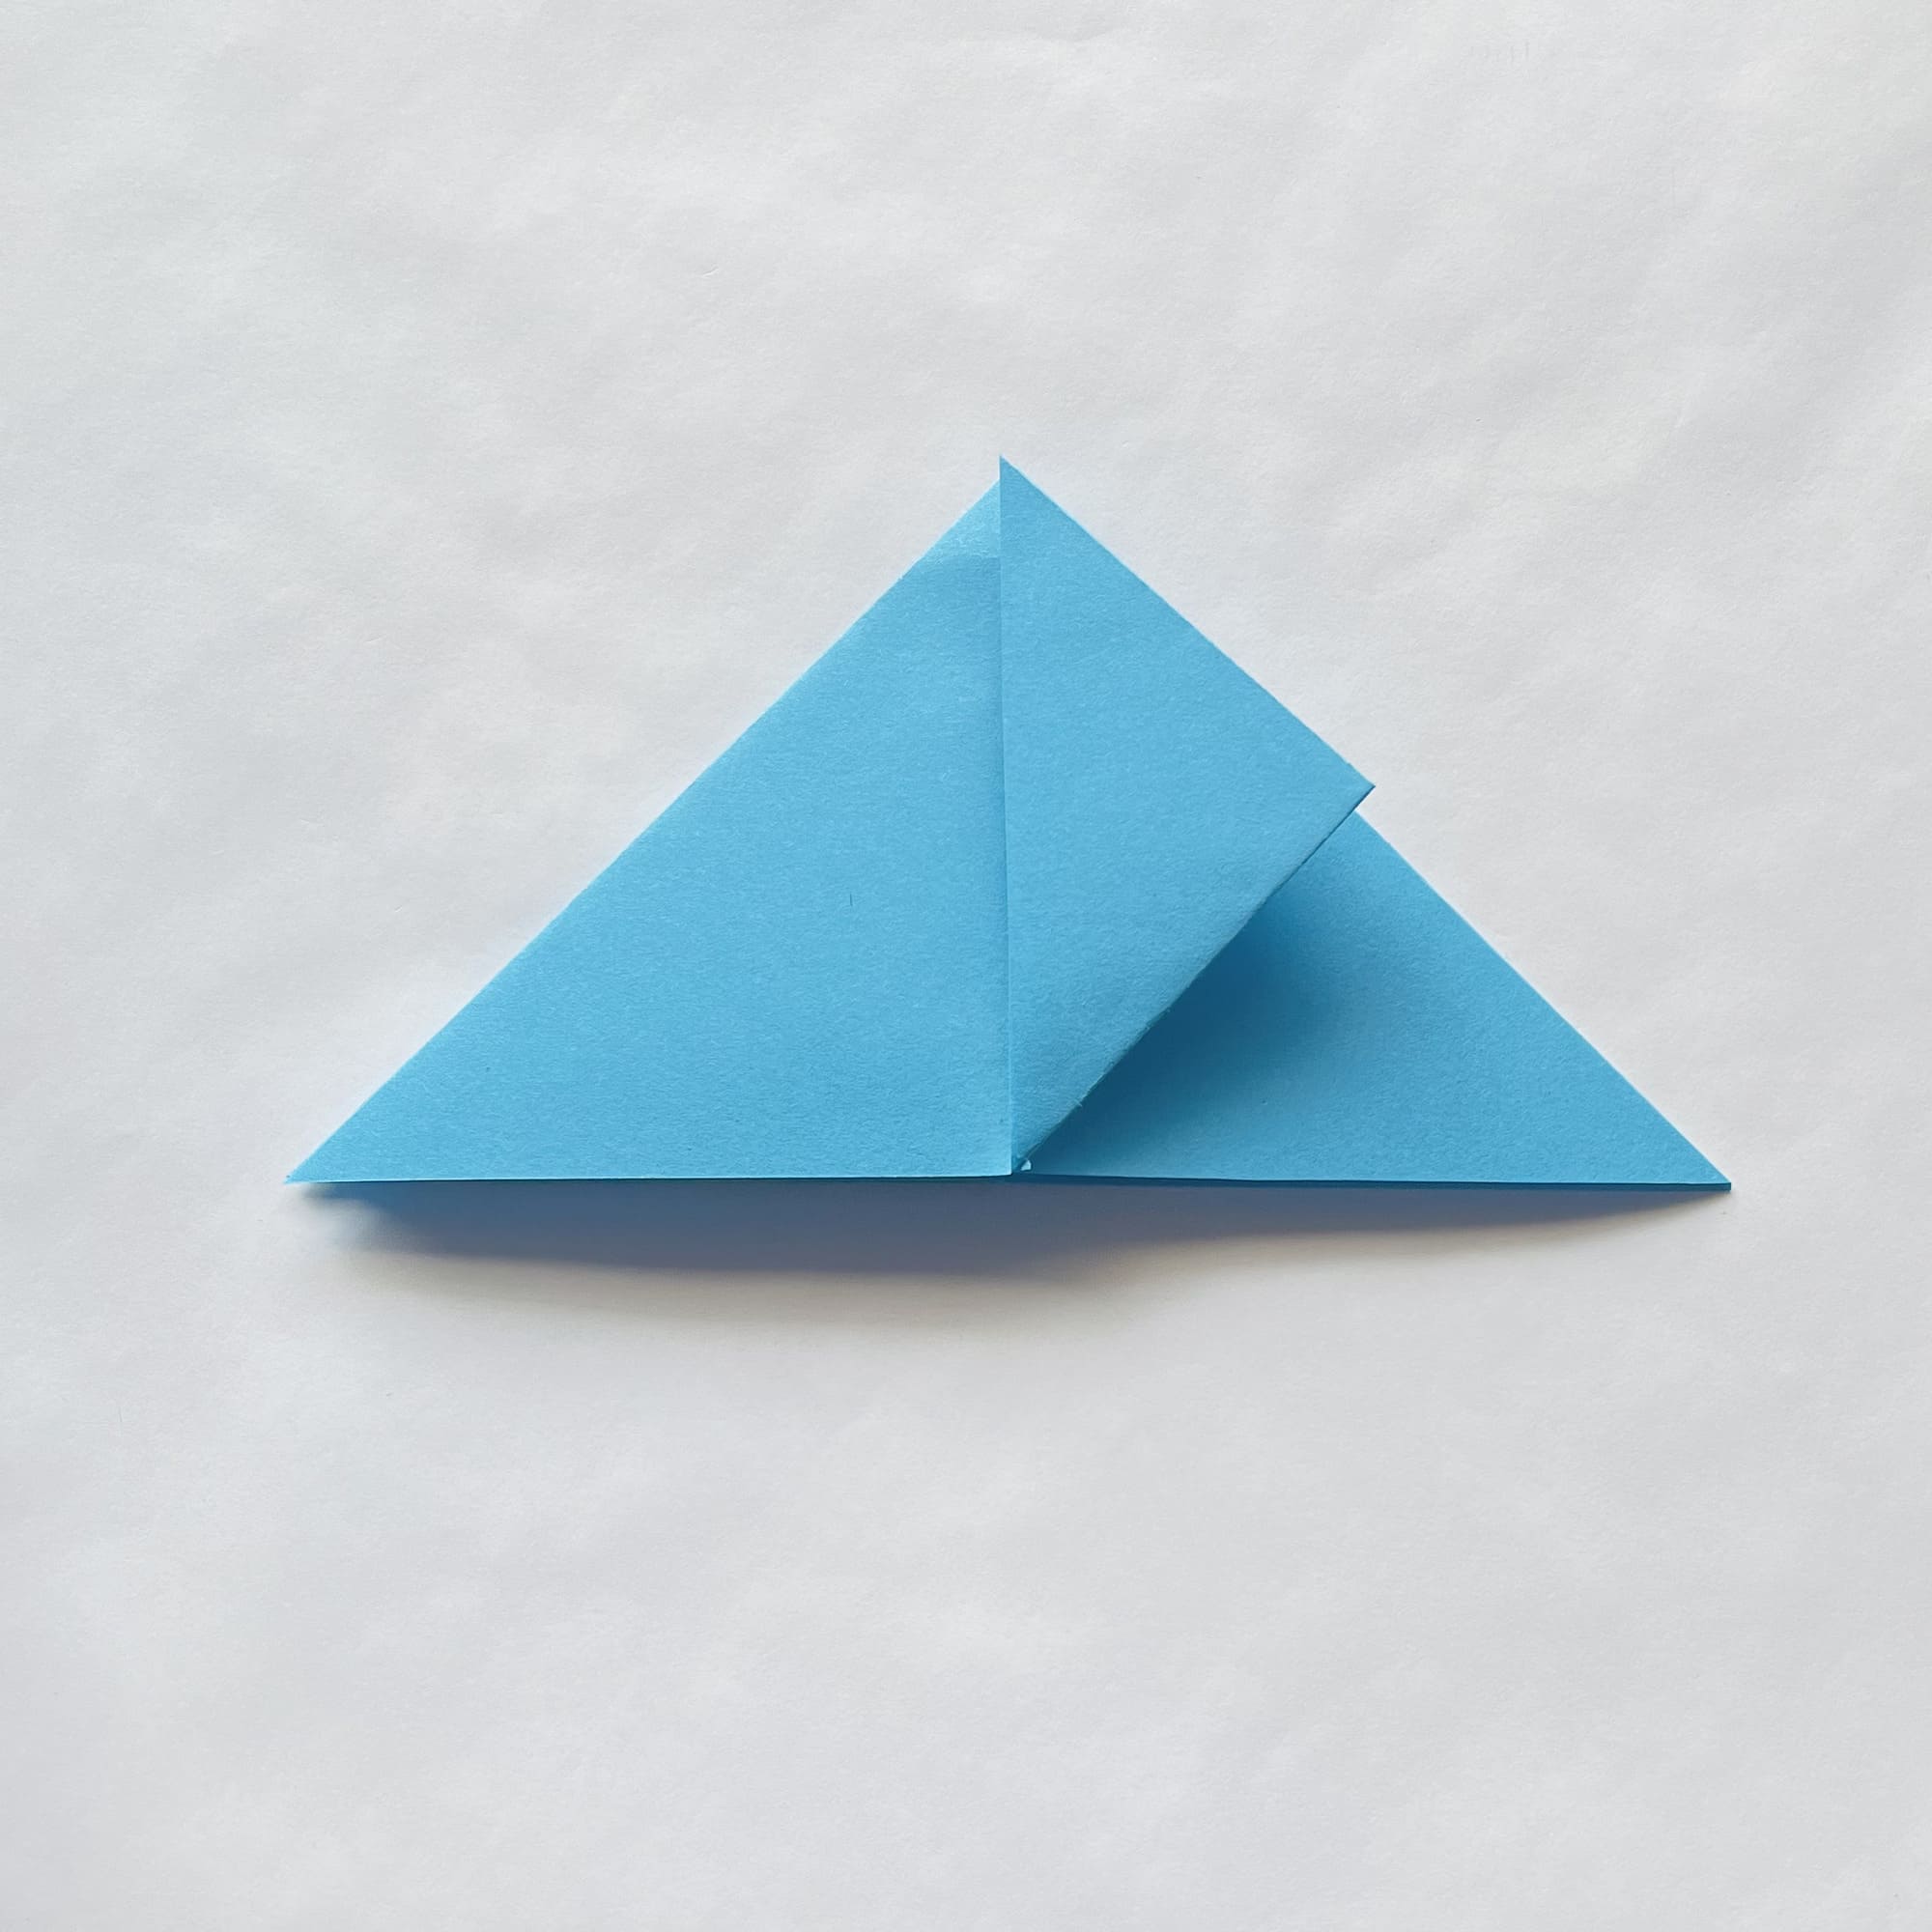
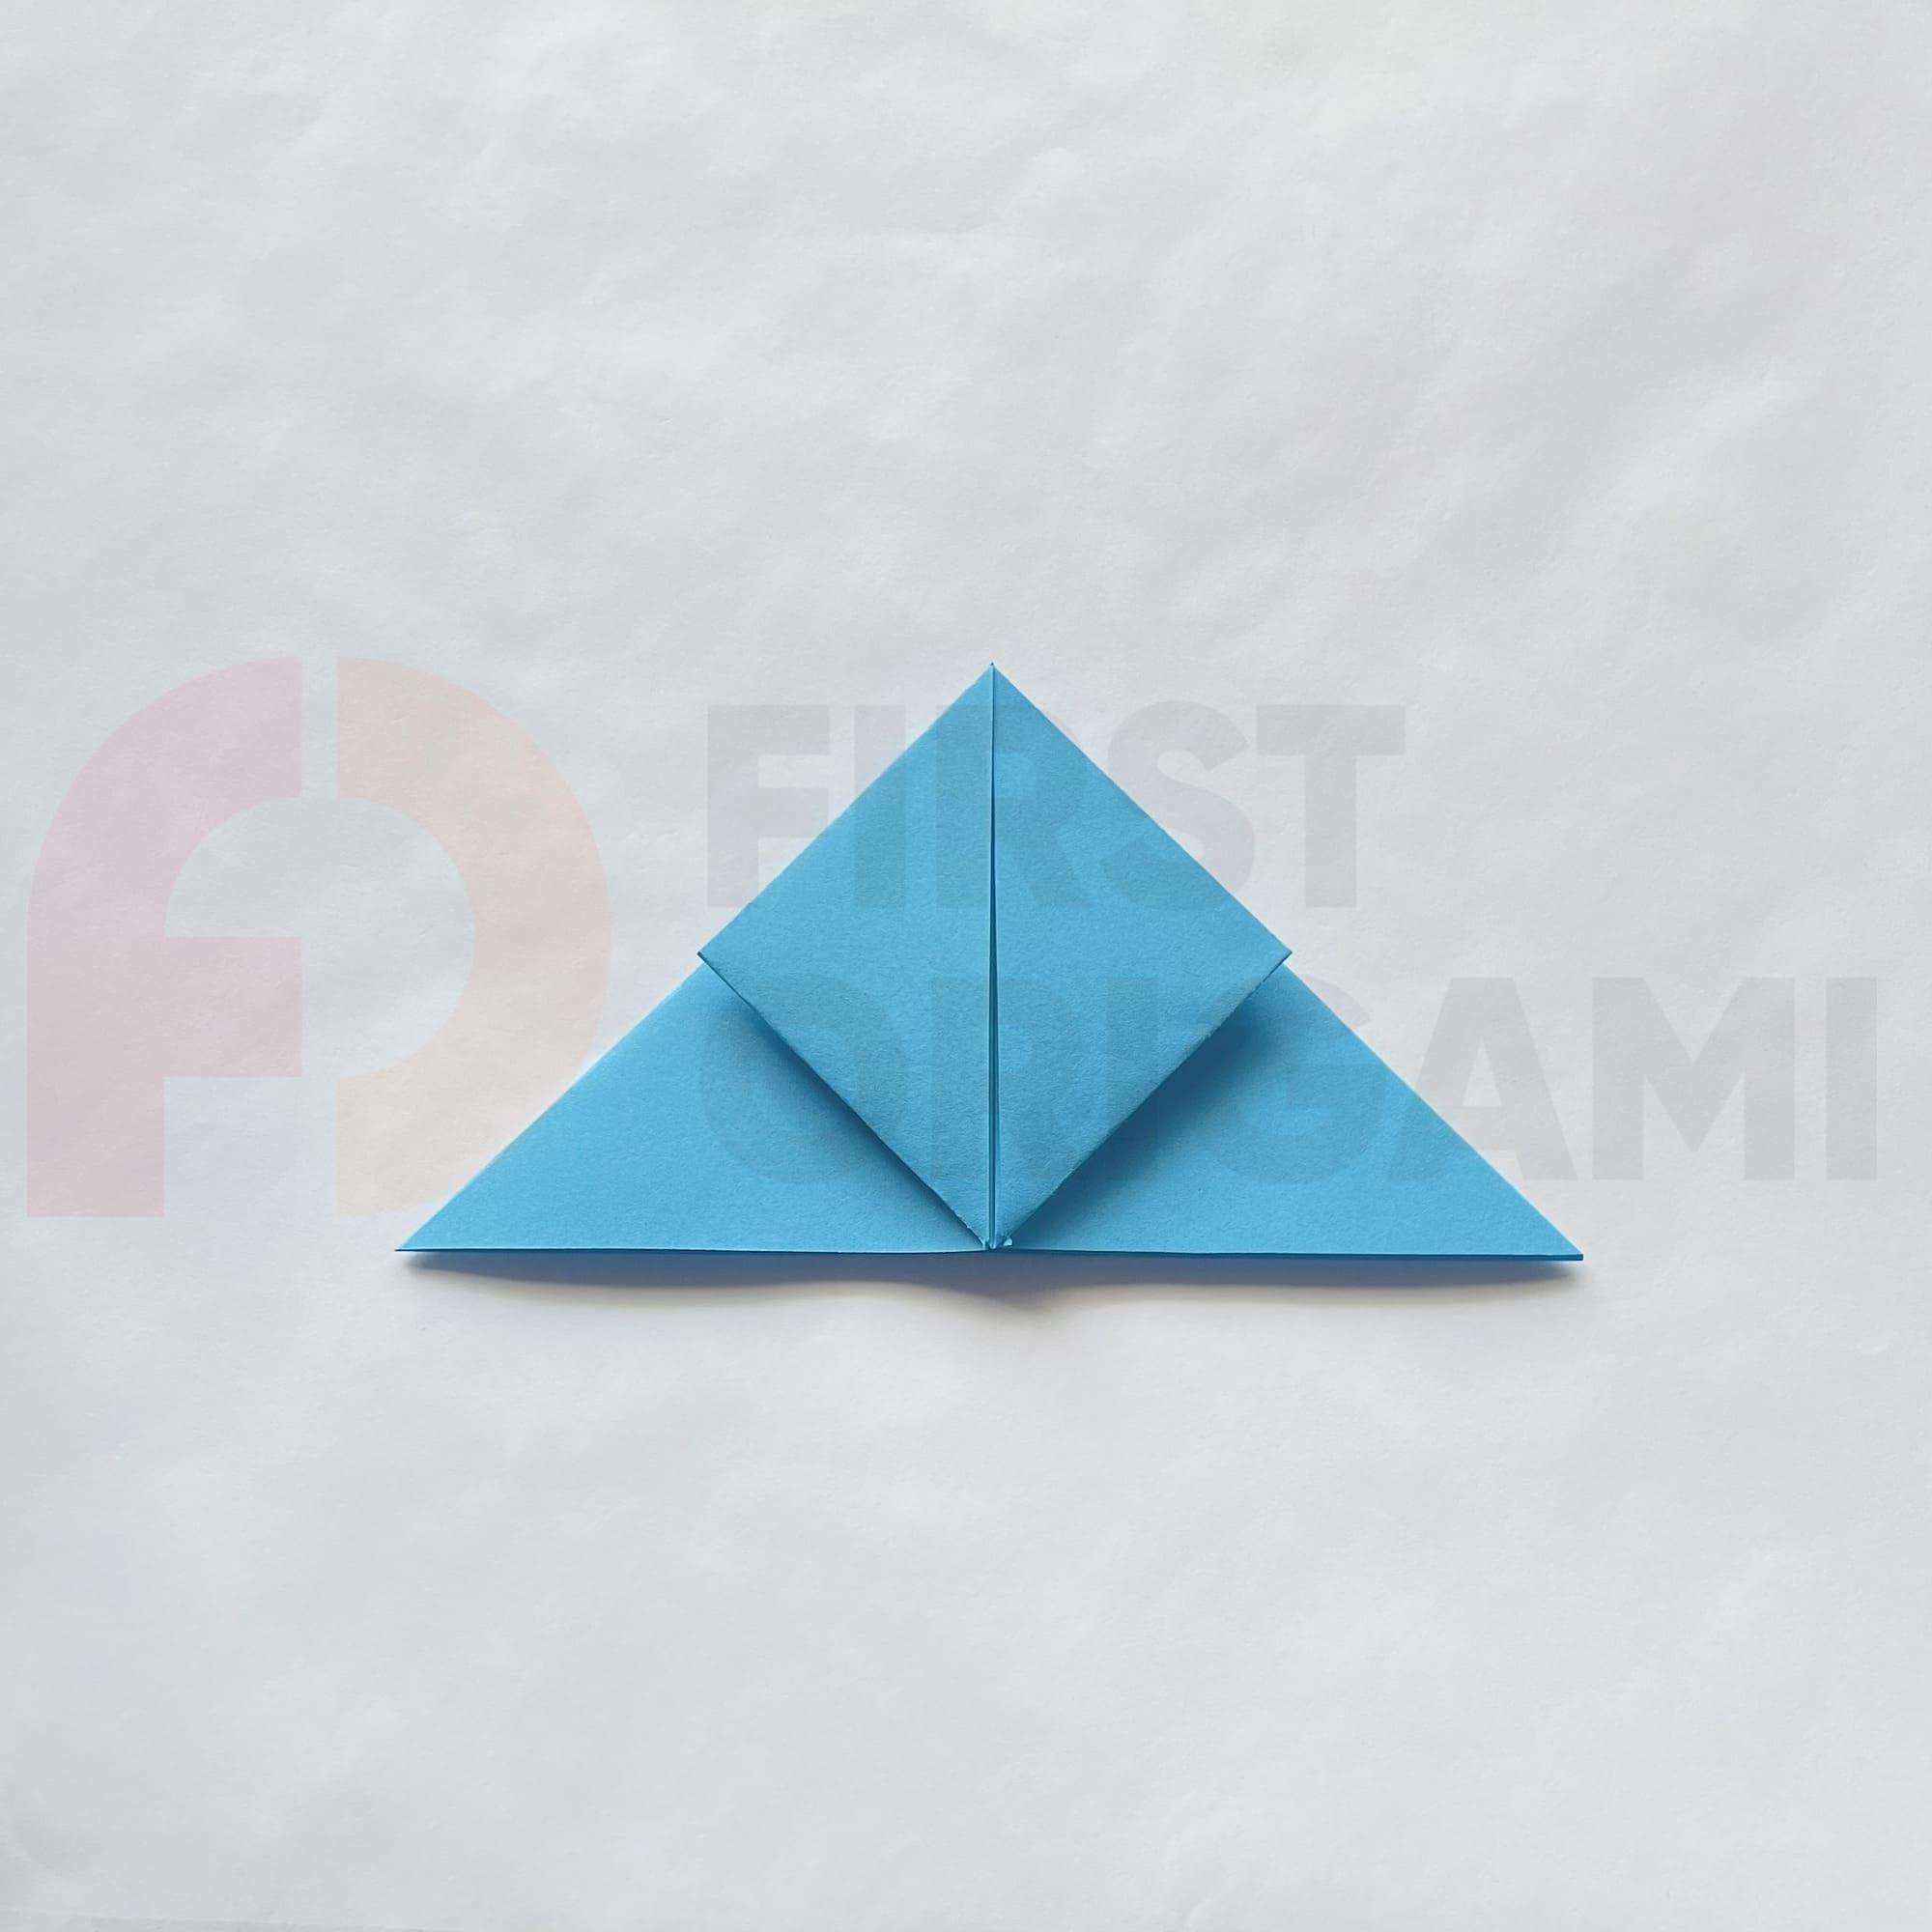
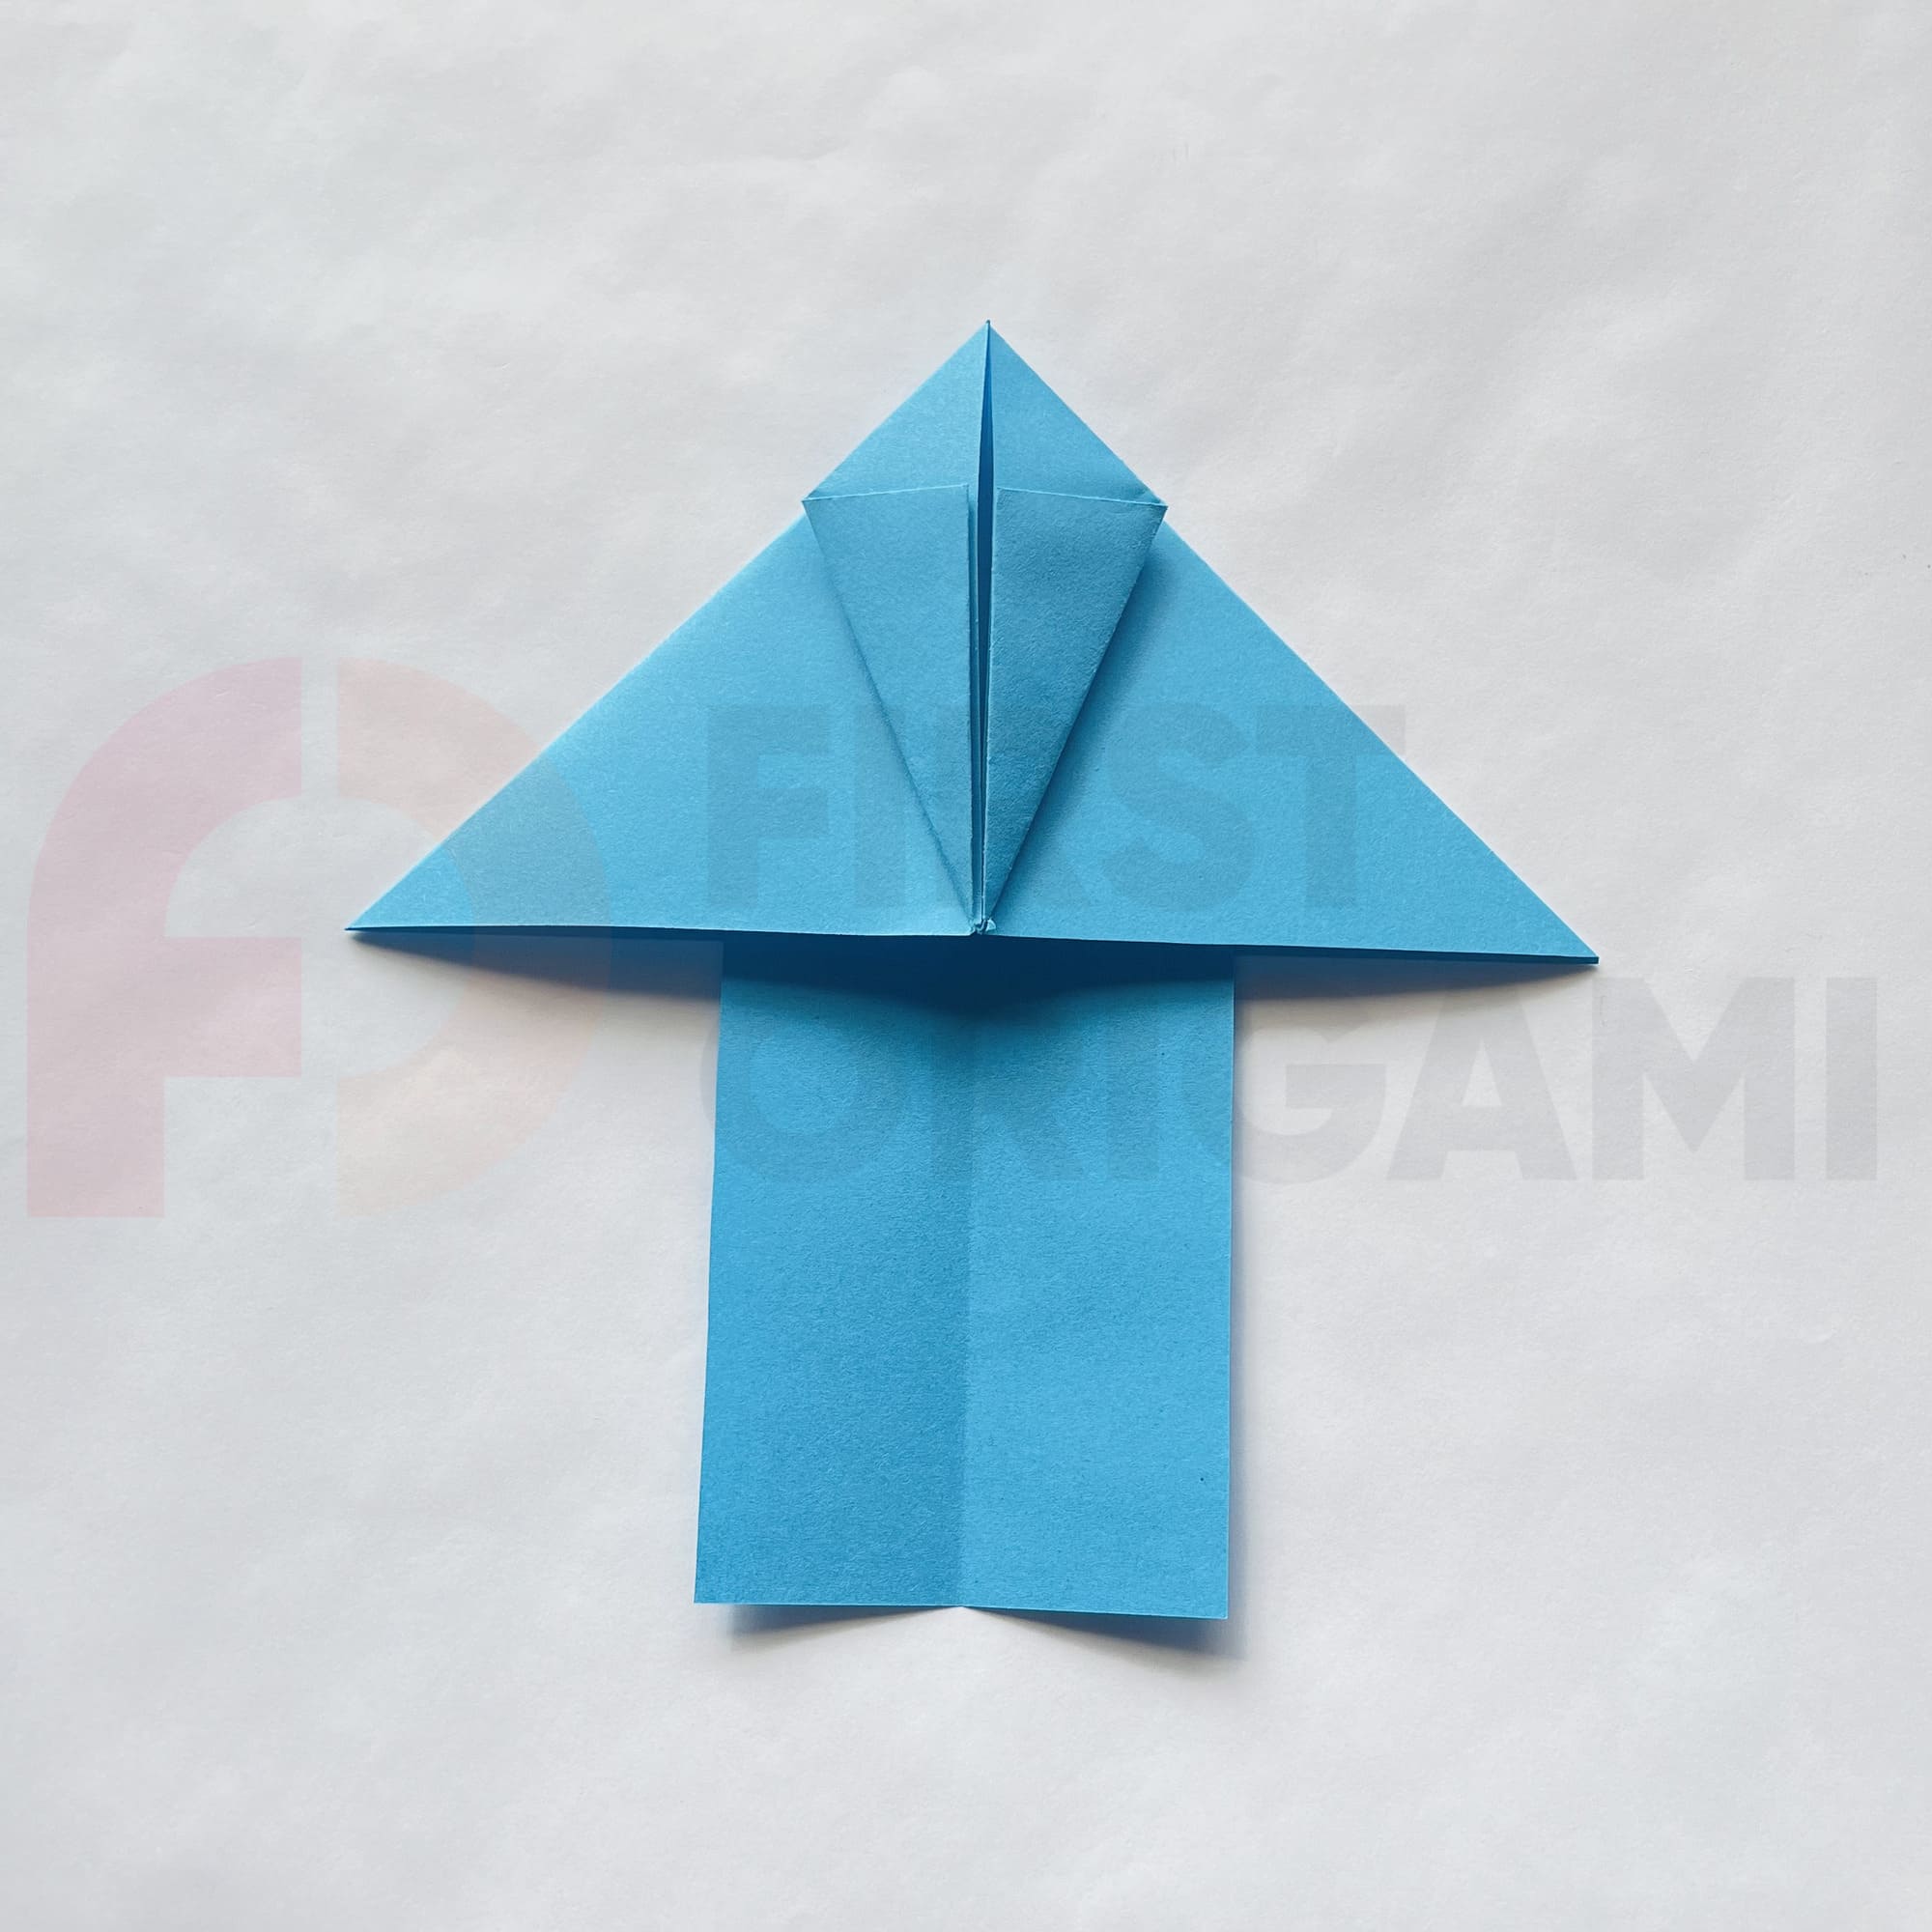
Fold the top layer of the side corners towards the top corner.

Set the figure aside and take the rectangle you cut off earlier in step four.
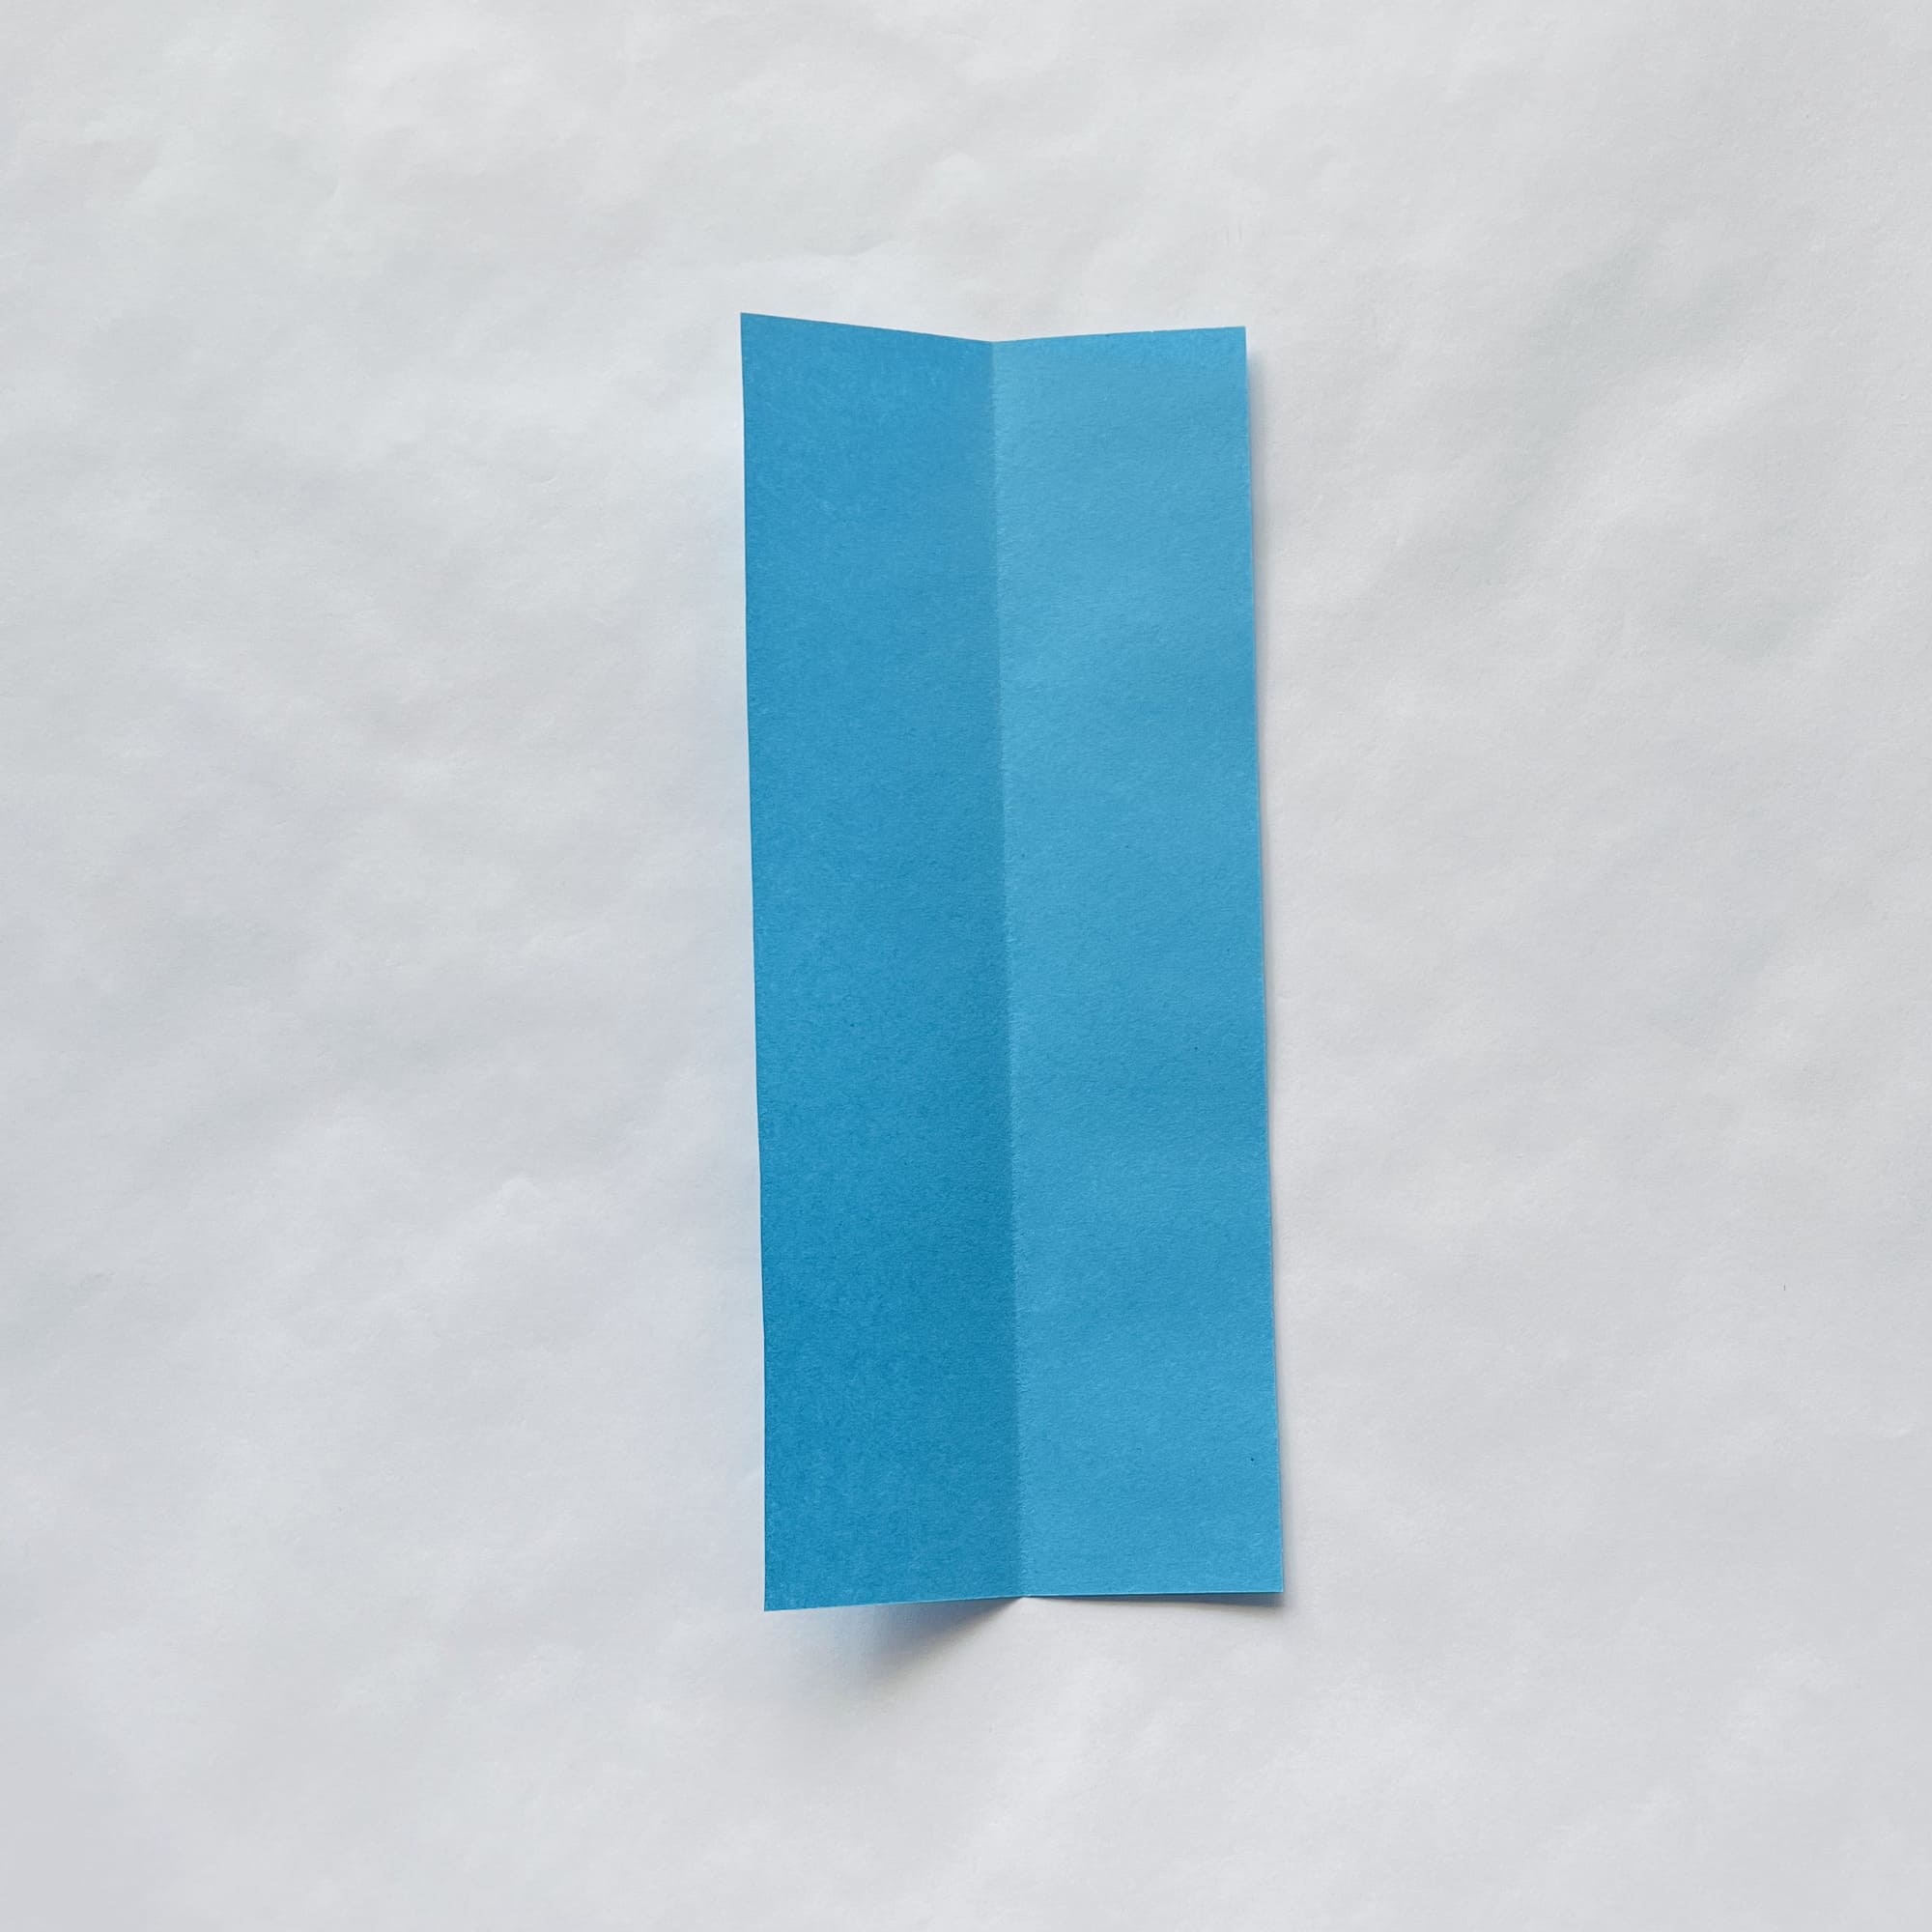
Fold it in half, mark the fold, and unfold it.
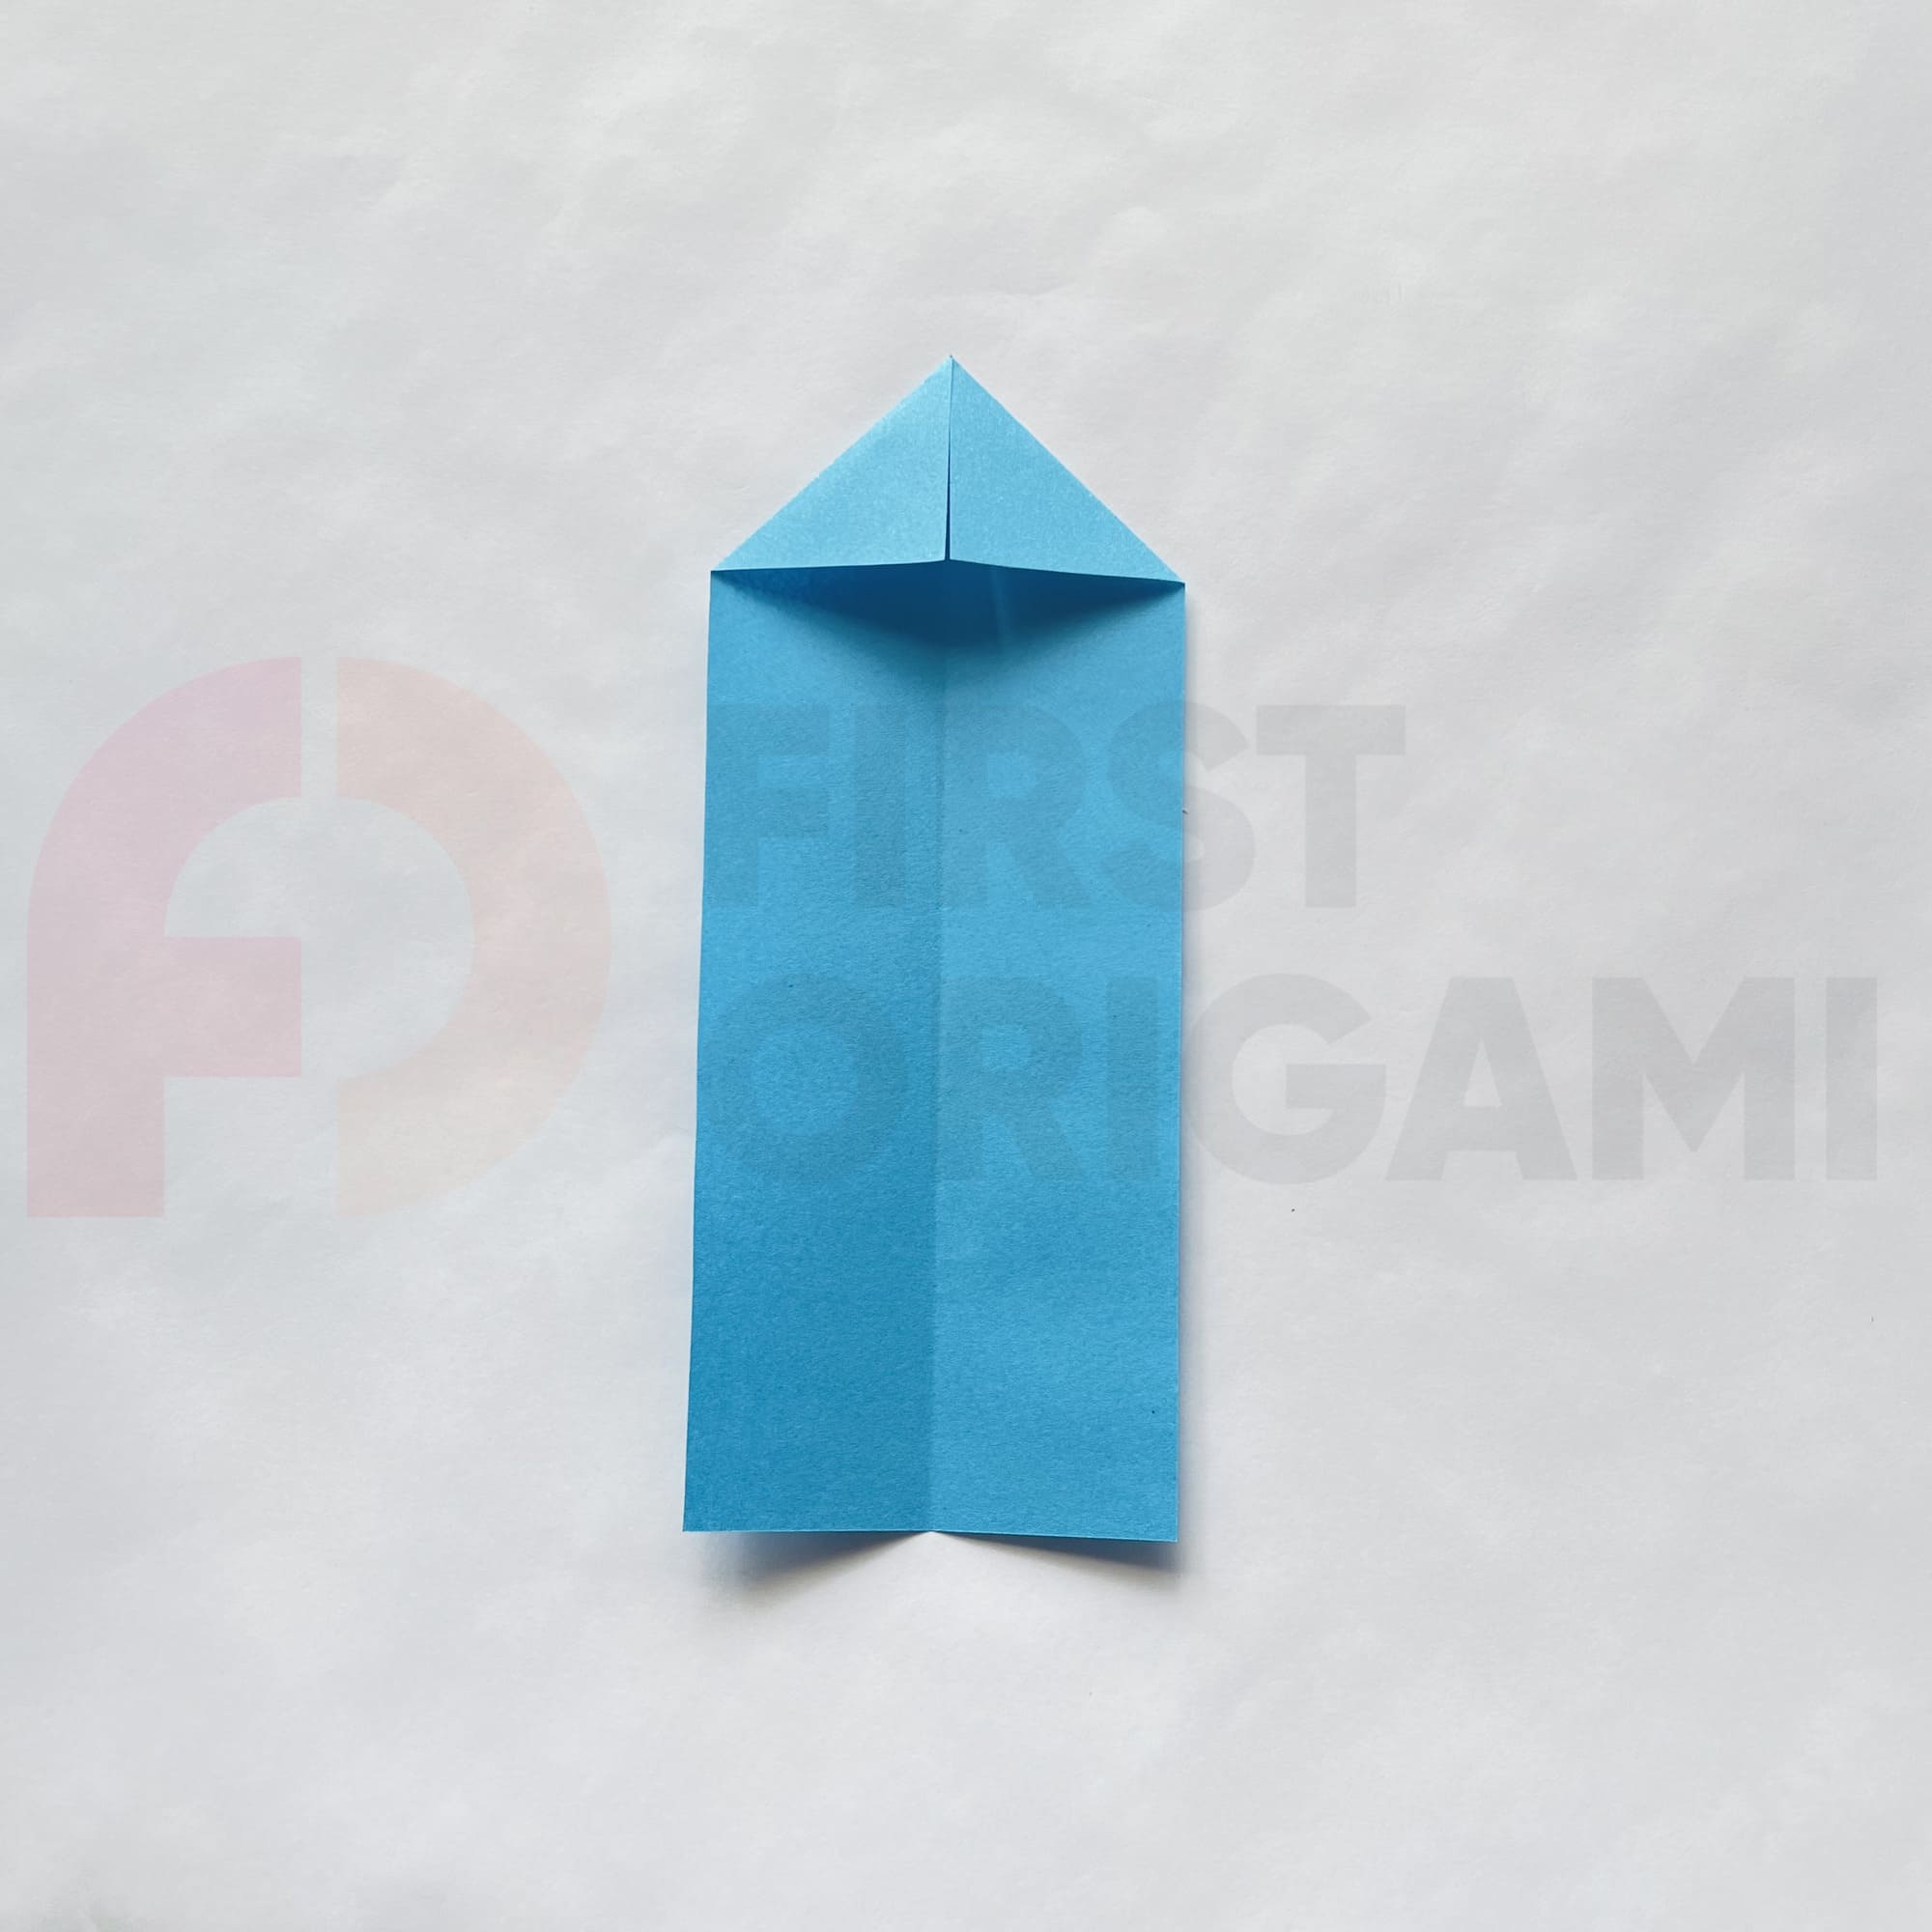
Fold both top corners towards the center line.
Let’s start assembling!
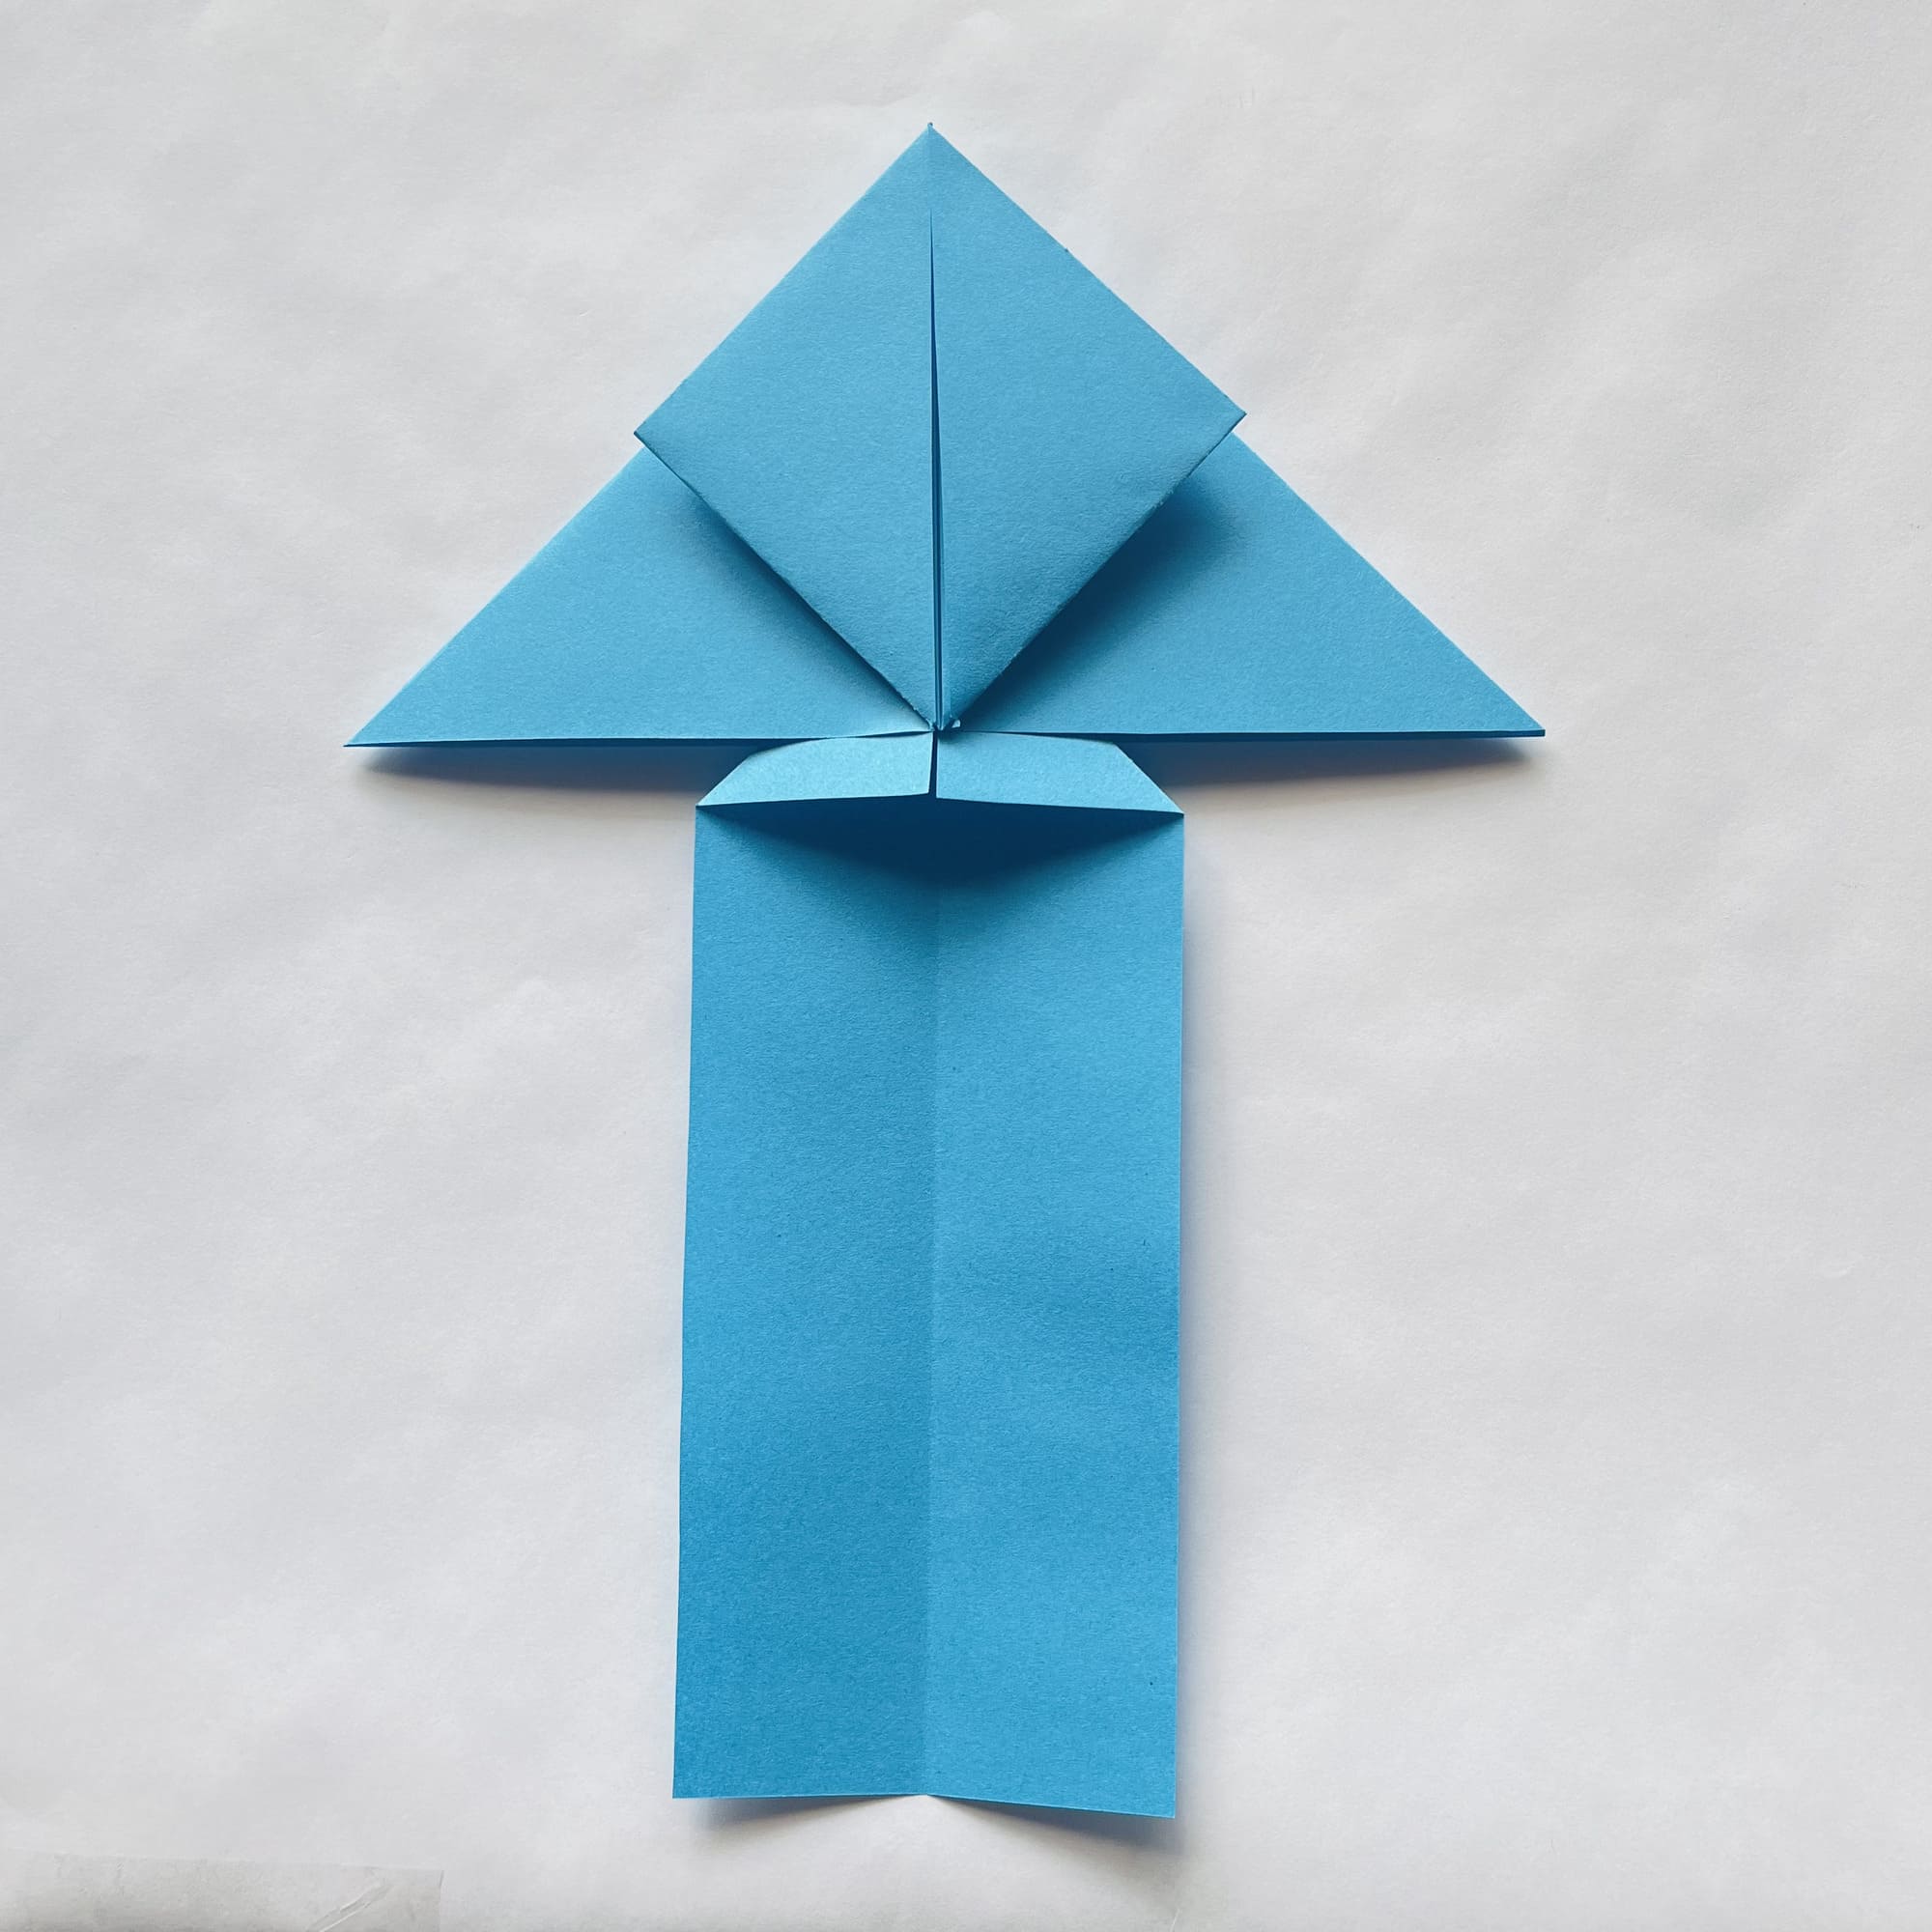
Insert the resulting tail into the main part of the figure.

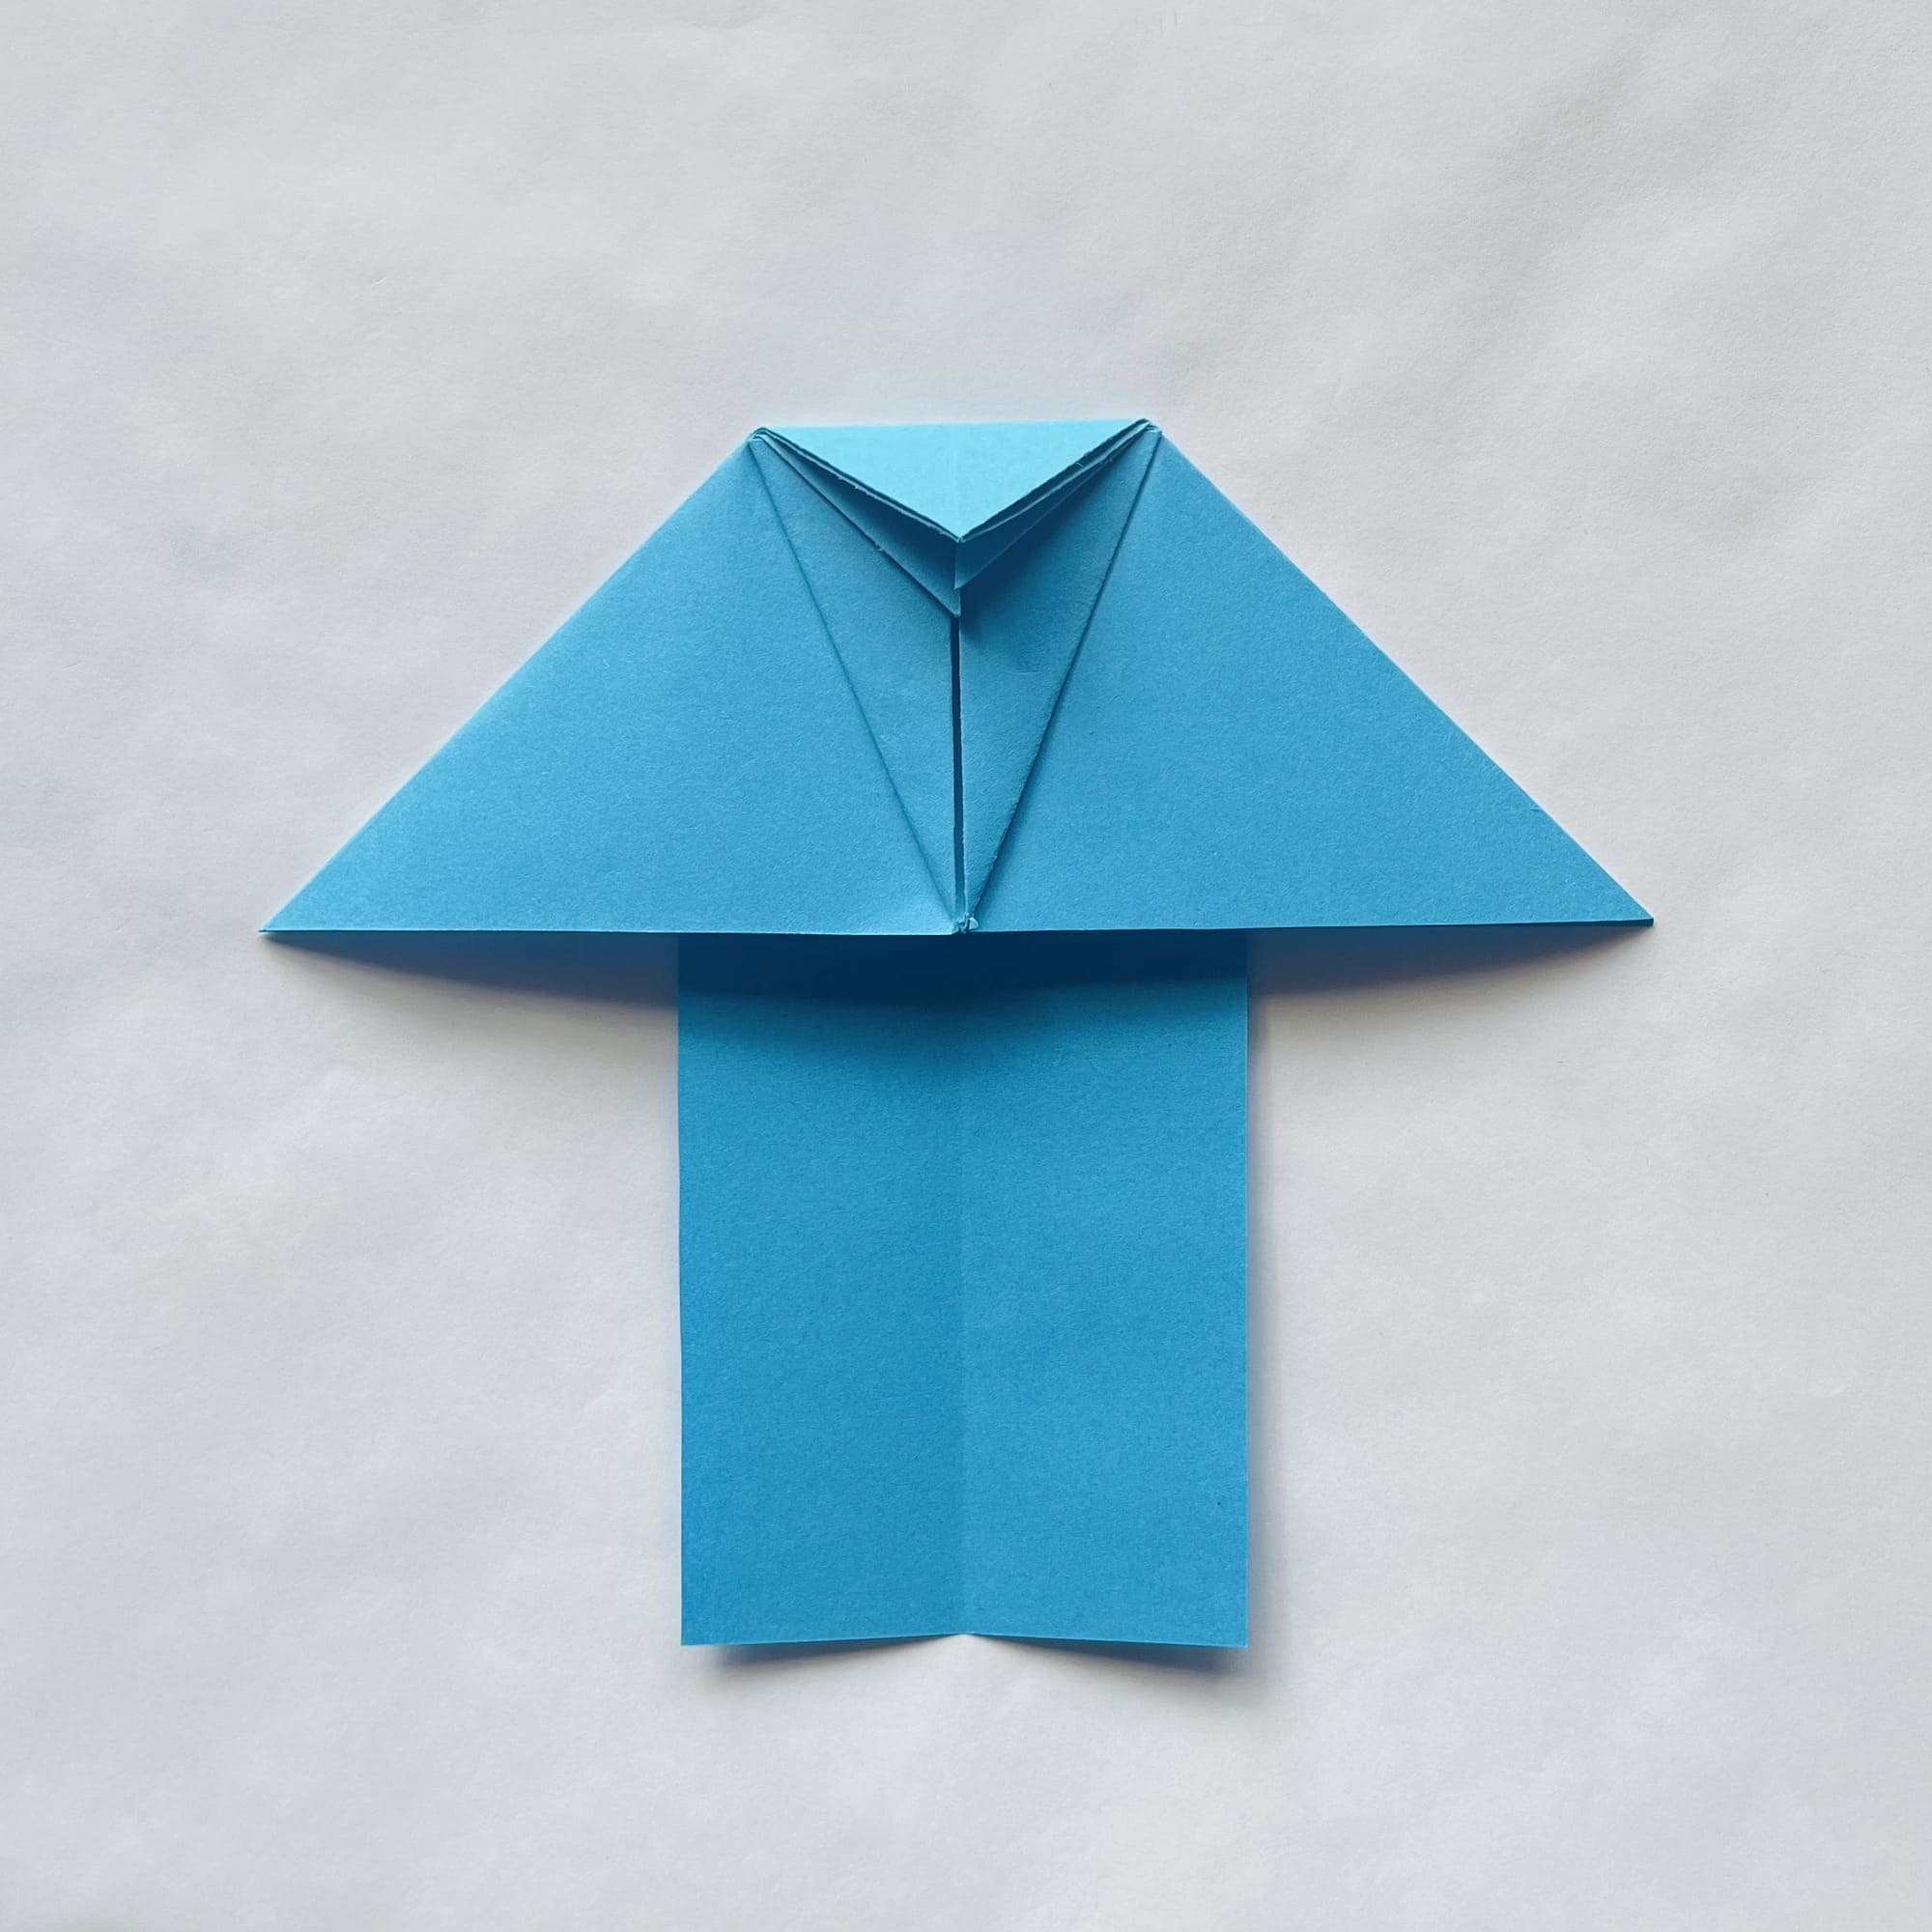
At the top of the origami, you should see a square: bend its side corners to the midline.
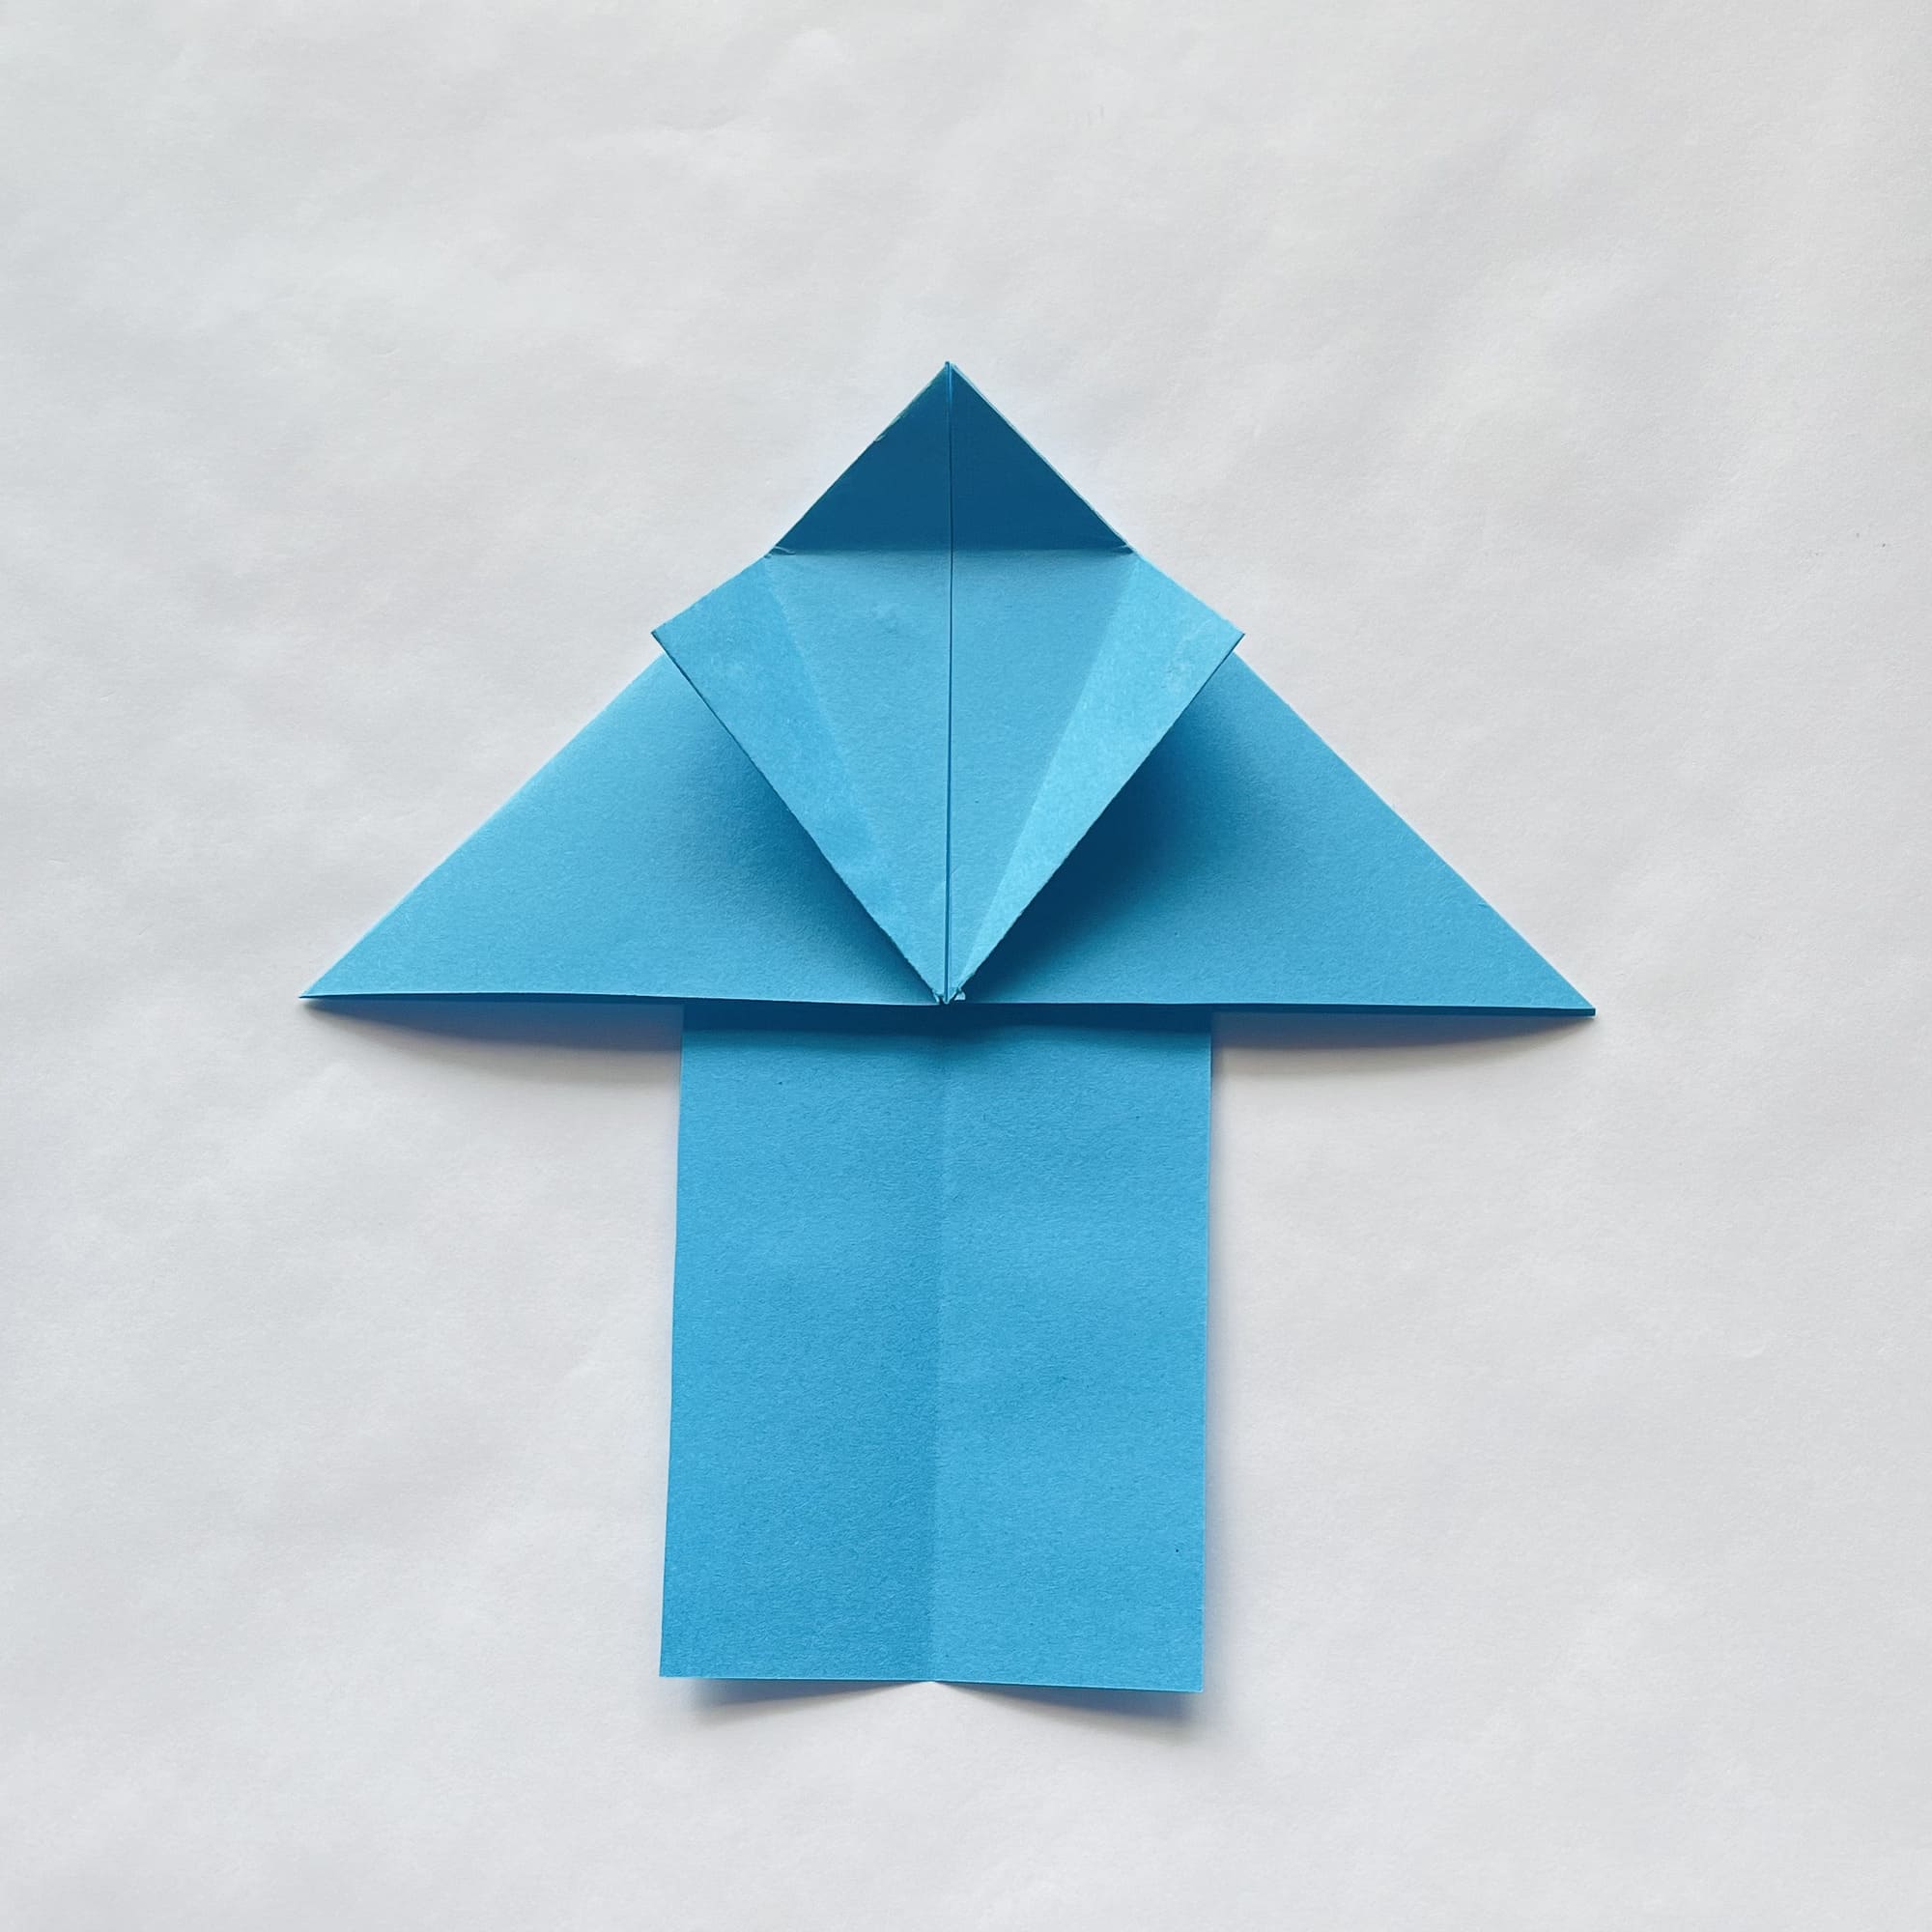
Fold its top corner down, and then unfold the last three folds.
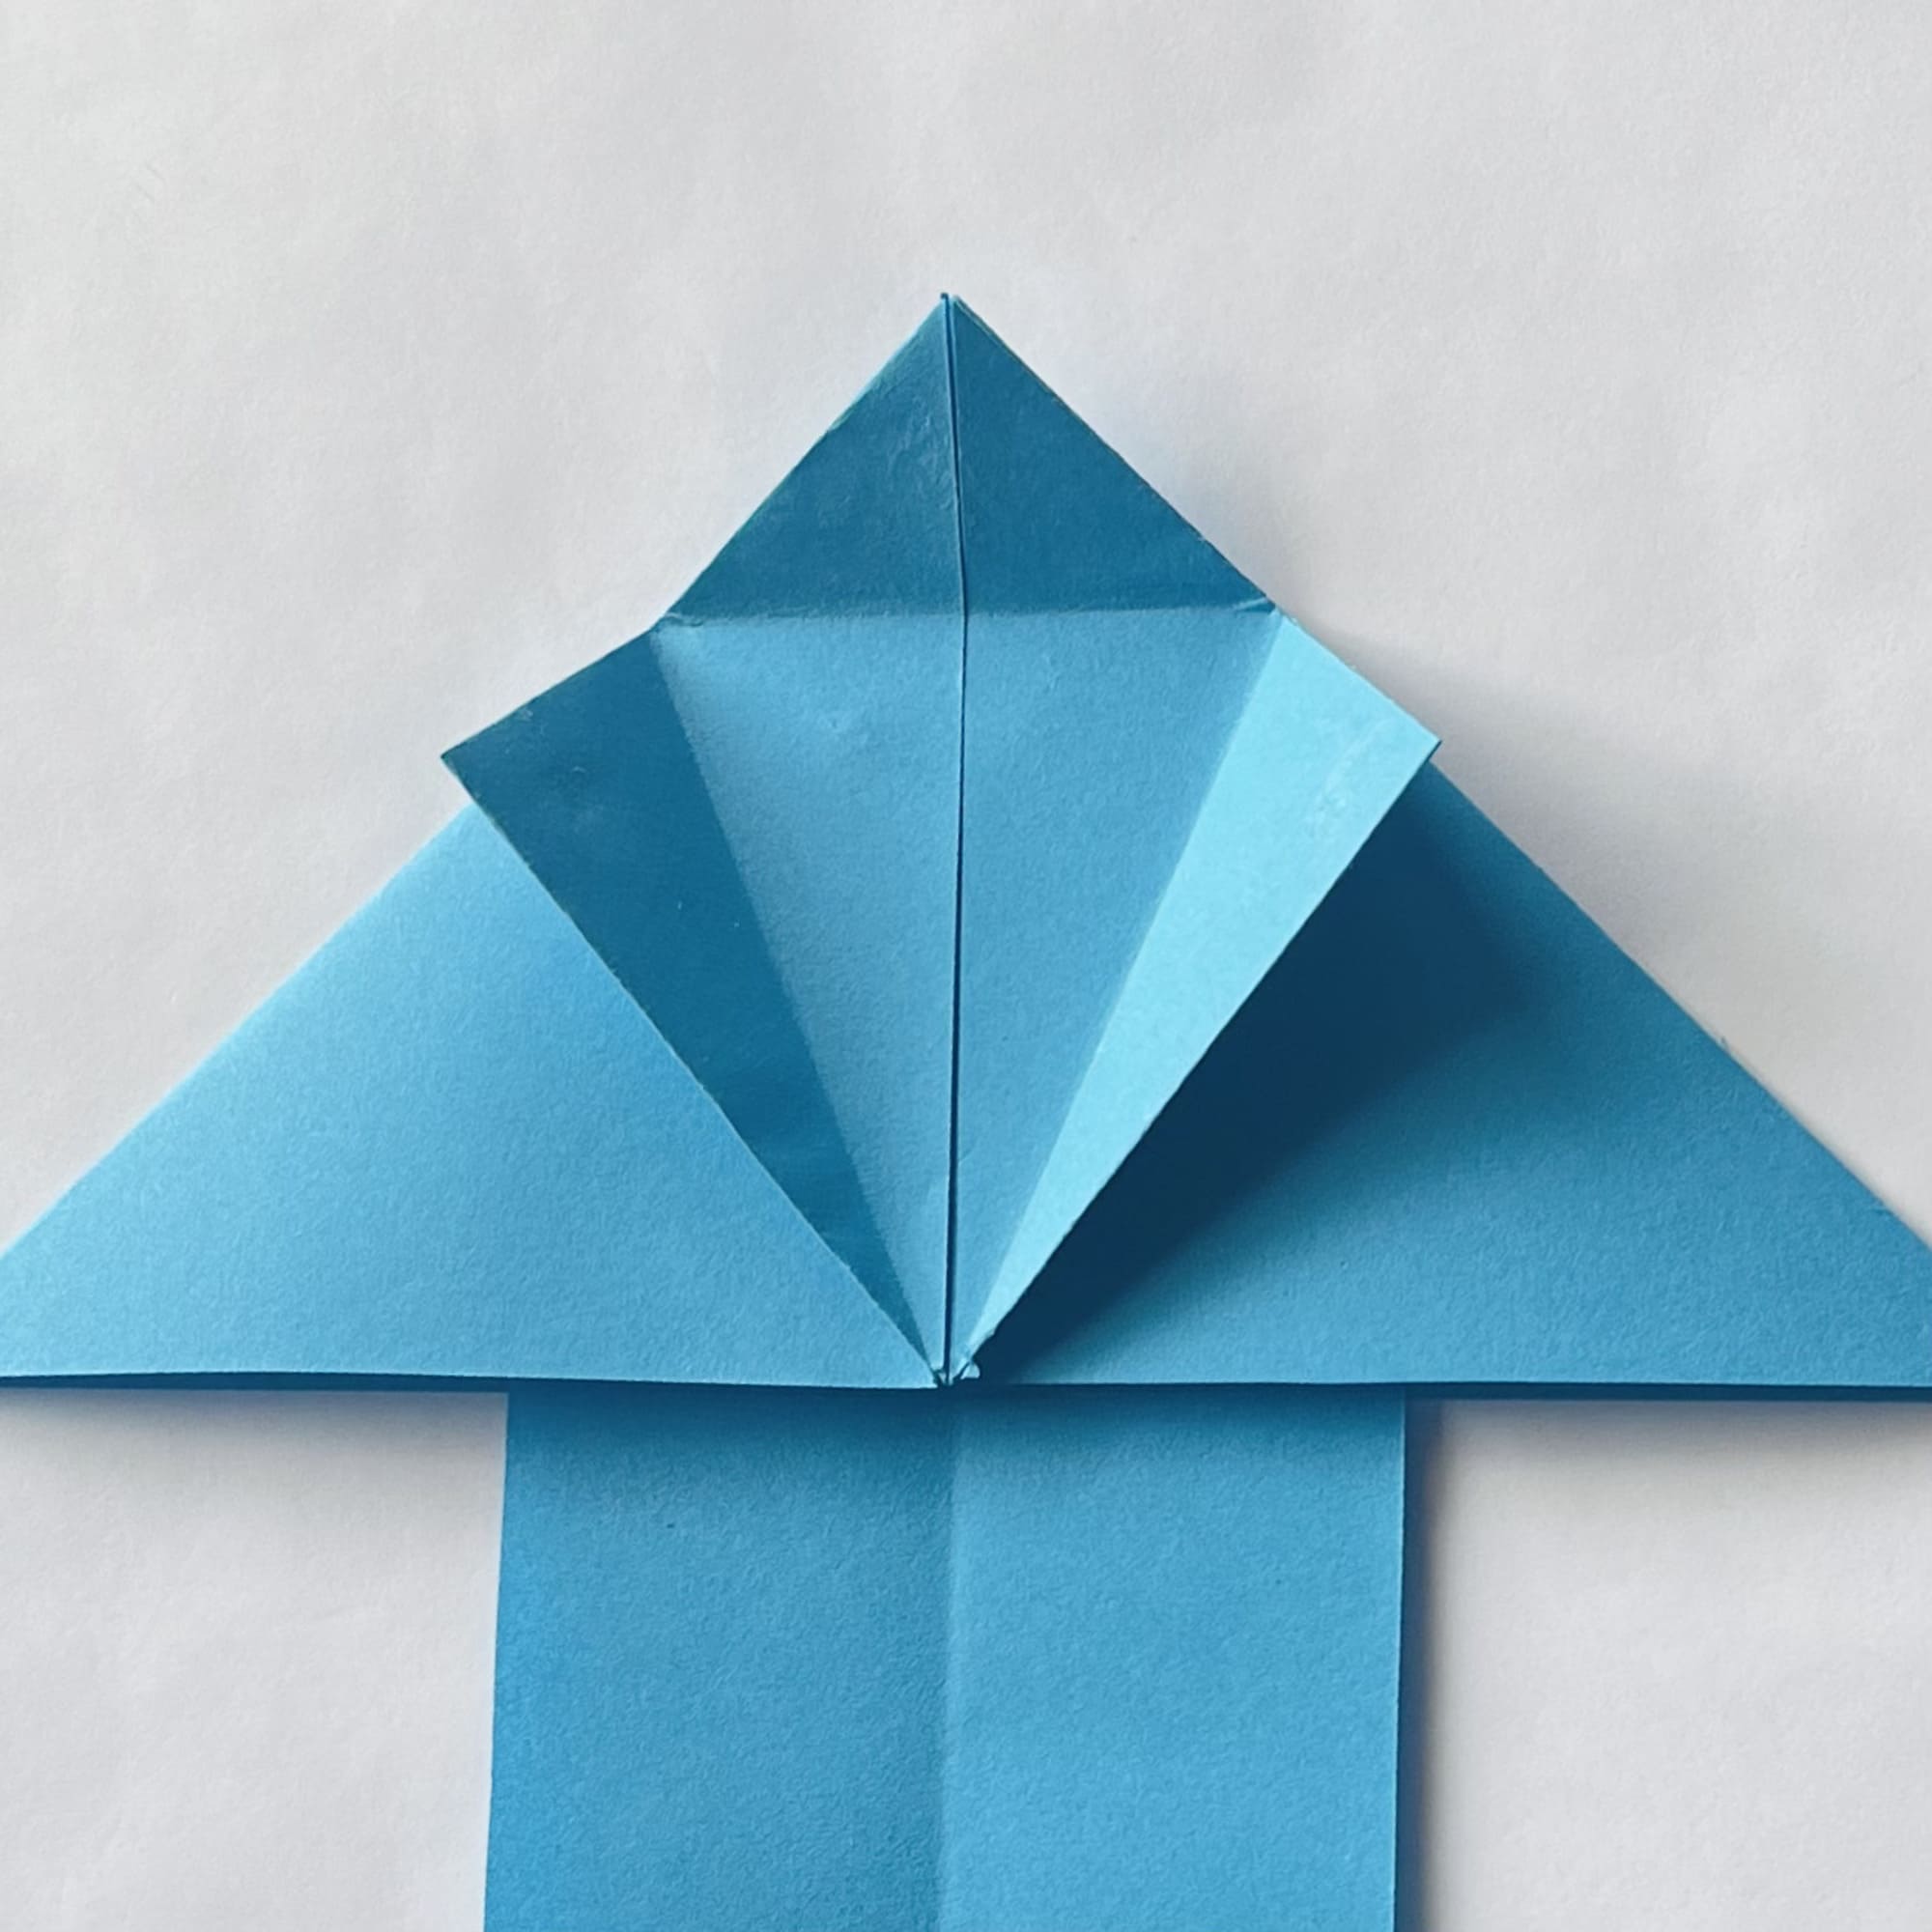
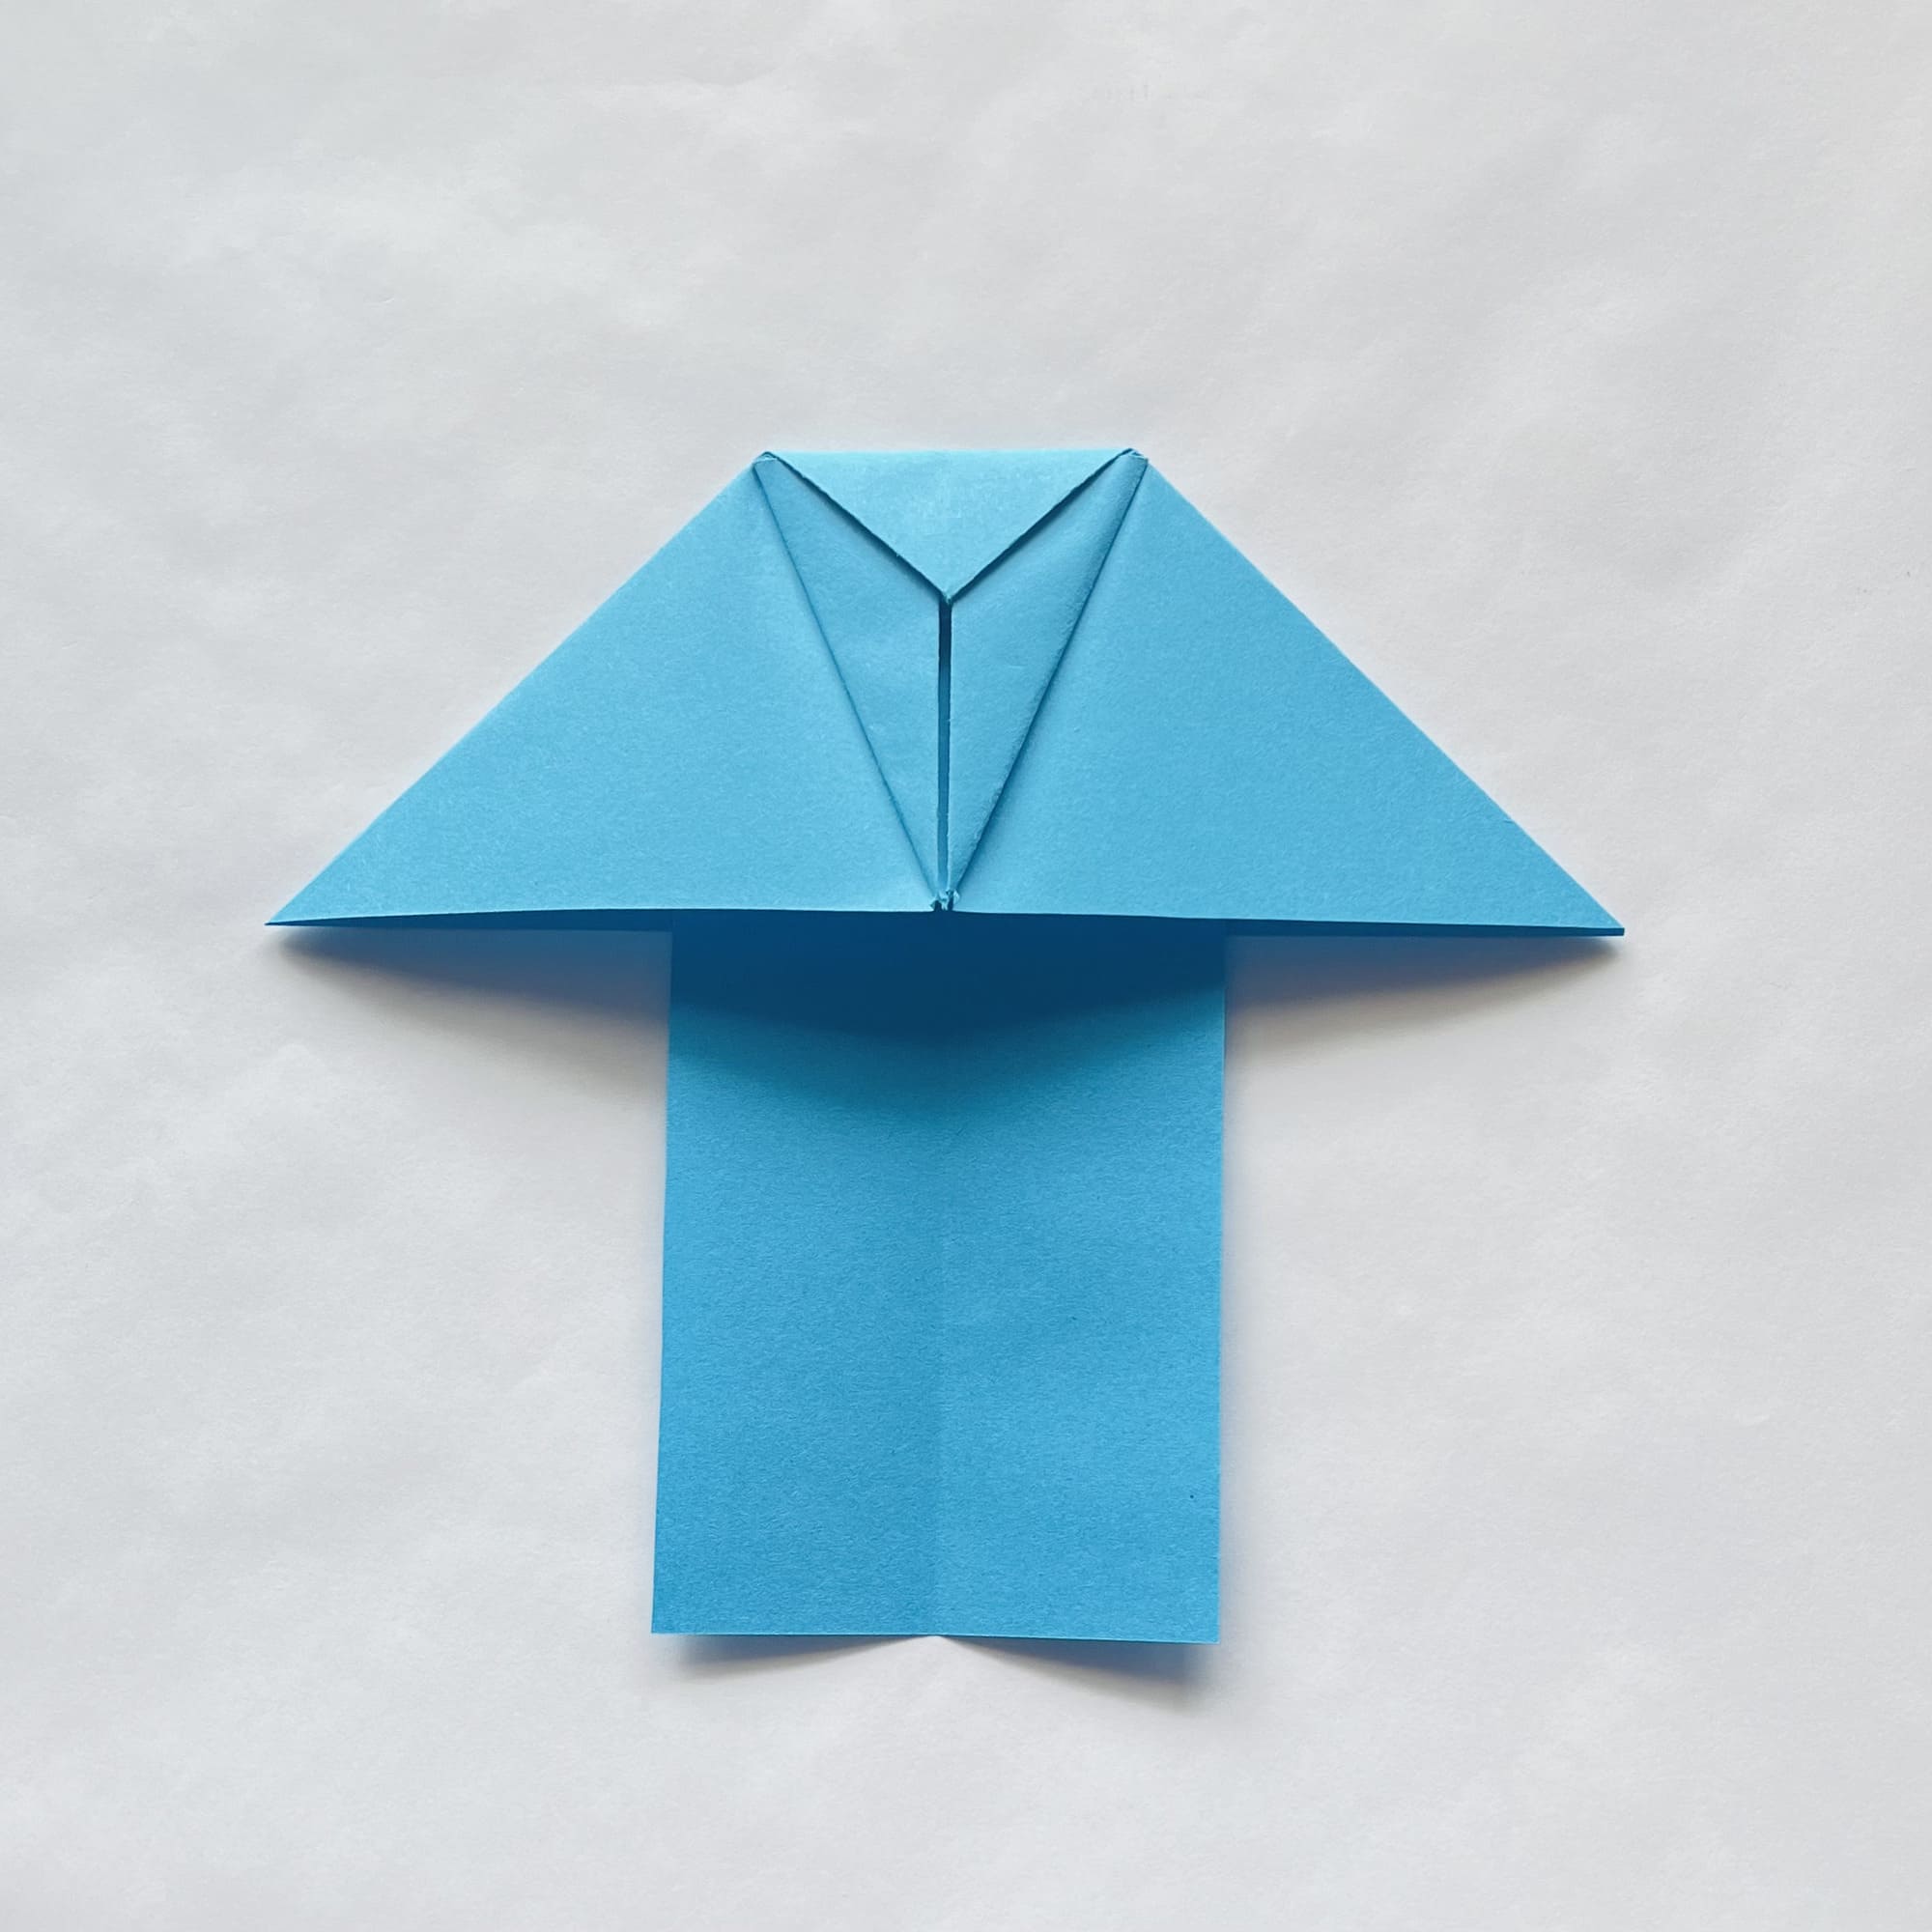
Fold the top corner inward again, and insert the side corners into the pockets on the sides, as shown in the photo.


Fold the shape in half along the already marked fold line.
Ready!
To launch the plane, you need to carefully grab the bottom of the plane, close to the nose. We suggest trying to throw it with medium force and discover the peculiarity of its flights: it loves to return to its owner.


