Origami Tote Bag Folding
A small beautiful bag with paper handles for small things (coins, sweets…).
Keep in mind that to create such a handbag, you will need to make a cut with scissors.
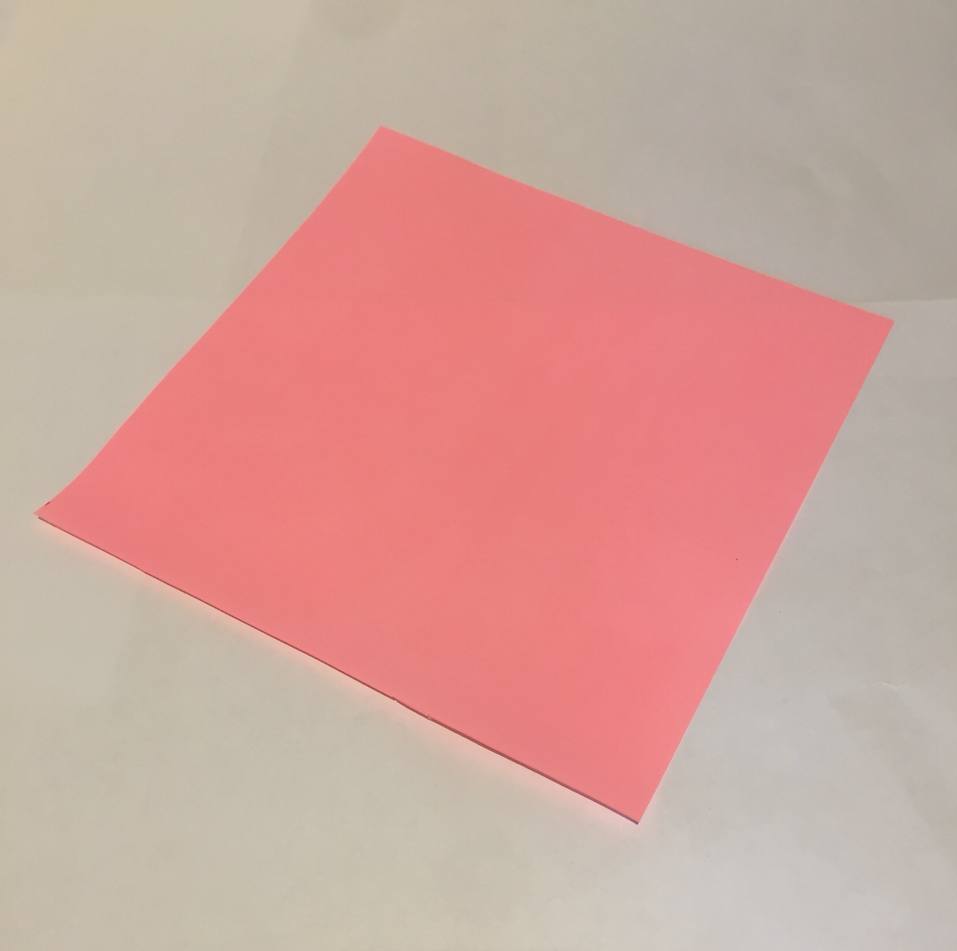
Take a square origami paper. For this folding method, it is better to take a slightly thicker material than standard origami paper. However, it should be paper, not cardboard.
Note: If the paper is two-tone, turn it colored side down at this stage.

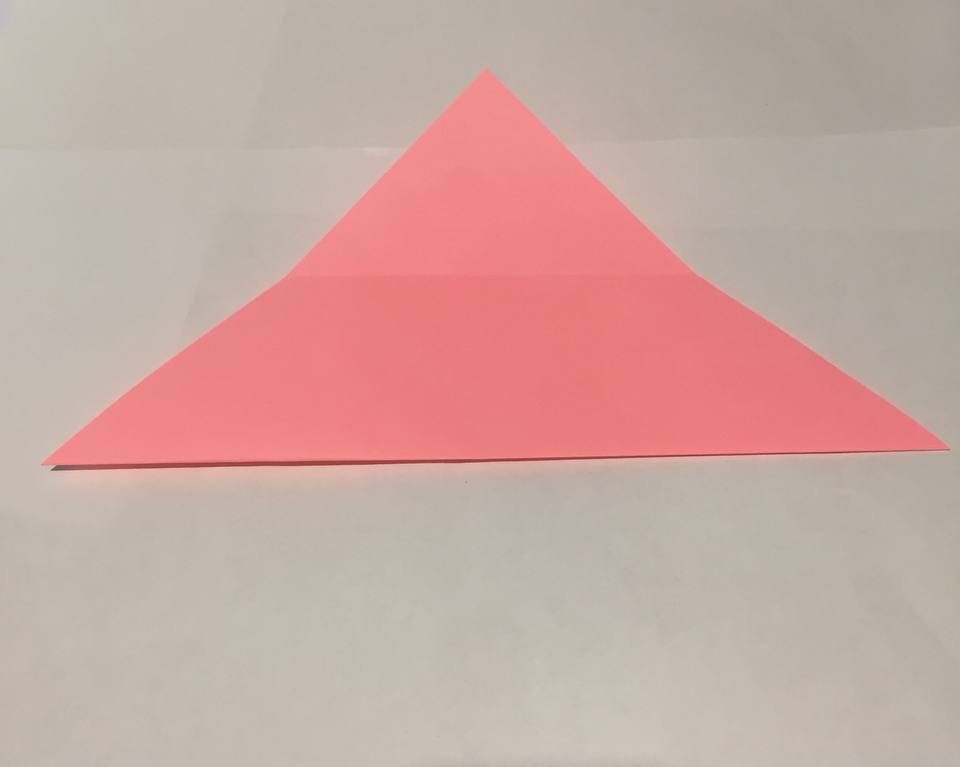
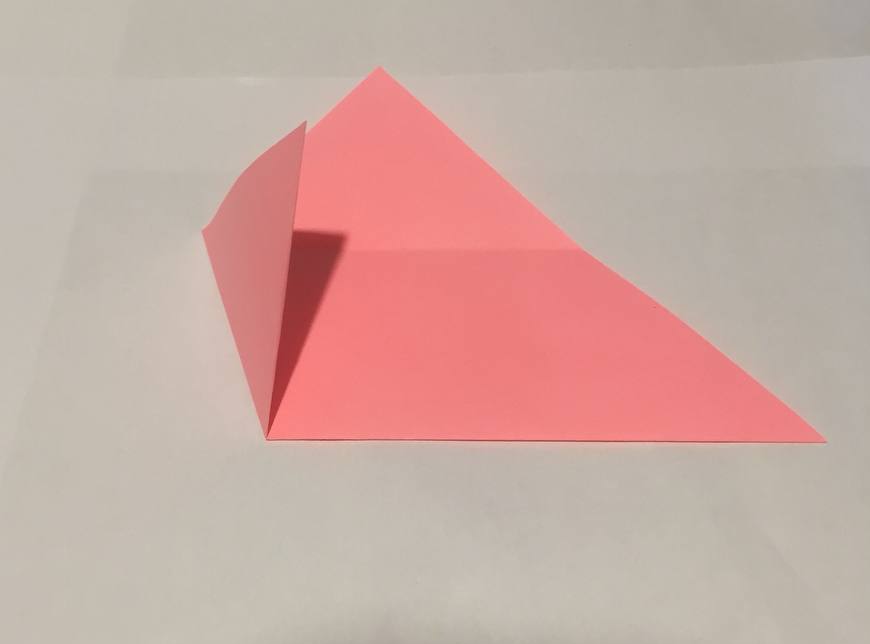
Position the paper so that it lays like a diamond, not a square (when looking directly at it). Now, you need to fold it in half along the horizontal axis to get a triangle.
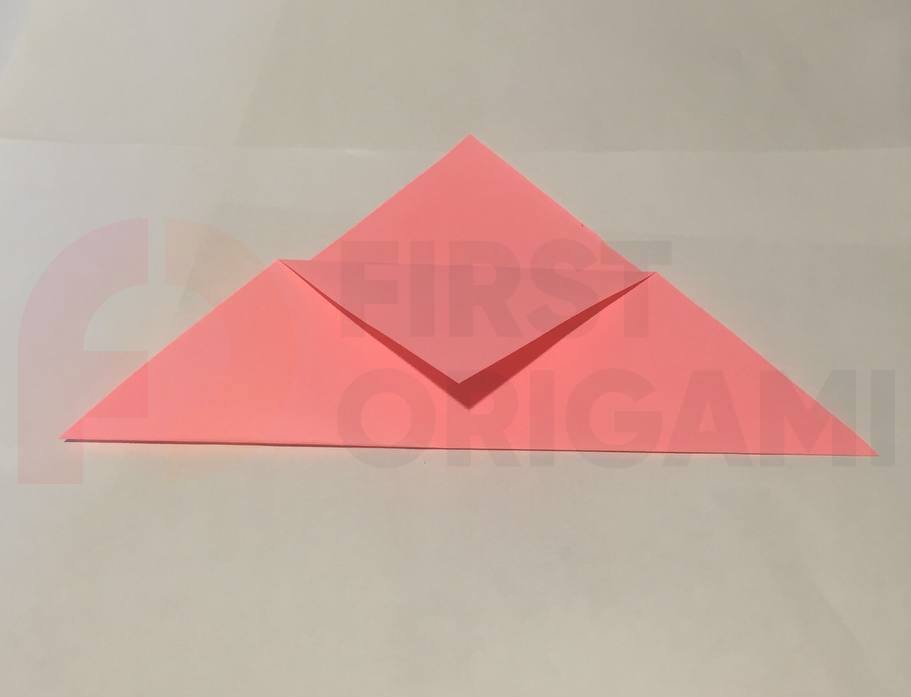
Fold the top flap towards you and press it so that its tip lies flush with the bottom of the figure (in the center). Press down and then unfold back.
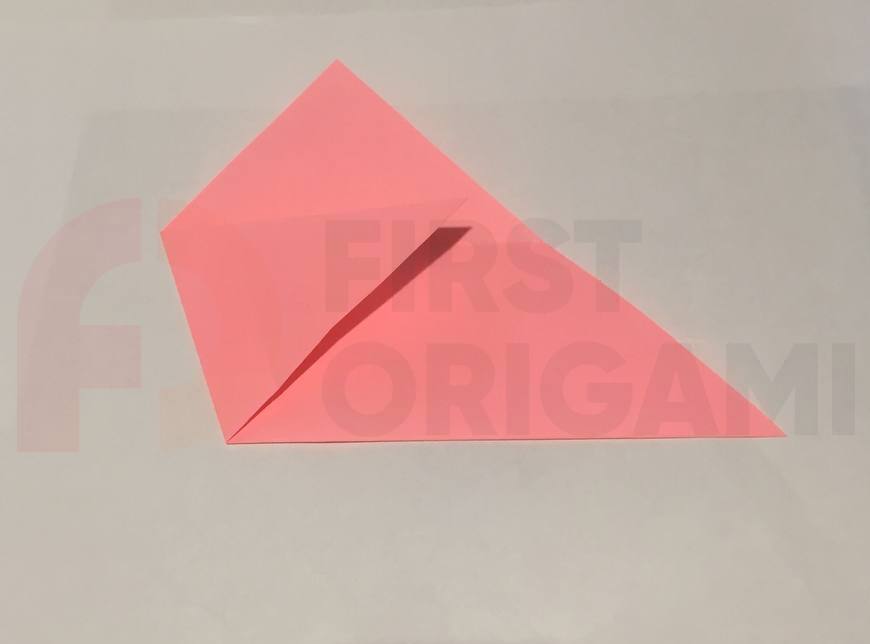
Now, you need to press the left corner of the figure to the center in the same way. At the same time, its top line should coincide with the fold line that we got in step No. 3.
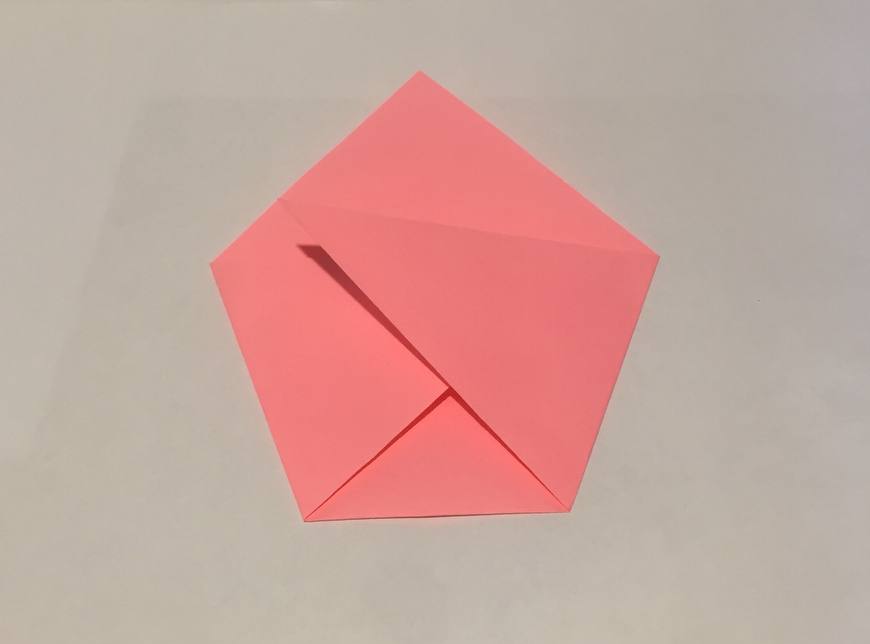
Repeat the steps from step number 5 but for the right corner. The result should be a five-pointed envelope.

Turn the figure over to the other side.
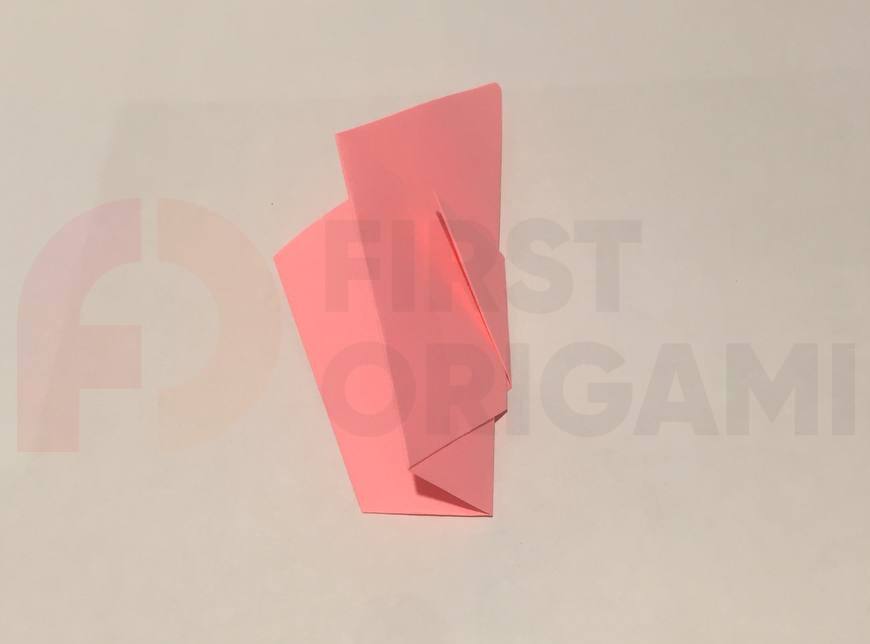
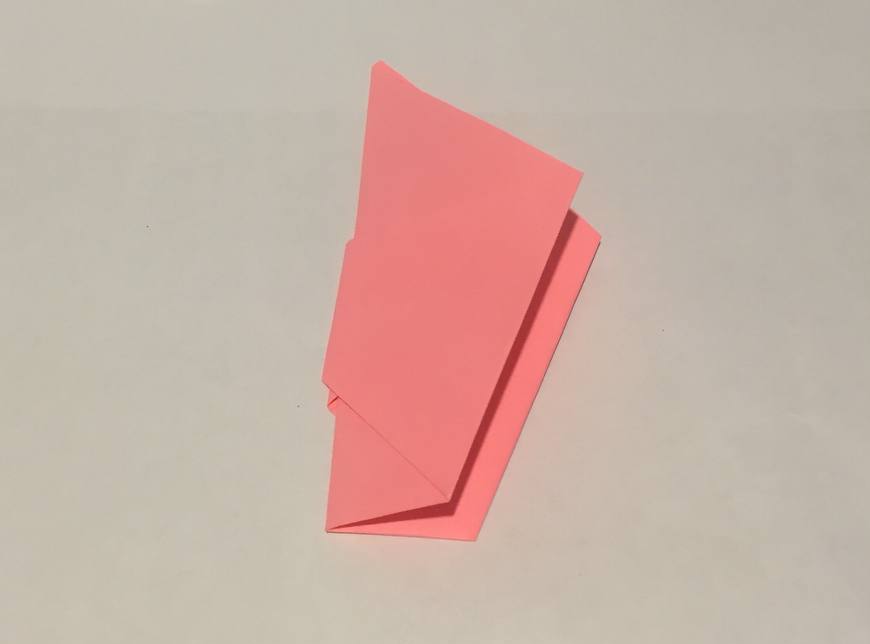
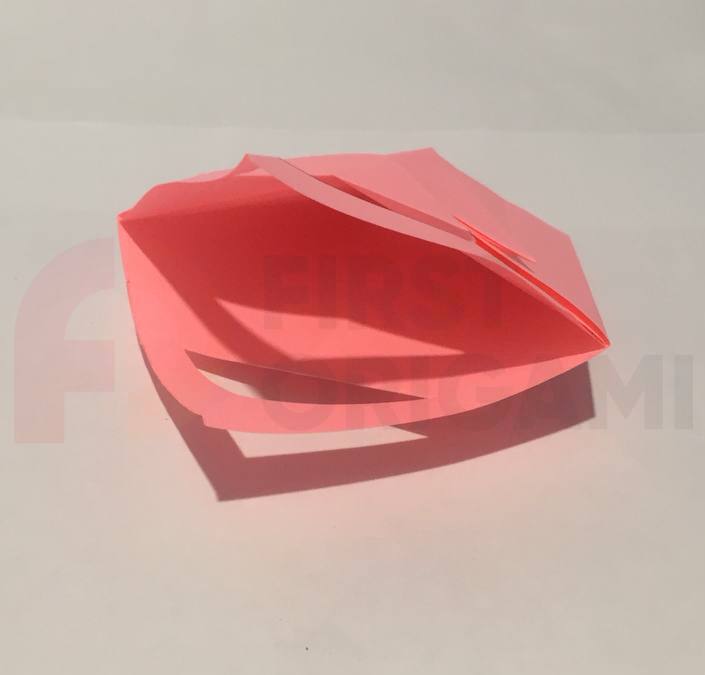
Fold the origami in half as shown in the photo. The smooth part will be inside, and the fold lines will be outside.
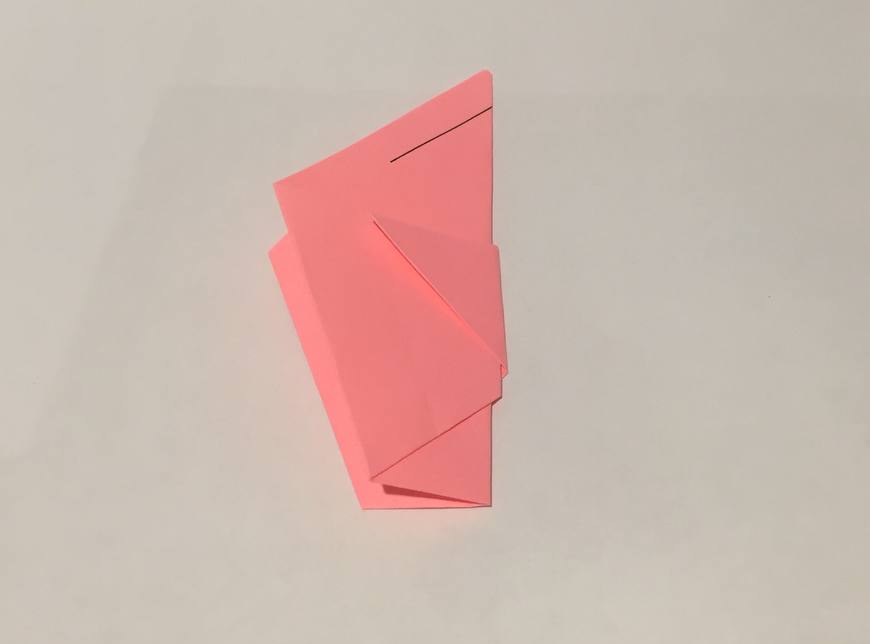
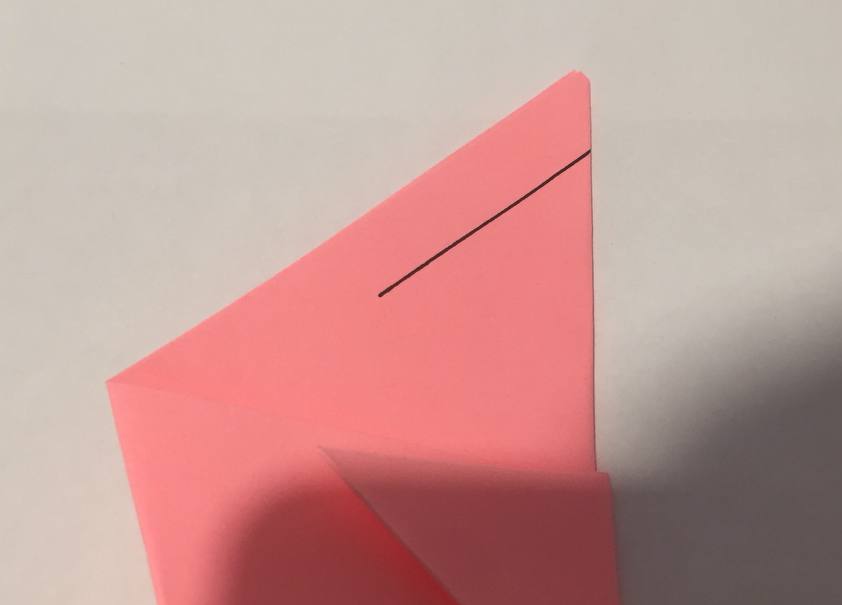
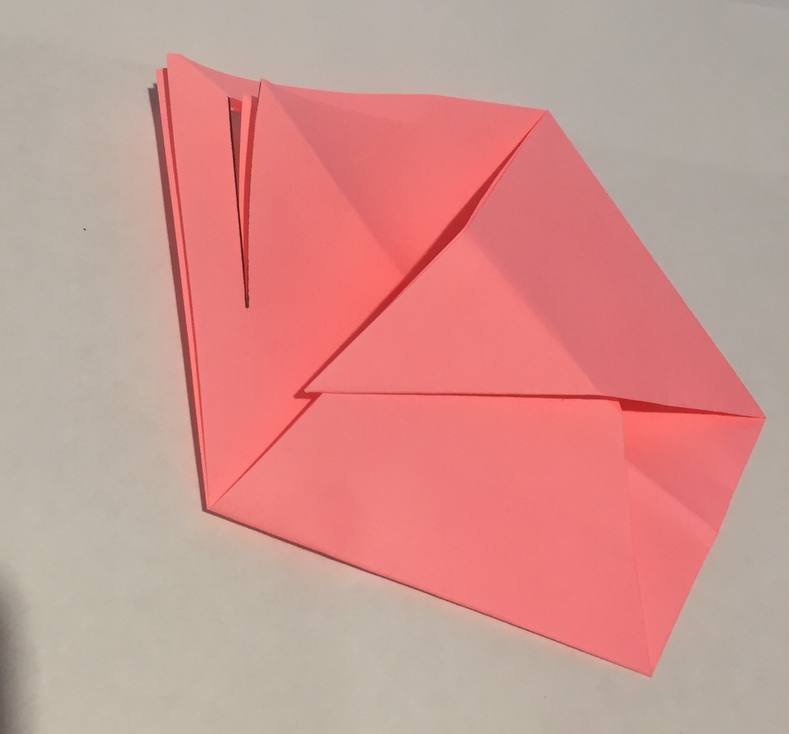
Now, you need to make a cut on the paper with scissors as shown in the photo (black line). If origami is made by a child, then it will be better if one of the adults makes this cut. You can, of course, let the child do it himself, but under the close supervision of a teacher or other adults.
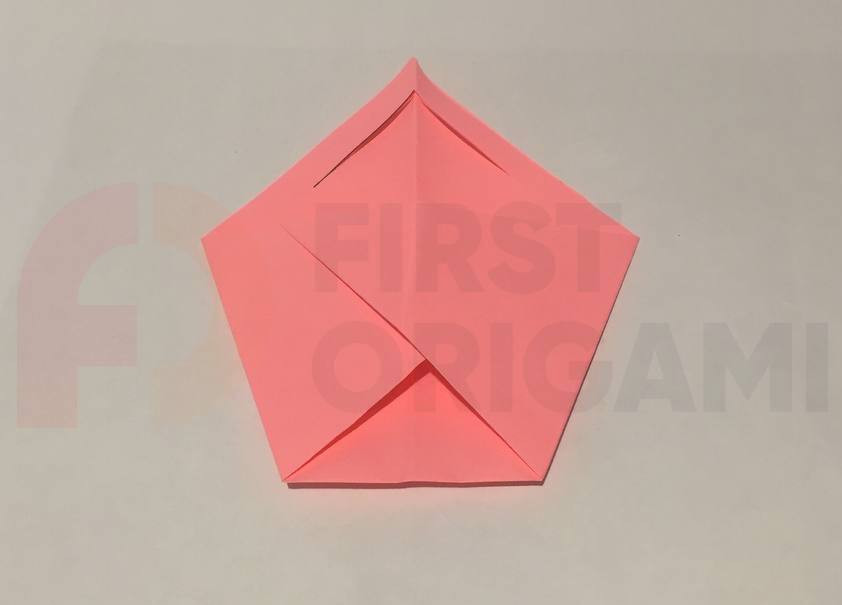
Unfold the left and right sides back to get a flat pentagon again.
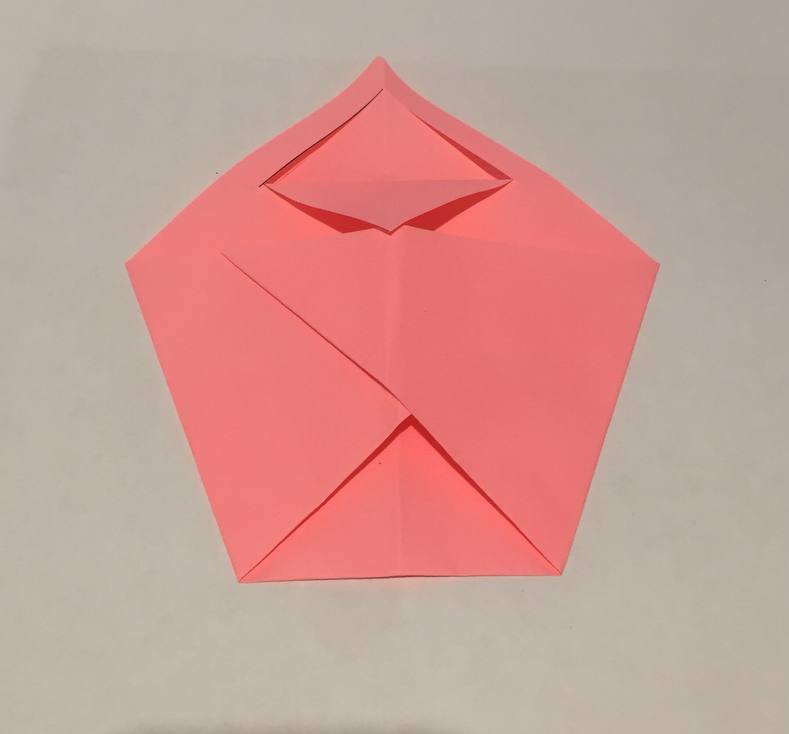
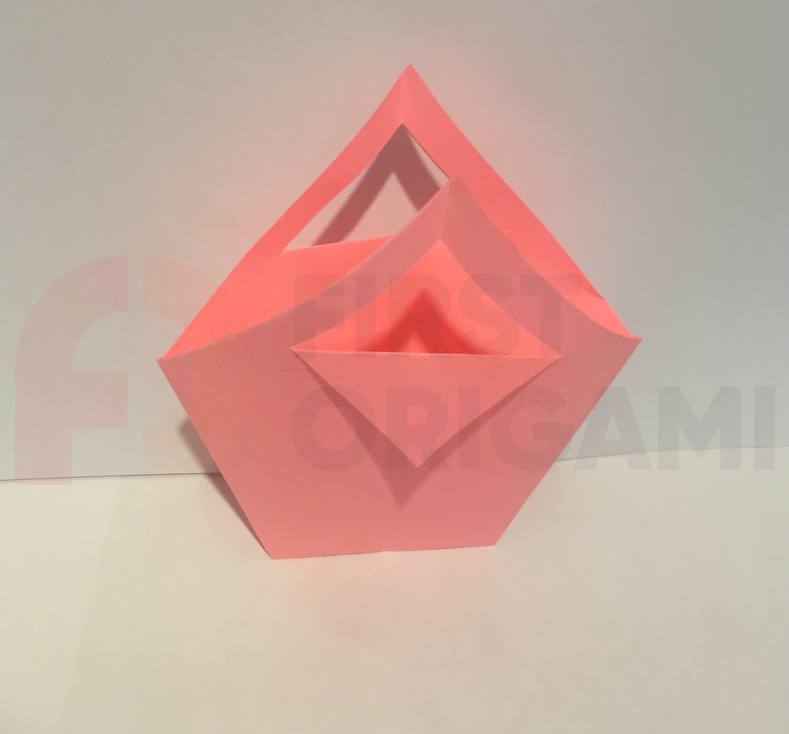
Thanks to the cuts made in the paper, it will be possible to fold the central corner on one side outward and down – as shown in the photo.
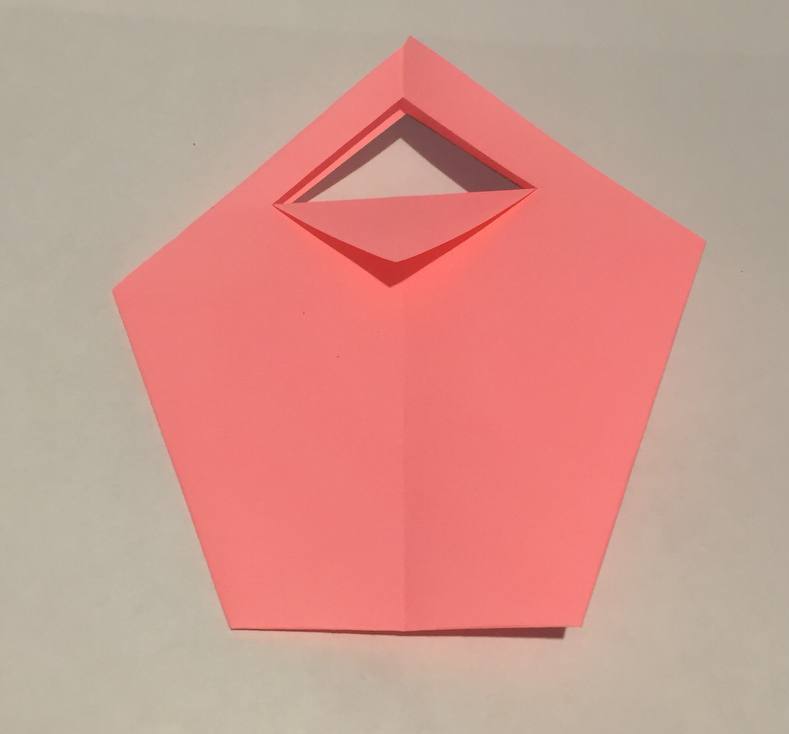
Flip the pentagon over and fold the center corner outward again on the other side.
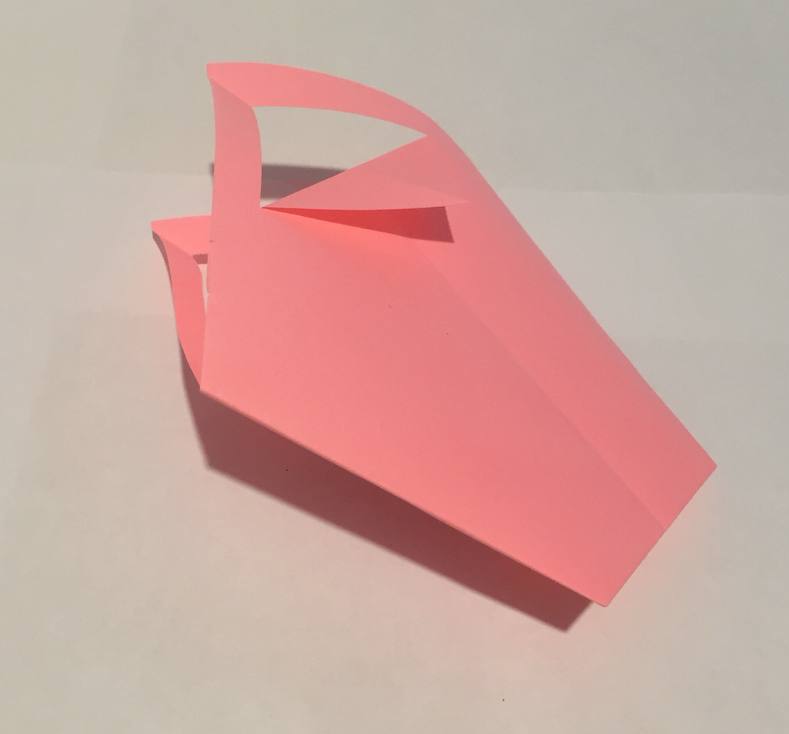
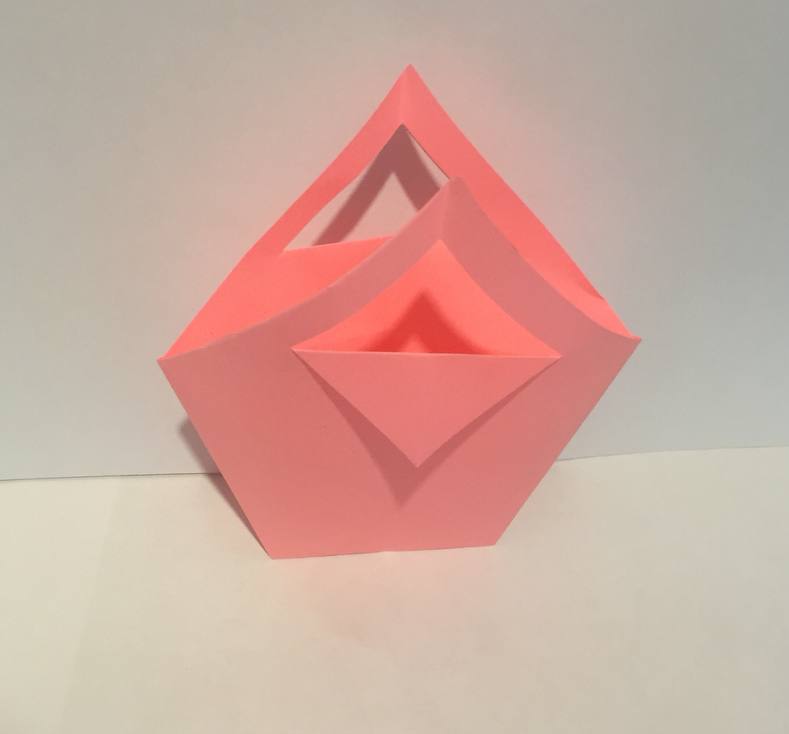
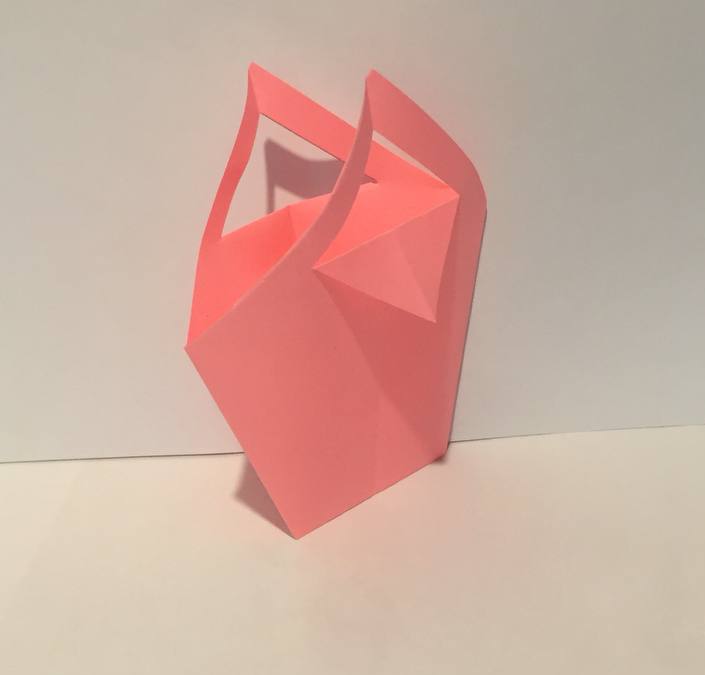
The origami bag is complete! It looks very cute and you can store small items inside. Try giving it to a doll or toy.
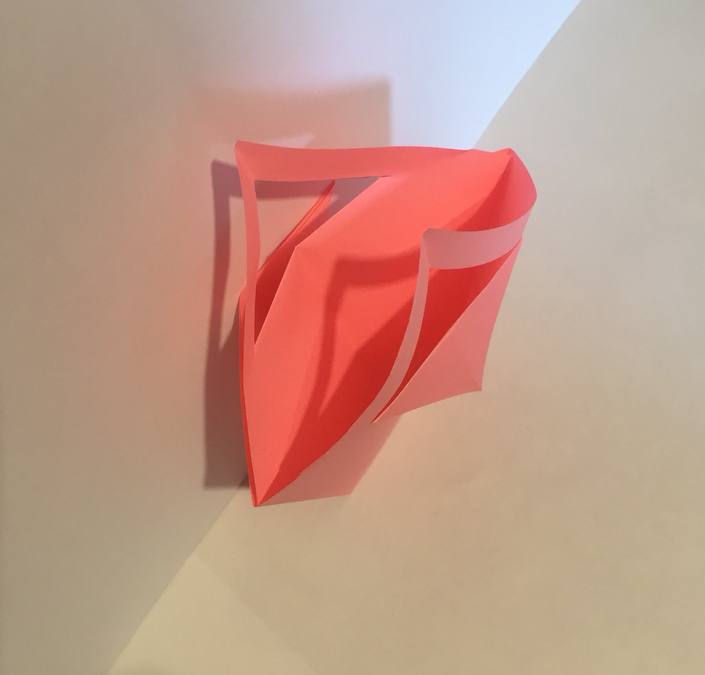
If the outer side corners on one of the sides are bent too much on the finished bag, you can glue them to the base figure with glue or a piece of adhesive tape, or attach them using a stapler. In the case of a stapler, you can get by with just 1 staple. In this case, fix the corners not in the center of the figure, but on the side – where one of the tails comes on top of the second (overlapping).


