Origami Traditional Tulip Leaf
On our site, there is a separate page with instructions for origami “Tulip”. But the bud of this flower cannot exist without a stem and therefore is not a fully completed origami. Of course, your beautiful tulip requires an equally wonderful and realistic green part. With it, the flower can stand on a table and, if you want, it will be possible to even put it in a small vase. Or make up a whole bouquet!
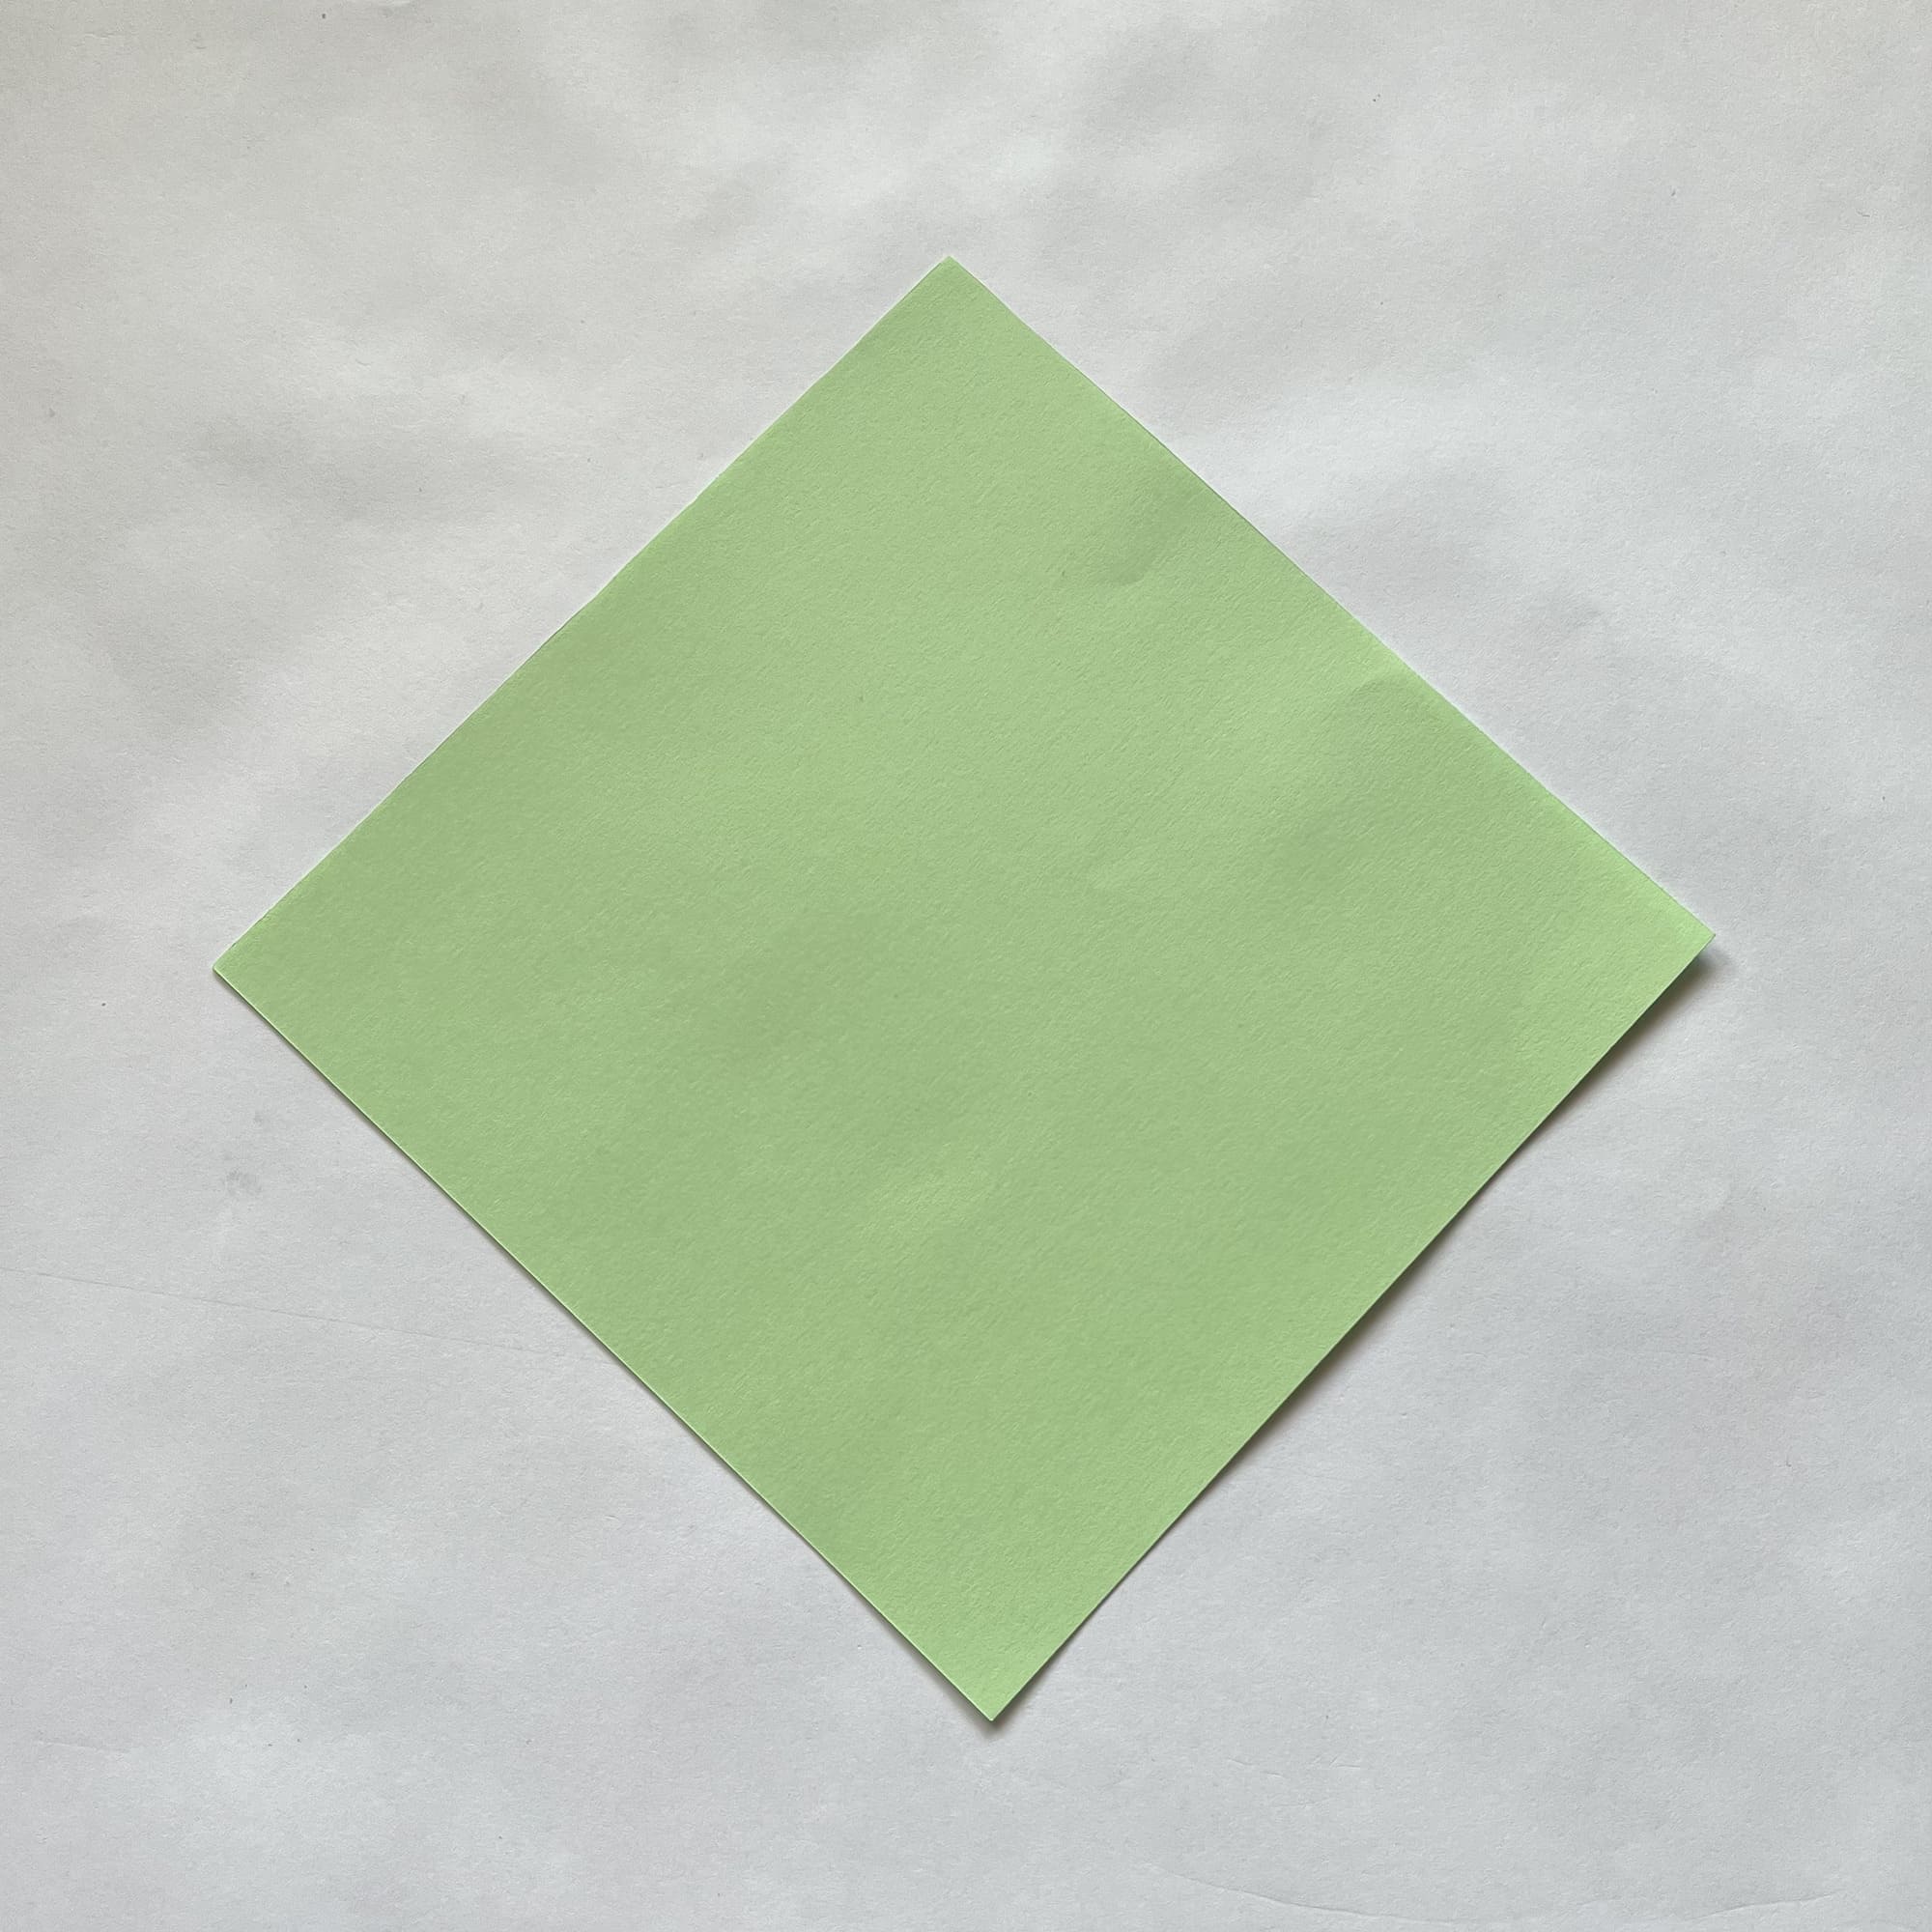
Prepare a green sheet of origami paper in the size 15×15 cm.
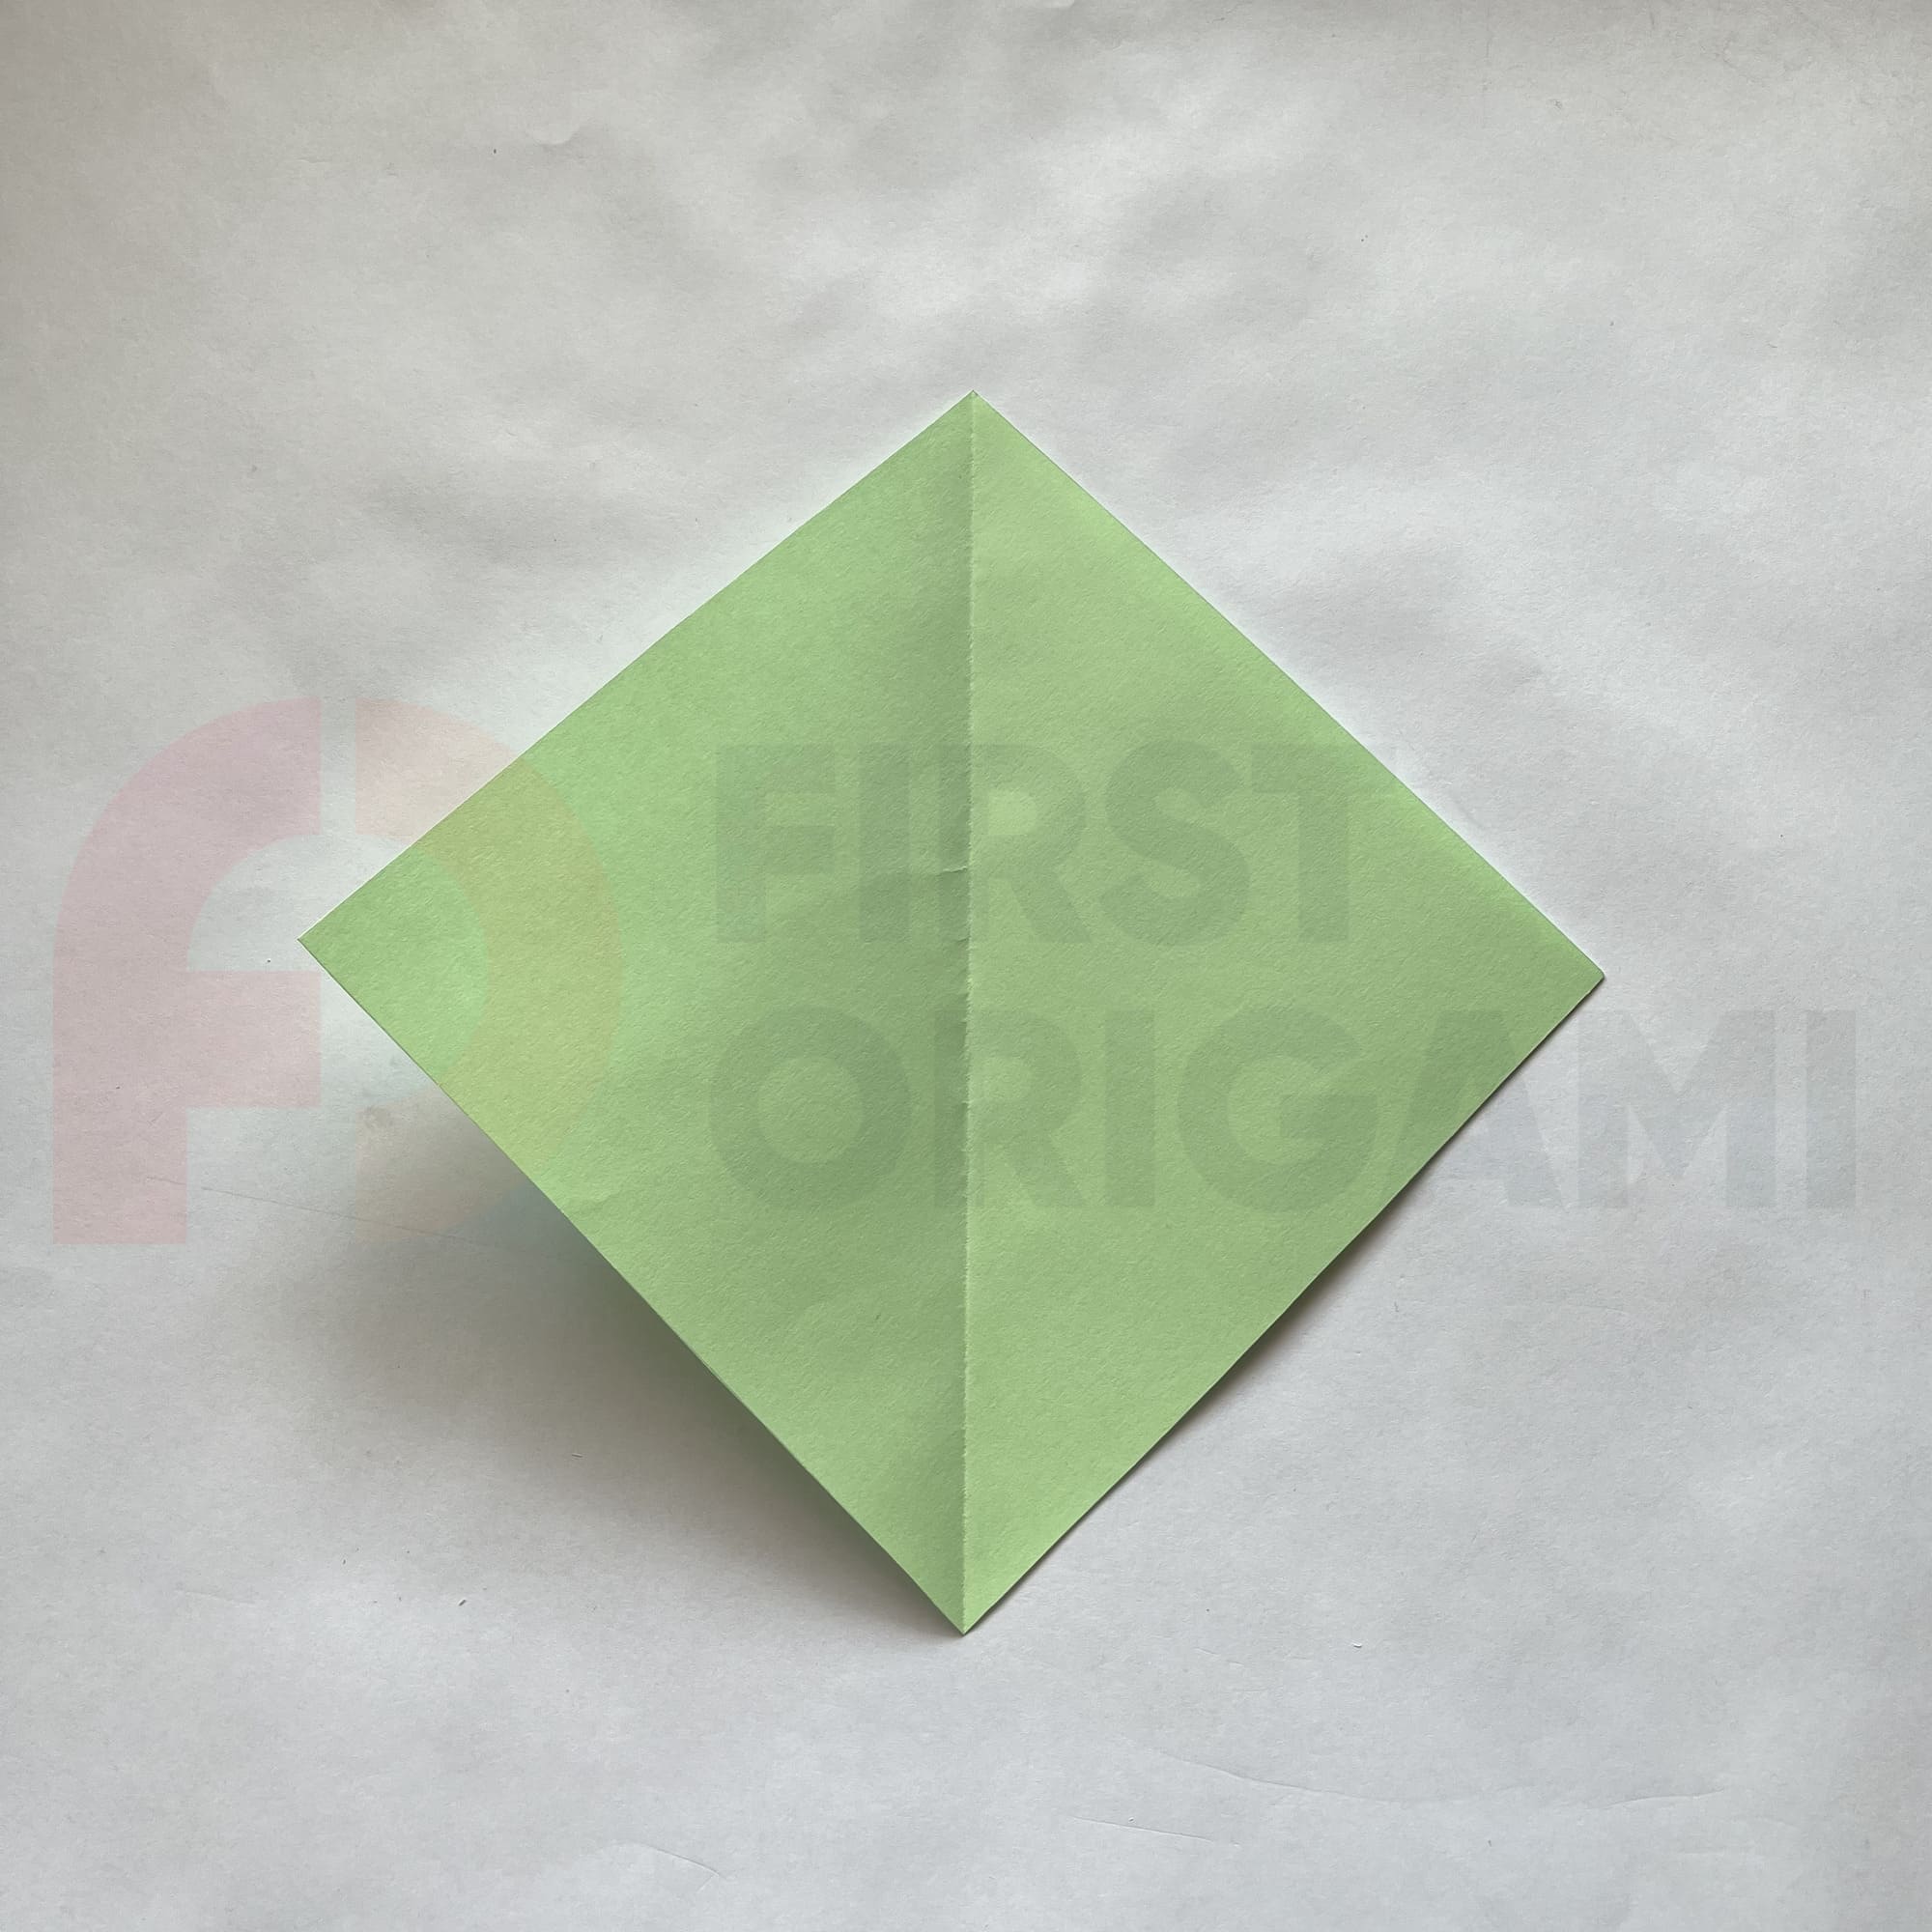
Fold diagonally, joining the left and right corners. Work out the fold, unfold.
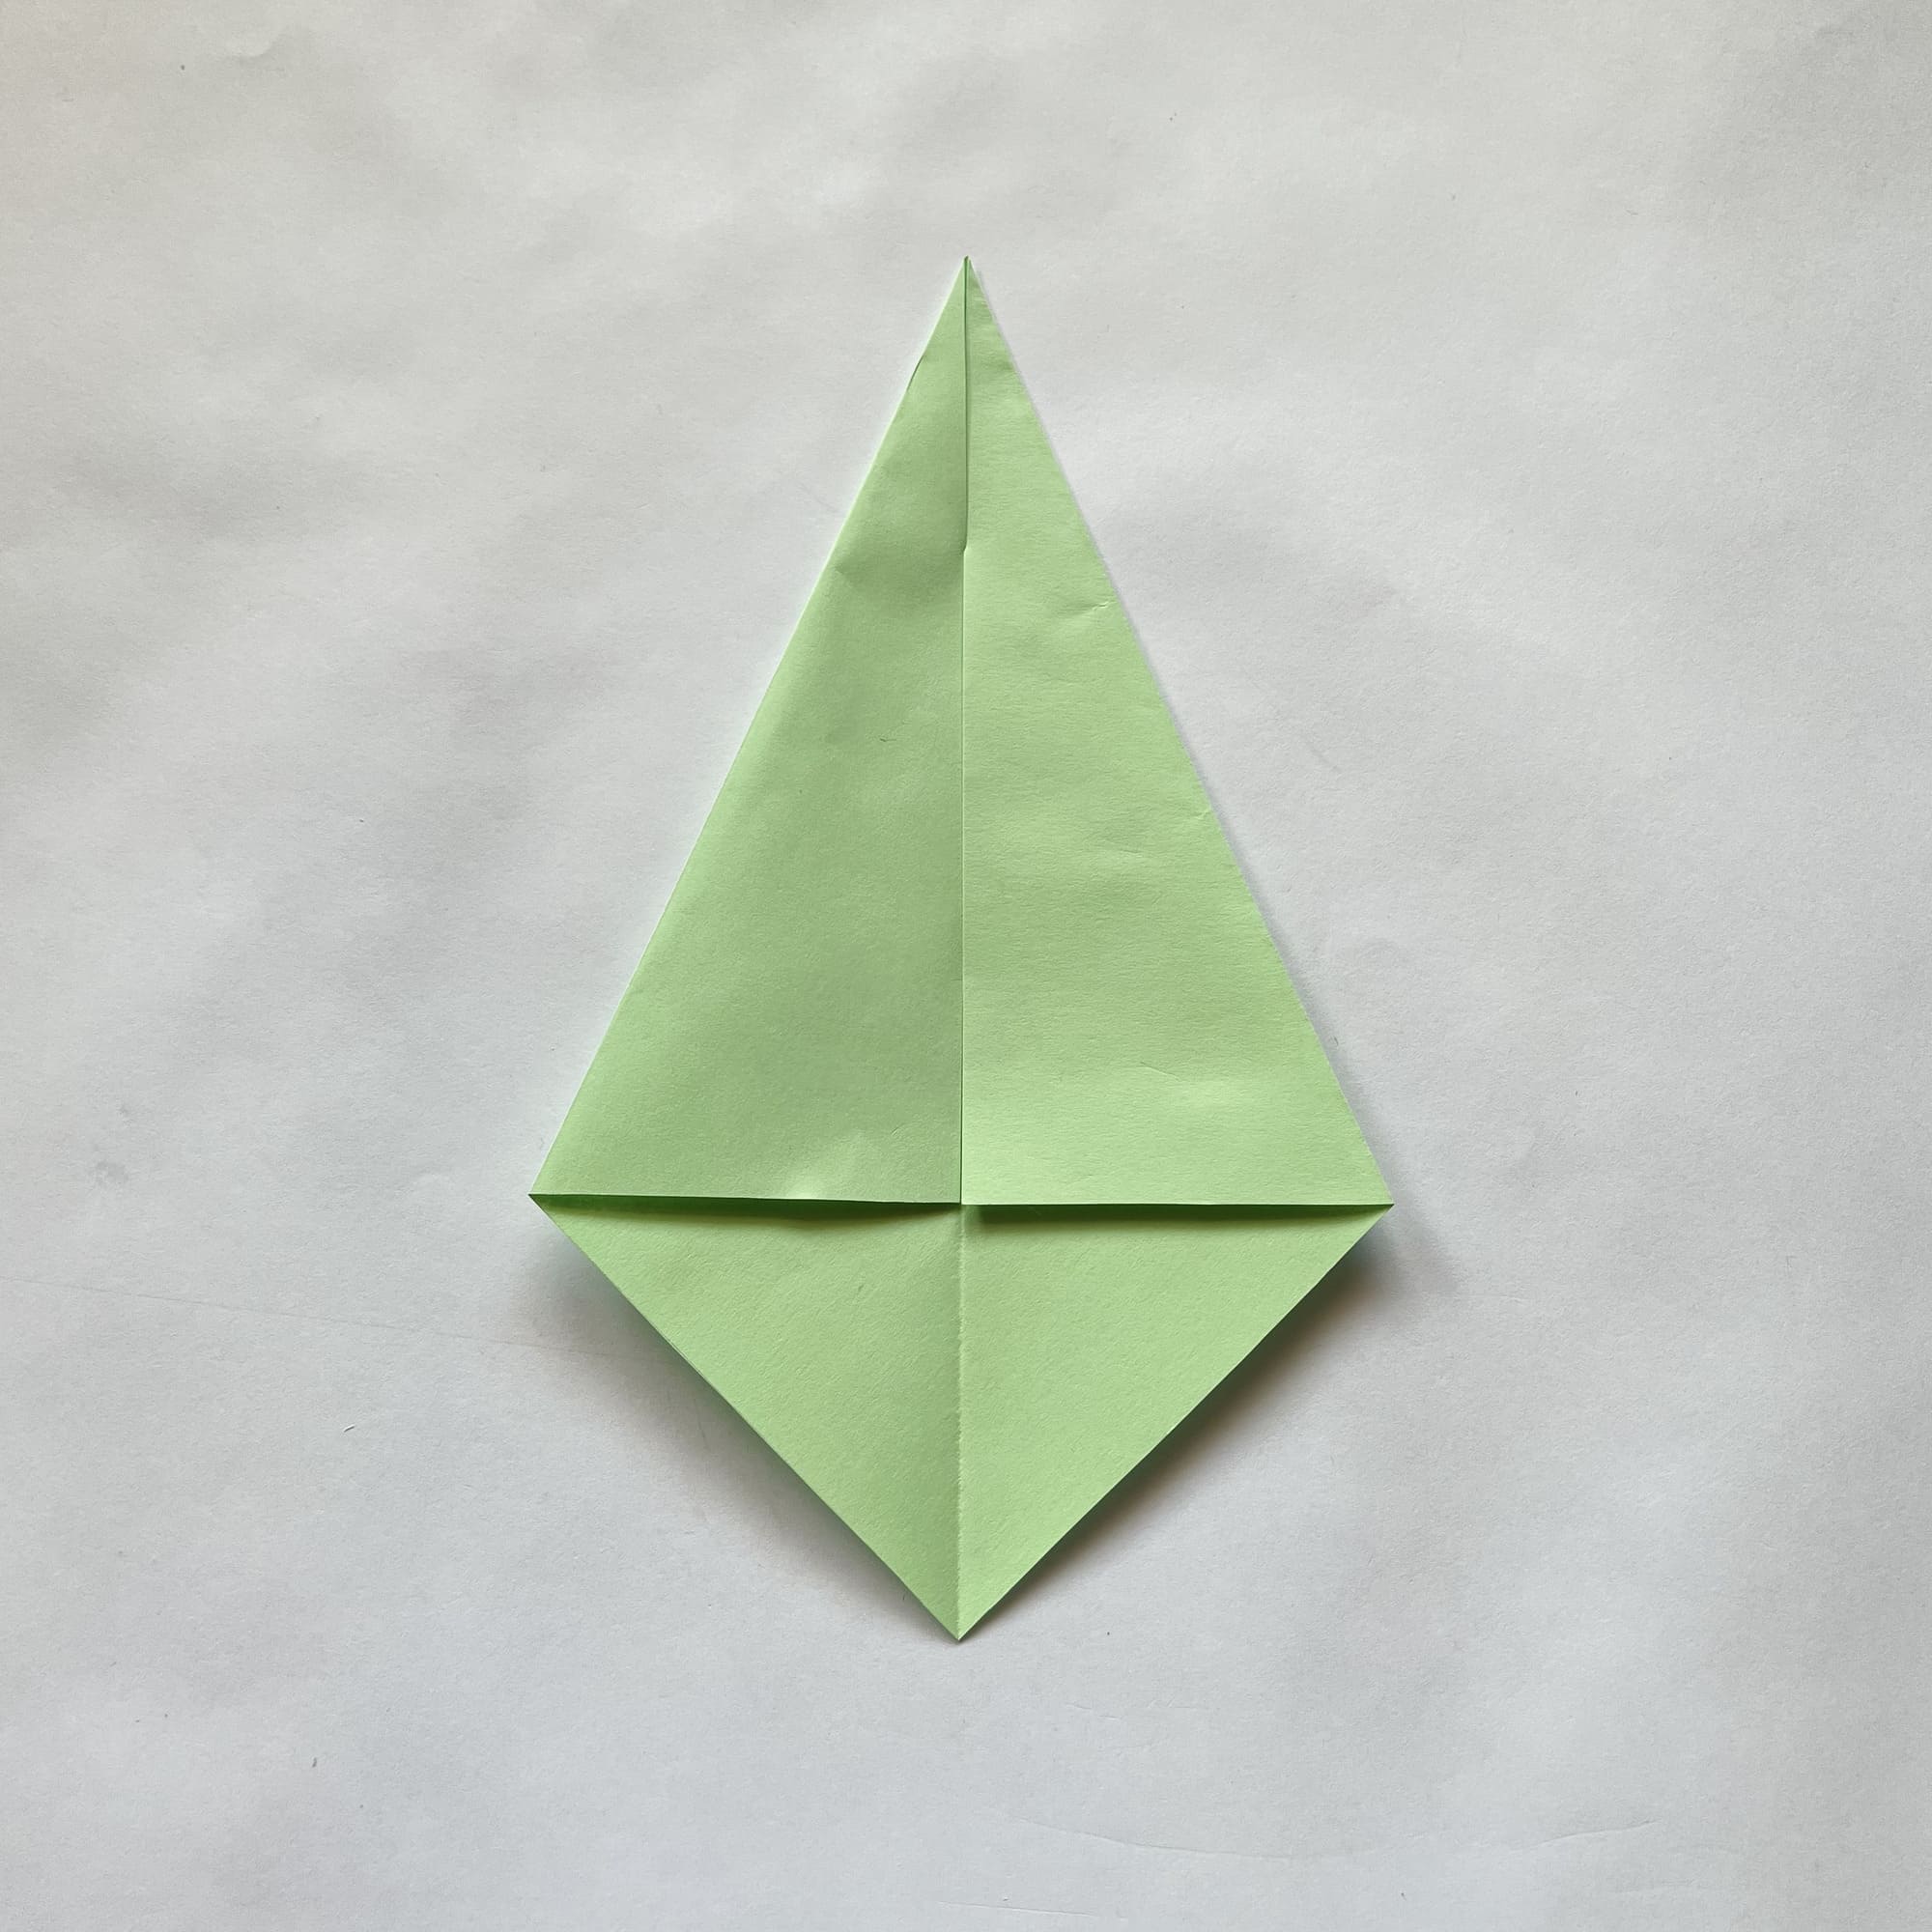
Fold the upper parts to the center so that they meet at the fold line.

Fold the bottom pieces to the center, and align them with the center line.
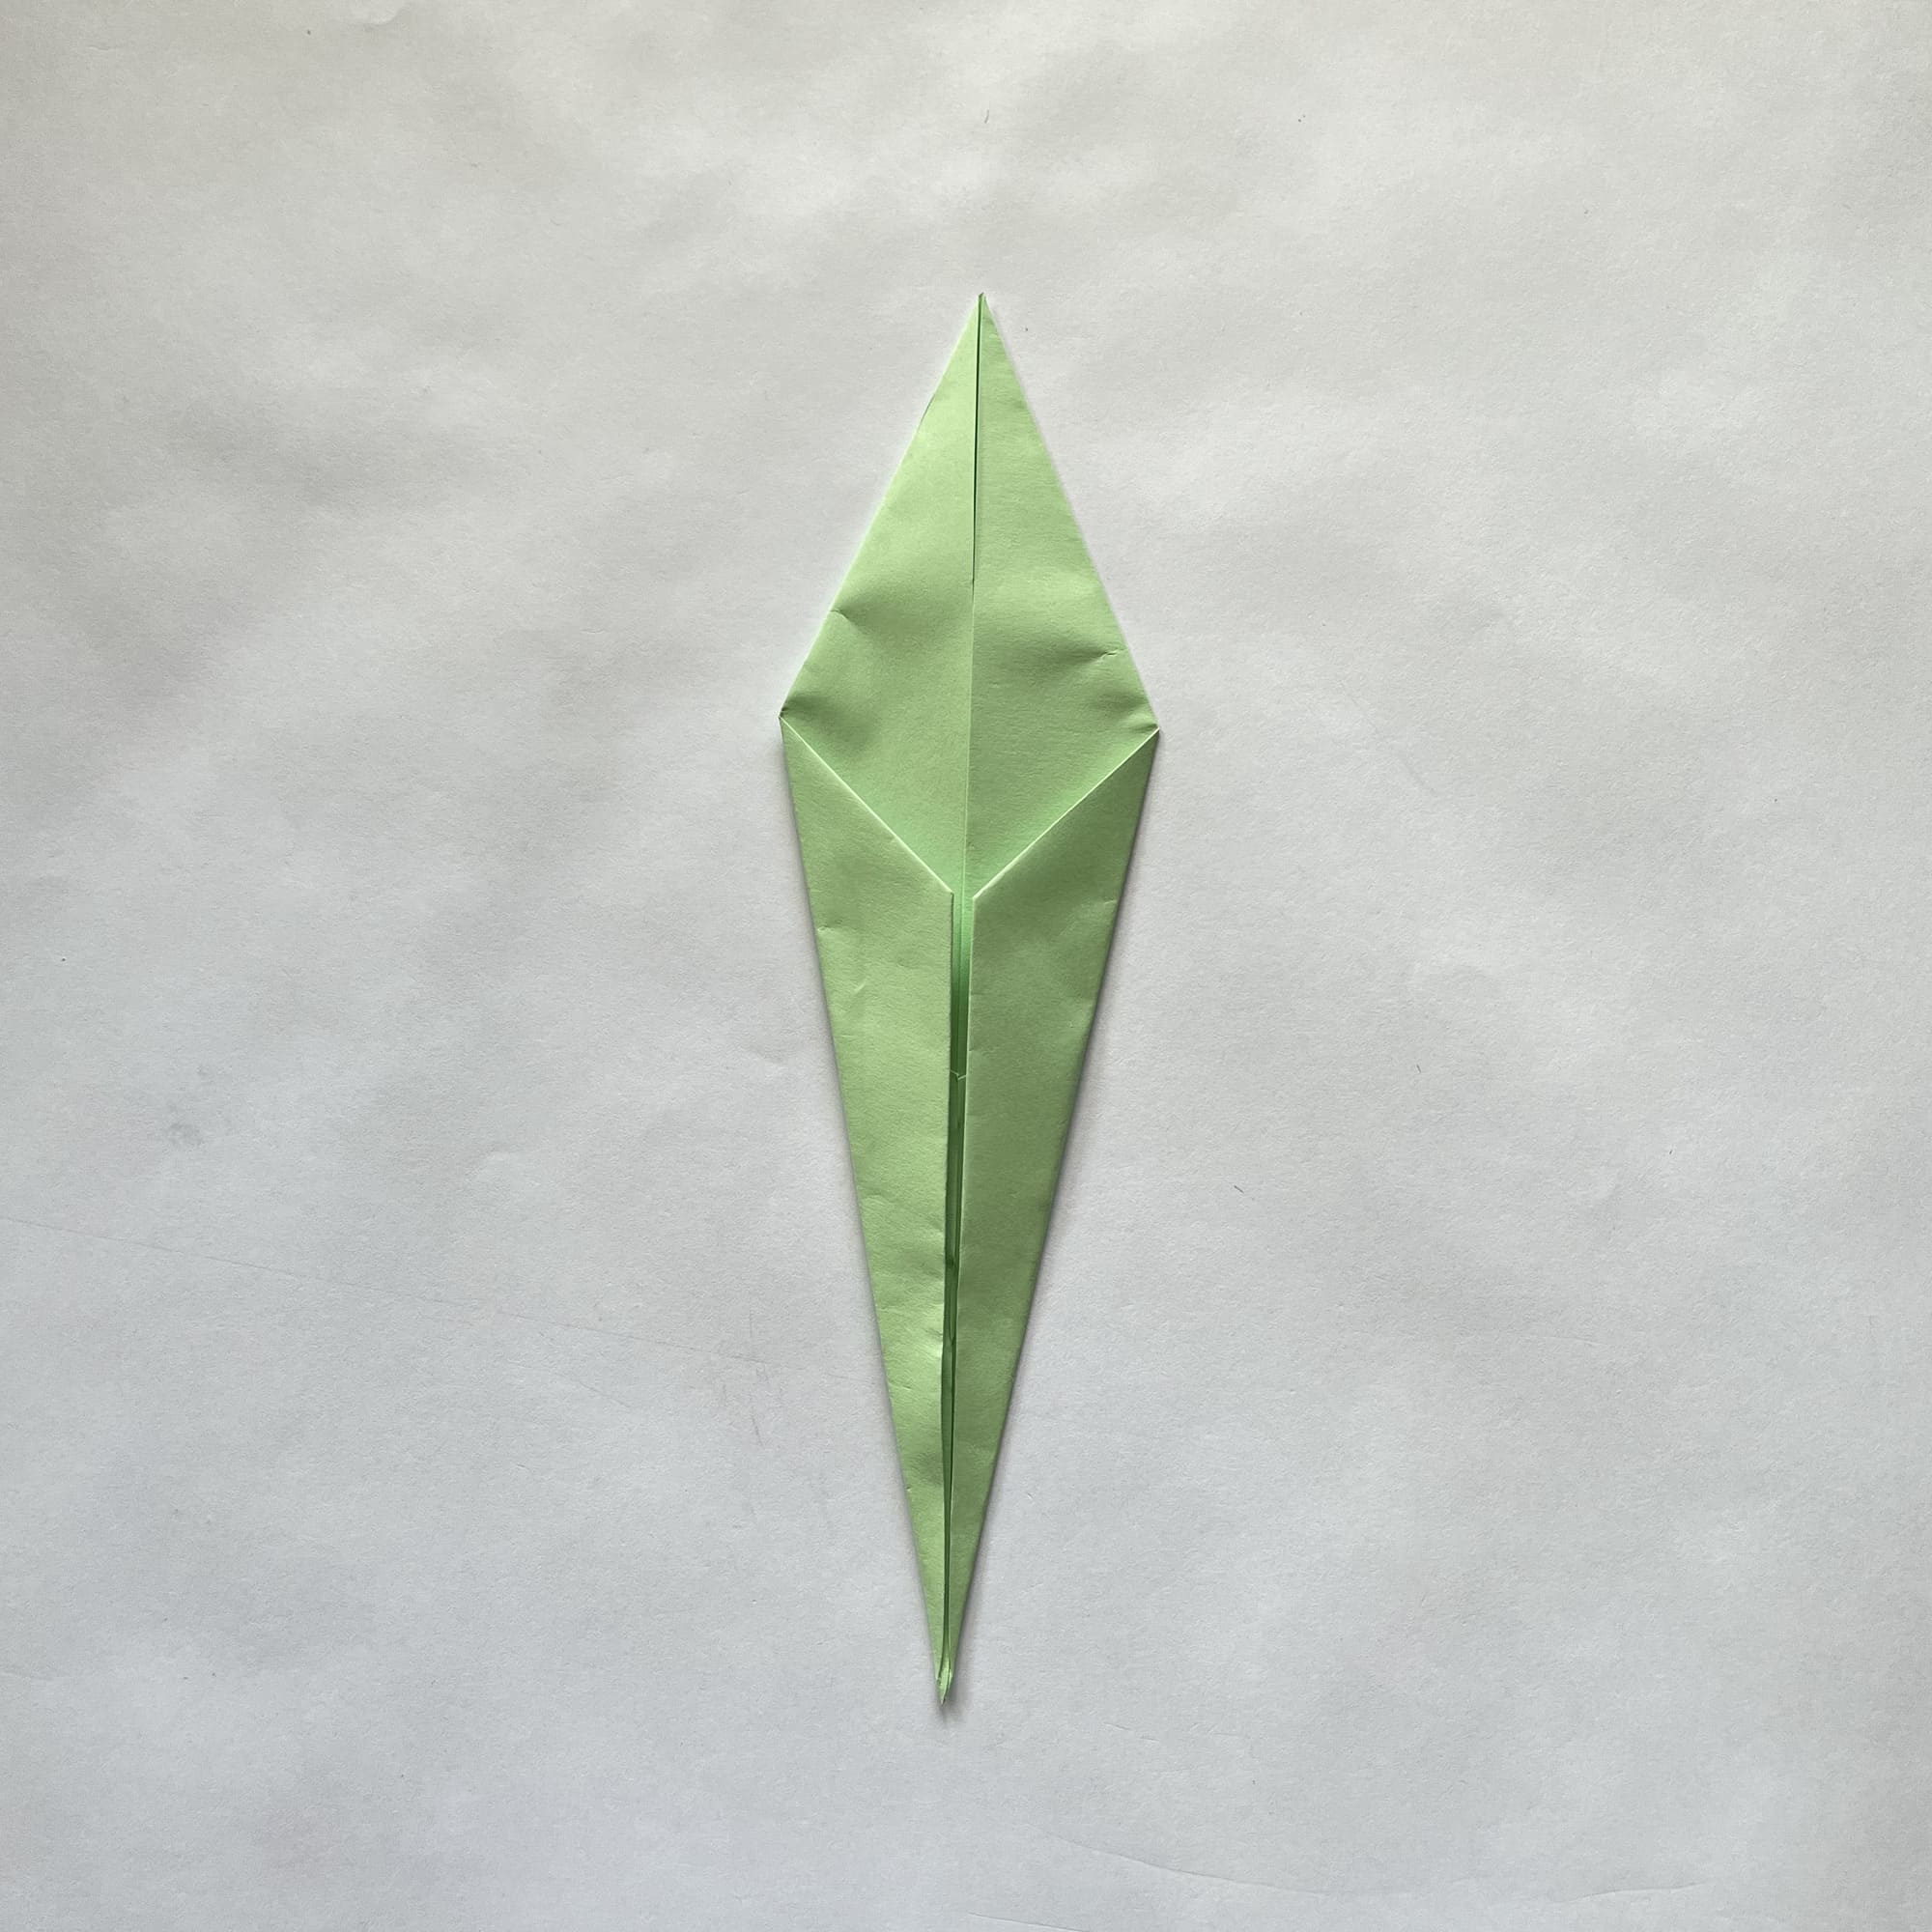
Now fold the sides to the center line. Work the folds well because the paper is already quite thick at this stage.
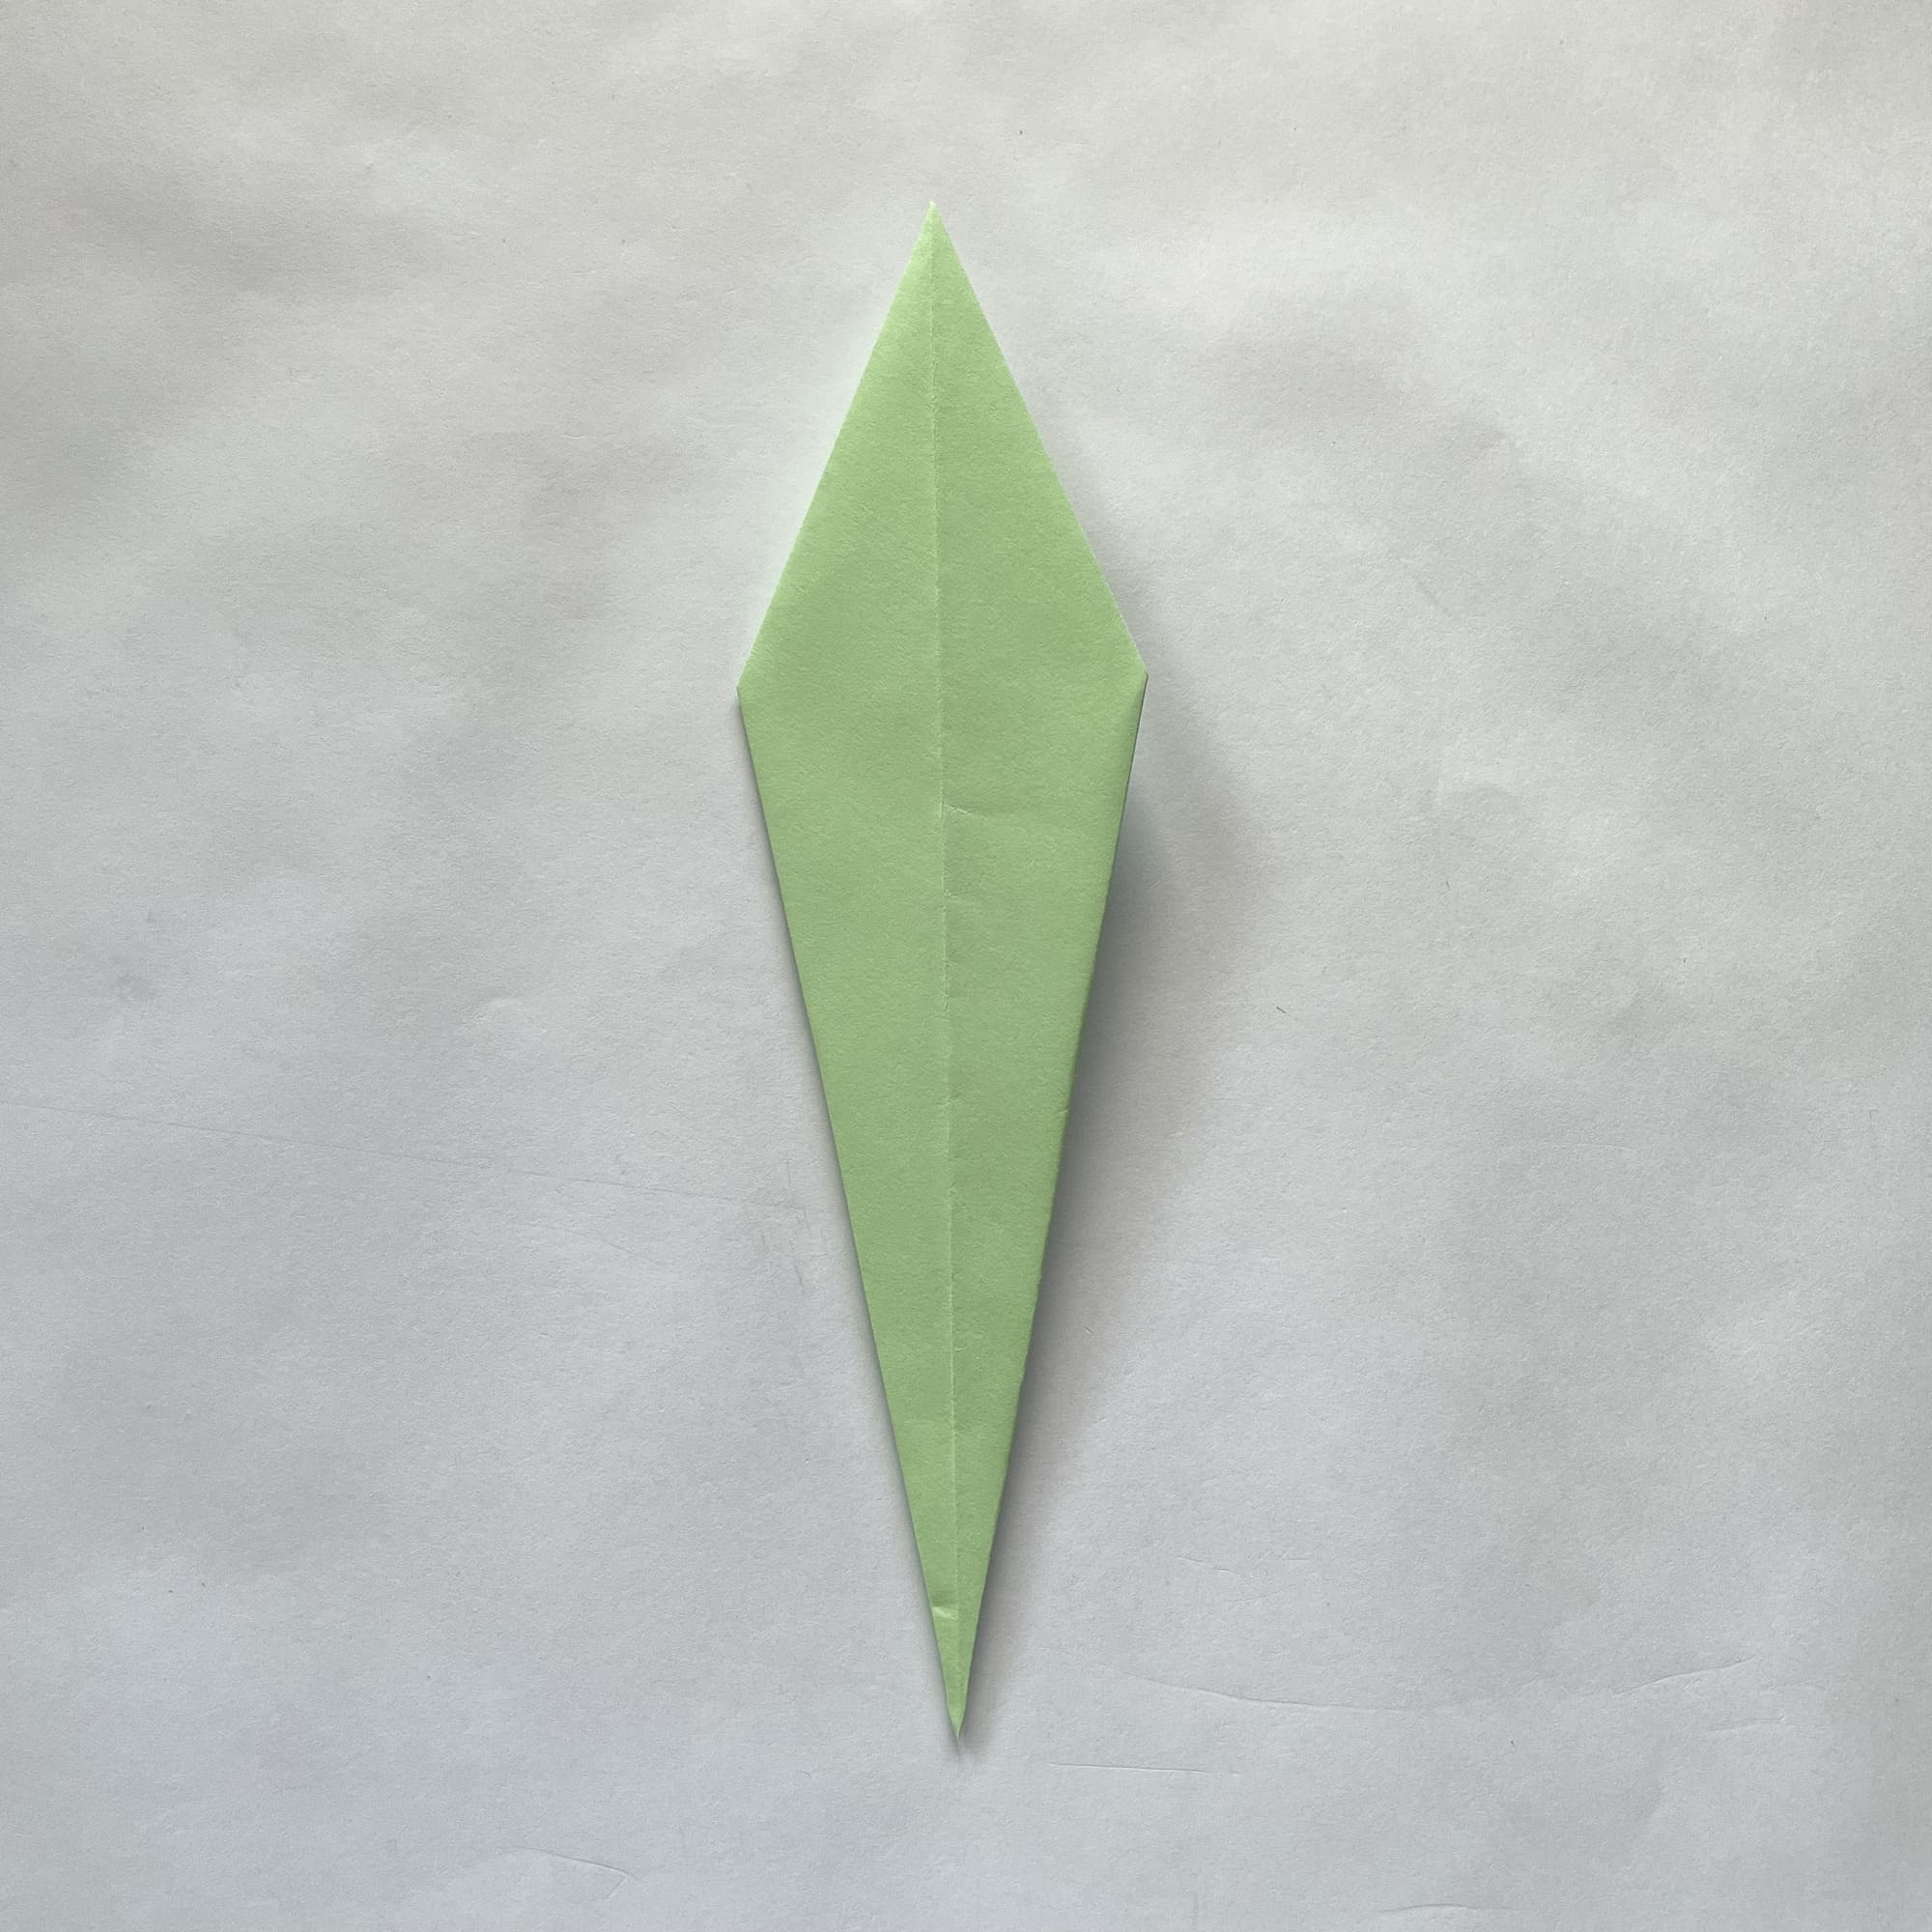
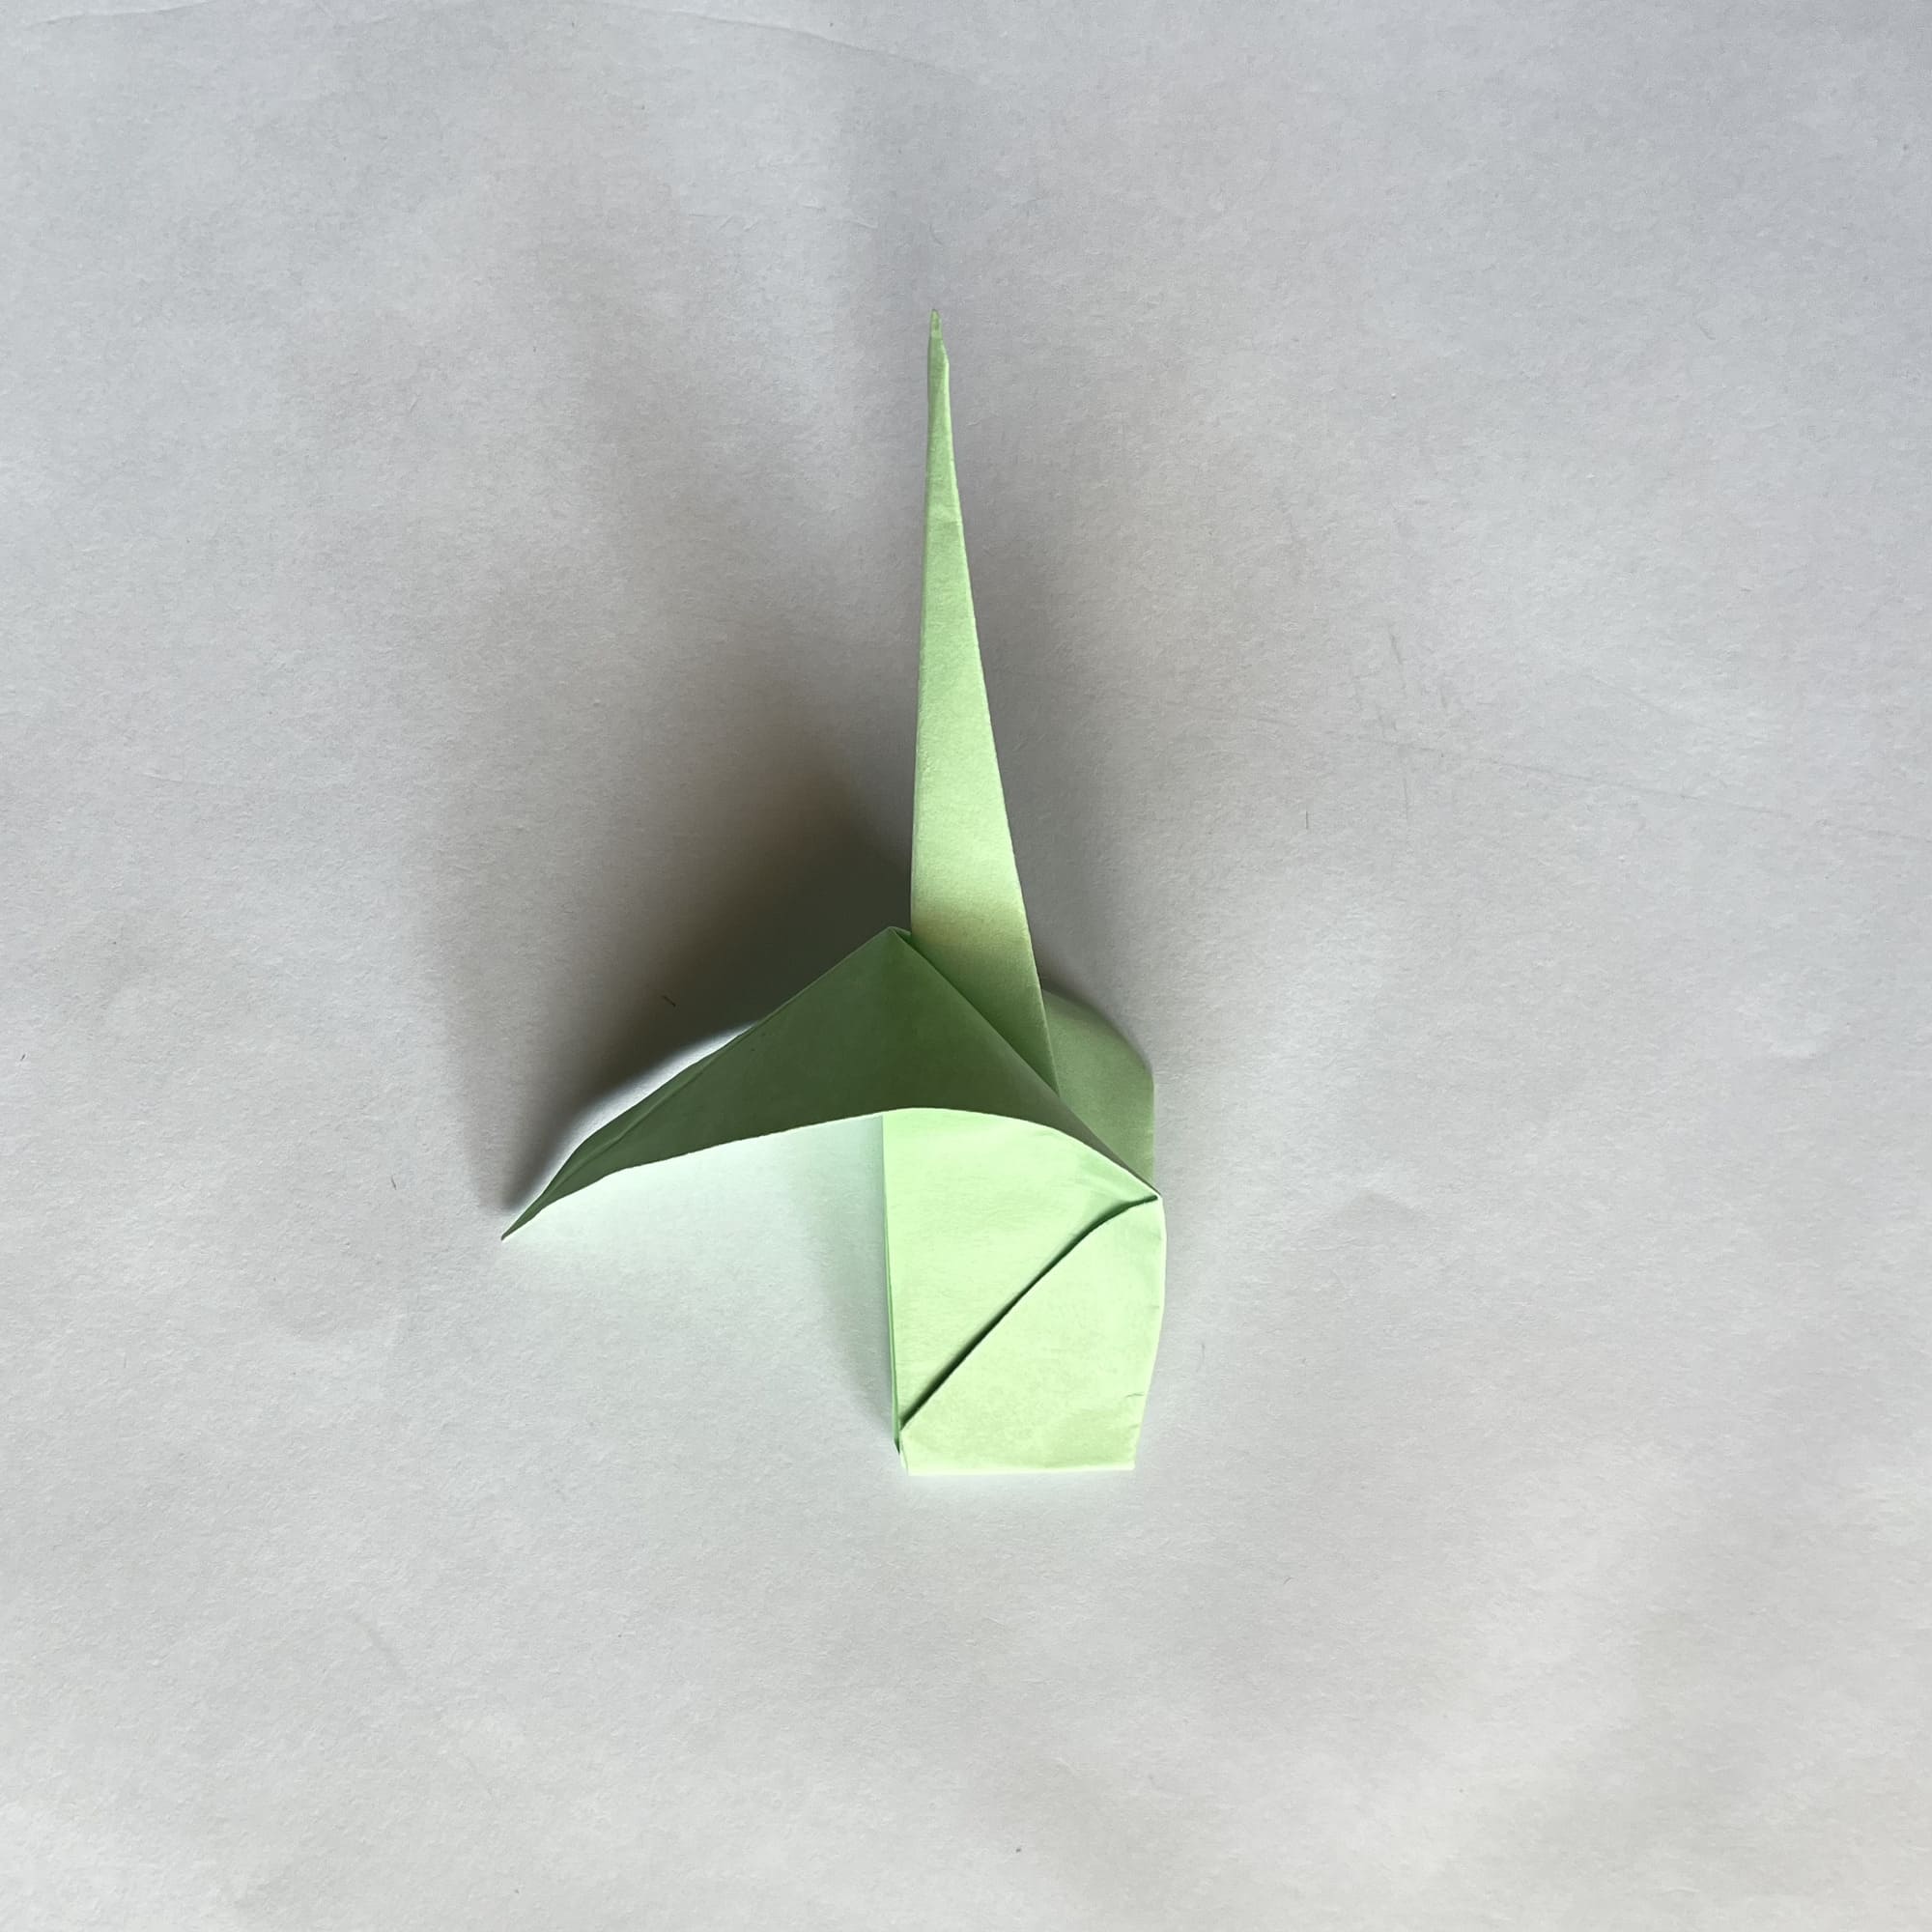
Turn the paper over and connect the top and bottom corners, bringing the last one up.
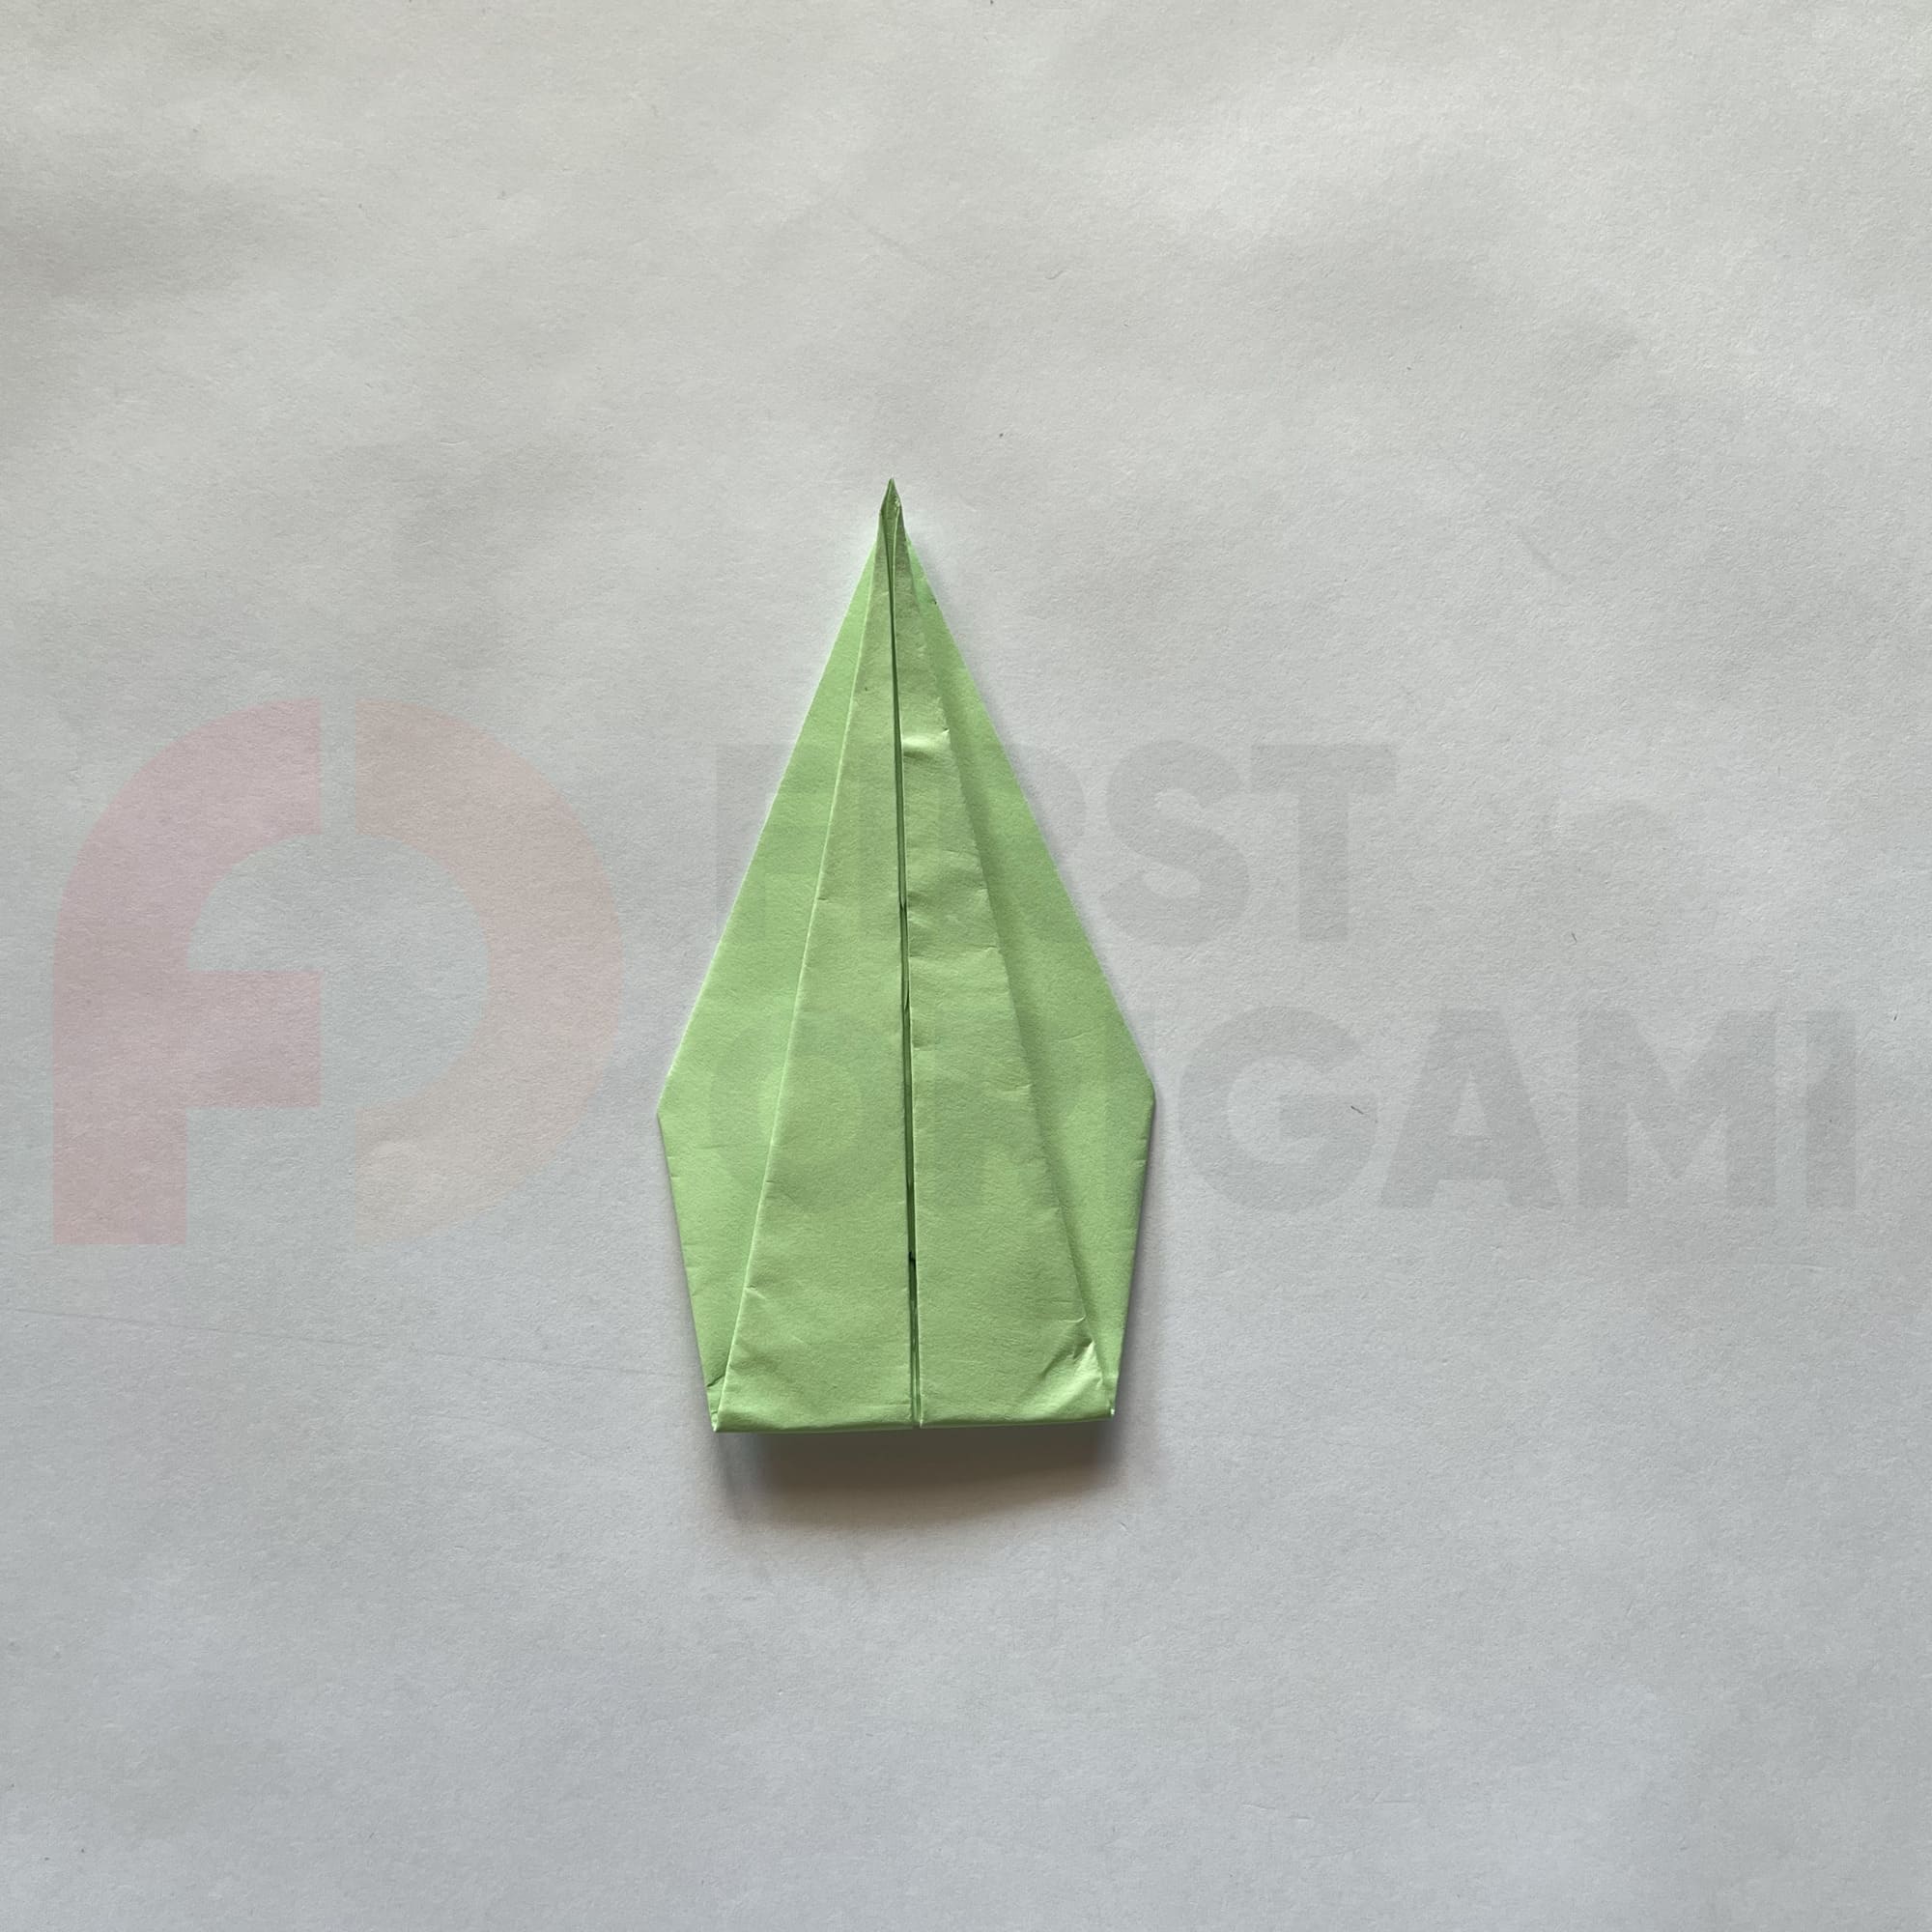
Fold the shape in half, “closing” the paper like a book.
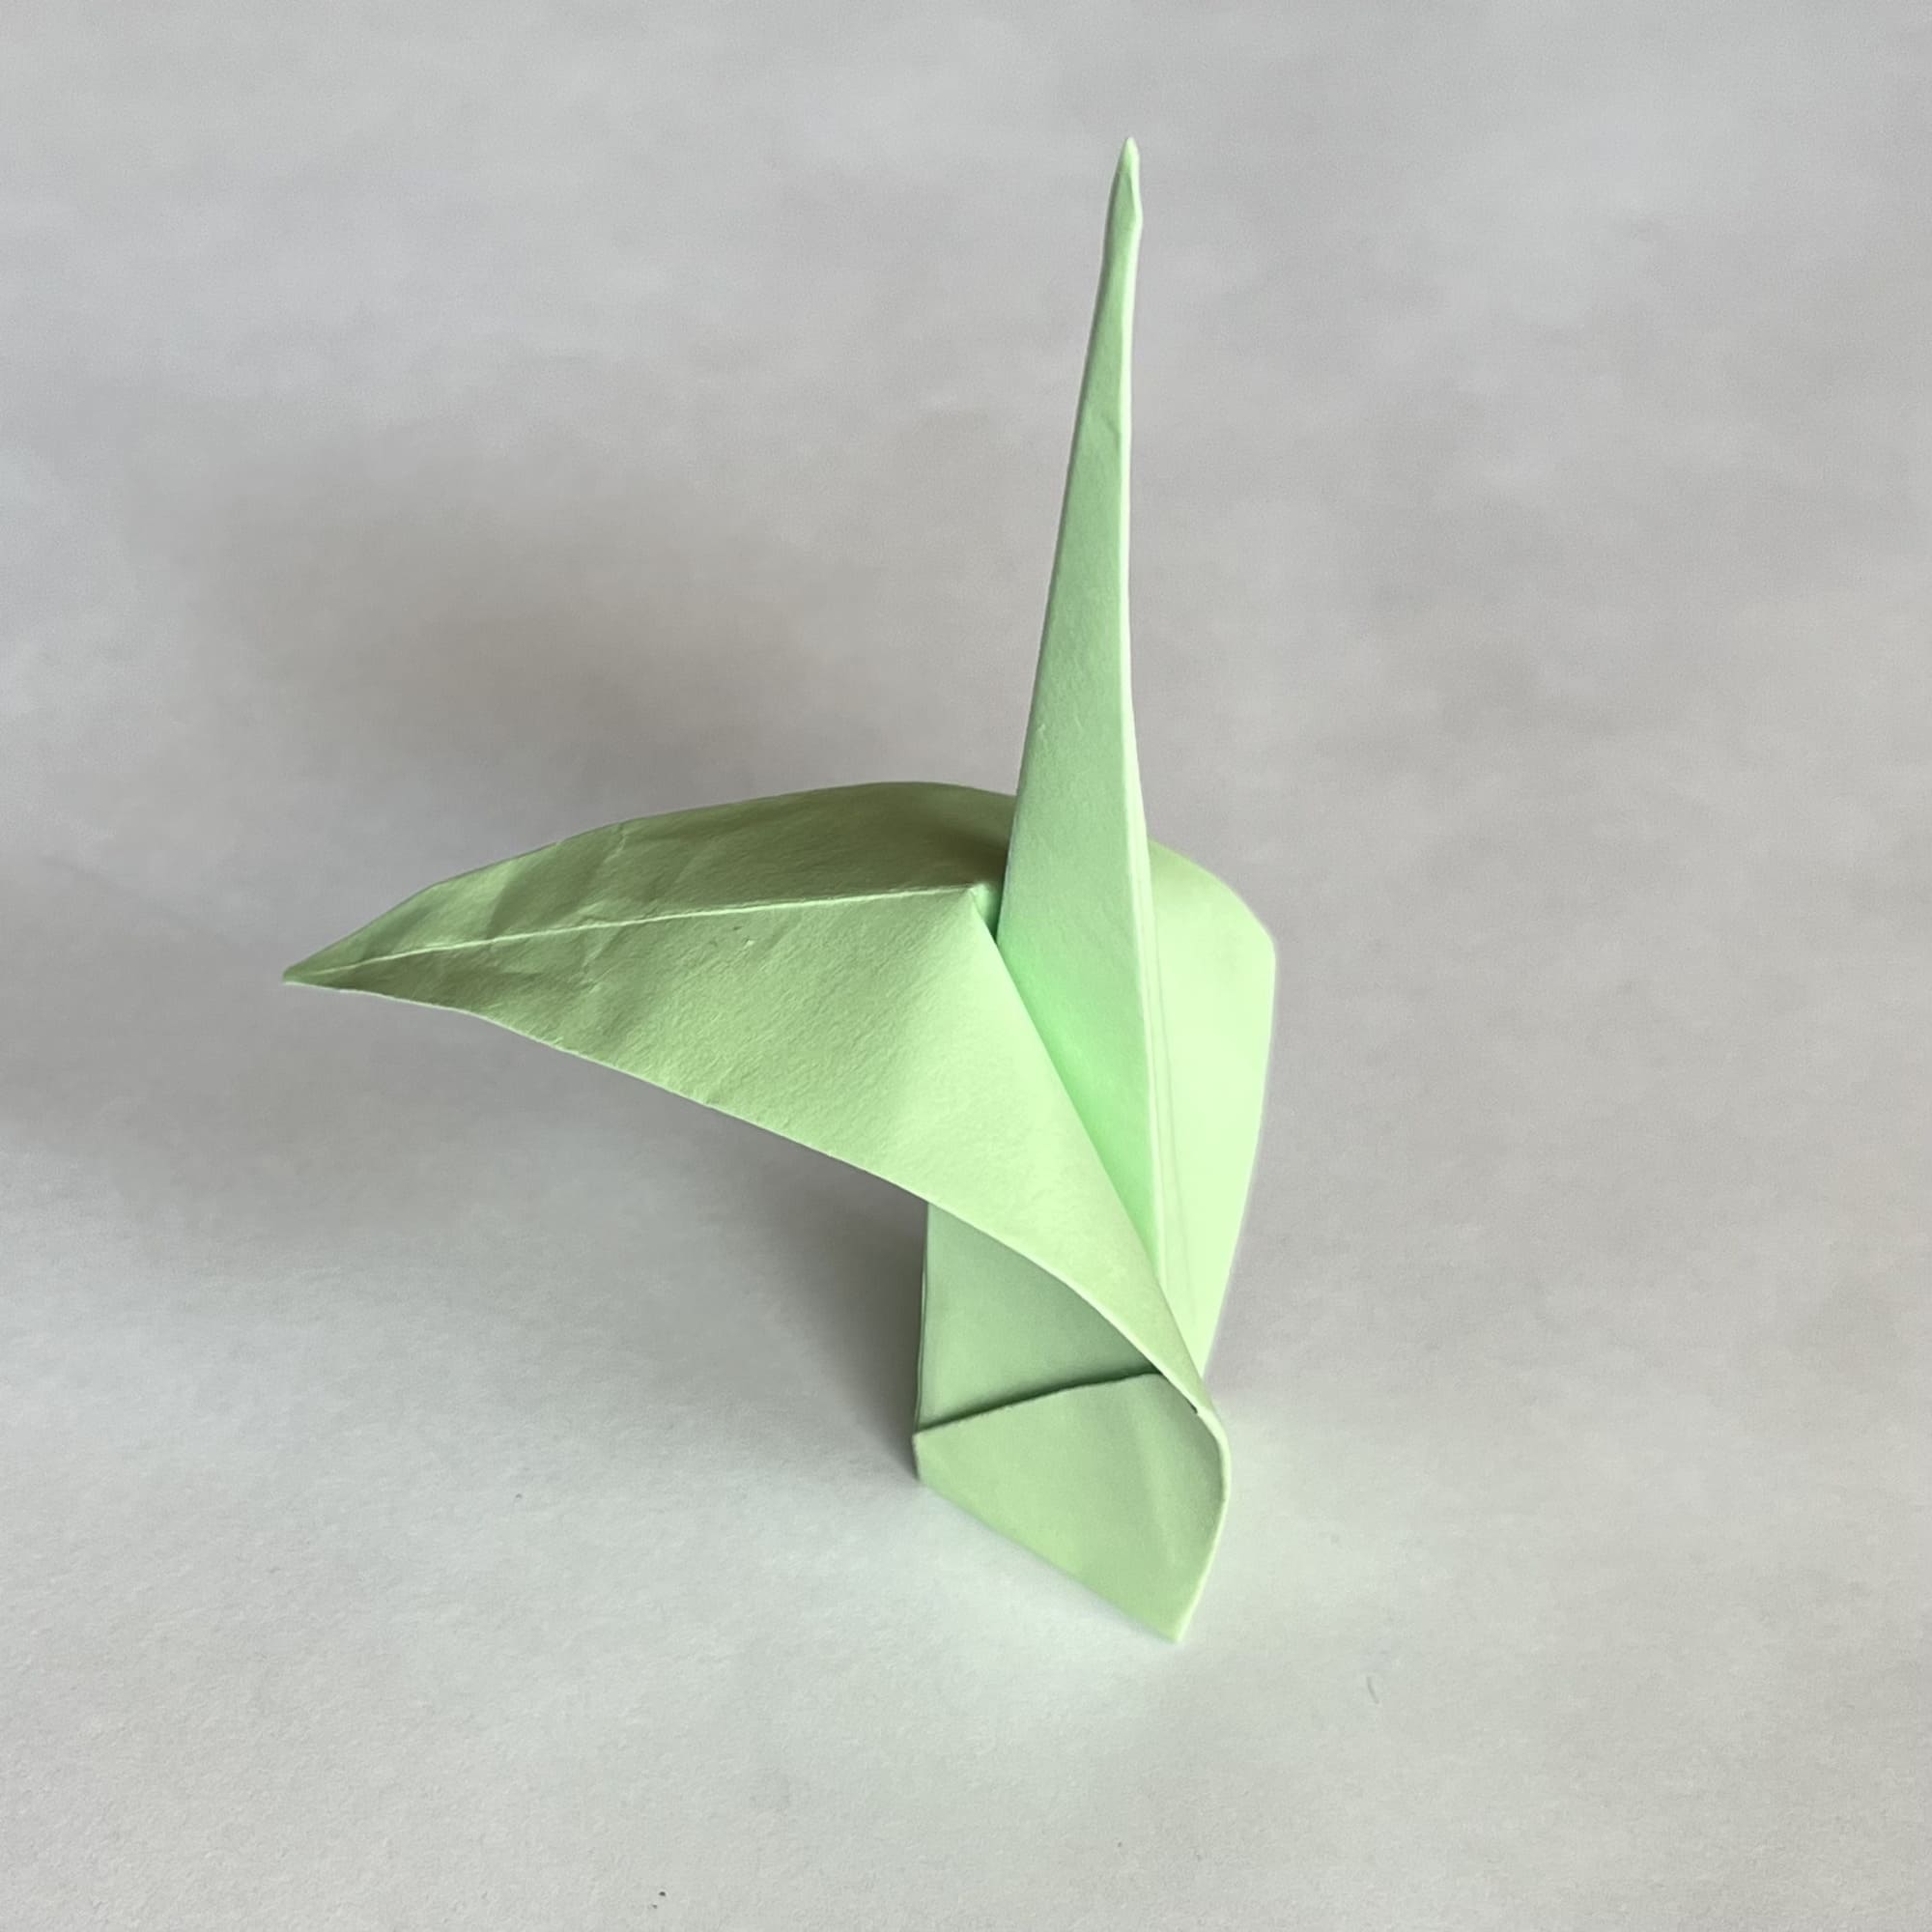
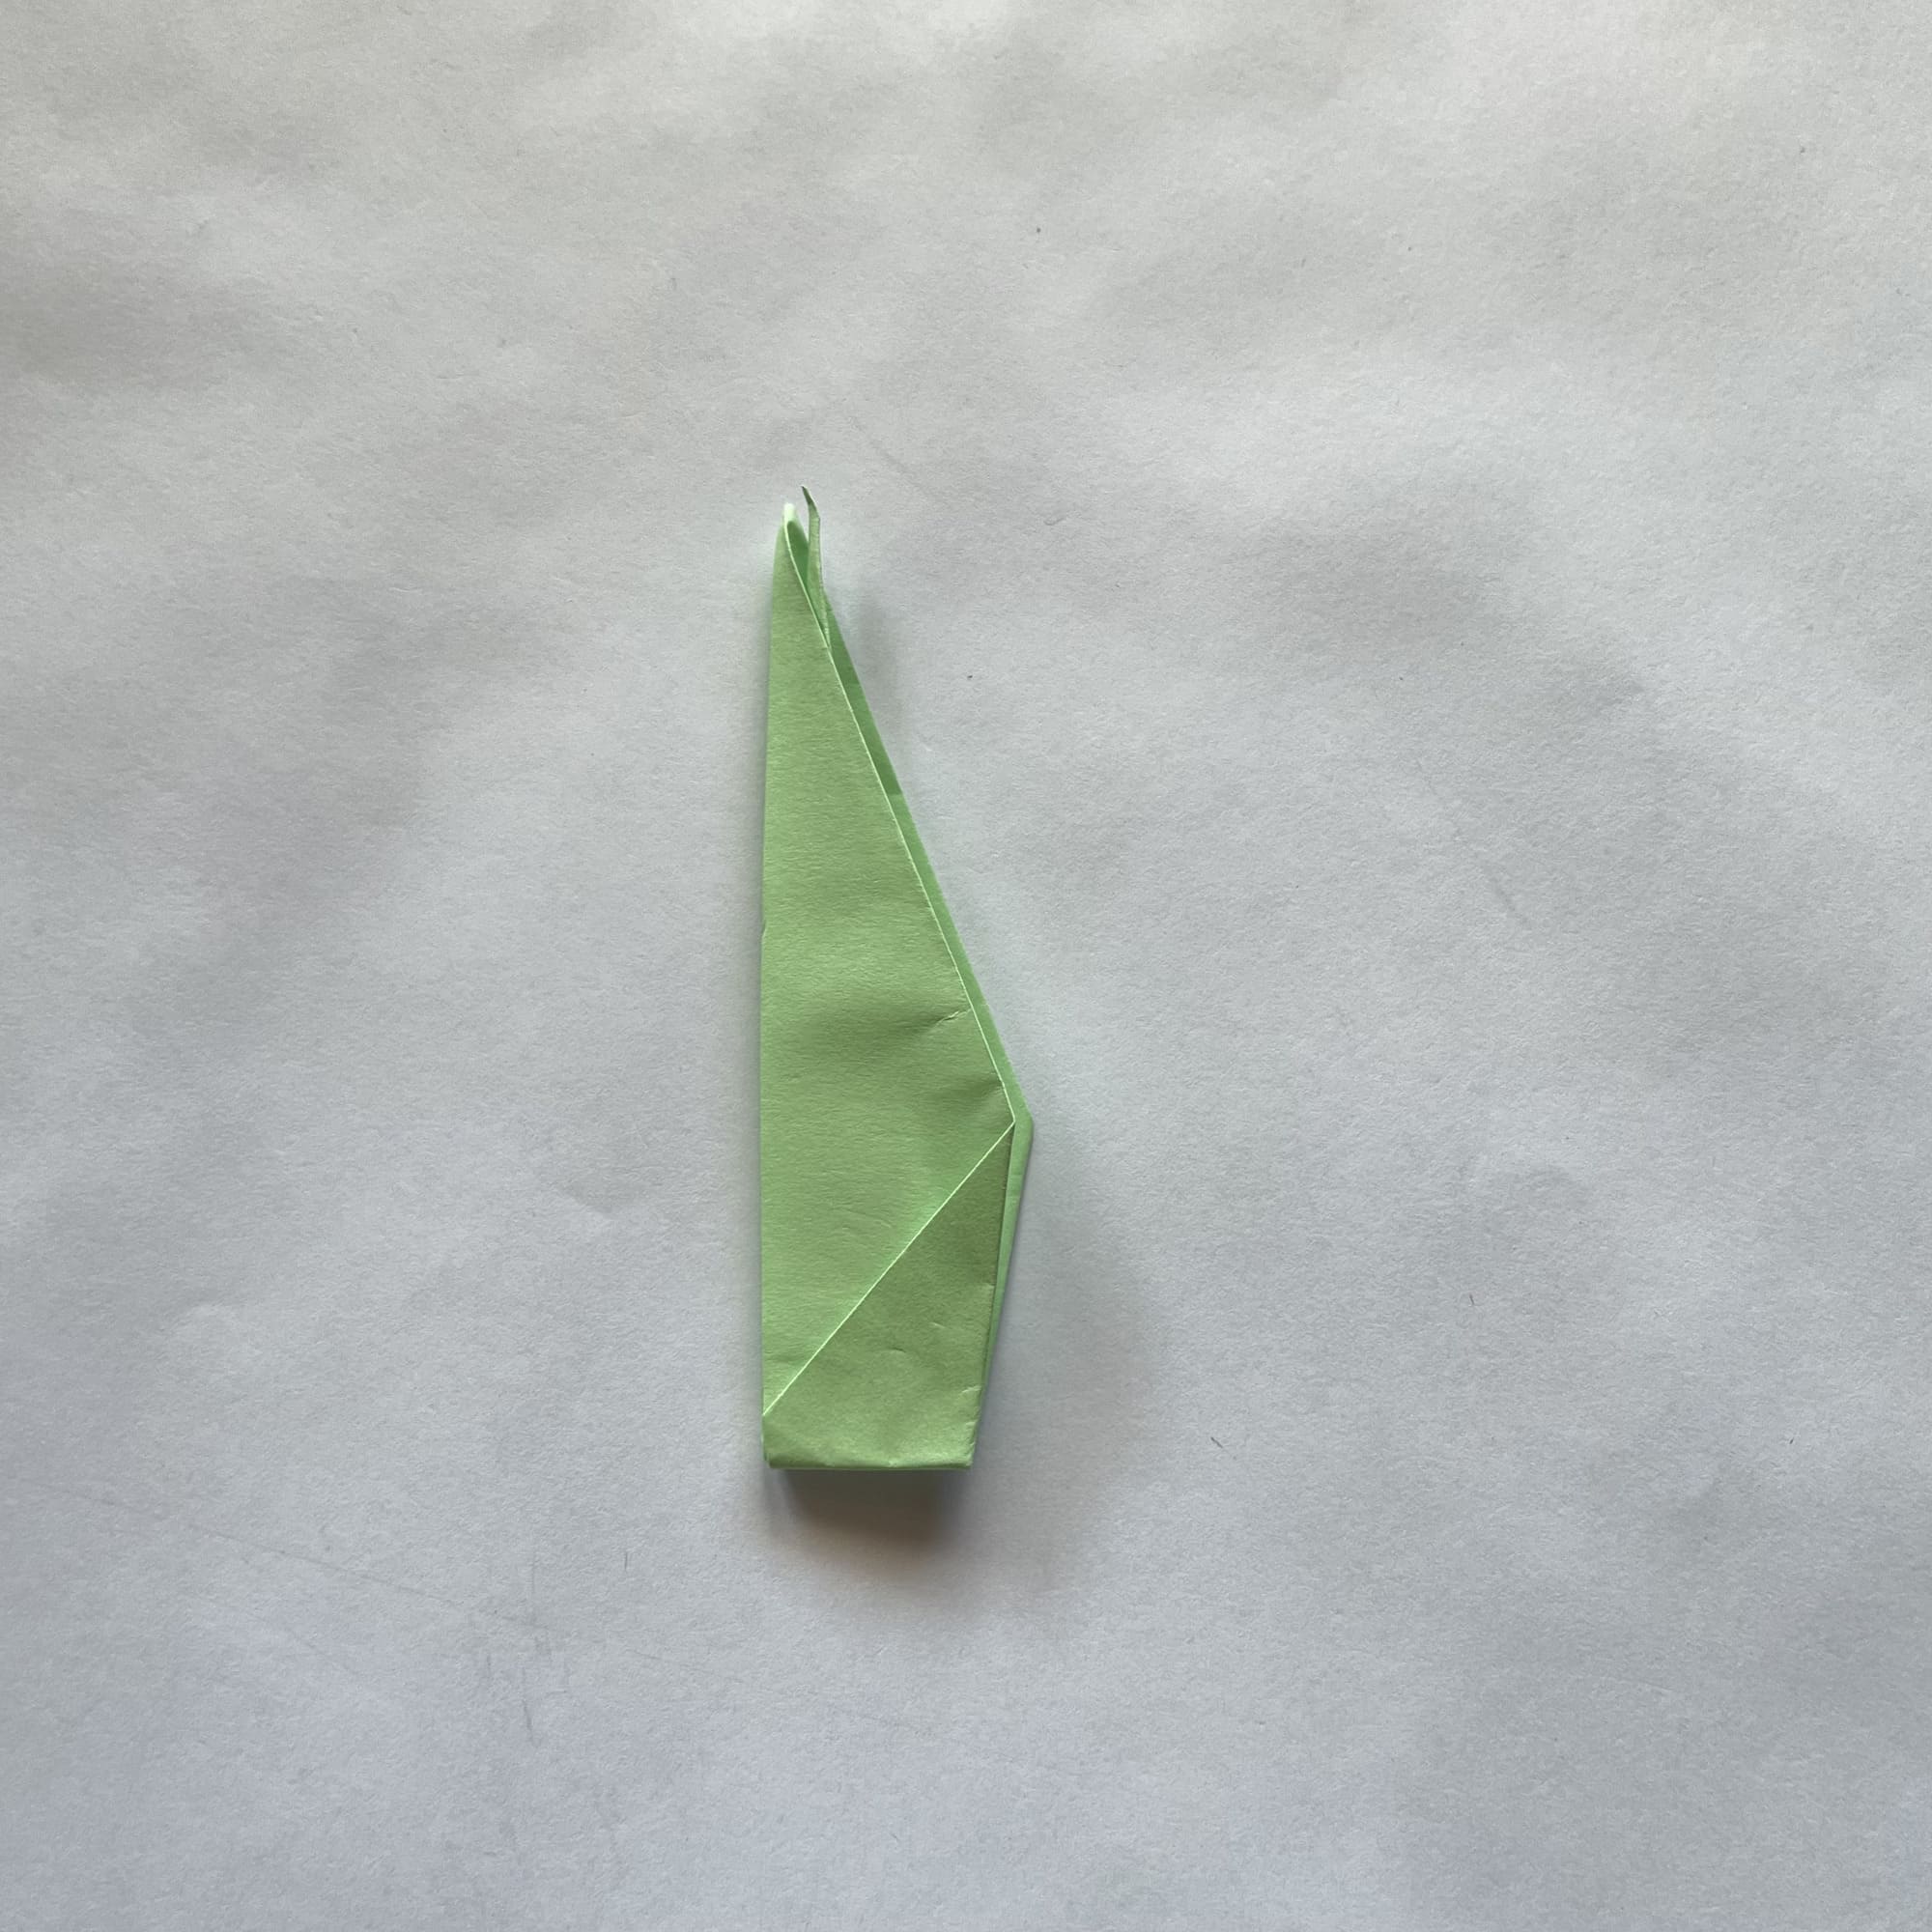
All you have to do is bend the petal outwards, taking hold of the outer layer of paper at the top.
Done! Now you can fold the tulip itself in the origami technique, and then fix it on top of the stem. Such a flower will please your eye for months or even years – this is one of its main advantages.


