Origami Tulip
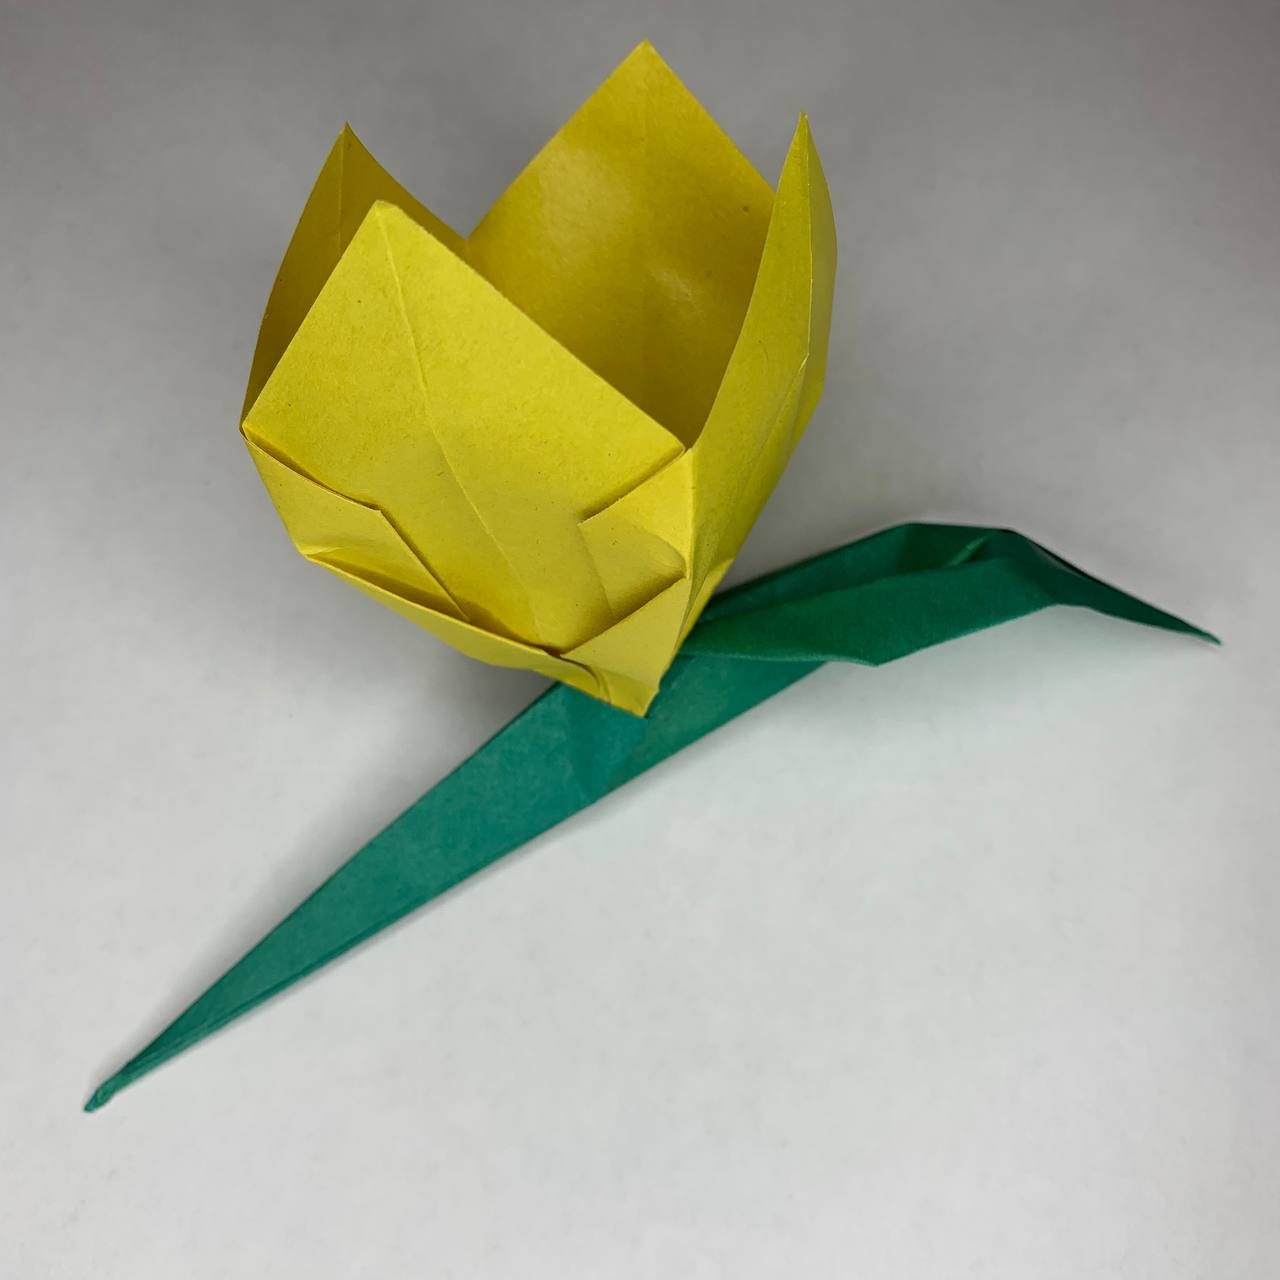
The tulip is a flower with character, and its origami twin is no less characteristic. Use one piece of paper for the bud, and another for the leaves and stem. Start with a square of yellow paper or any other shade of paper, depending on your taste. This detailed step-by-step instruction will show you how to make this beautiful flower and get the most realistic result.
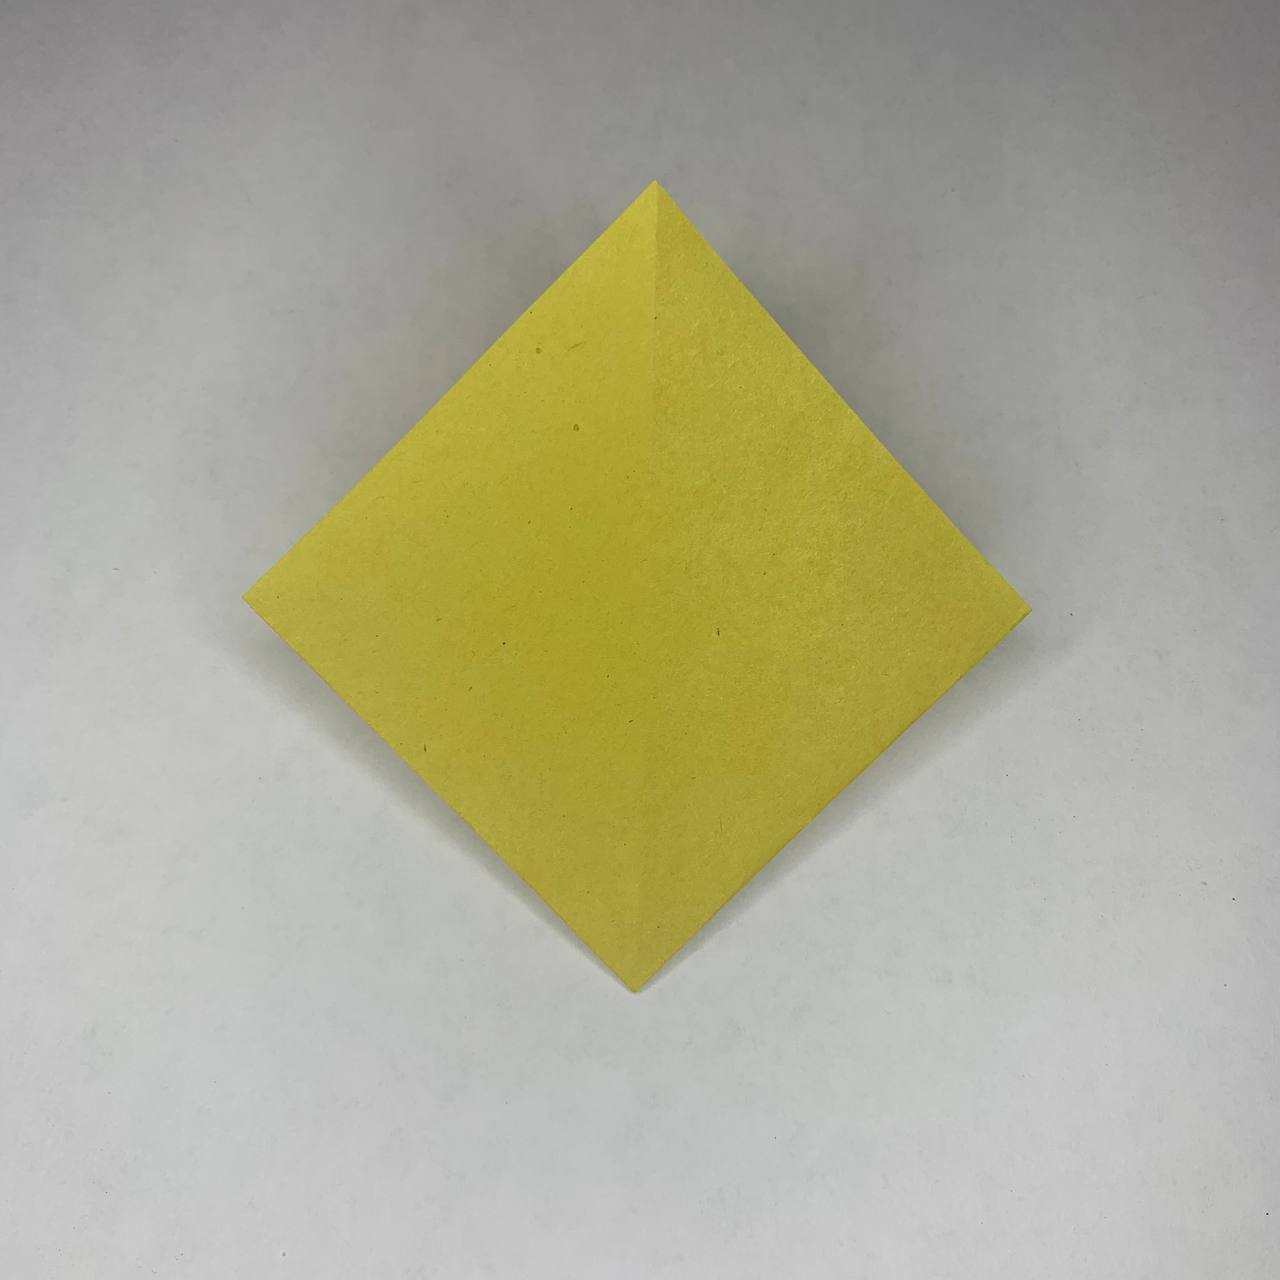
Create a basic square origami base. Position the square base so that the hole is at the top.
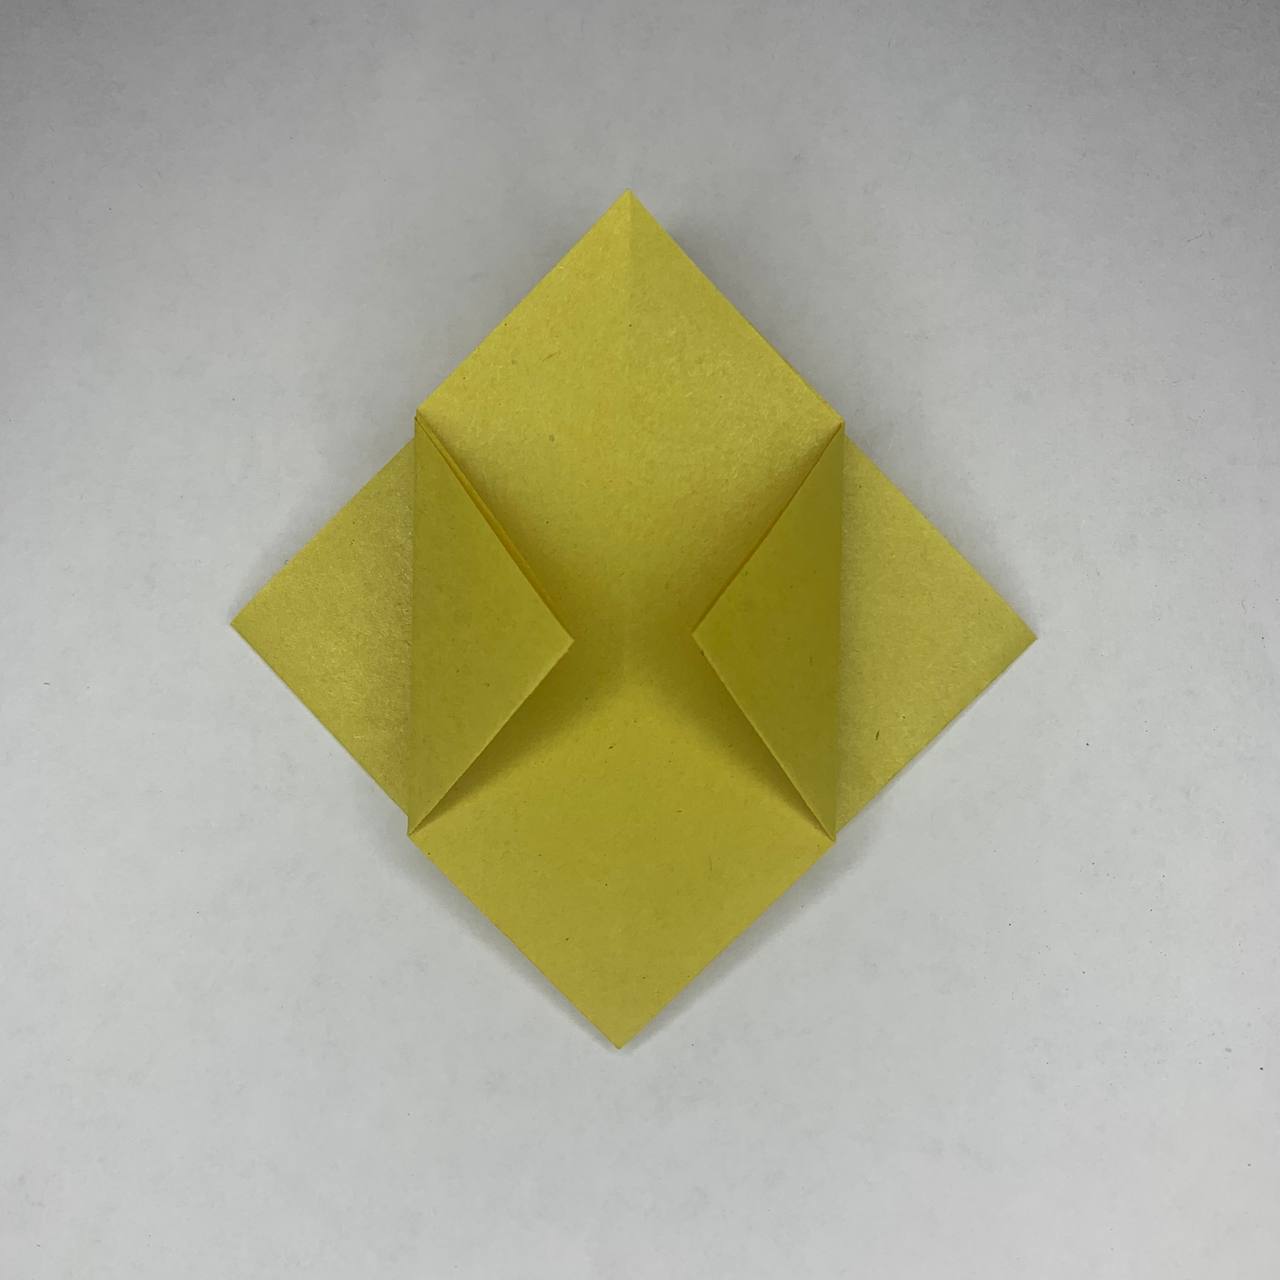
Fold the right and left corners to the center, then unfold to form a crease.
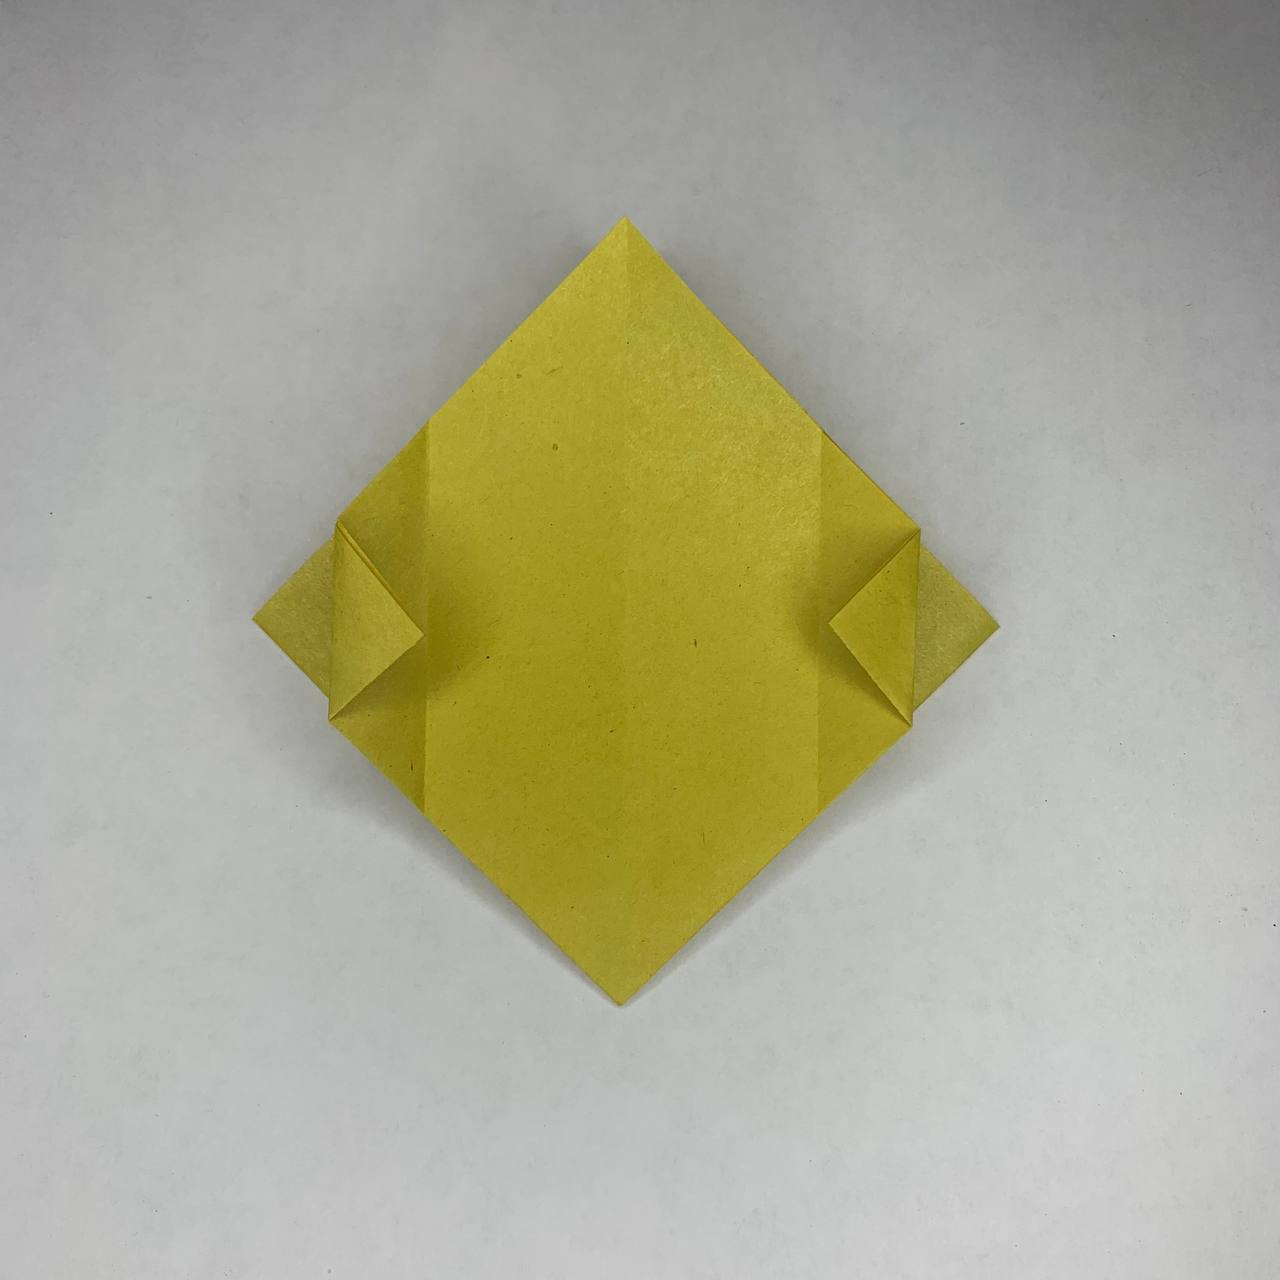
Now fold the right and left corners to the fold lines made in the previous step.
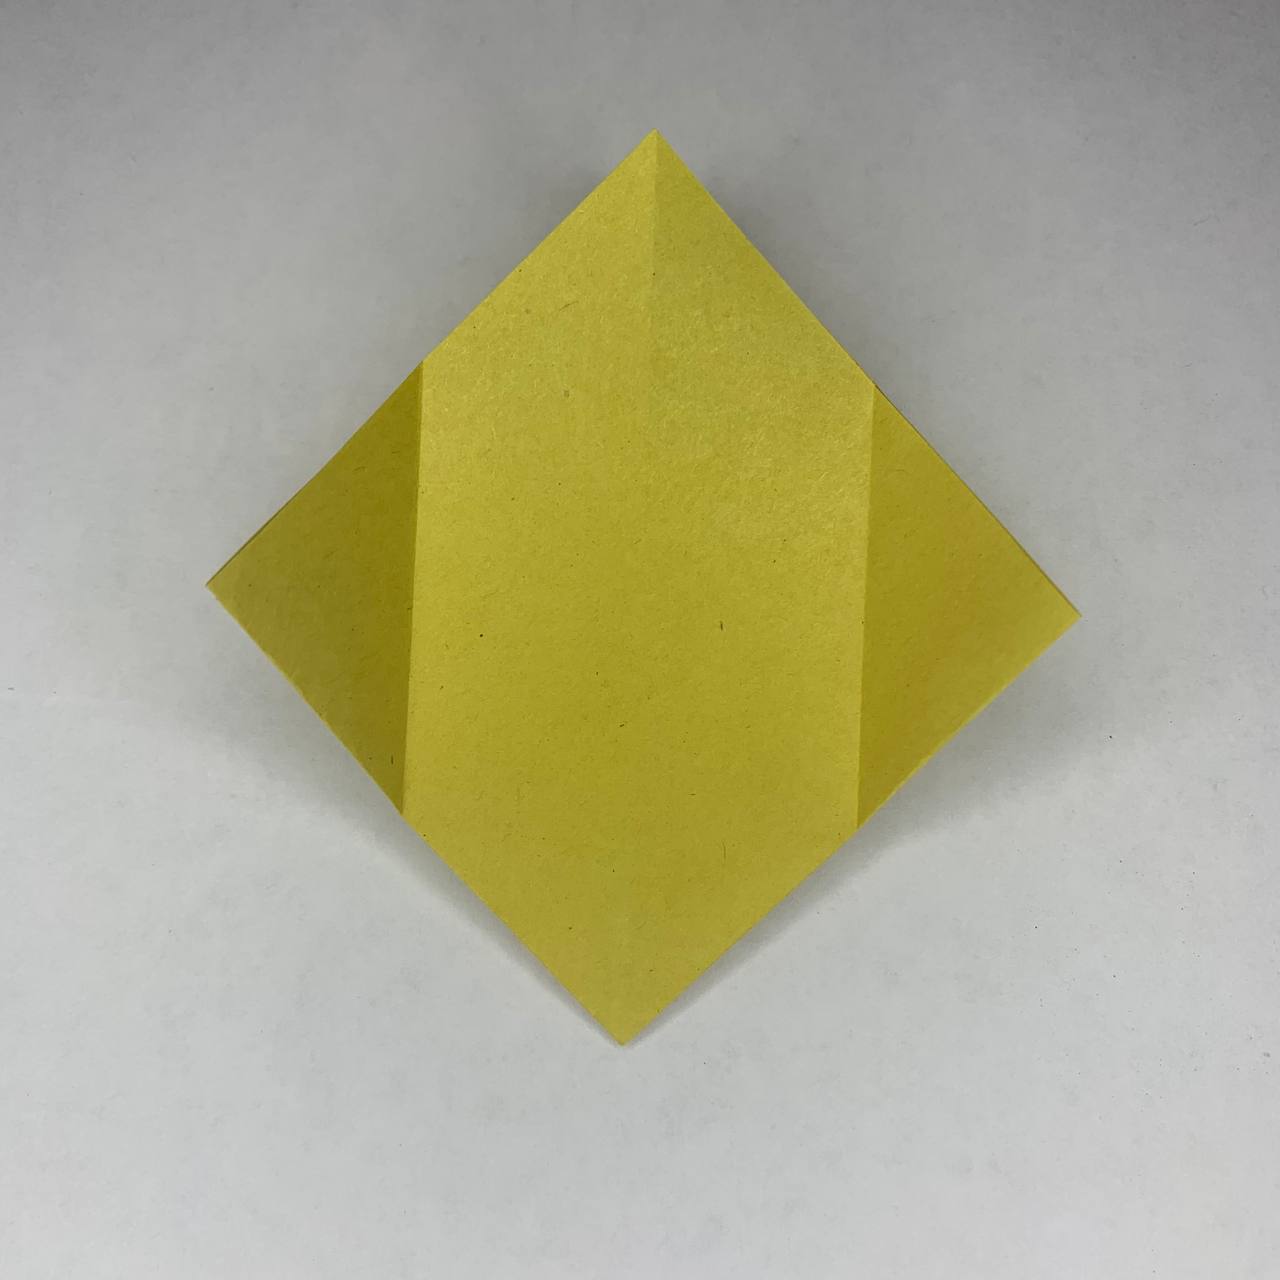
Fold again as shown.
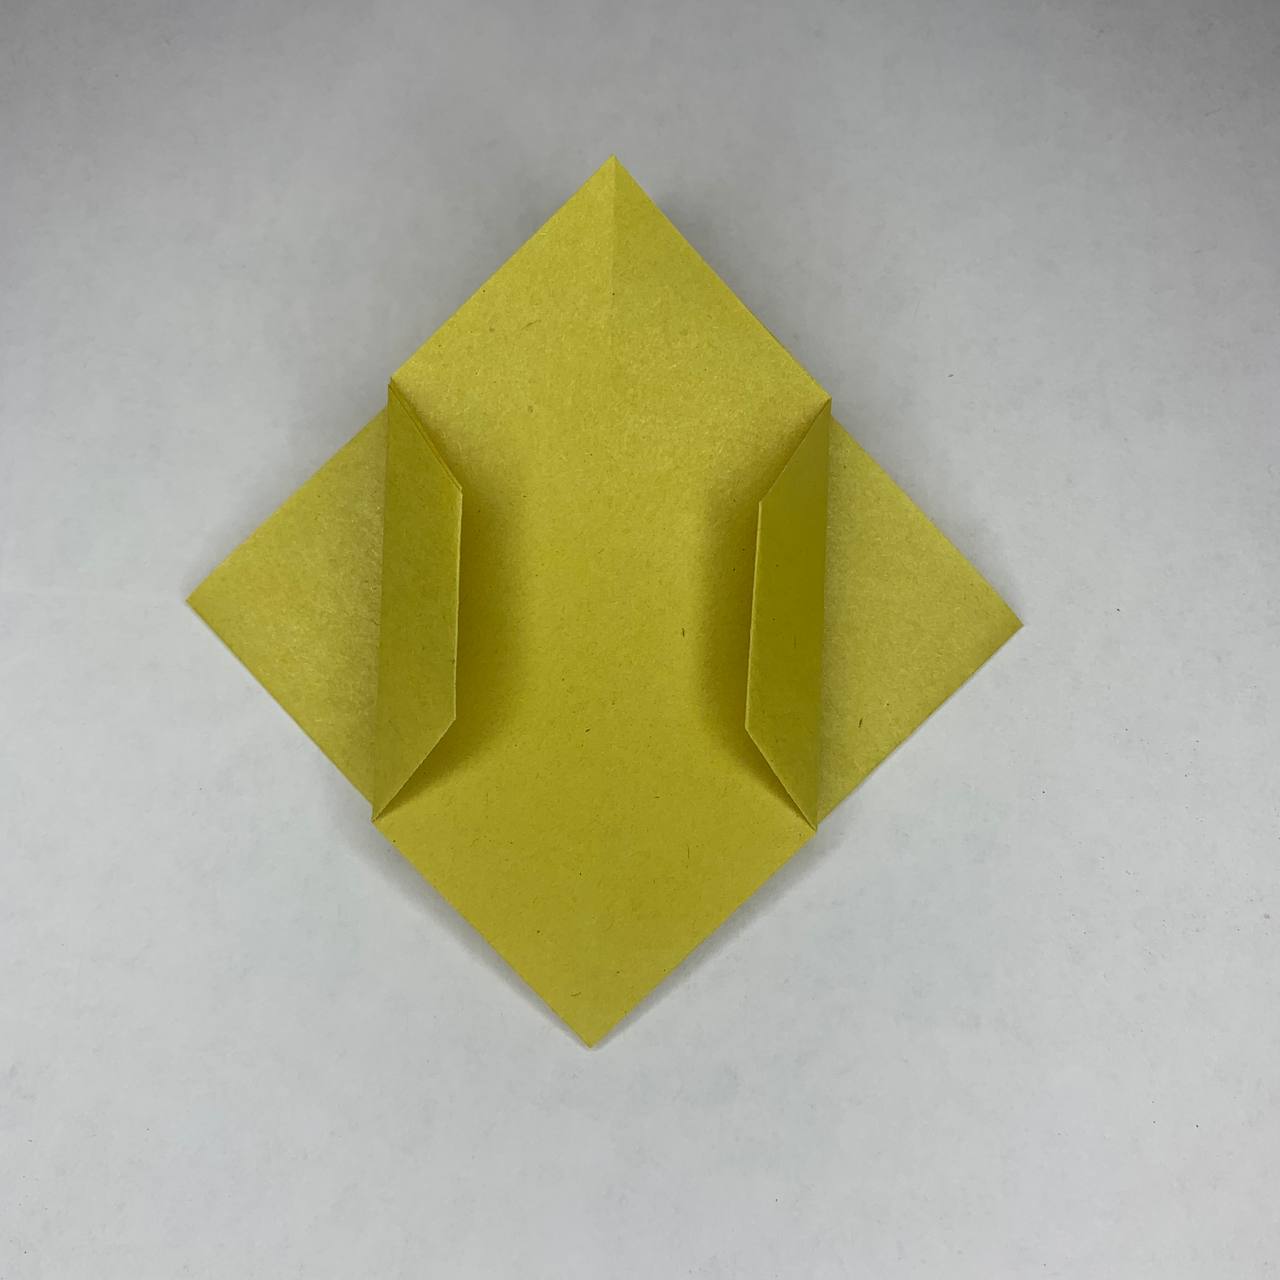
Flip the paper over and repeat on the backside.
Next, fold the bottom edges to the center line.

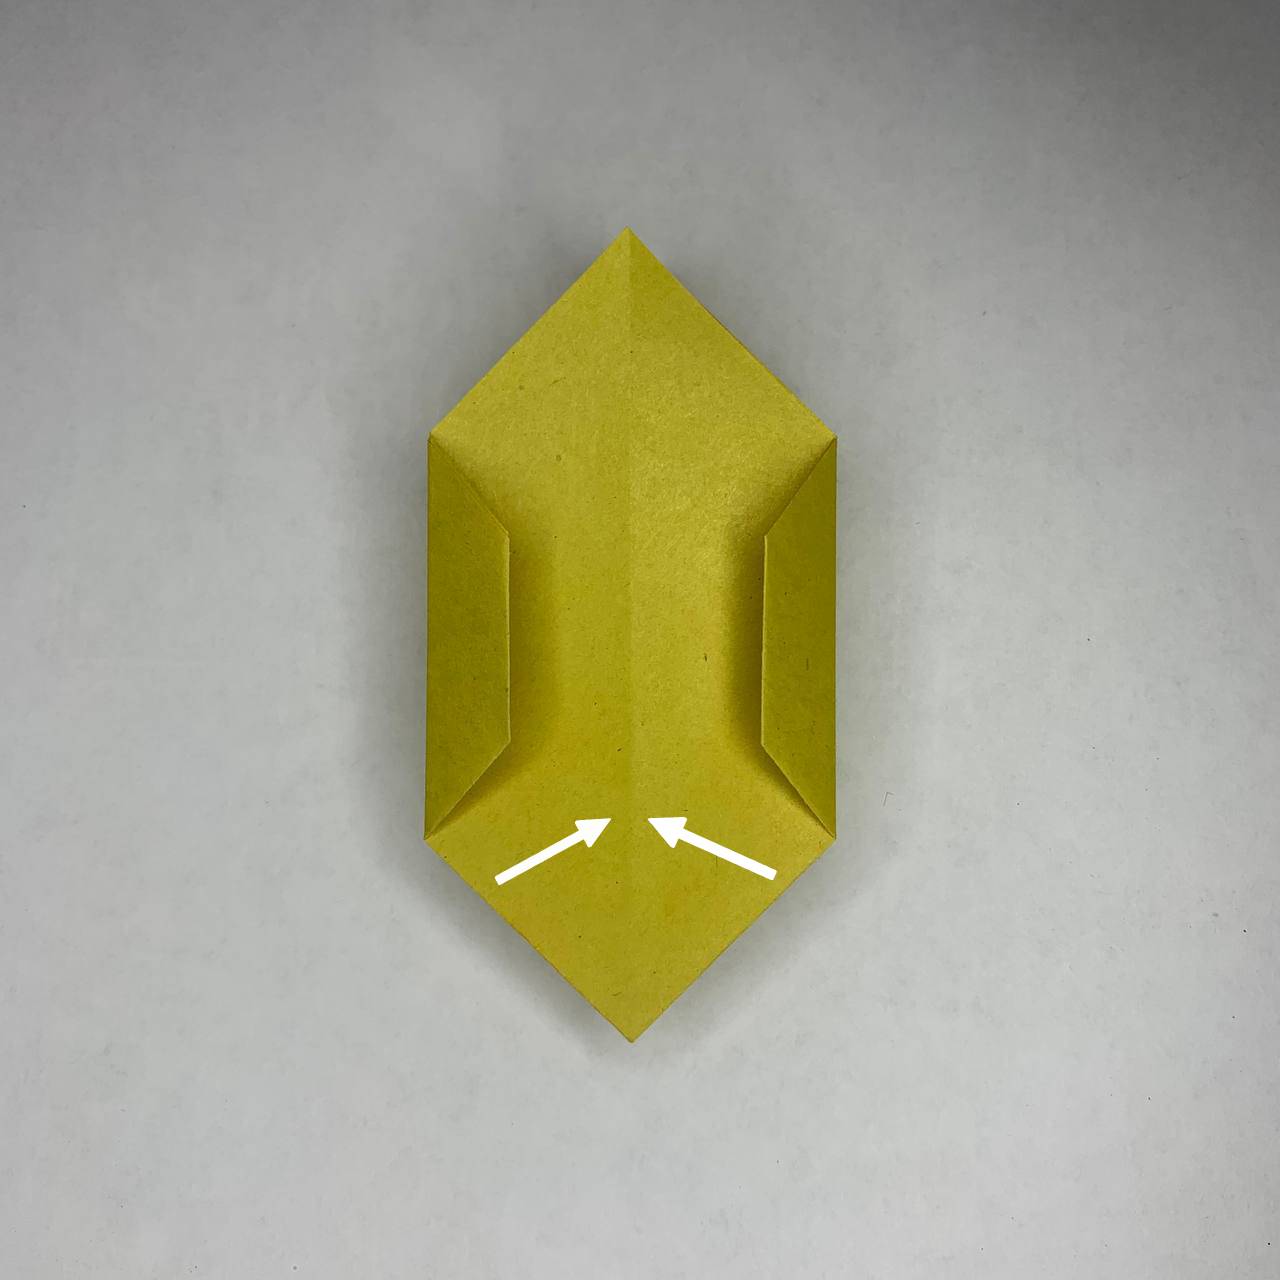
Repeat on the backside.
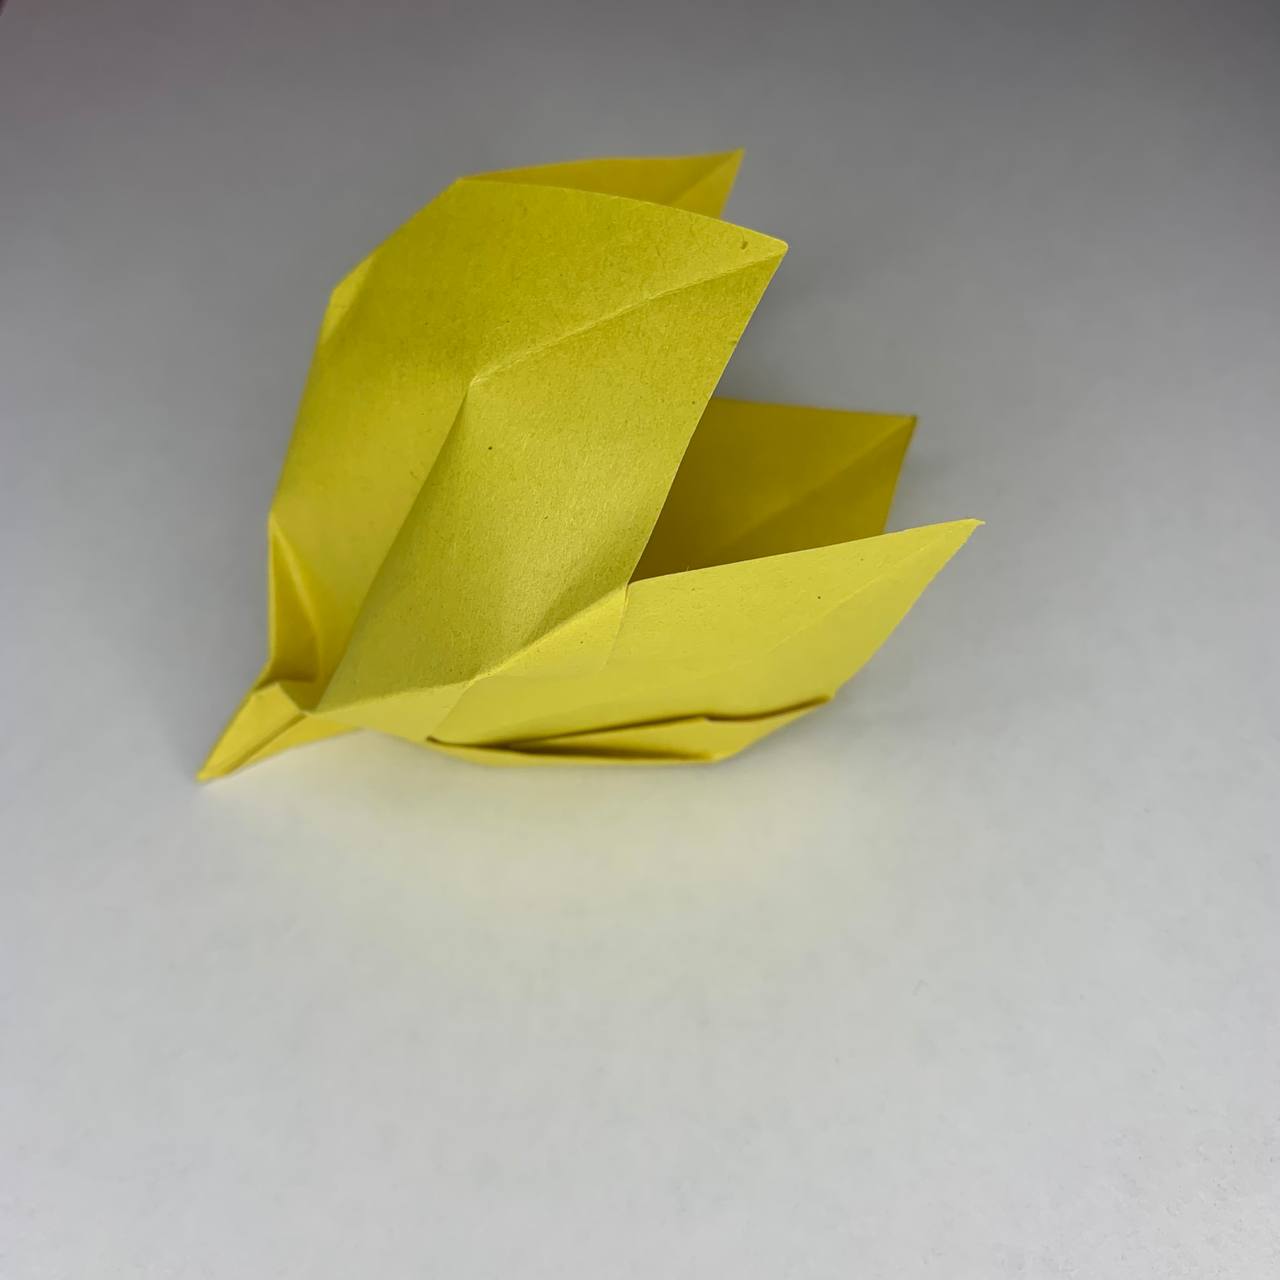
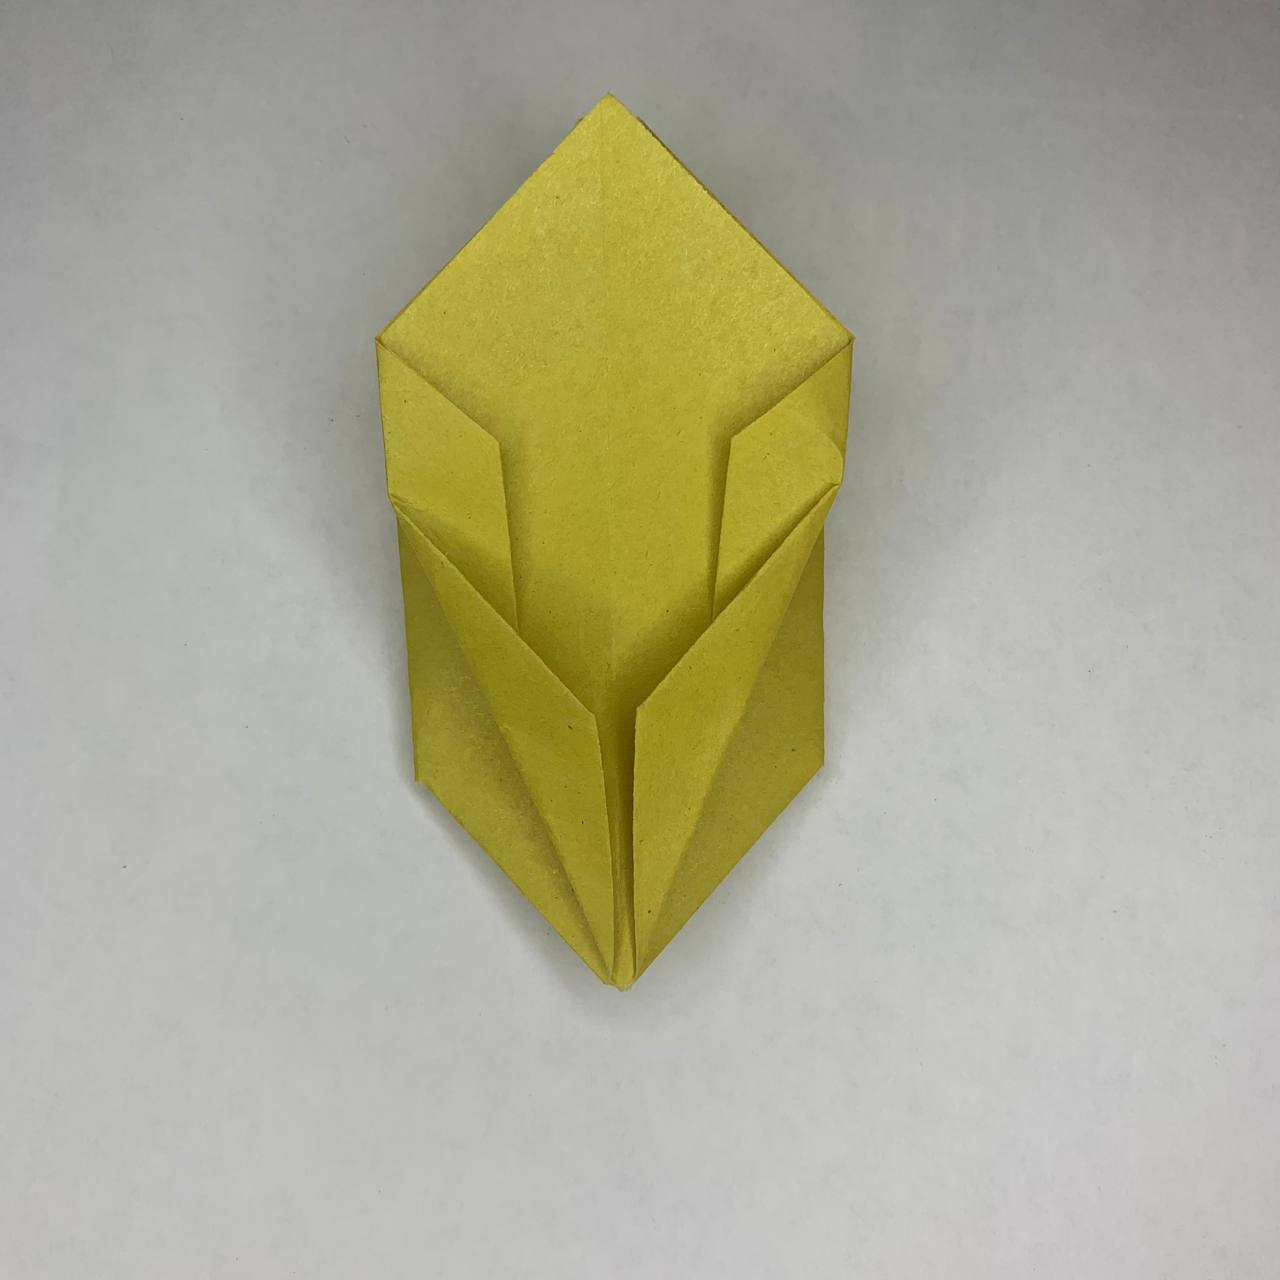
Grasp the bottom sharp corner with one hand, and with the fingers of the other hand, open the bud as shown in the photo.
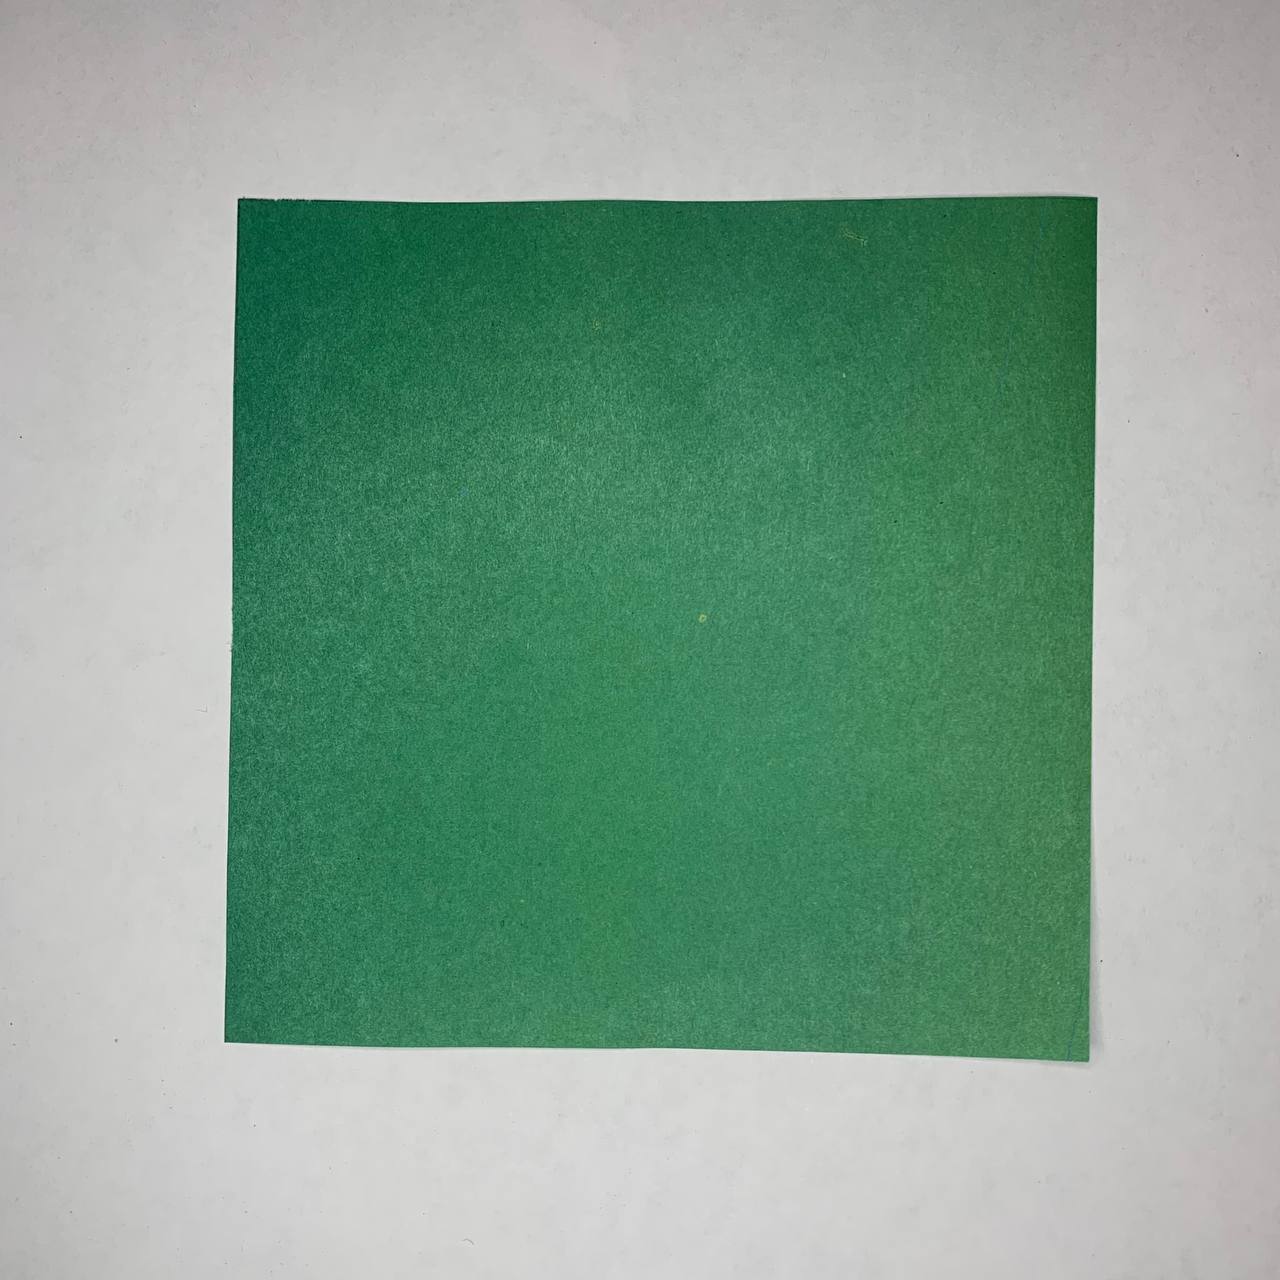
Now let’s move on to the leaf and stem. Take a piece of green paper.
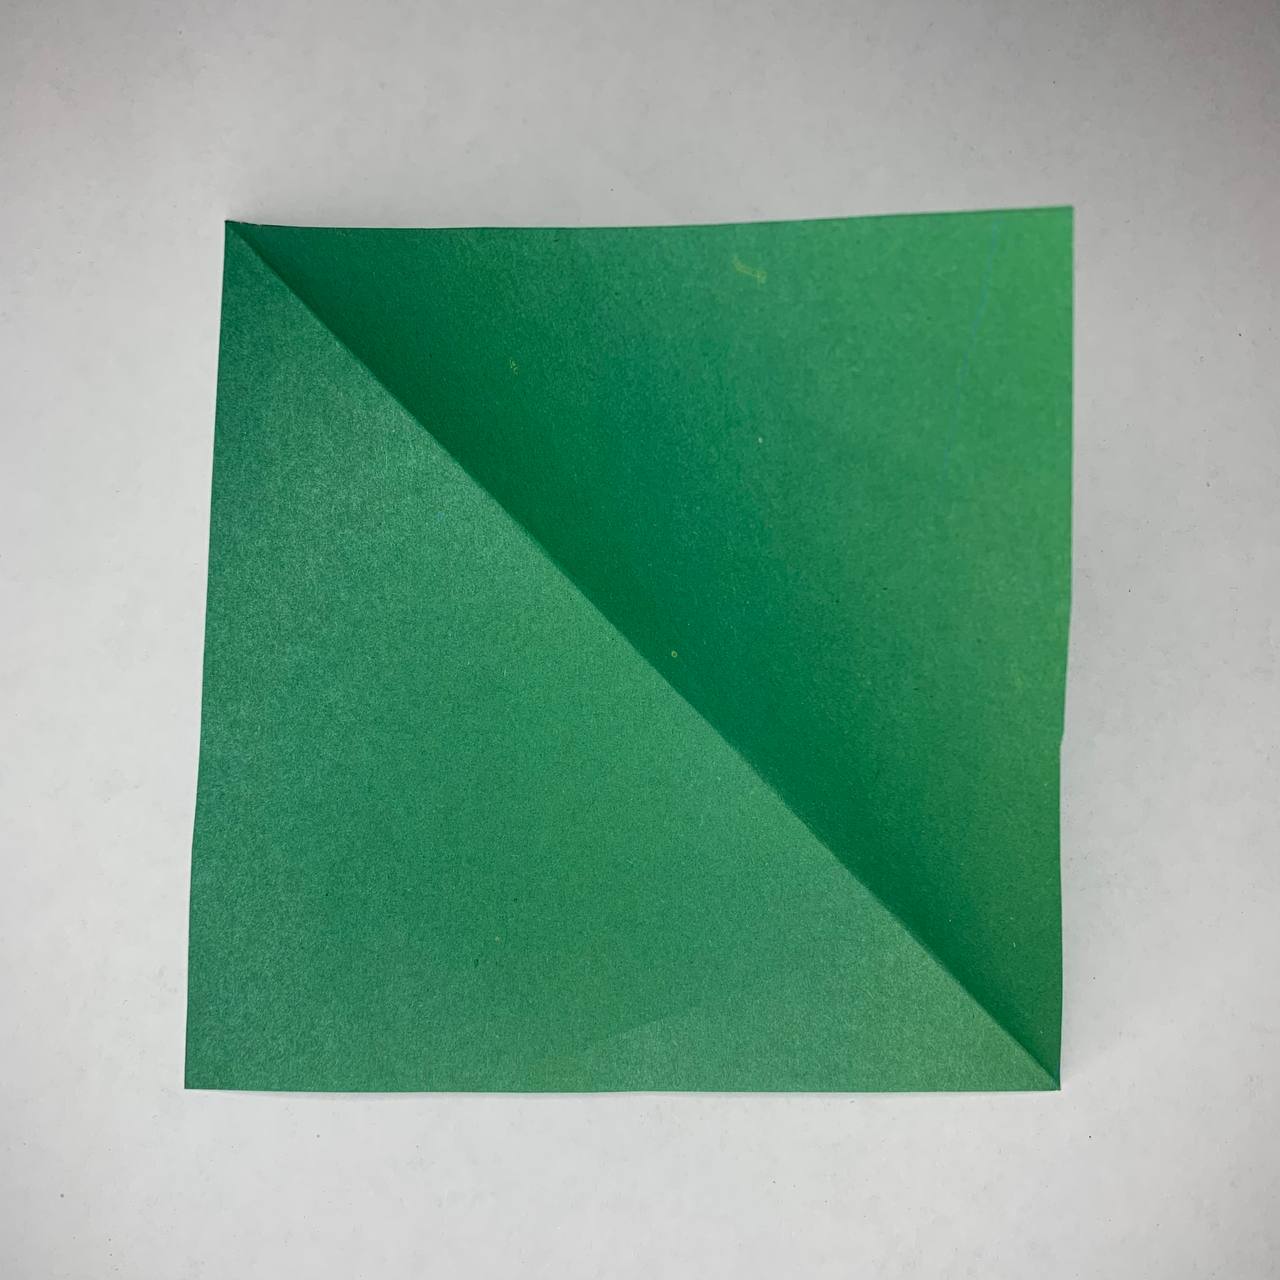
Make a fold on the diagonal.

Fold the top and left edges to the center line, creating an “airplane”.

Then fold the bottom edges of the “airplane” to the center line, creating a diamond shape.
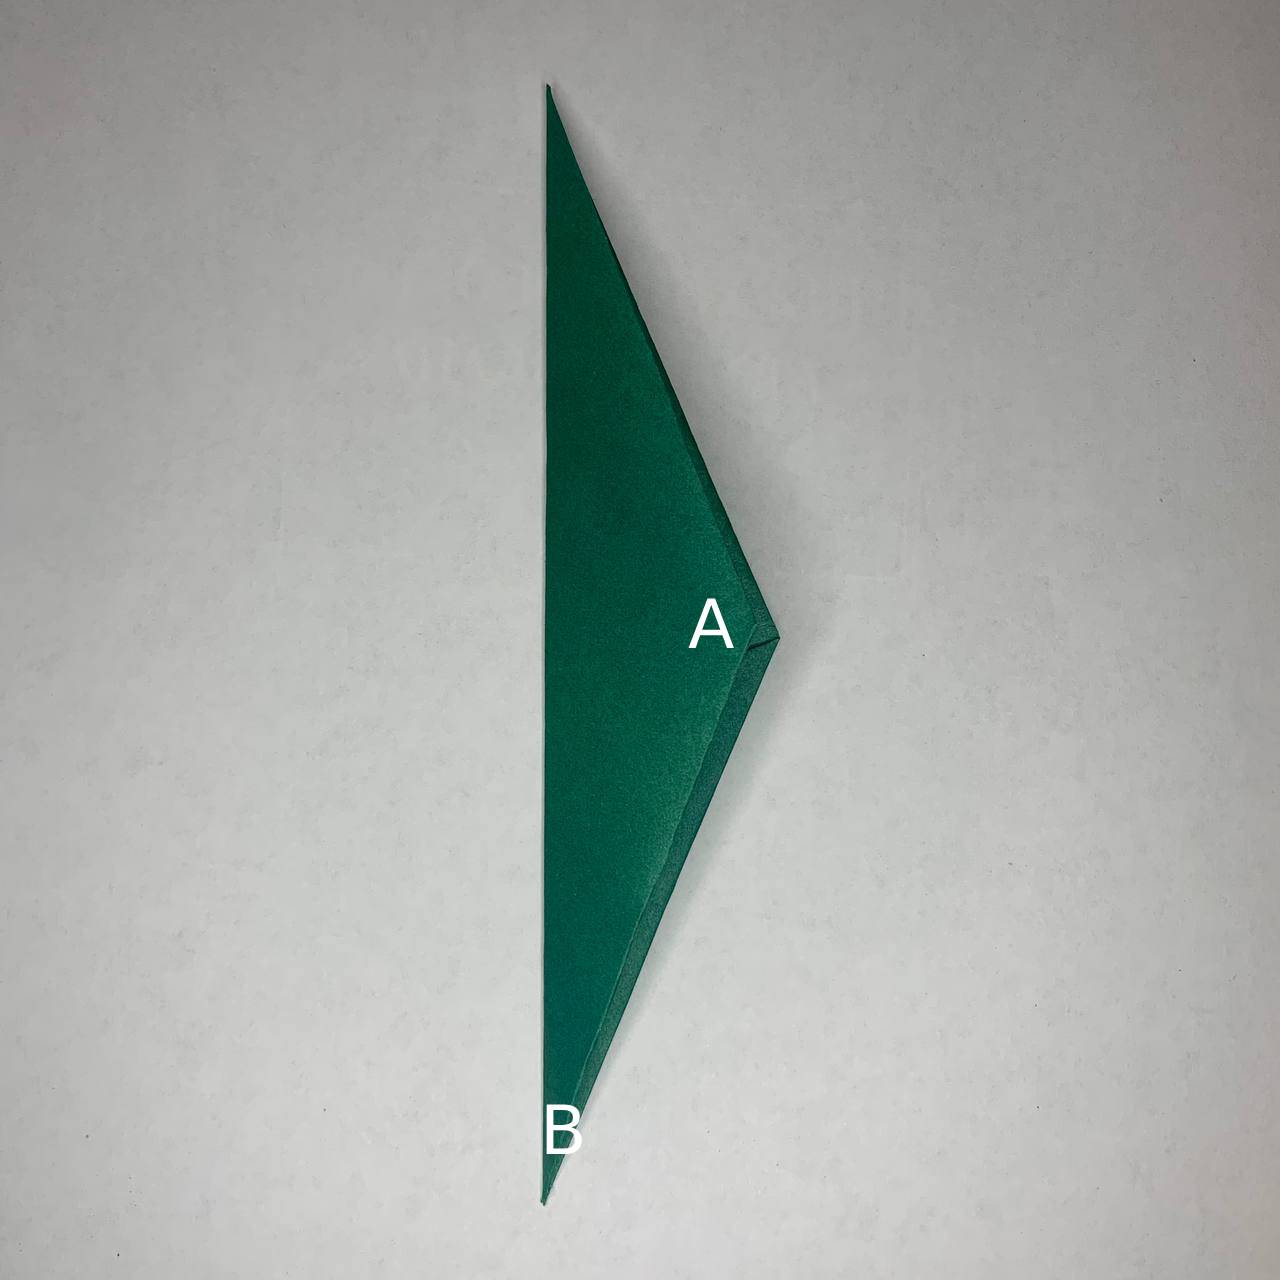
Fold the rhombus in half lengthwise.
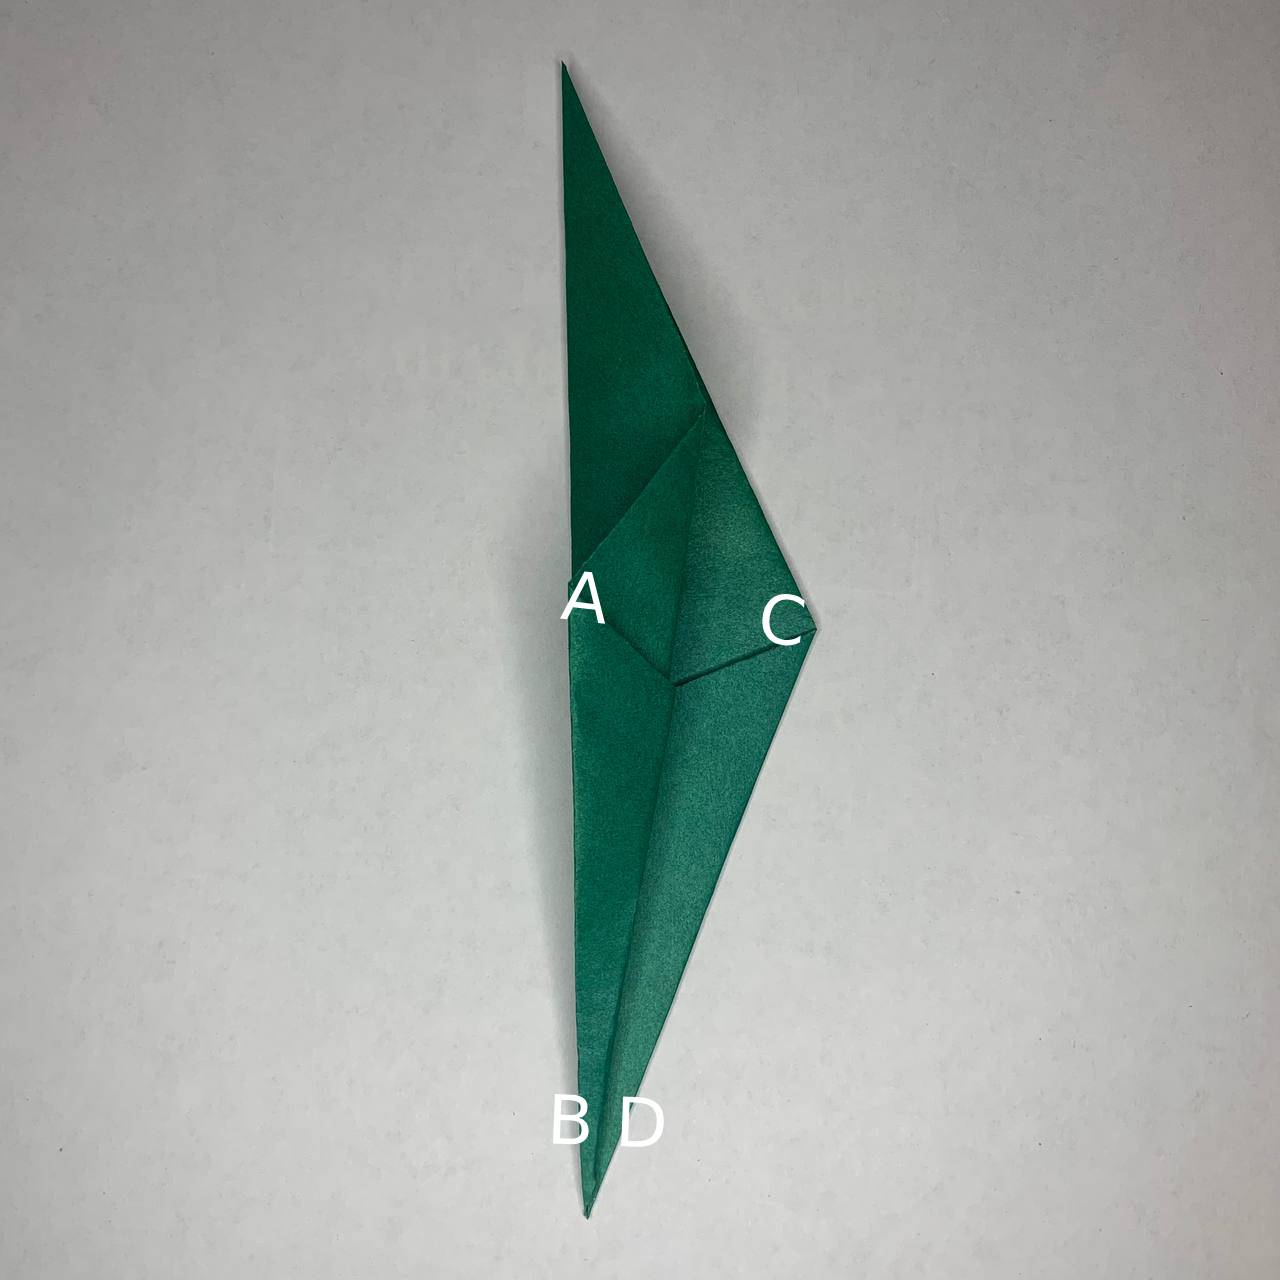
Then fold edges A-B back as shown, flip the piece over, and fold edges C-D back.
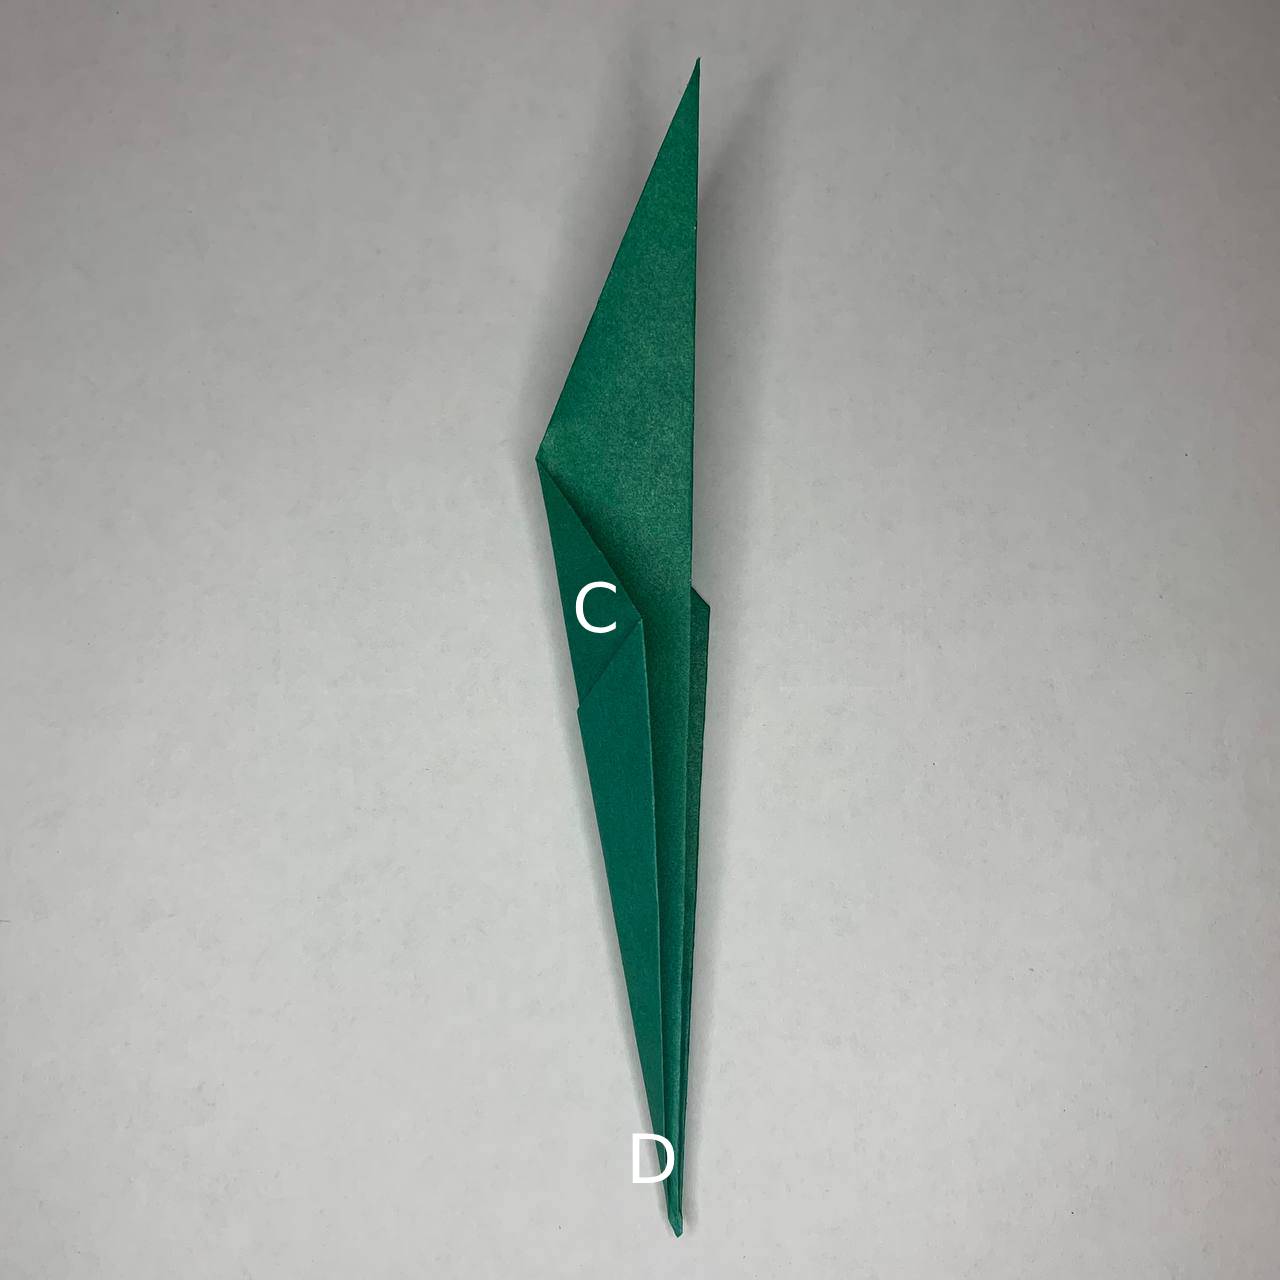
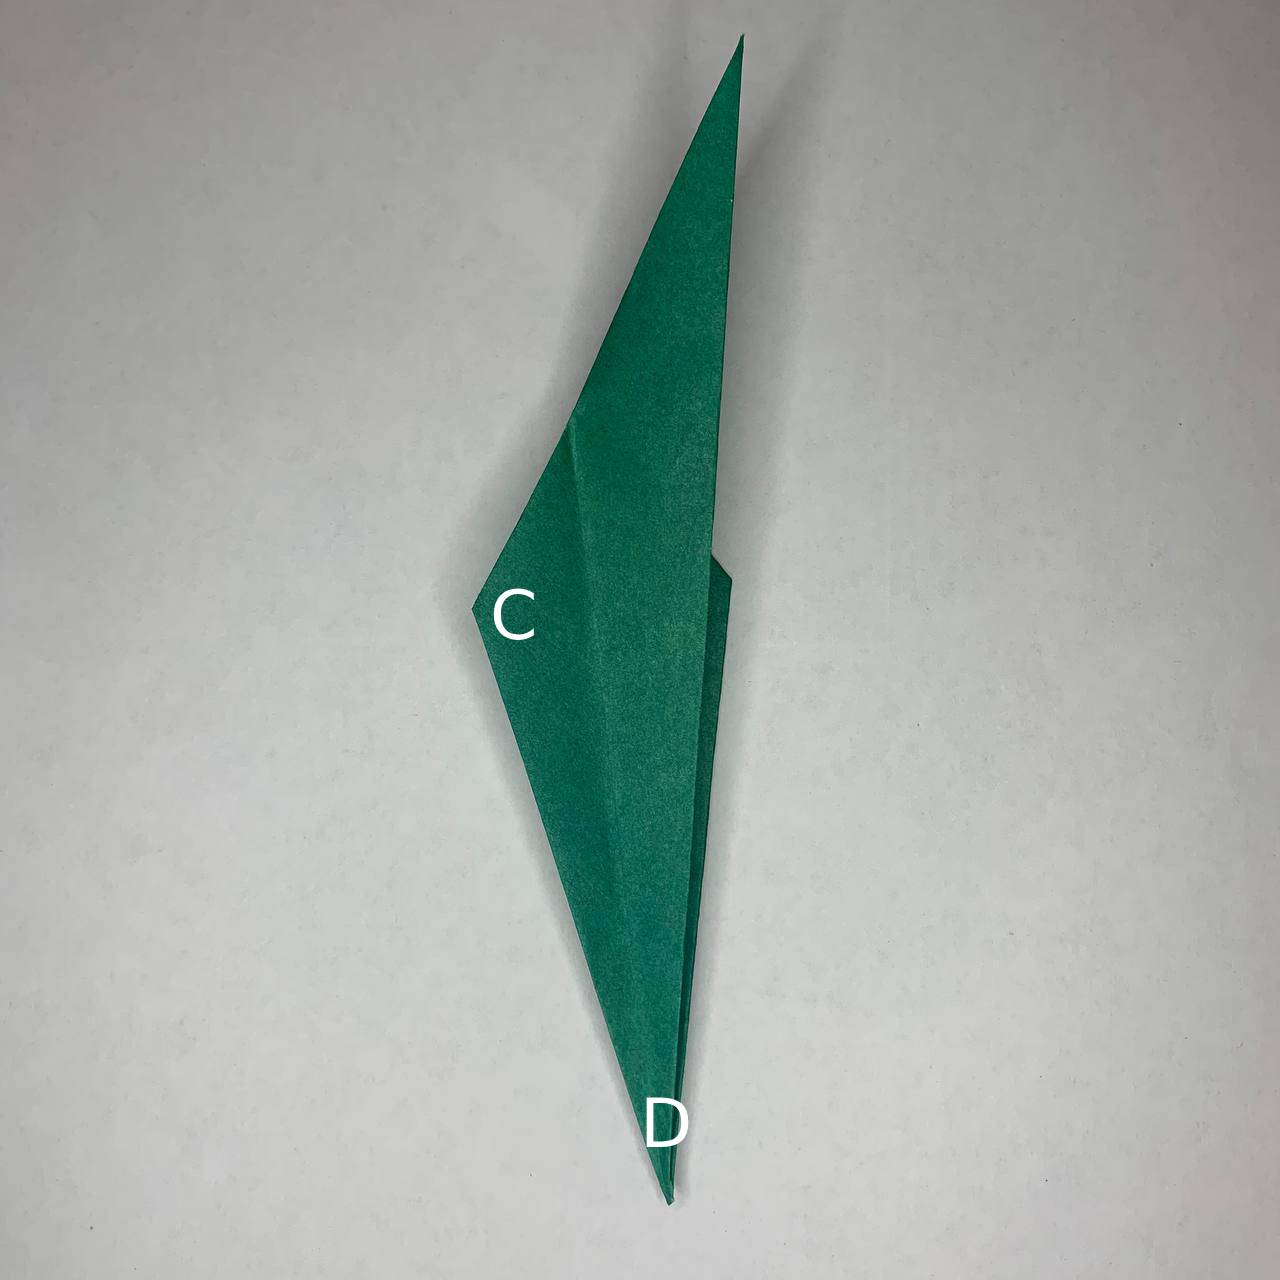
Now unfold C-D (only C-D, not A-B) to reveal the next fold.
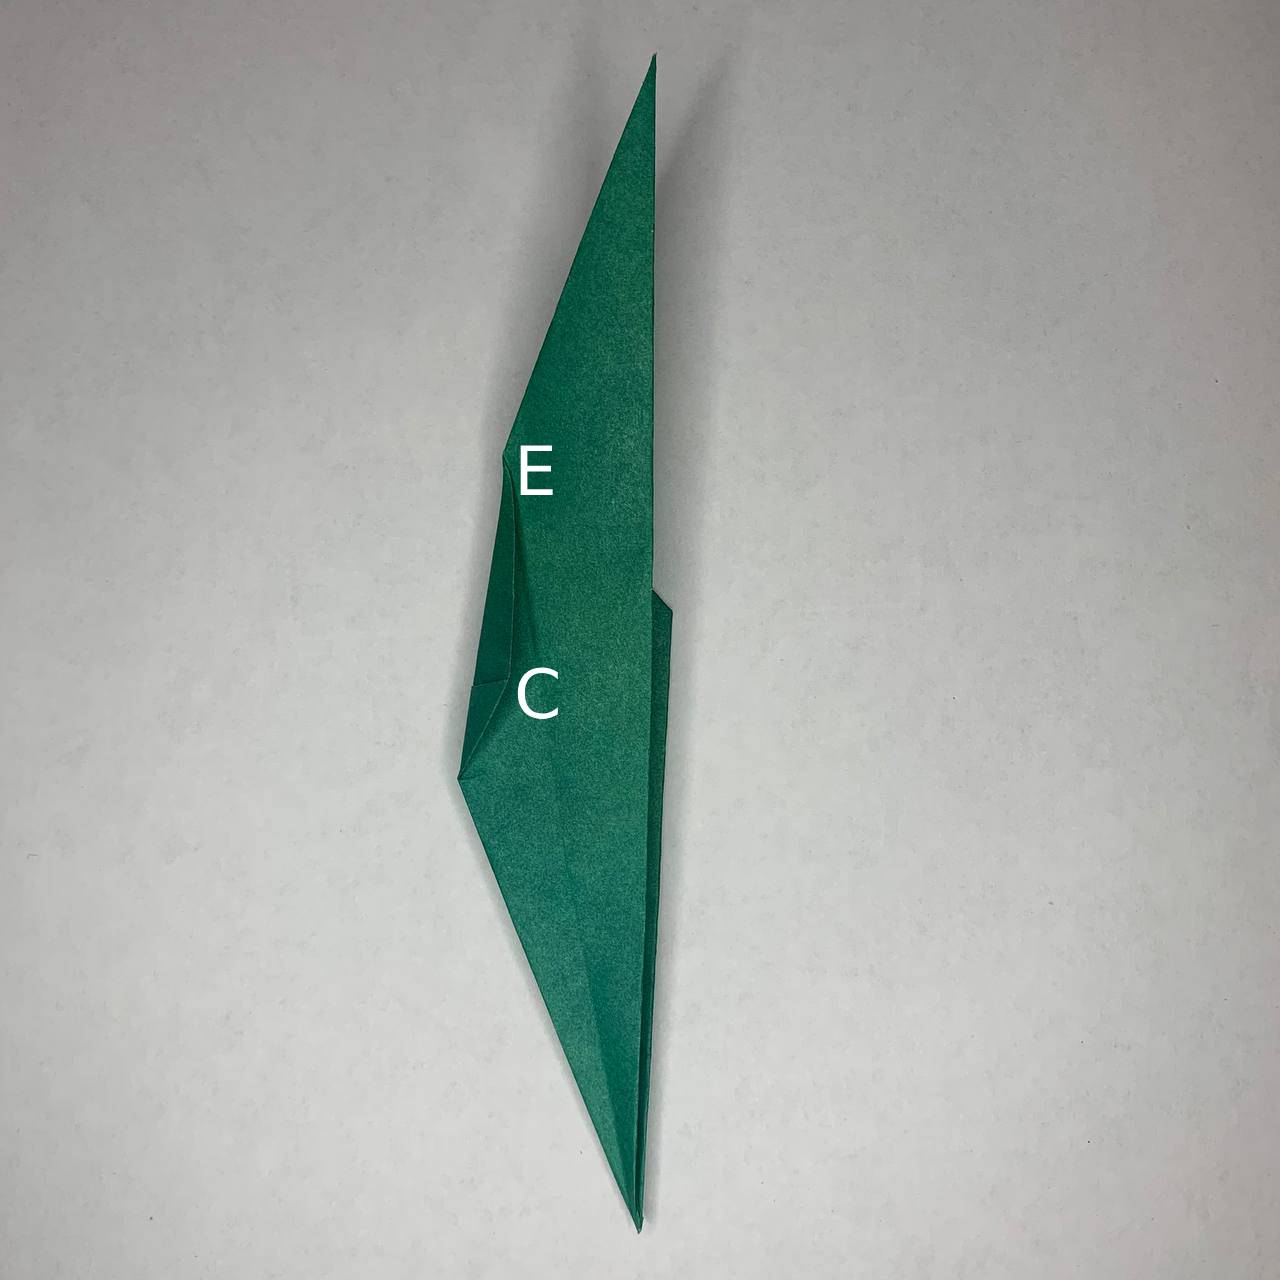
Fold C-E to the indicated fold mark, then fold again using C-D.
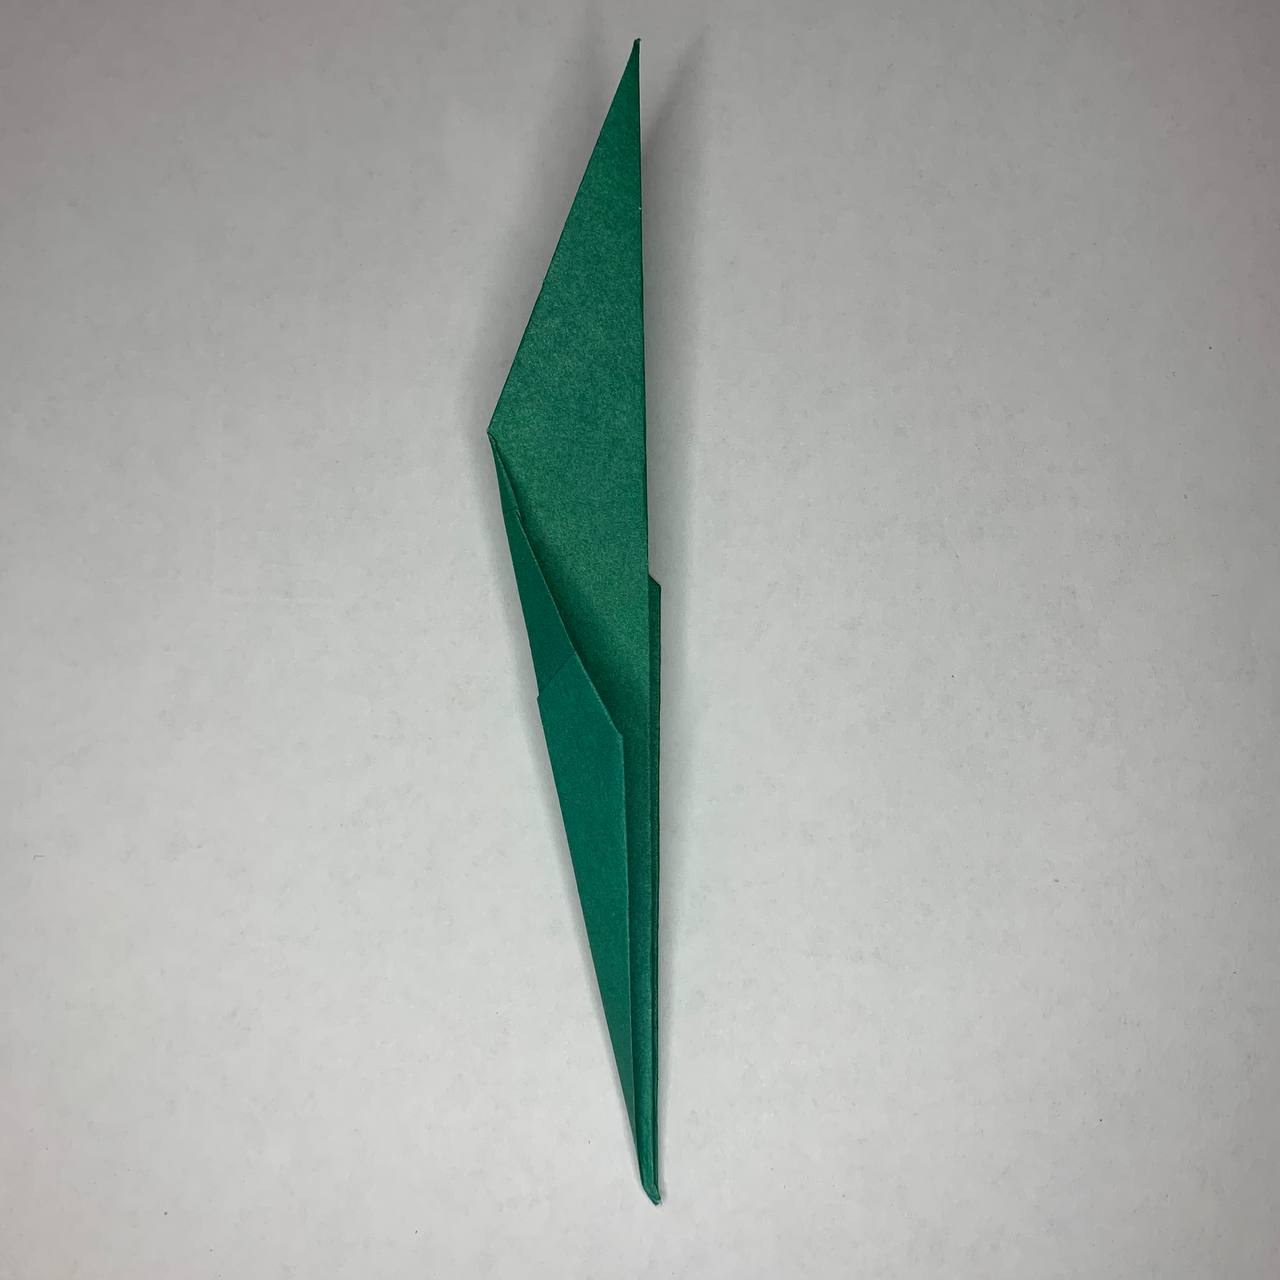
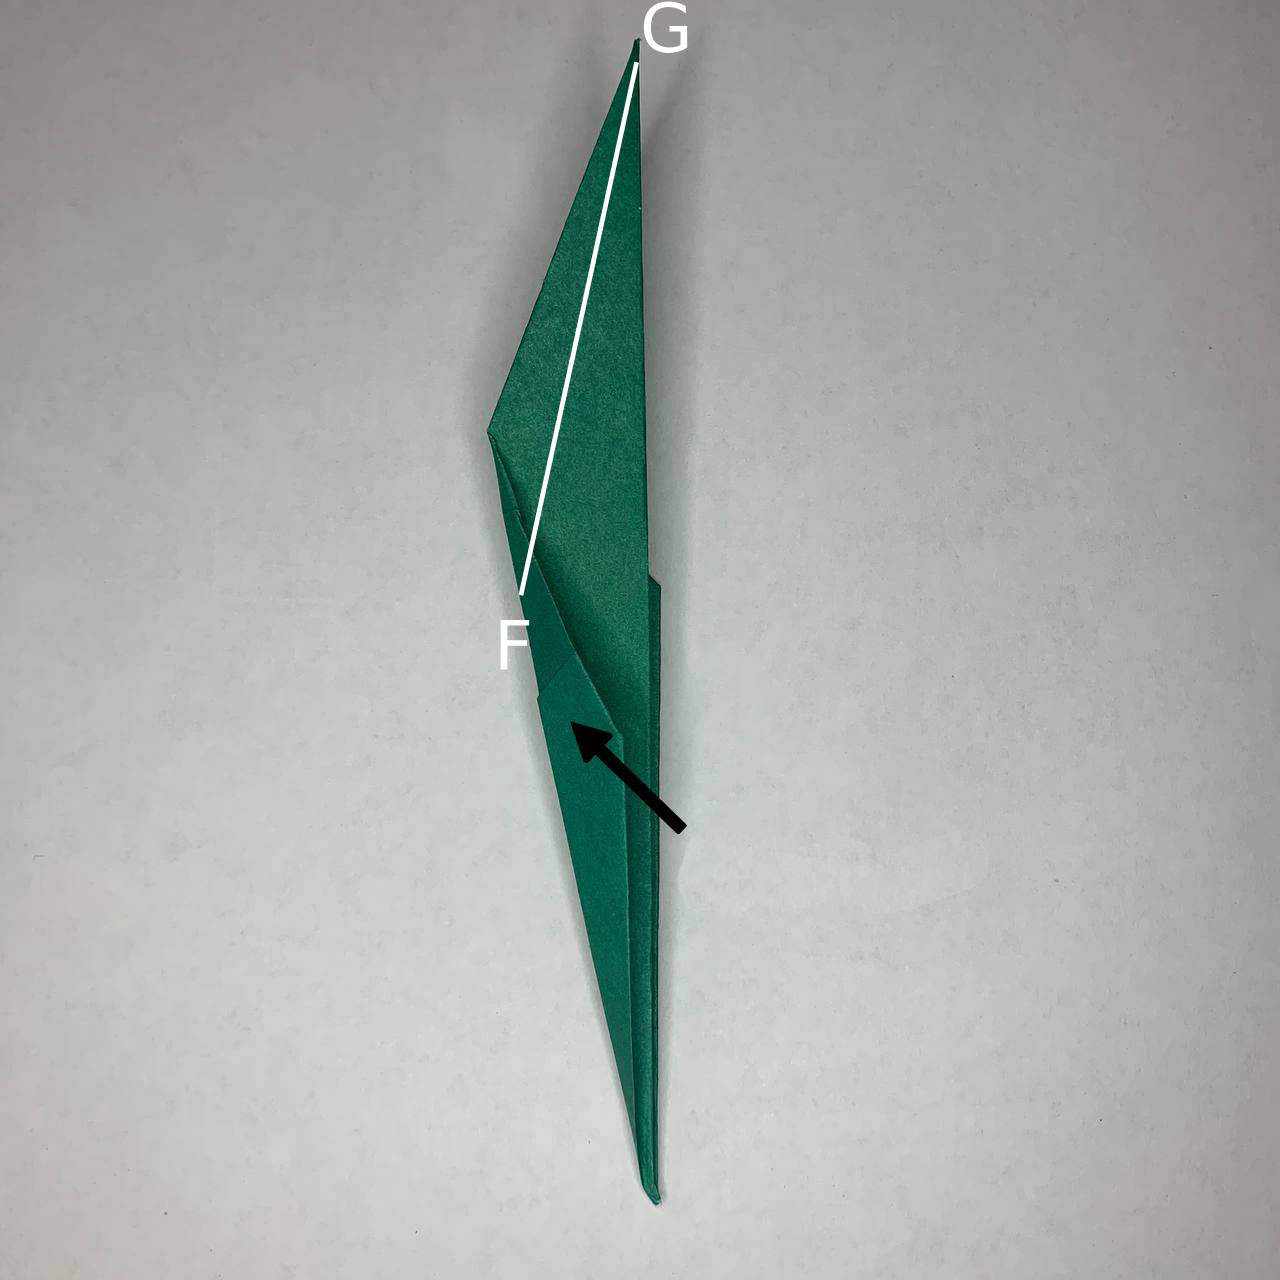
Then fold along the line F-G.
Make sure this last fold does not cover the pocket shown.
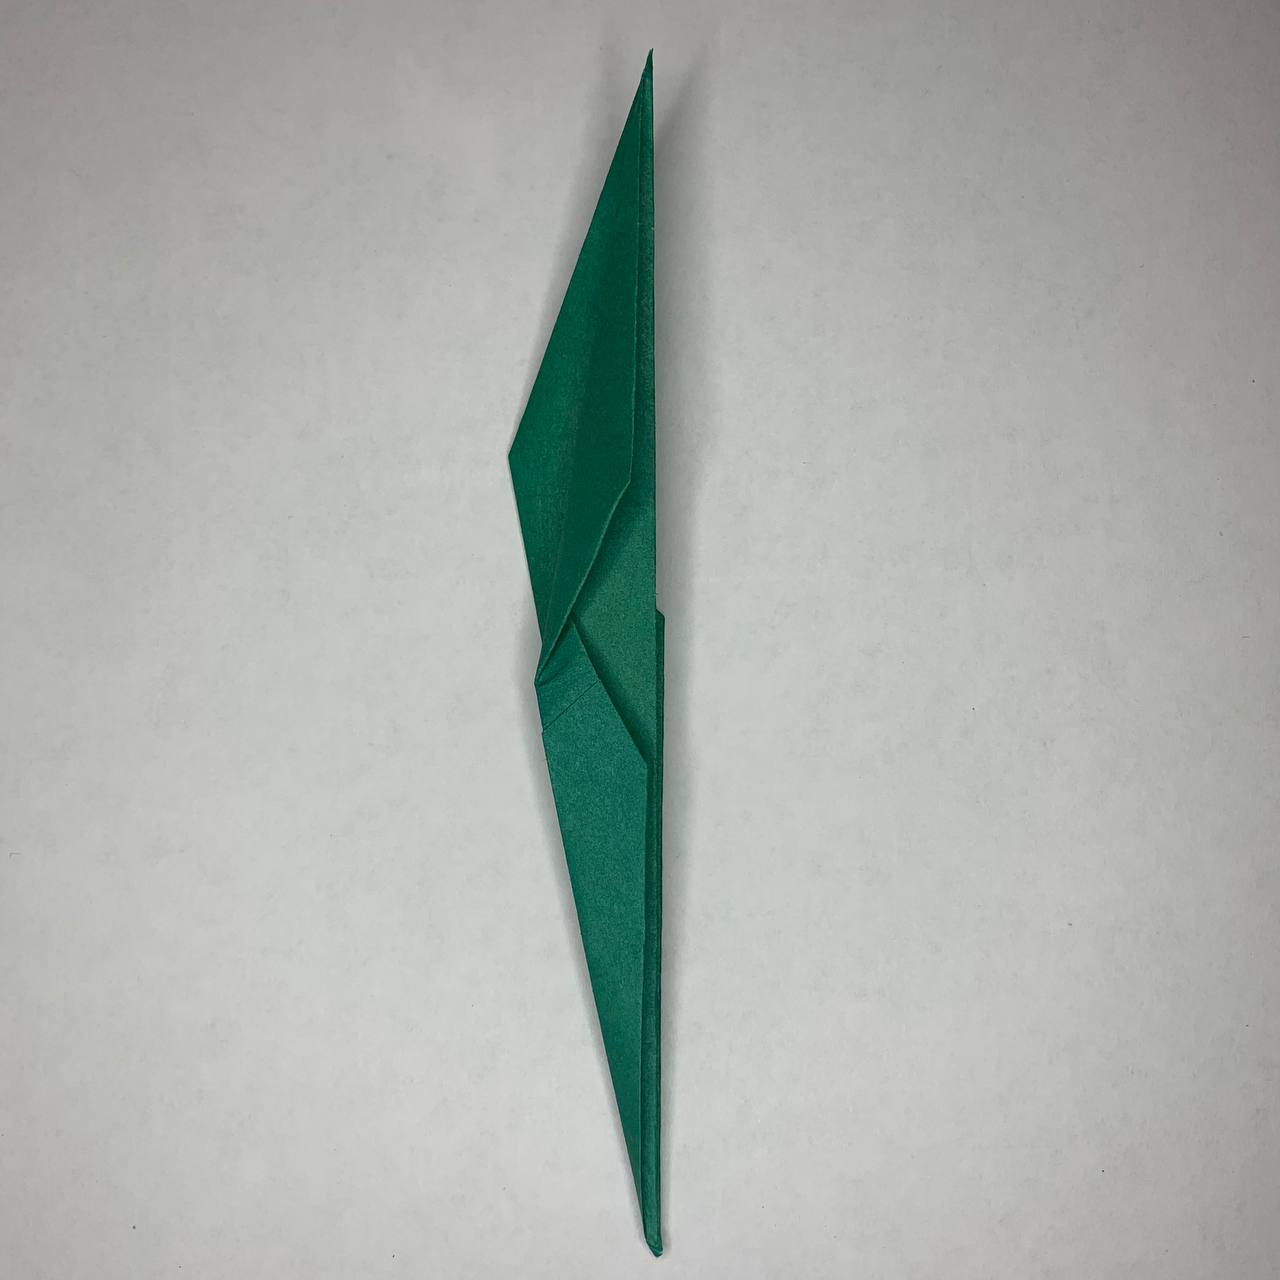
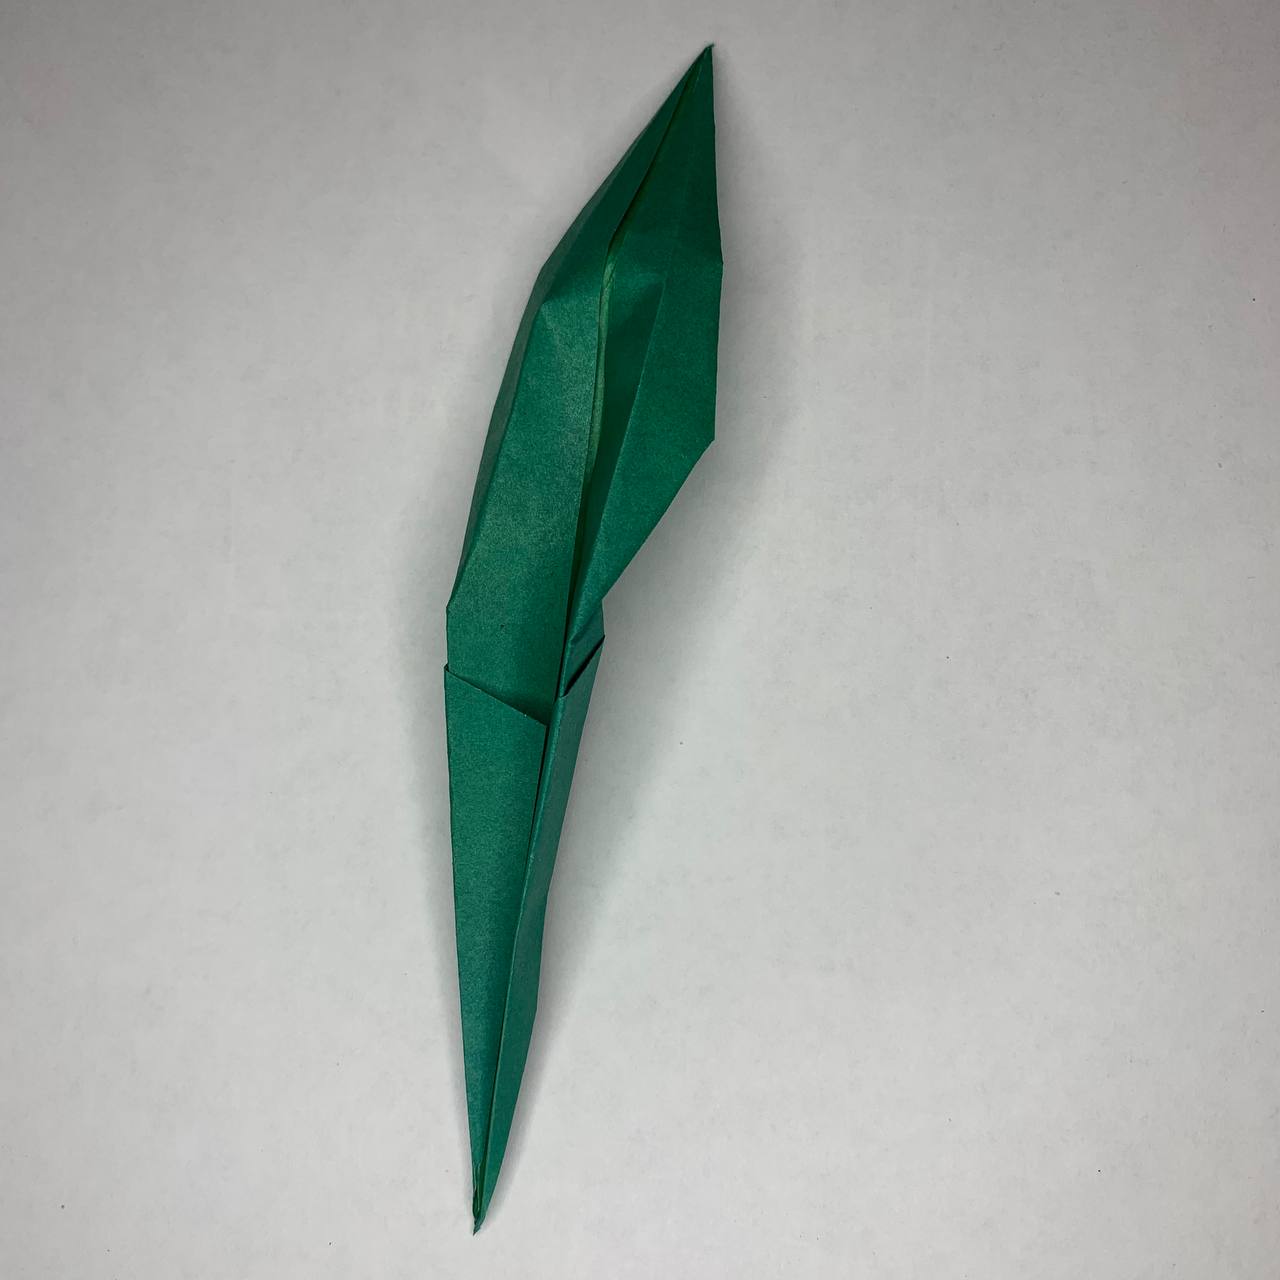
Now take the top of the leaf and bend it back and down a bit.
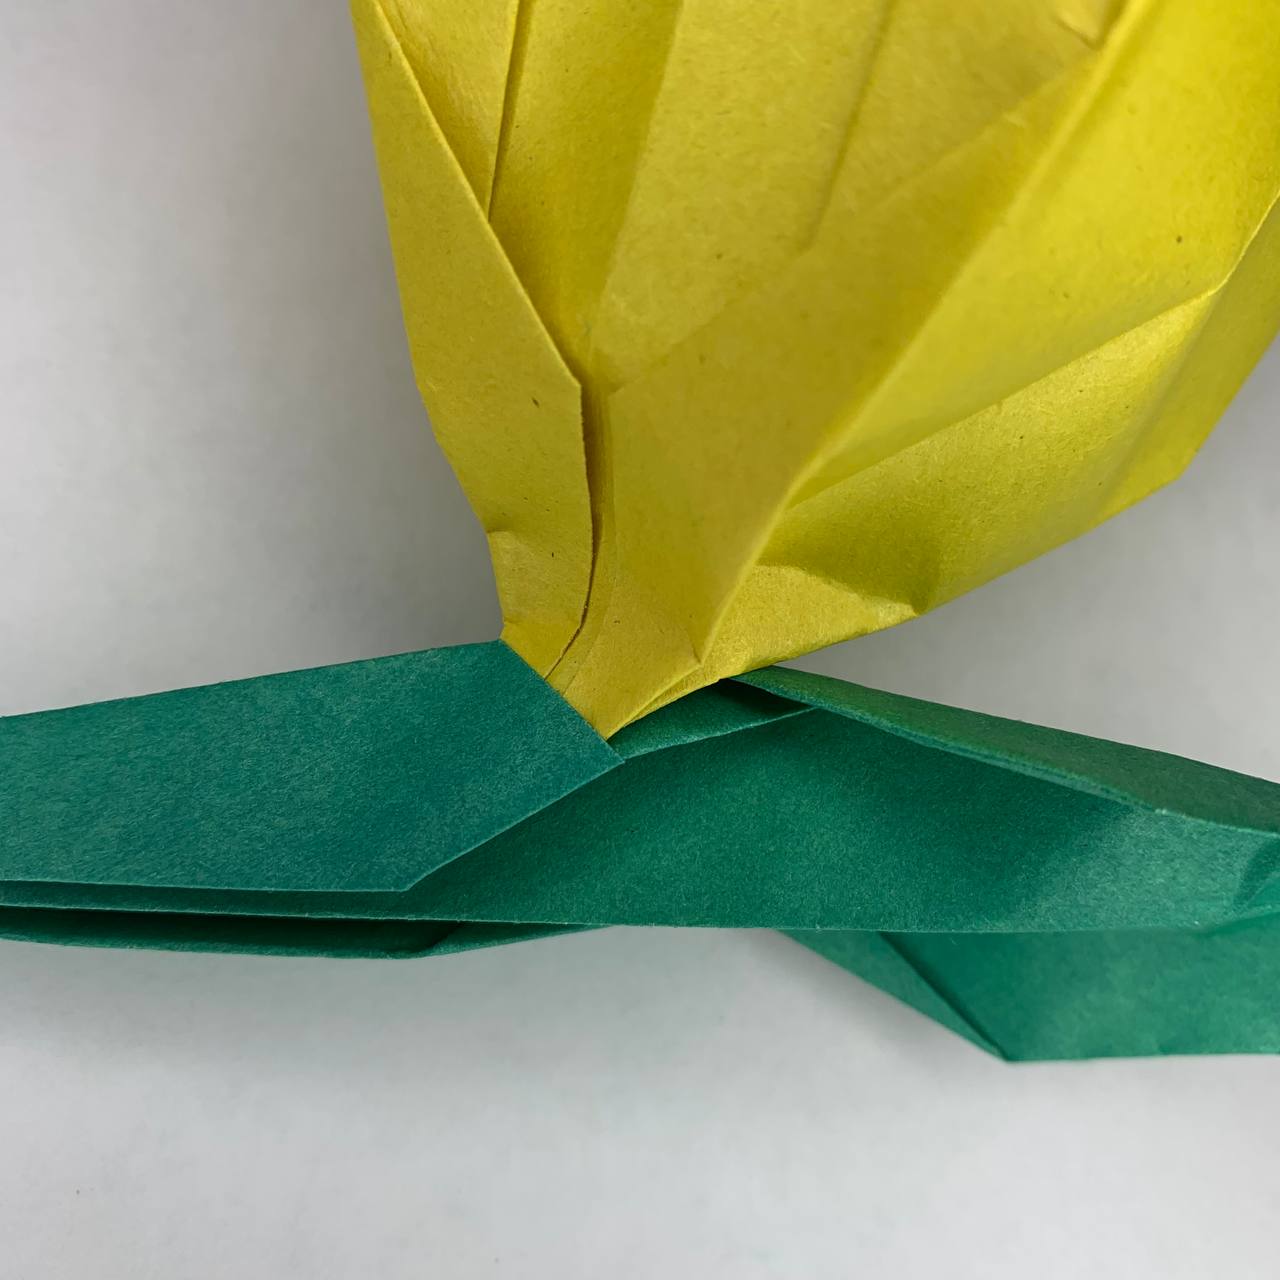
Push the tulip bud all the way into the pocket.
You can use a little glue or double-sided tape to secure it.
And now your distinctive origami tulip is ready! Or maybe after trying to create one tulip, you are ready to go for a bouquet?


