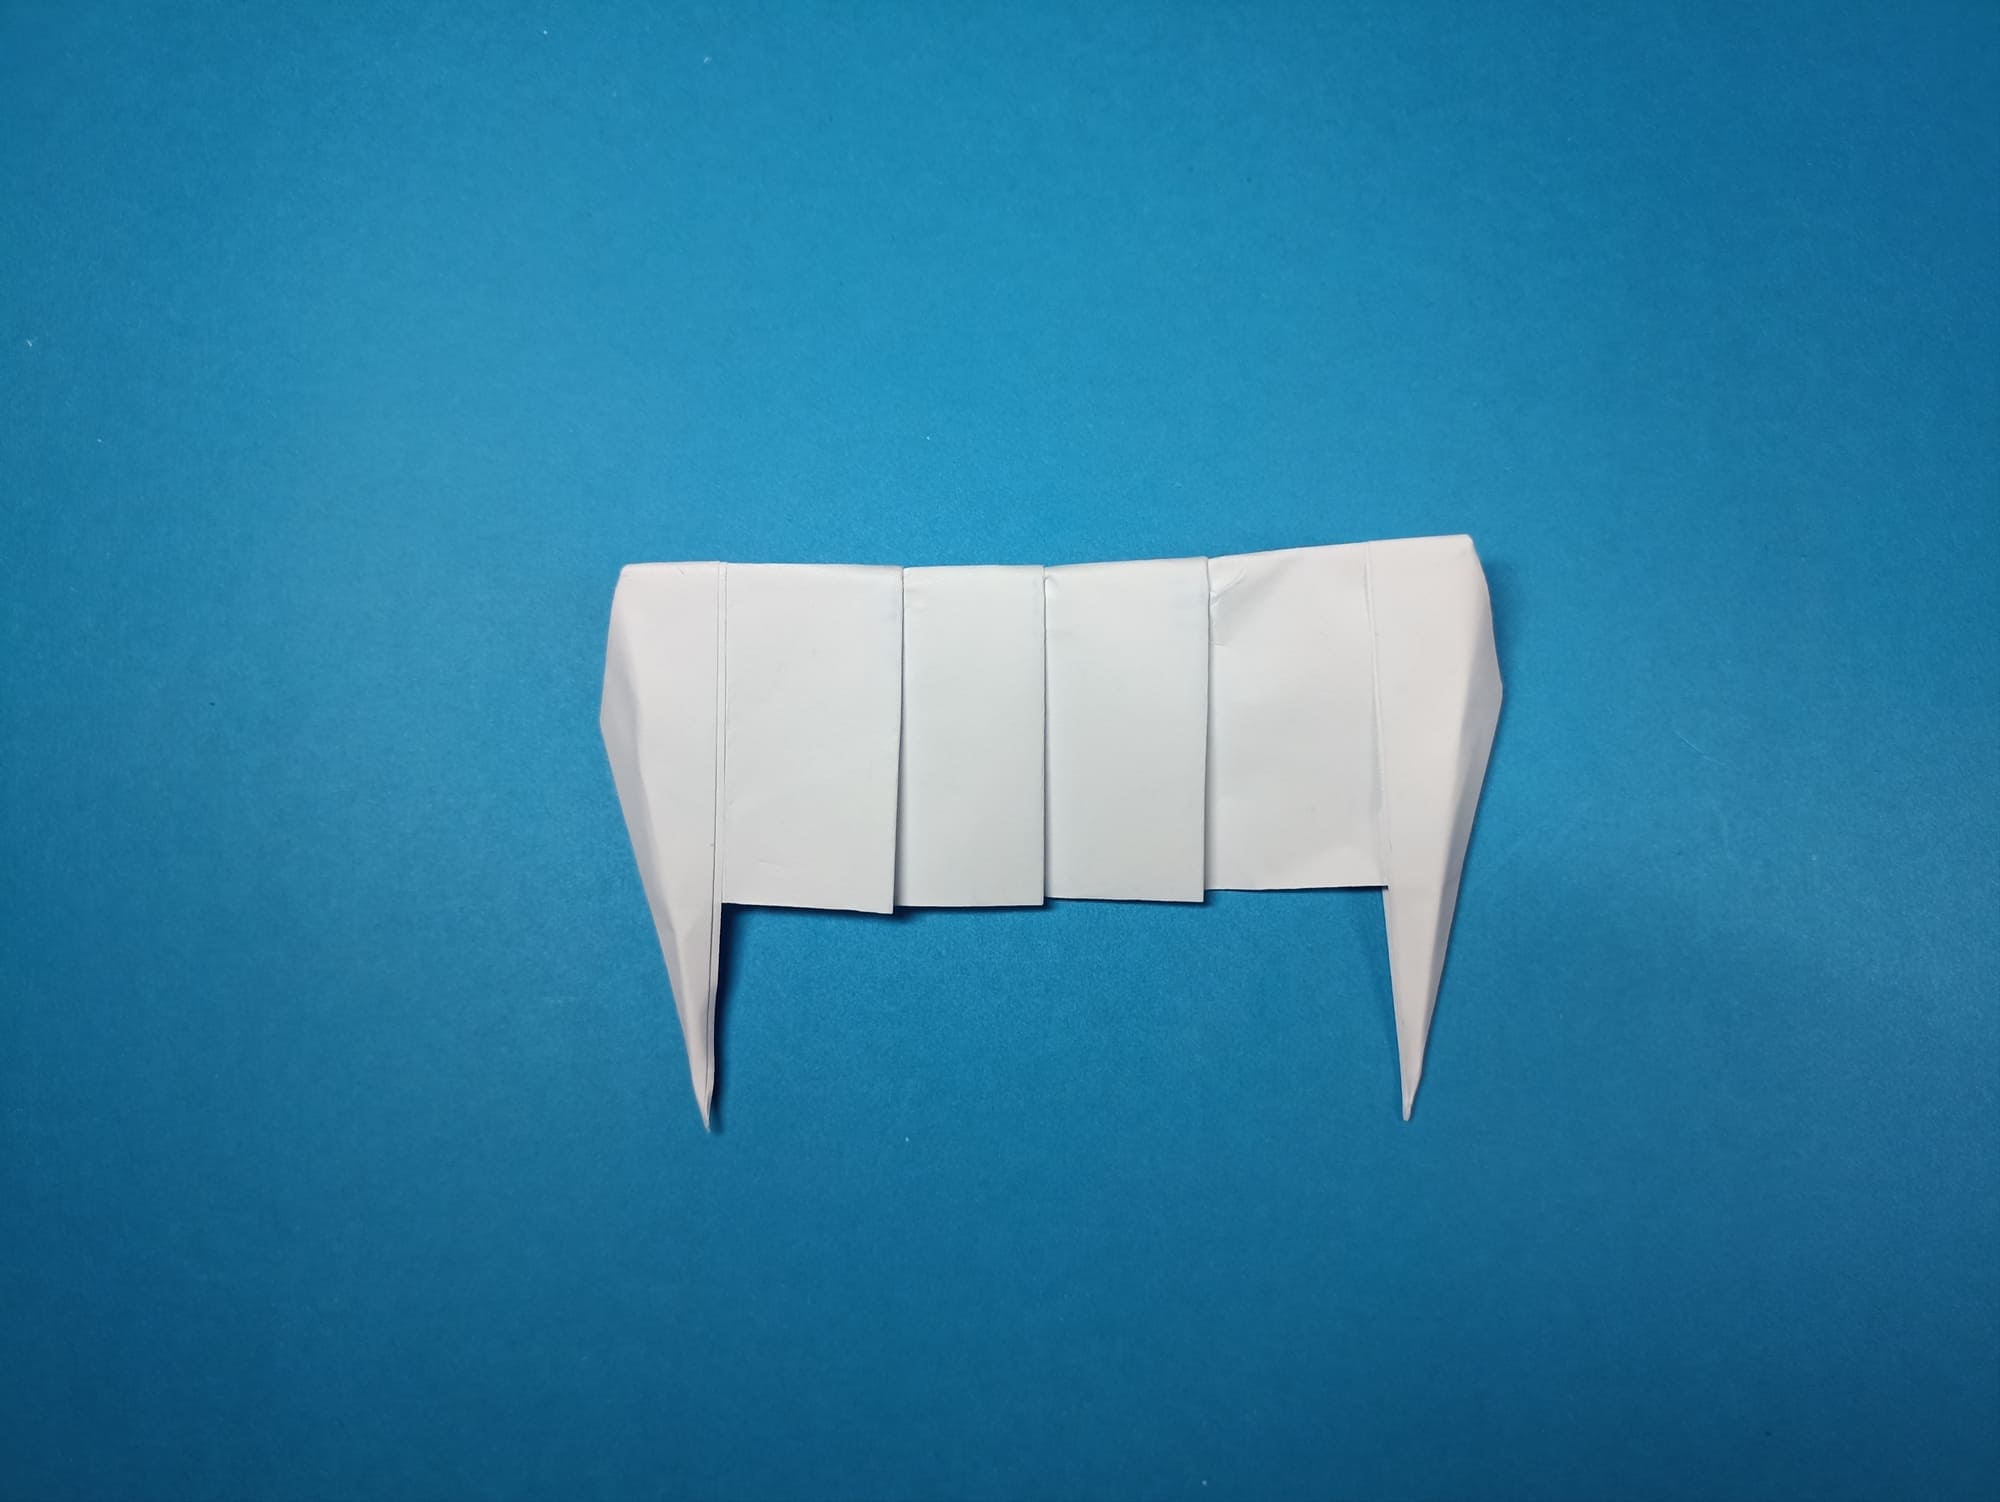
Origami Vampire teeth (Fangs)
The appearance of a vampire cannot be imagined without fangs – a symbol of the fear of death. The proposed instructions will help you make a mystical accessory in five minutes if you have a piece of white office paper. The creation process uses basic origami techniques; even a novice master can read it.
The finished fangs are placed under the upper or lower lip. As a result of the correctly selected paper size, the jaw of the immortal bloodsucker will be the size of a child or an adult. The accessory will complement the look at a themed party or costume party.

Select a paper size with a side from 9 to 15 cm, depending on age.
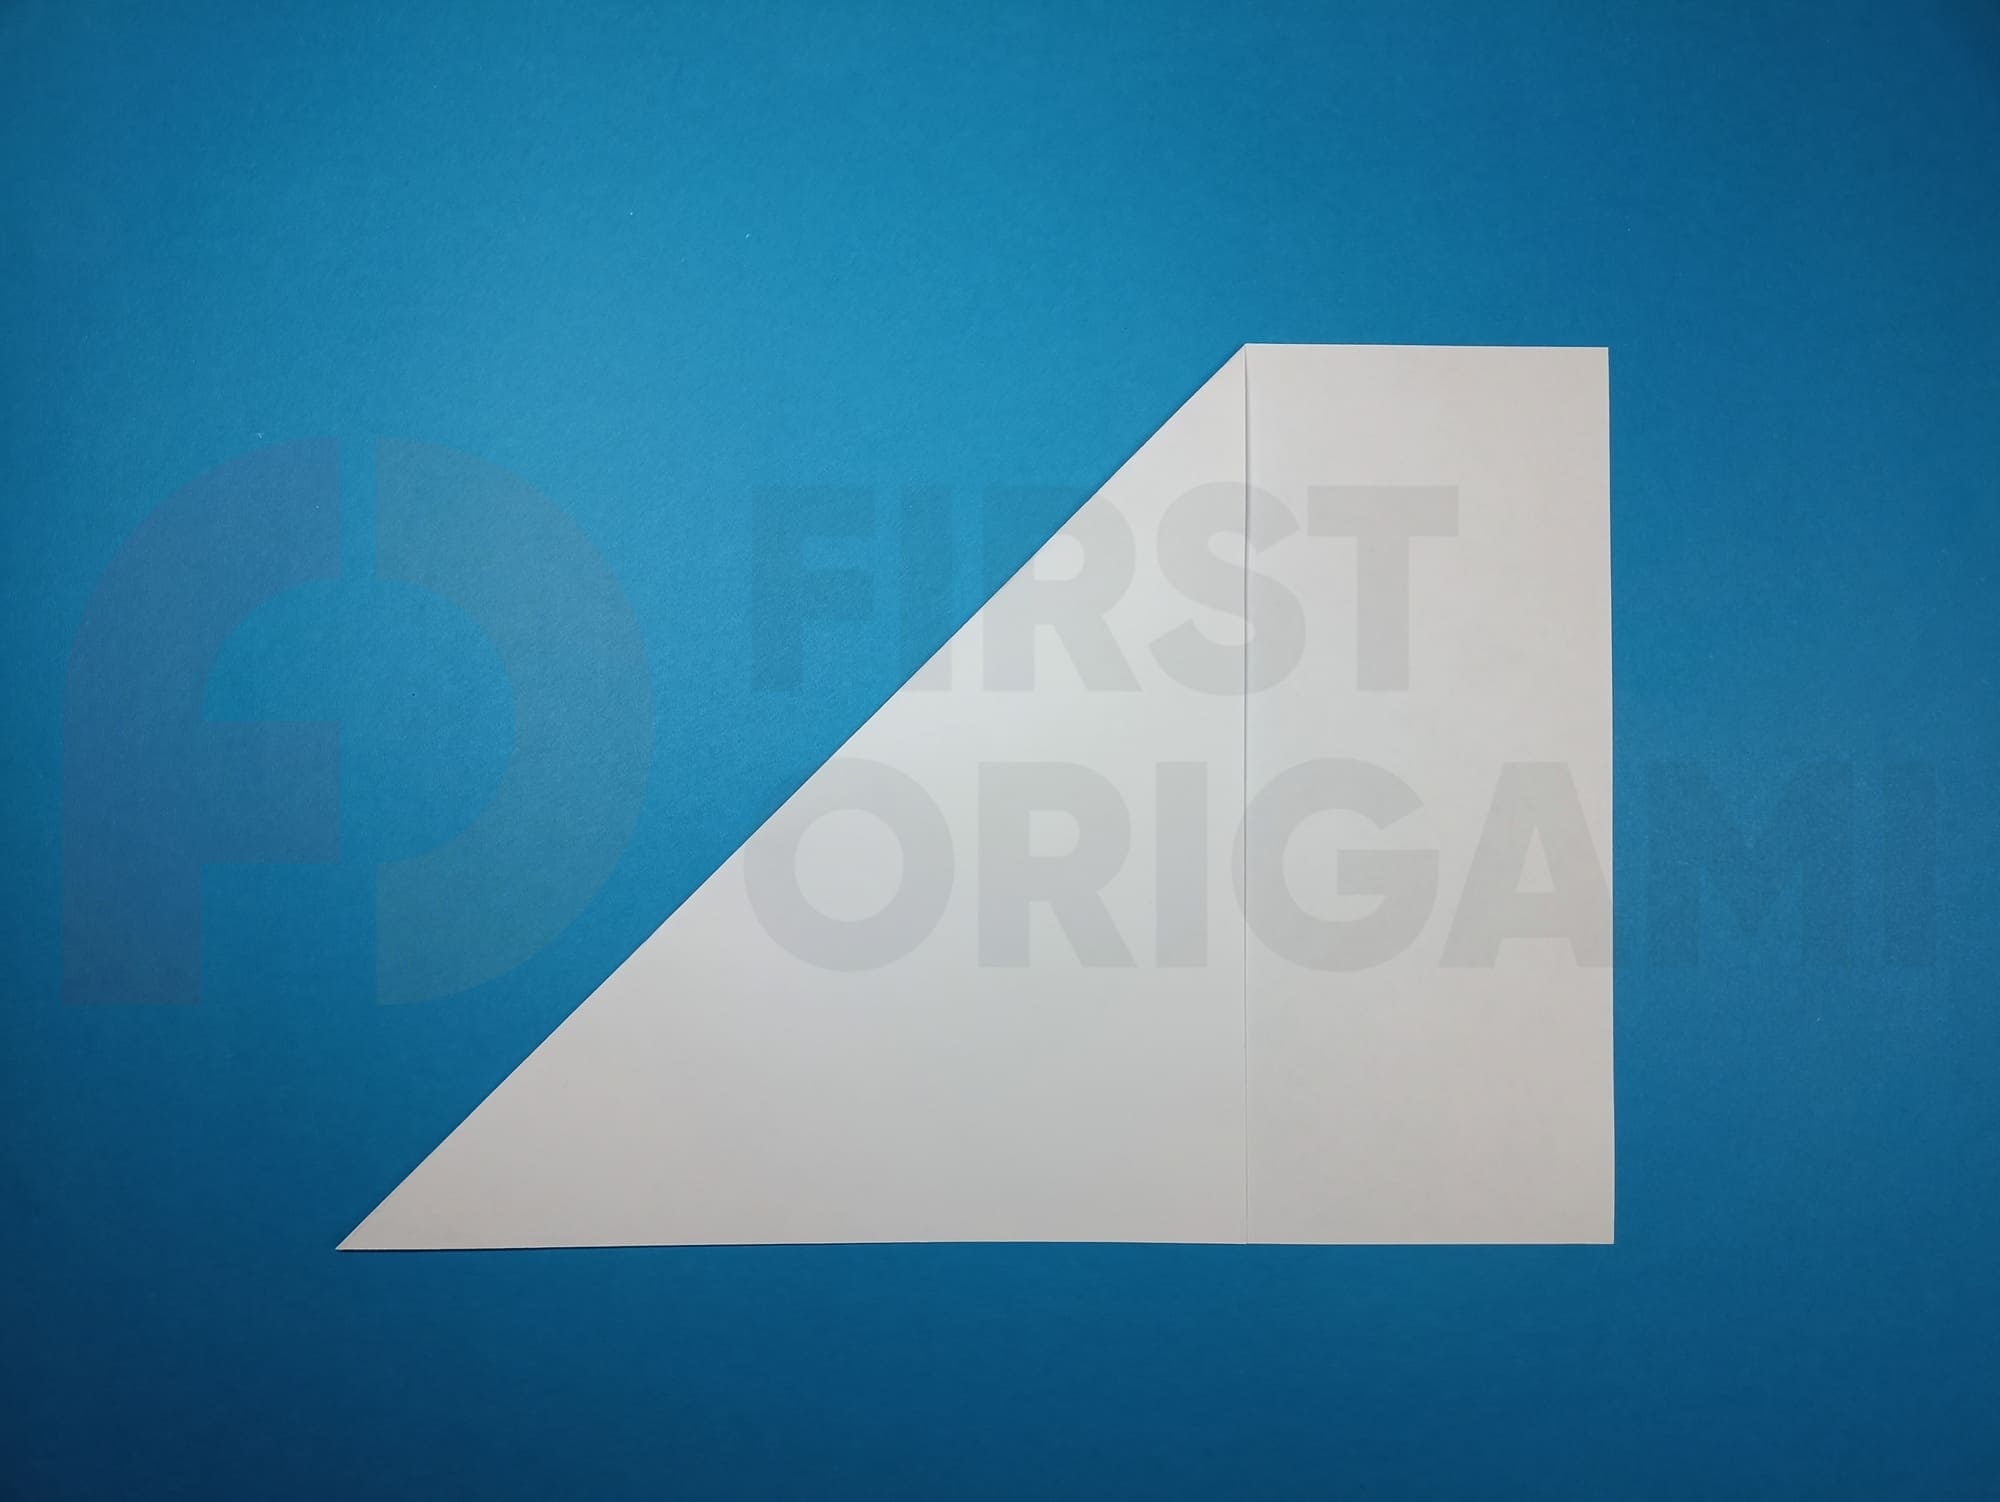
Place the rectangle horizontally in front of you, align the left side with the bottom edge, then cut off the excess strip.


Open the sheet of paper back.

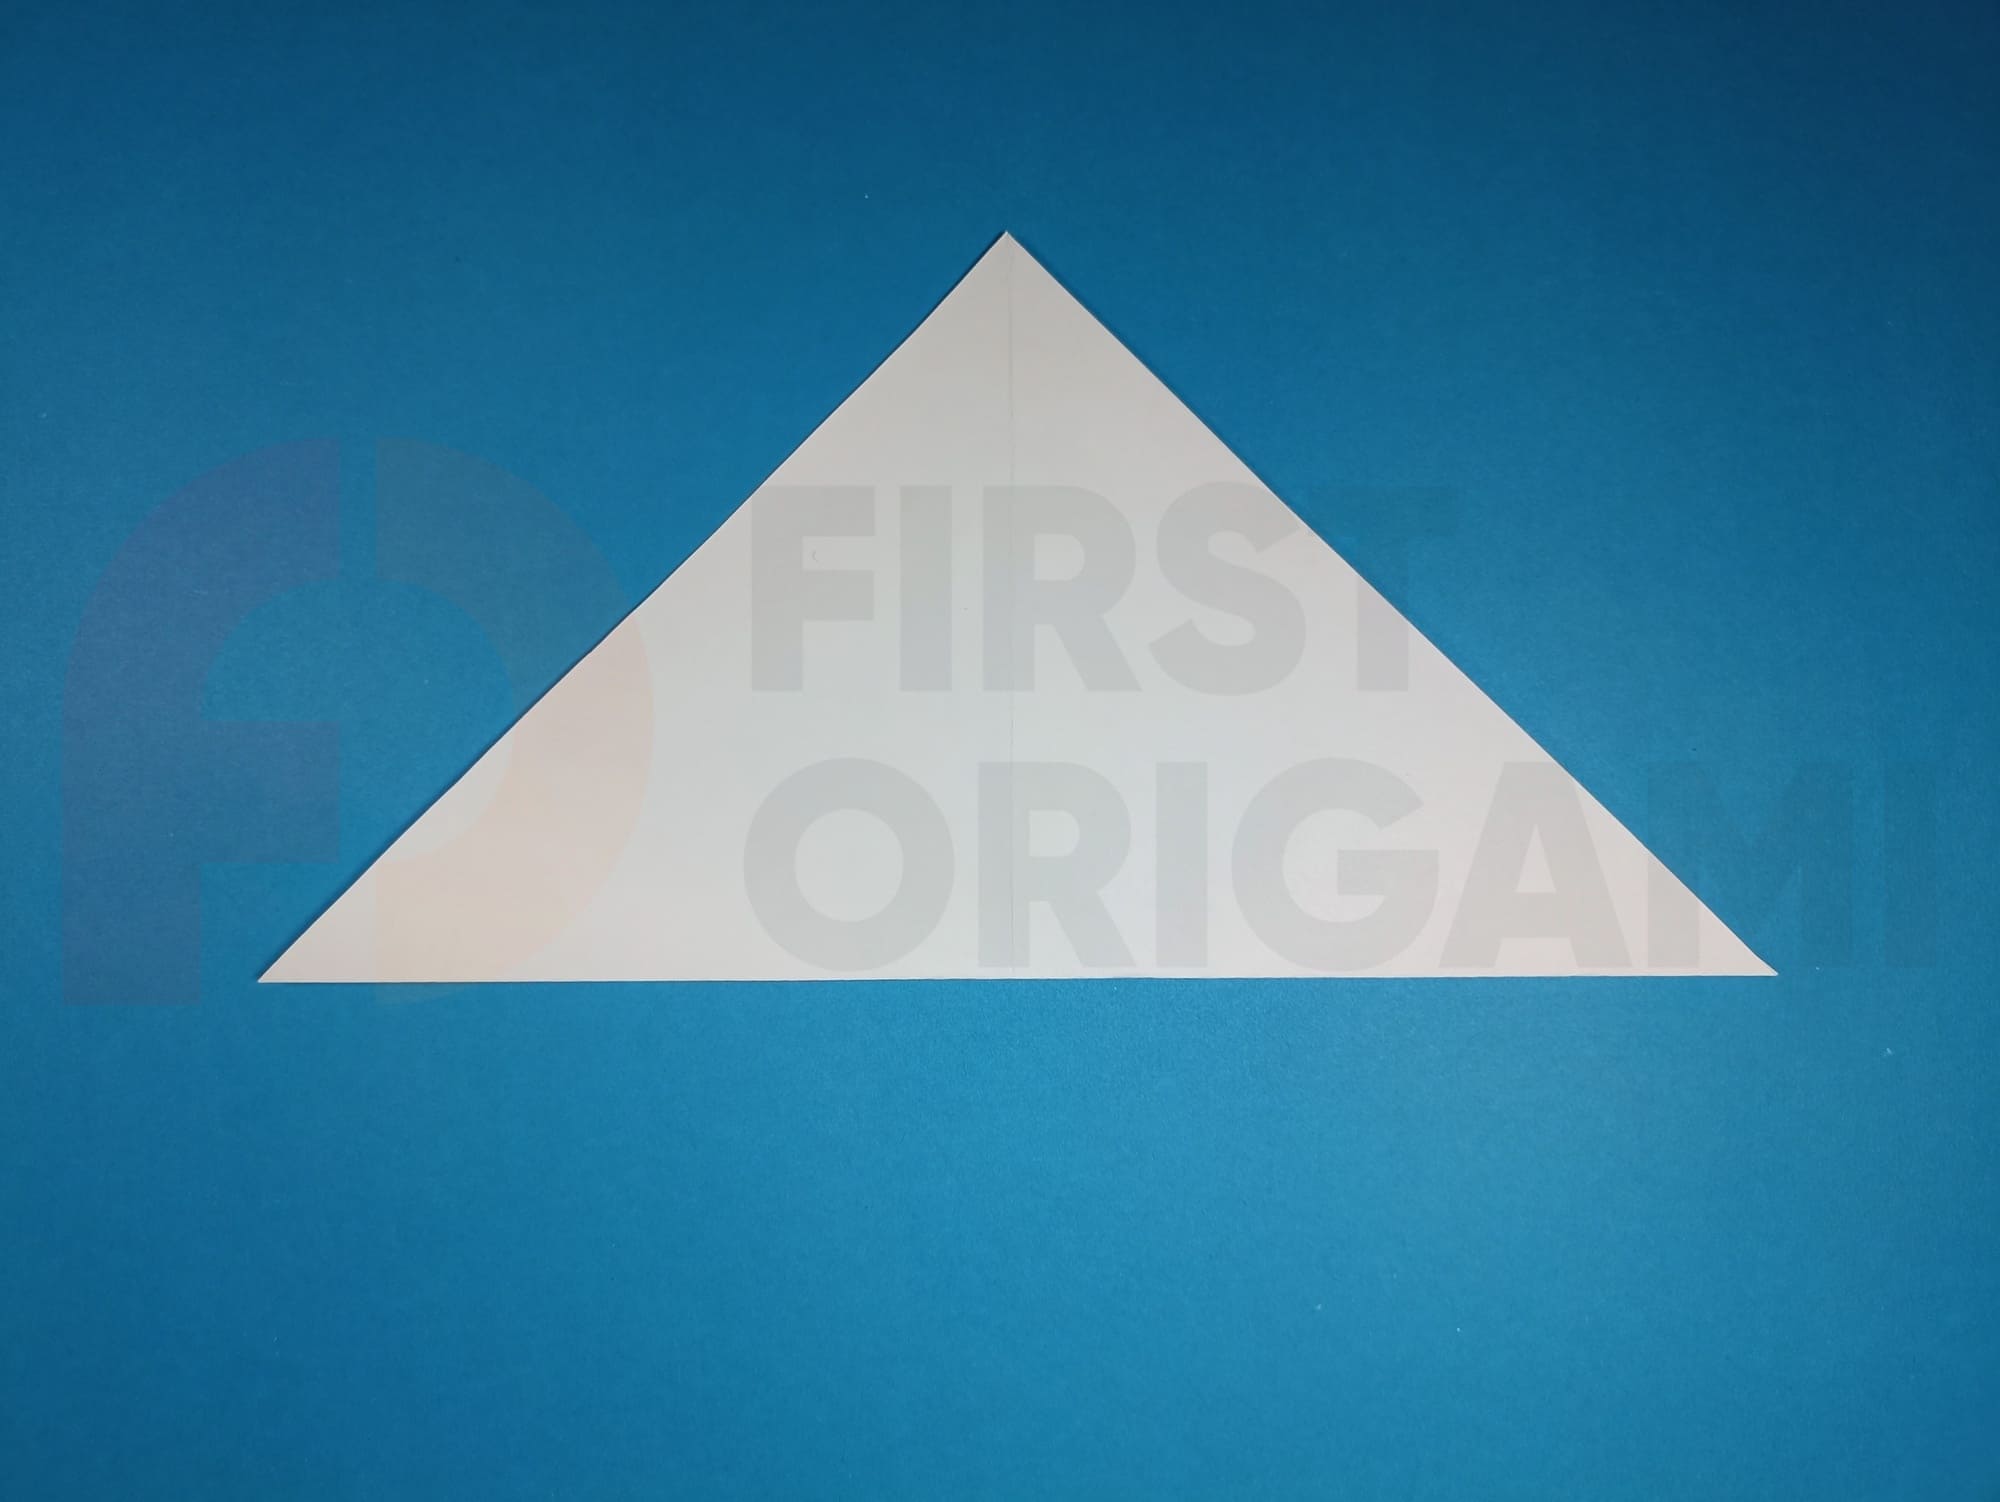
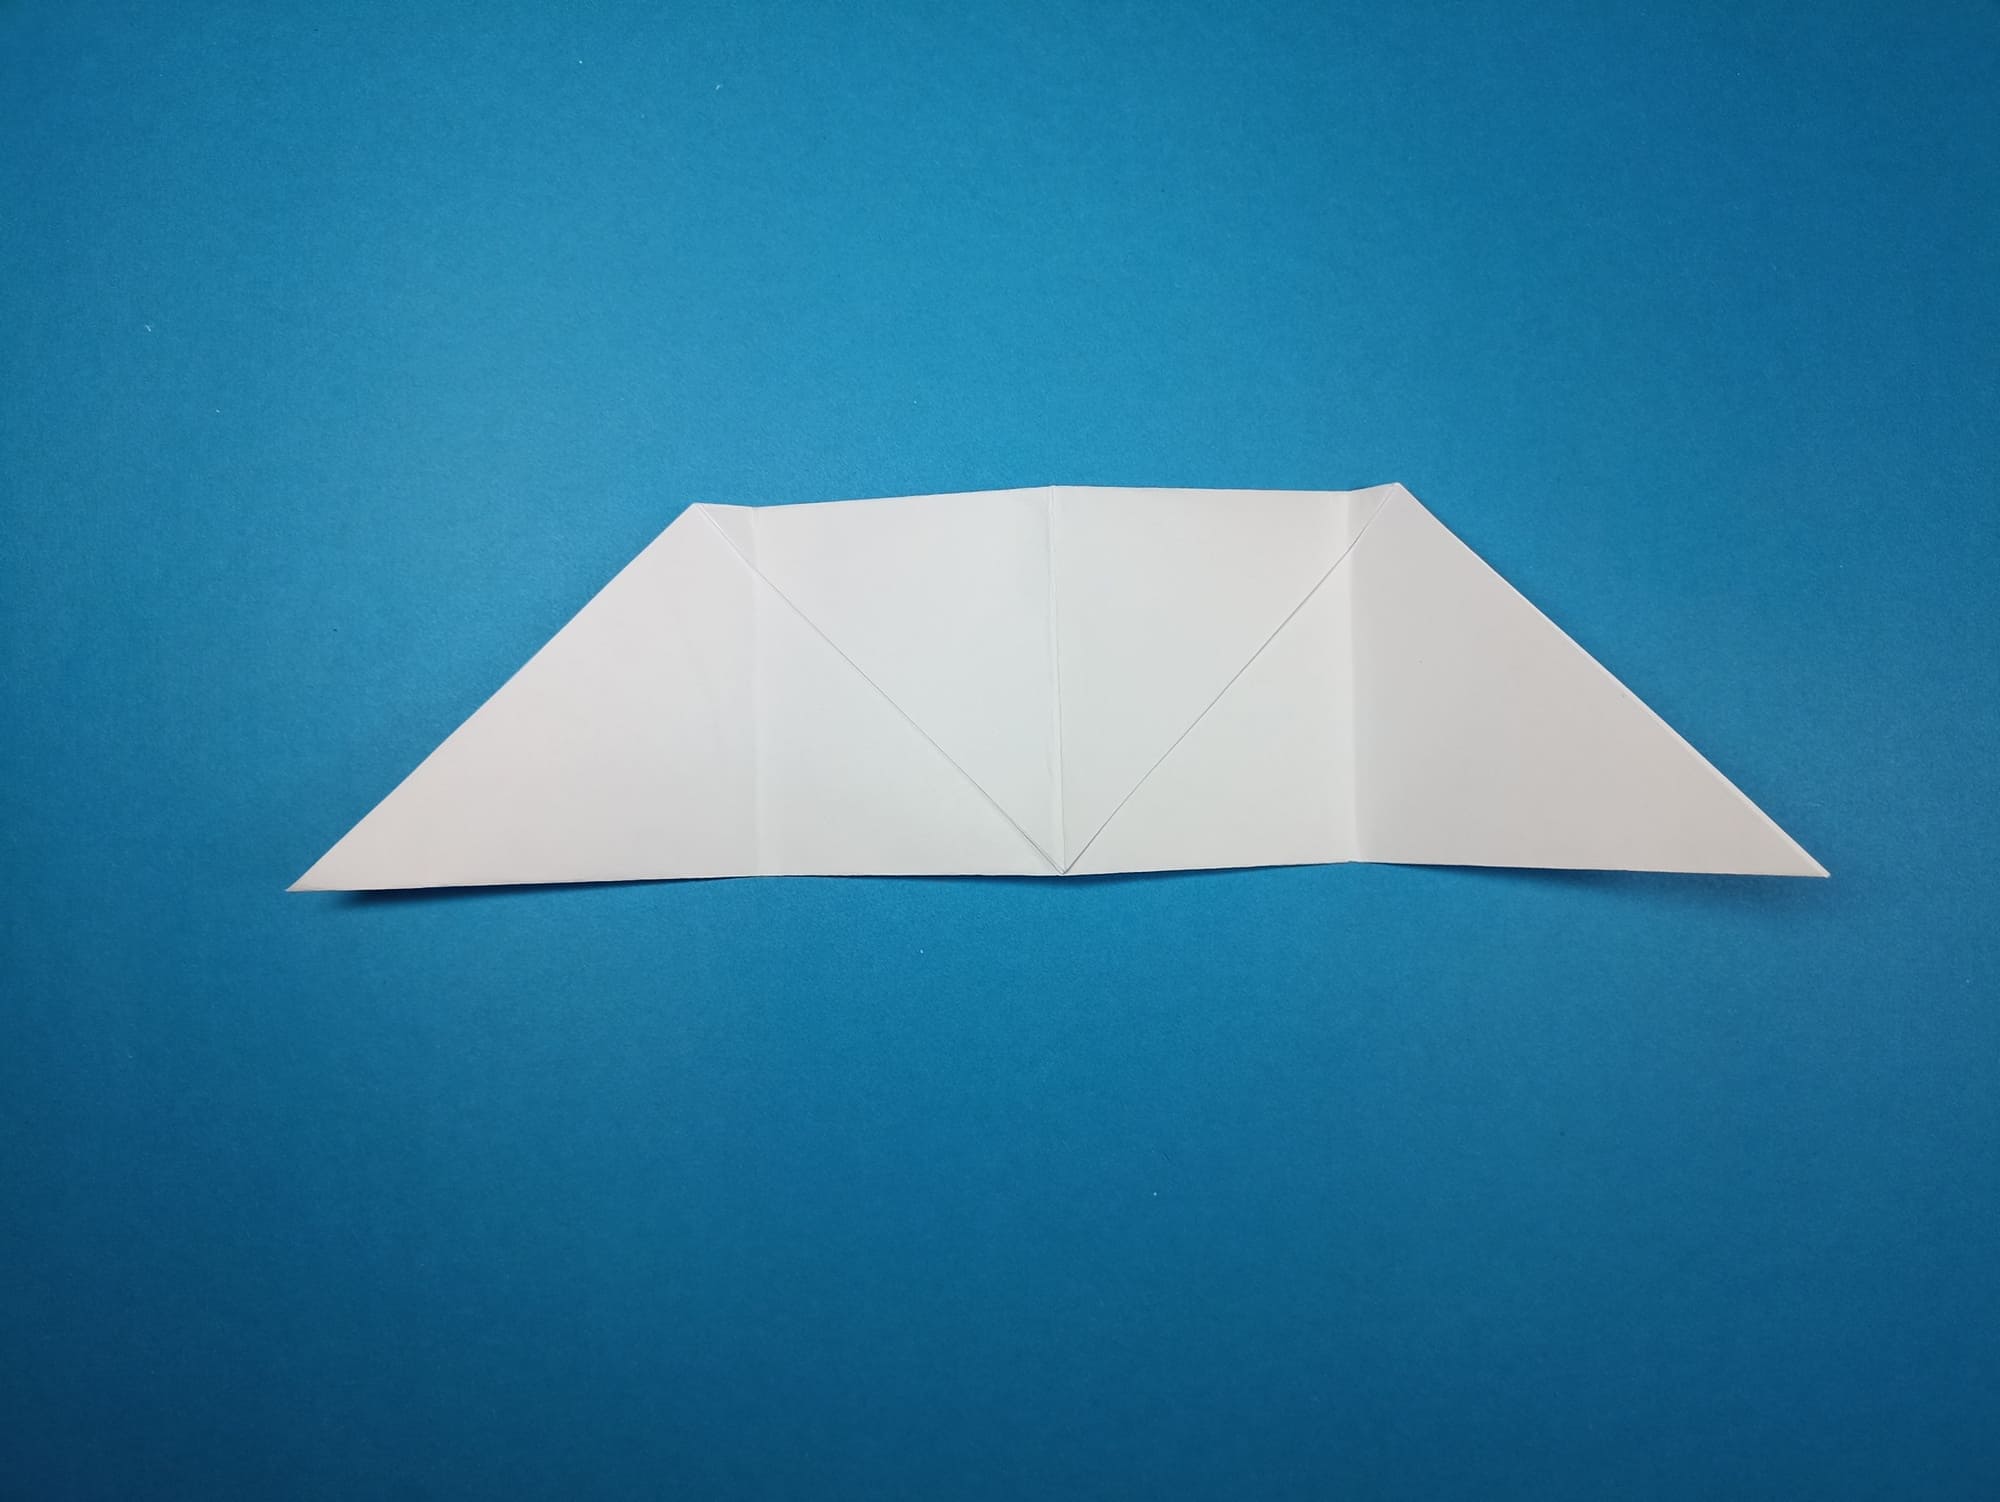
Mark the second diagonal line, align the left corner with the upper right, and turn the triangle with its base towards you.
Bend the top of the triangle towards you all the way to the bottom line.

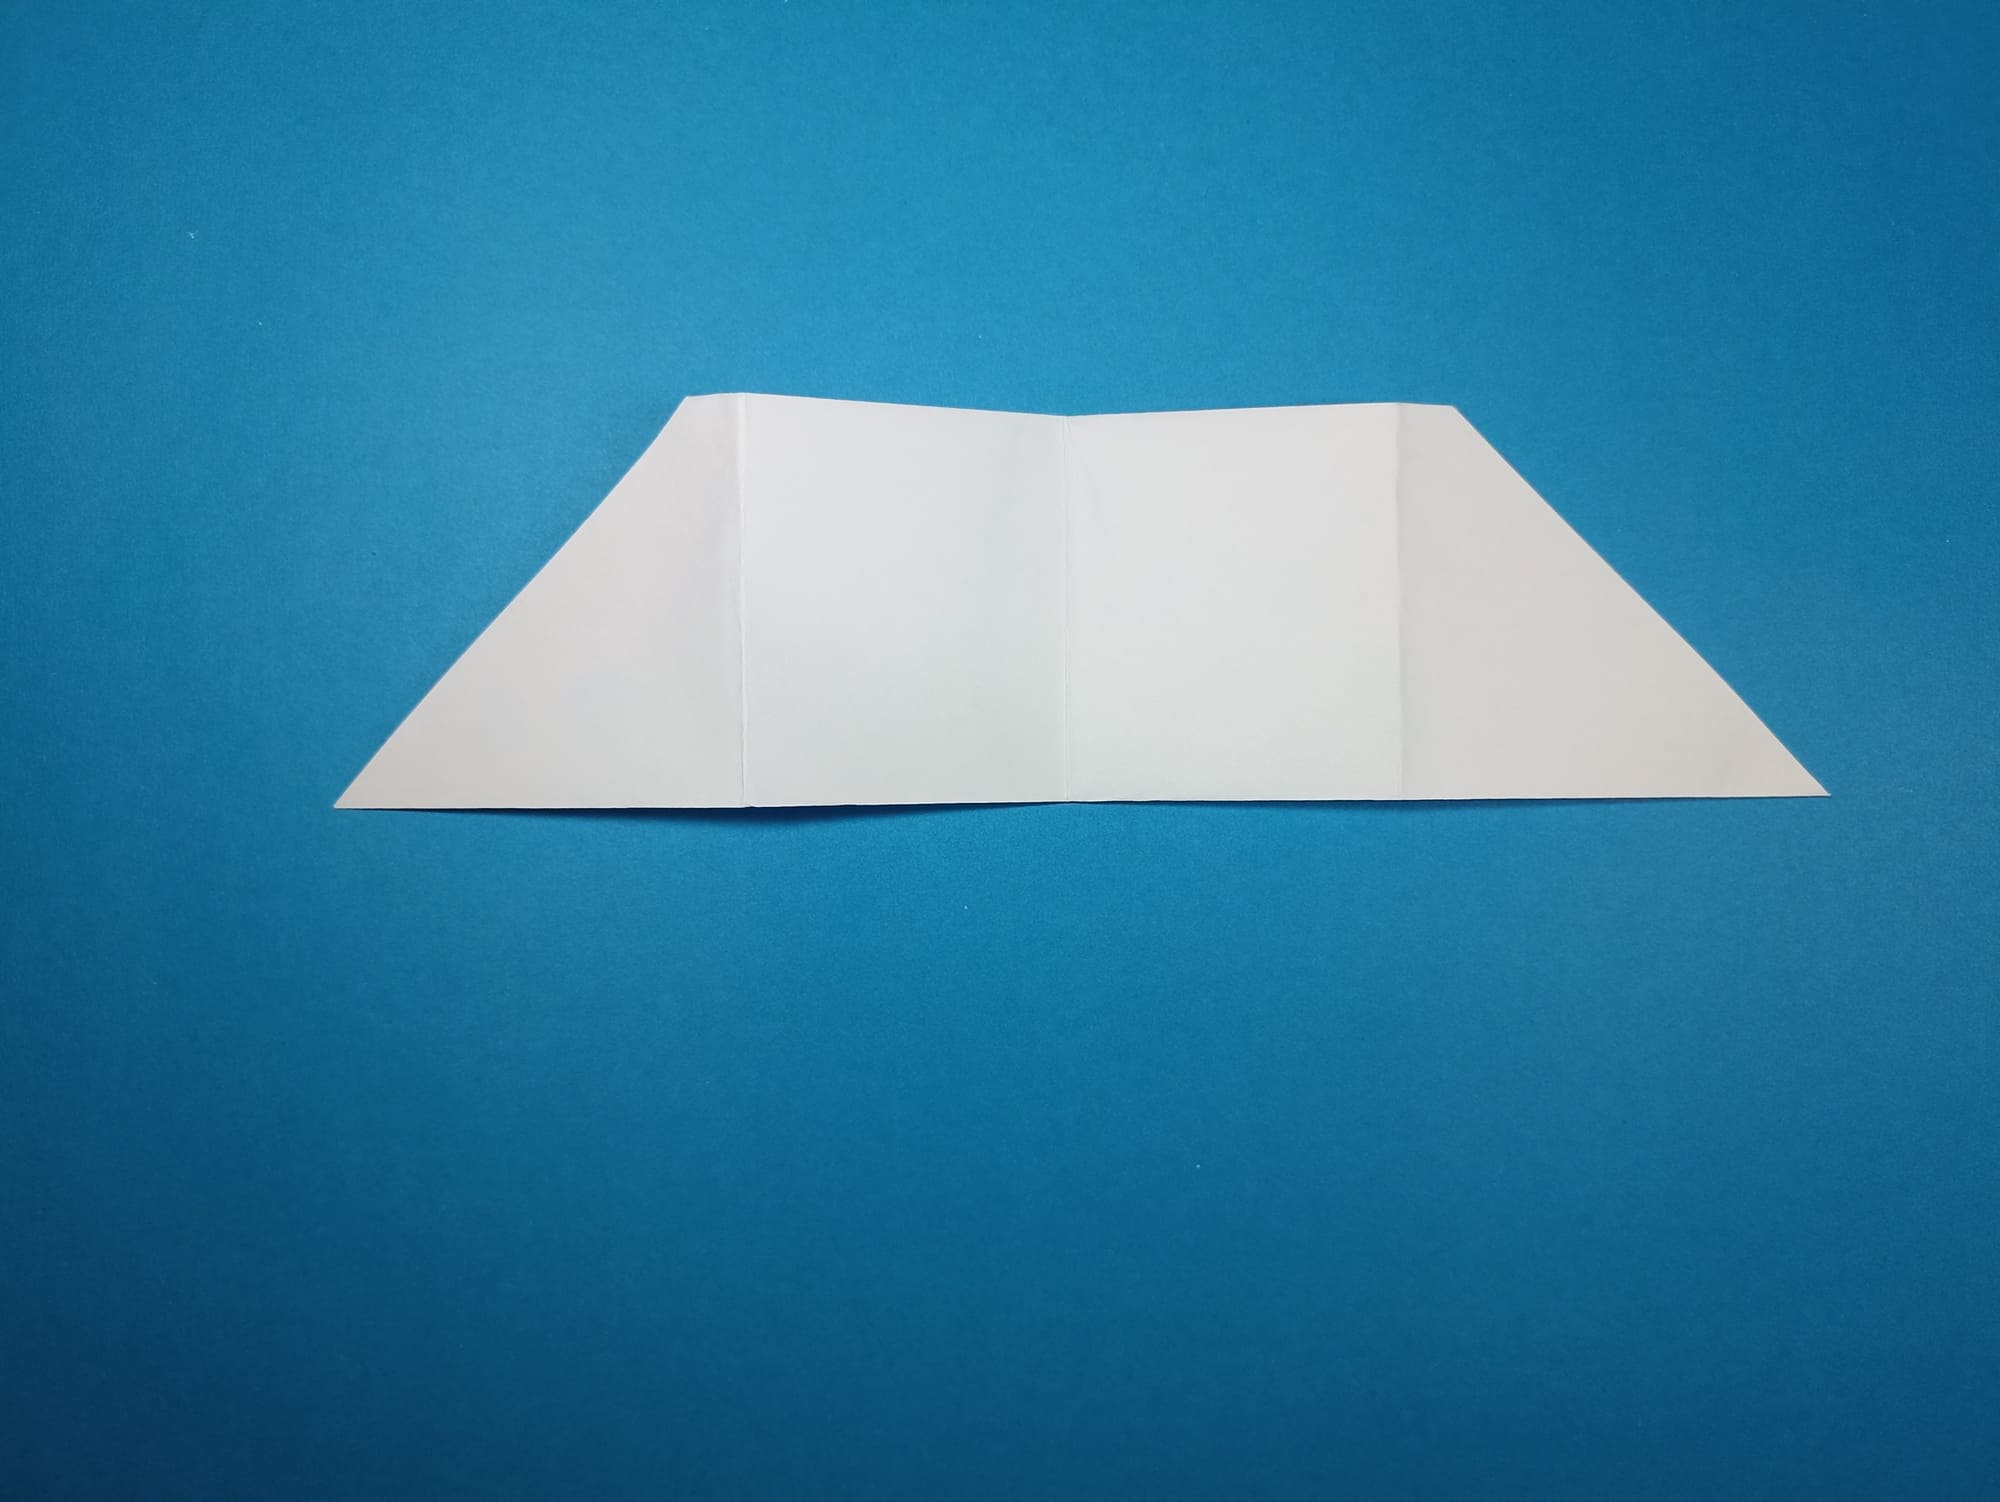
Make a vertical fold, grabbing a small part of the upper edge of the shape. Compare with the illustration.

Turn the shape over and position it with an acute angle towards you.

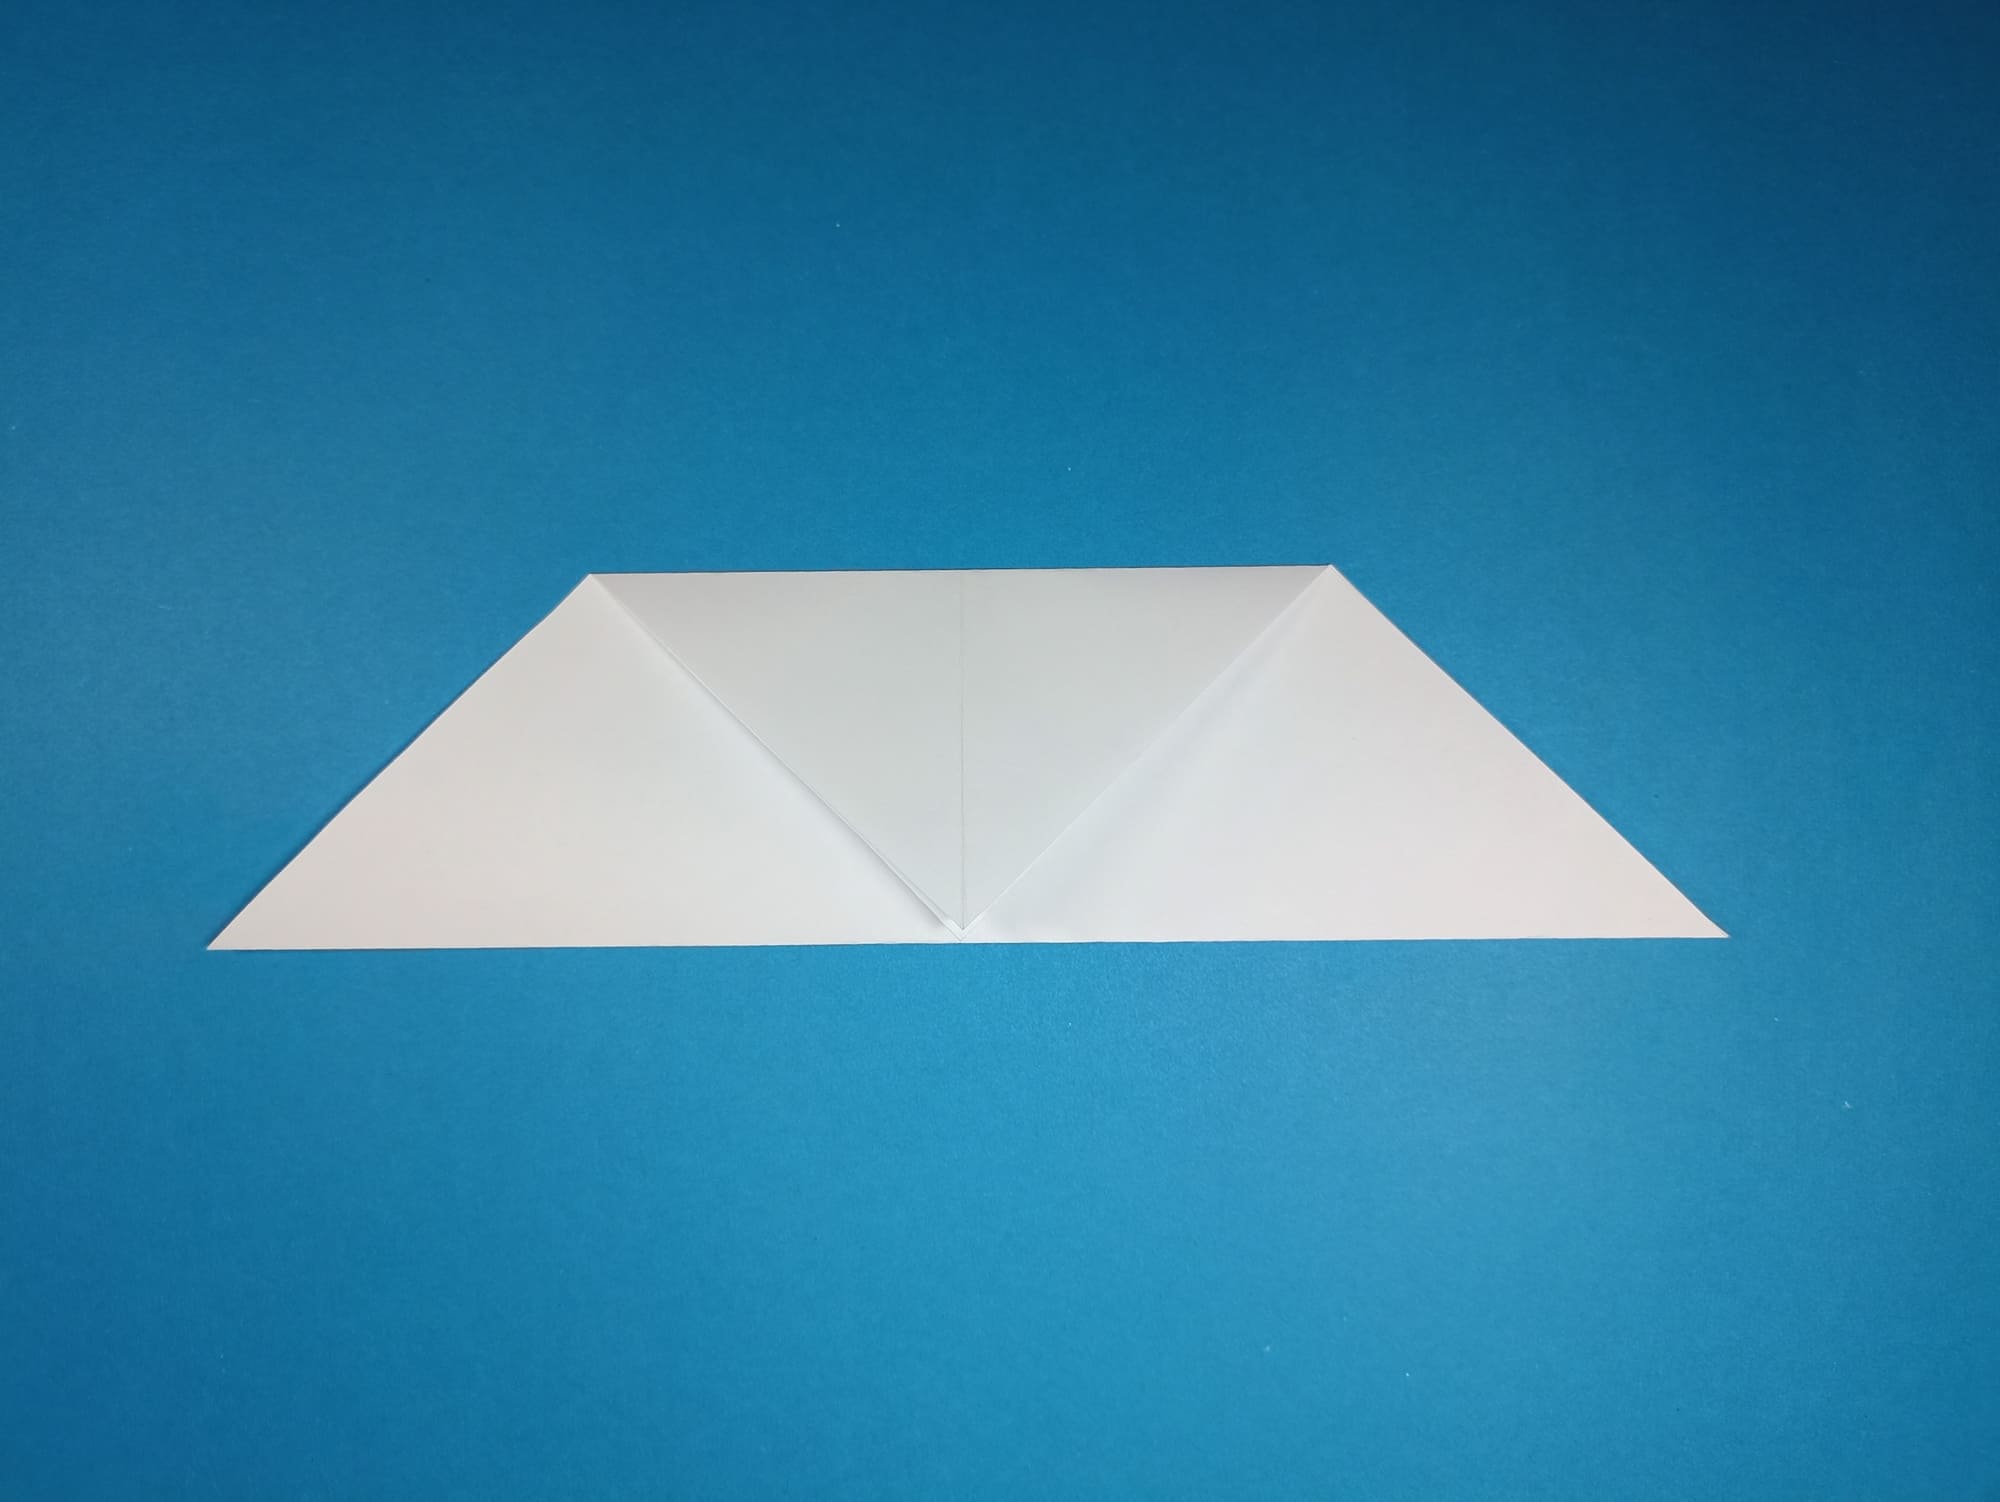
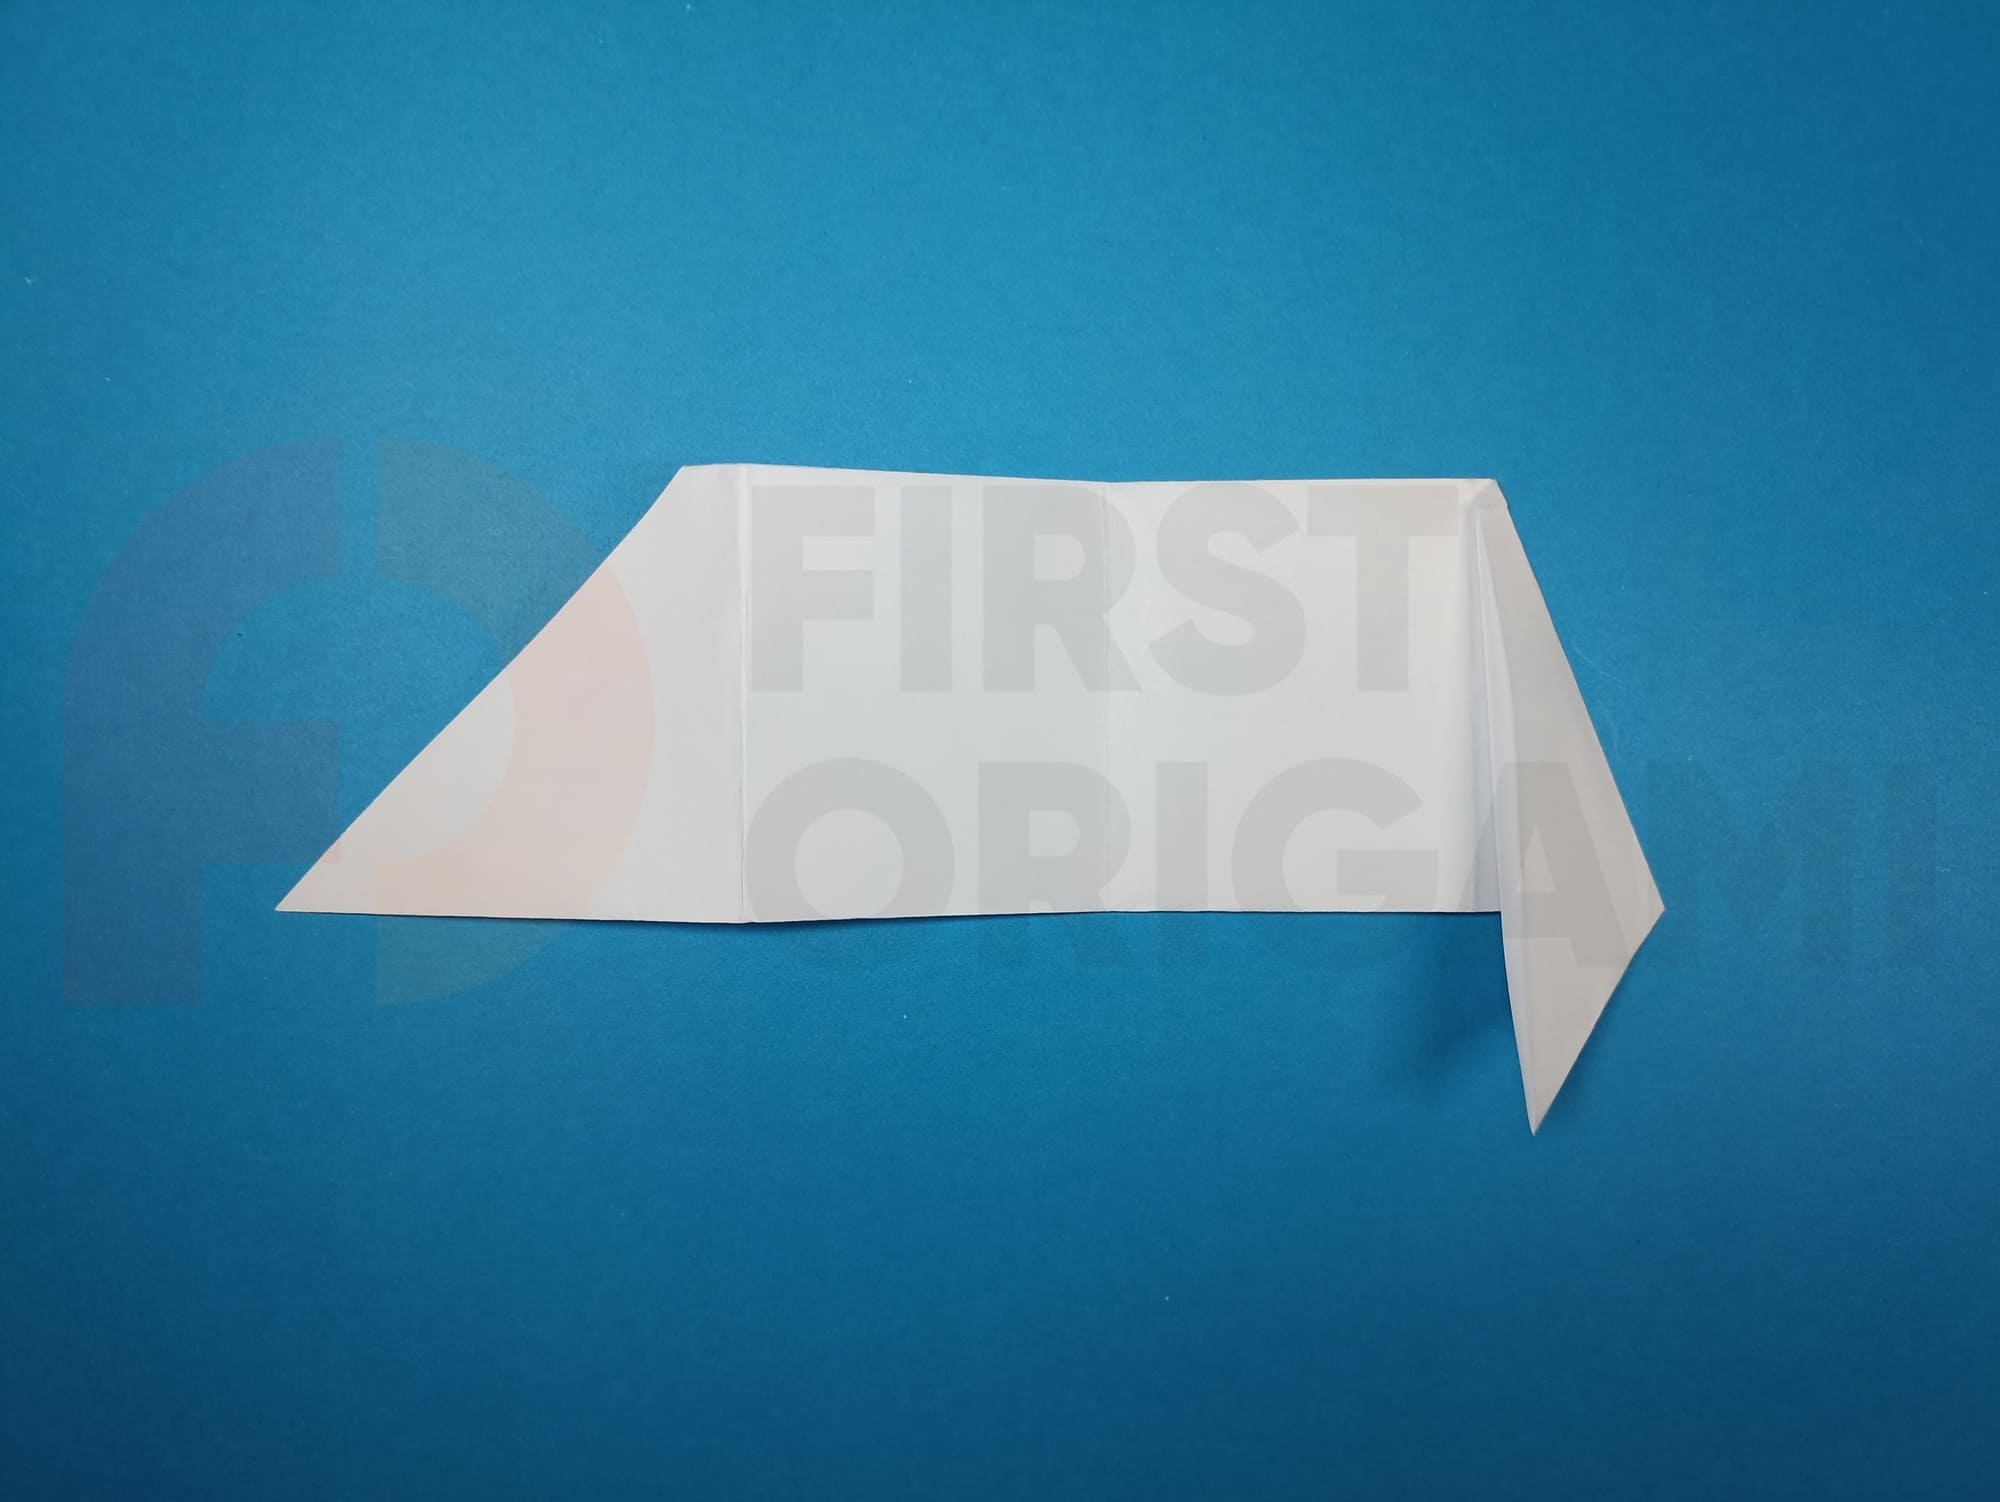
Fold the lower sharp edge of the figure upward along the marked line.

Bend the upper acute corner of the shape down, aligning it with the other corner.
Straighten out all the folds, place the figure with the wide side facing you, and turn it over as you would turn a page of a book.
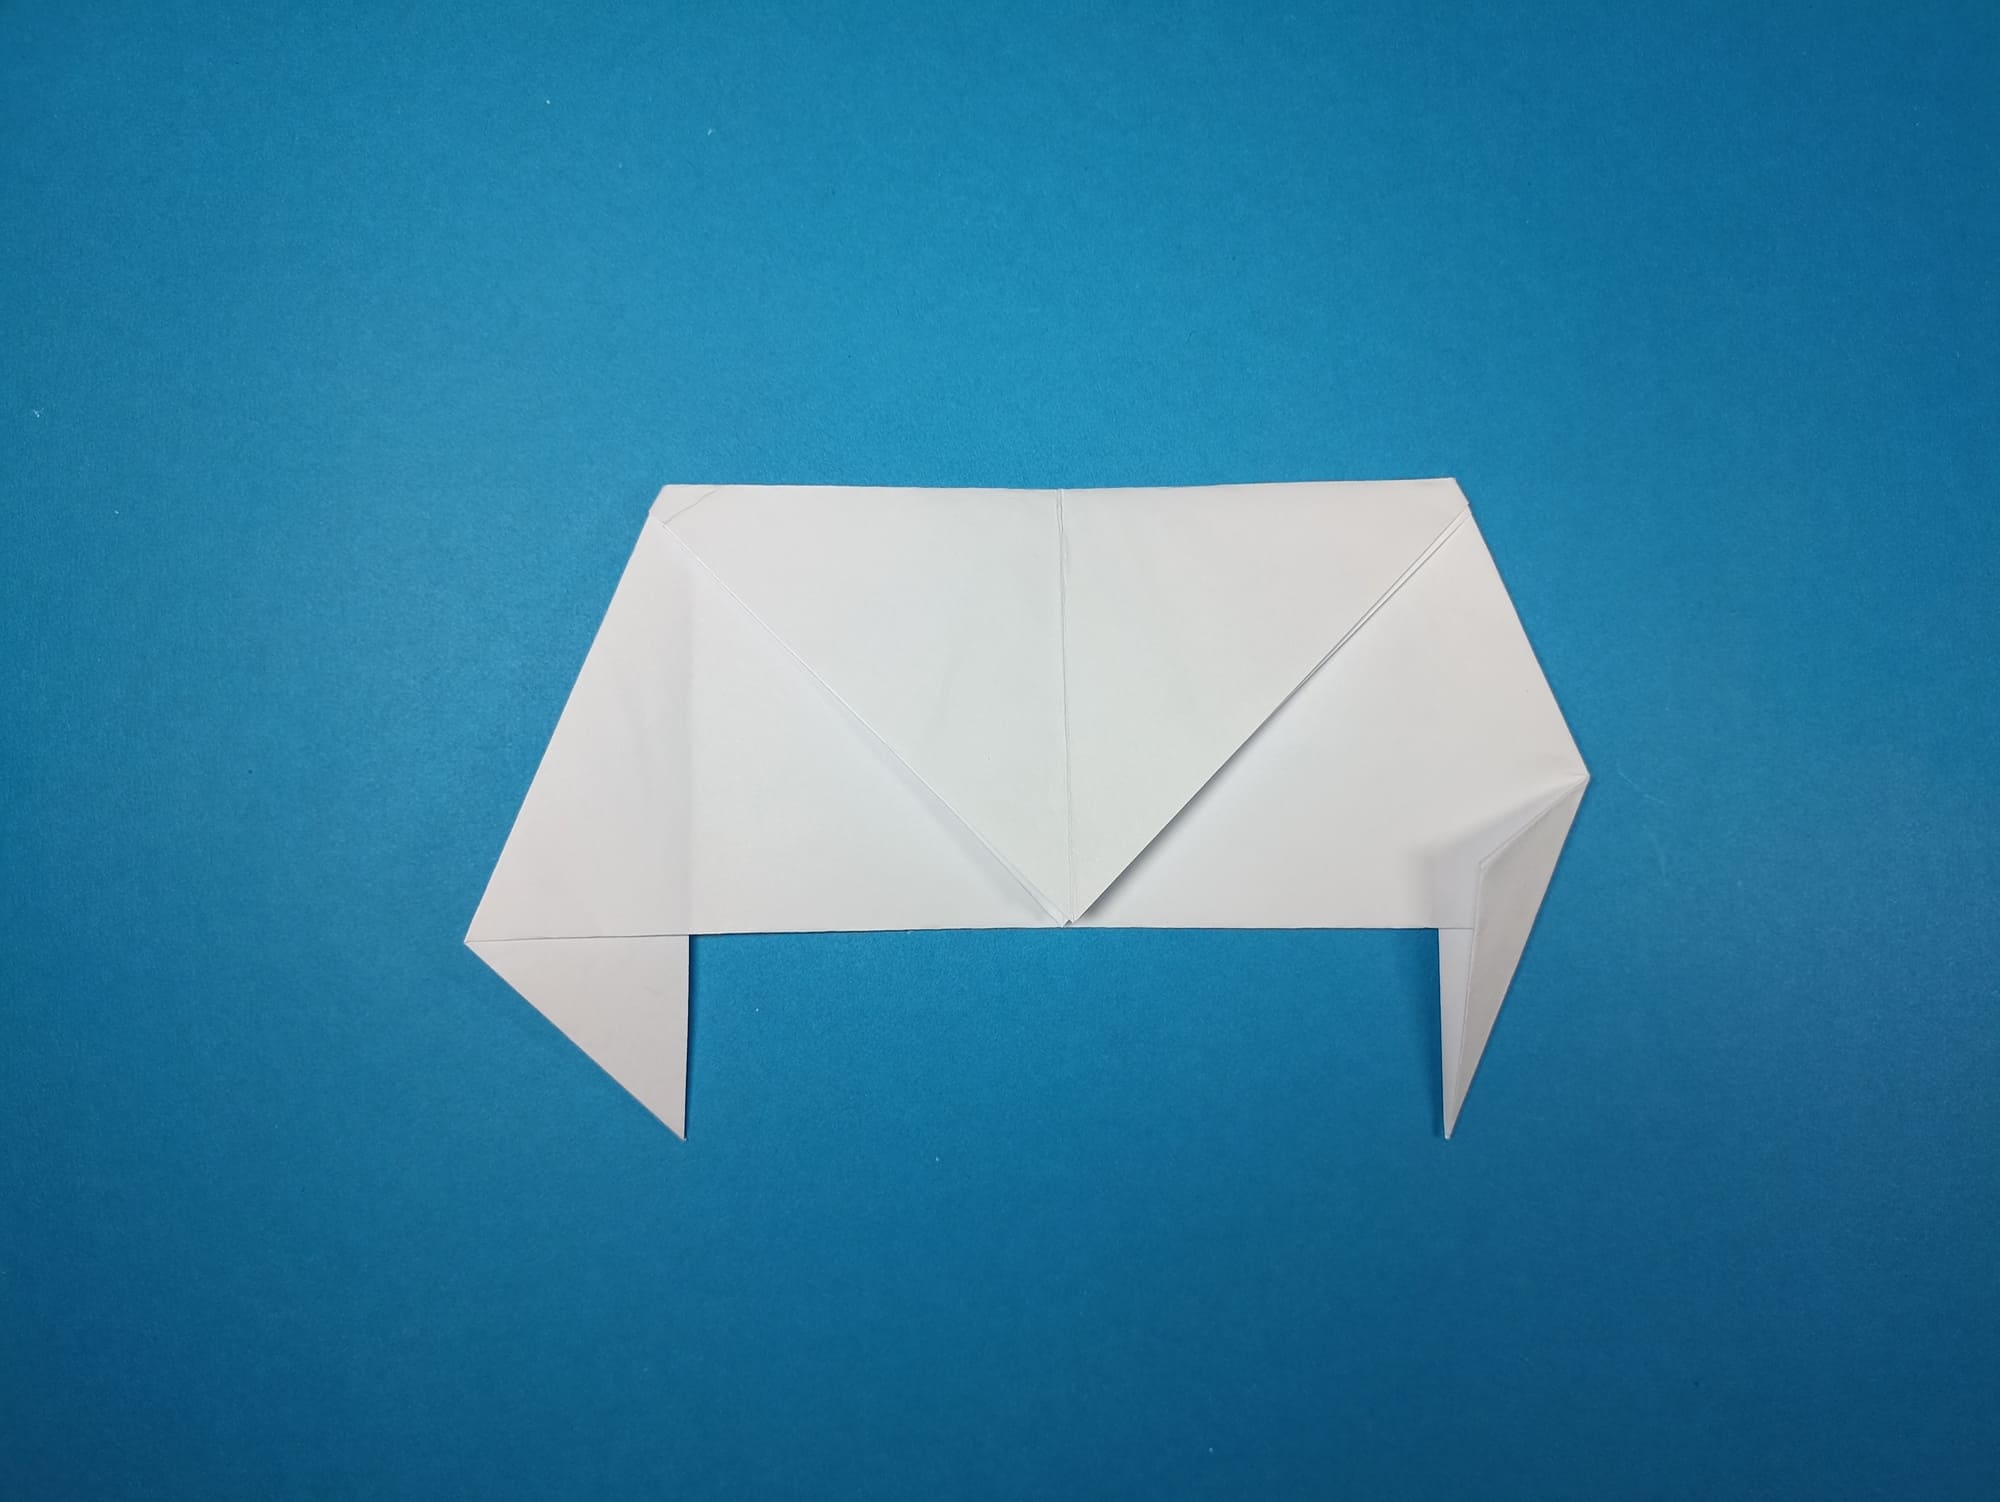
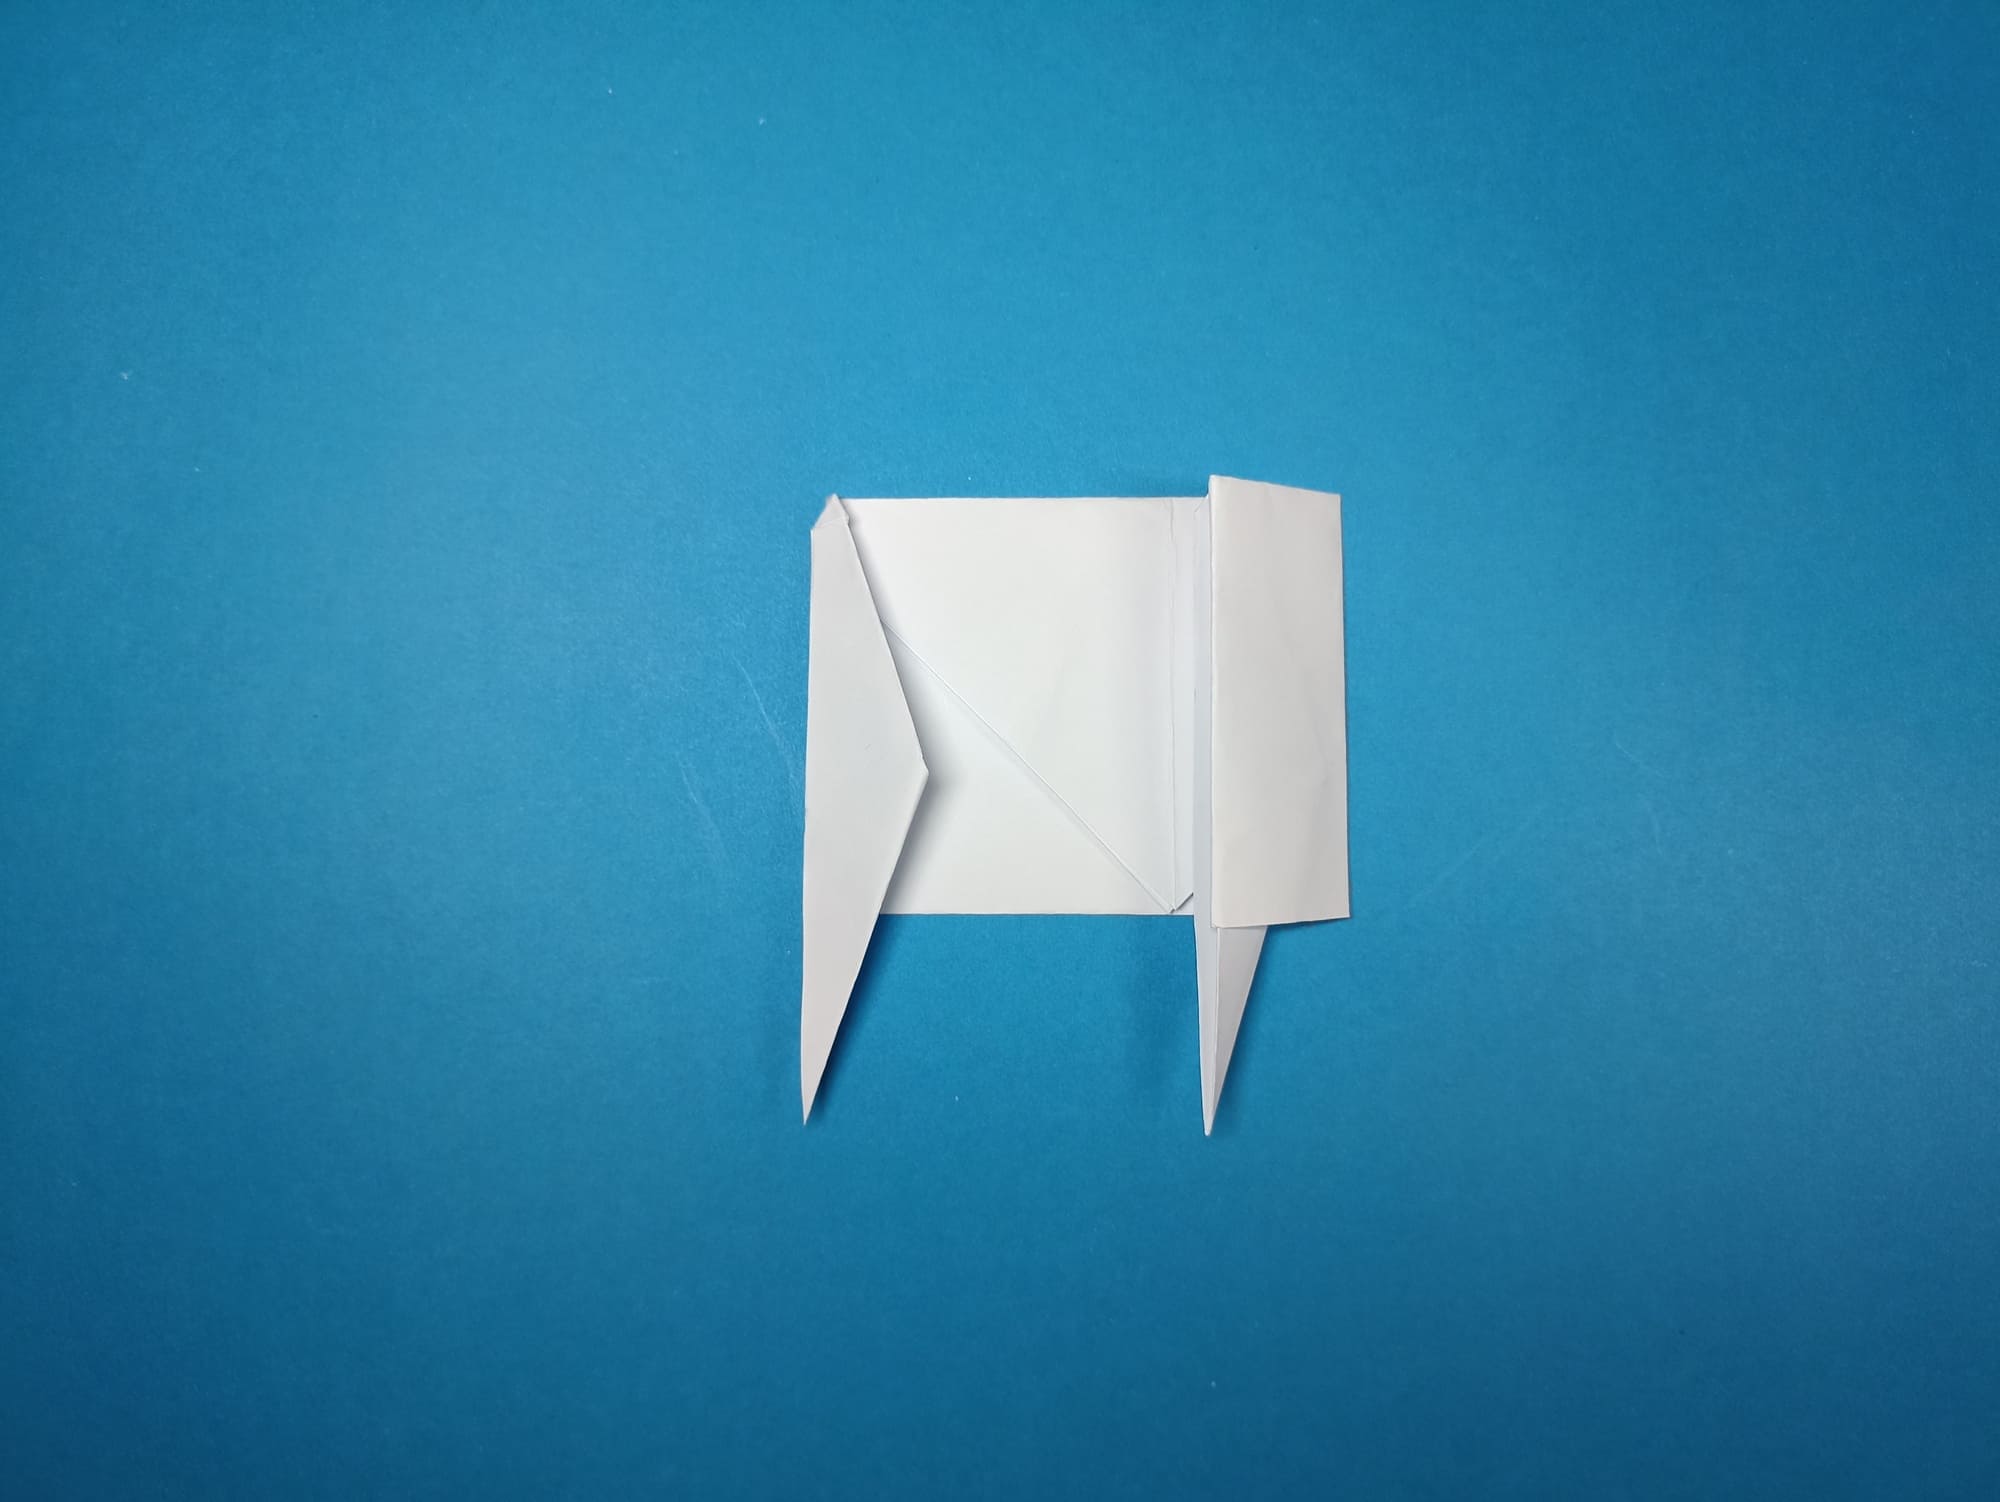
Bend the right-side edge of the trapezoid along a vertical line, and compare it with the illustration.

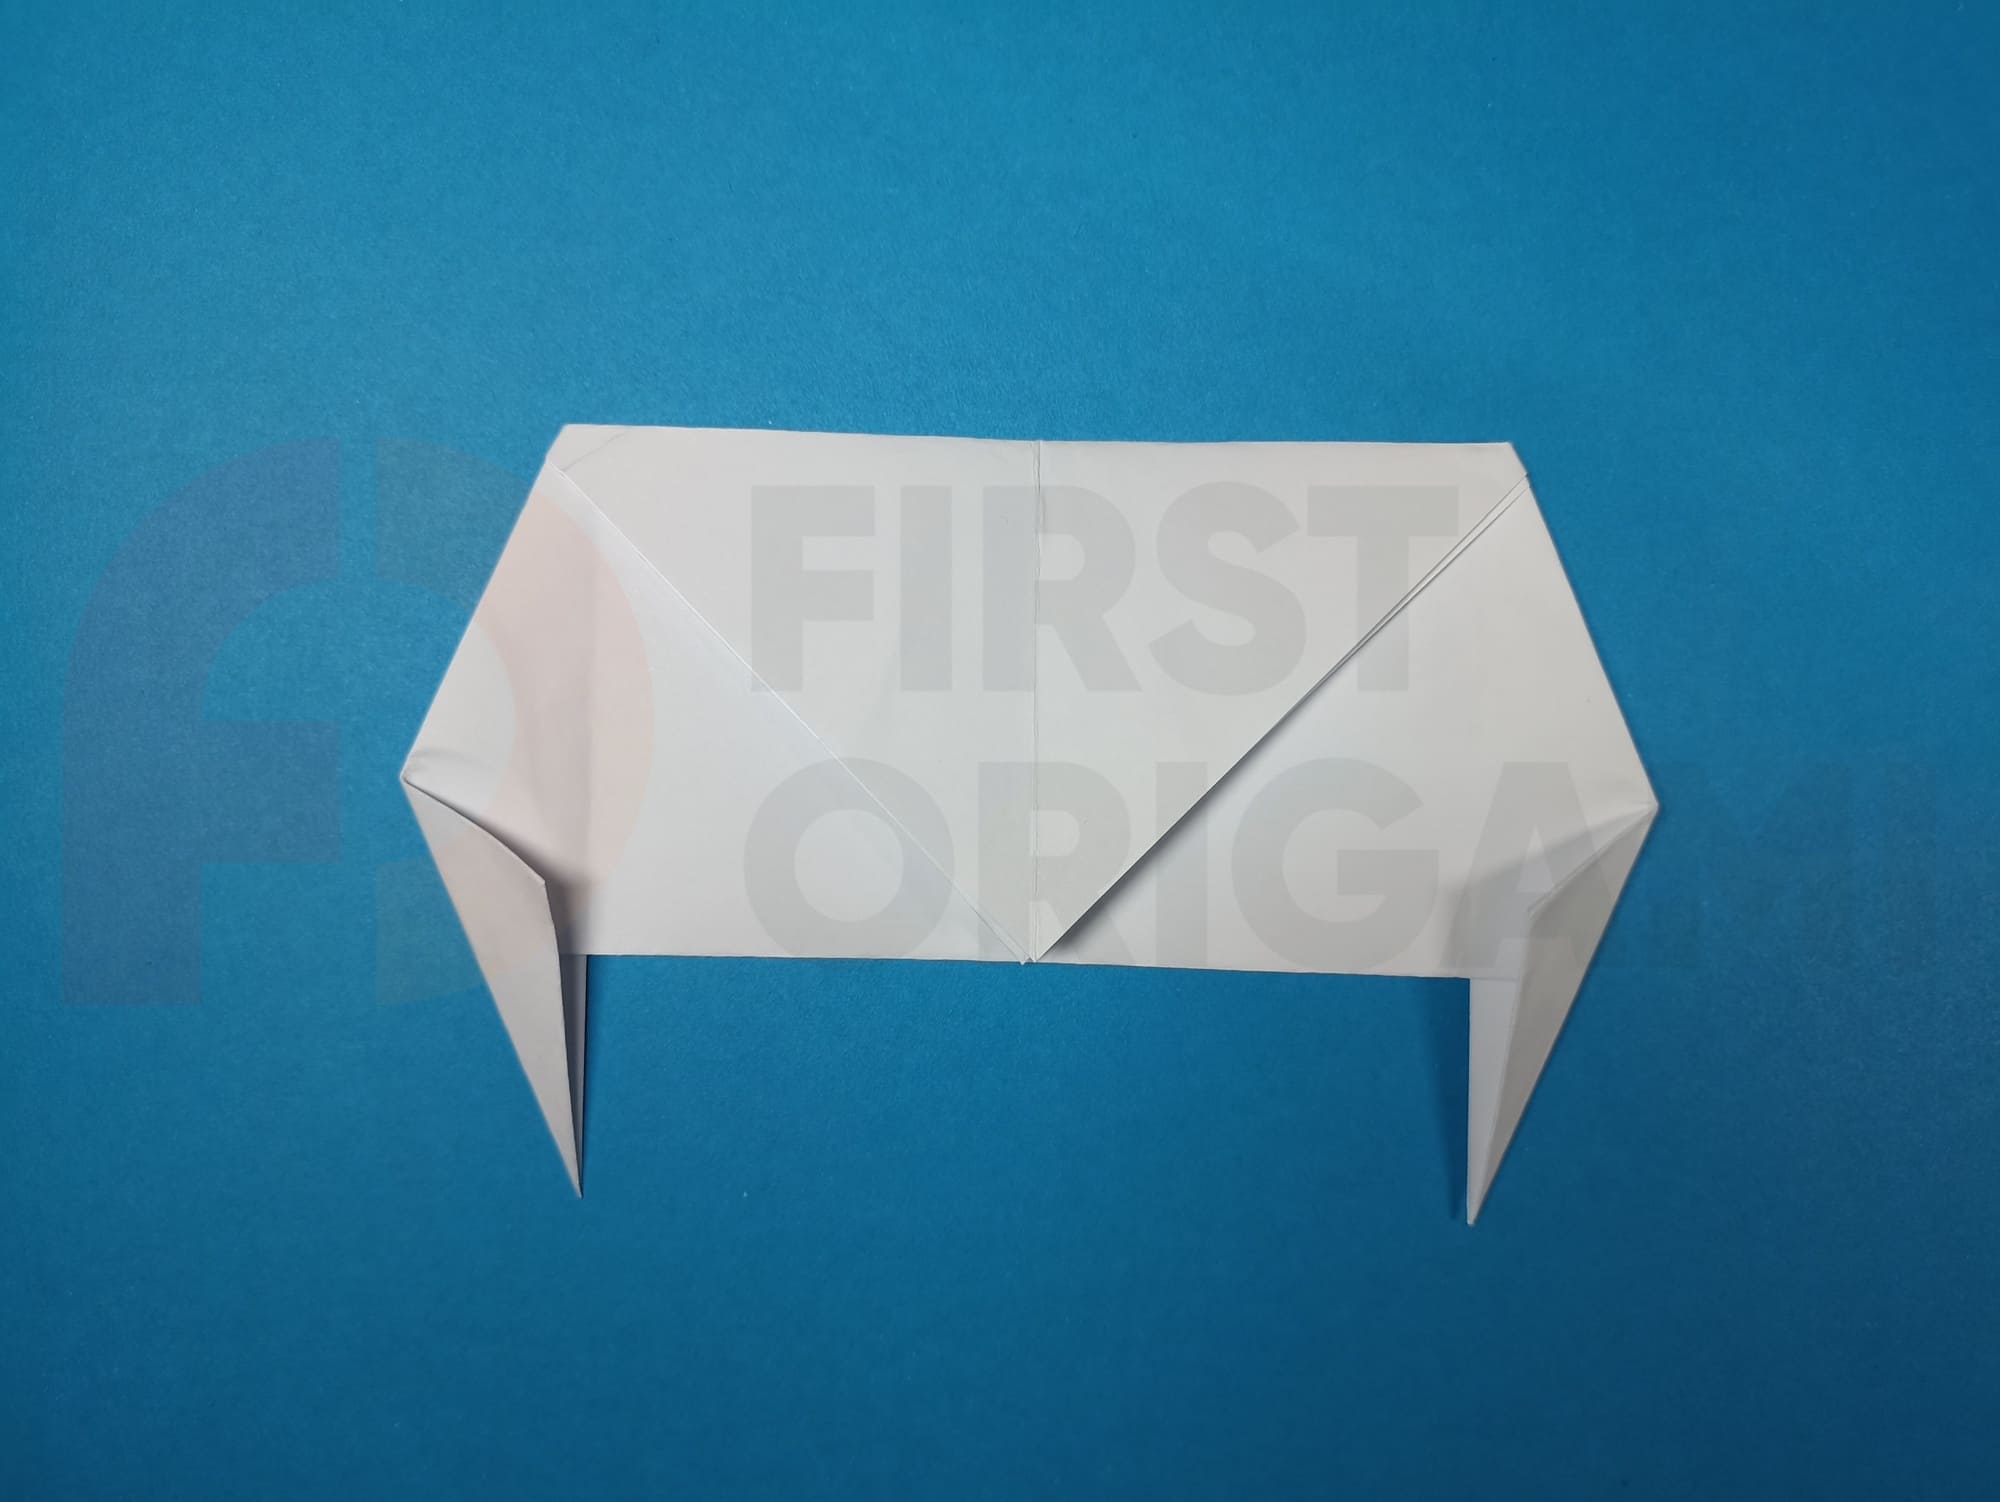
Repeat the same with the left-side edge.
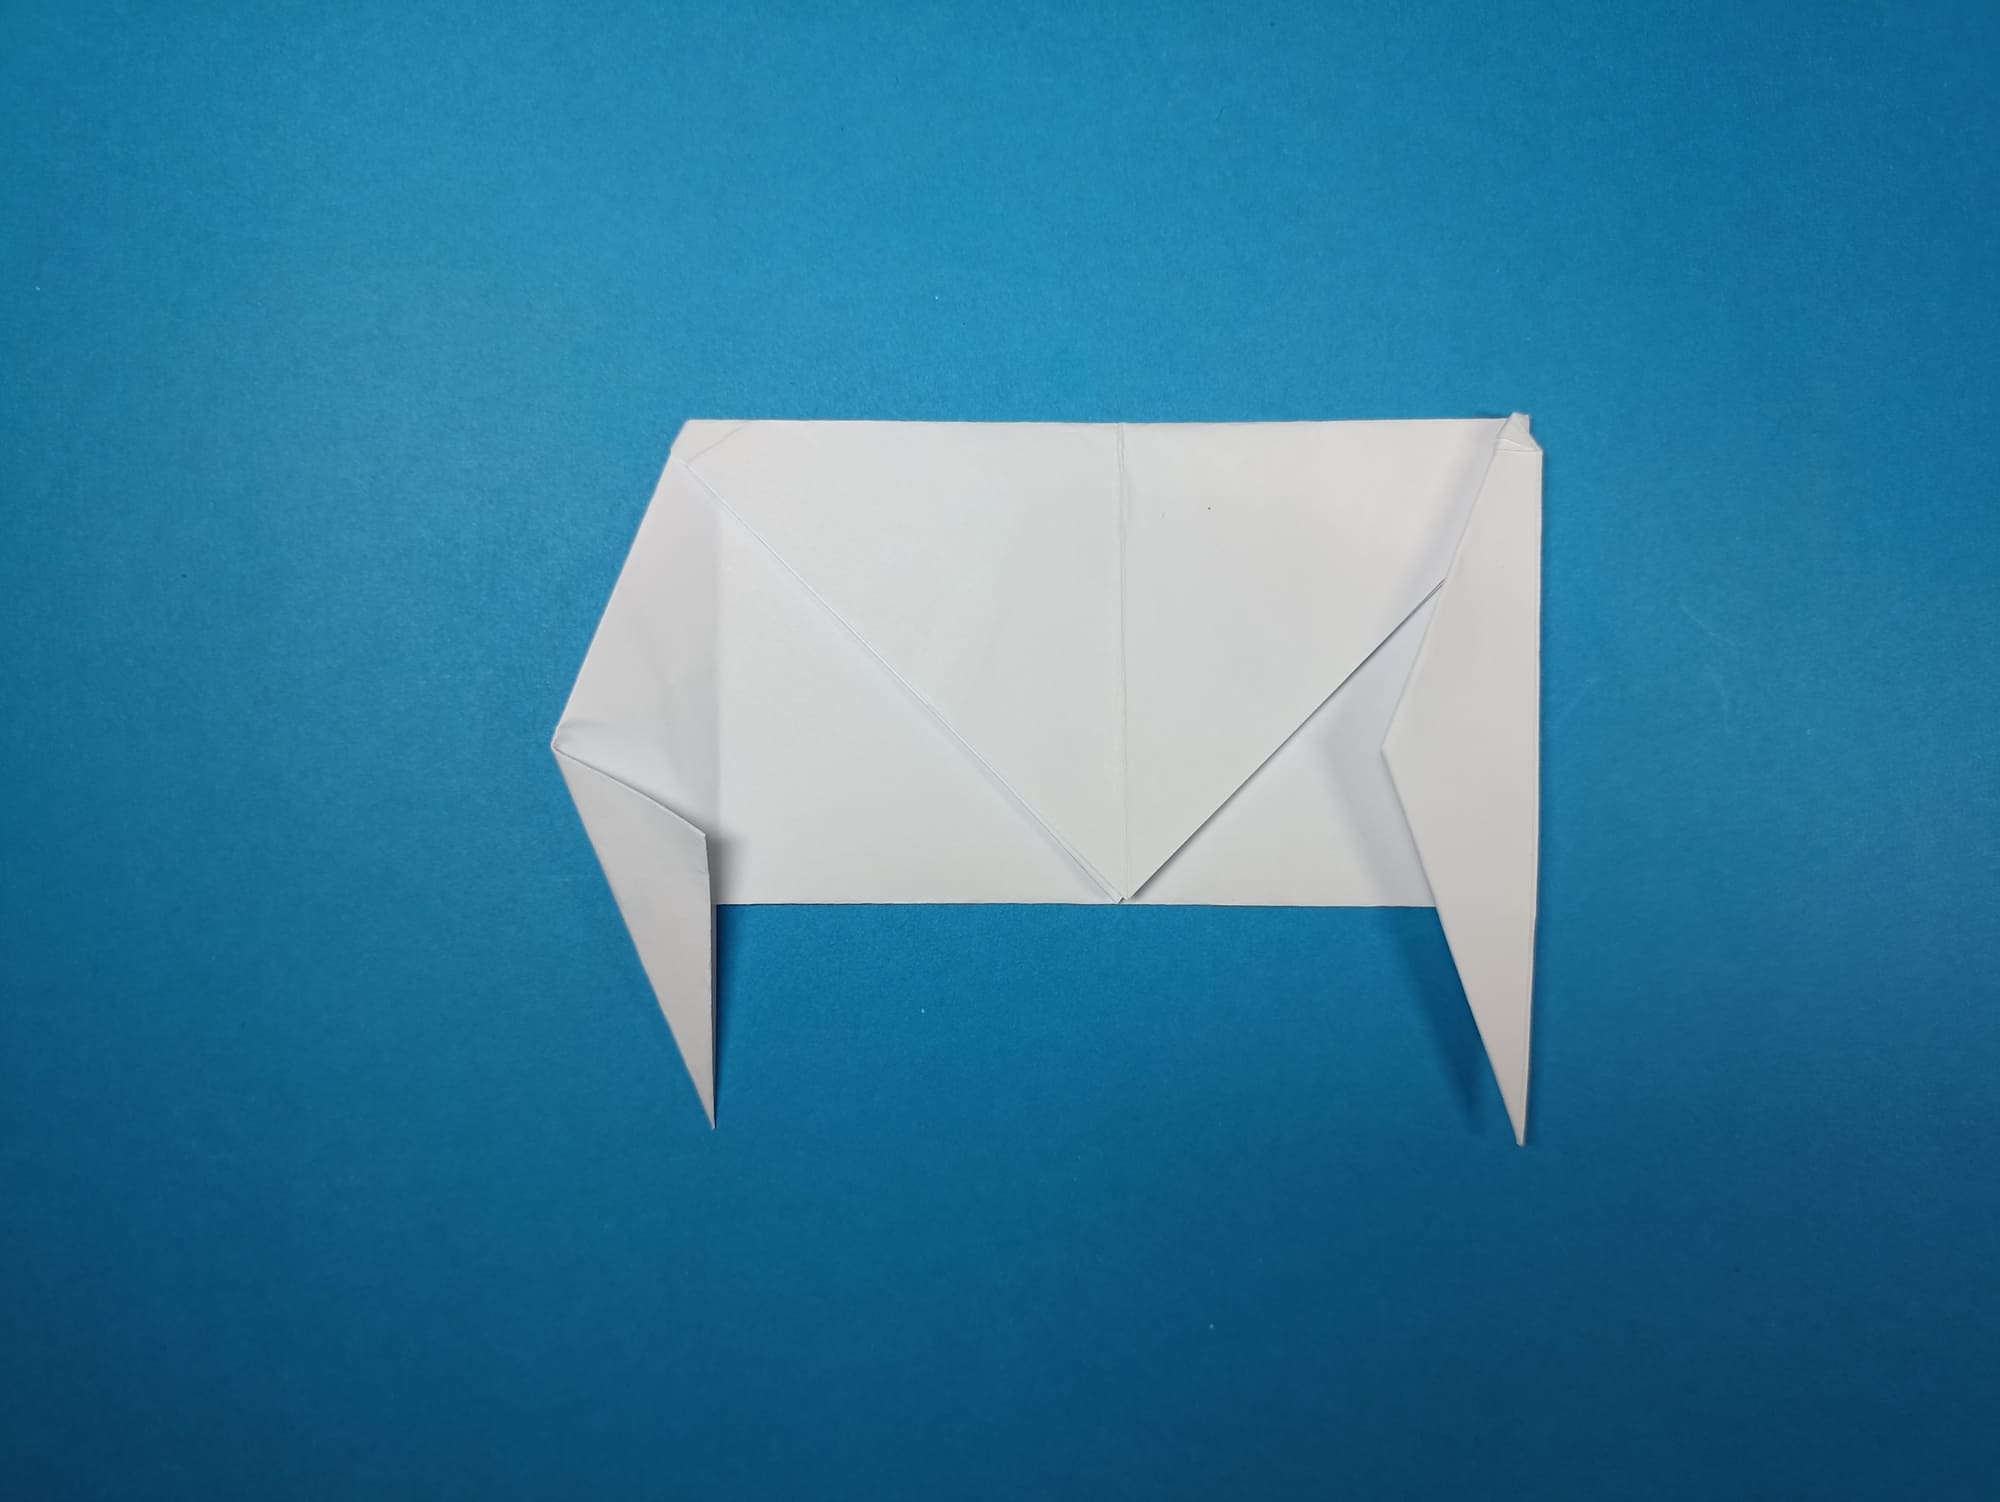
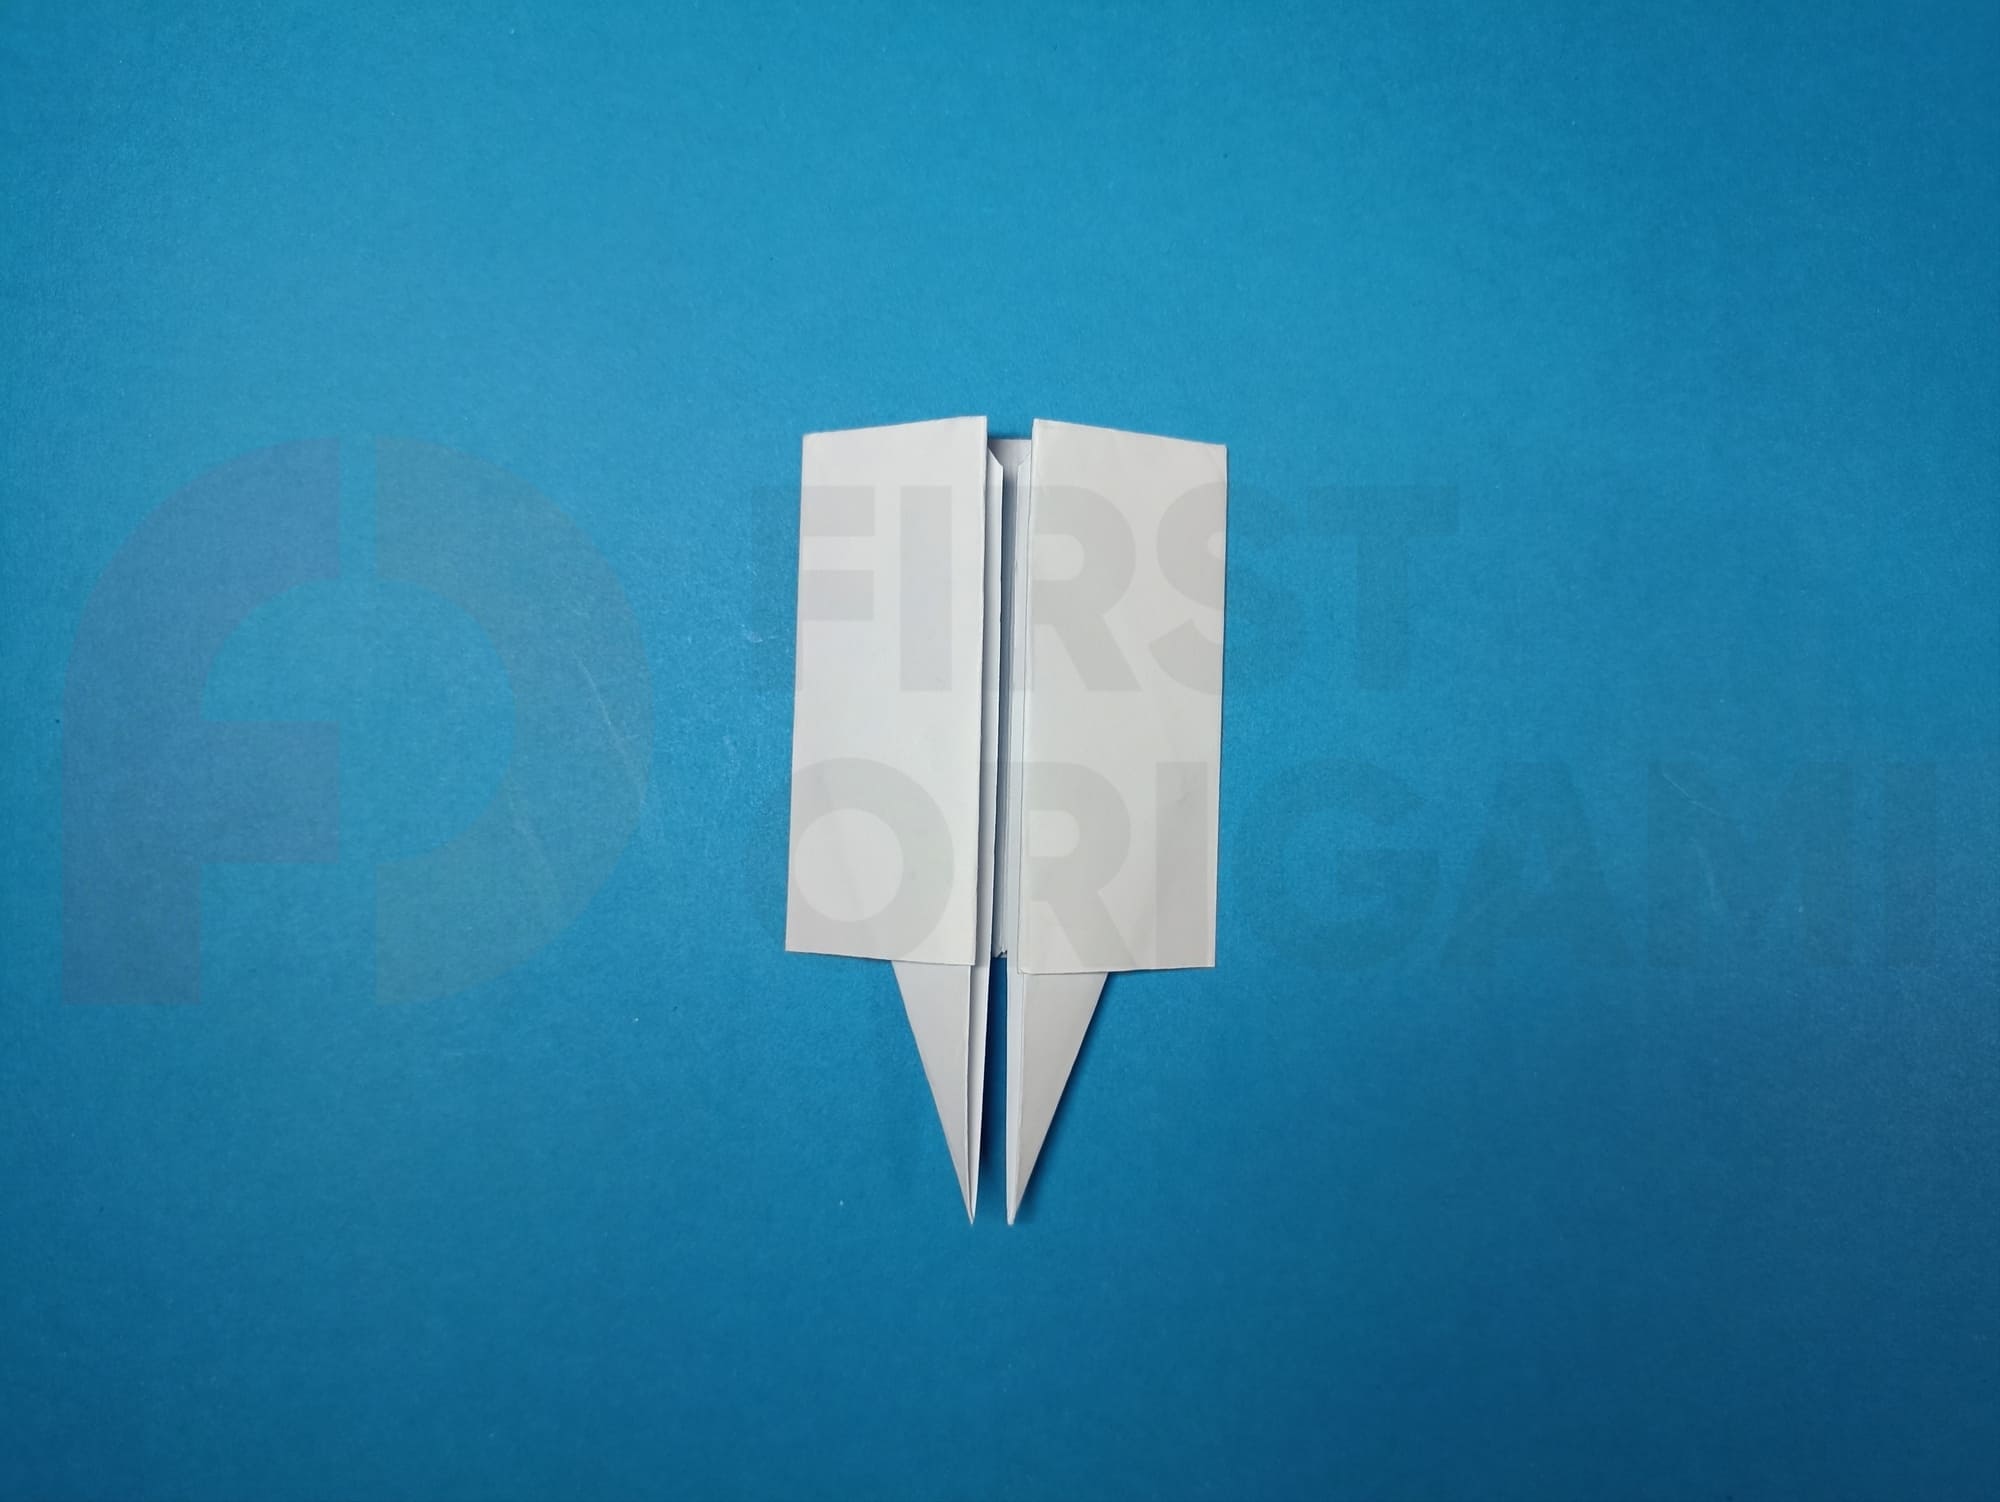
Turn the figure over.
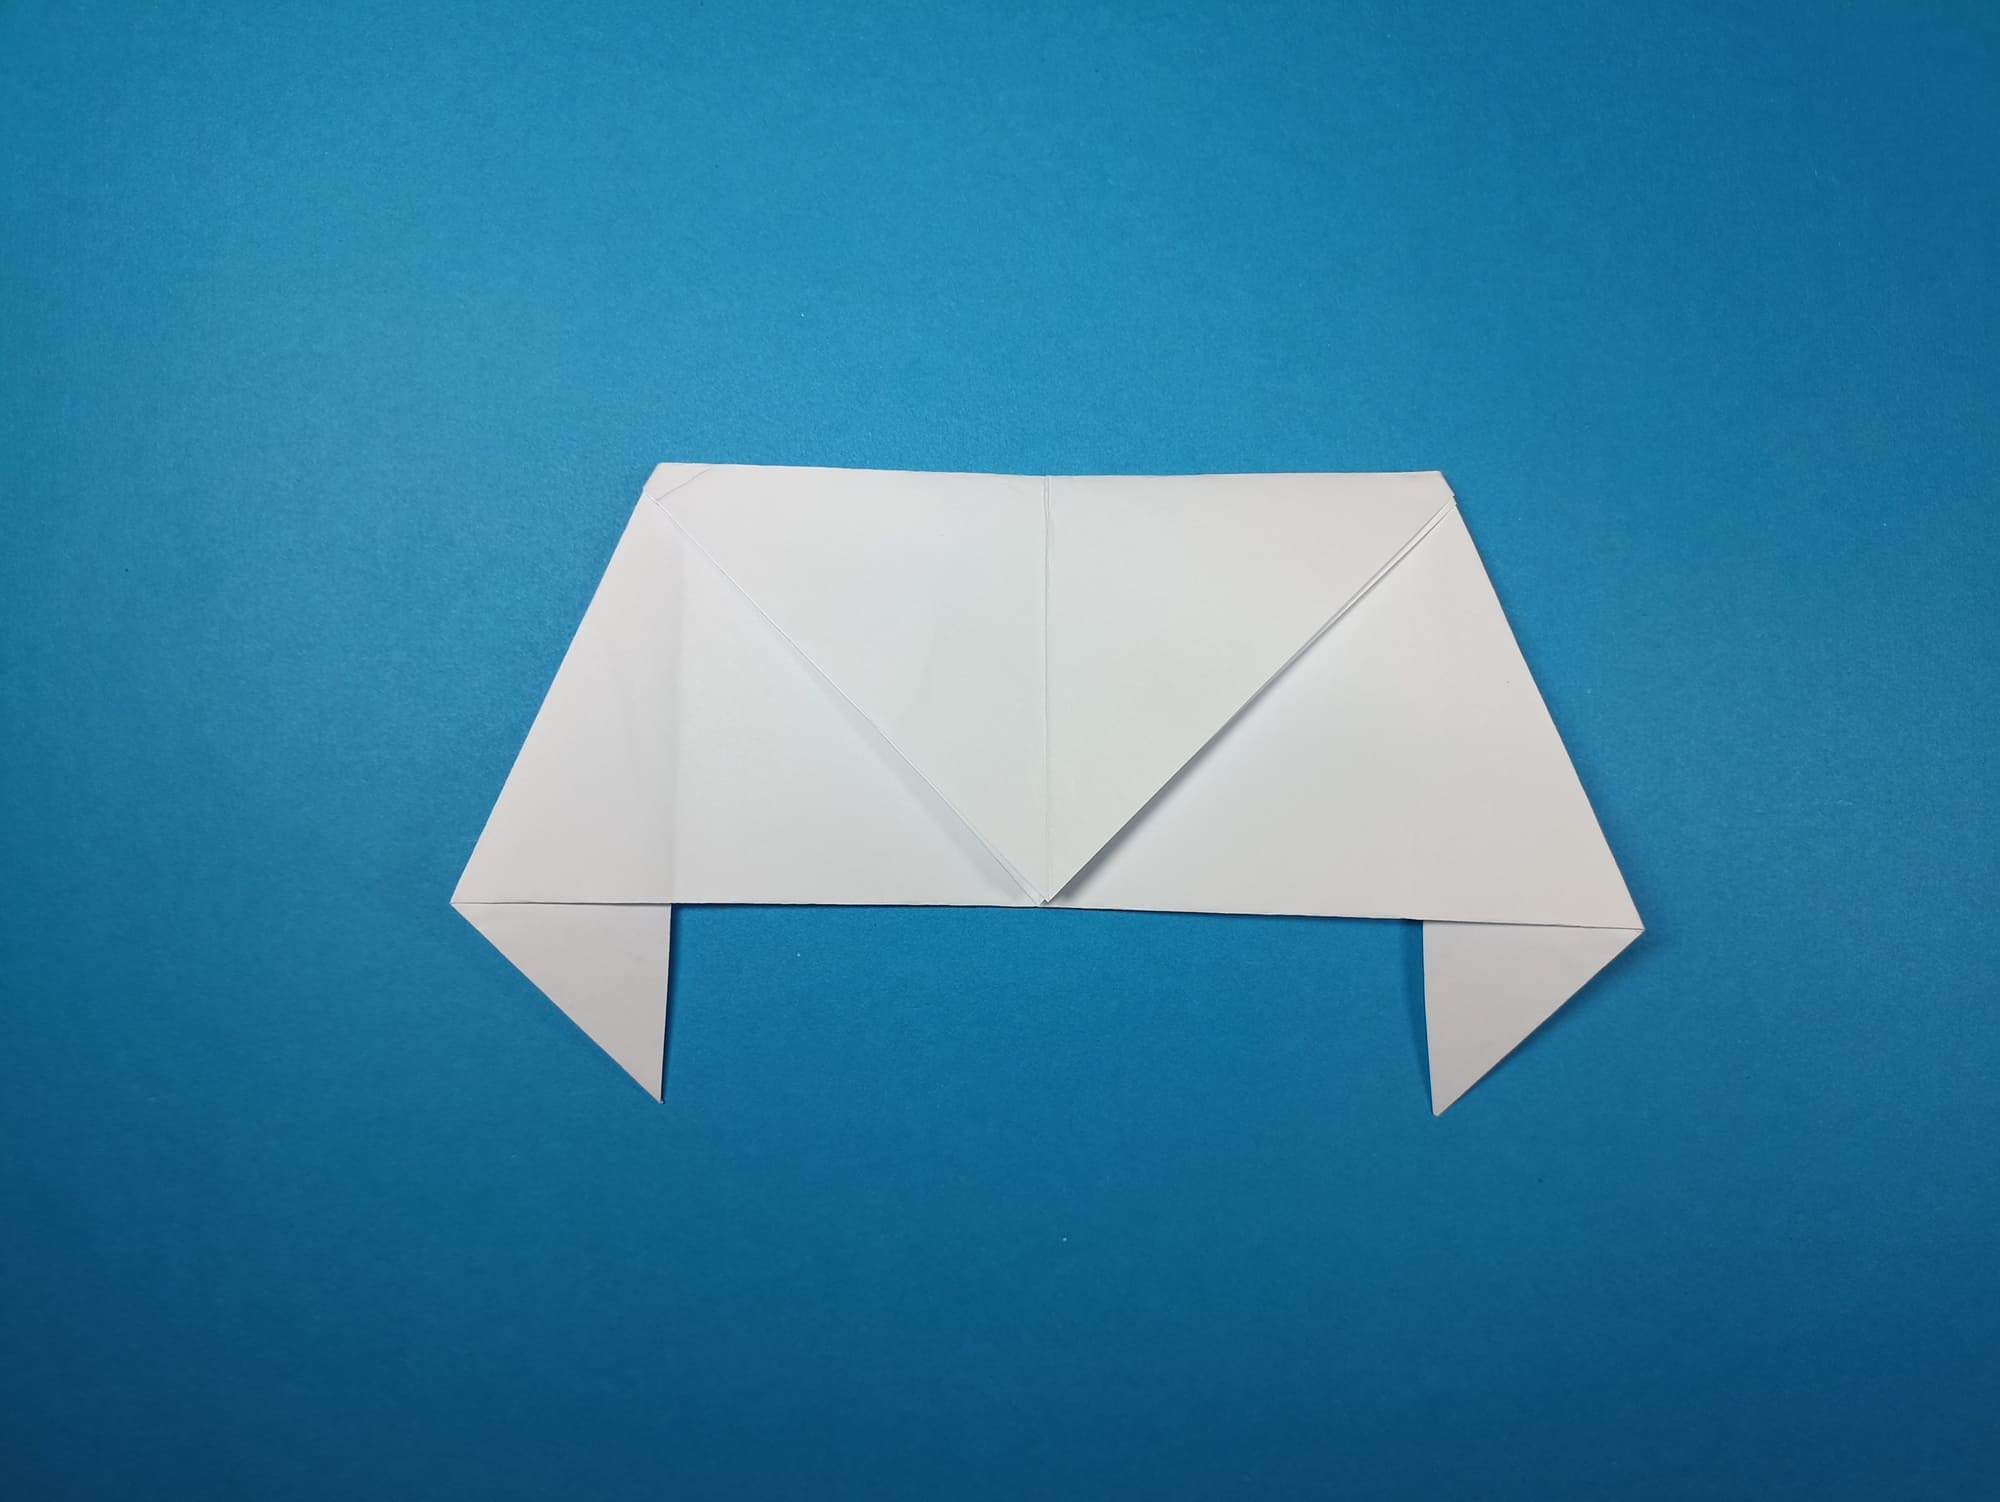
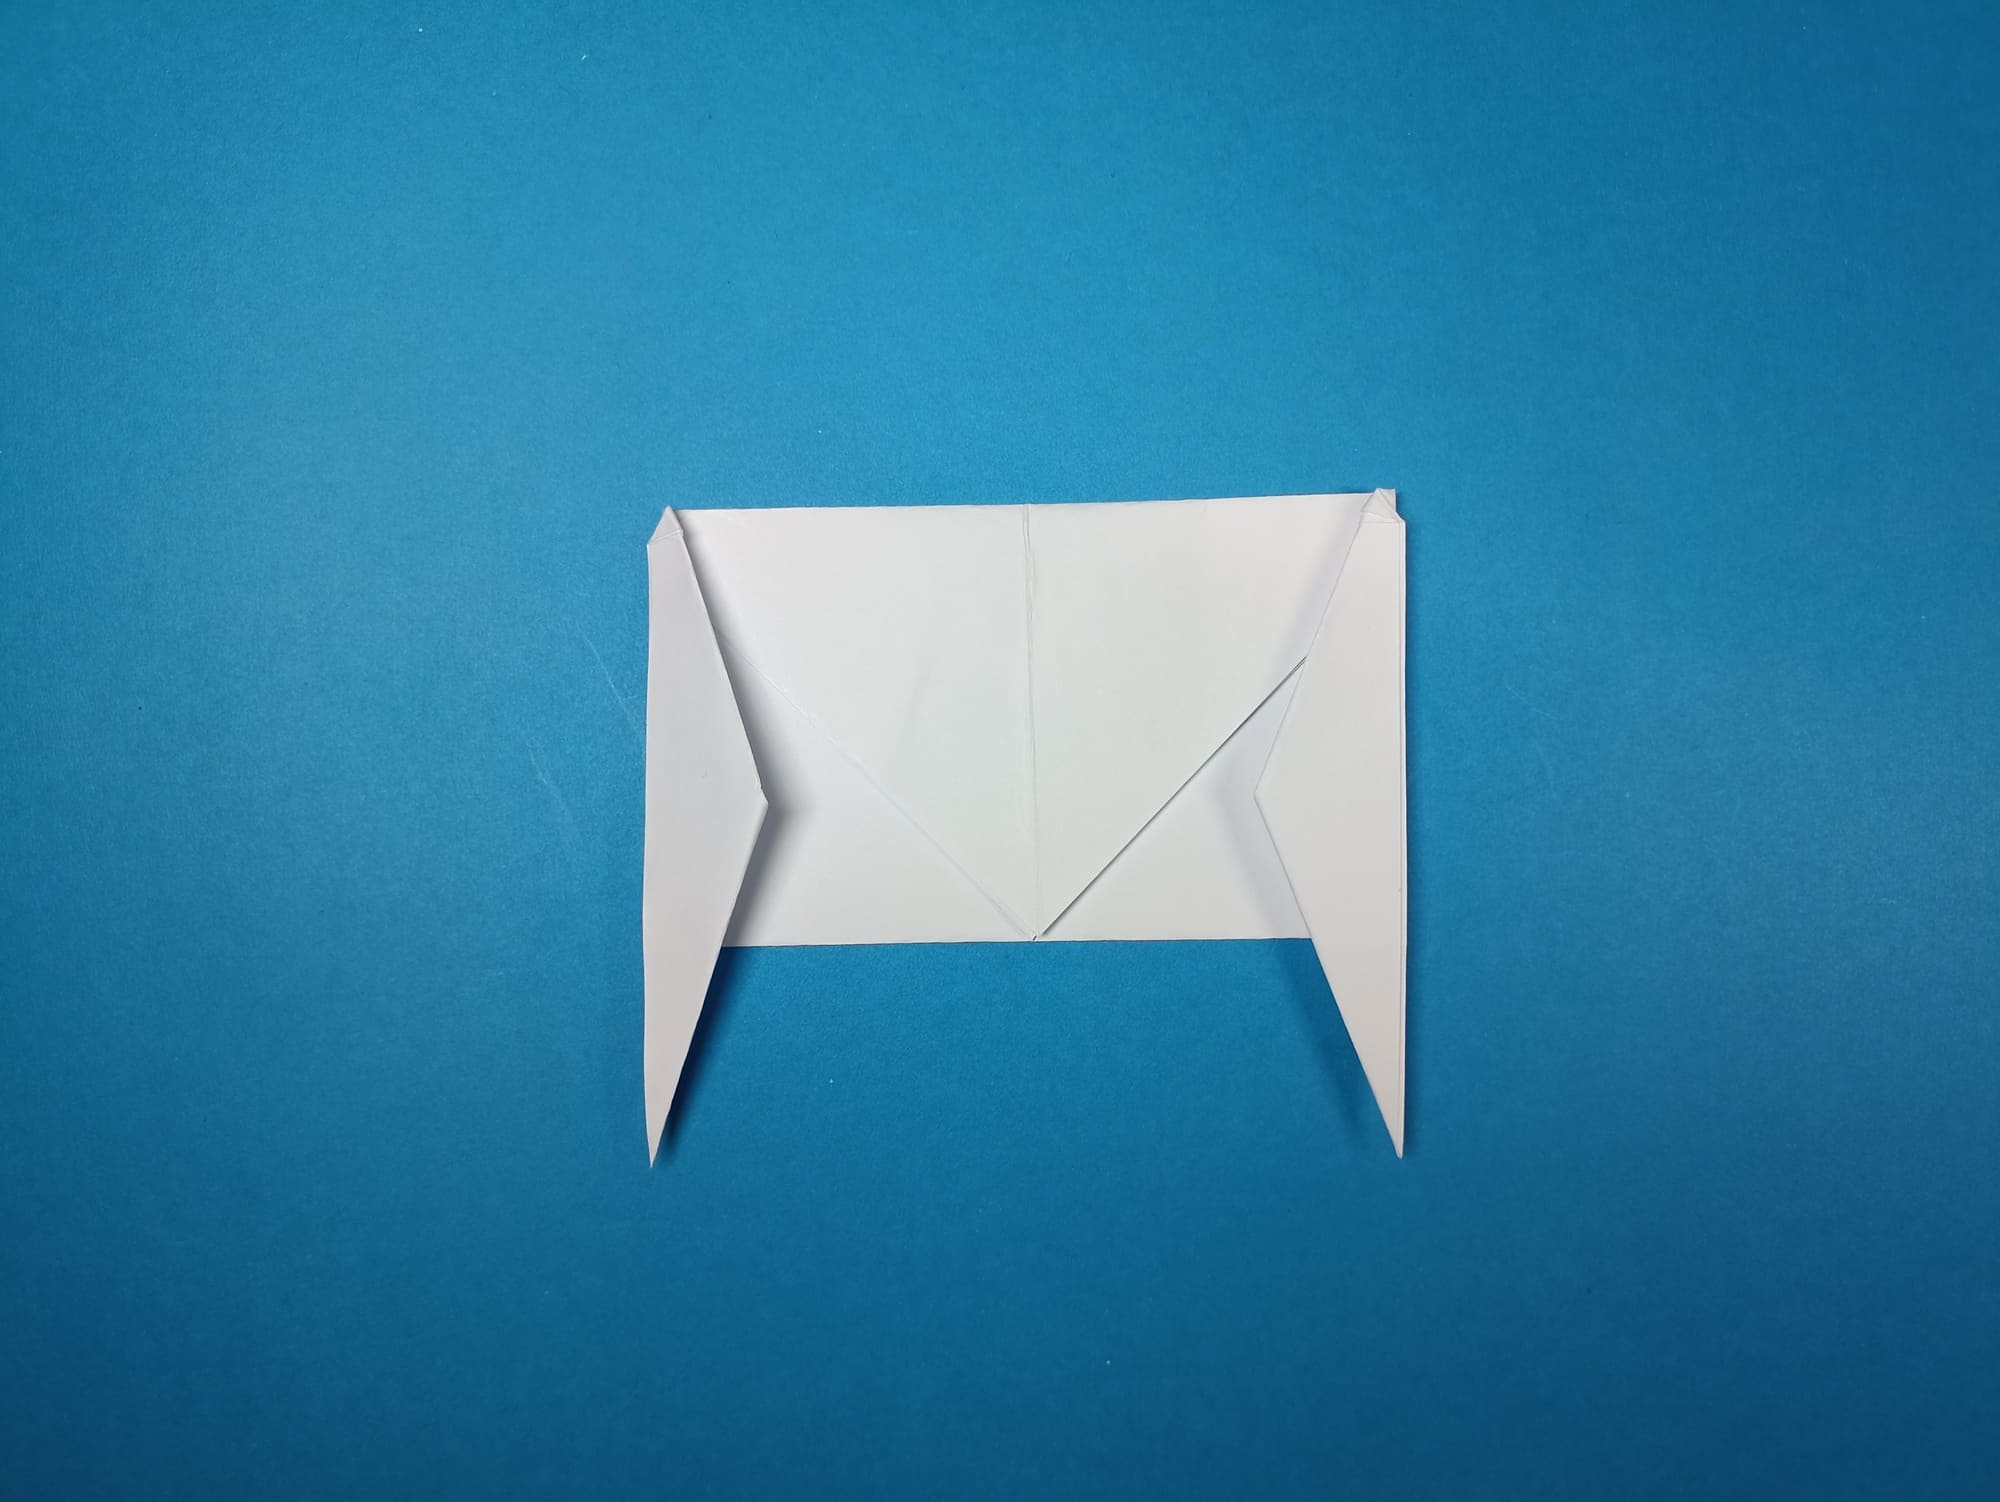
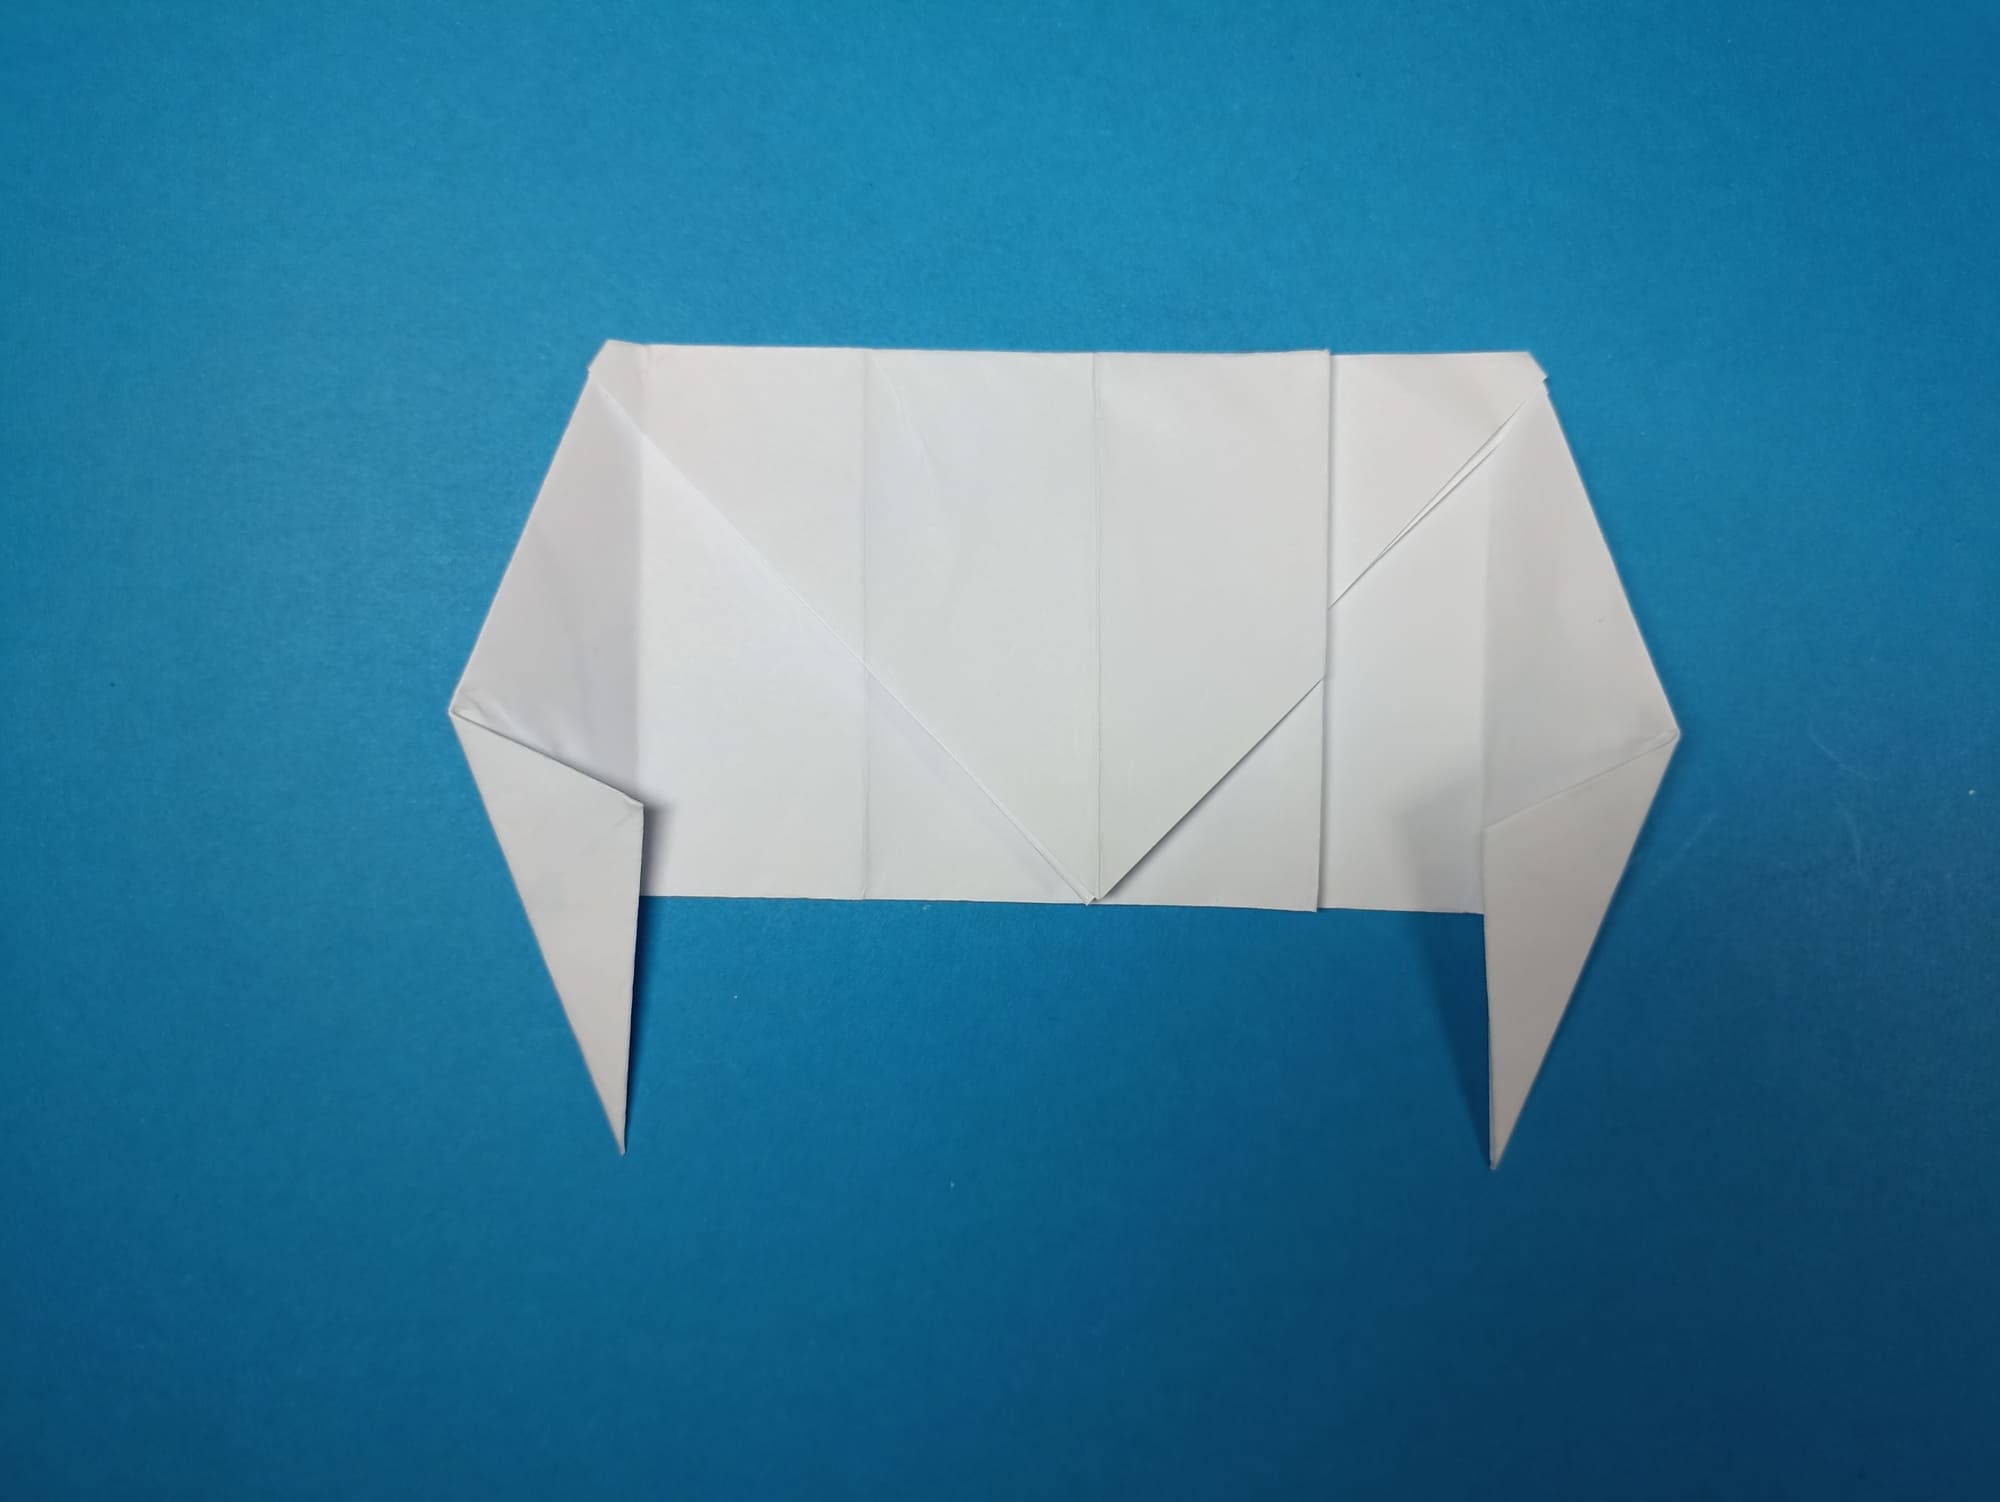
Fold the lower corner of the right triangle in half.
Repeat the fold on the triangle on the left side.
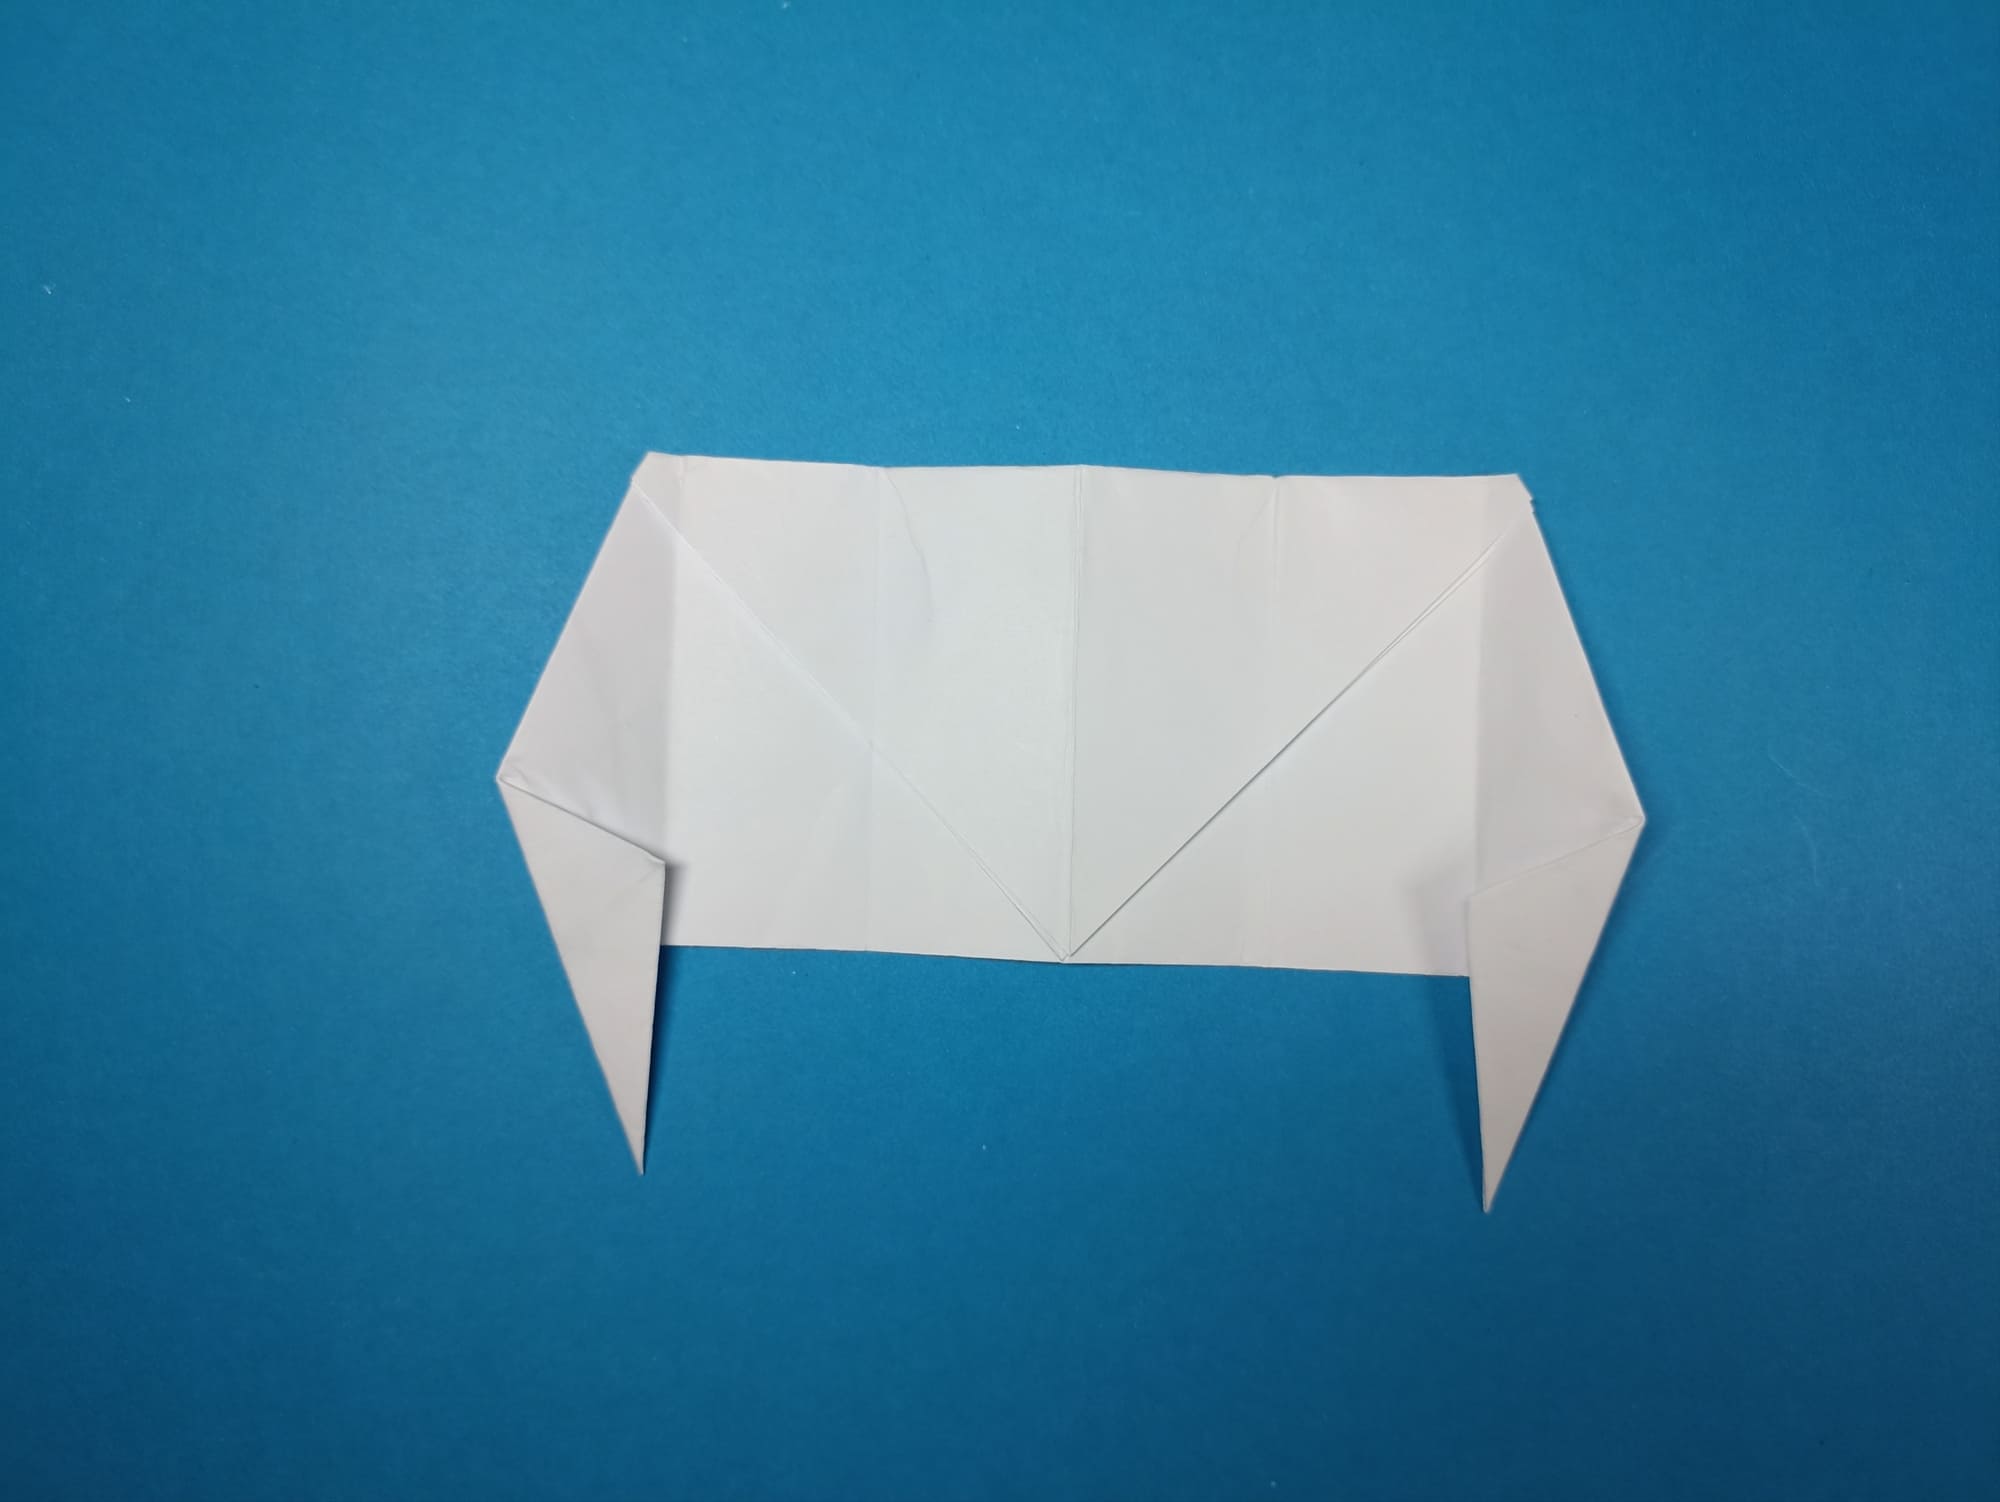
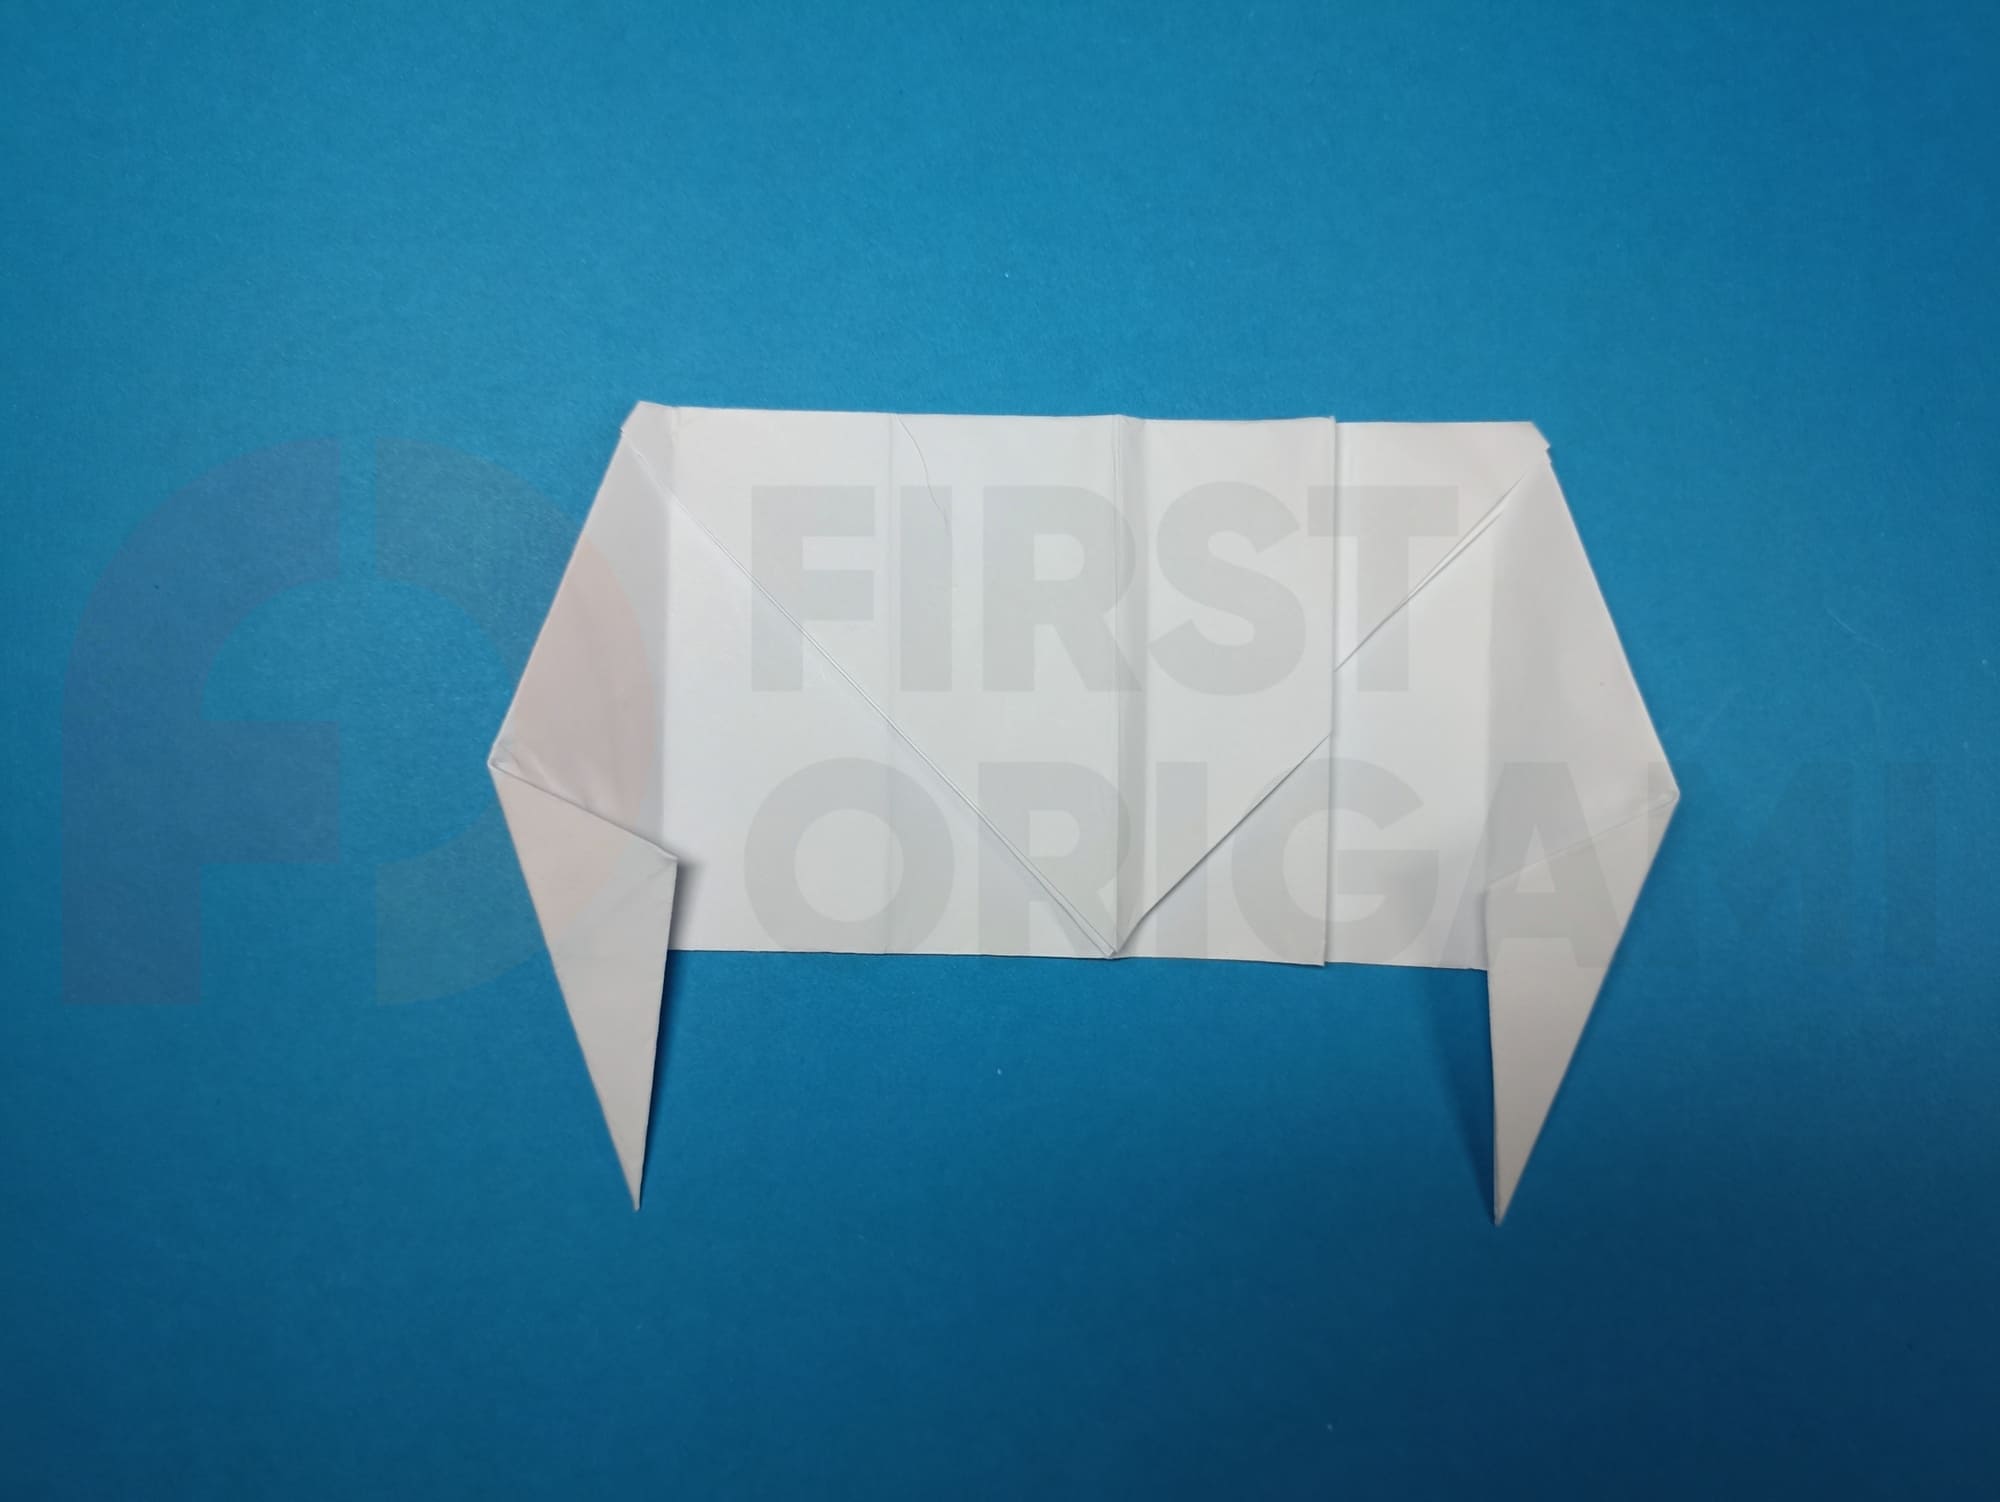
Bend the right-side triangle of your future vampire fang along the base line.
Repeat symmetrically on the left side.
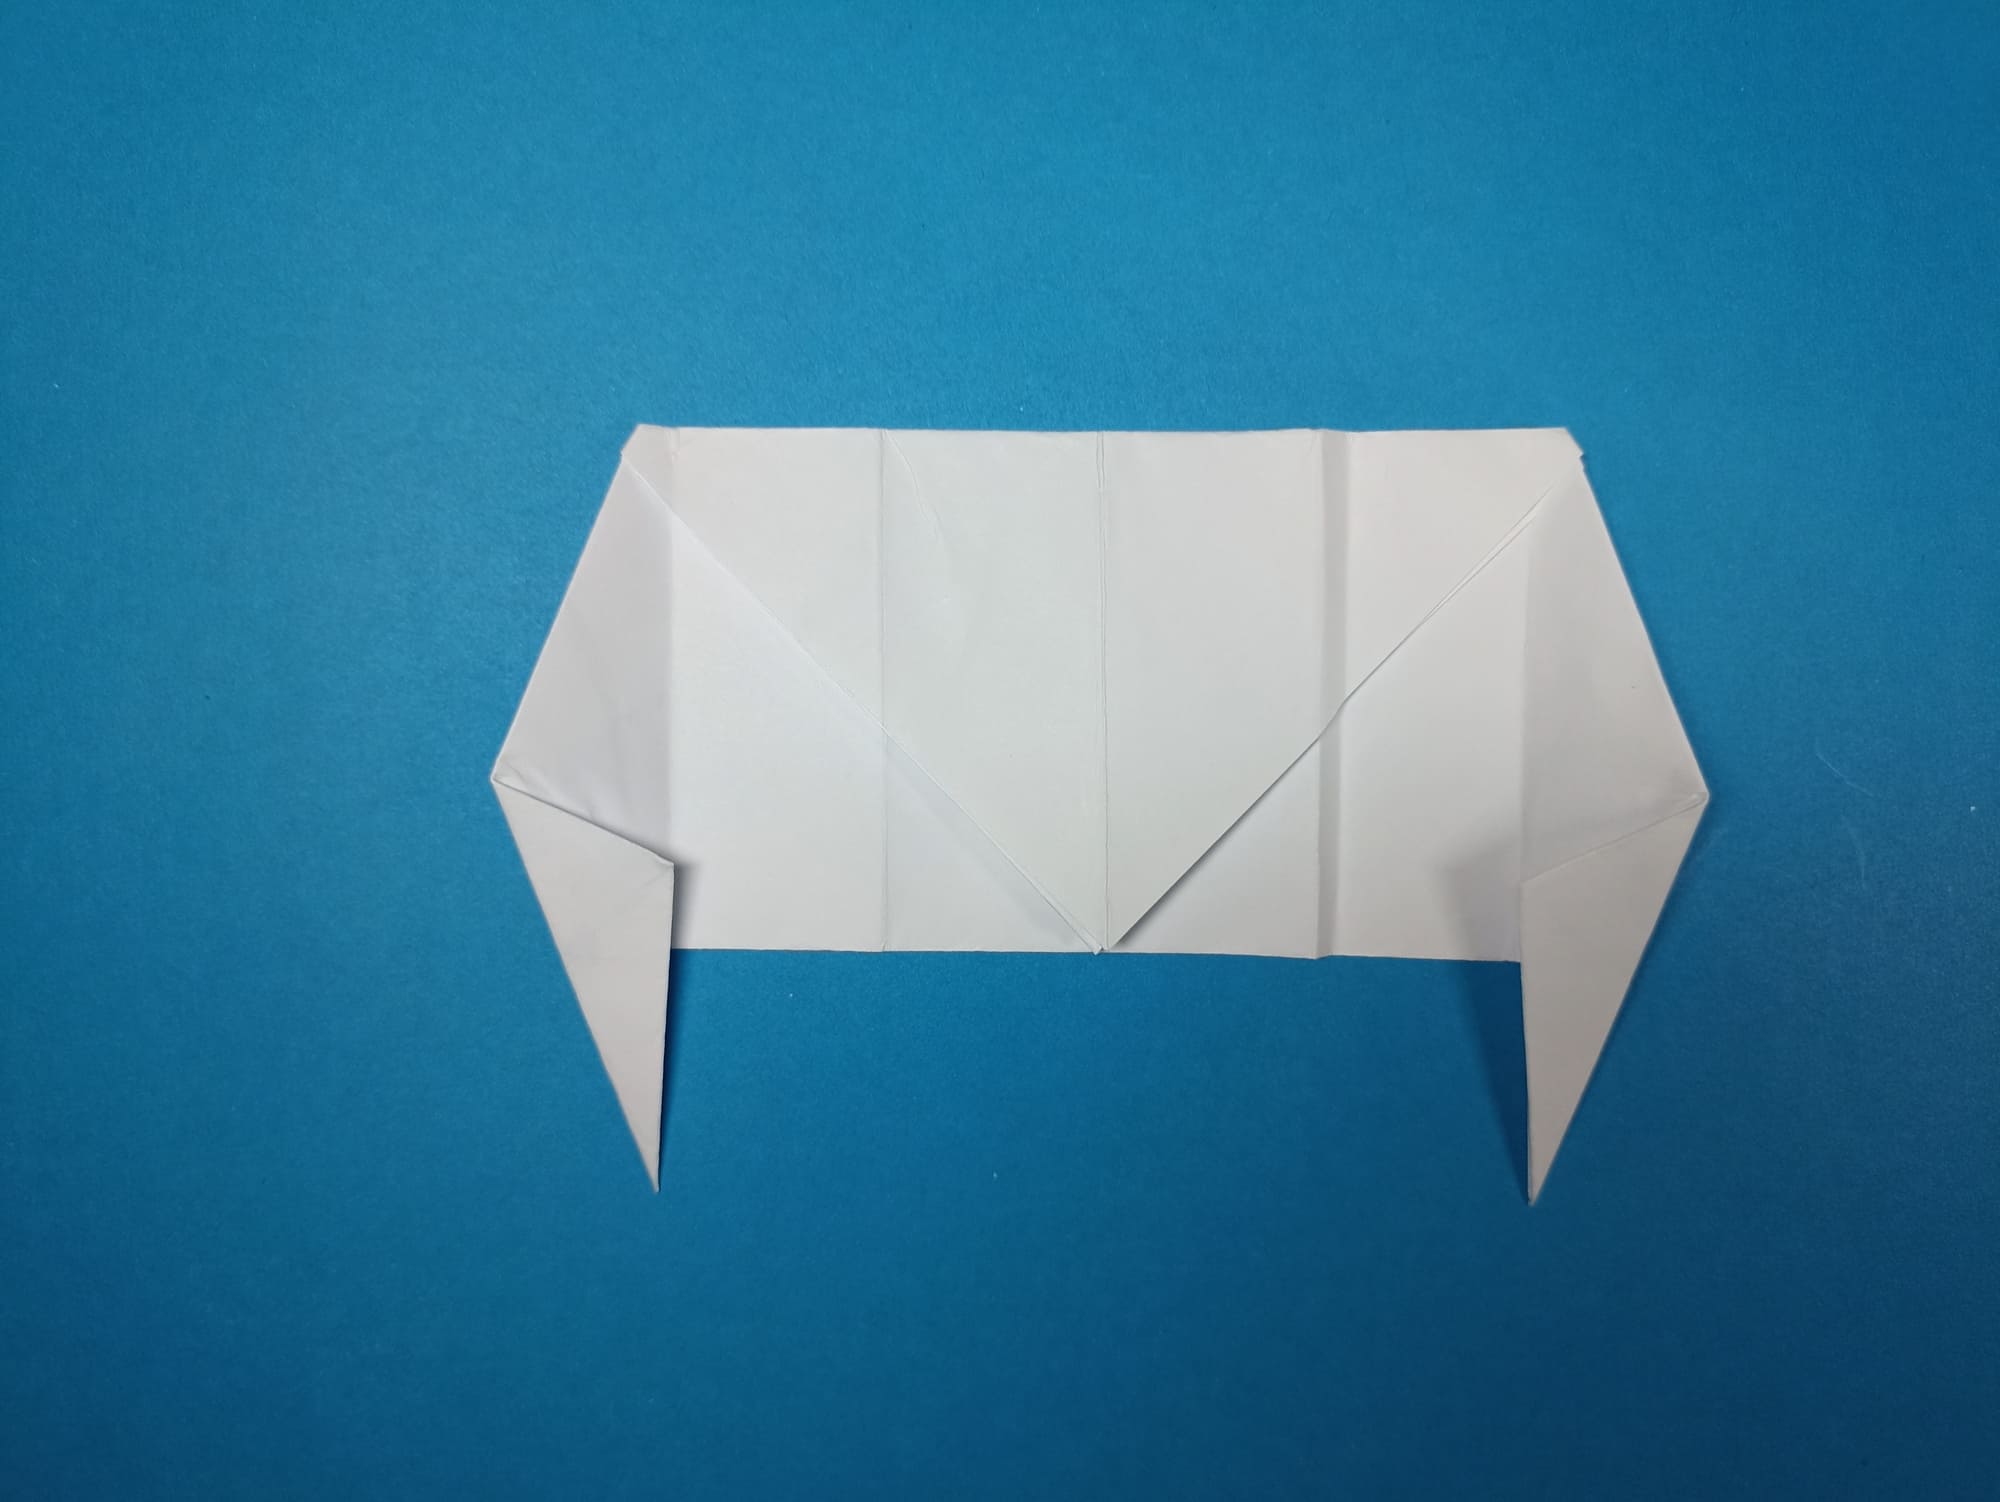
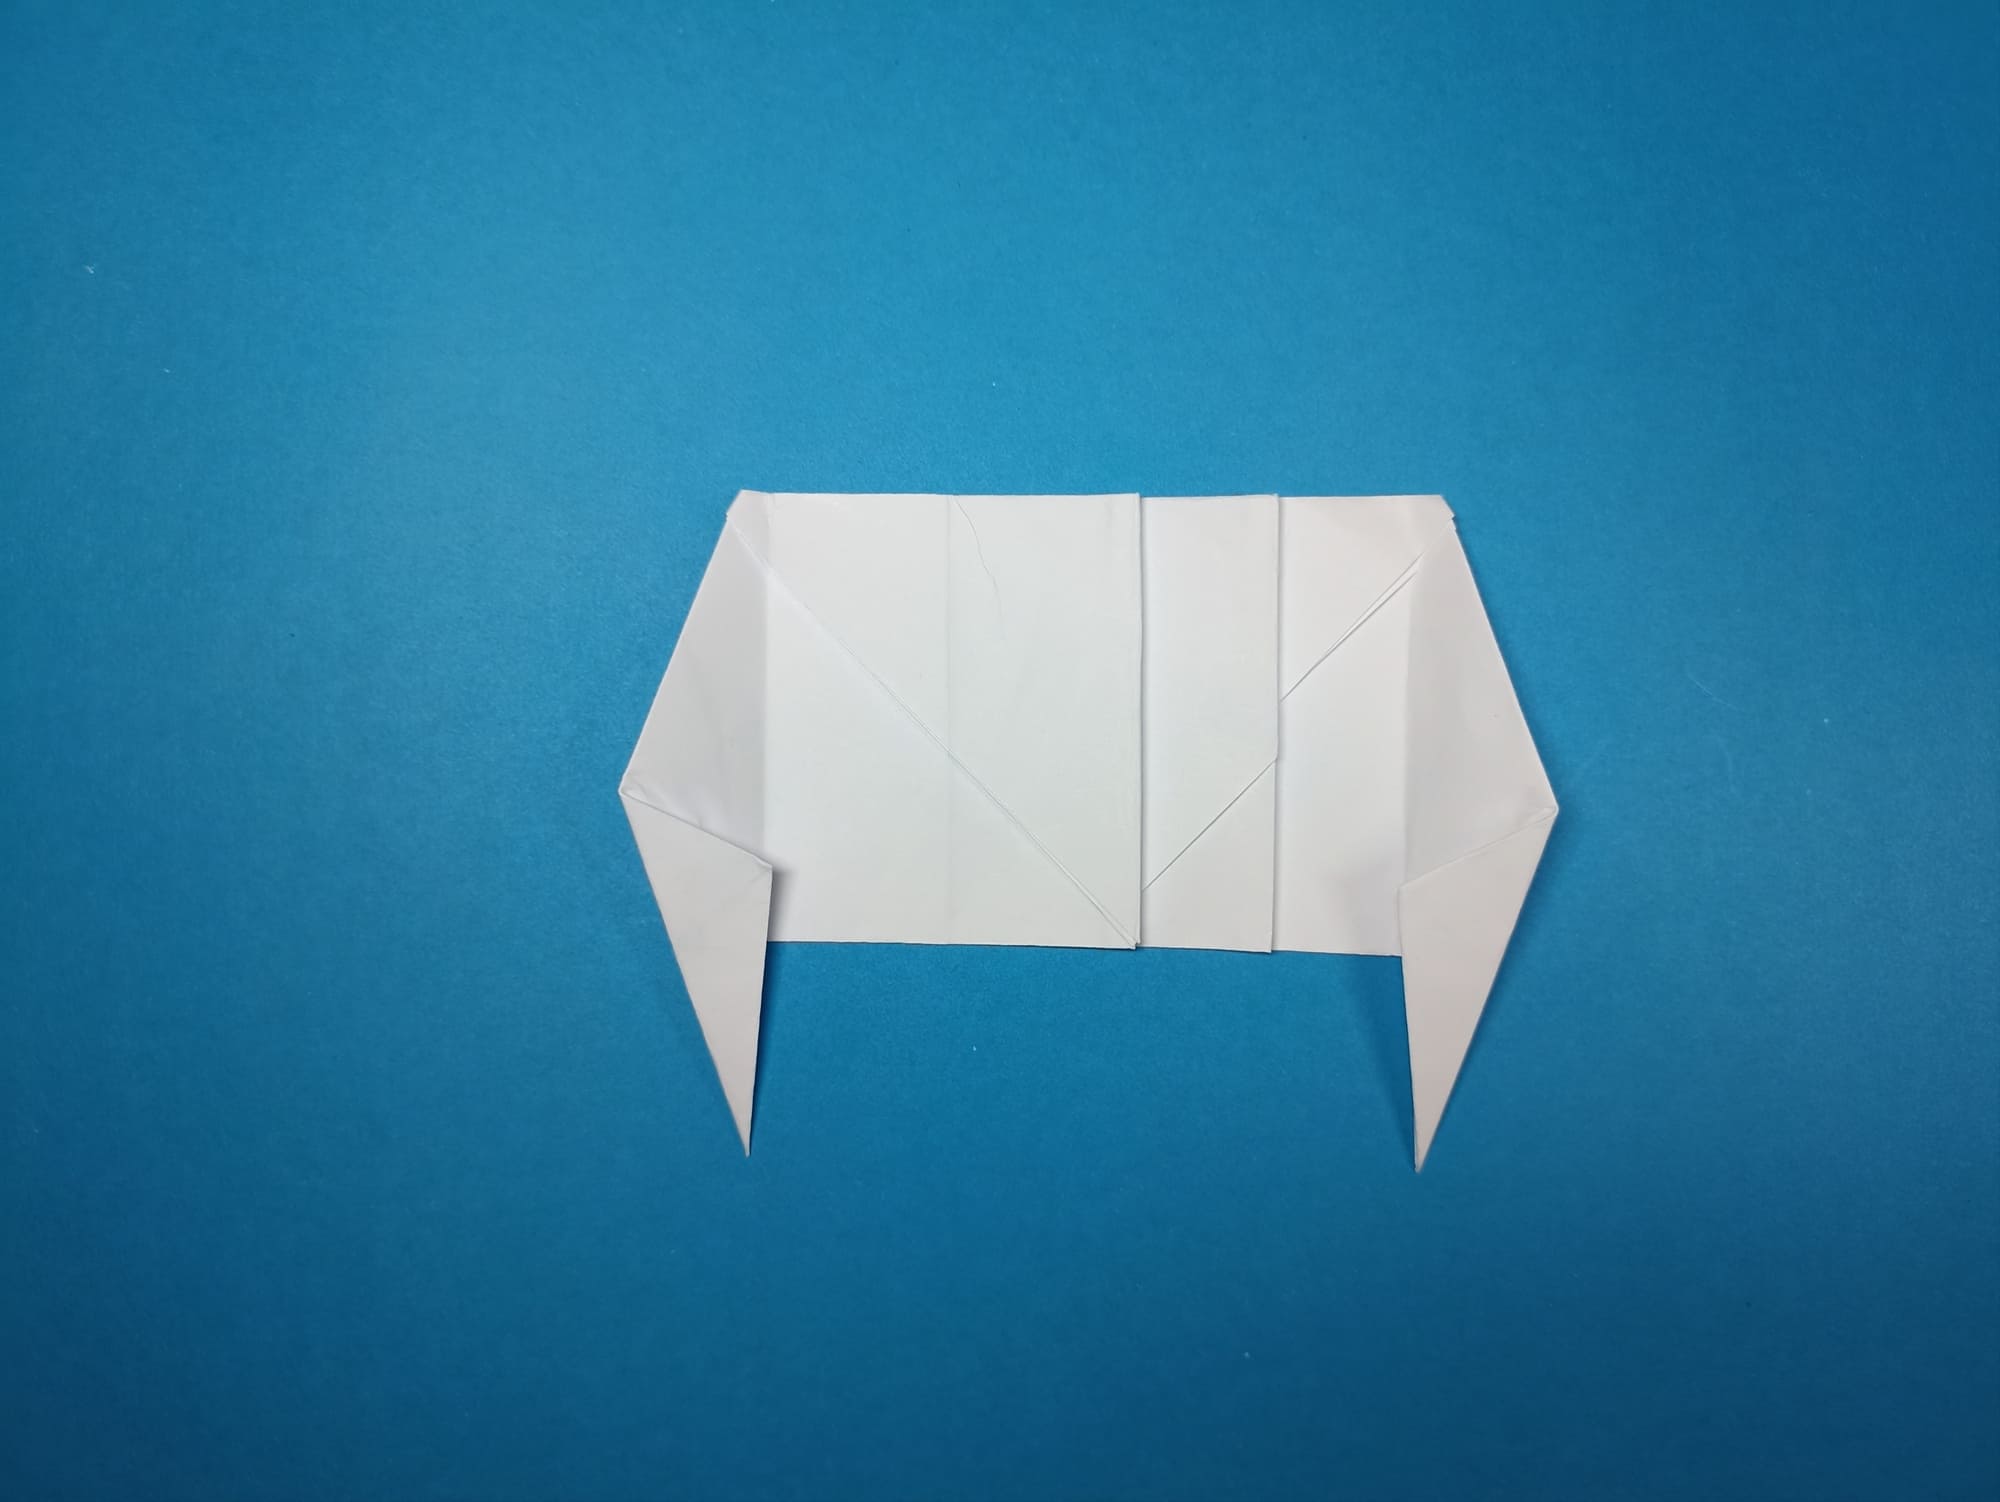
Align the side edges of the figure with the vertical middle line and straighten.
These are additional folds.
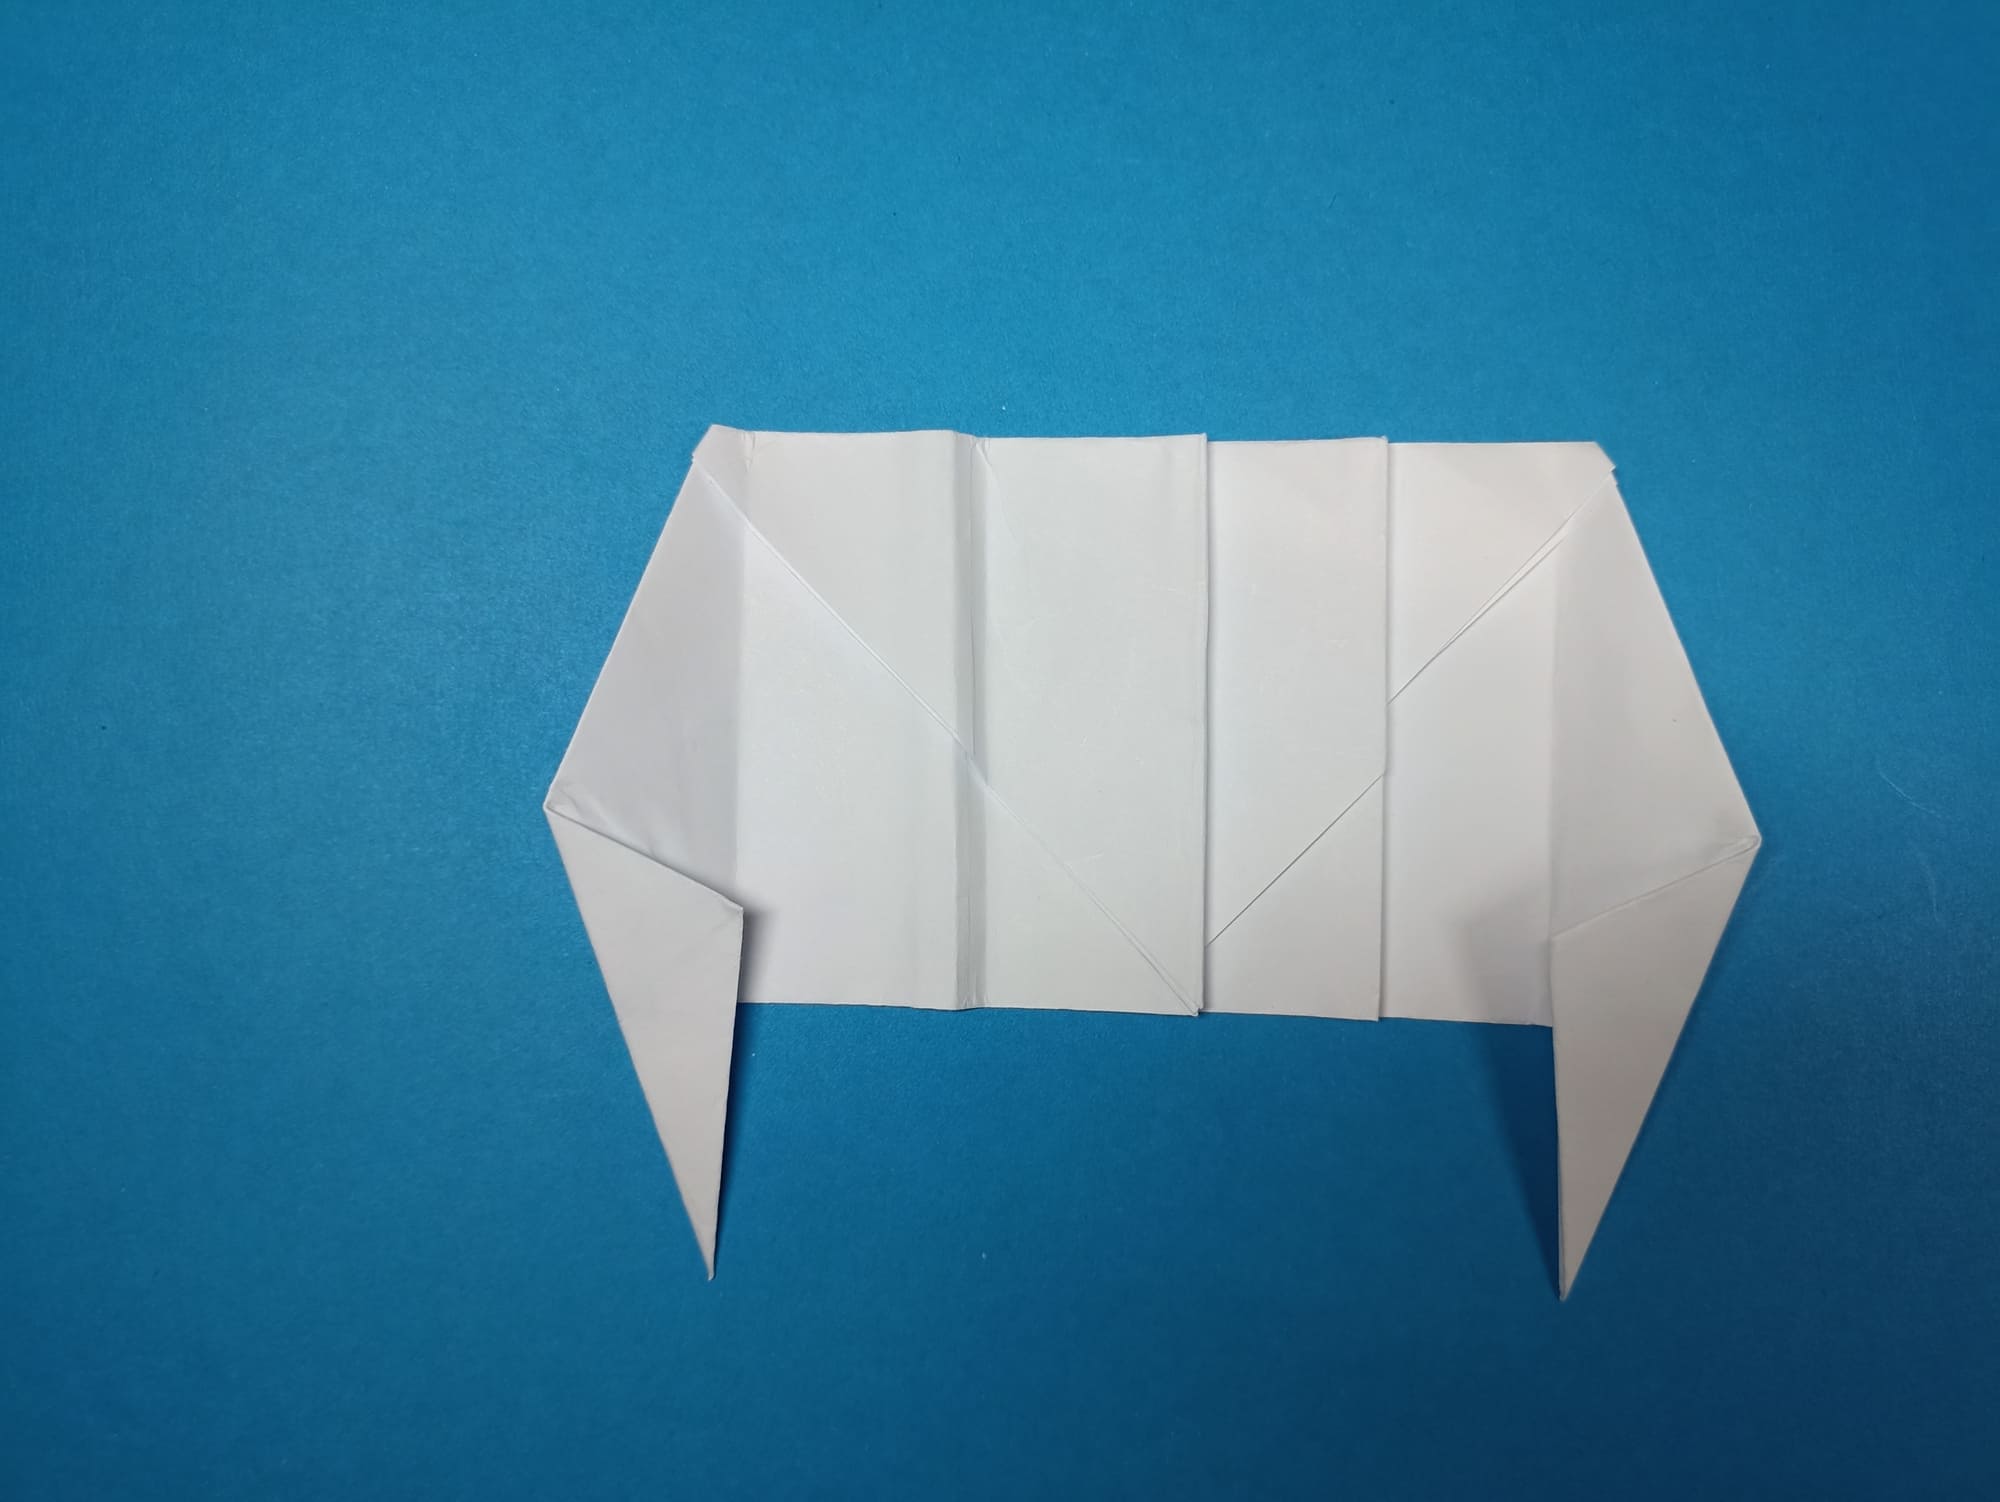
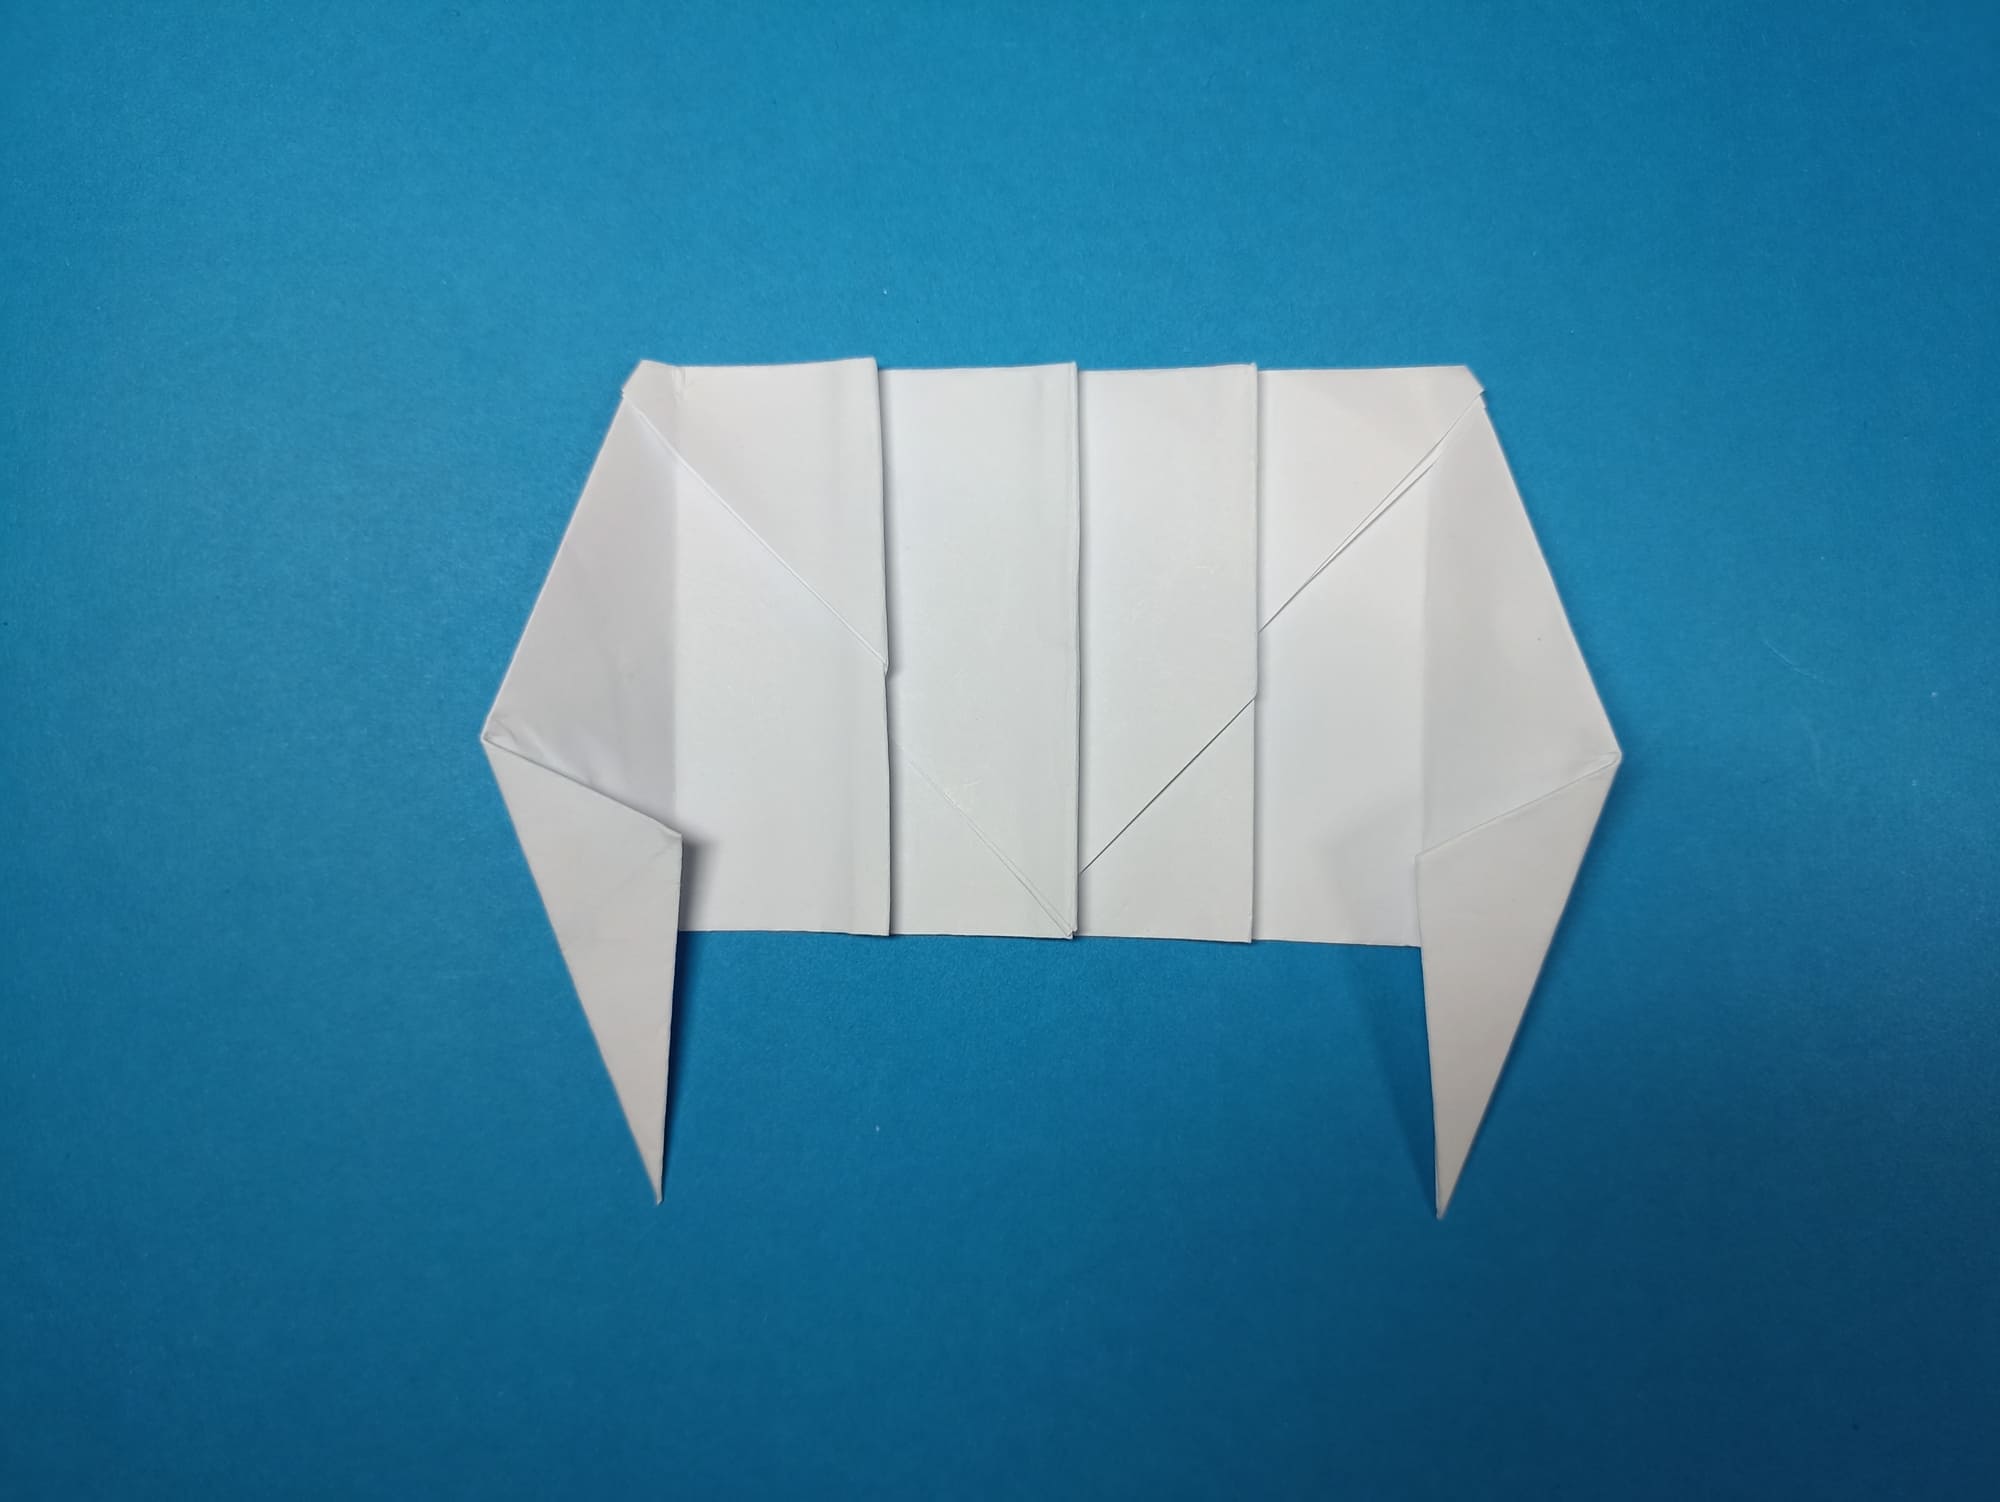
For each vertical auxiliary line, form a shallow accordion fold and compare it with the illustration.
Carefully crease the folds.
In the last step, make a small indent from the auxiliary line so that it is inside the fold (for better symmetry).
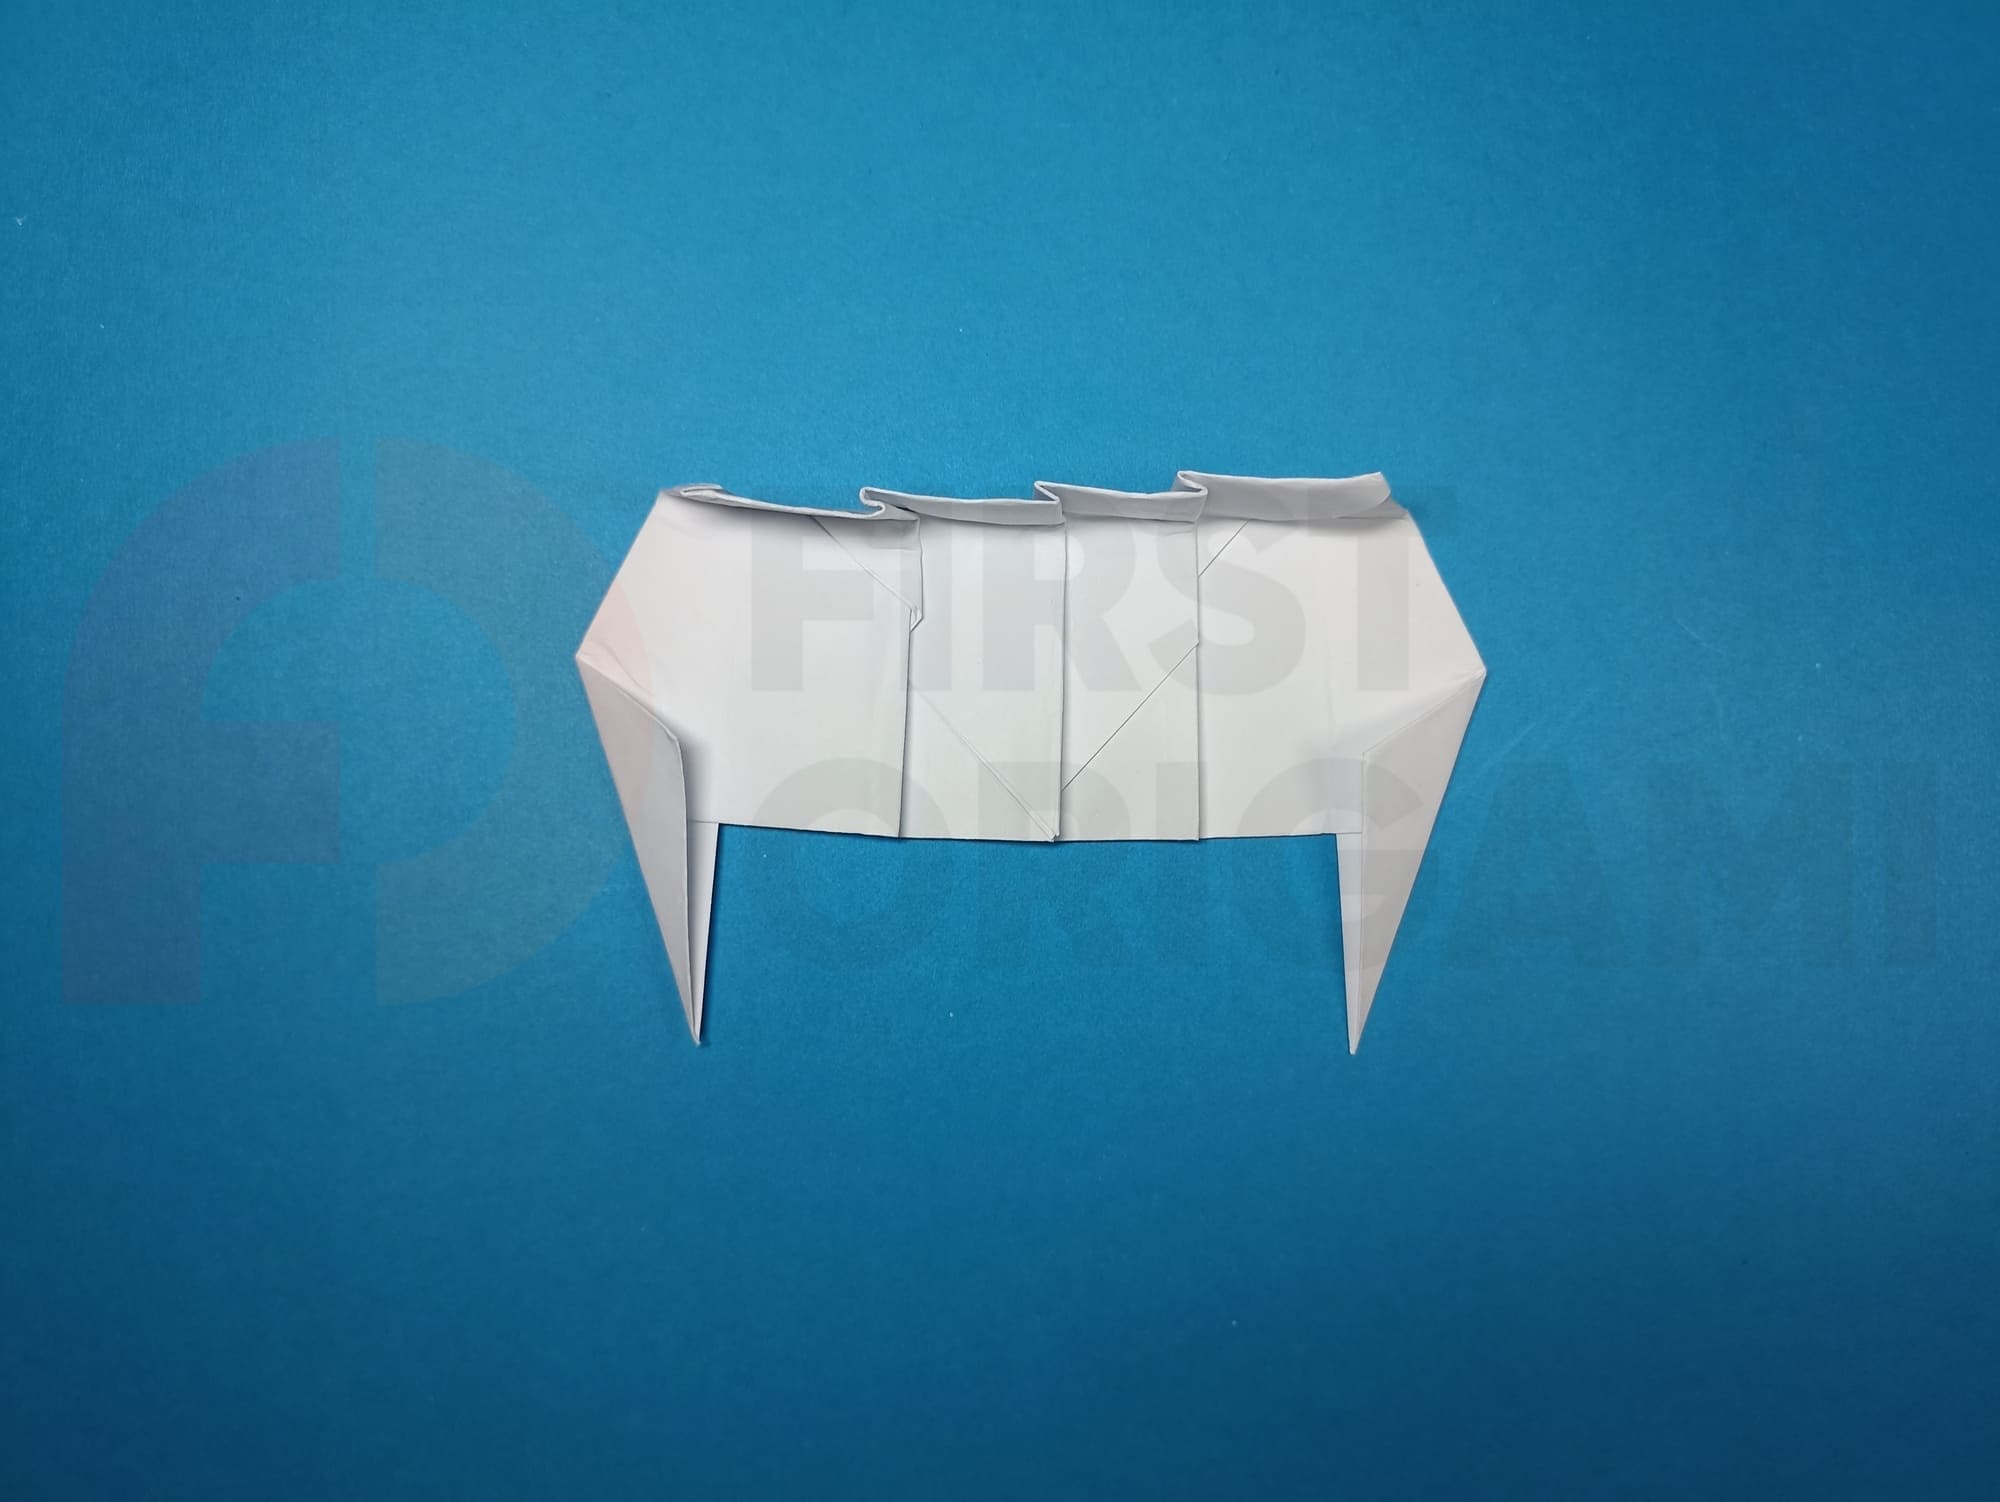
Fold the top edge with all the folds down by one-third.
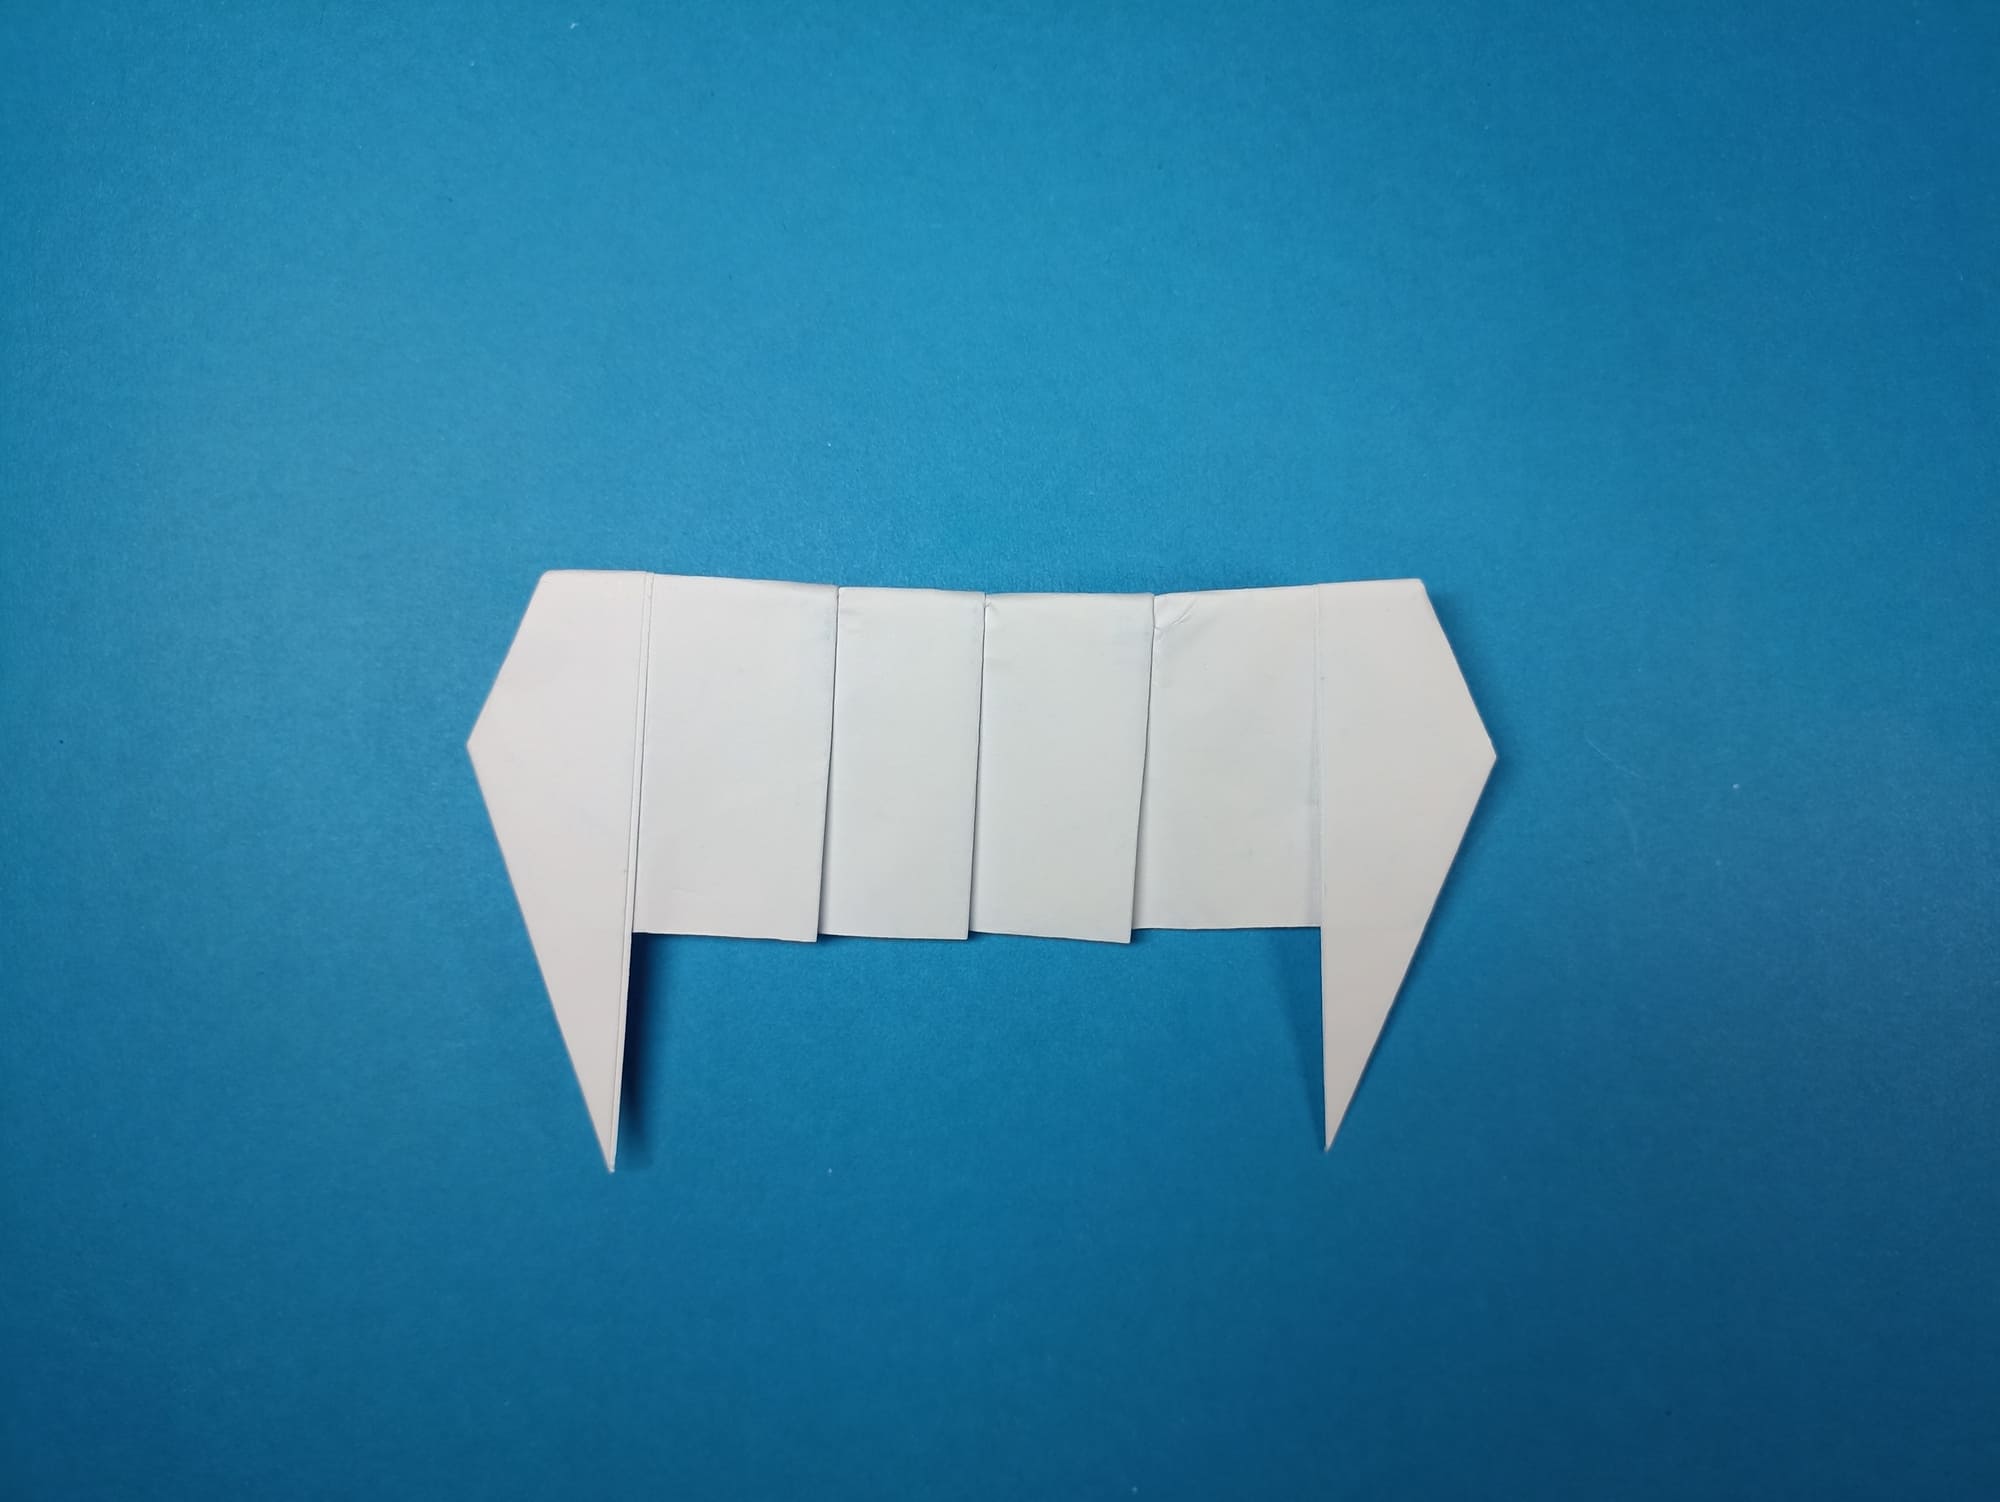
Turn the figure over.
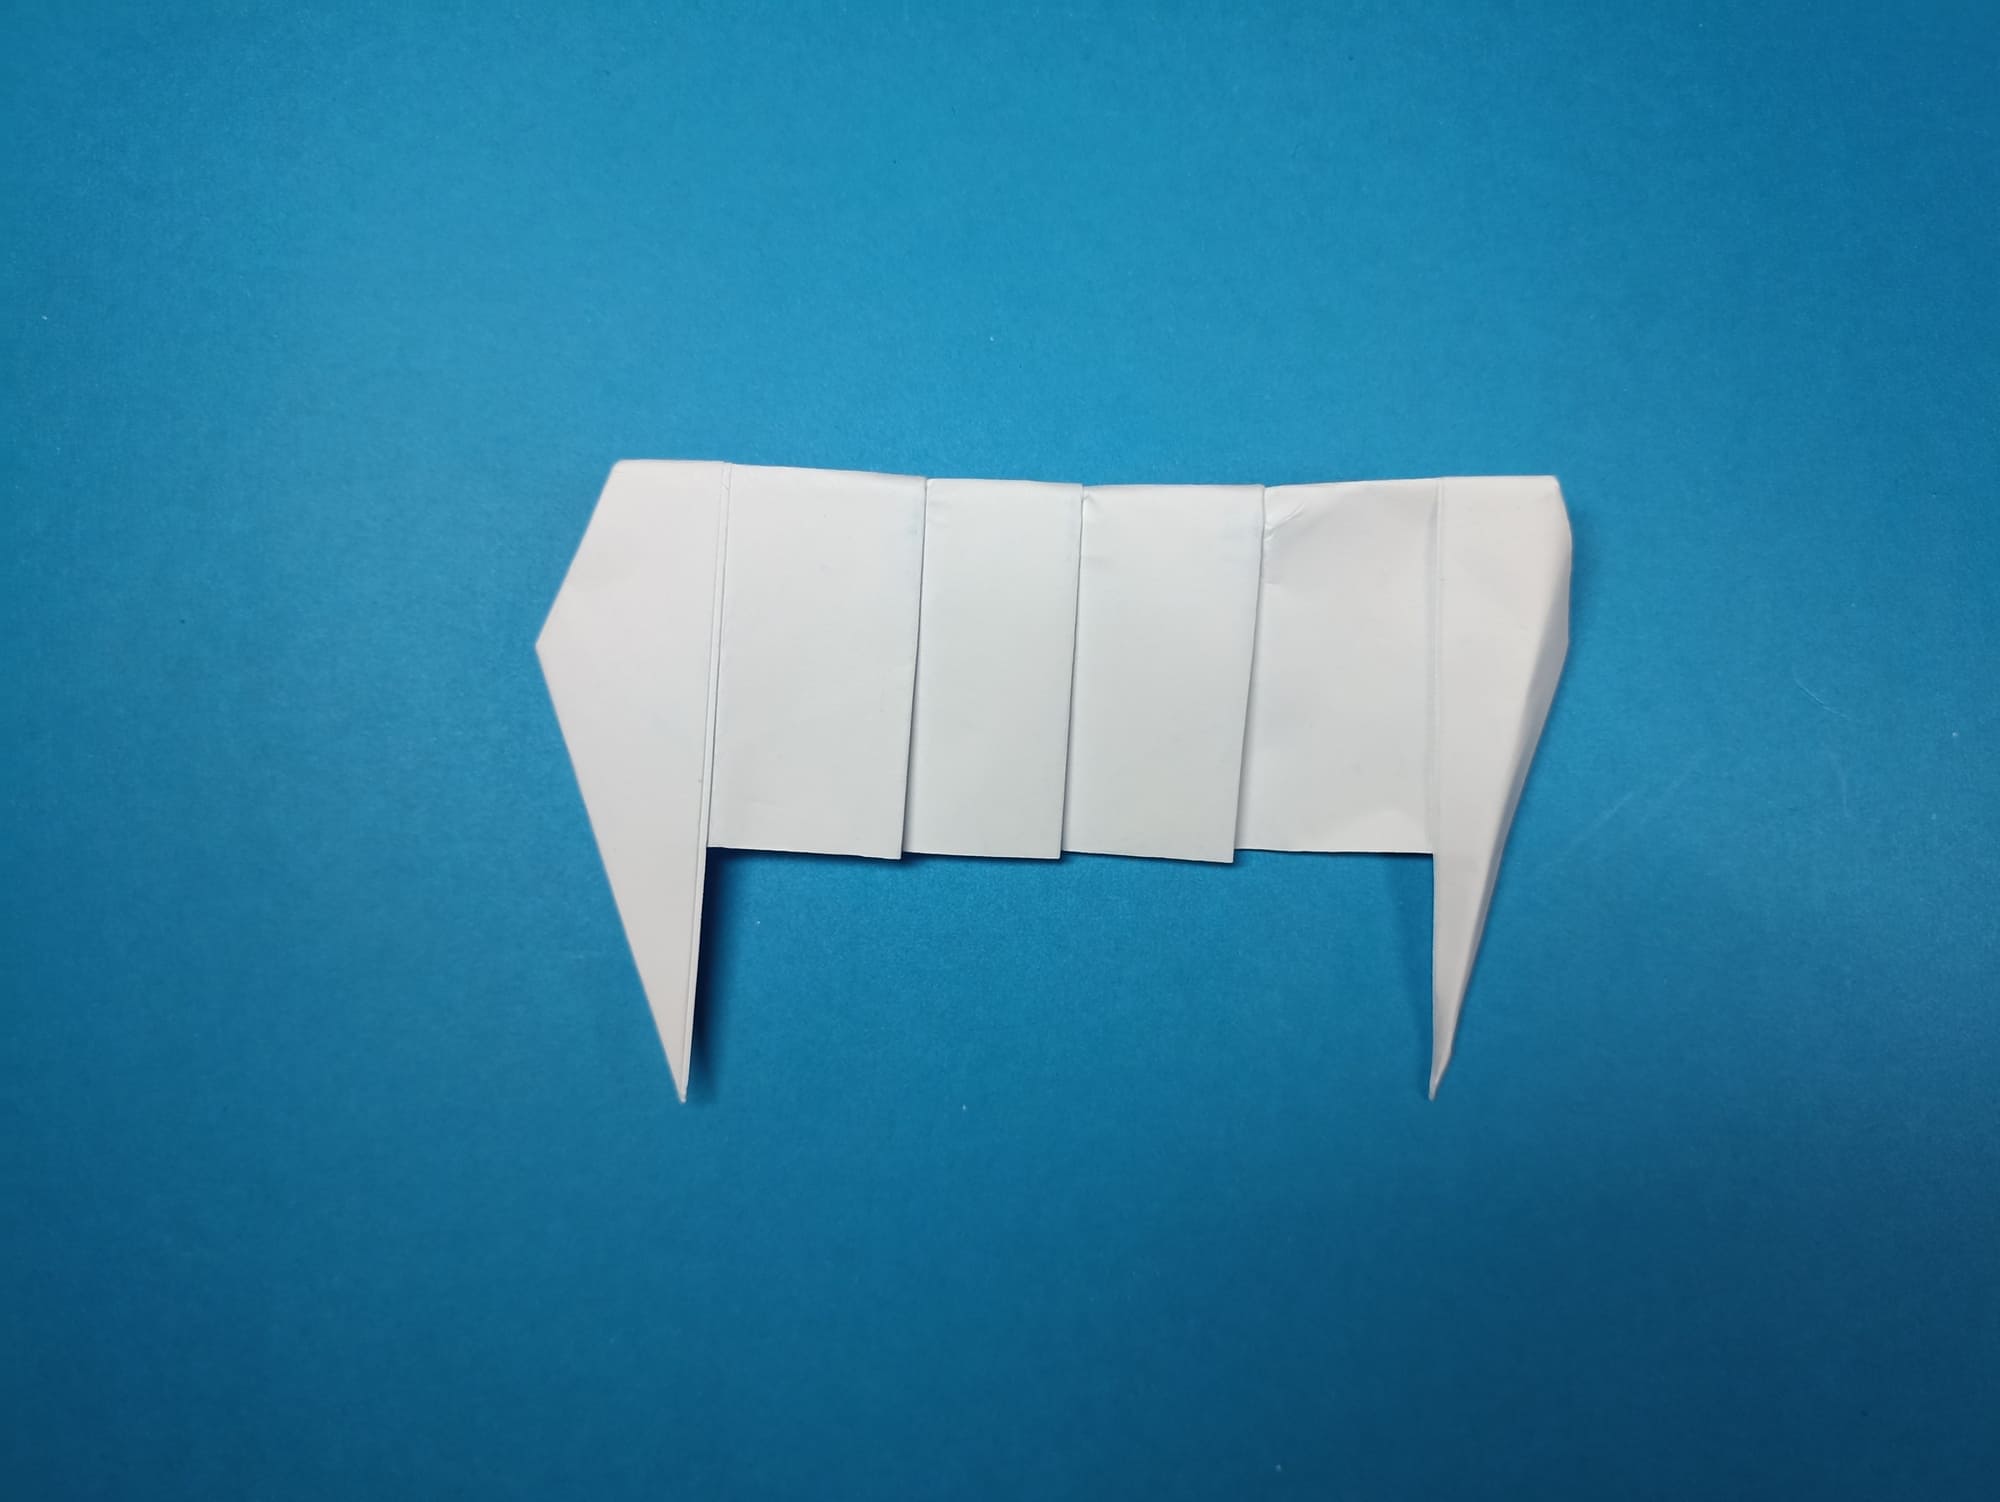
Form the convex base of the fangs by bending a sharp triangle along the center line.
Here are the fangs!
There is an important point to take into account. You can use a vampire’s smile only for a short time. For instance, you can appear fancy at the height of a party or take a few photos, then the paper will get wet and become unusable.


