Origami Vulture Airplane
The airplane according to the proposed assembly instructions turns out to be small, but very beautiful. Swept wings, a customizable flight path in the form of keels, and a durable body make the model interesting and unlike others. The vulture is very nimble and swift, performs a full turn with a 360-degree turn and returns to its pilot.
The assembly process is complex and includes 16 steps. Some steps contain two symmetrical folds. The process description and illustrations will help you cope with the task. The main thing is to show diligence and attentiveness.
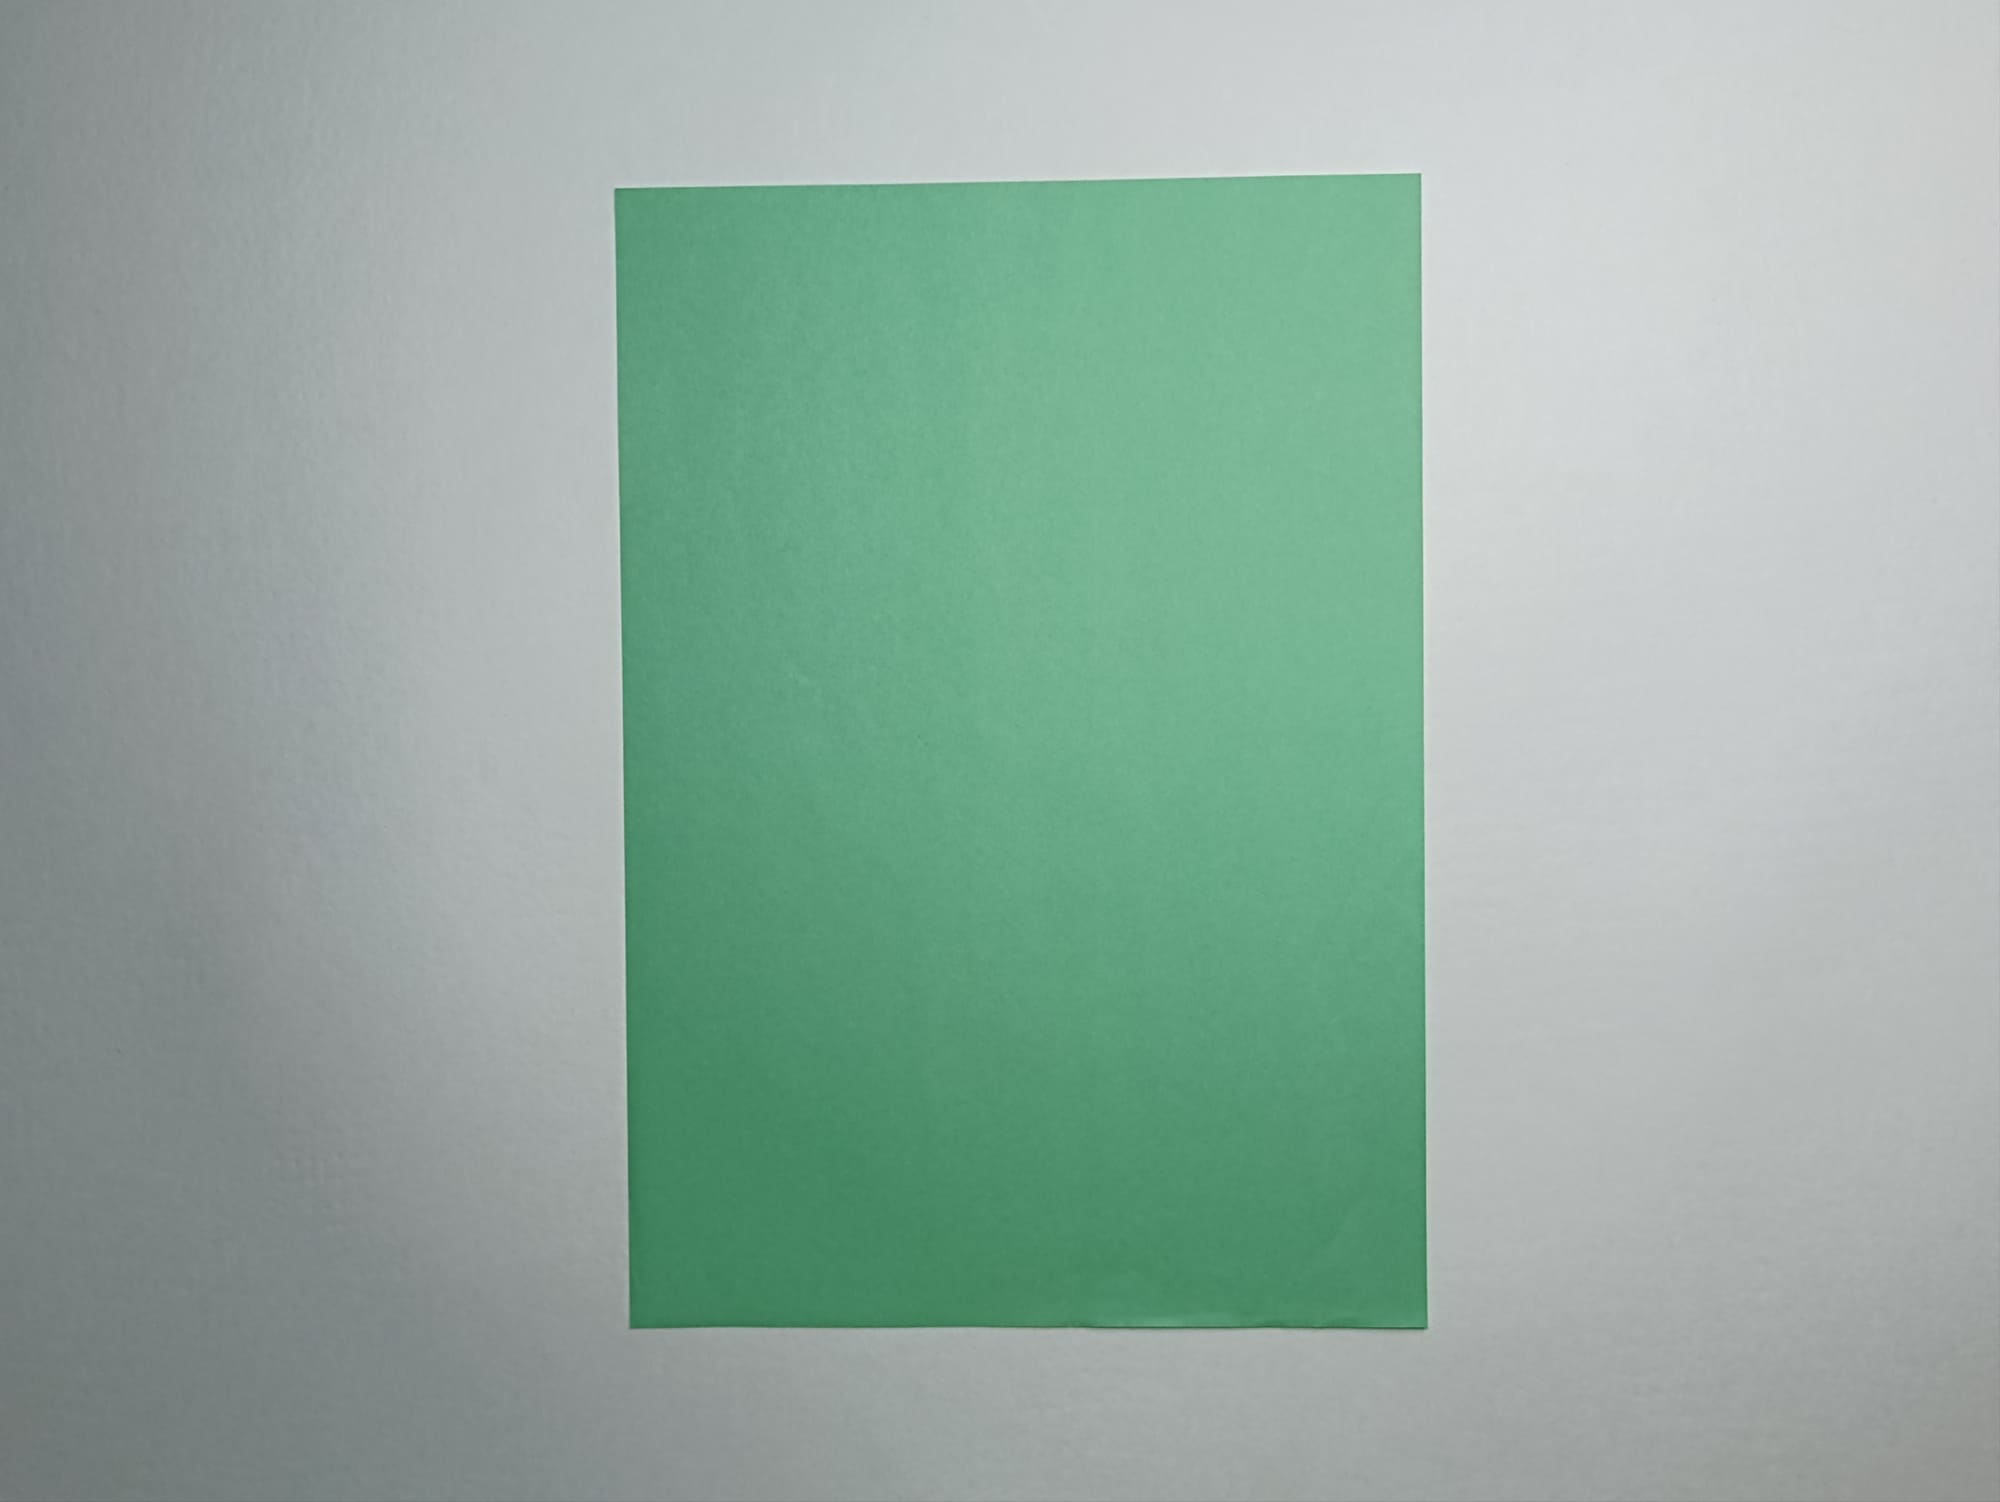
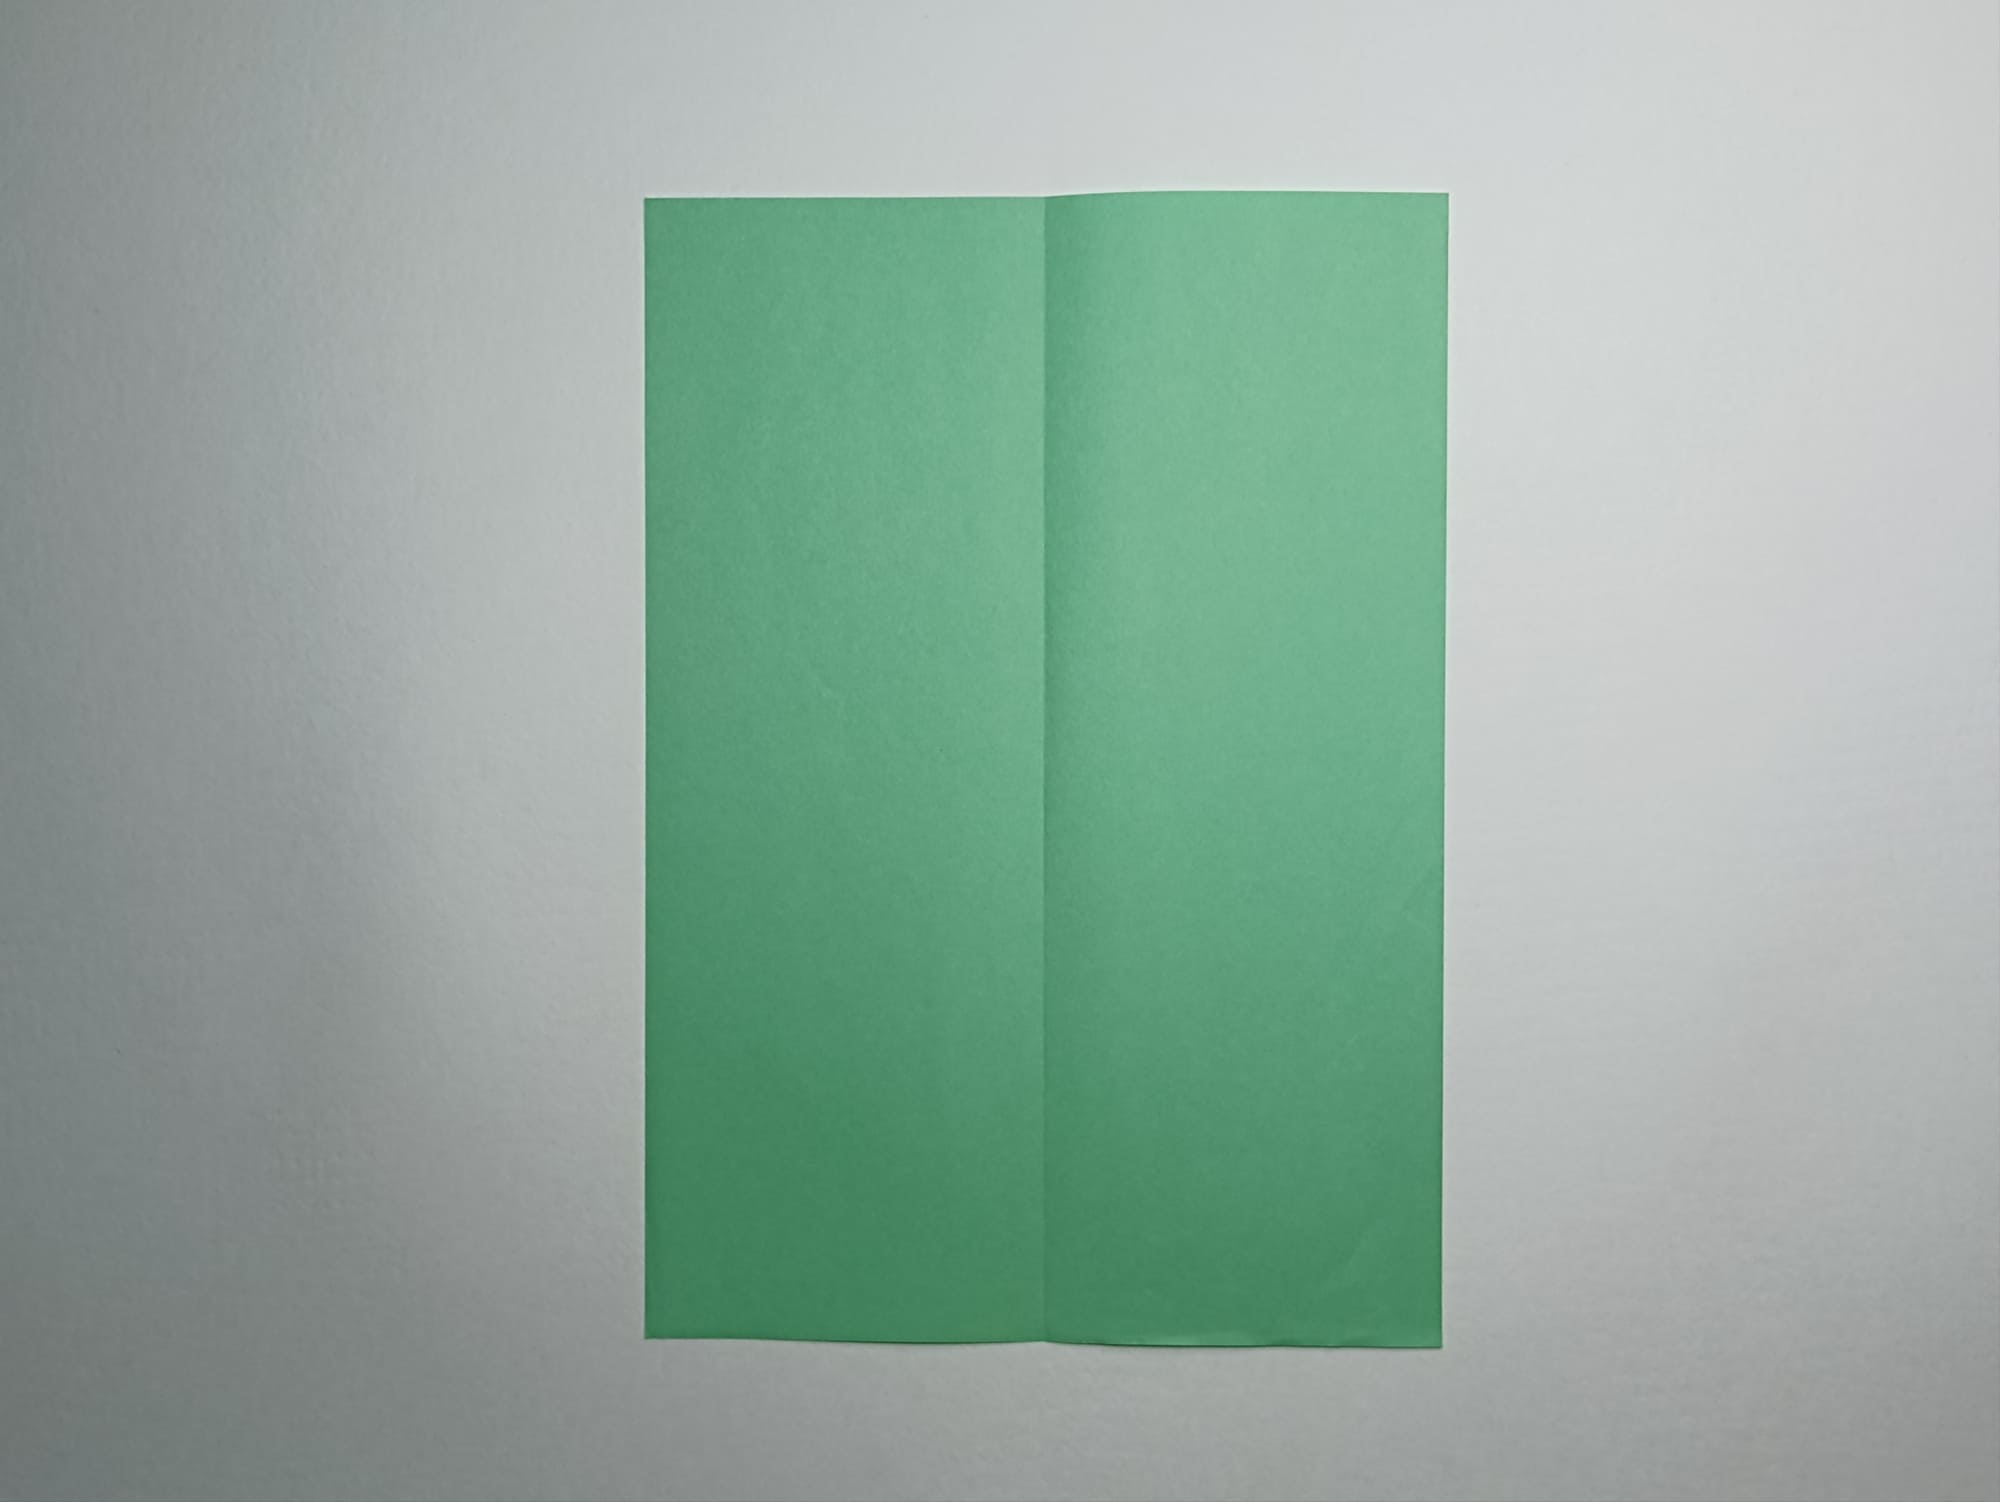
To create this aircraft, select a sheet of paper and mark a vertical fold, aligning the sides and creasing the fold.
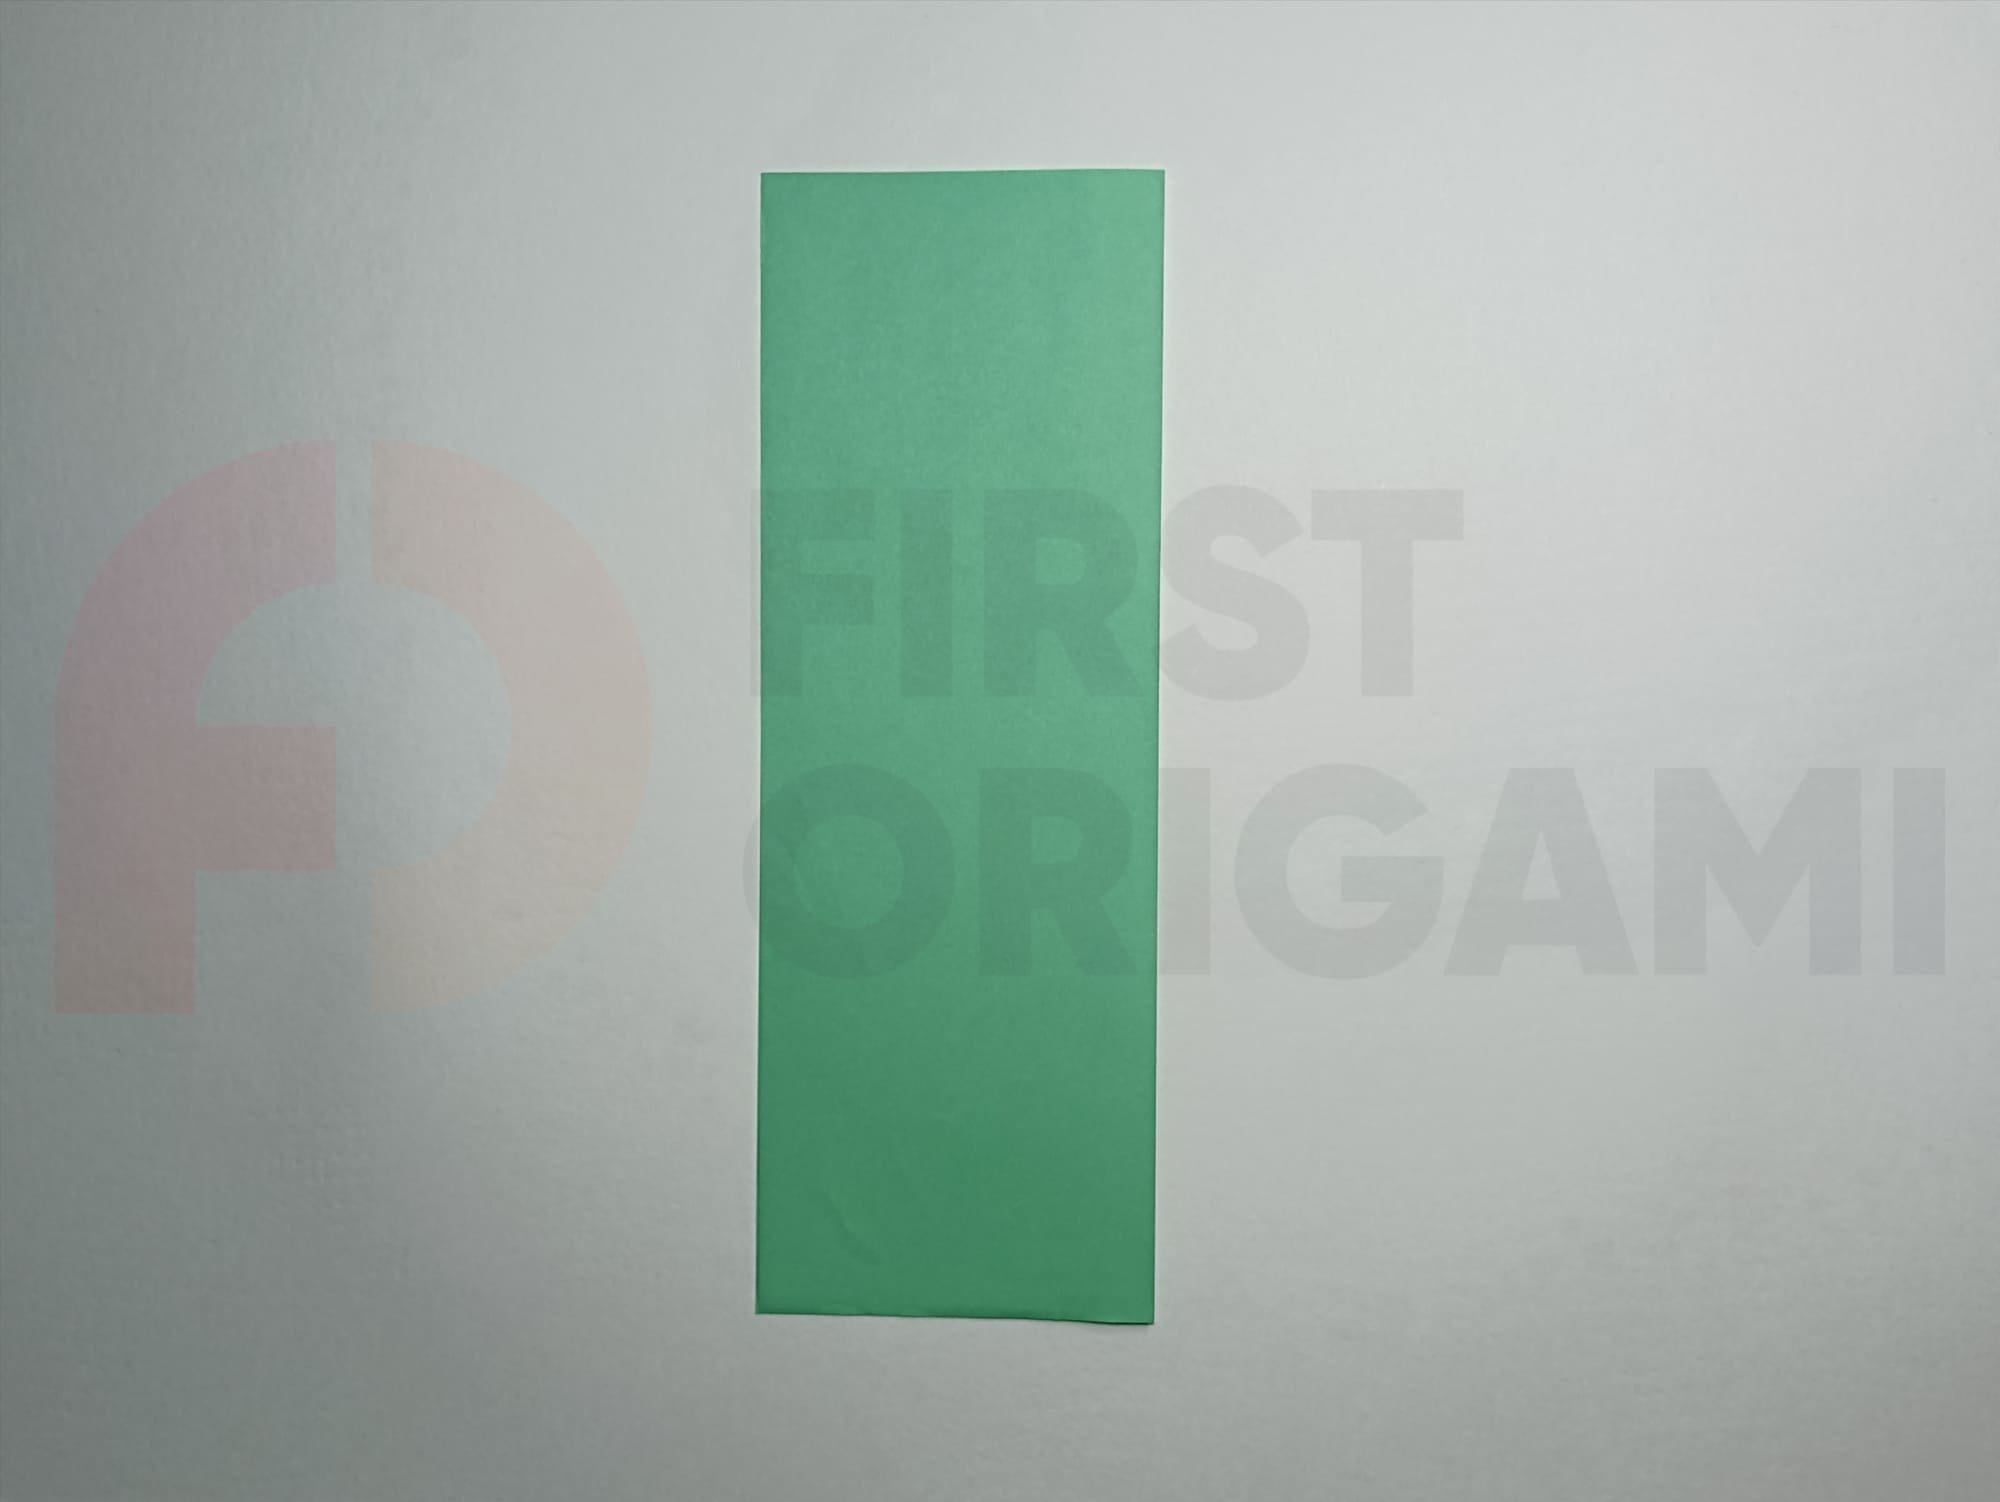
Then, straighten the sheet of paper back to its original state.
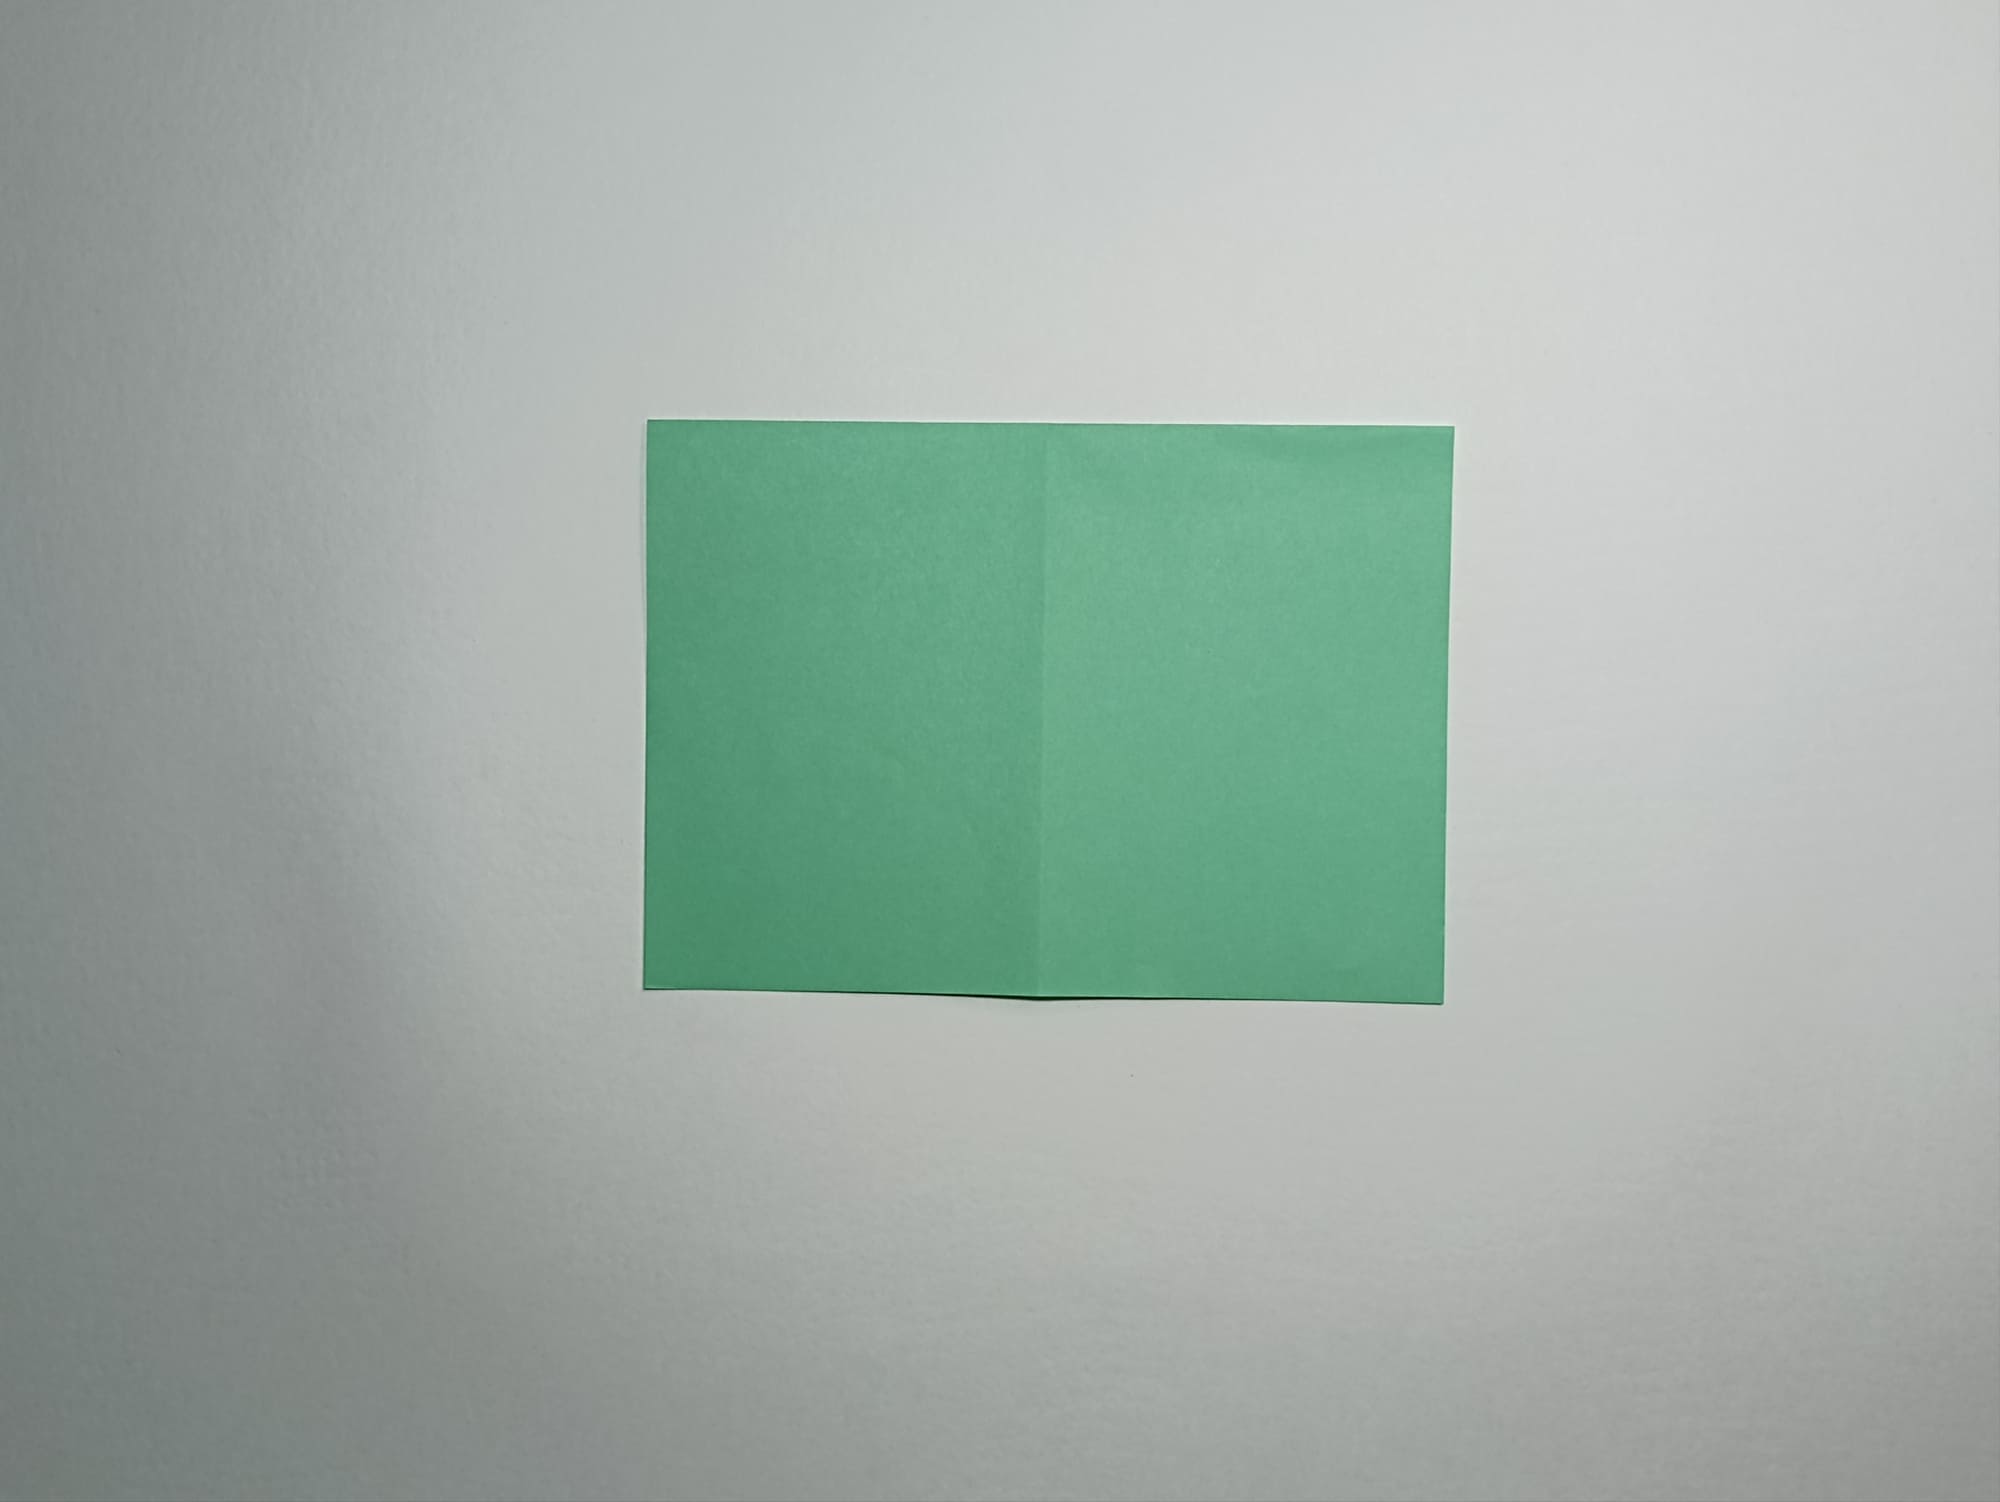
Make a horizontal fold, aligning the top and bottom sides of the rectangle.
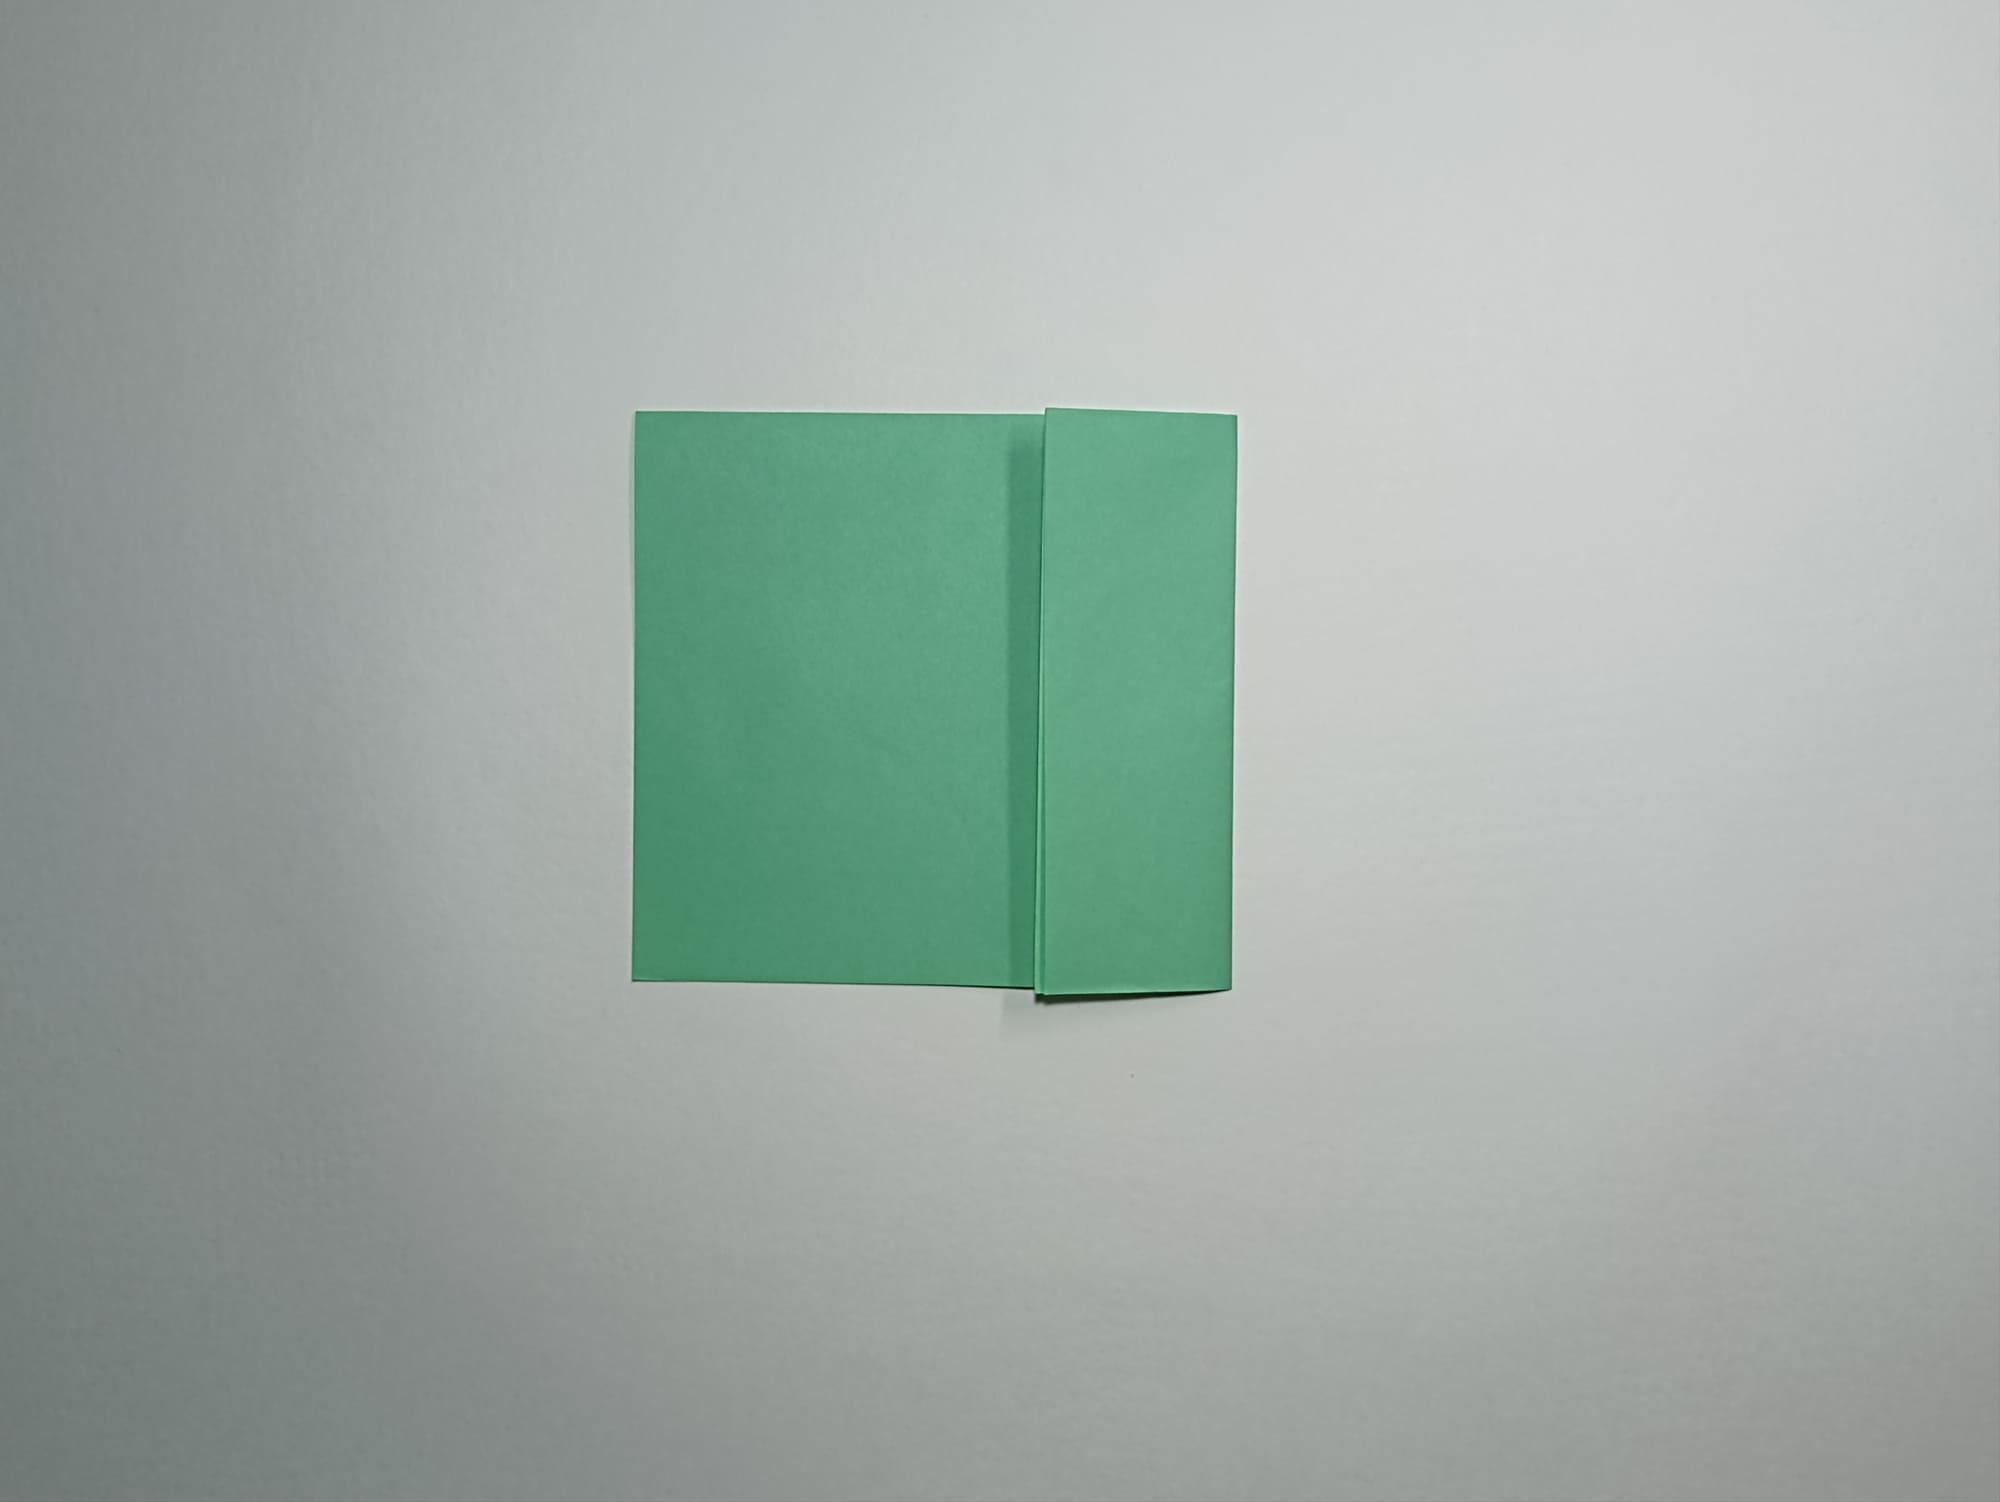
Align one side with the middle, with the line marked earlier.
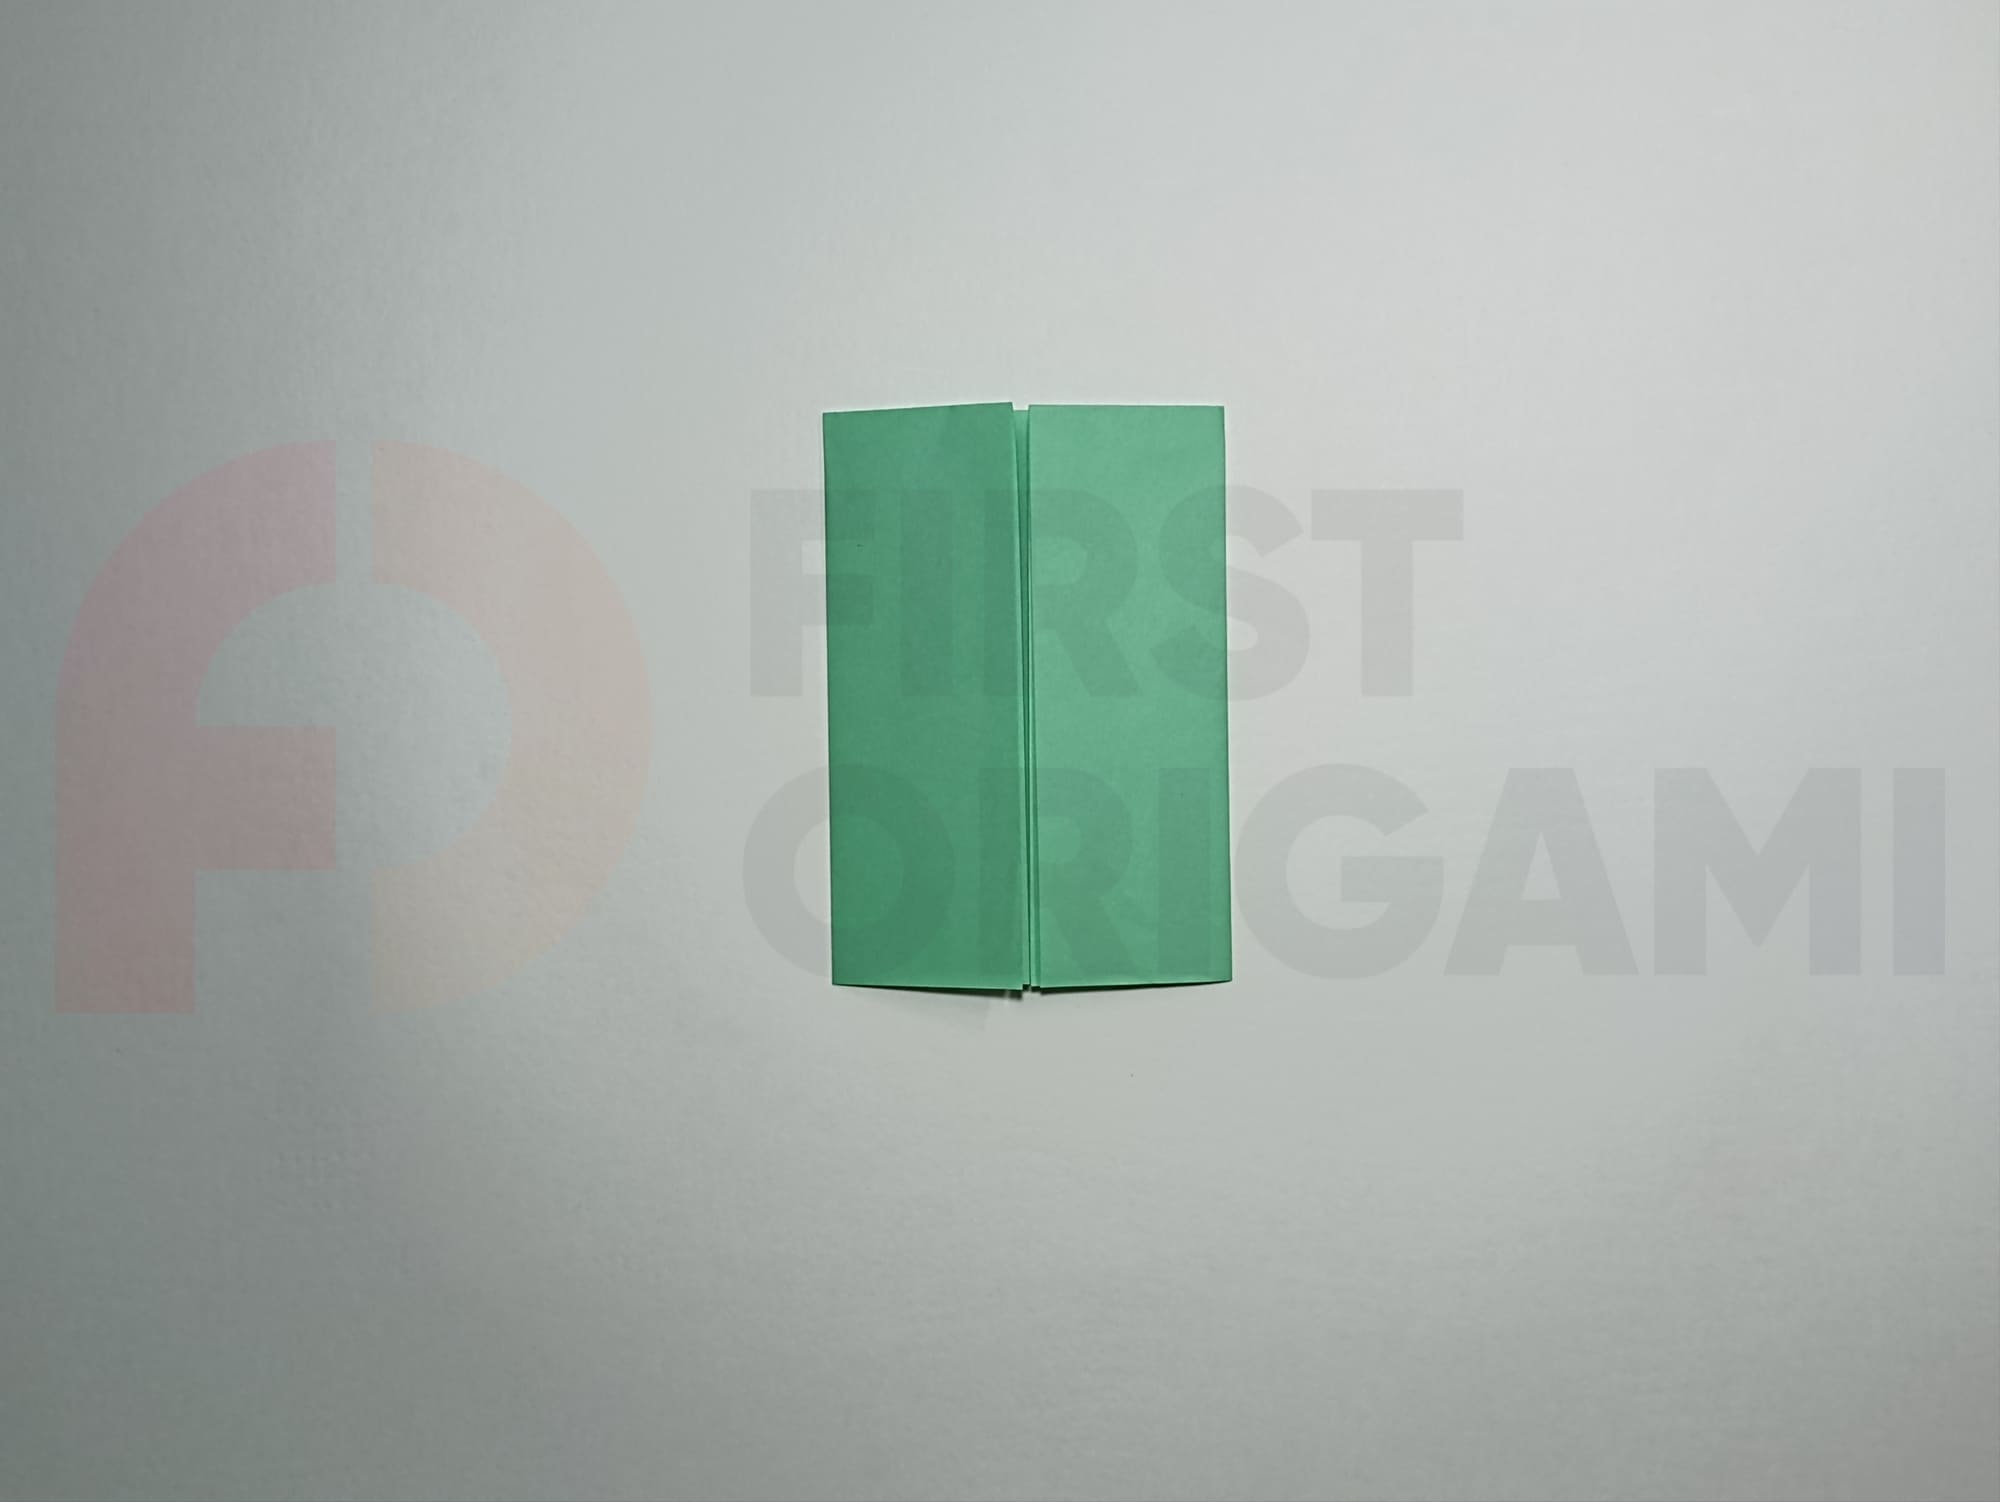
Bend the other side towards the middle as well.
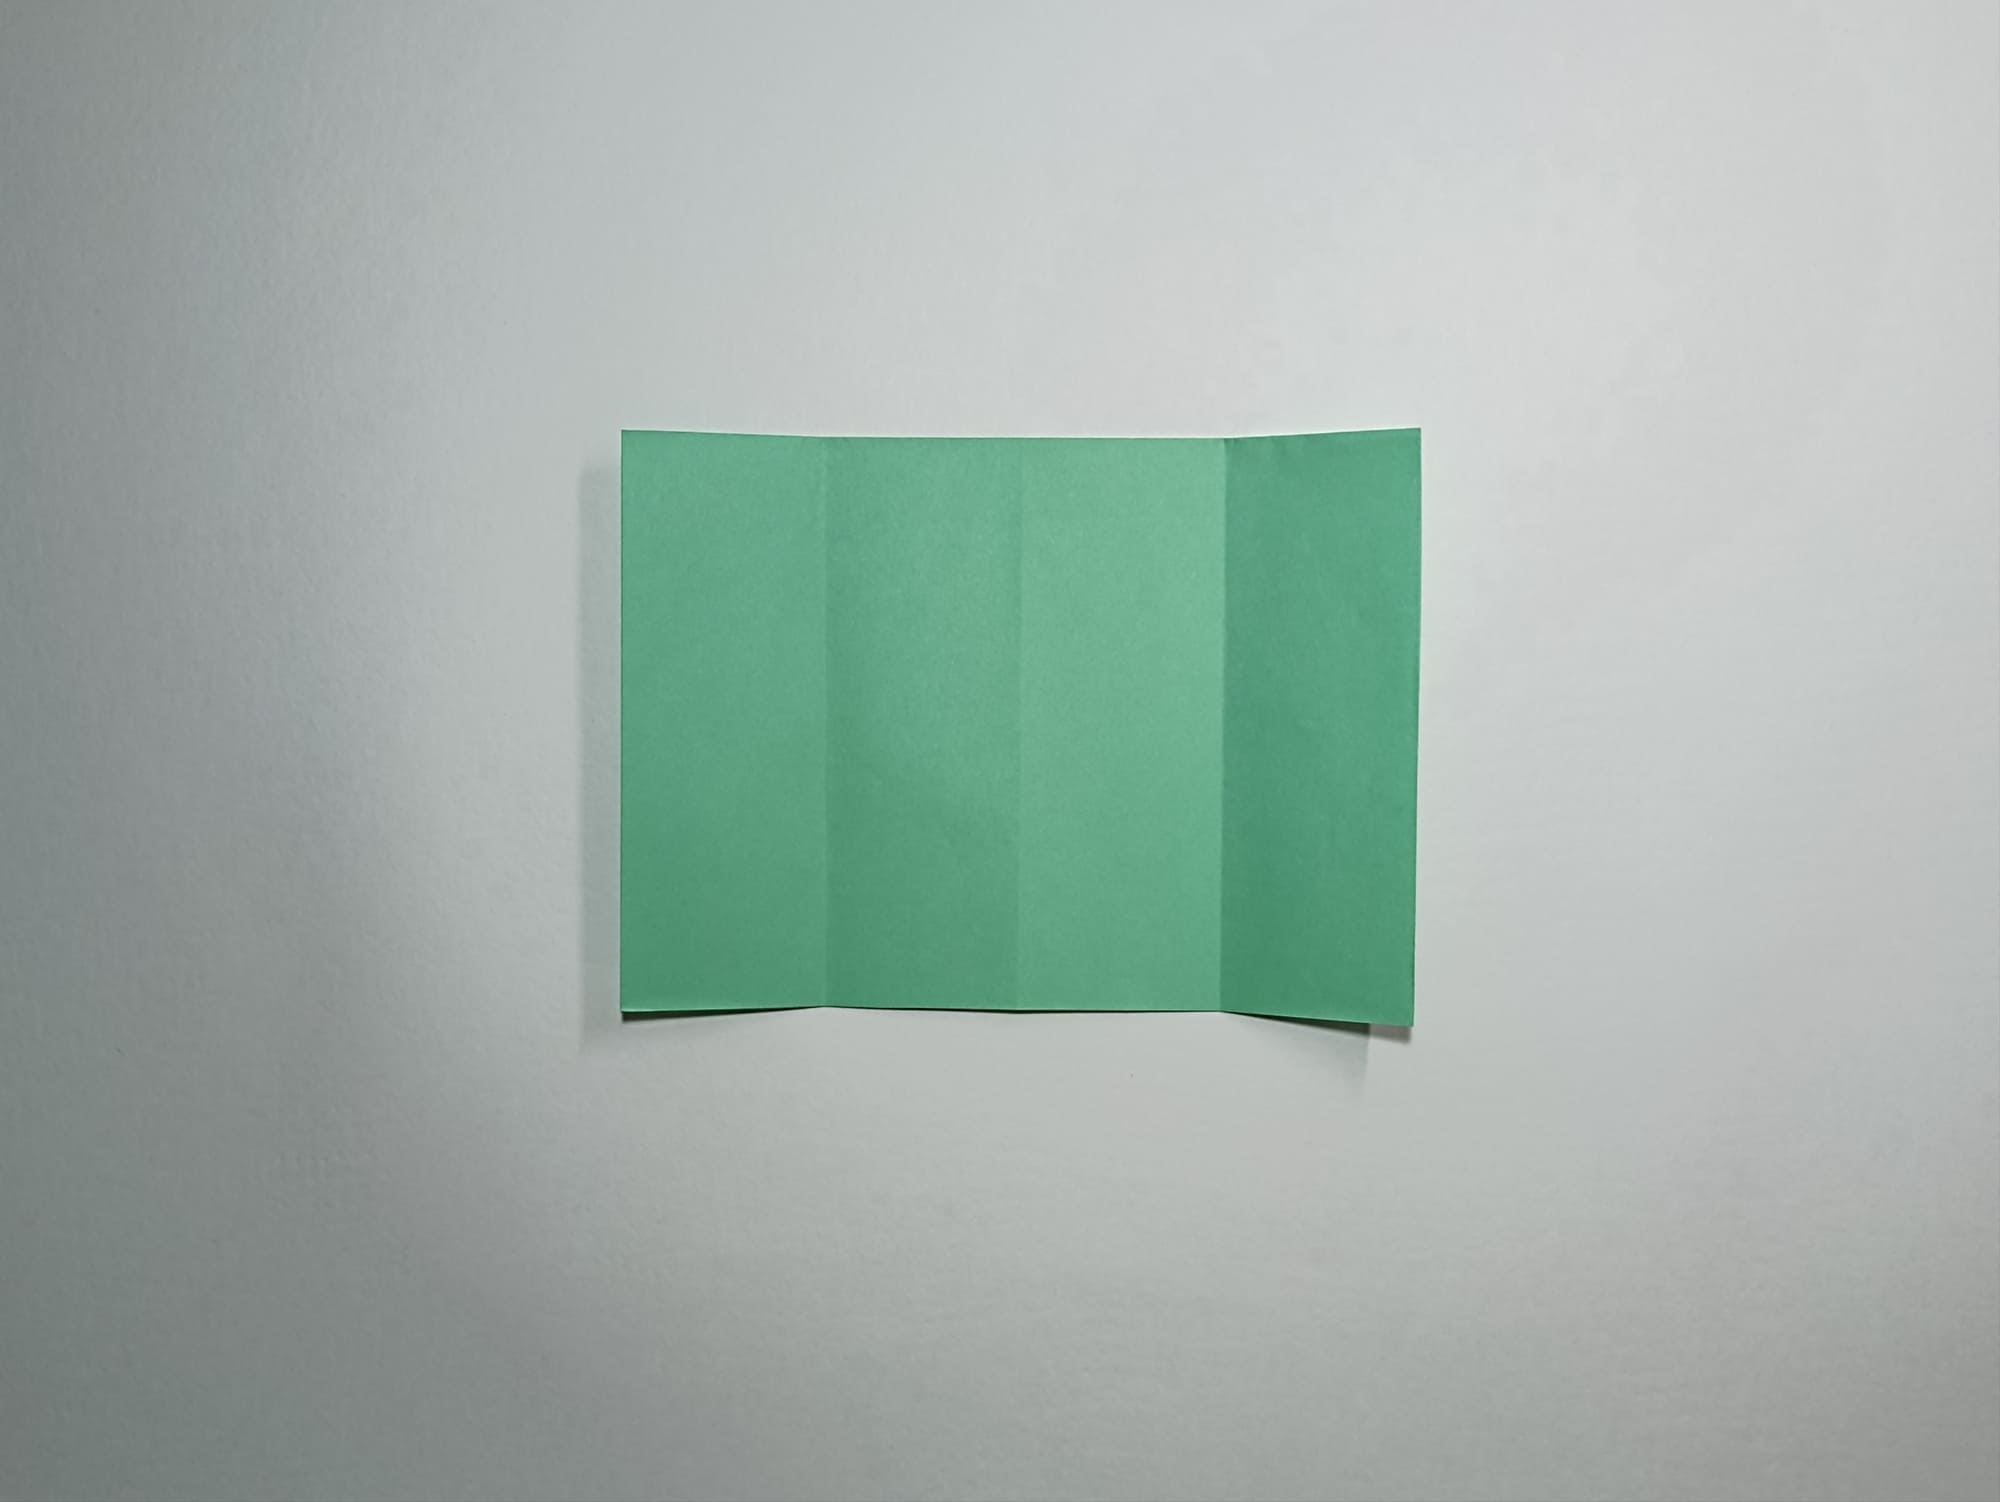
Open the folds back. Three outlined vertical lines appeared on the sheet of paper.
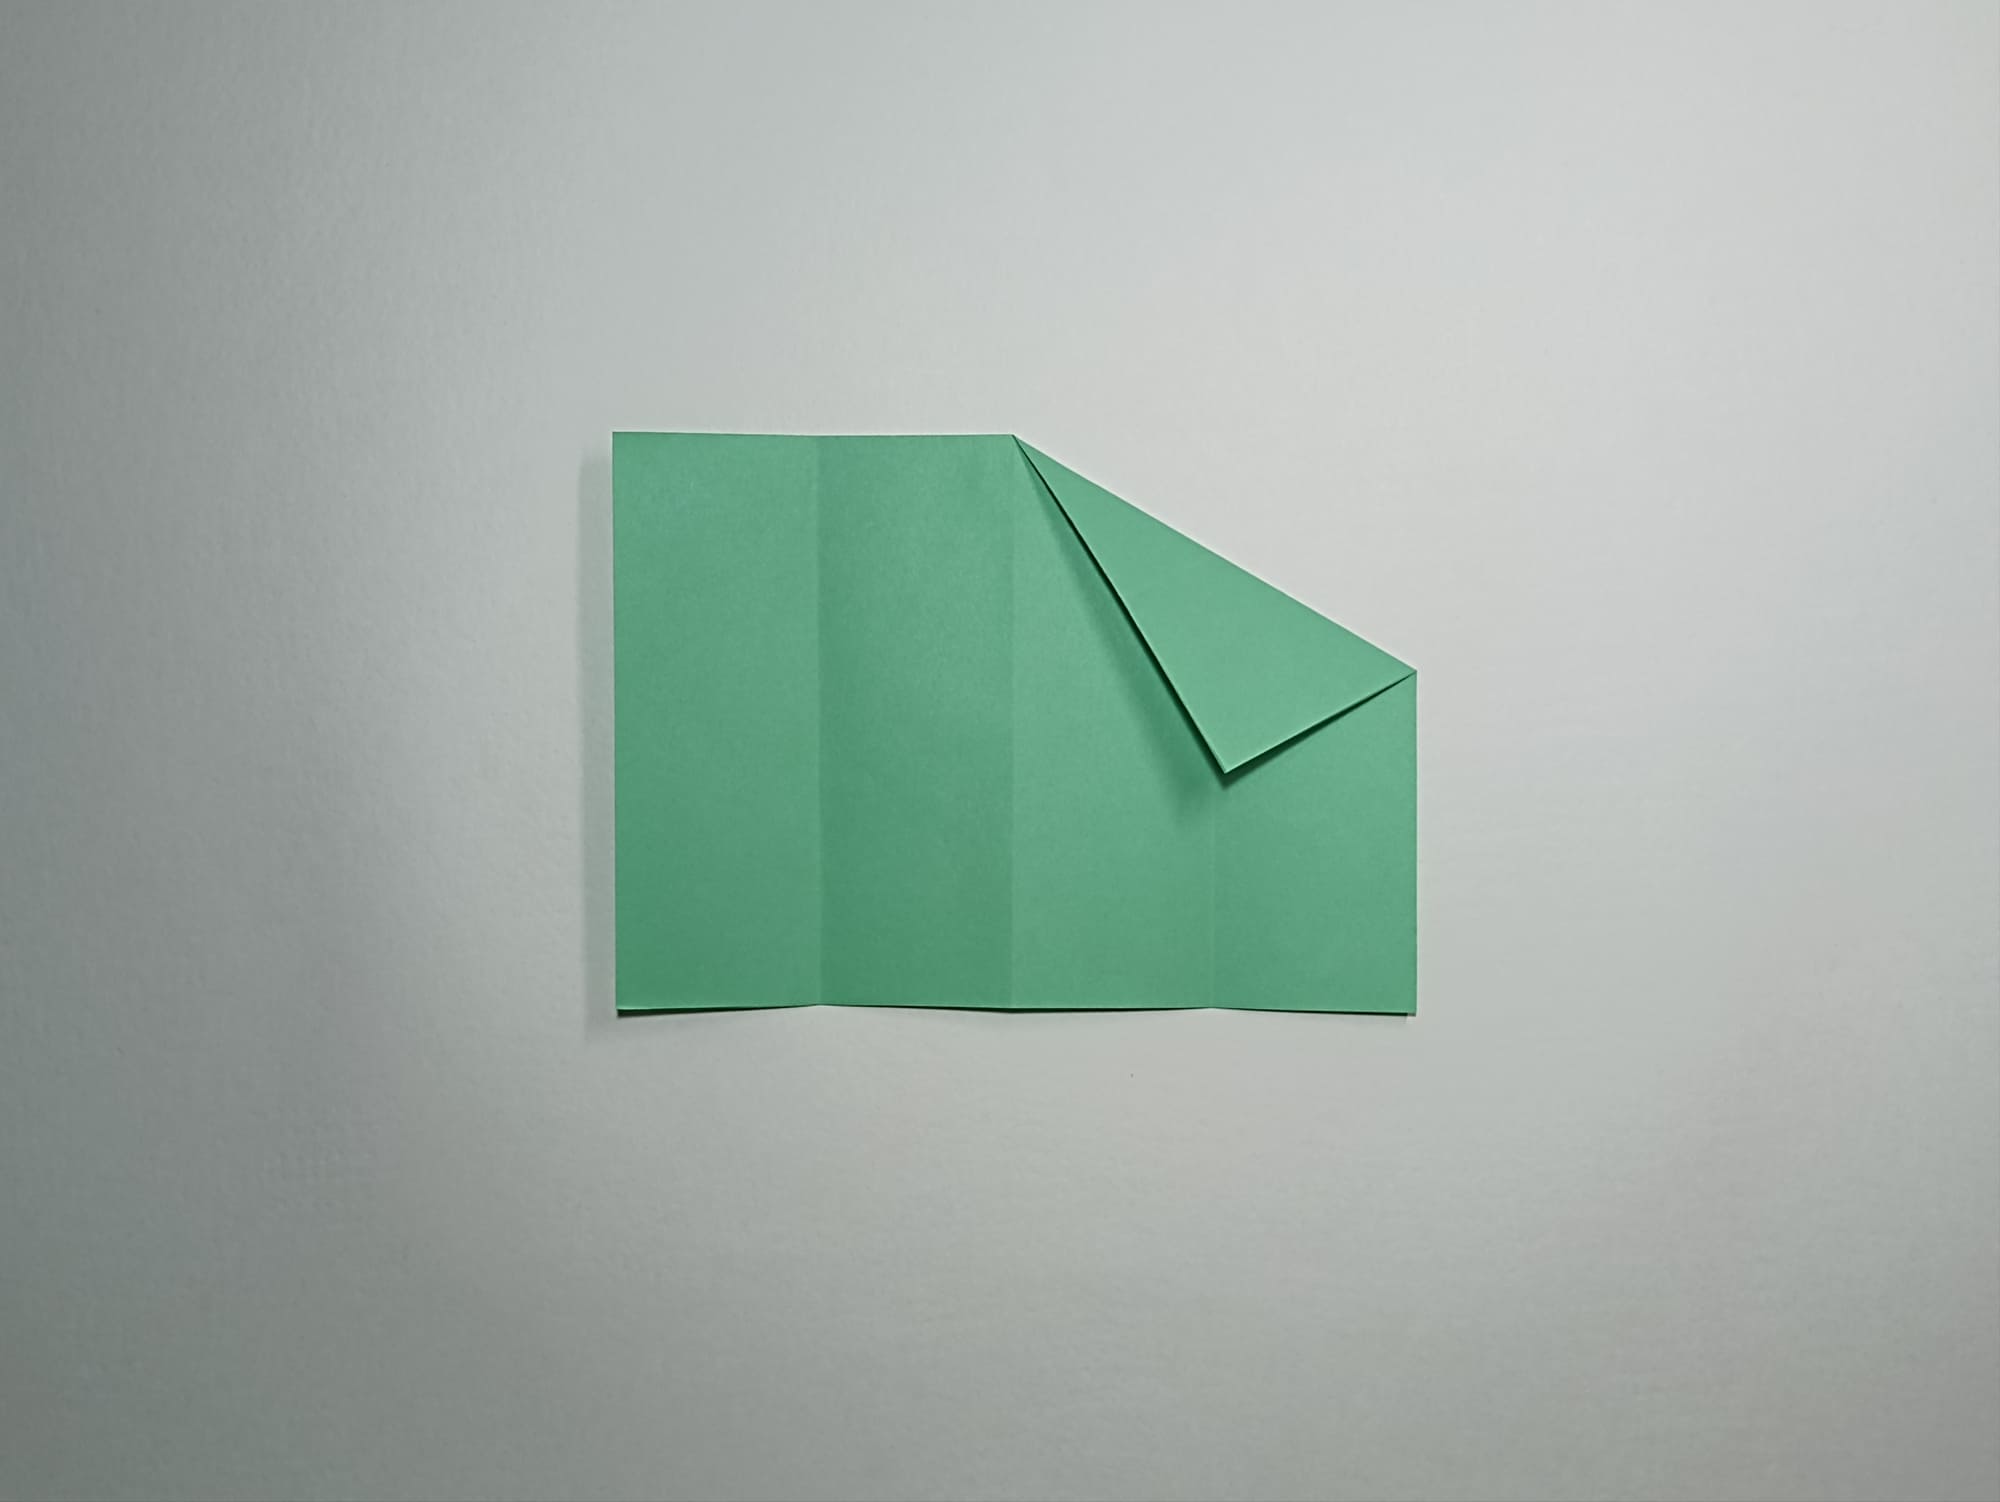
Fold a triangle with a corner in the center of the figure and the top located on the side line marked earlier on the right side.
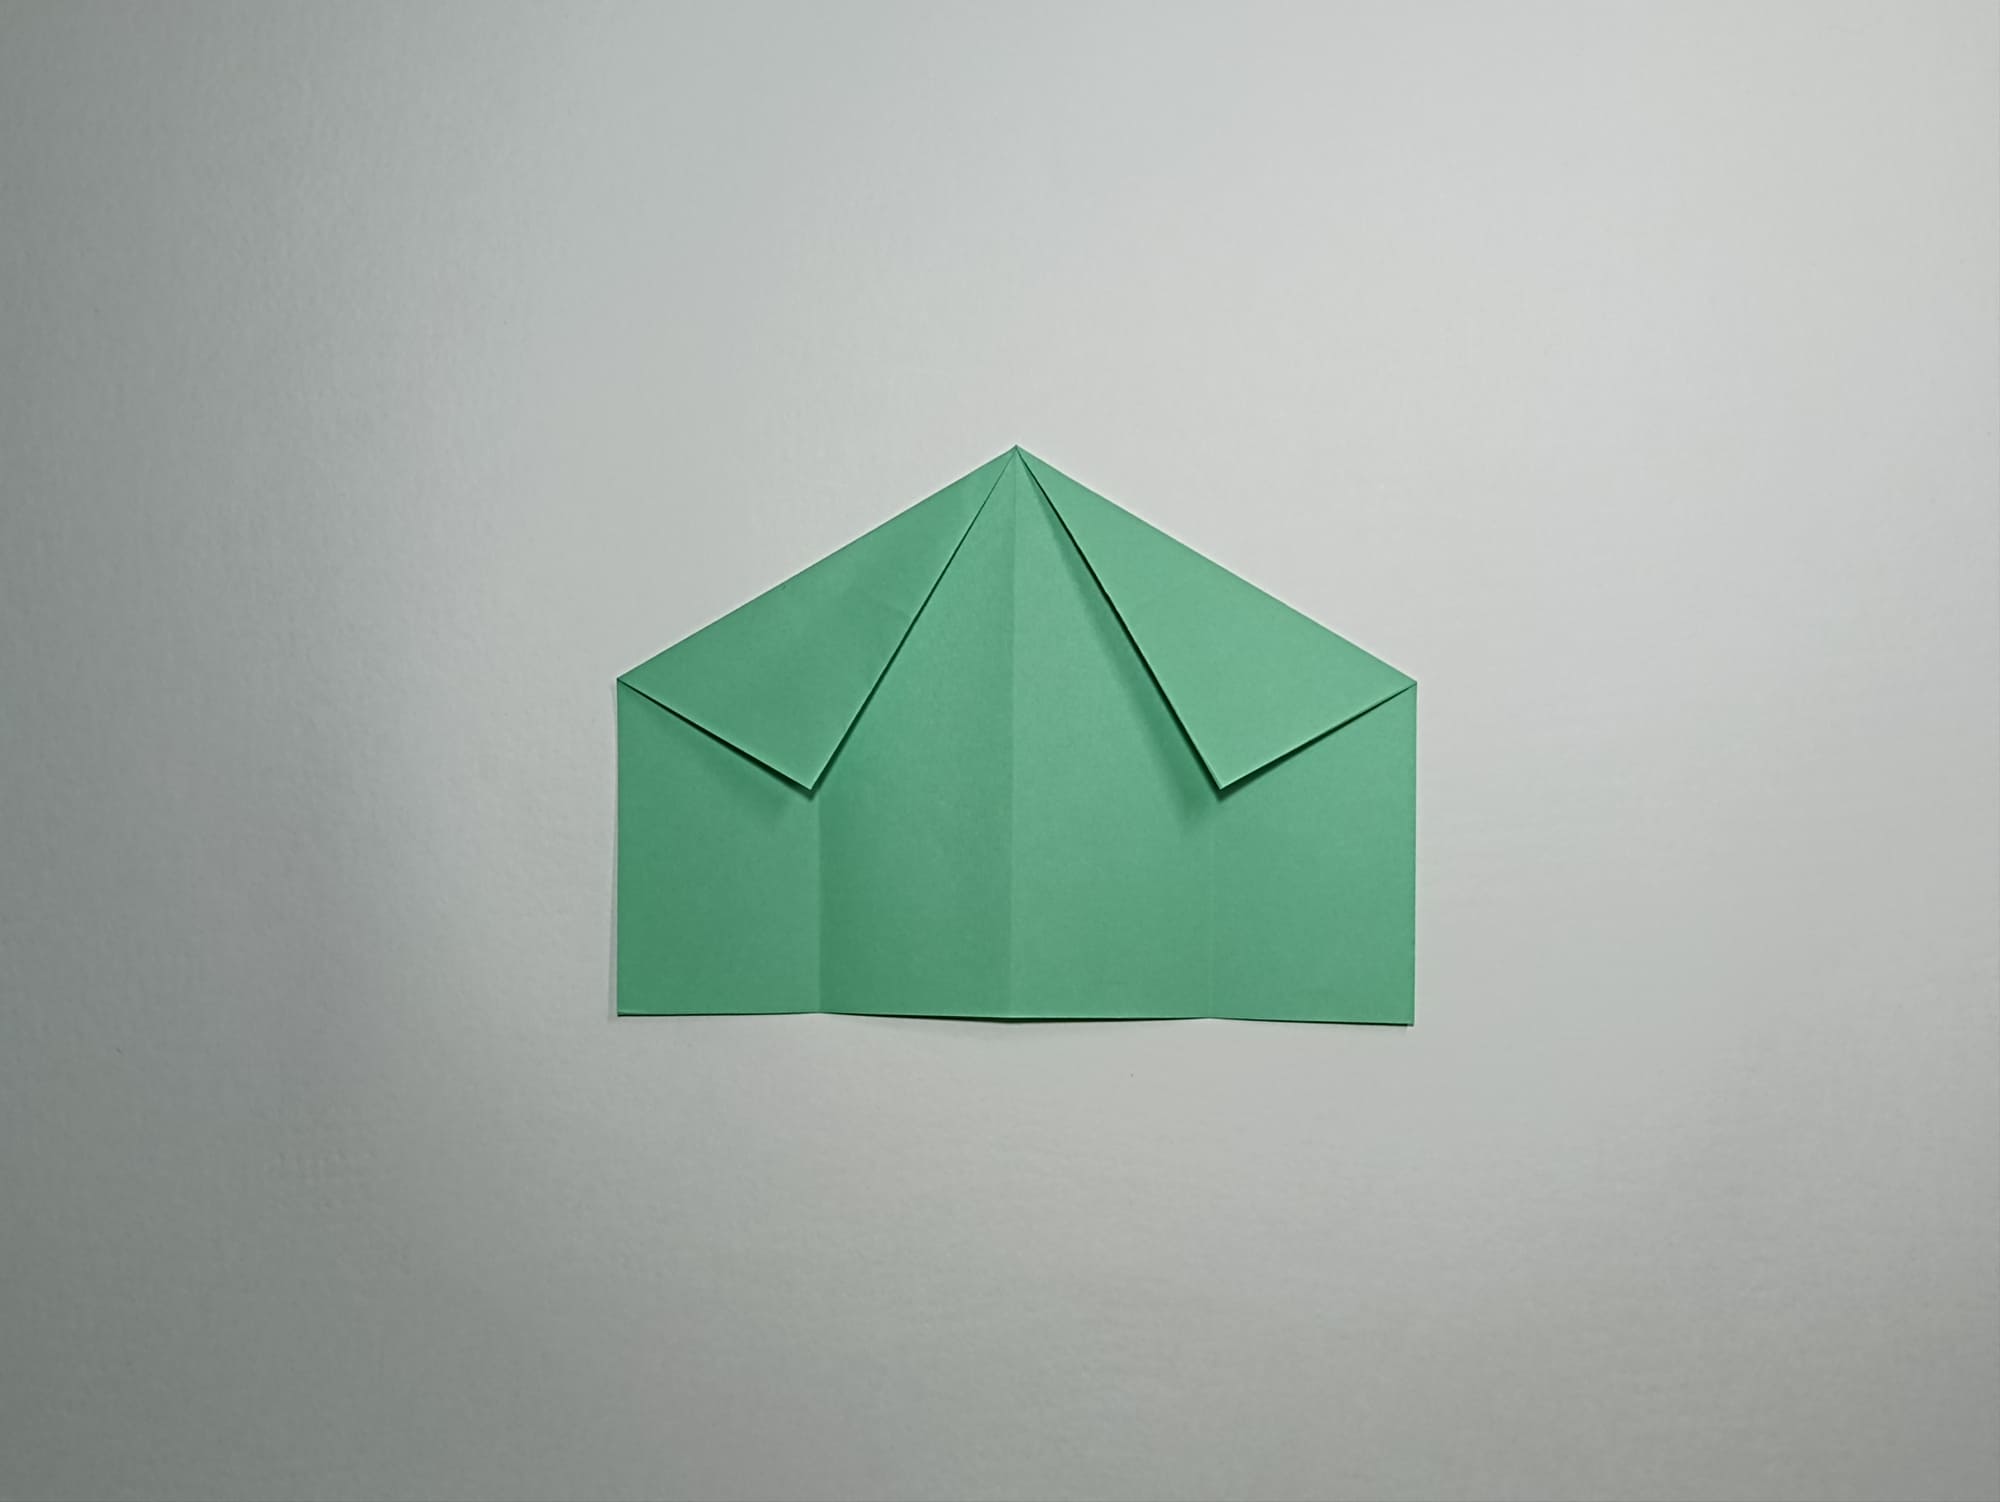
Repeat the same on the left side.

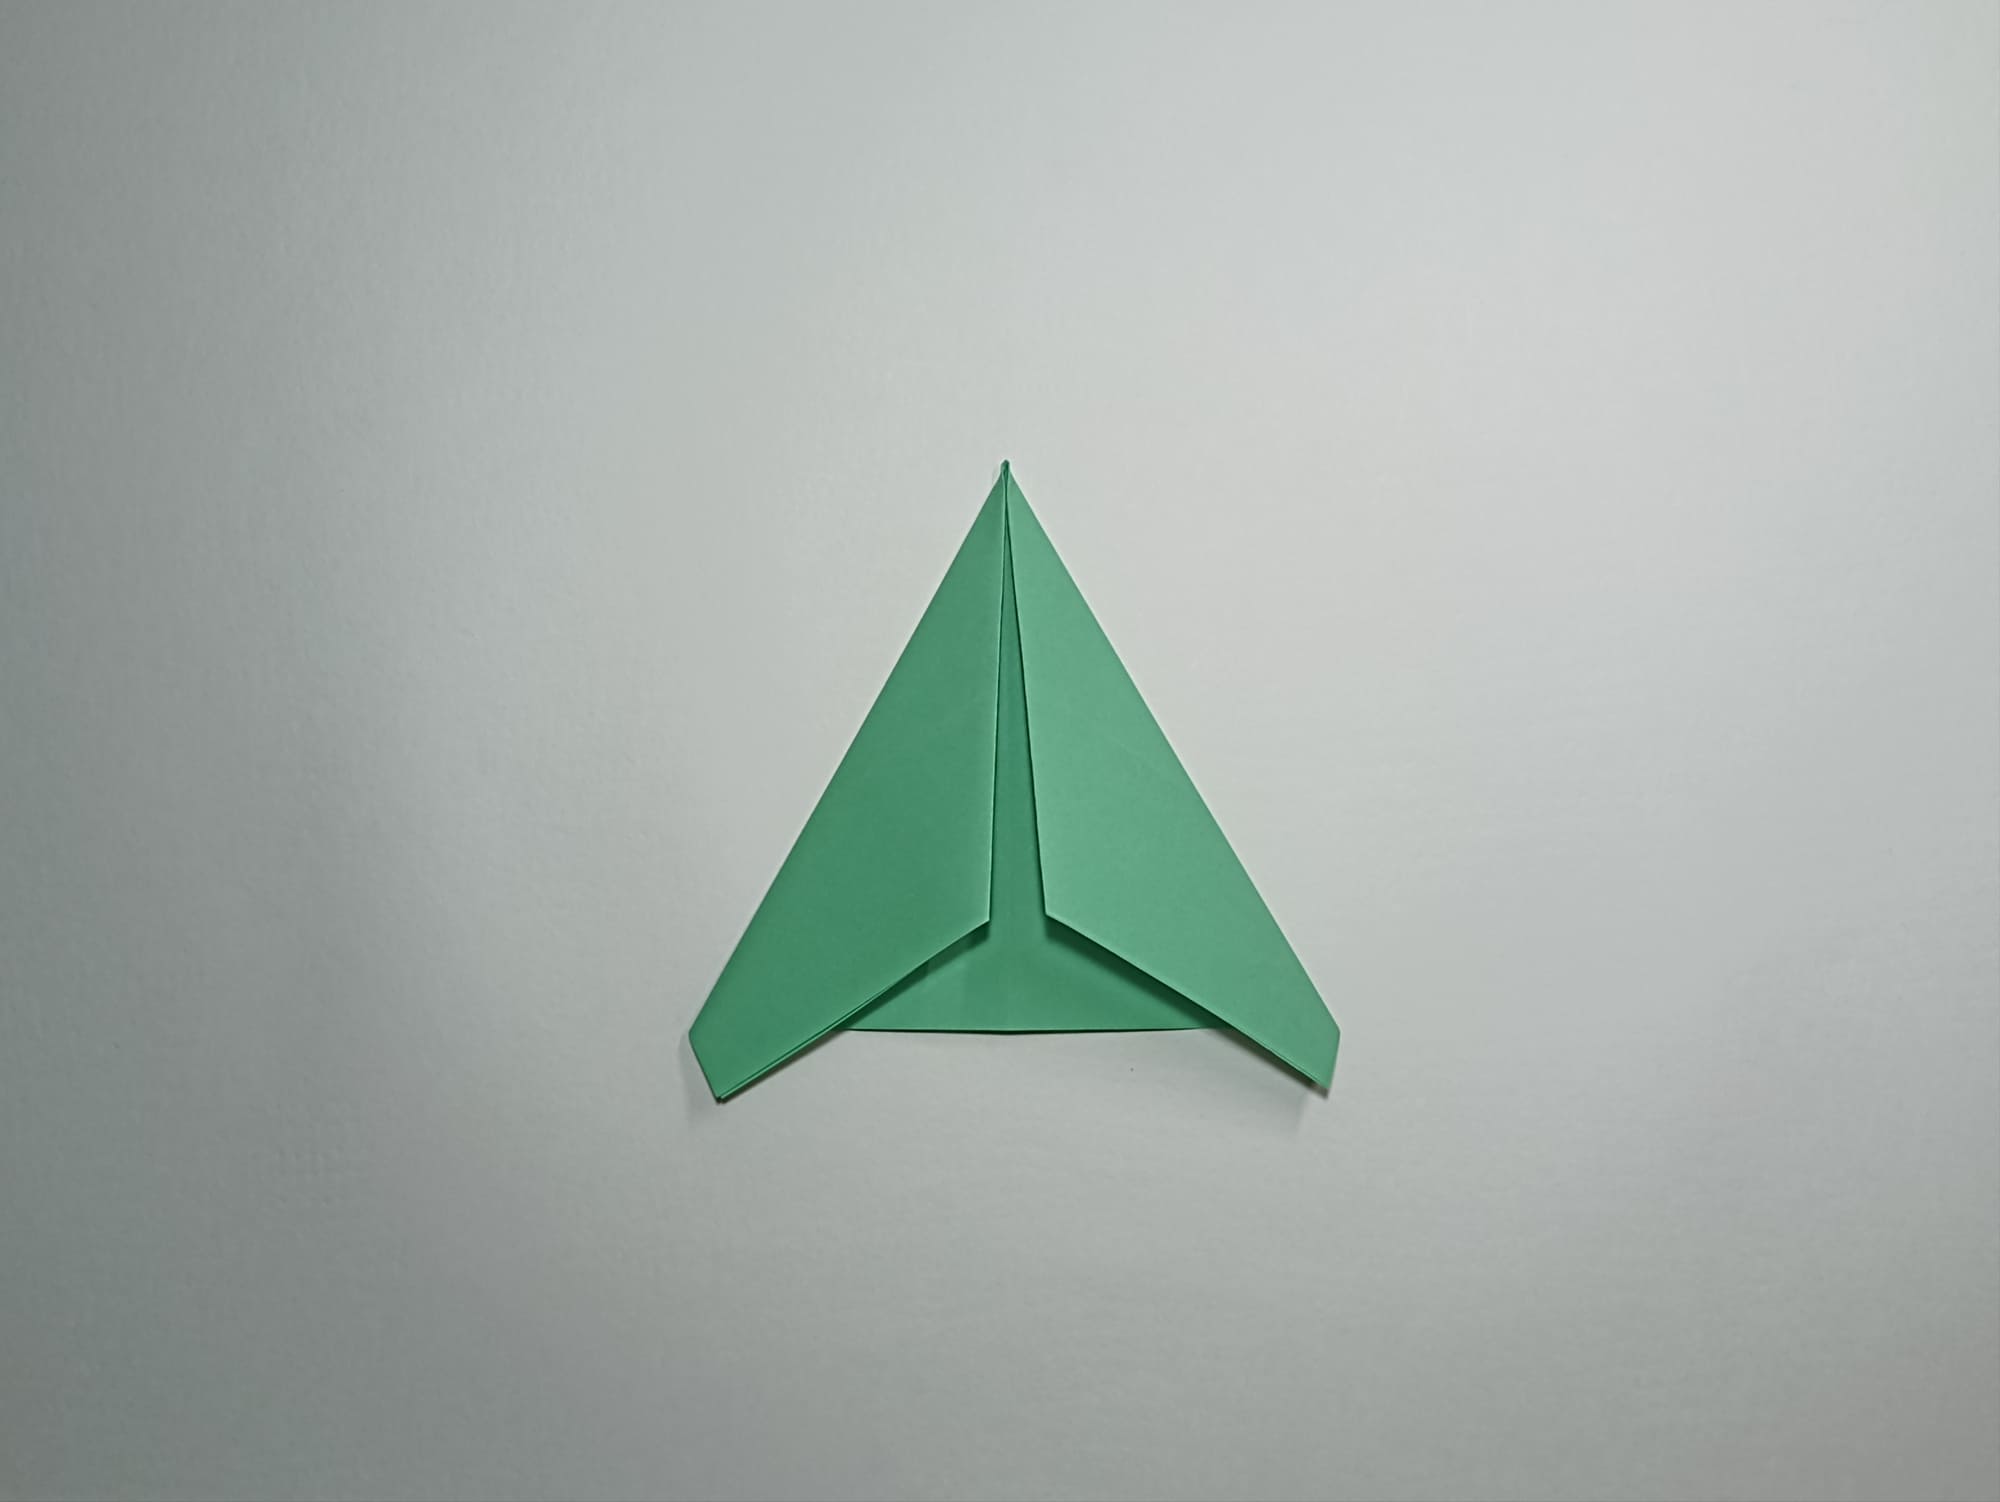
Align the inclined lines of the resulting figure with the vertical middle line.
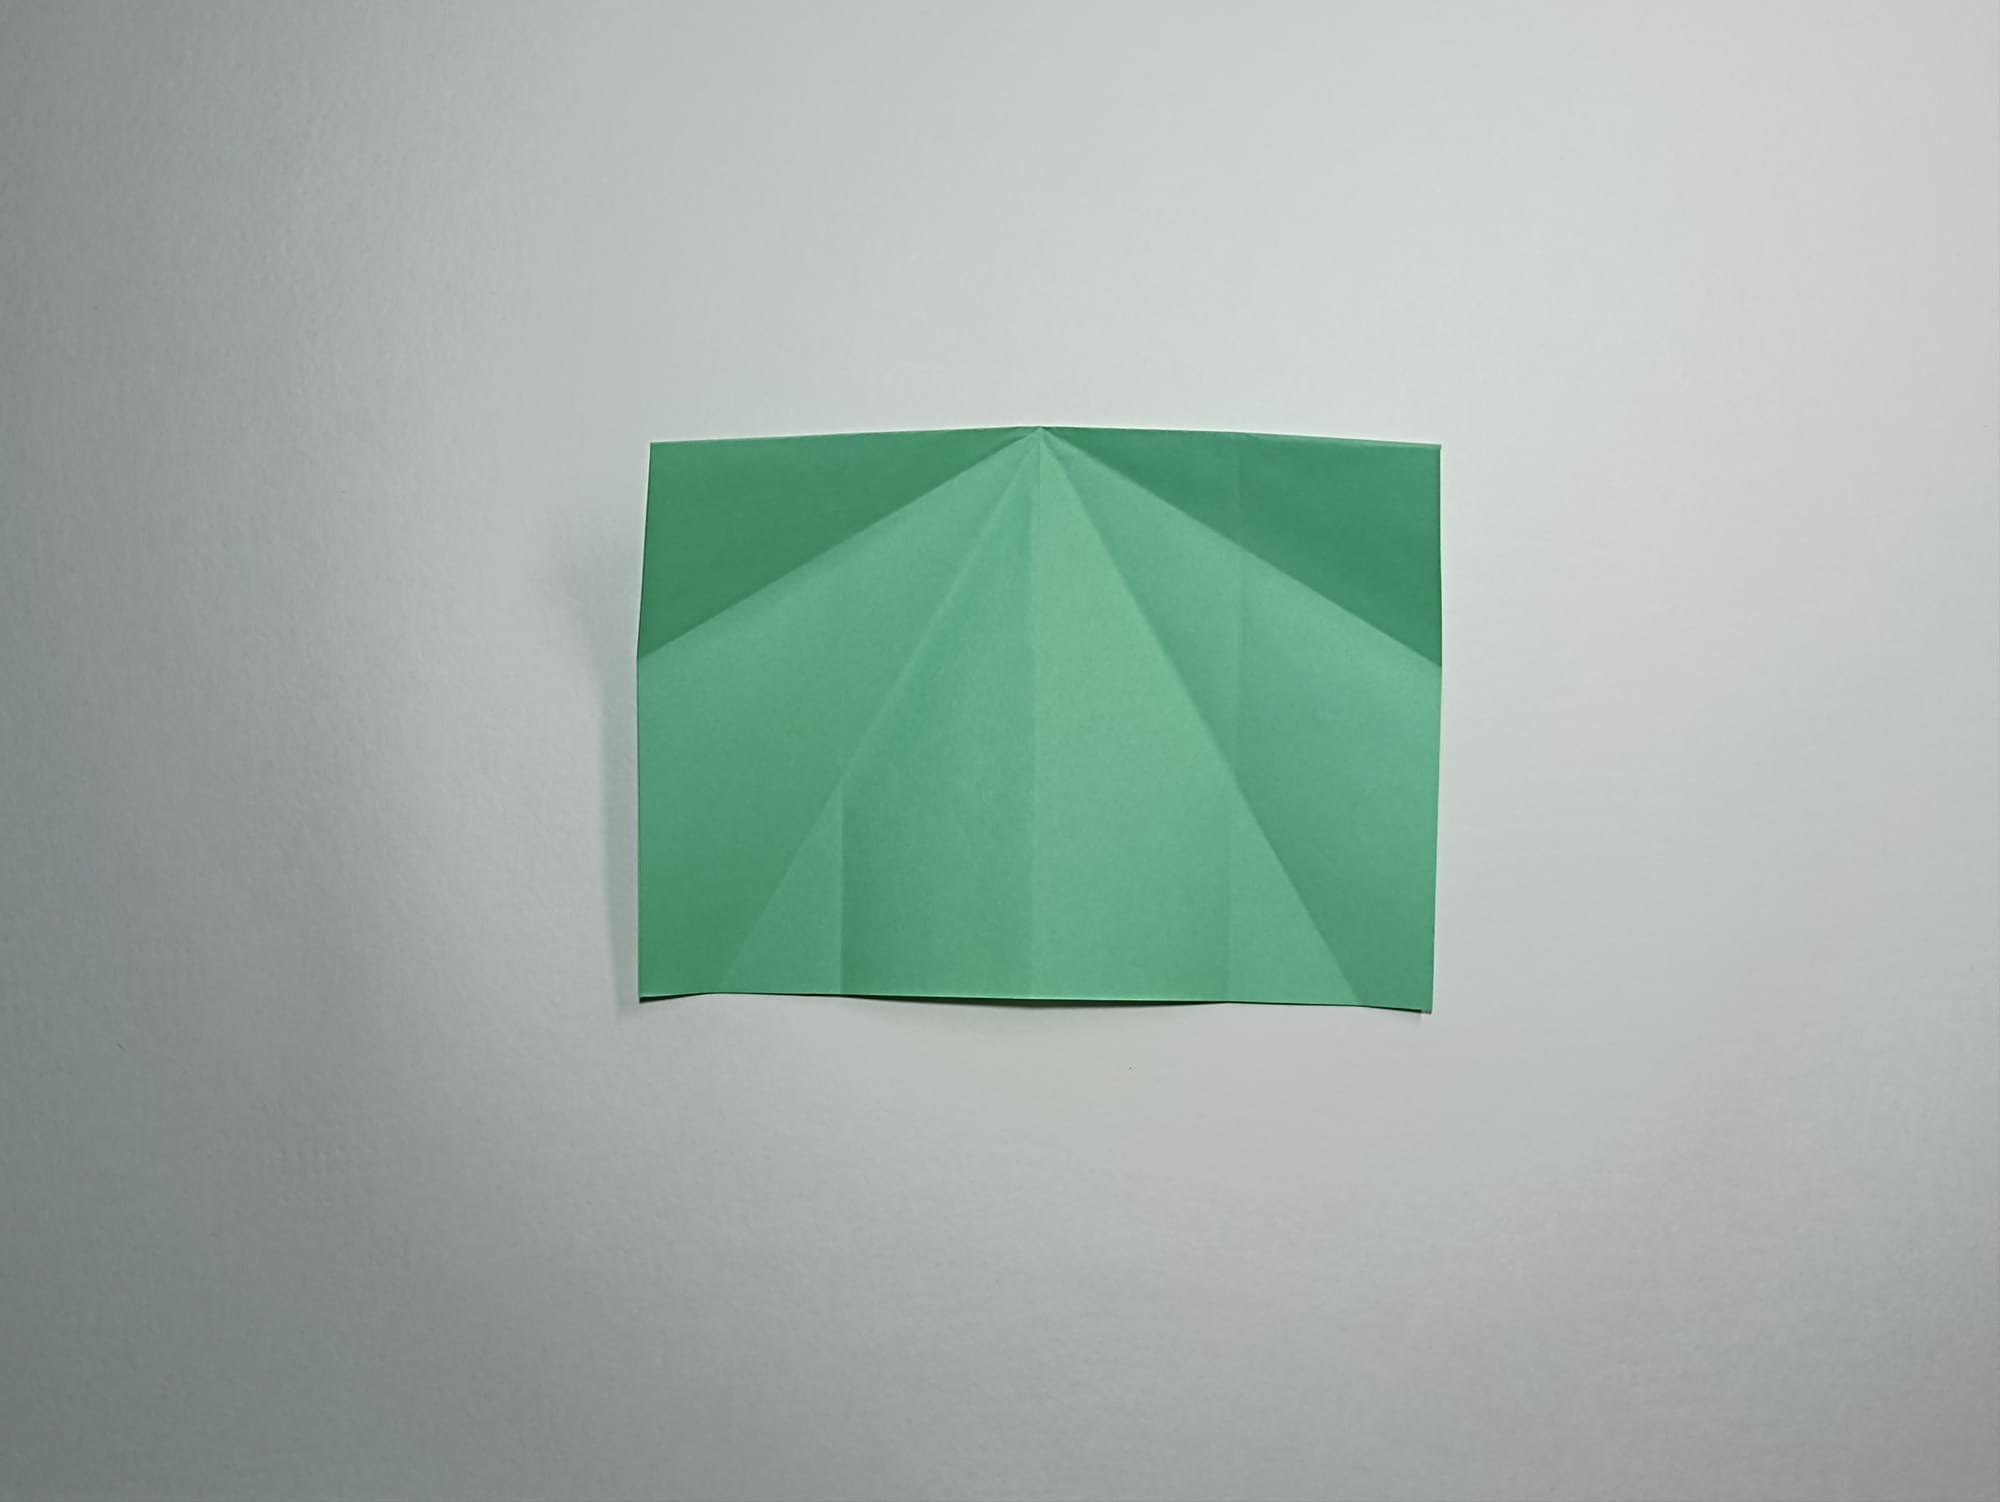
Open all the folds. You should end up with a horizontal rectangle with five lines extending from one top point.
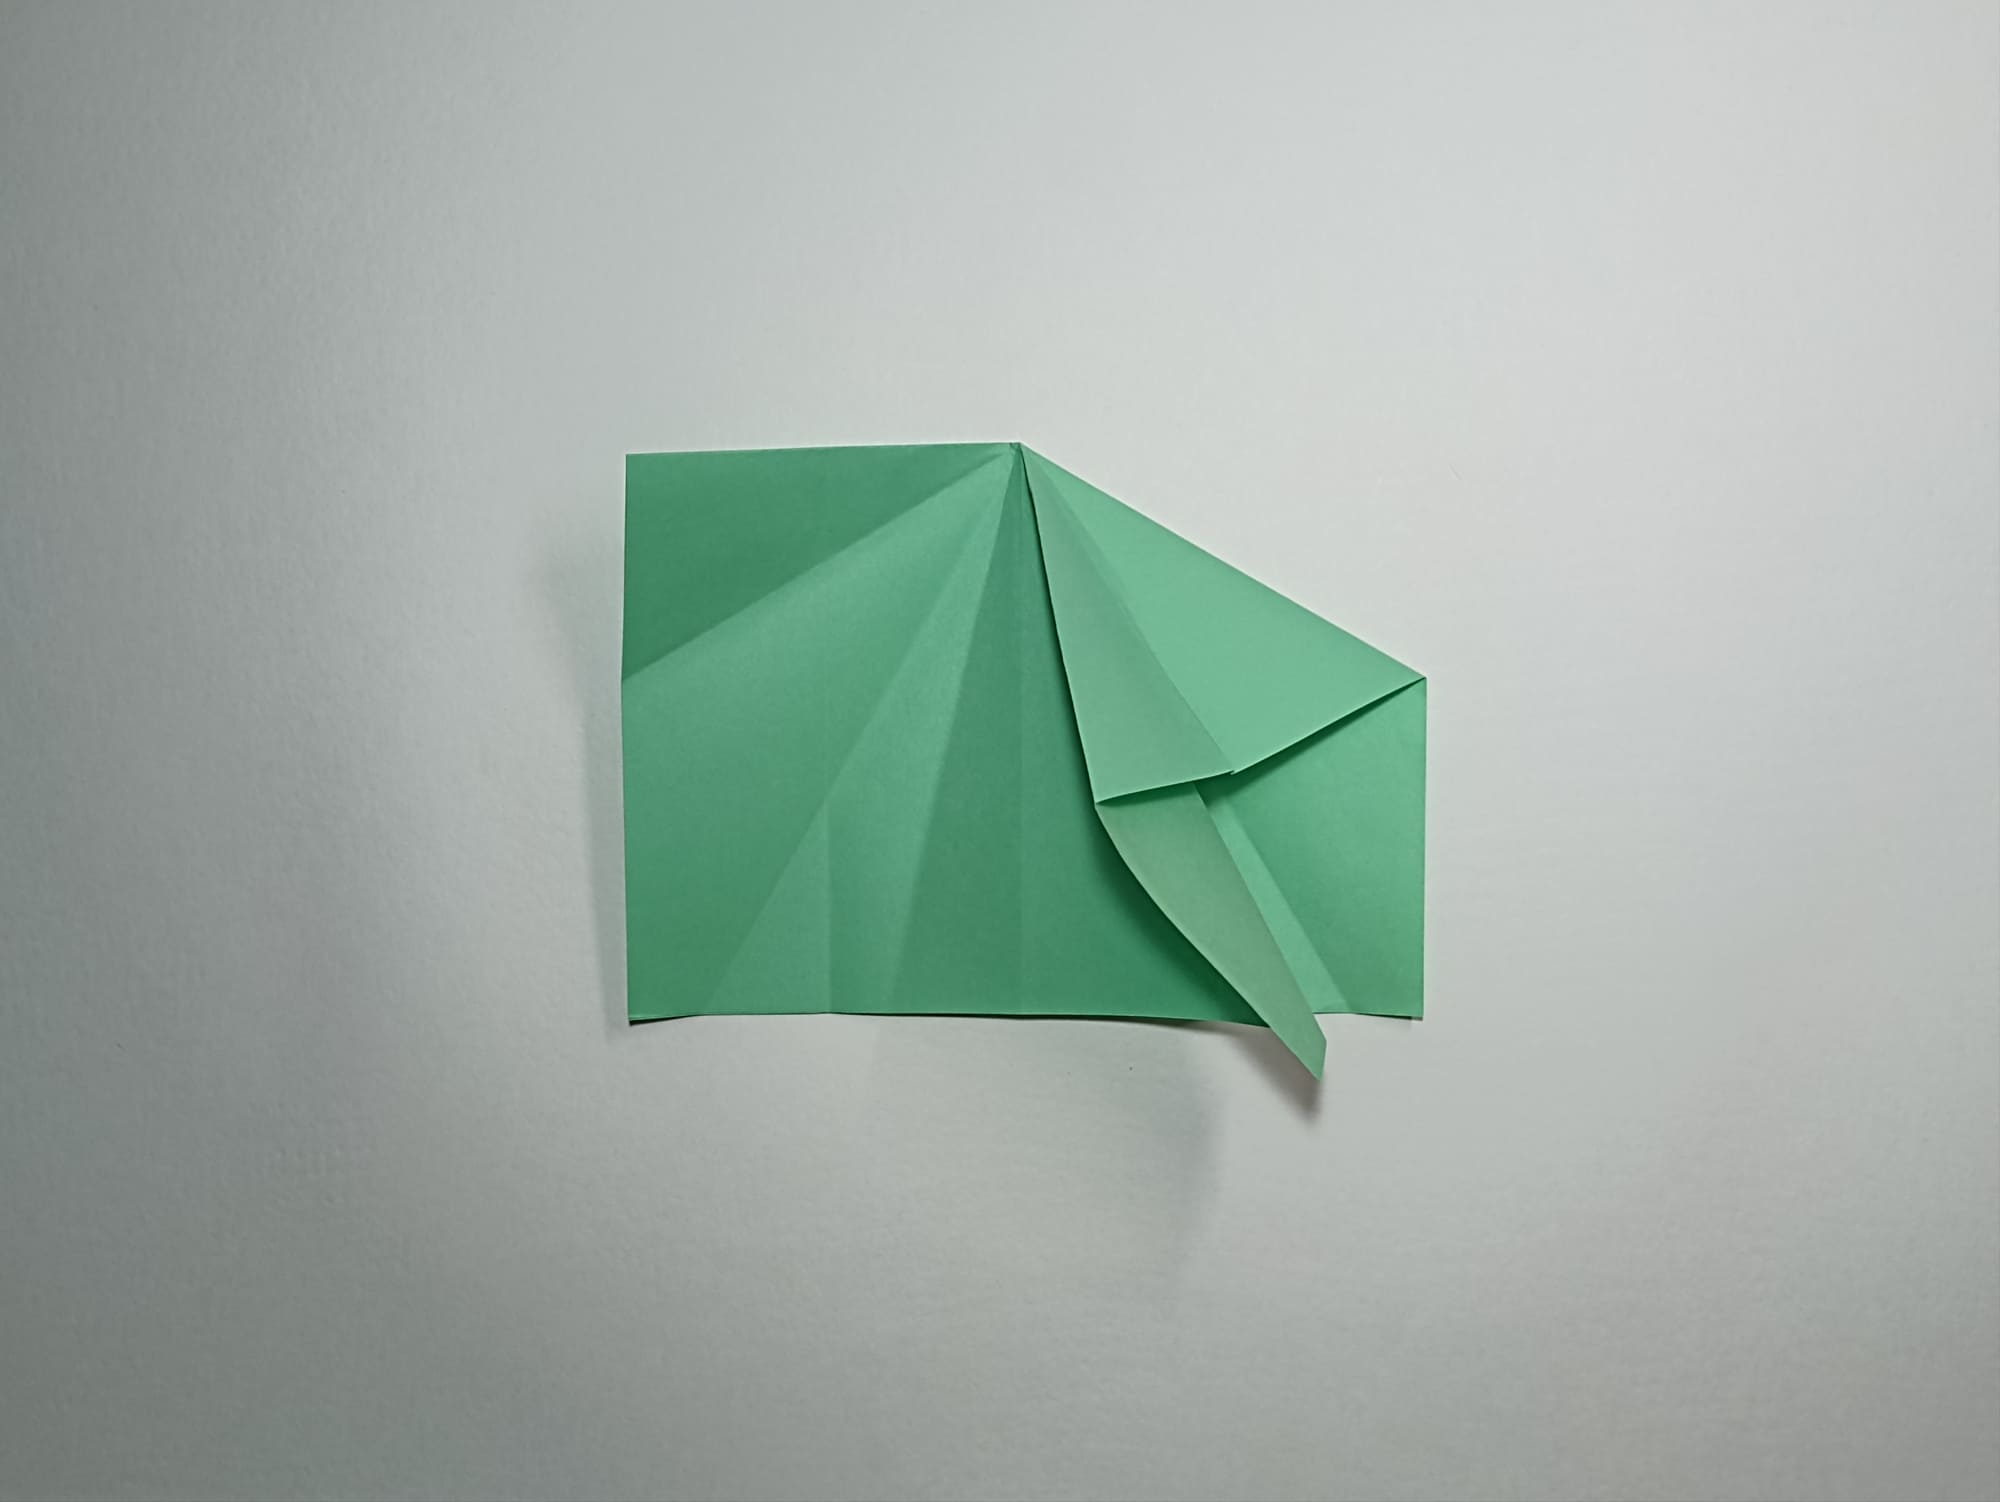
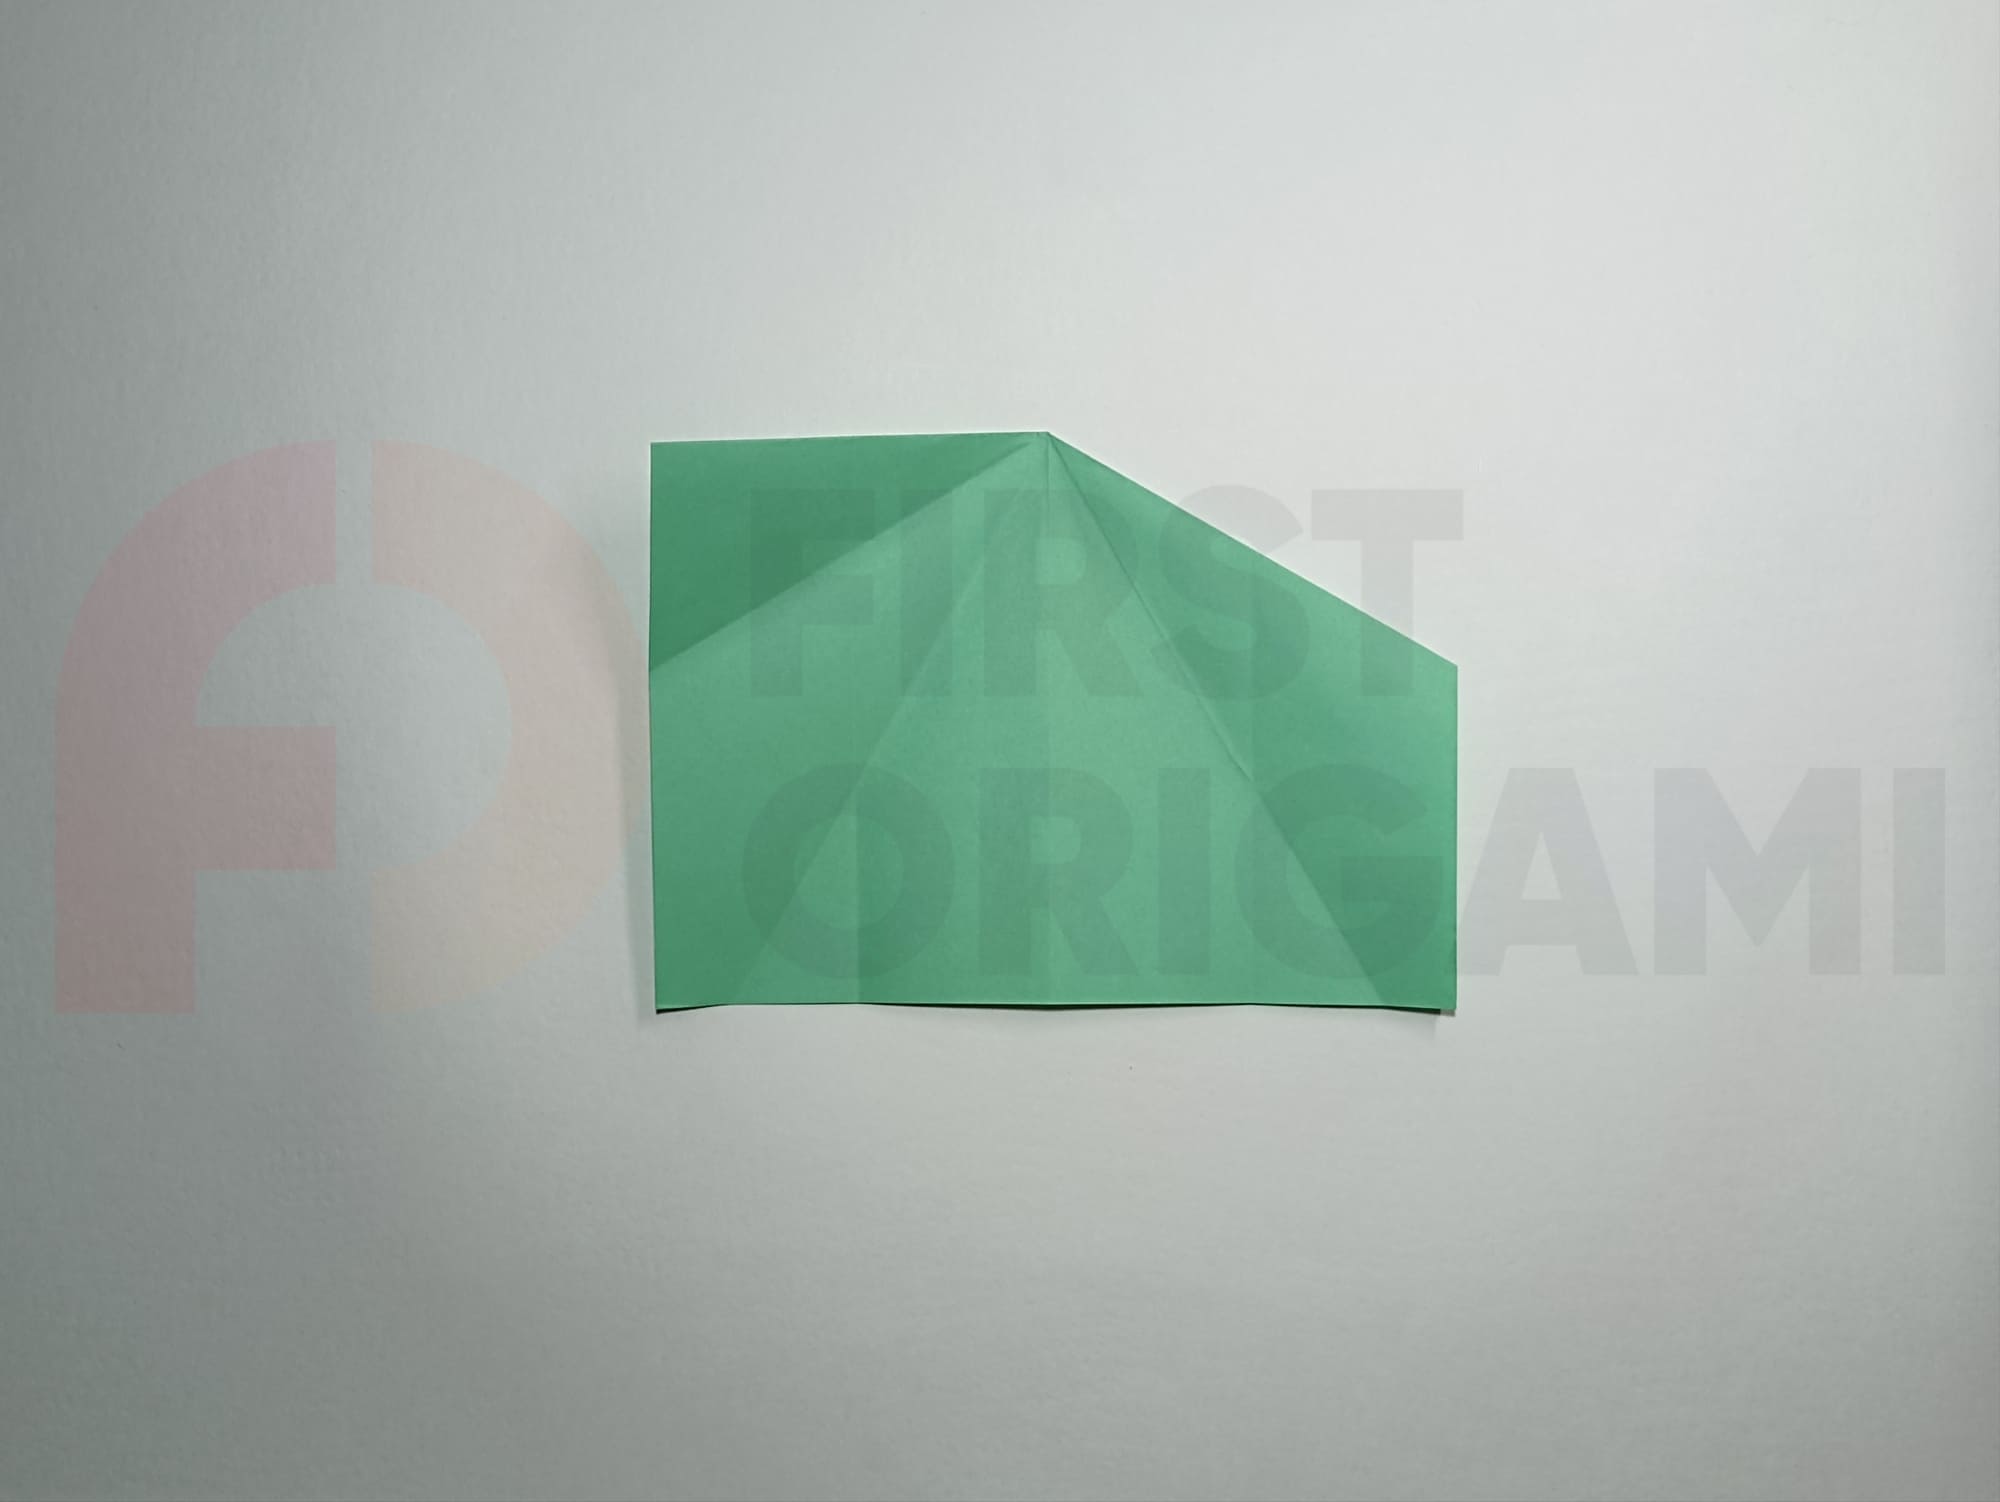
Perform a complex inner fold. Press the edge of the upper side fold inward until the second assisting line from the middle is aligned on the front and back sides. Crease the folds.
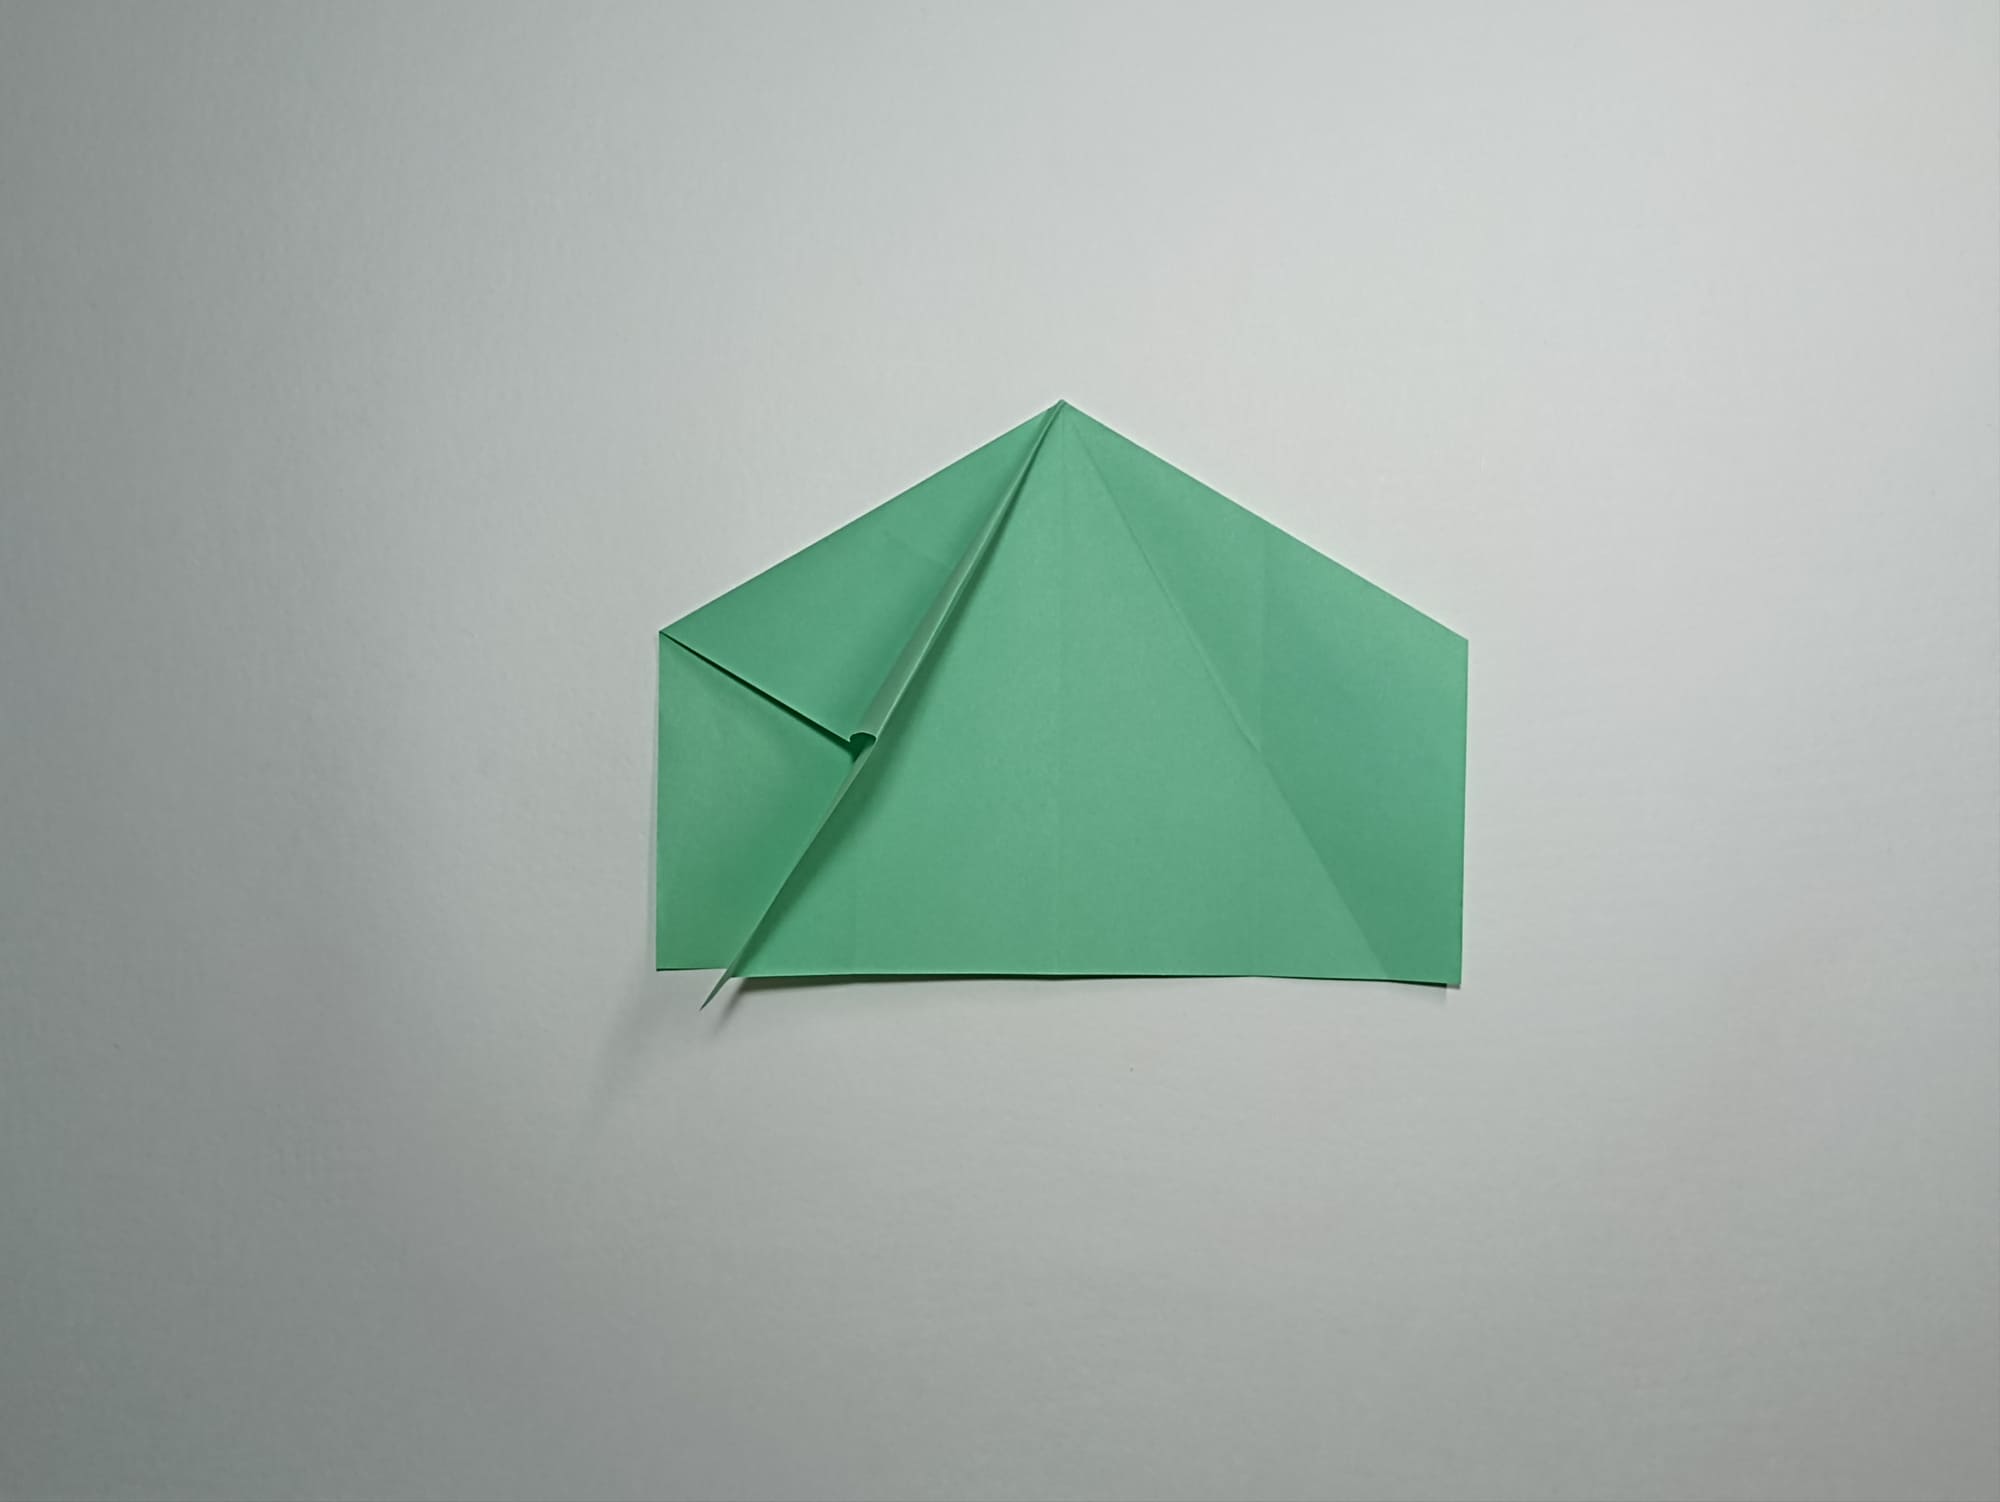
Repeat the inner fold on the left side.
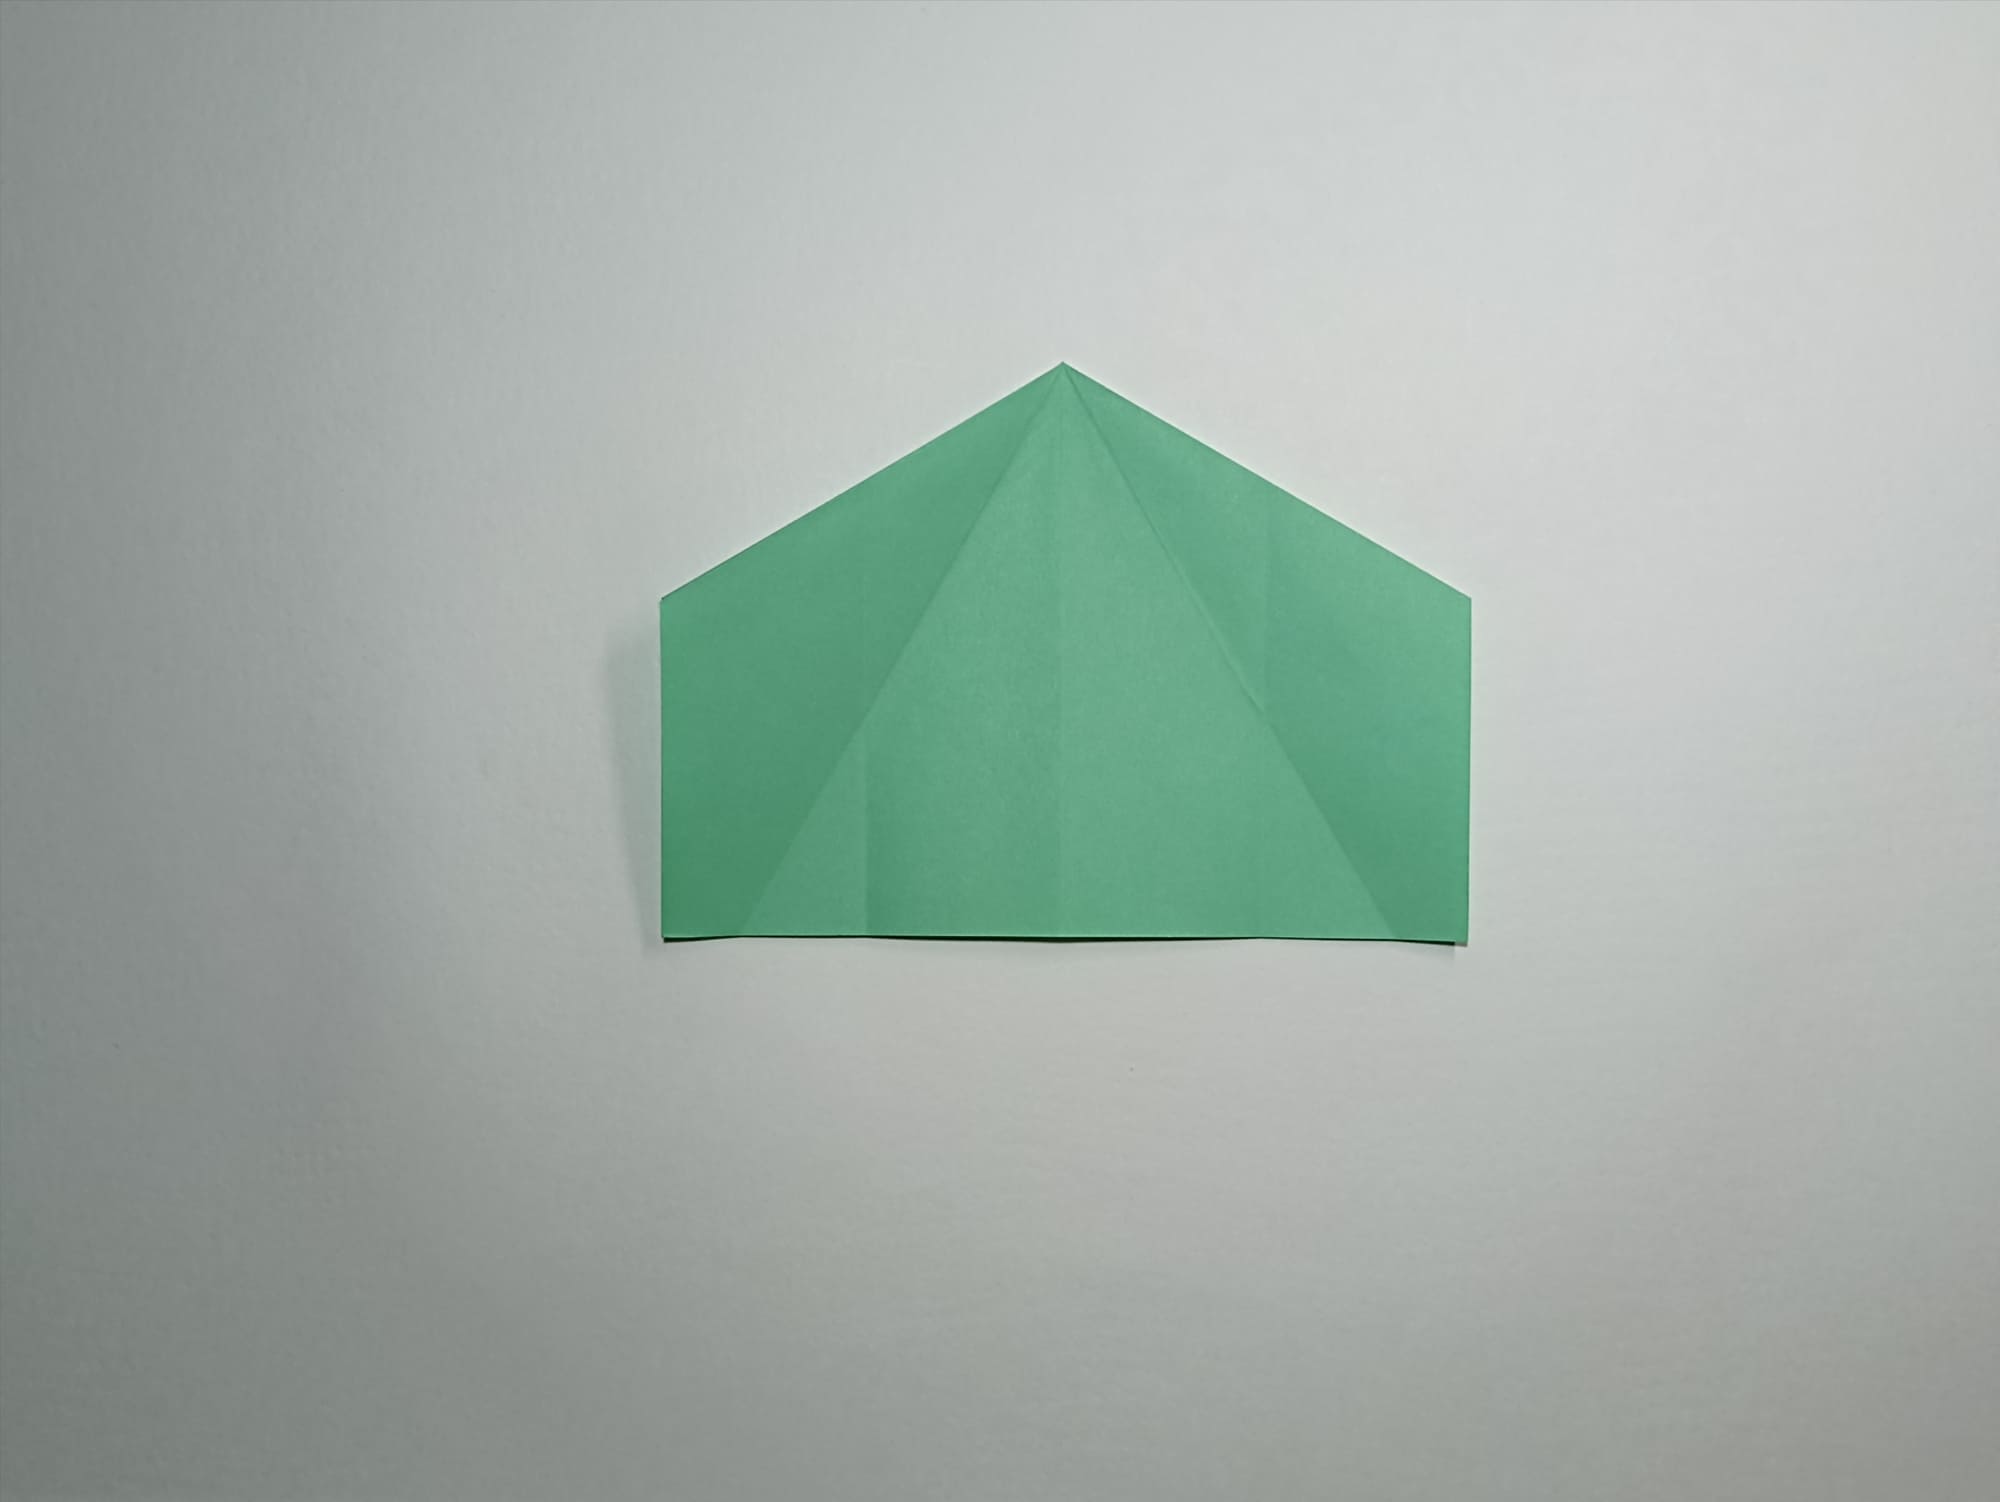
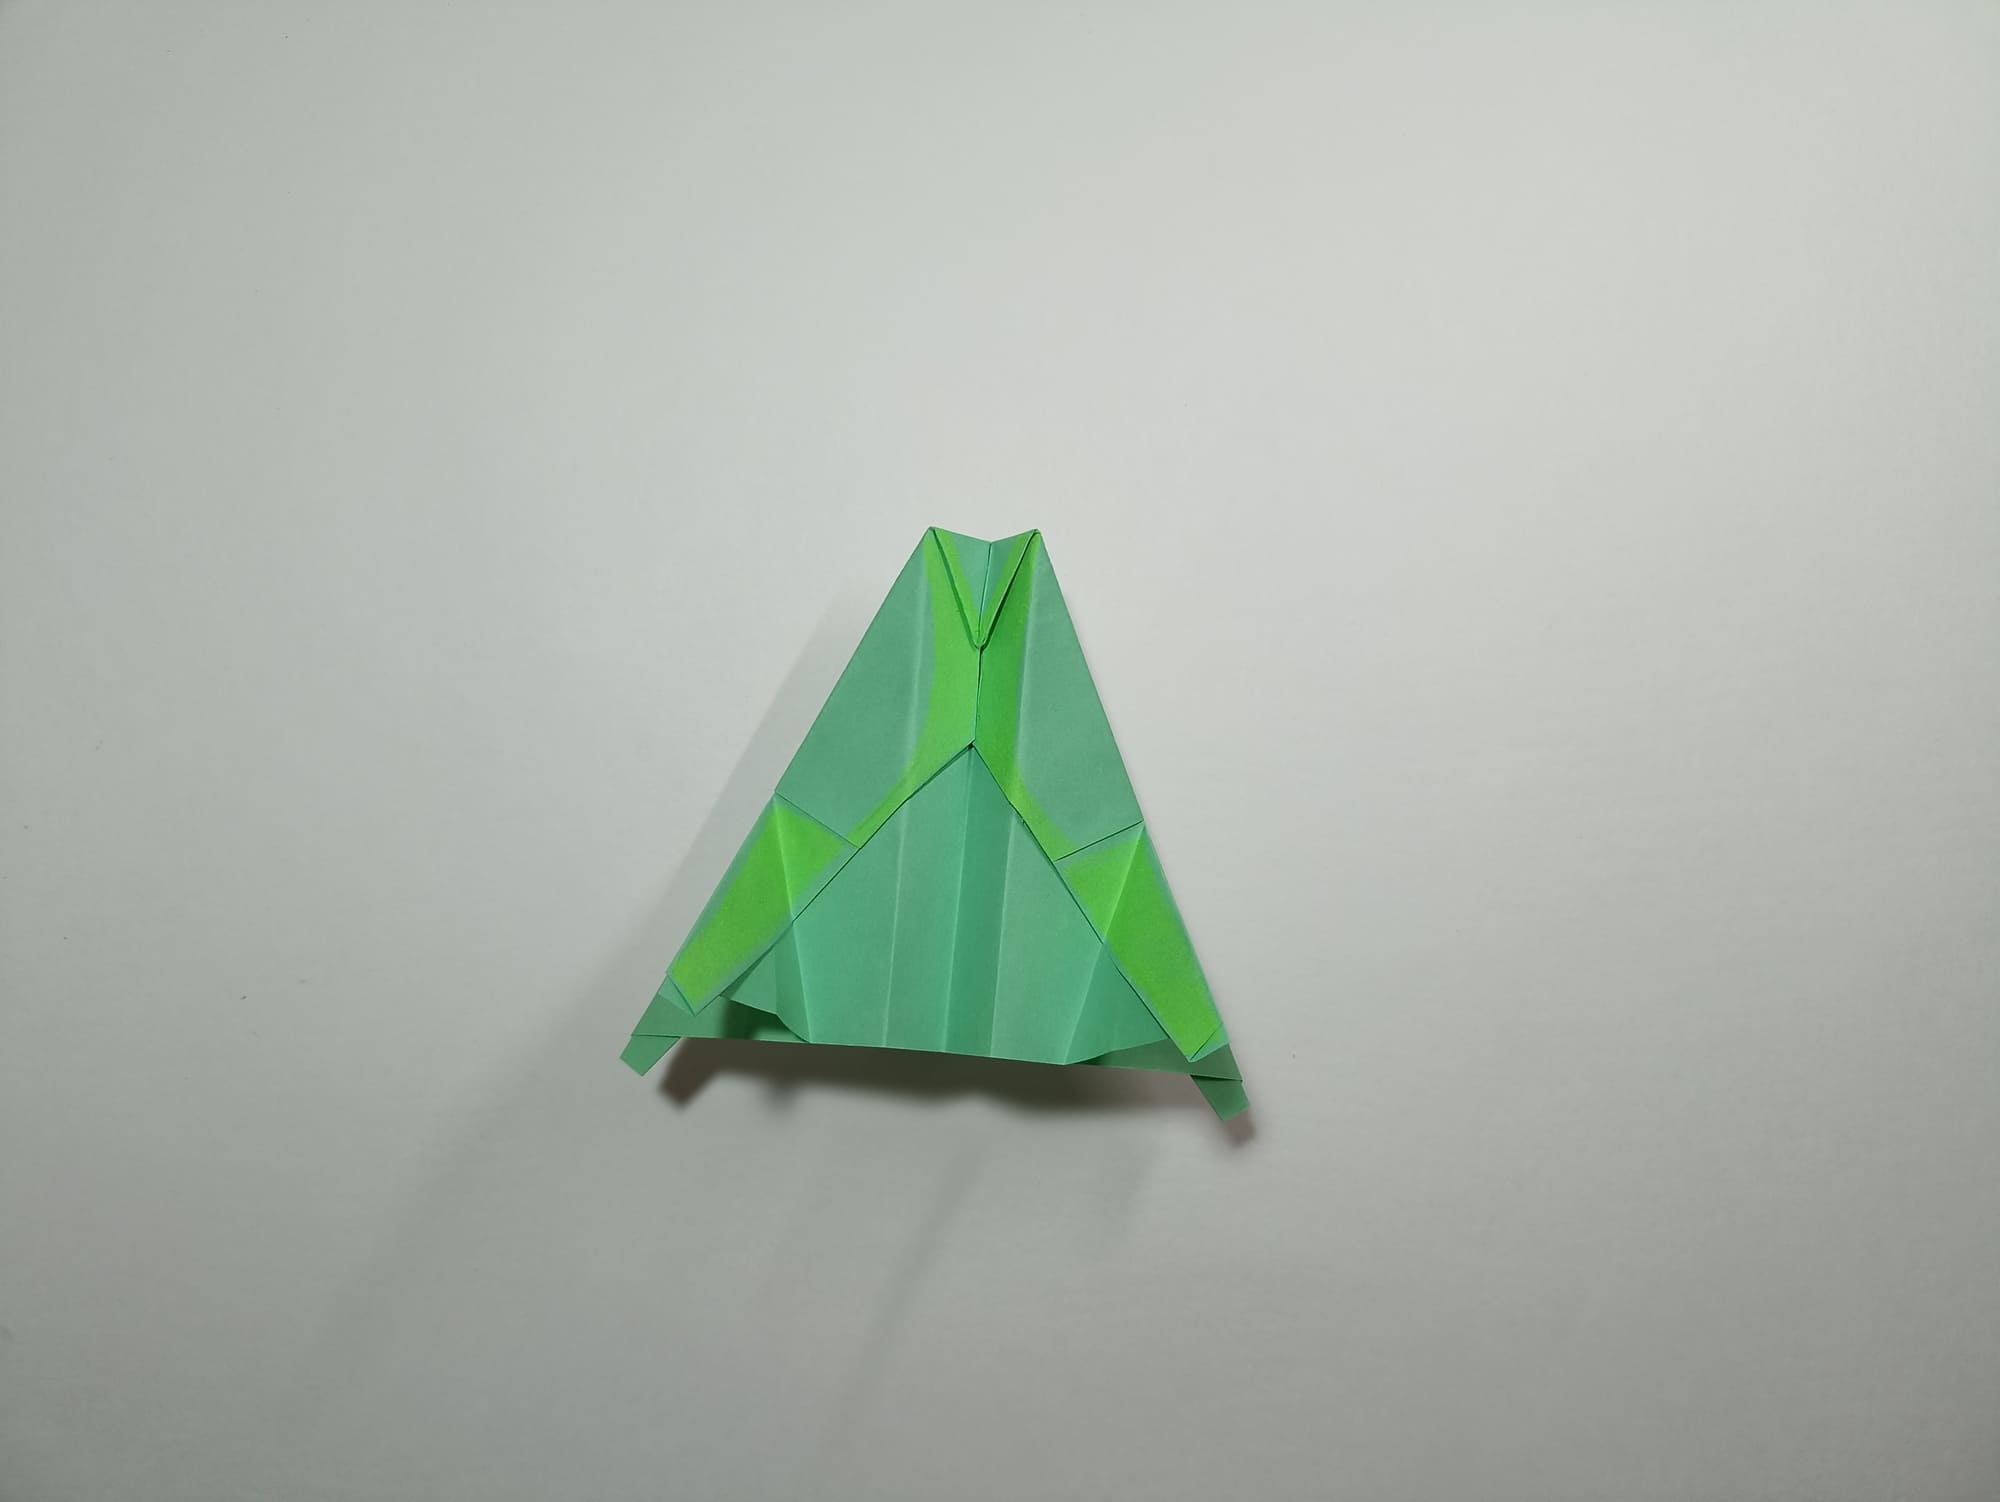
You should get two identical layers of the figure.
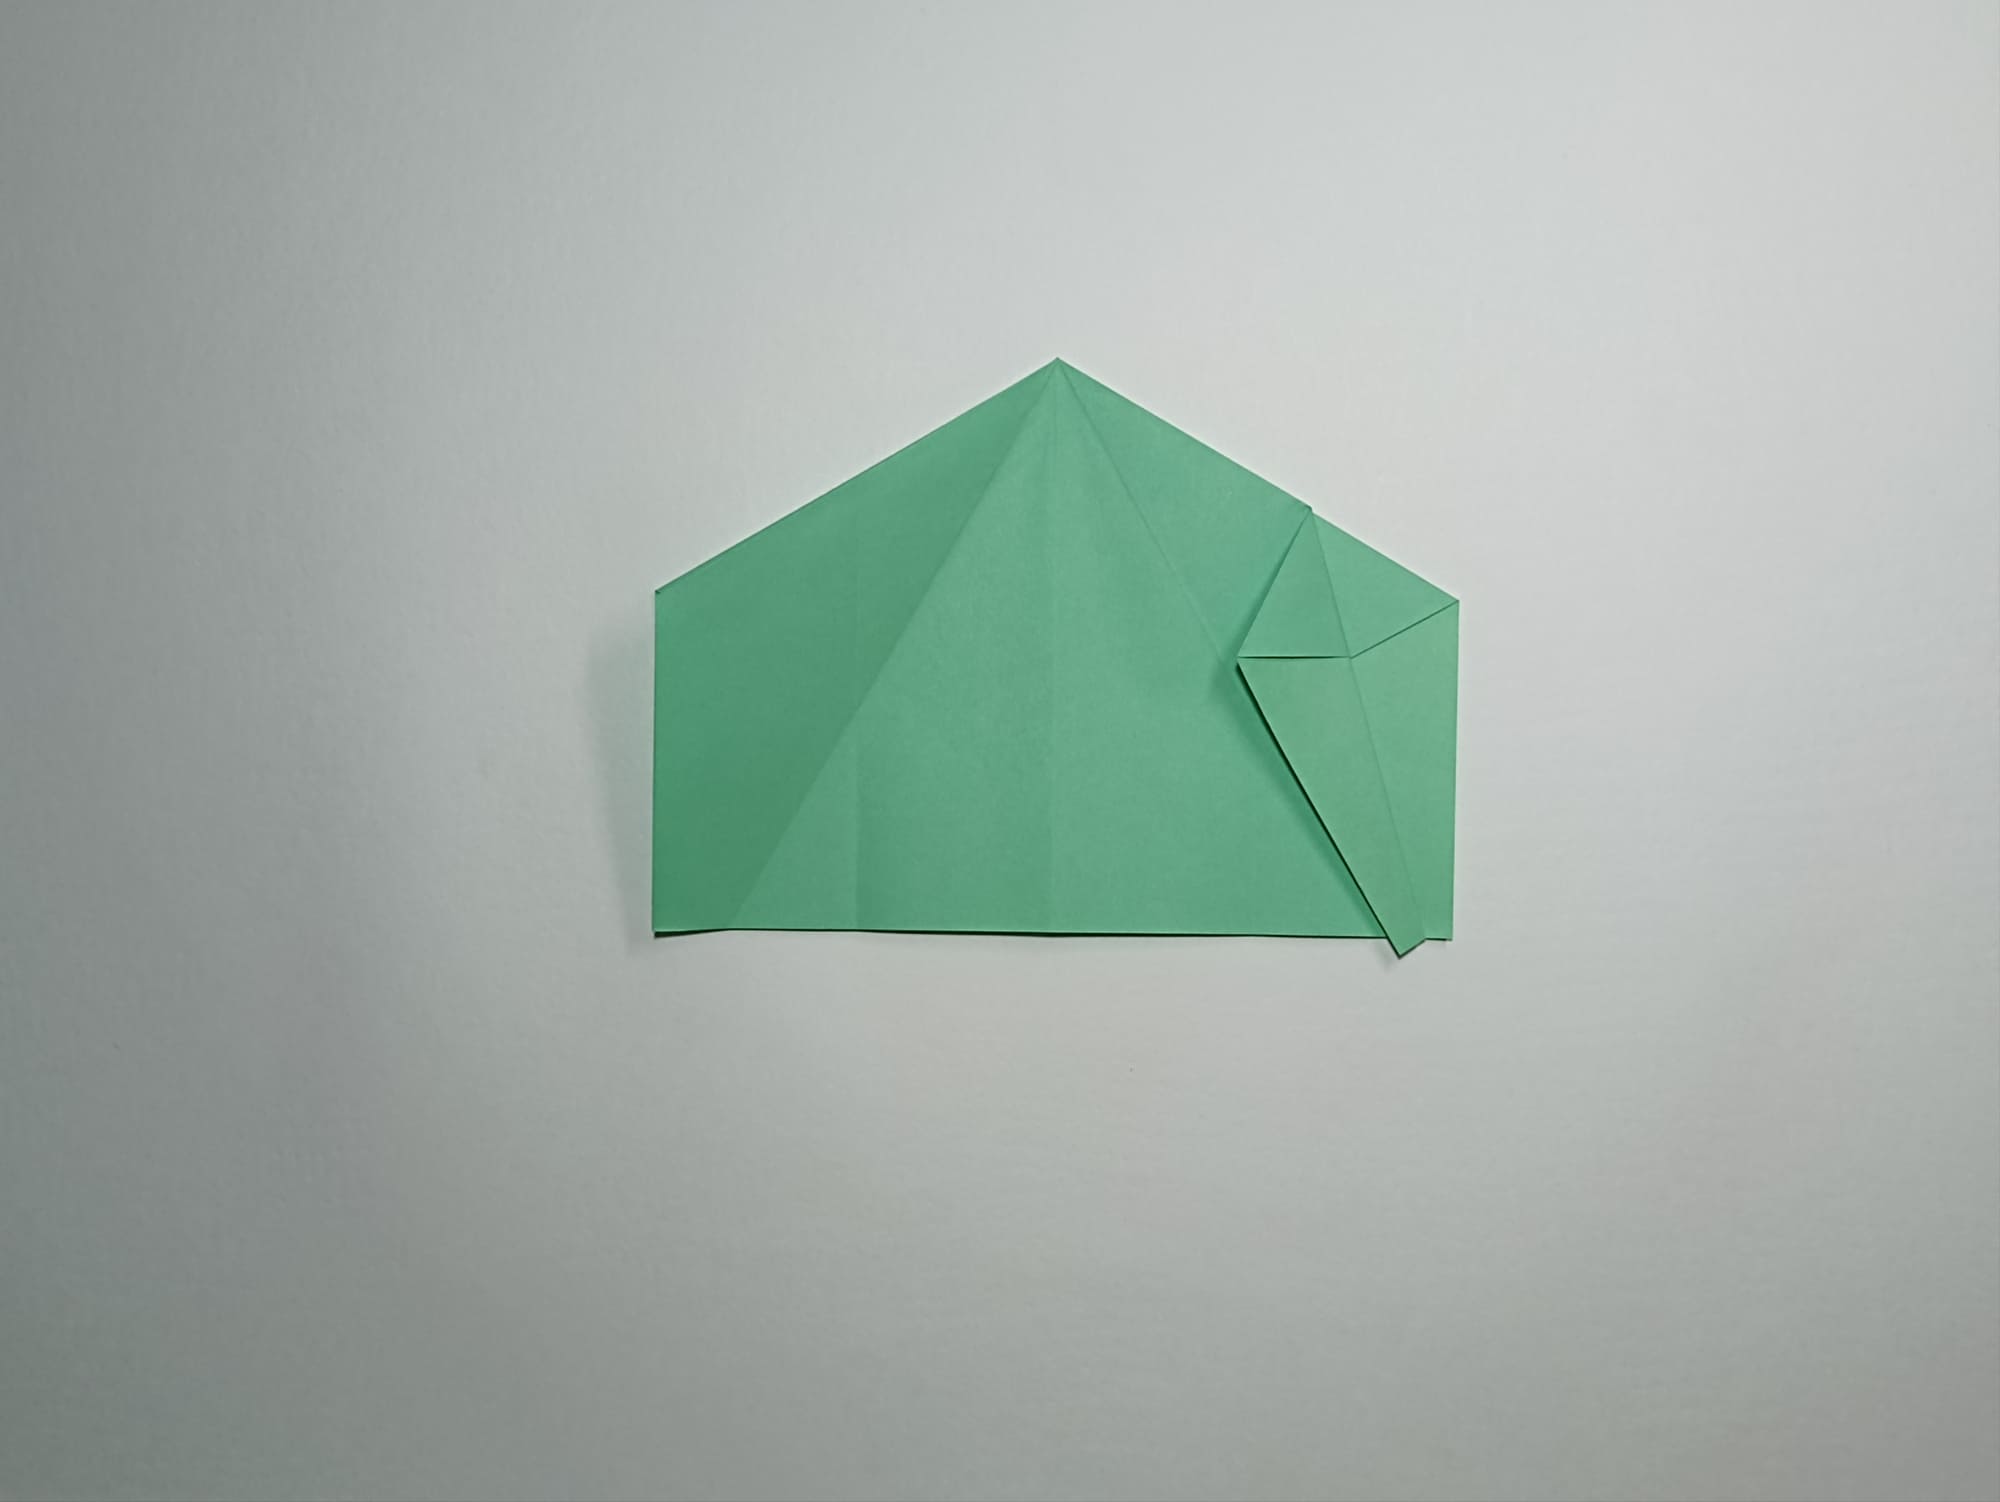
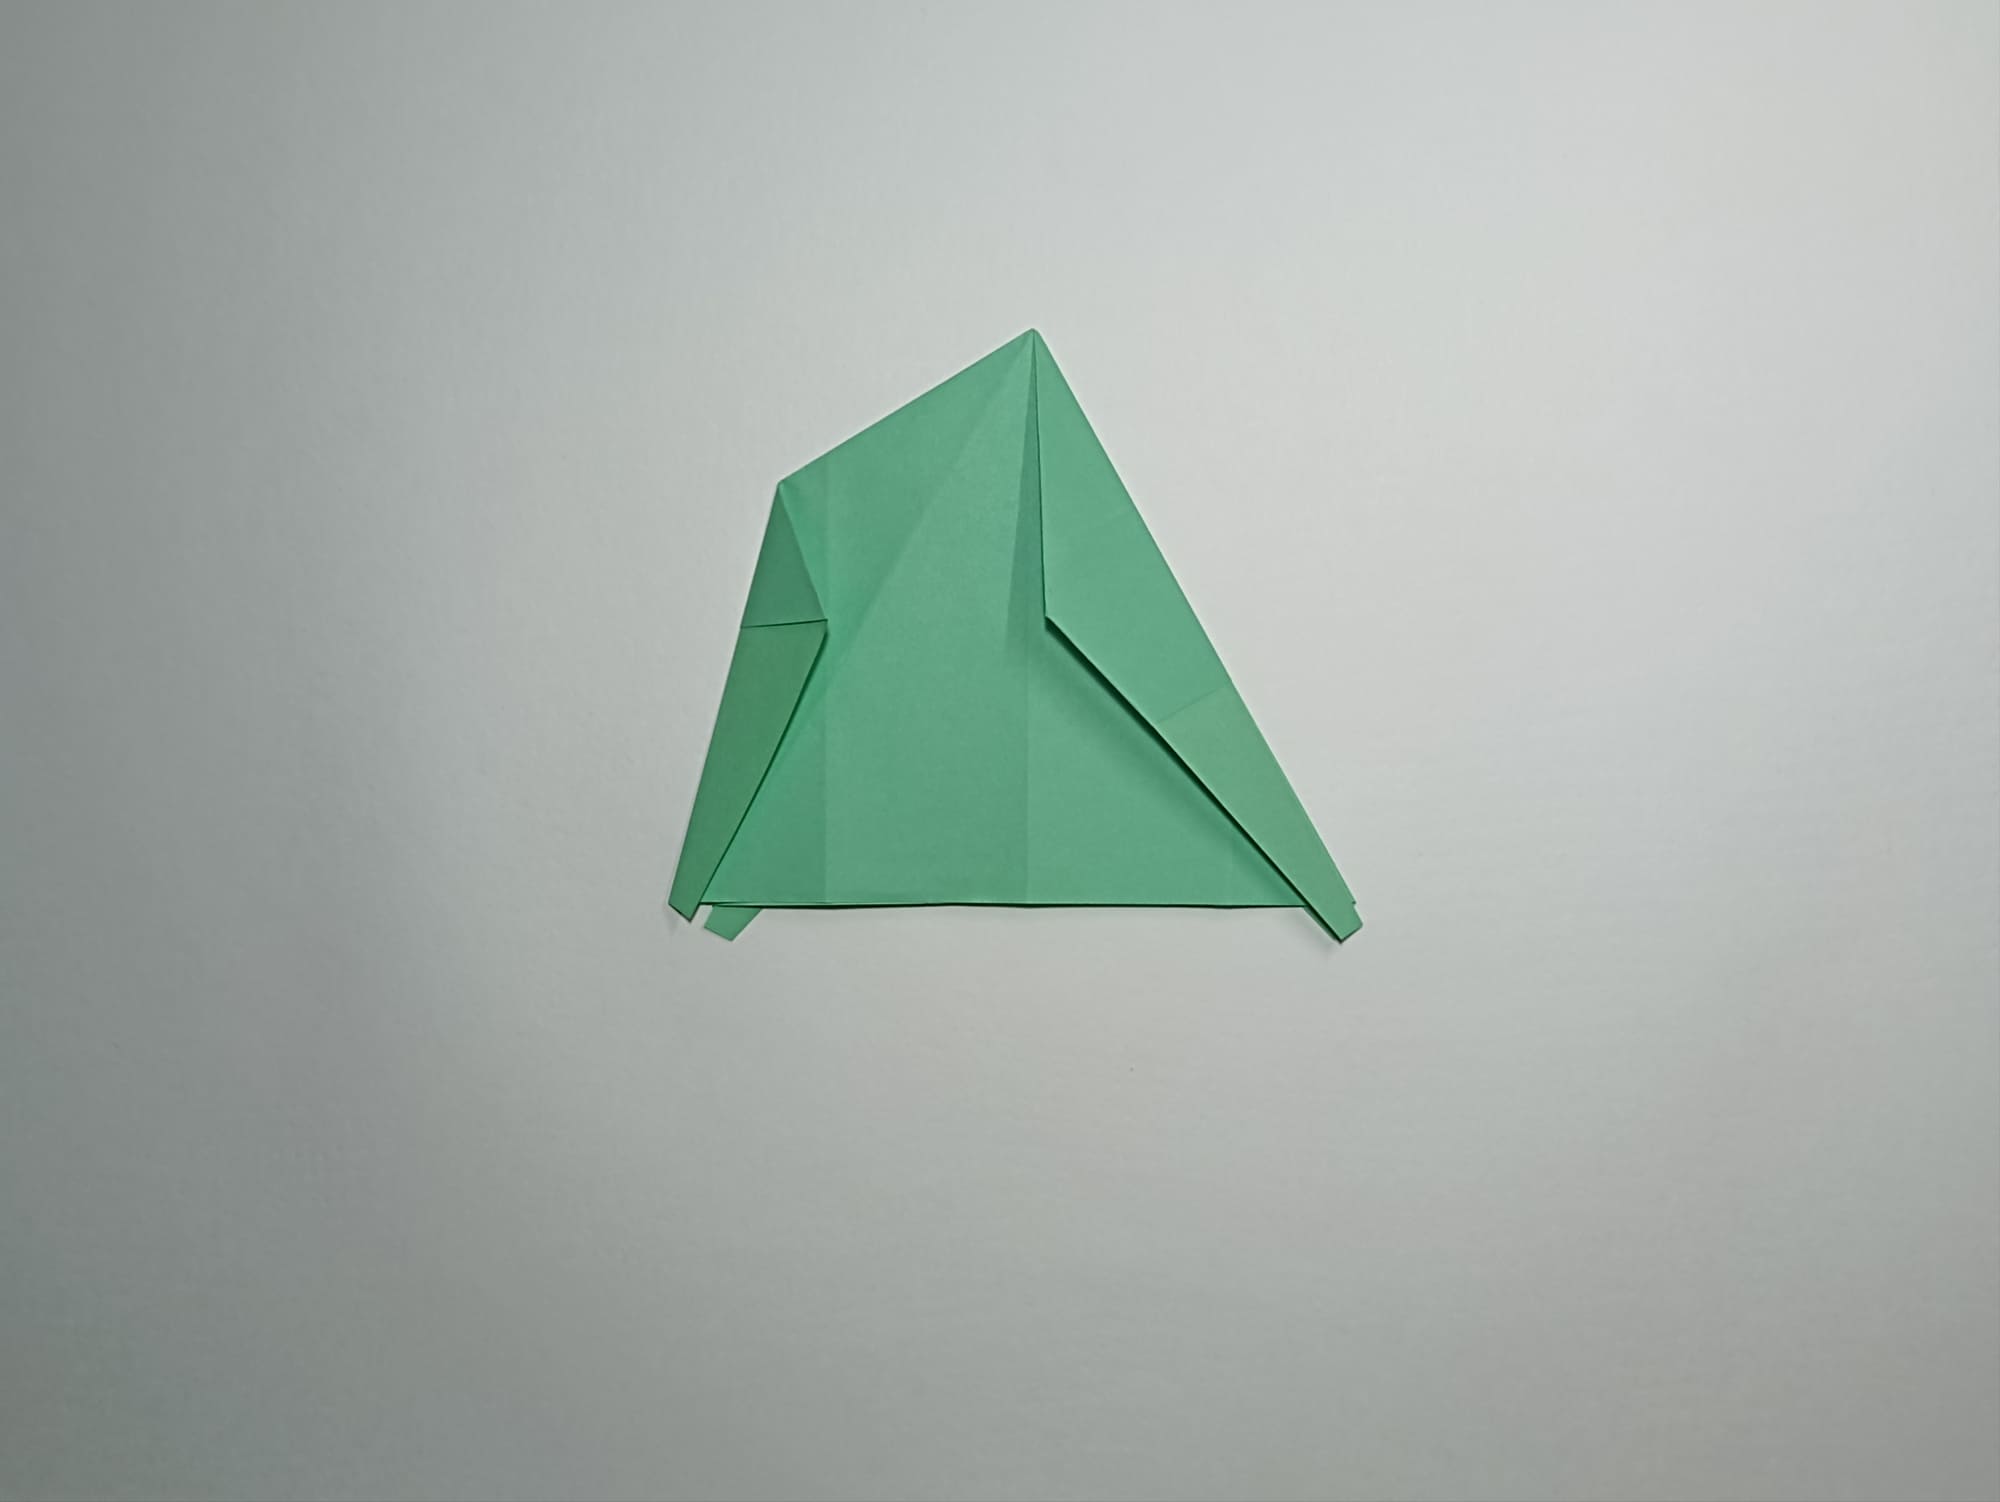
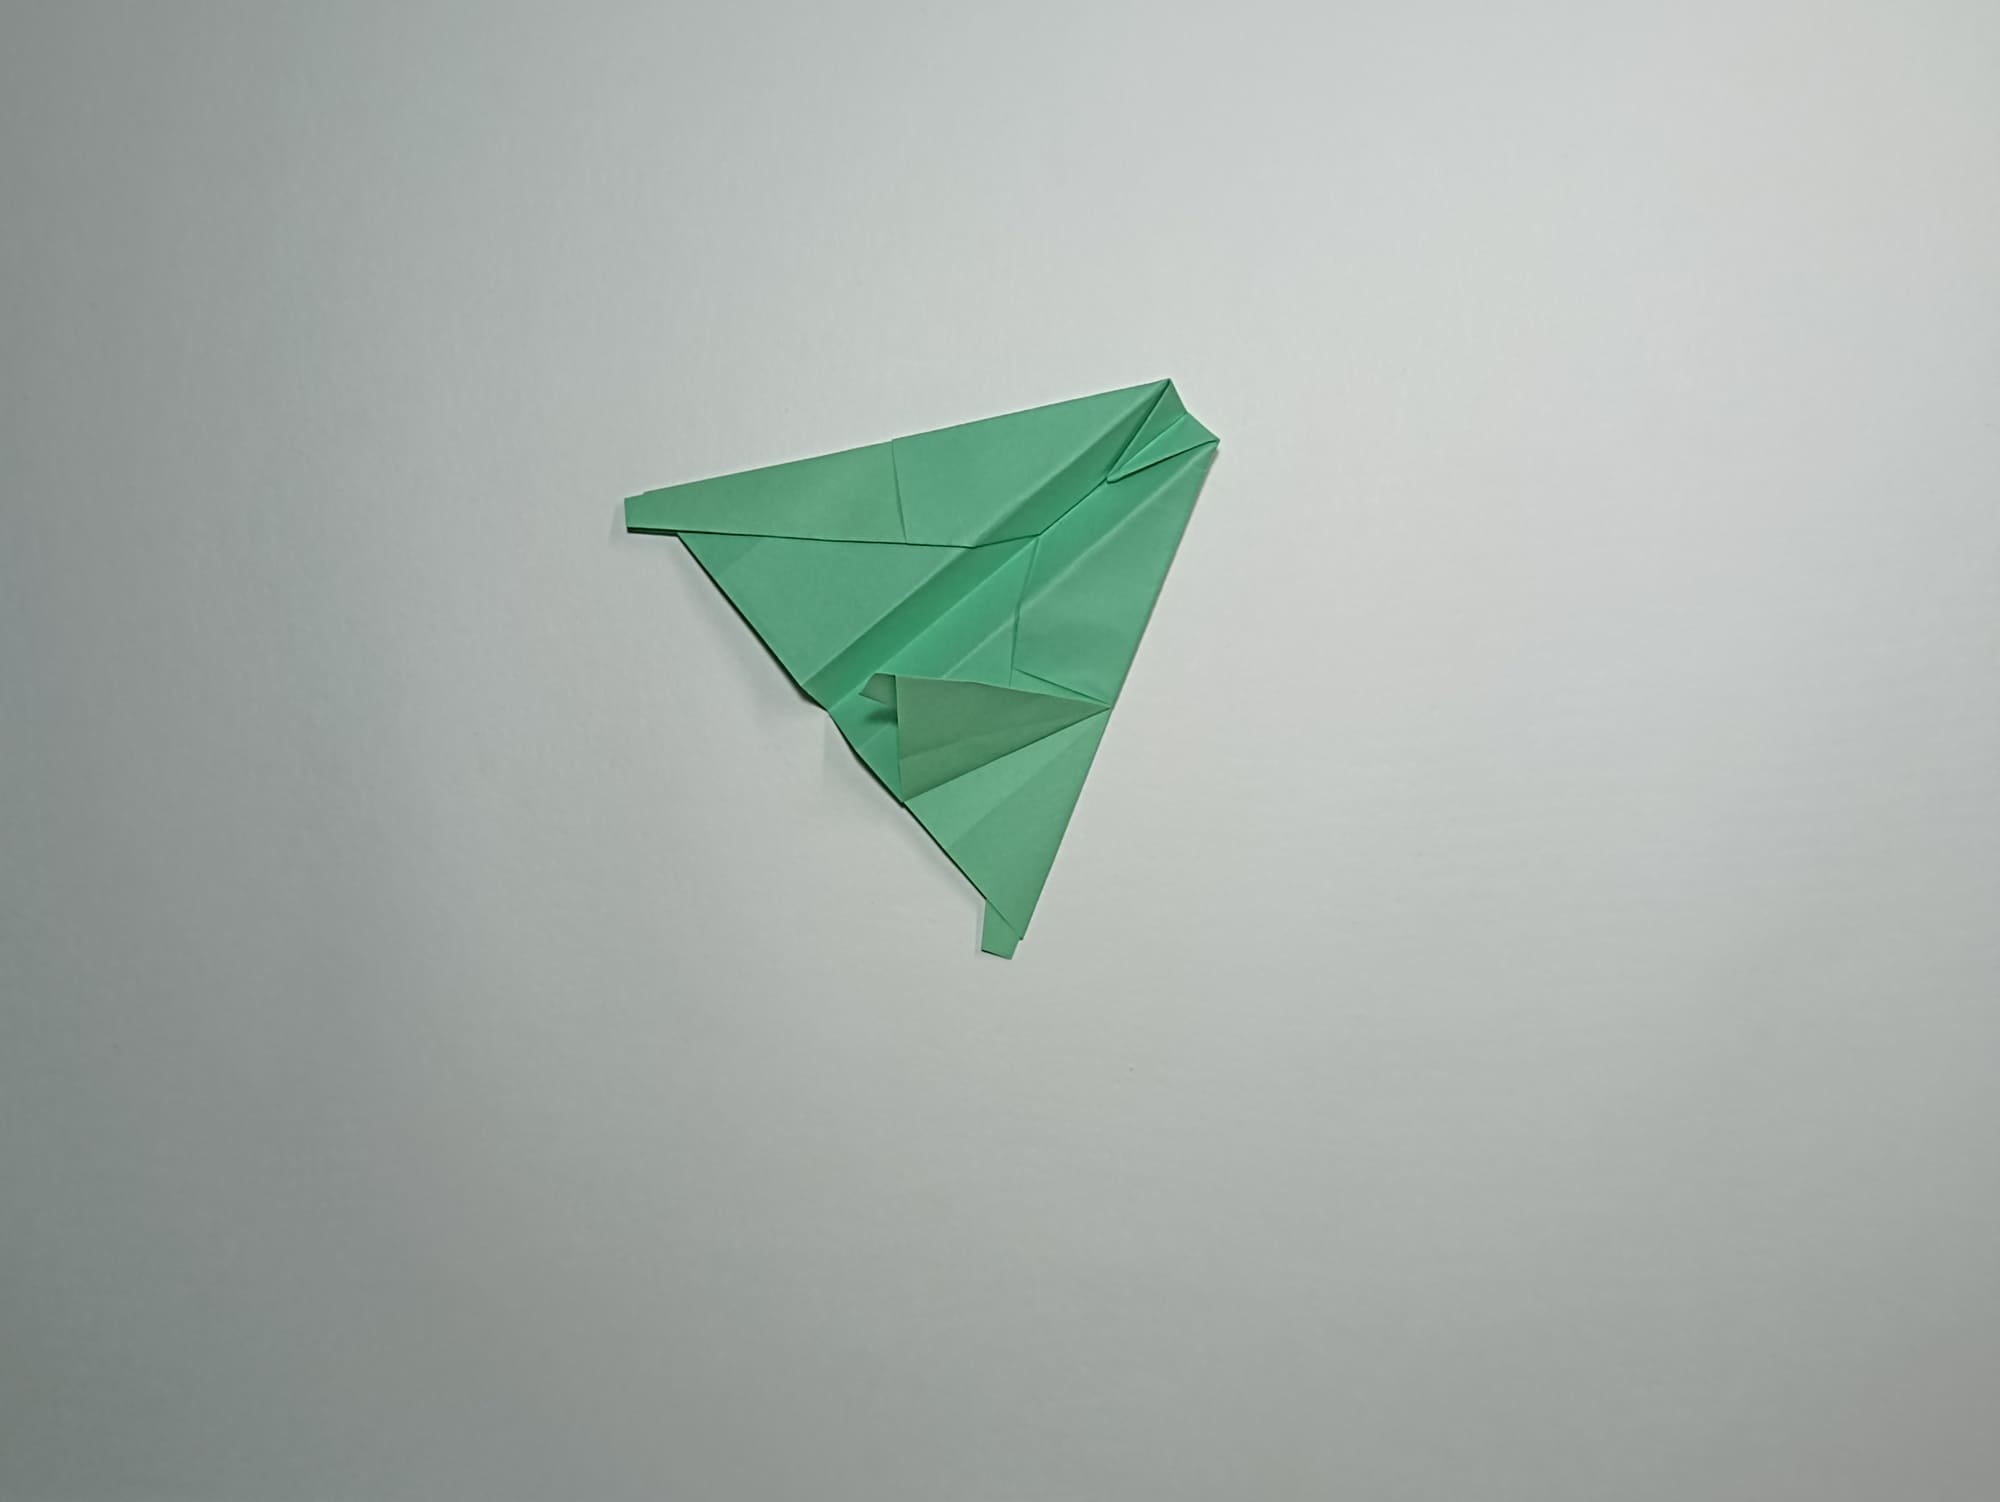
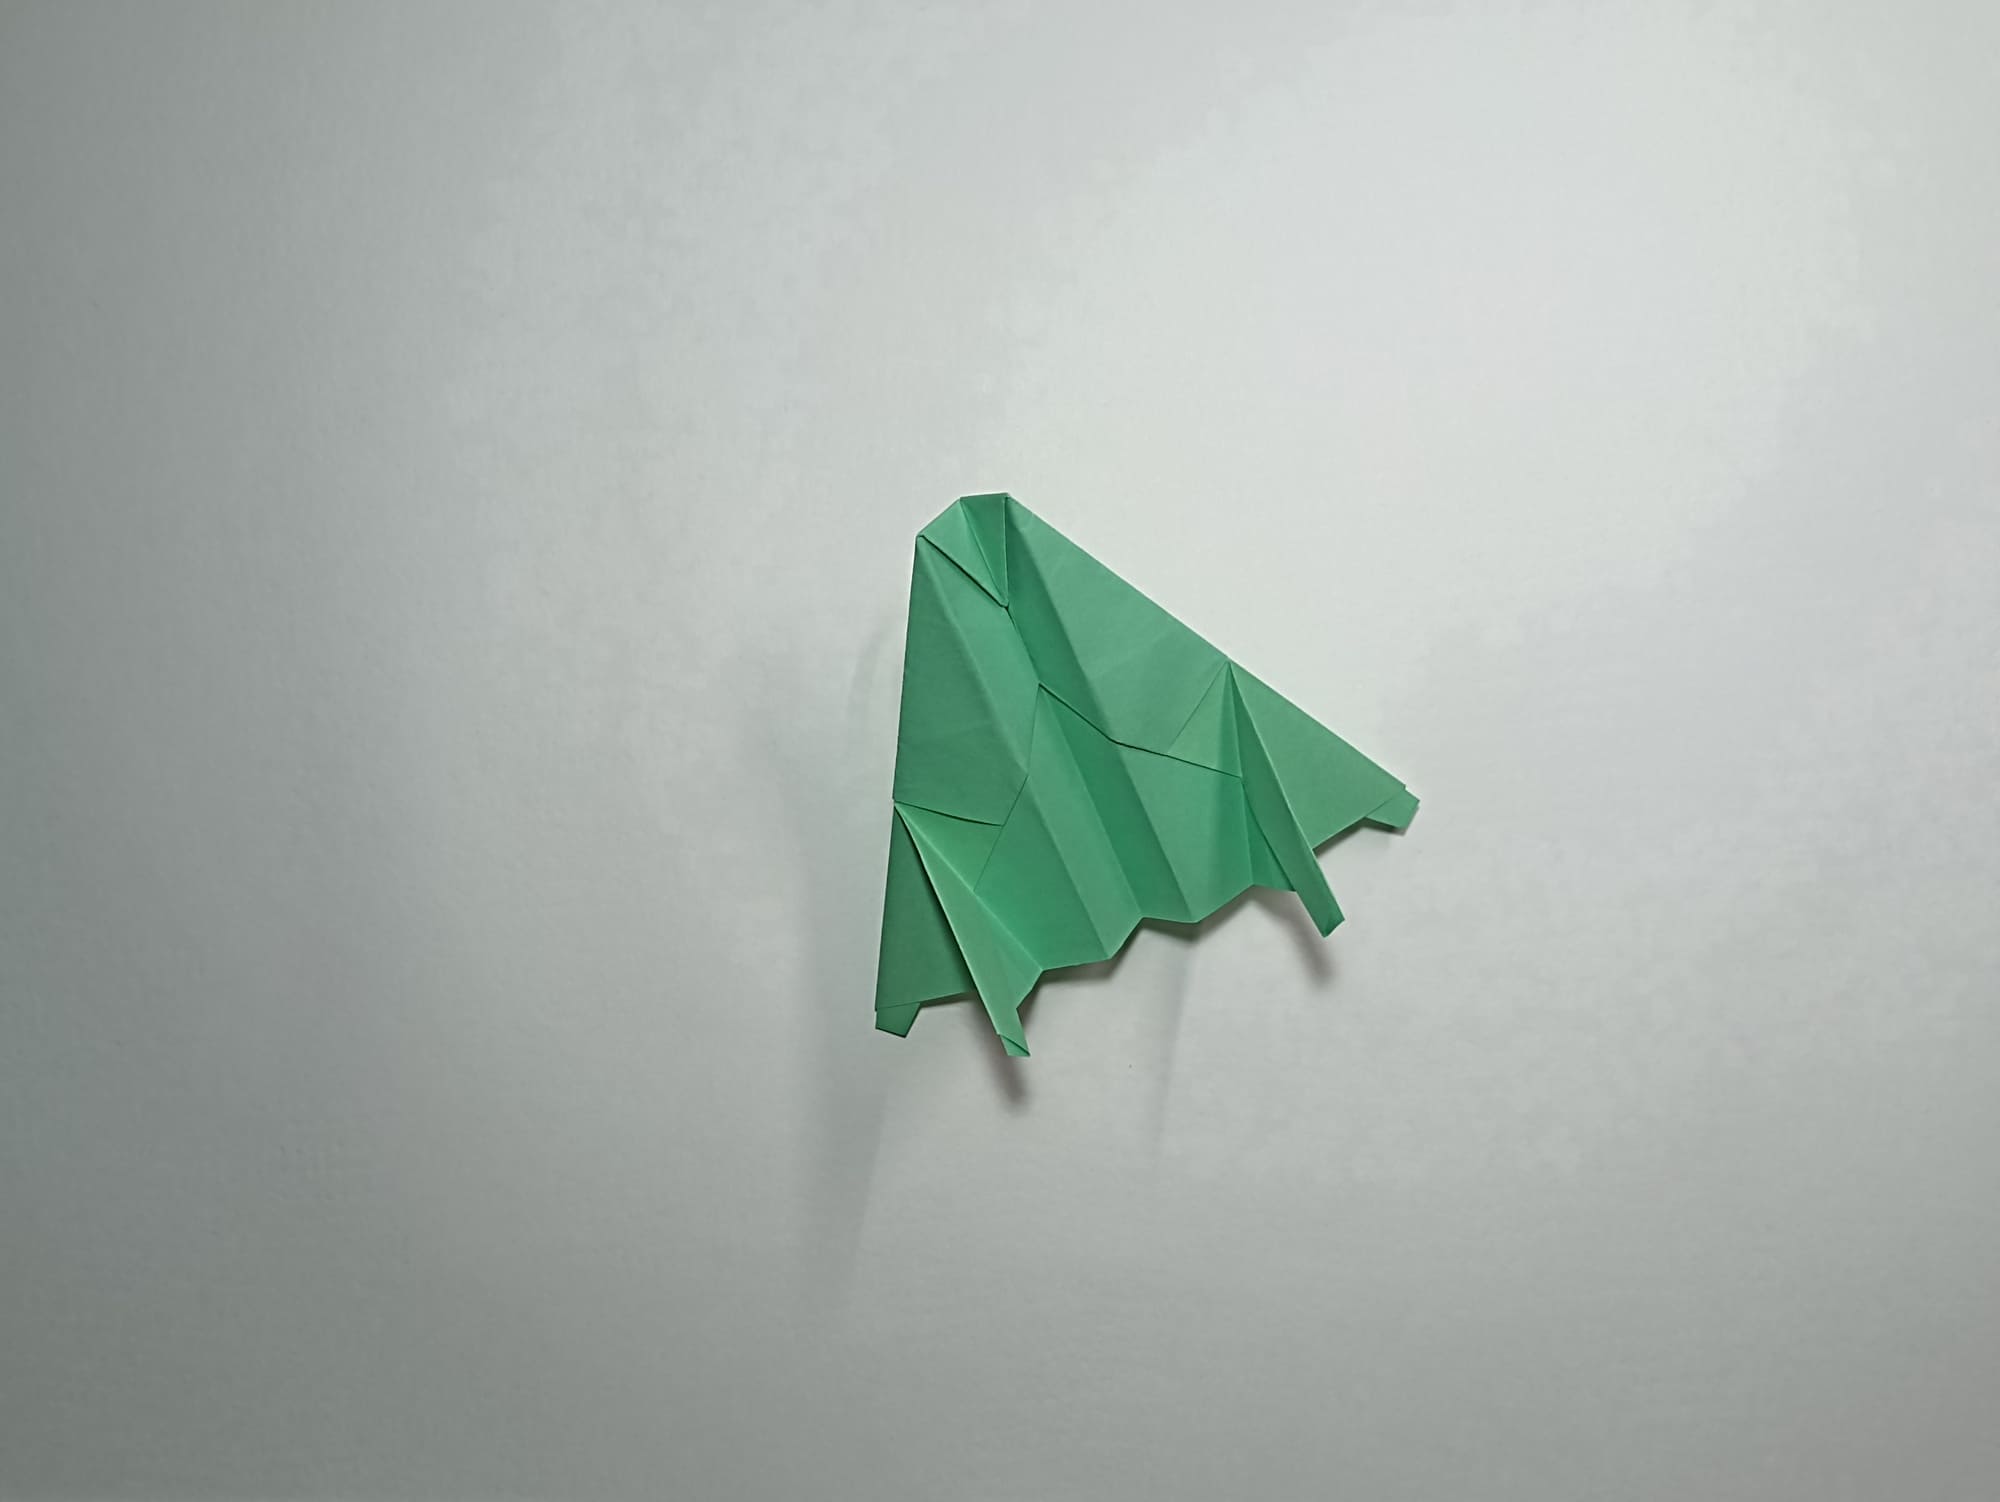
Fold the sides of the top layer of the figure, aligning them one by one with the marked lines coming out from the top of the figure, as in the illustration.

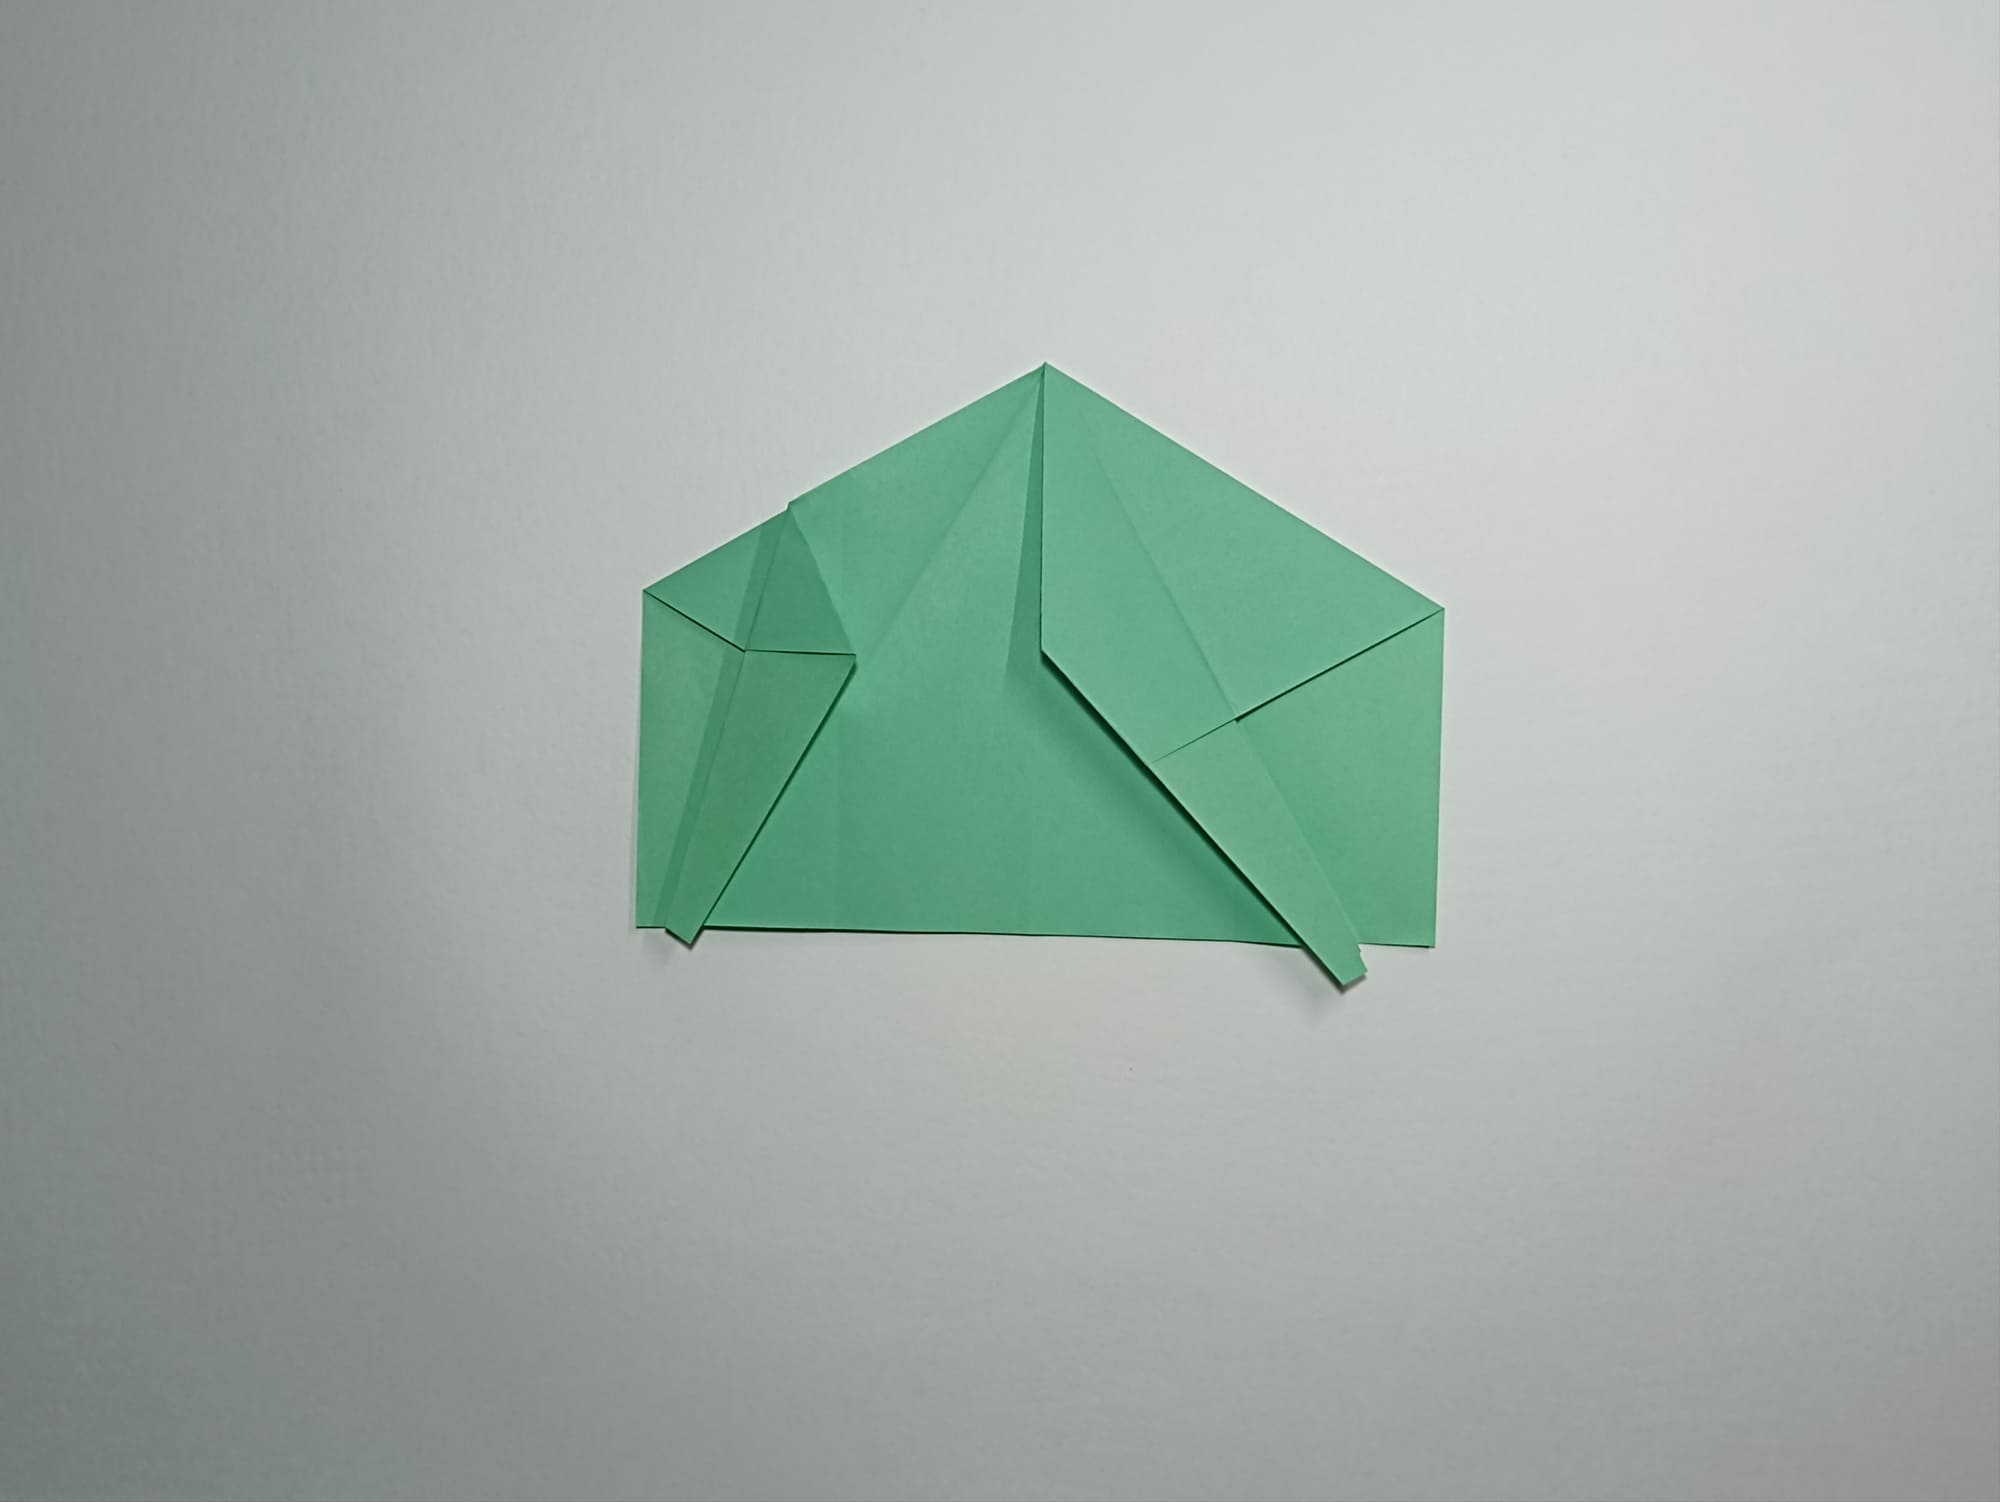
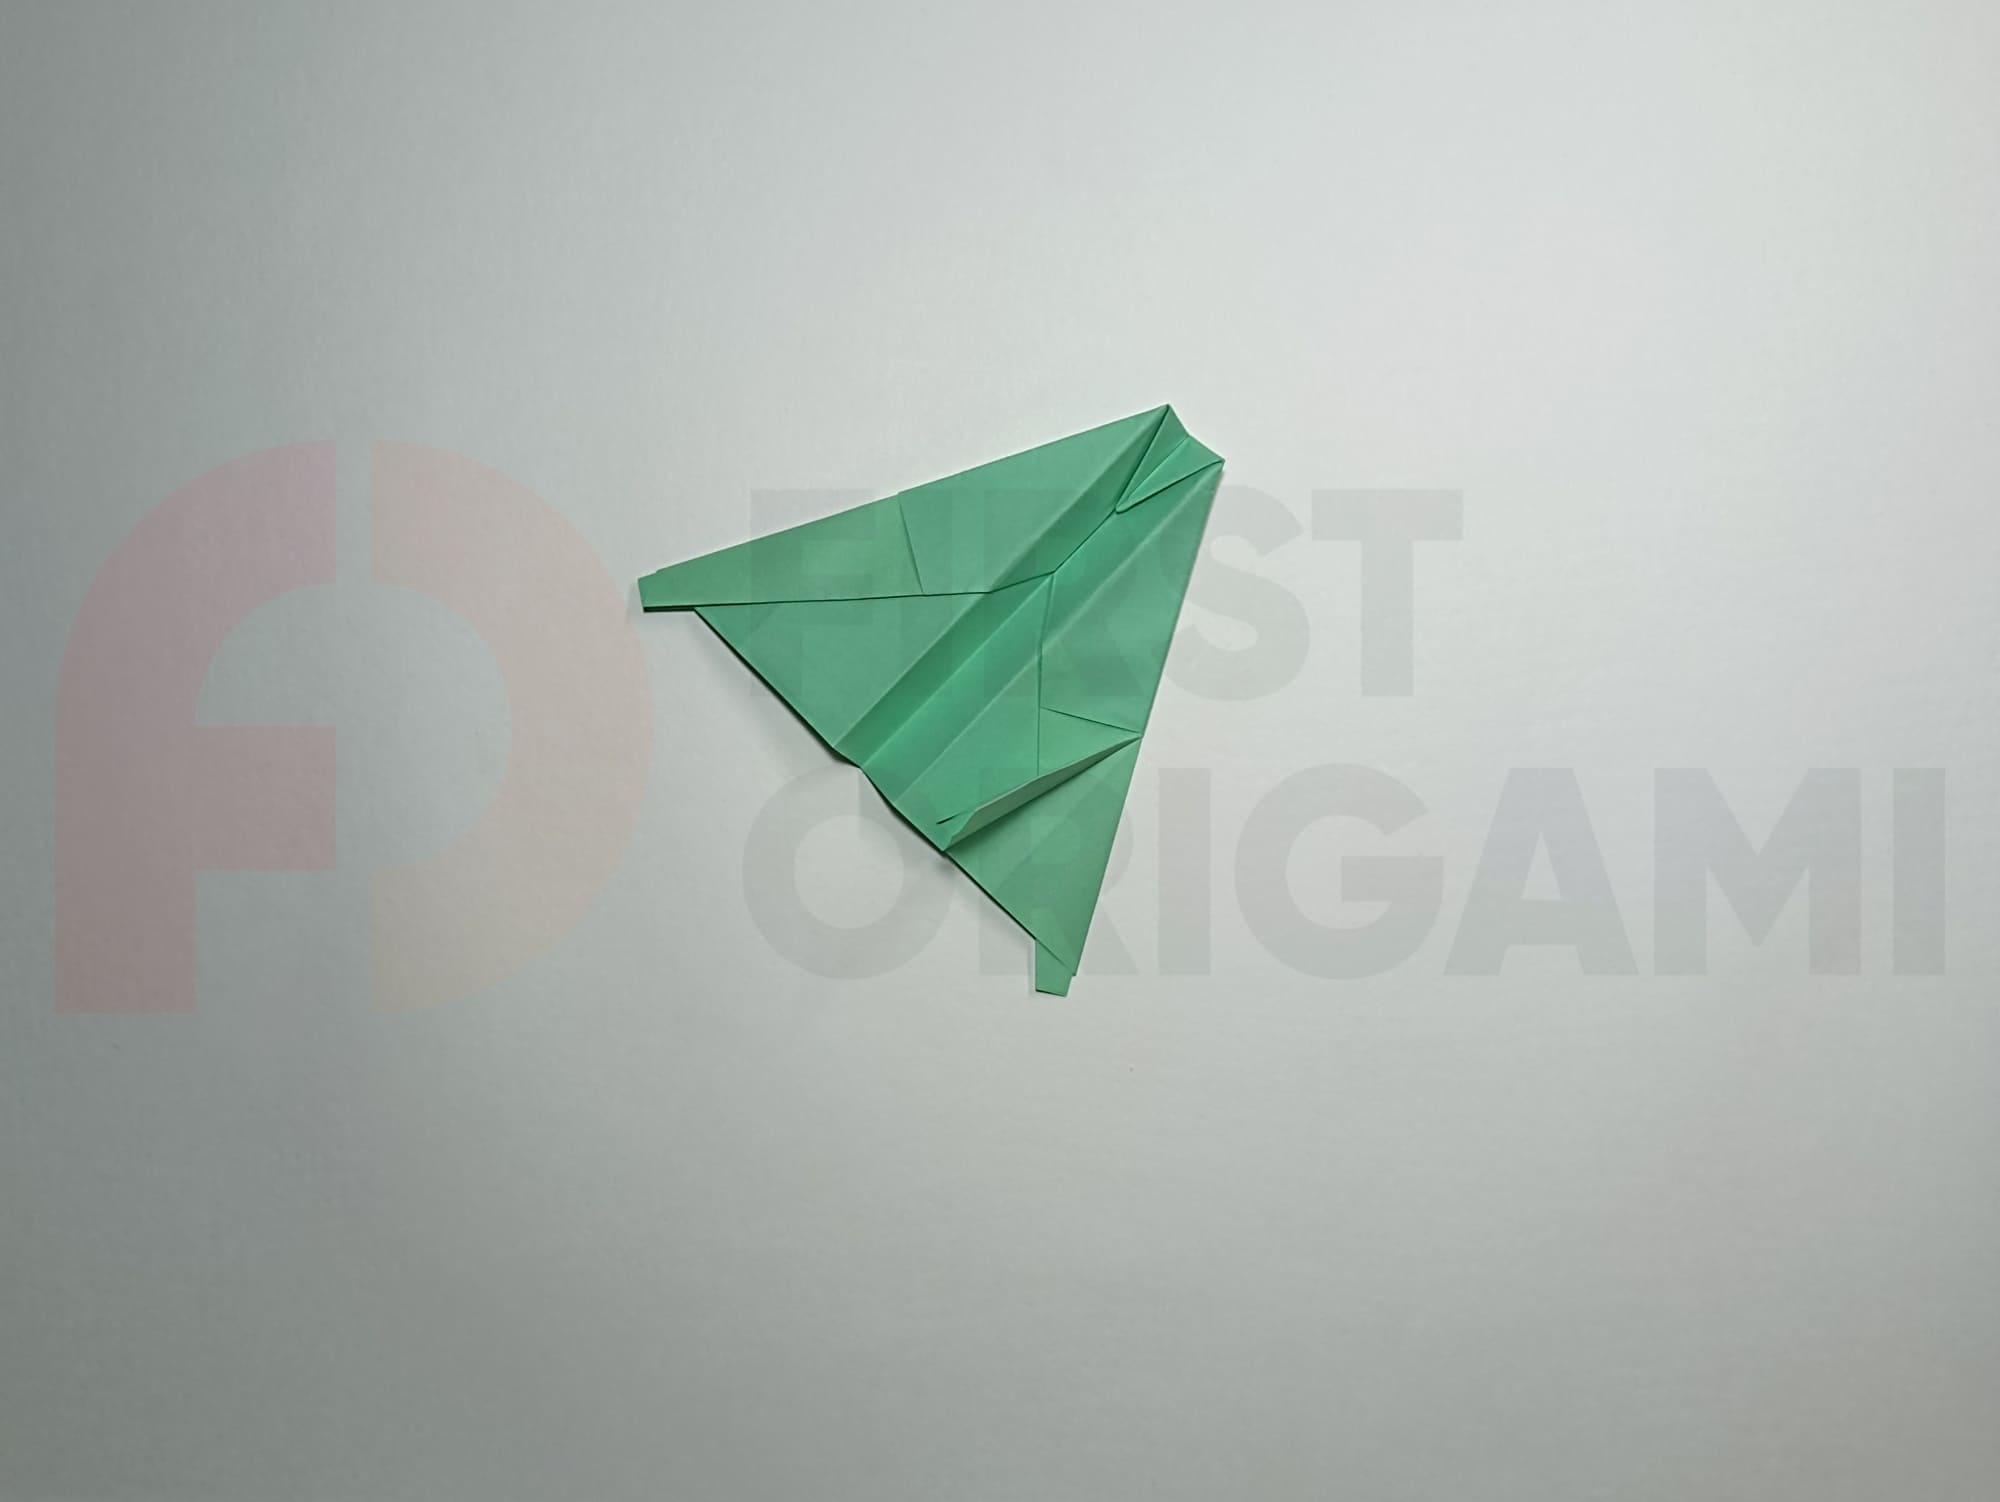
Continue folding the top layer, aligning the sides with the middle line.

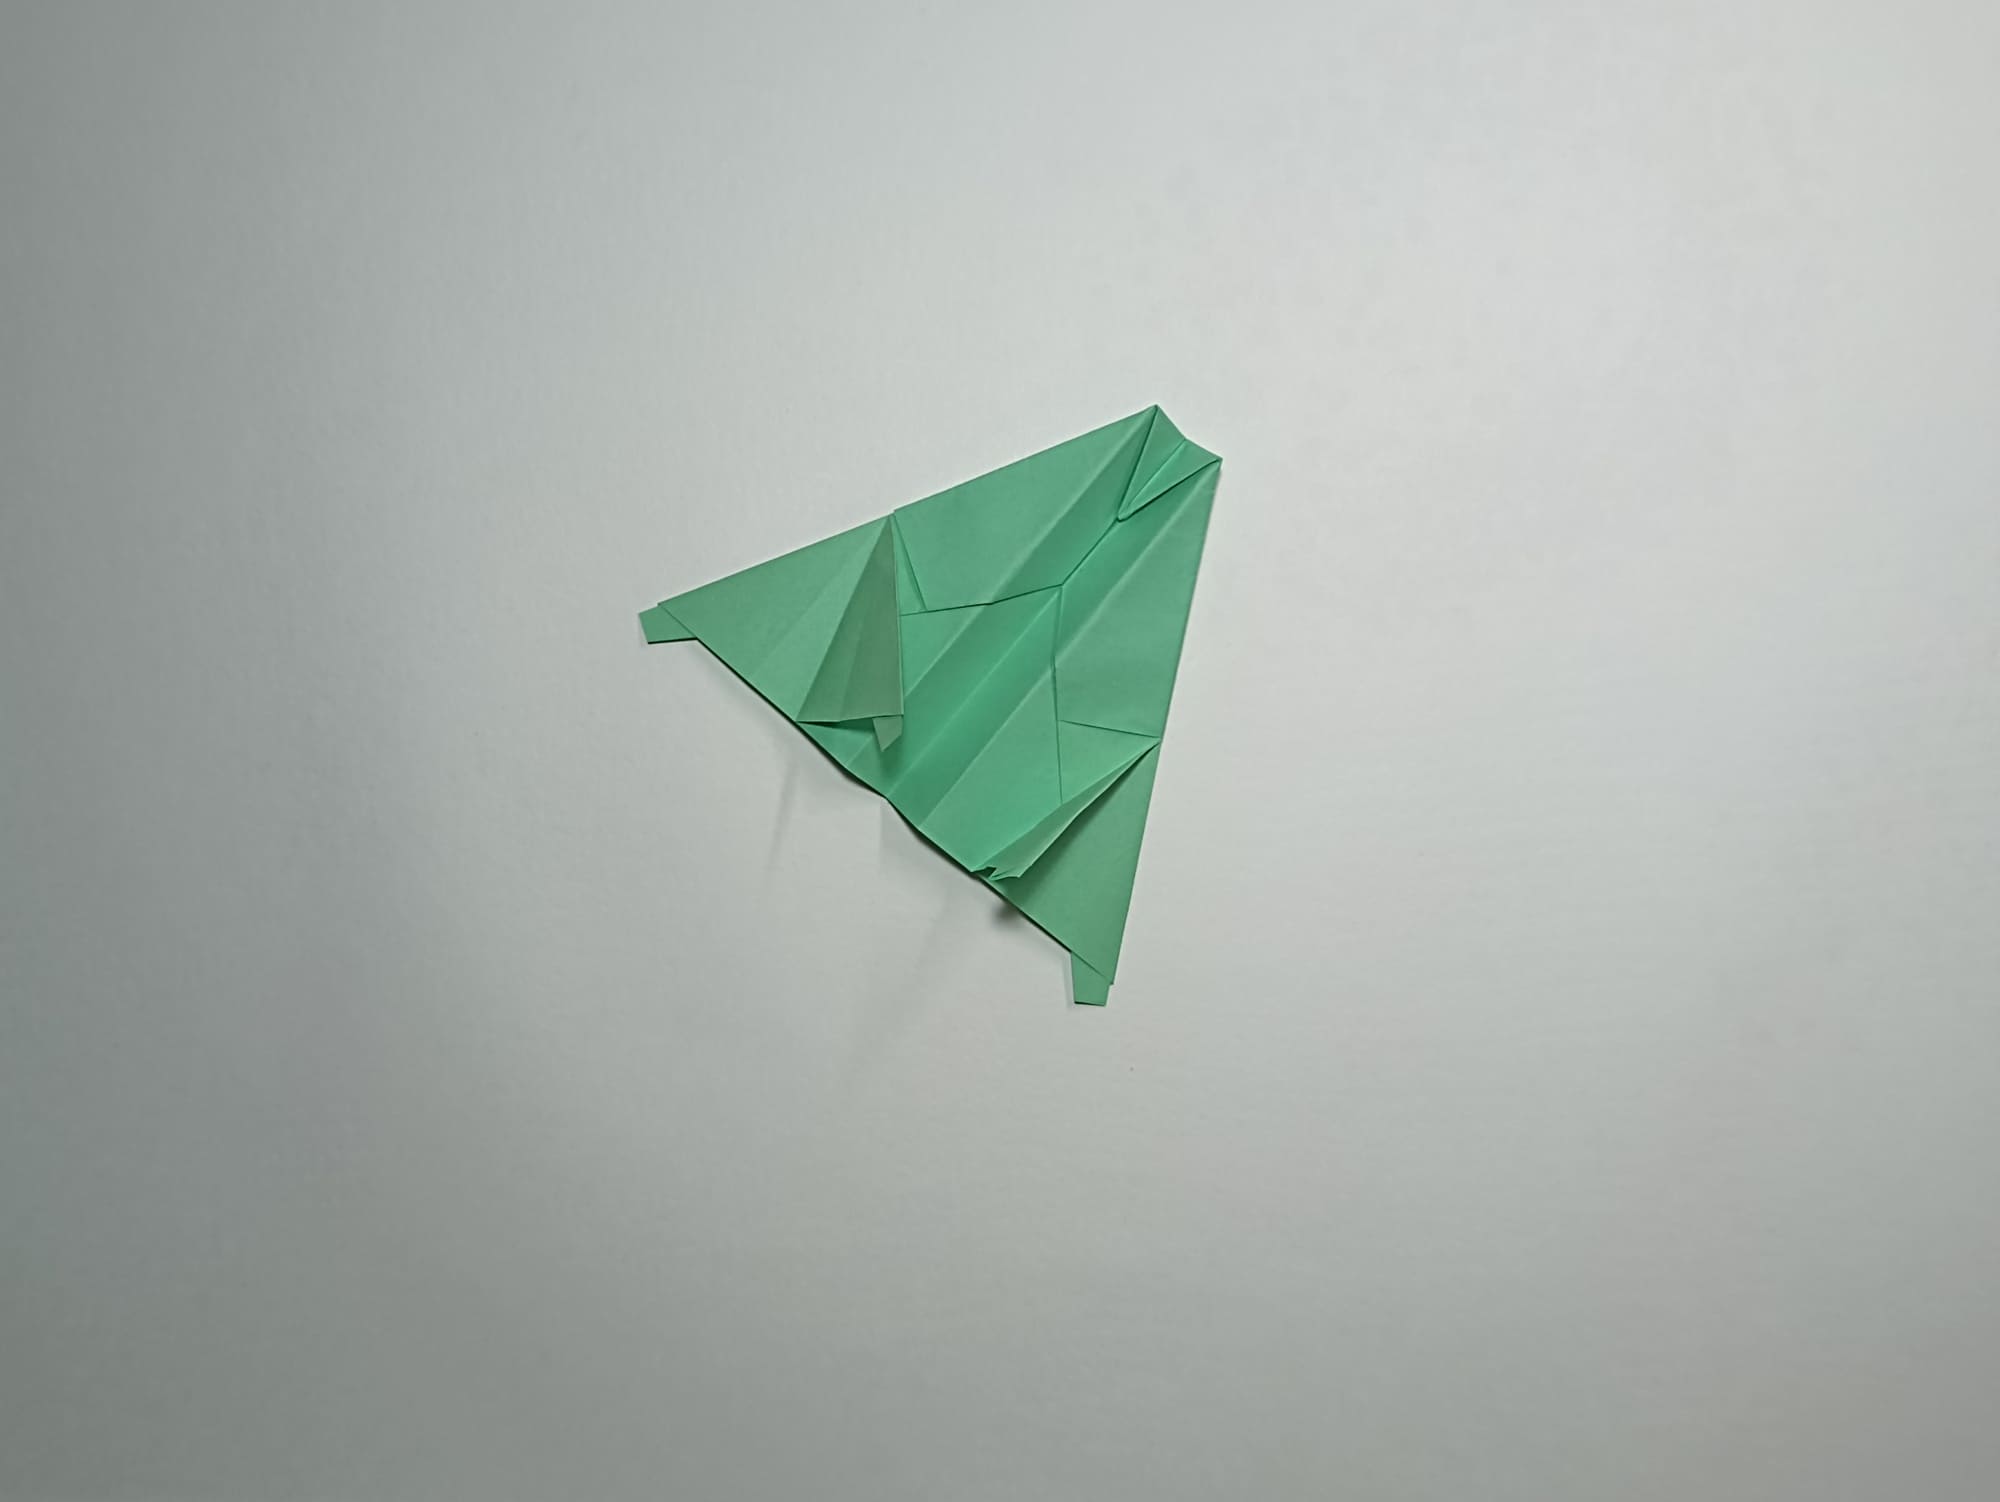
Turn the figure over.
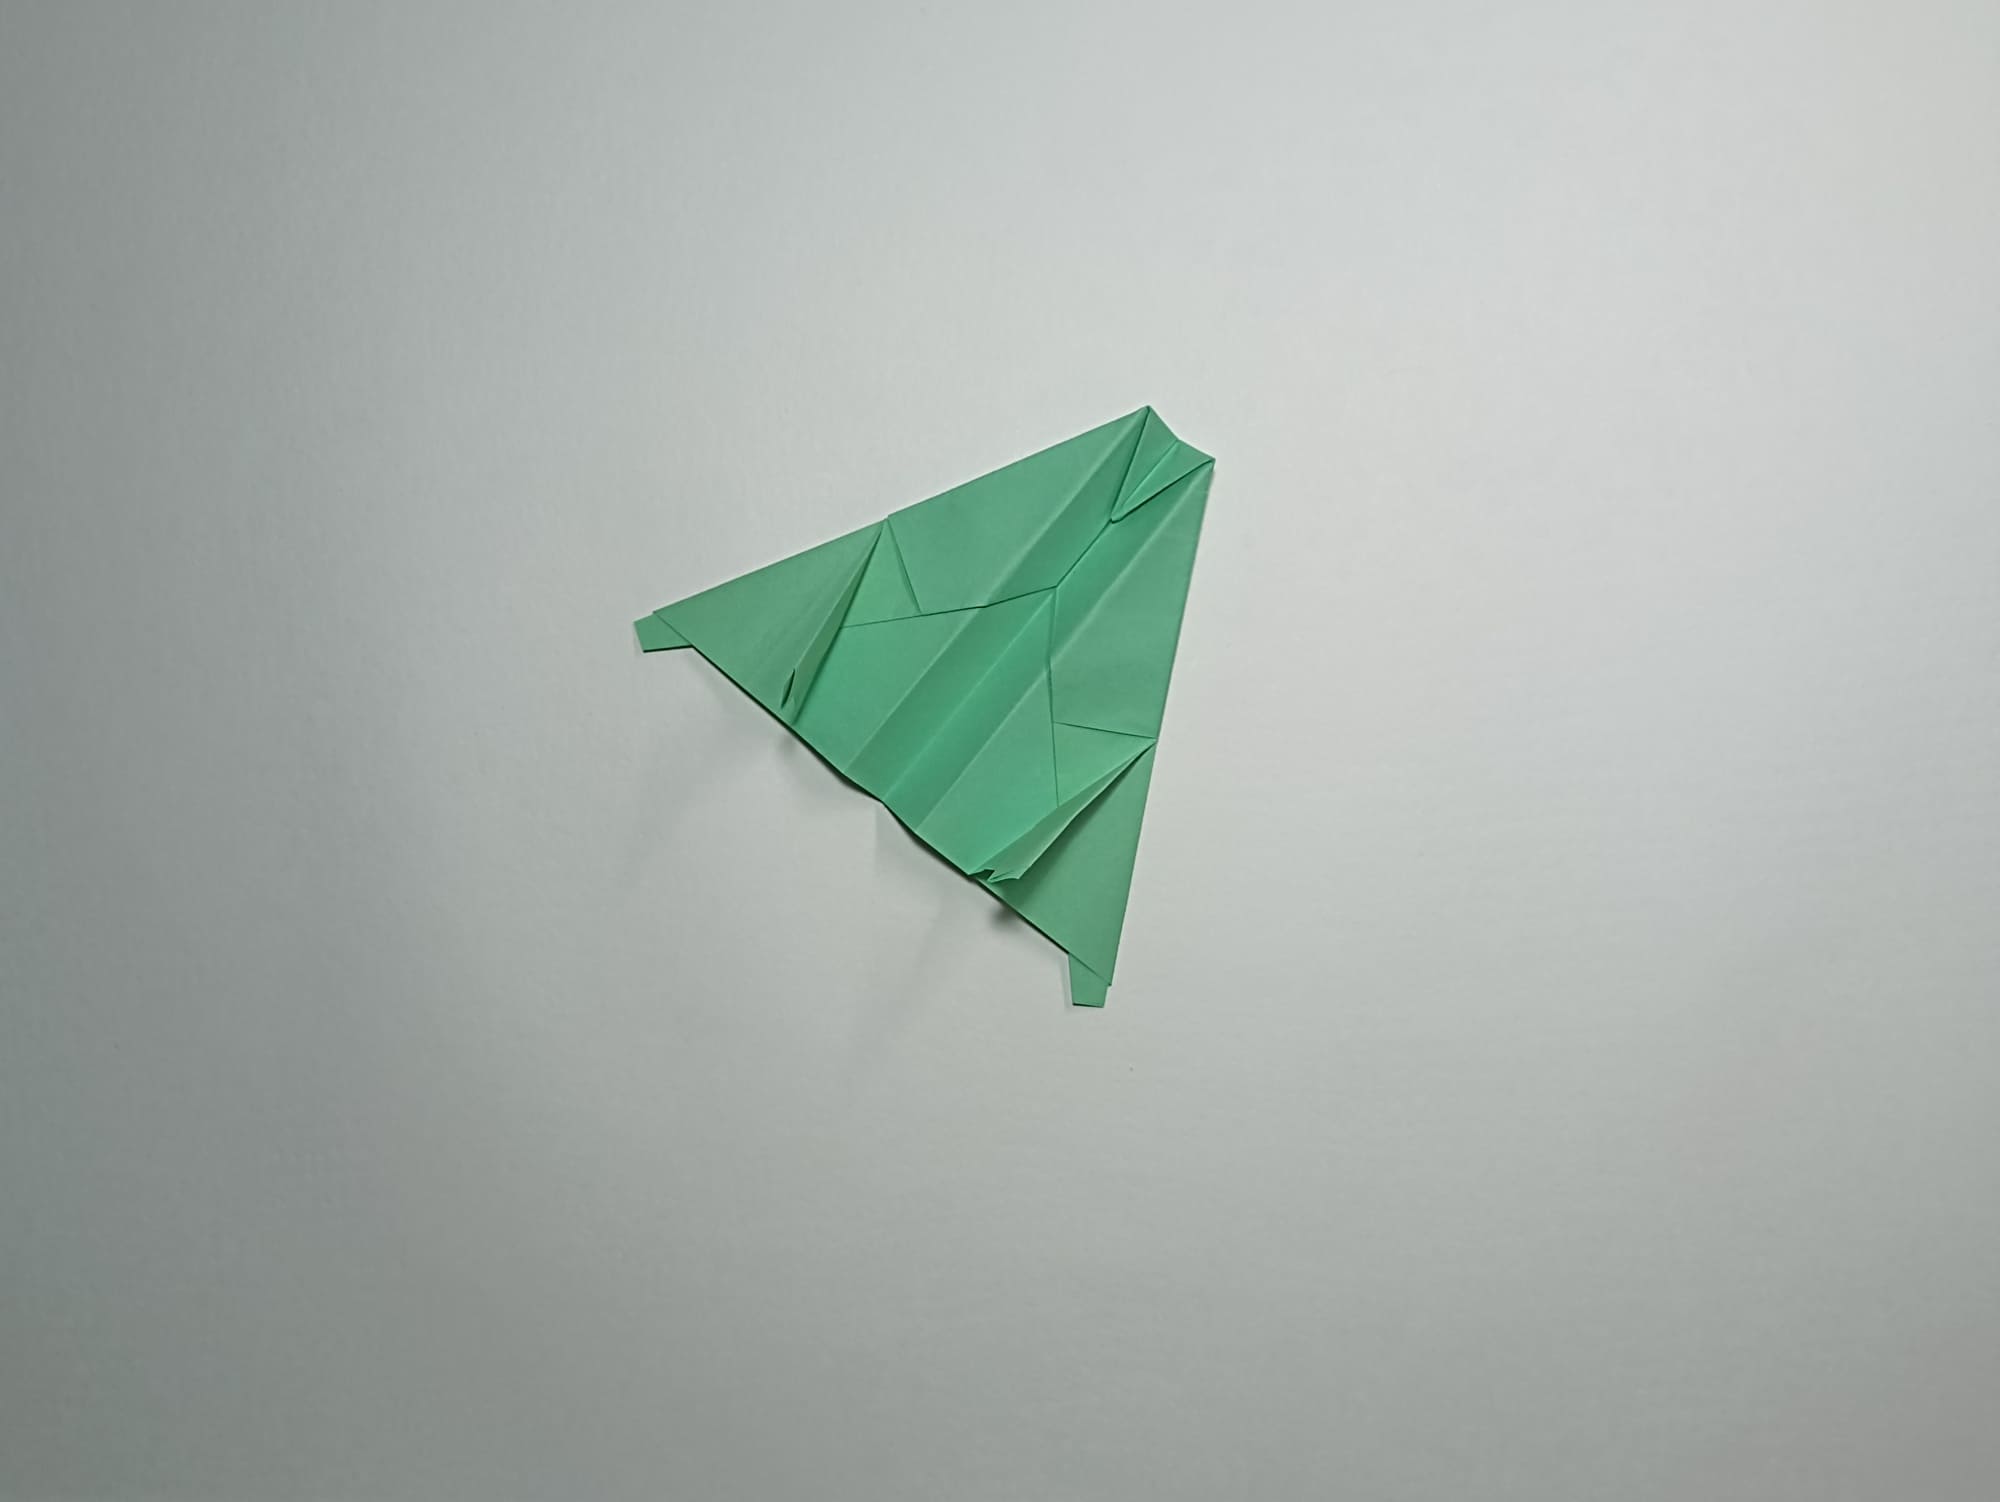
Continue working according to the algorithm described in steps 17-21.

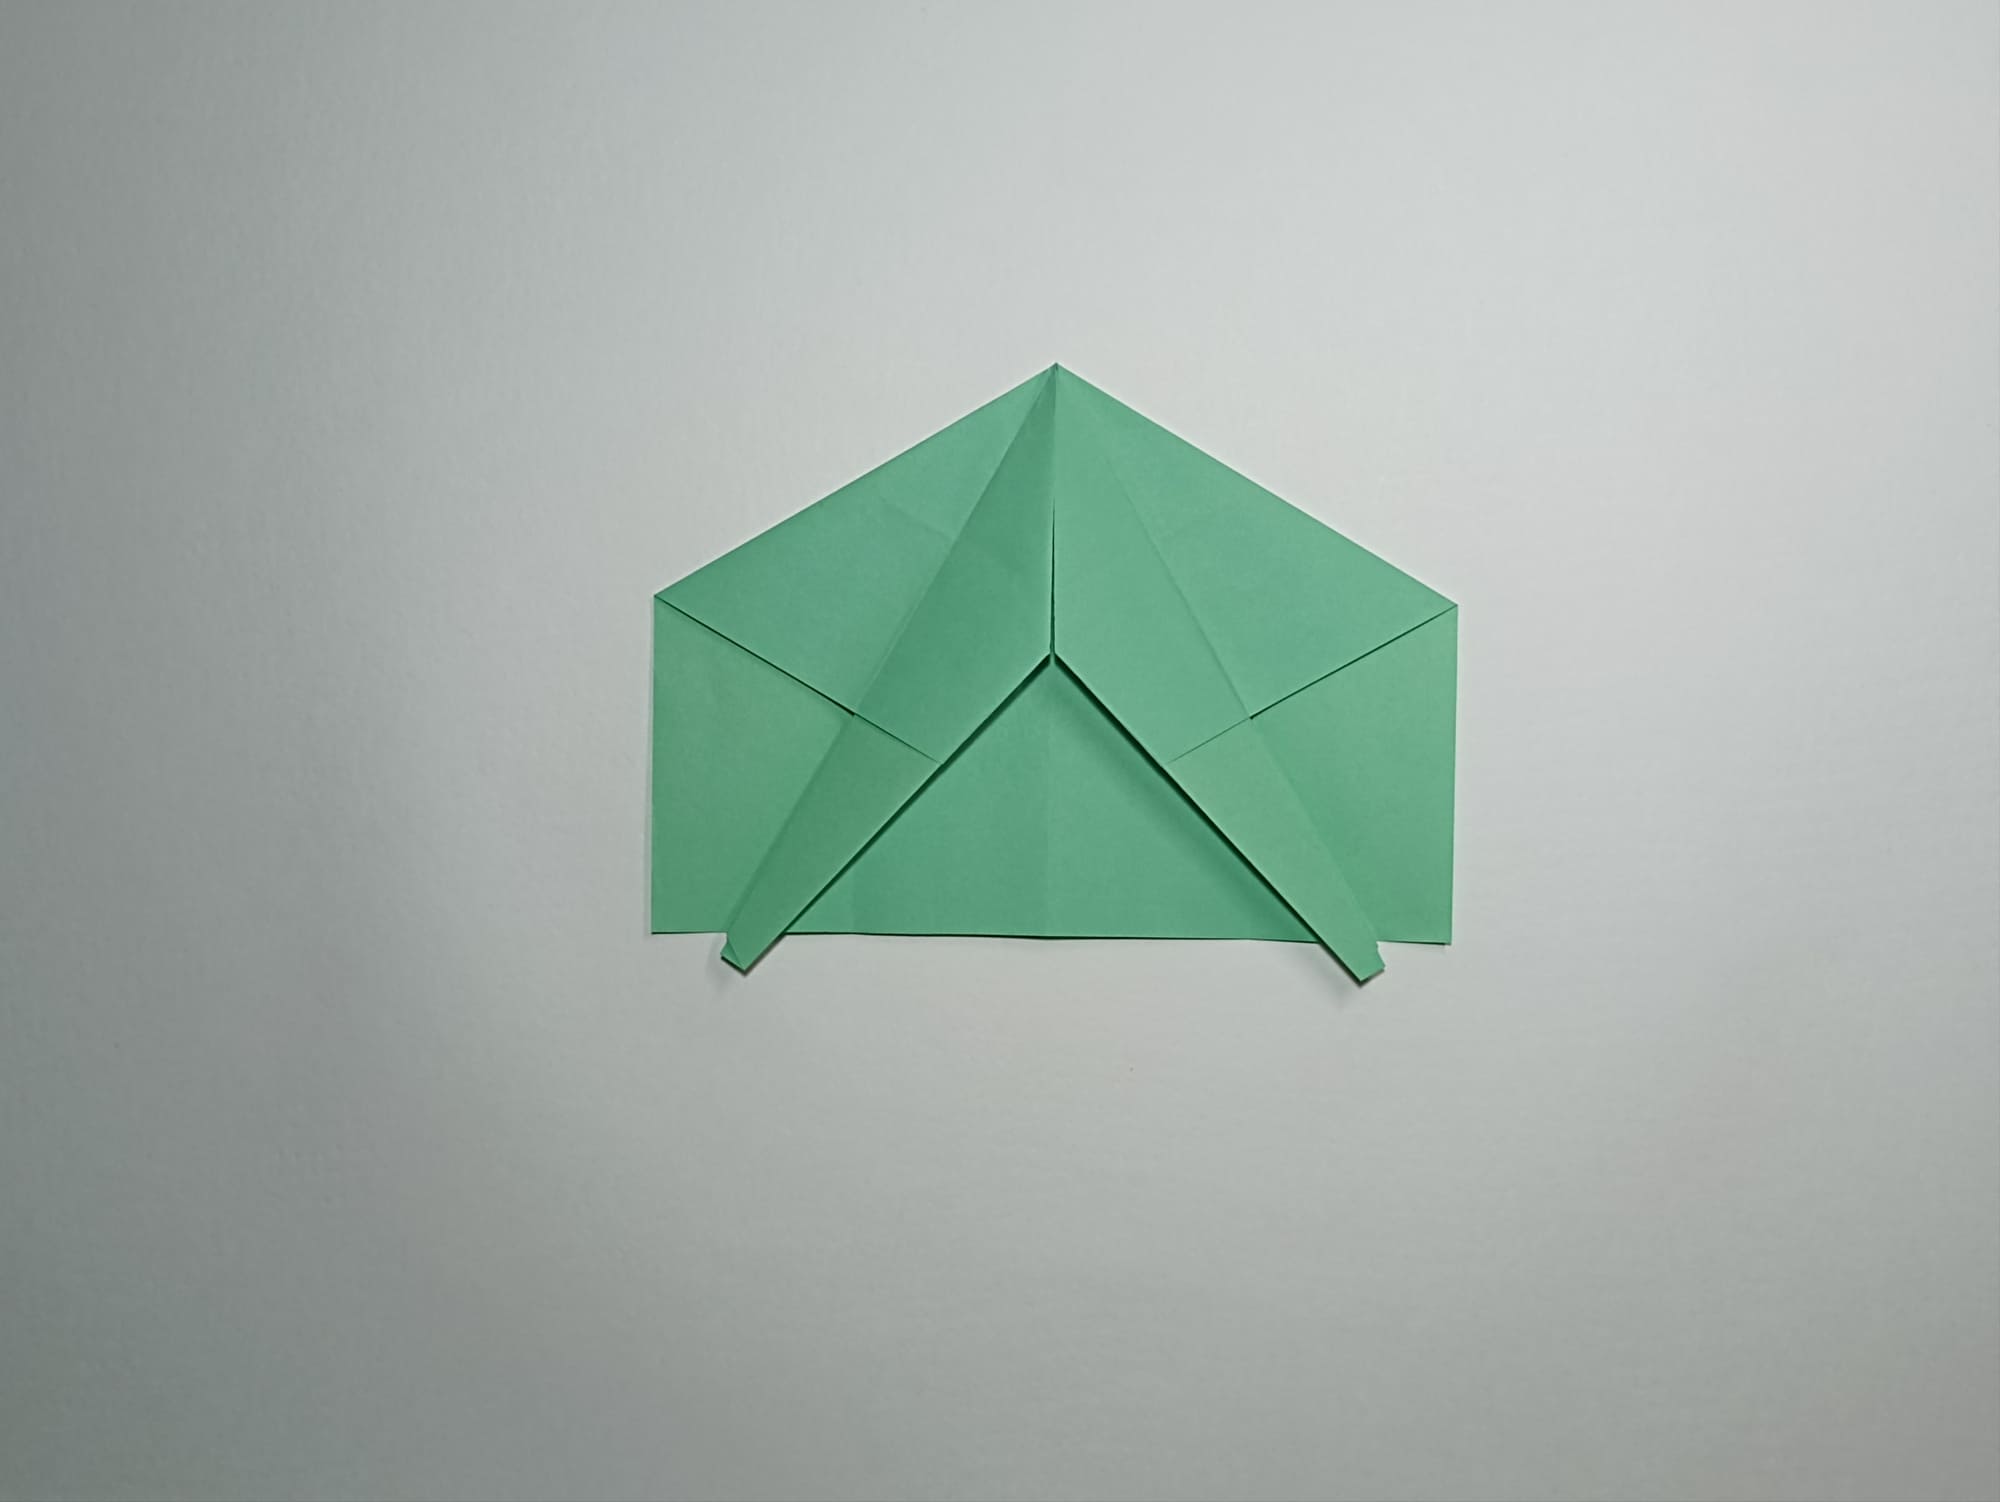
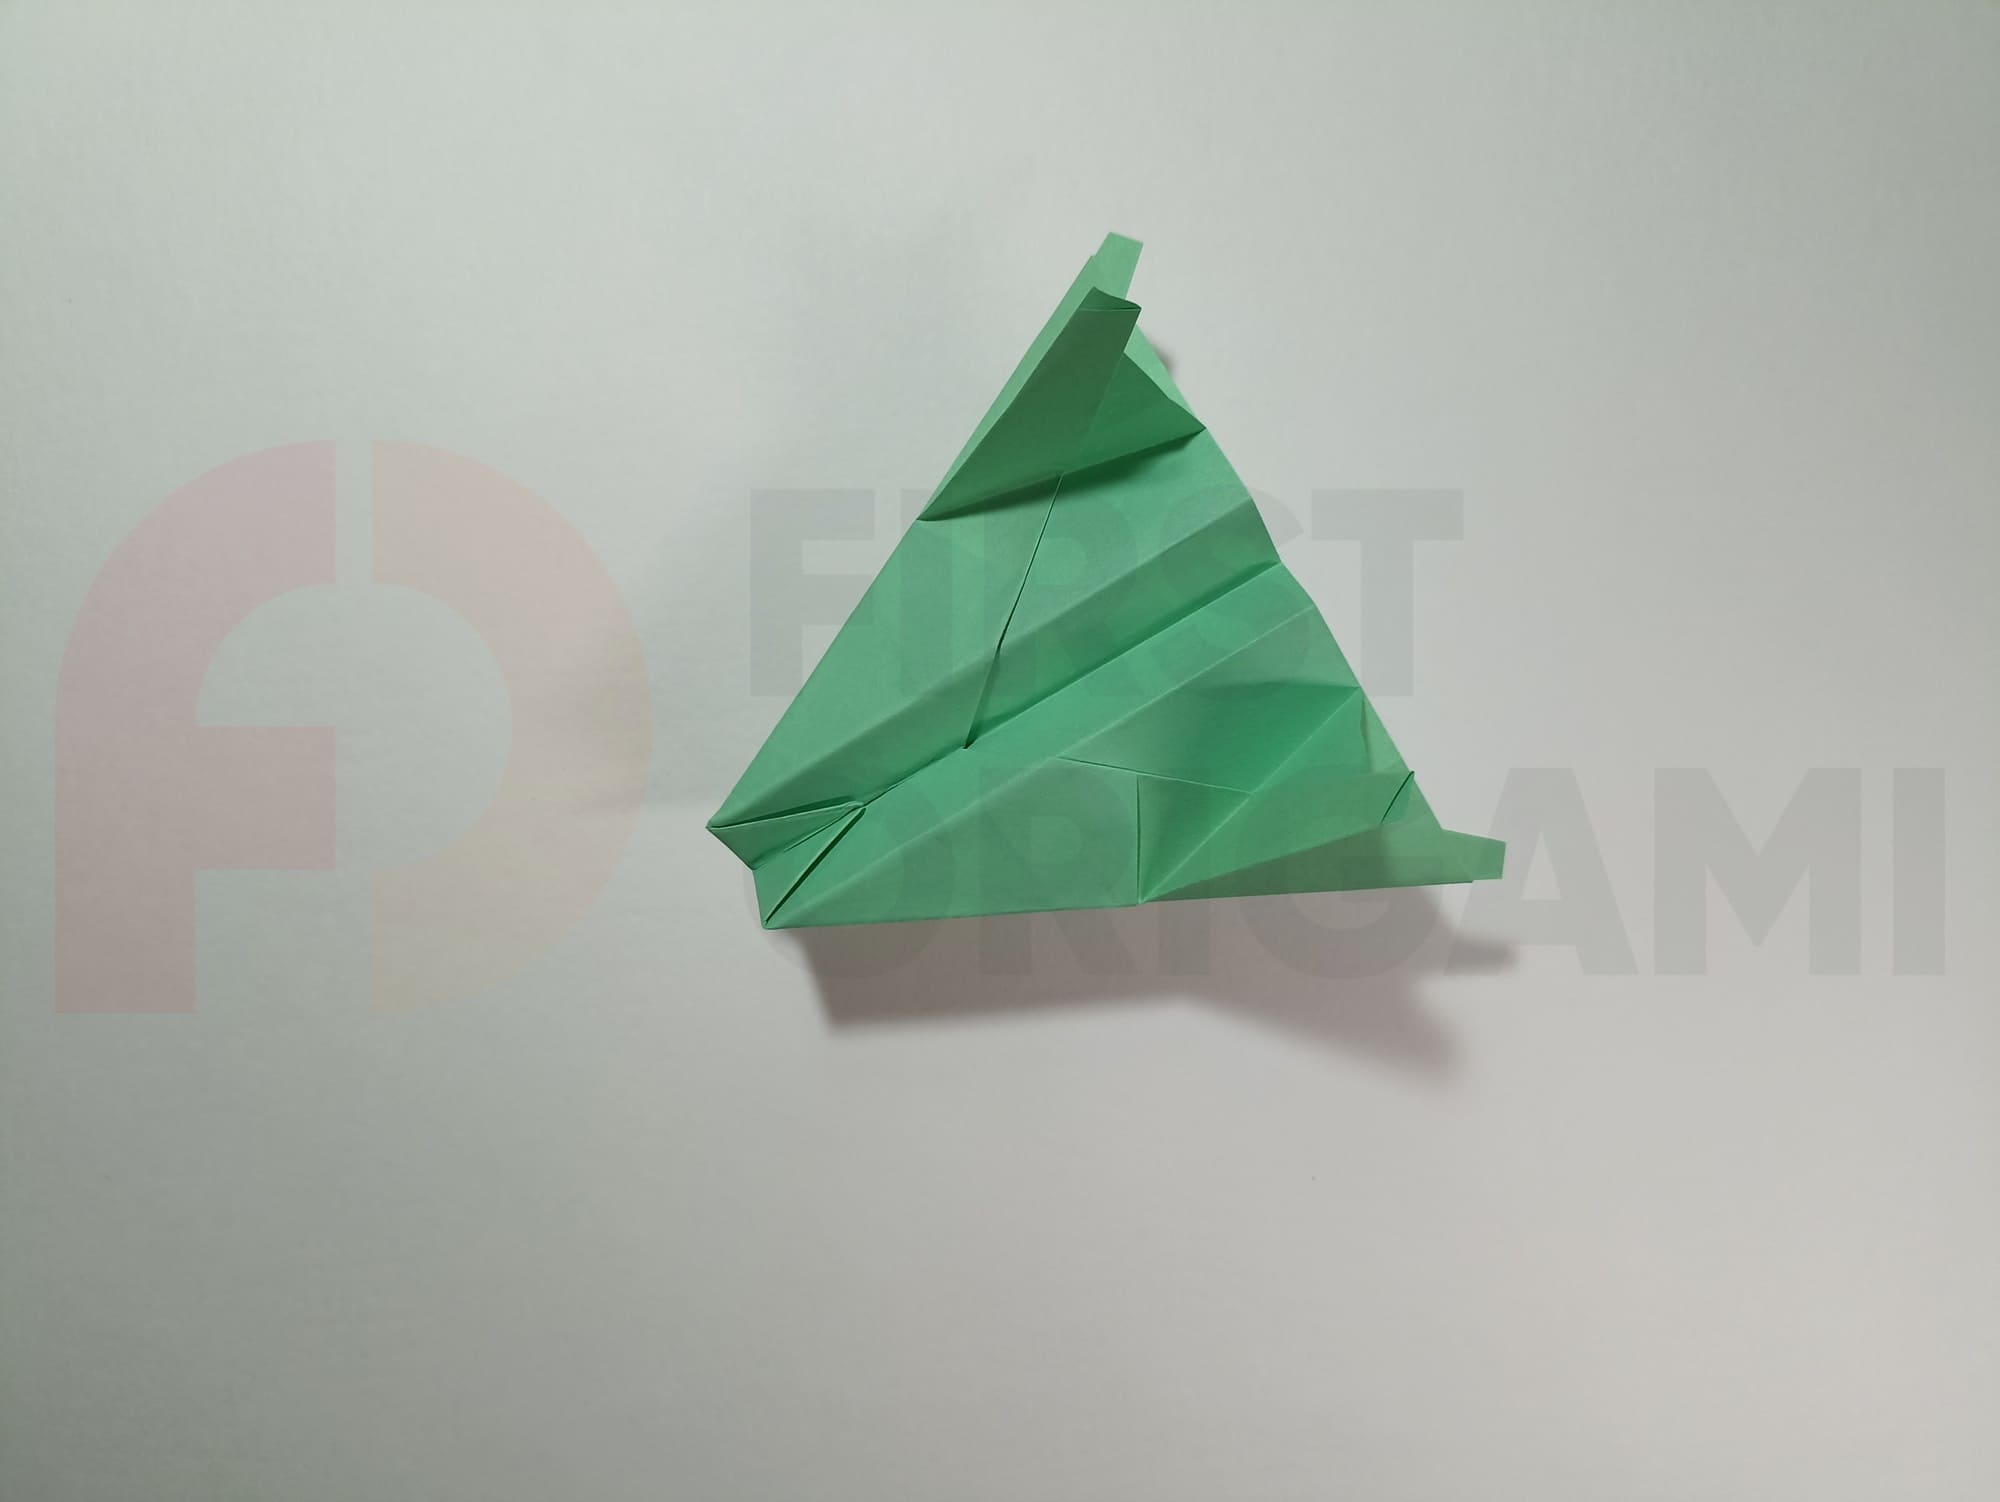
Now, the two layers of the shape should look the same on both sides.
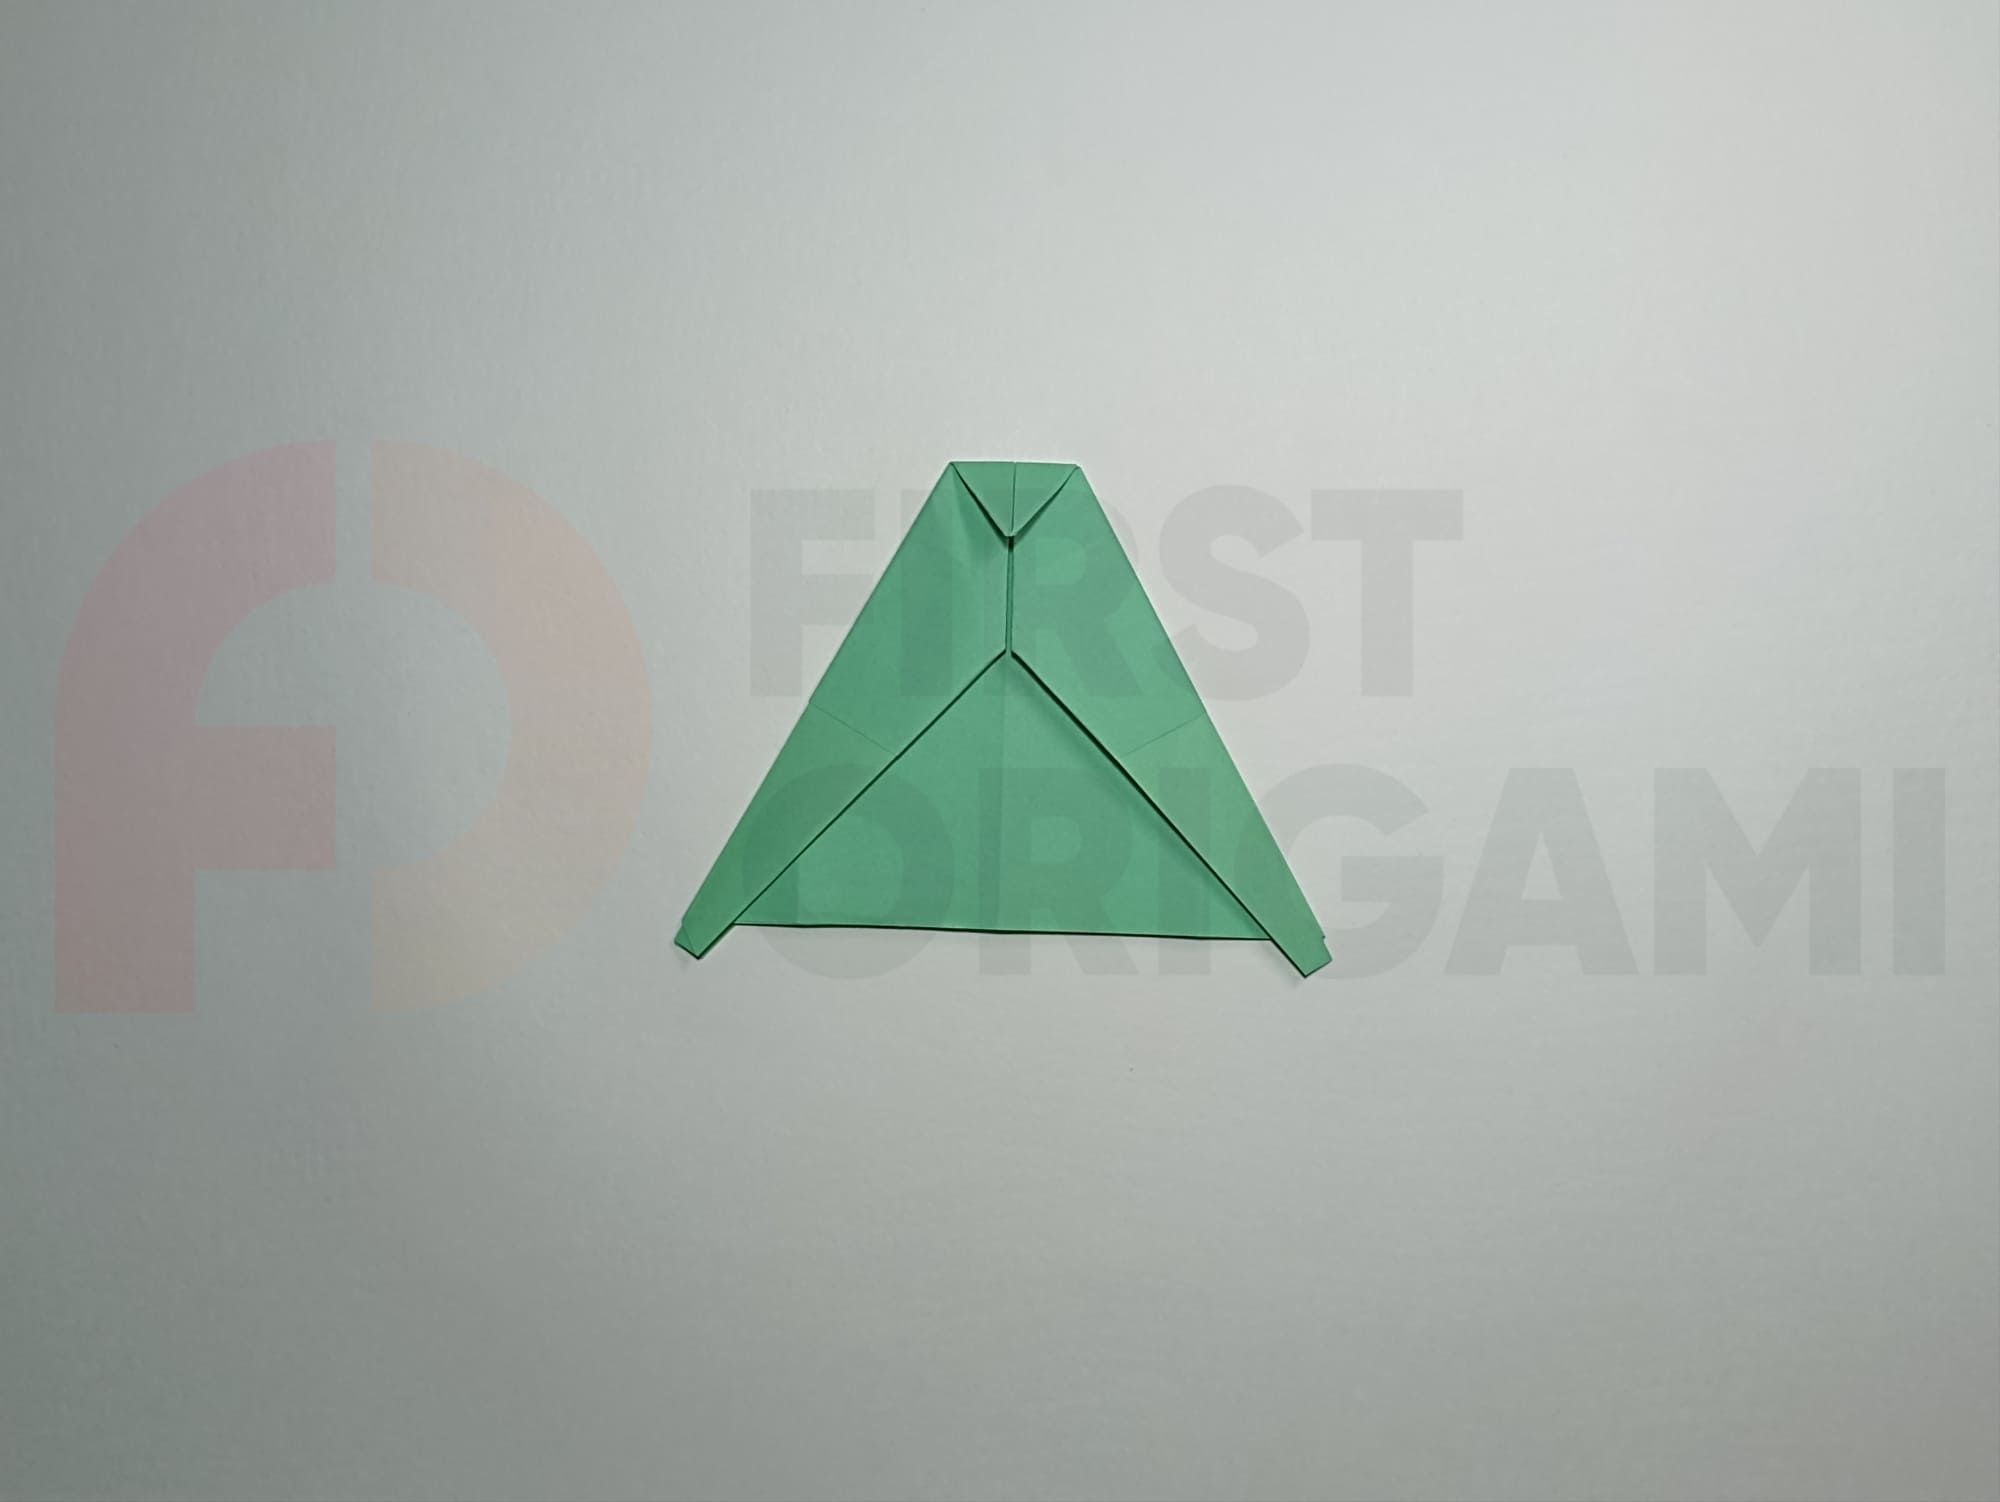
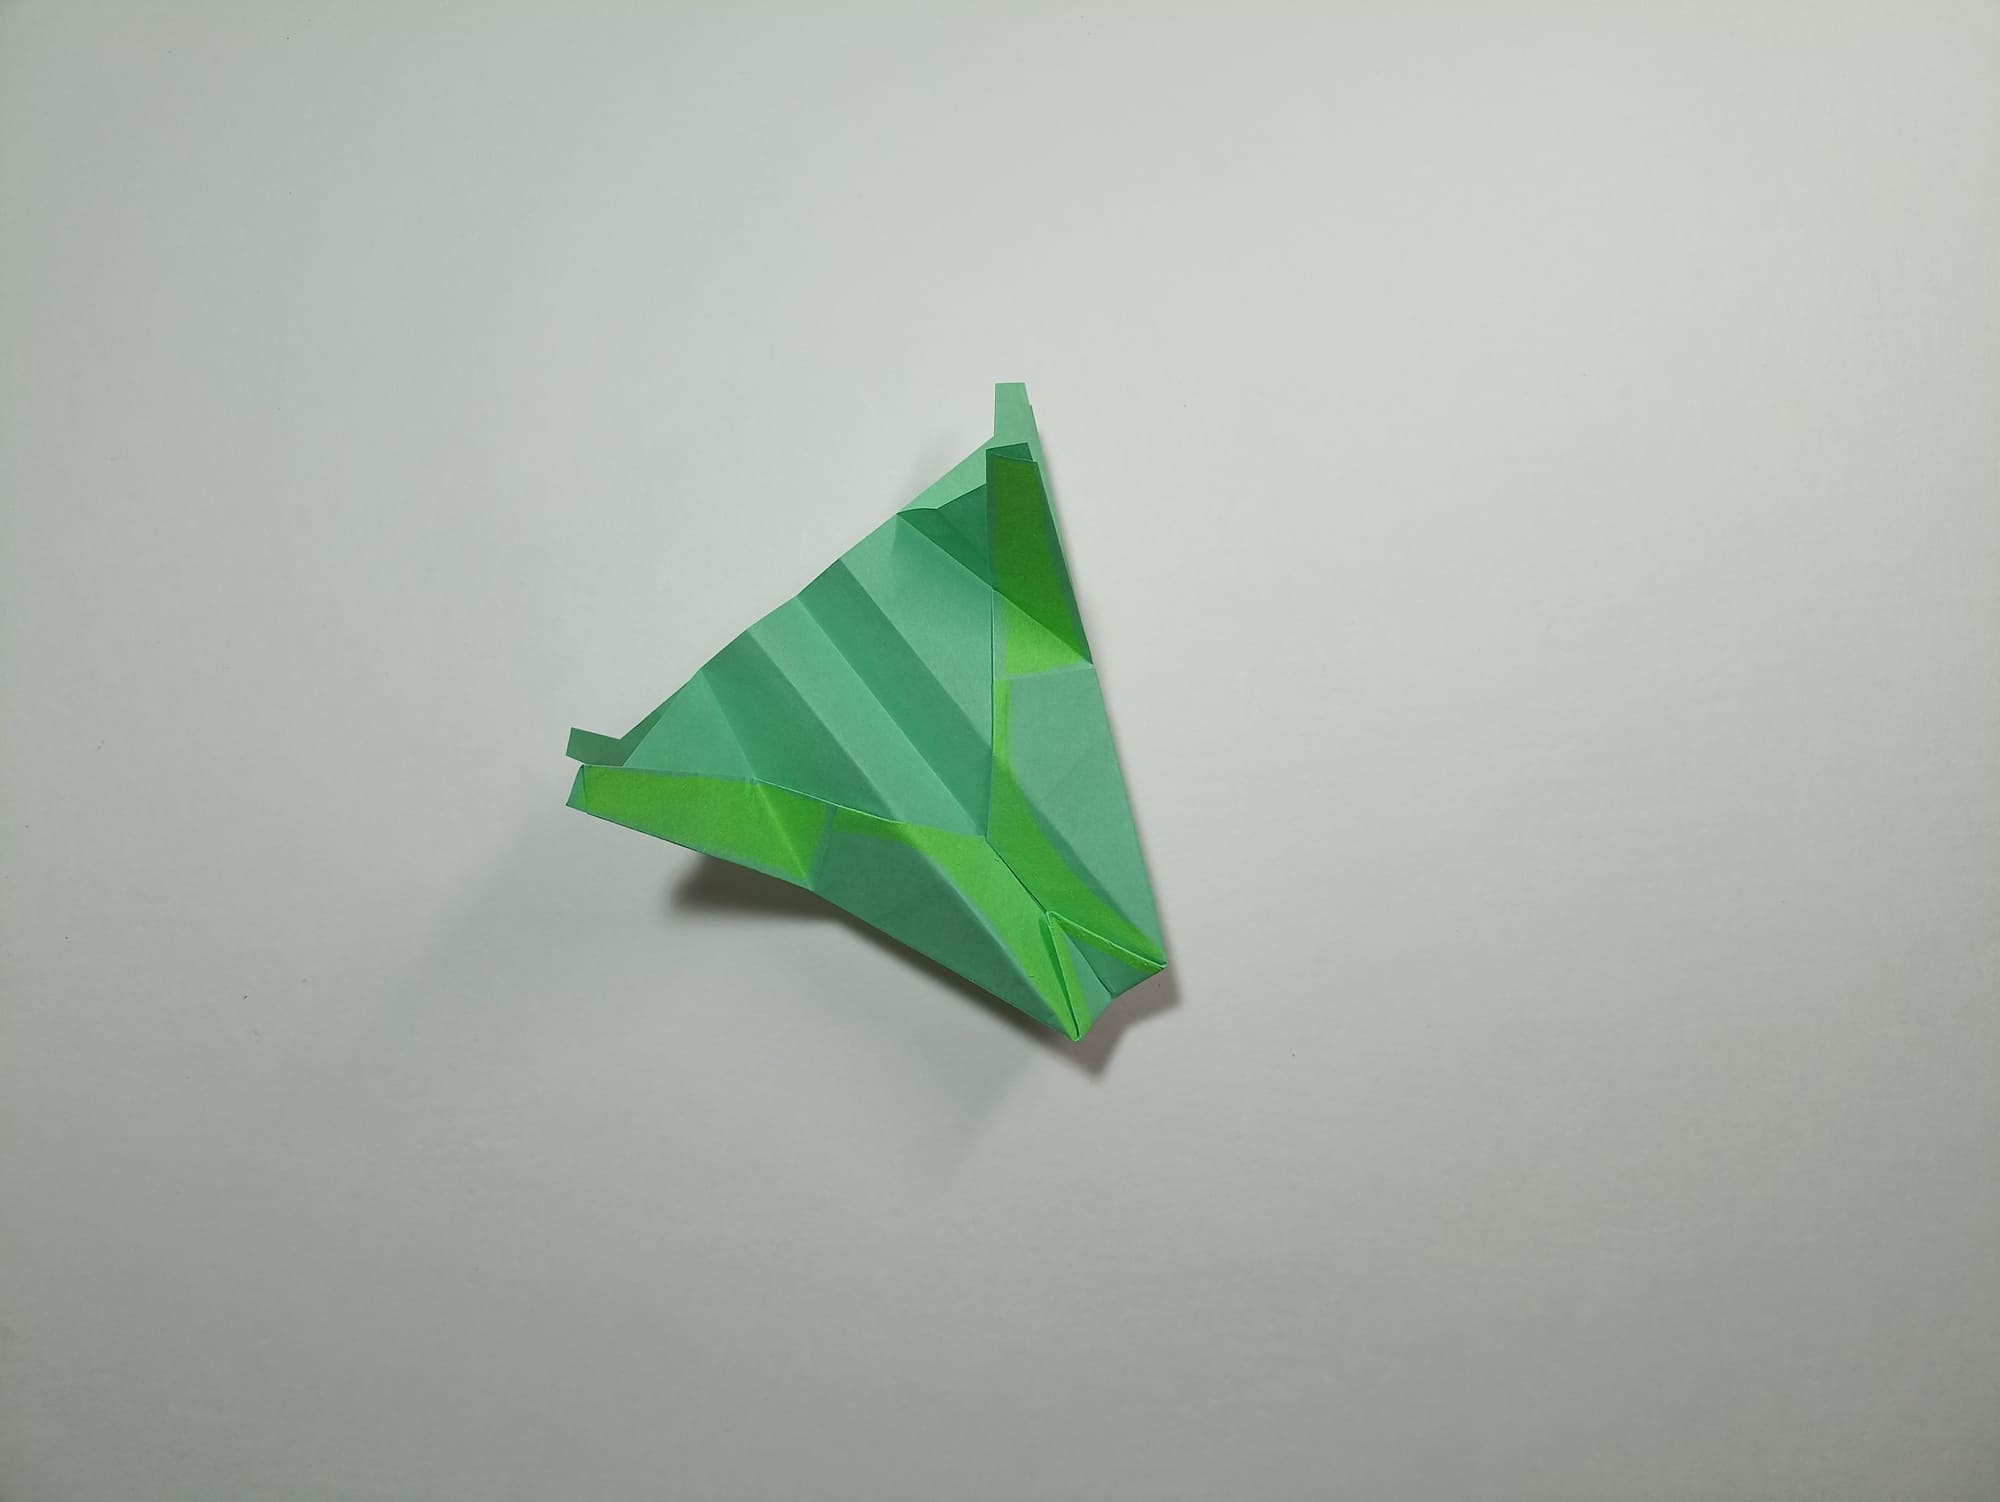
Fold the top down at any distance. In the example, one-third of the V-fold is folded back.
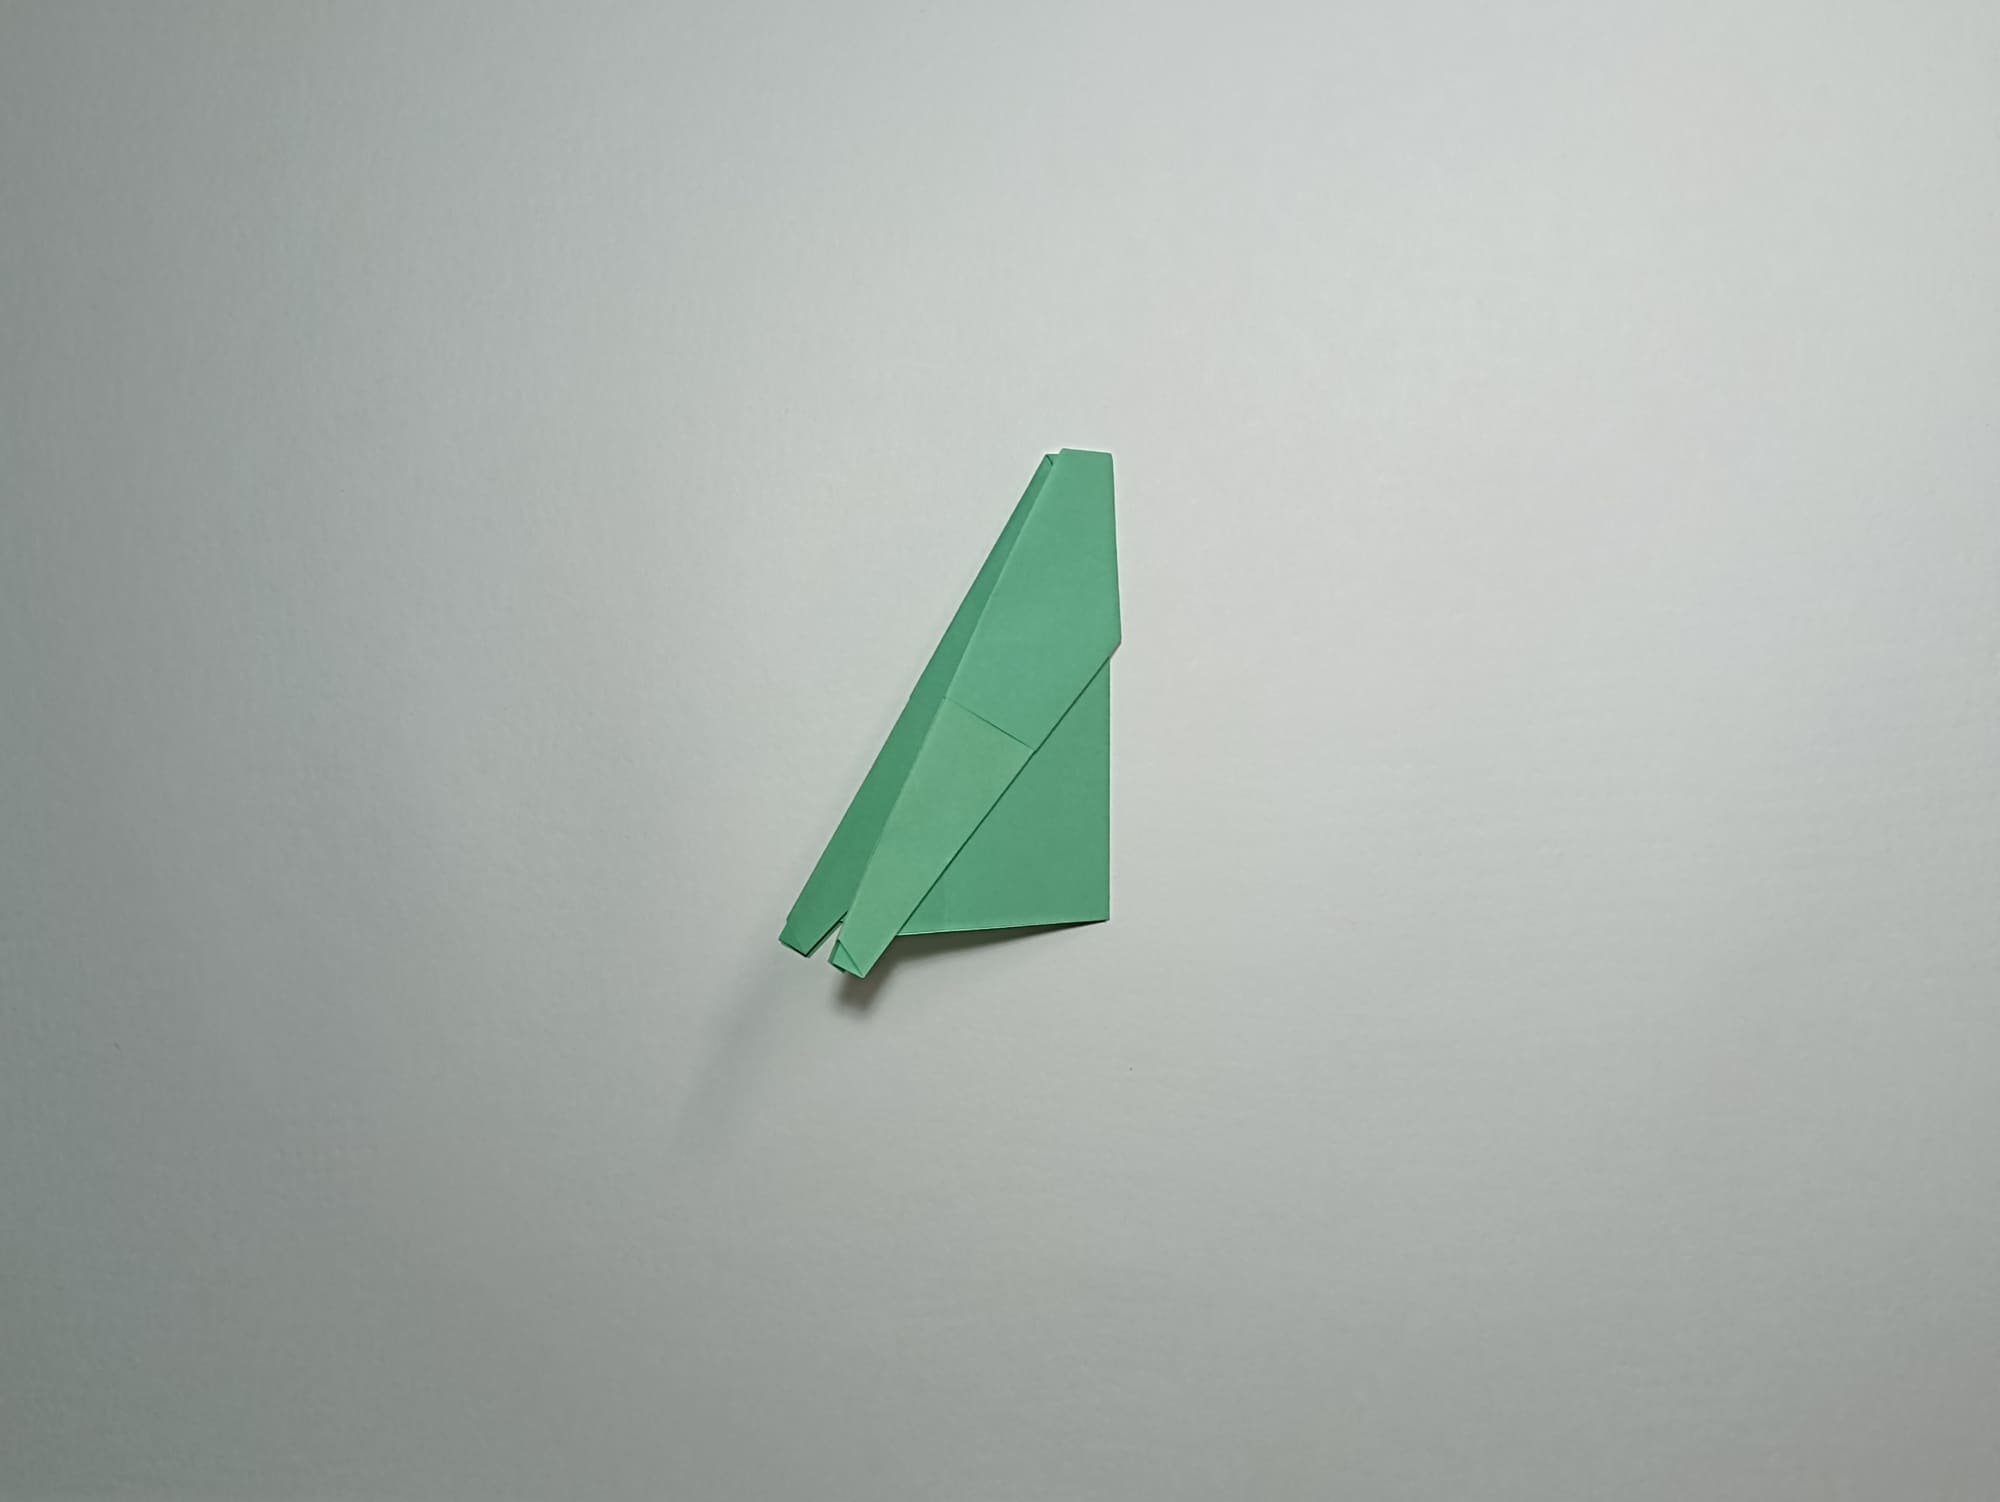
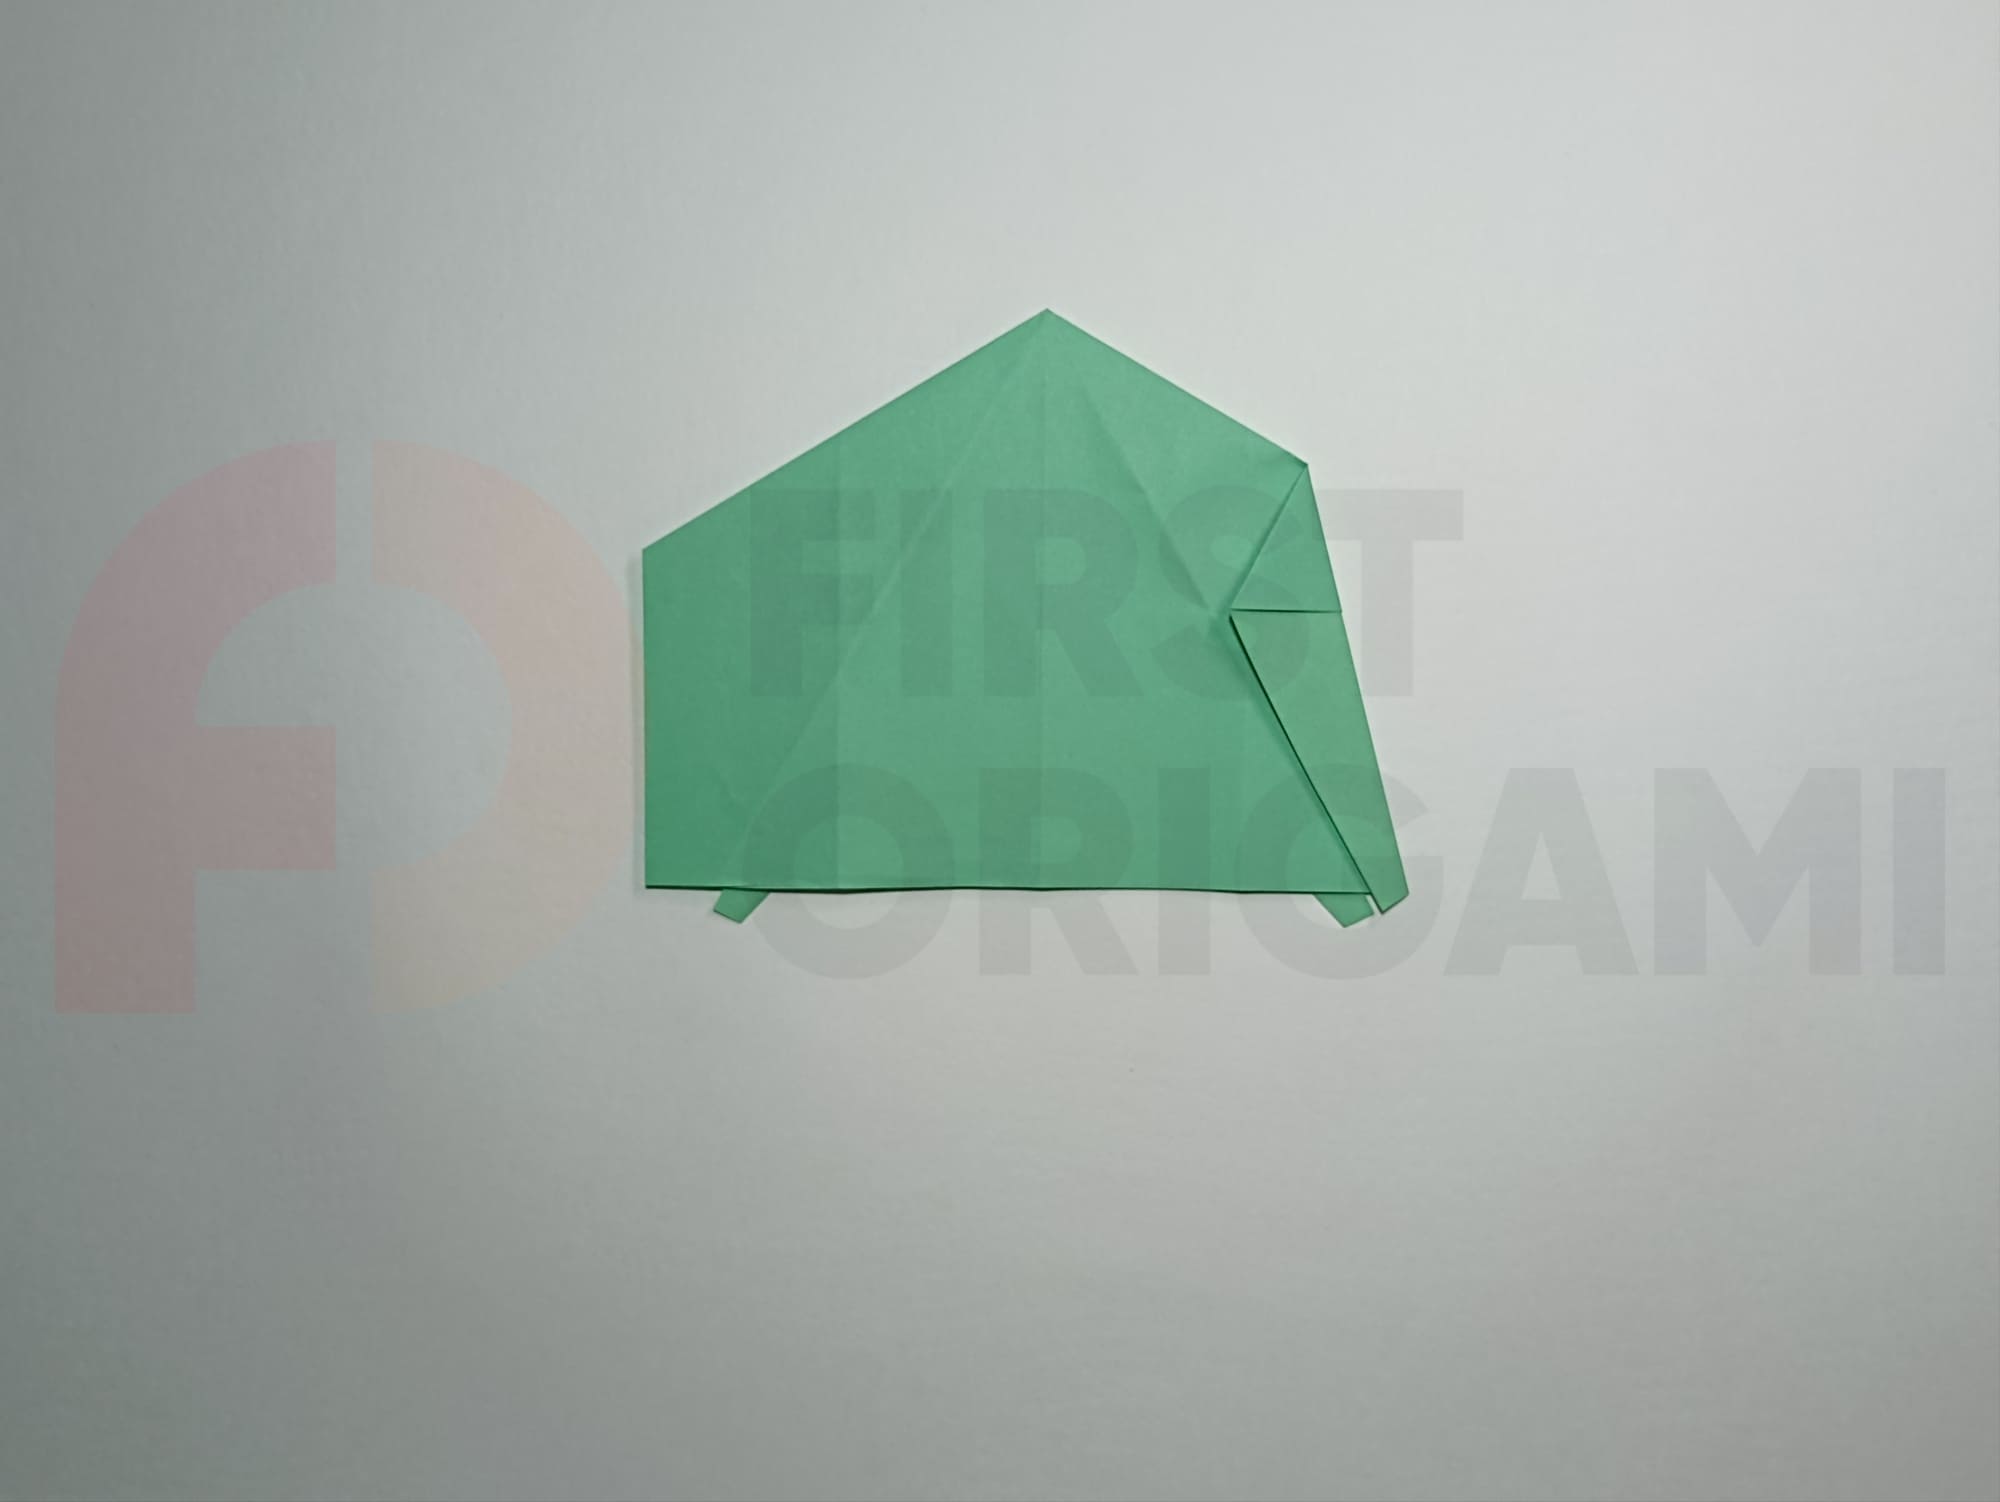
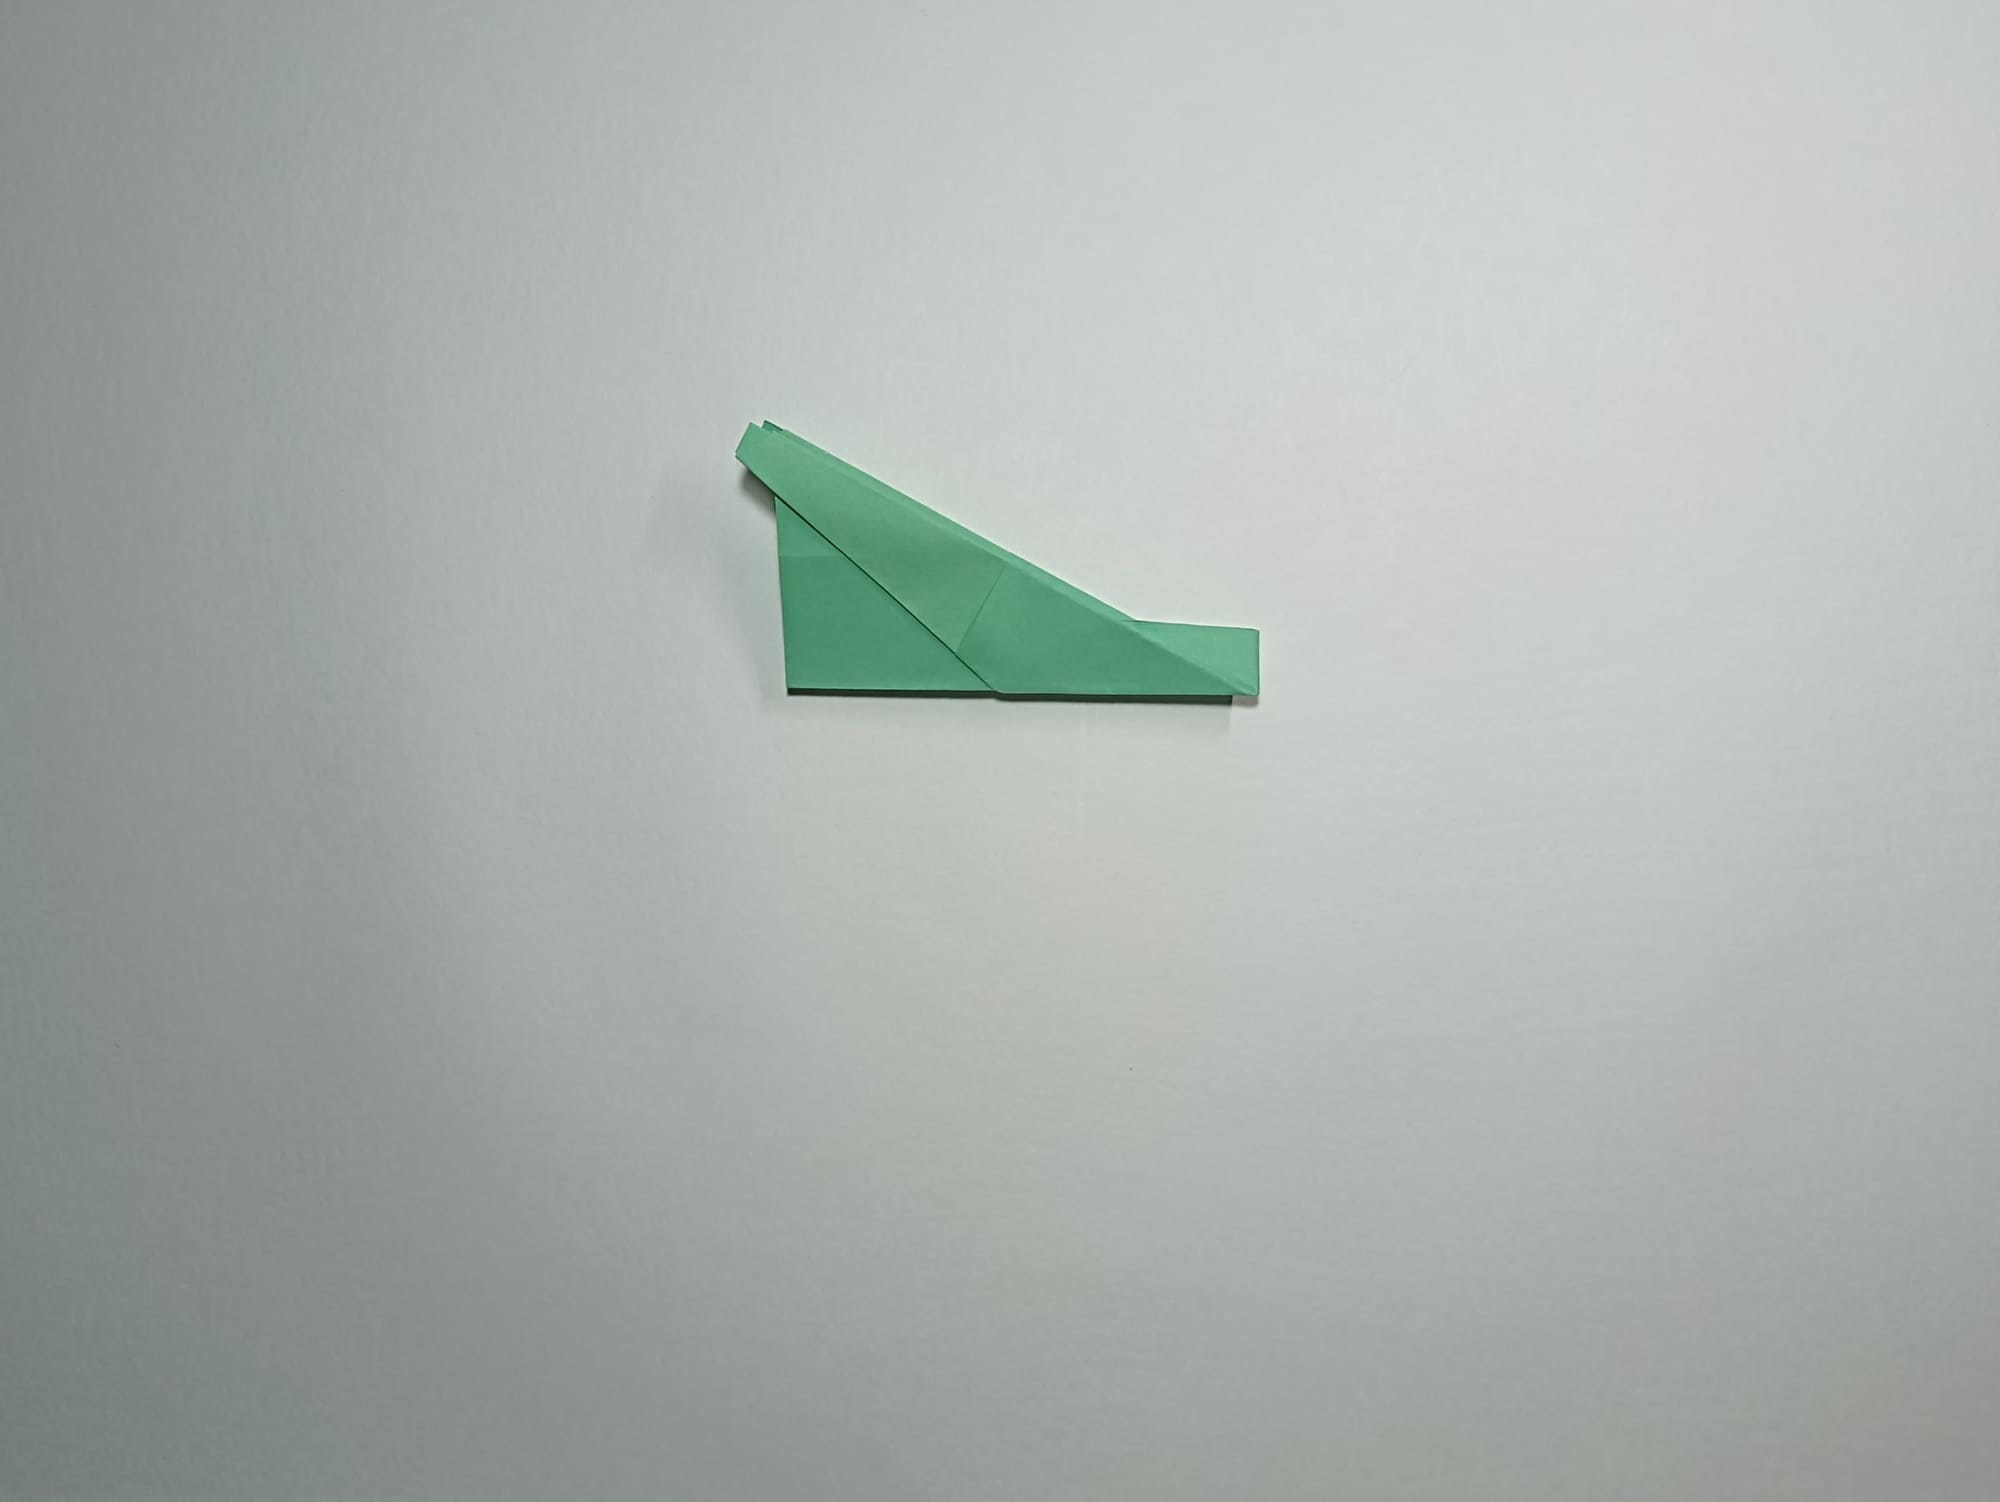
Fold the shape along the center line – this is the base of the airplane body.
Turn the figure with the folded edge up.
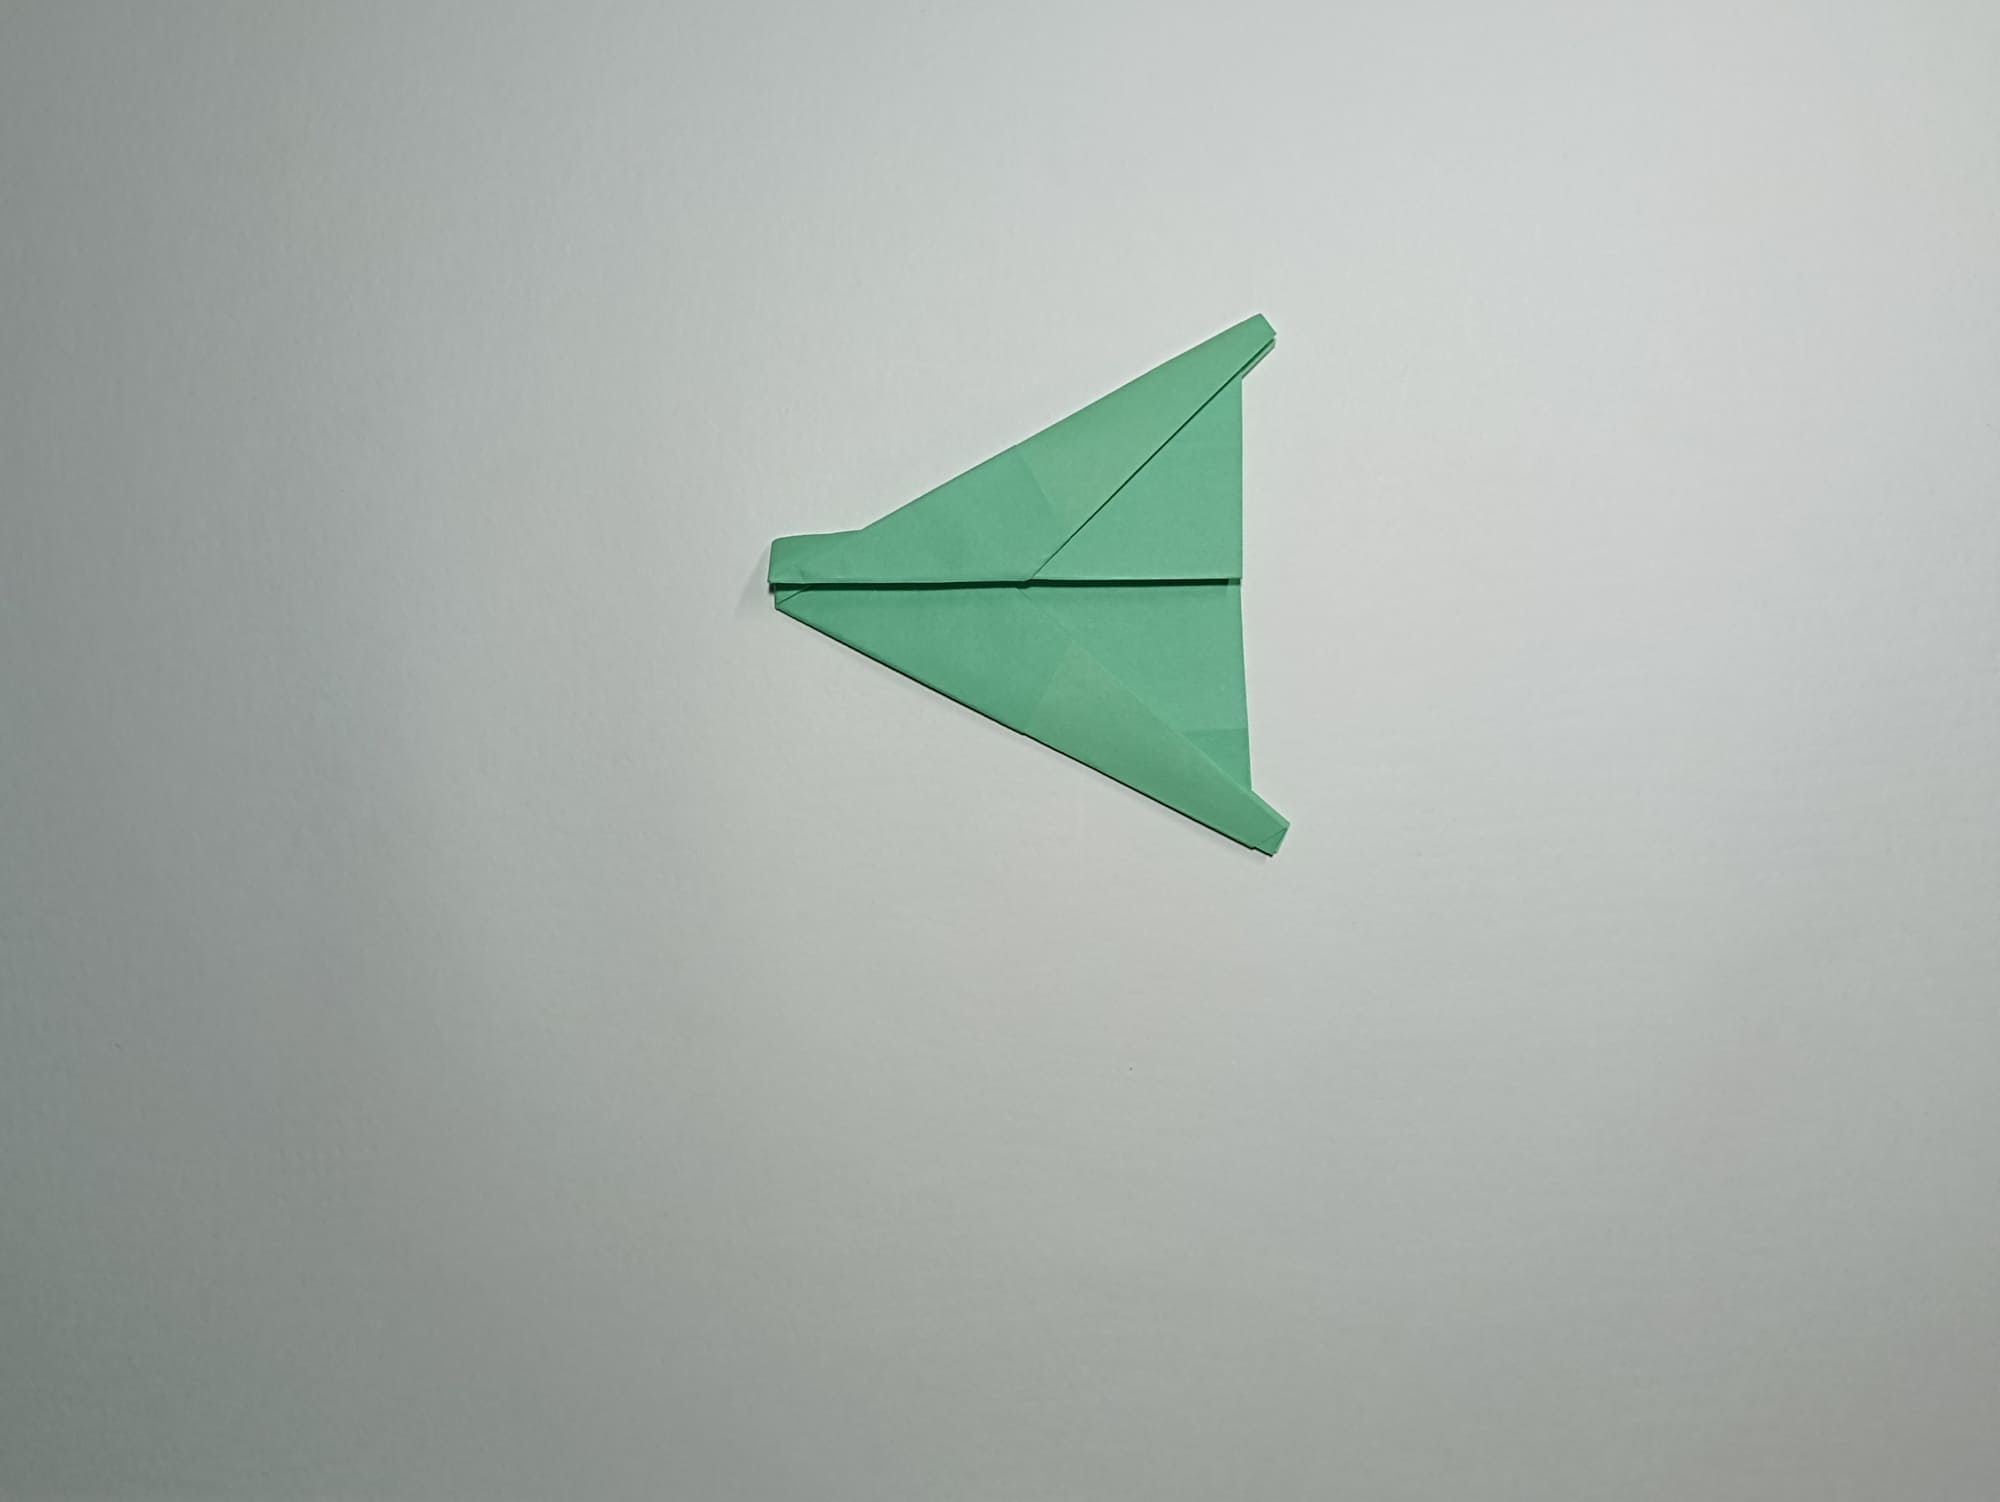
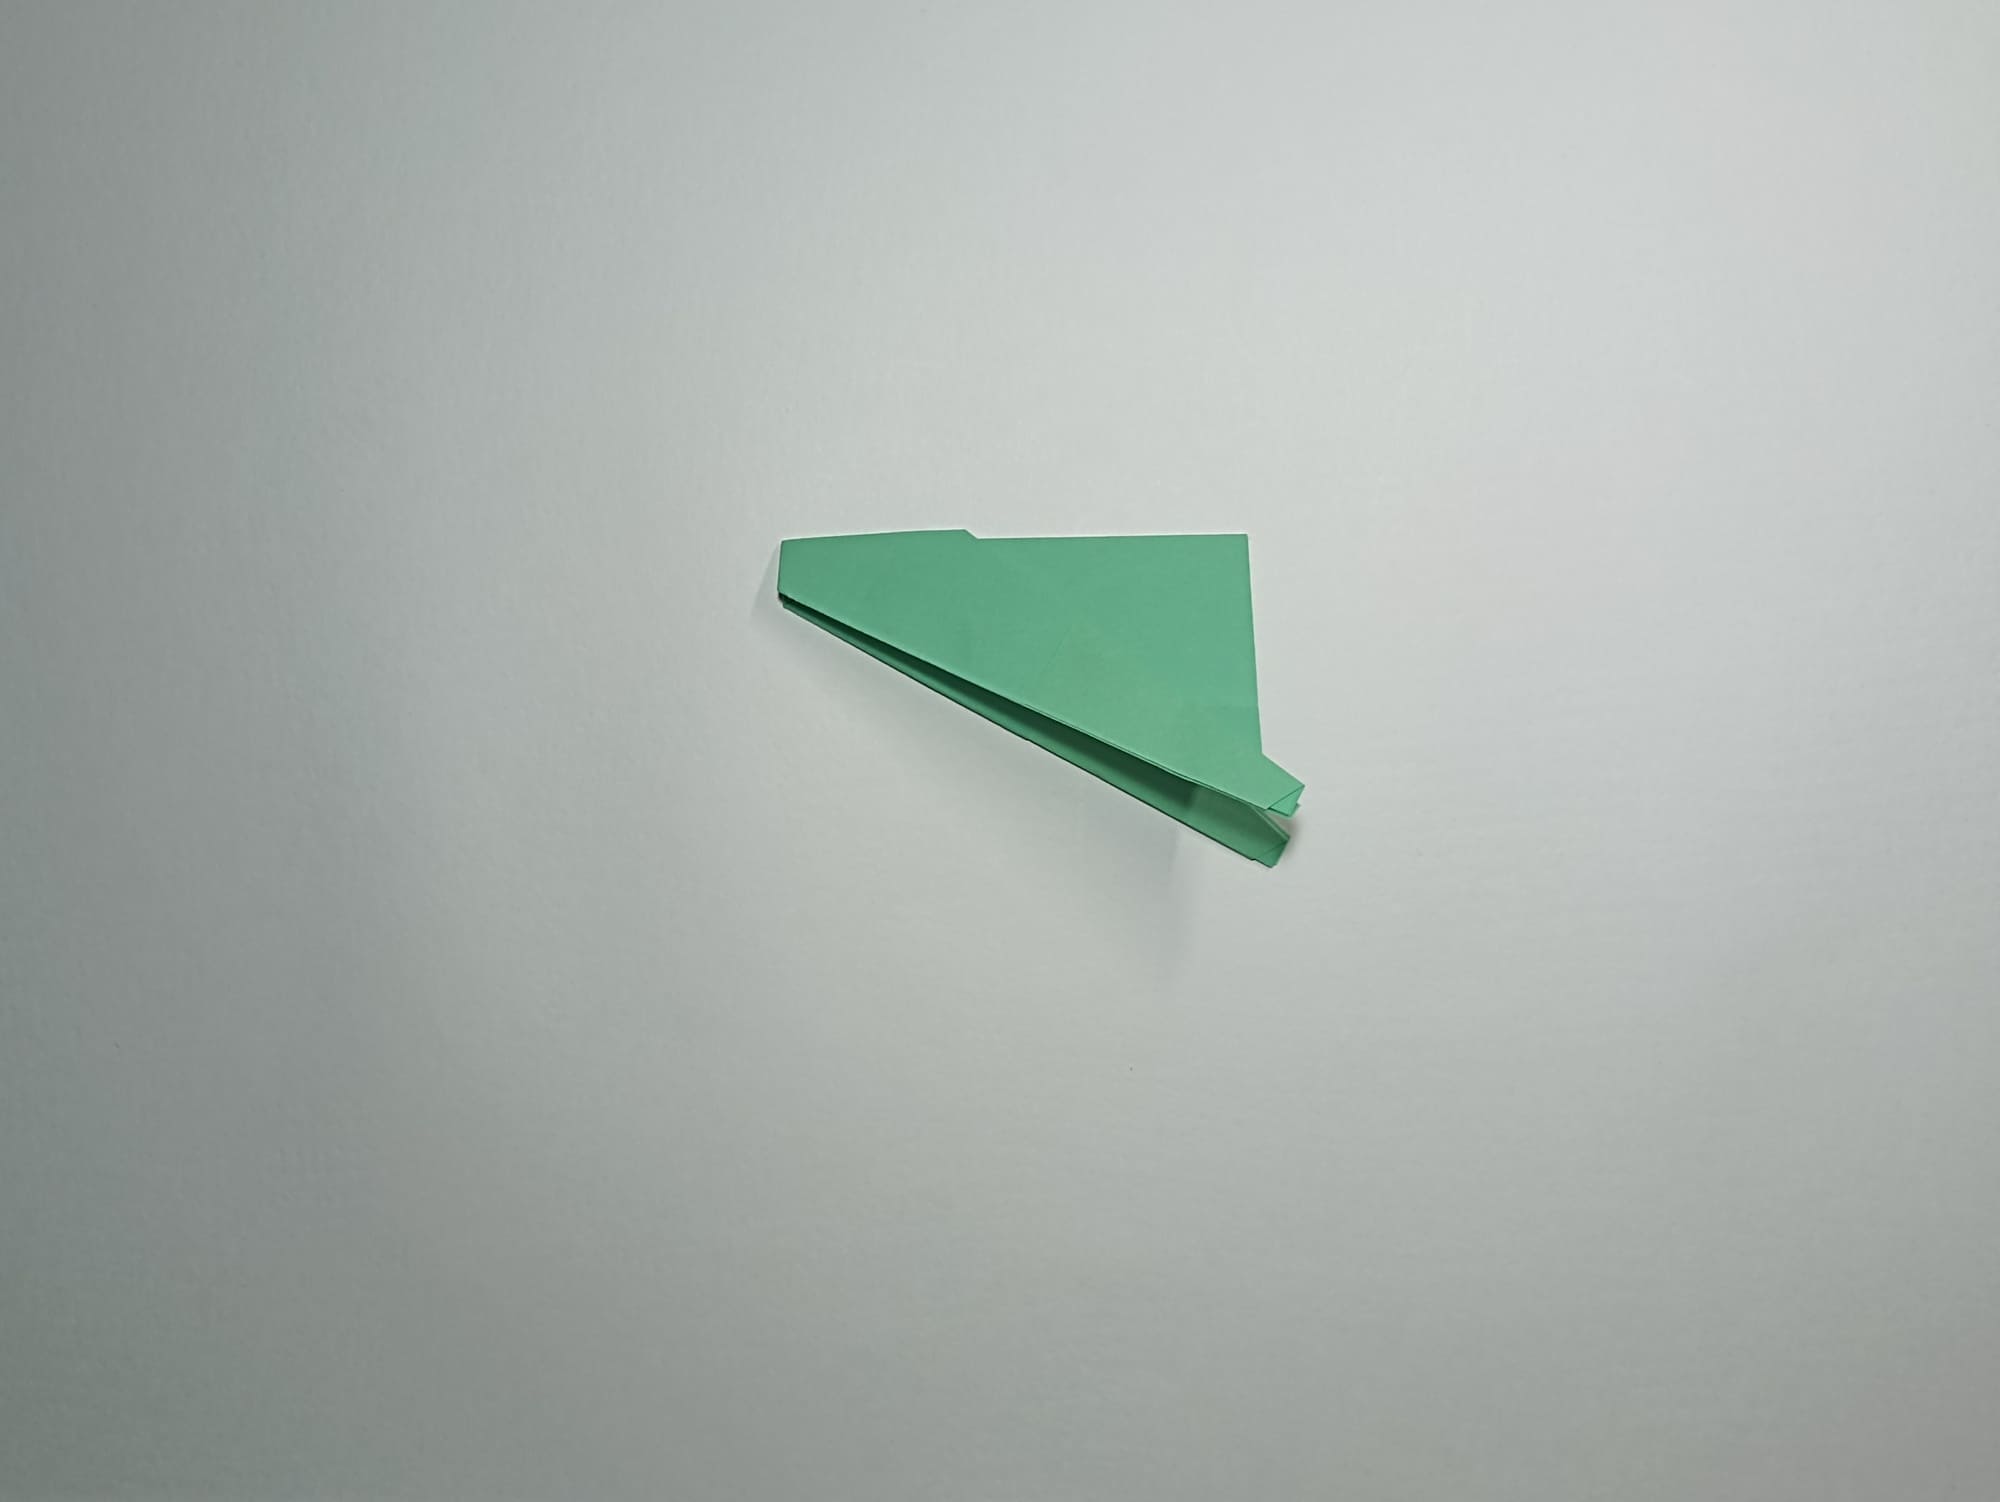
Bend the wing along a line parallel to the base at a distance of approximately 1 cm.
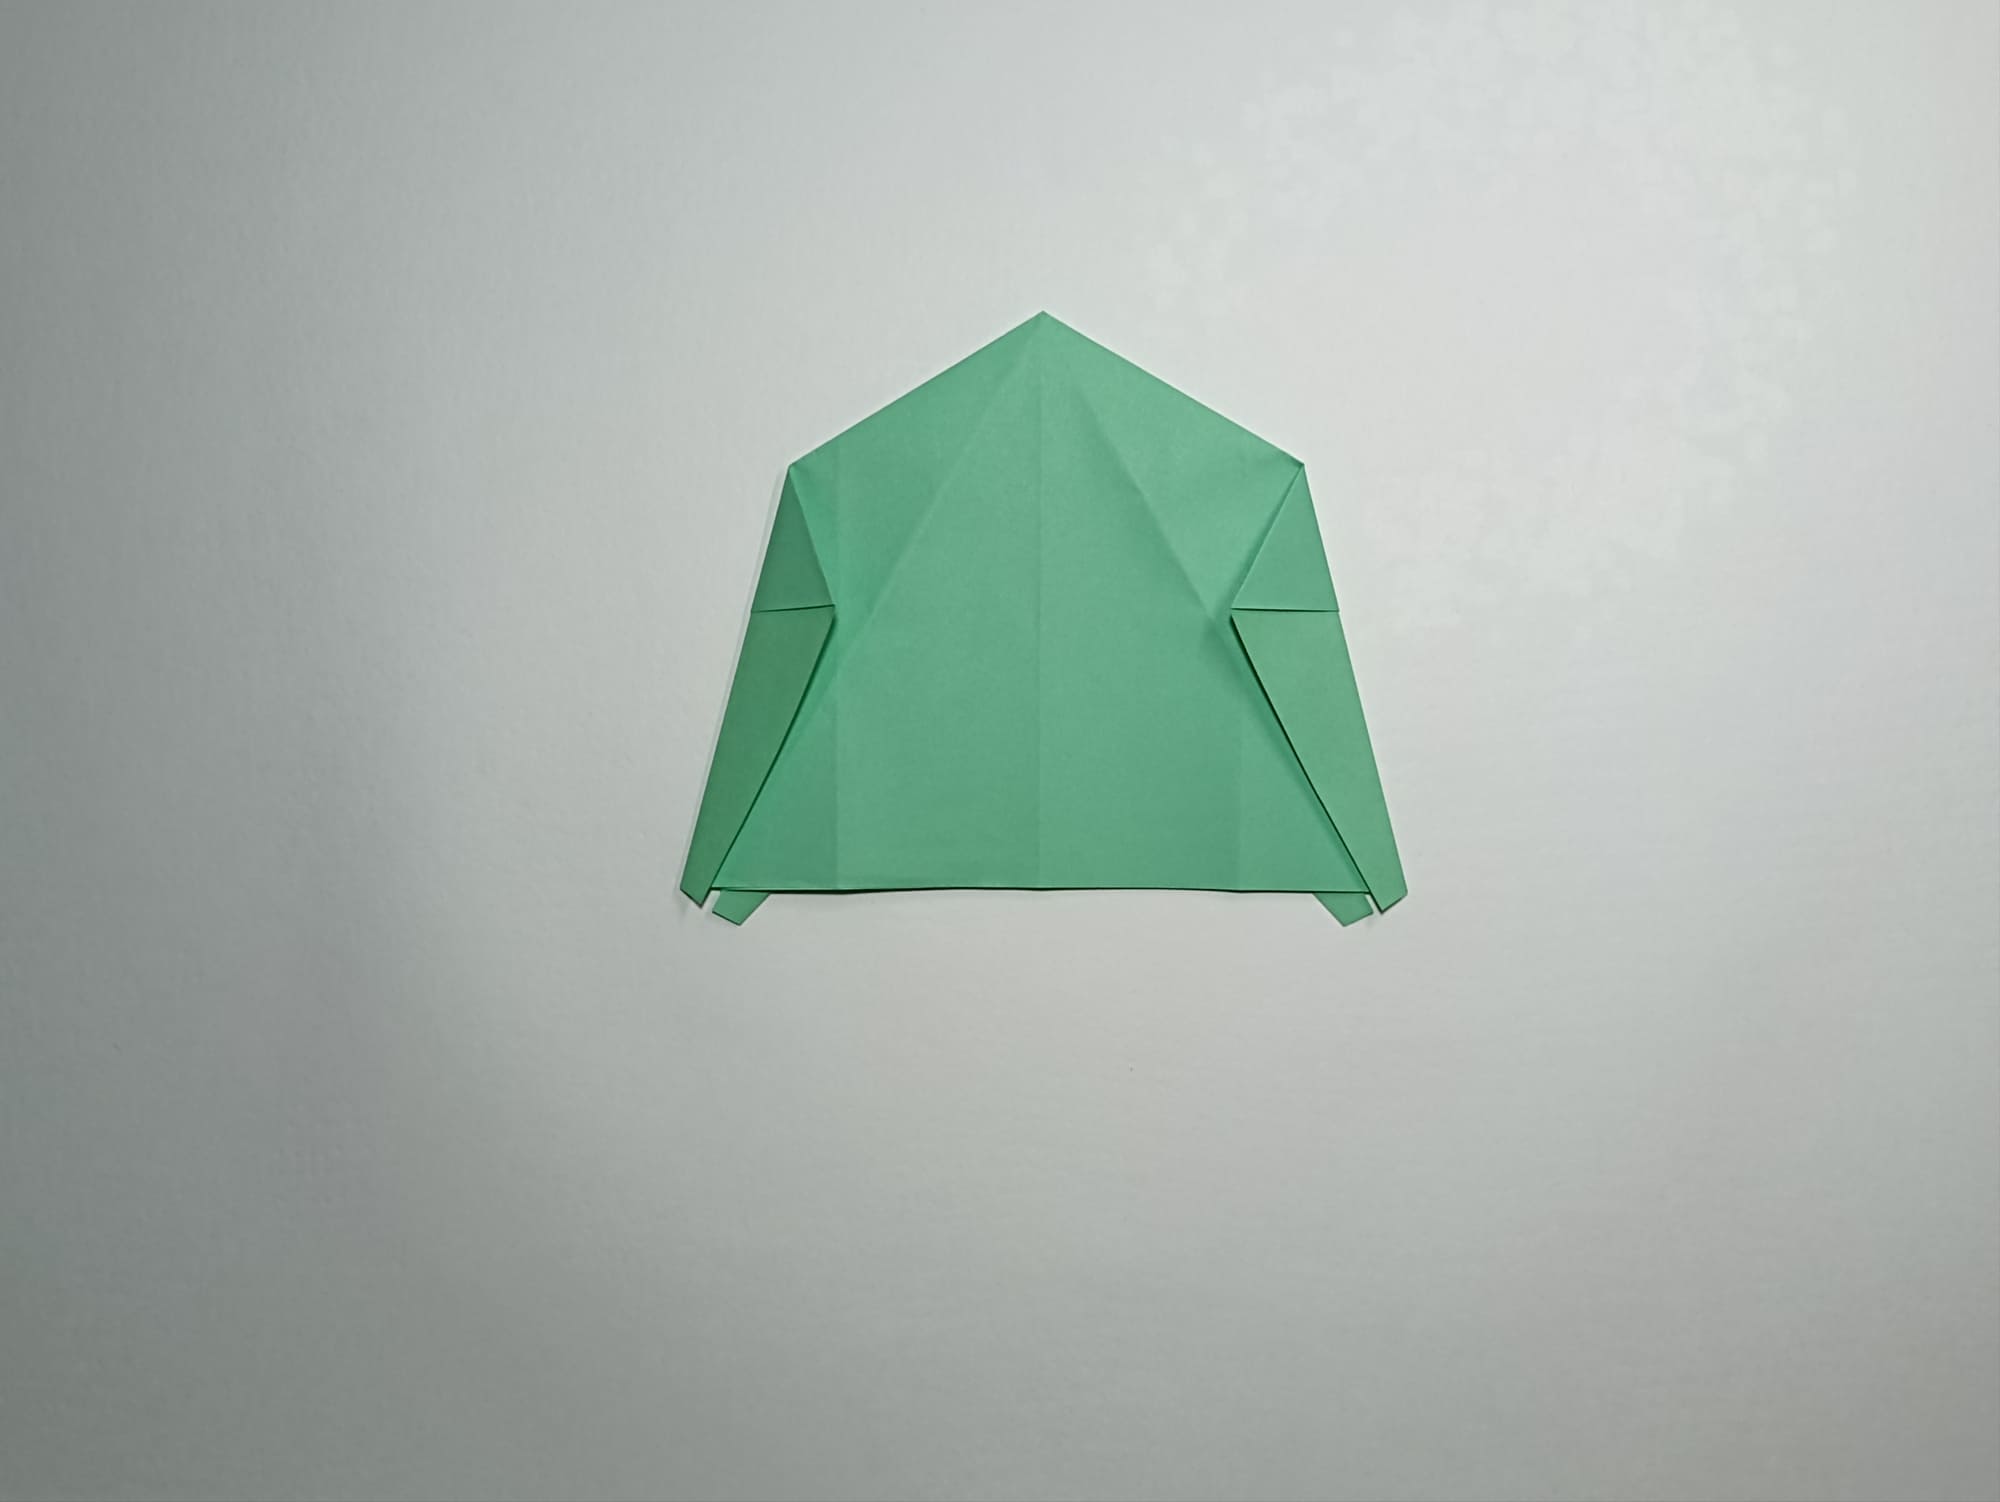
Turn the figure over, leaving the fold edge at the top.
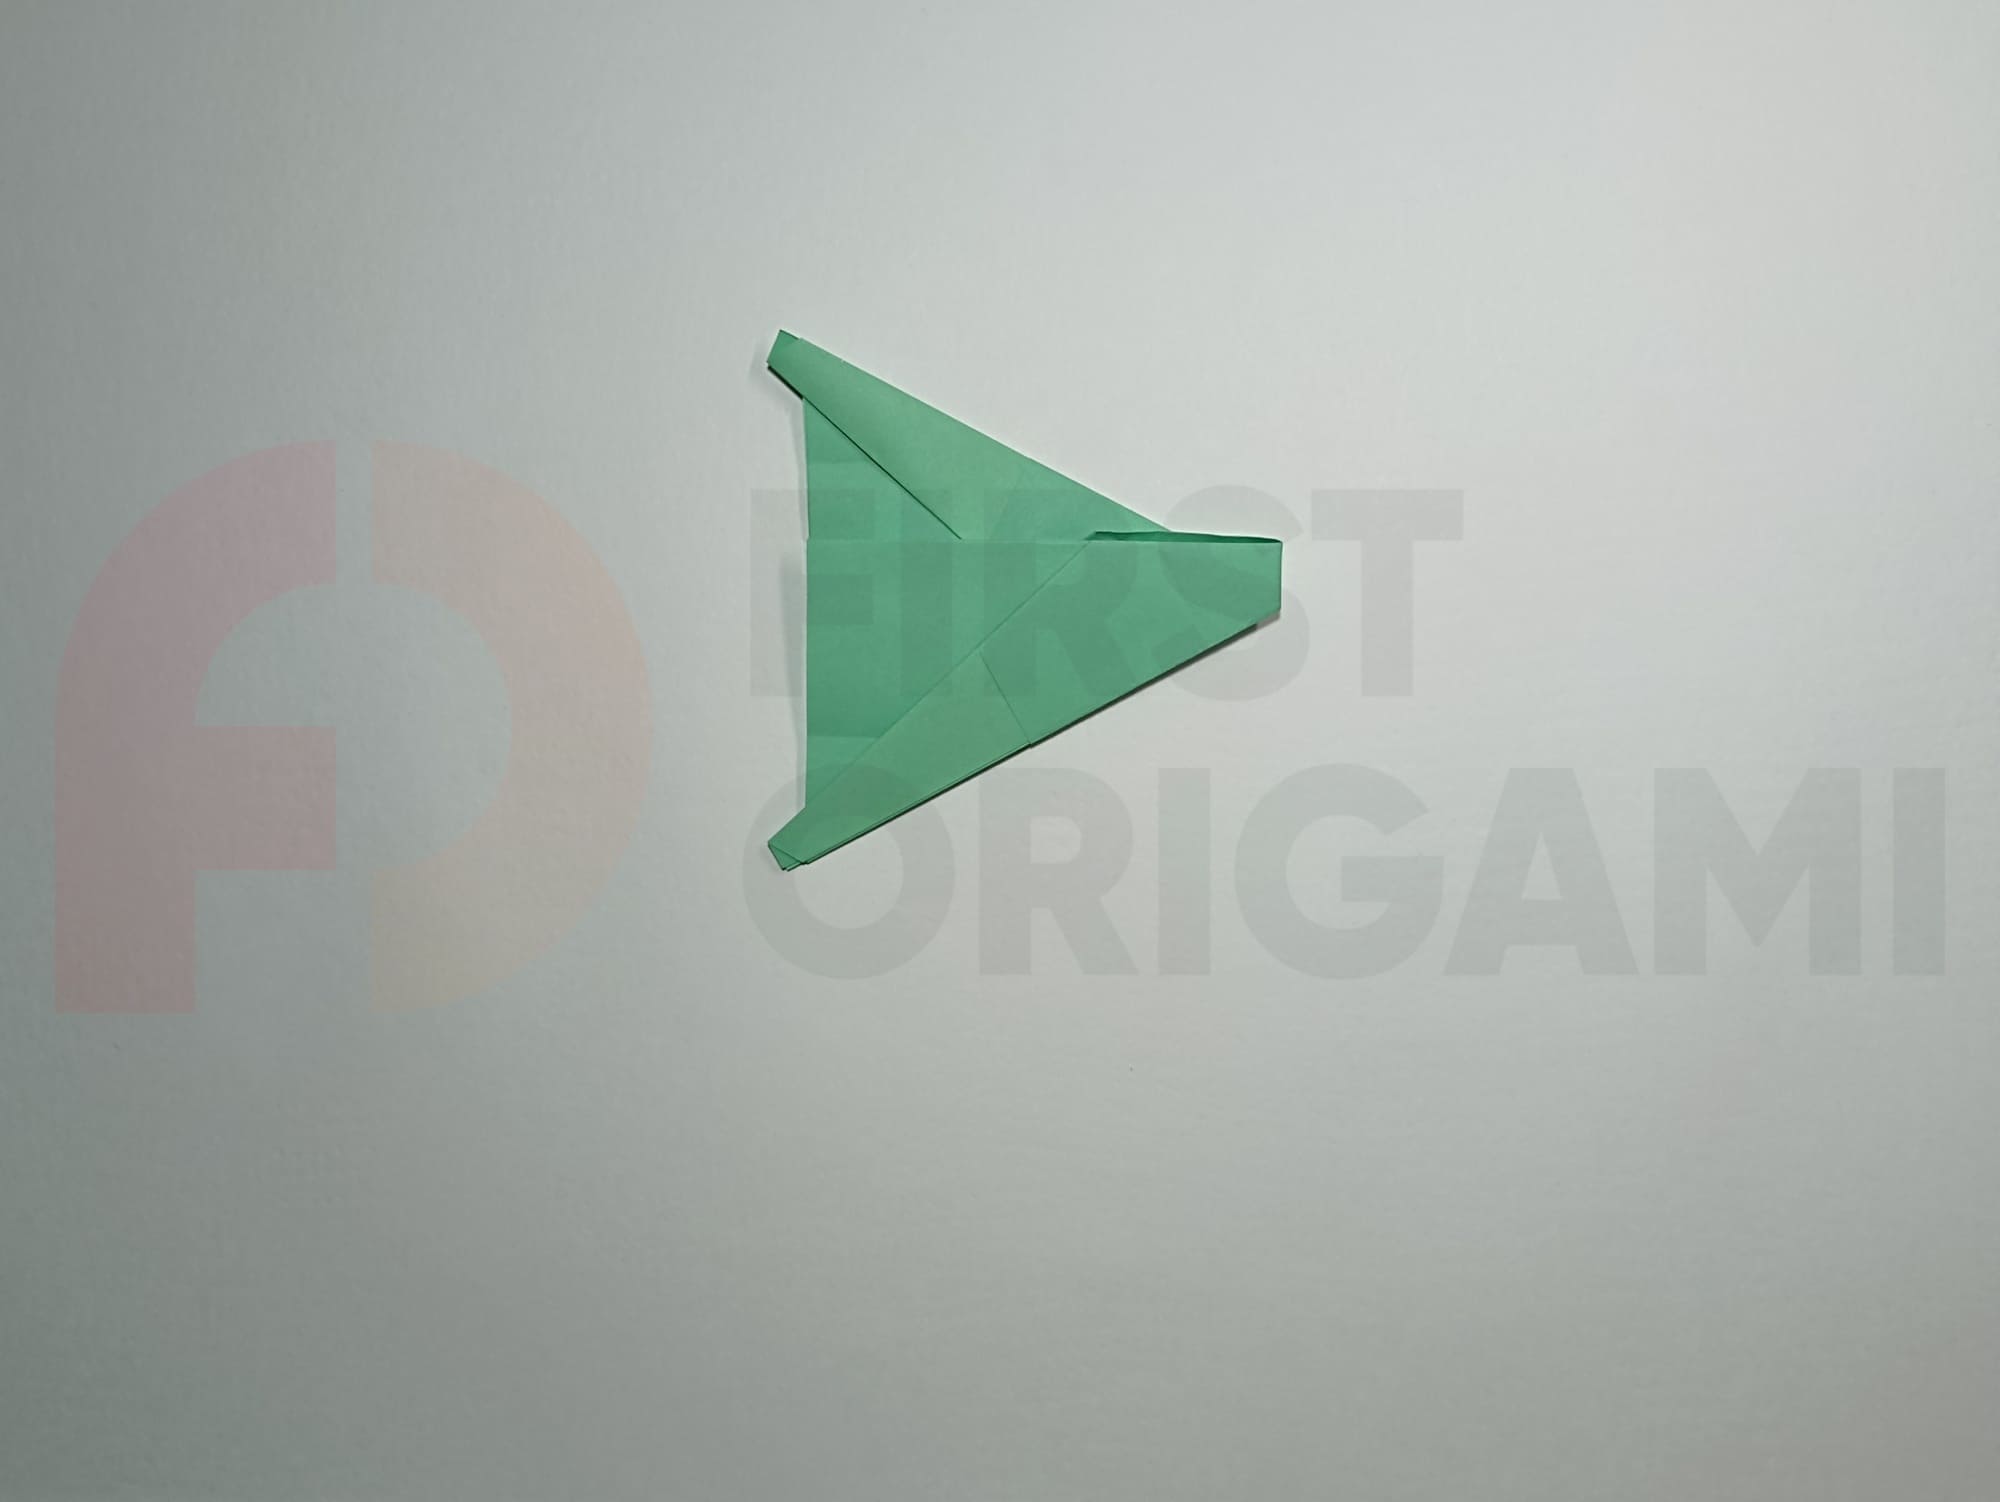
Bend the second wing, using the side lines of the first one as a guide. Spread the wings of the shape and align the body.
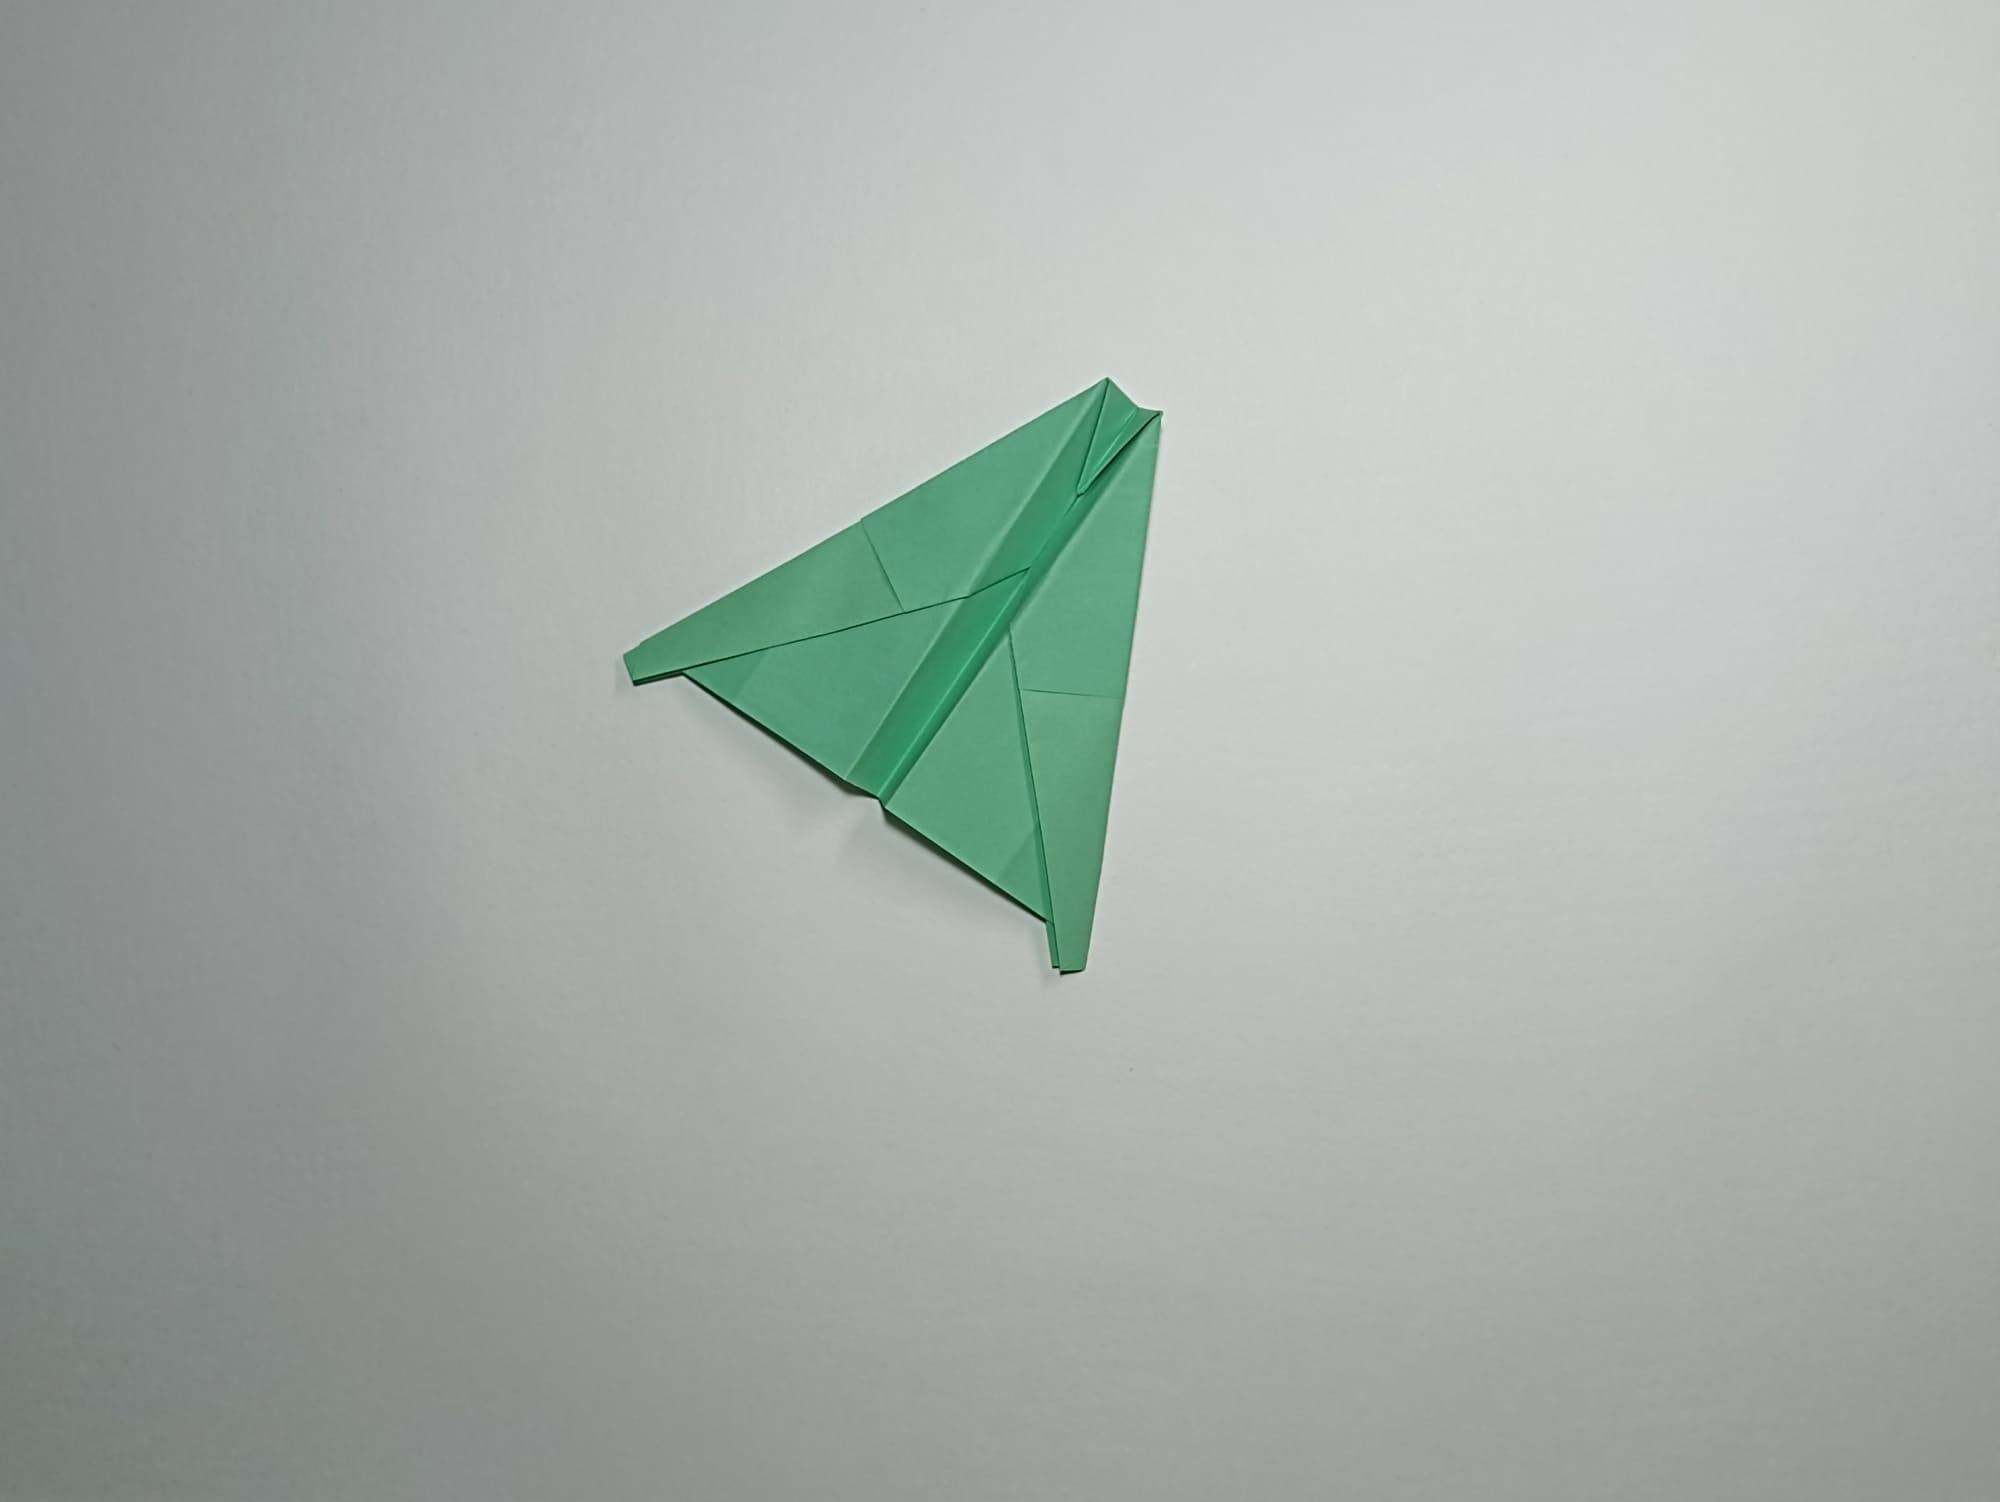
Almost done! All that remains left to do is to build the keels.
The keels can be folded back as shown in the illustration, connecting the point where the two layers join to the edge of the fold applied. They can also be aligned parallel to the body.
Perform on two wings.
Place the keels perpendicular to the wings and draw the details.
Ready! Very cool!
The model is suitable for experiments. Adjusting the direction, depth, and angle of the keels affects flight performance and the ability to perform other stunts and aerobatic maneuvers. You can fly the airplane in the room and watch it make a beautiful turn. This is the best idea to pass the time in the company of a friend during bad weather when it is not possible to go outside.