Origami Waterbomb Base
This is one of the origami bases that is used for many items, including the Balloon, however, it is most commonly used for an item called the Water Bomb, hence the name of this element. So for those who have ever made this origami toy, this element will be very familiar.
For those who are not yet so familiar with the art of origami, we highly recommend paying attention to this figure, because with it you can later make such products as water bombs, lilies, crabs, banner fish, and inflatable goldfish.
It is highly recommended that you spend some of your time making this piece, as it will serve as the base for many beautiful origami figures. Clearly follow the step-by-step instructions below and you will succeed!
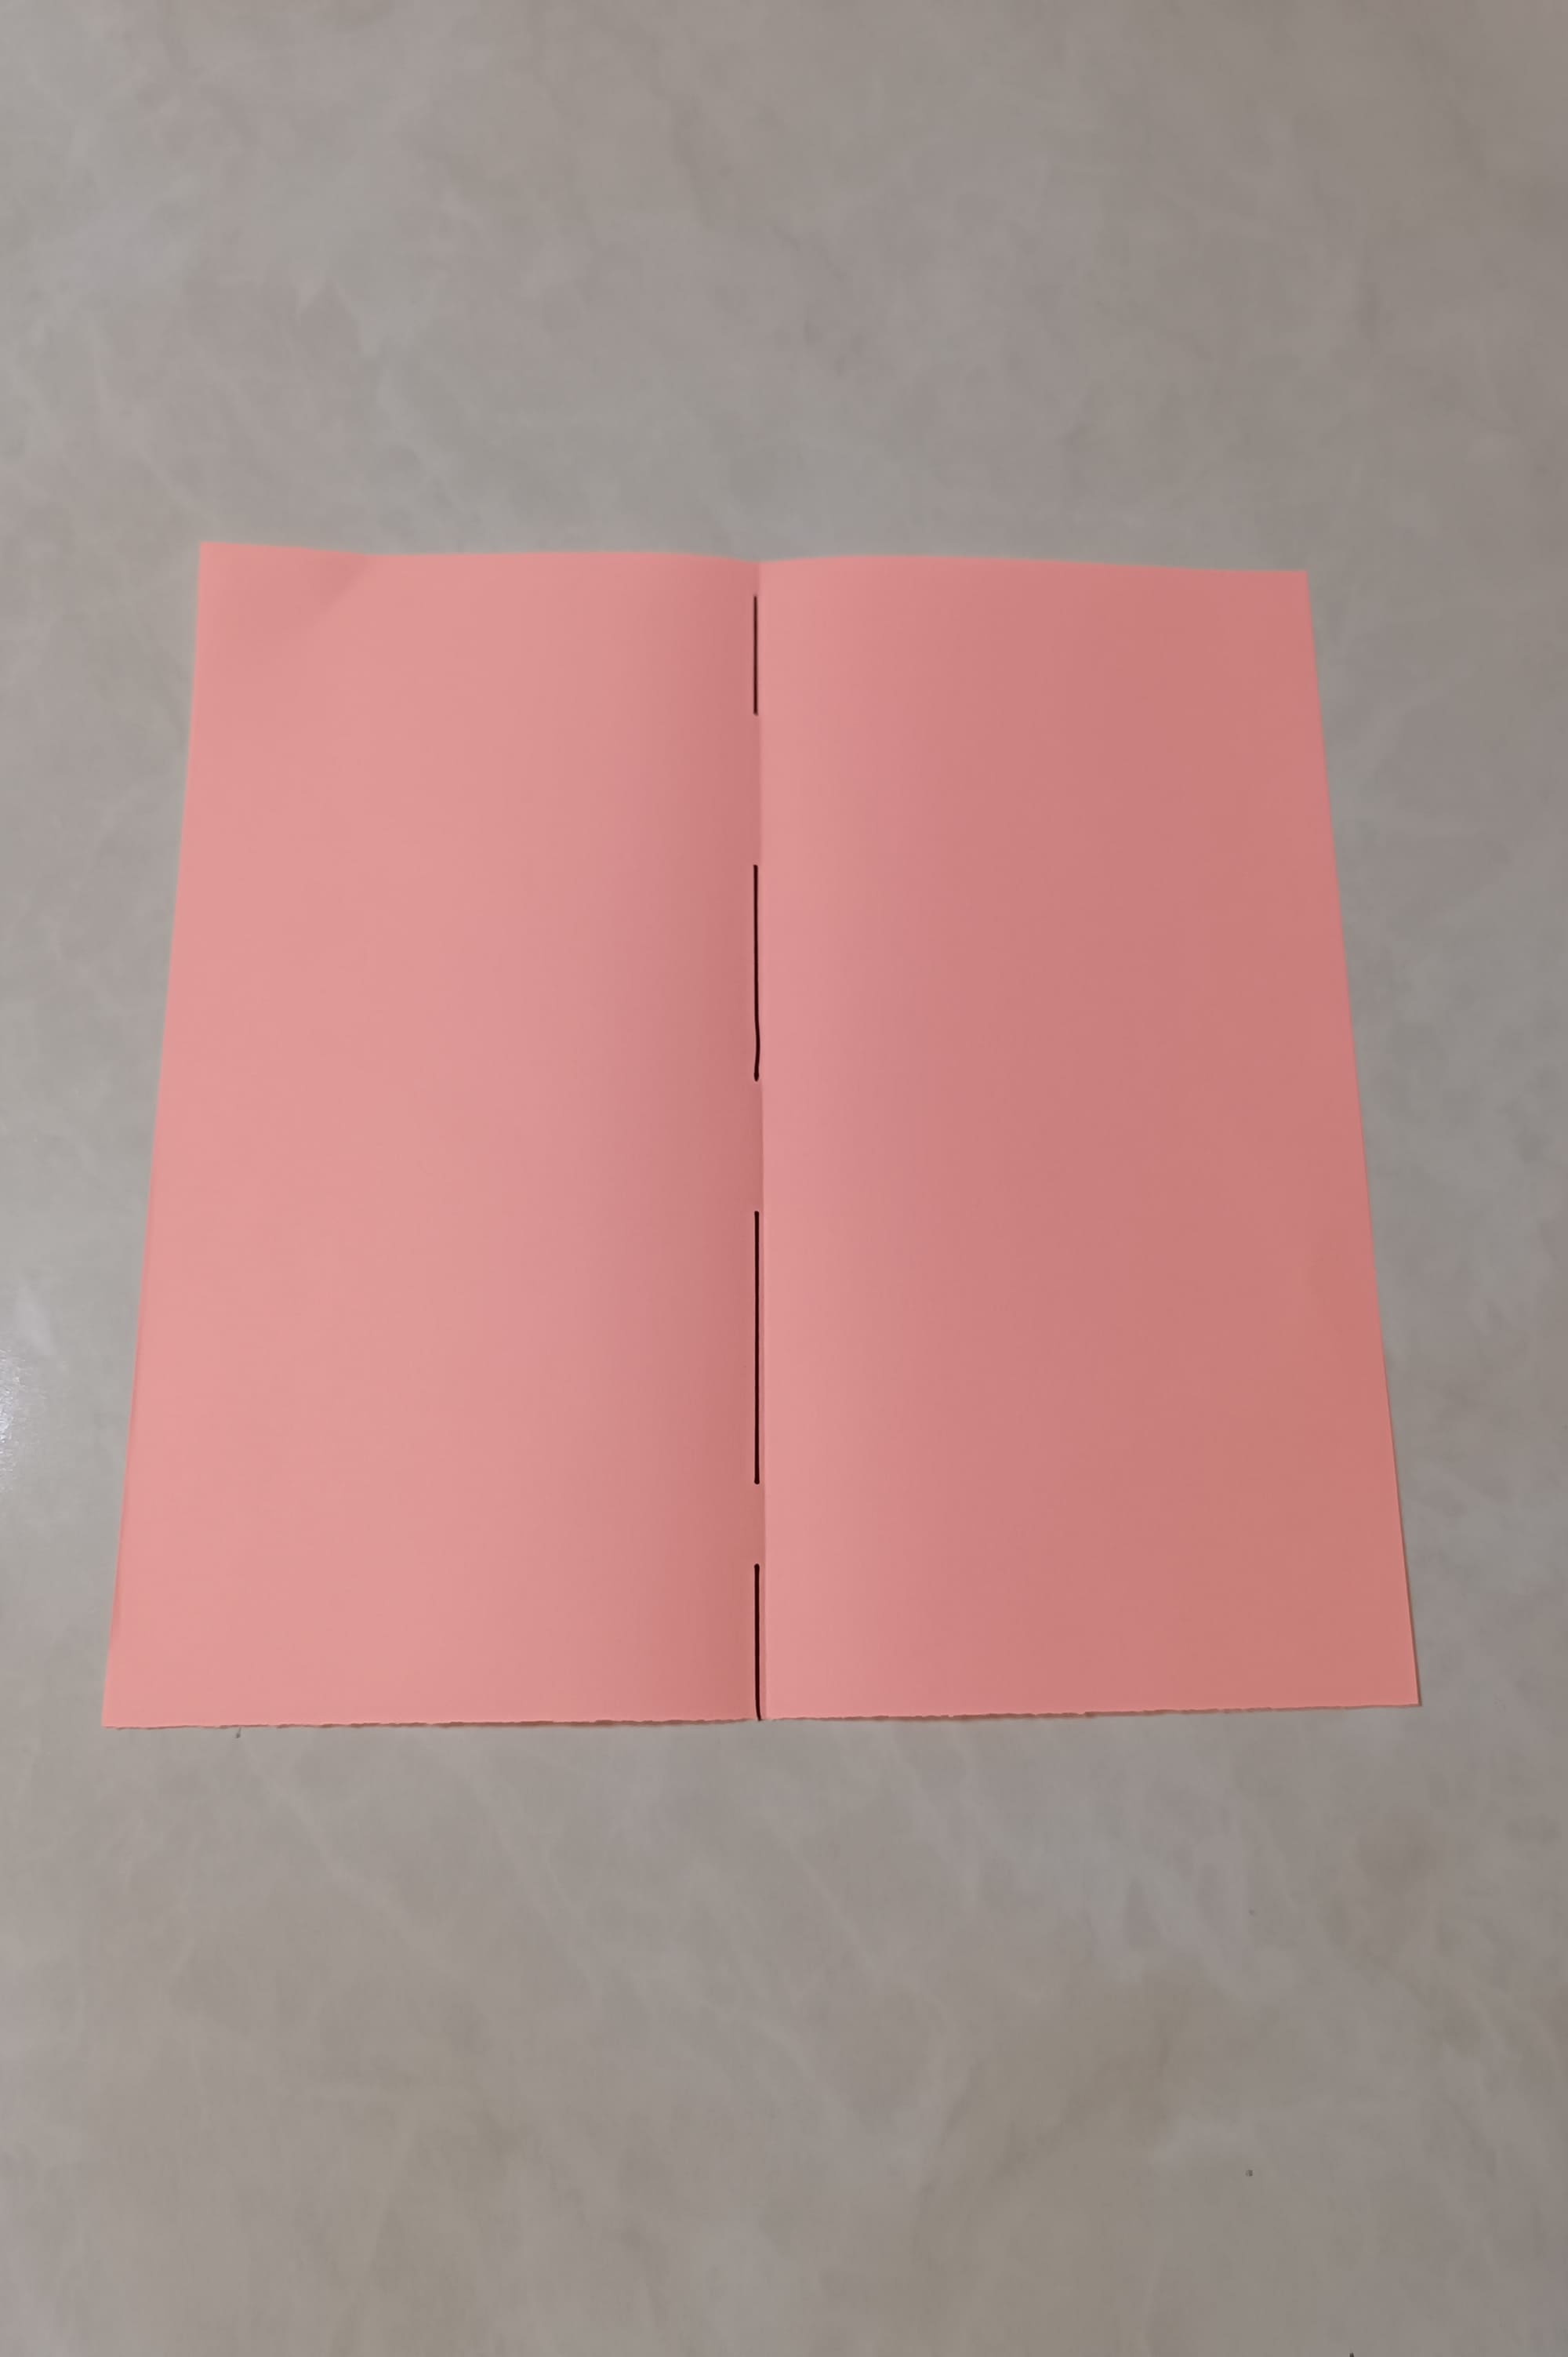
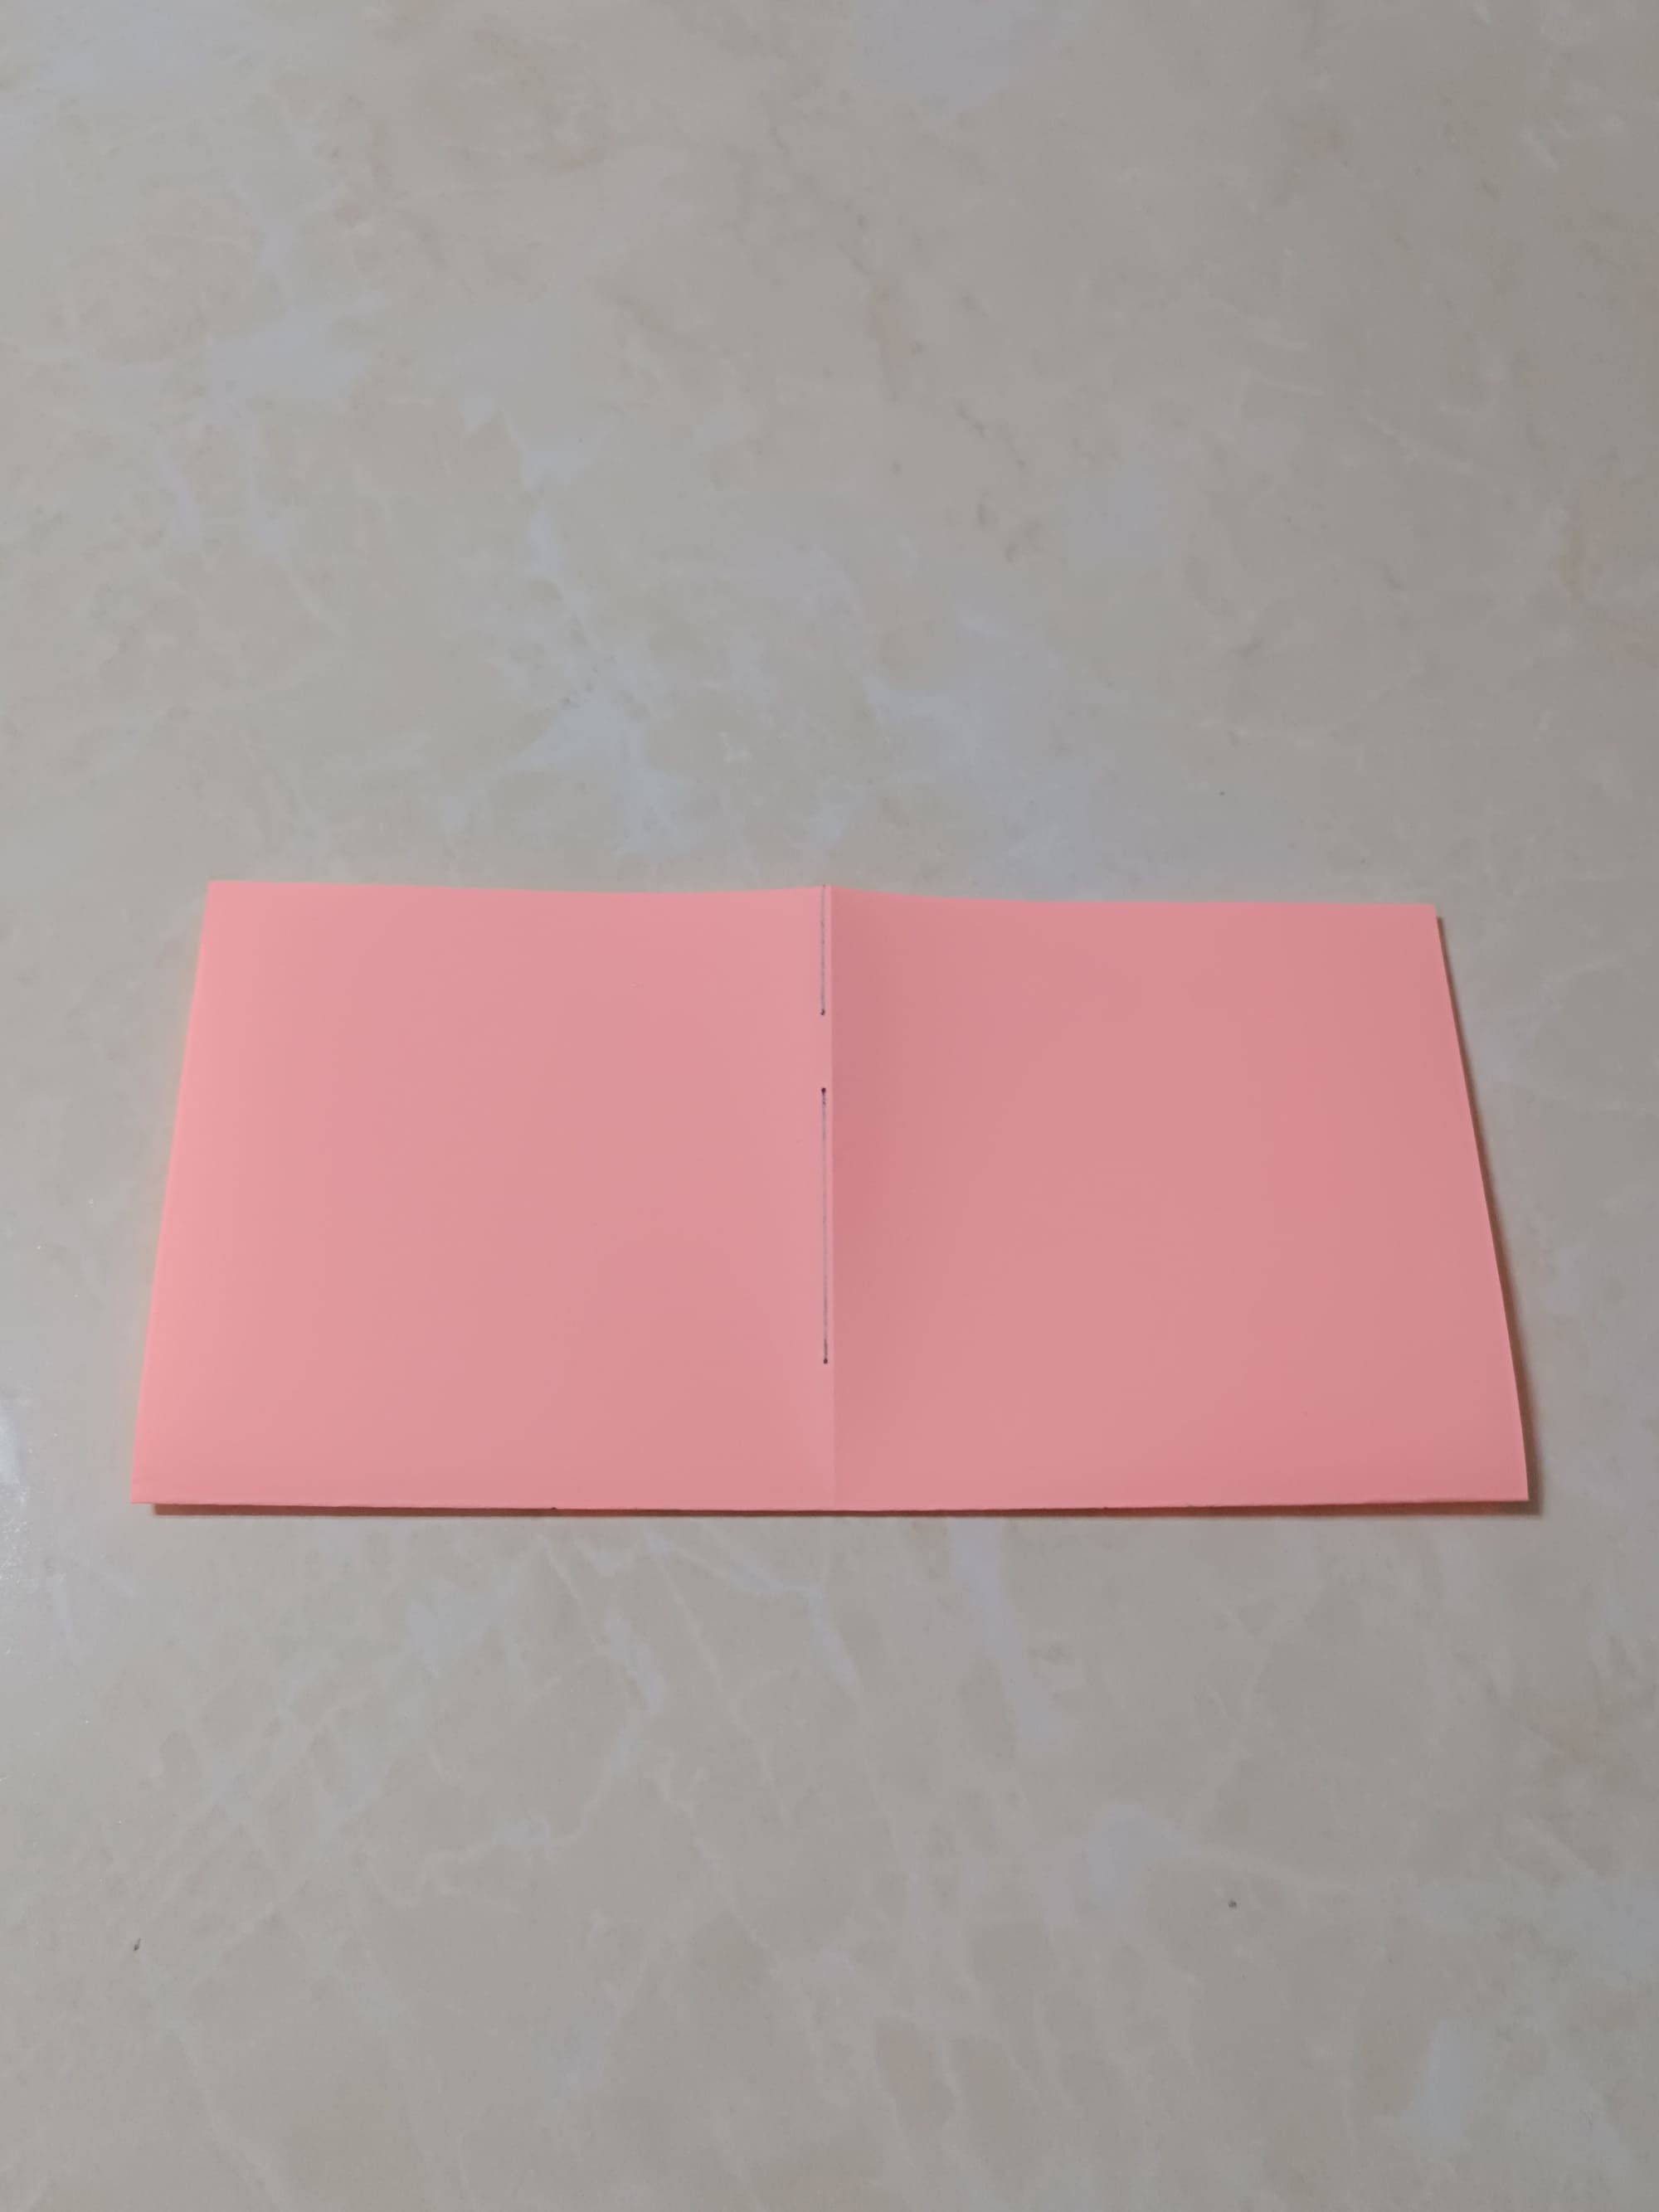
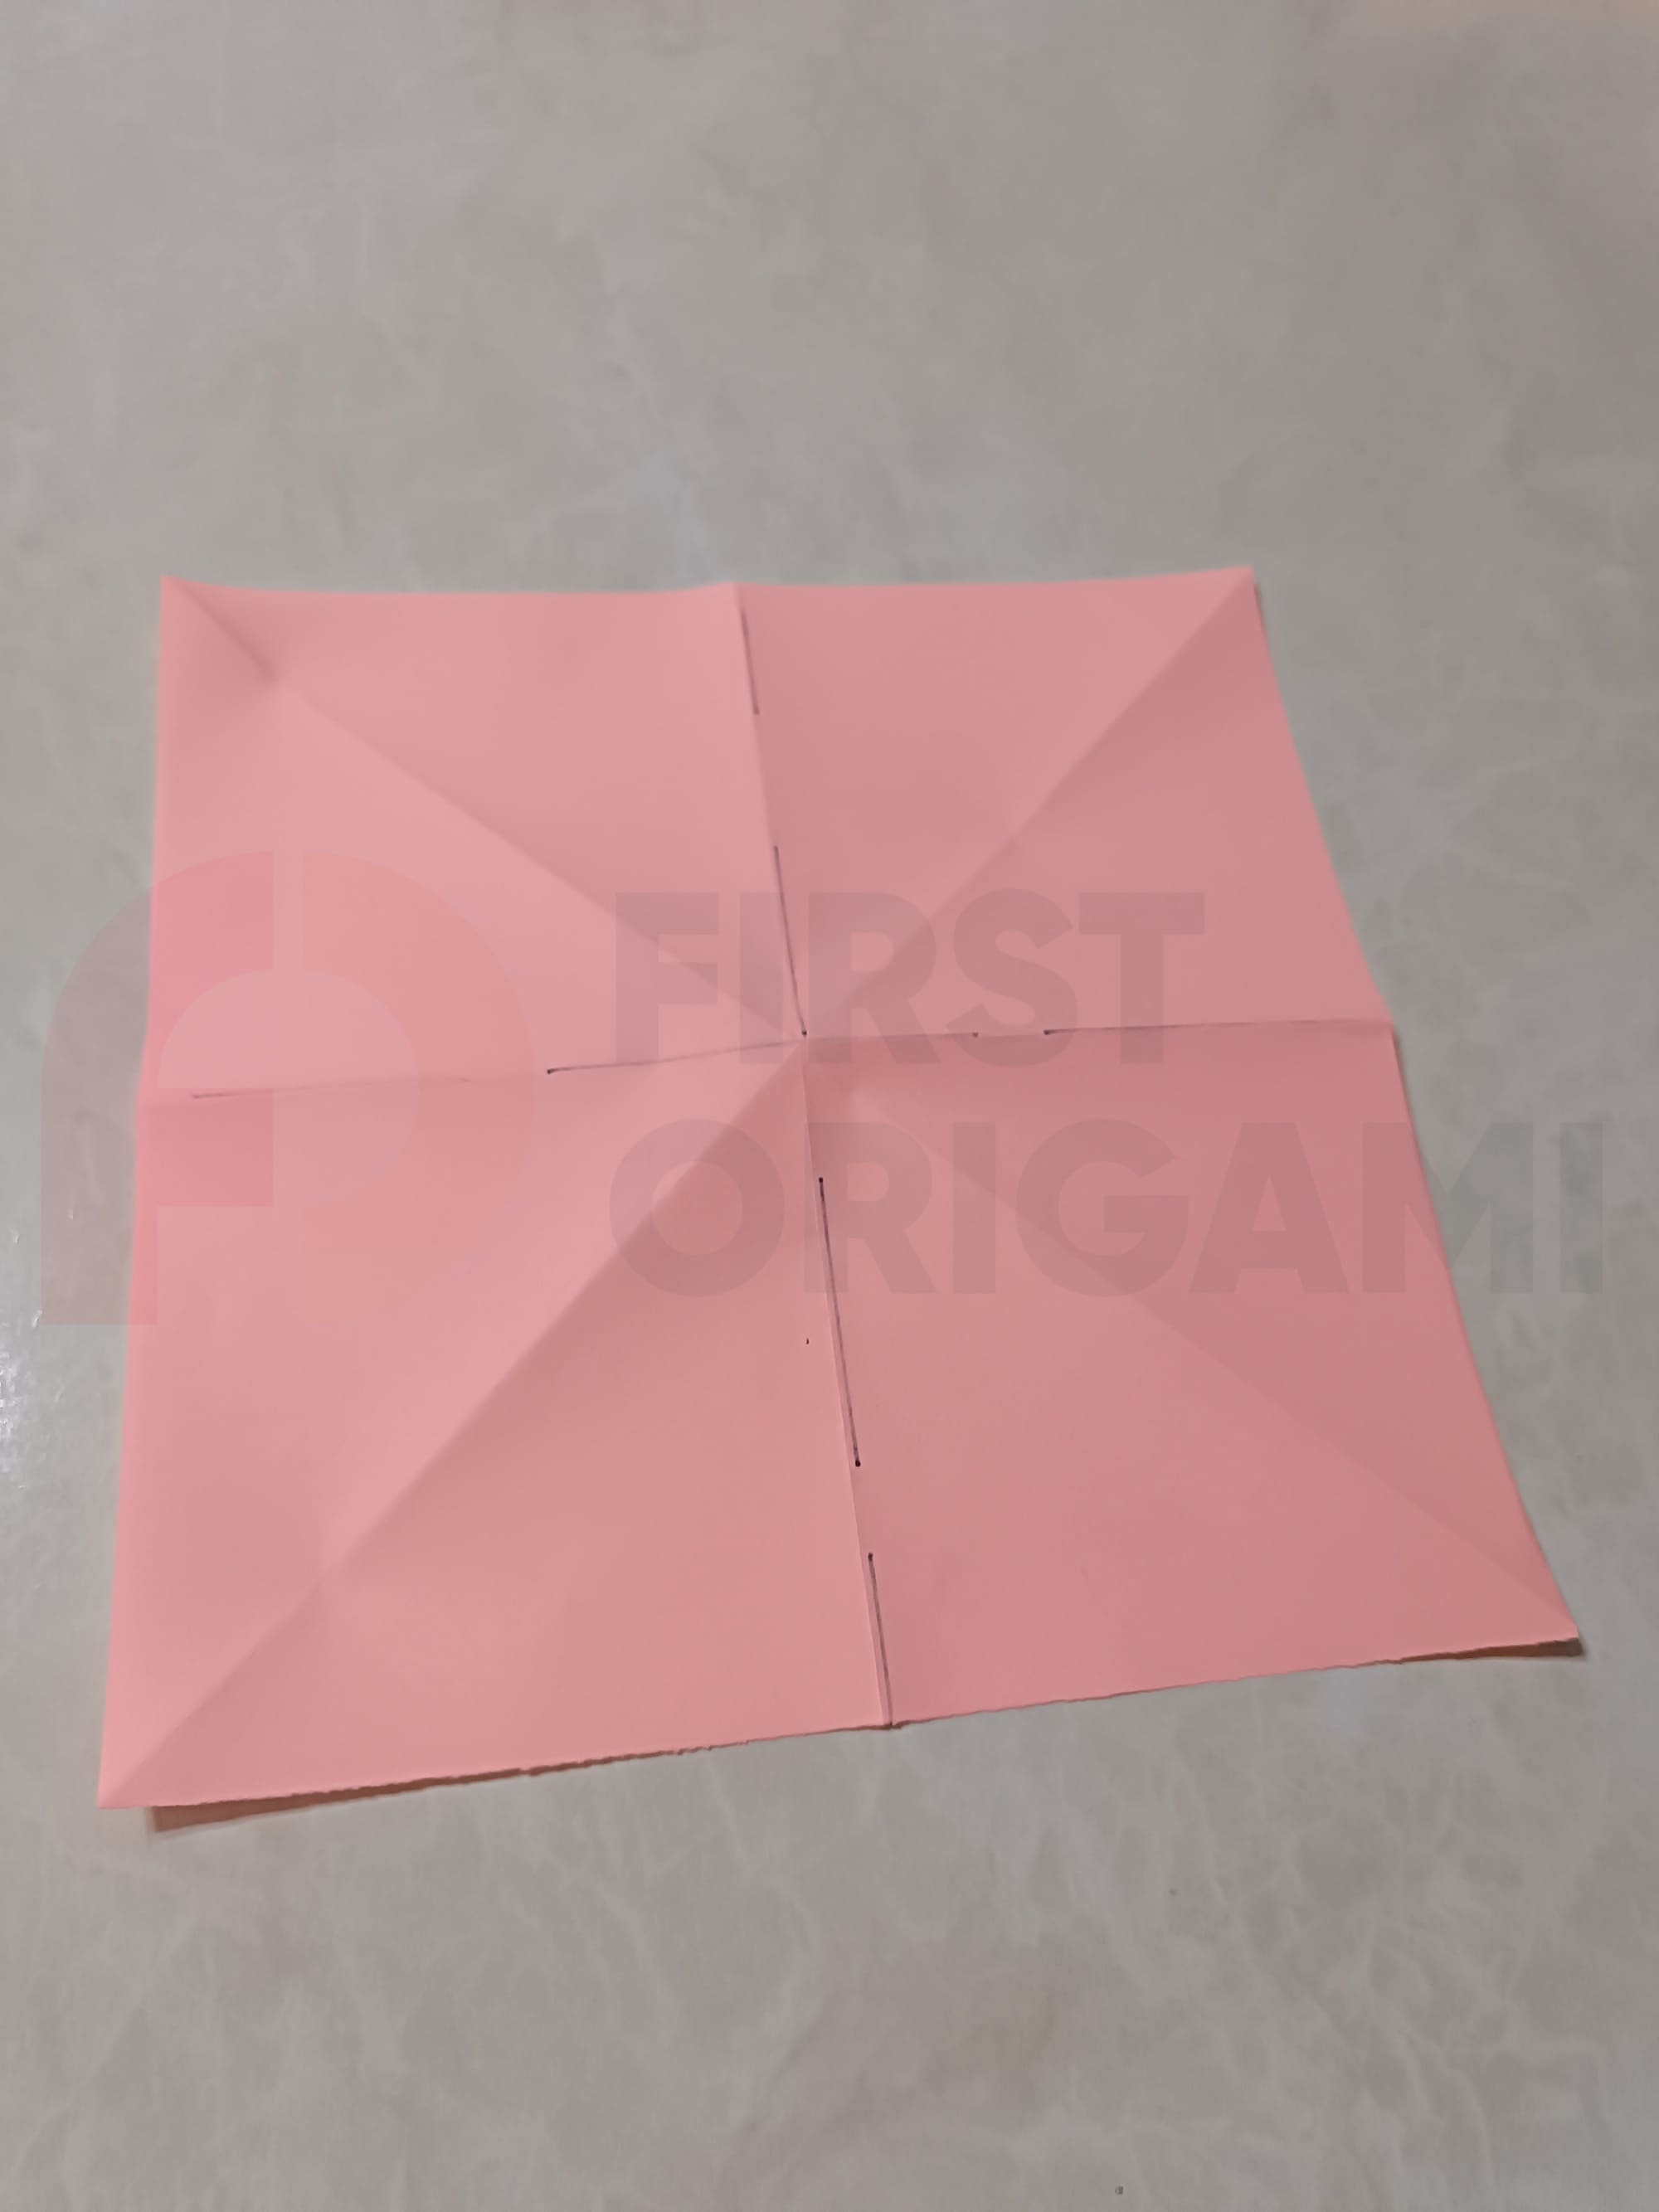
First, take a square piece of suitable paper. We recommend origami paper, but you can also take a sheet of regular colored paper, cutting it down to a square. If you decide to take a piece of paper with a print, place your sheet face up, so that the product will turn out more colorful. Now you need to make a fold along the dotted line. Fold the sheet well and then unfold the paper, smoothing it.
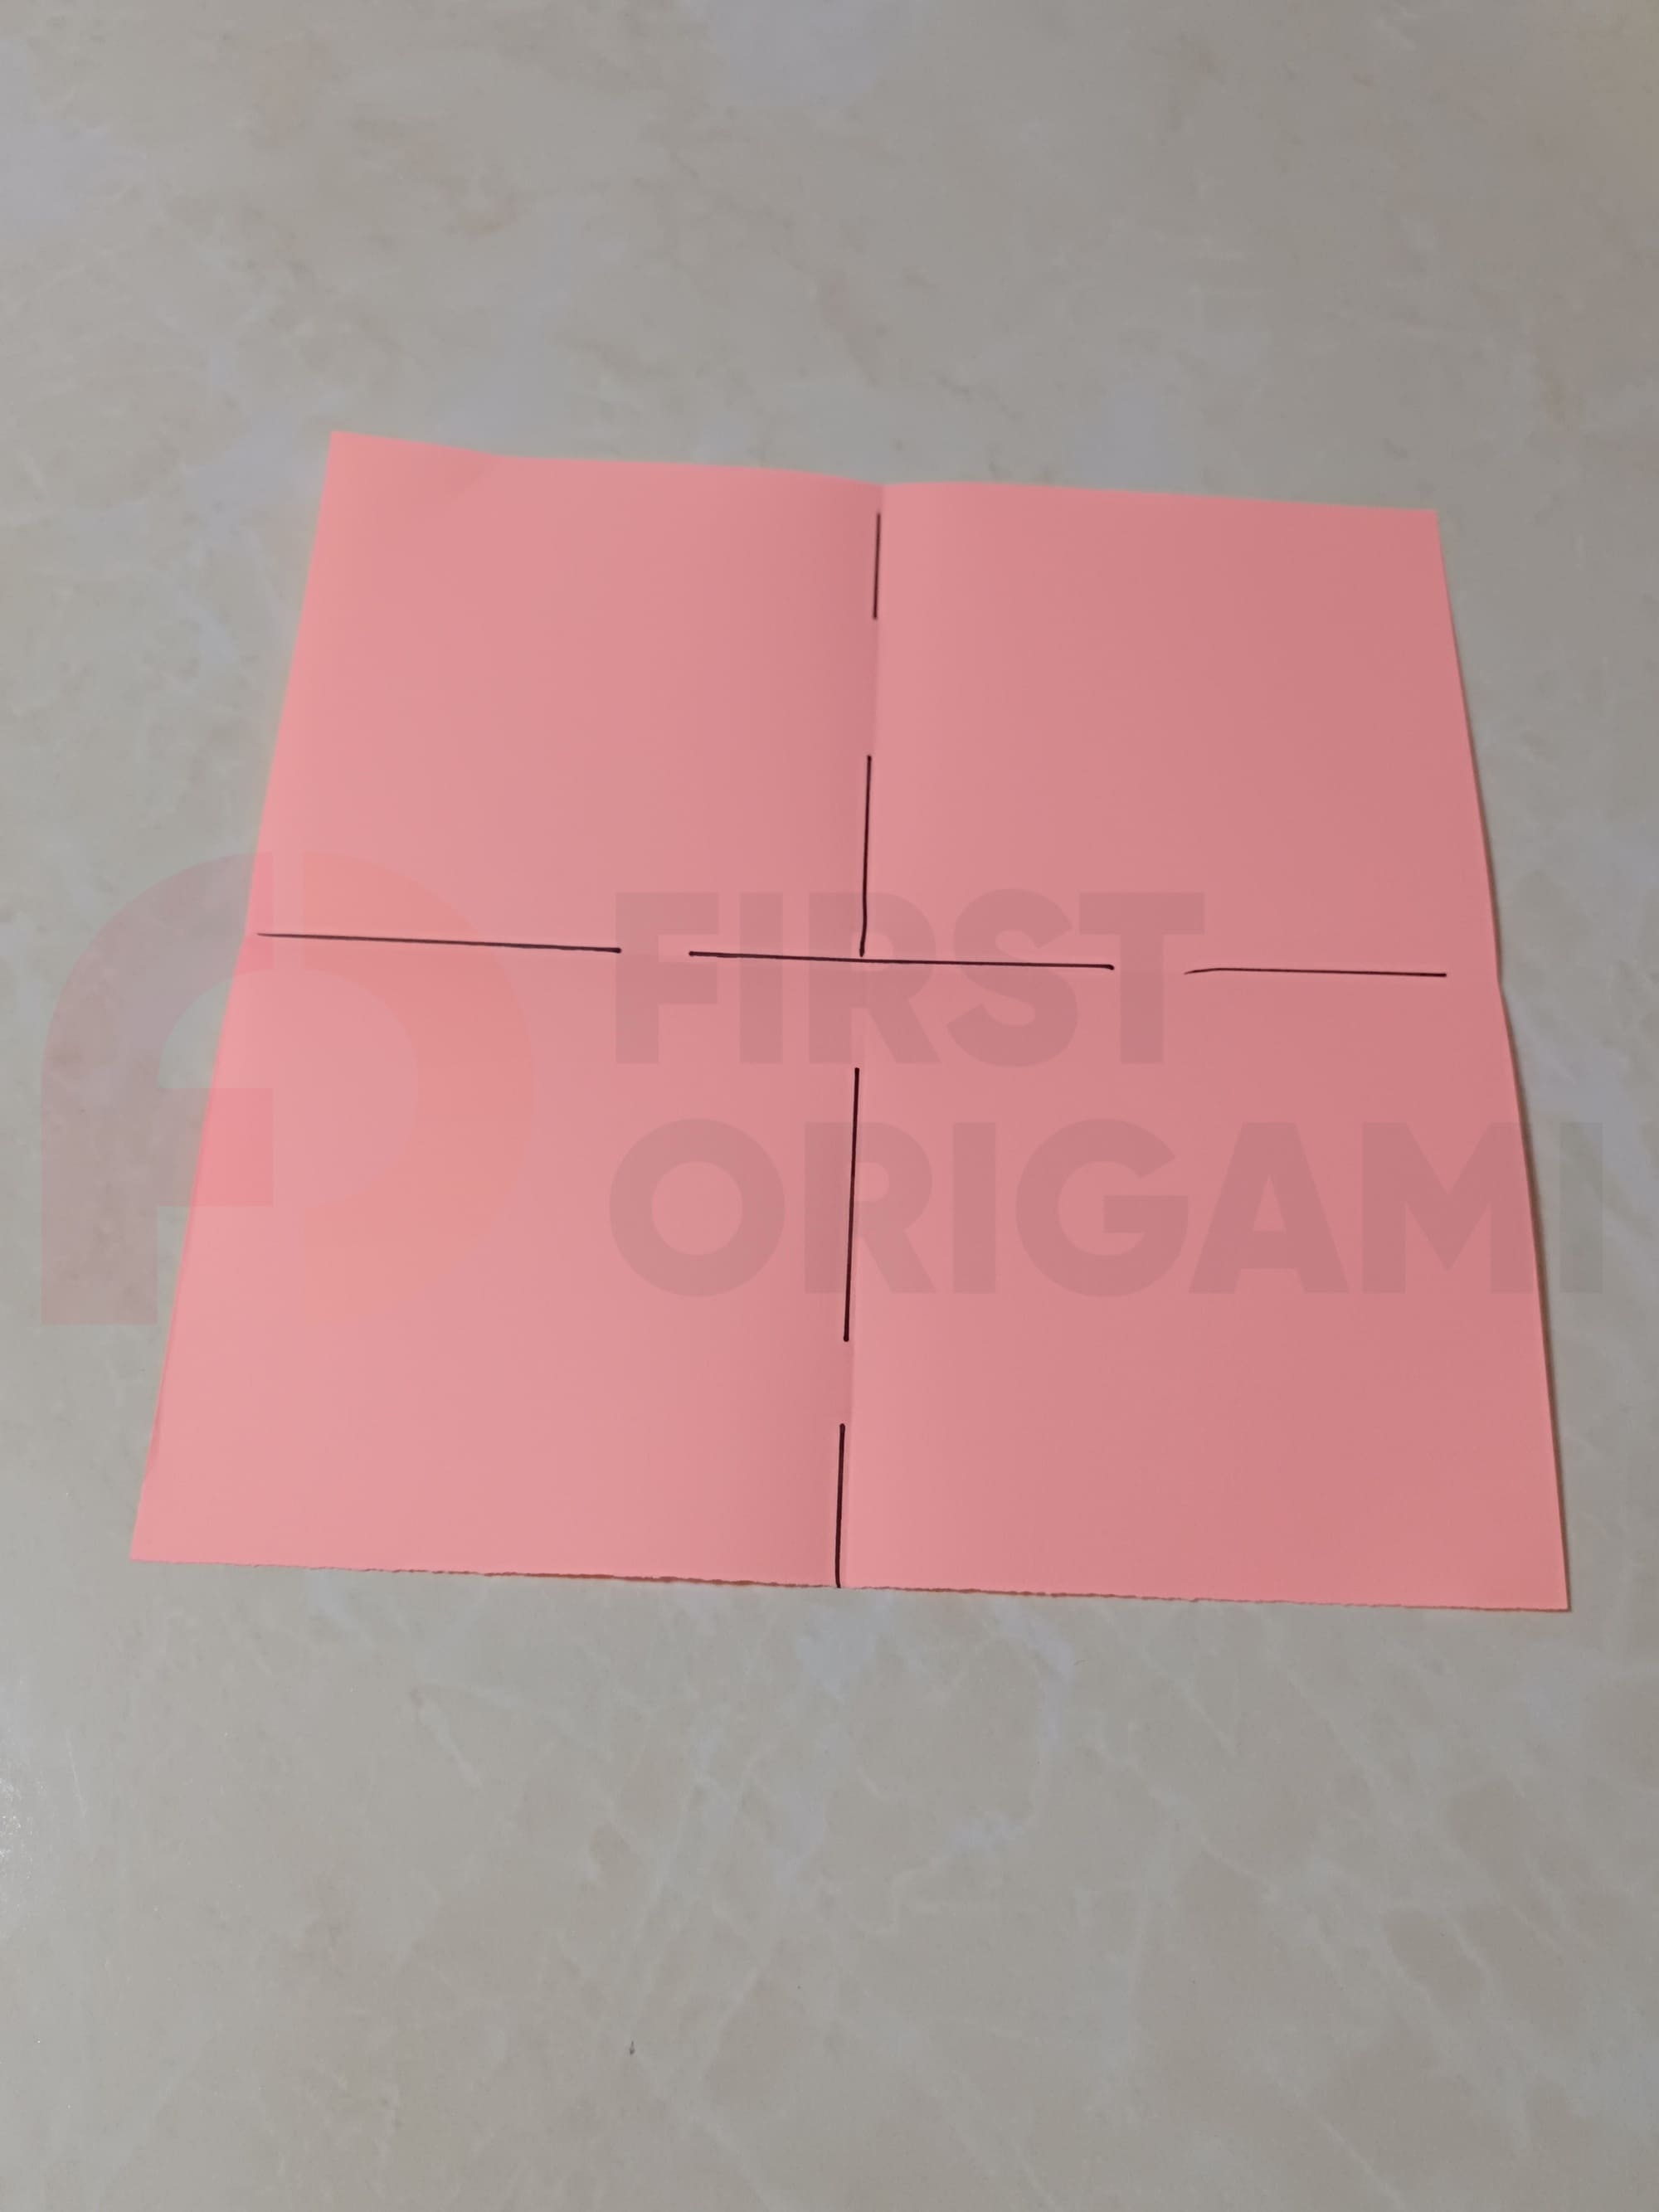
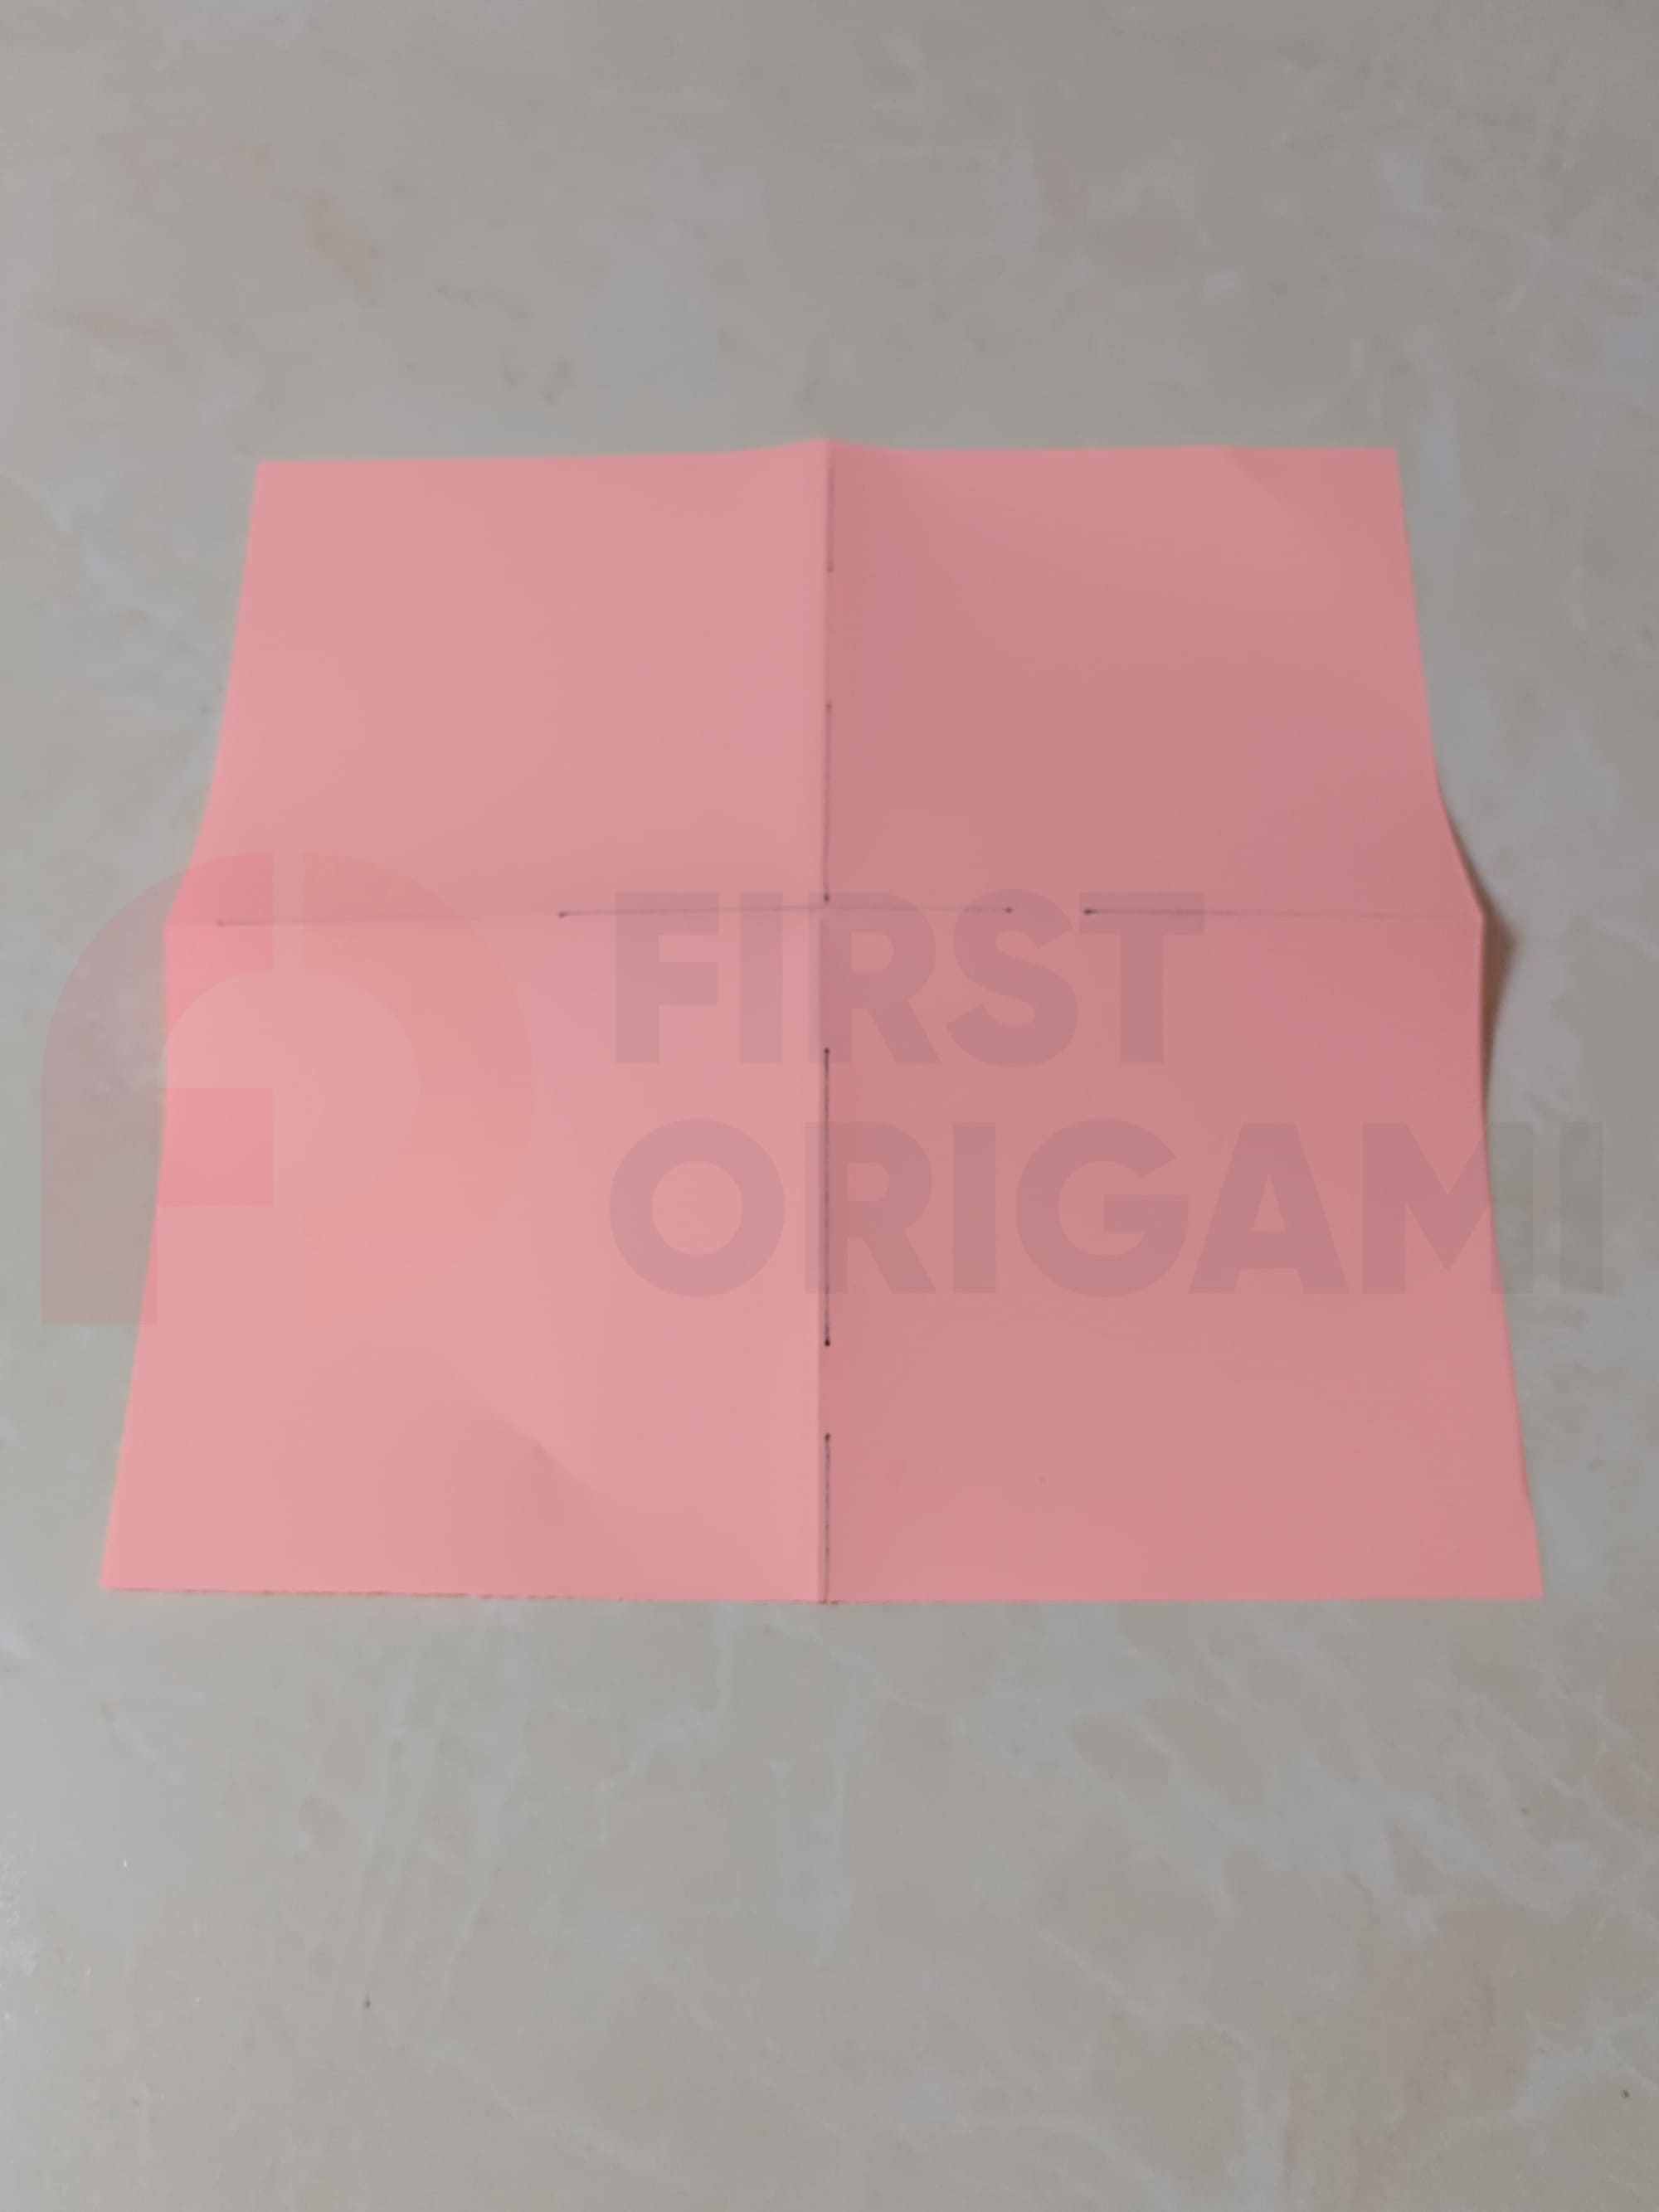
Next, you need to make another fold perpendicular to the fold made in the previous step as shown in the photo. Unfold the fold well and unfold the paper.
Now let’s turn the paper over.
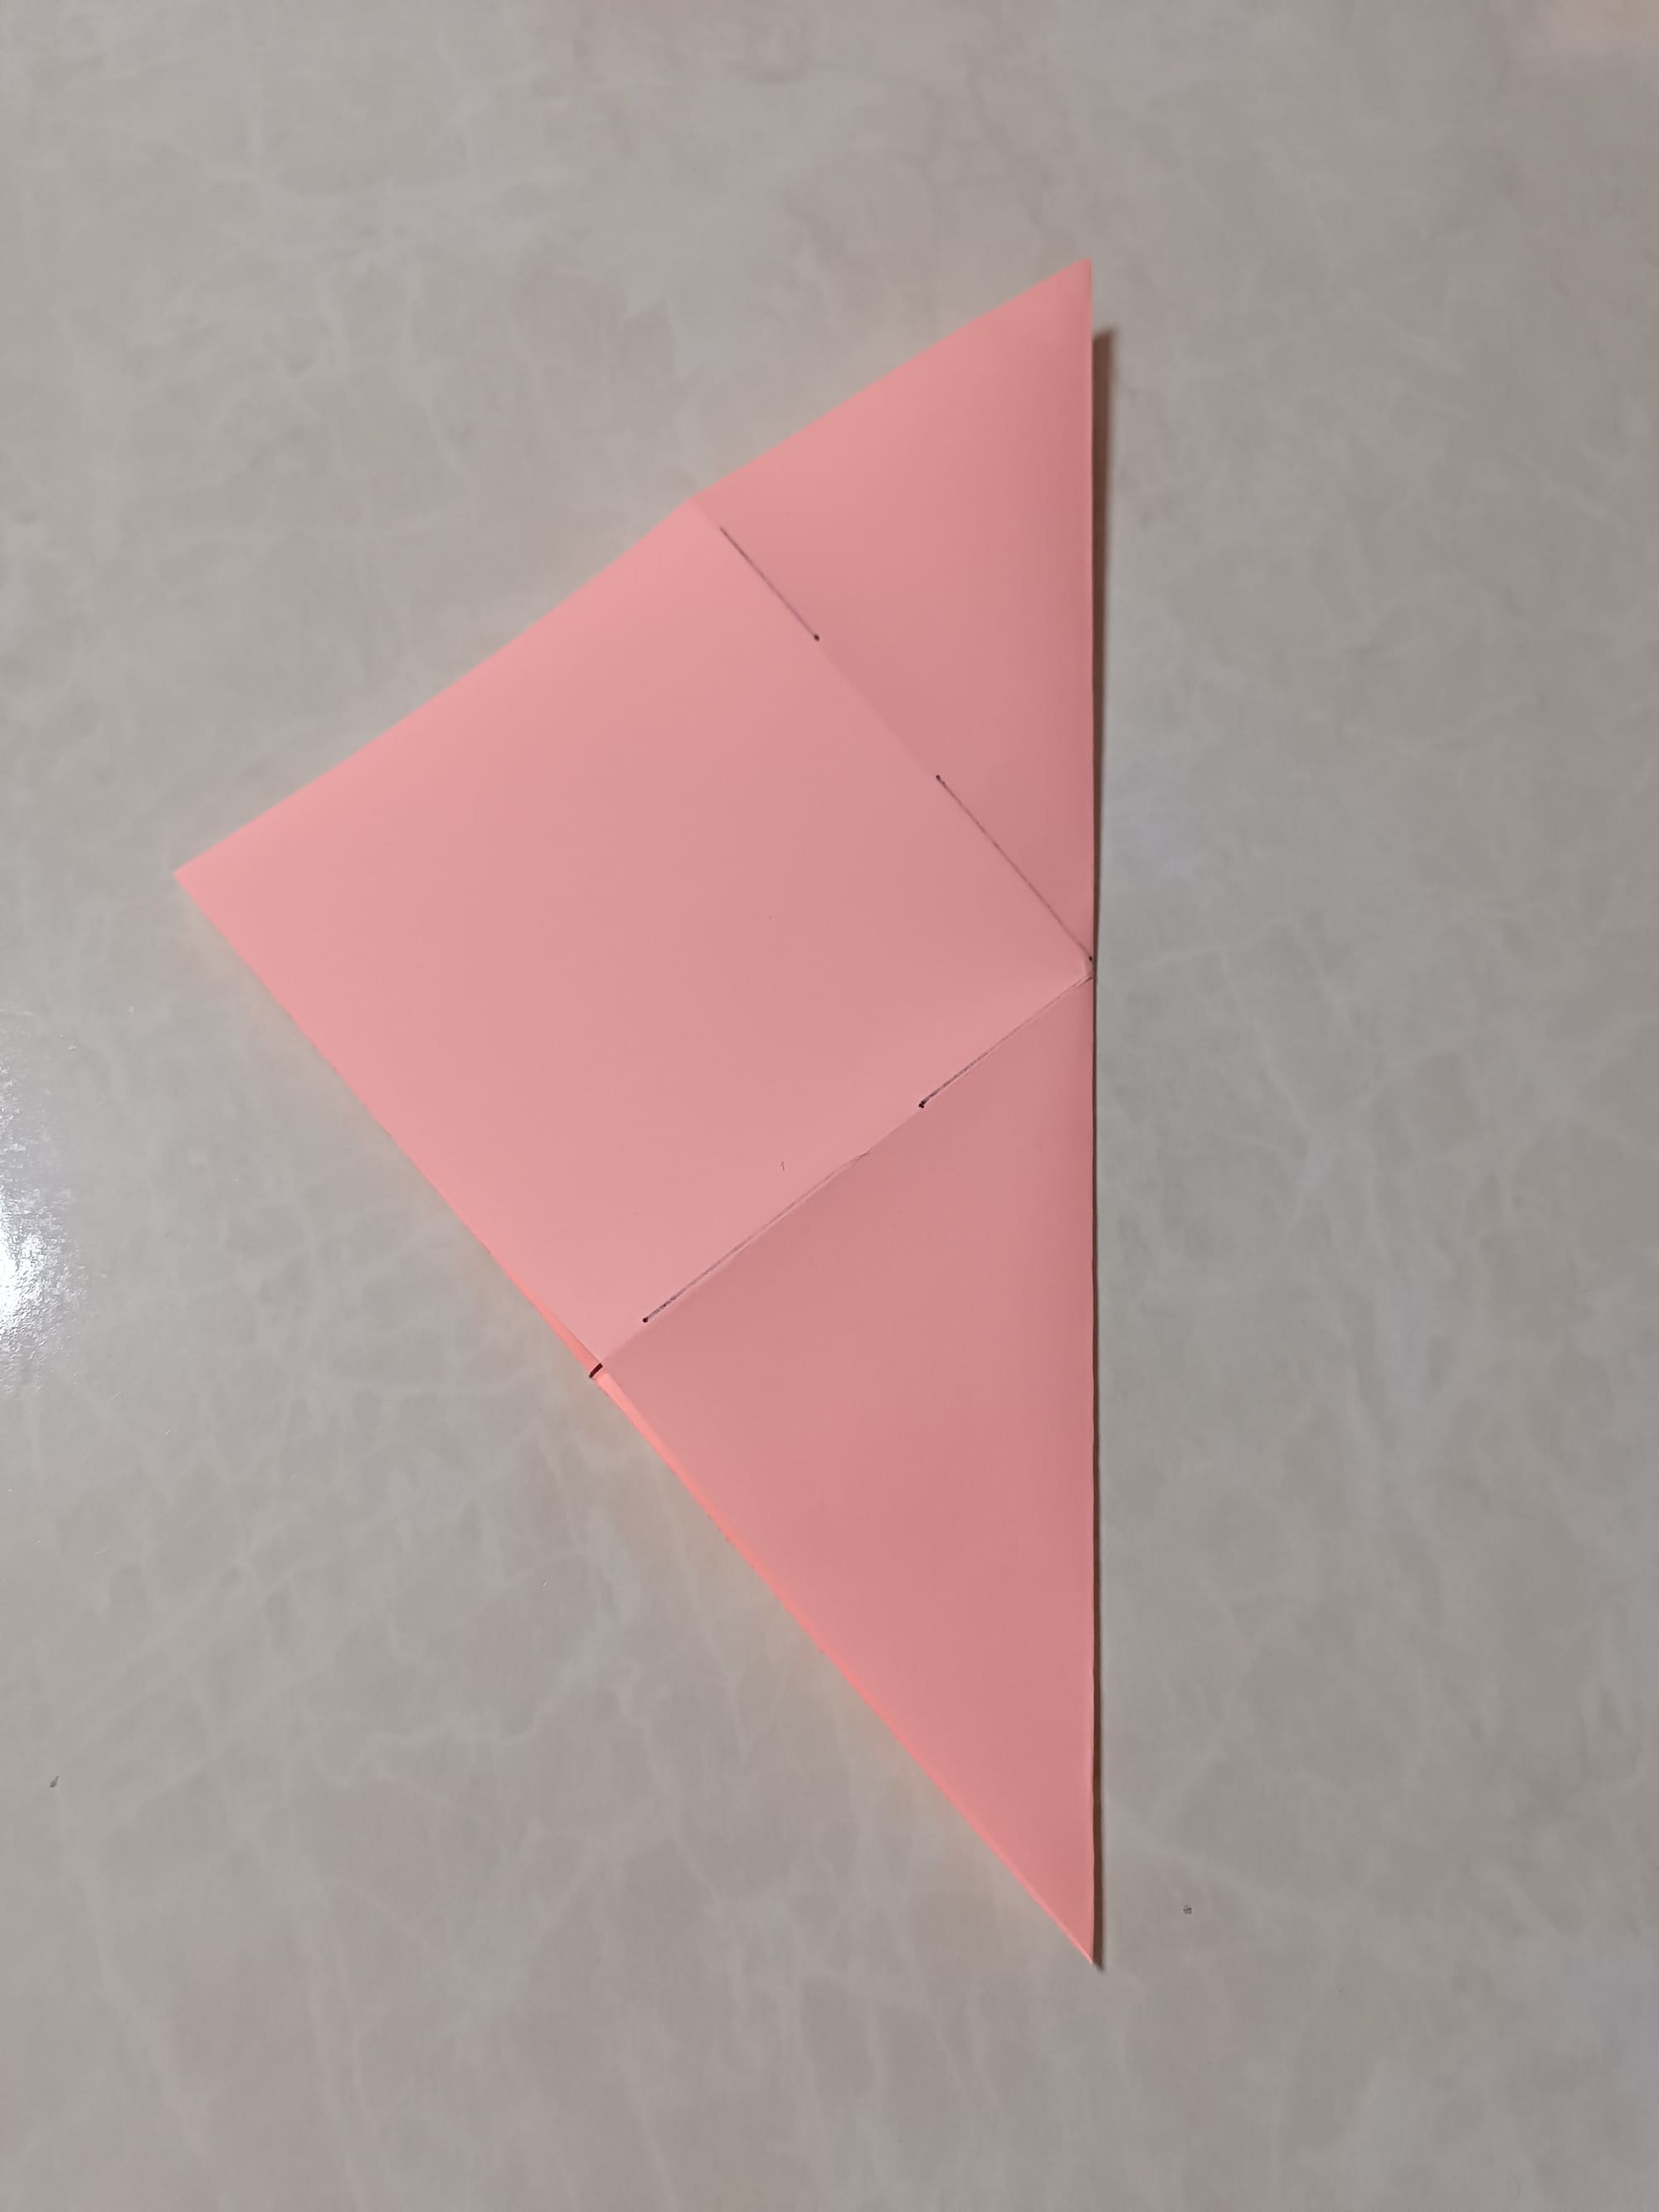
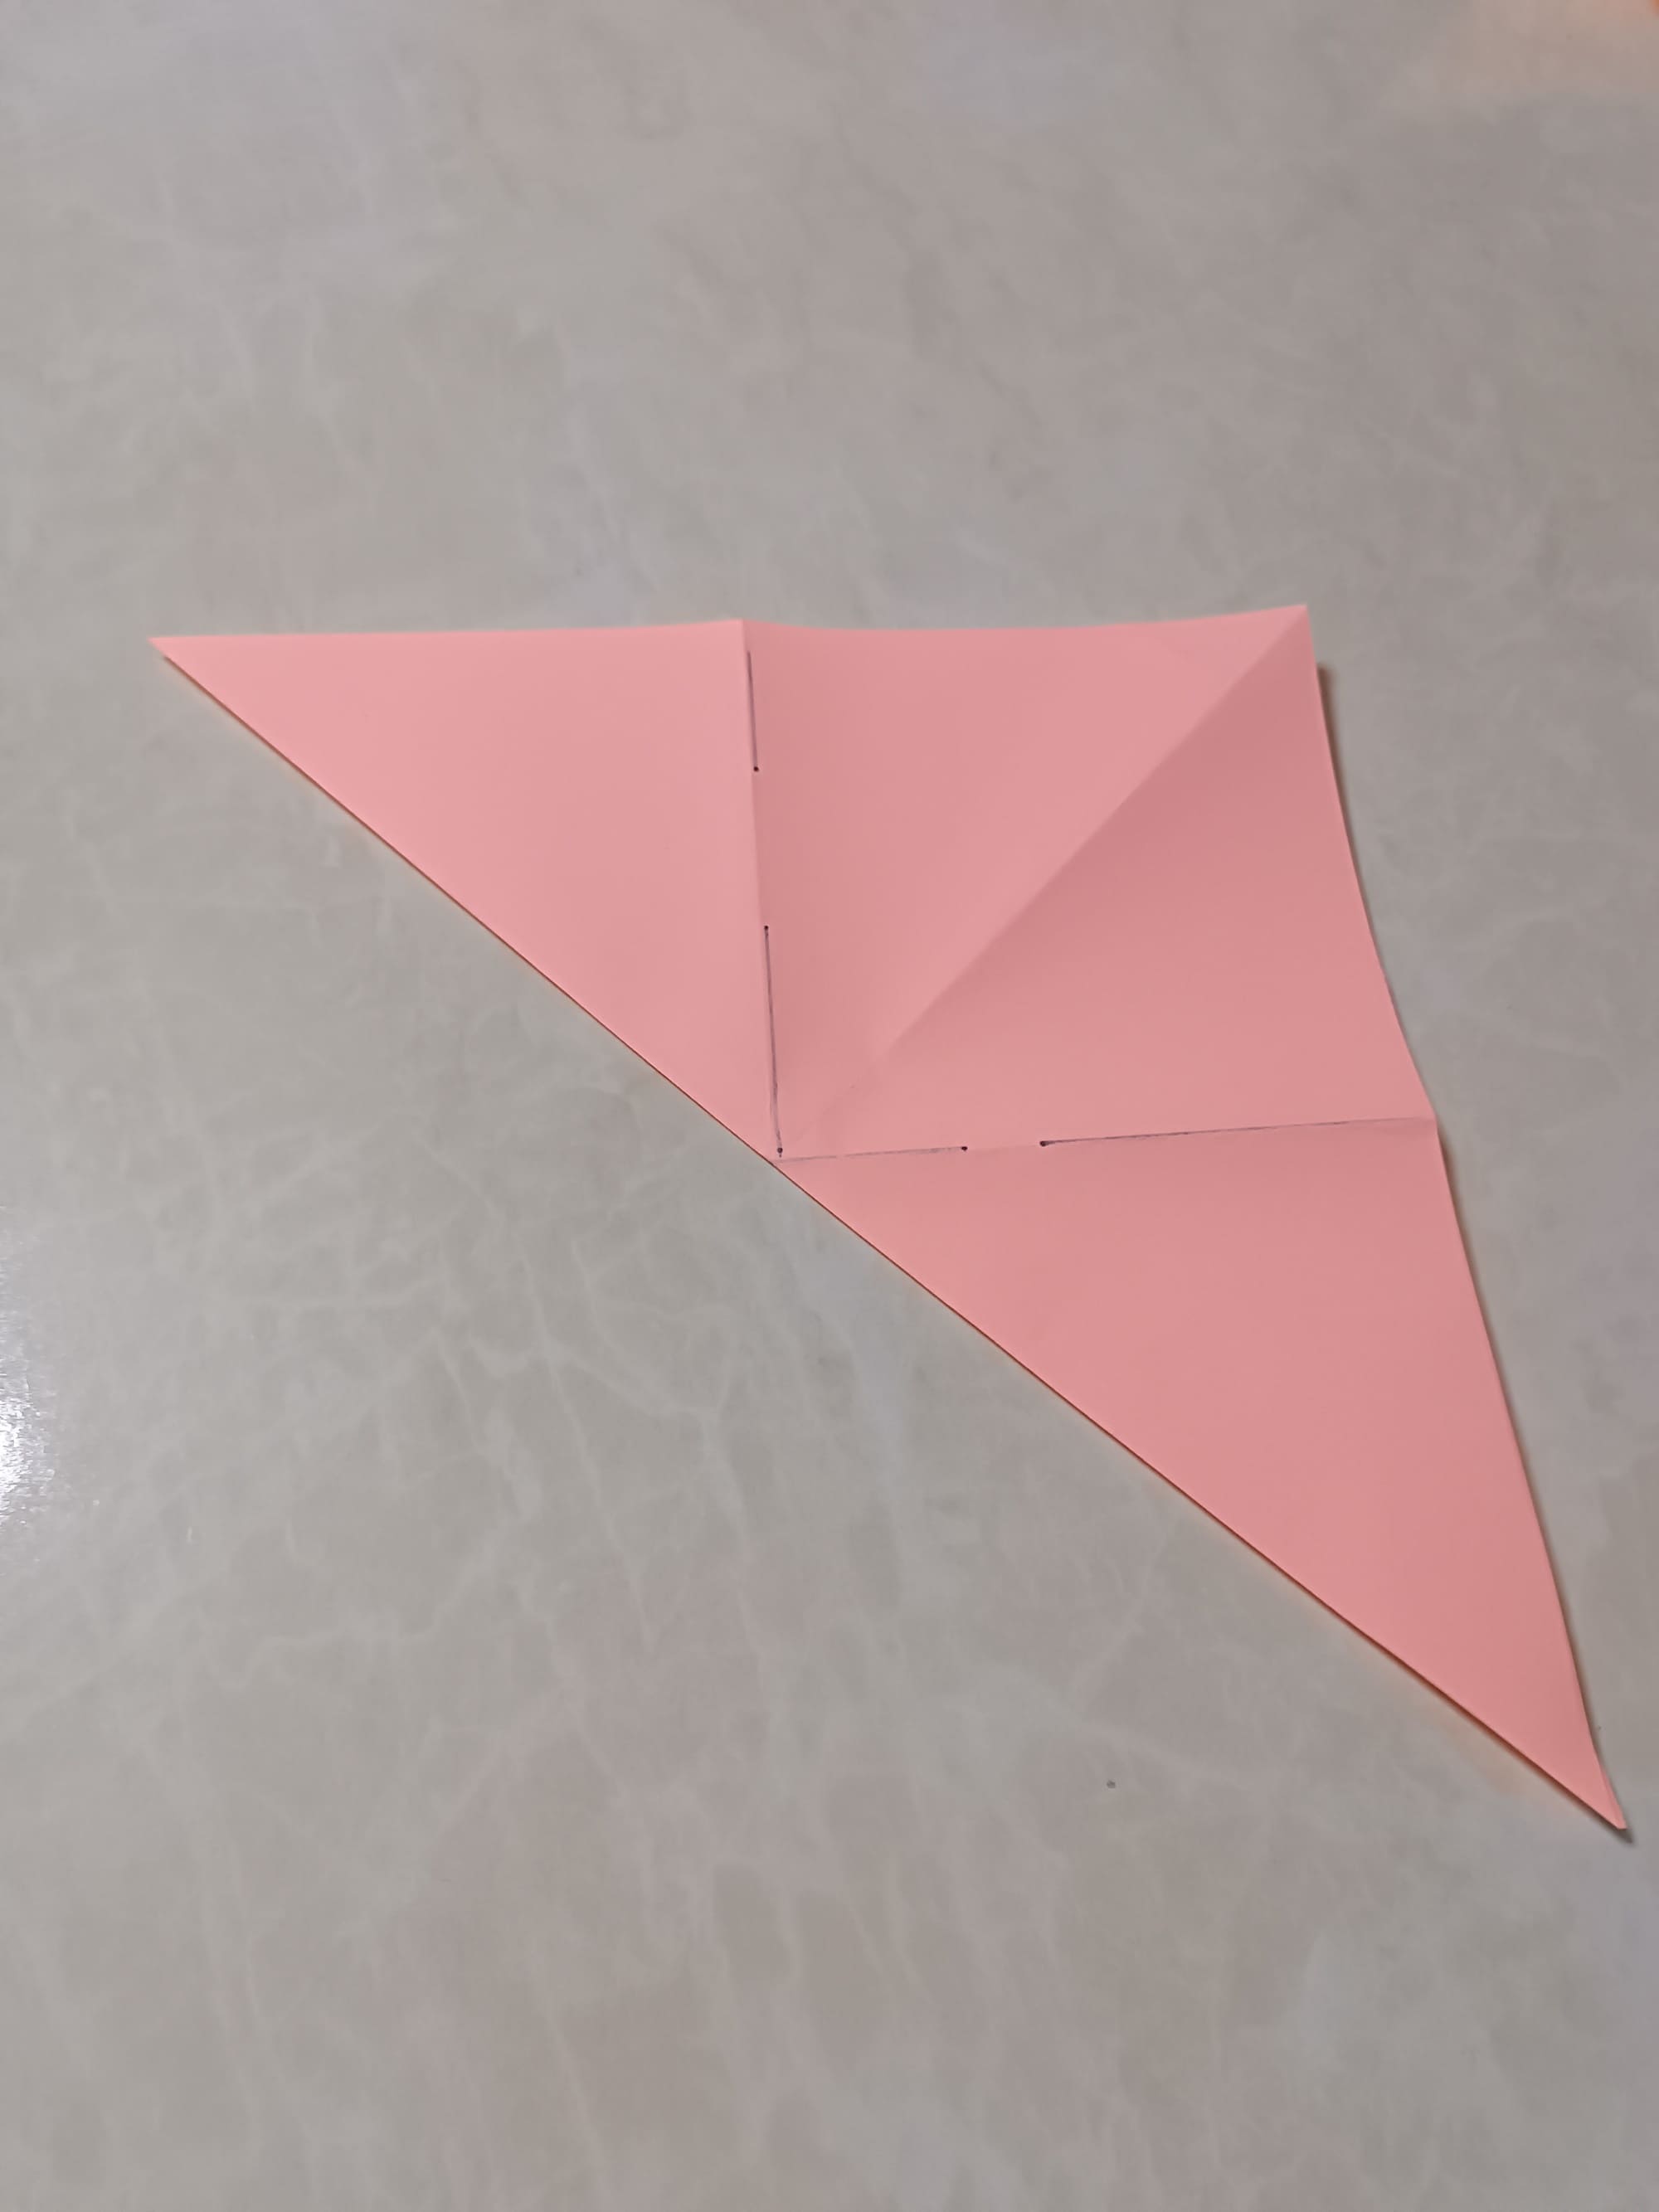
On the inverted paper, you need to make a diagonal fold as shown in the photo. Unfold the paper well.
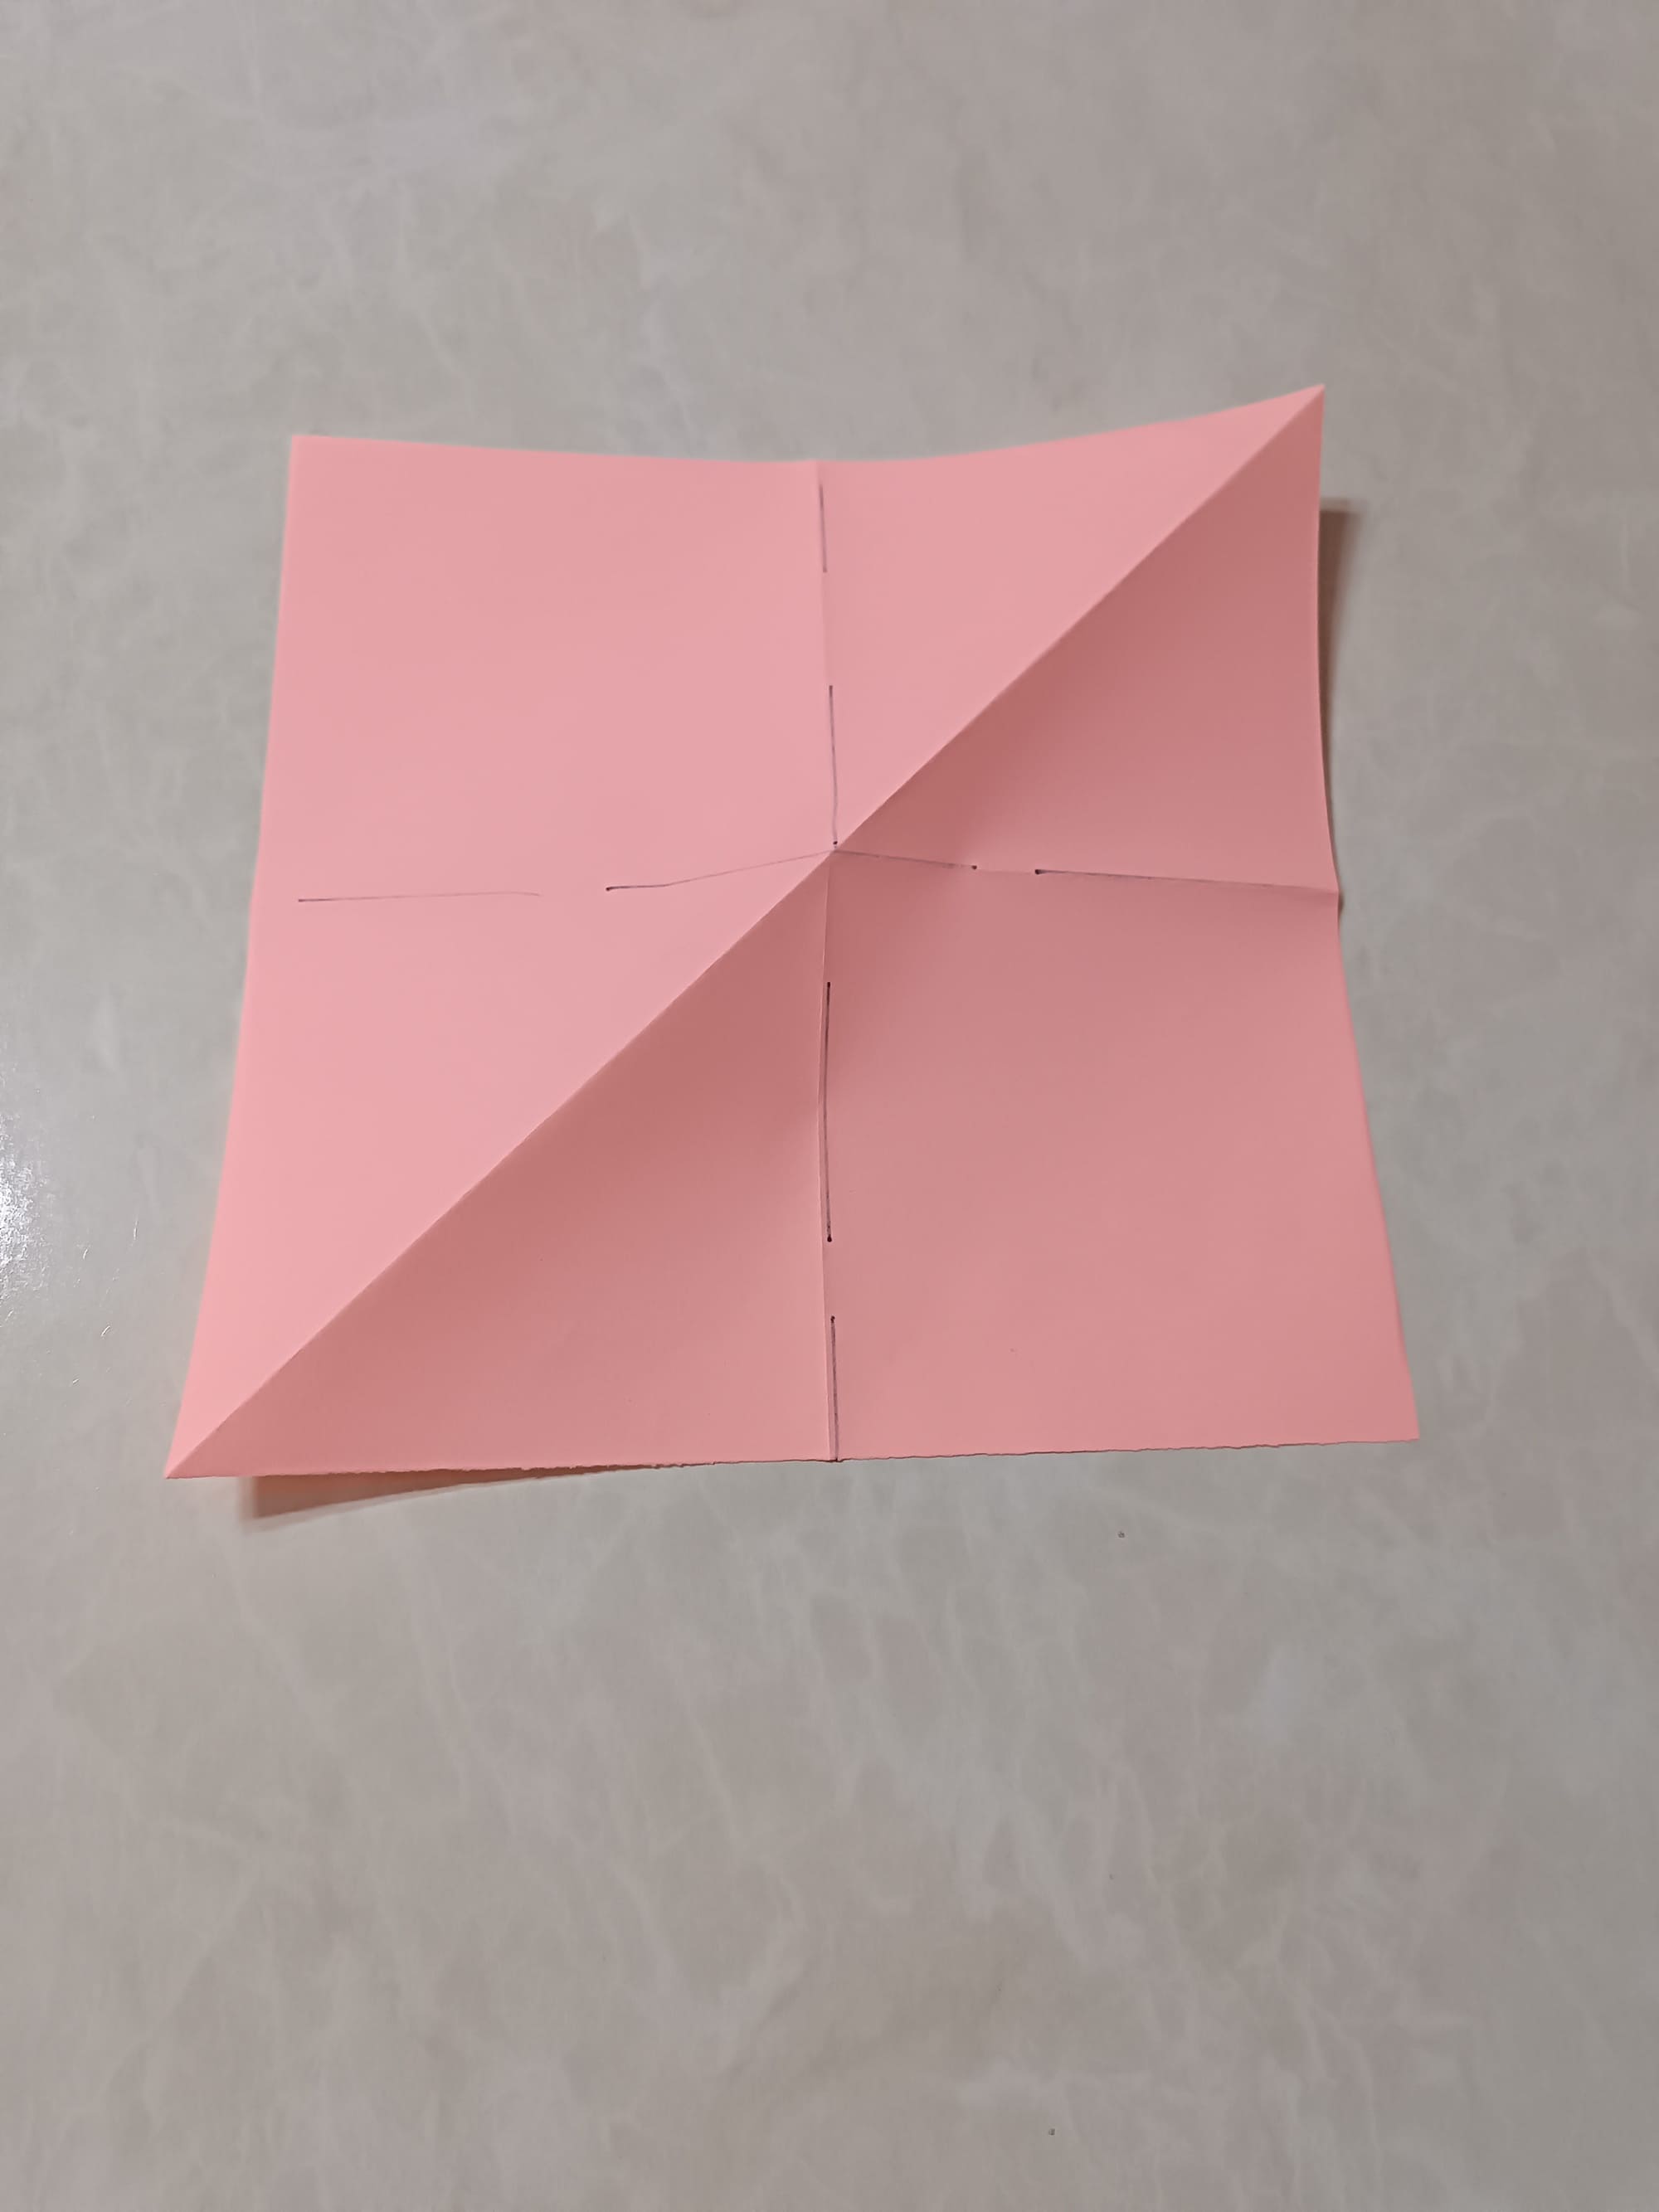
Now make a fold on the second diagonal of the paper, then again fold and unfold the paper well.
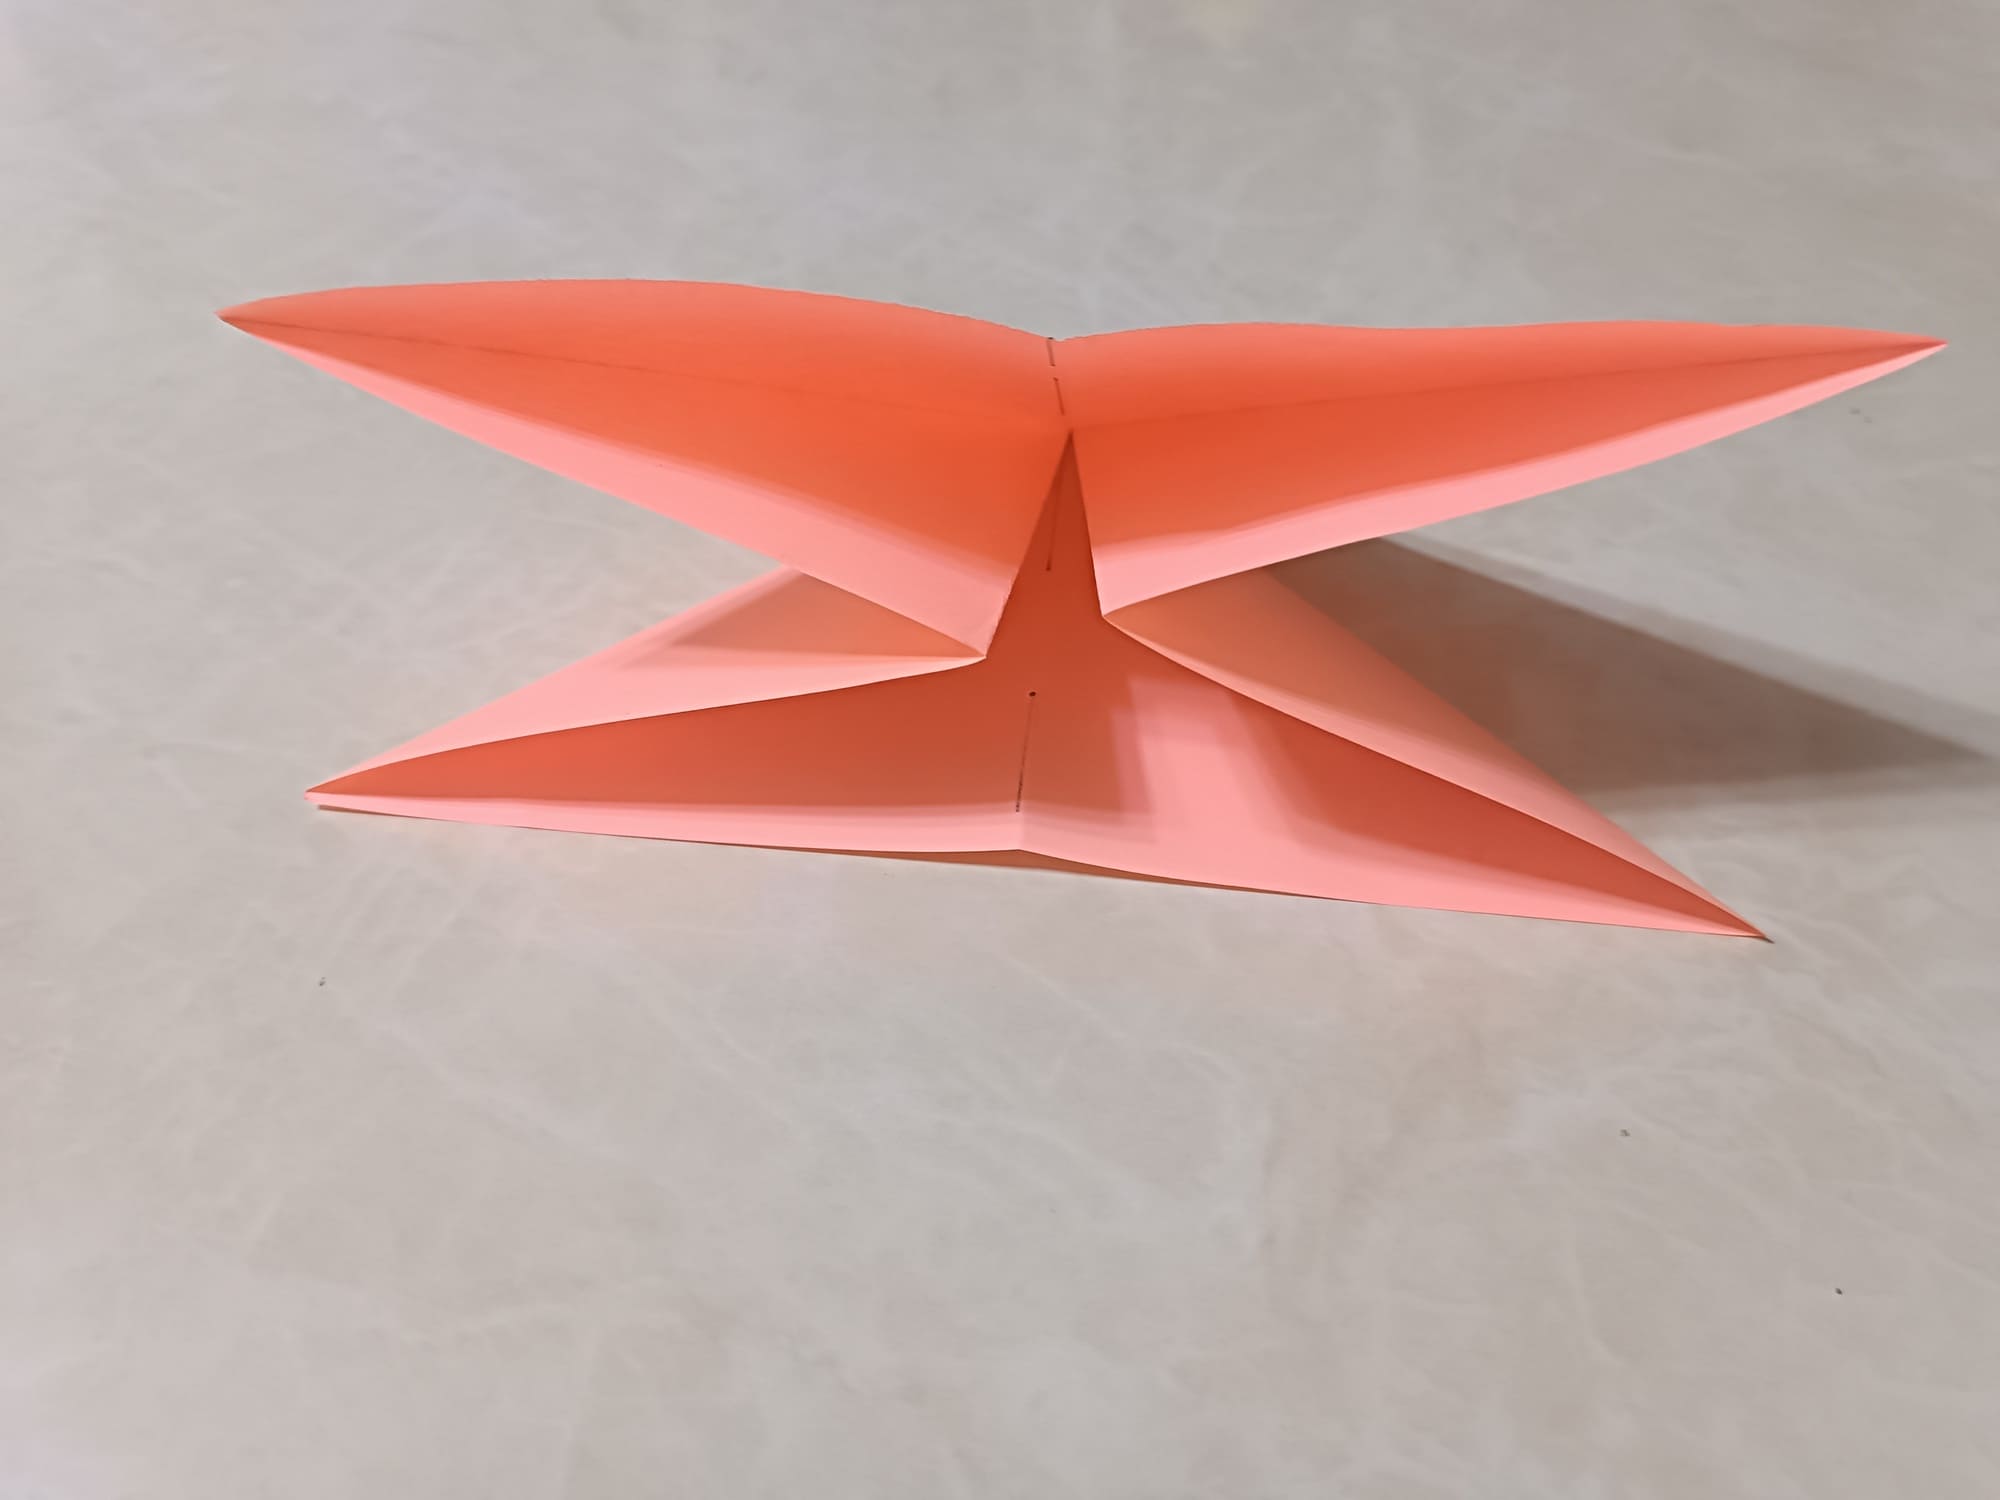
We are now ready to assemble the base of the figure. If you have crumpled the paper well, it should fold into the desired element very easily. Otherwise, you will not get the desired result so clearly.
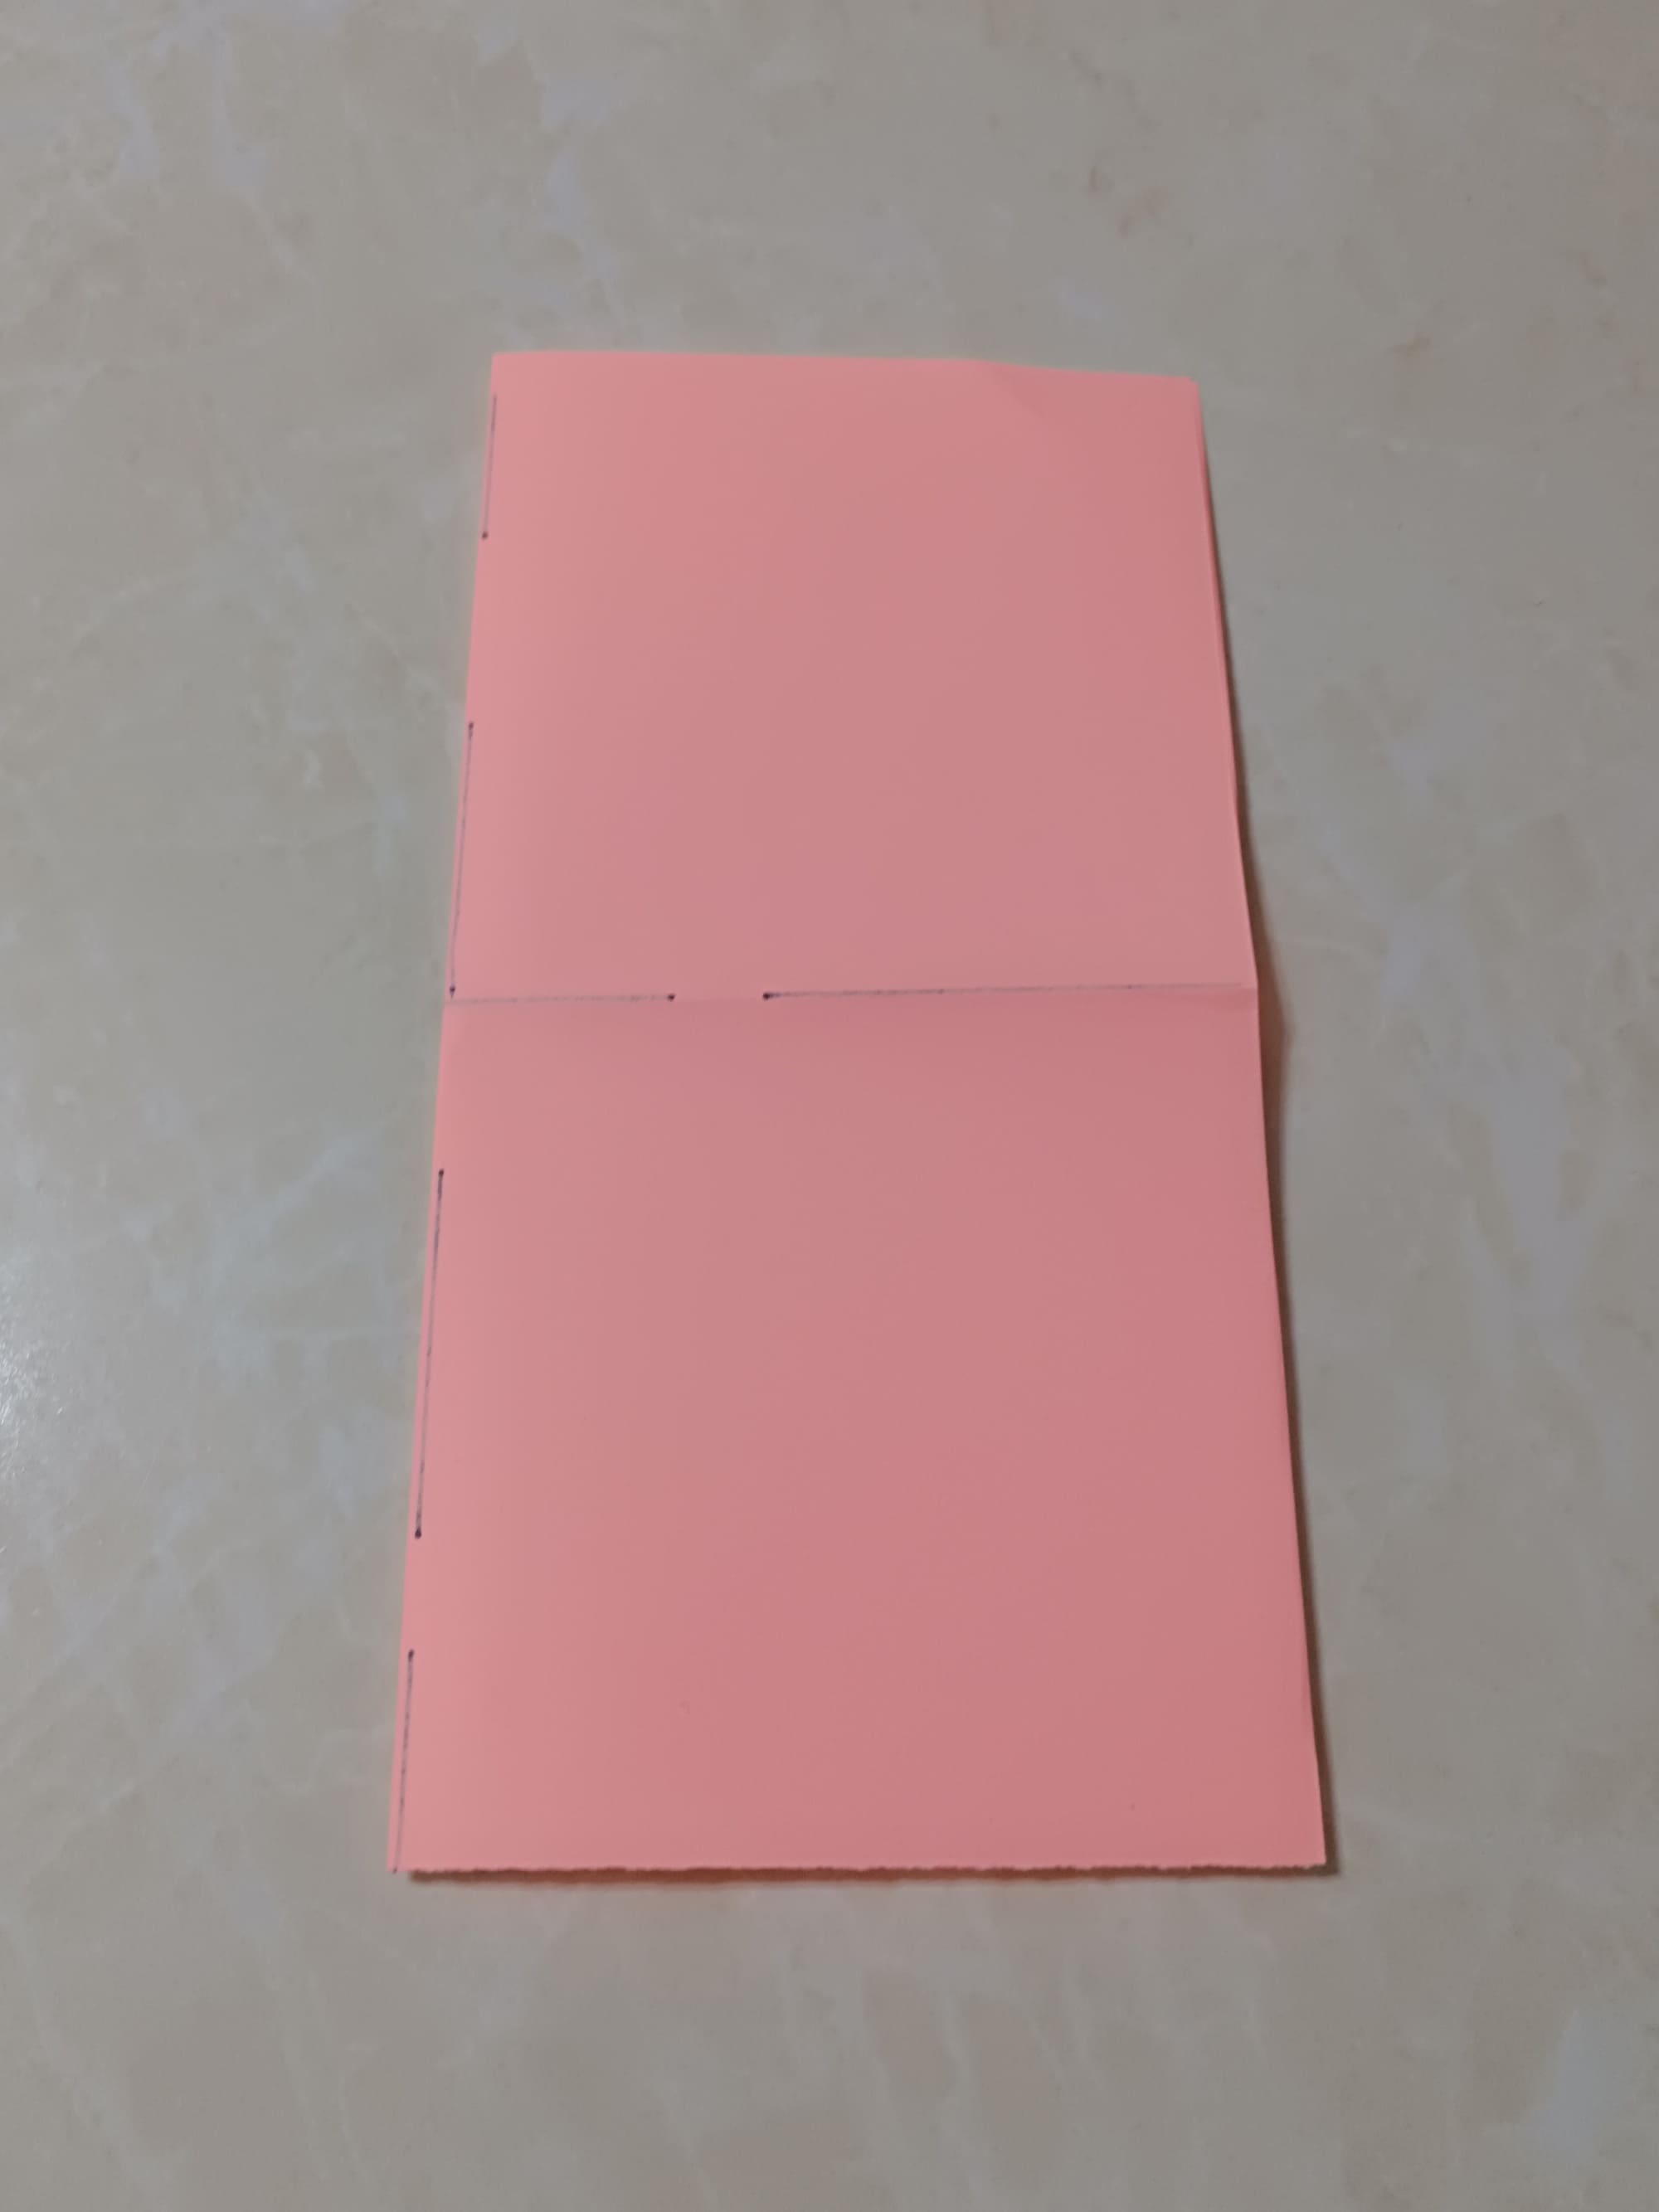
But now you know how important it is to pay attention to detail with each fold. Start pressing the paper along the bend from two opposite sides to the center.
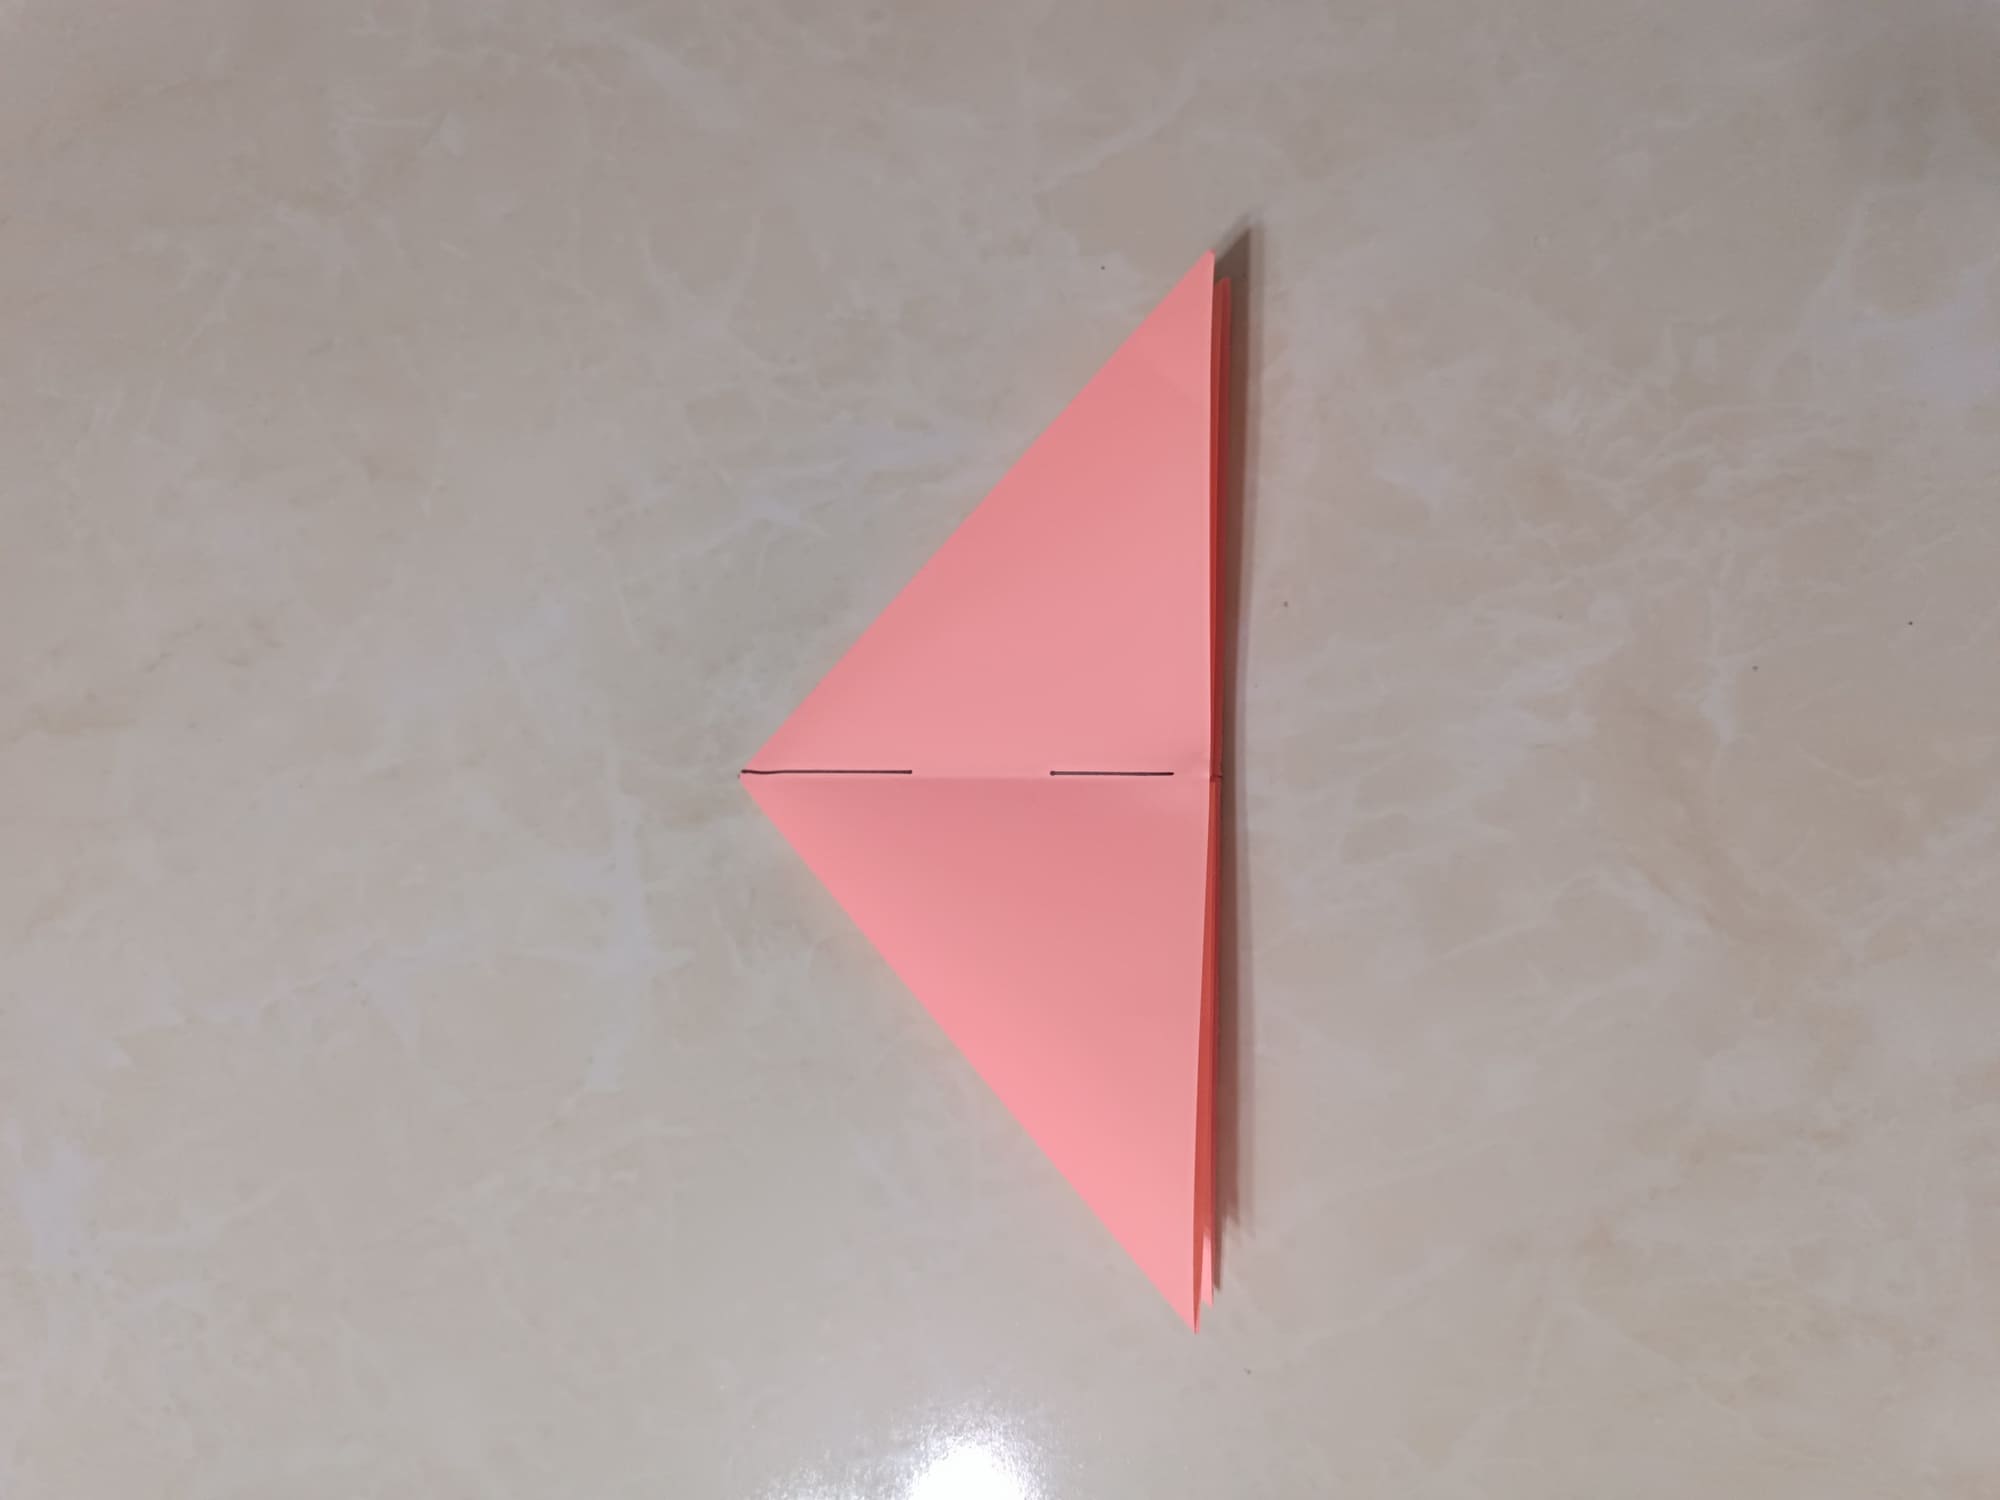
When the sides are folded, a triangle should form. Smooth the resulting shape well, and holding its shape, try to bring both sides together.
As soon as both sides reach the center, you can already observe the result. Press the piece well against the table top and smooth the edges. Now you can see the perfect isosceles triangle.
Well, your Water Bomb Base is ready, and now you can use it to create different origami figures!


