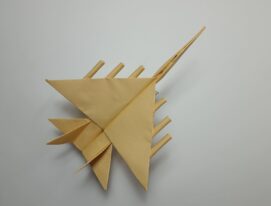
Origami Wedge Airplane
In aviation origami, it is often necessary to fasten the body of the model in order to avoid its opening during launch, which significantly distorts the declared trajectory. With the exception of modified models, the creators of which put a special aerodynamic message into the moment of the body collapse, such an action does not add any points of attractiveness or stability when observing the flight of the prototype.
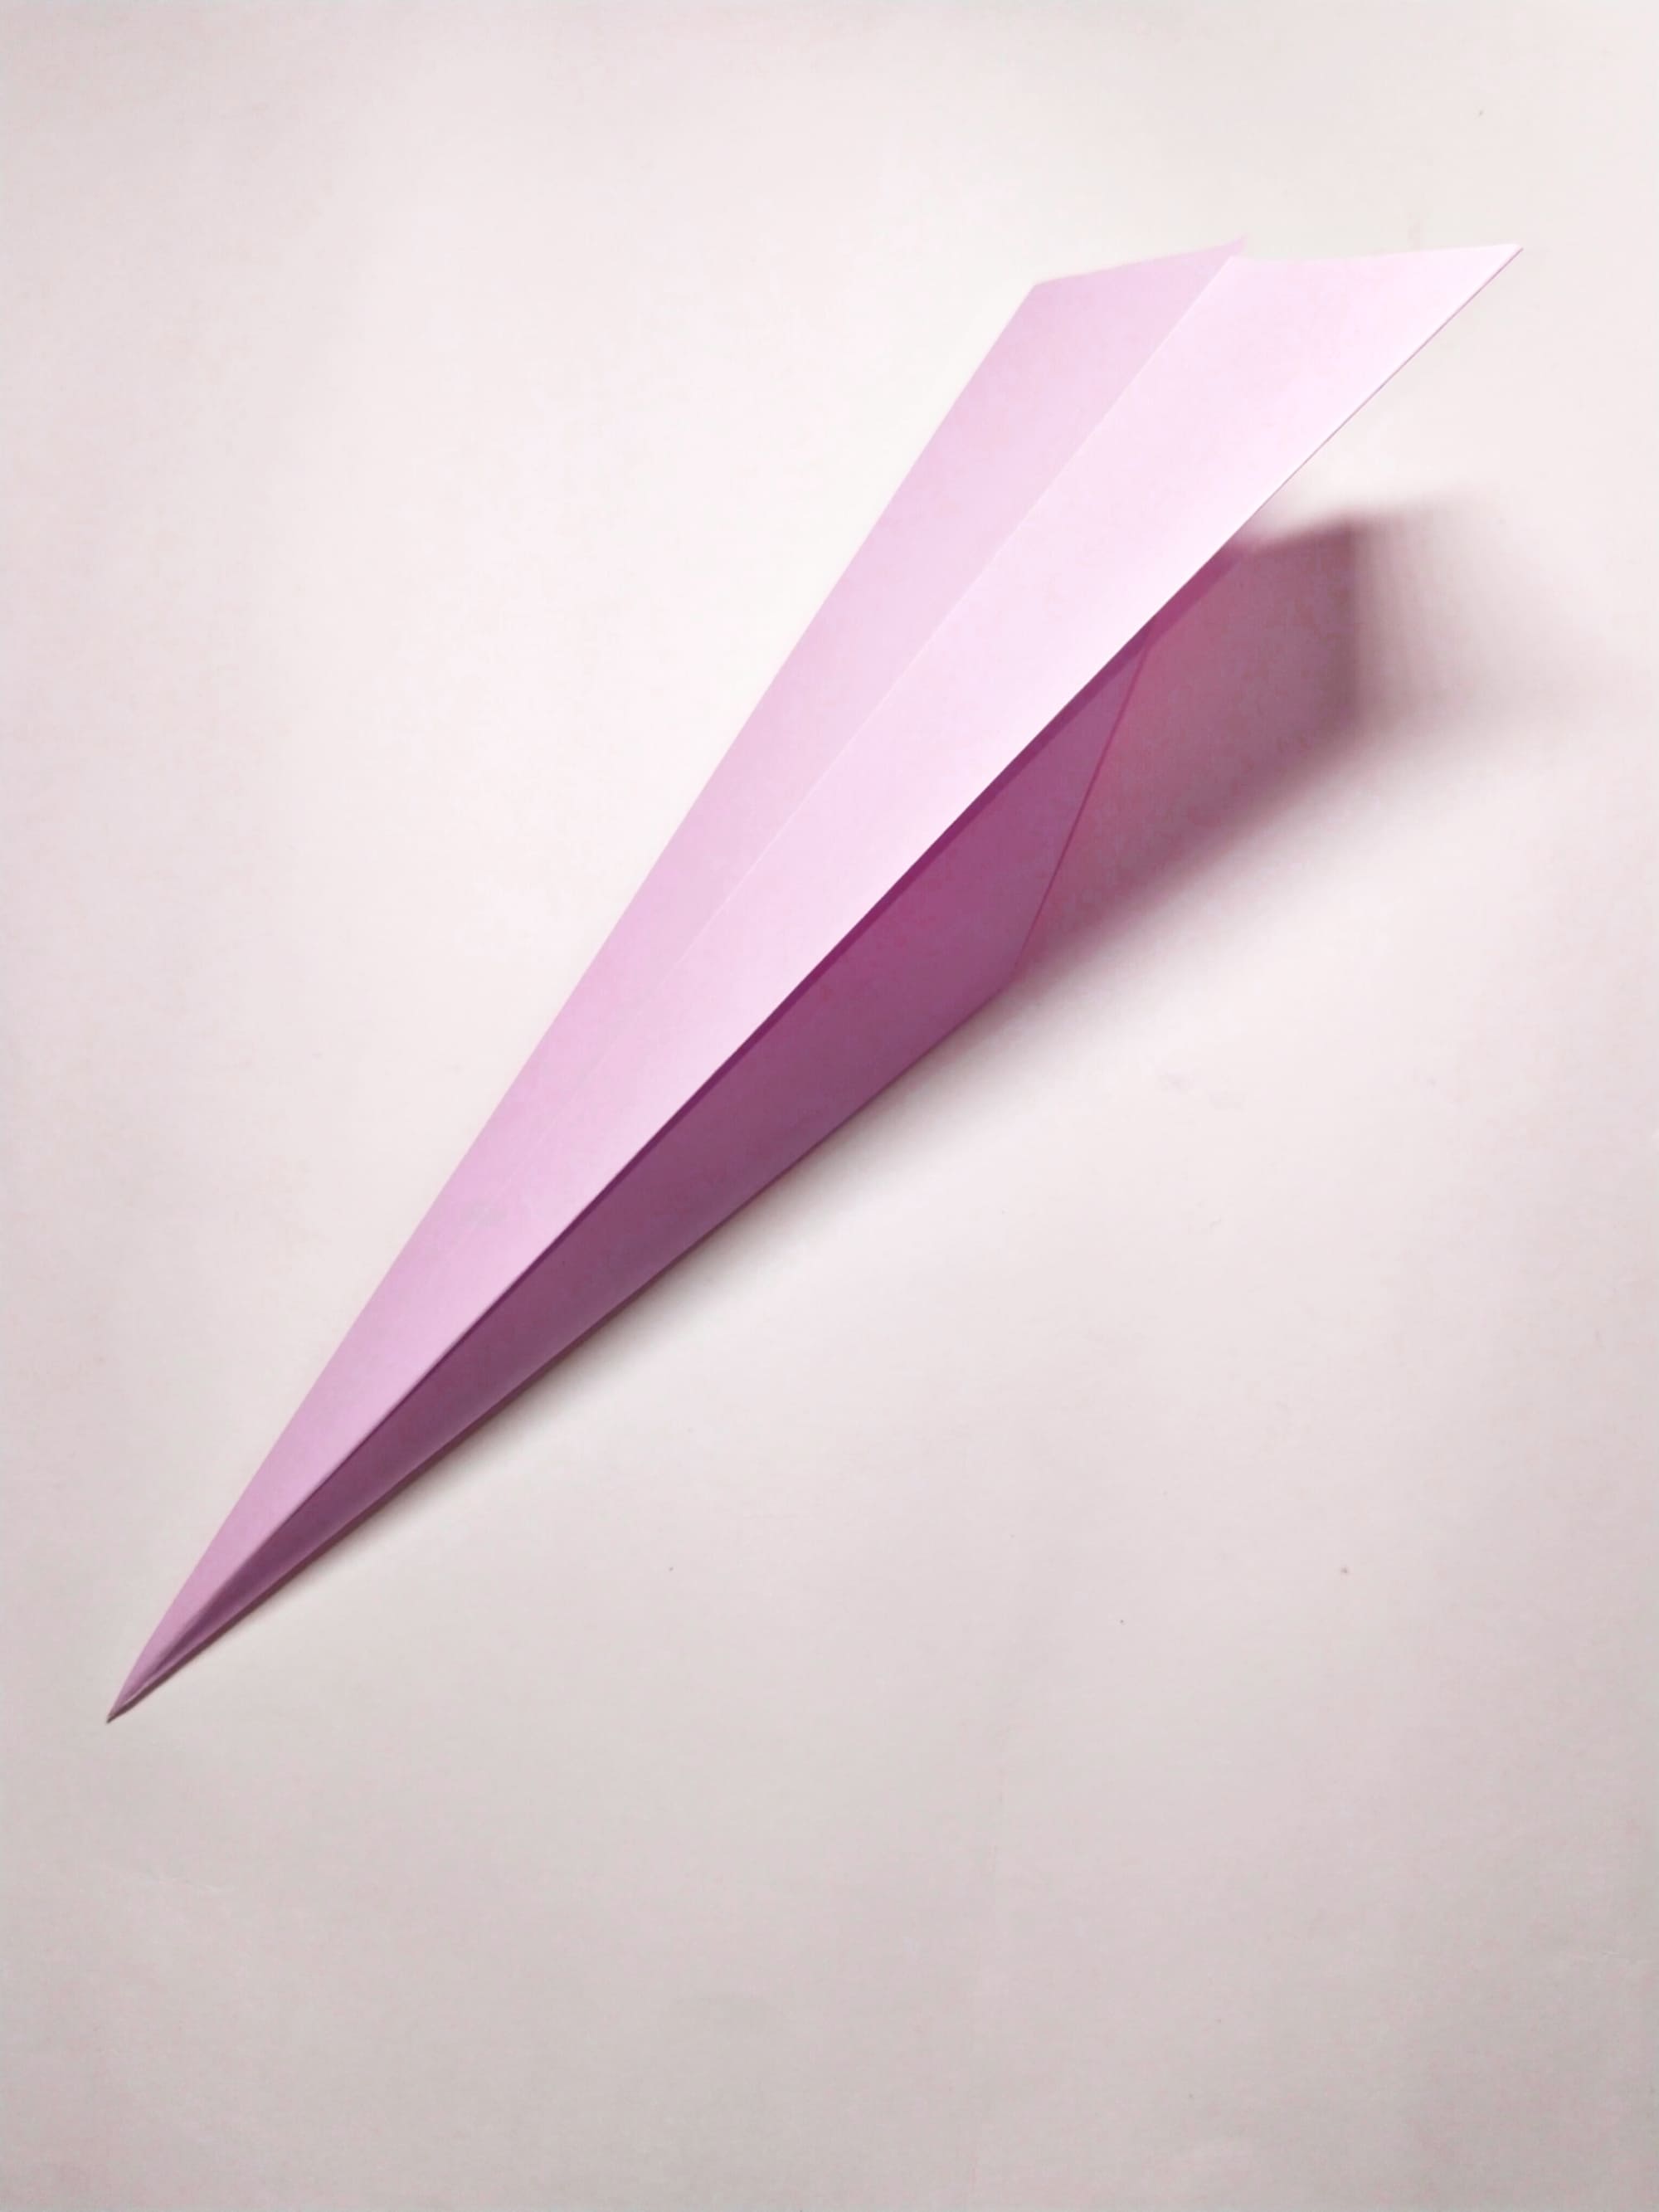
Some airplanes are able to partially prevent this phenomenon due to their own structure, which tightly connects the side edges. Is it even possible, though, to create a monolithic body without losses from movement? The main character of this article demonstrates that this is quite possible! The wedge-heeled airplane has a one-piece upper frame, which gives it the appearance of a tip.
Arm yourself with a piece of paper and get ready to launch this heavenly blade into the air.
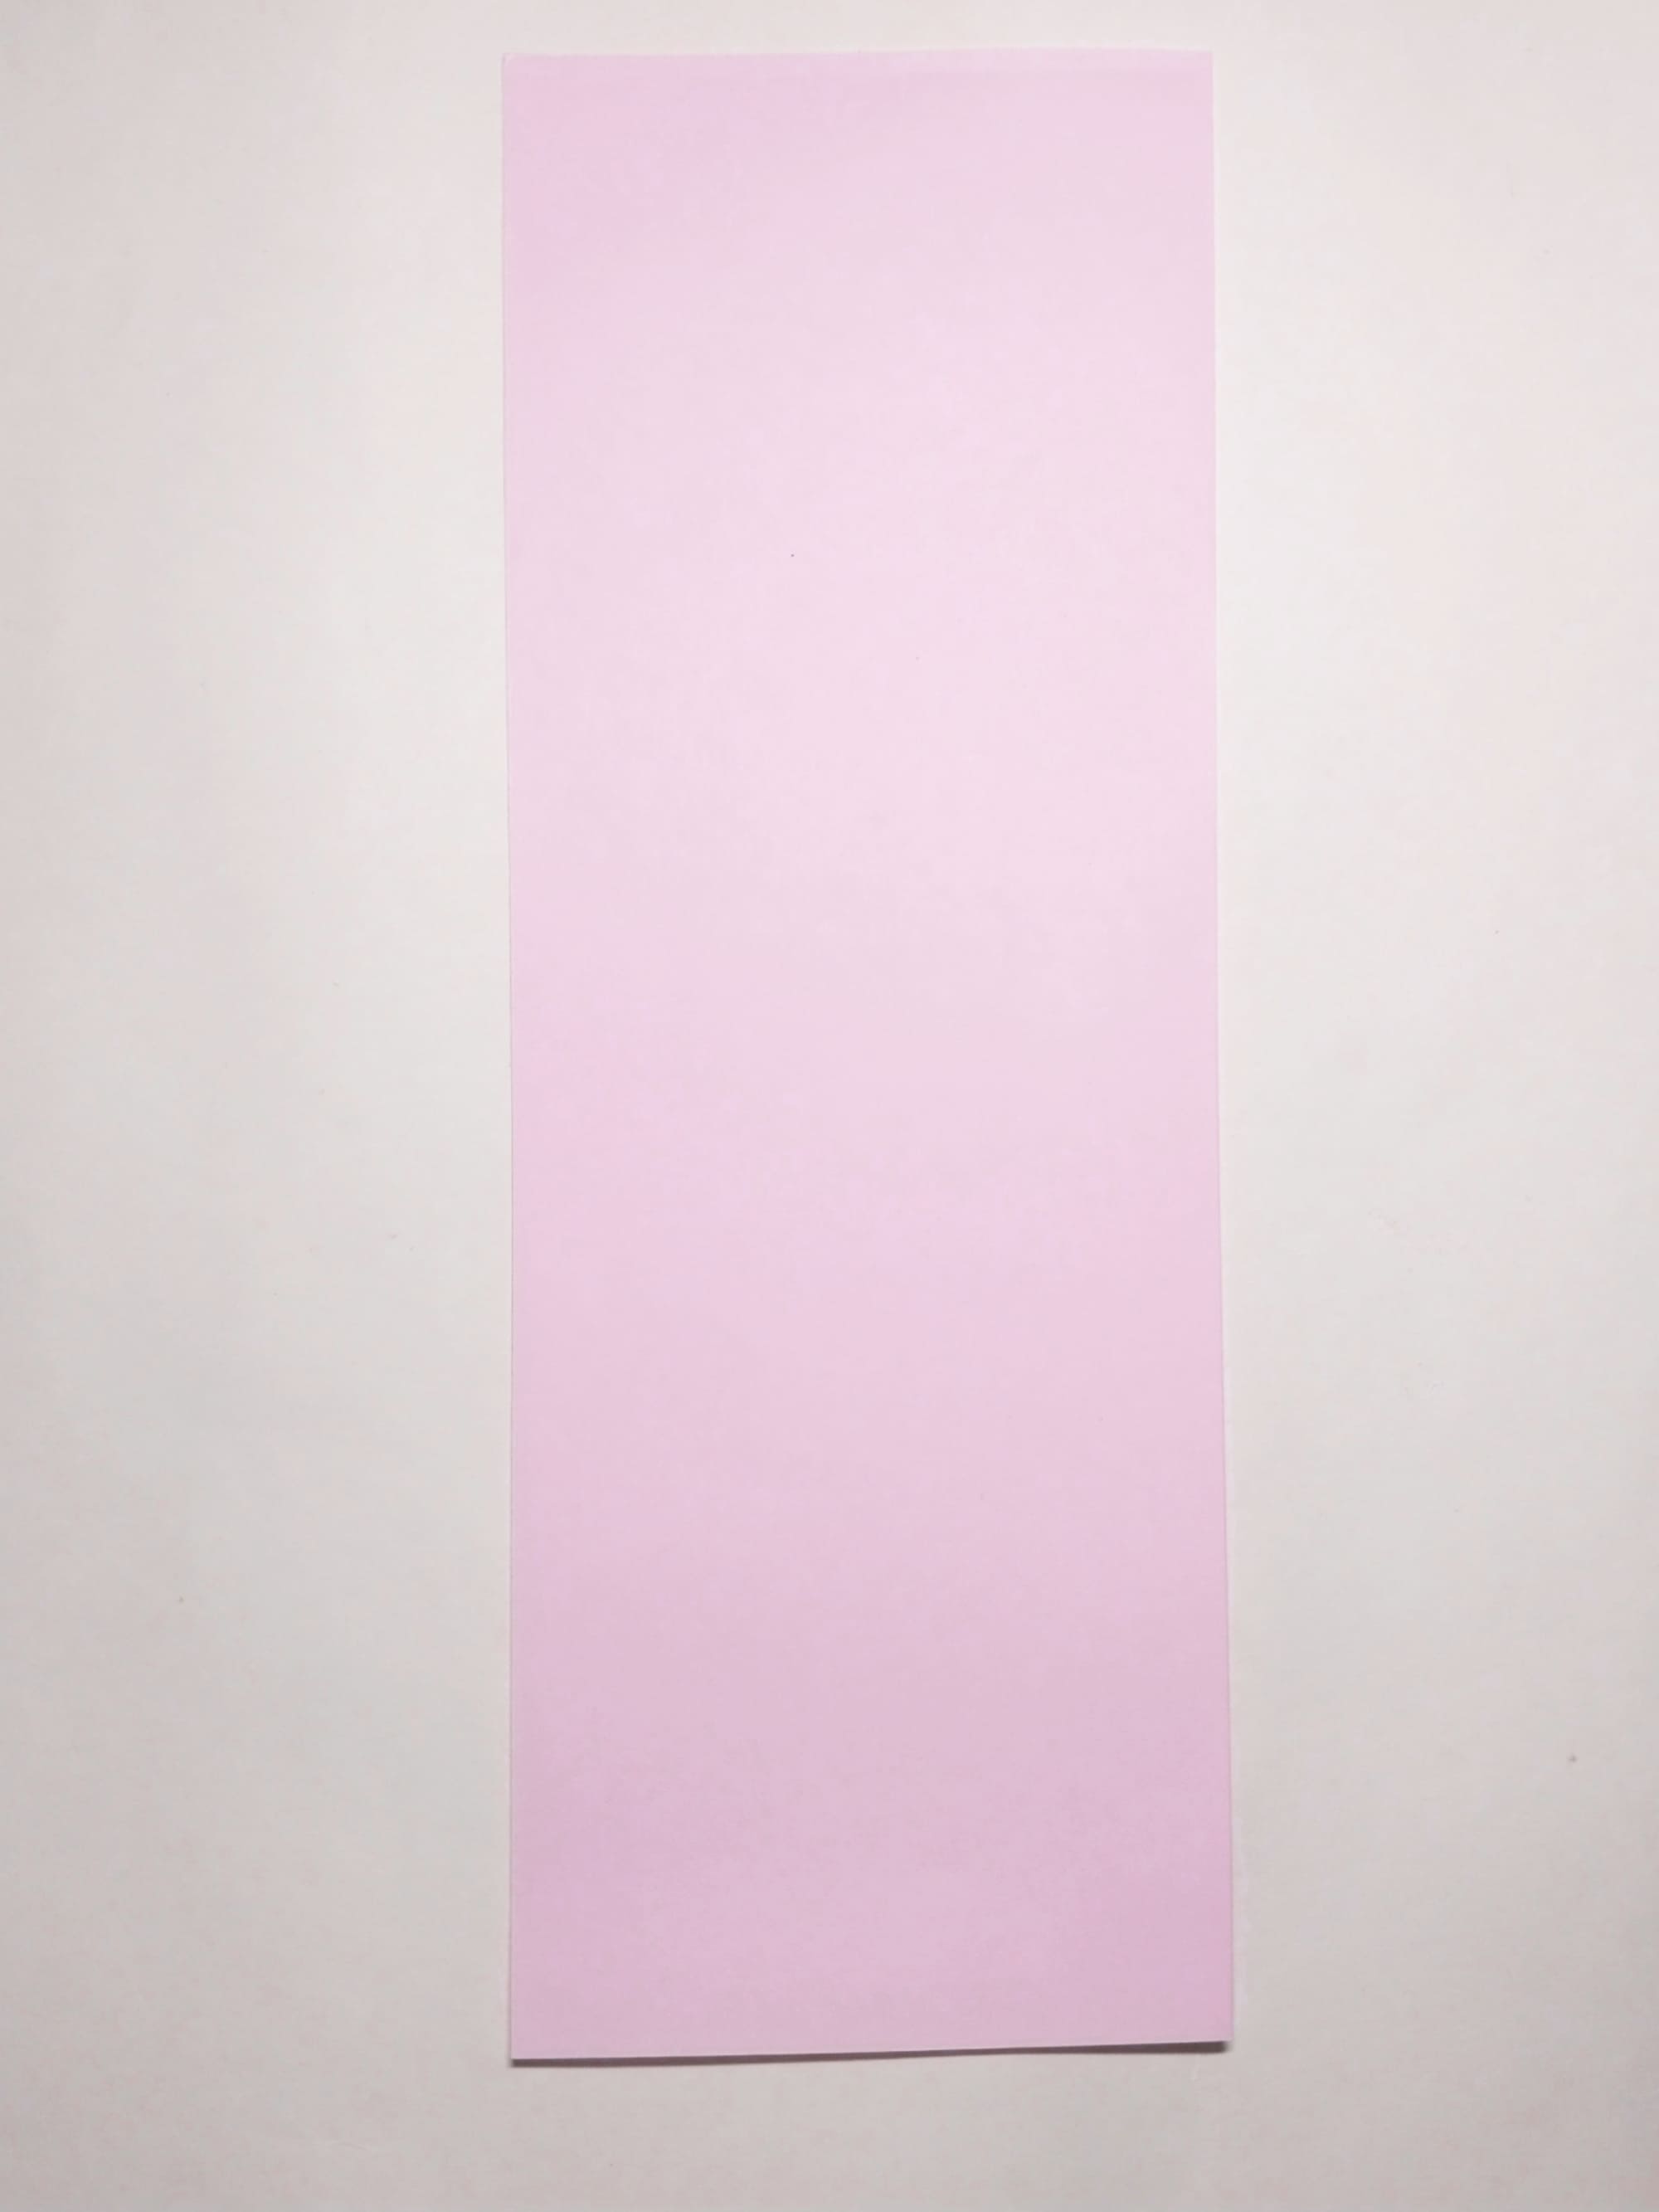
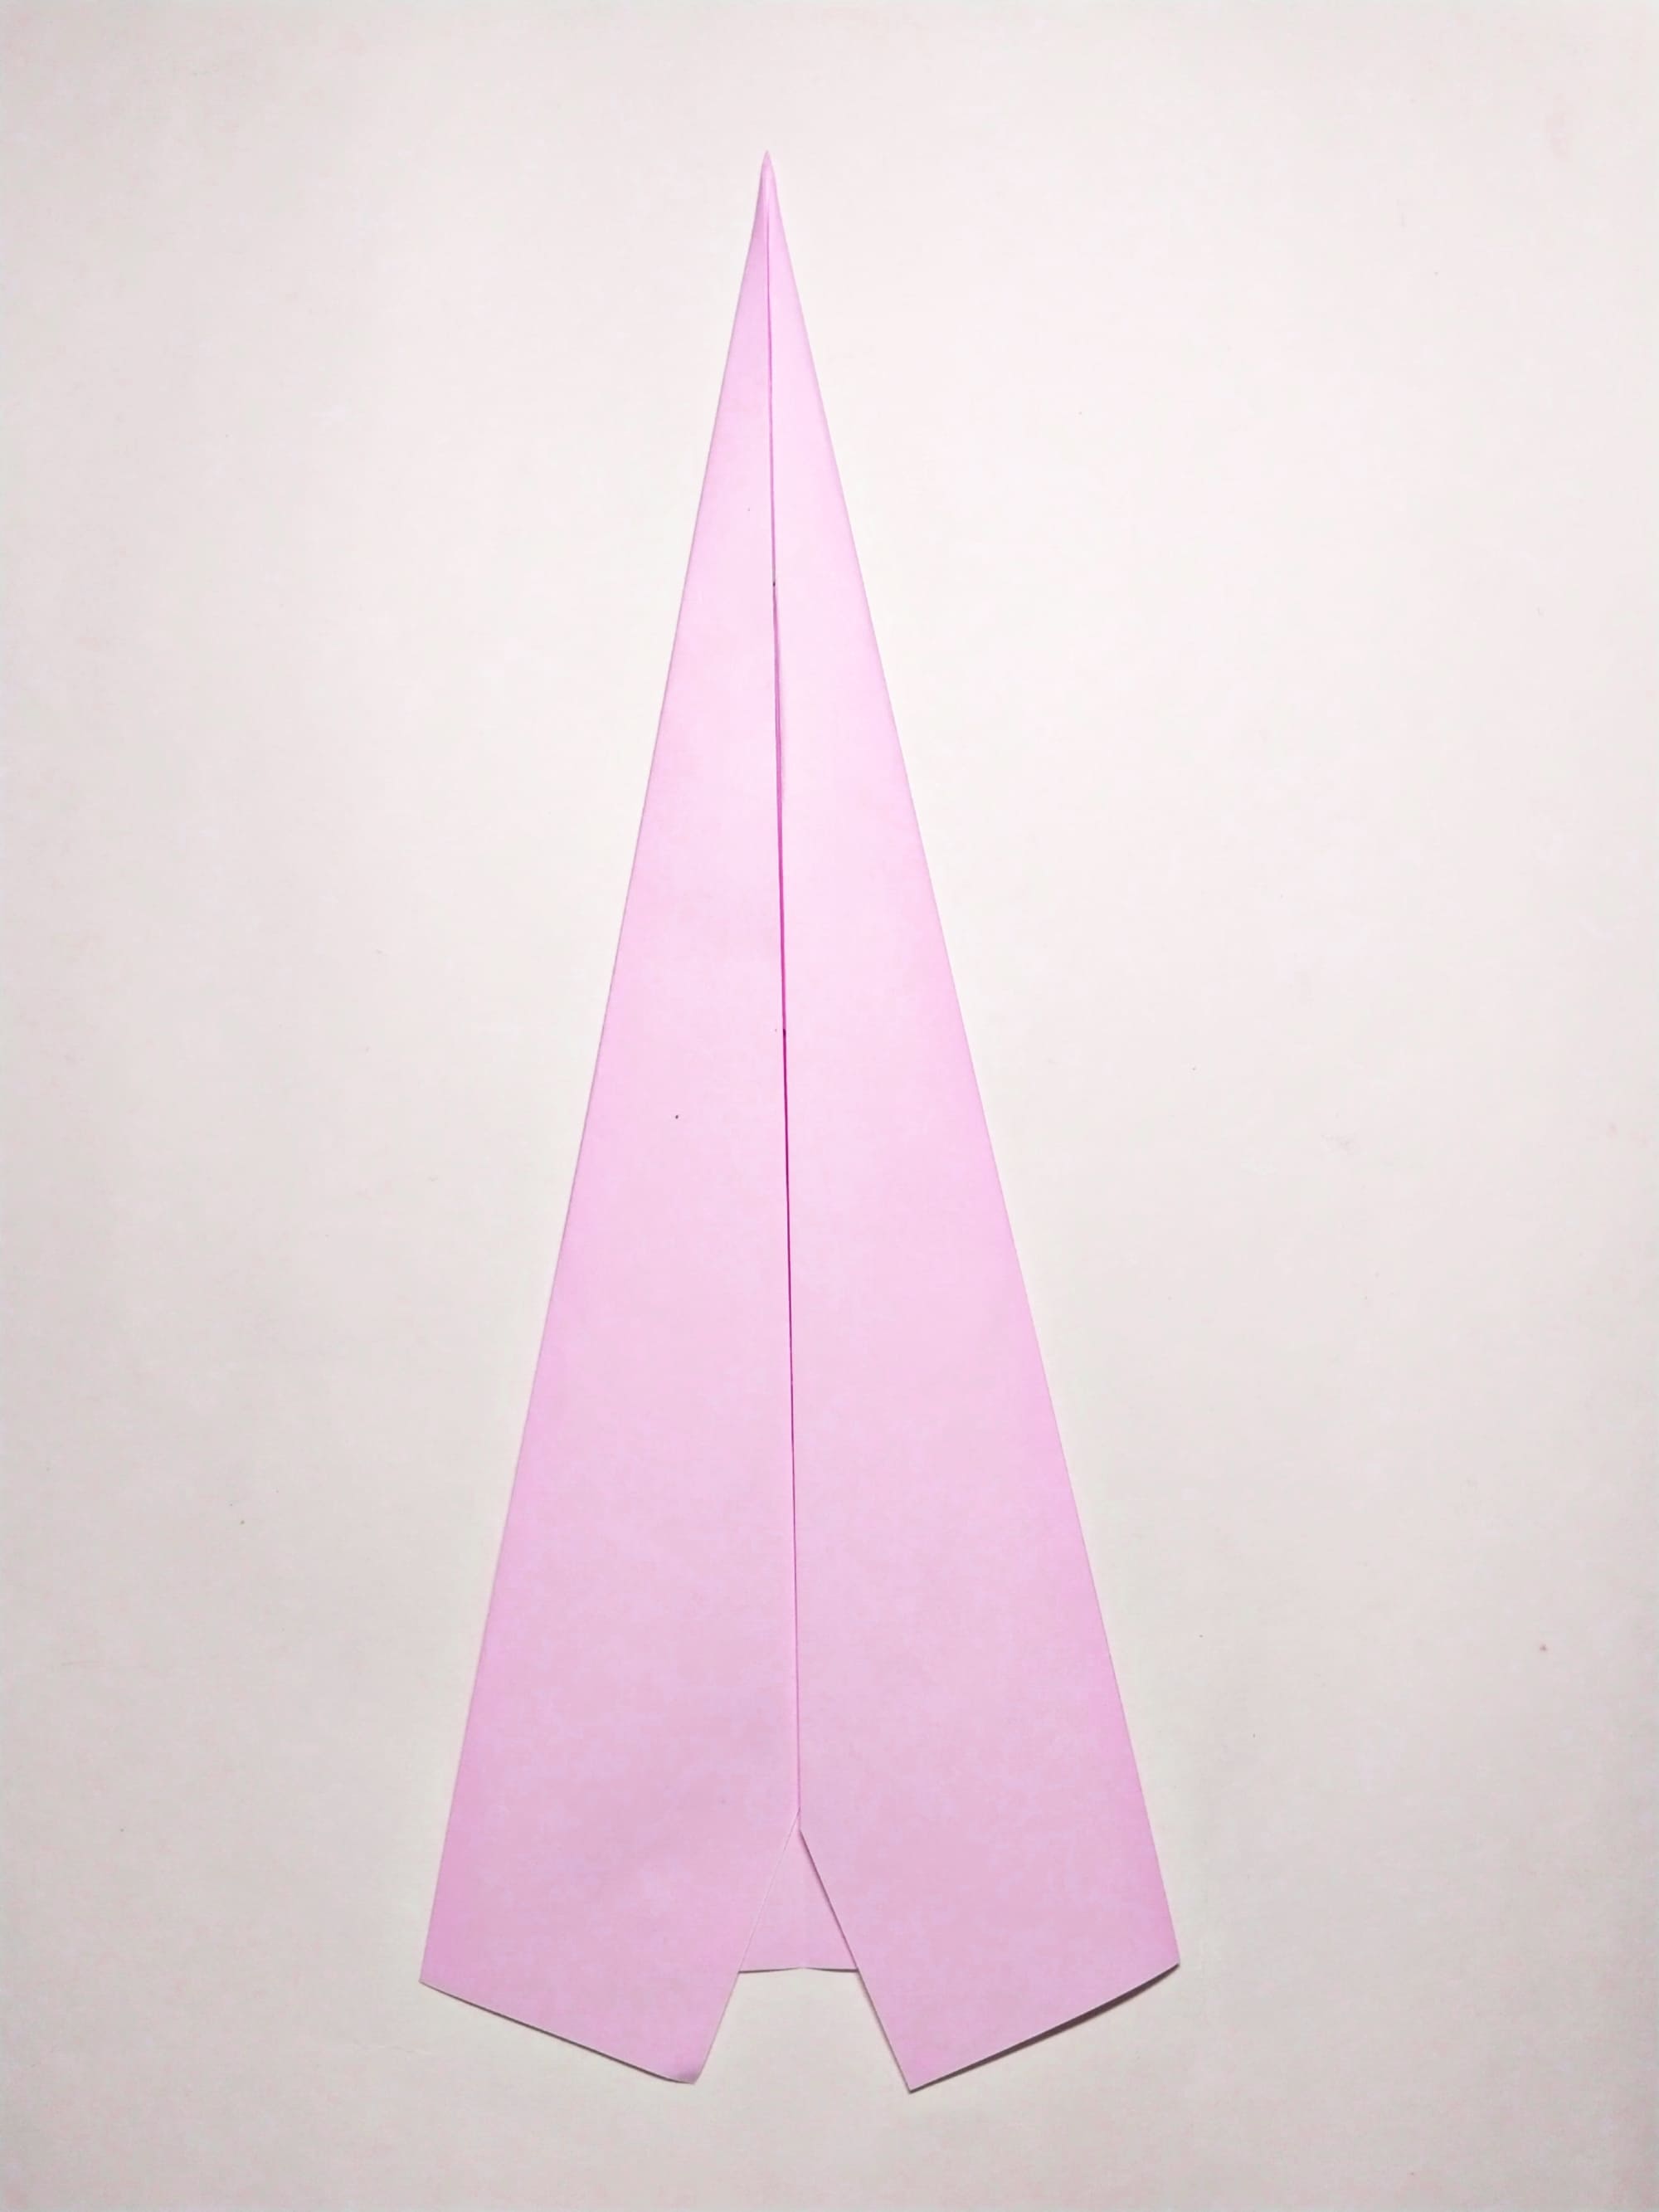
Fold the paper in half vertically.
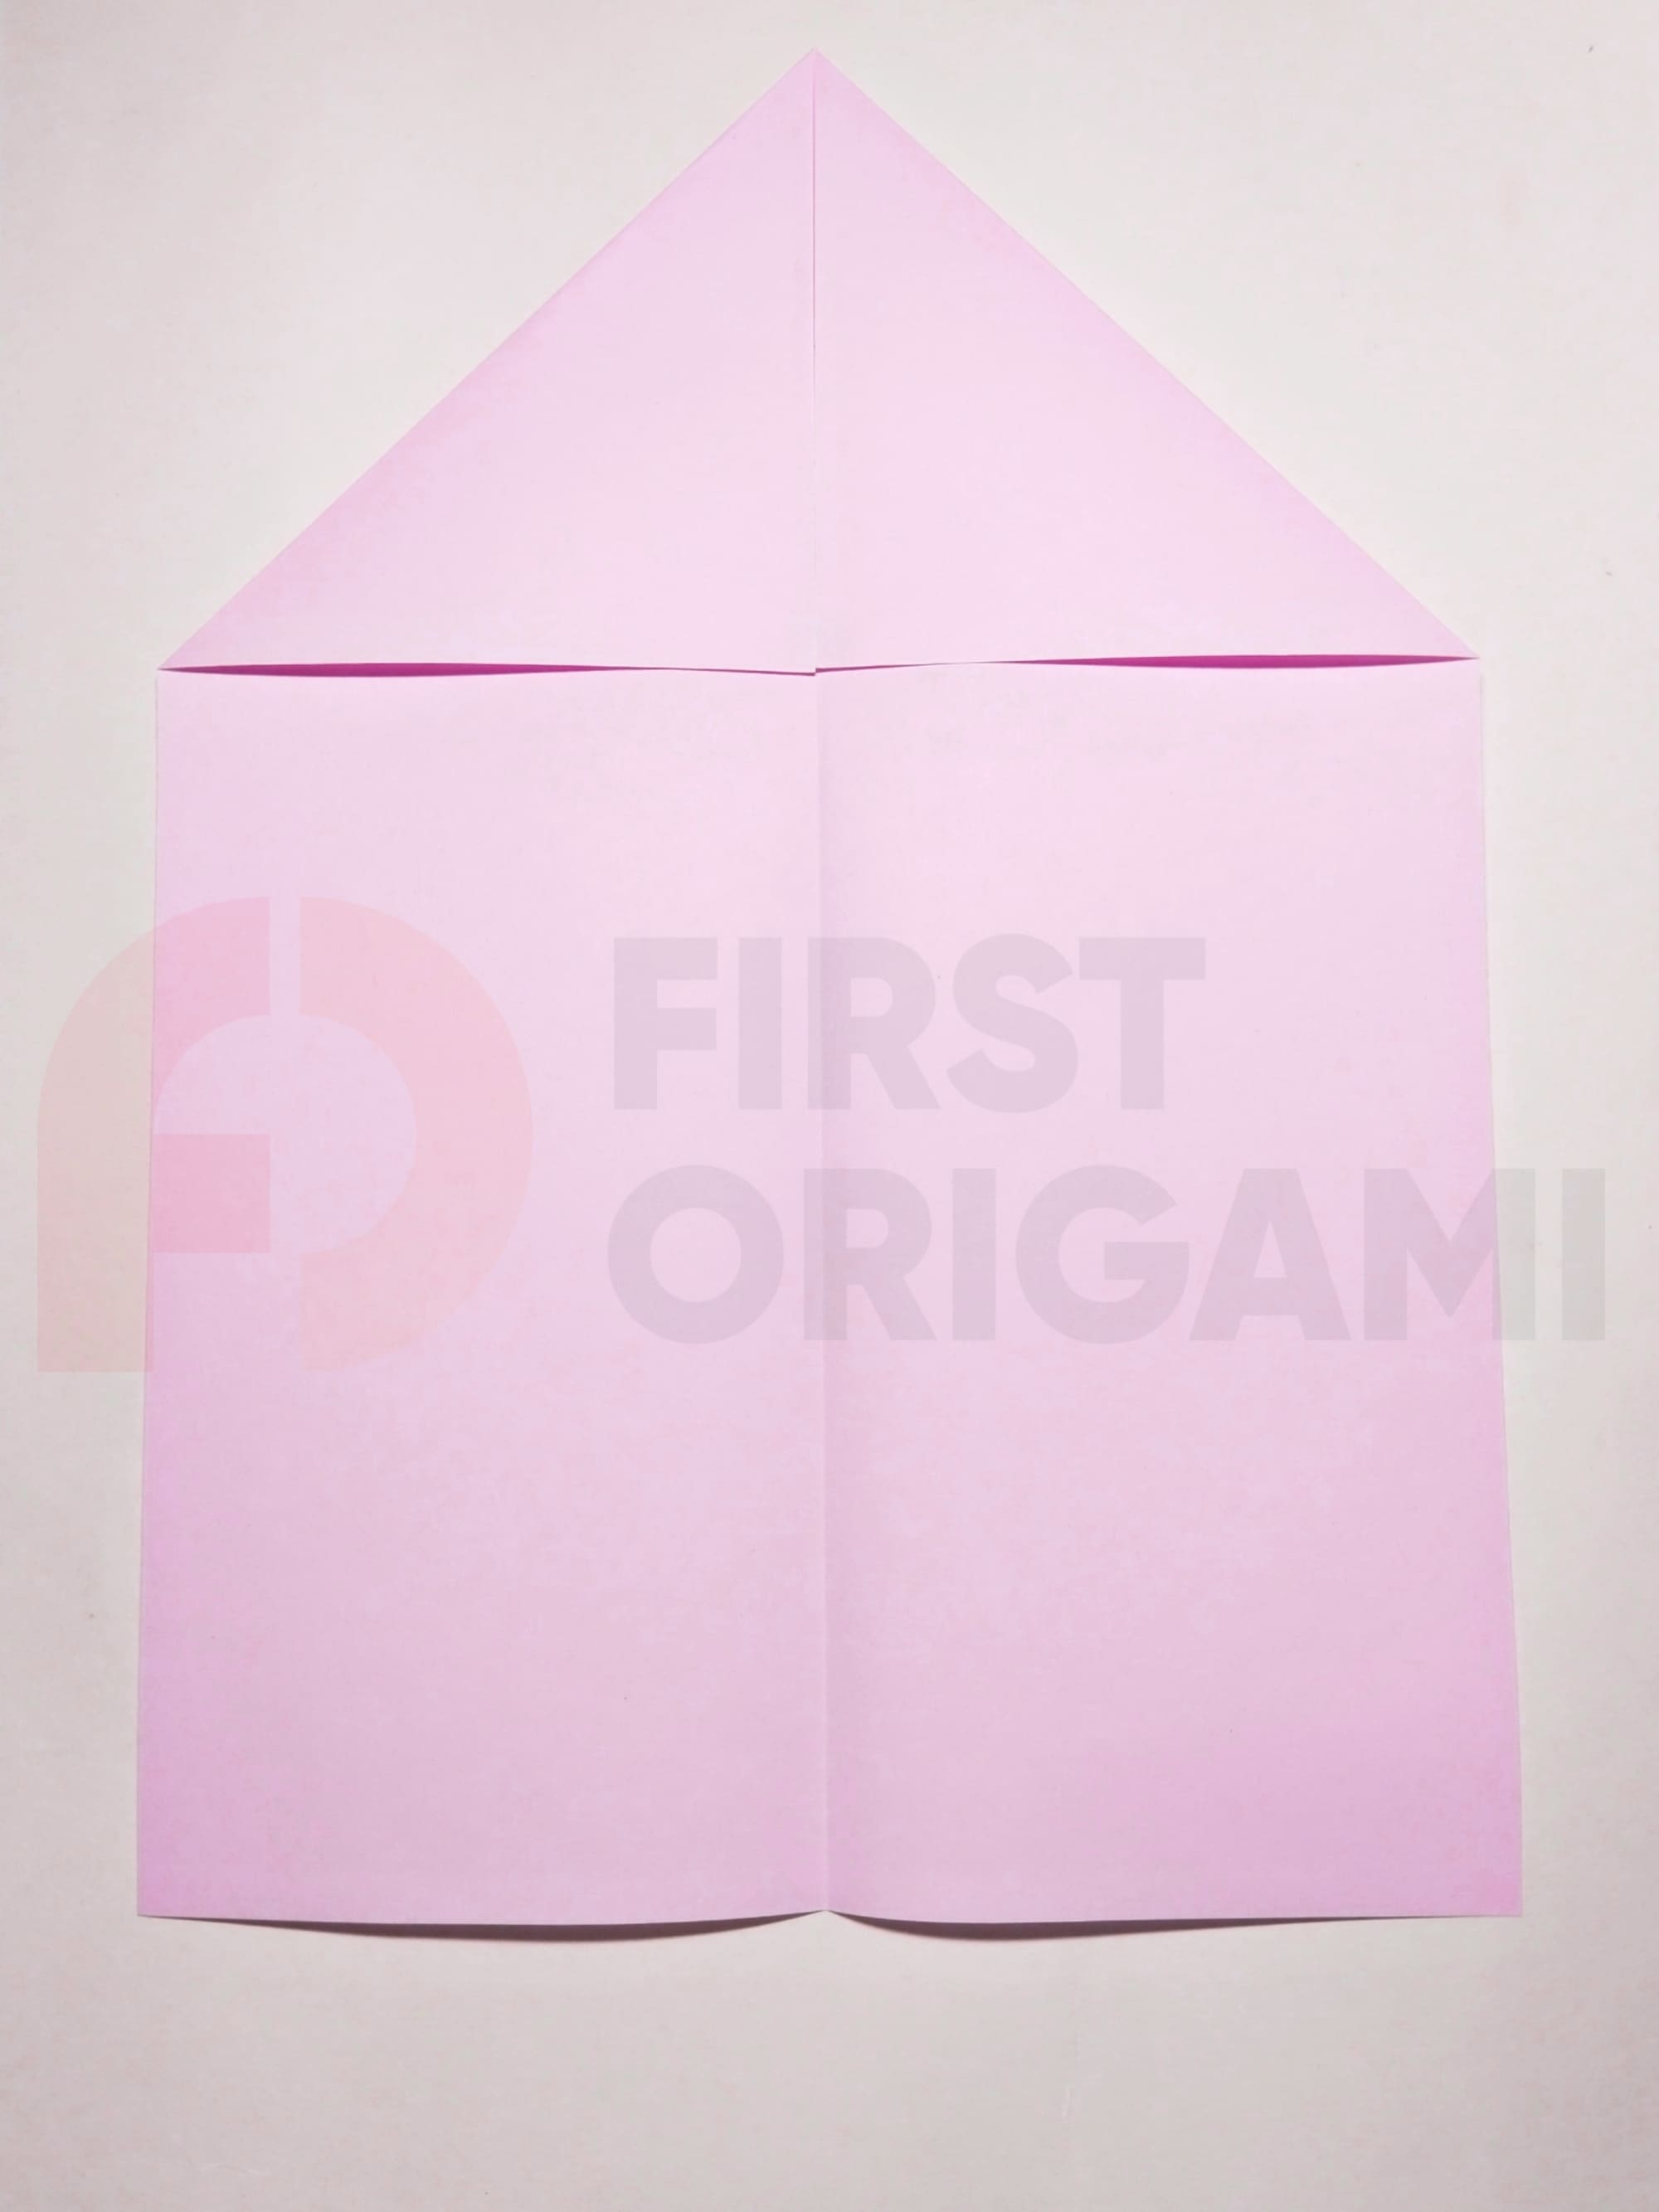
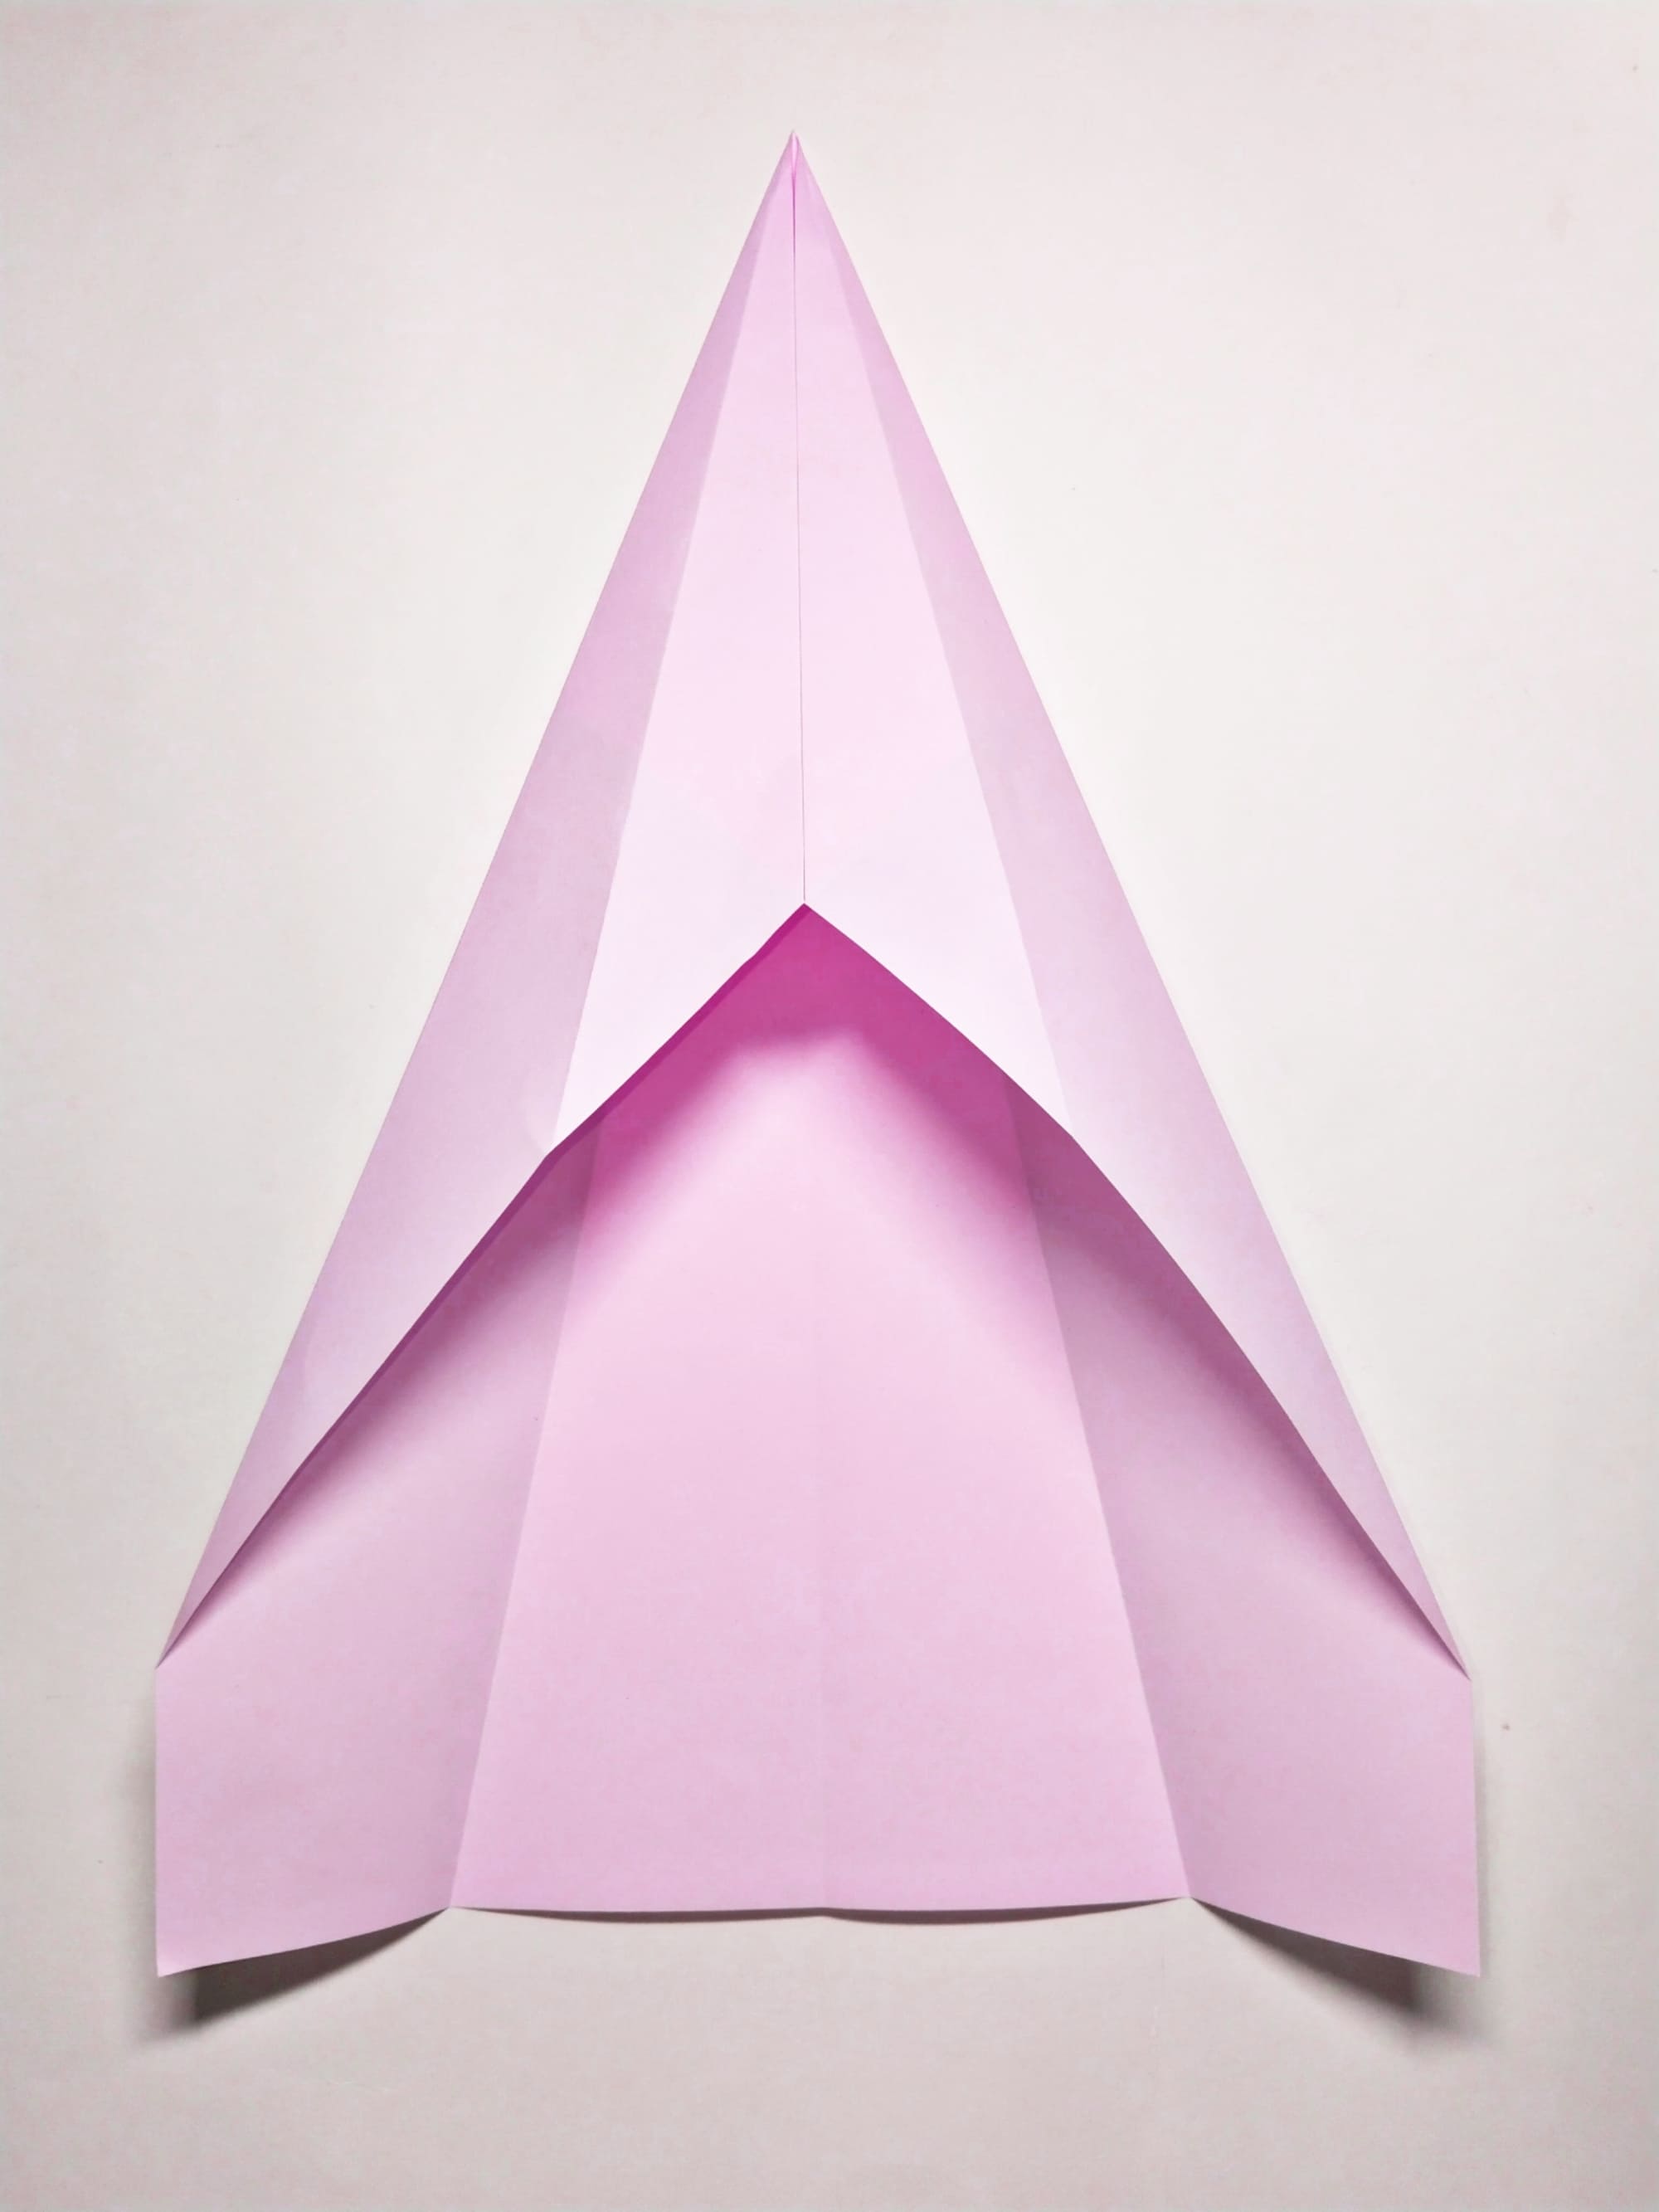
Open the shape and fold the top edges towards the center.
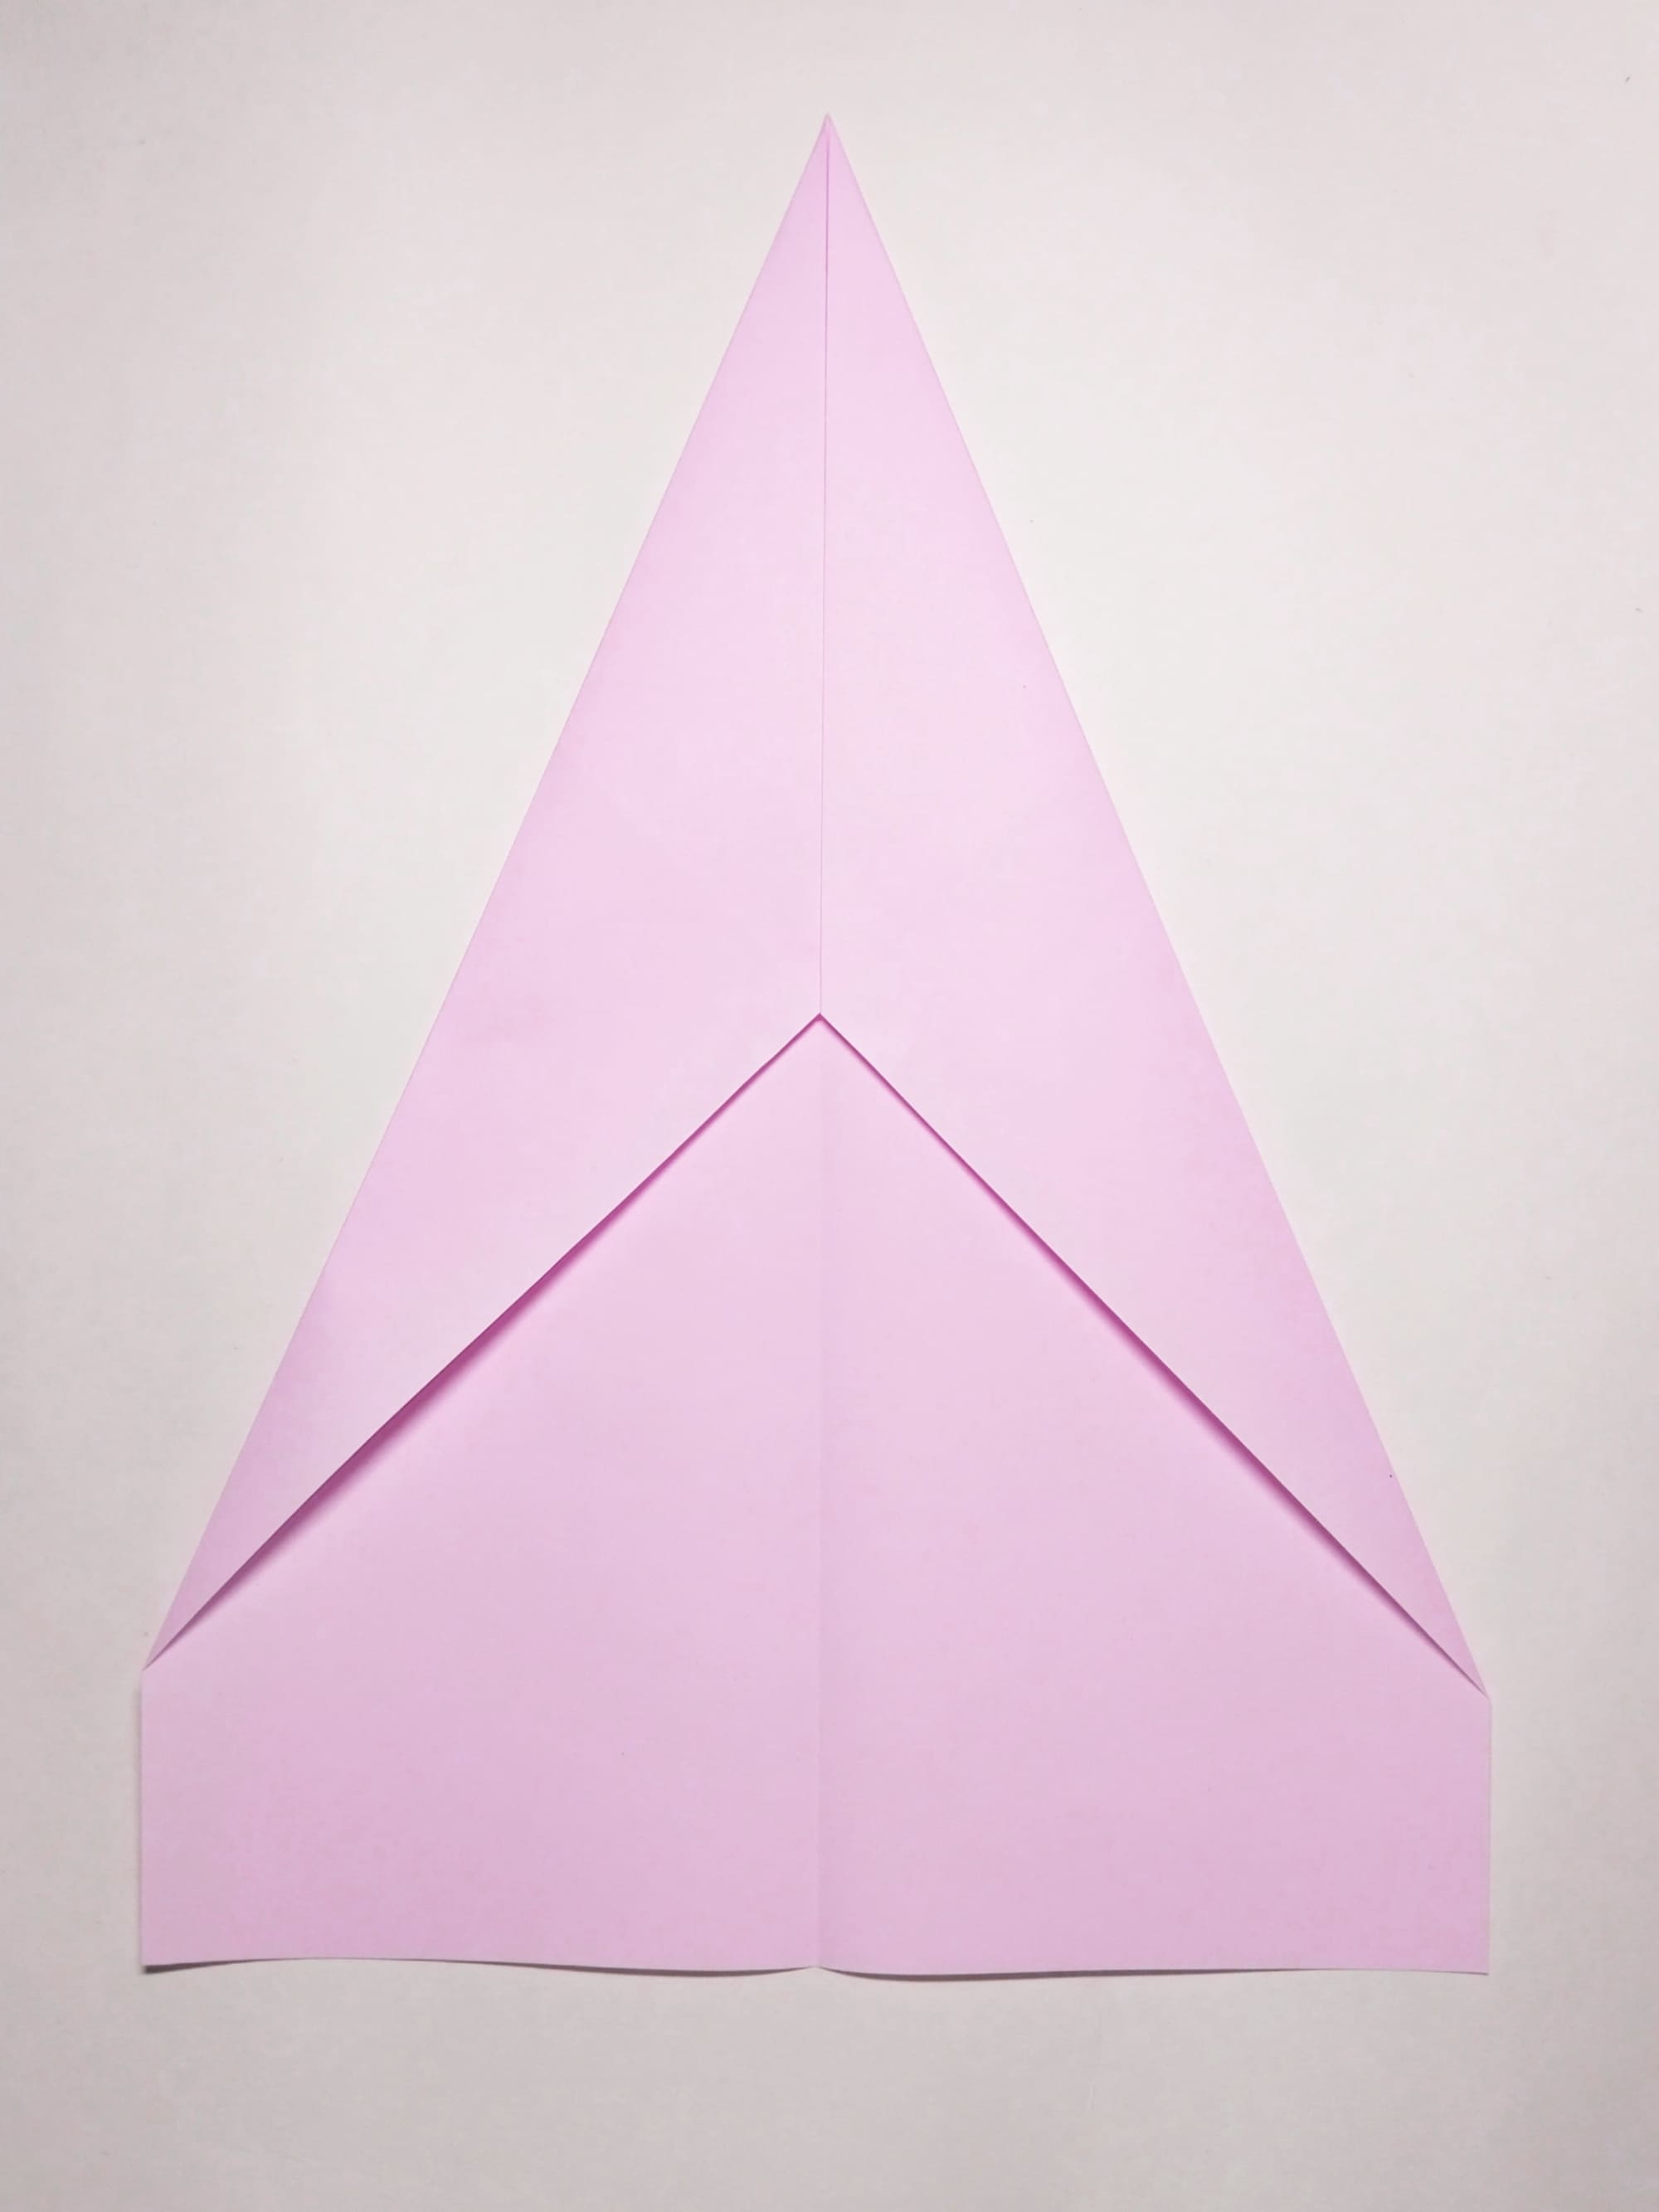
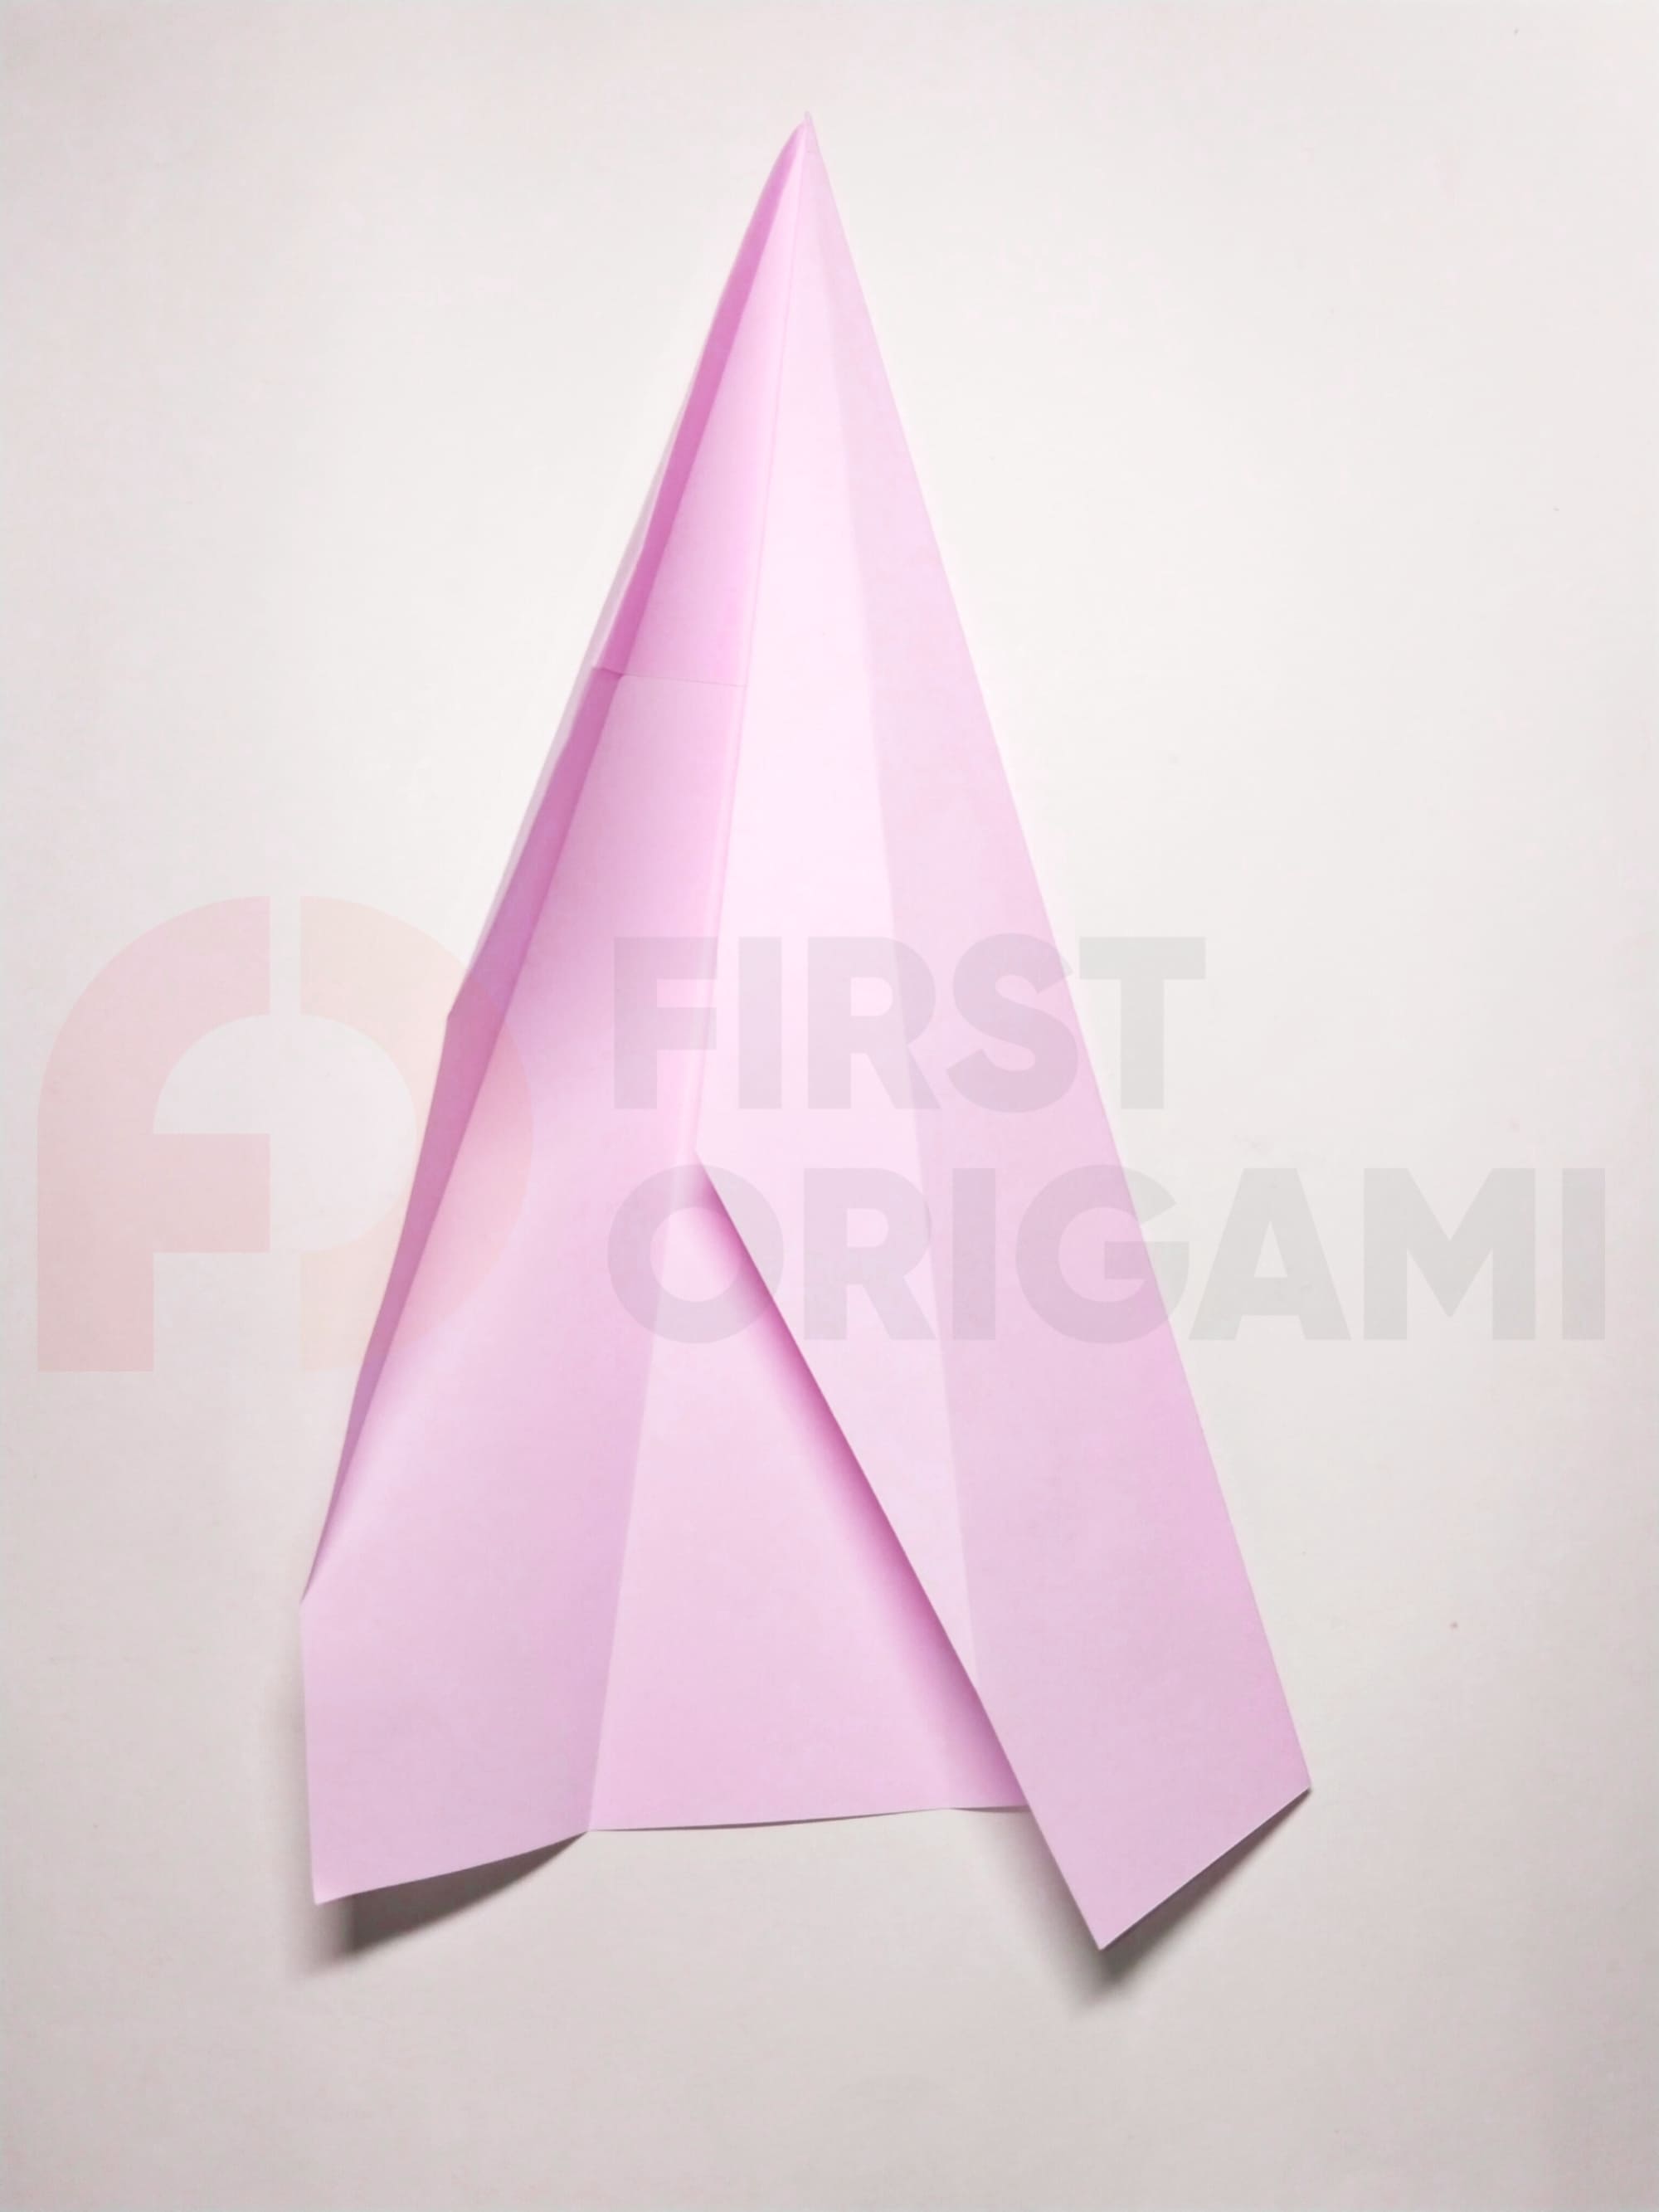
Repeat the procedure, aligning the sides with the center line.
Finally fold the outer edges together.
Expand the model to the state described in step 2.
Repeat the fold along the first mark to the right from the center line.
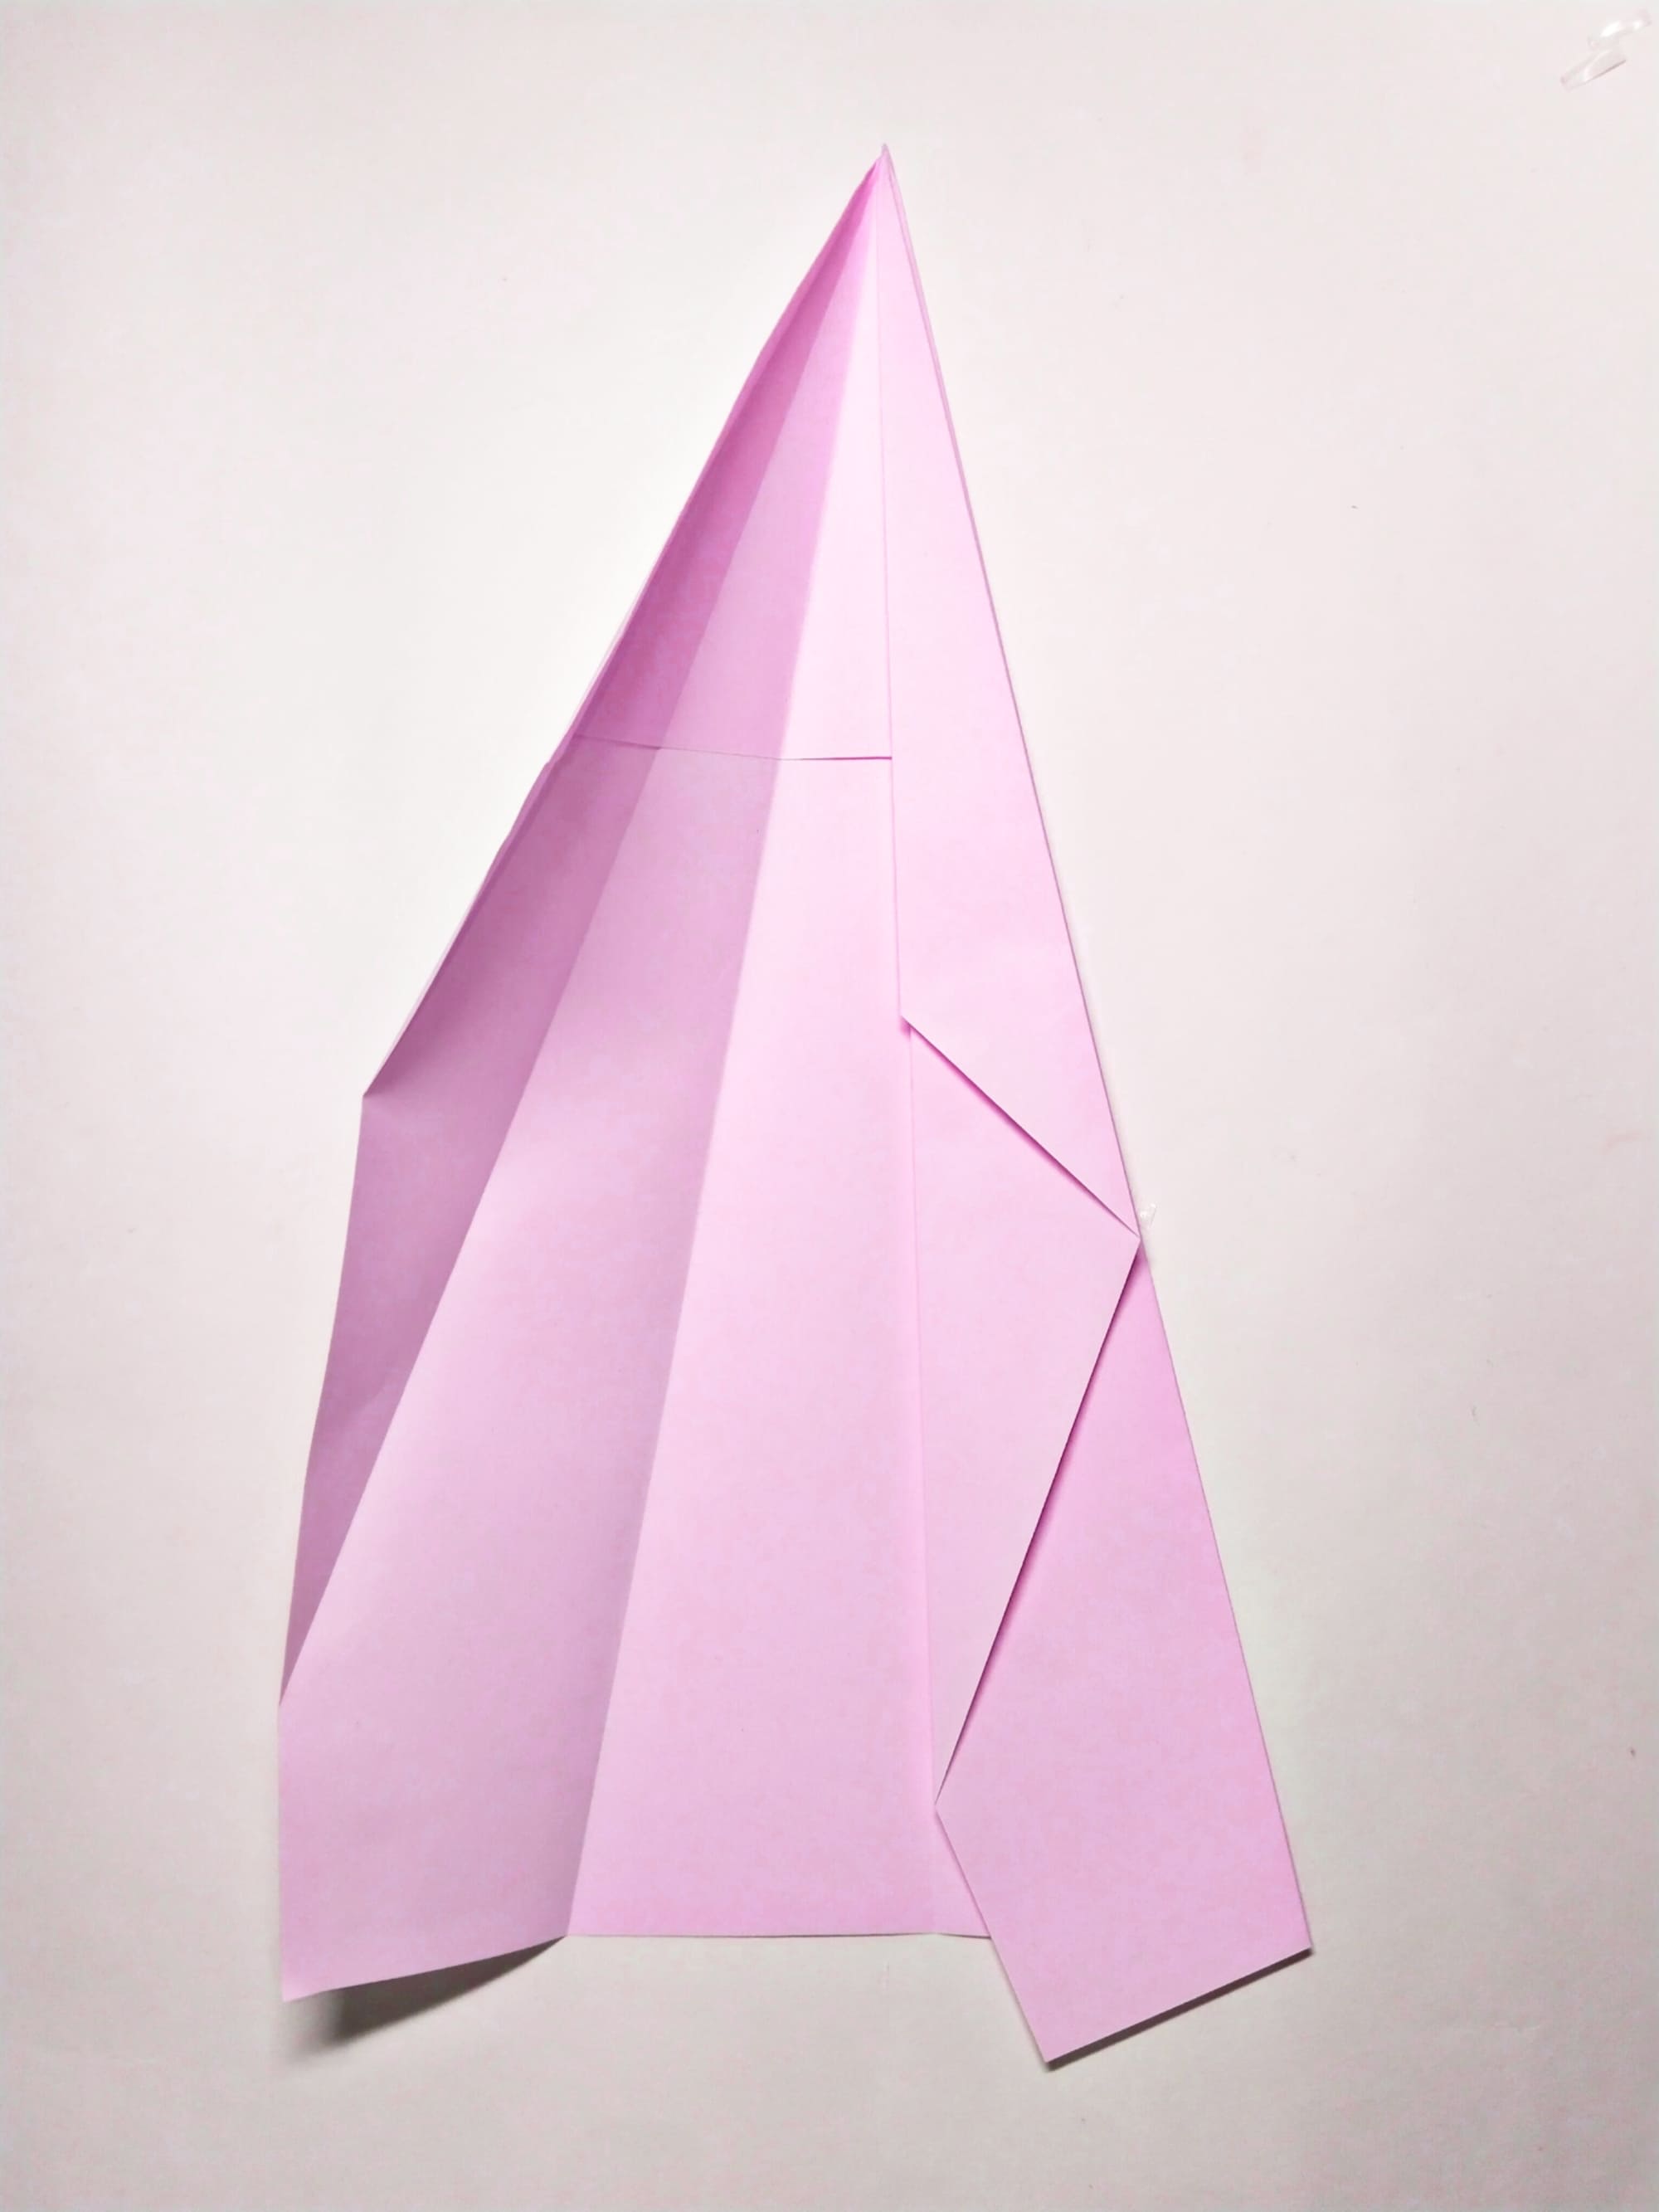
Fold the second fold in the opposite direction and fold the last edge over it to create a zigzag pattern.
Do all the steps described in steps 6-7 in a mirror image. Folds two and three form a wedge where you can hold the prototype during test flights.
If desired, you can glue the wedge heel together to form a completely monolithic body. To do this, use tape or glue. Please note that using paper clips or multiple staples for this purpose may shift the center of mass and lead to a distorted trajectory.