Origami Whale
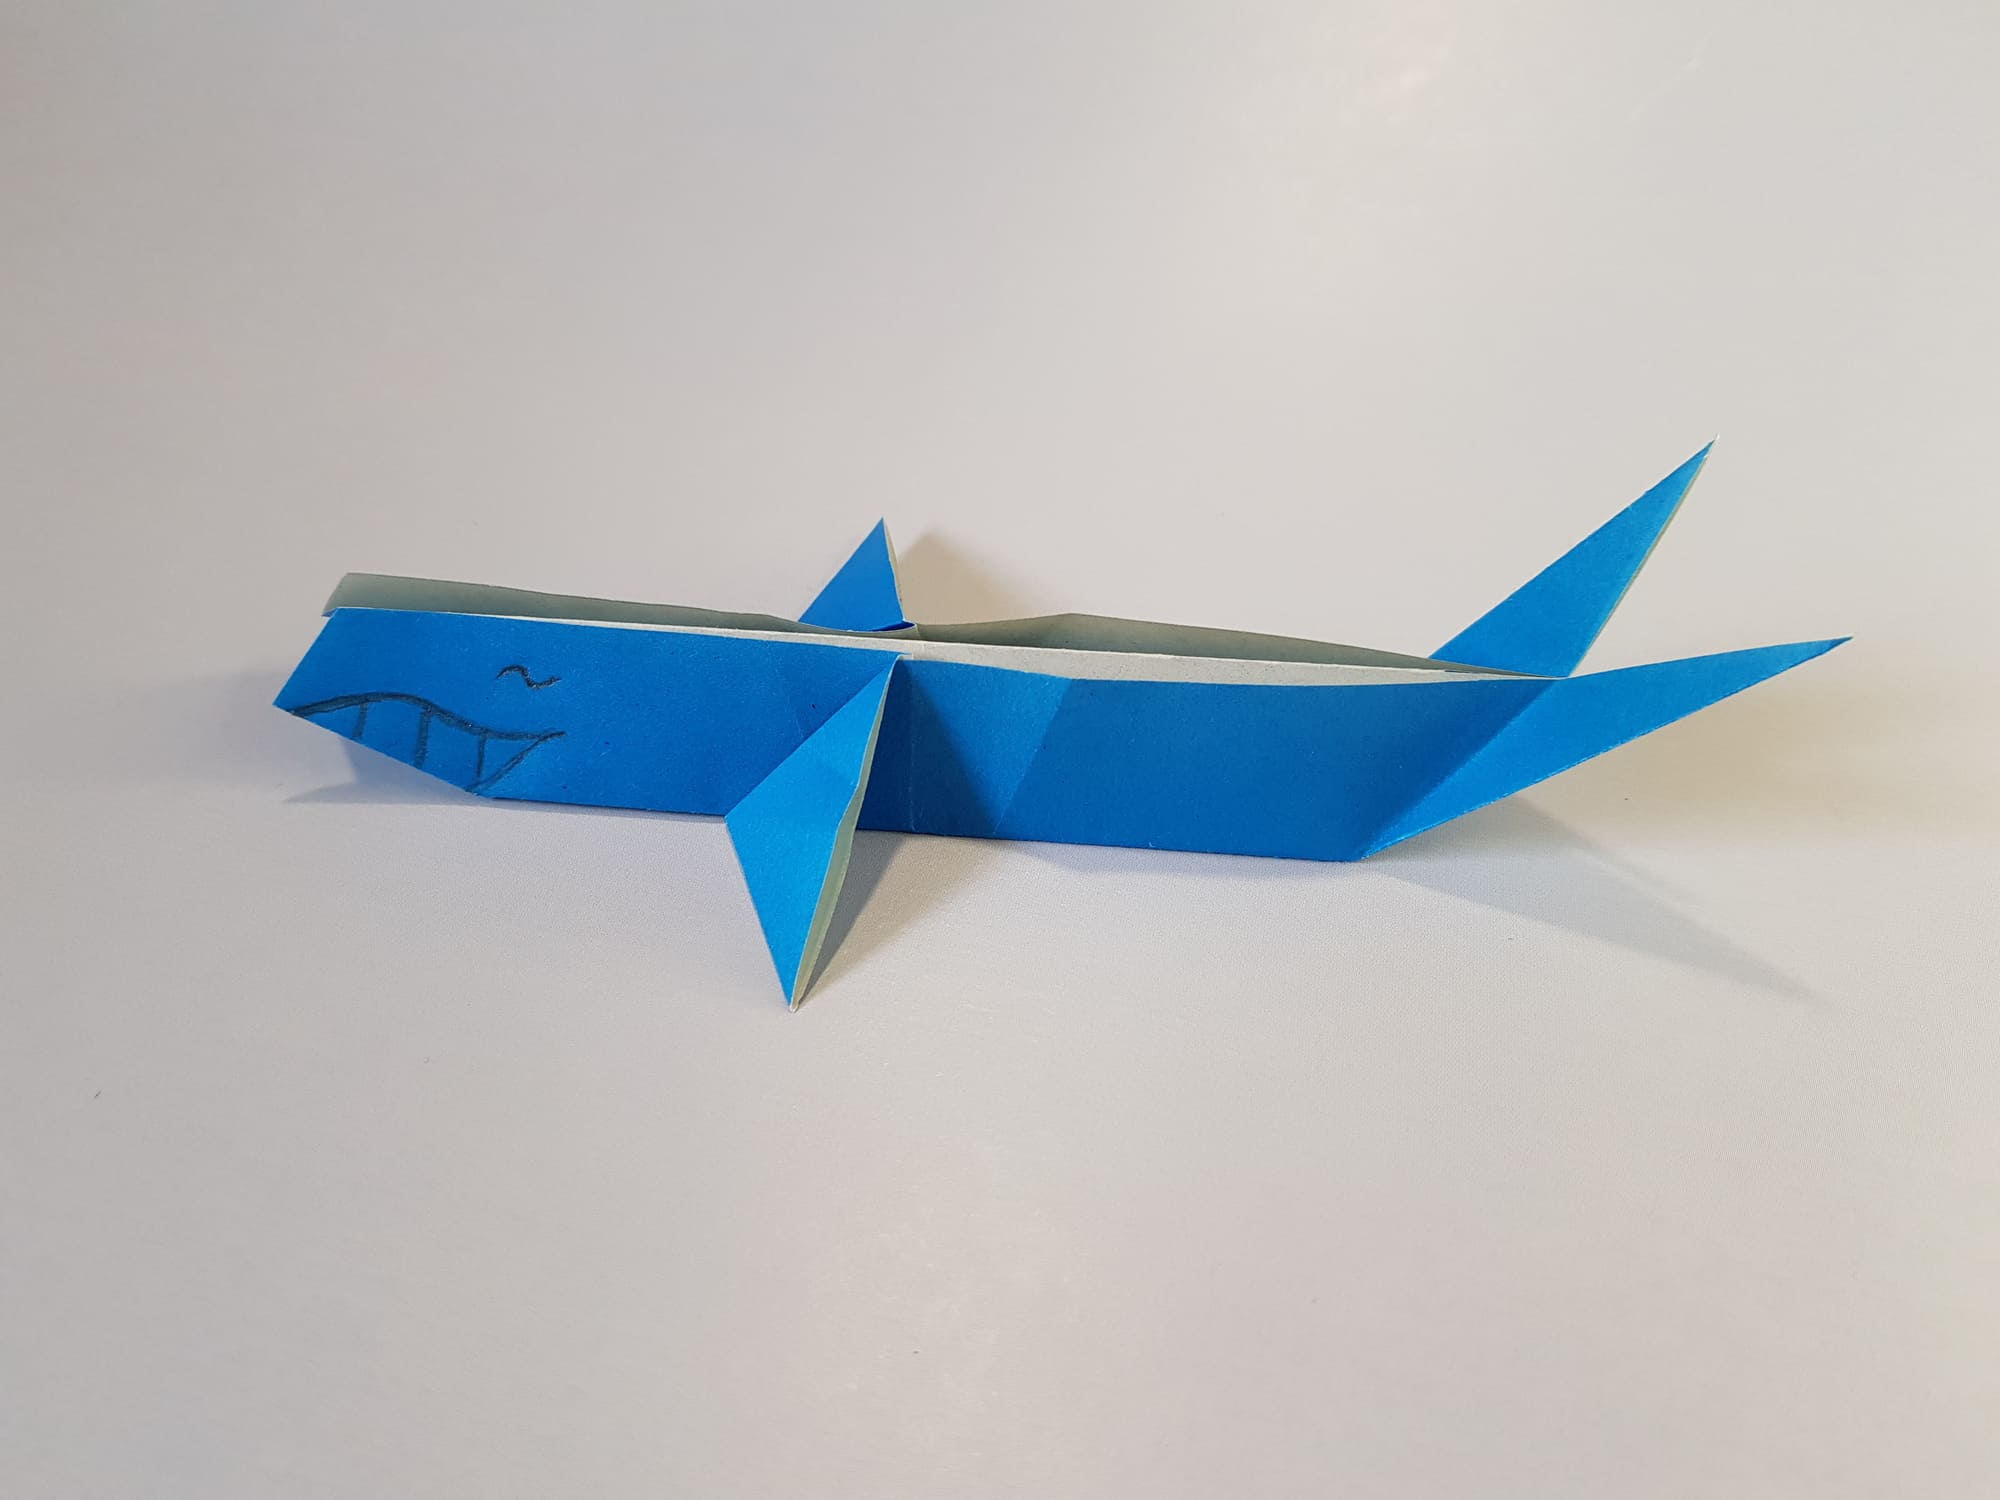
This is a very pretty and simple paper craft. The color of the paper can be blue, cyan, gray, or white to create a realistic whale. You can be creative and choose any bright shade – it all depends on your desire and taste. Let’s get started!
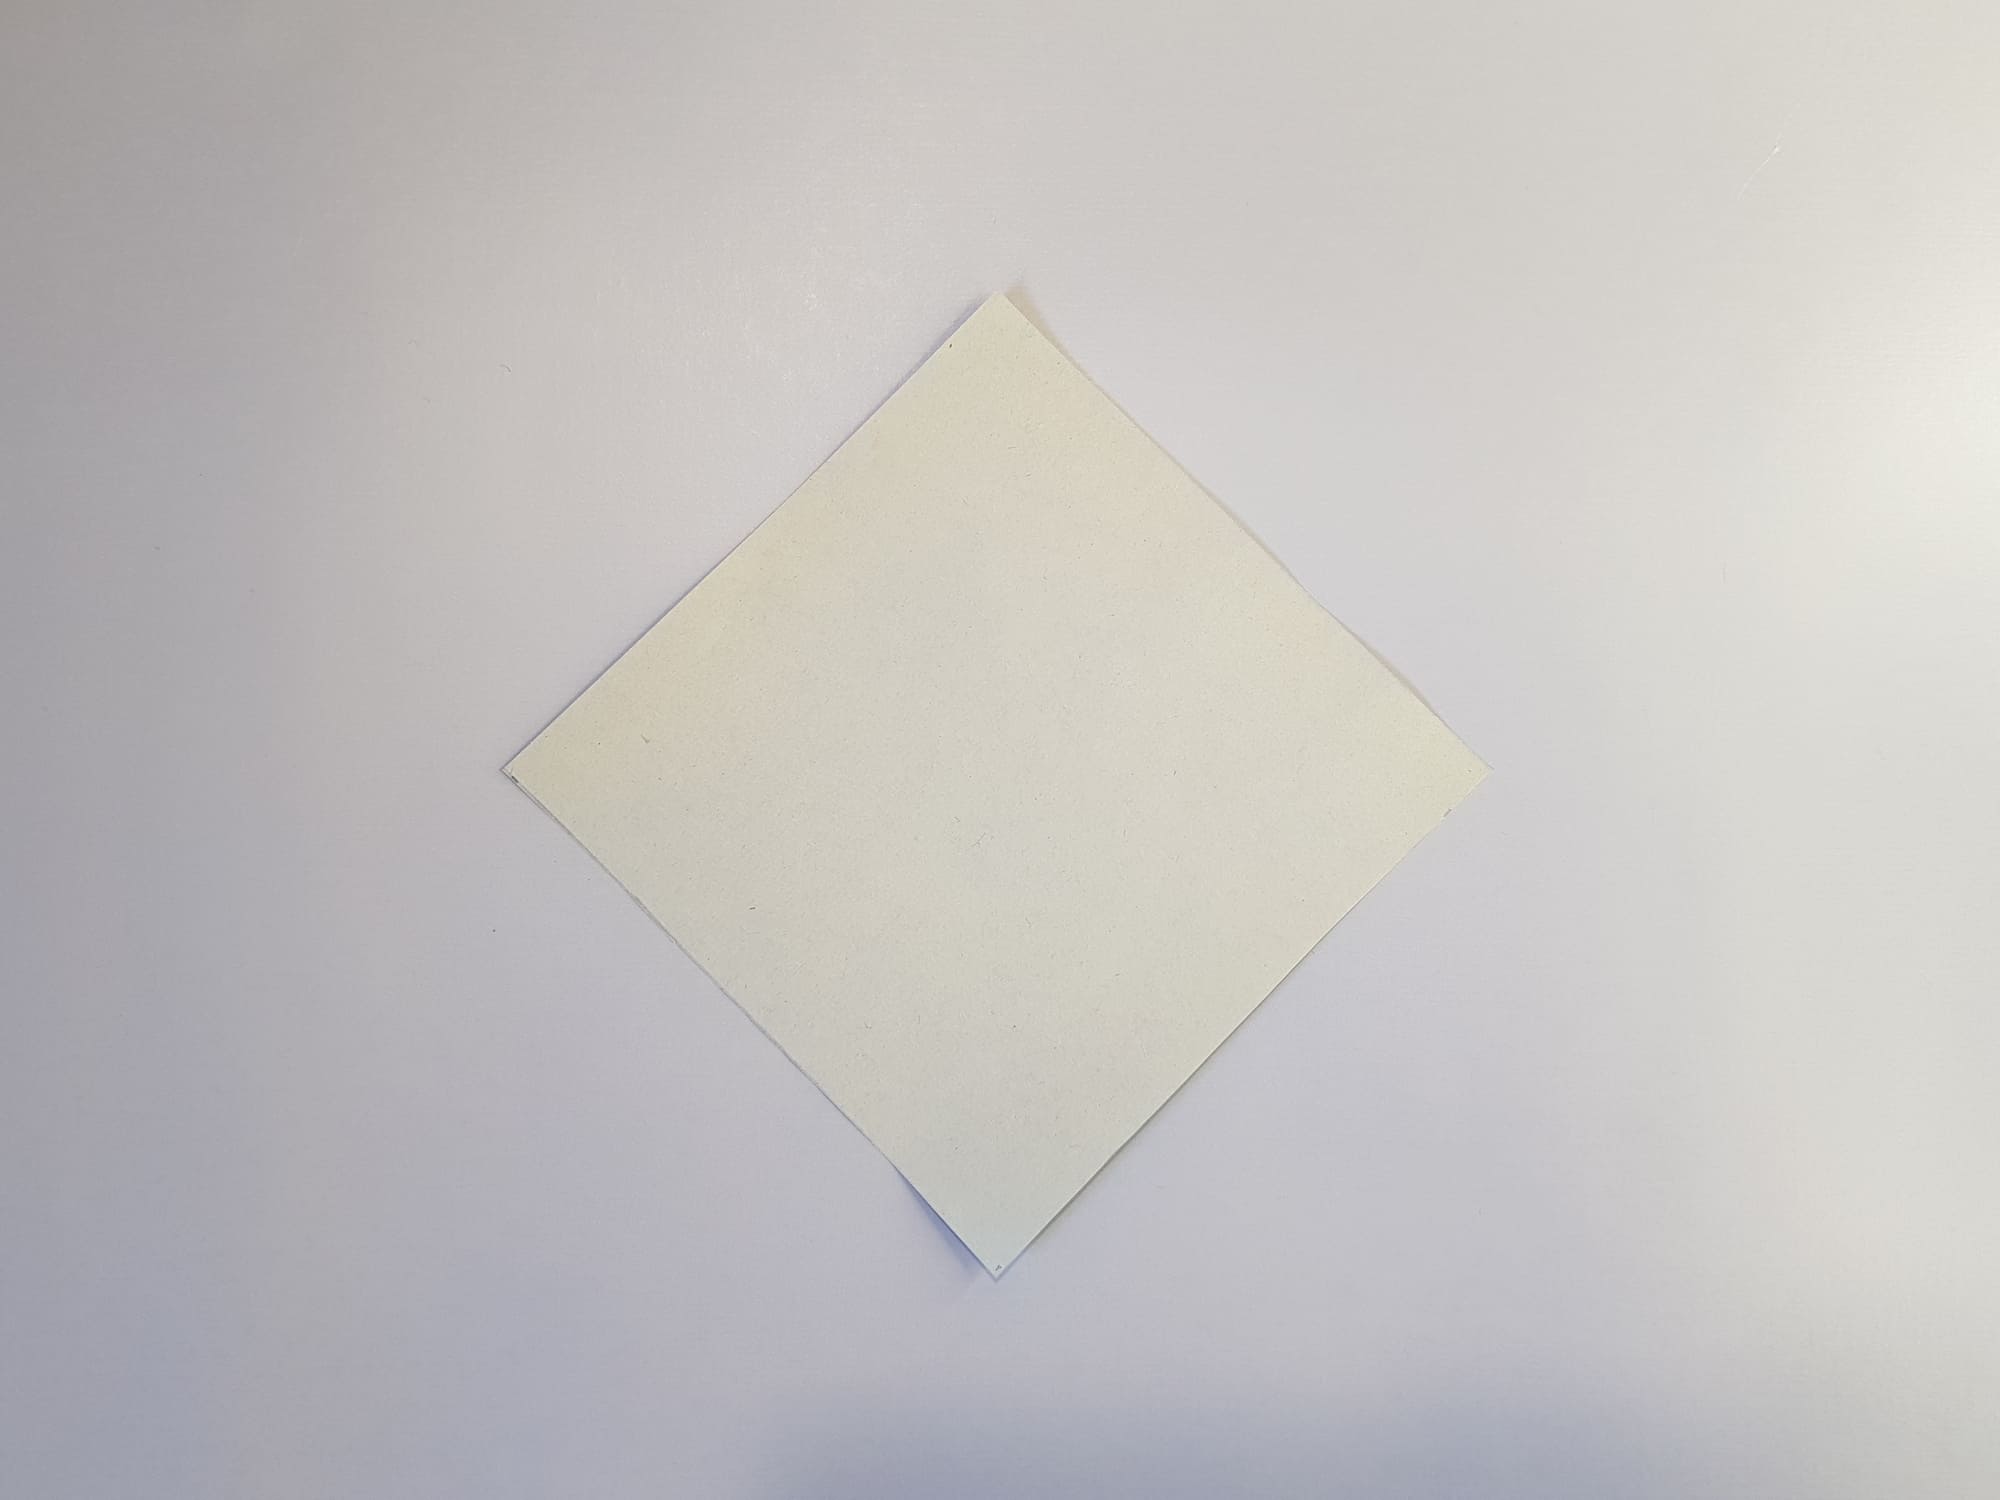
Cut out a 15×15 cm square from the paper, place it face down, and fold it in half to make a fold, as shown in the photo.
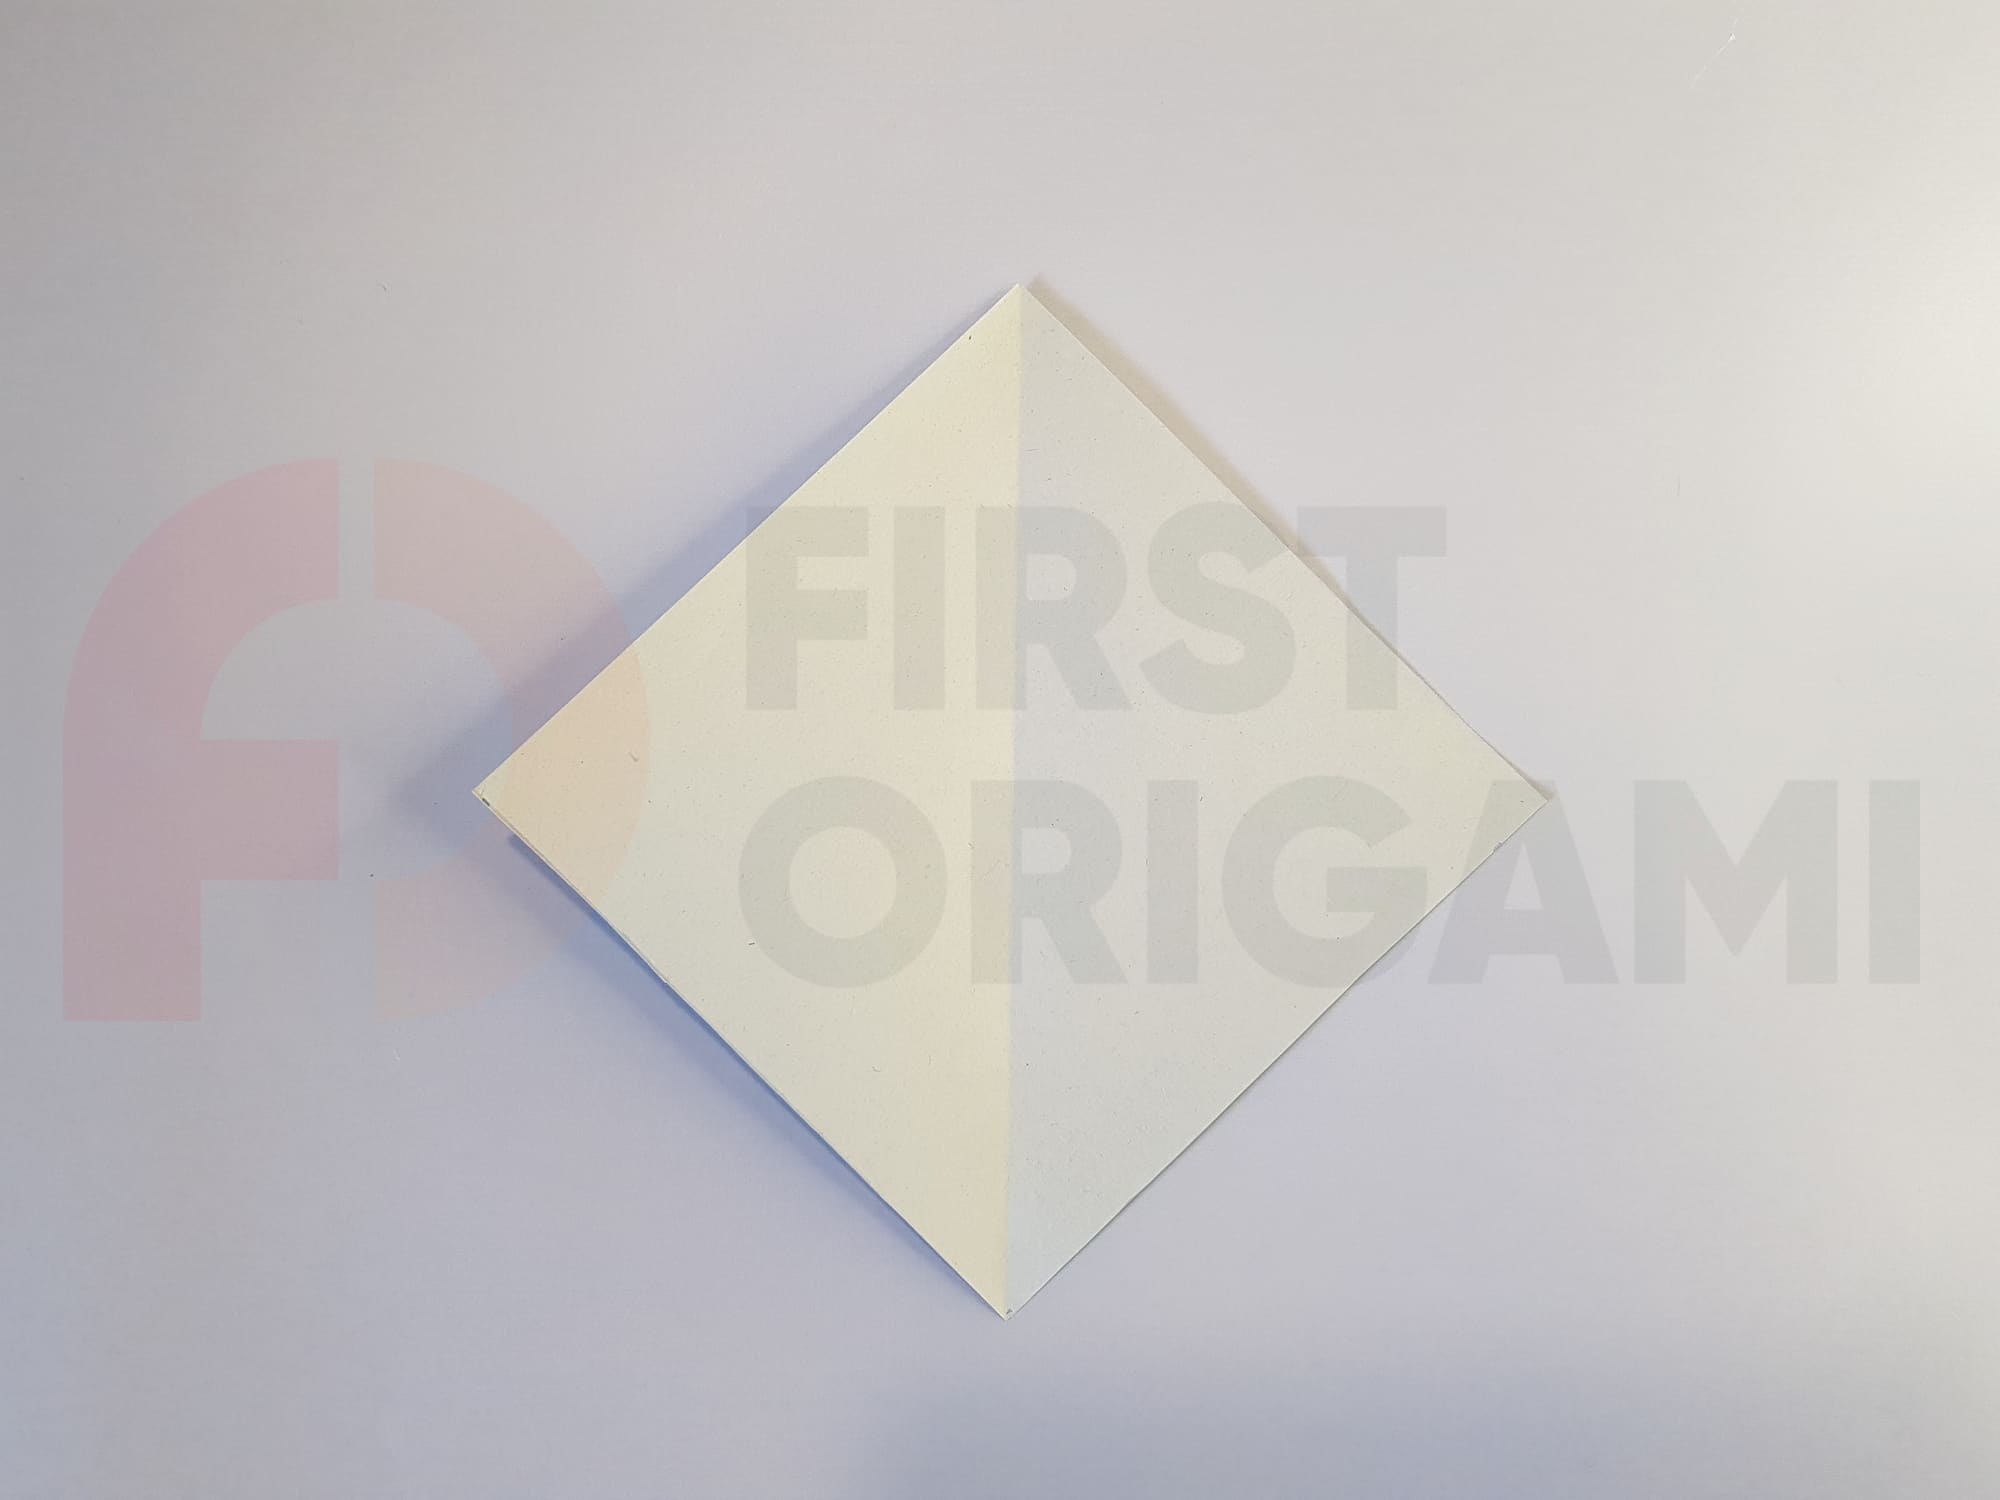
Bend alternately the right and left lower edges to the center and unfold.
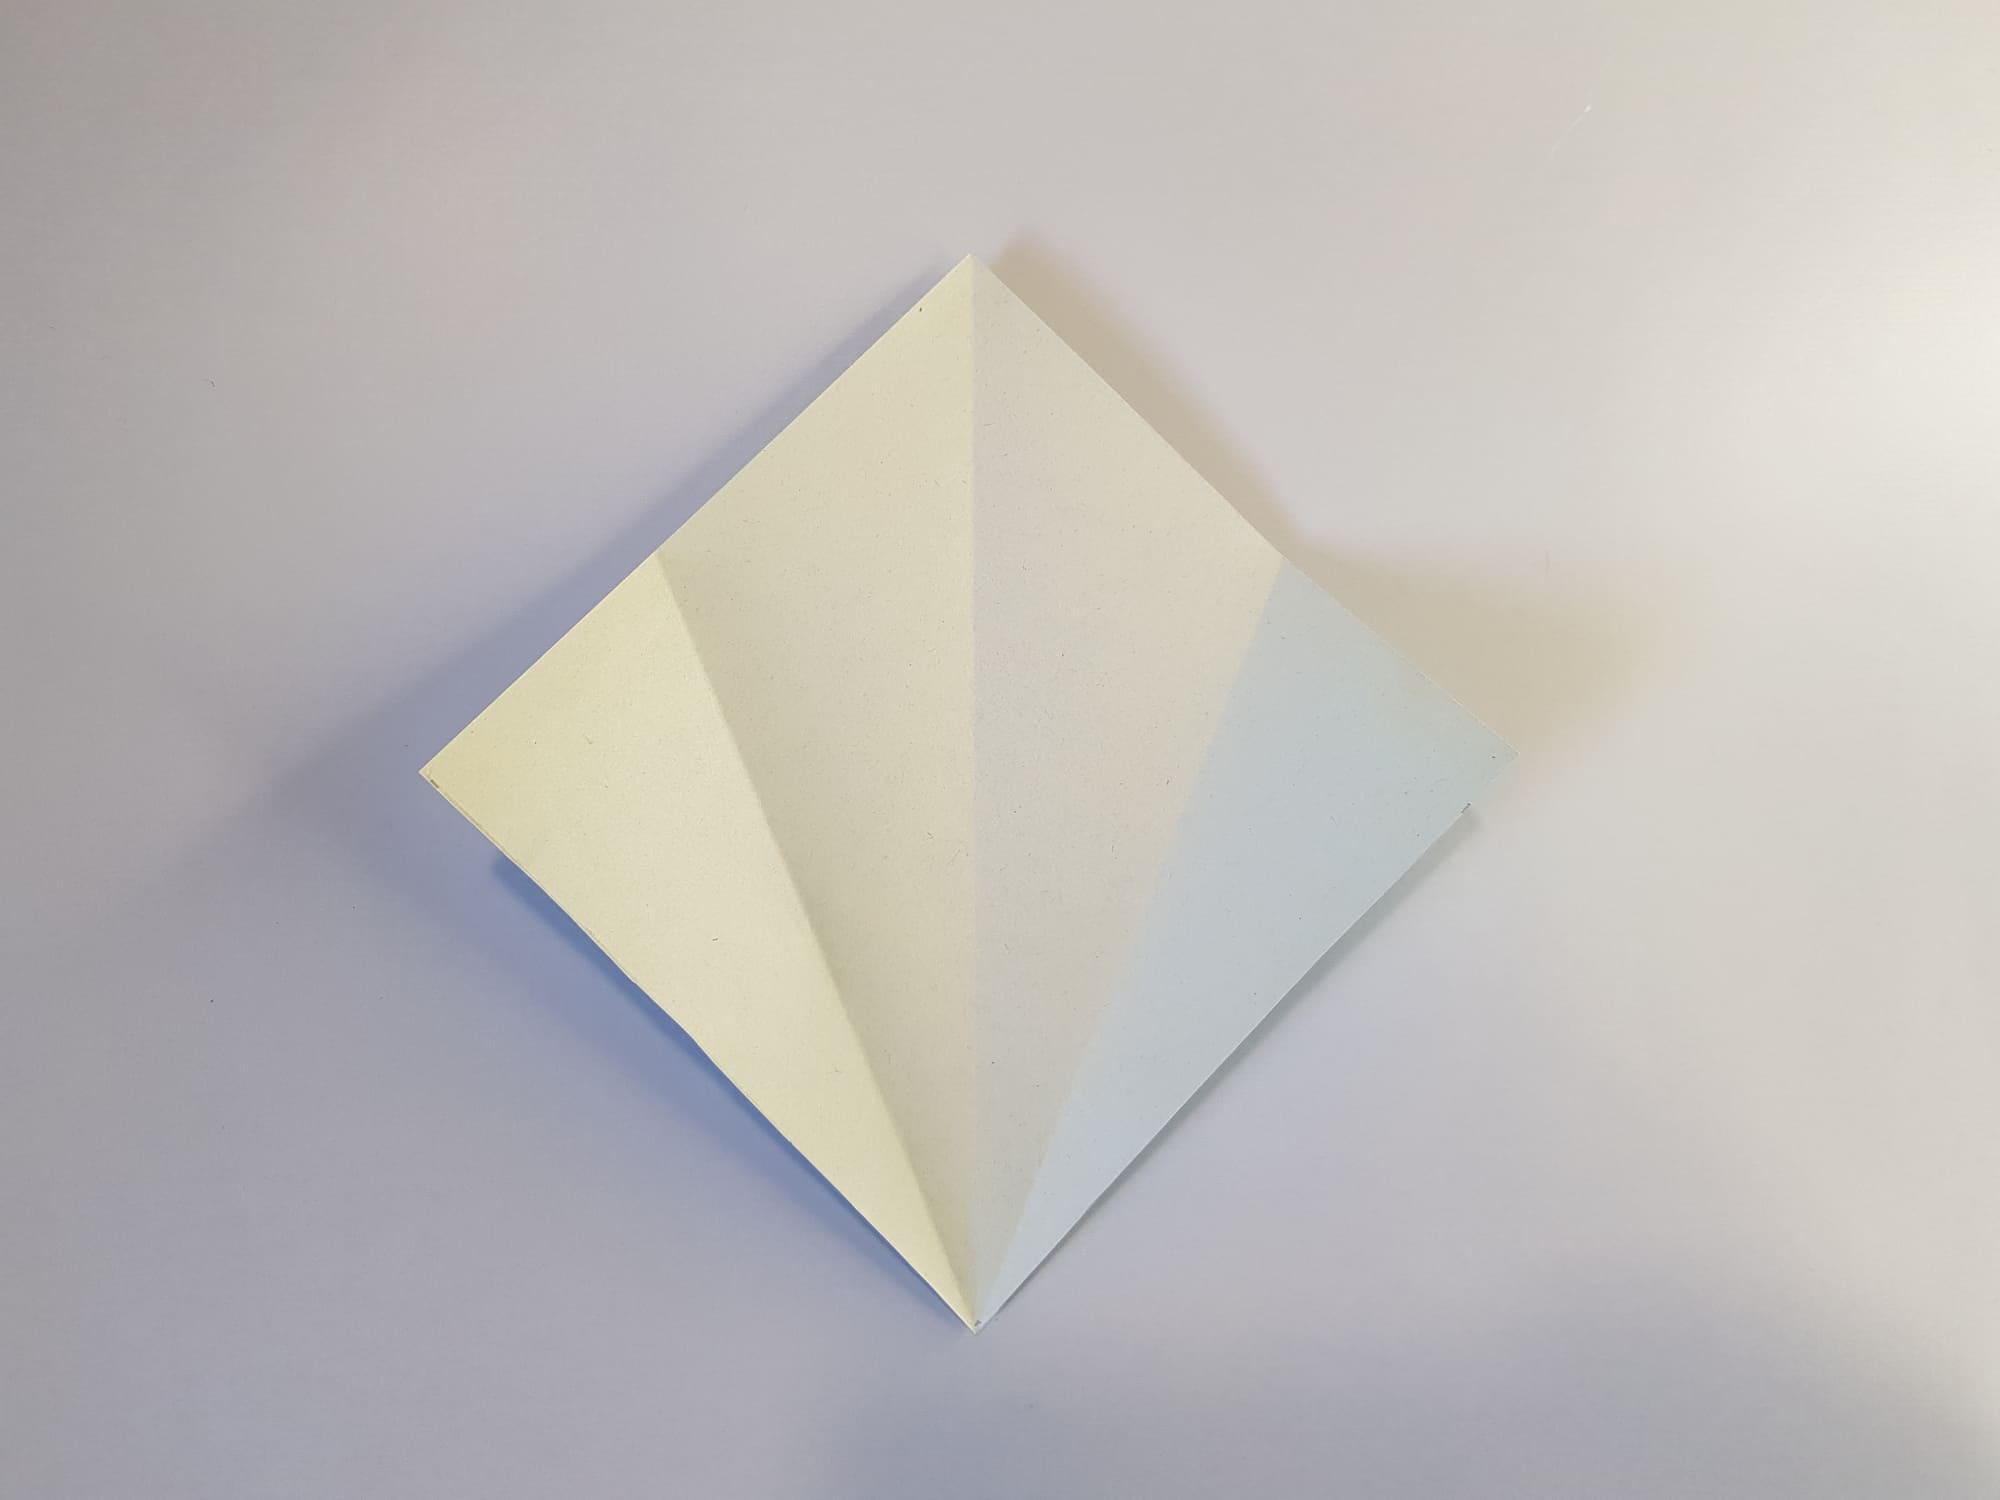
Do the same with the top edges.
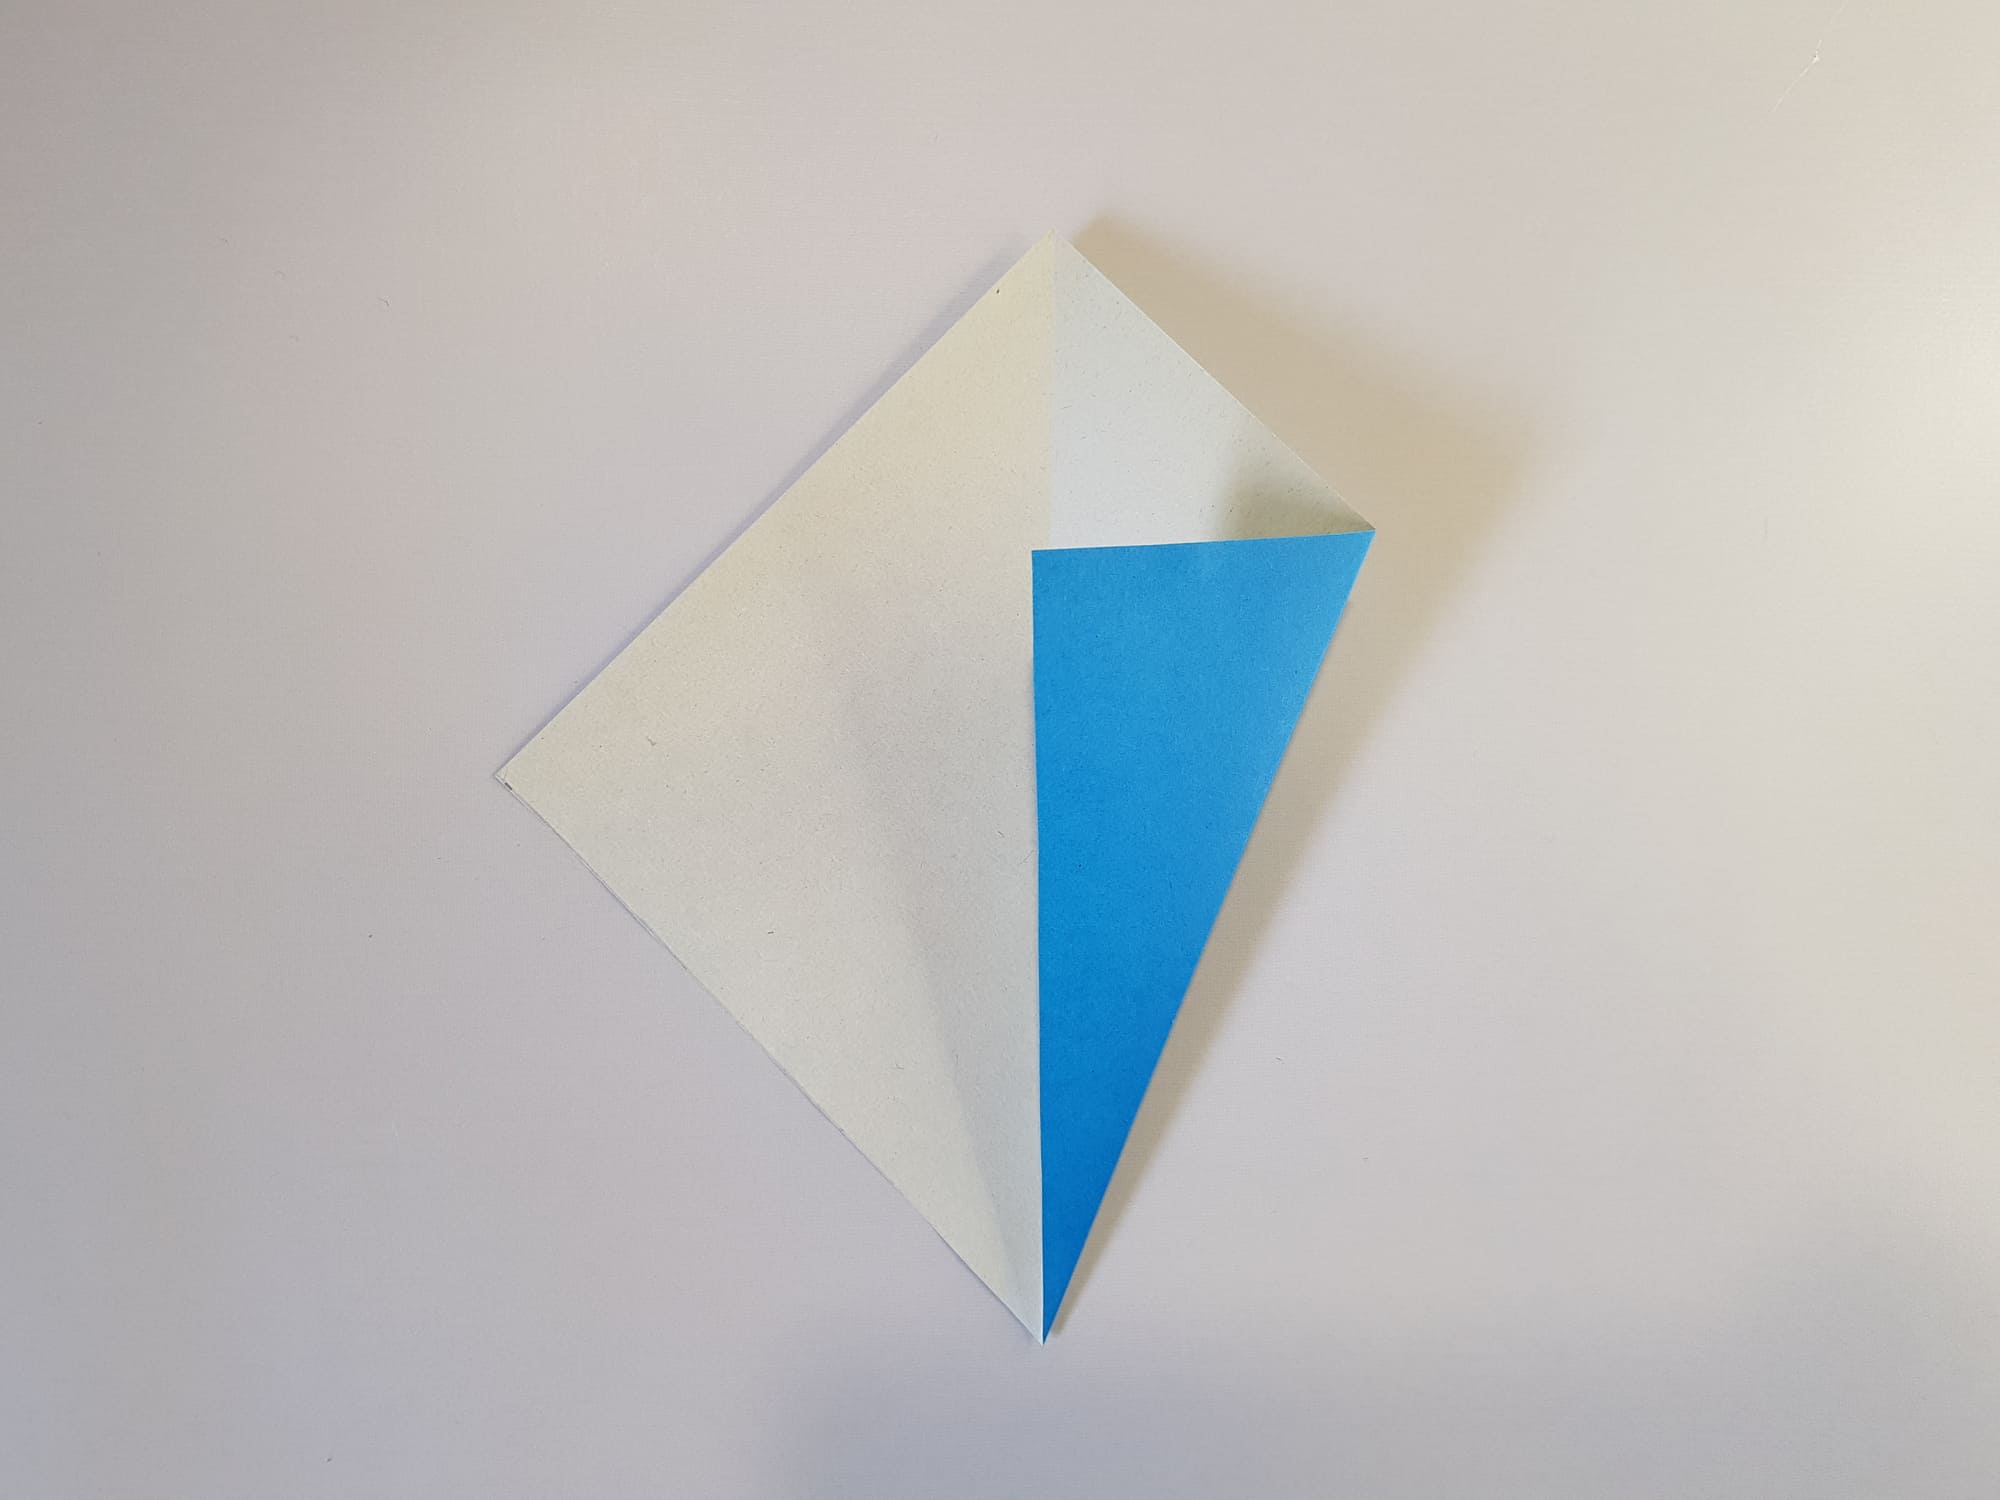
Next, you would work with the right side of the figure. Make another assisting fold: first bend the lower right part to the center, and then the upper one and unfold.
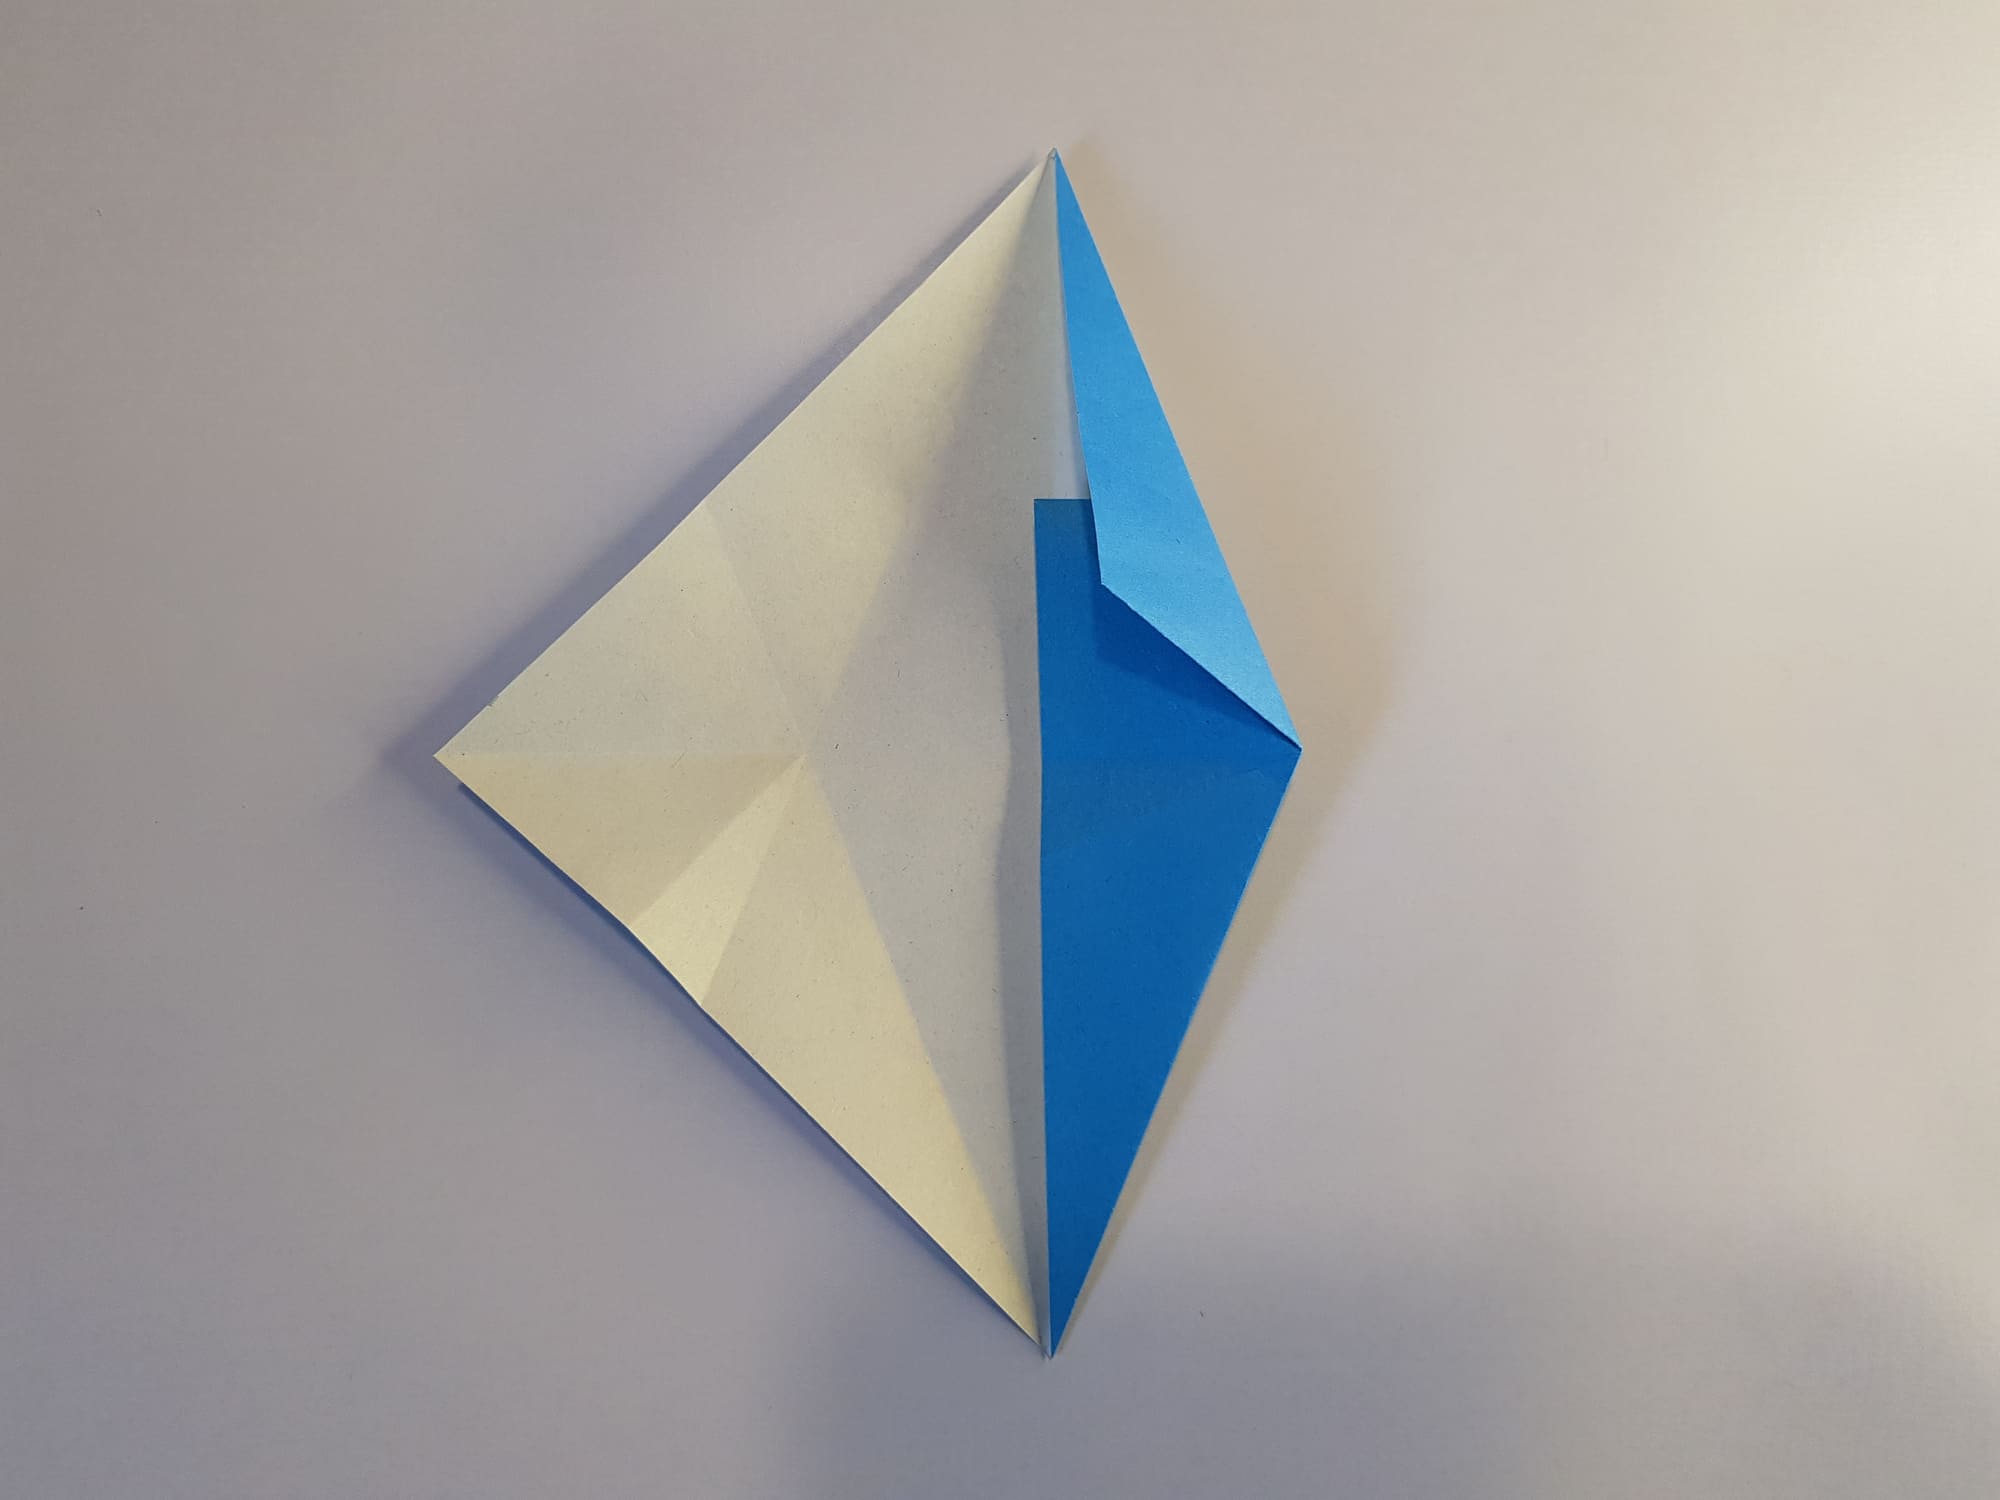

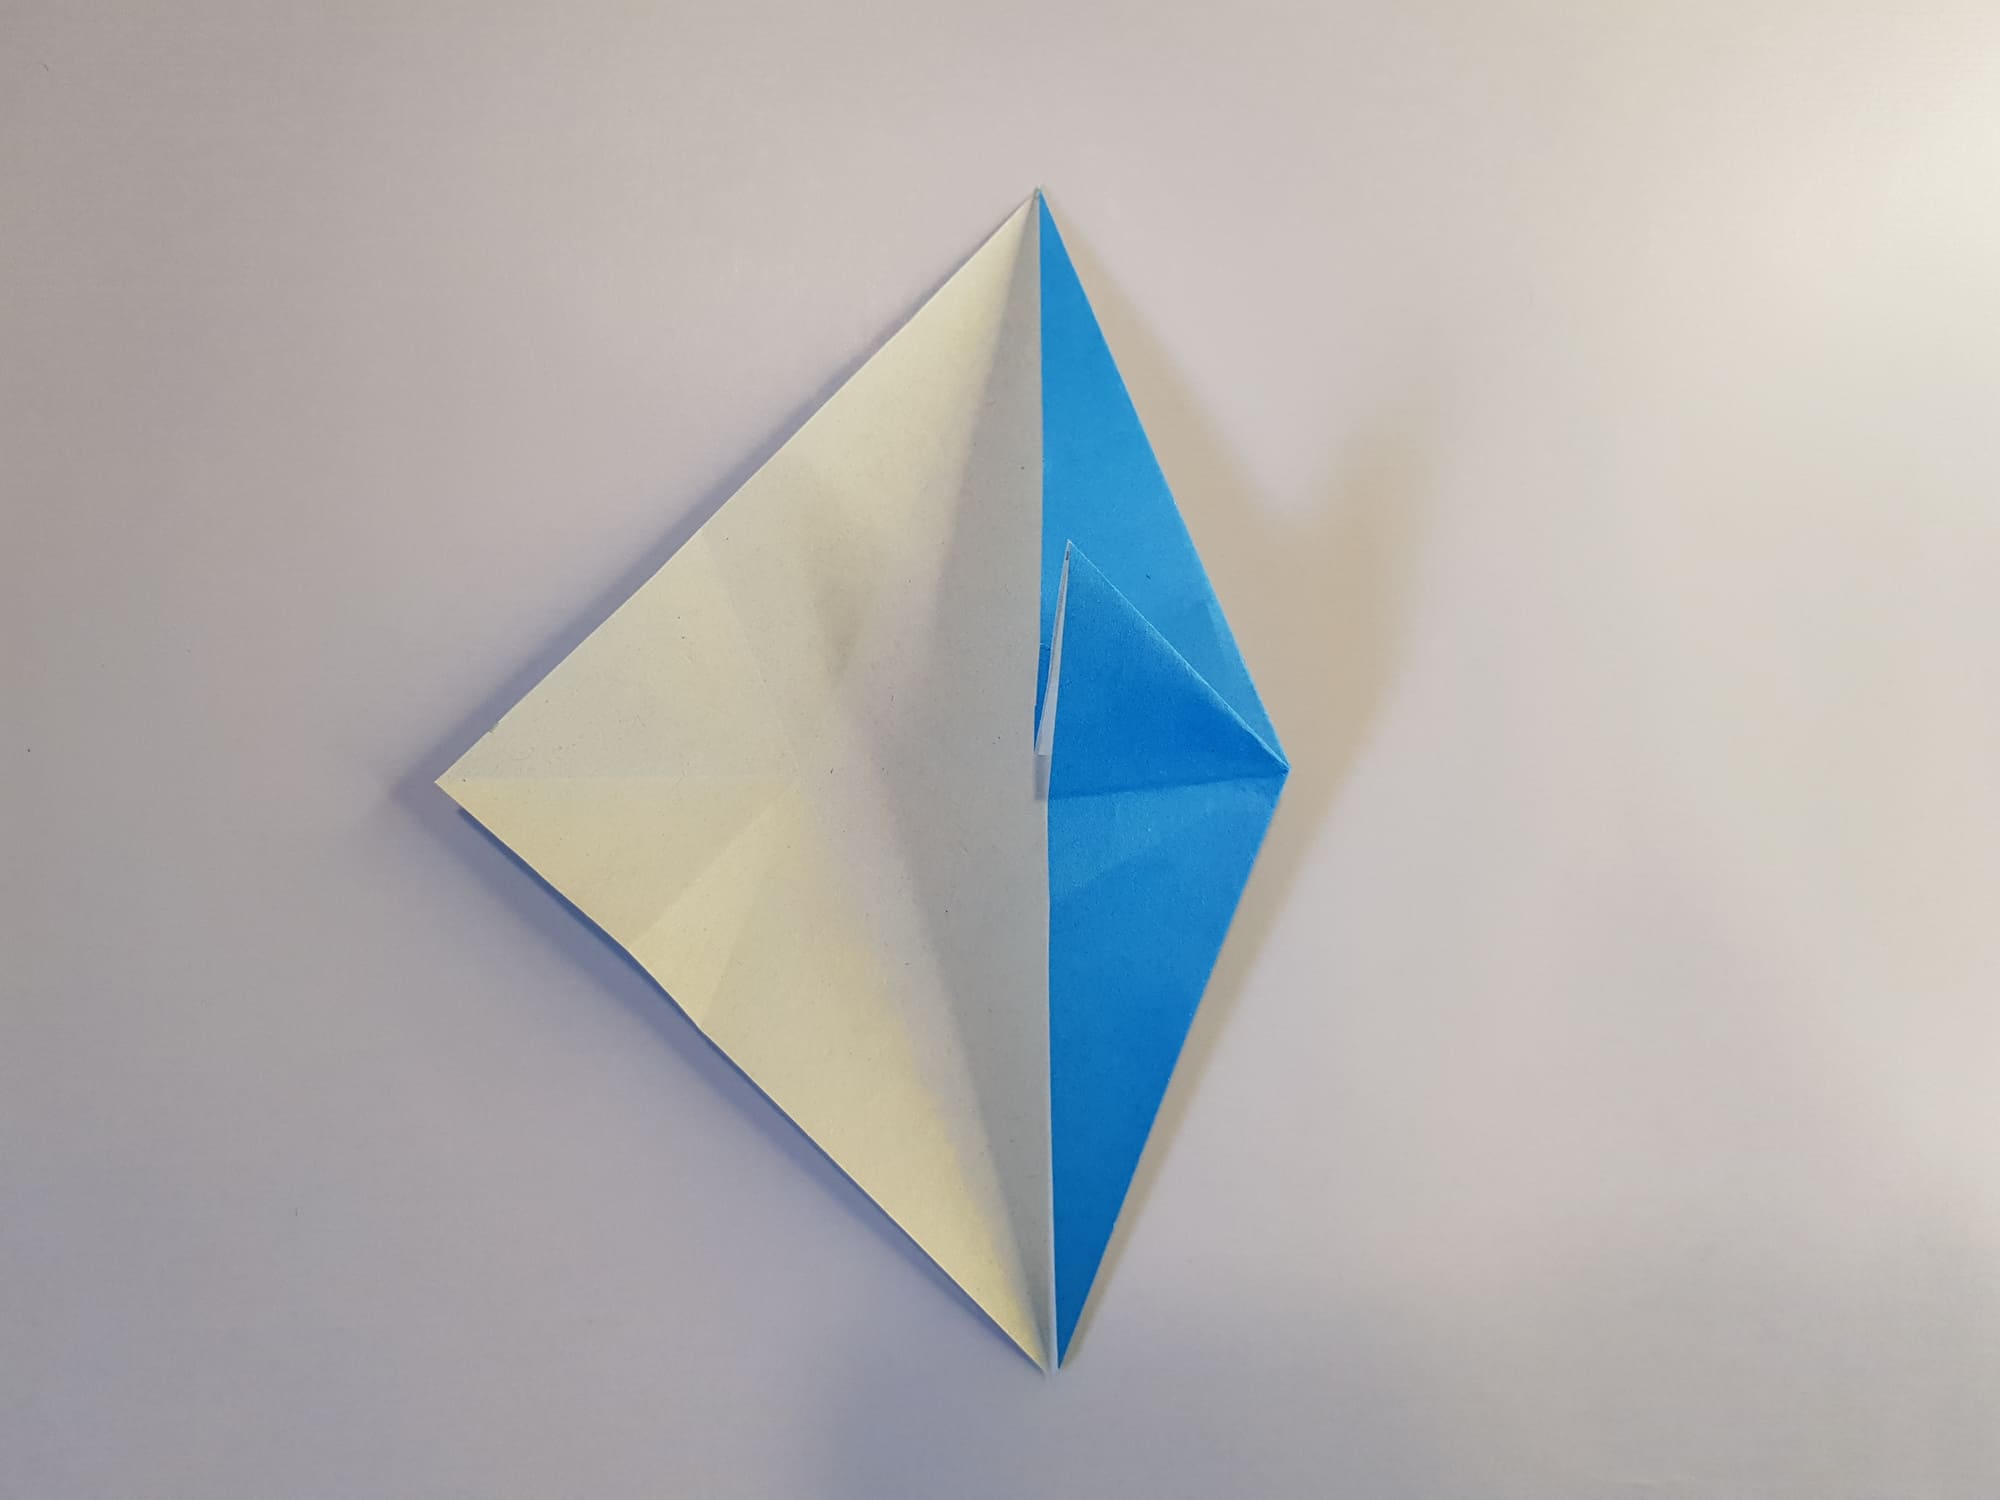
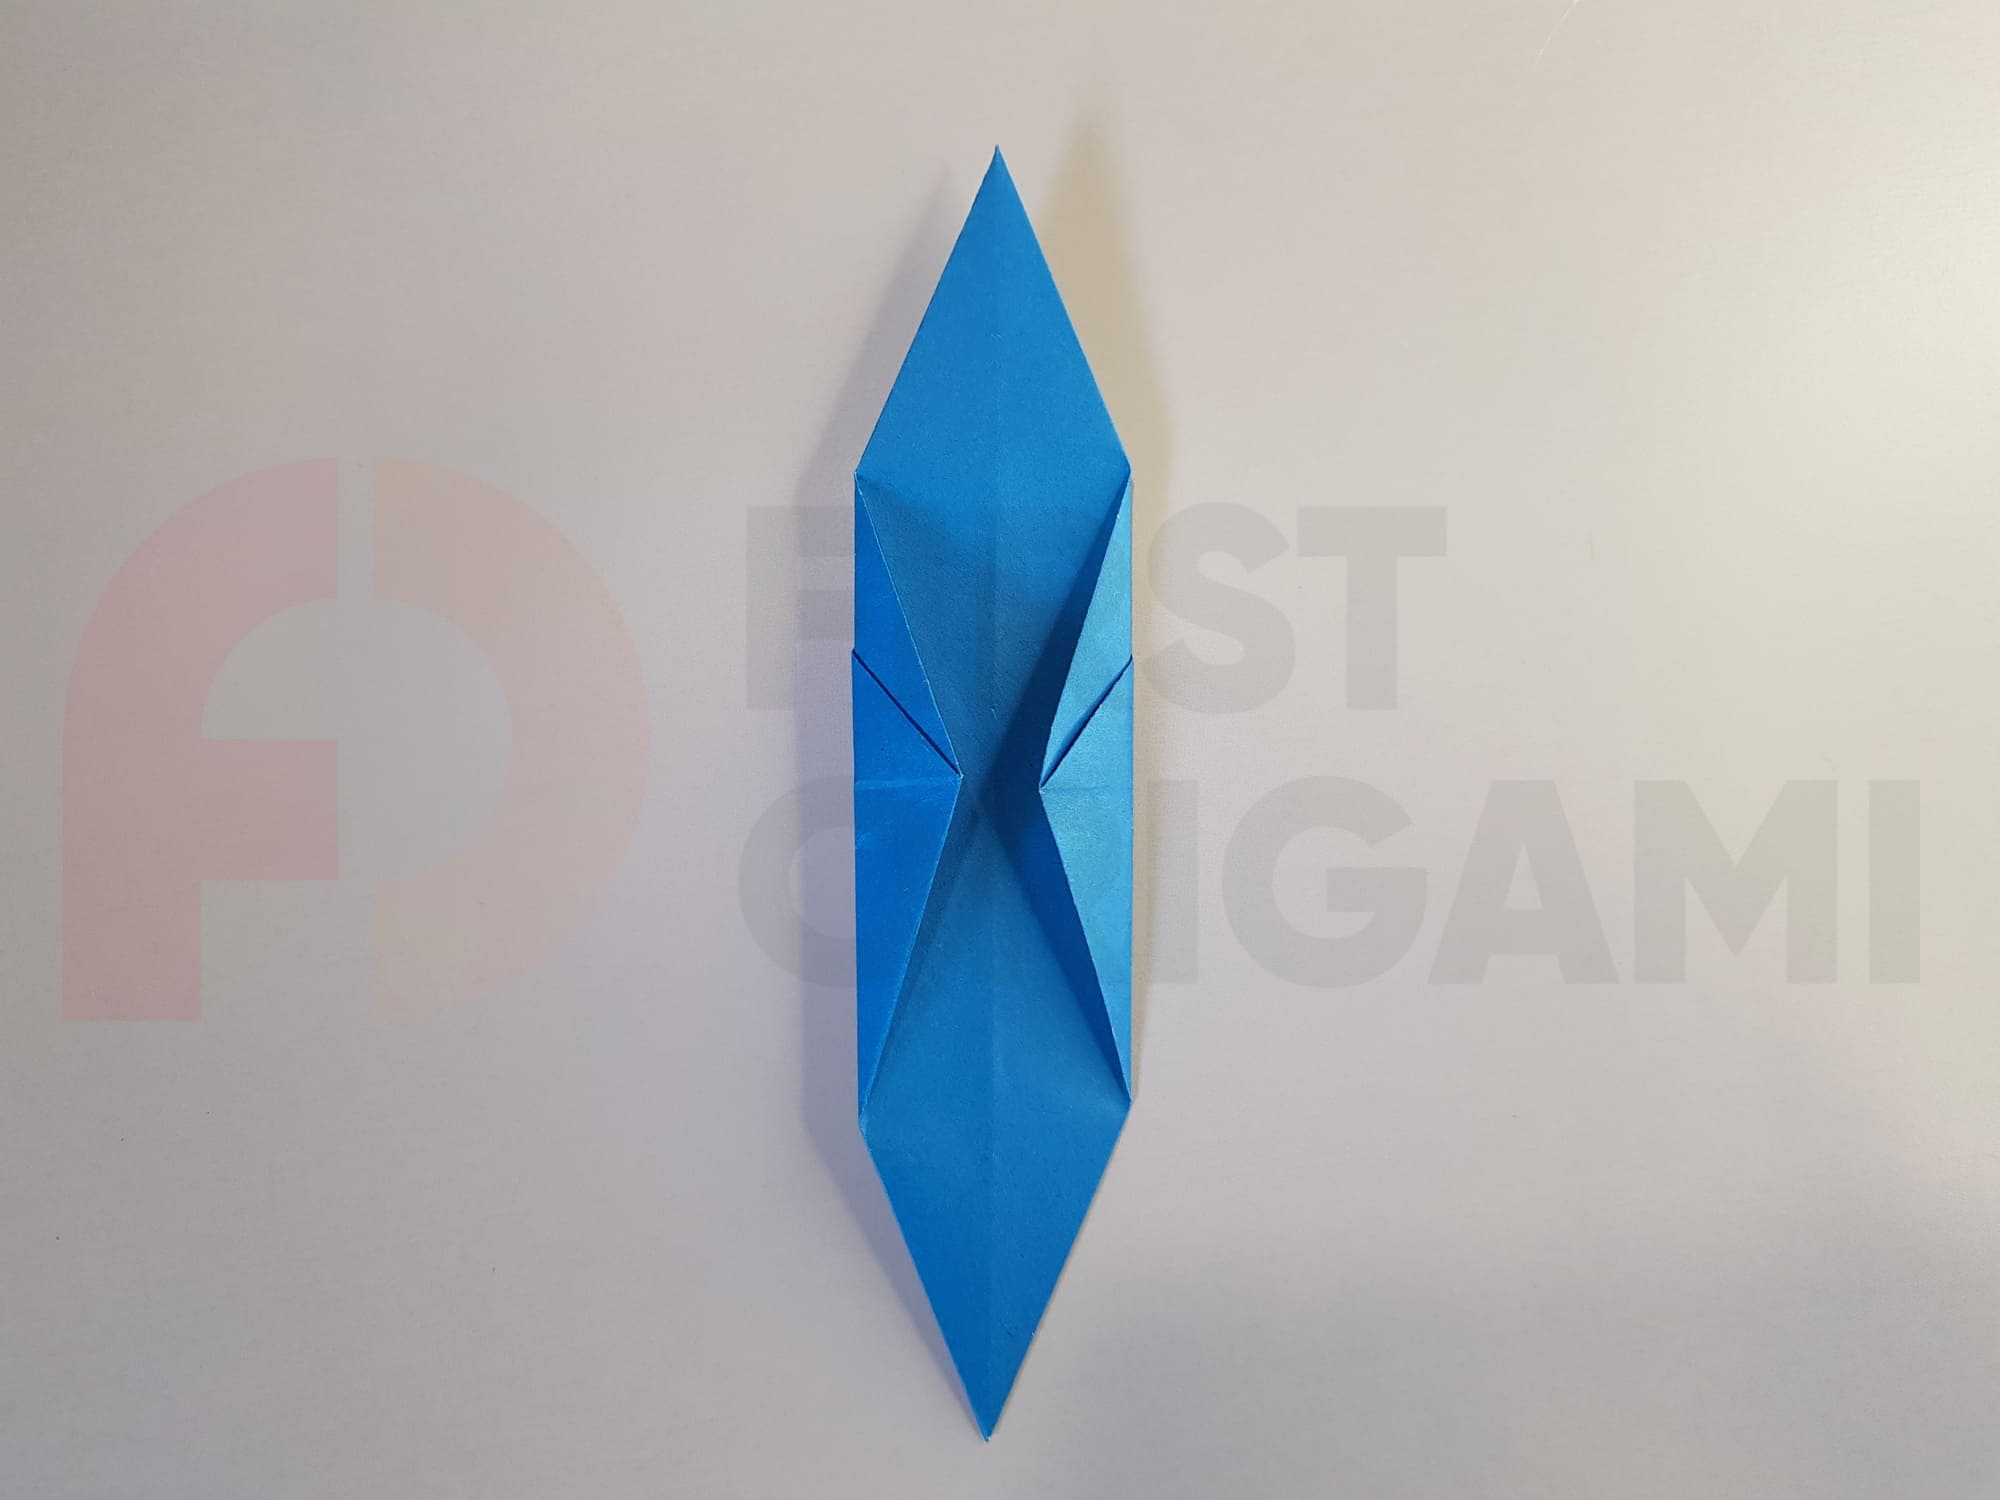
Bend the top of the right side towards the center, so that a triangle gets formed in the middle, as in the photo.
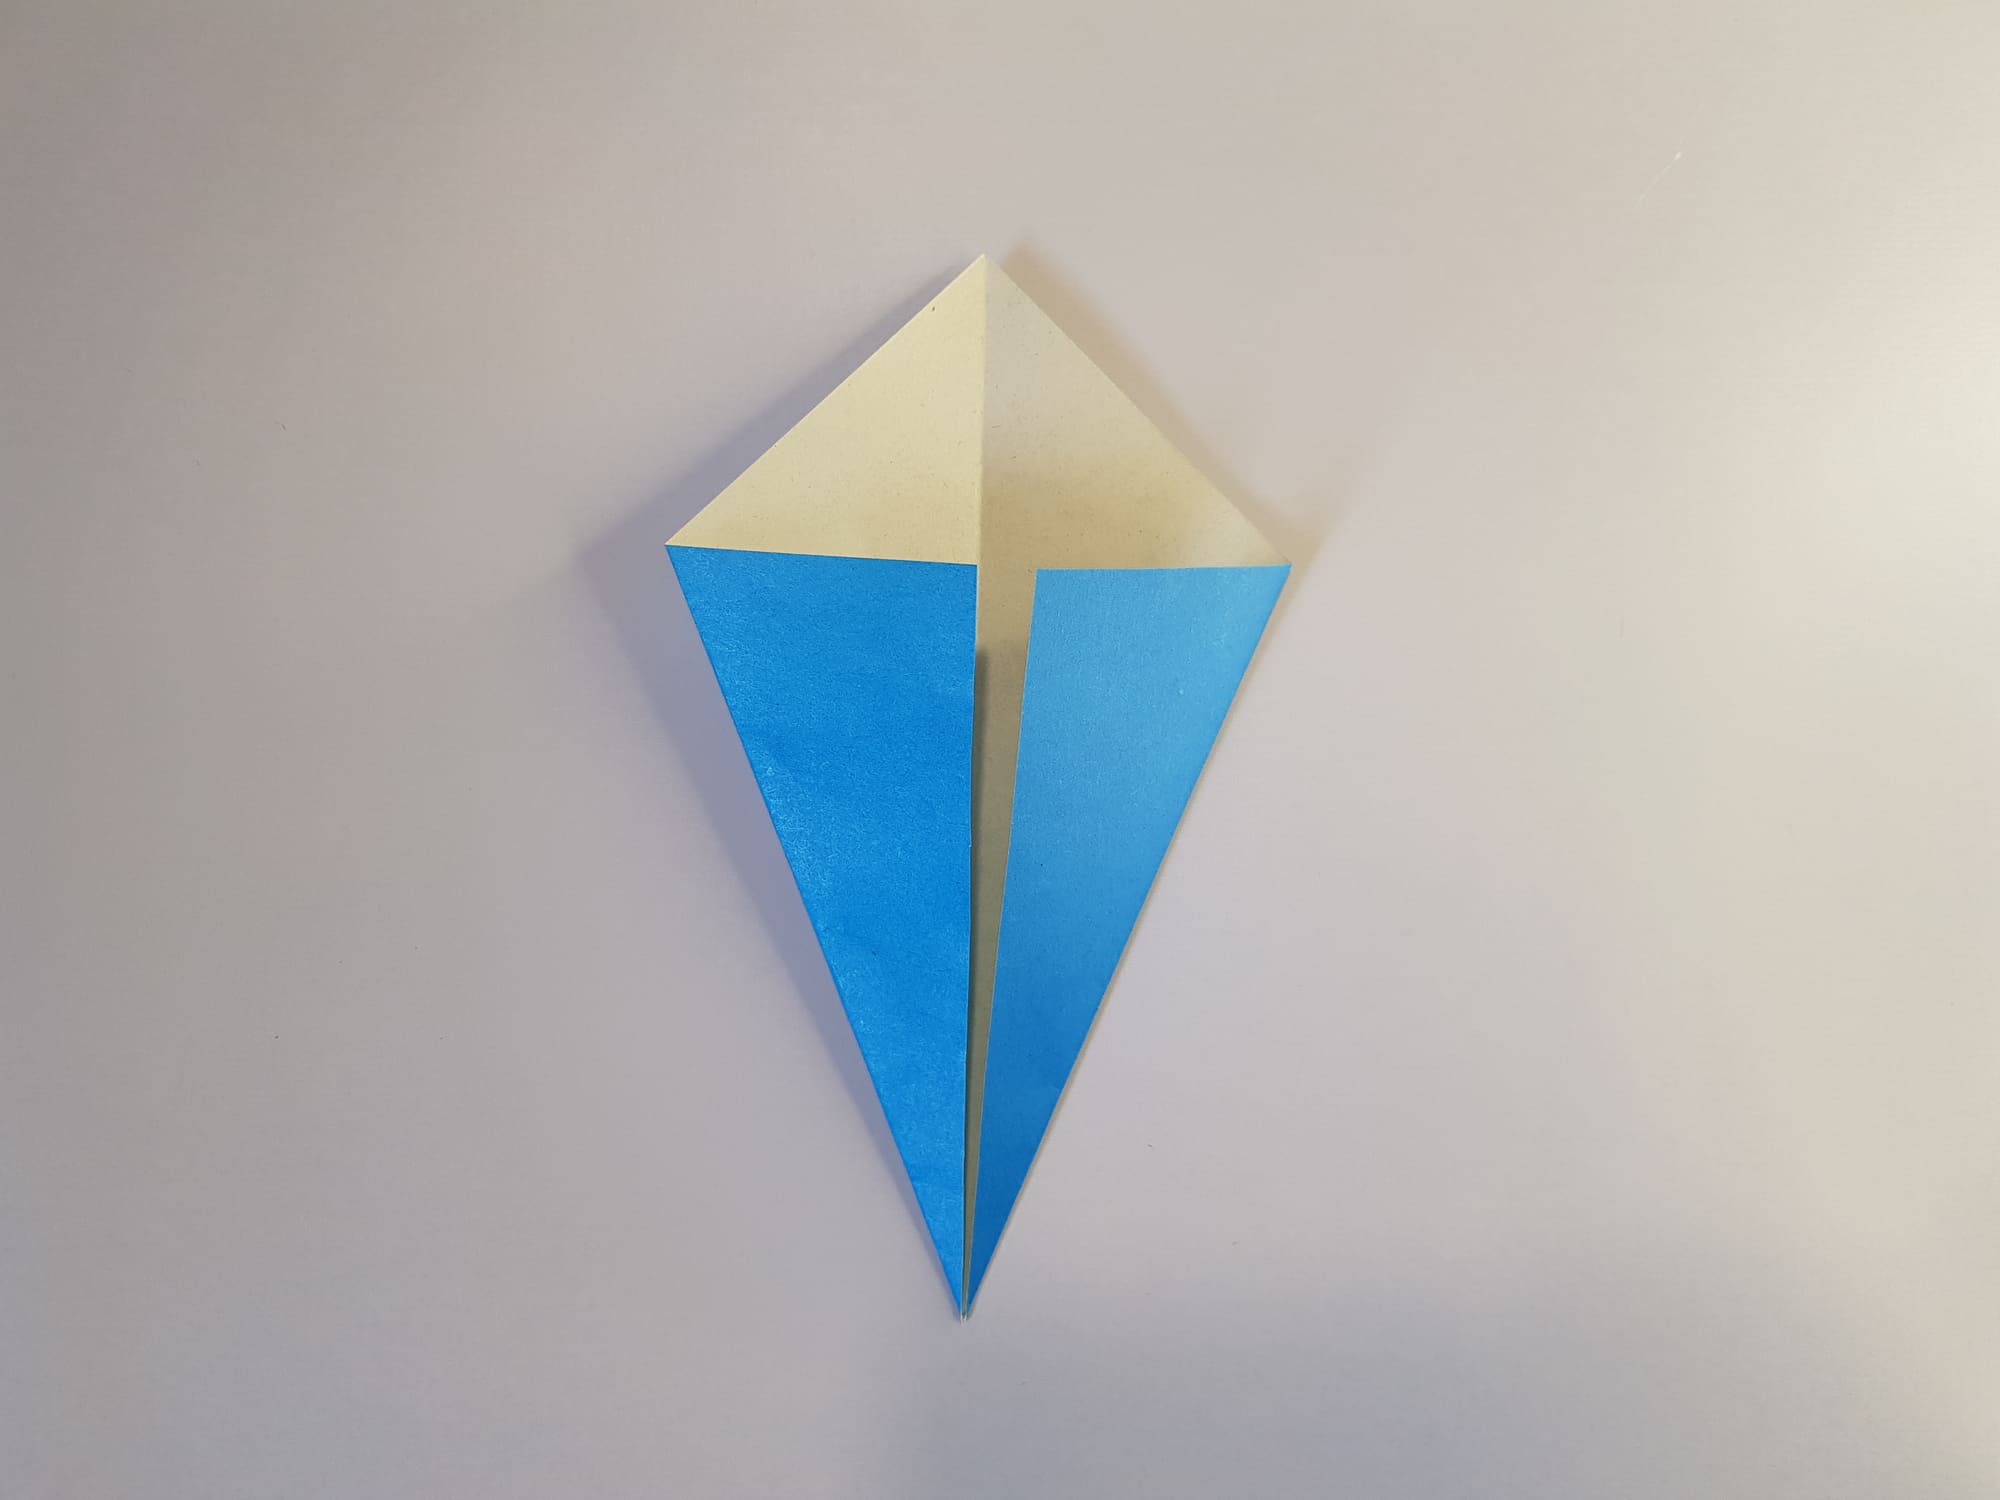
Crease the folds.

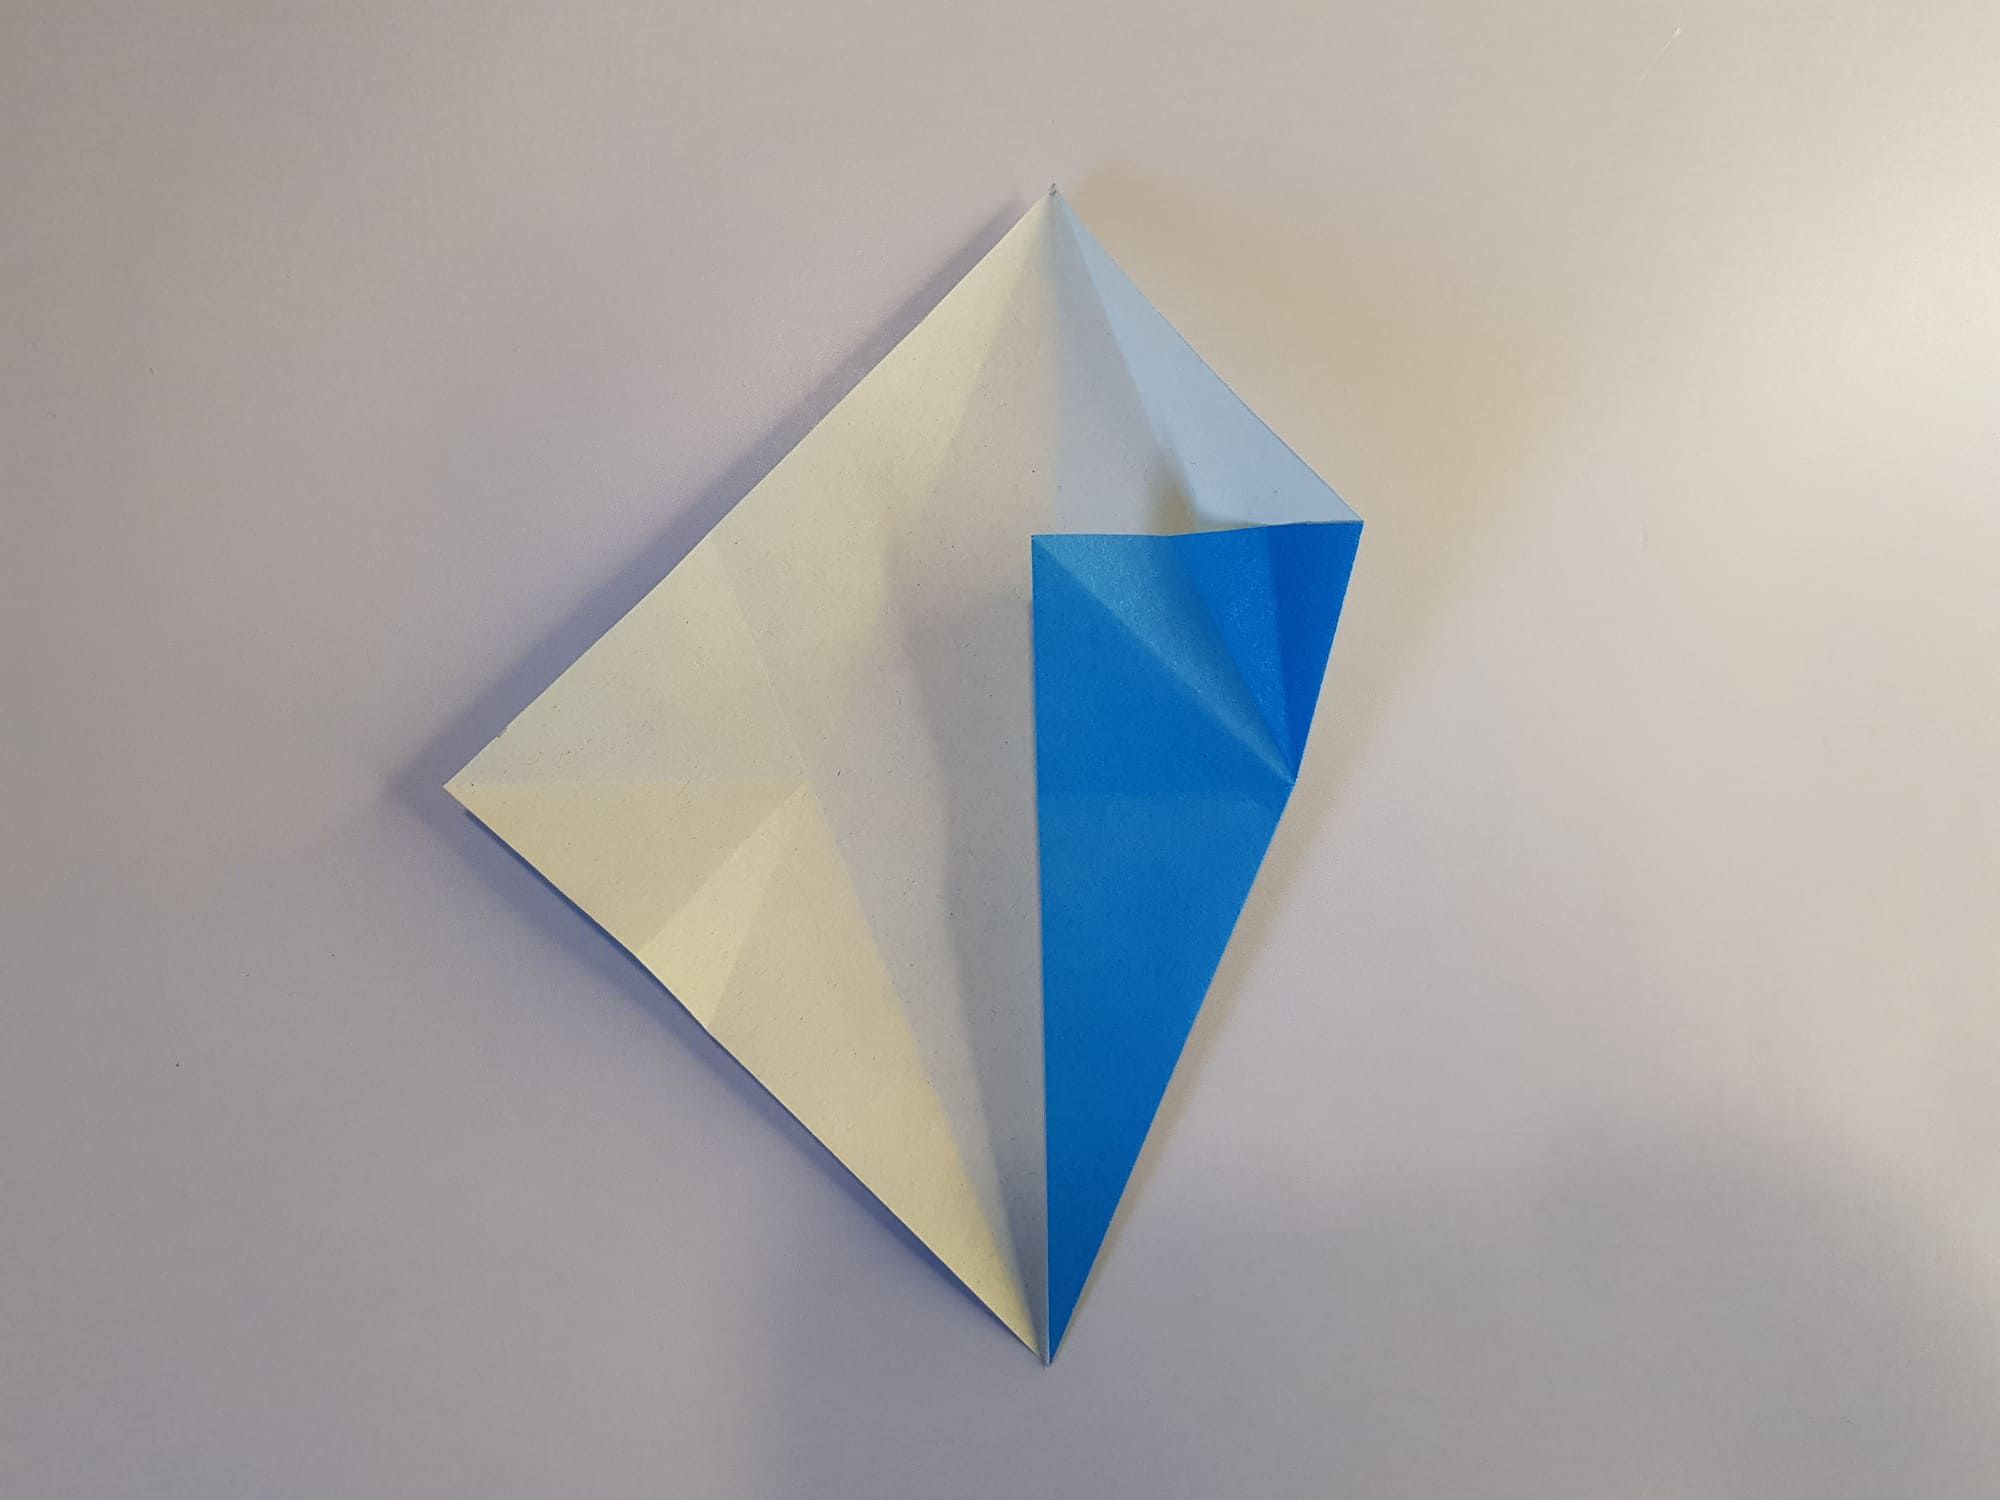
Repeat the same with the left side. First, make an assisting fold, as in steps 8-10.
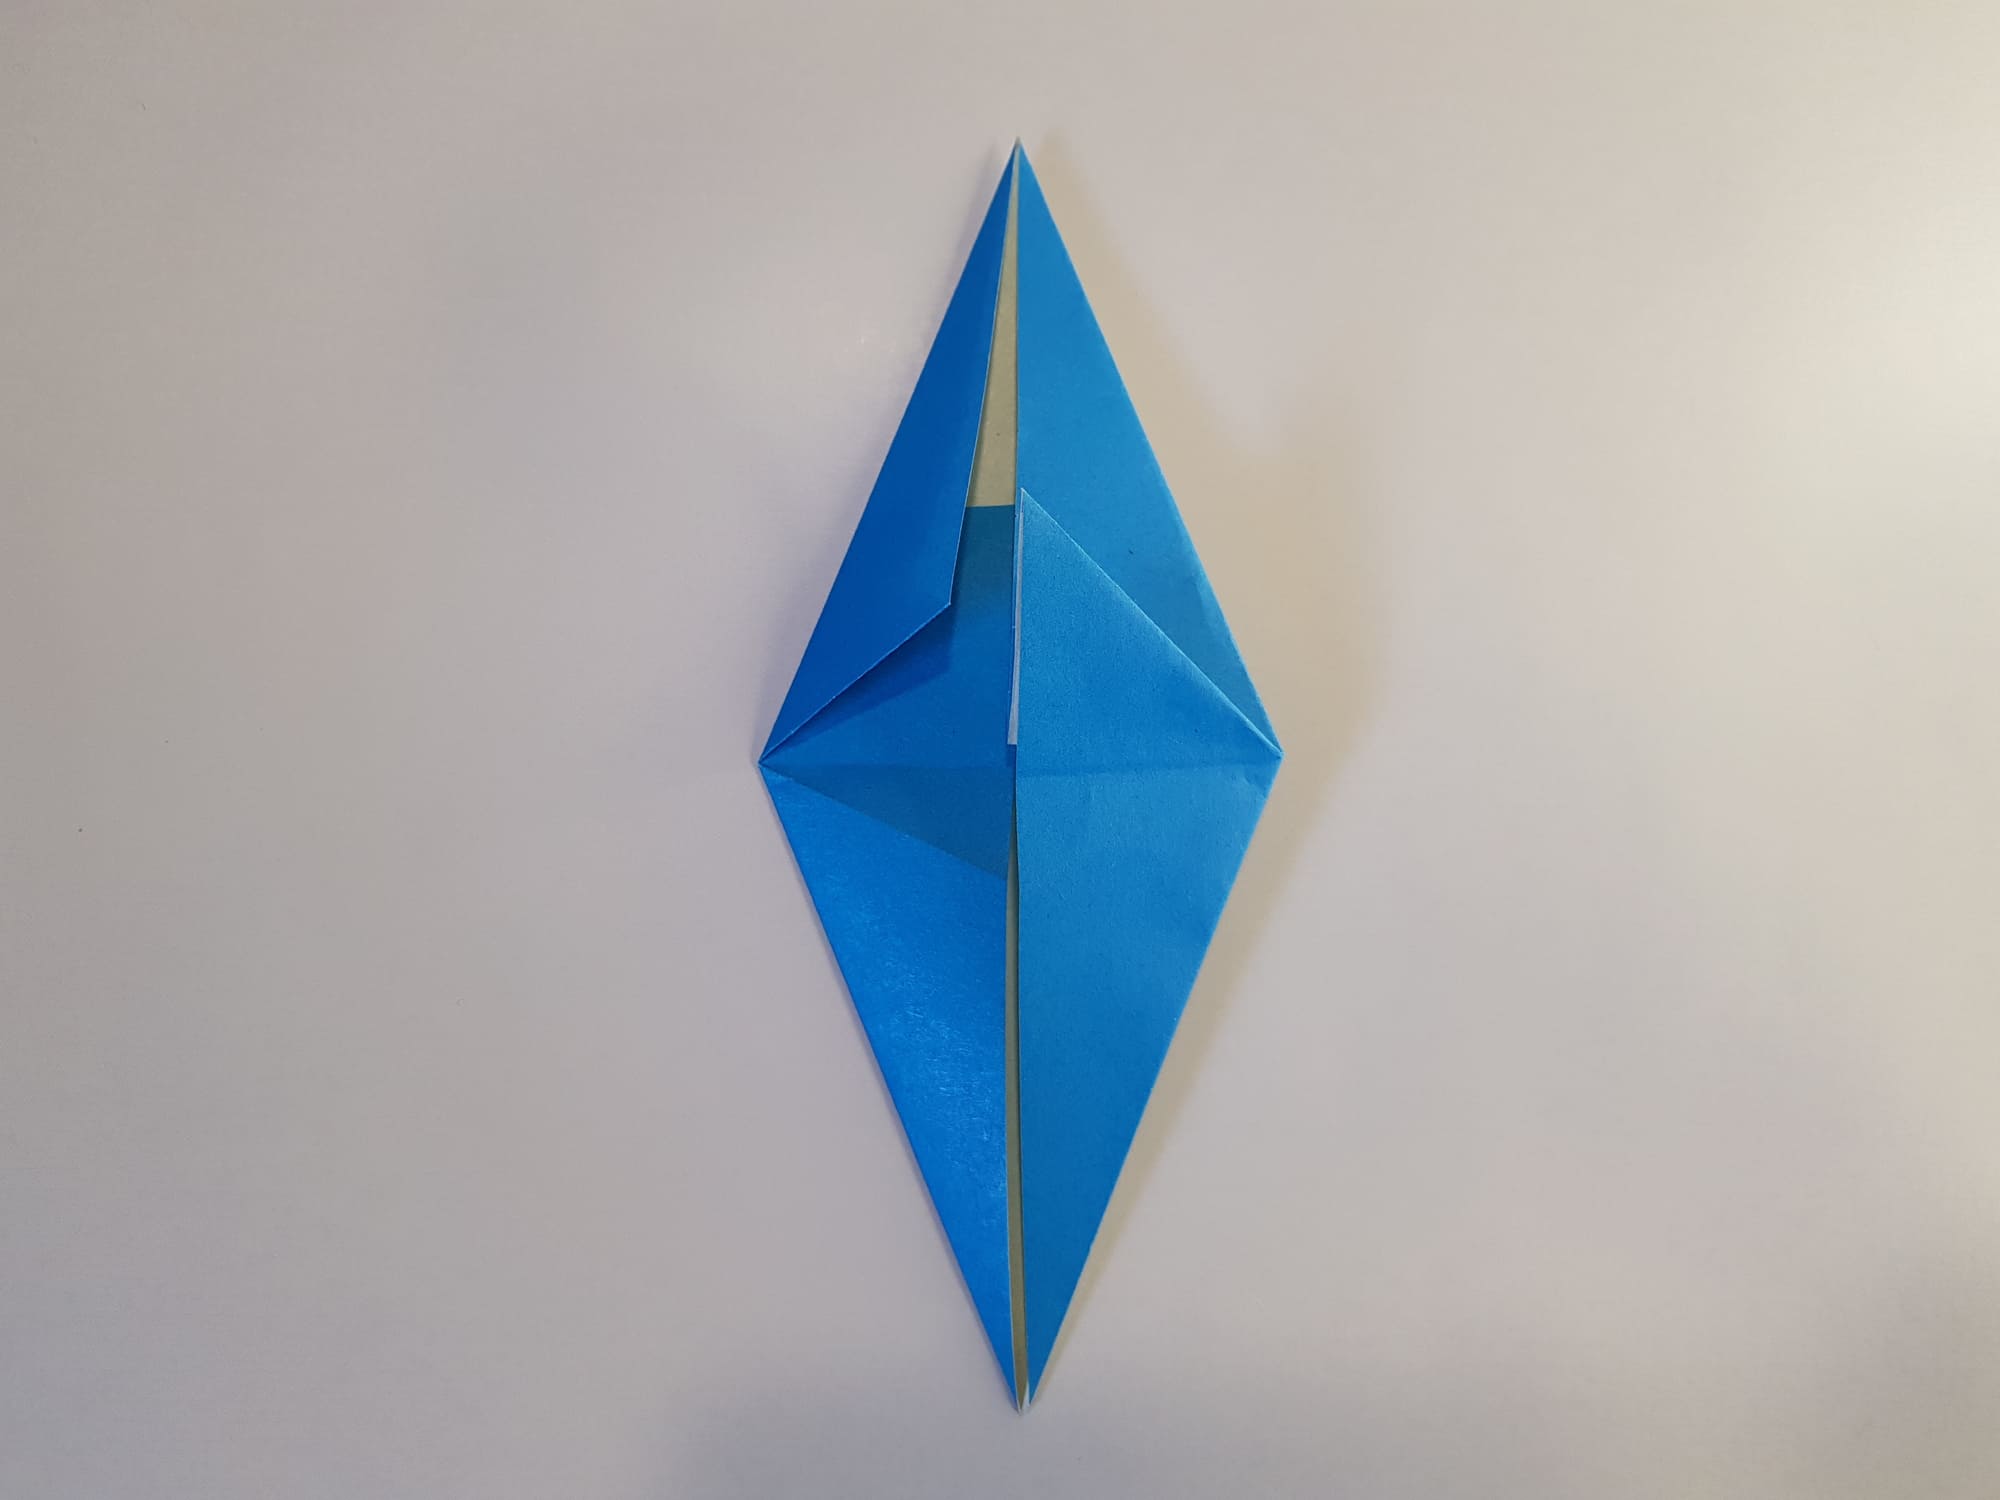
Then, repeat steps 11-14.

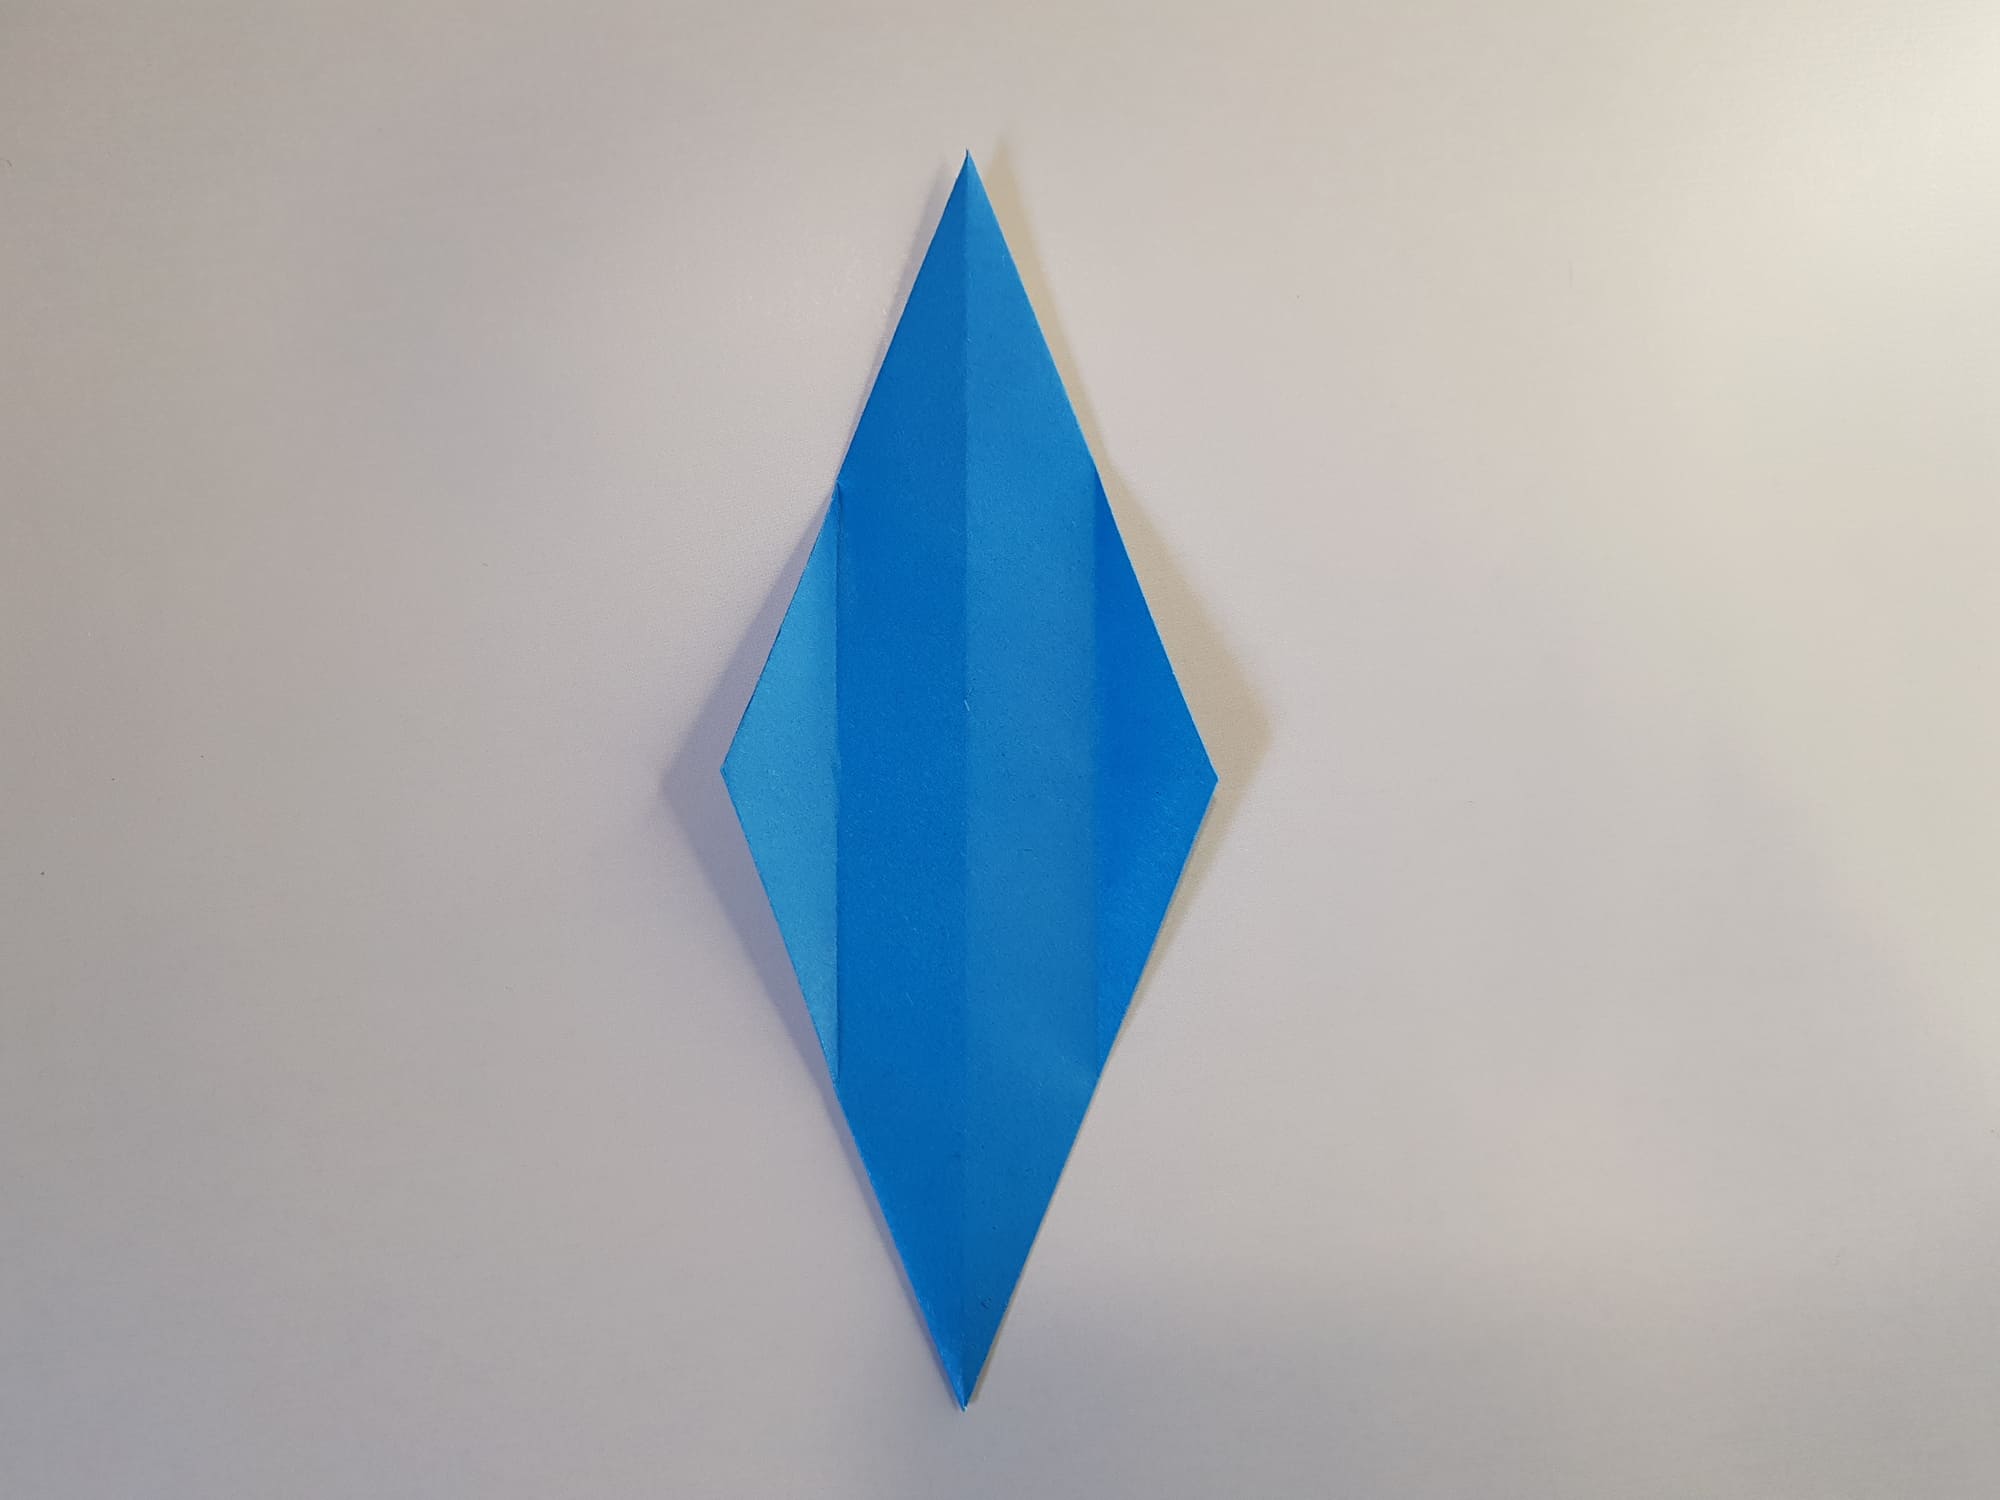
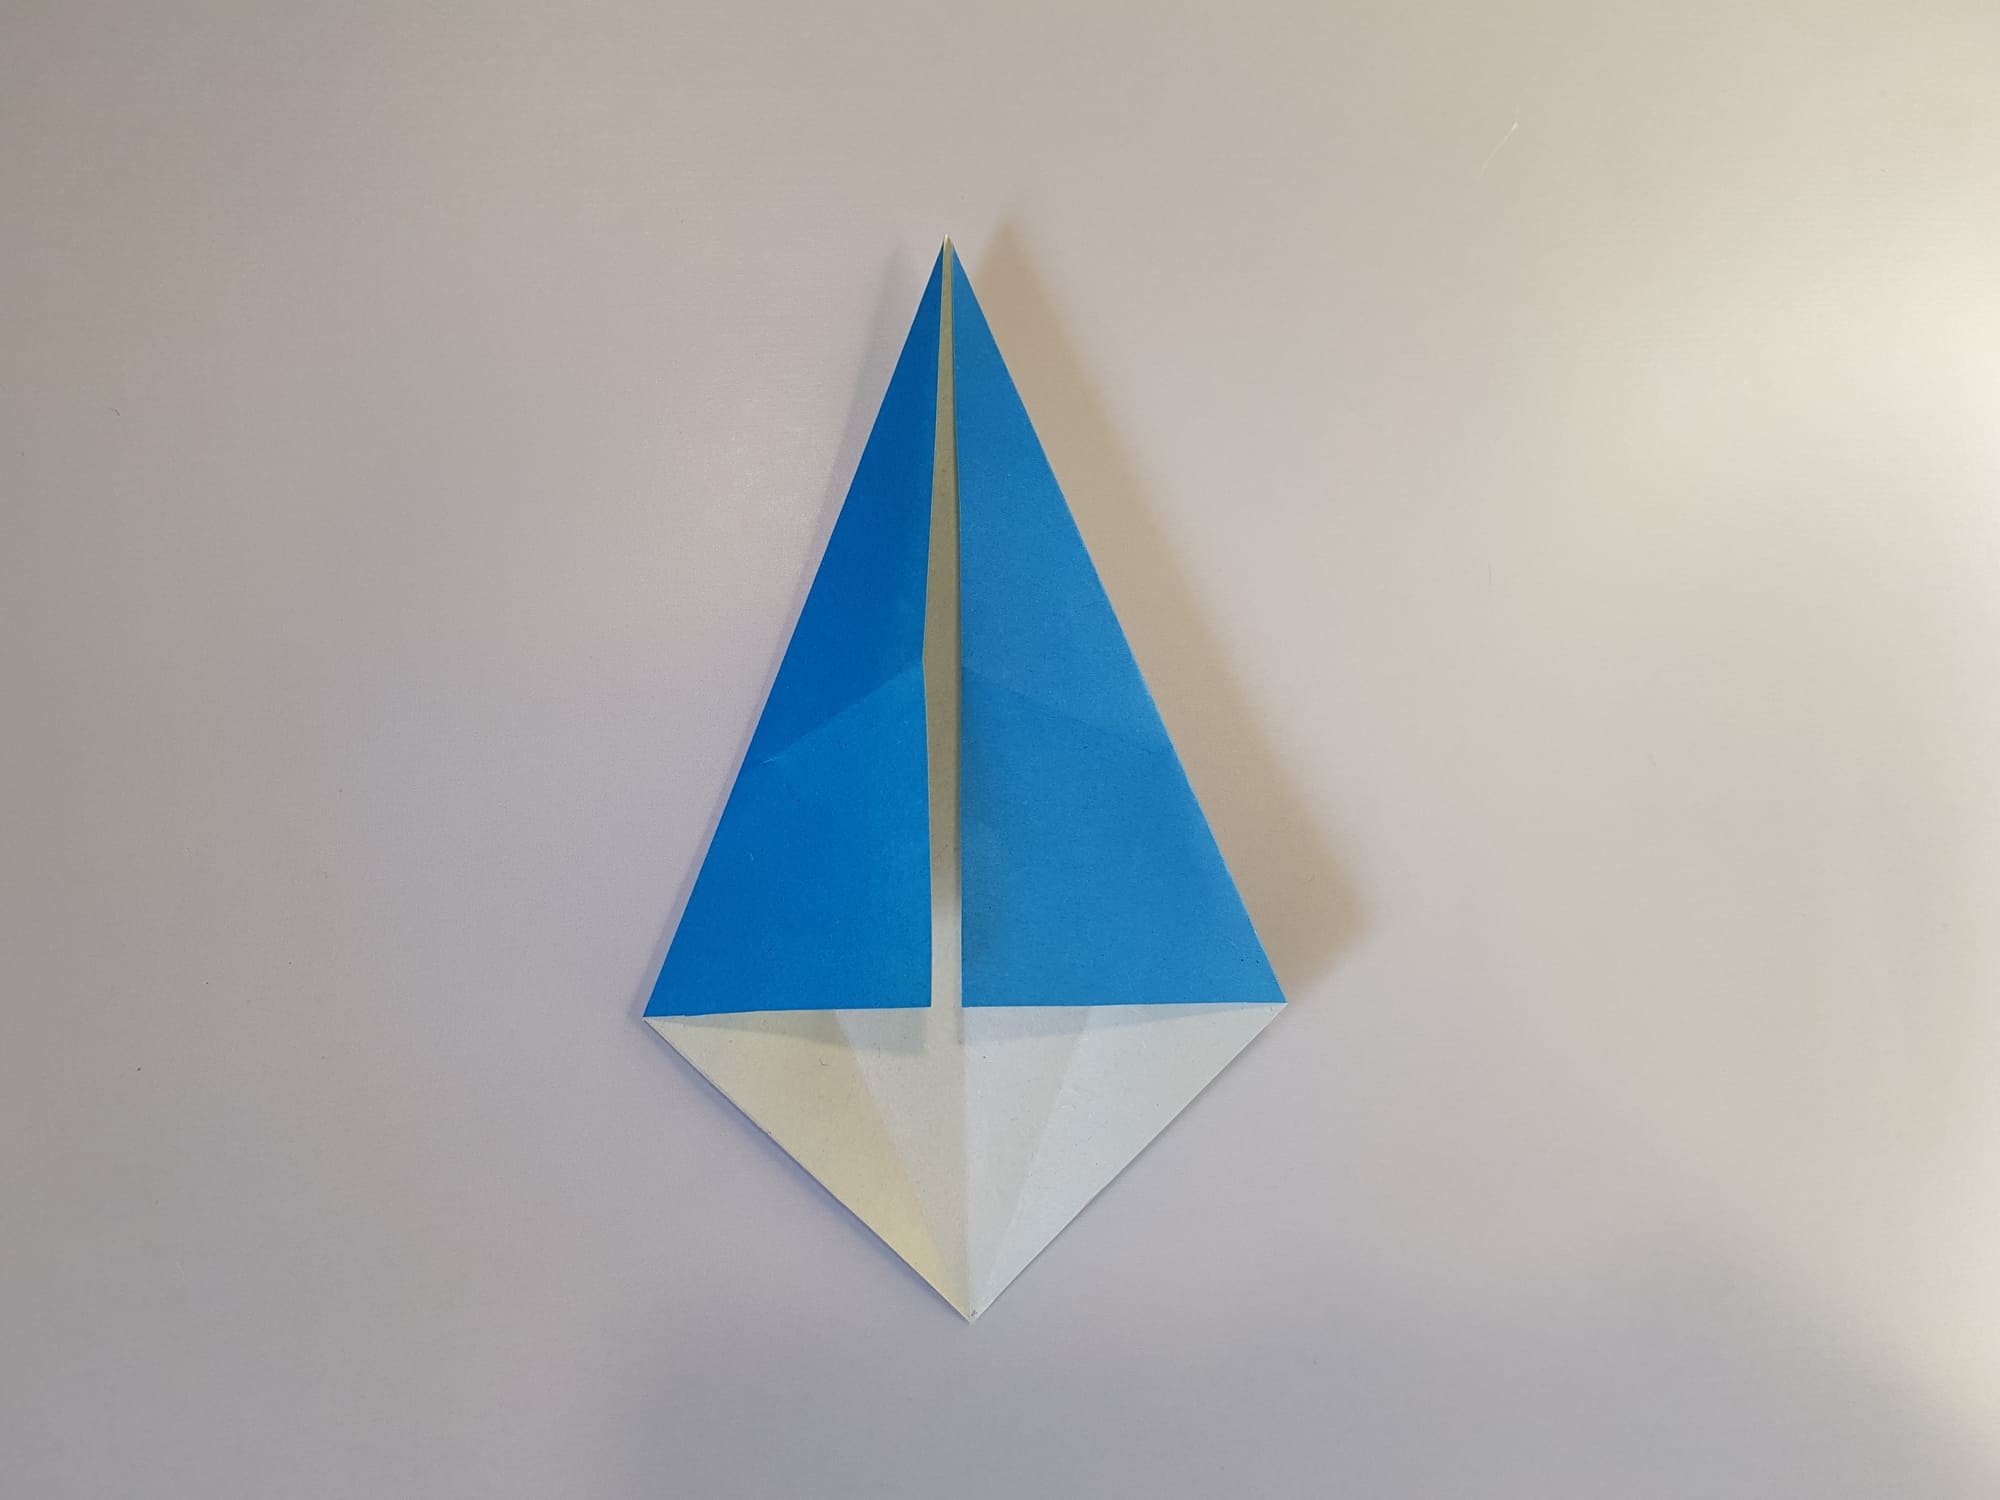
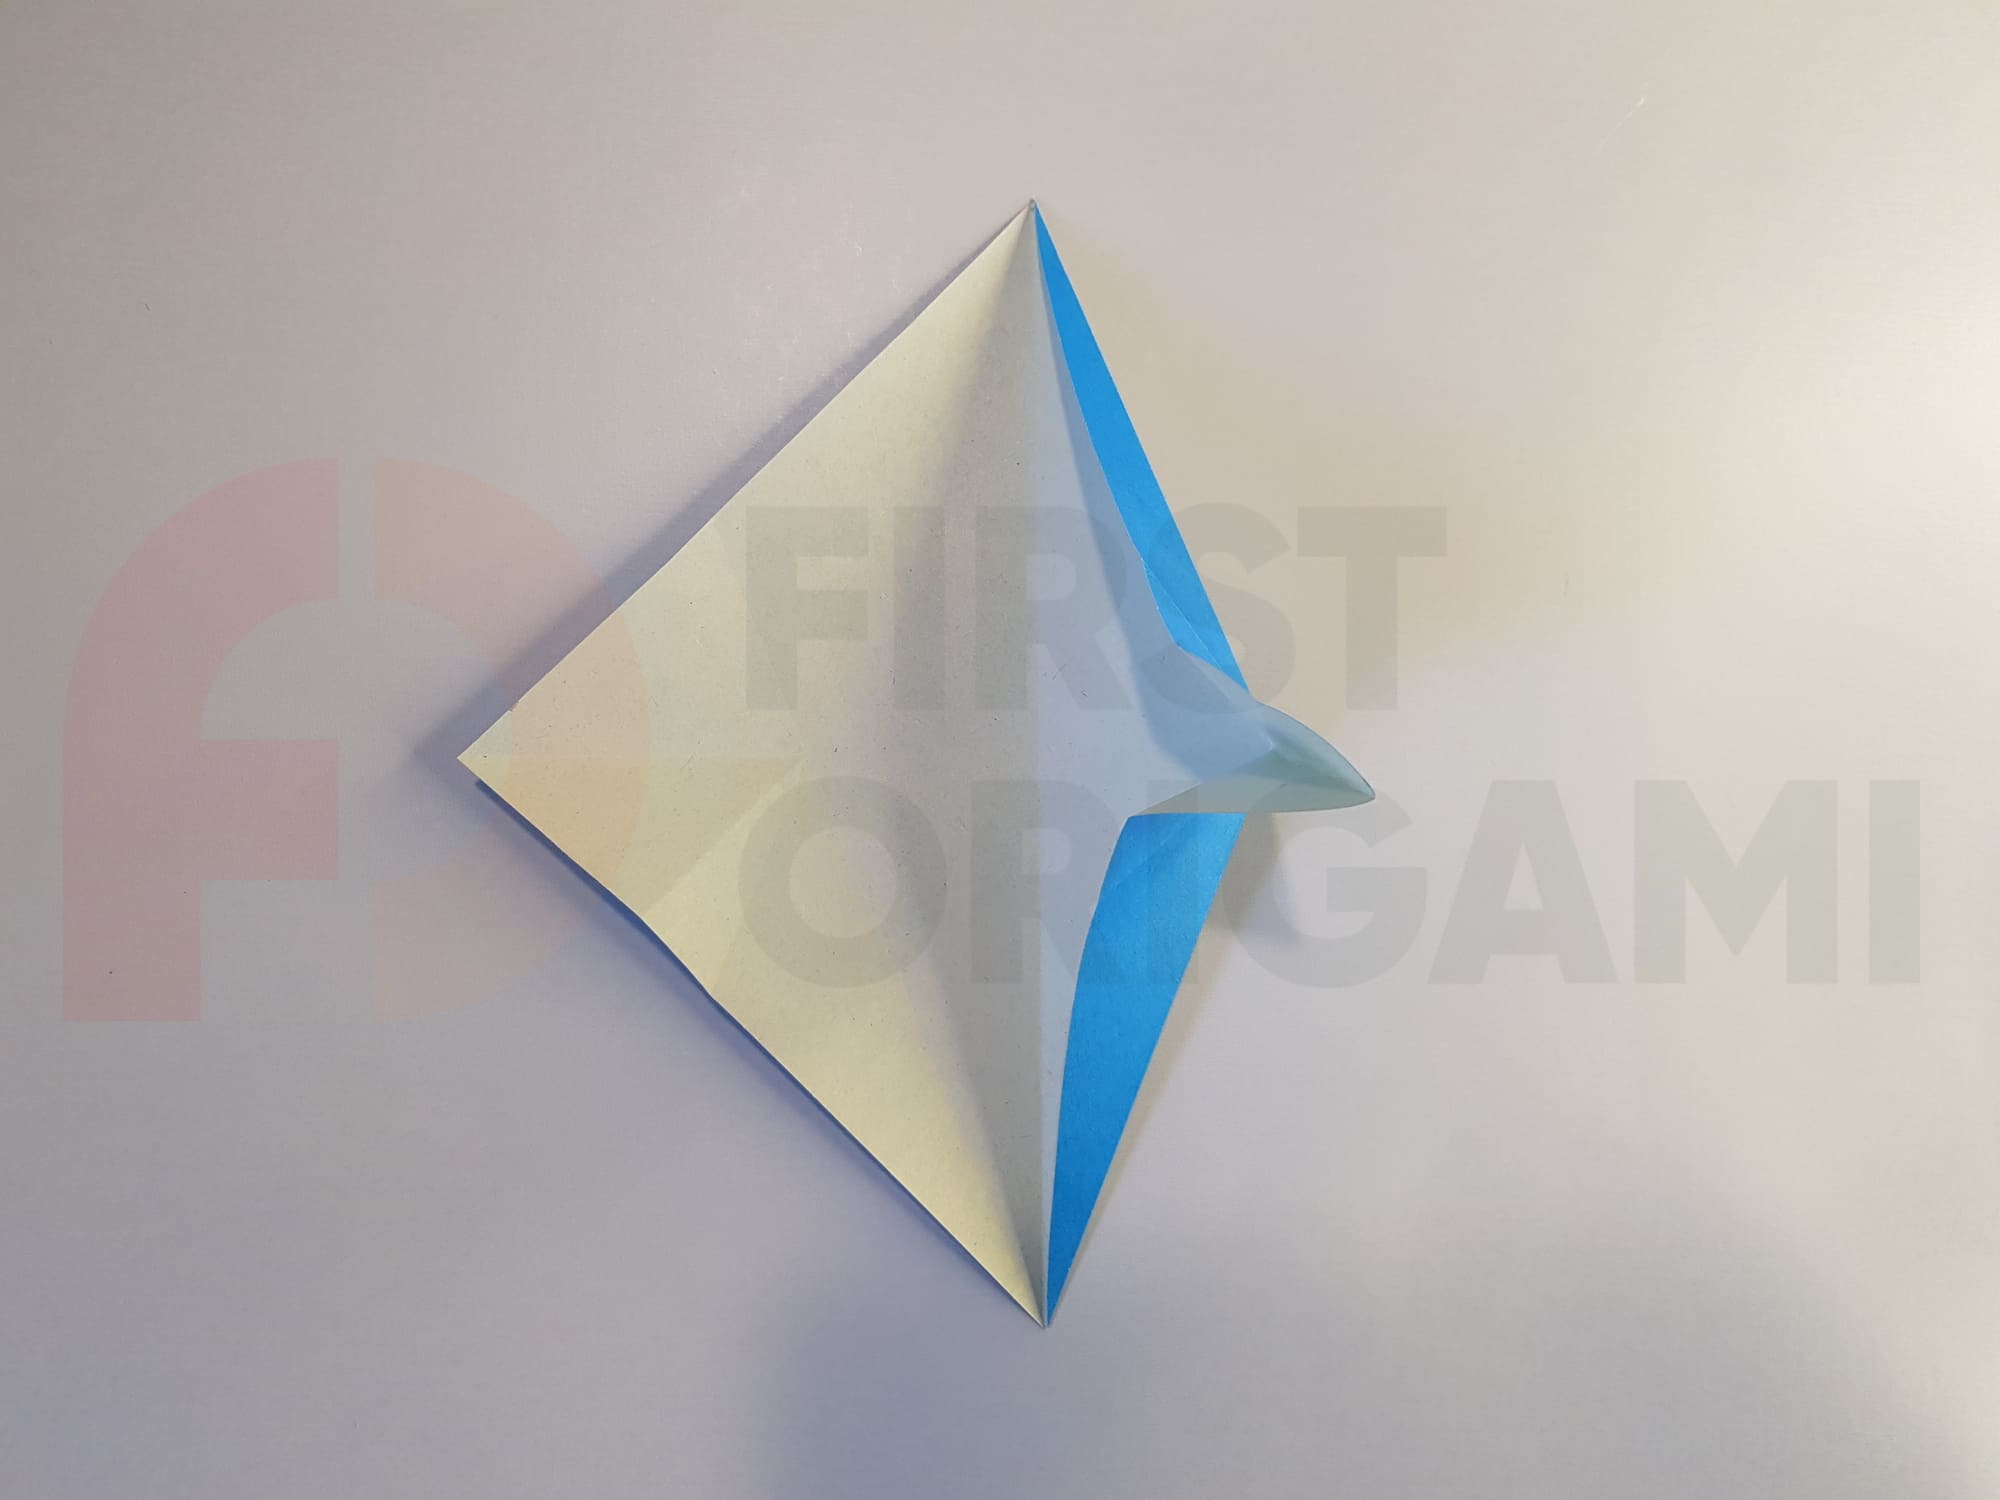
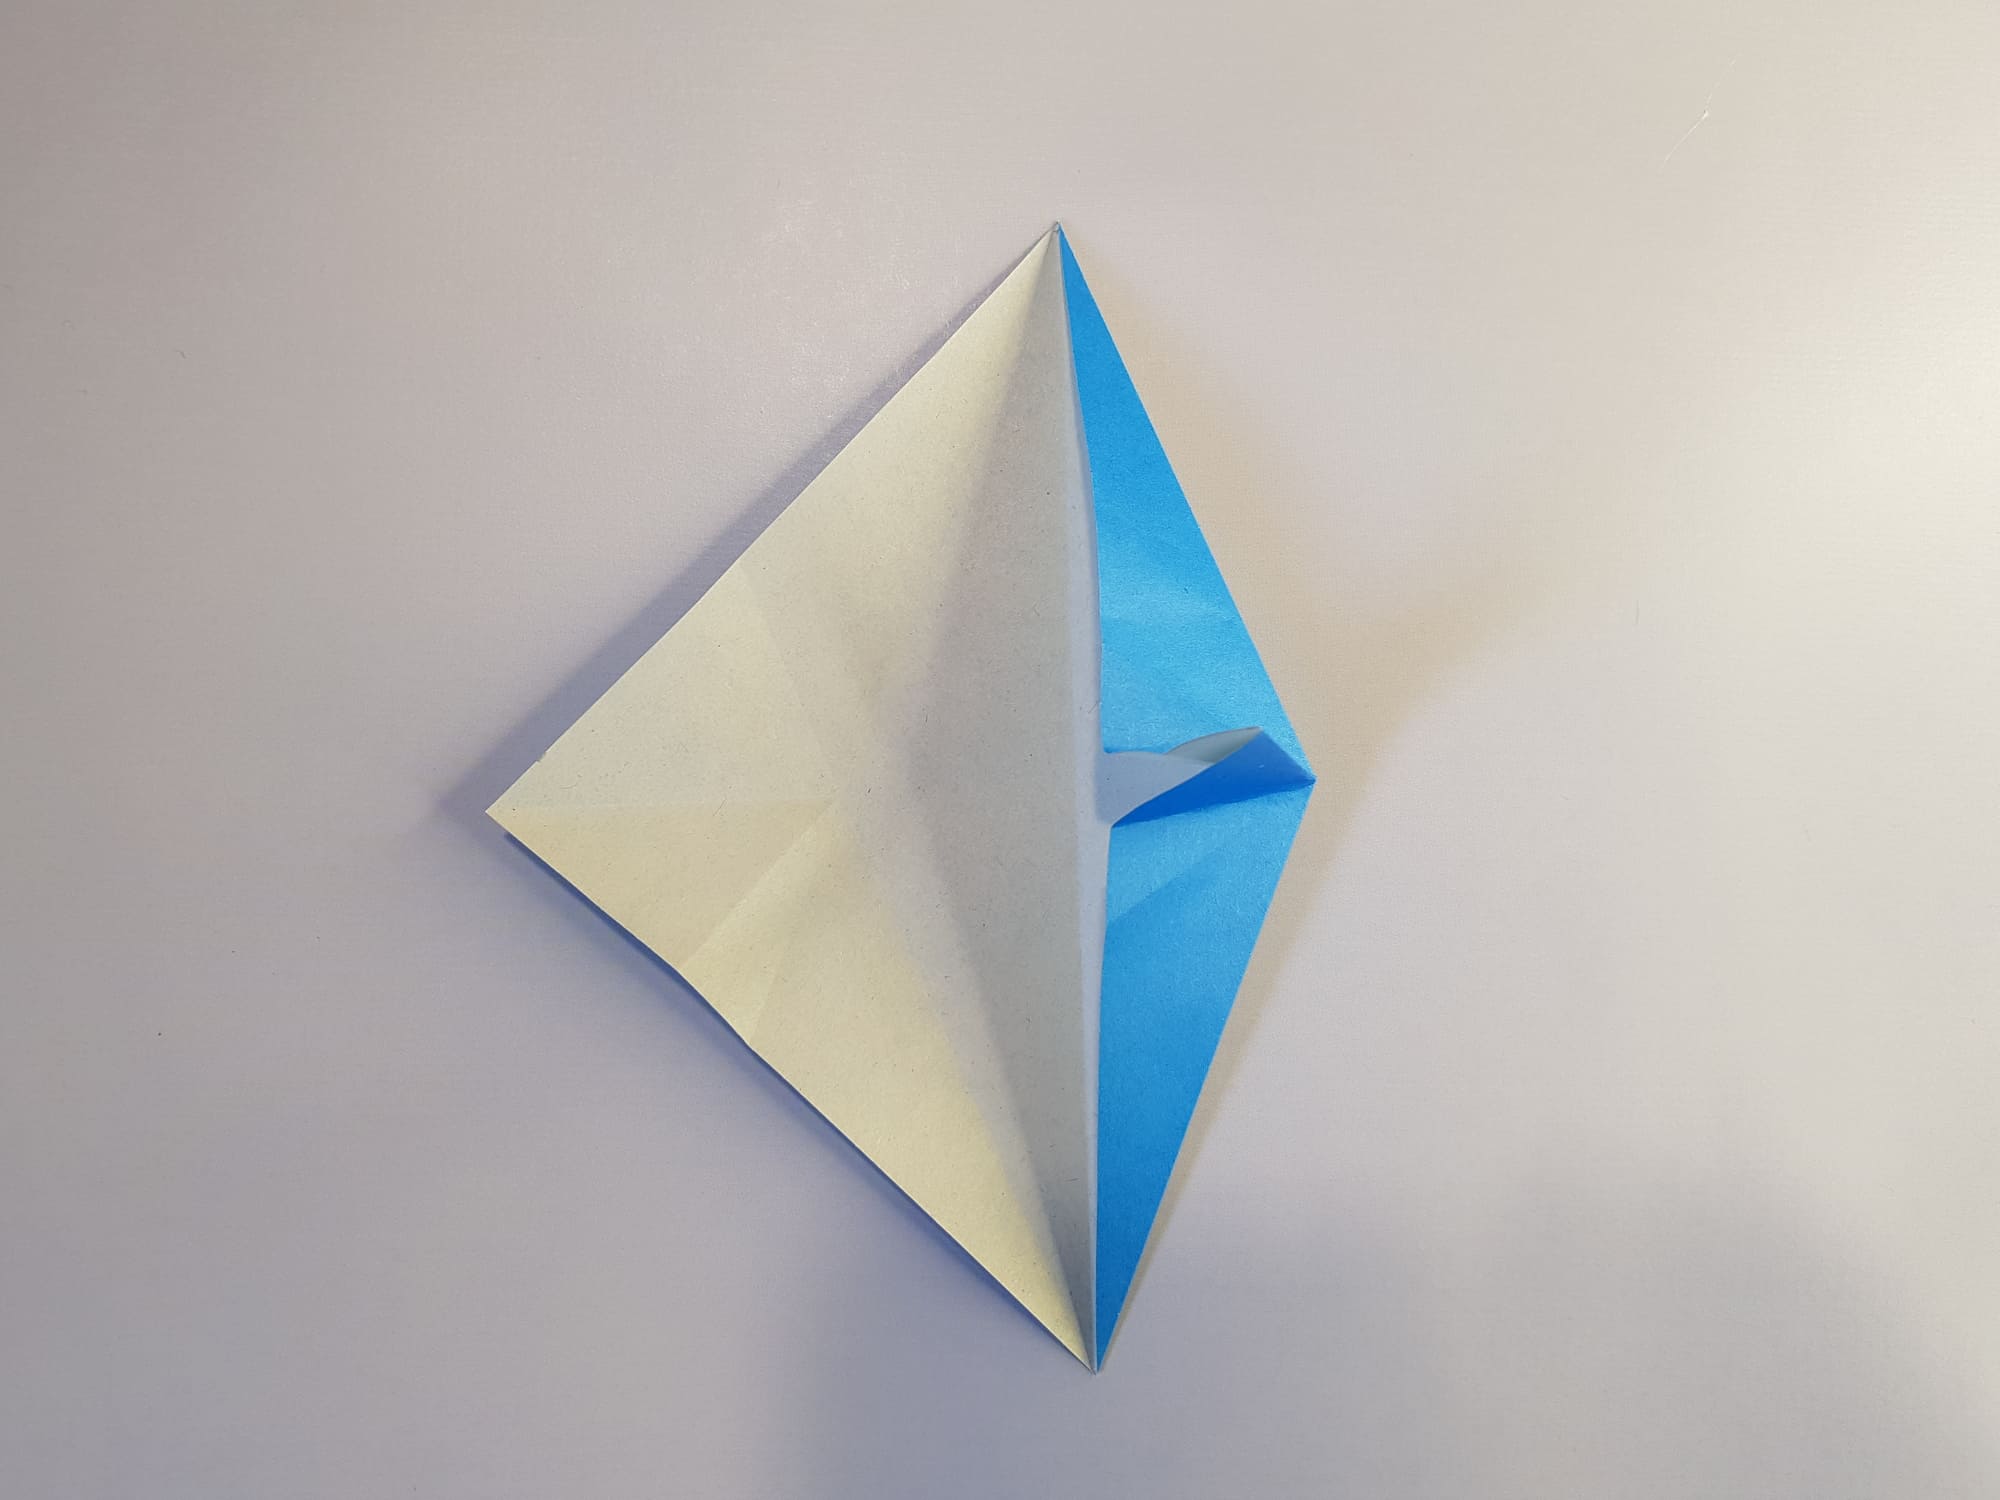
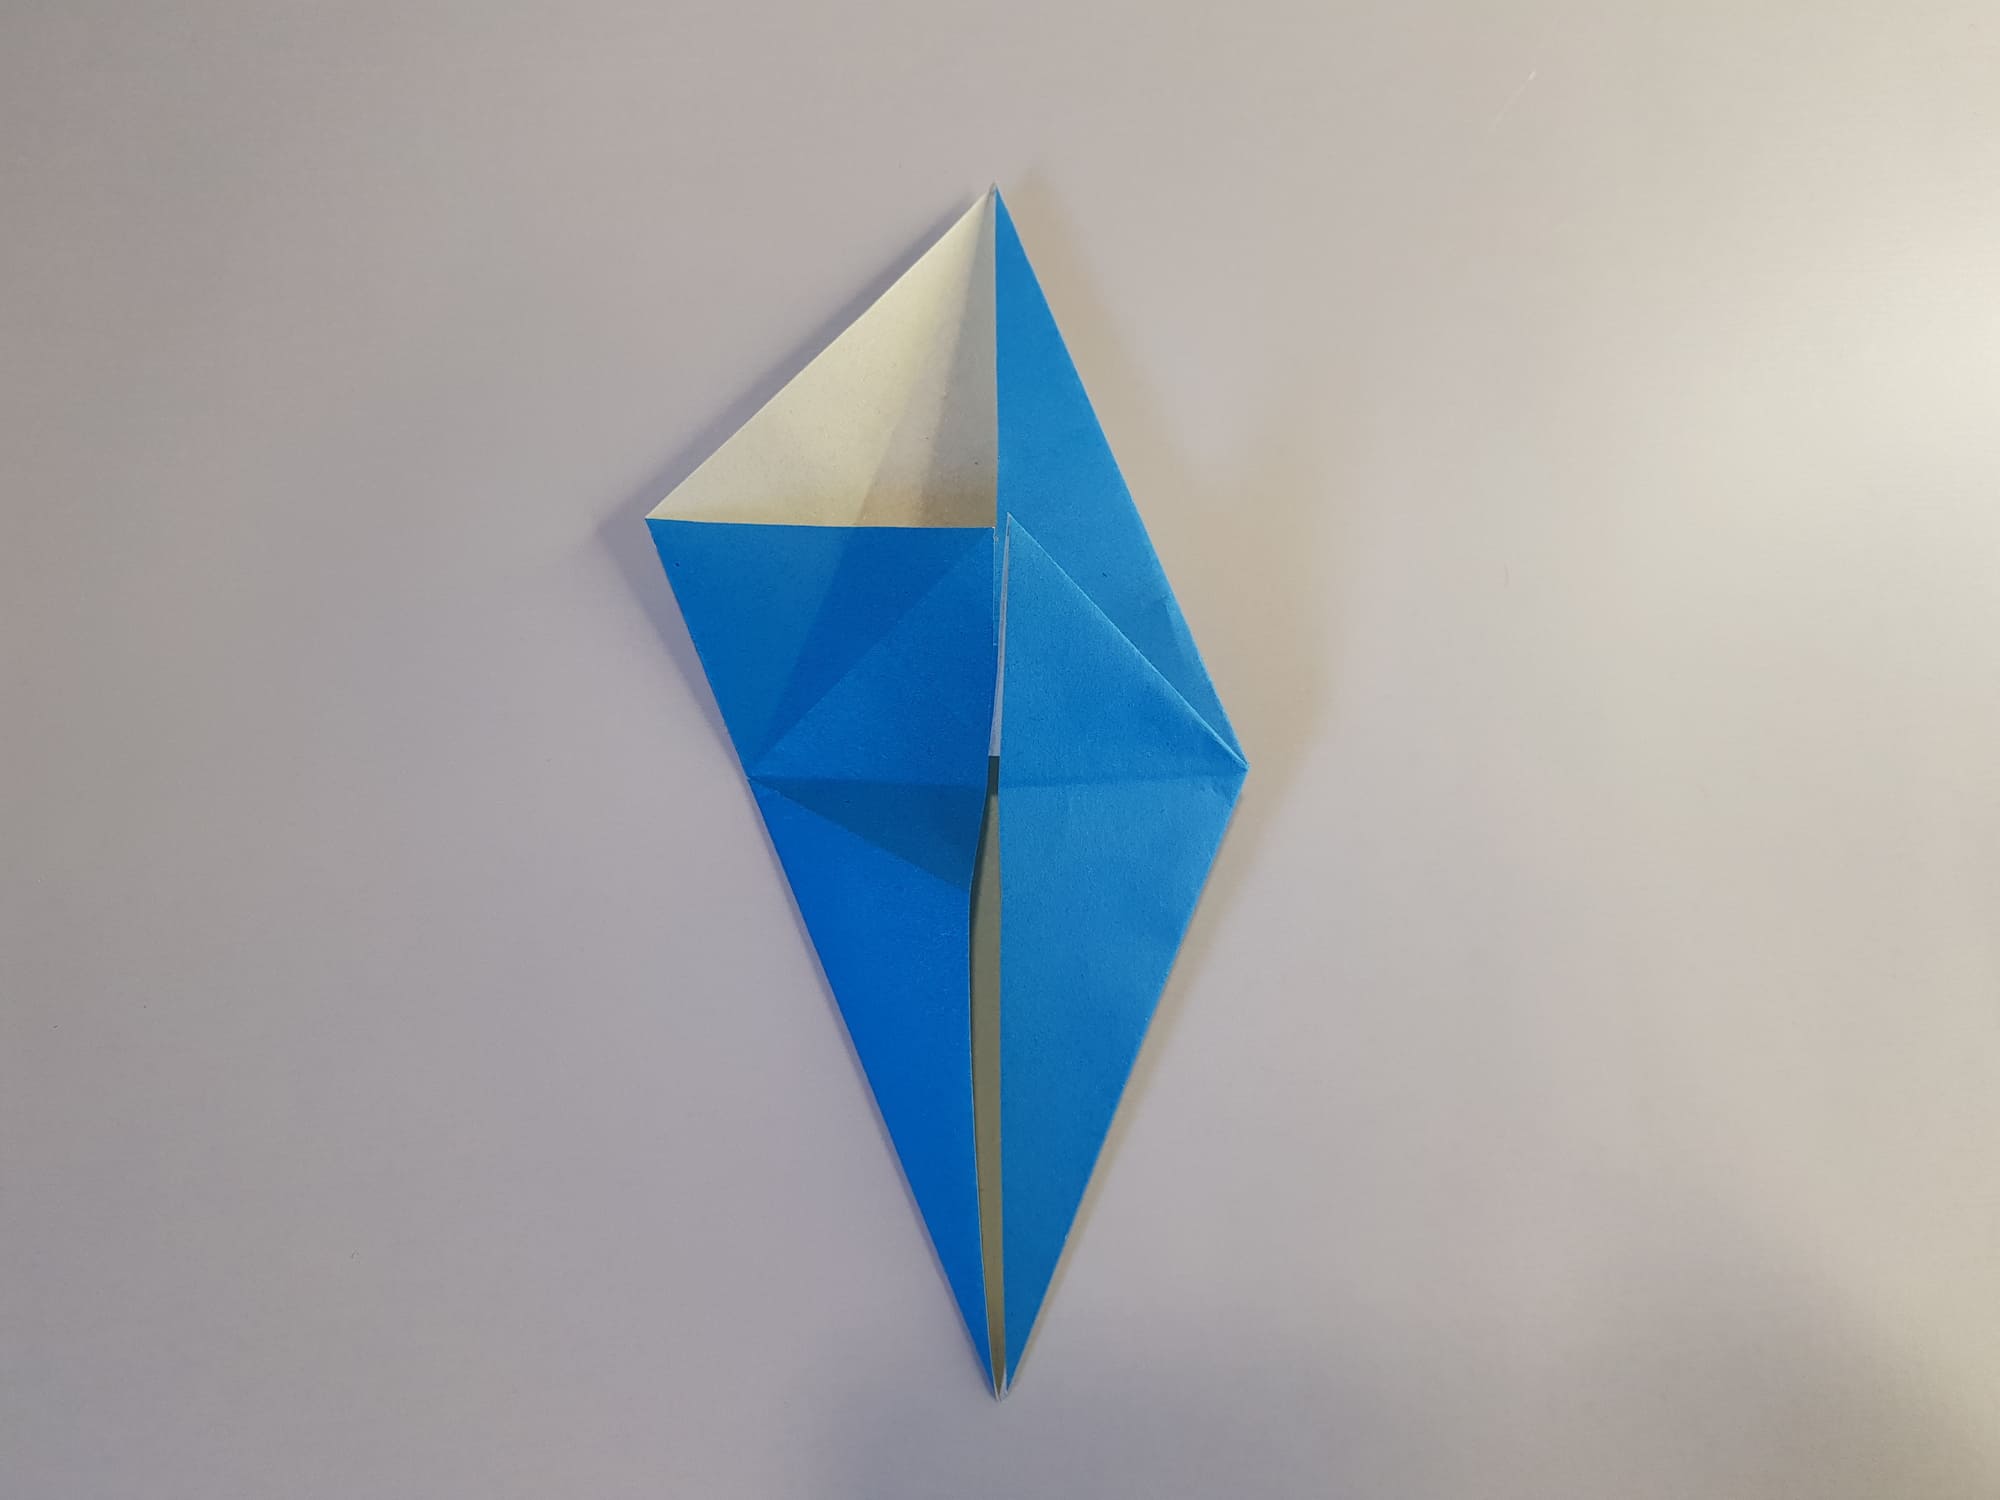
Turn the figure over and bend the side corners to the center.
Crease the folds well.
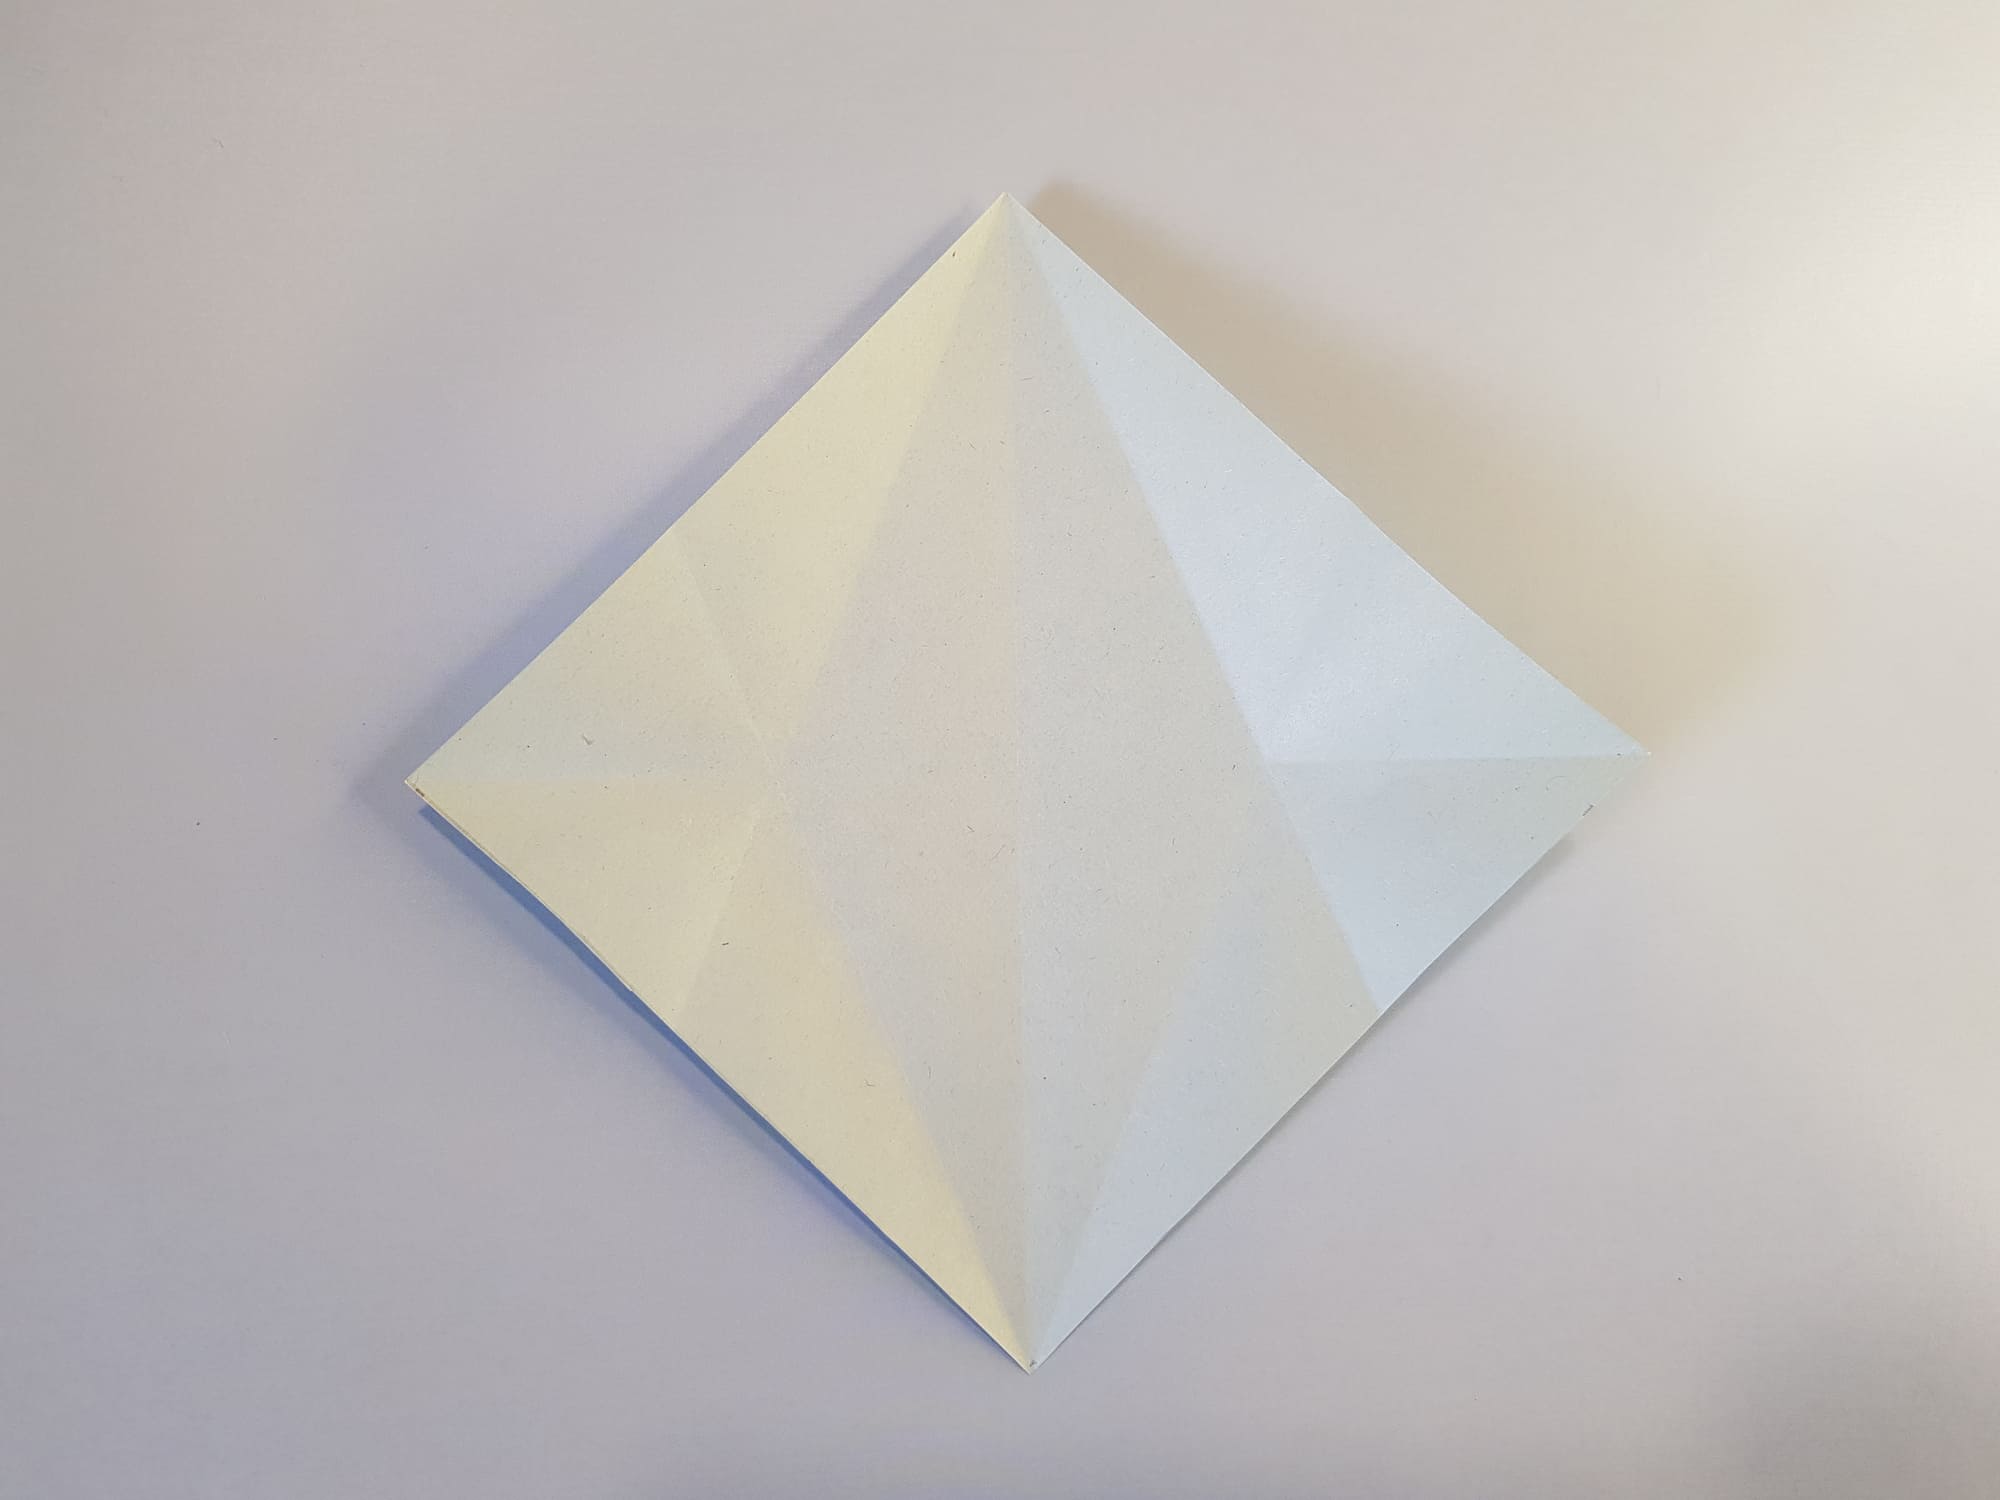
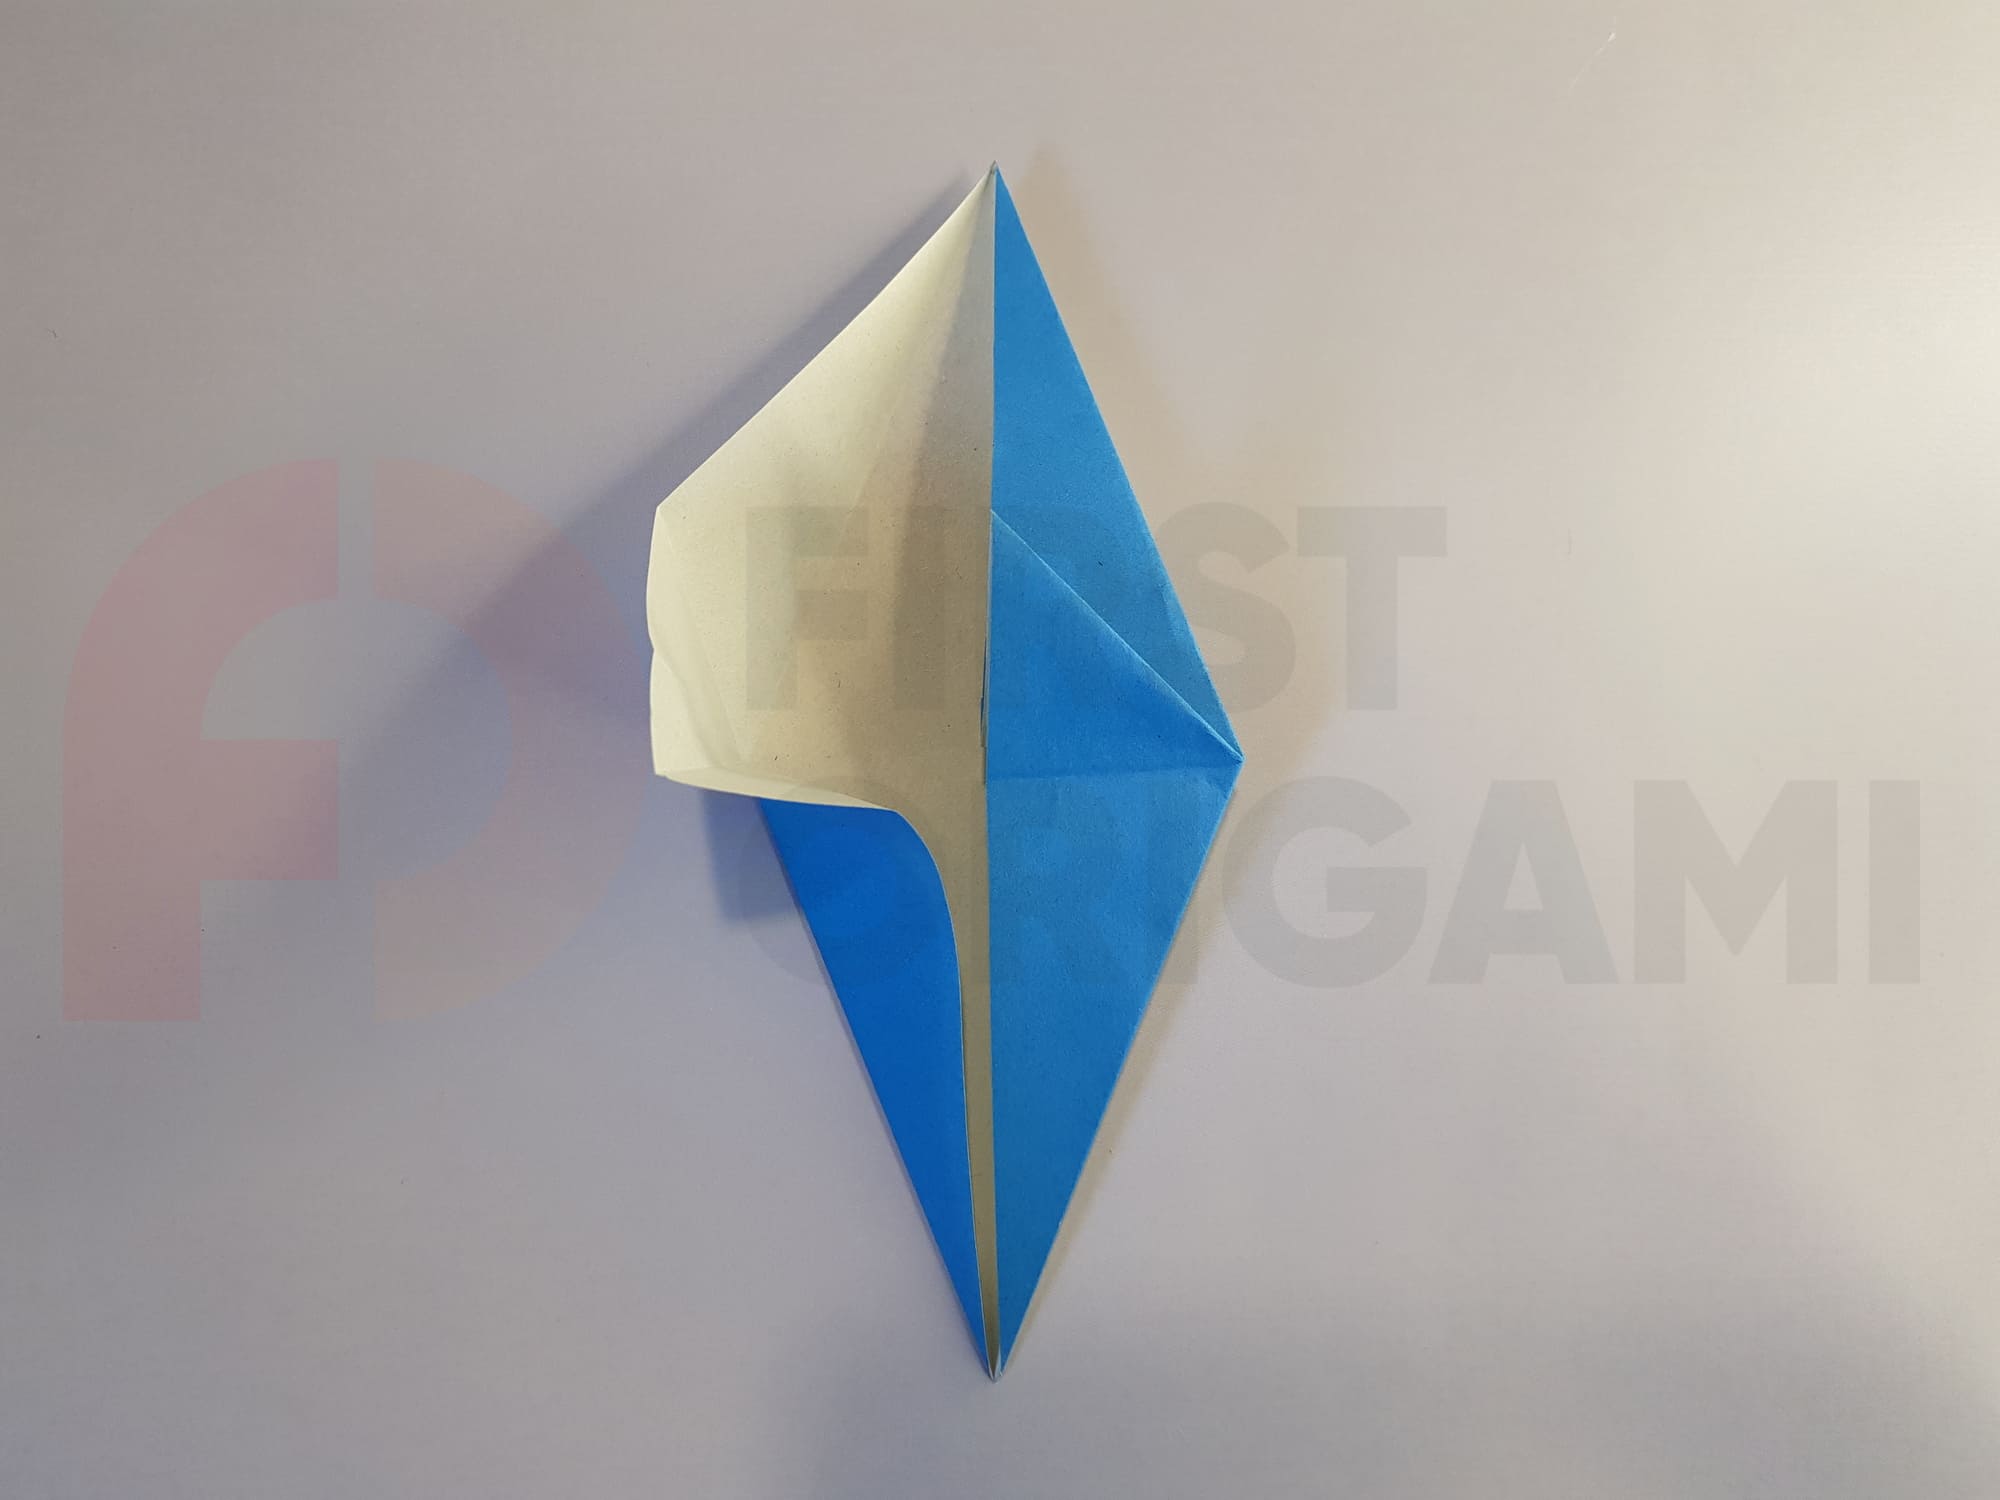
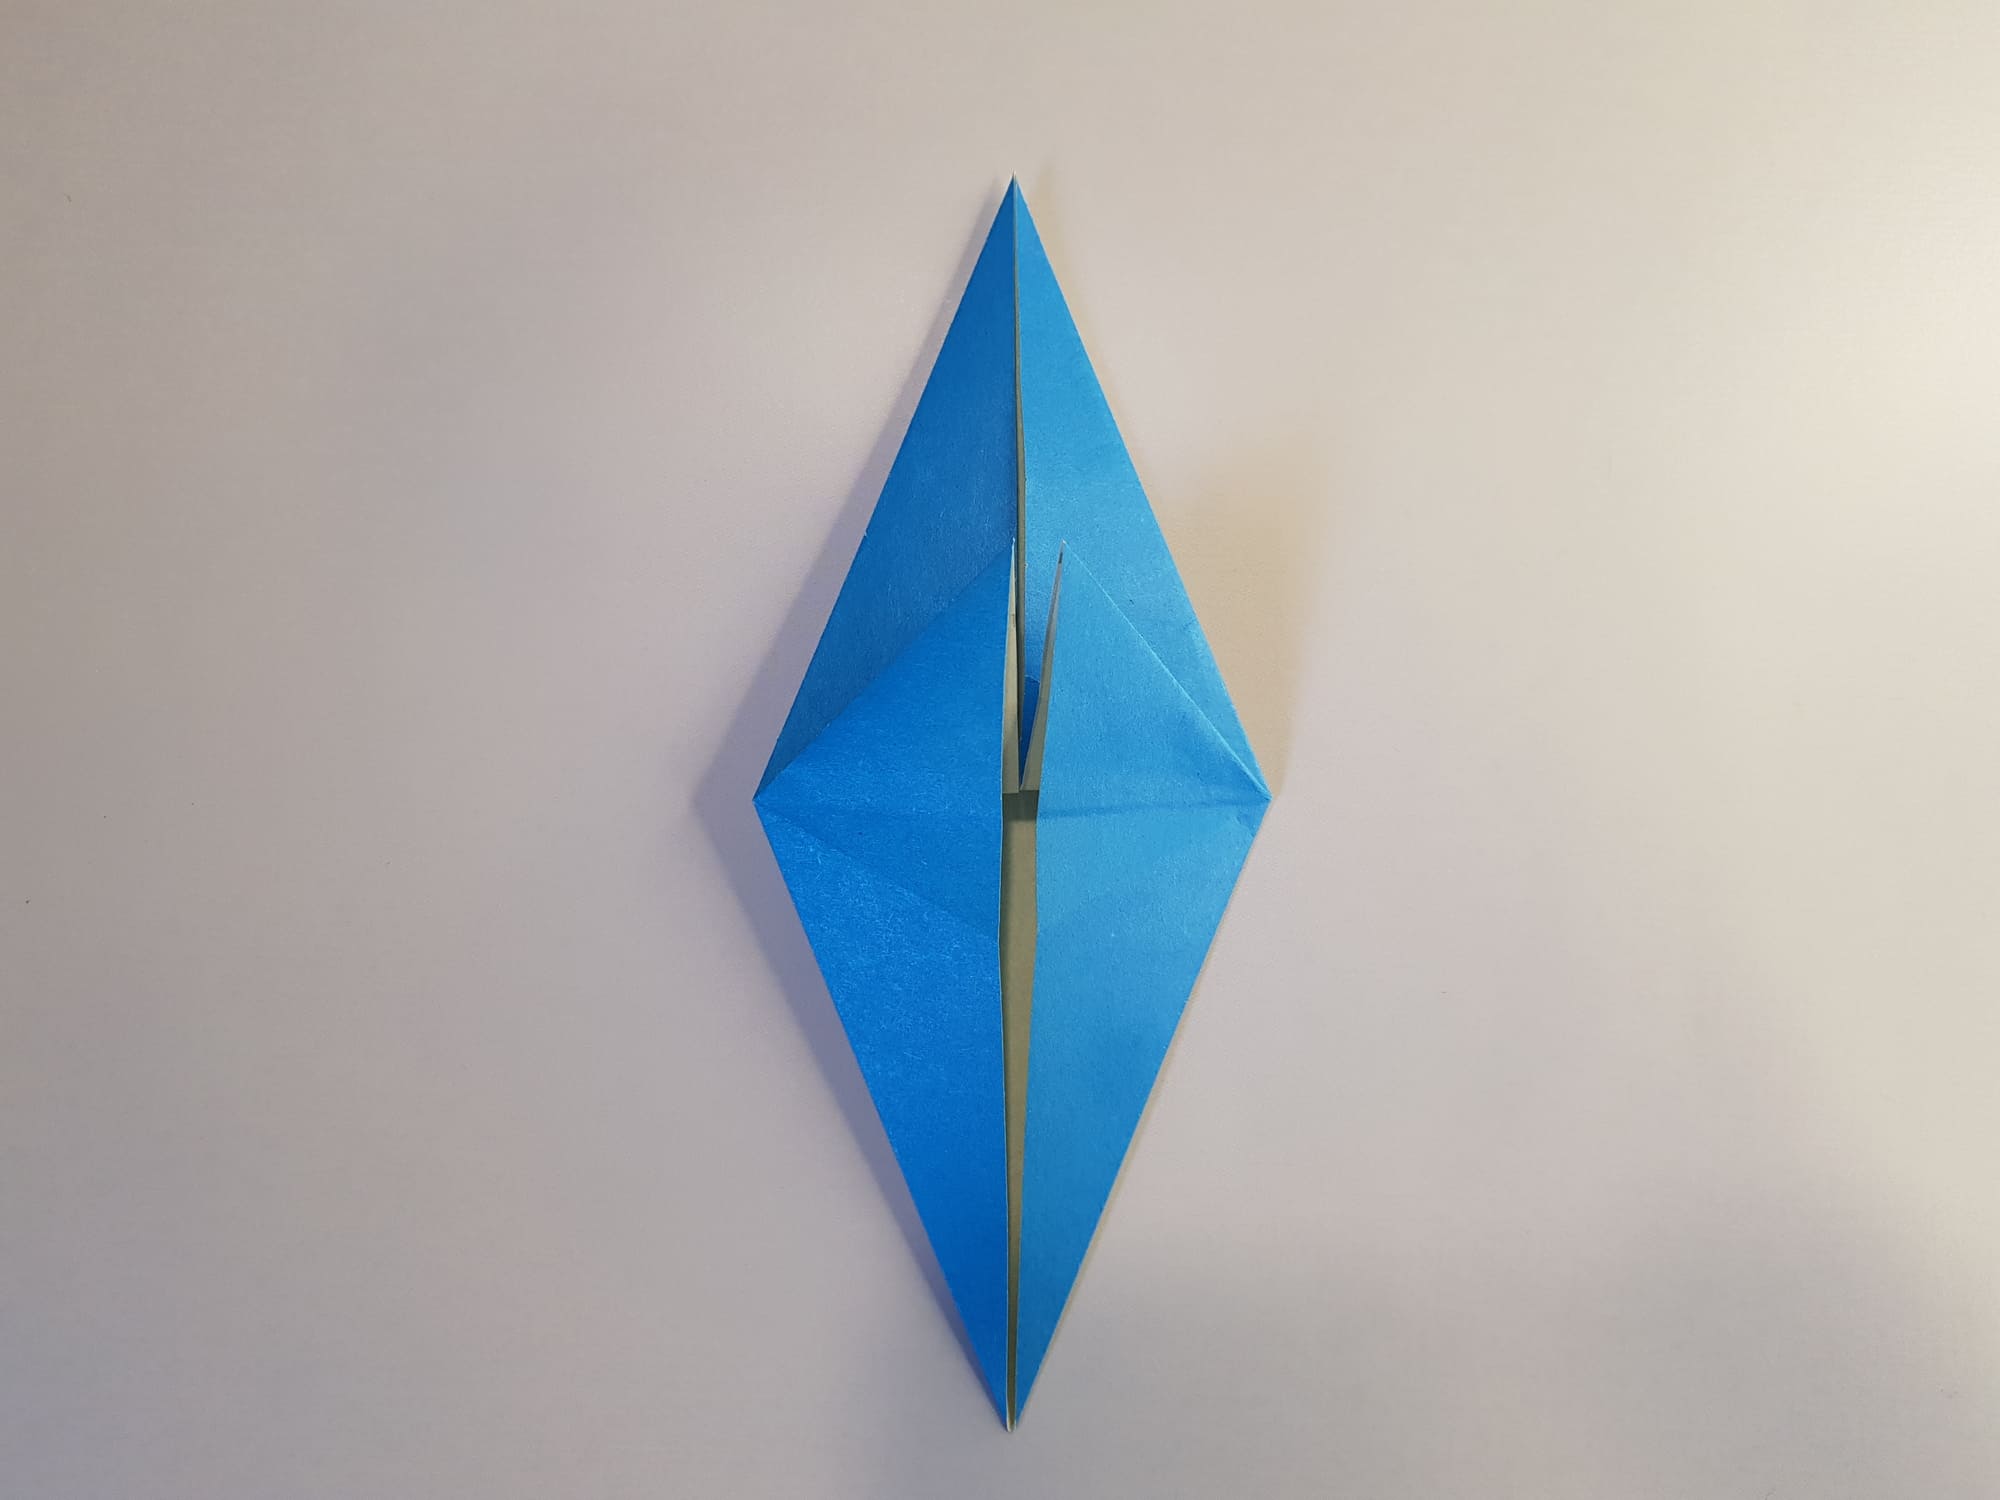
Turn the shape over again. Use scissors to make a cut along the dotted line in the photo.
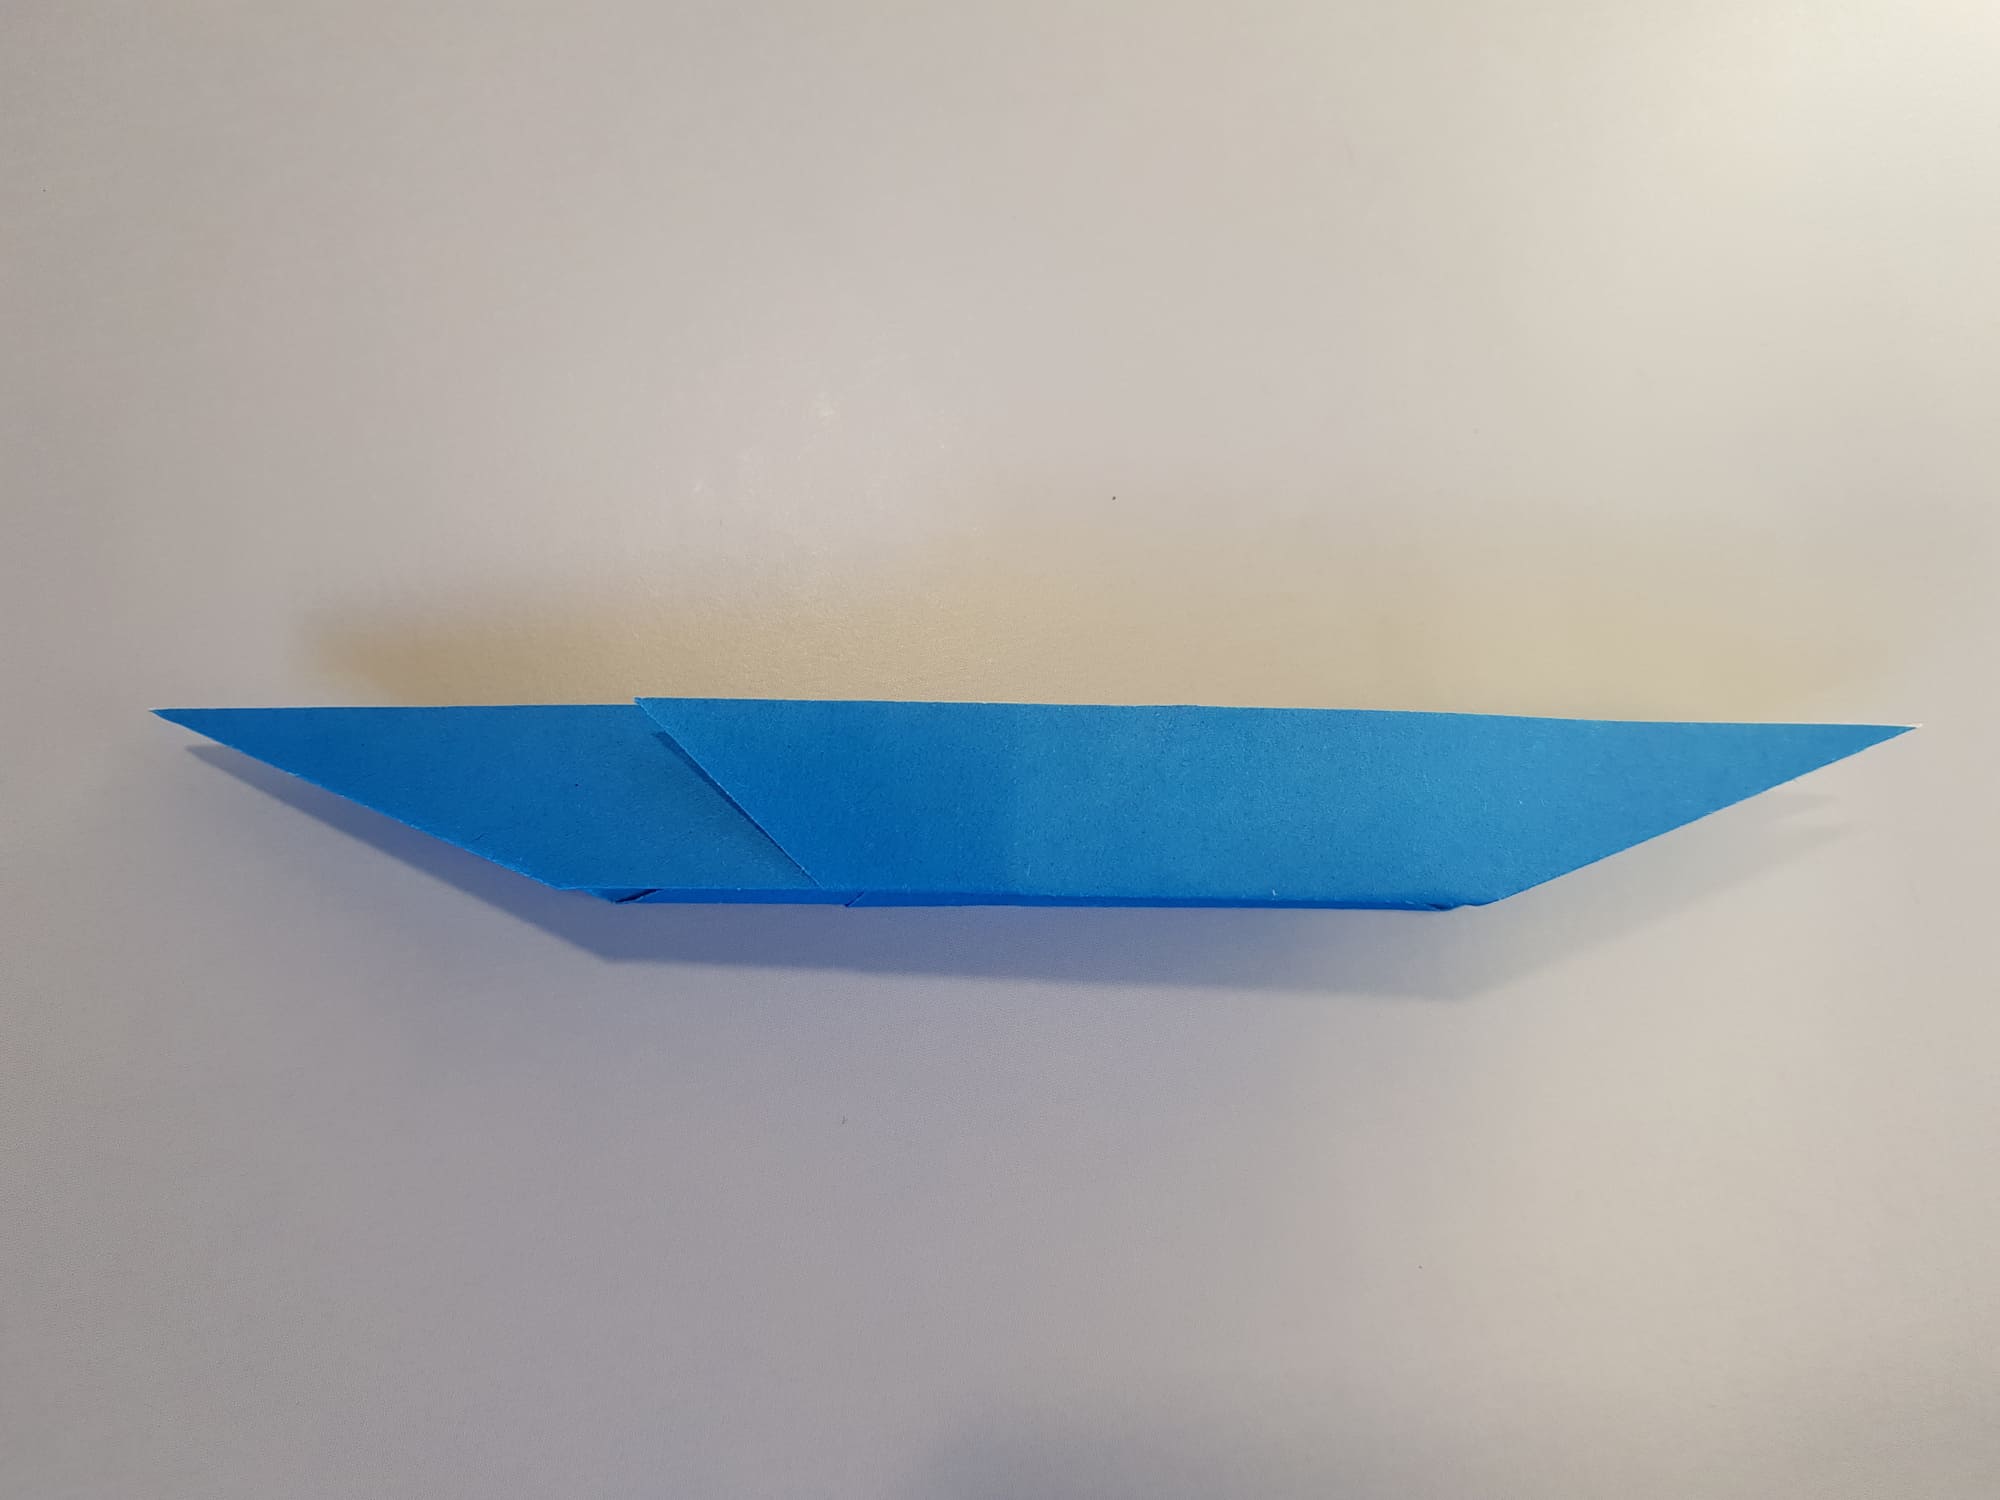
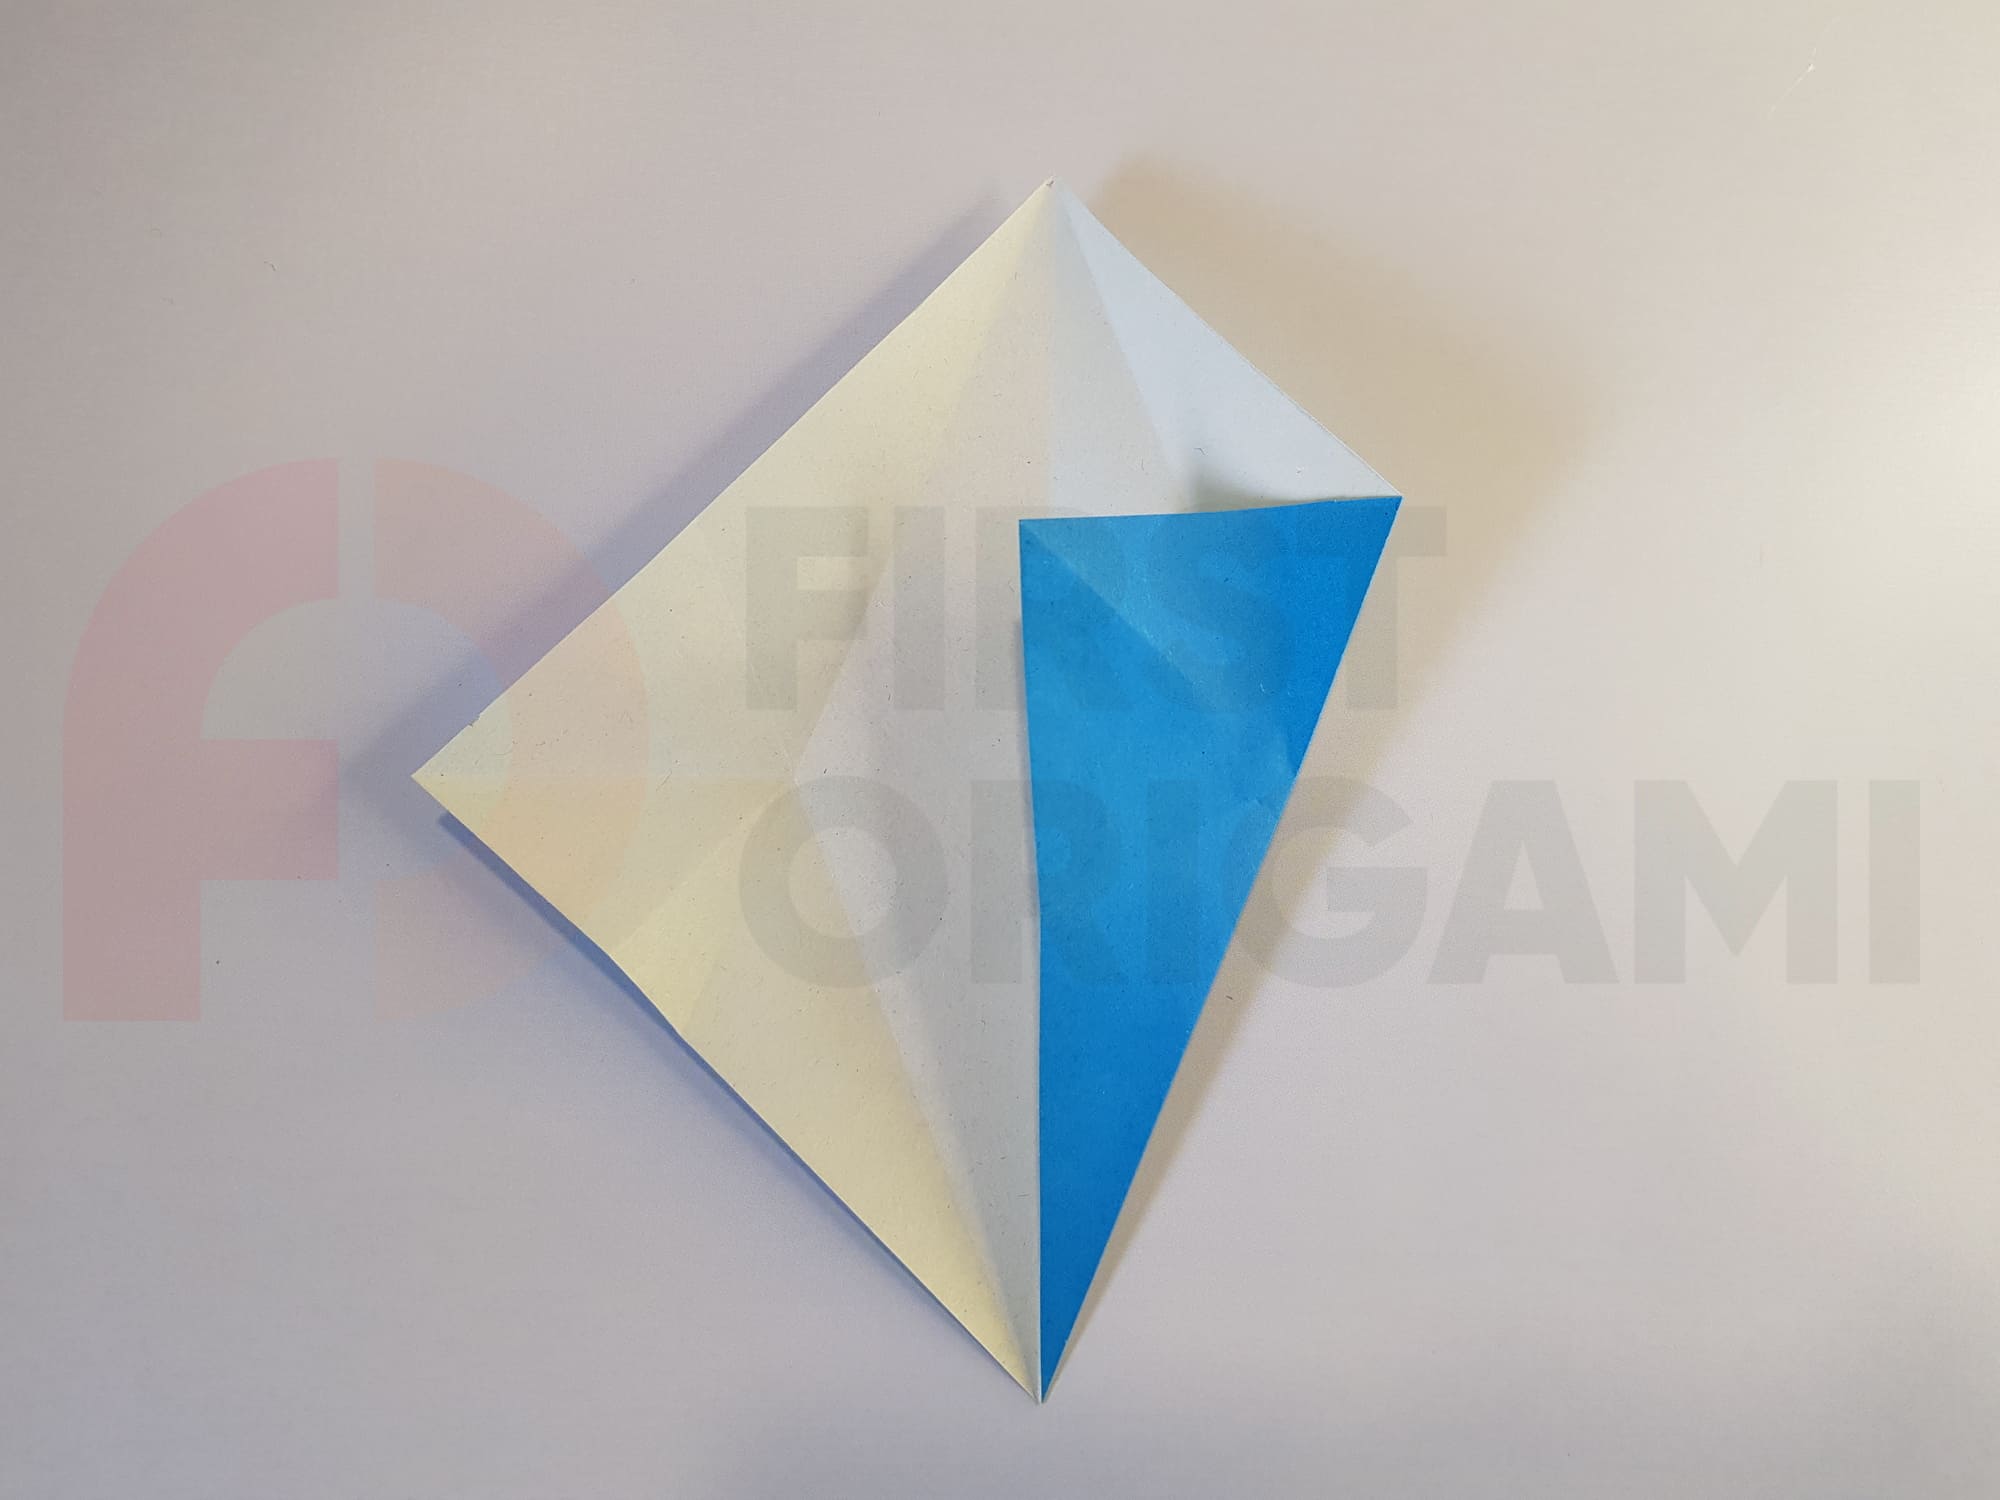
This is the future tail of the whale. Fold the paper in half.
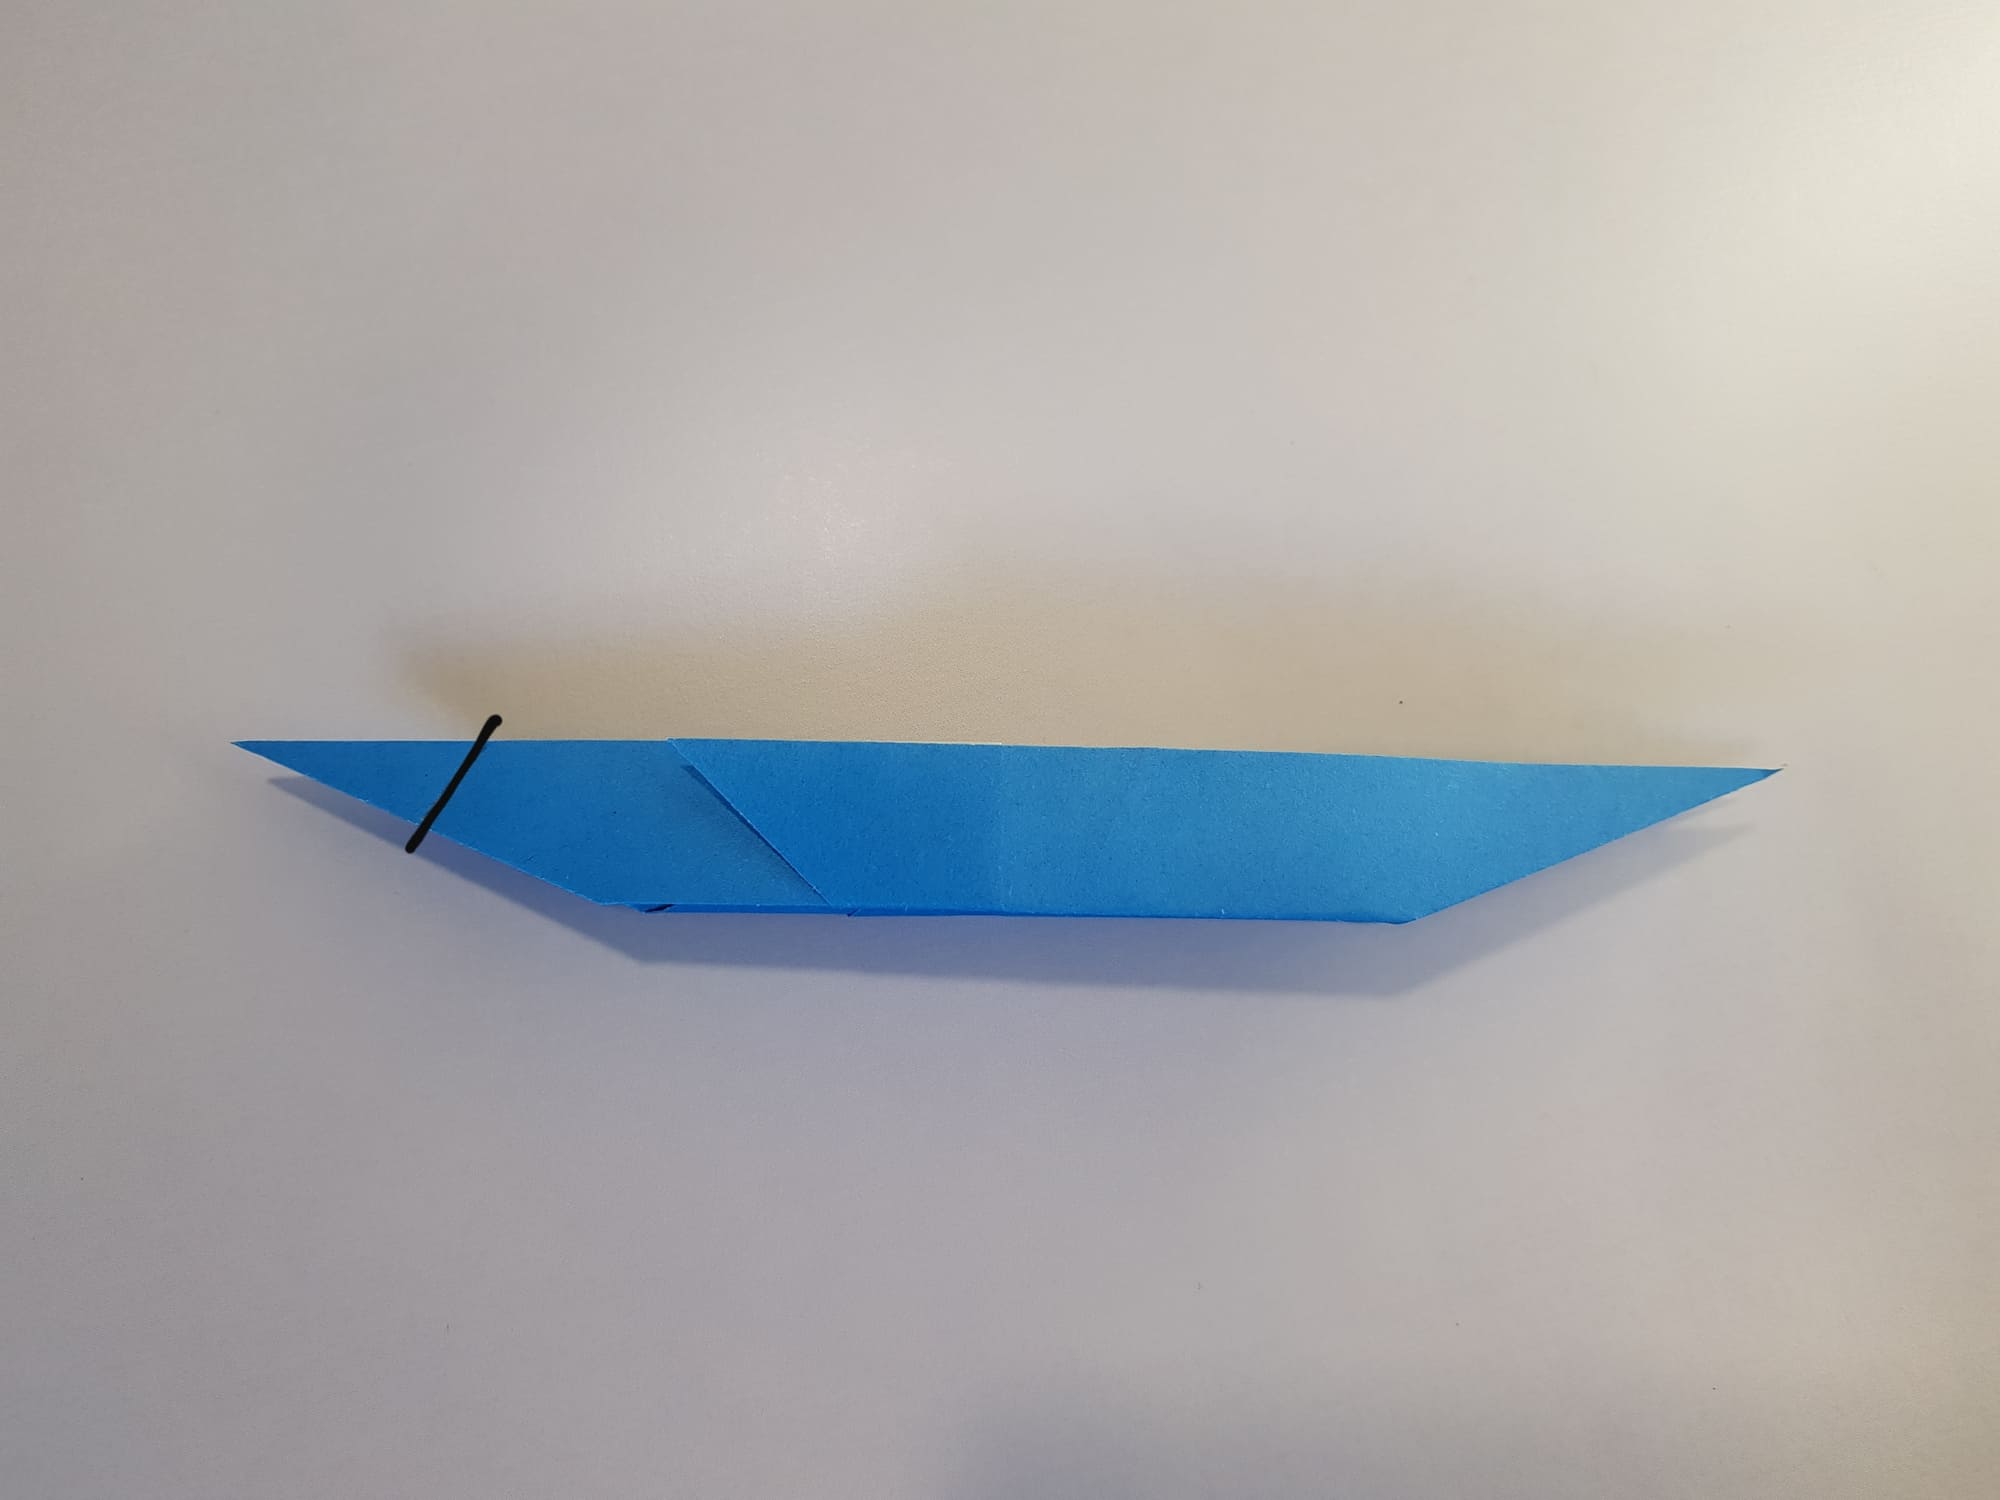
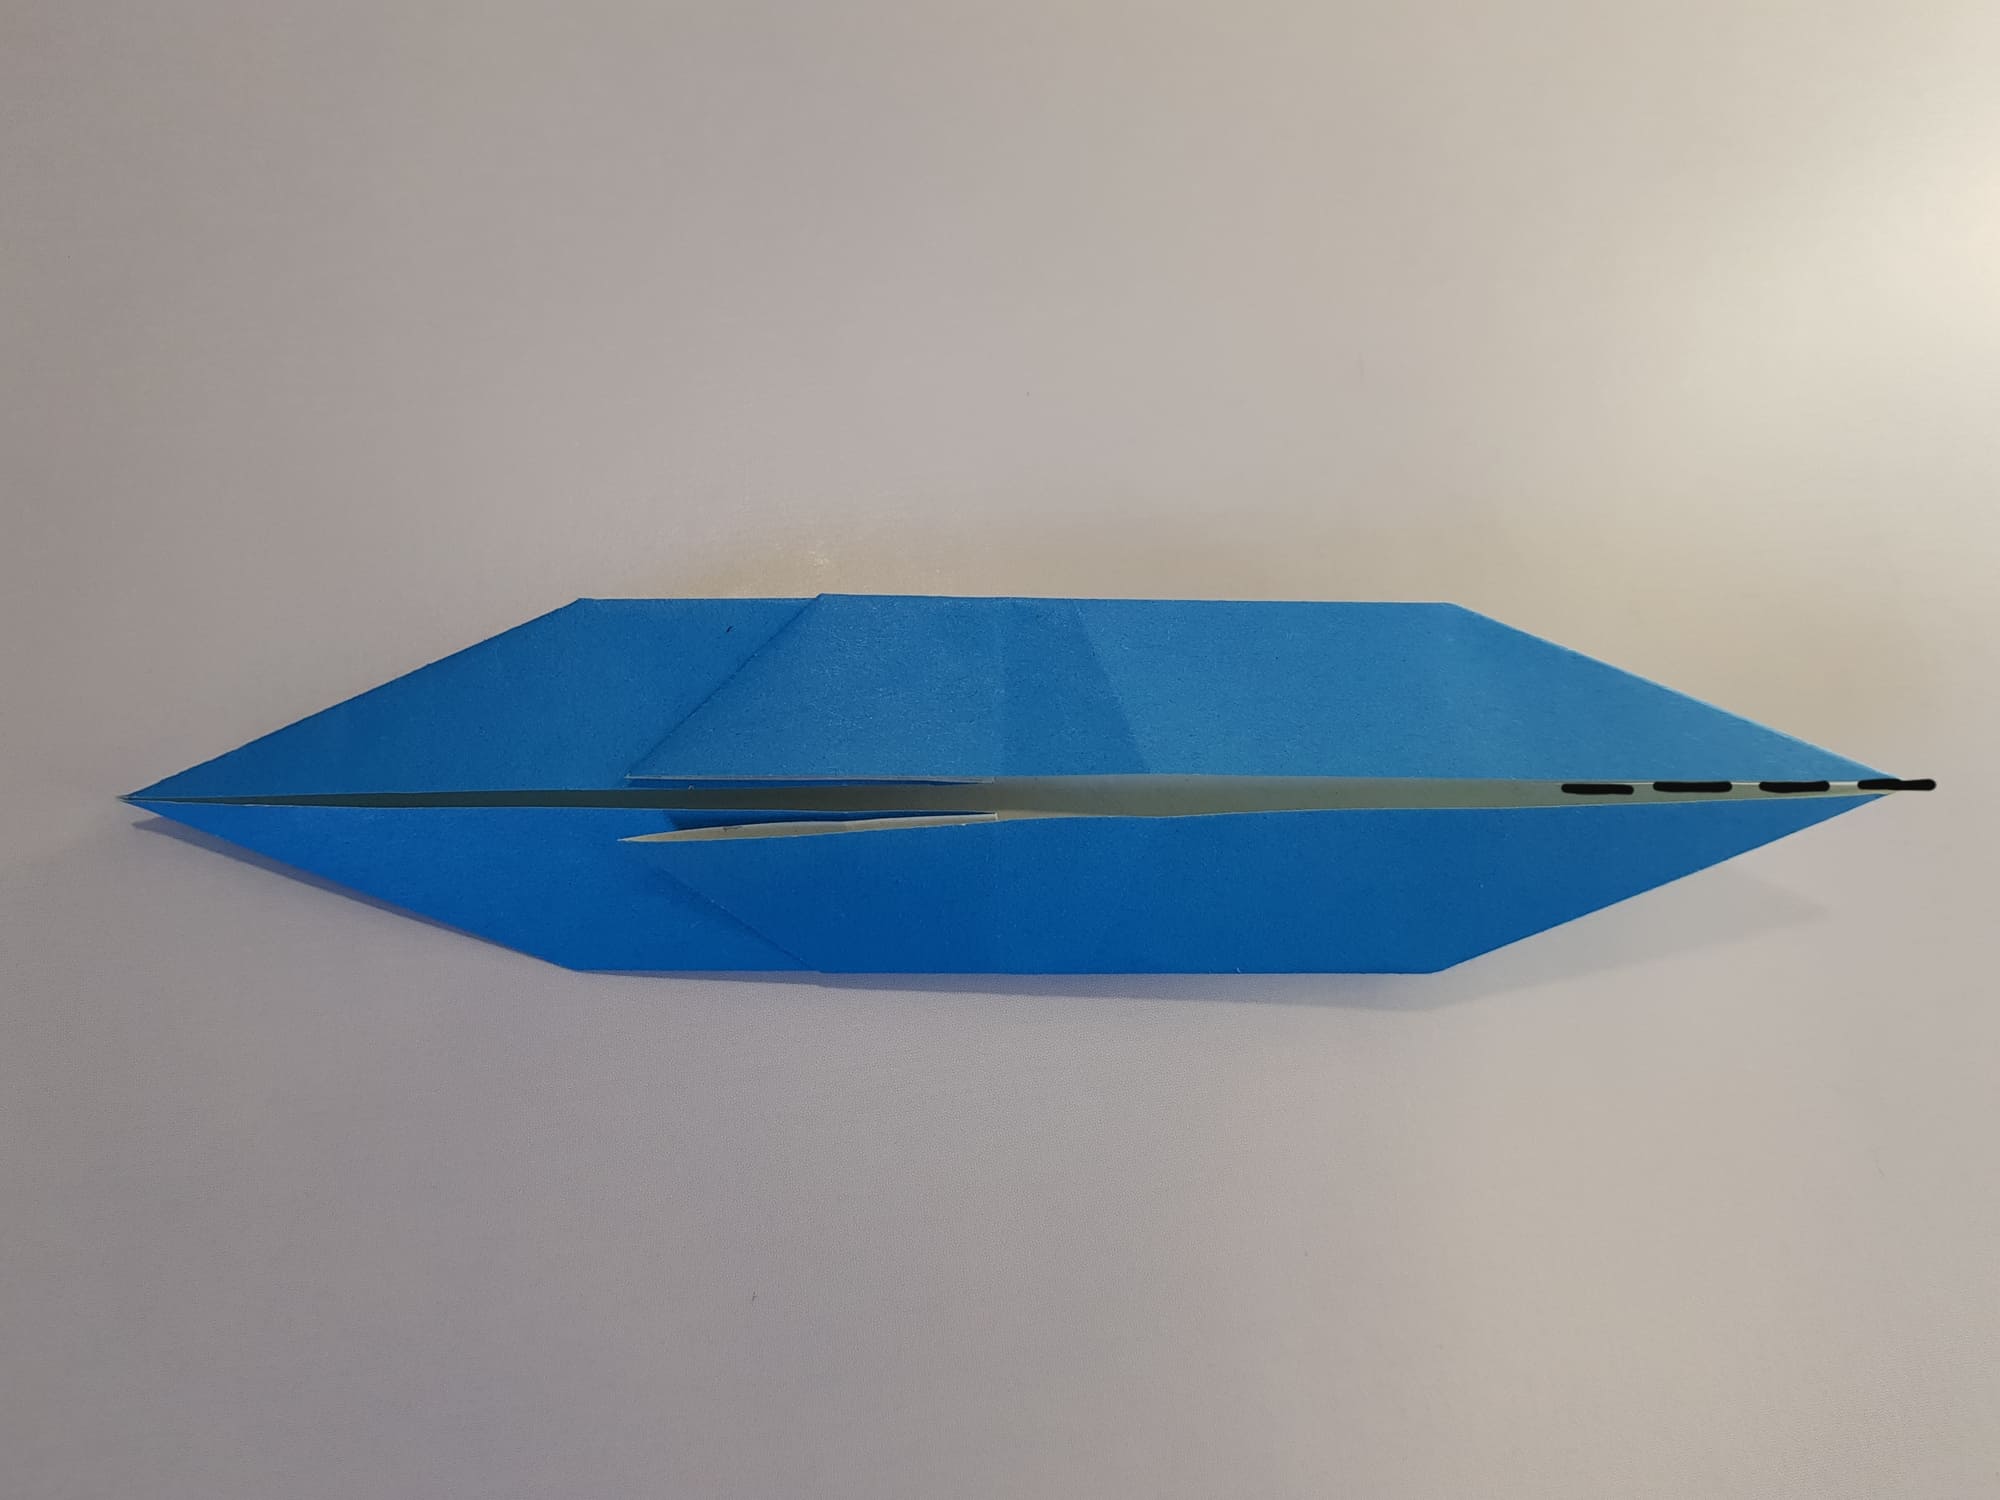
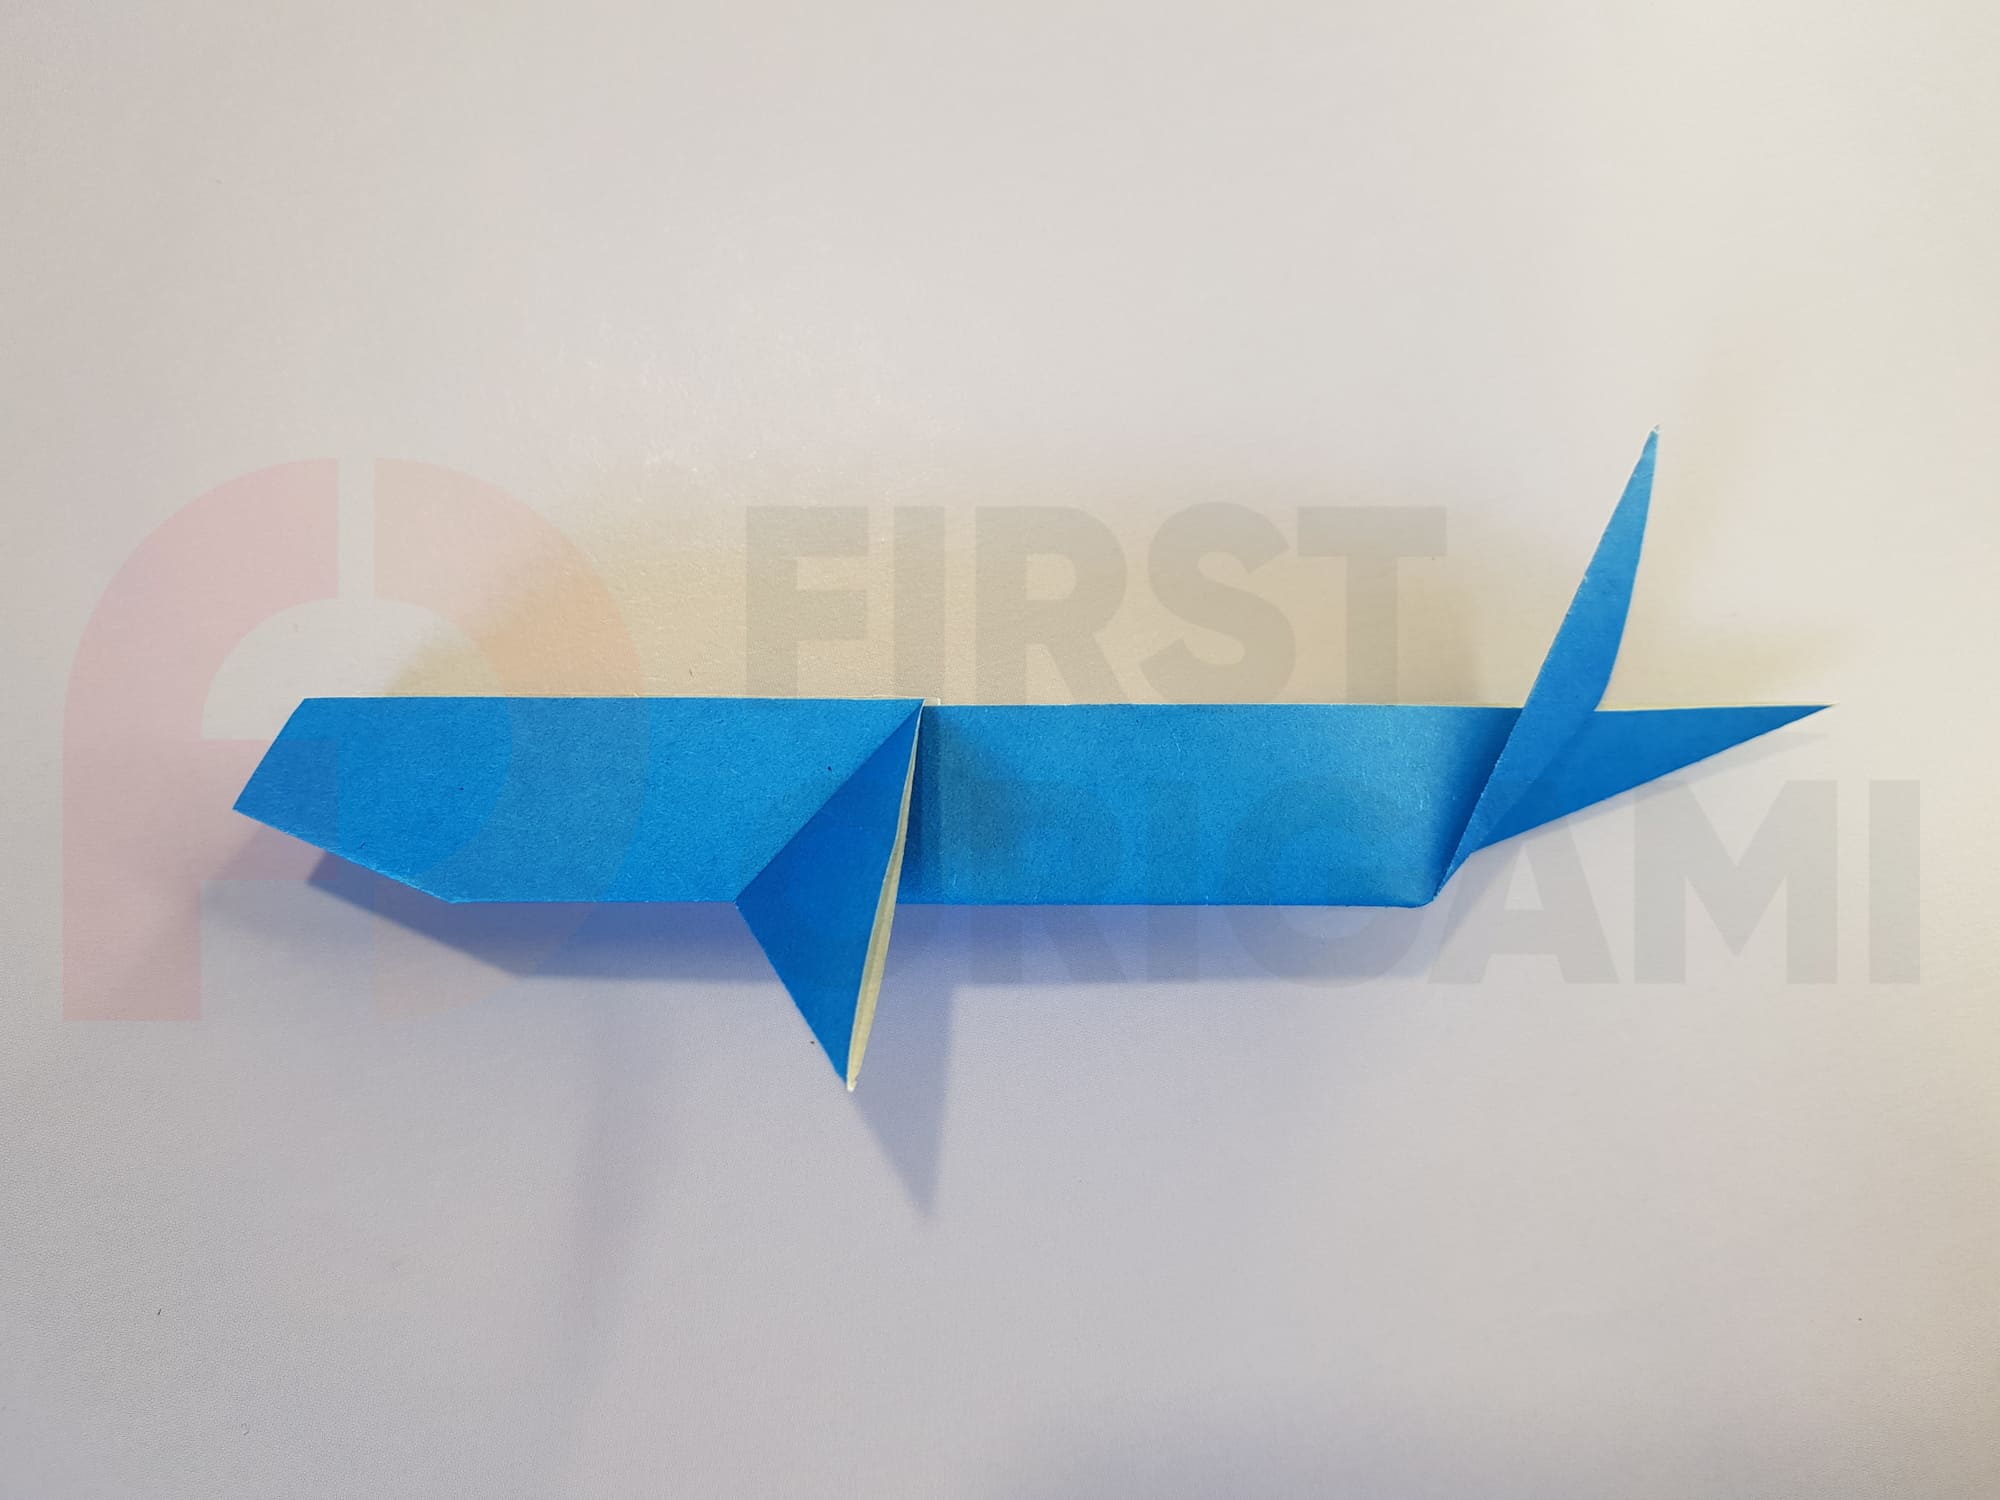
Cut off the right edge of the figure along the line shown in the photo.
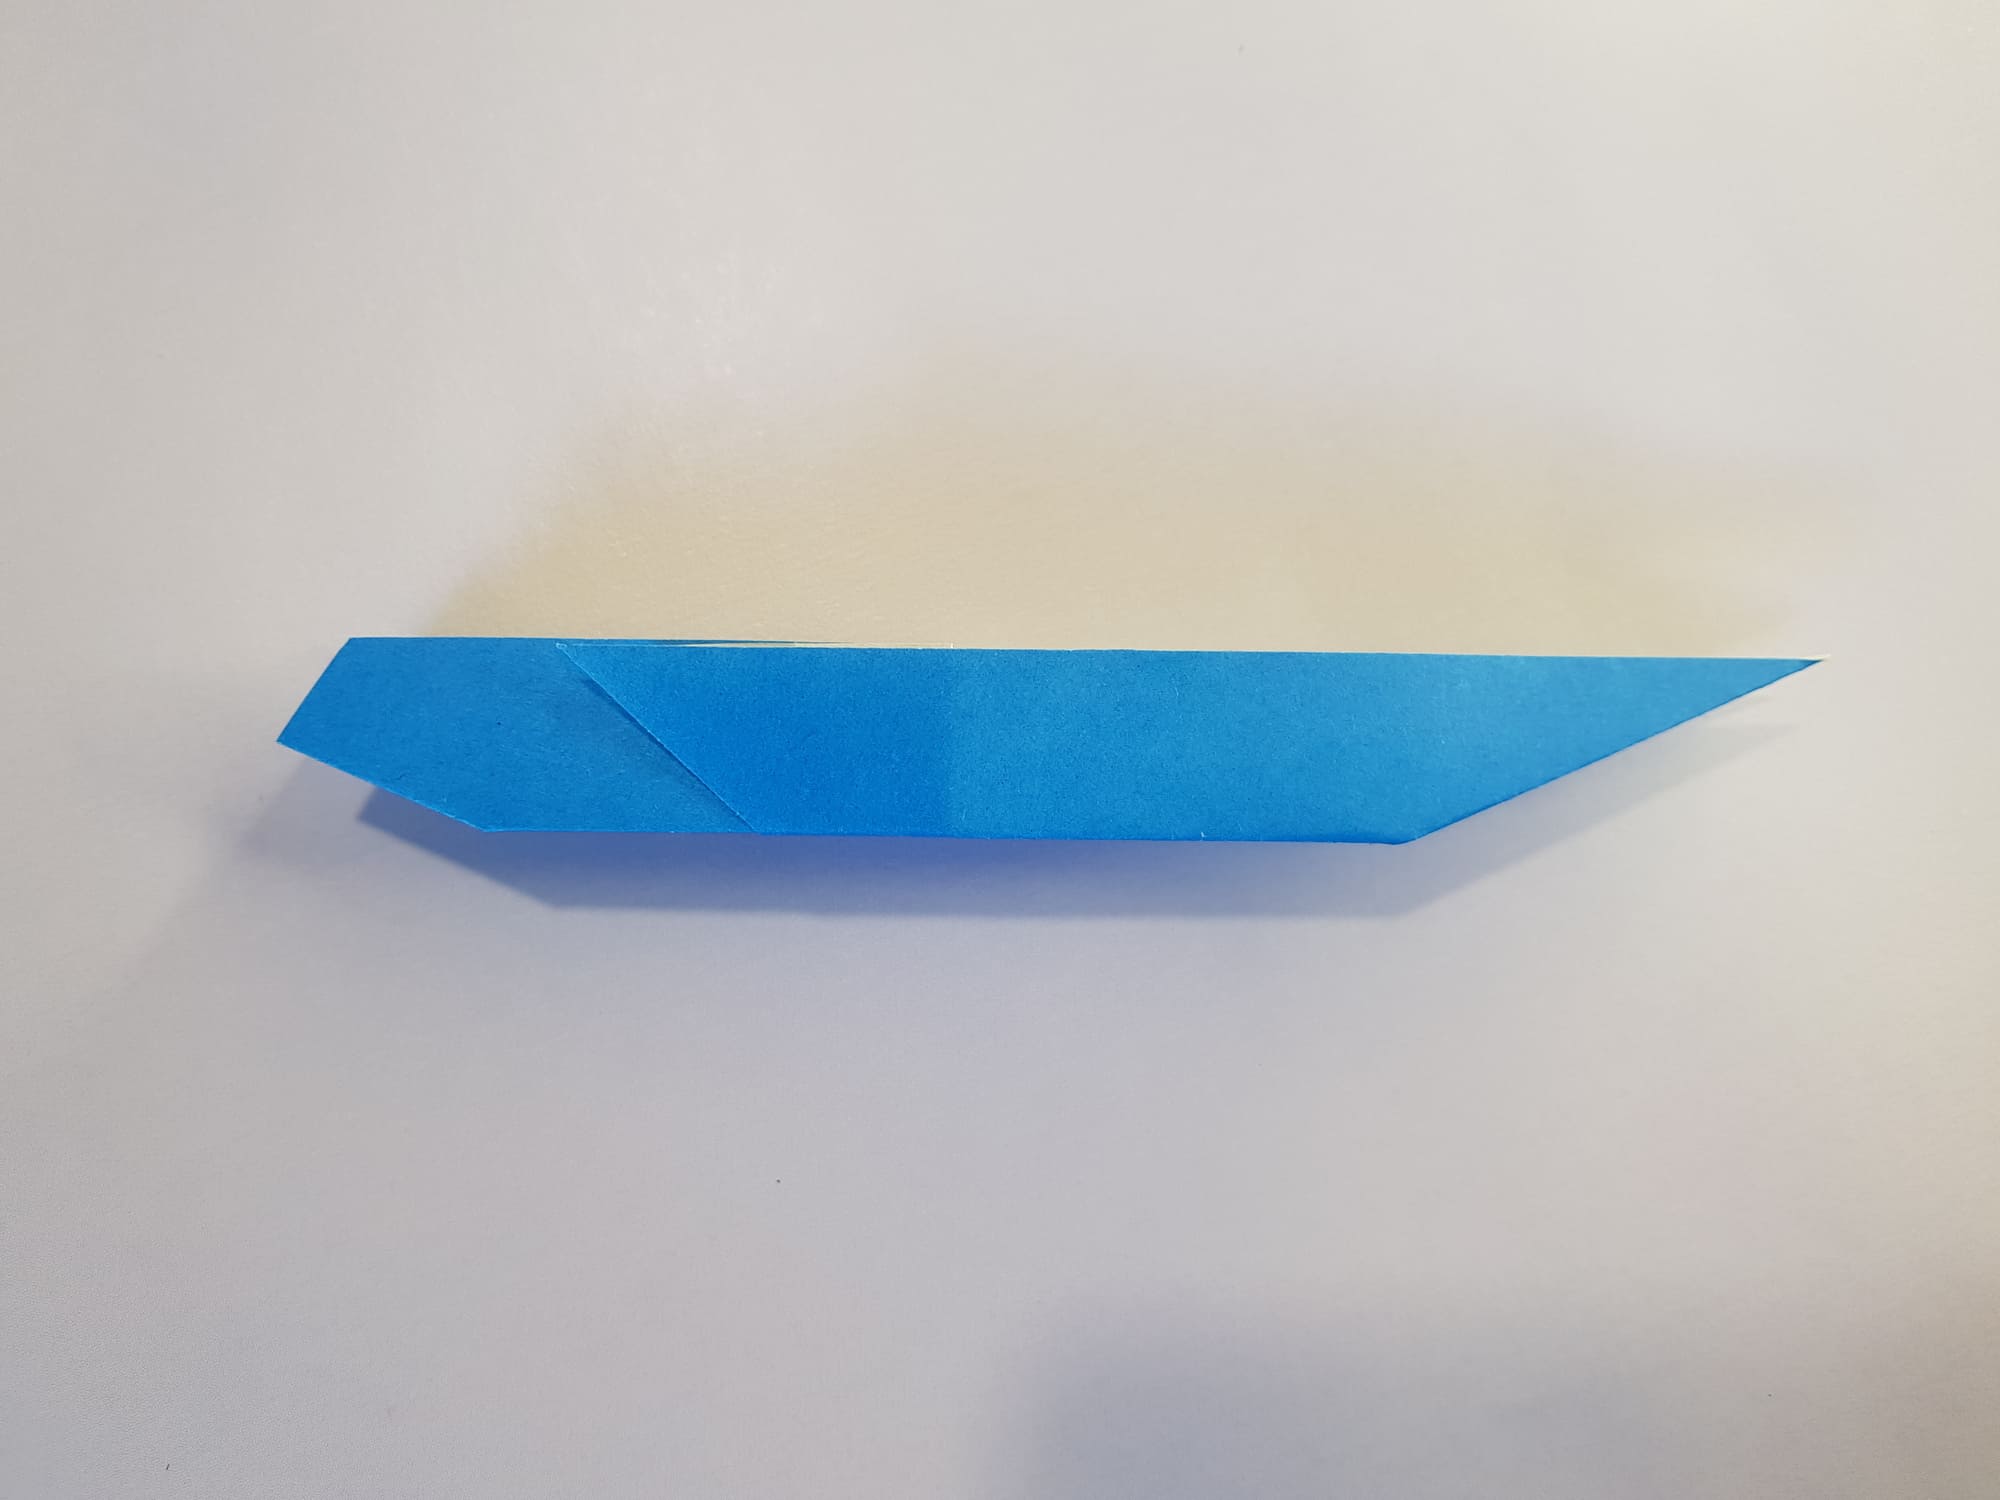
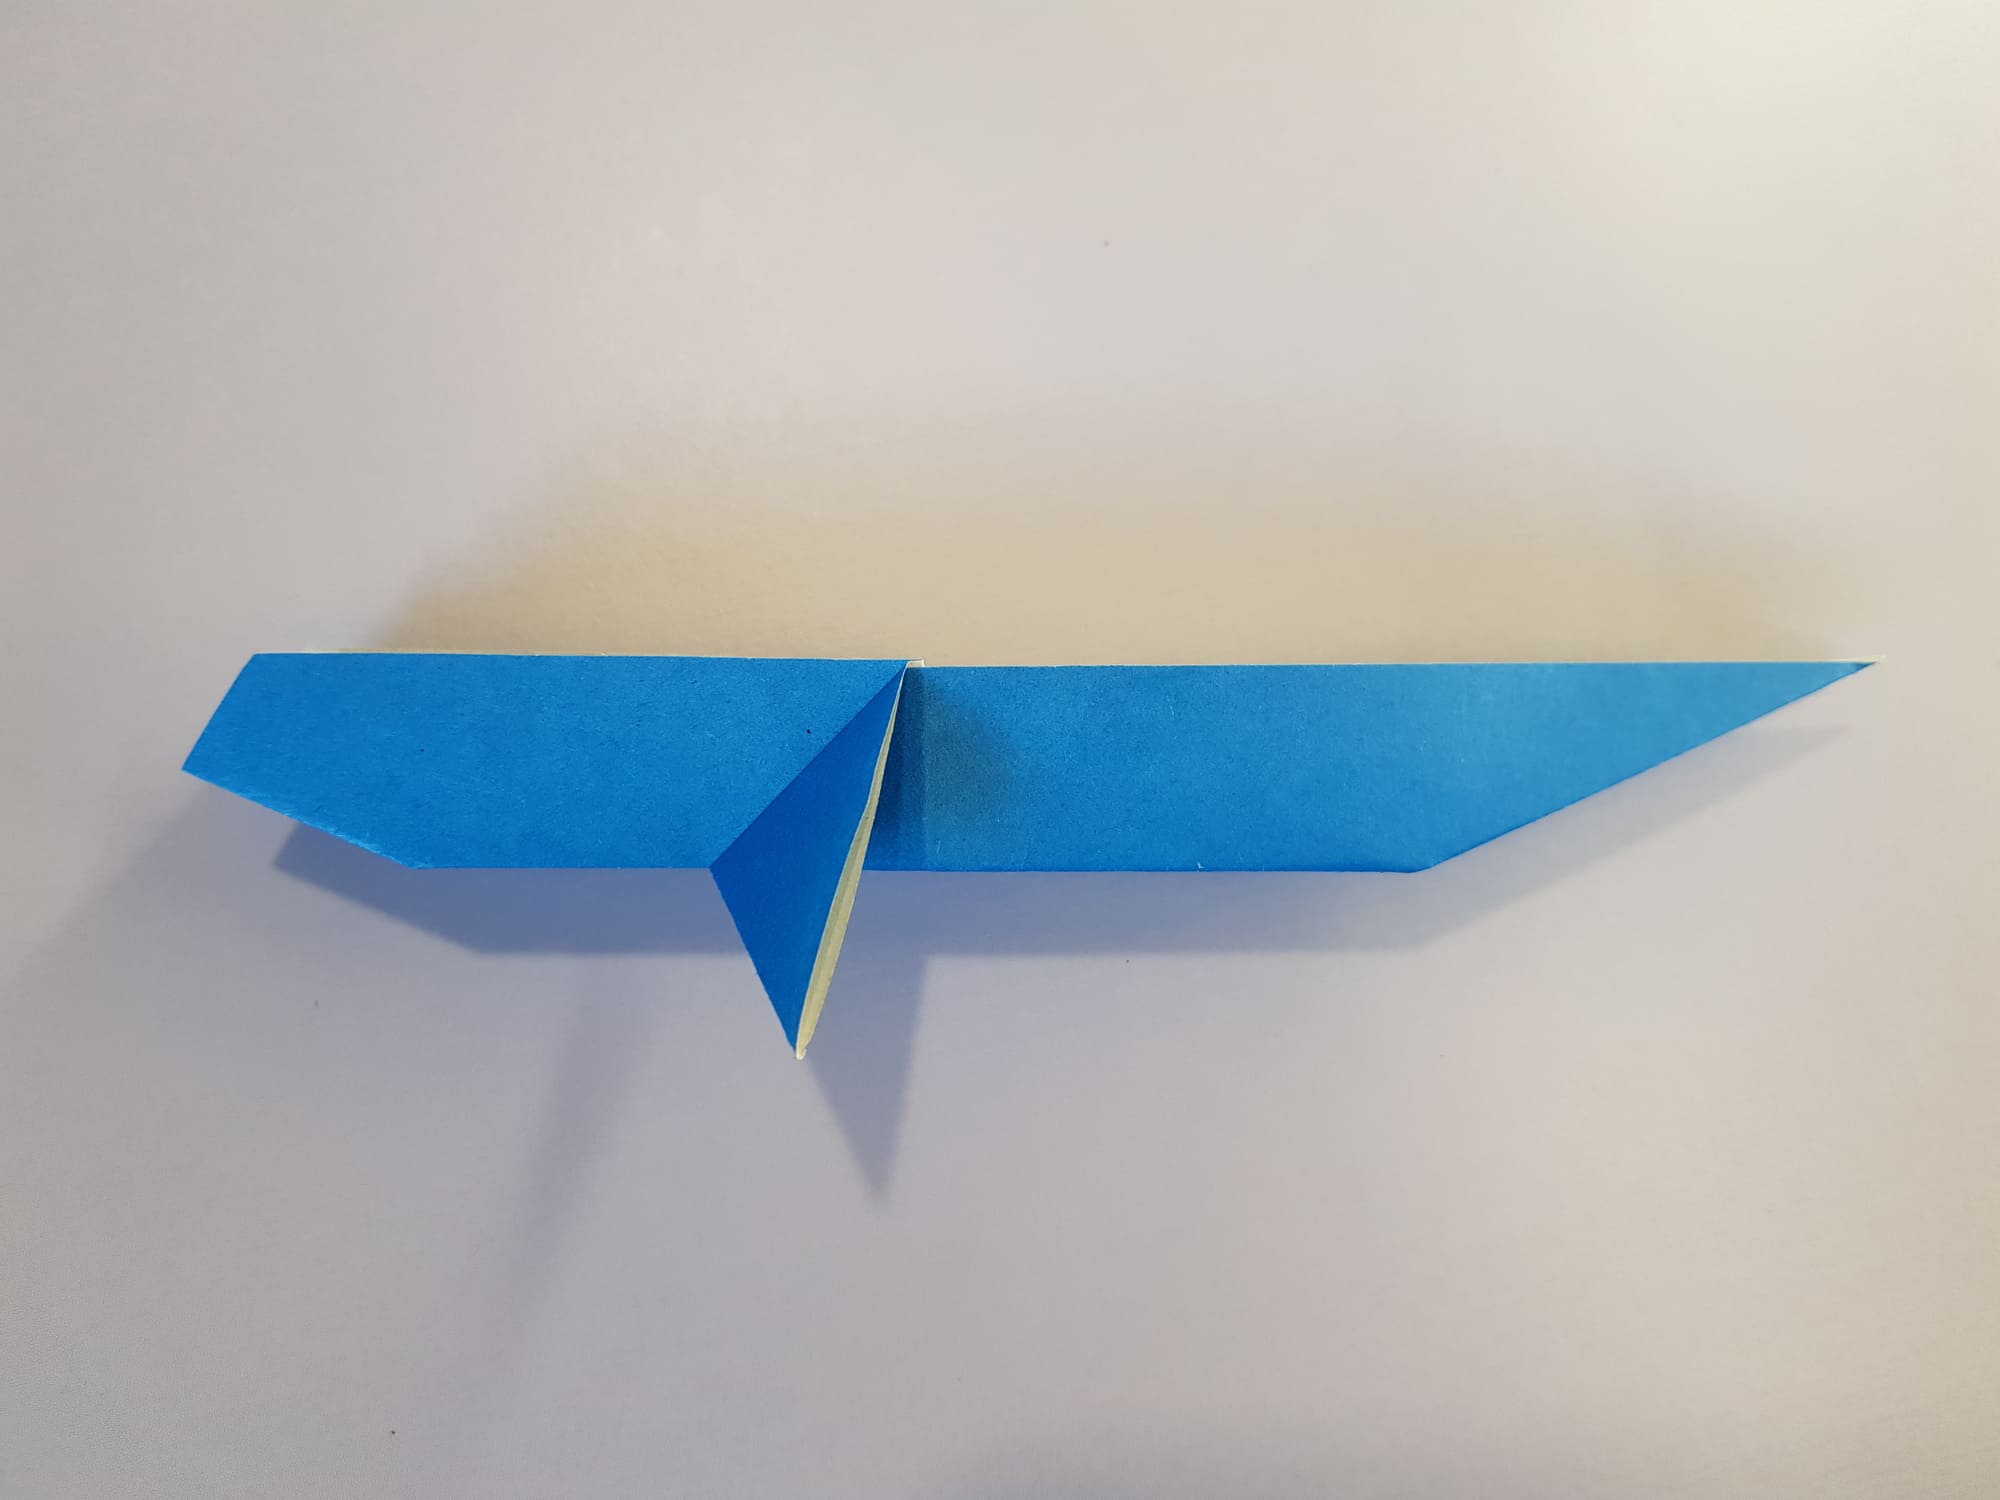
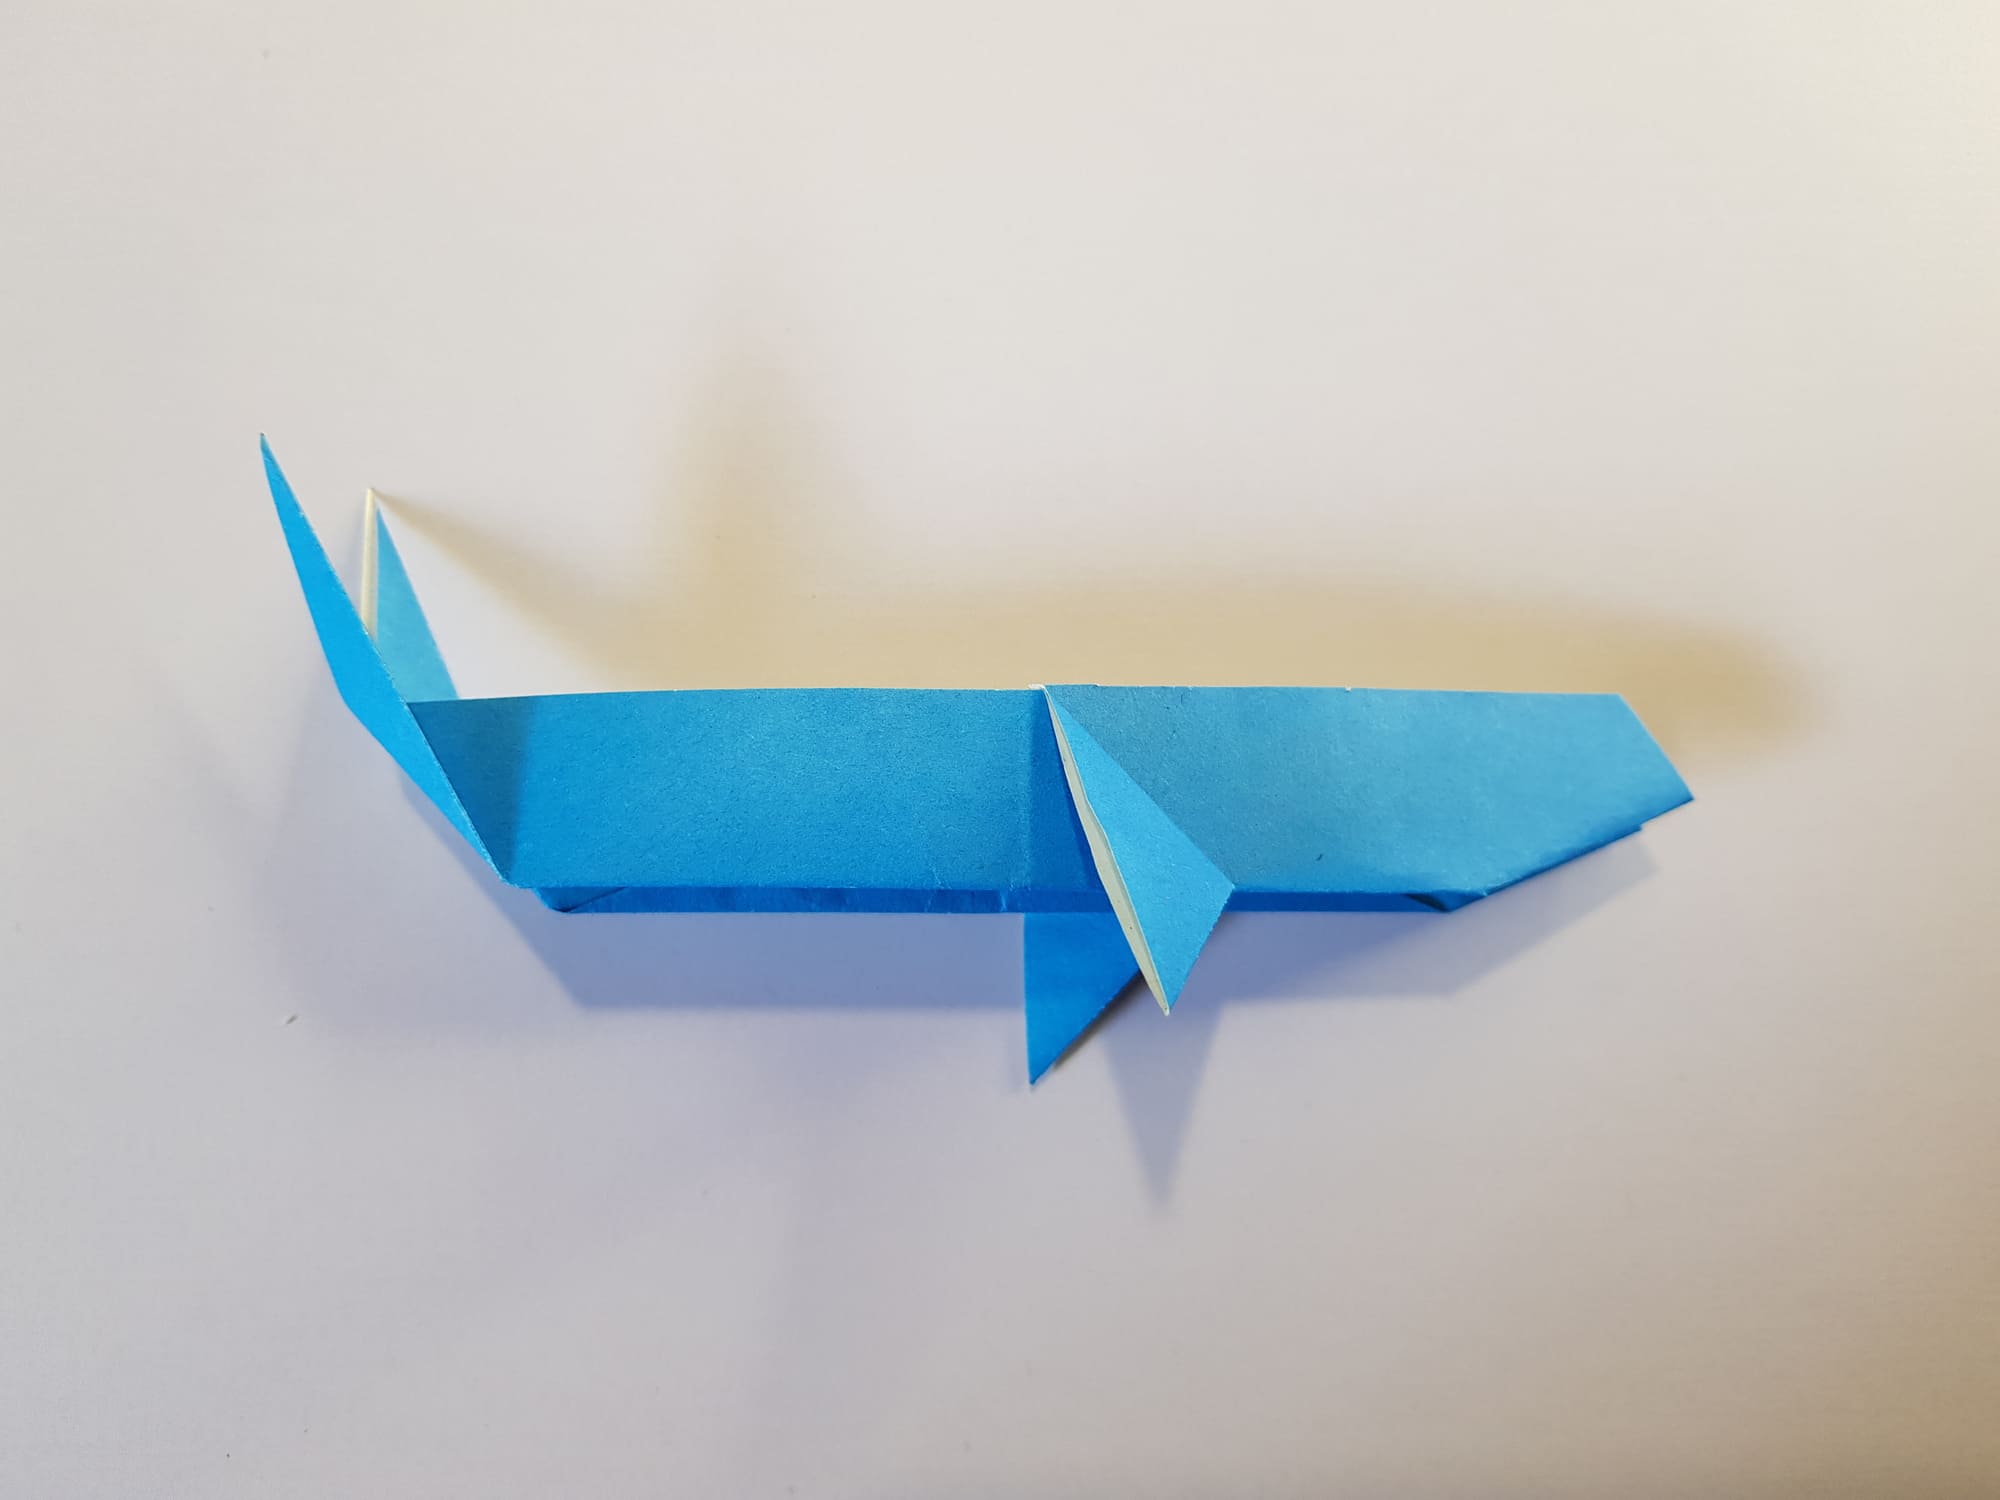
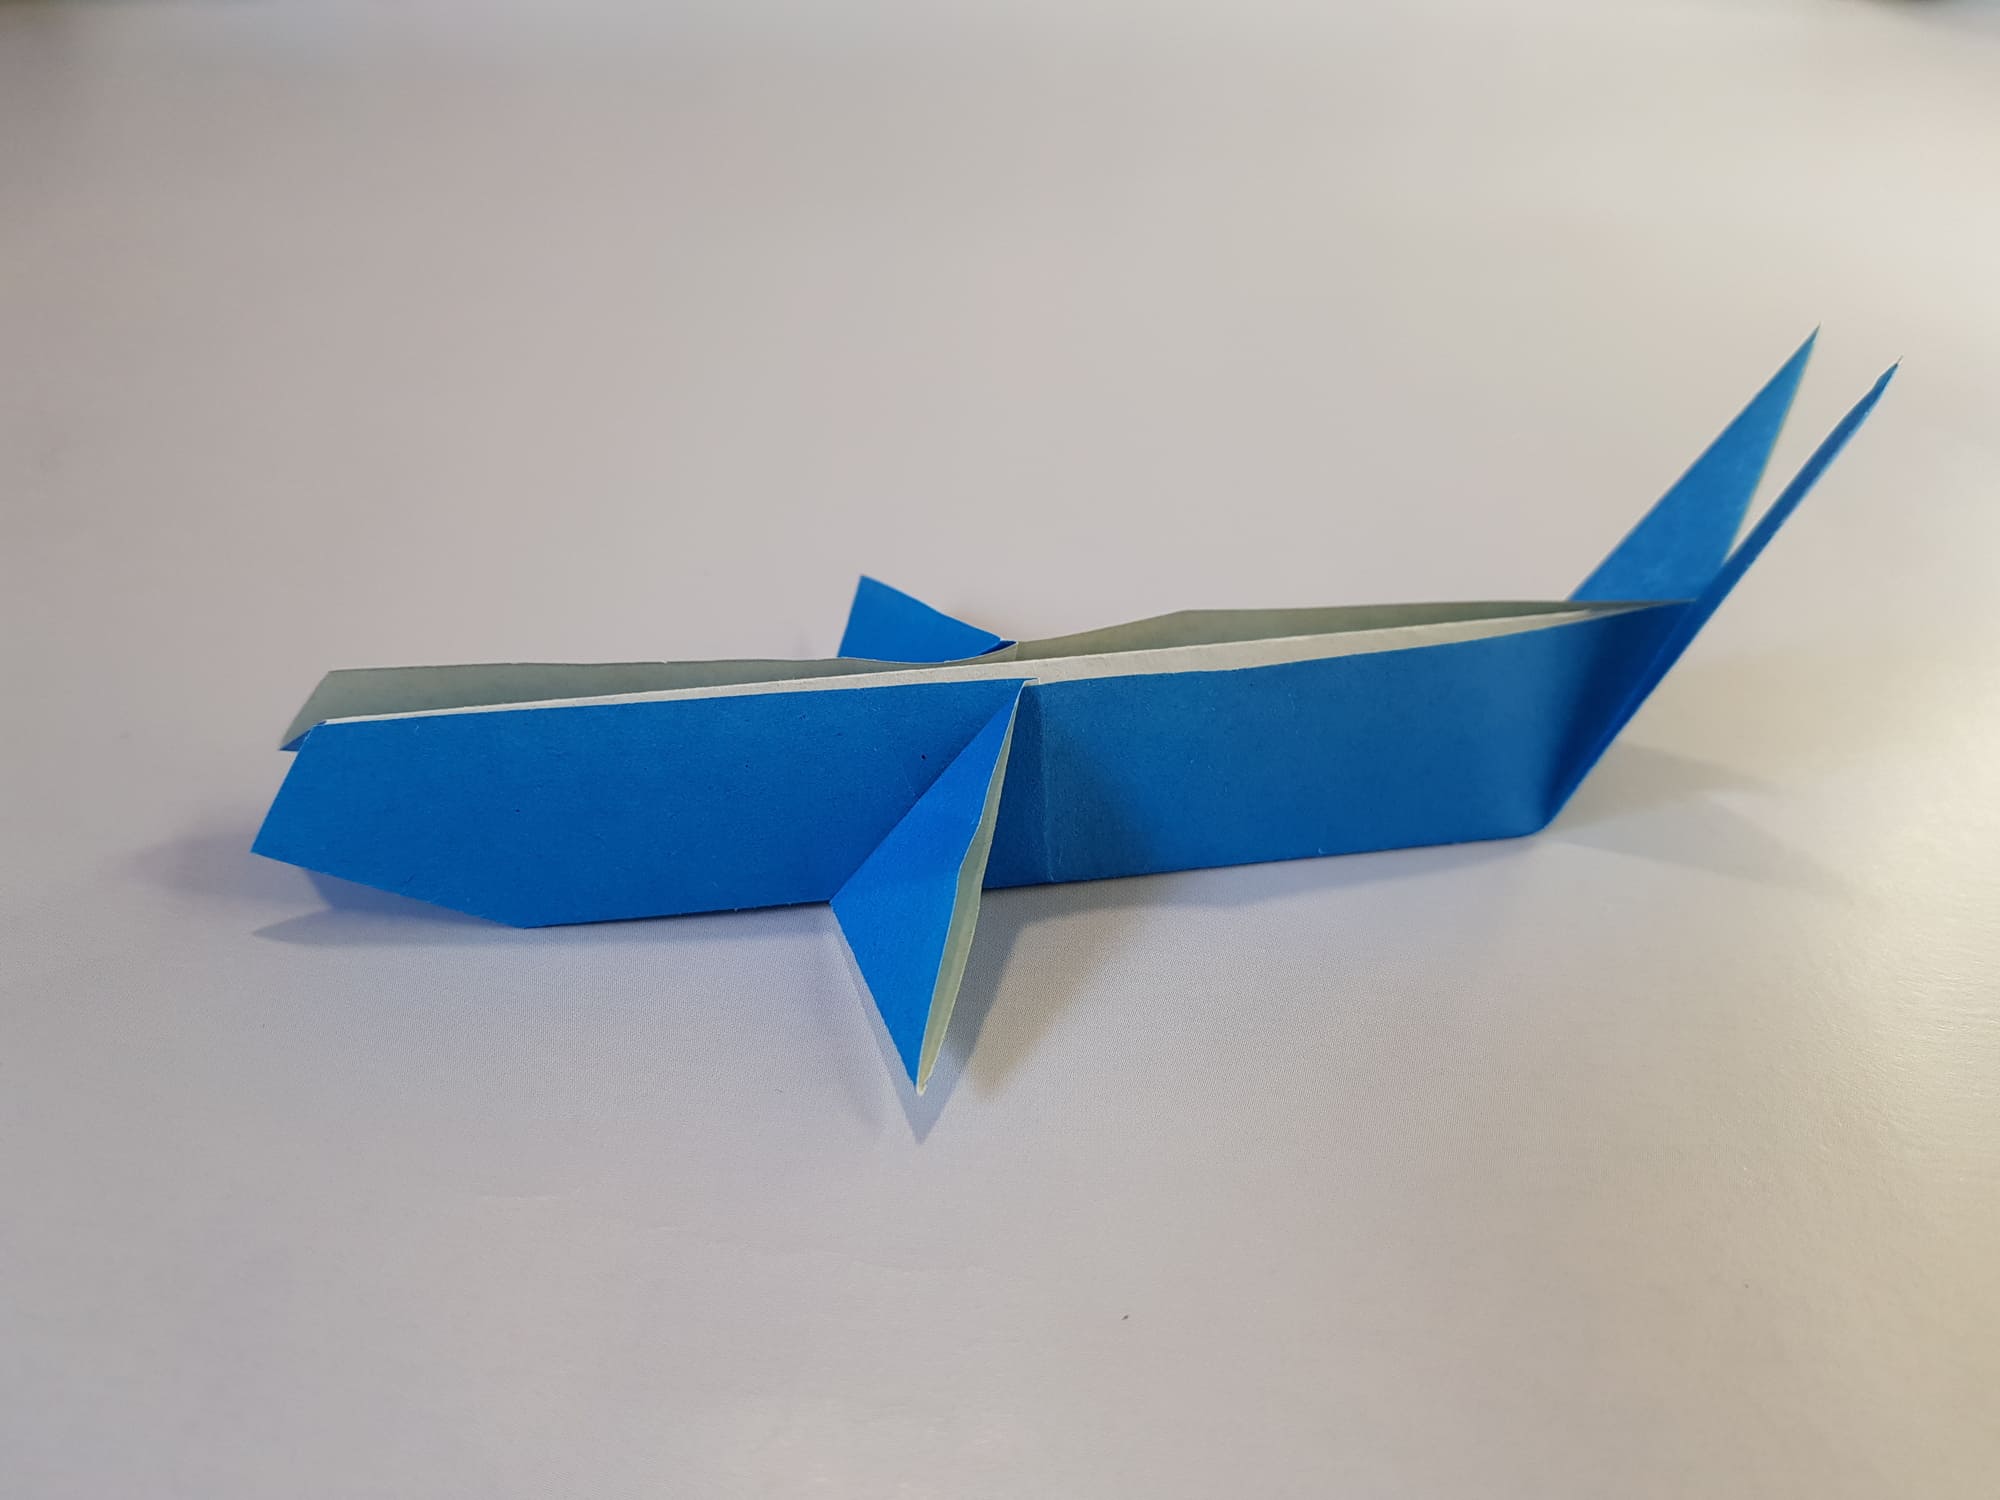
Bend back the fins and tail – first on one side, then on the other side.
The whale is ready.
Finish the figure by drawing the eyes and mouth.
Cool result! Interestingly, until the last steps, it is difficult to understand what will turn out in the end. You can arrange a real master class for friends. Also, you can make a large family of whales and give them to loved ones. Experiment with sizes and colors – each craft will be unique in its own way.