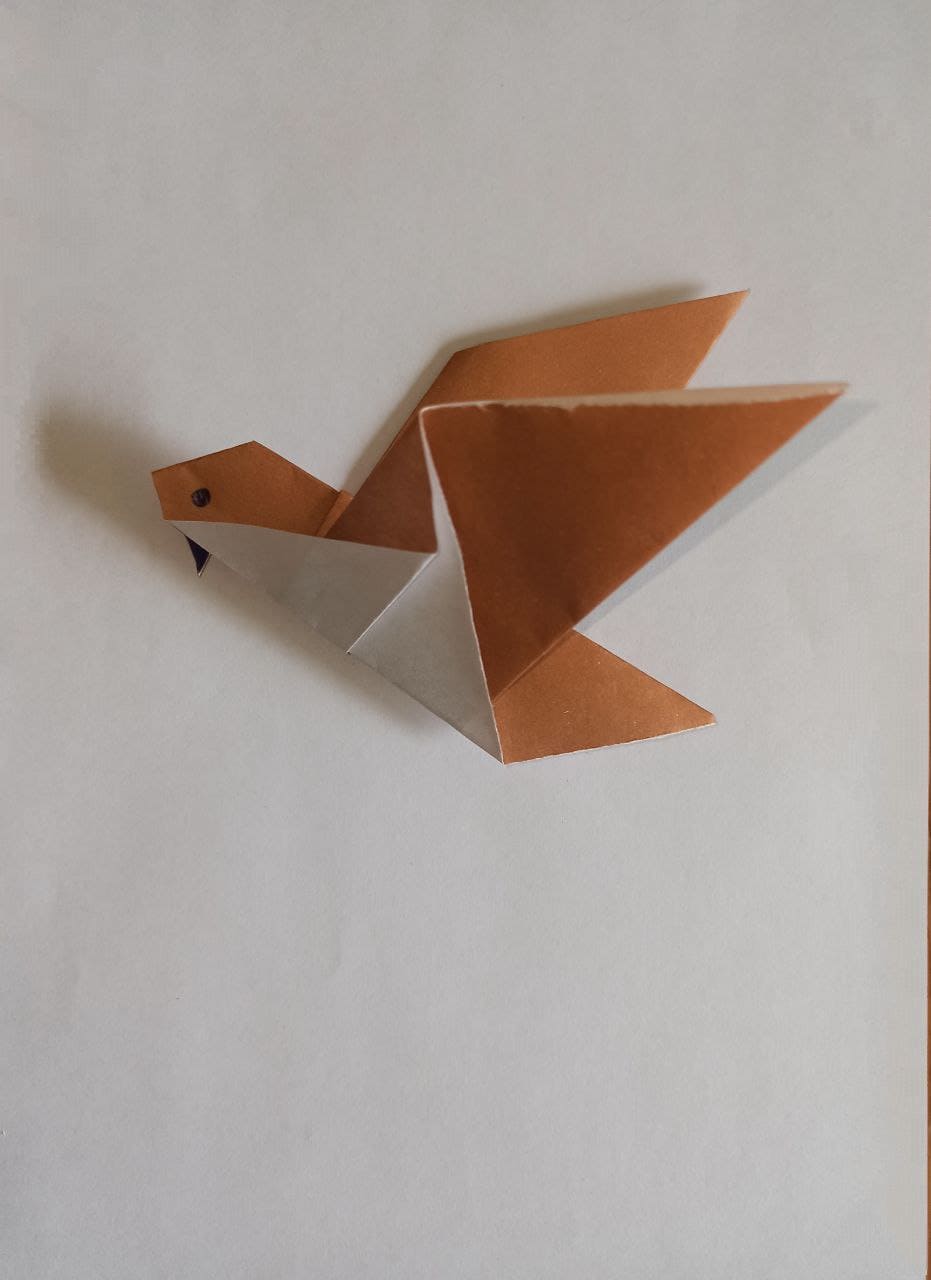
Origami White Dove
The art of origami is a fascinating activity that allows you to create incredible shapes from ordinary paper. Today, we present to you instructions for creating an origami bird. This process will allow you to immerse yourself in the world of creativity and enjoy your handicraft skills. Follow our detailed steps to create a colorful and vibrant origami bird.
Fold one of the corners along the diagonal.
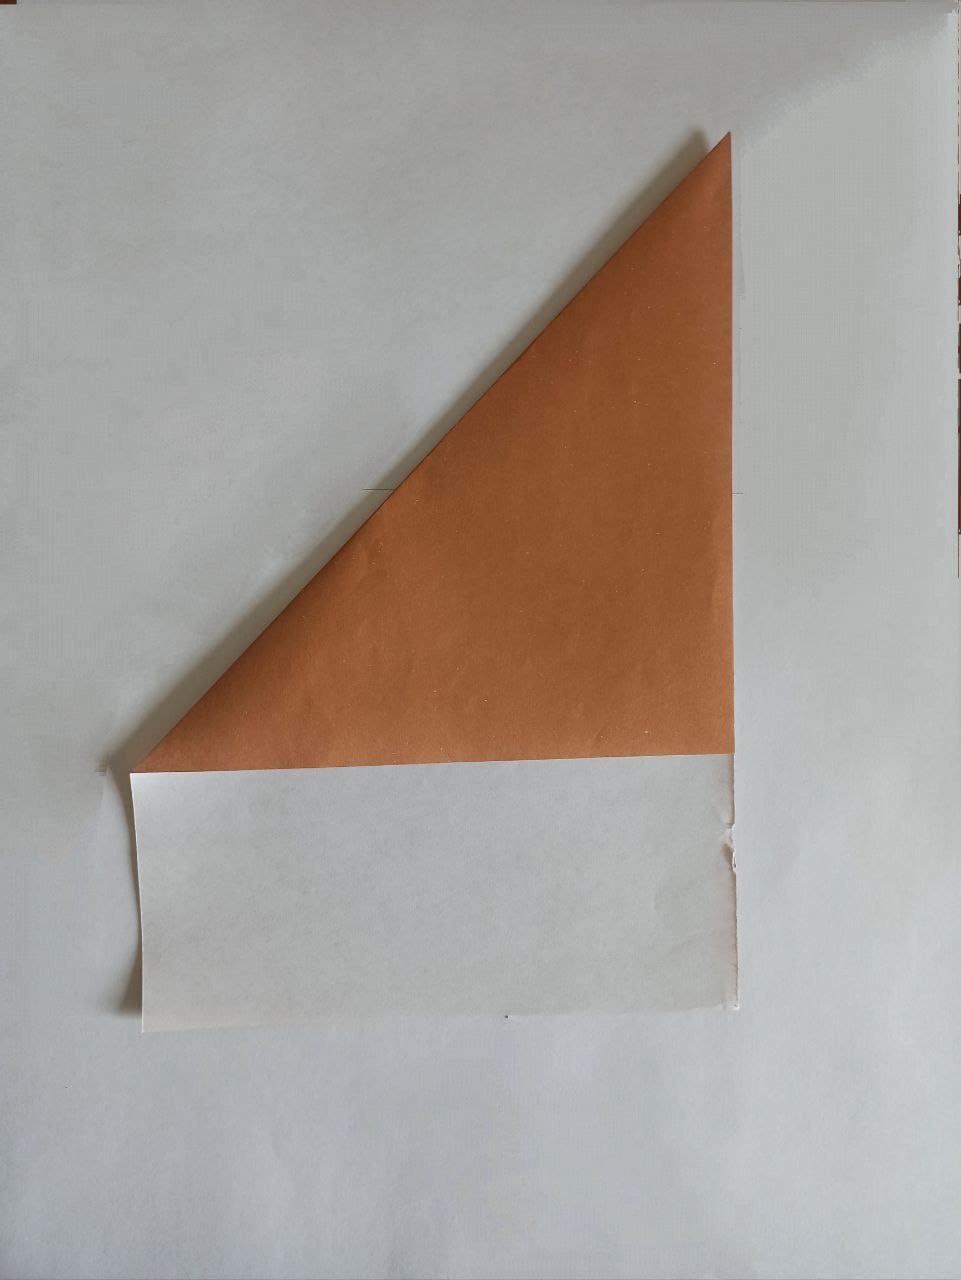
To begin, take a square piece of paper. Place it in front of you so that you have one corner on top. Now, fold this corner diagonally, connecting it to the opposite corner. You will get a triangle.
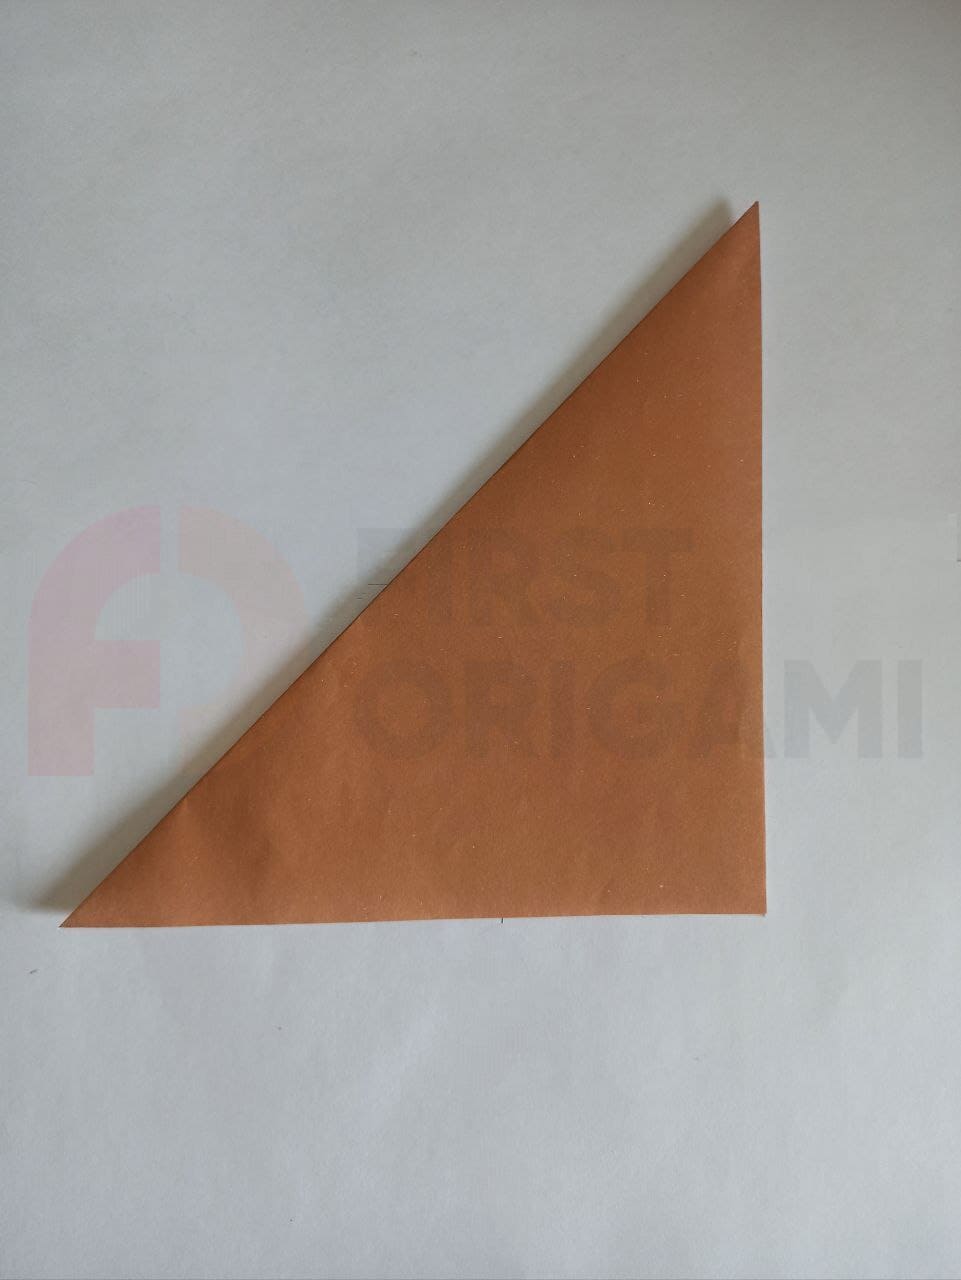
Cut off the excess from the bottom.
Turn the paper so that the sharp corner of the triangle is on top. Then, cut a small piece of paper from the bottom to give the triangle a neater shape.
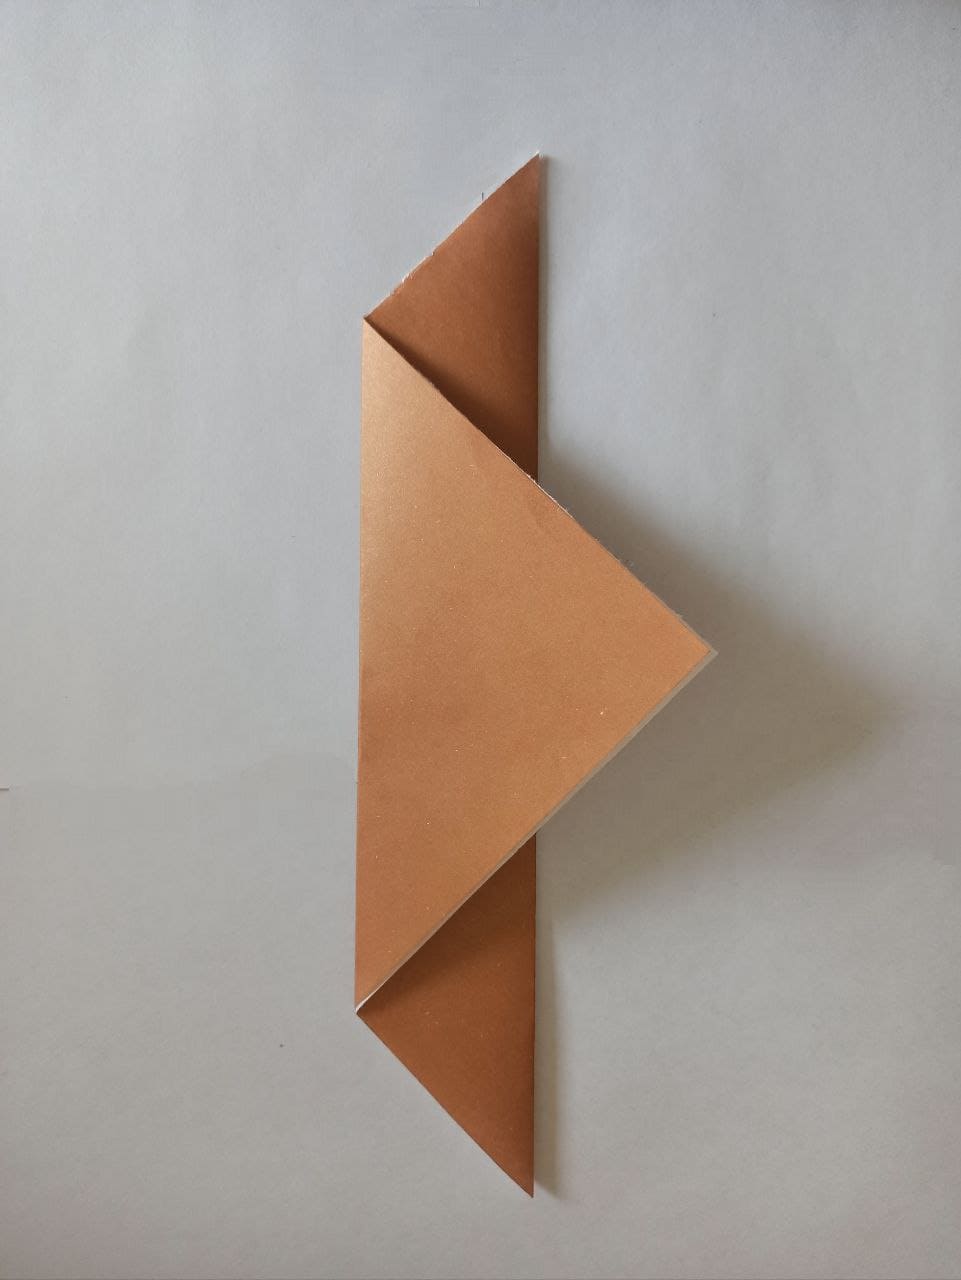
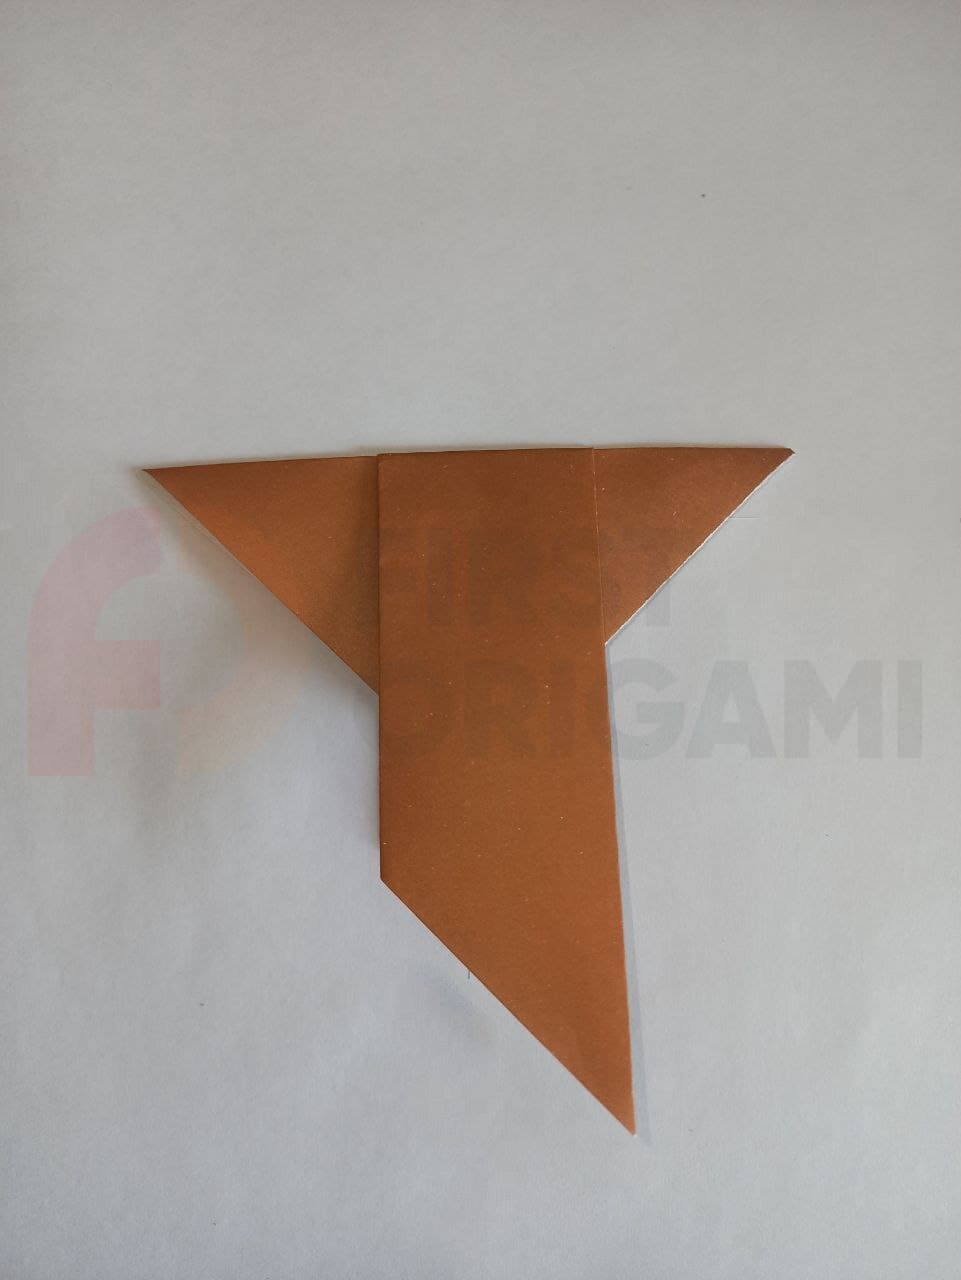
Fold the top into a triangle shape, leaving 1.5 inches of margin for future wings.
Now, fold the top of the triangle toward the center, leaving about 1.5 inches from the top for future wings. This folded part will become your bird’s head.

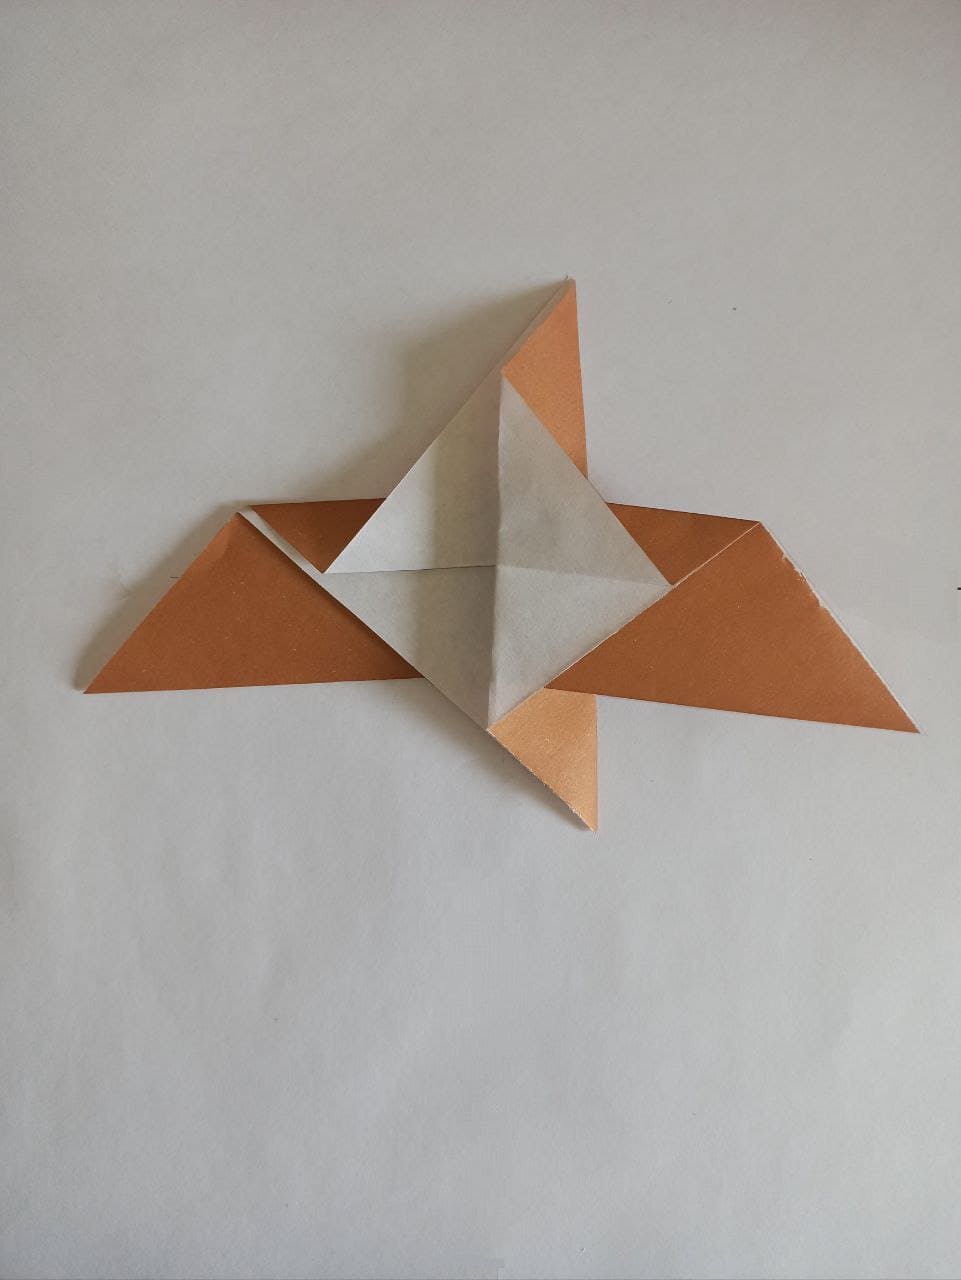
Take one layer of paper and fold it in the opposite direction, following the directions in the illustration.
Take one layer of paper that was under the folded top and fold it in the opposite direction. This will create the wing shape.
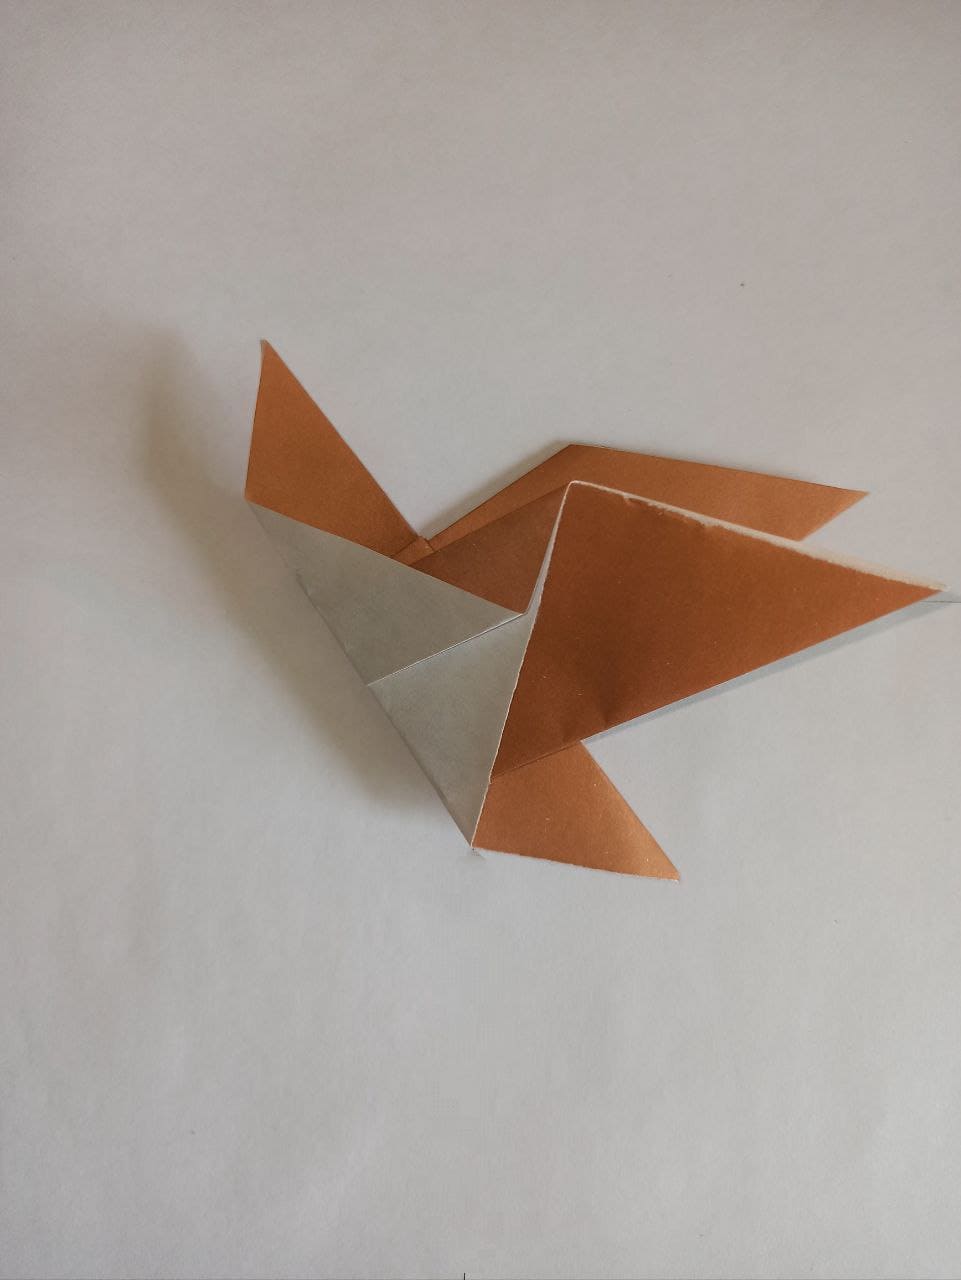
Fold the sheet of paper in half, connecting the top sharp corner to the bottom.
Turn the paper over and fold it in half, connecting the top sharp corner to the bottom one. This way, you will have half of the future bird.
Fold one wing at a small angle.
Take one side of your bird half and fold it at a small angle. This will be one of the wings.
Repeat the sixth step for the other wing.
Now, repeat the same step on the other side to create a second wing.
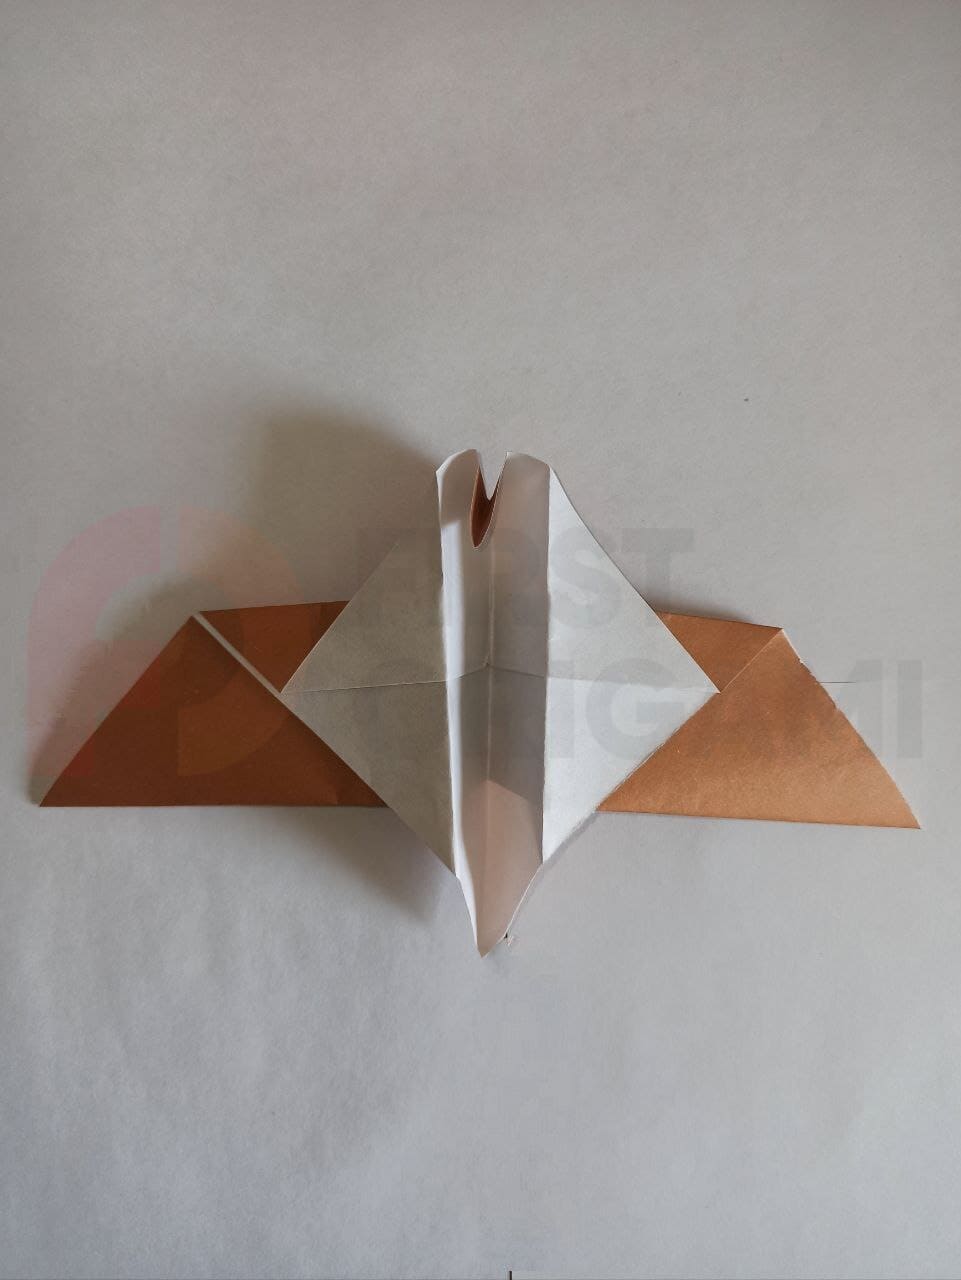
Fold both wings and flip the top over to form the beak.
Take both halves of your bird and put them together to create its body. In this case, the upper part of the triangle will be the beak of your origami bird.
Draw the eyes and beak on both sides so that your bird is finished and looks real.
Now, your origami bird is ready!
You can decorate it with different colors or add details to make it unique. The art of origami opens up many creative possibilities for you. We hope you enjoy this project. Have fun creating and experimenting with different colors and sizes of paper to create your original origami birds!


