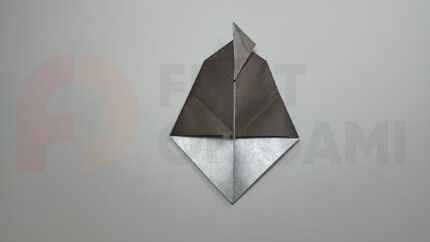
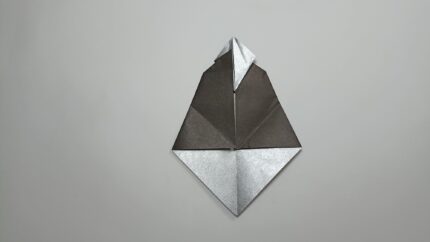
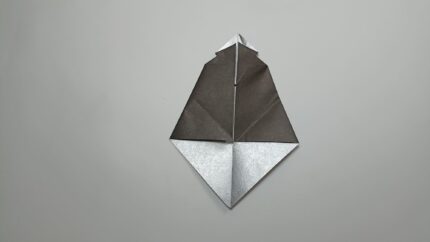
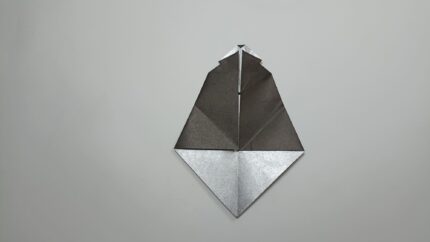
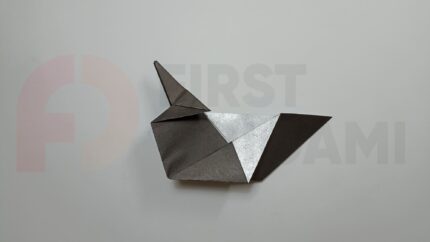
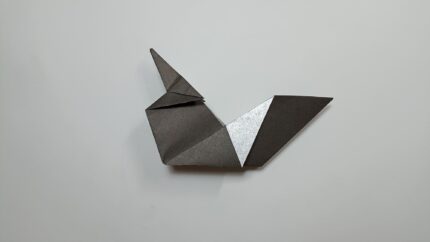
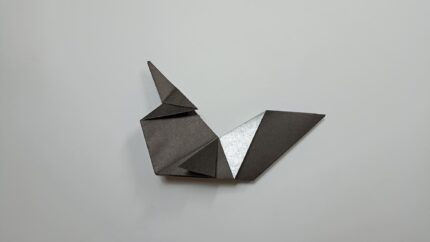
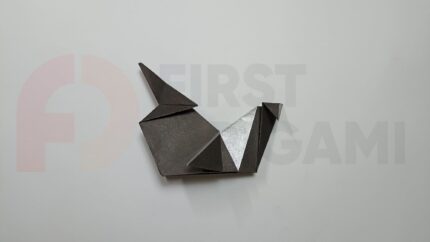
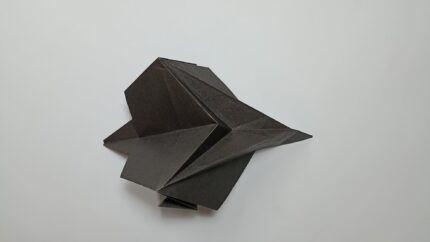
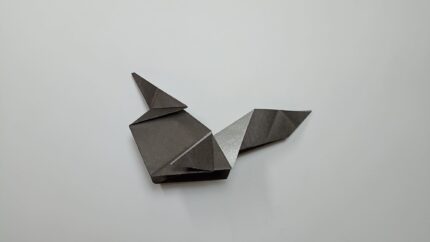
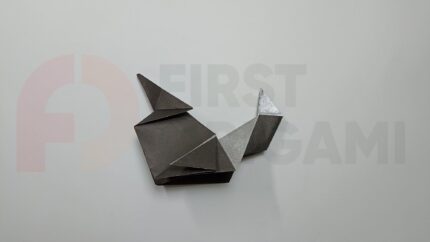
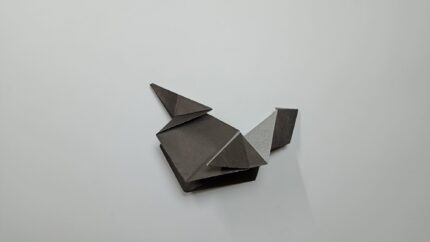
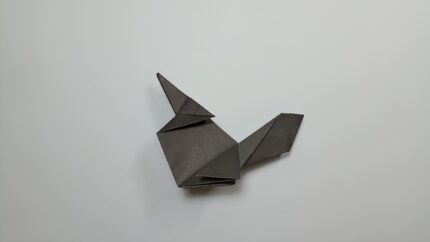
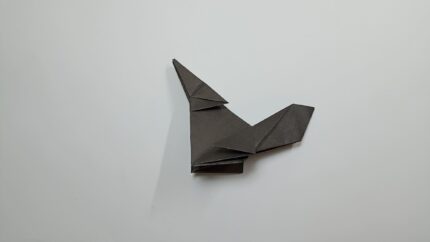
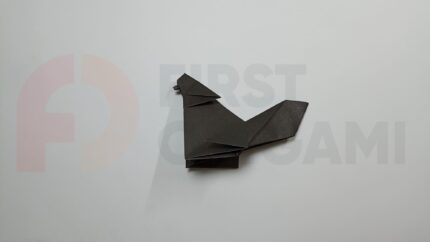
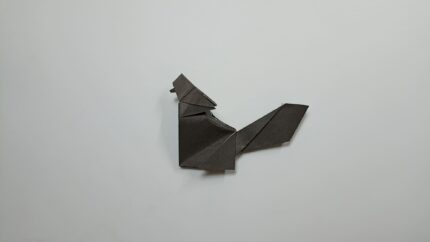
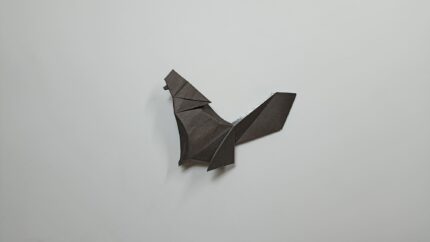
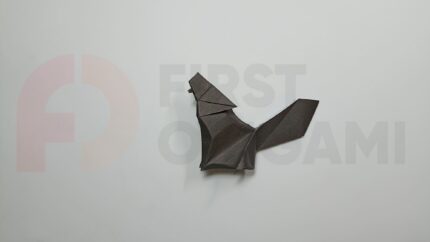
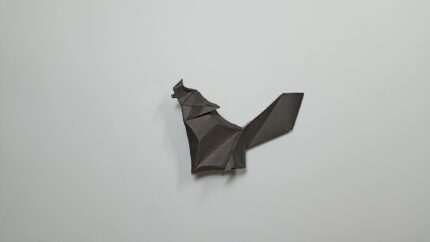
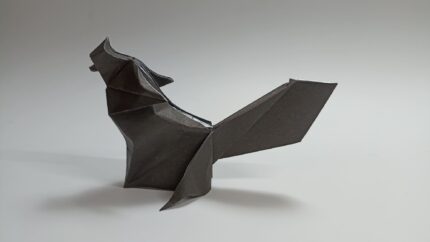
A wolf is a symbol of strength, freedom, independence, and mystery. The most impressive image in literature is a howling wild animal against the backdrop of the moon. A figure of a wolf, made using the origami technique according to the proposed pattern, is as attractive as an artistic image. An intense, piercing howl is conveyed by an elongated neck with a thrown-back head and straight, pointed ears pressed to the head. The front legs, frozen in a stance, are ready to react to a threat quickly. The large tail gives the predator grandness.

To make a graceful wolf you will need one sheet of origami paper and a little perseverance. For crafts, you need to choose paper in dark shades of gray, brown, and black. The wolf will turn out to be very mysterious and stylish. The pattern will seem complicated for beginner origami enthusiasts. Photos and video lessons will help you overcome difficult Steps of the process.

Step 1

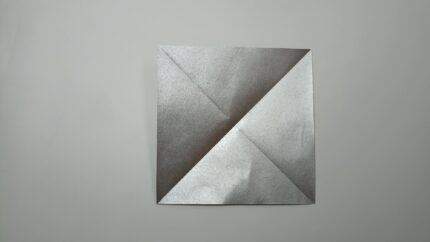
Place the paper face down on the table. Align opposite corners, and crease folds well. Open back.

Step 2

Turn the sheet of paper at an angle toward you. Fold the top sides towards the middle.

Step 3

Bend the marked folds of the paper, which are extending to the edges from the center line, in the other direction.

Step 4

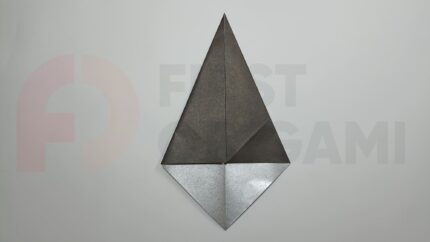
Fold the top to the bottom folds.

Step 5

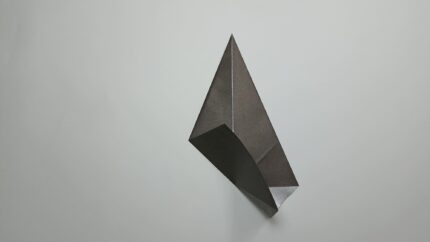
Fold the left side of the inverted triangle upward towards its base.

Step 6

Pull the top layer of folds upward so that the inner fold straightens.

Step 7

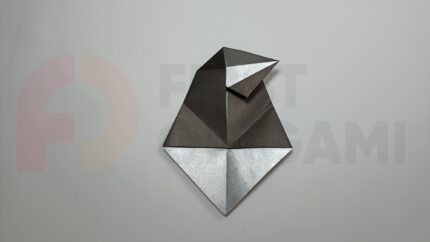
Bend the right protruding corner along the base line to the left, straightening the lower triangle.

Step 8

Straighten the inner fold of the base of the inverted triangle on the right outward.

Step 9

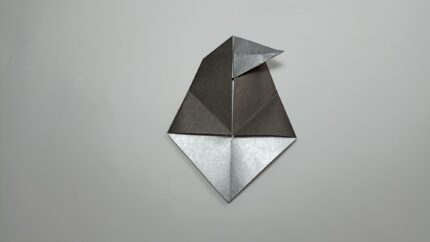
Bend the upper triangle with the base on the center line to the right.

Step 10

Bend the bottom side of the bent triangle towards the middle. Bend it back.

Step 11

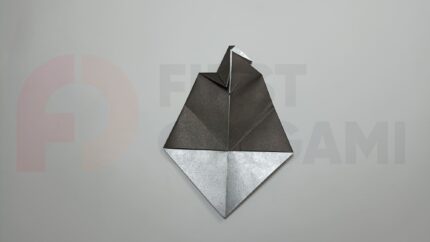
Tuck half of the triangle under the layer of folds on the left to create a symmetrical figure.

Step 12

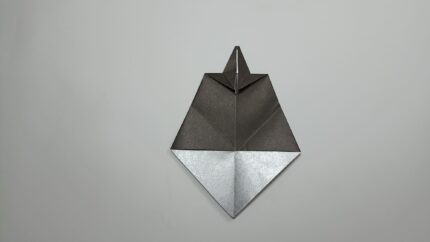
Tuck the remaining top layer of the triangle under the folds.

Step 13

Fold the top of the figure.

Step 14

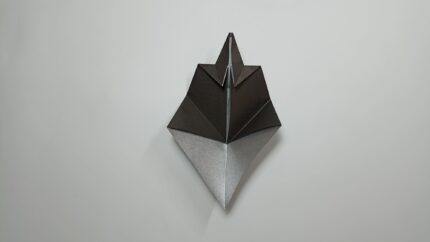
Bend the top layer of corners down, straightening the side triangle.

Step 15

Repeat on the other side.

Step 16

Bend the middle line into a mountain fold.

Step 17

Bend the folds extending to the sides into a valley at the same time.

Step 18

Bend the left side of the four-sided shape to the bottom line on both sides.

Step 19

Straighten the inner fold from the last fold outward in the opposite direction. Repeat the same on the other side.

Step 20

Bend the outer corner of the upper triangle sideways along the base line on both sides.

Step 21

Fold the right corner.

Step 22

Bend the corner parallel to the base.

Step 23

Open the last two folds. Fold the base inside the folds to the top line on both sides.

Step 24

Open the last fold back.

Step 25

Unfold the shape. Bend the arrow-shaped folds, starting from the edge like an accordion starting from the mountain fold.

Step 26

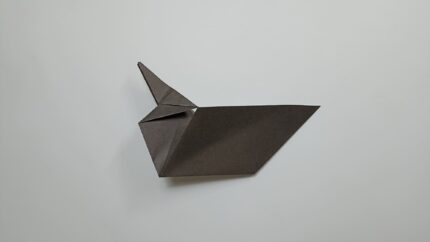
Bend the end of the tail in the other direction, pressing the bottom corner inward.

Step 27

Fold the protruding part and tuck it between the folds.

Step 28

Fold the bottom edge of the tail fold to the top line on both sides.

Step 29

Make a vertical fold on the front of the shape. Bend the corners inward on both sides.

Step 30

Bend the acute corner of the muzzle halfway into the folds. Bend the top corners further. Straighten the tip of the inner fold outward.

Step 31

Bend the back line.

Step 32

Bend the lines of the front paws along the lateral lines as well as the front lines.

Step 33

Bend the outer lines of the hind legs. Bend the corners, pointing inward.

Step 34

Bend the top line of the muzzle.

Step 35

The figure is ready.

The figure can be used in interior decoration or as a theatrical element. This graceful wild animal will be an excellent gift for conservationists or simply animal lovers.
Recently Added At Origami Guide