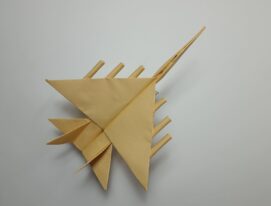
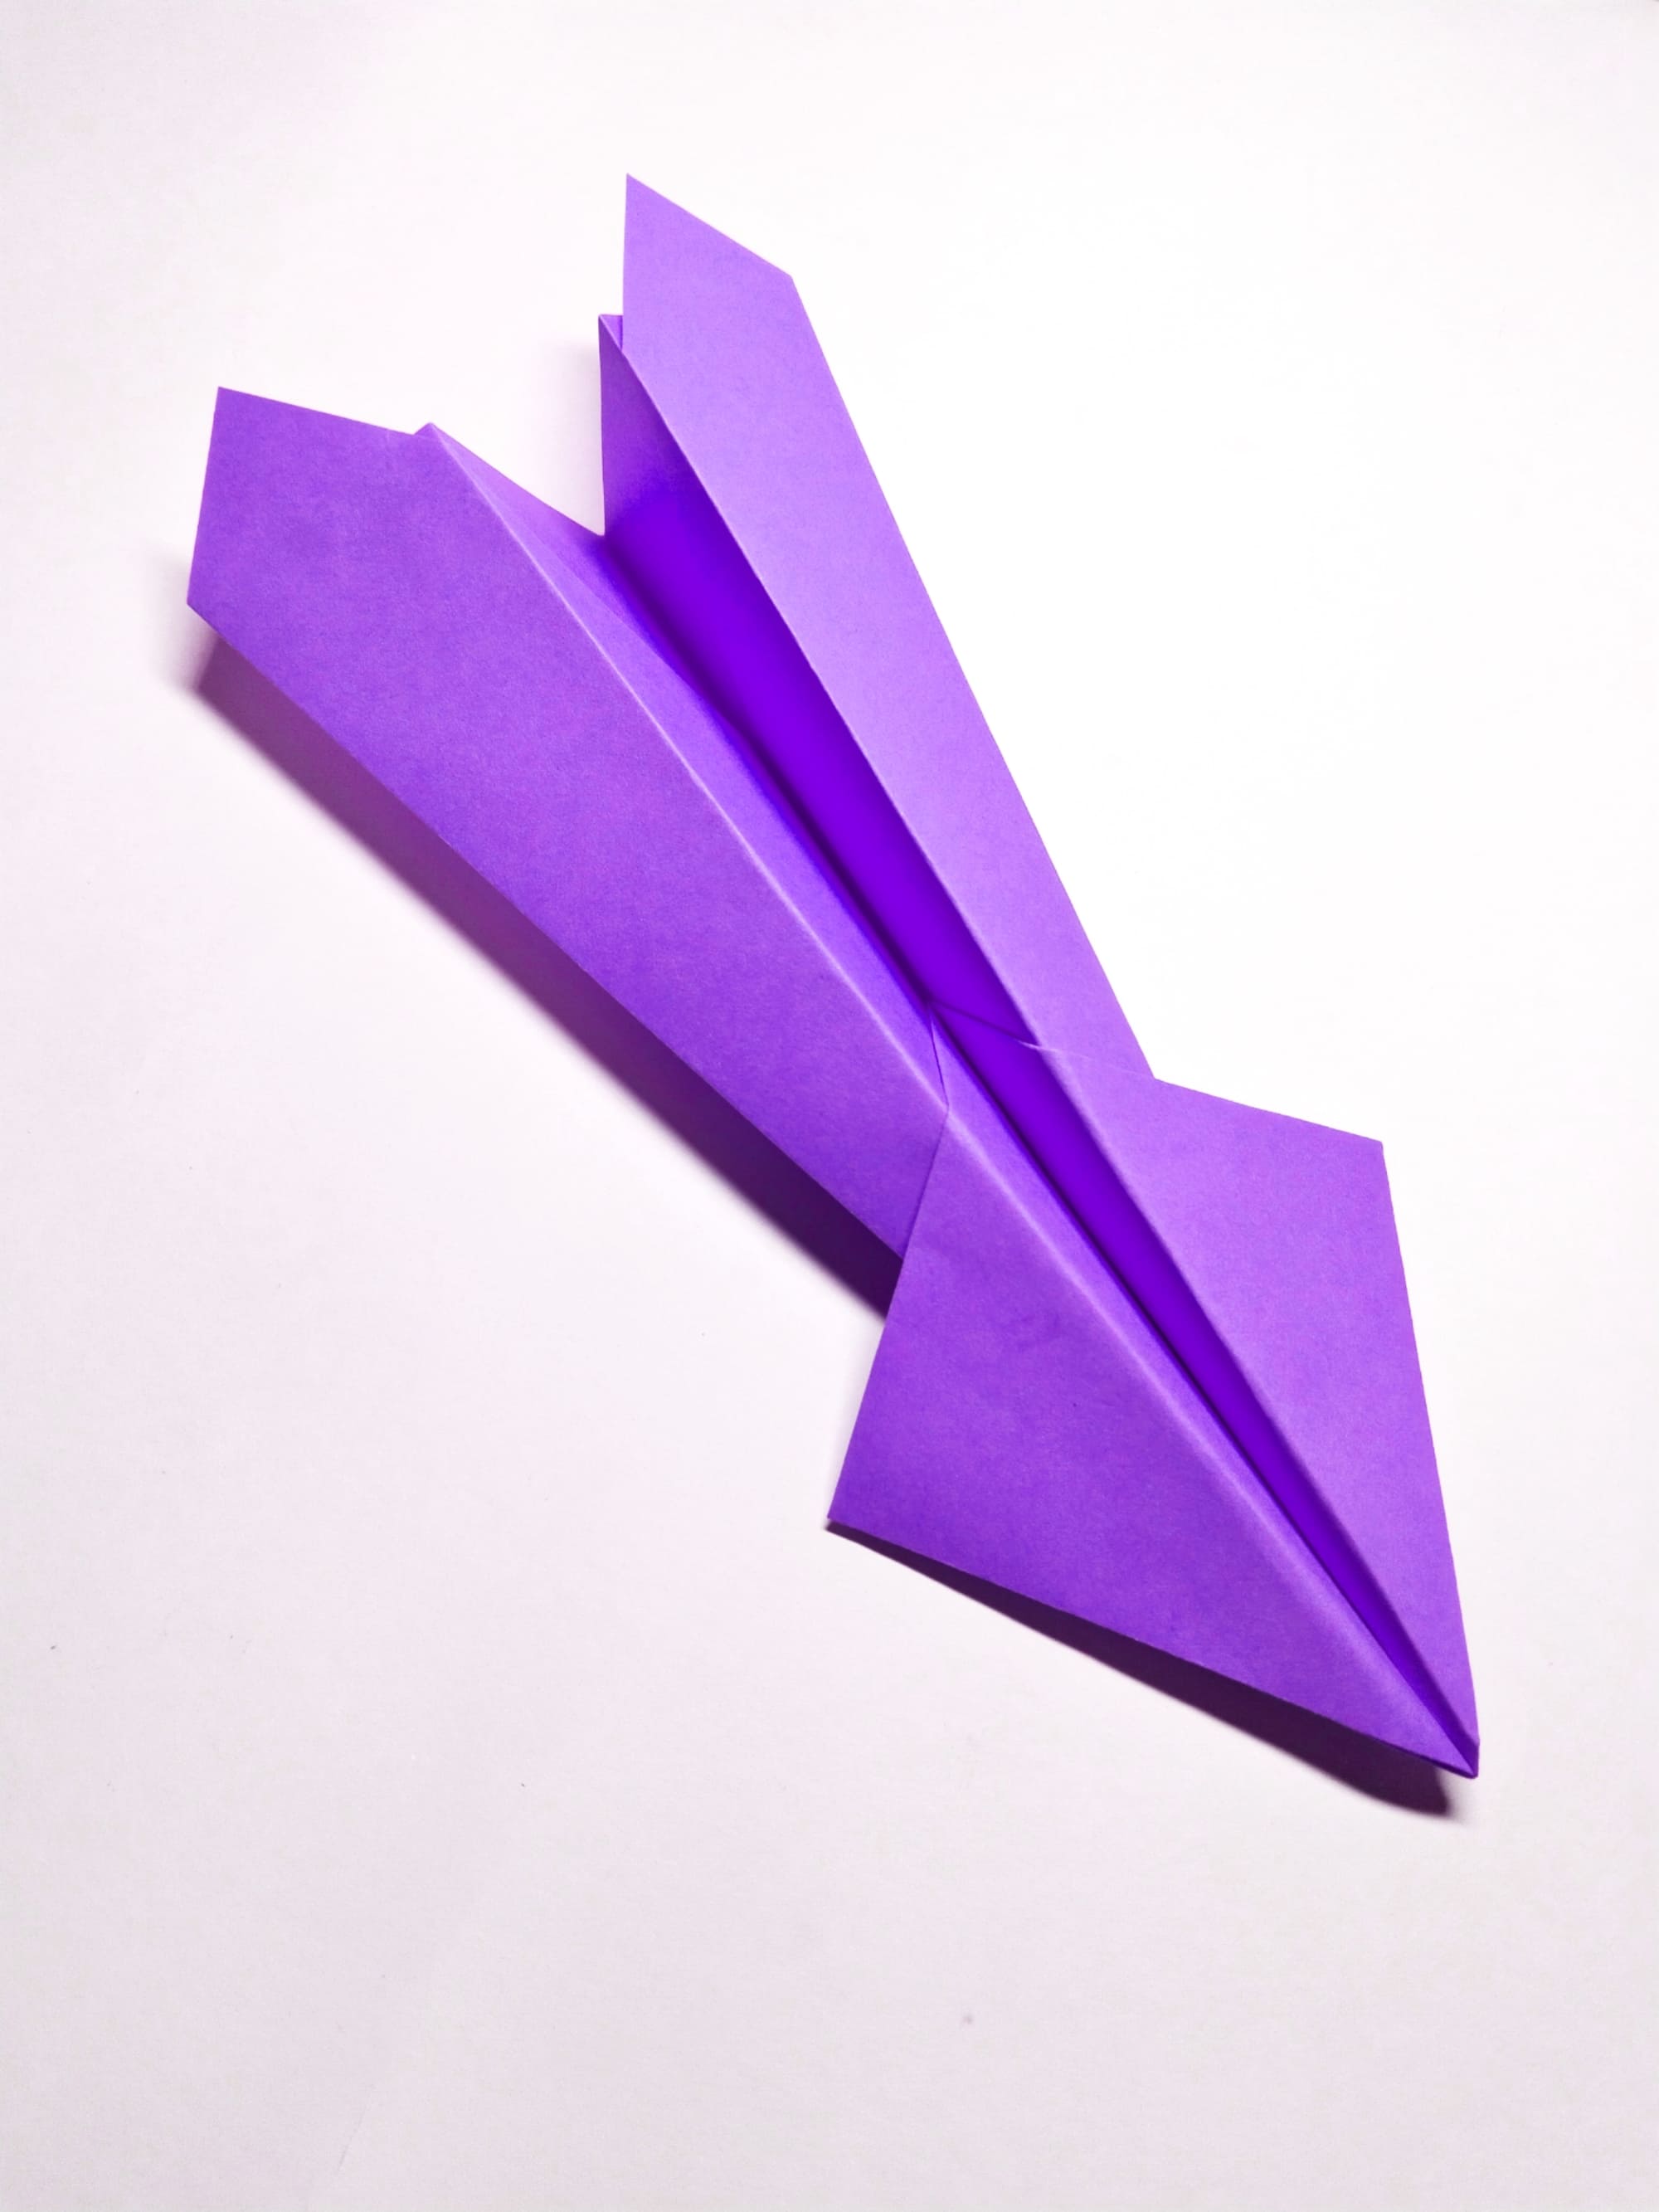
Origami Zip Dart Airplane
Speed and fiery passion are the words that many characterize the game of dart throwing. A throwing device that has gone through its own evolutionary path from a shortened arrow shaft to modern needle or magnetic units can surprise even people with excellent accuracy.
The Zip Dart prototype incorporated almost all the components of a darts-playing tool. Amazing speed and stable flight along a straight path are its main components.
Prepare some paper, a couple of minutes of free time, and rest assured as this article will help you start testing such a fast-moving model in no time.
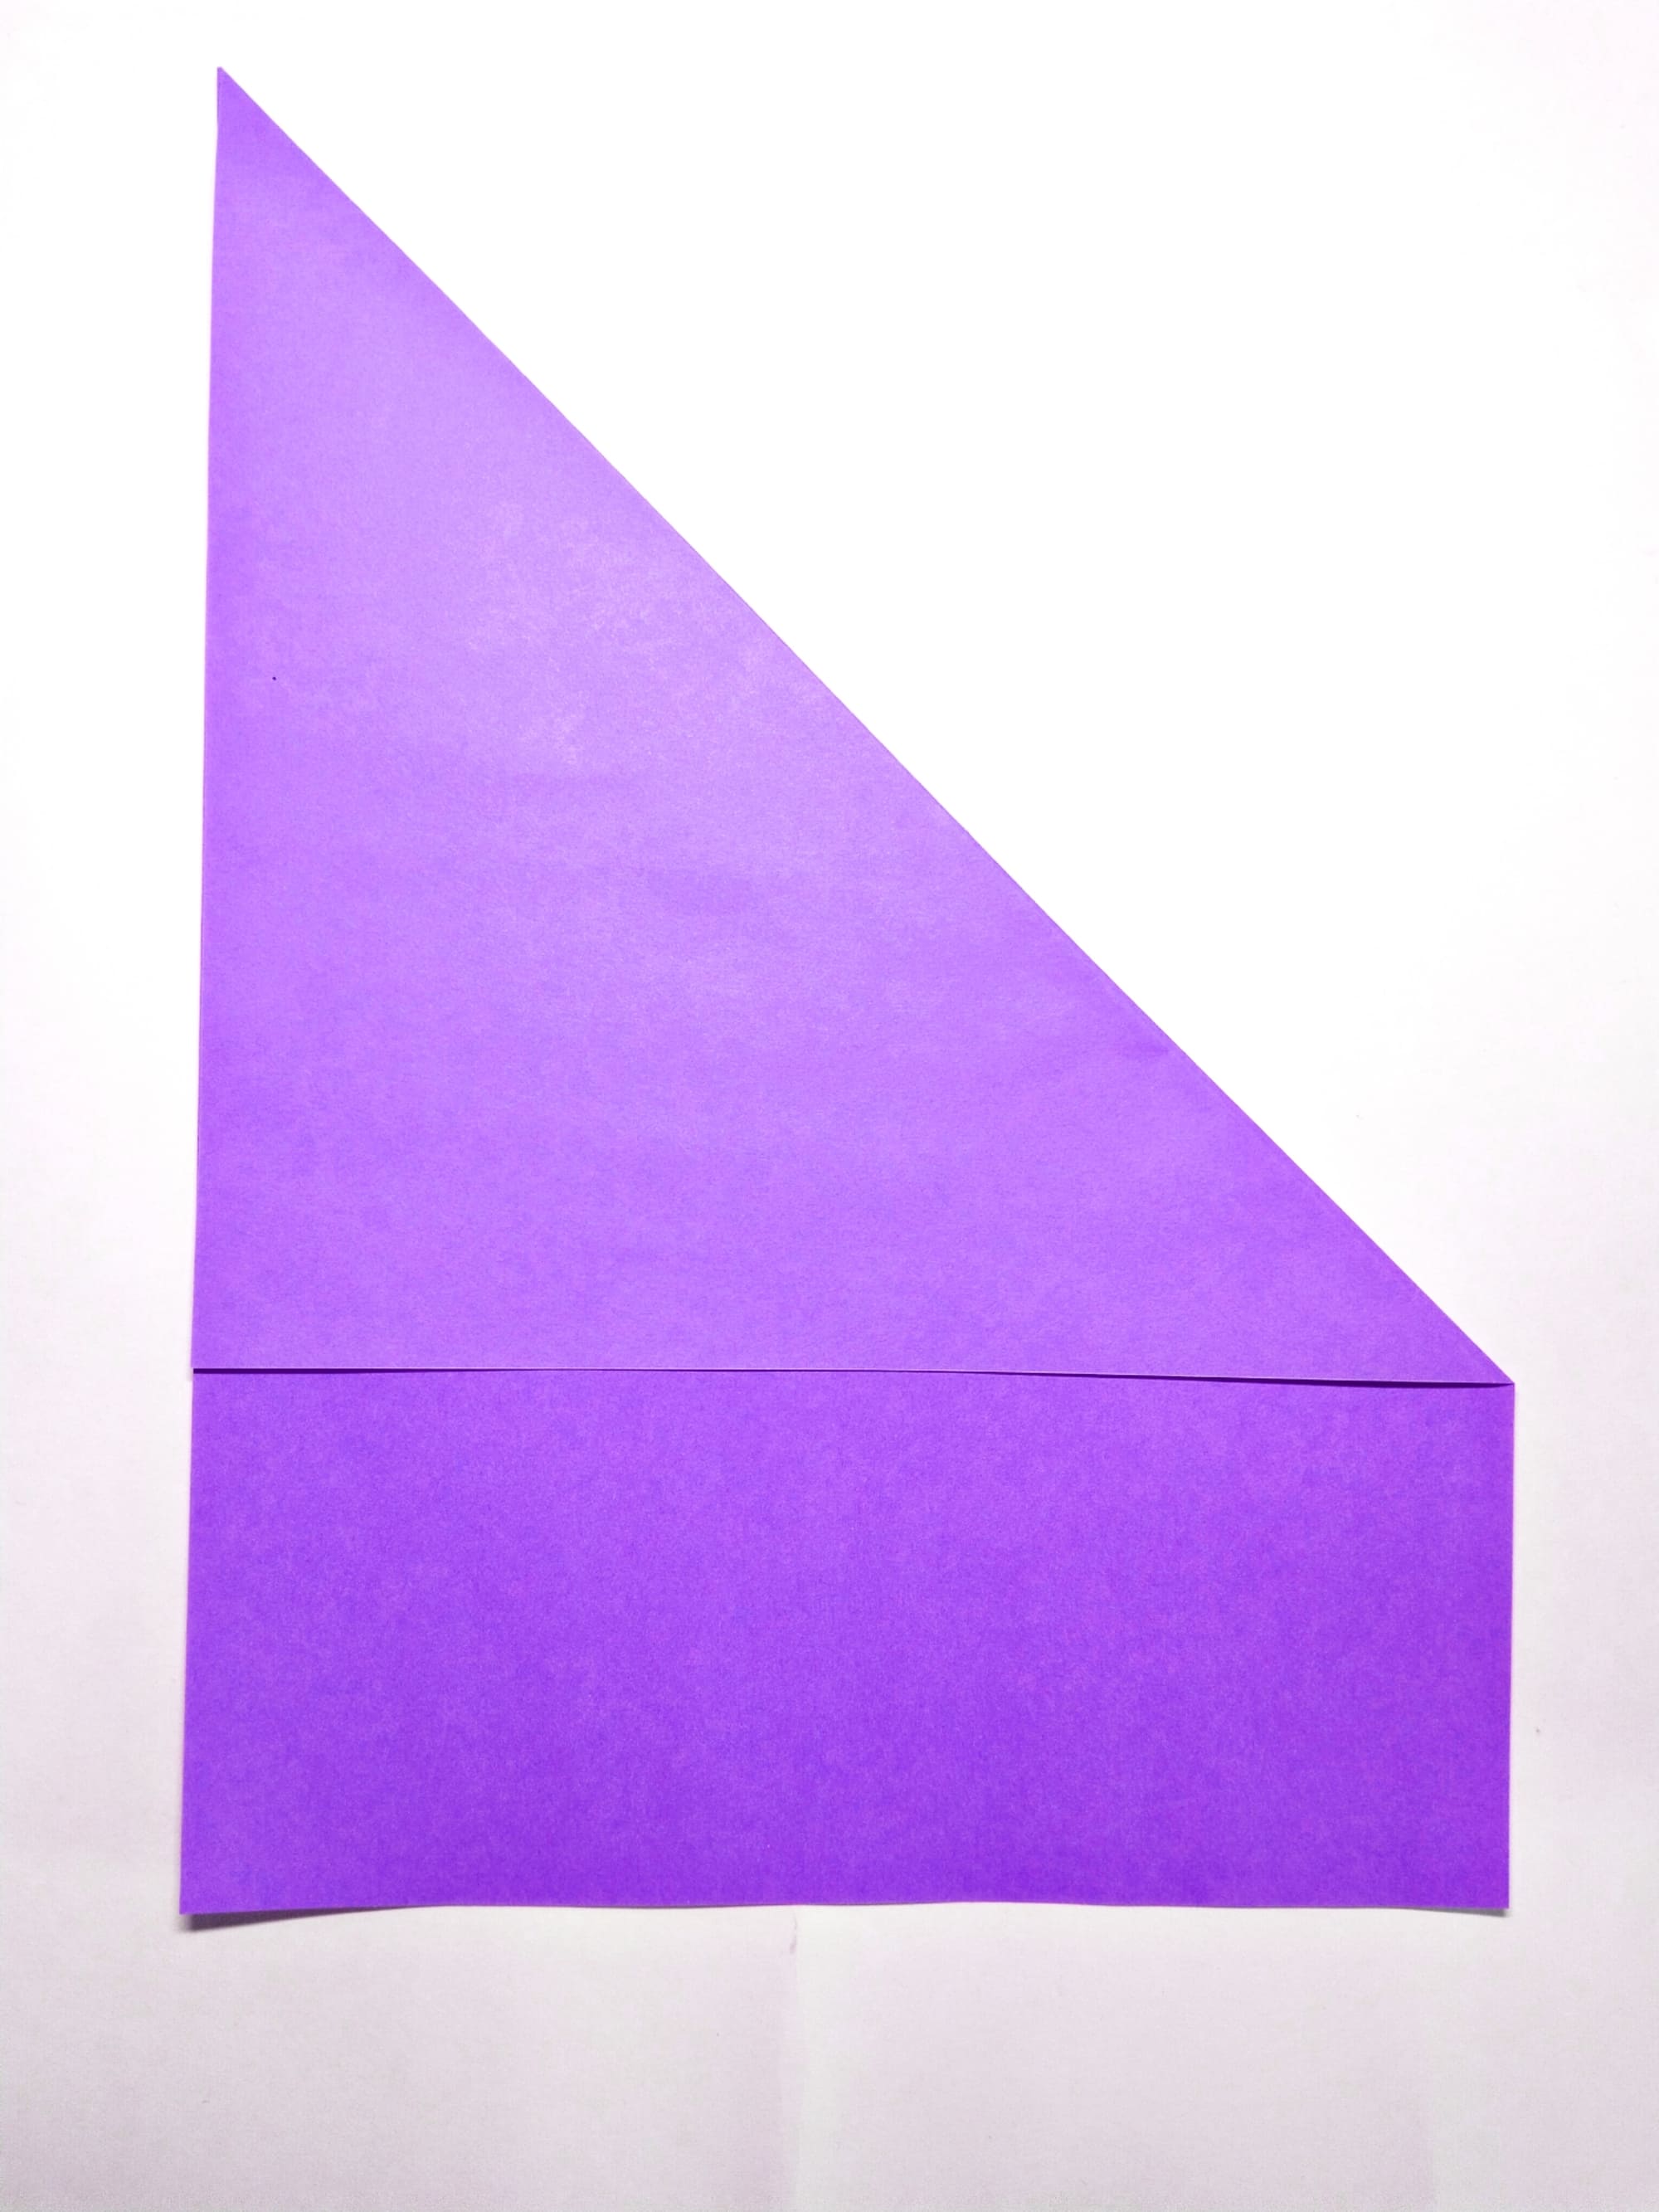
Place the piece of paper vertically and lower the upper right corner, aligning the two sides of the rectangle.
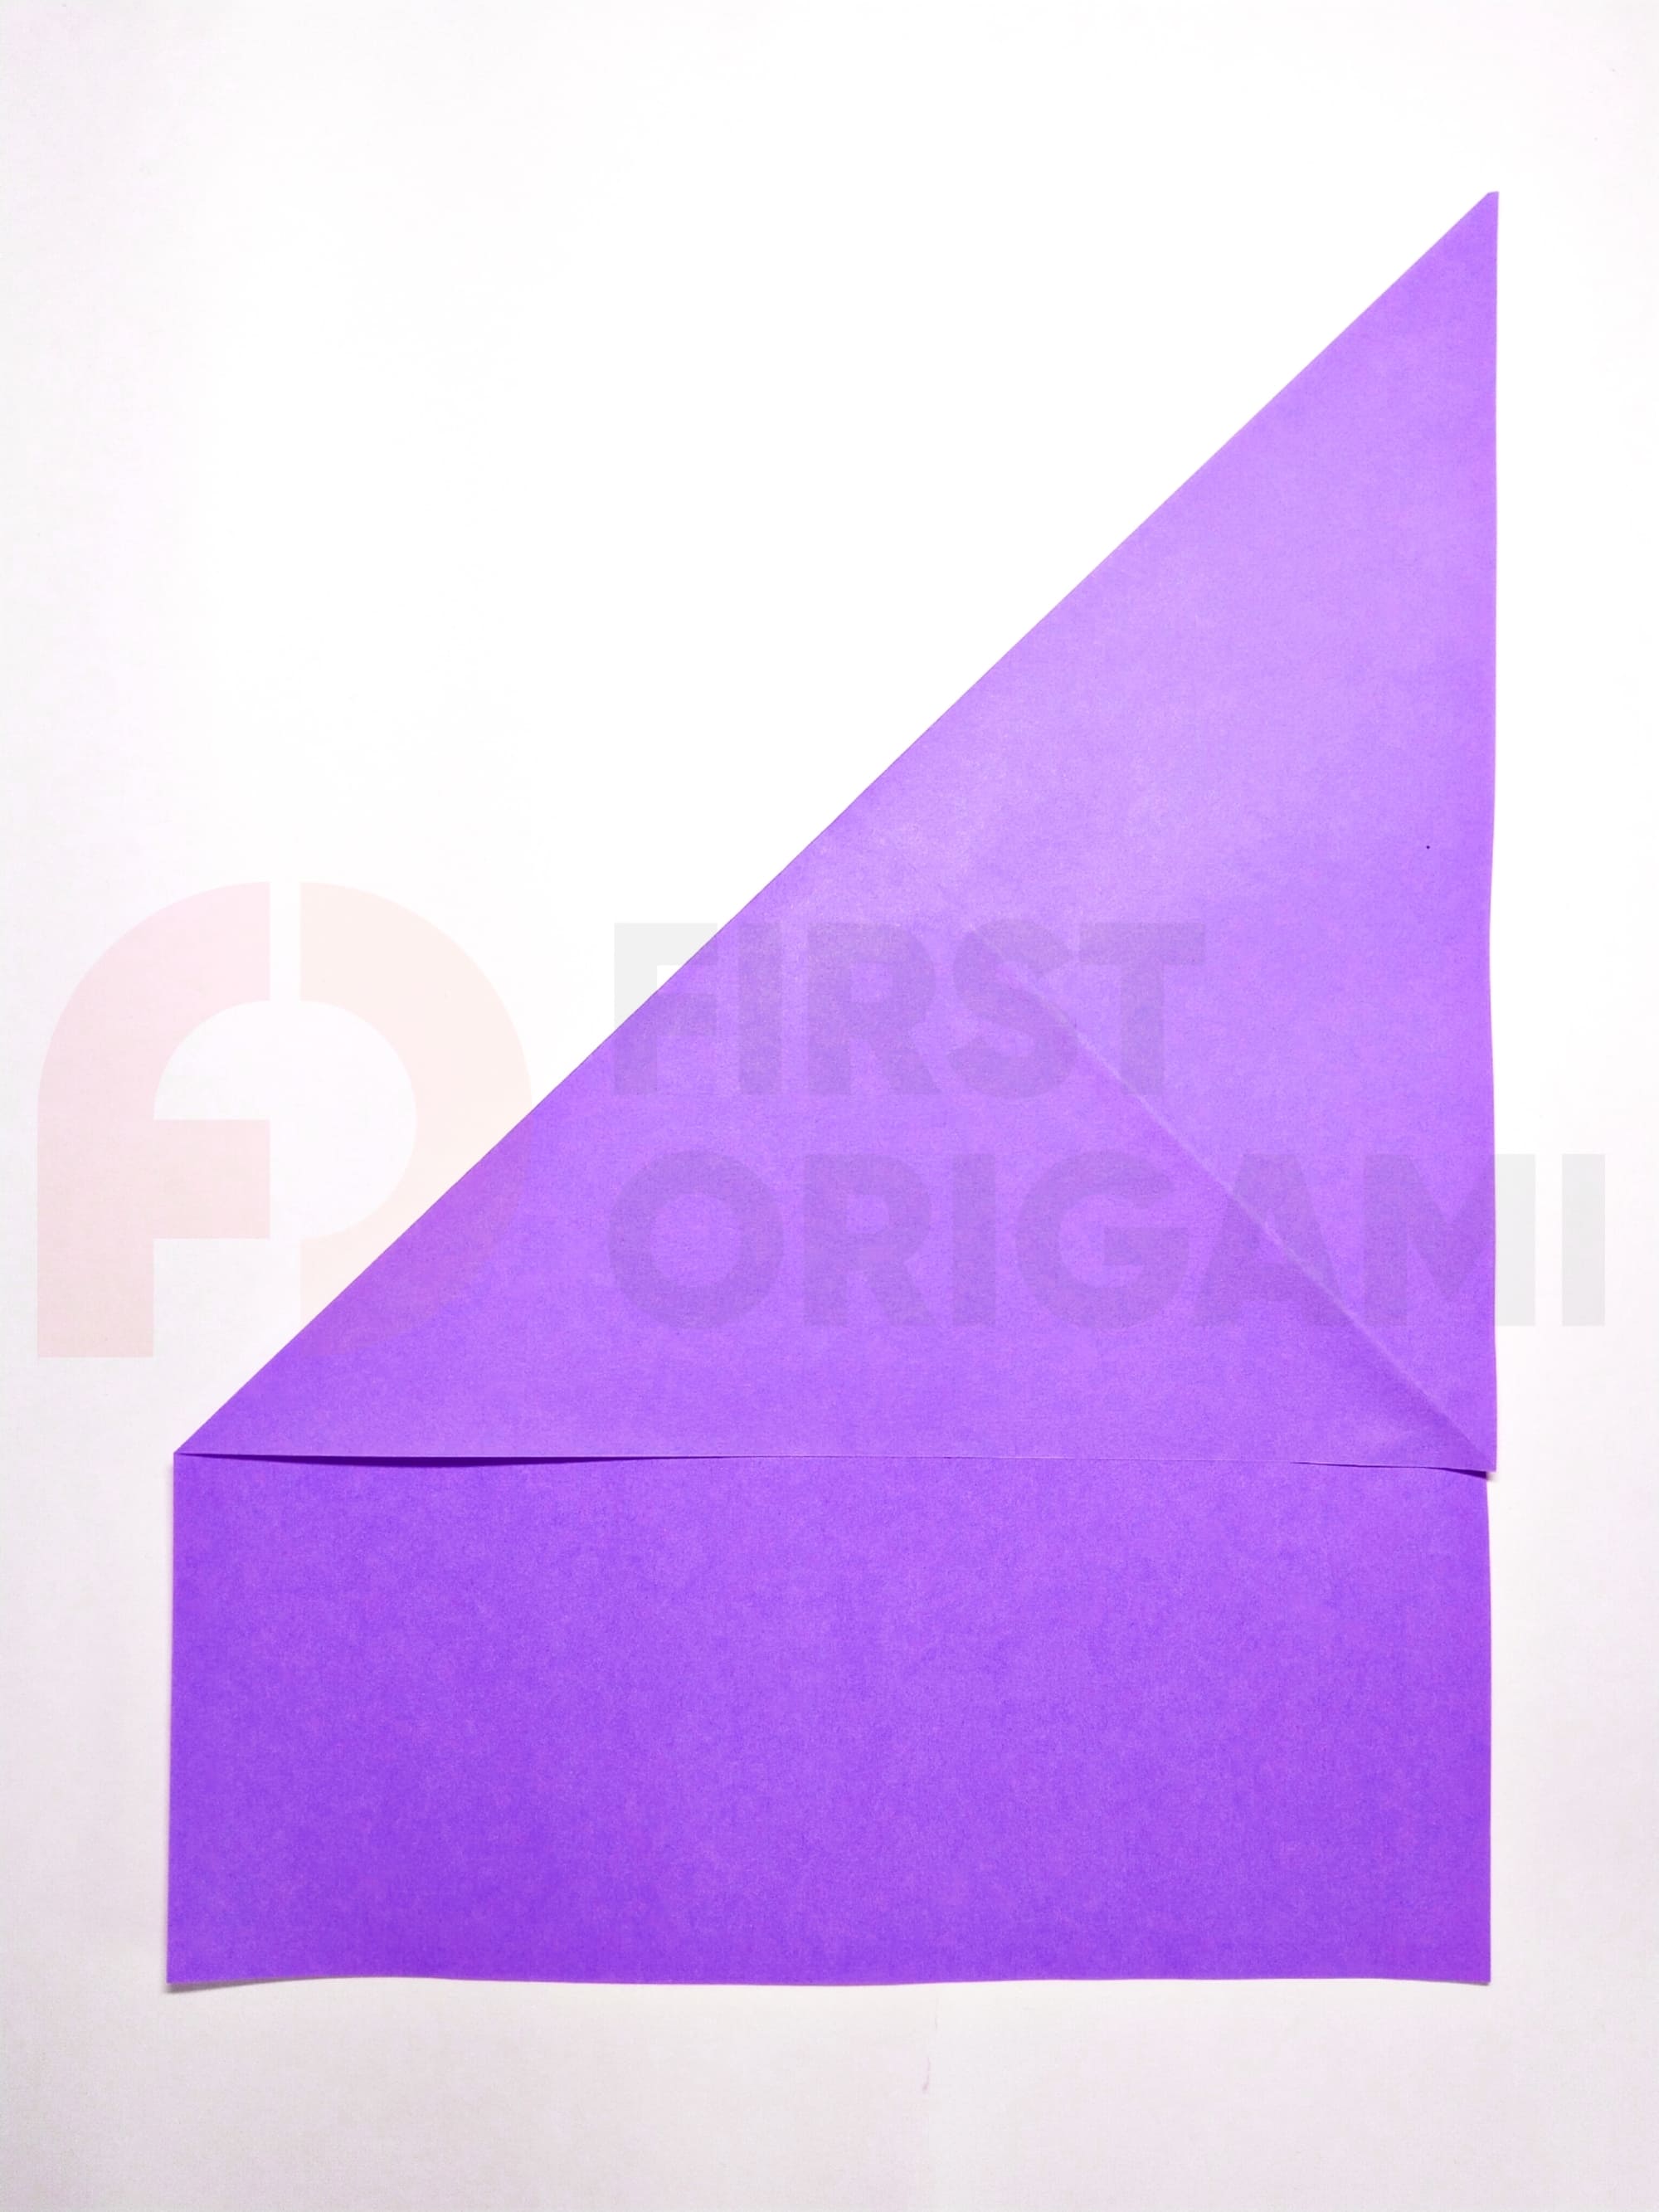
Unfold the paper and mirror the action on the opposite side.
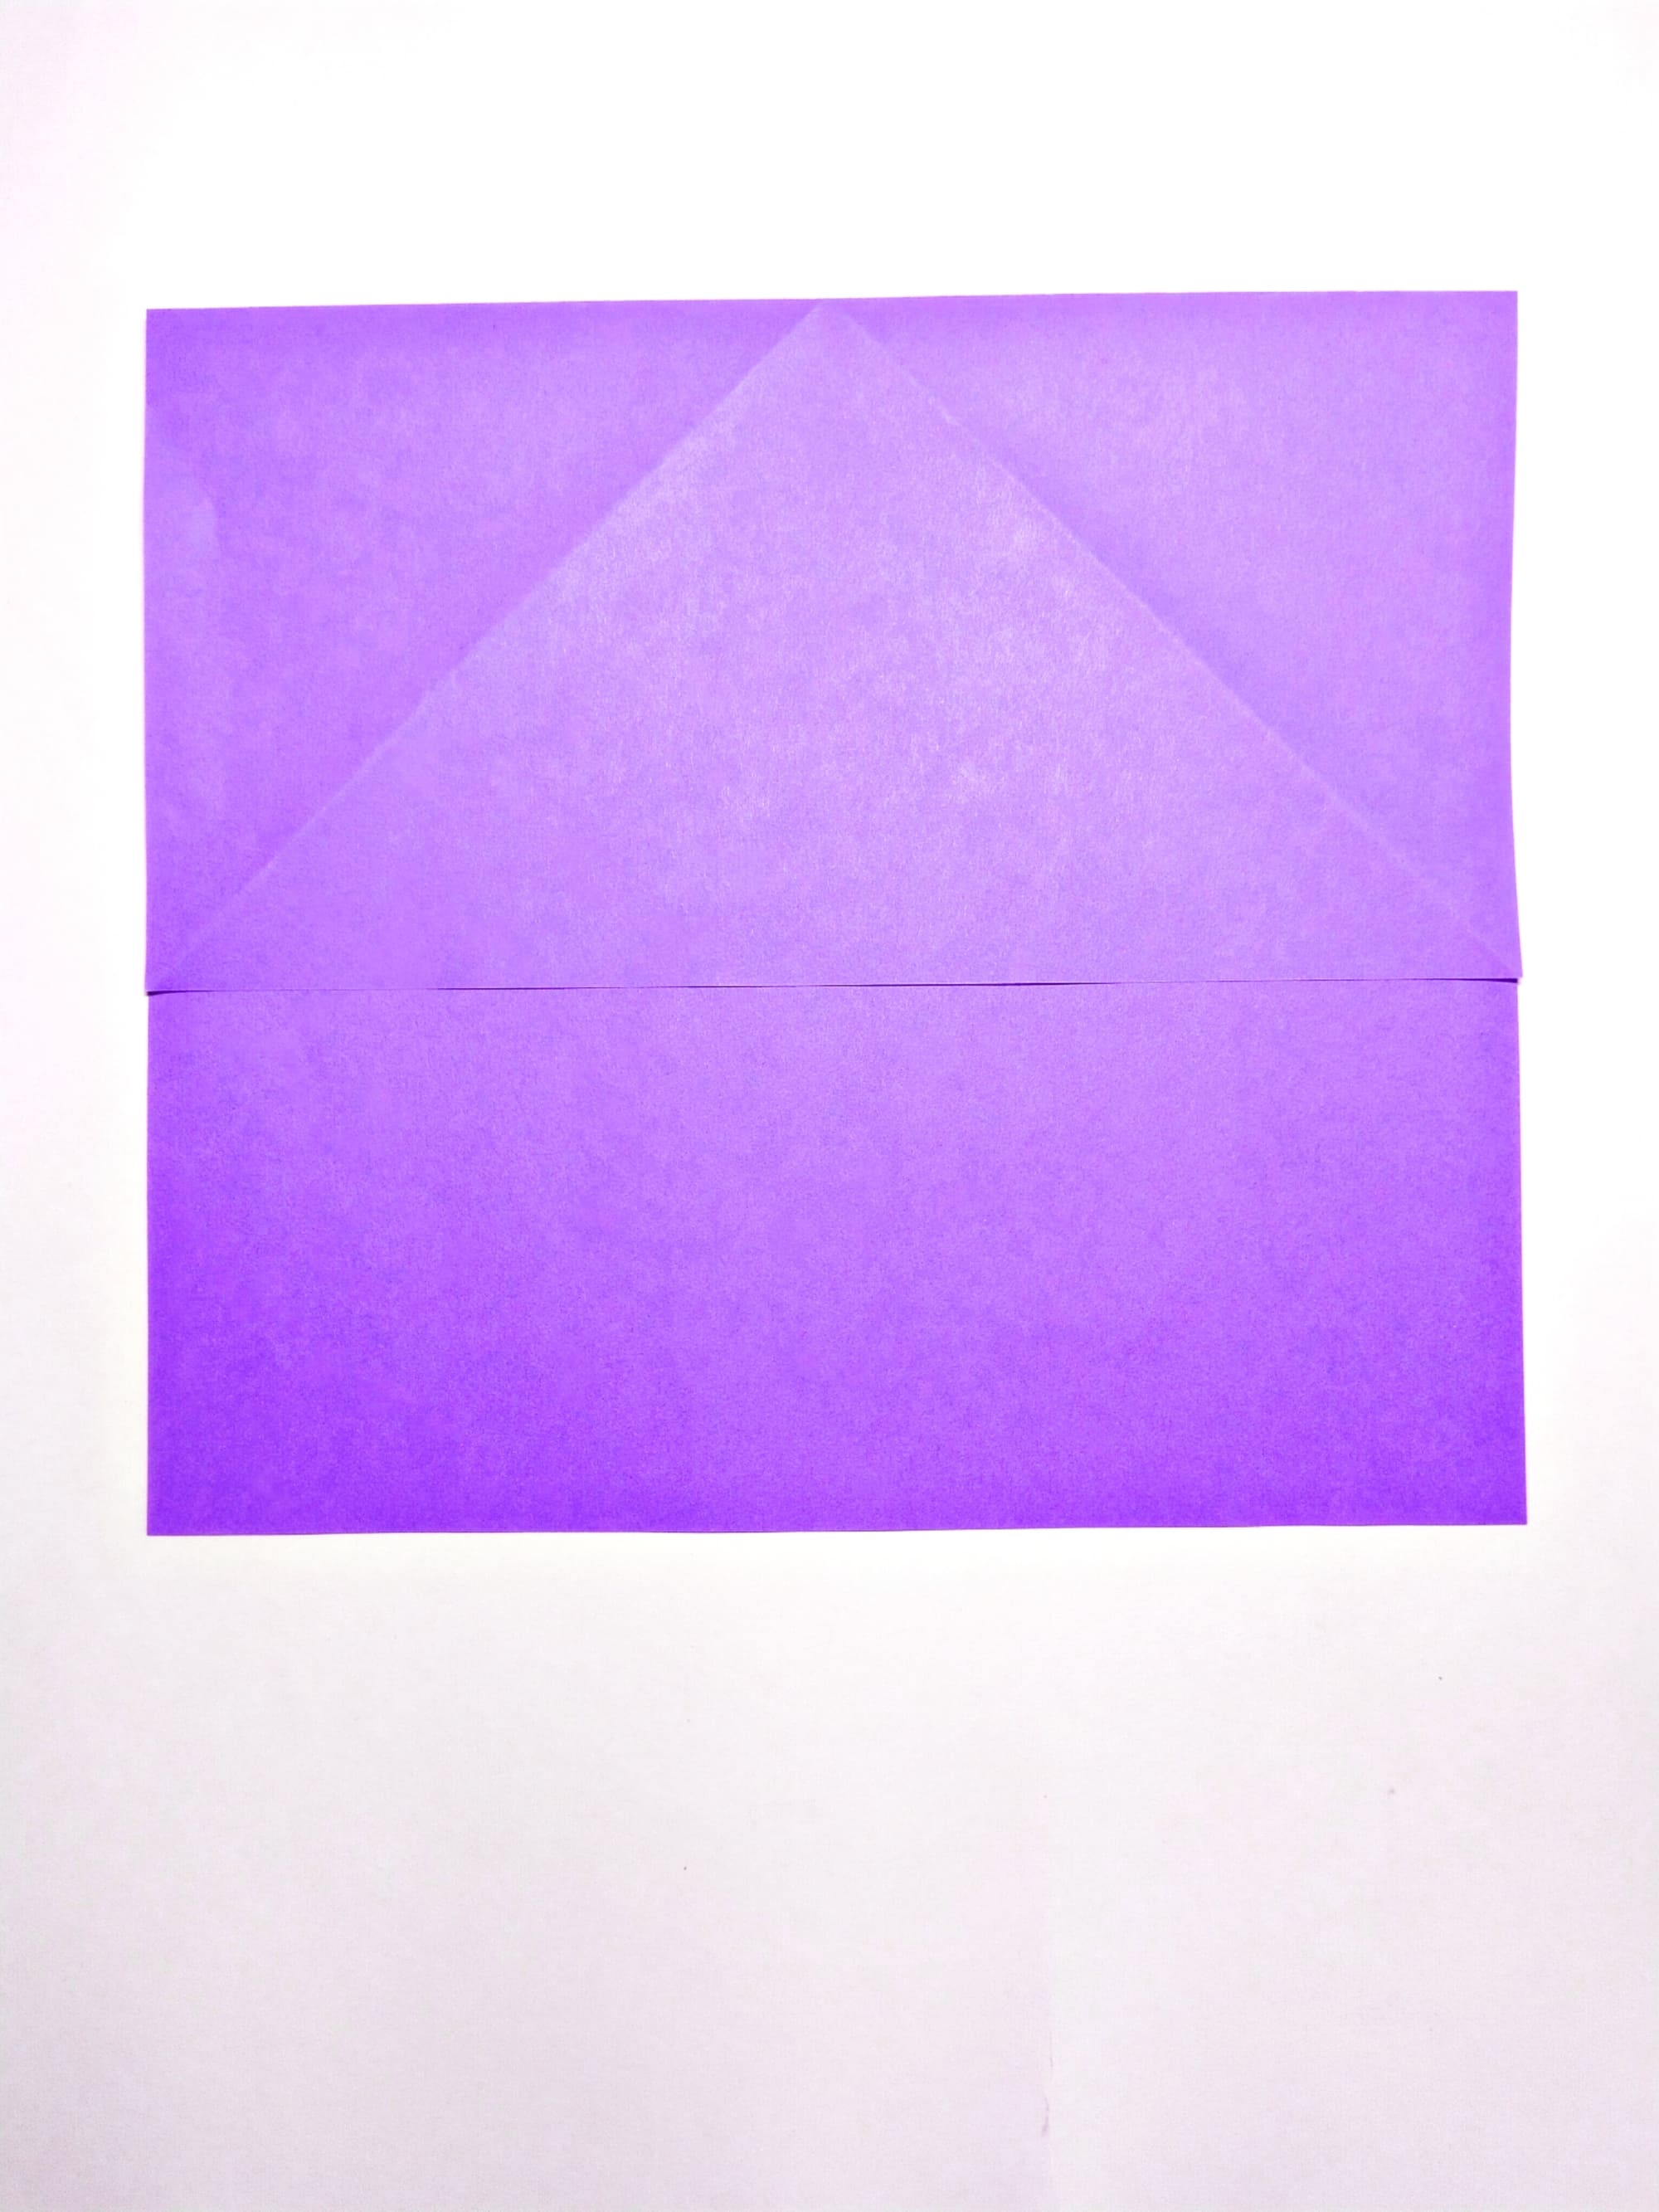
Flatten the paper again. You should end up with two crossed diagonals, at the ends of which you can build a square if desired.
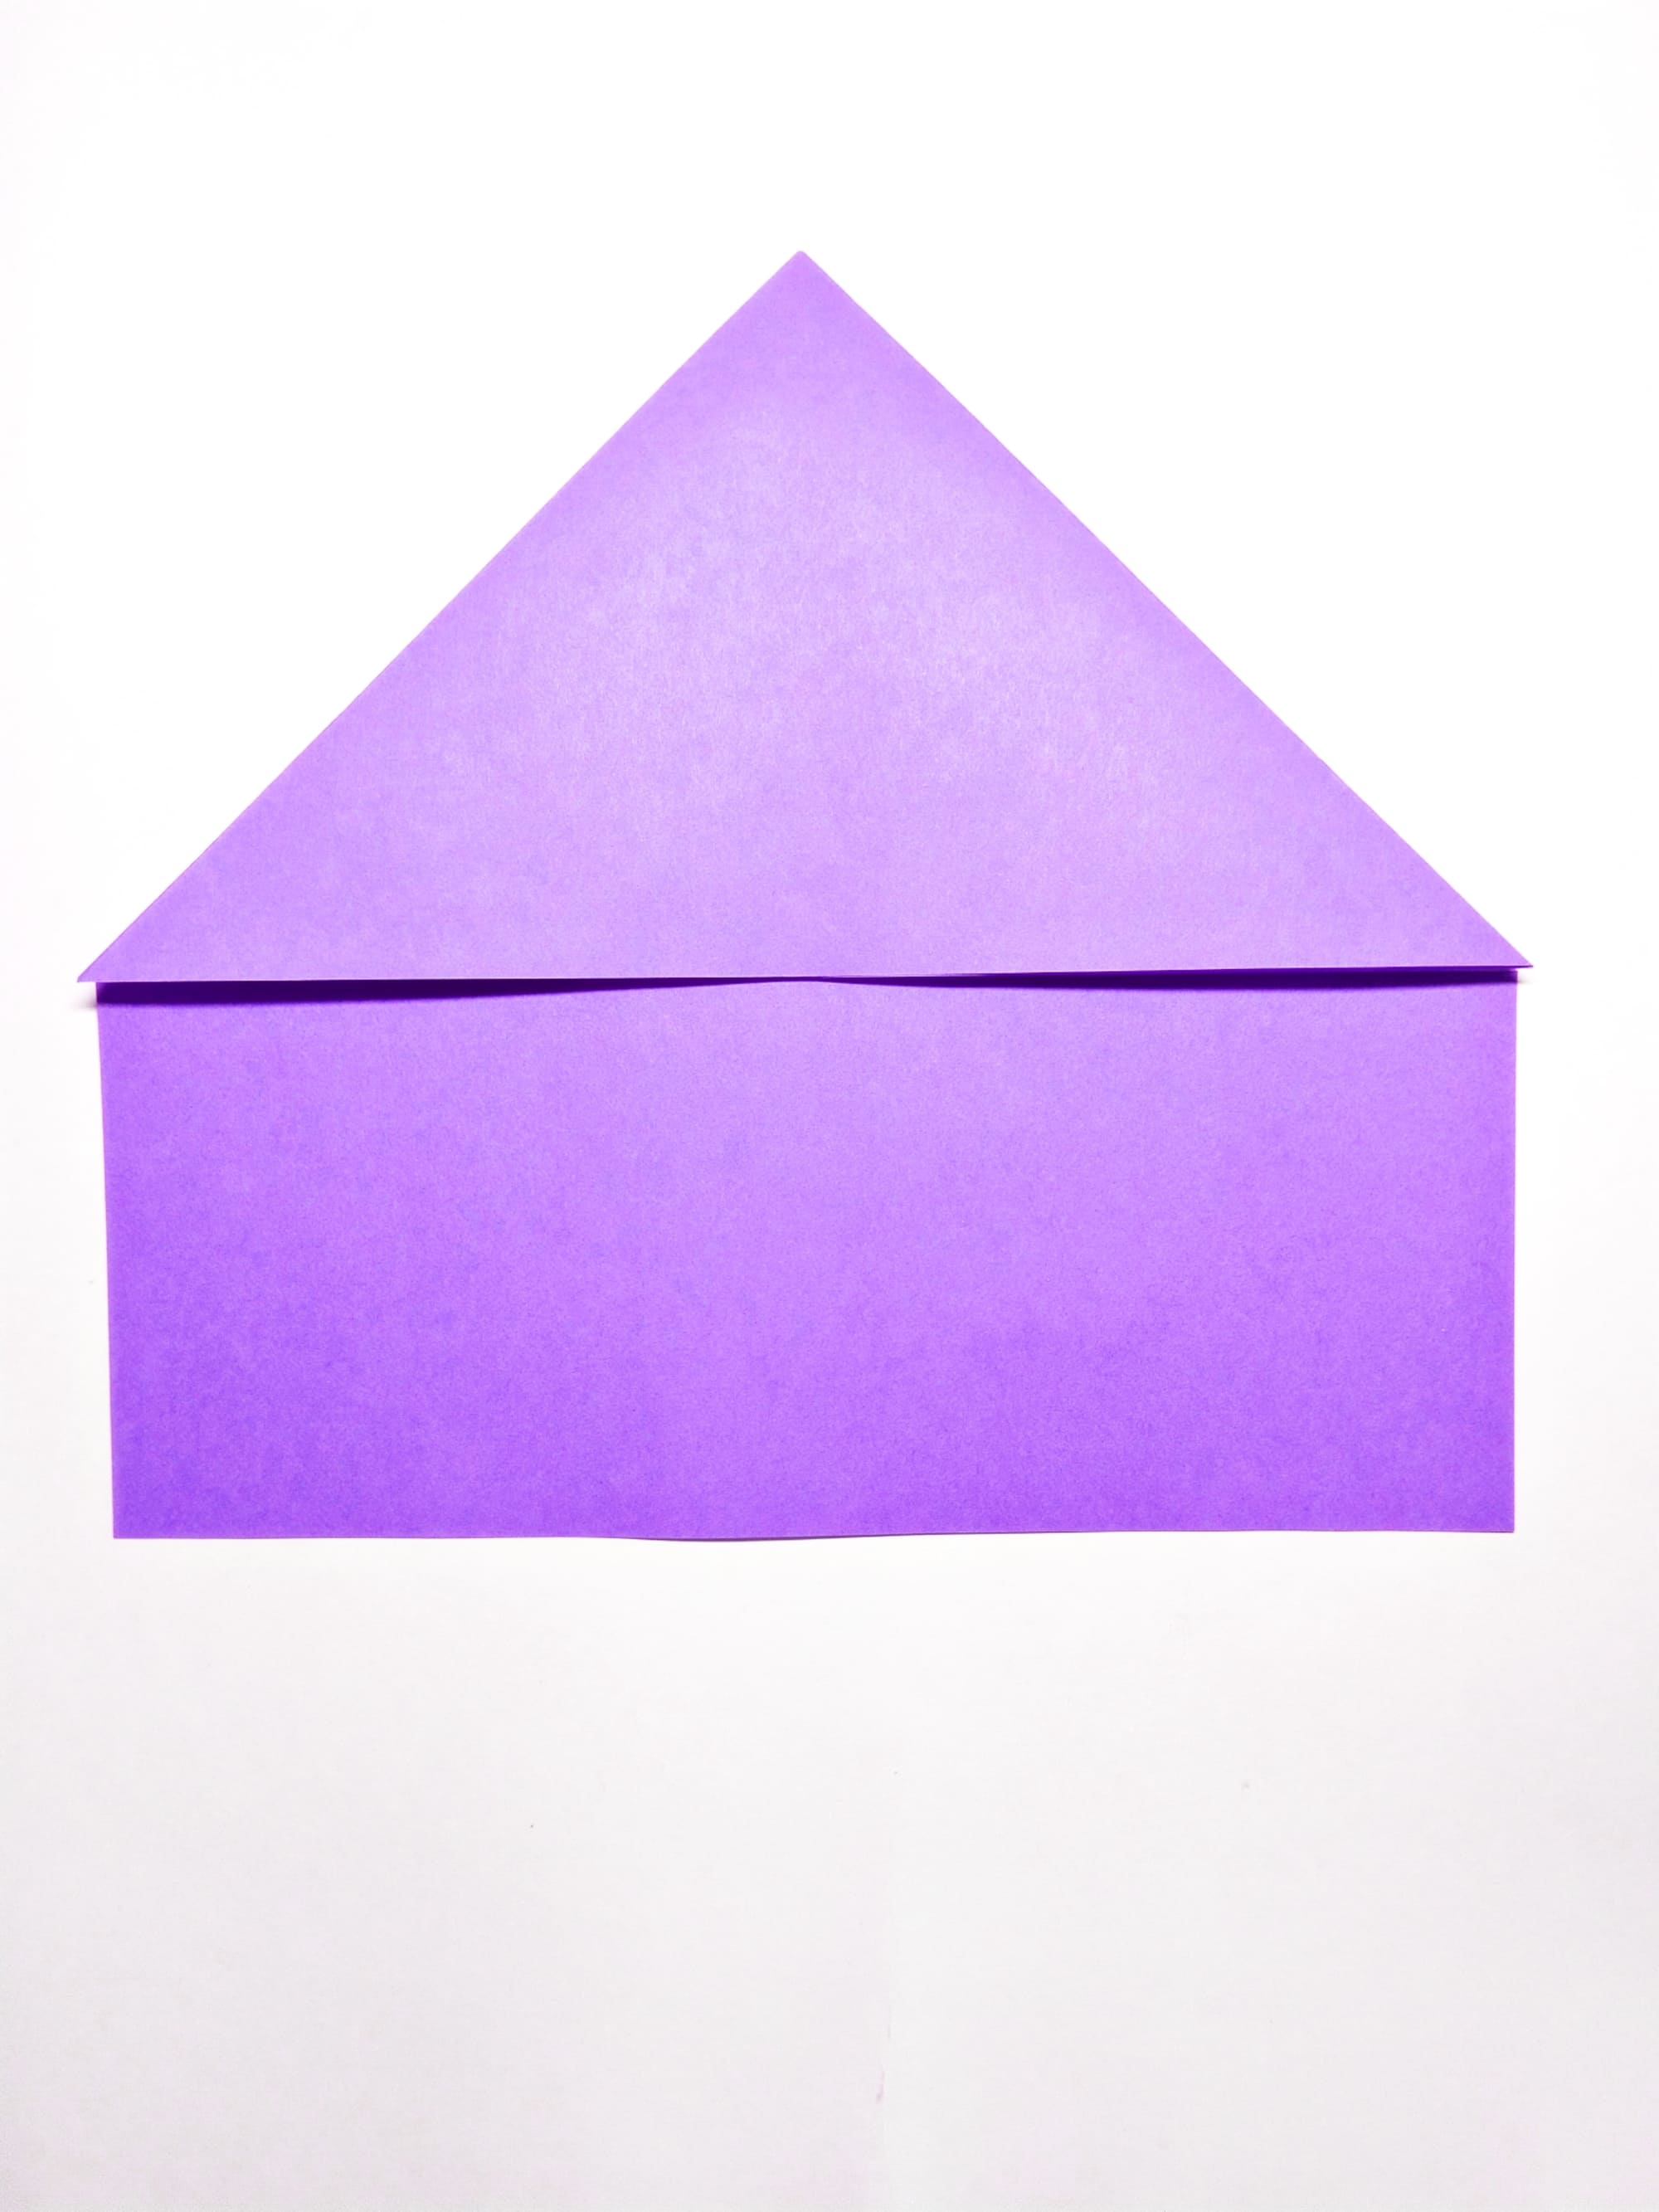
Bend the figure in half. Please note that the fold must pass horizontally through the intersection point of the diagonals.
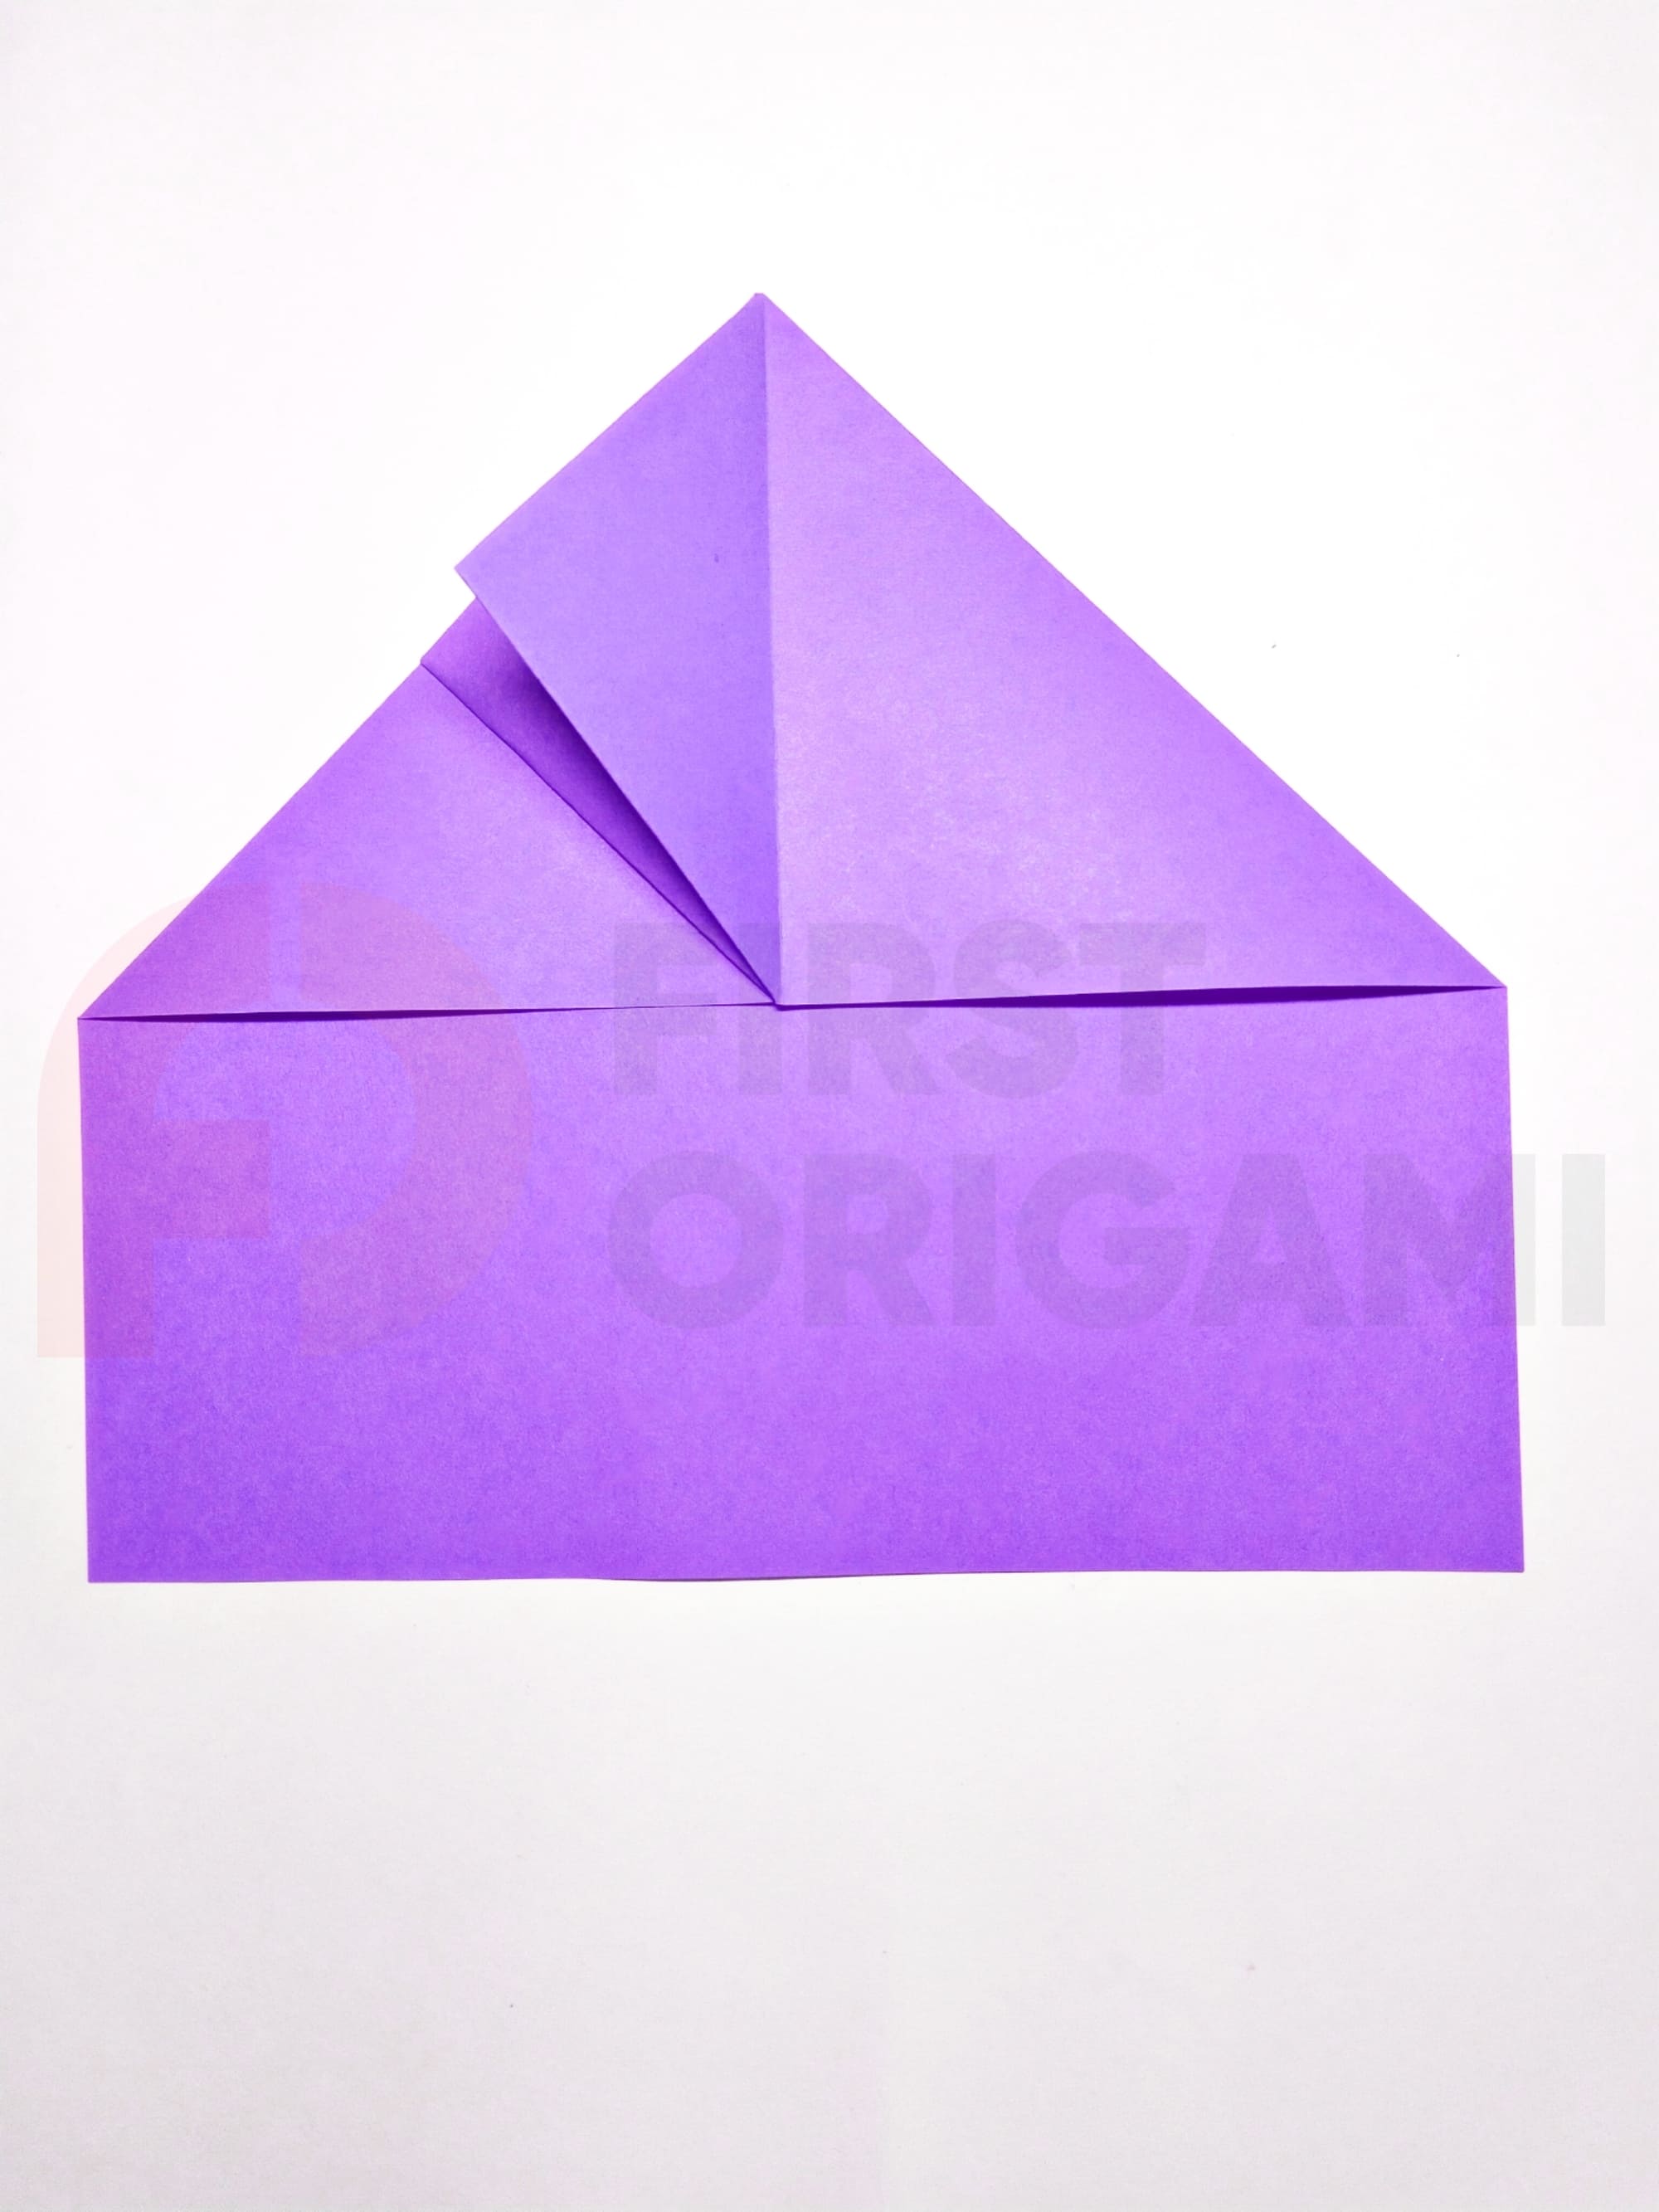
Fold the side triangles formed by the lines inward.
Fold the free end of the outer layer triangle towards the top.
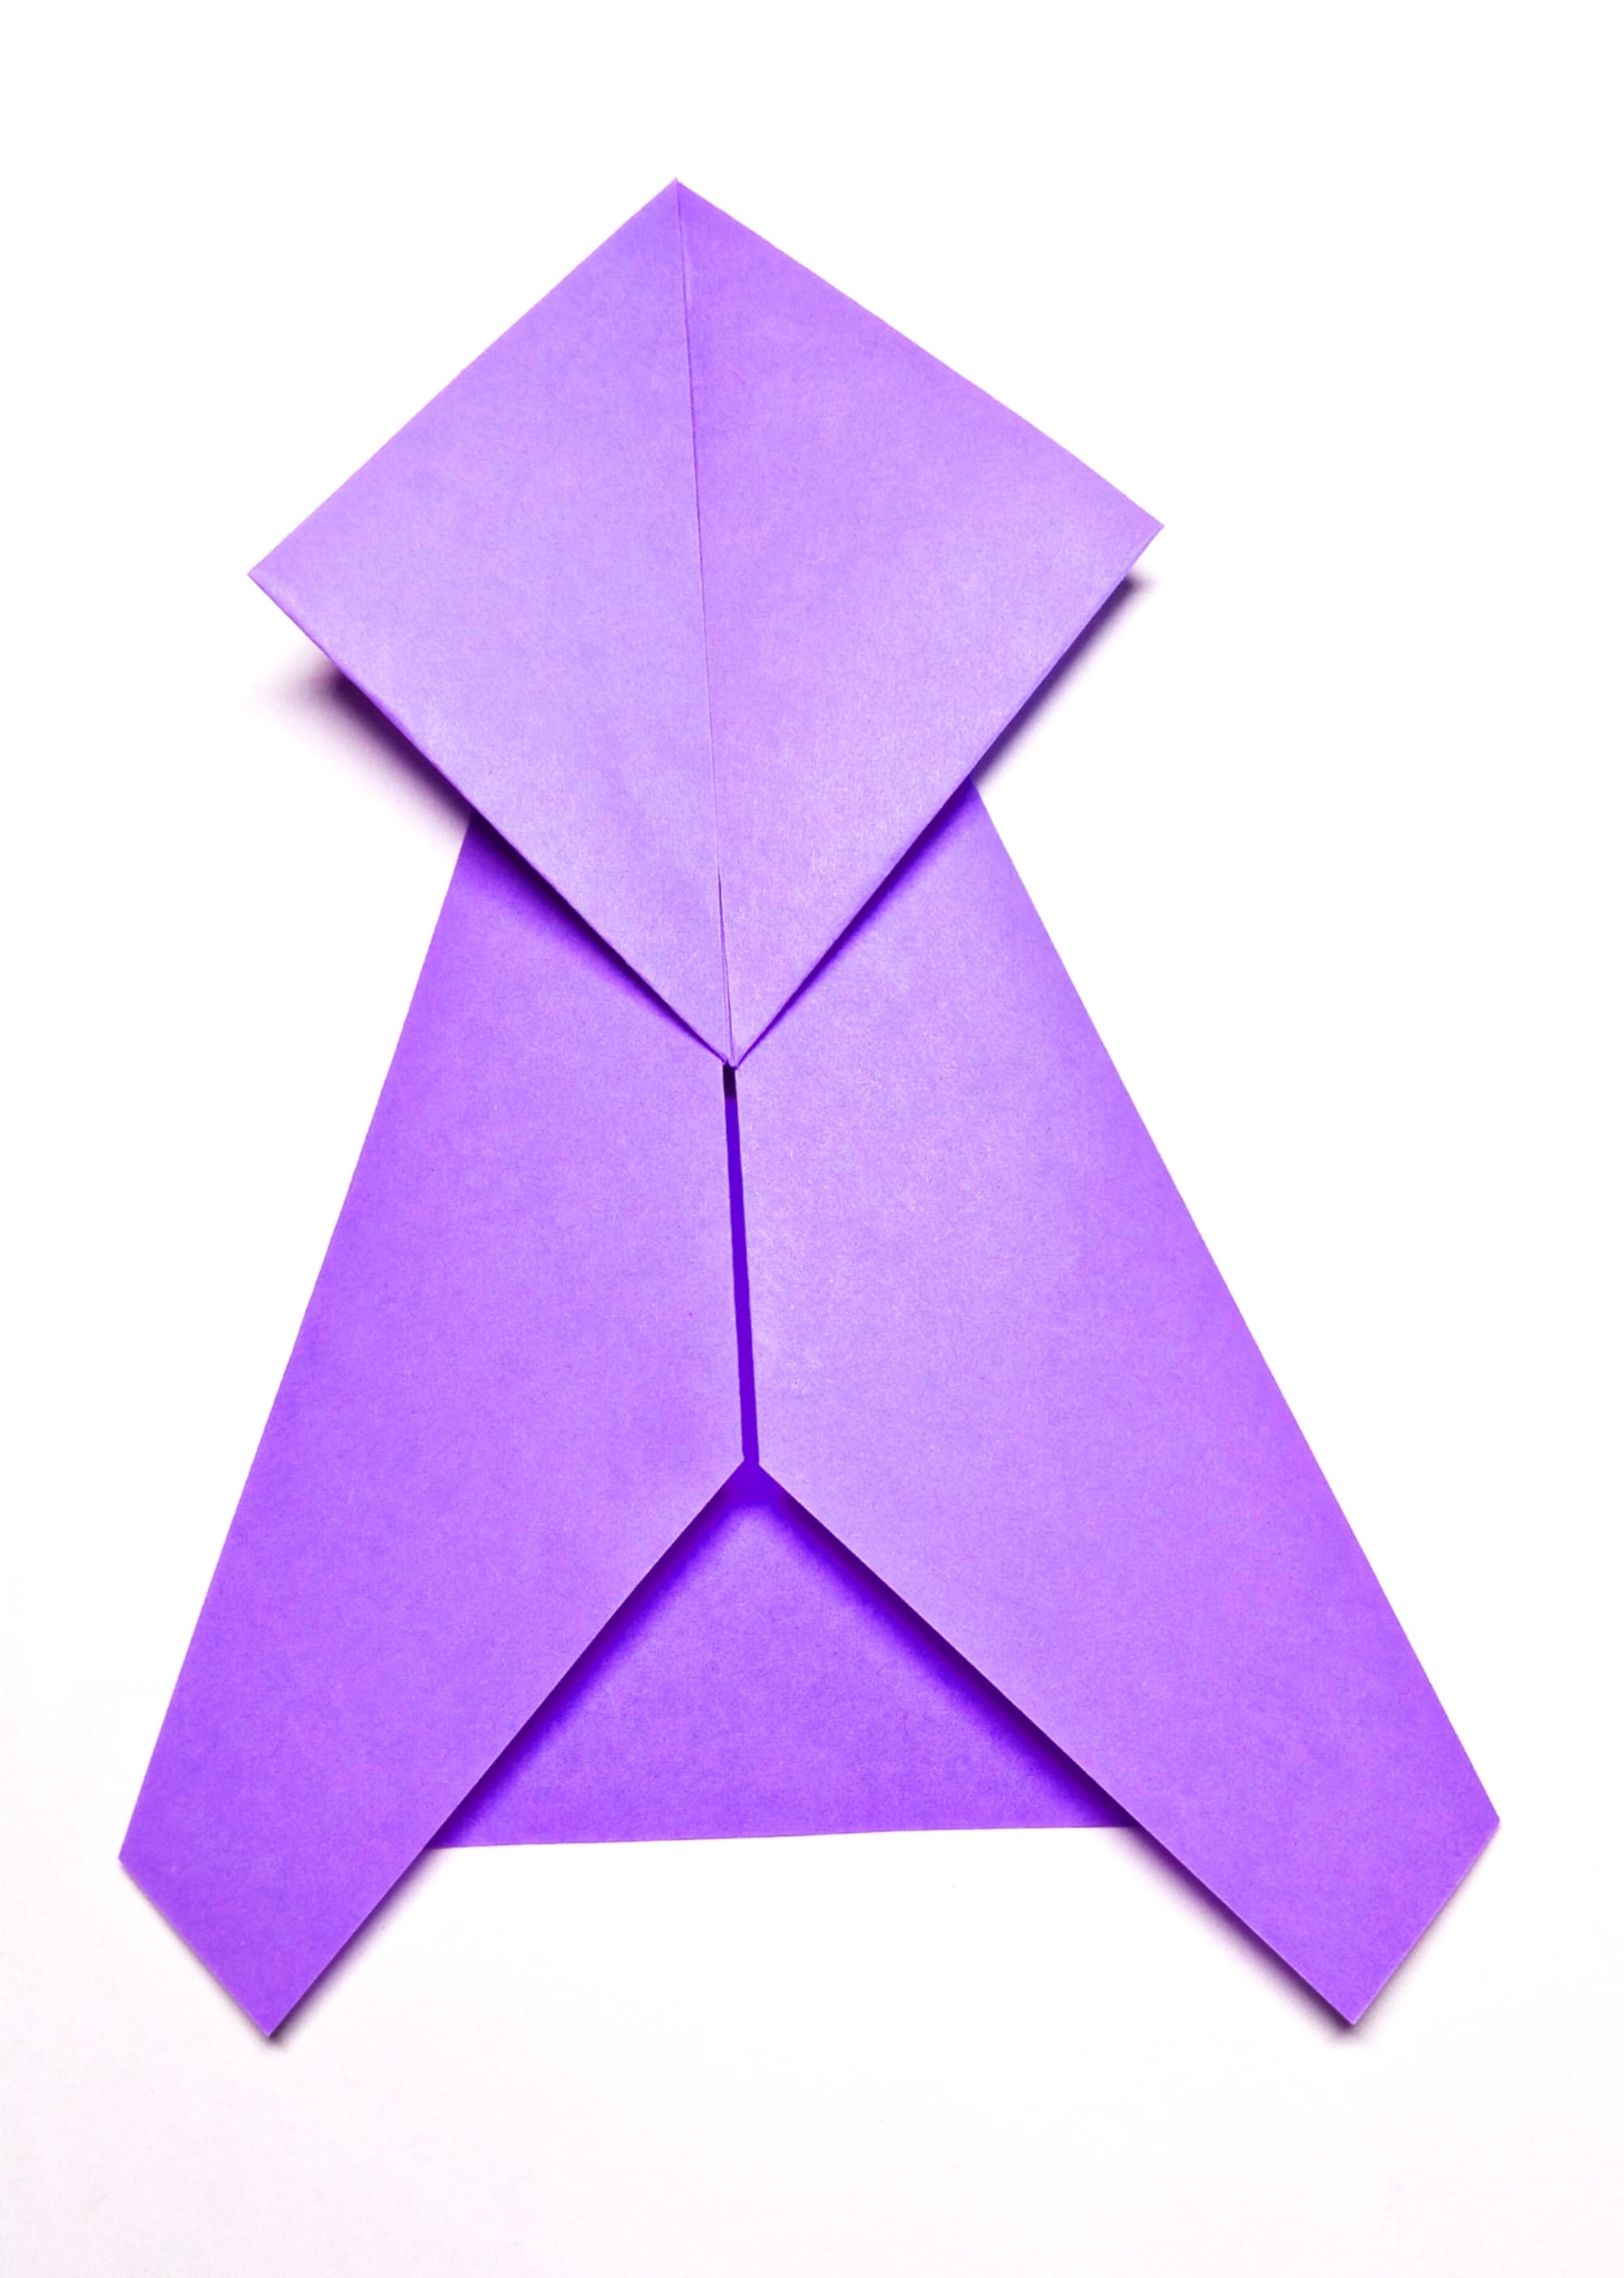
Repeat on the other side to create a diamond stabilizer for the paper dart nose.
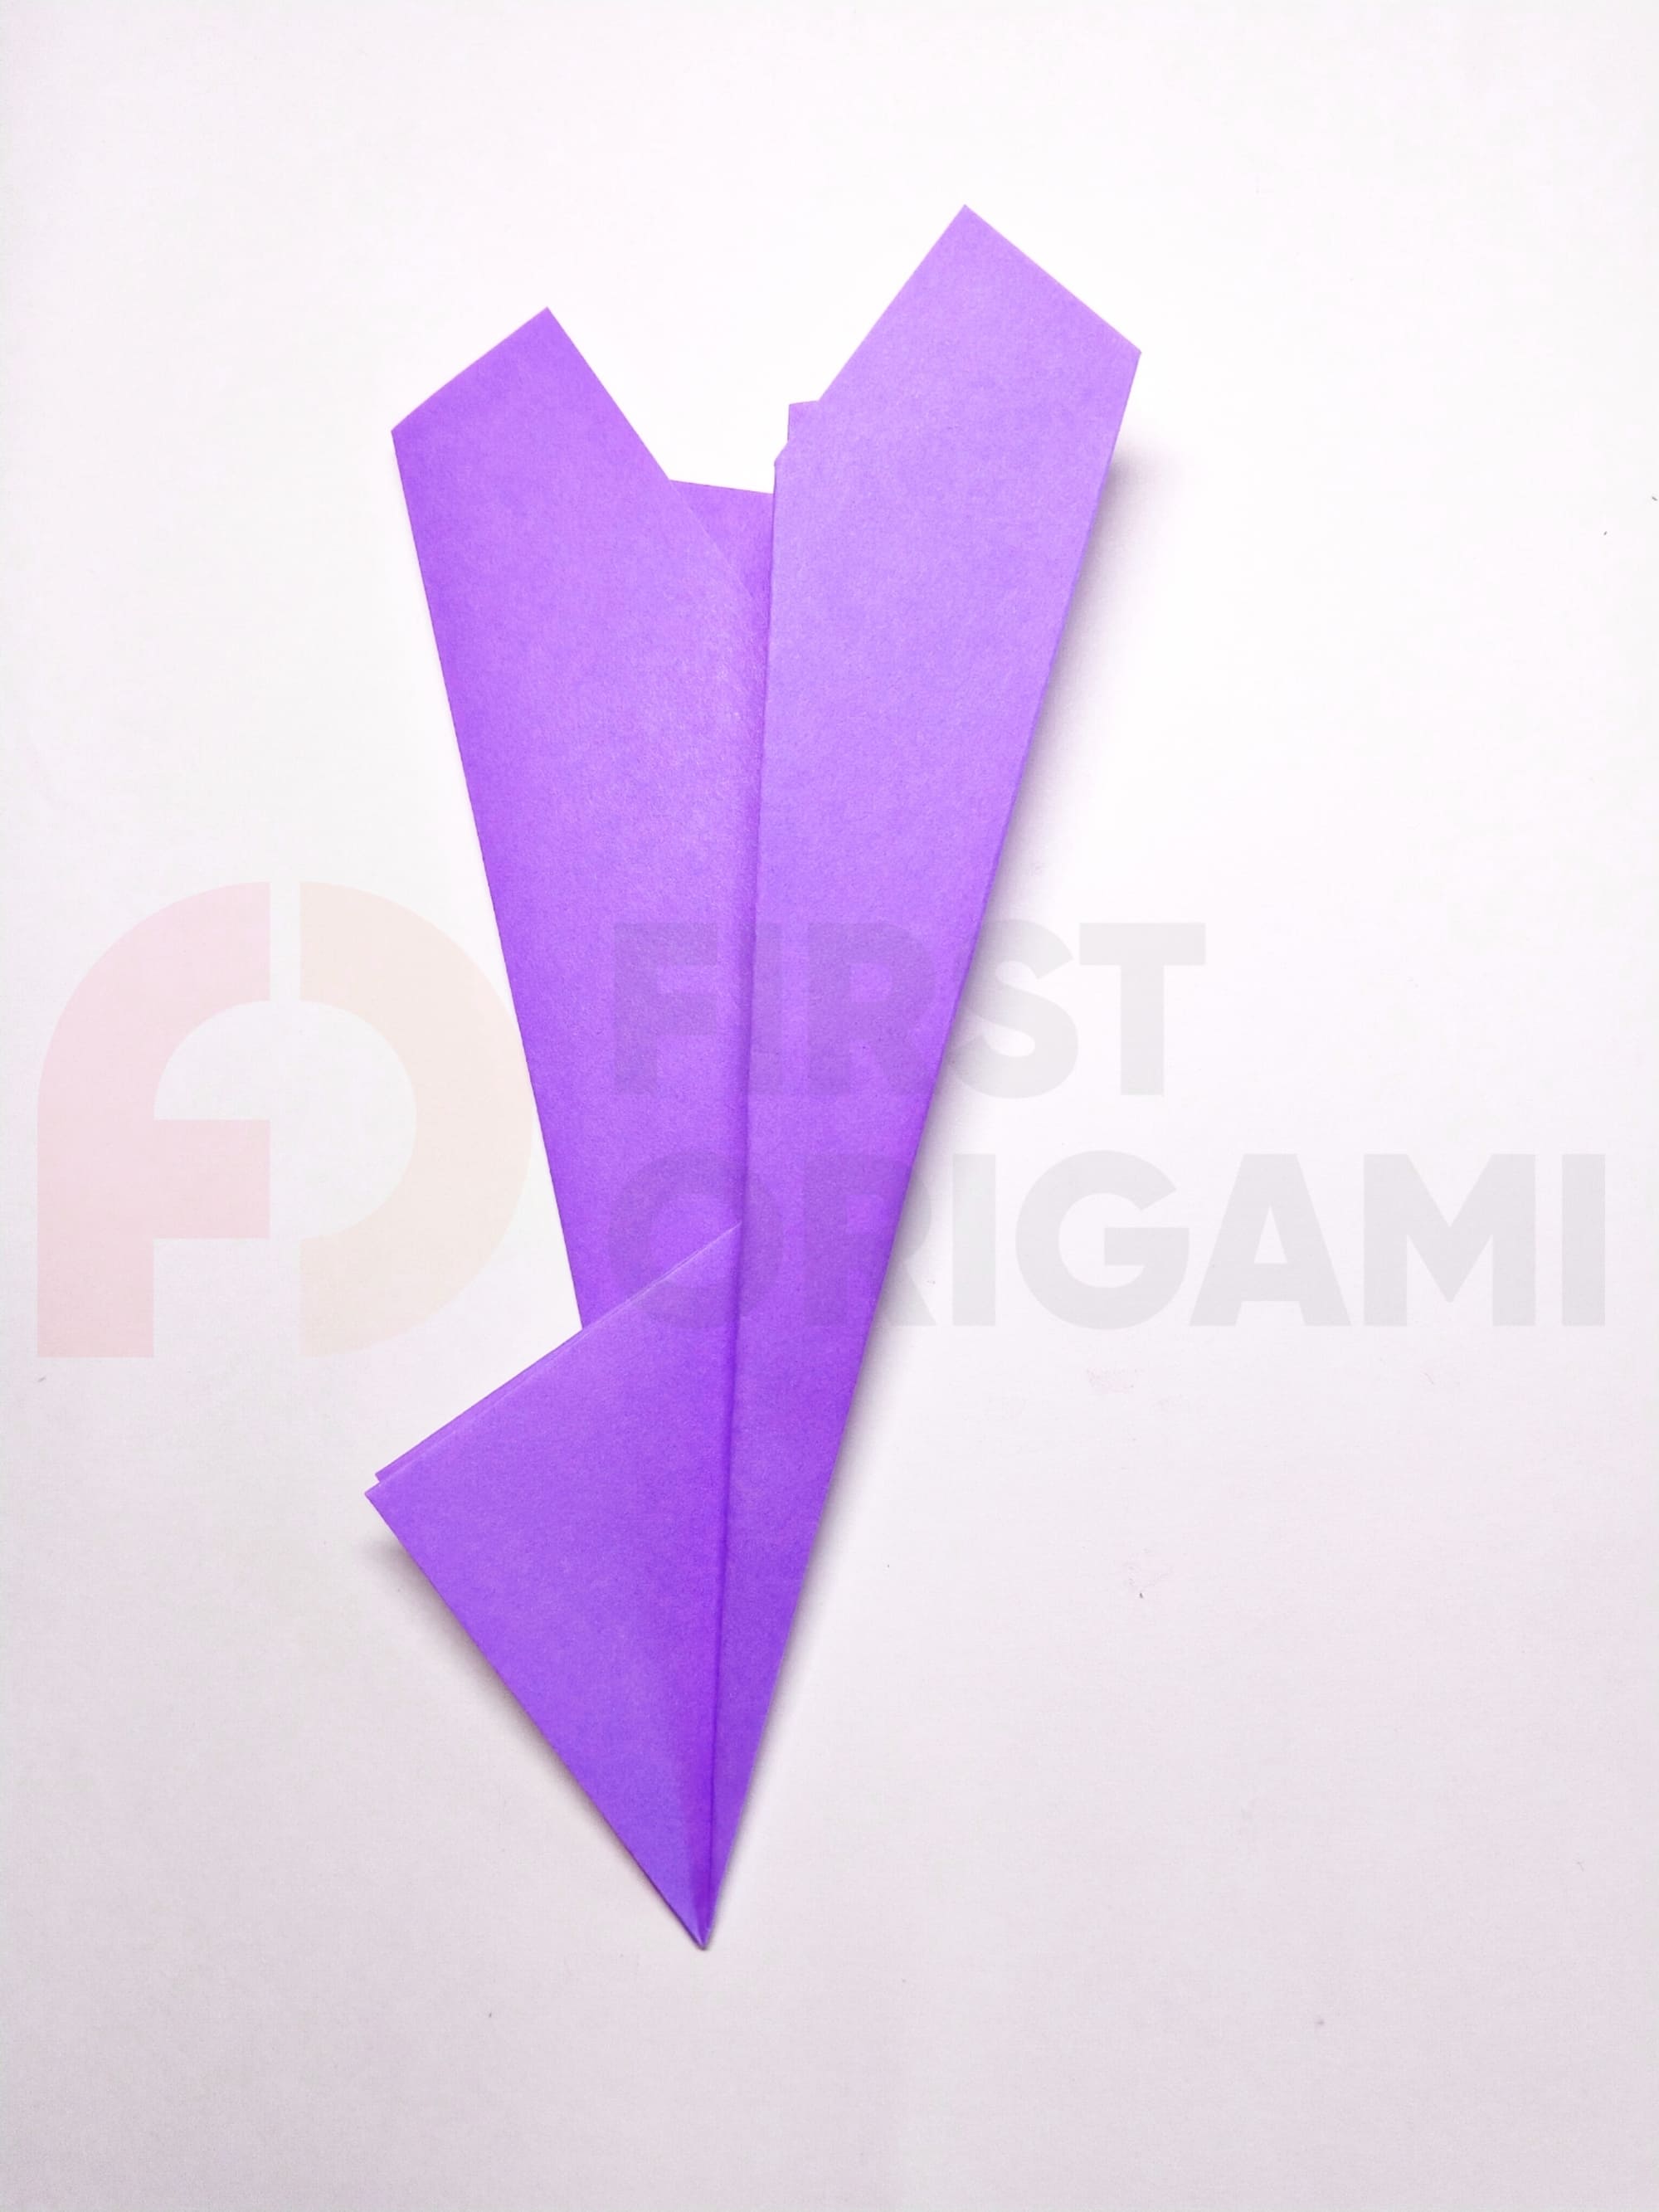
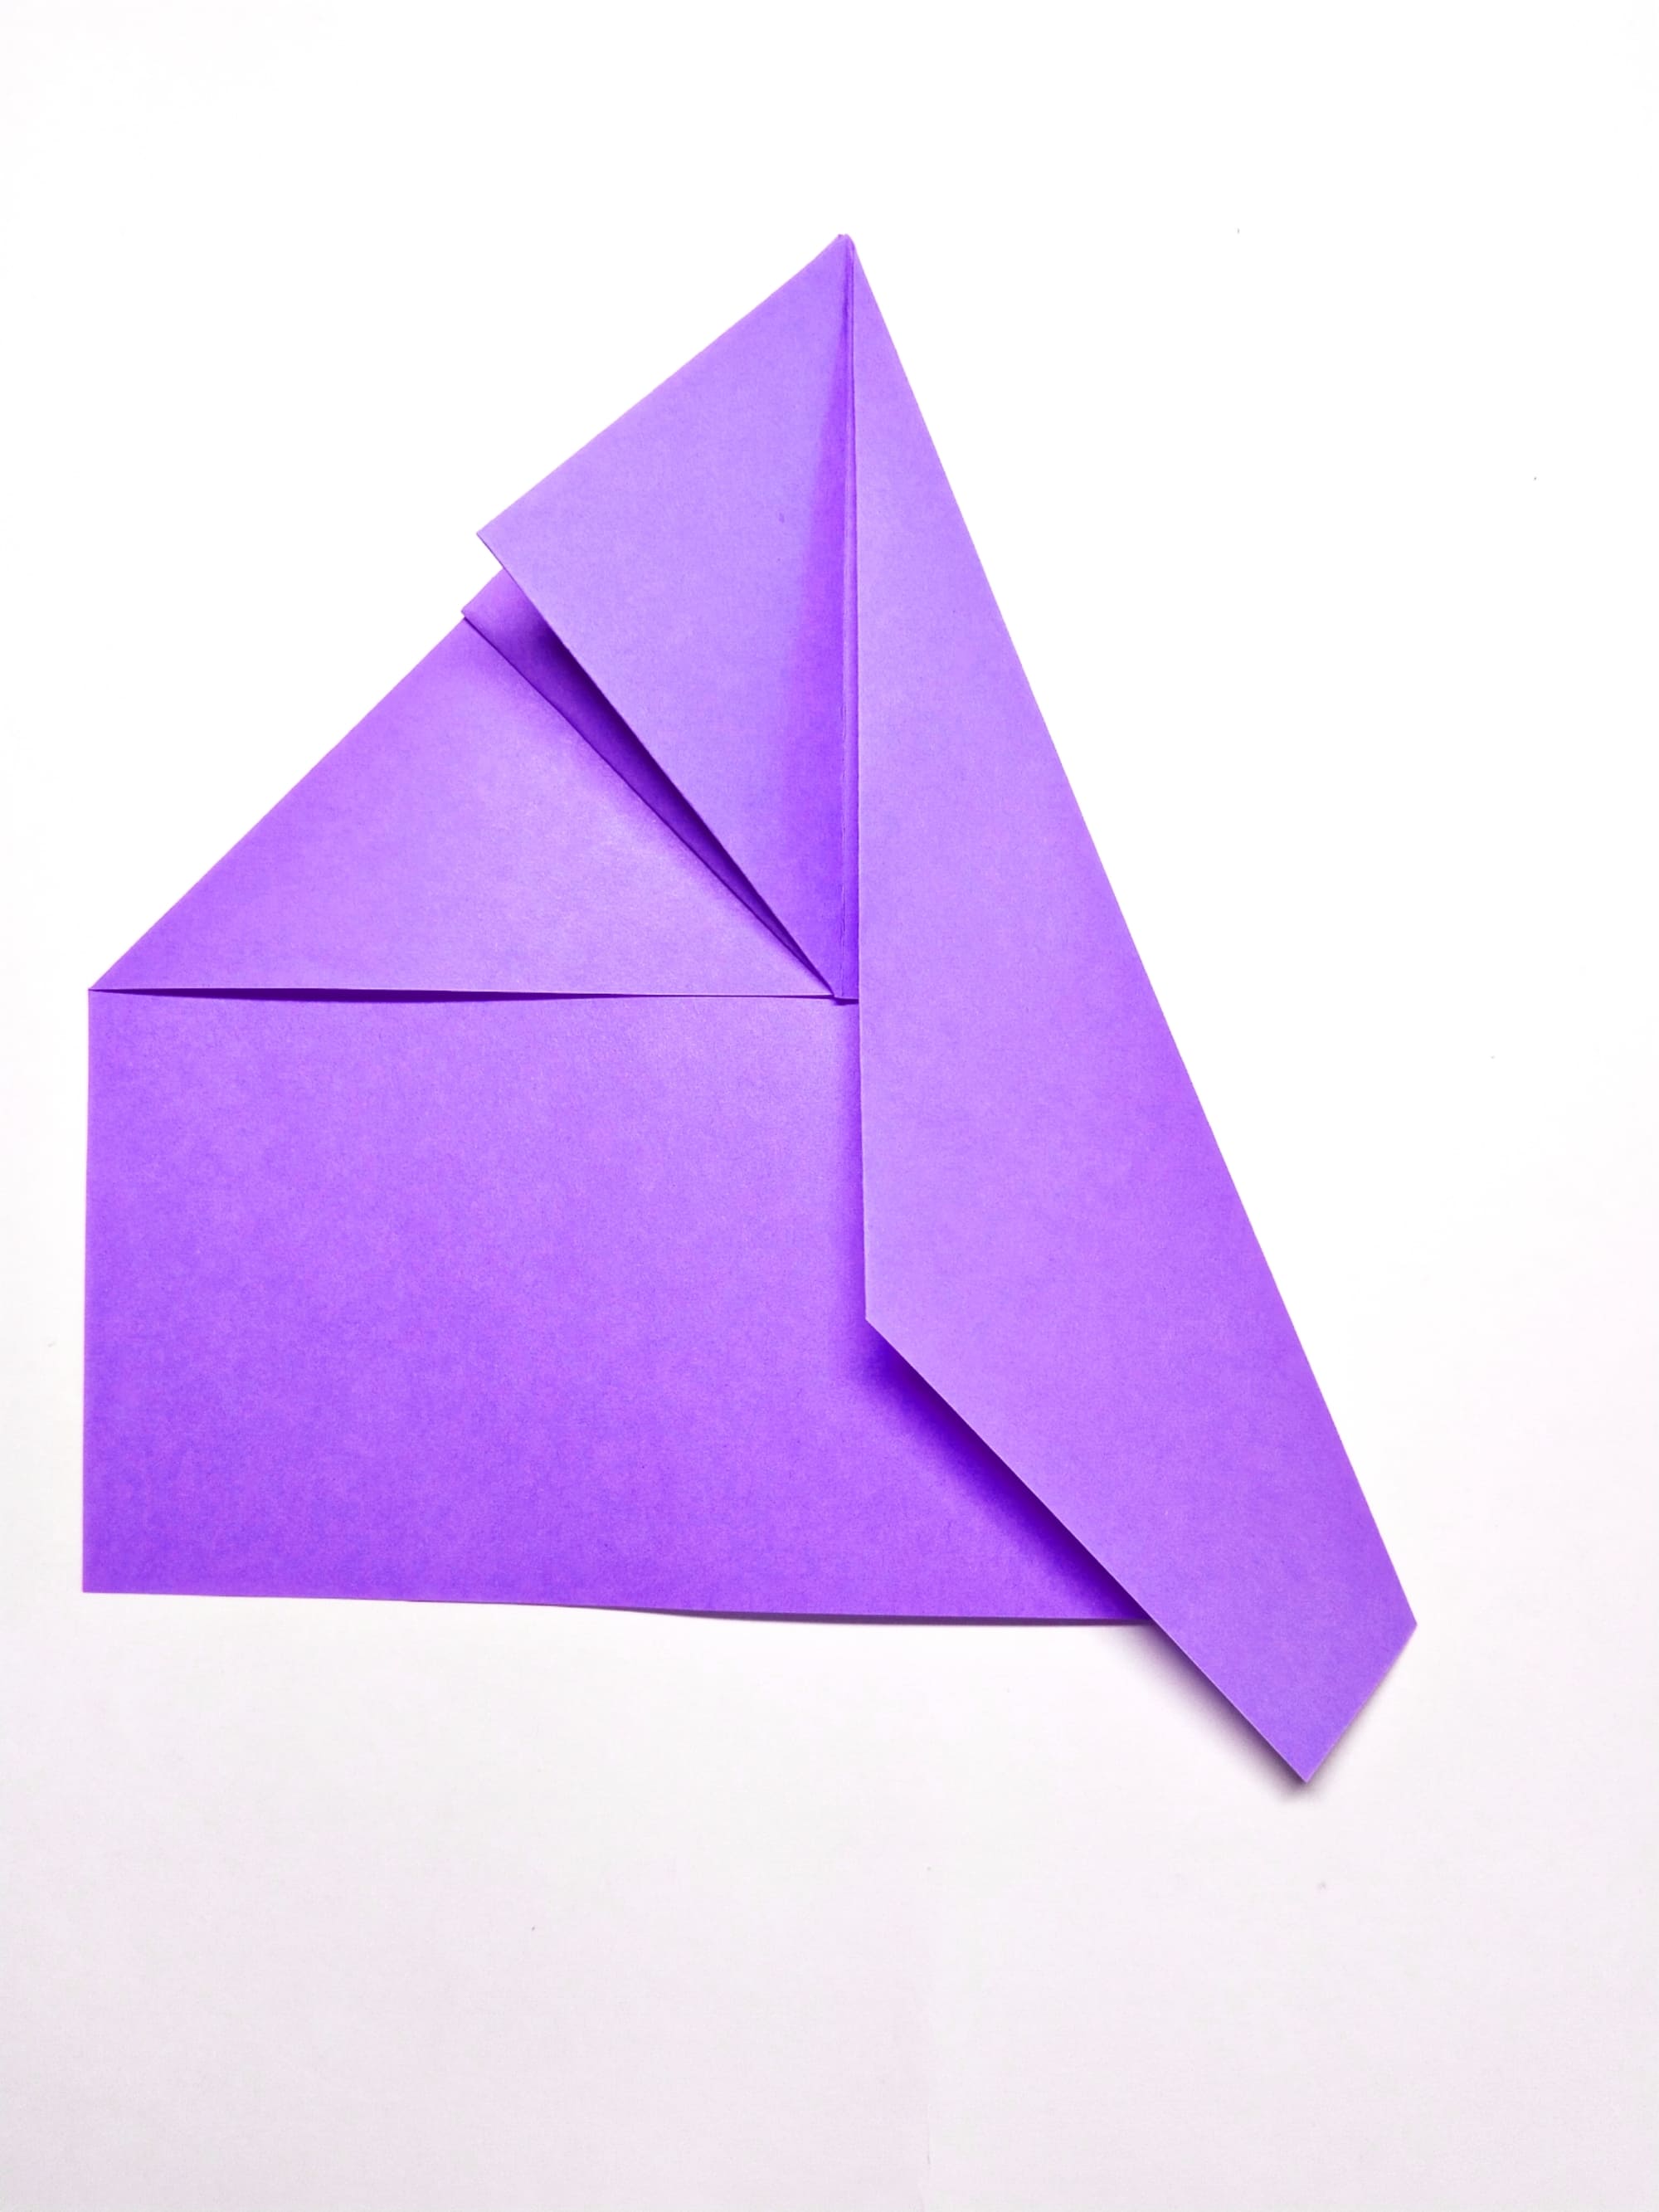
Bend the right half of the resulting diamond to the side.
Align the side edge with the center line. It’s good to press the fold to give the wings a clearer outline.
Fold your model’s wings down. Next, bend the nose of the plane over the wings.
It’s time for your prototype to take off. Remember, although the characteristics of this aircraft emphasize speed and straight, steady motion, the launching technique also has a tremendous impact on a flight path.