Easy Origami Box
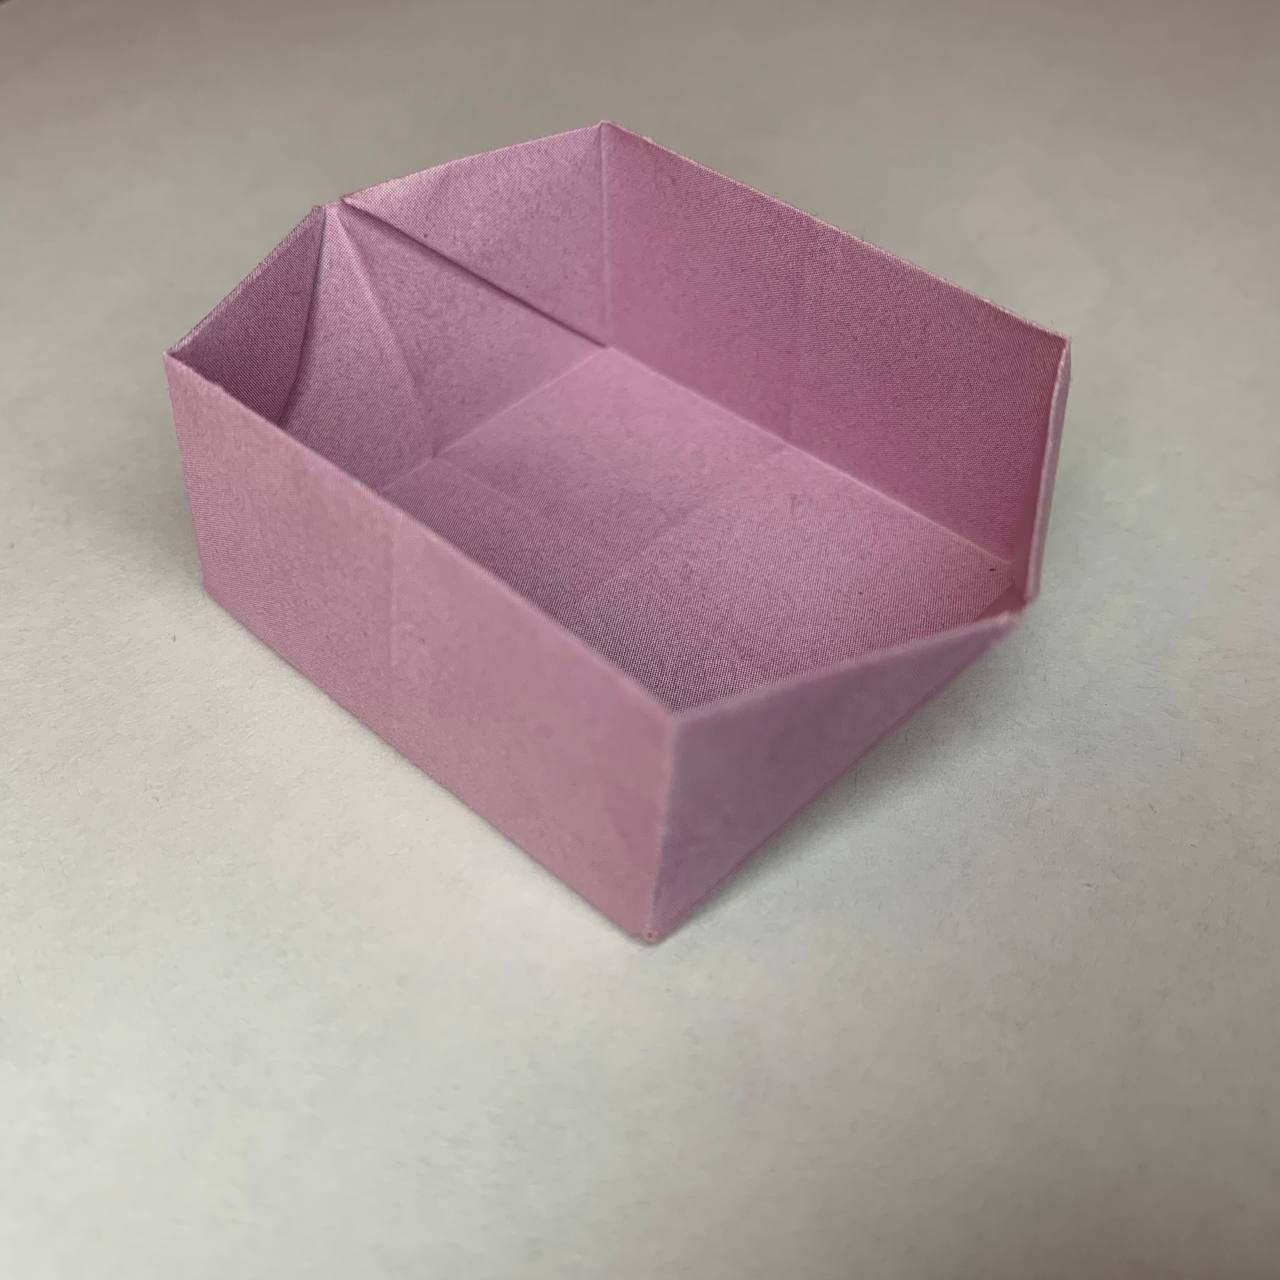
A variation of the origami box, which resembles a small Japanese traditional box. This model is perfect for wrapping small but important gifts, or for storing, for example, stationery. Creating a box in the technique of origami is quite simple, so you can safely take up the task together even with small children. Here are the step-by-step instructions for a simple Japanese box.
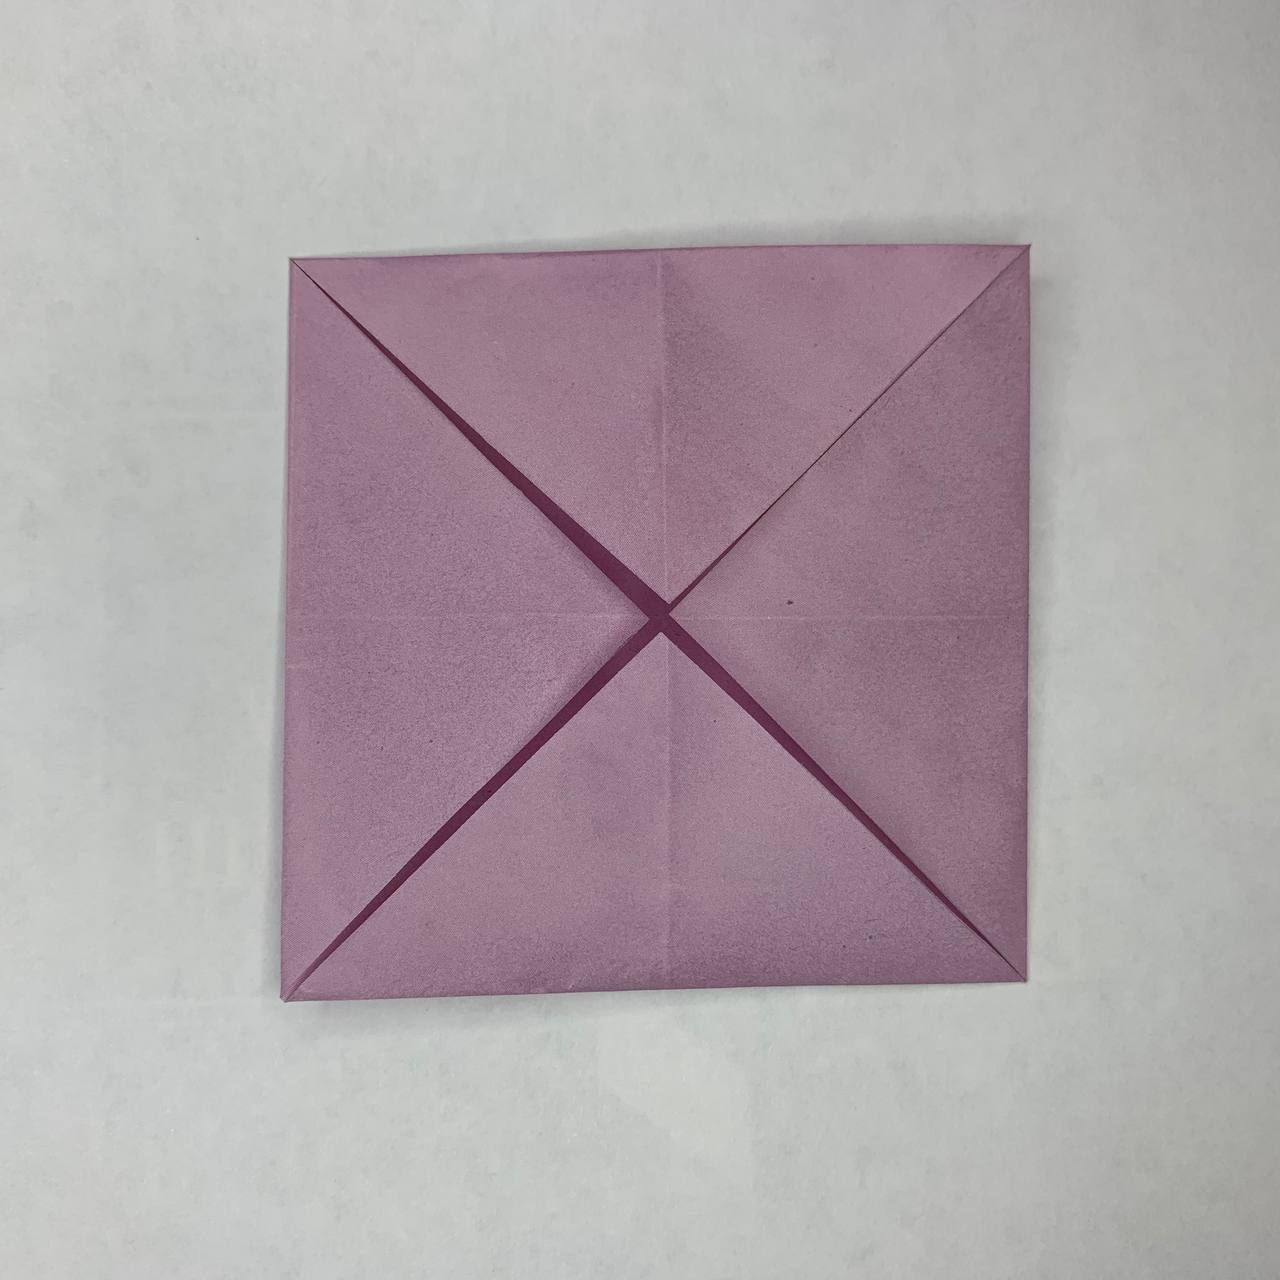
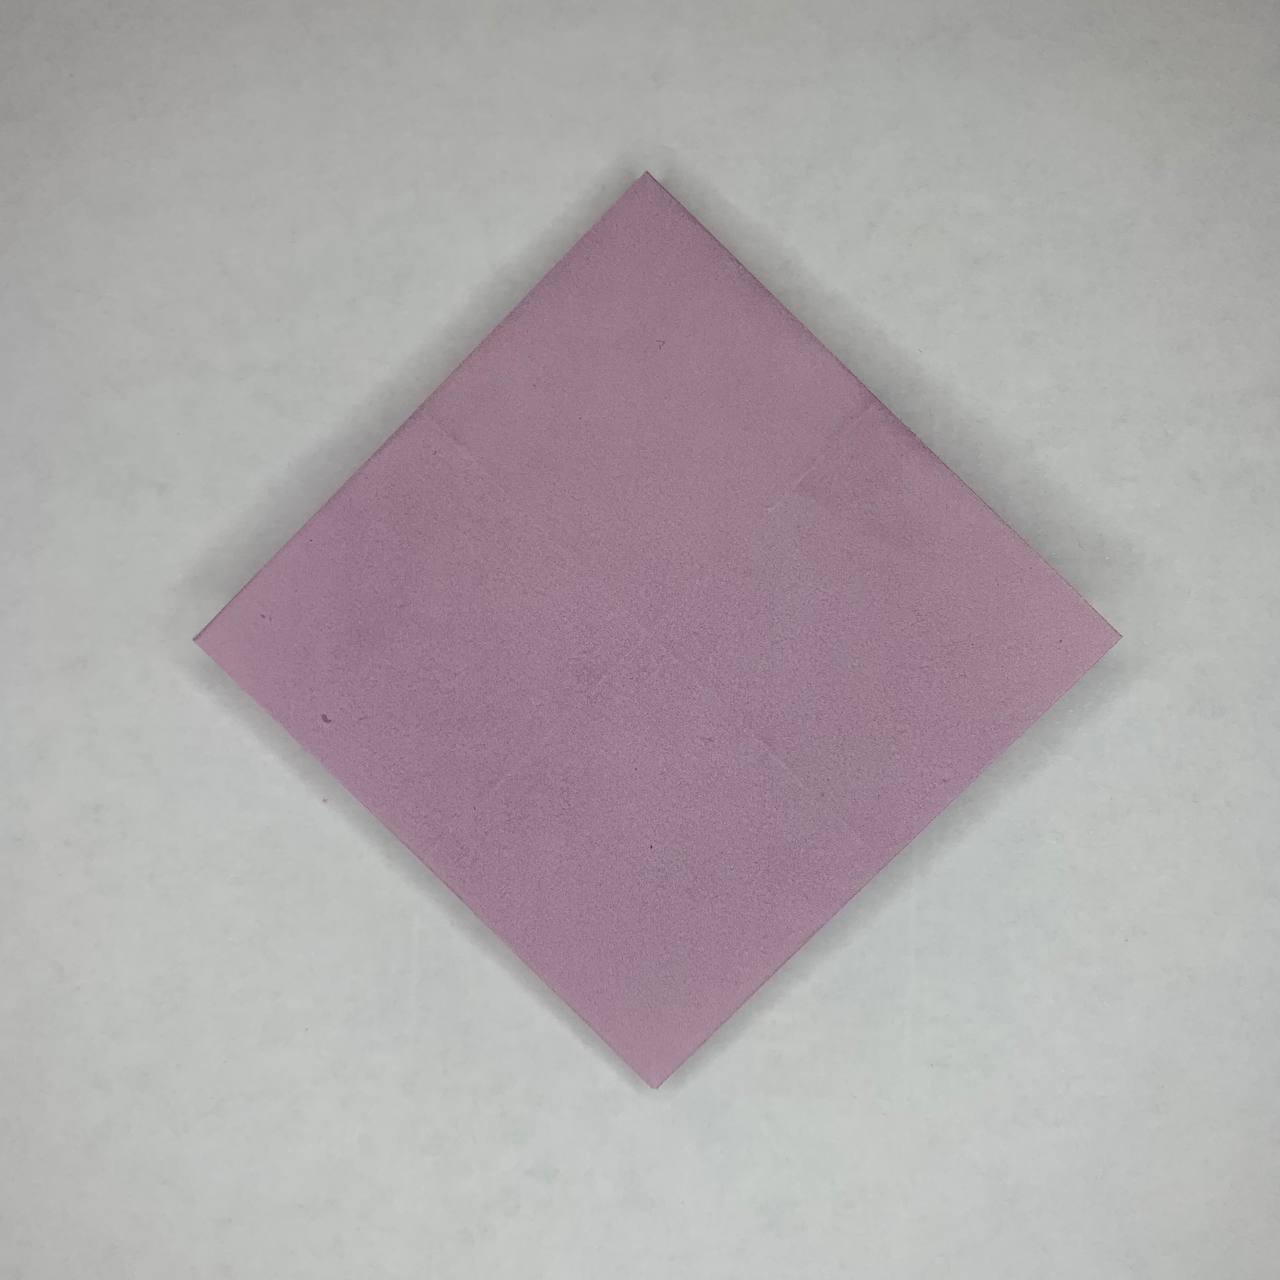
Start by folding the Blintz base. This base is commonly used in origami and has a separate page with instructions.
Unfold the paper after you have folded the “Pancake”.
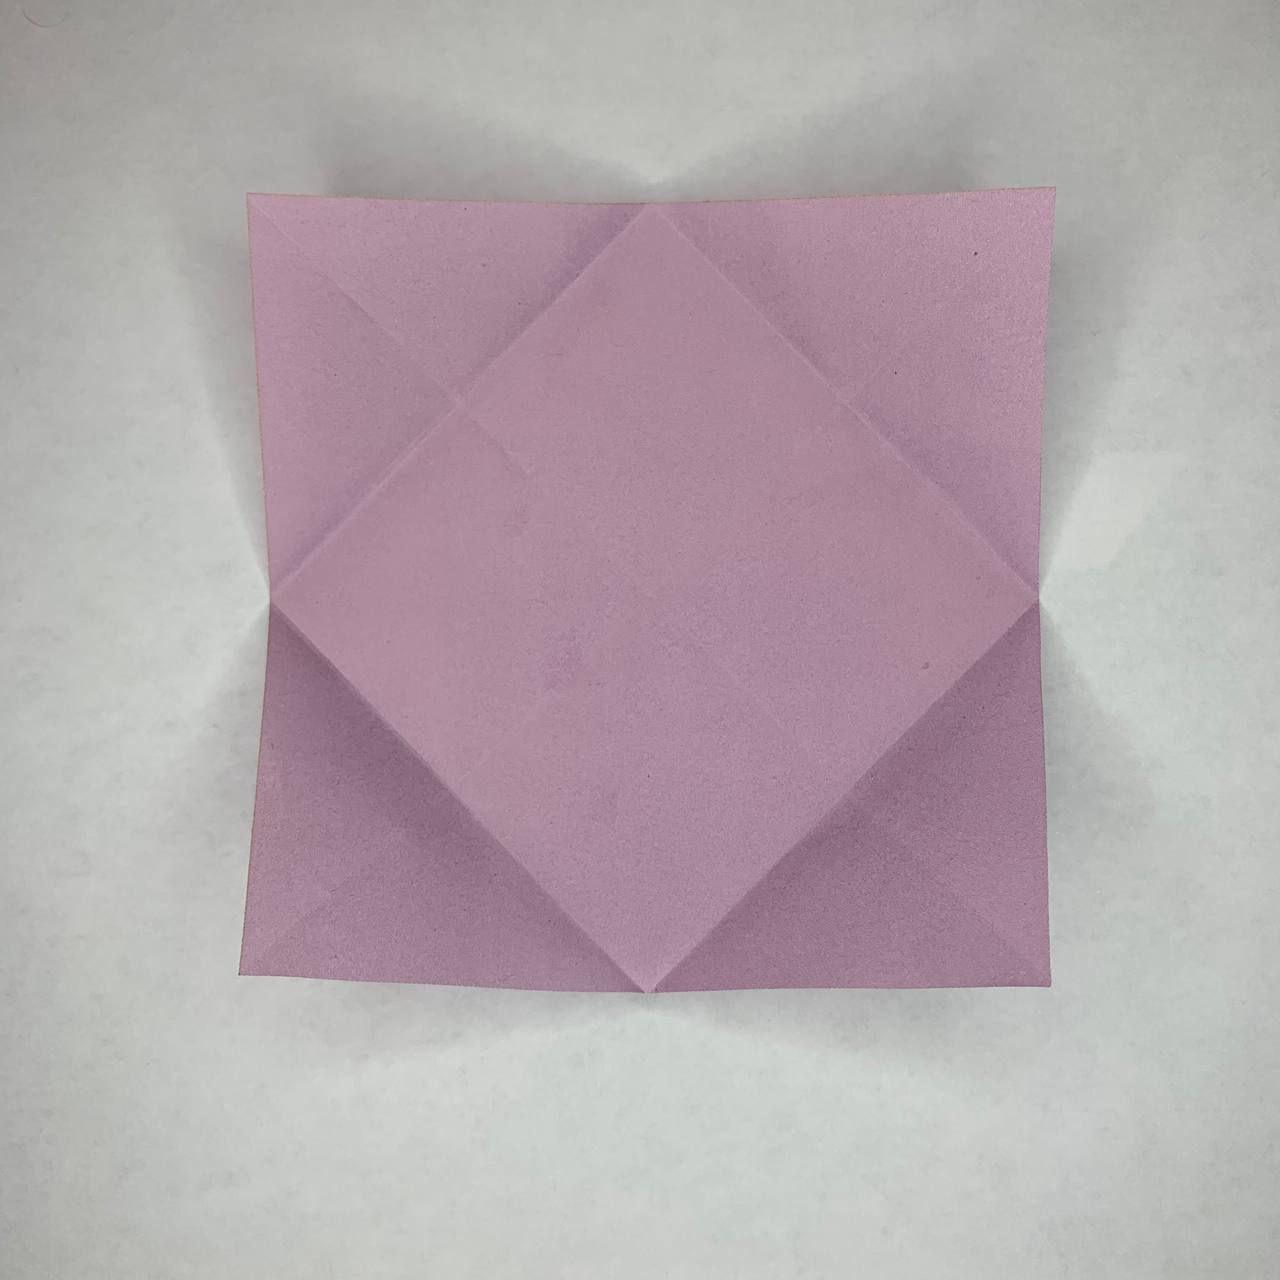
Fold in the 4 corners following the directions in the picture.
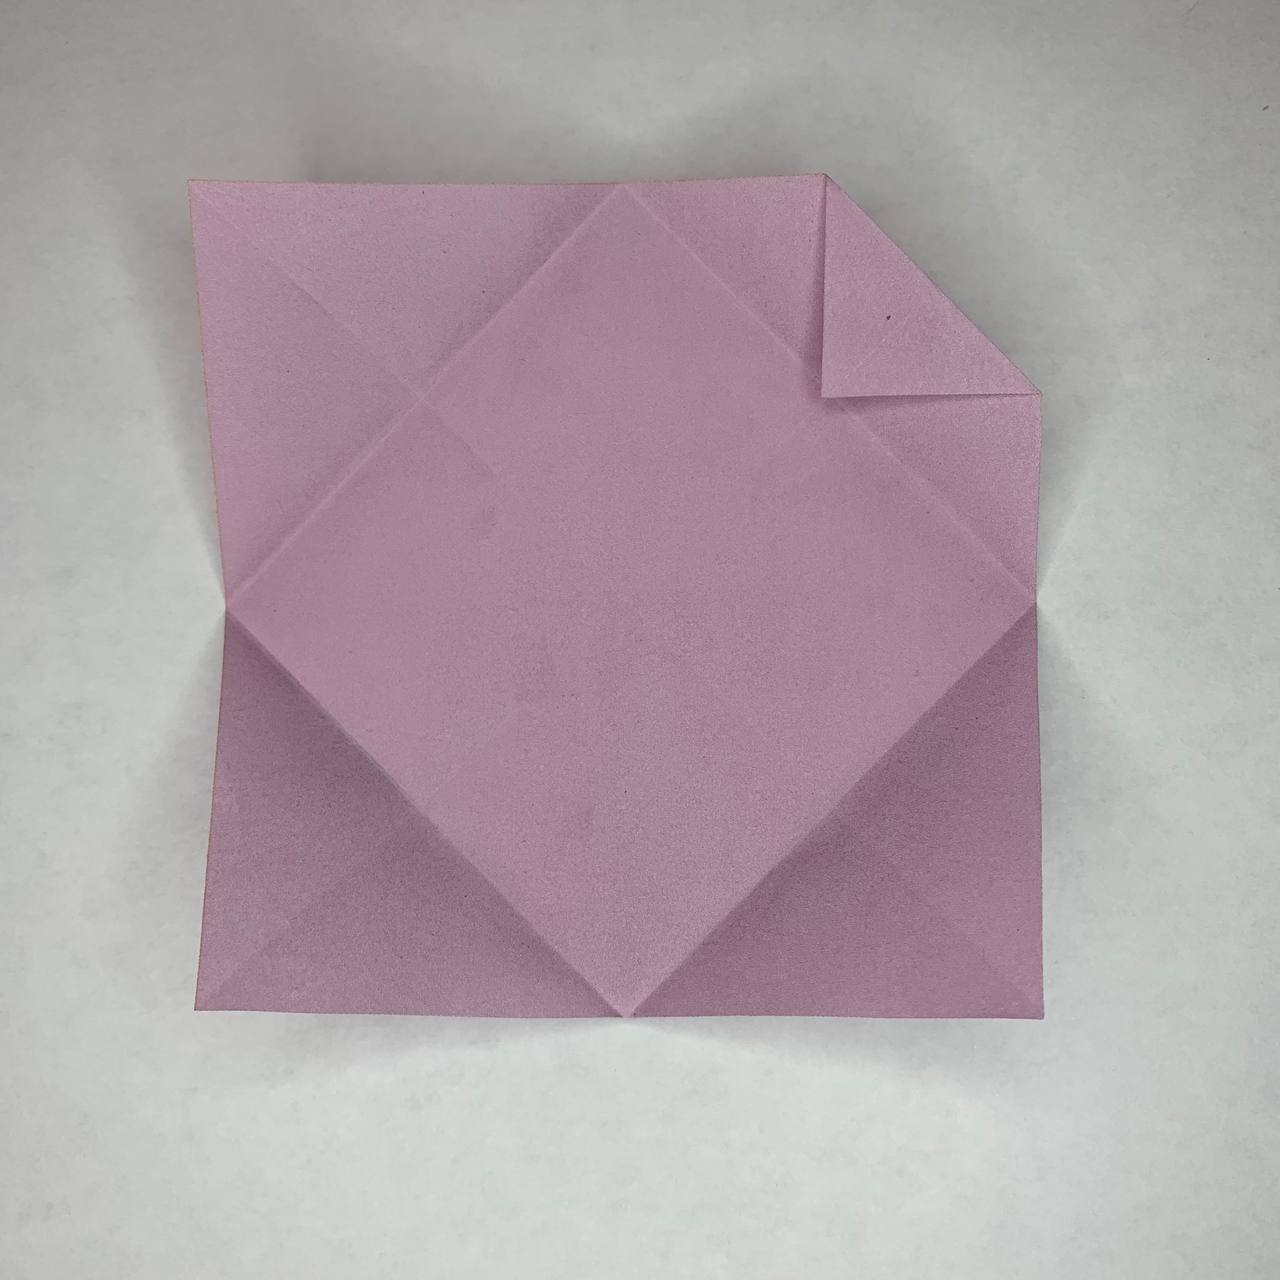
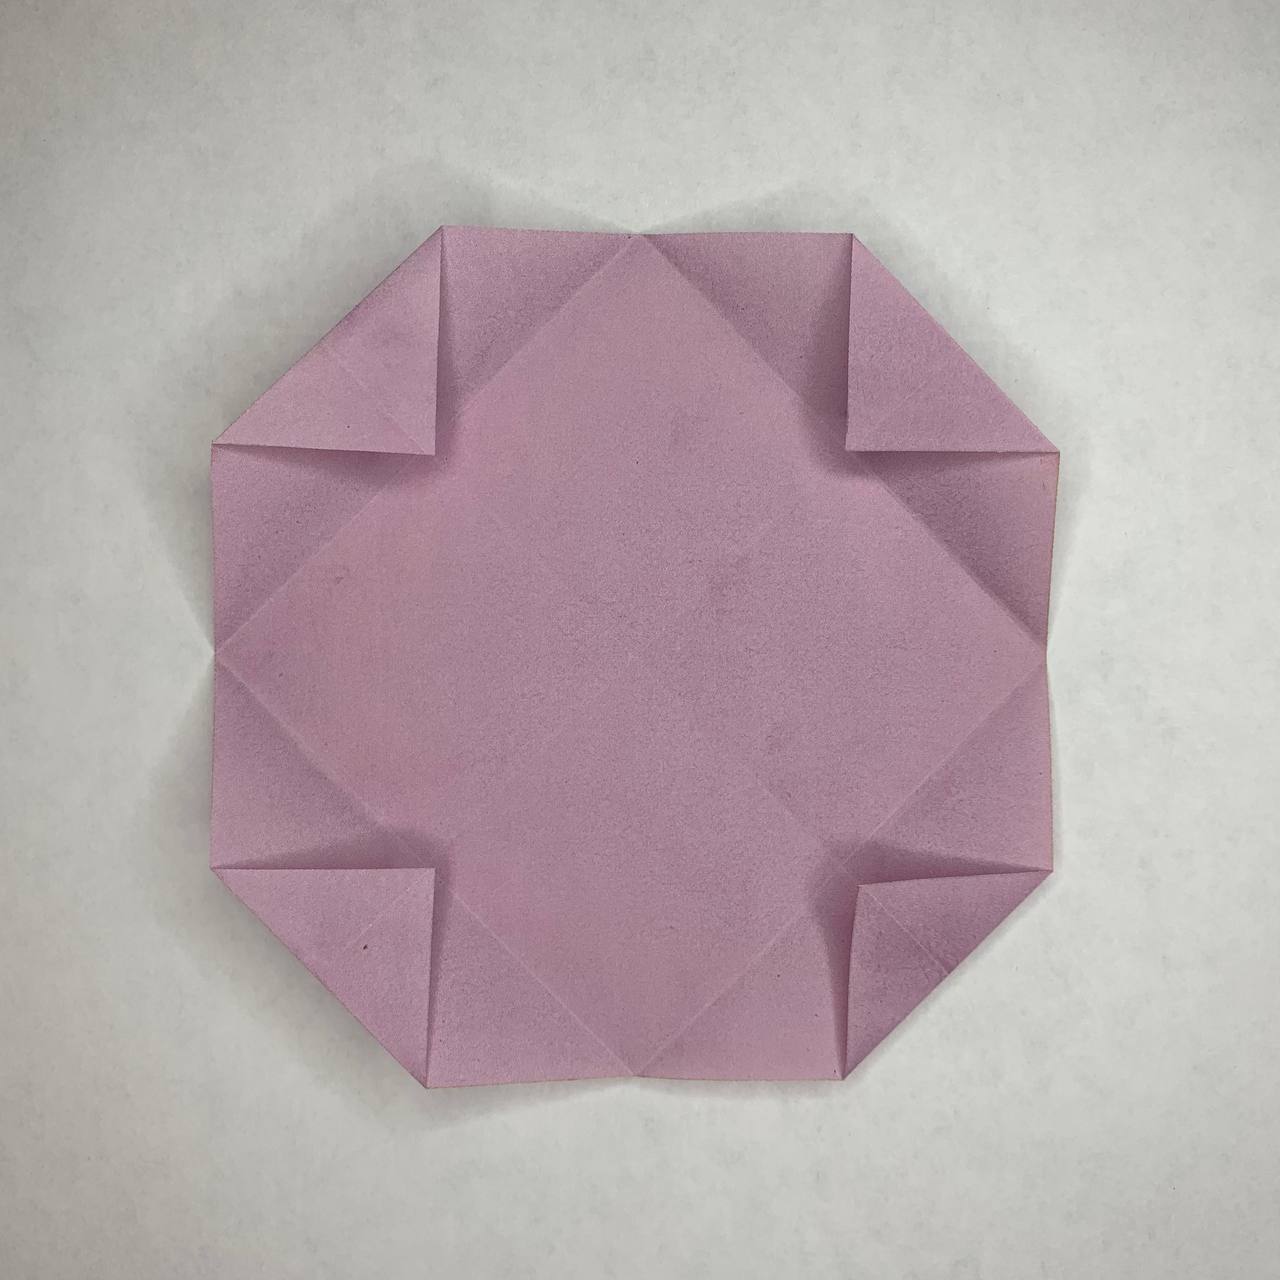
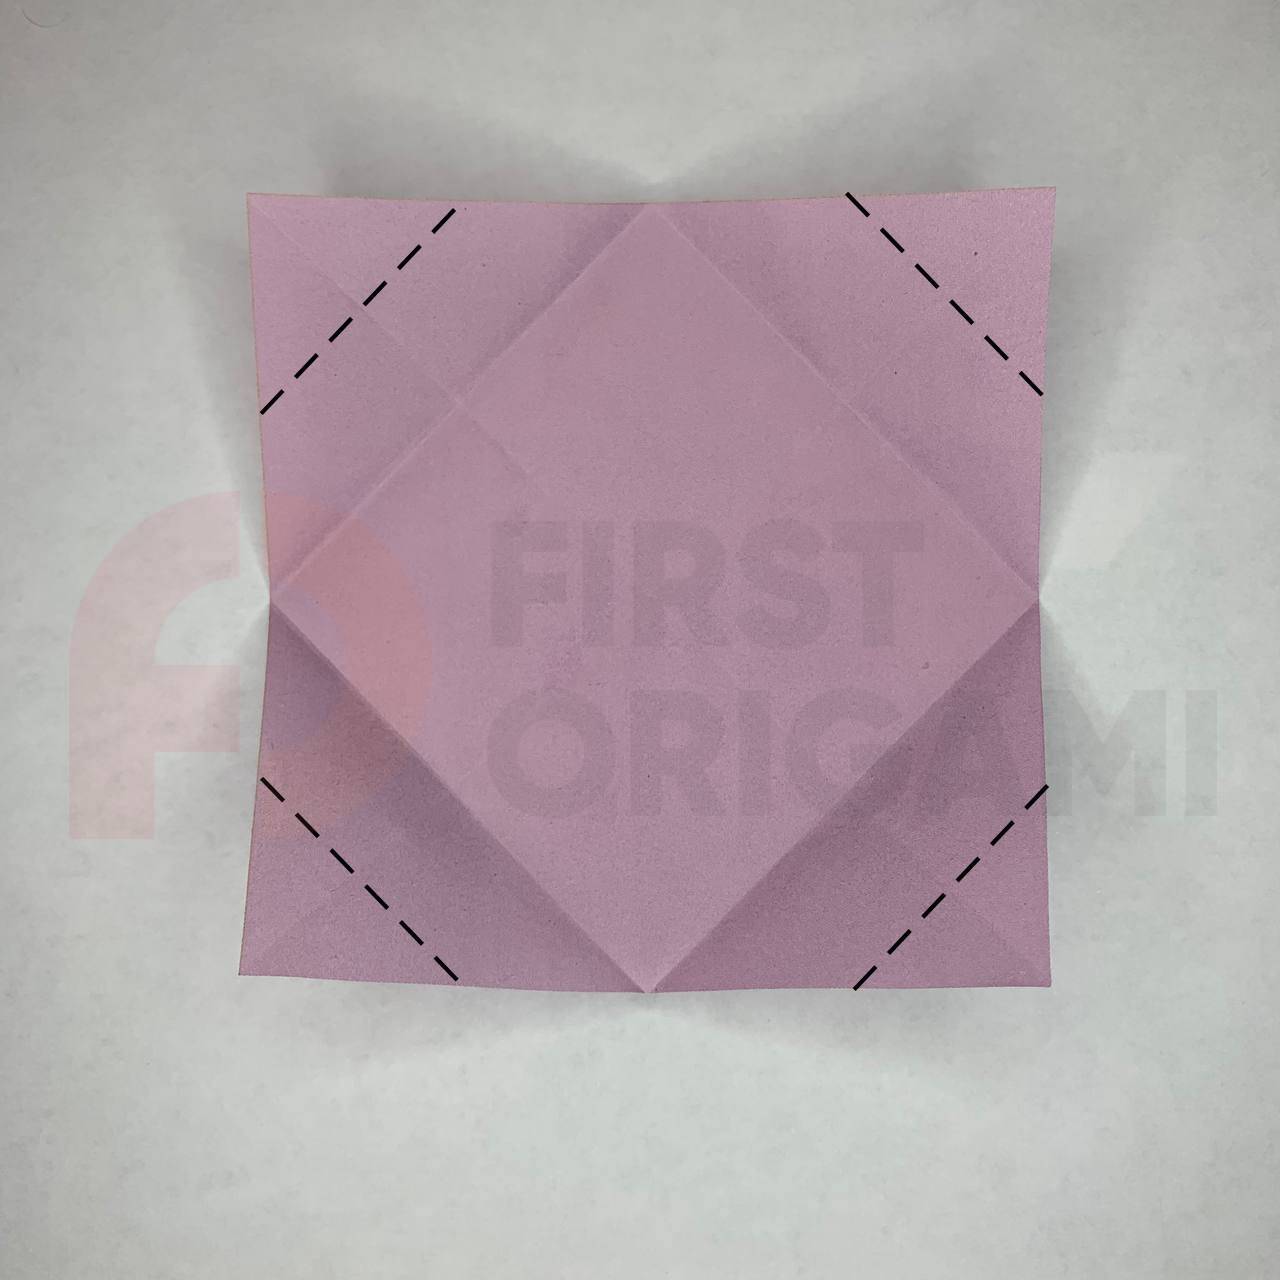
Fold the 4 corners again.

Turn the paper over.
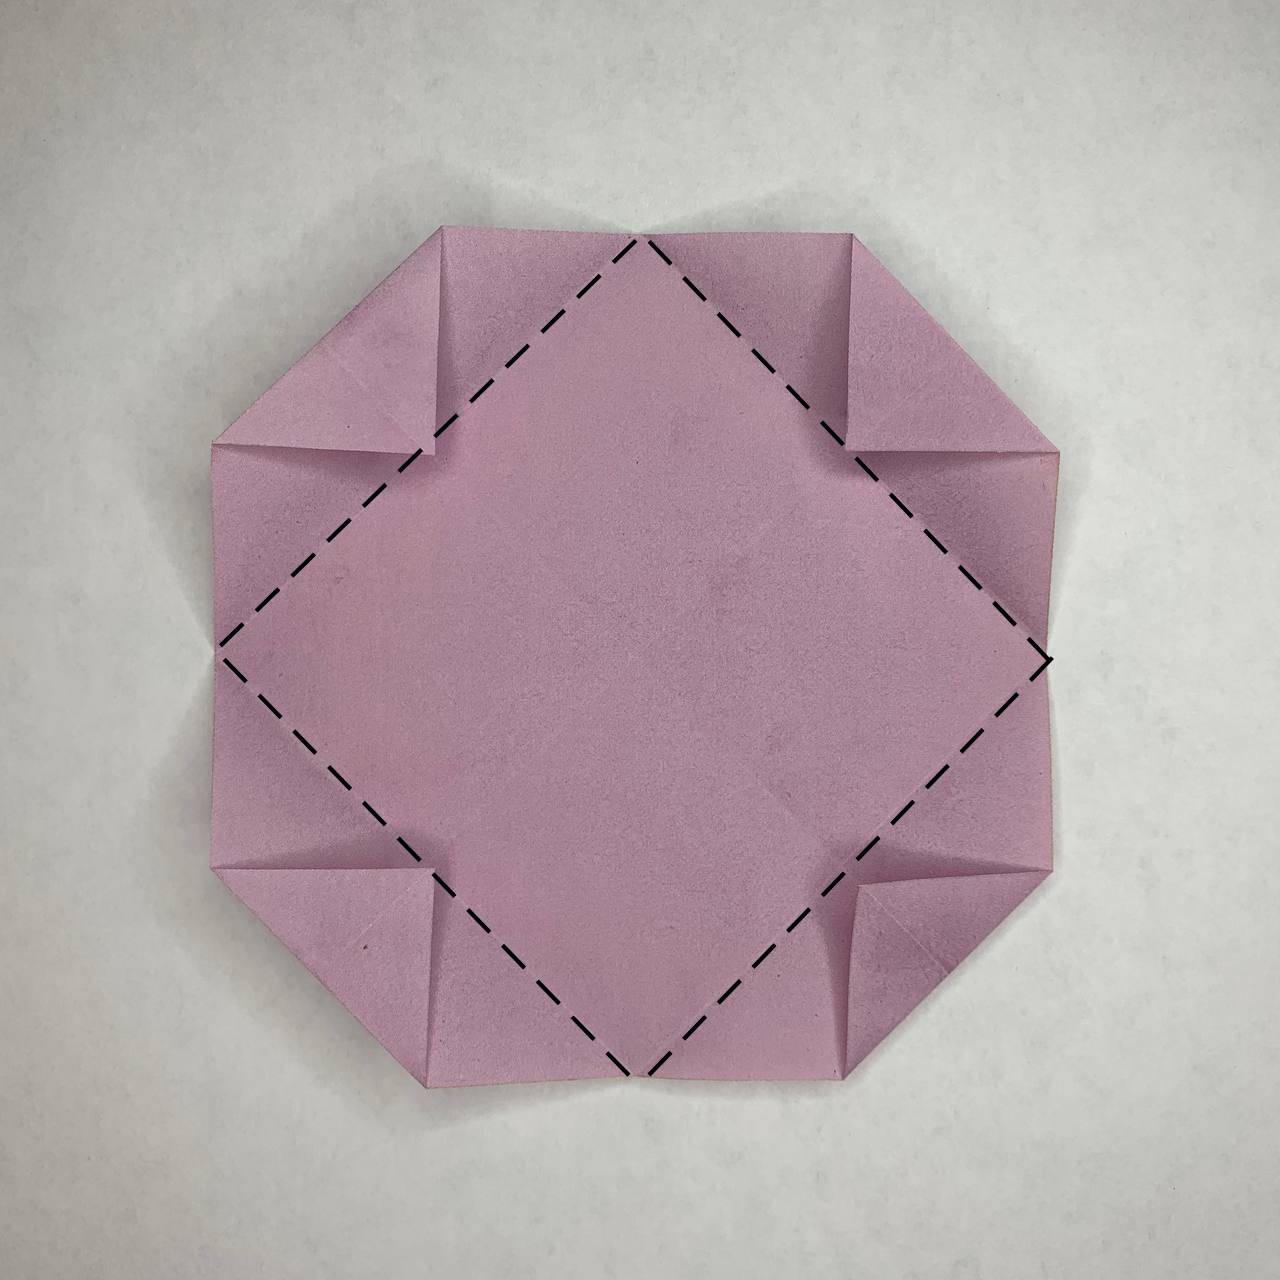
Lay the paper so that you get a square.
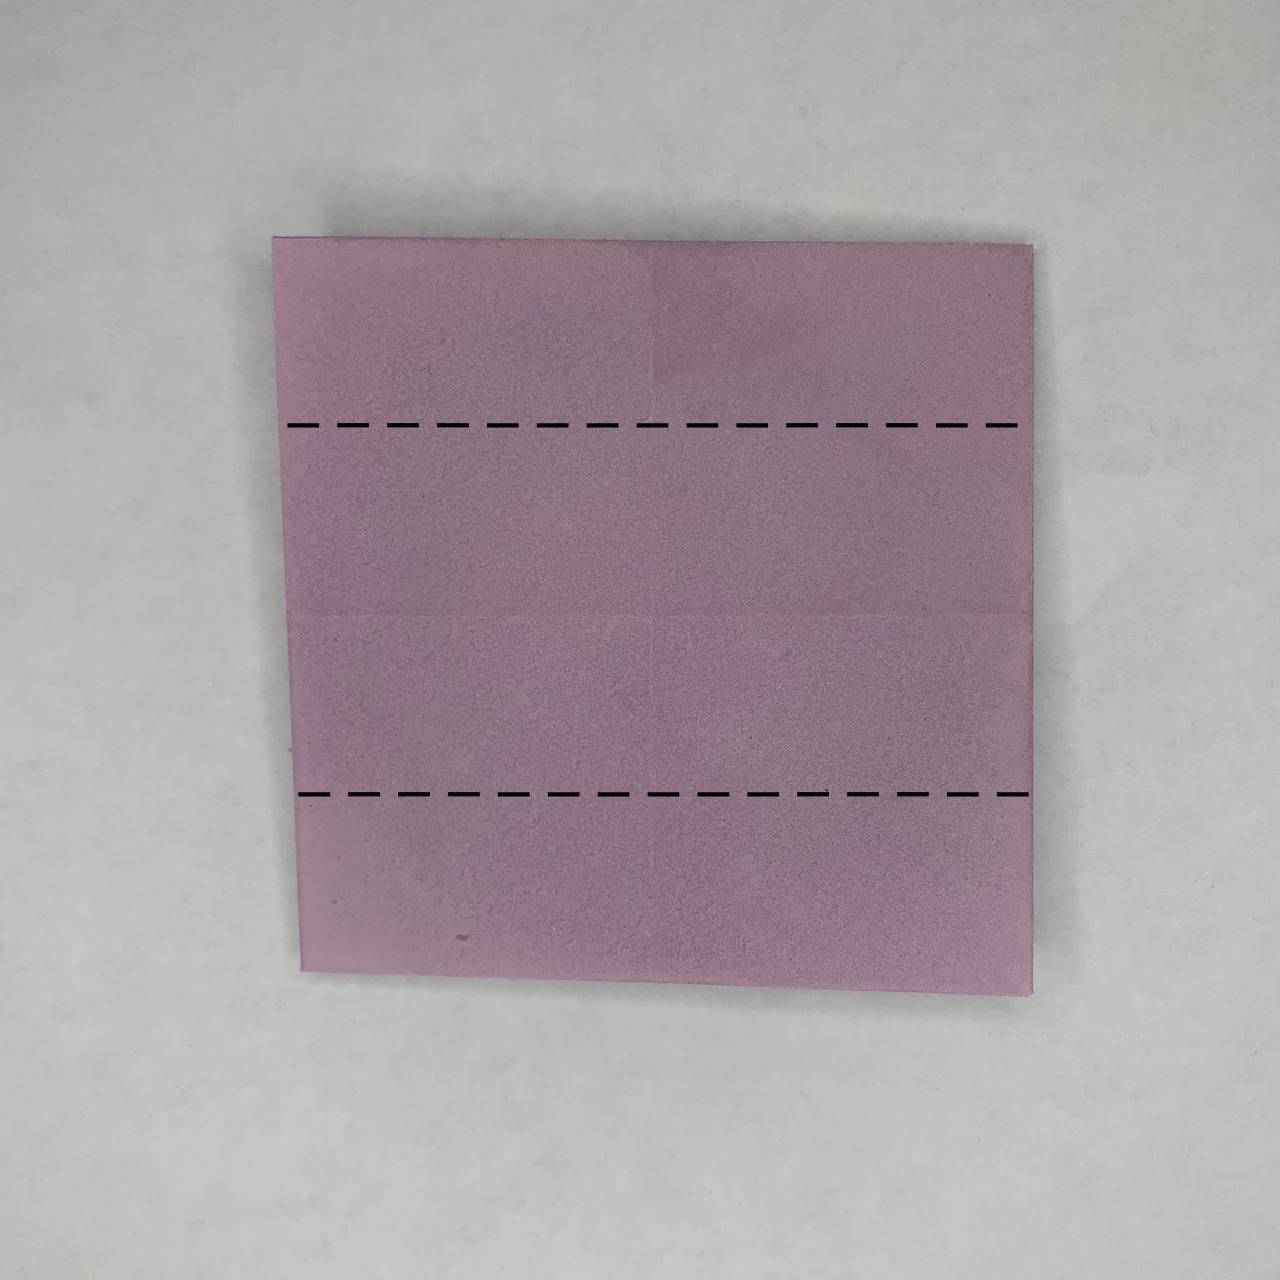
Then fold the top and bottom halves to the center.
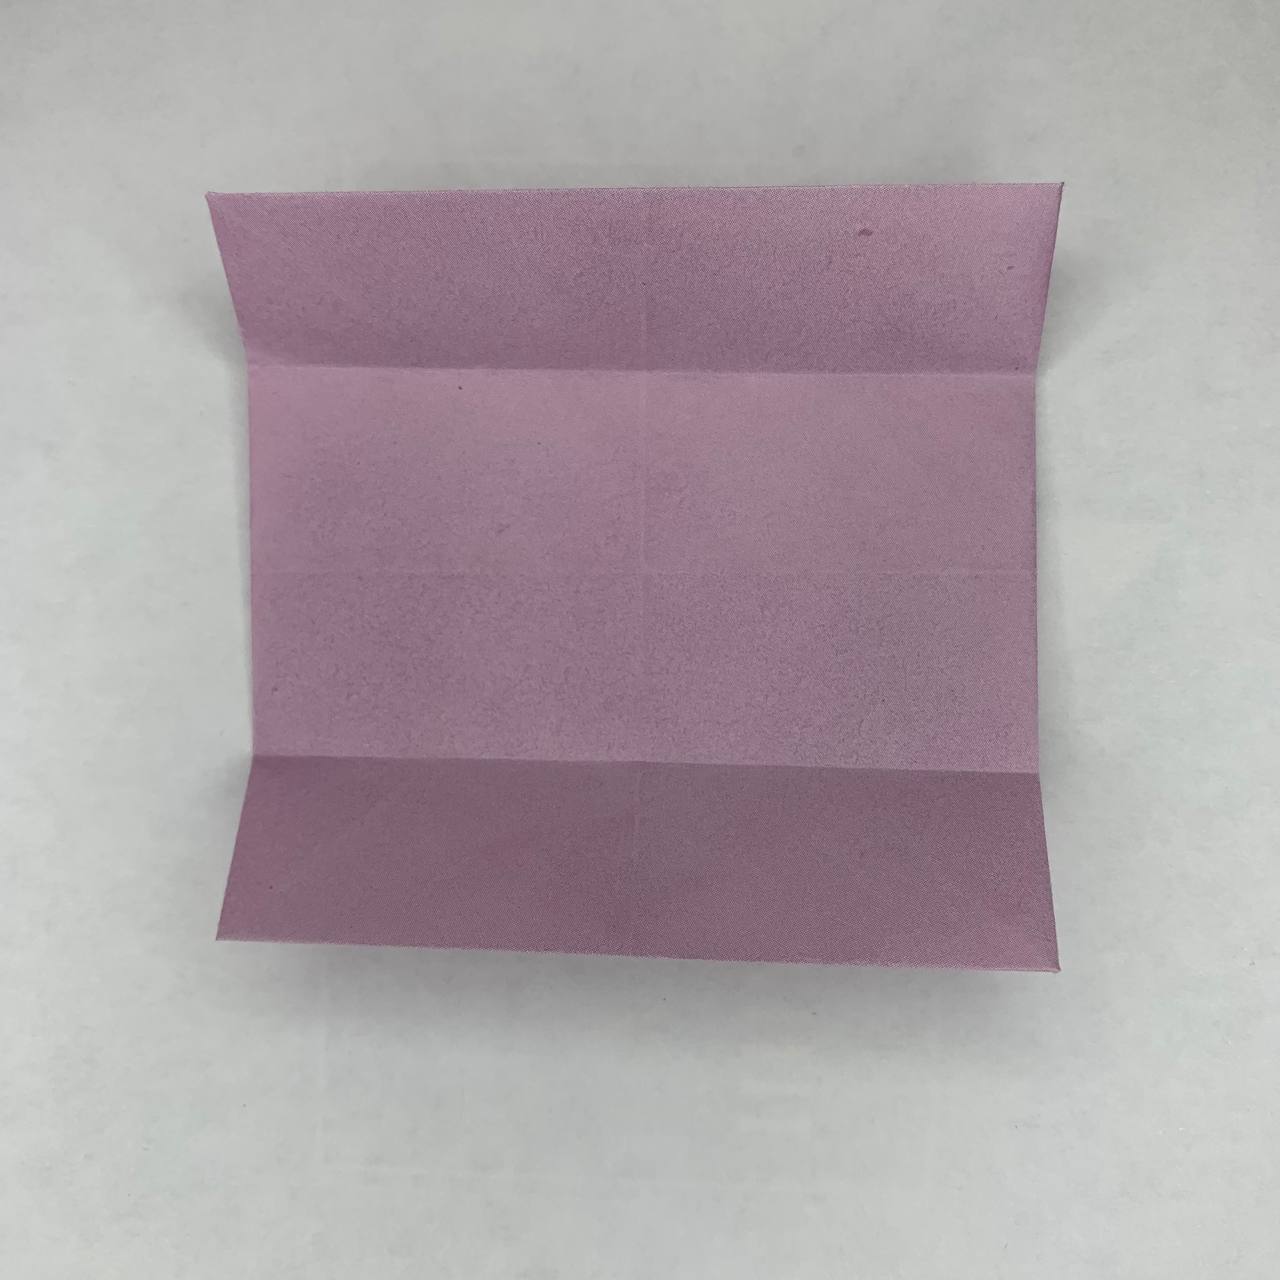
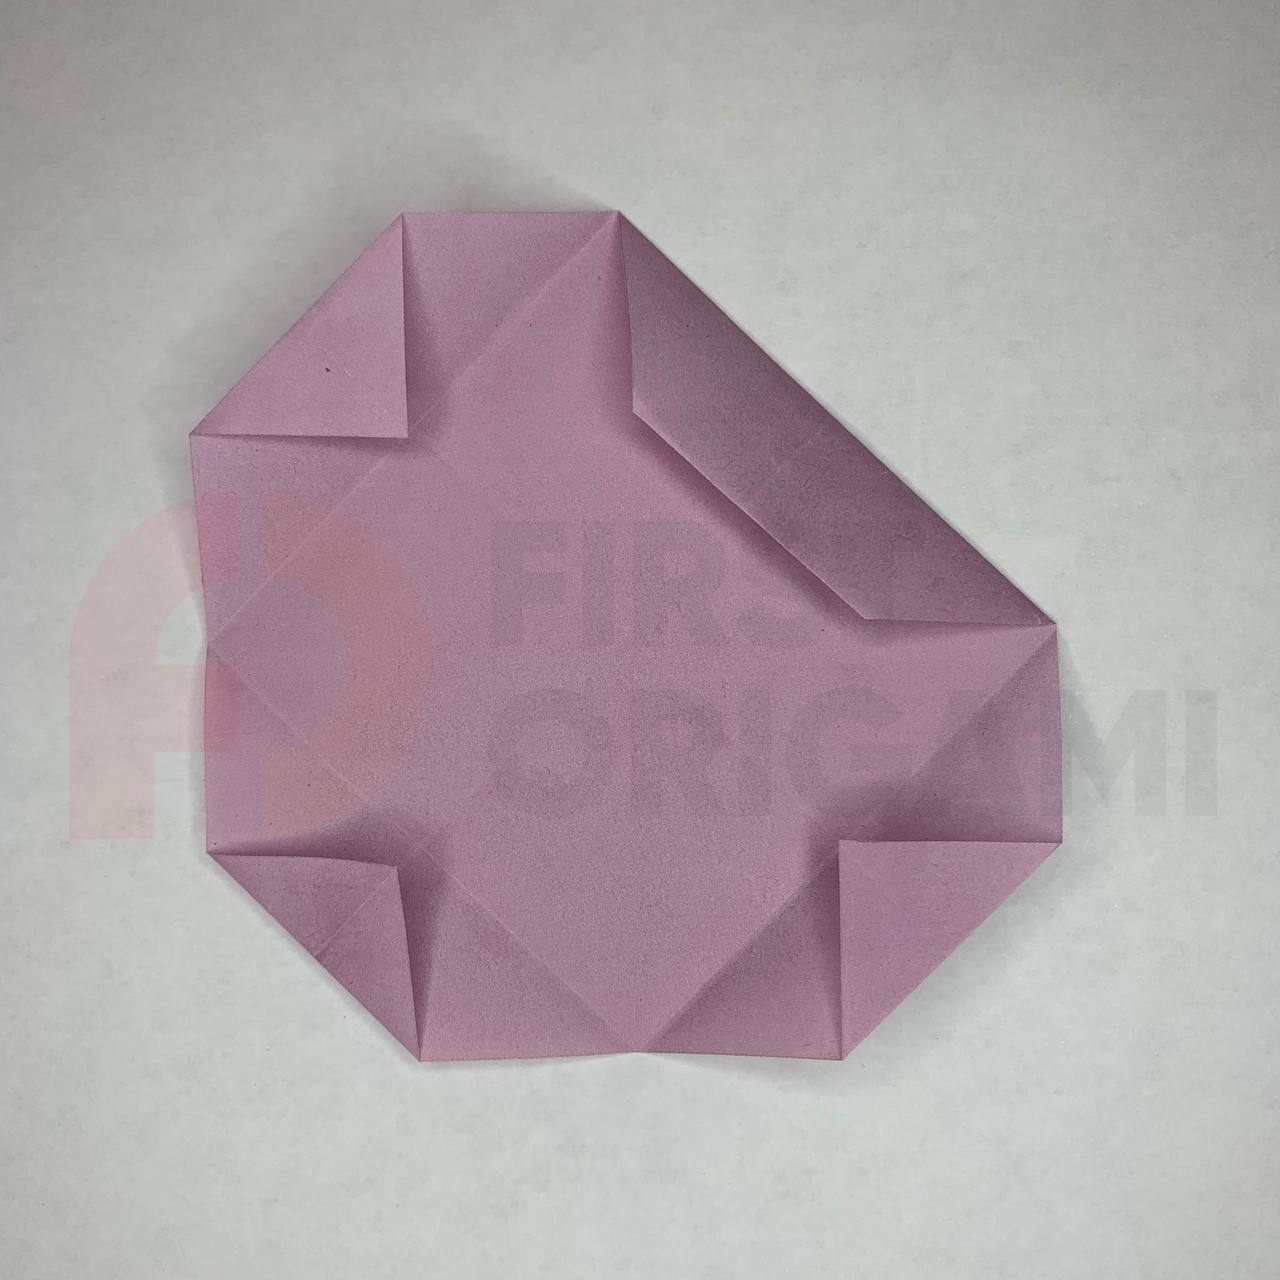
After completing the steps, unfold the paper.

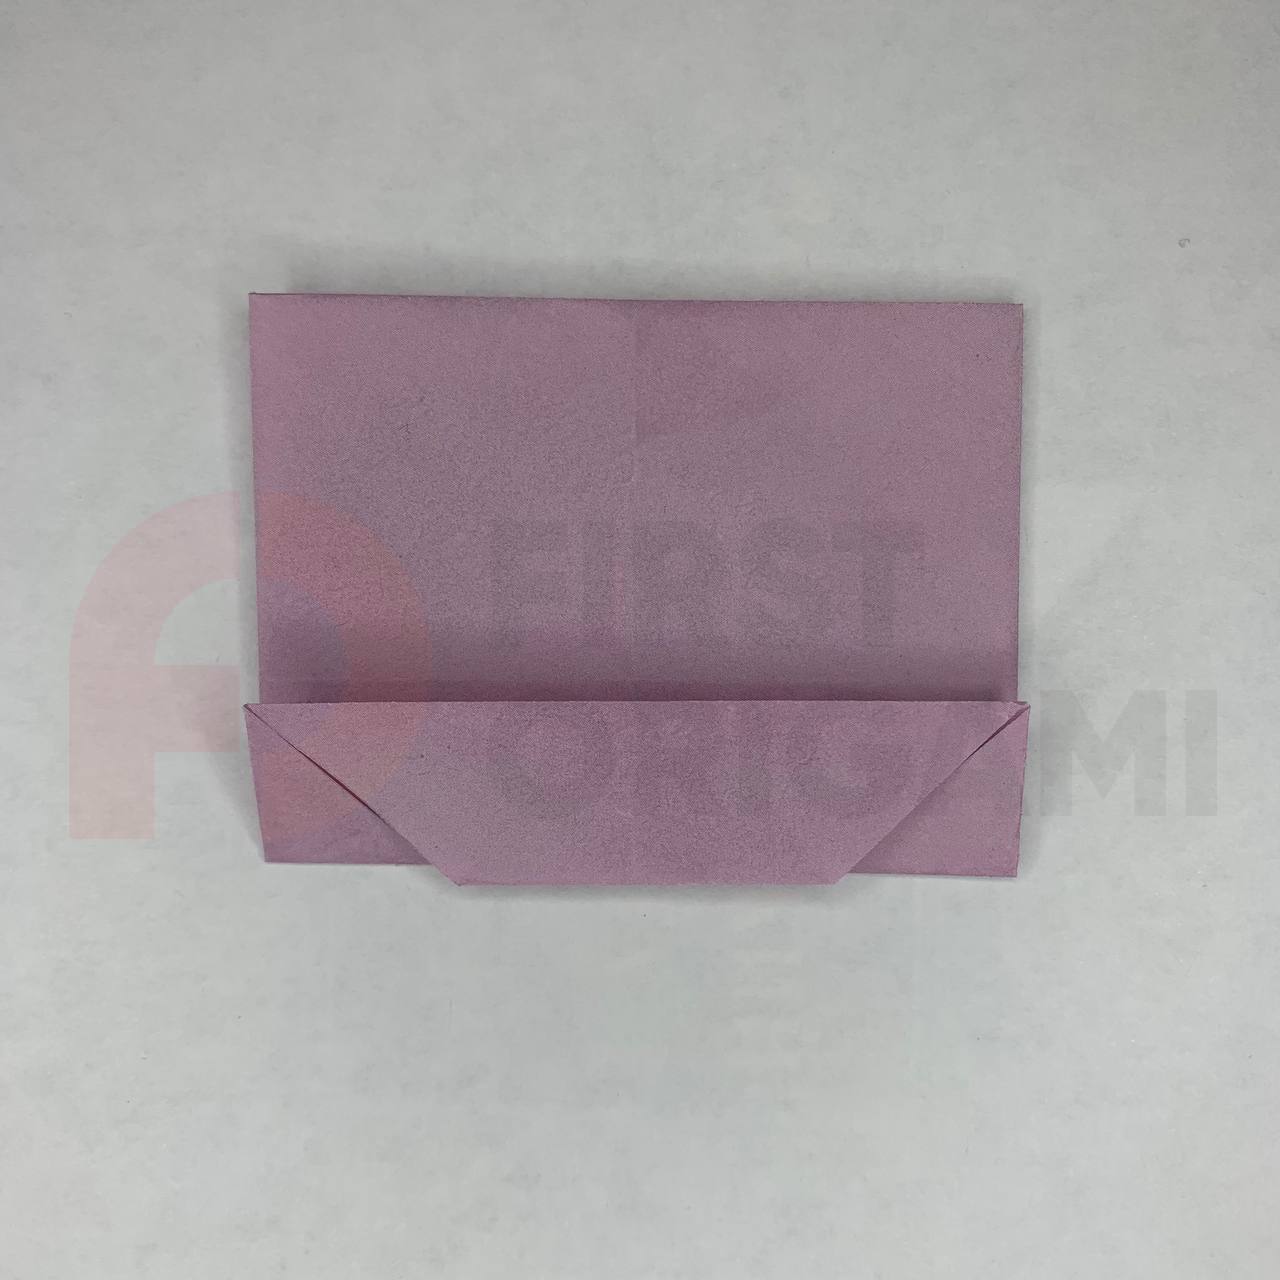
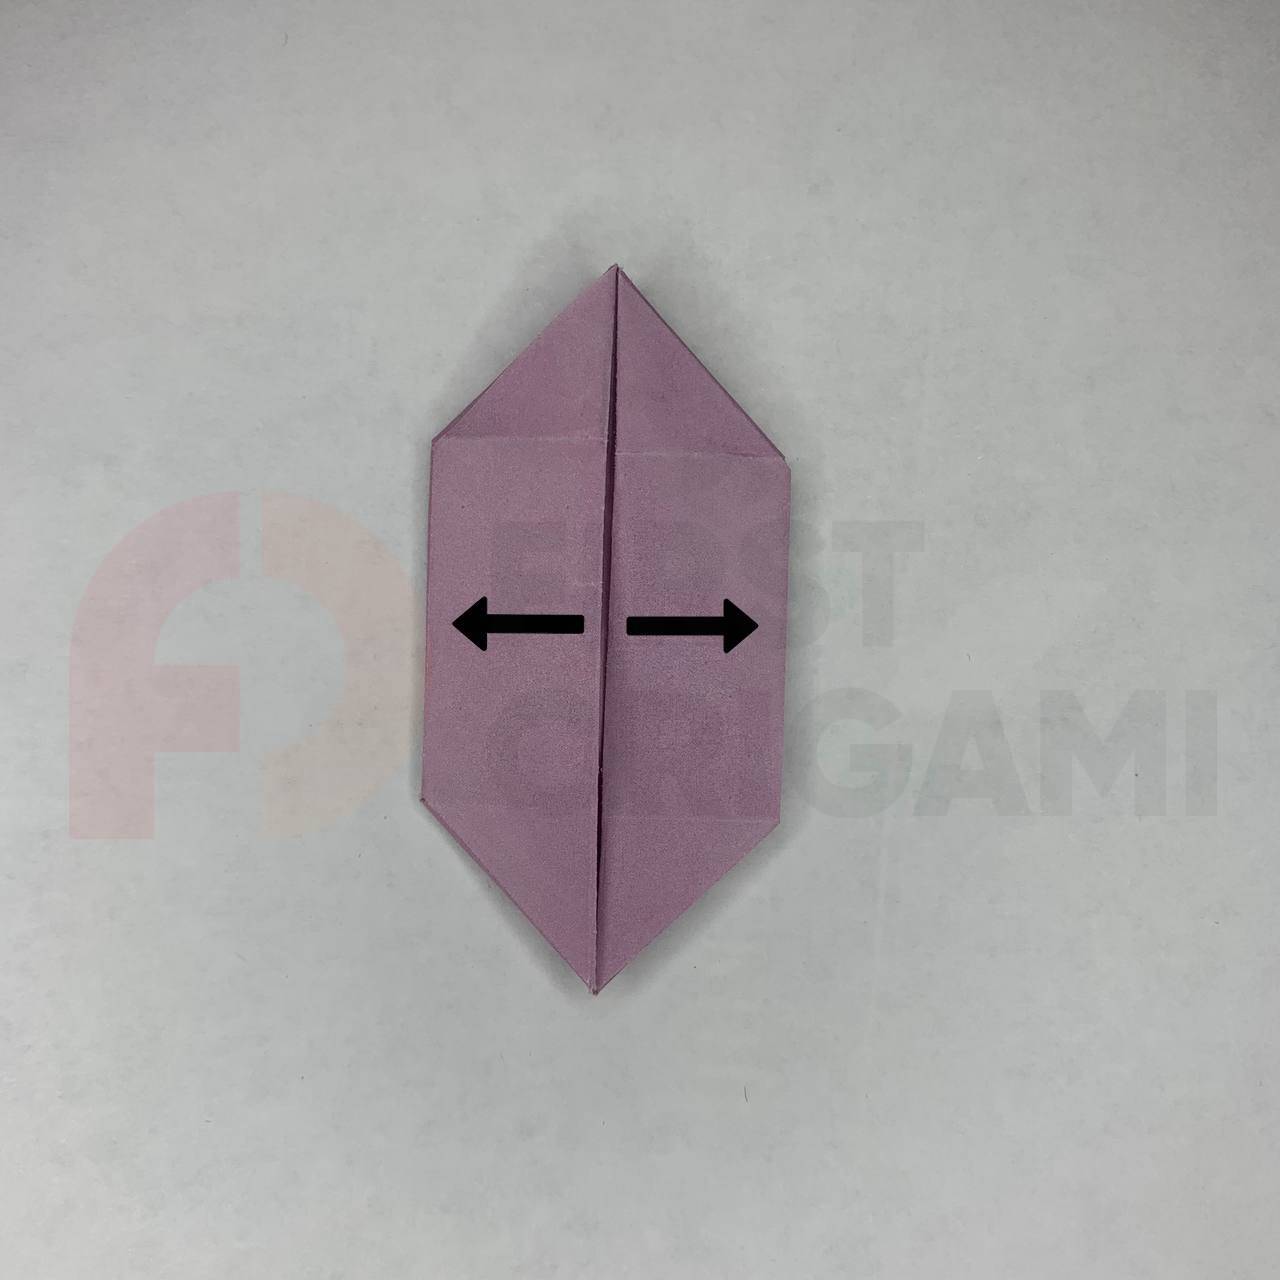
Fold the right and left sides so that they come together in the center.
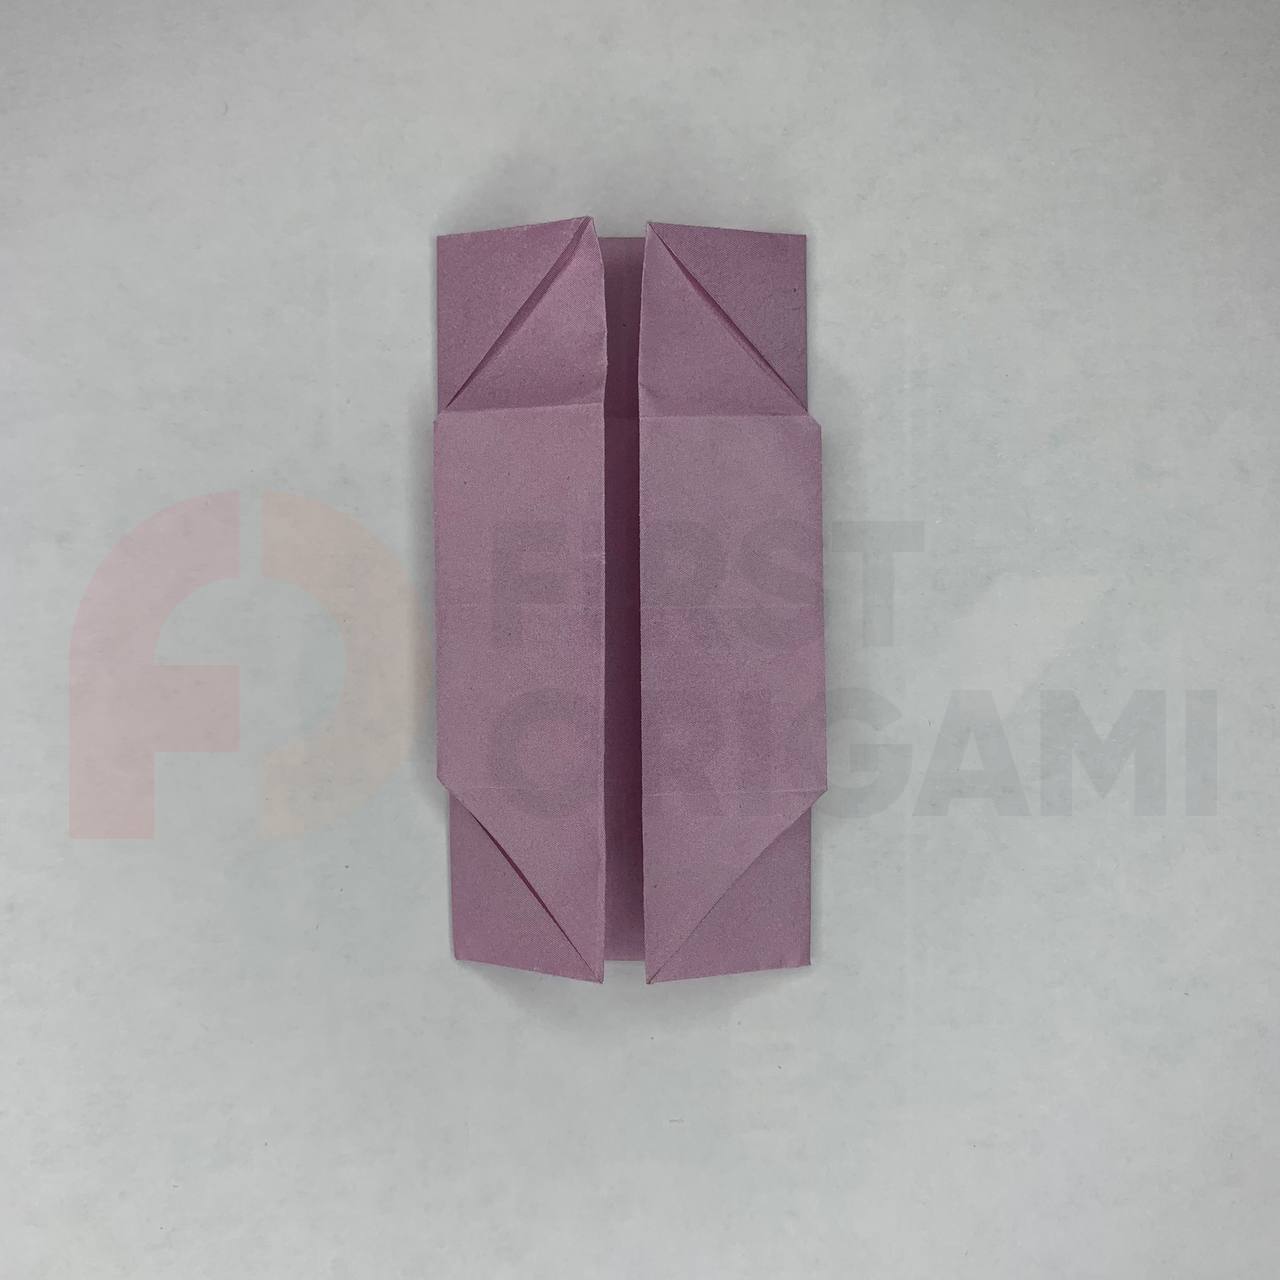
Take the top flap on the right side and move it to the left.
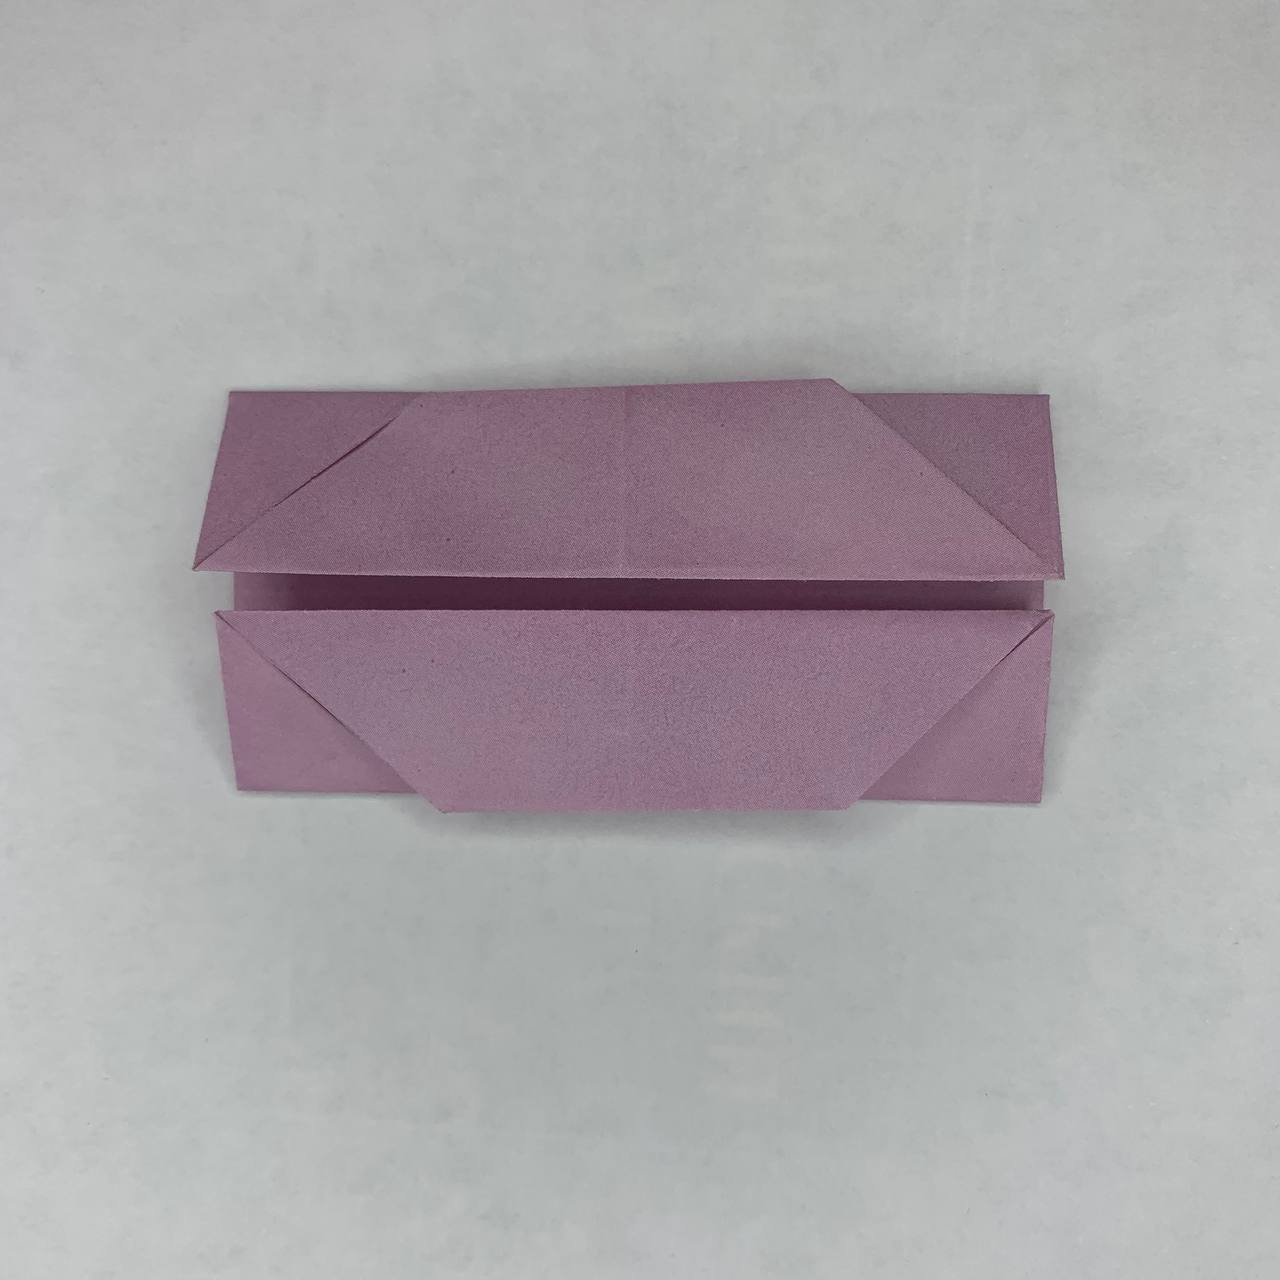
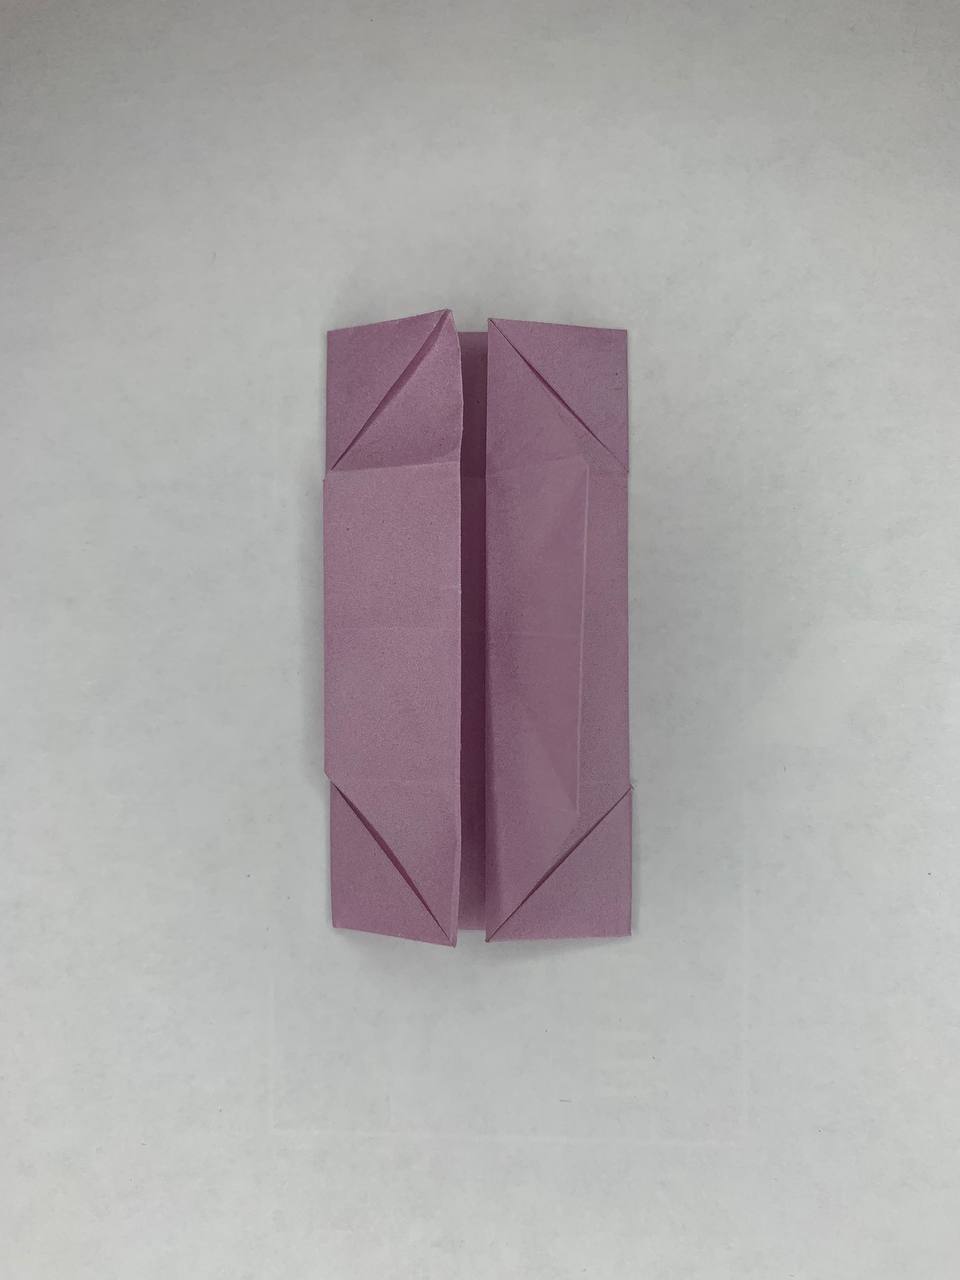
Fold the top and bottom corners on the right diagonally as shown.
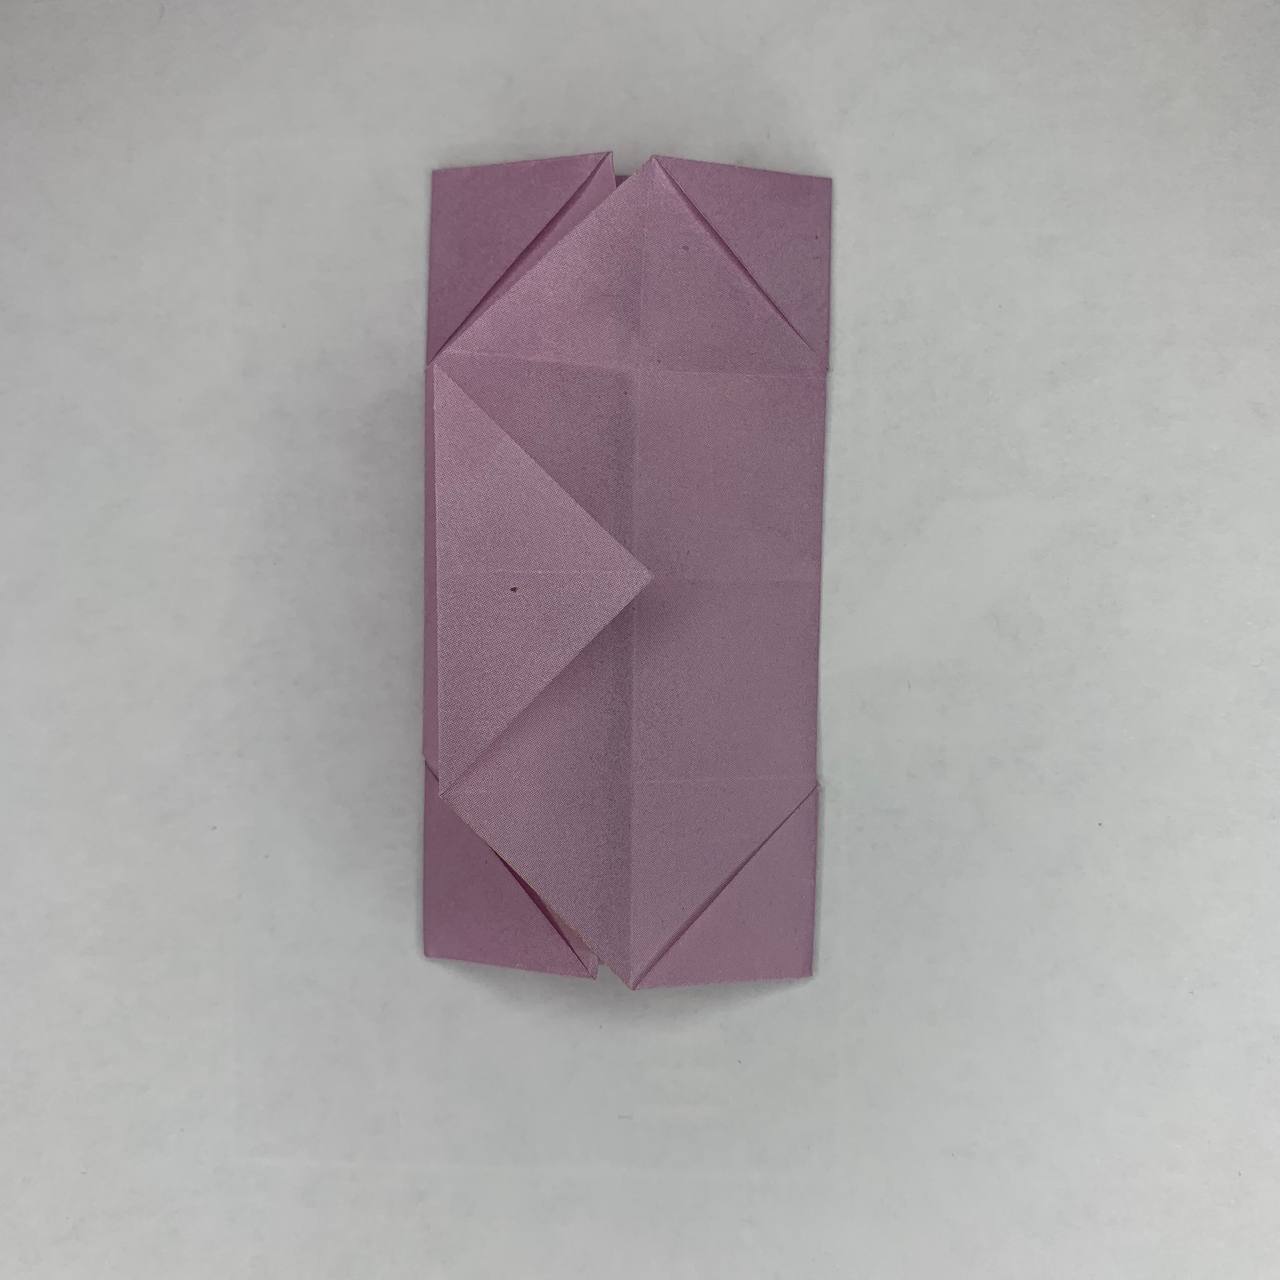
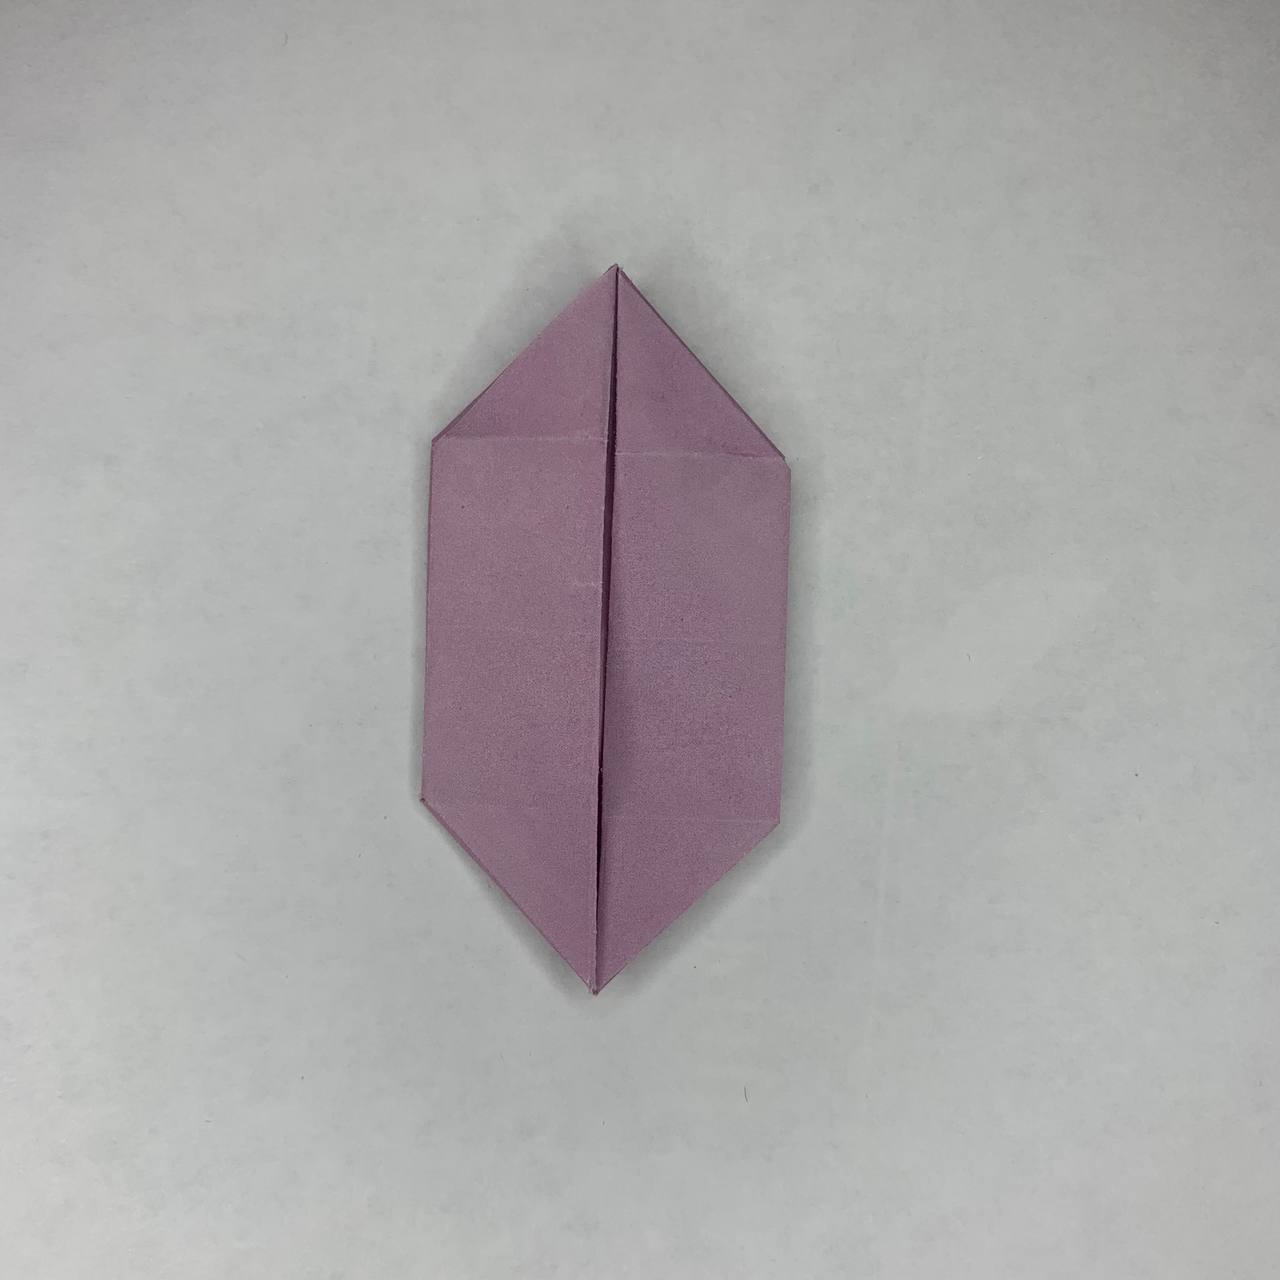
Now transfer both flaps from left to right.
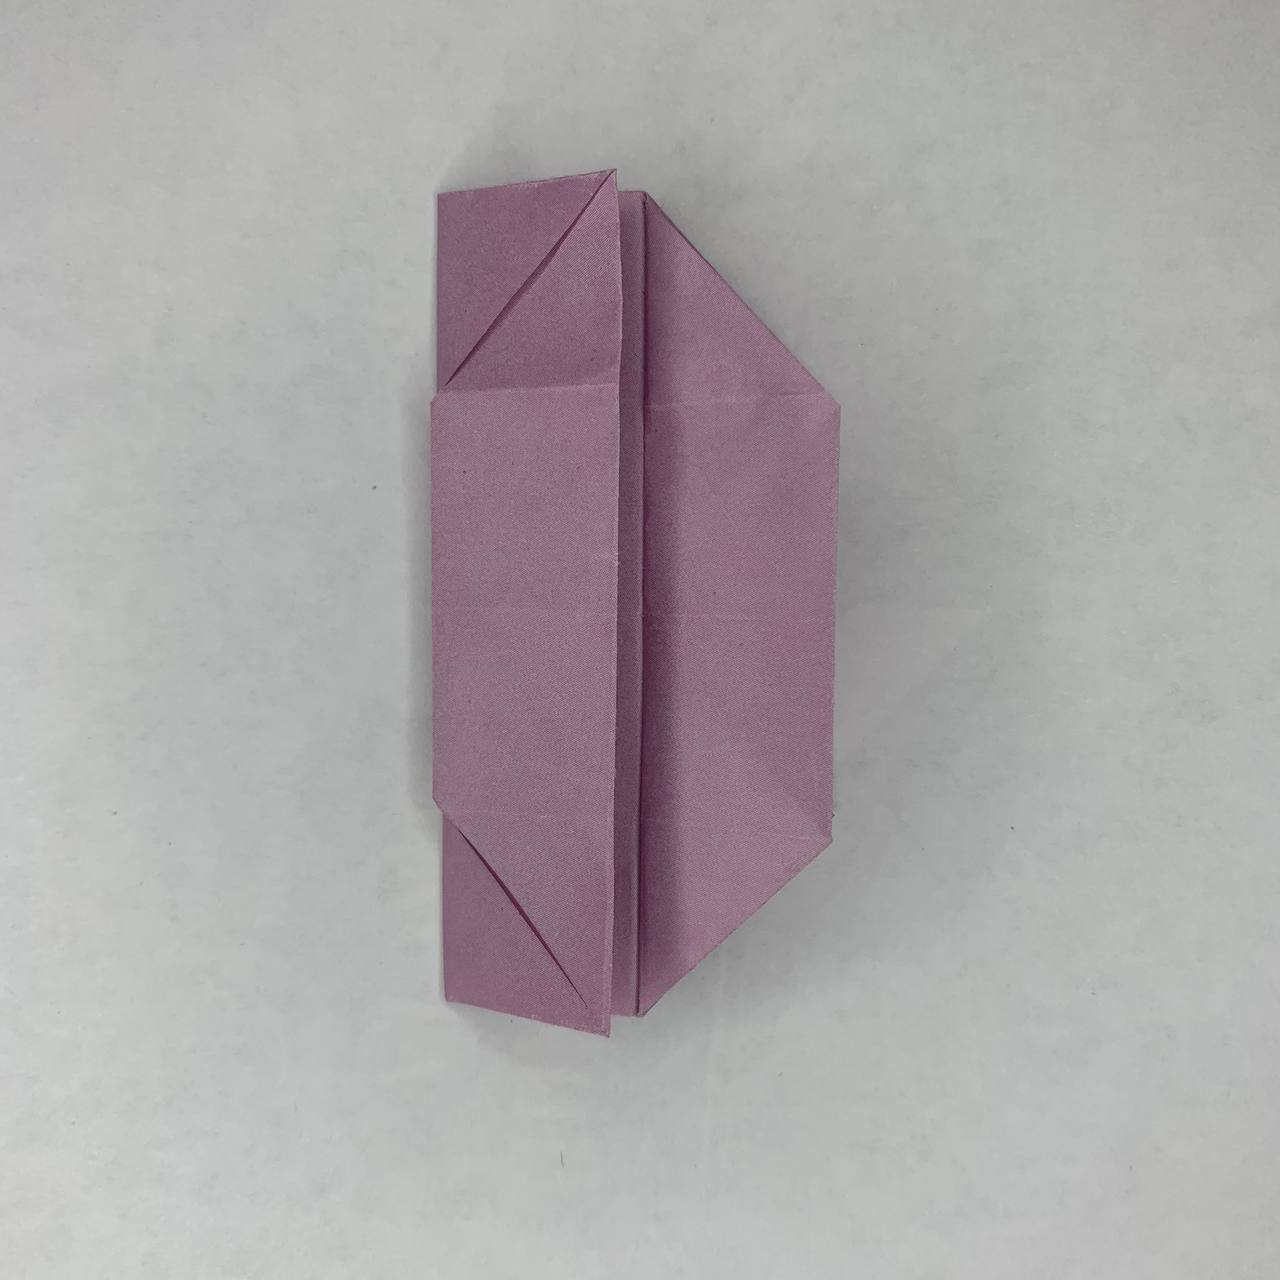
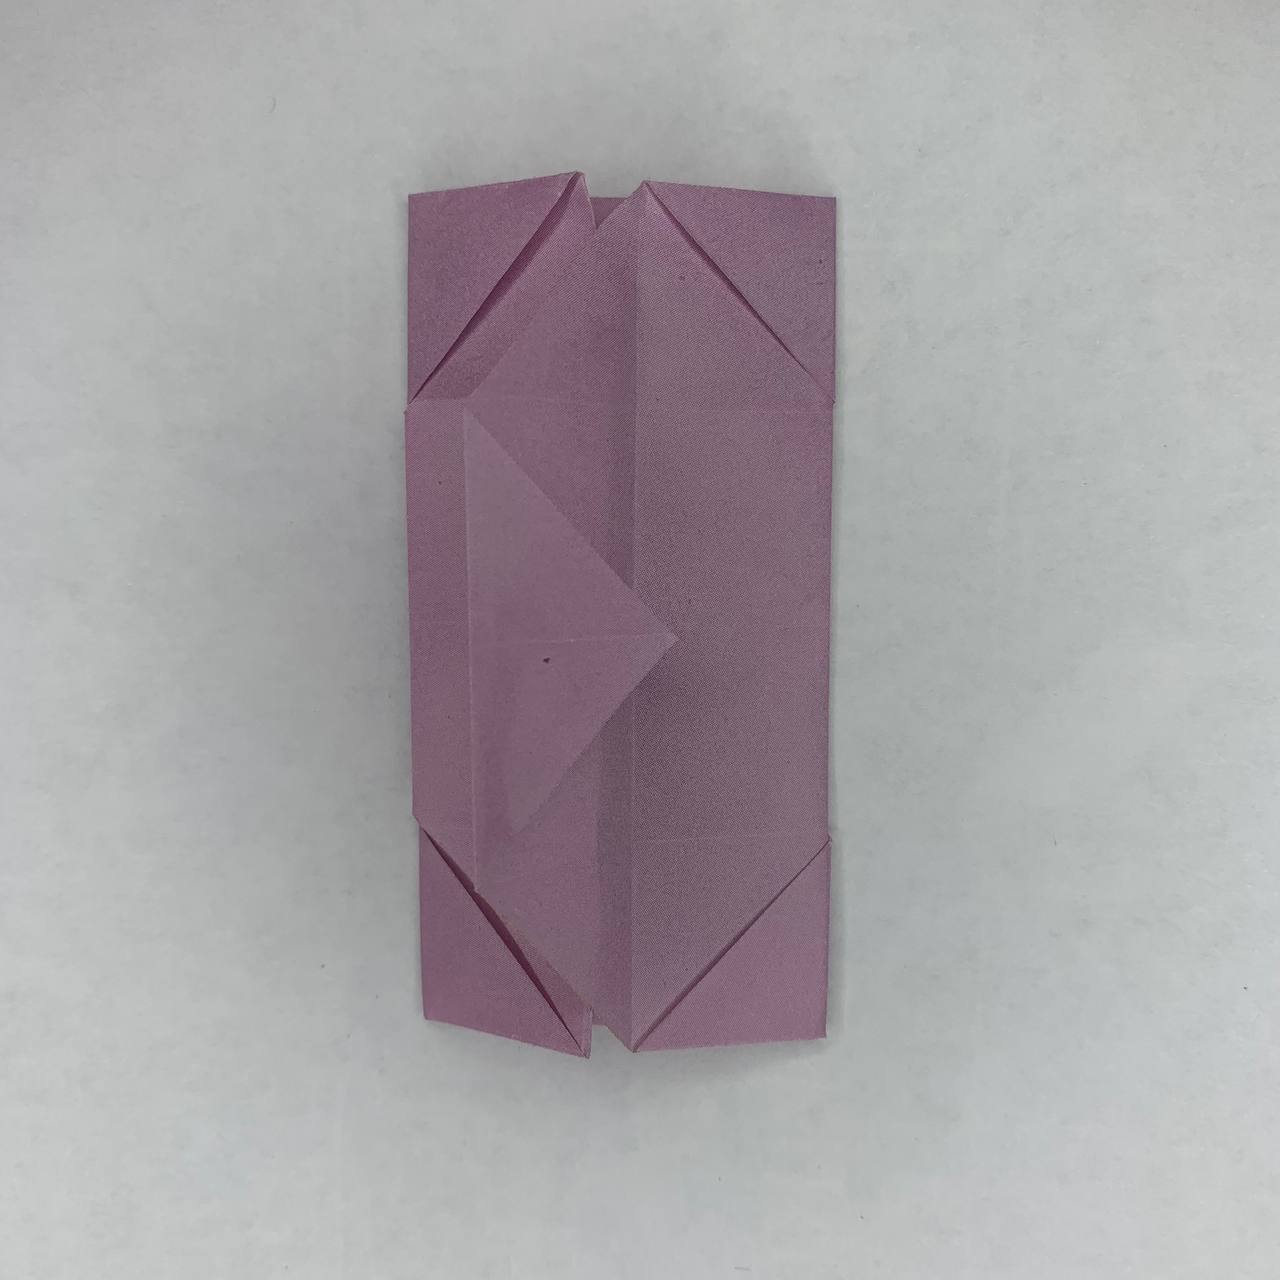
Now fold the top and bottom corners from the left diagonally as shown.
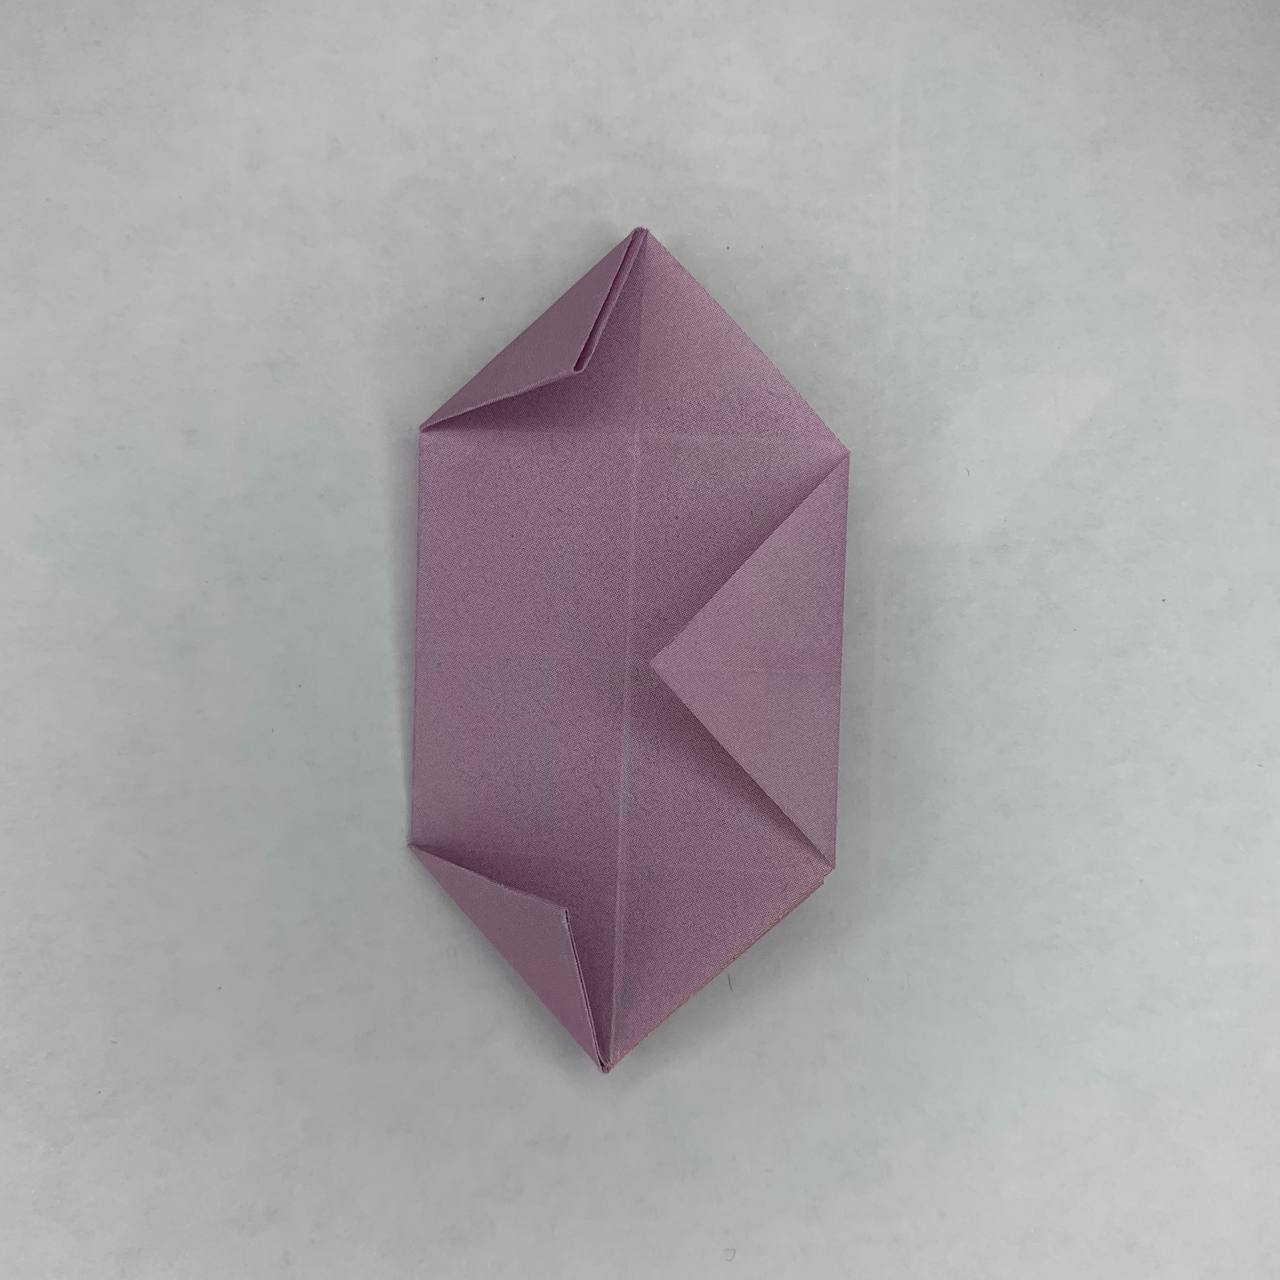
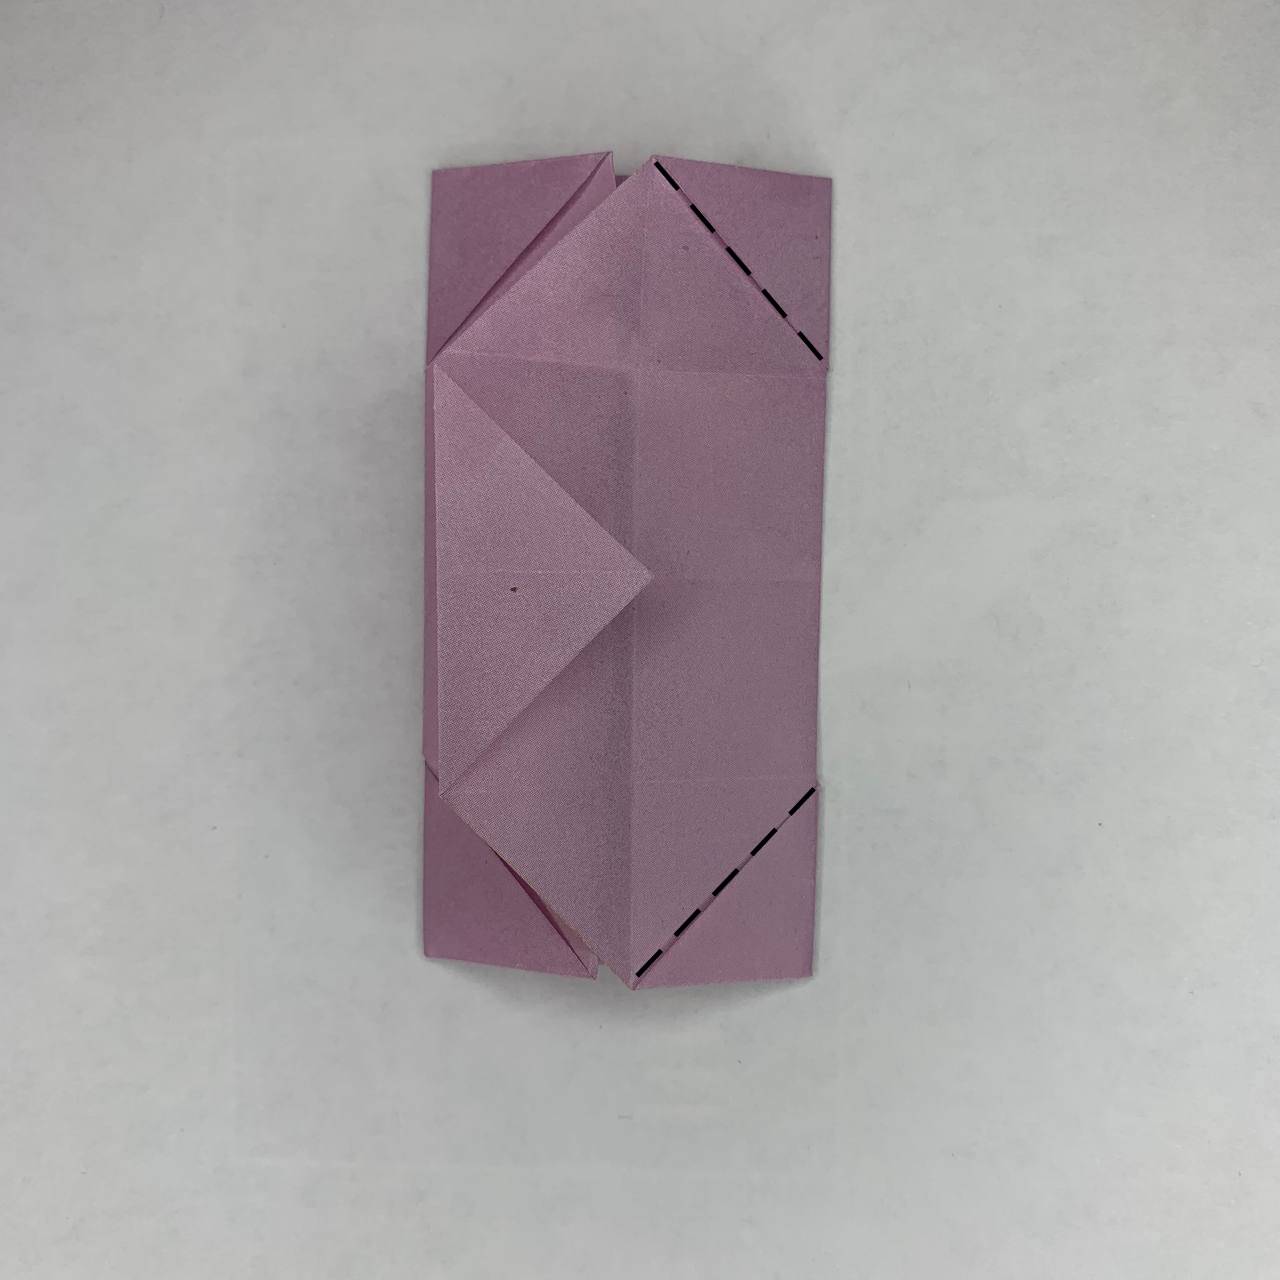
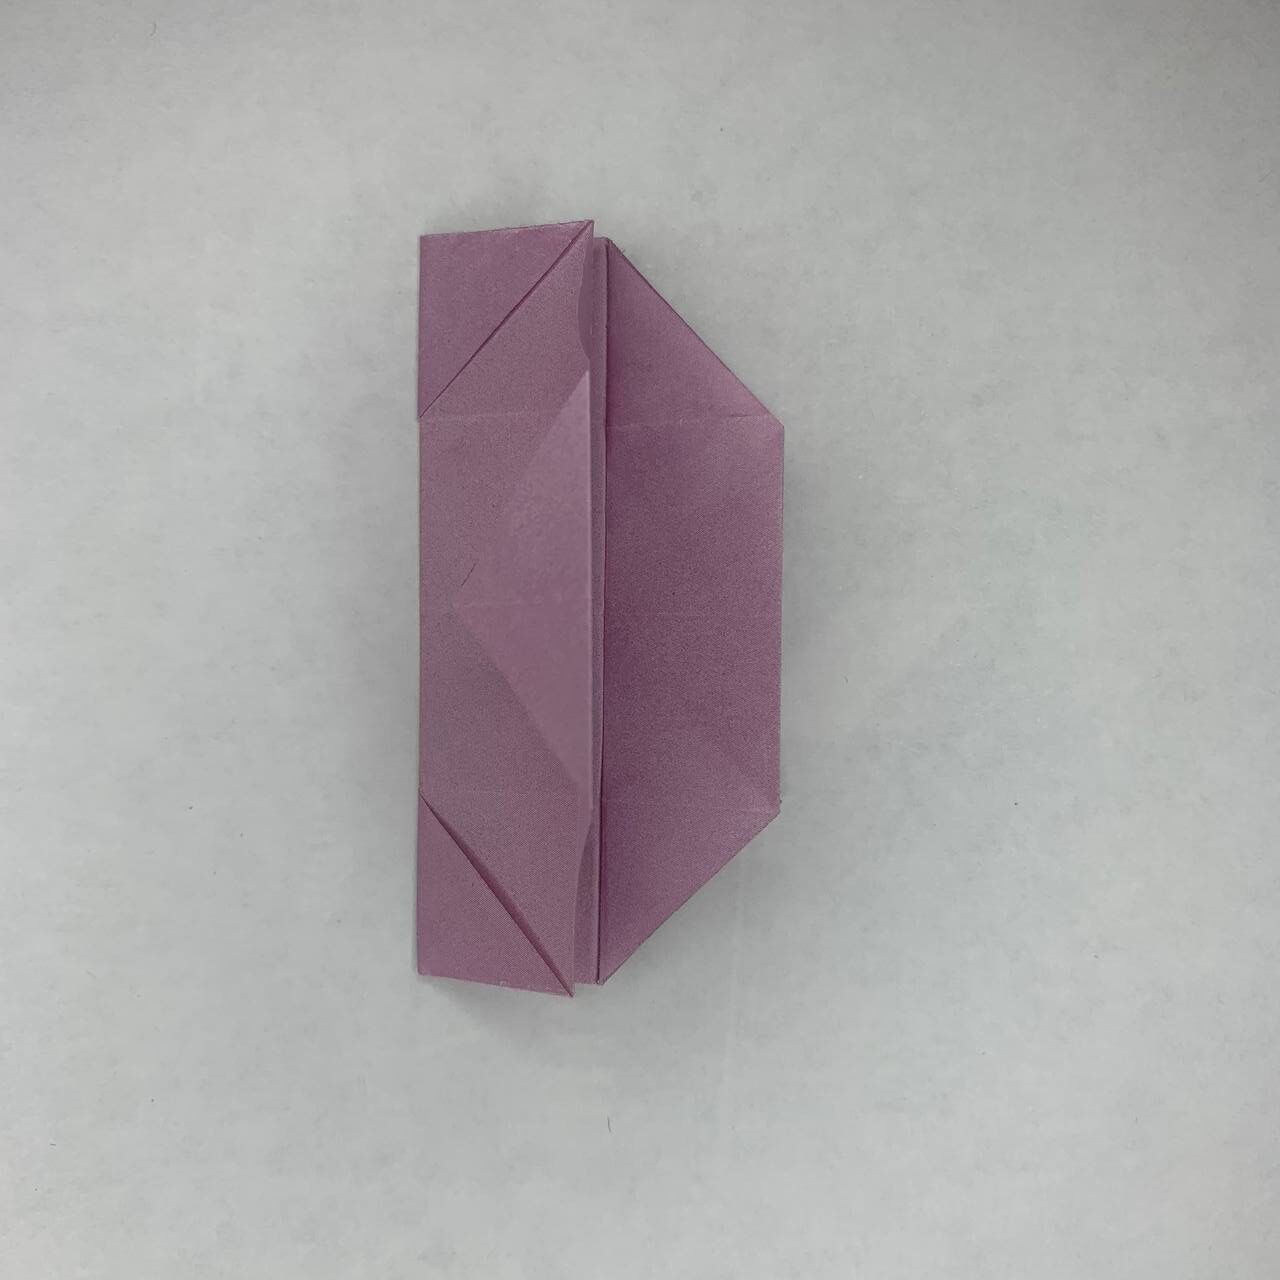
Transfer only the top flap from the right side to the left side.
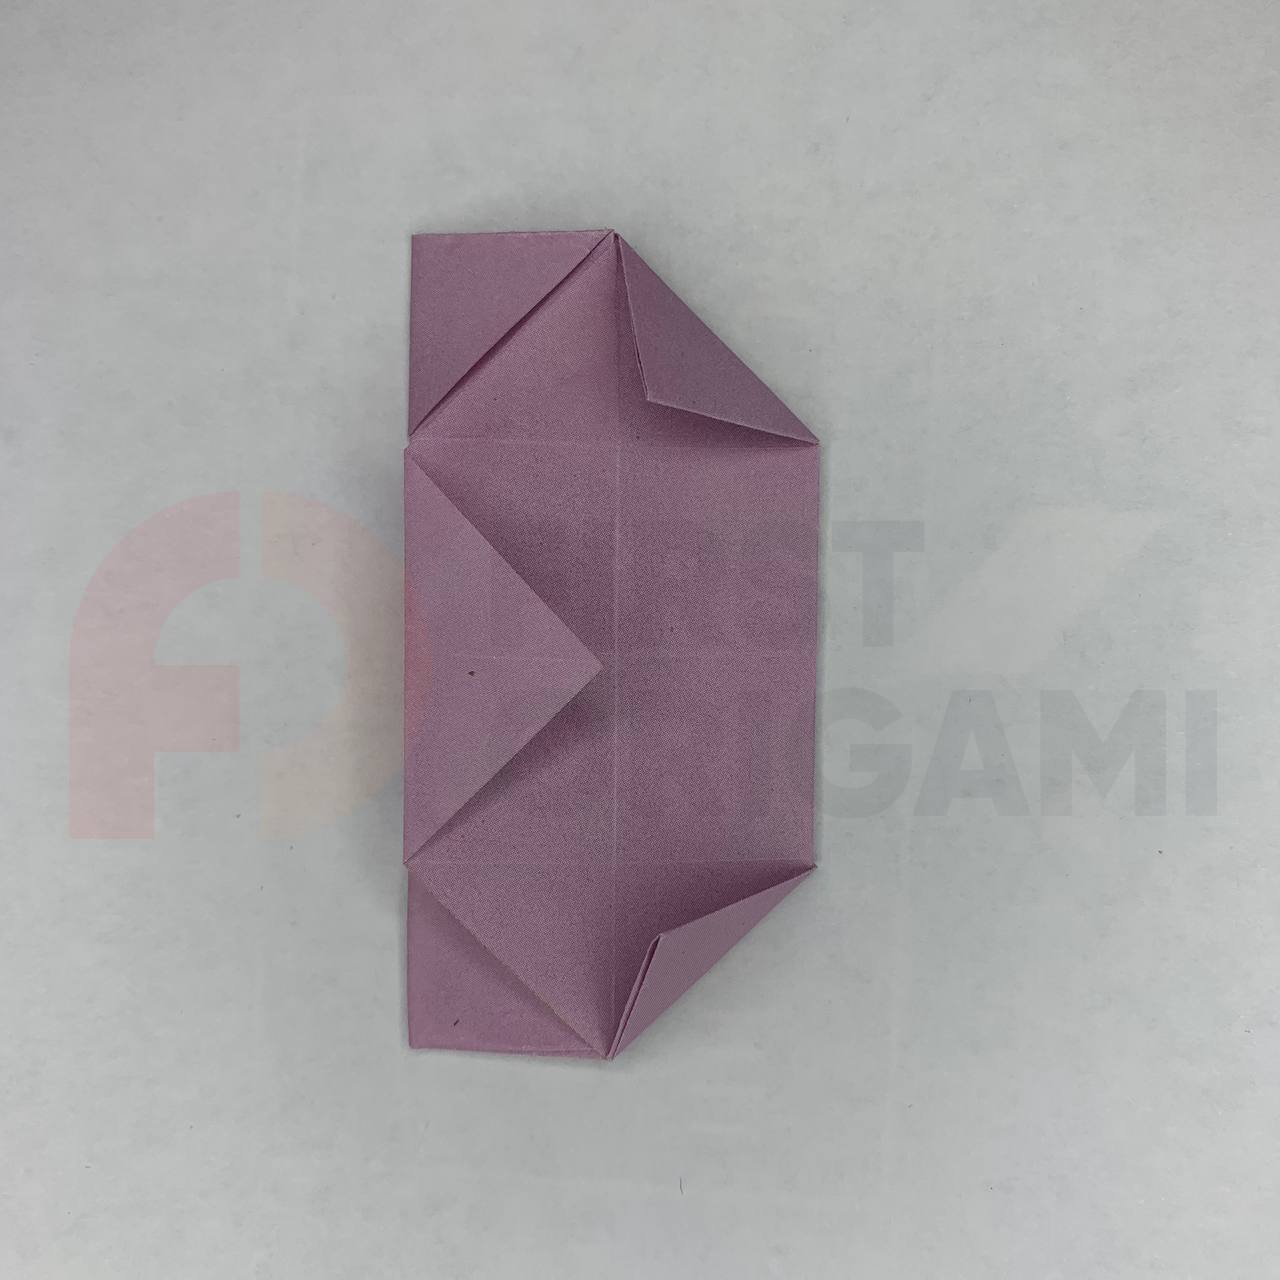
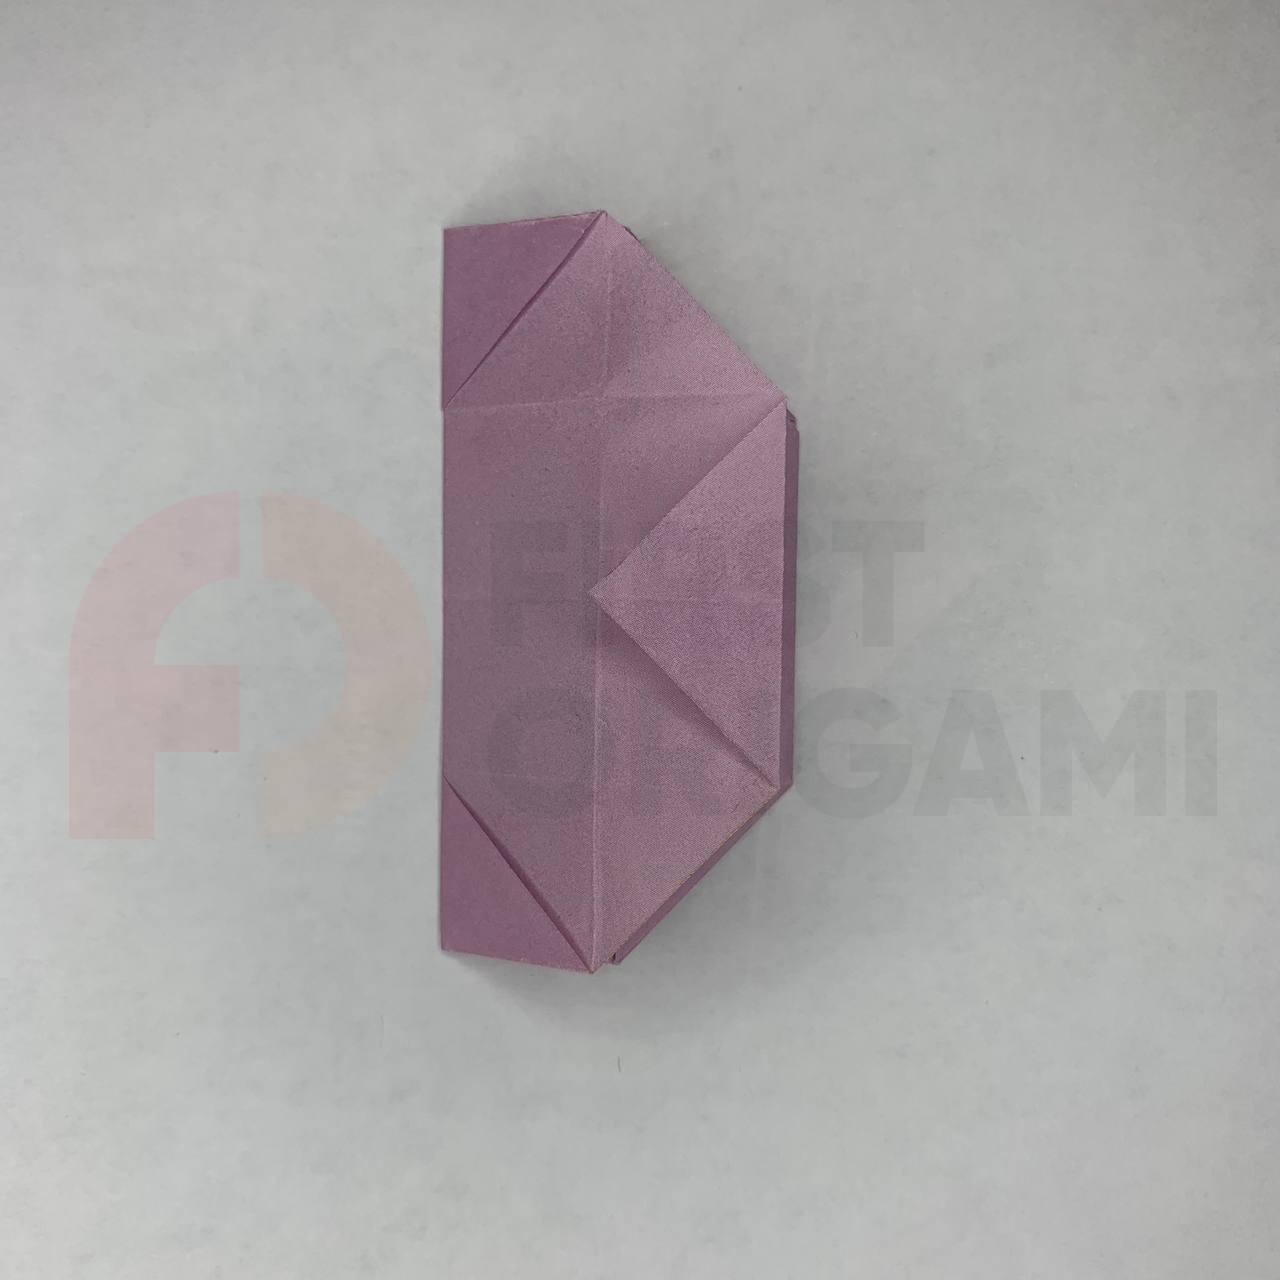
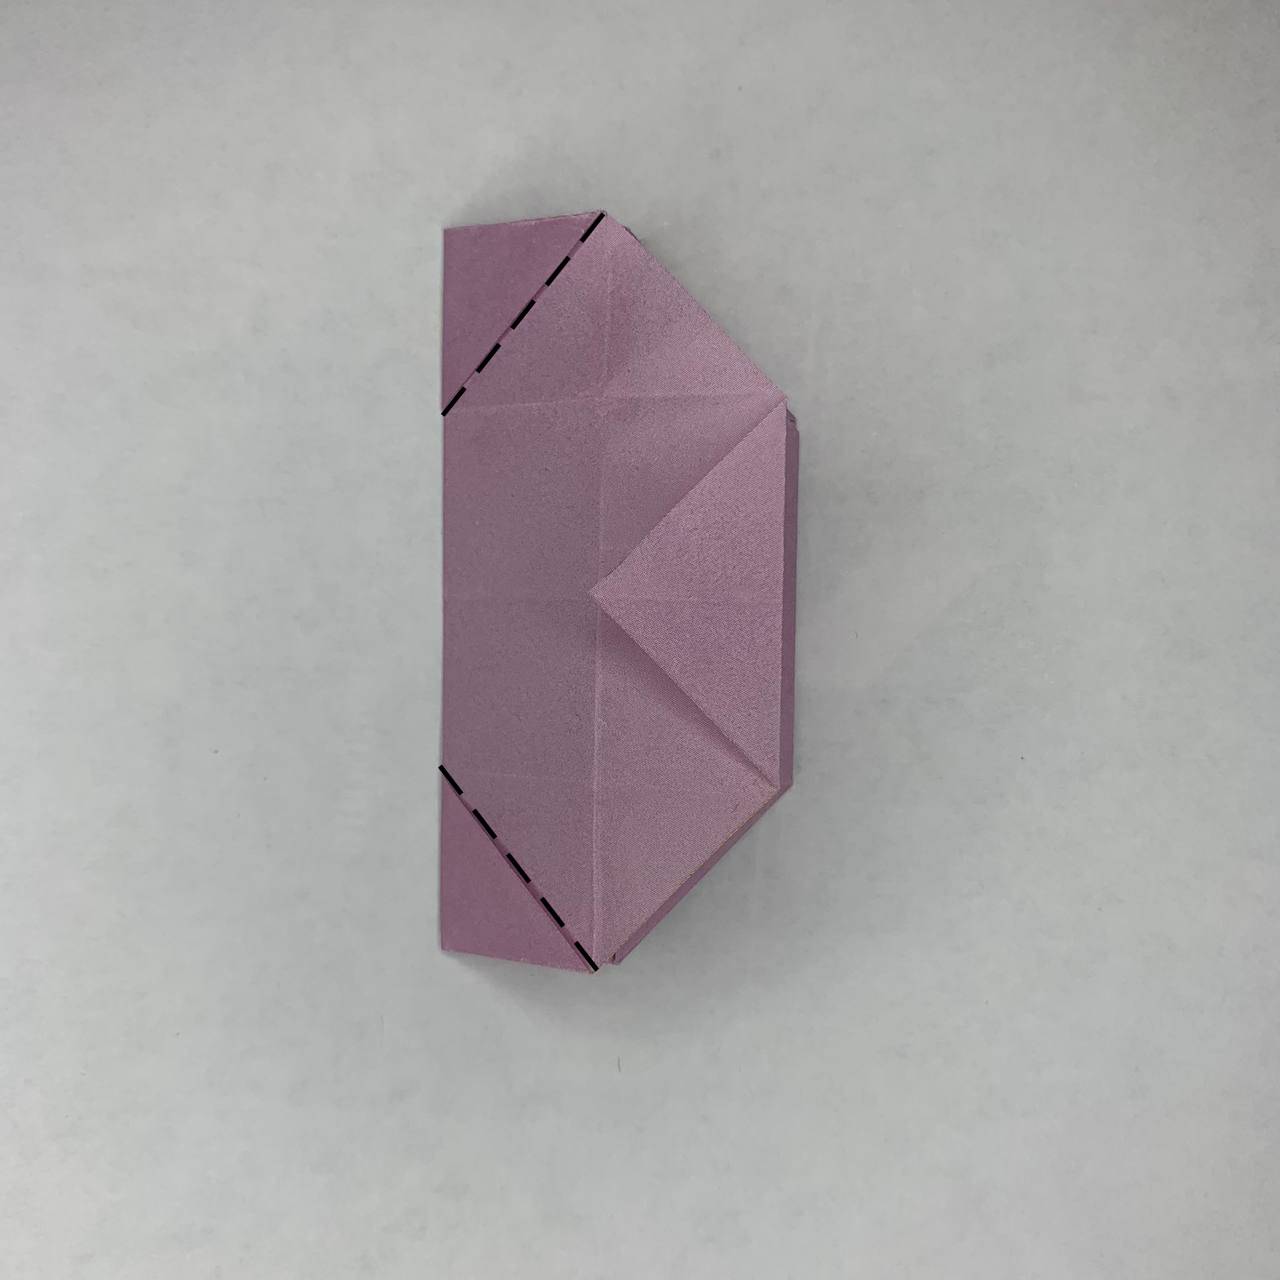
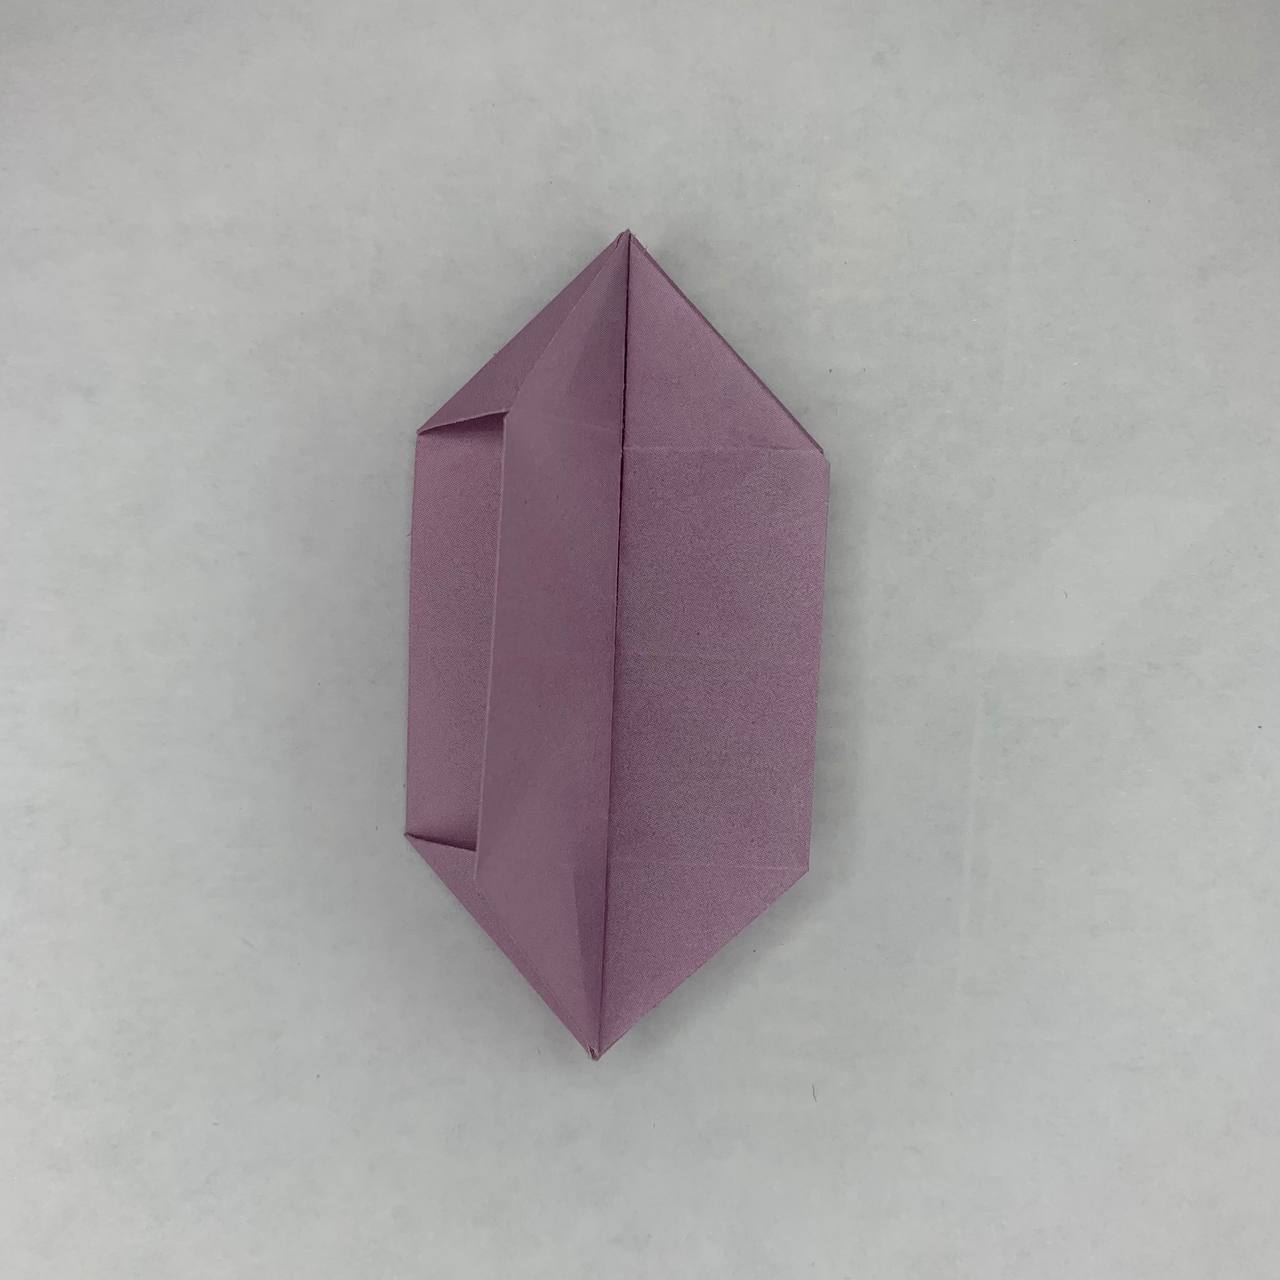
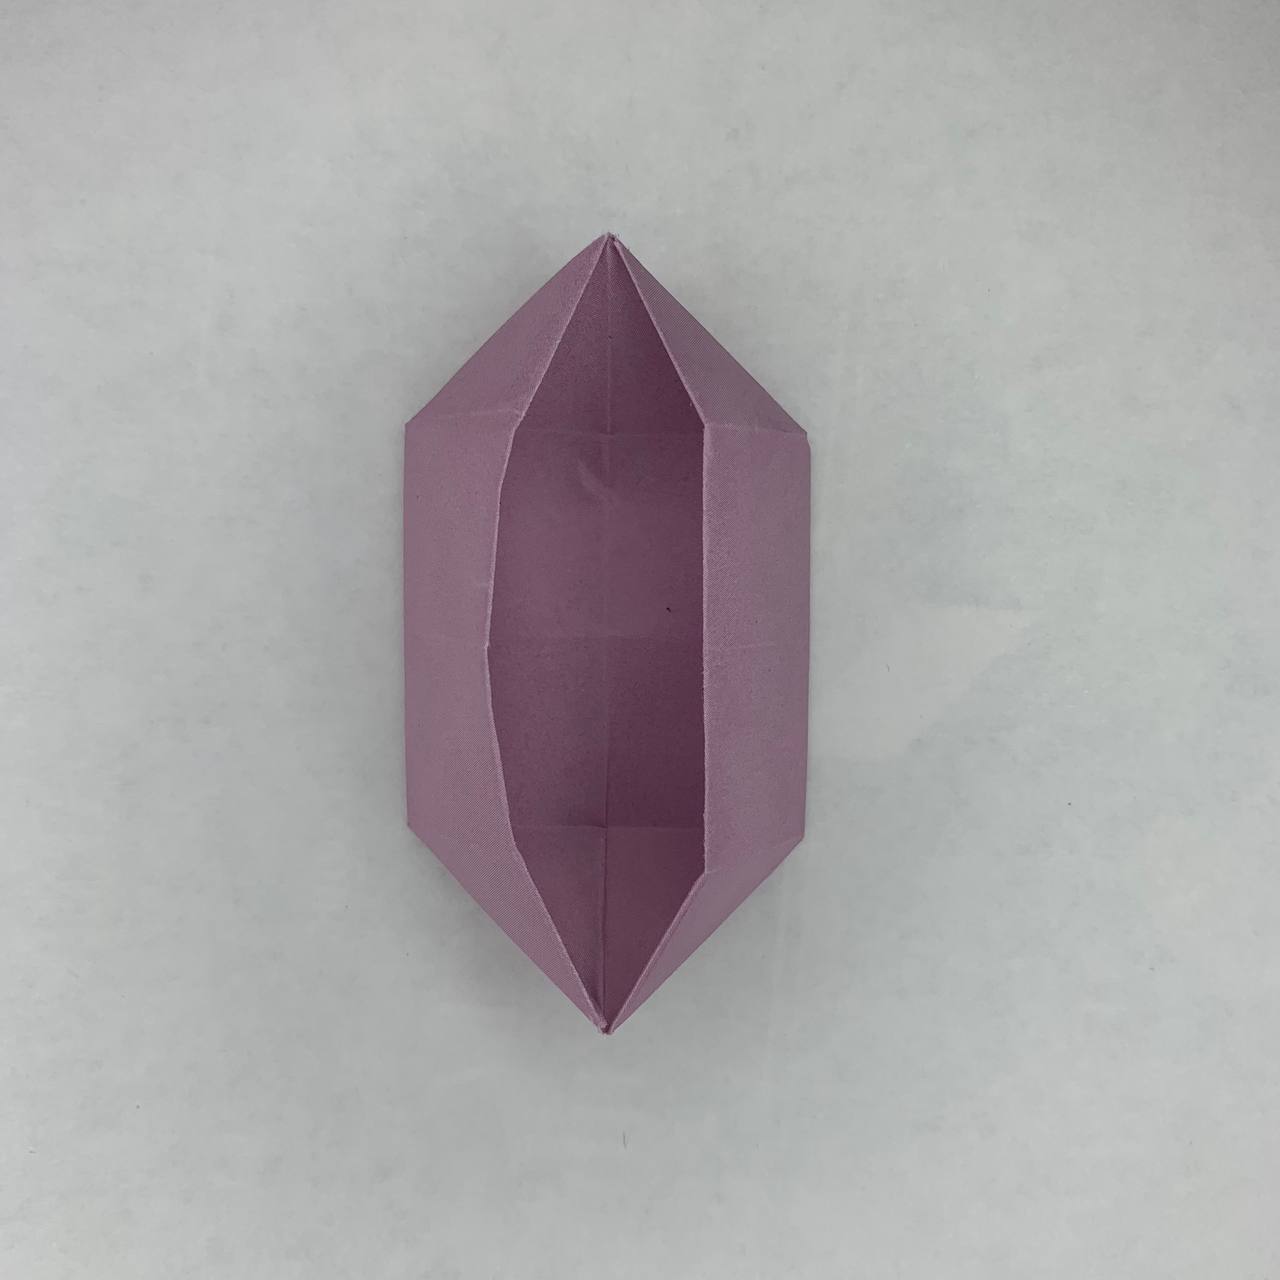
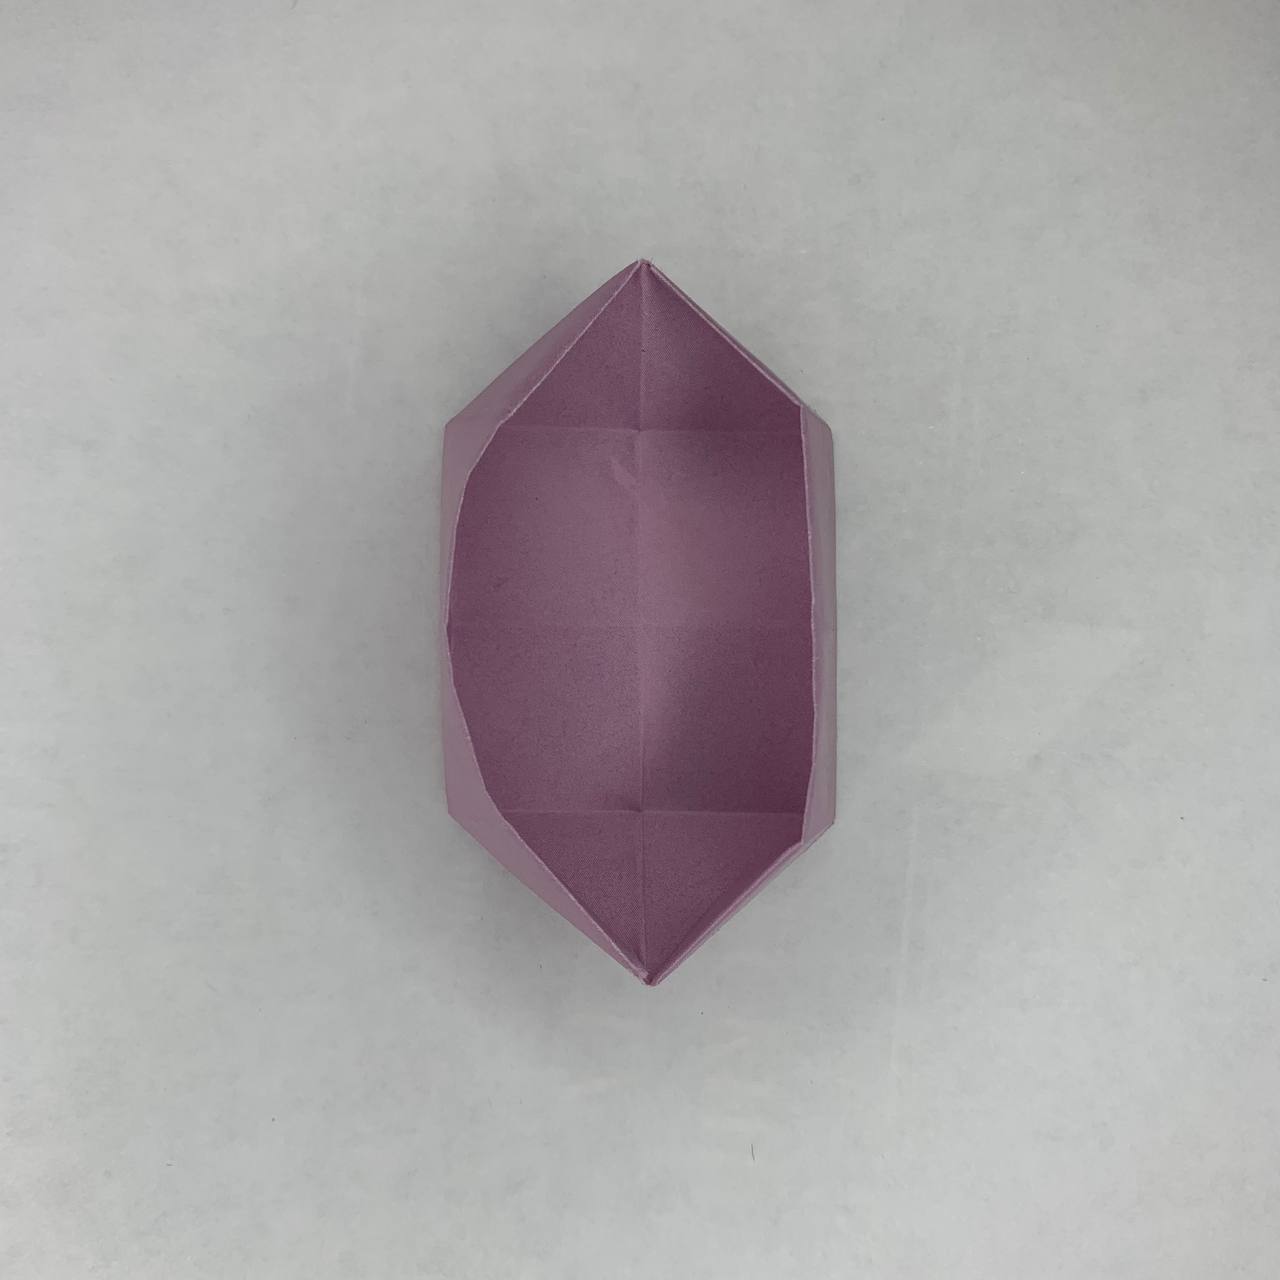
Now comes the fun part – shape our origami box! Open the paper with your fingers and smooth it out on all sides.
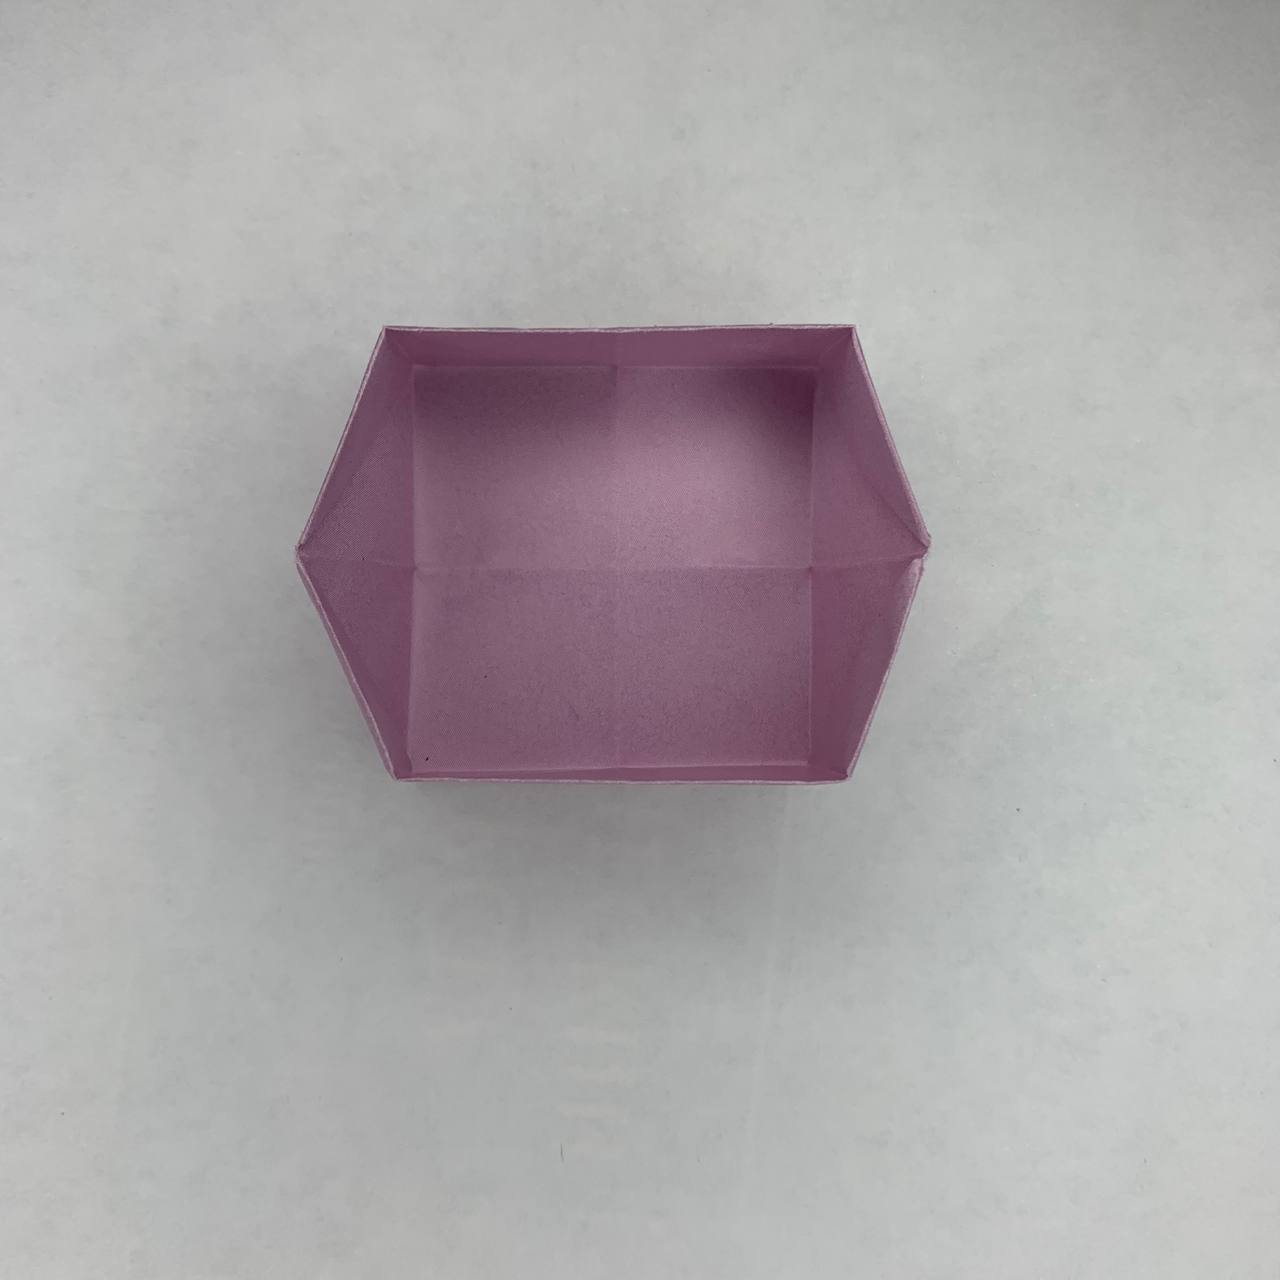
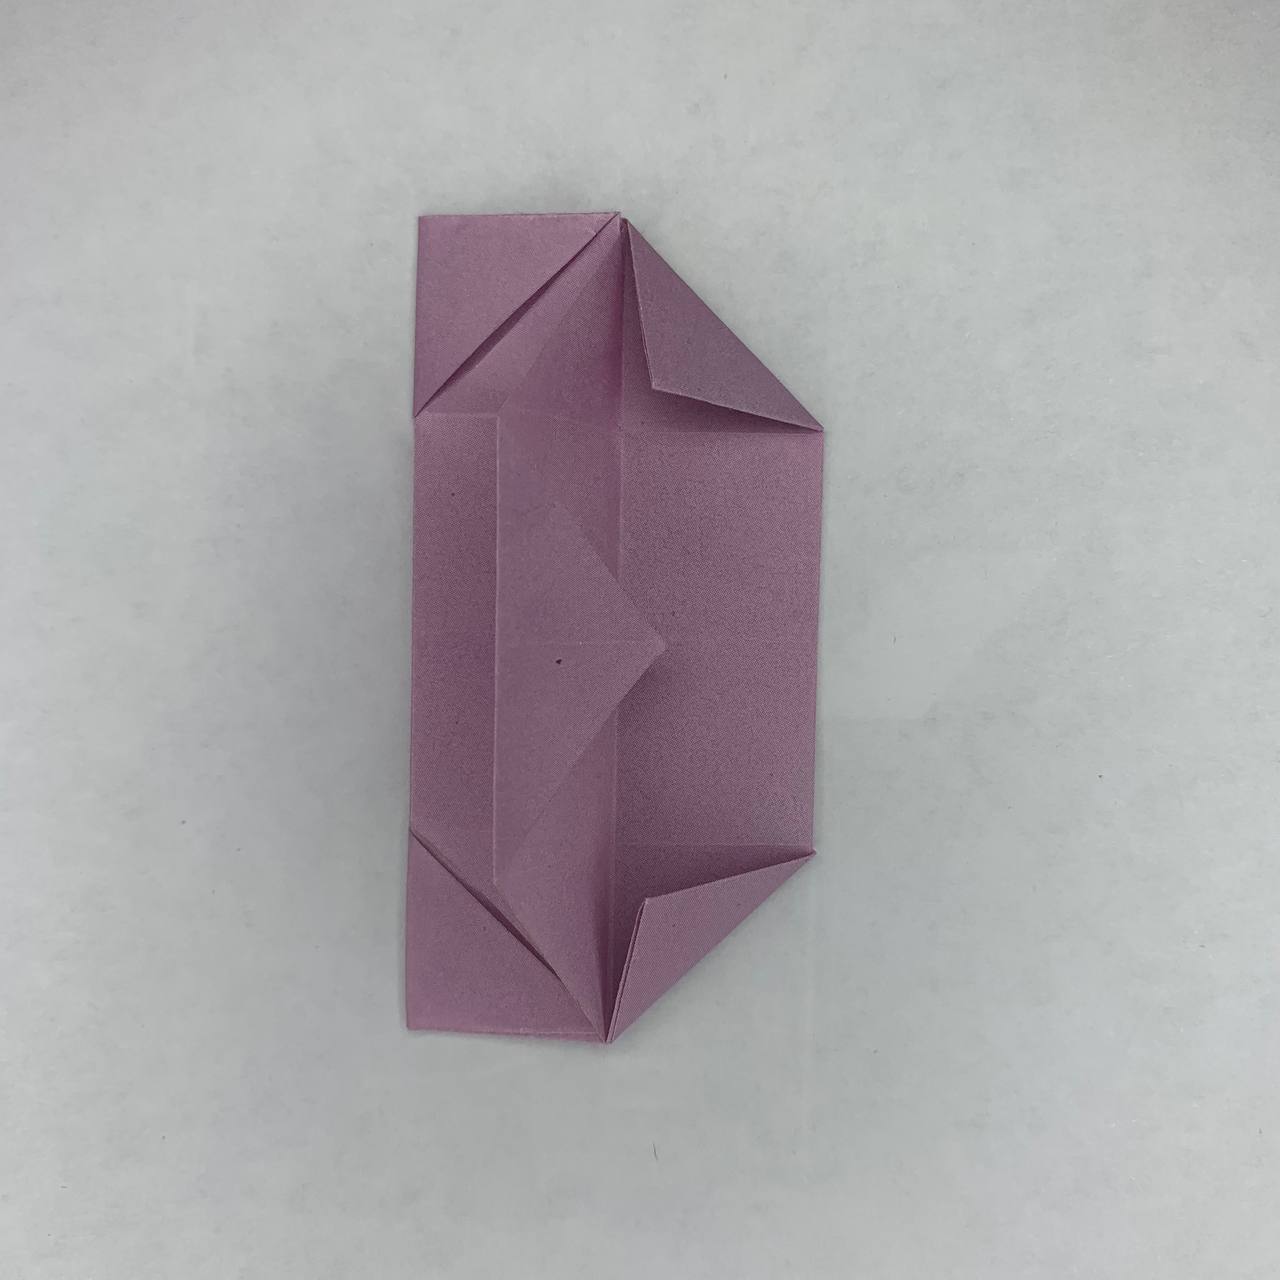
Magic! You now have a little origami box. Or maybe several and in different sizes?


