Origami Bird Base
The name of this figure was not chosen by chance: you can make several kinds of origami birds based on this element. However, the Bird Base is often used in other models too, so the final result of your creation will depend on the correct execution of this Origami Bird Base.
The folding of the bird base starts from another basic figure — the Swuare base, which is also called the “Double Square”.
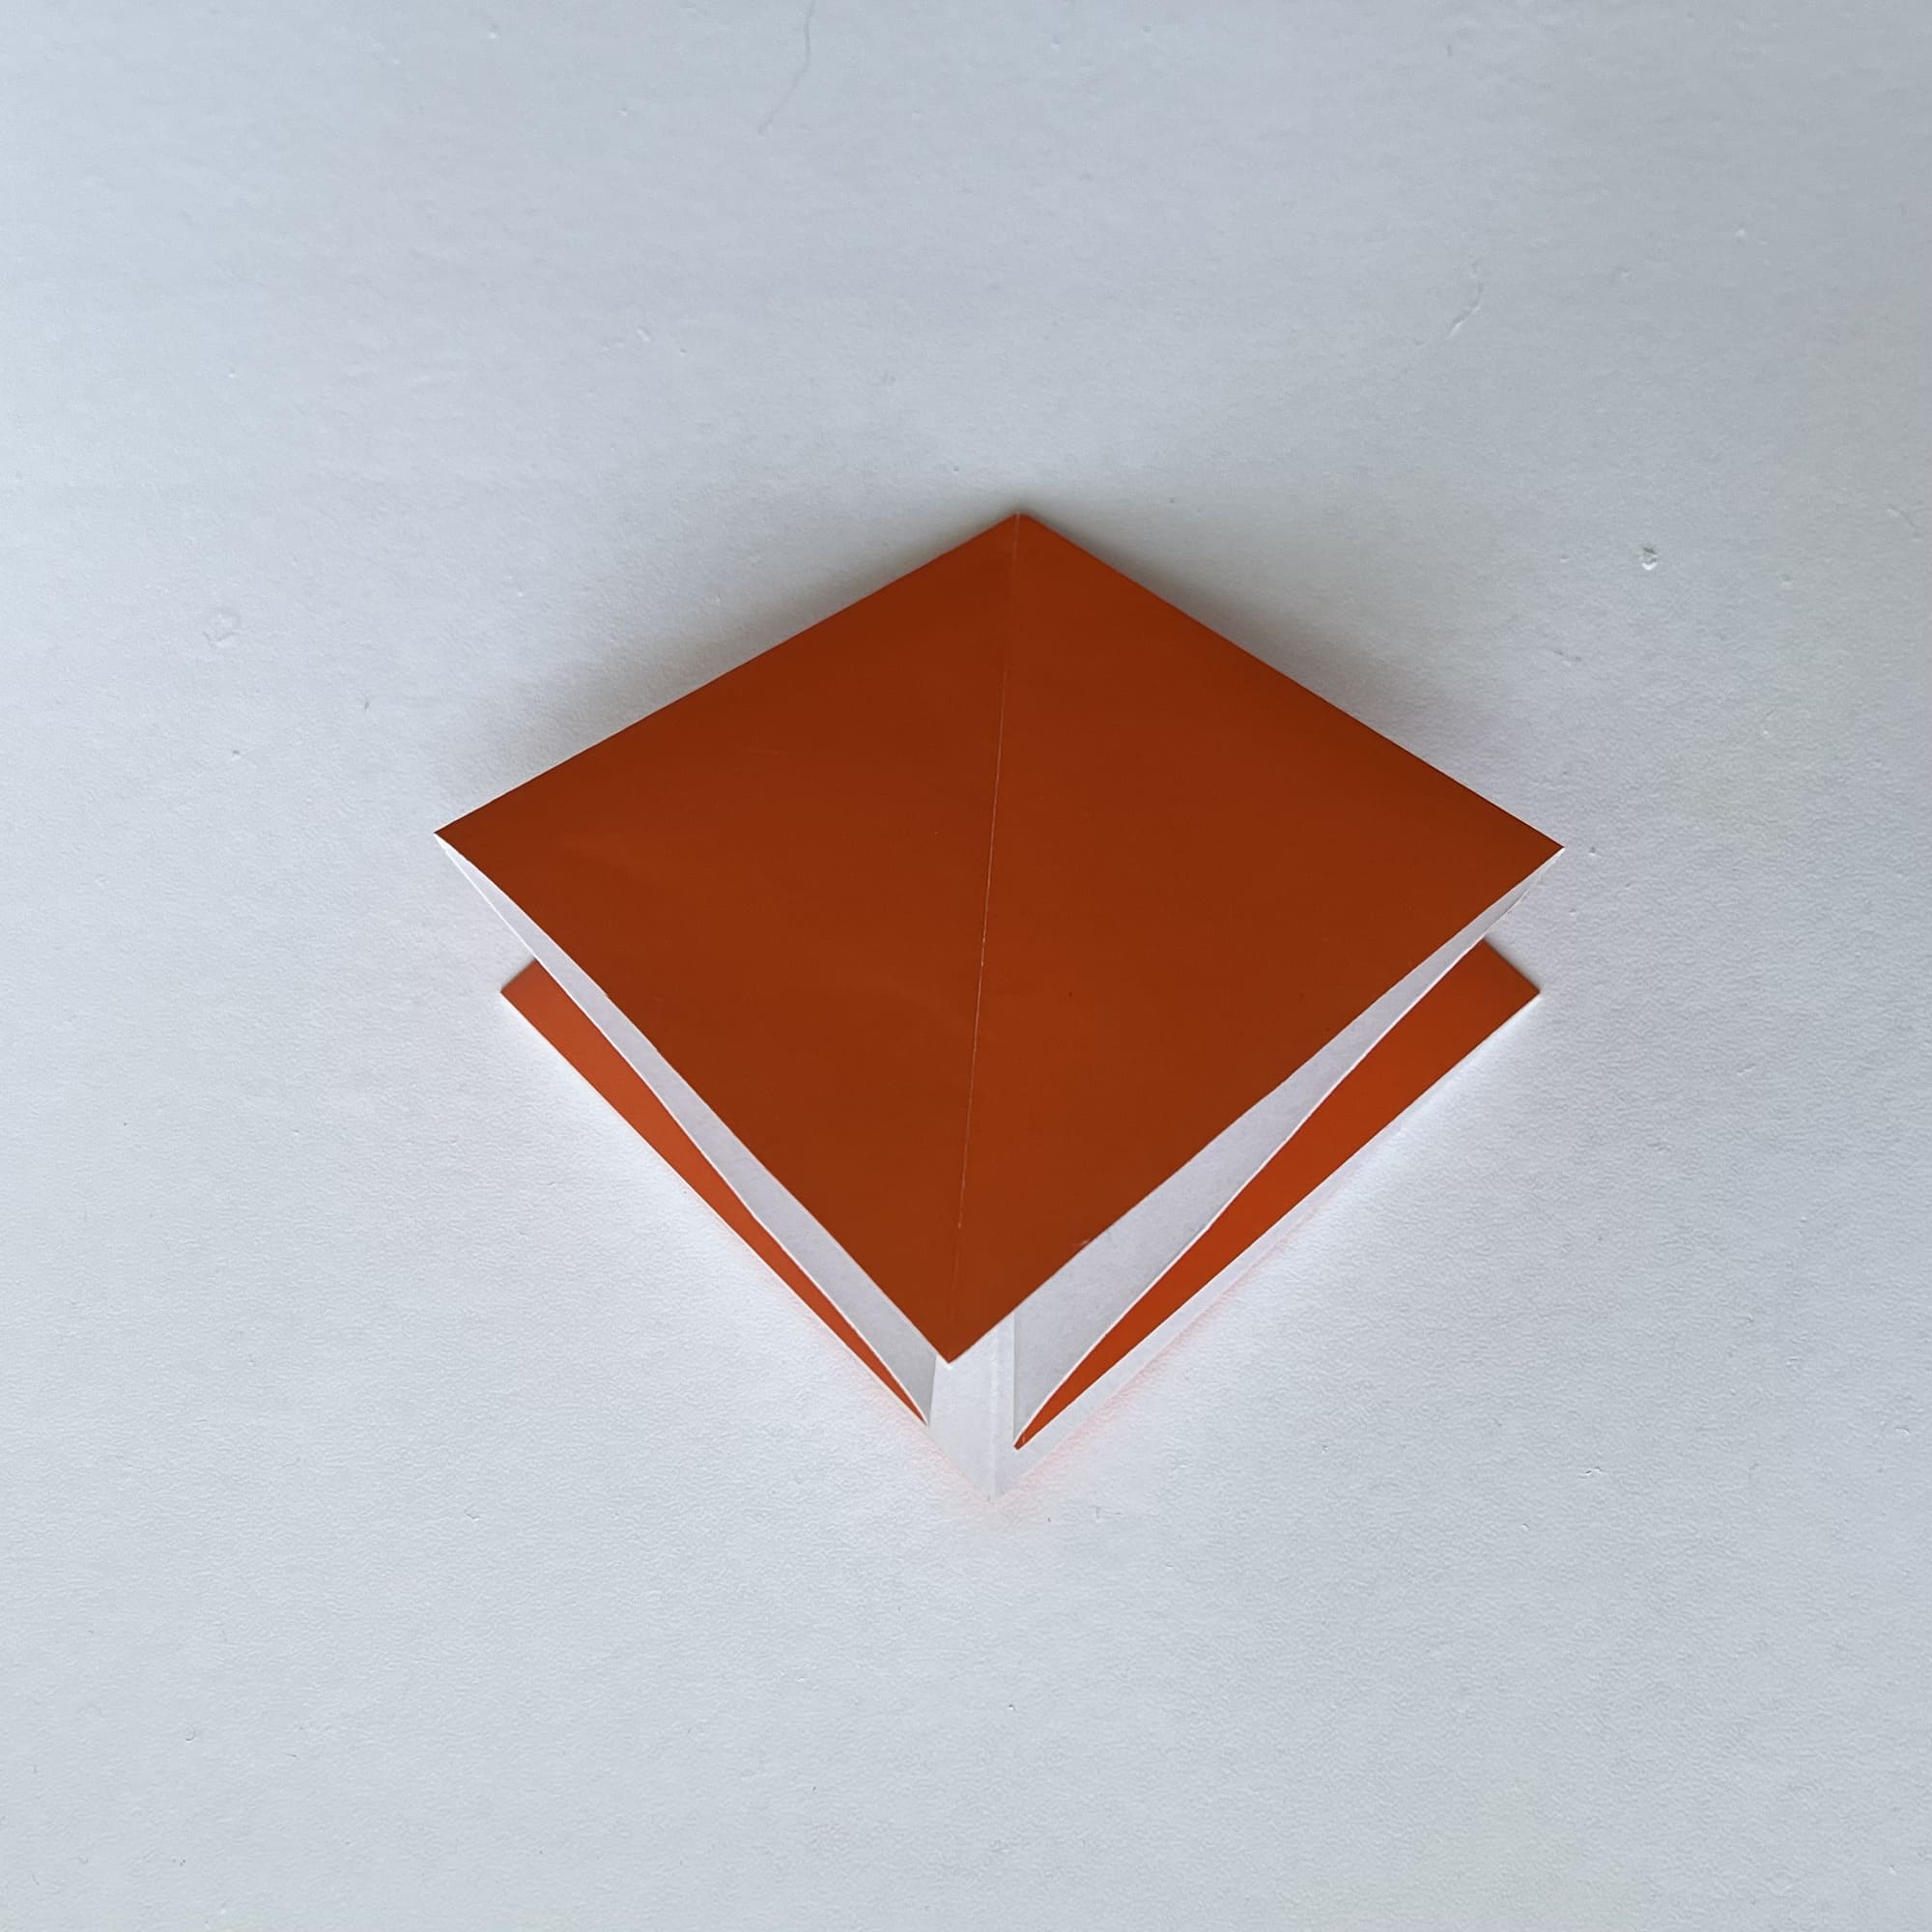
Make a square origami base.
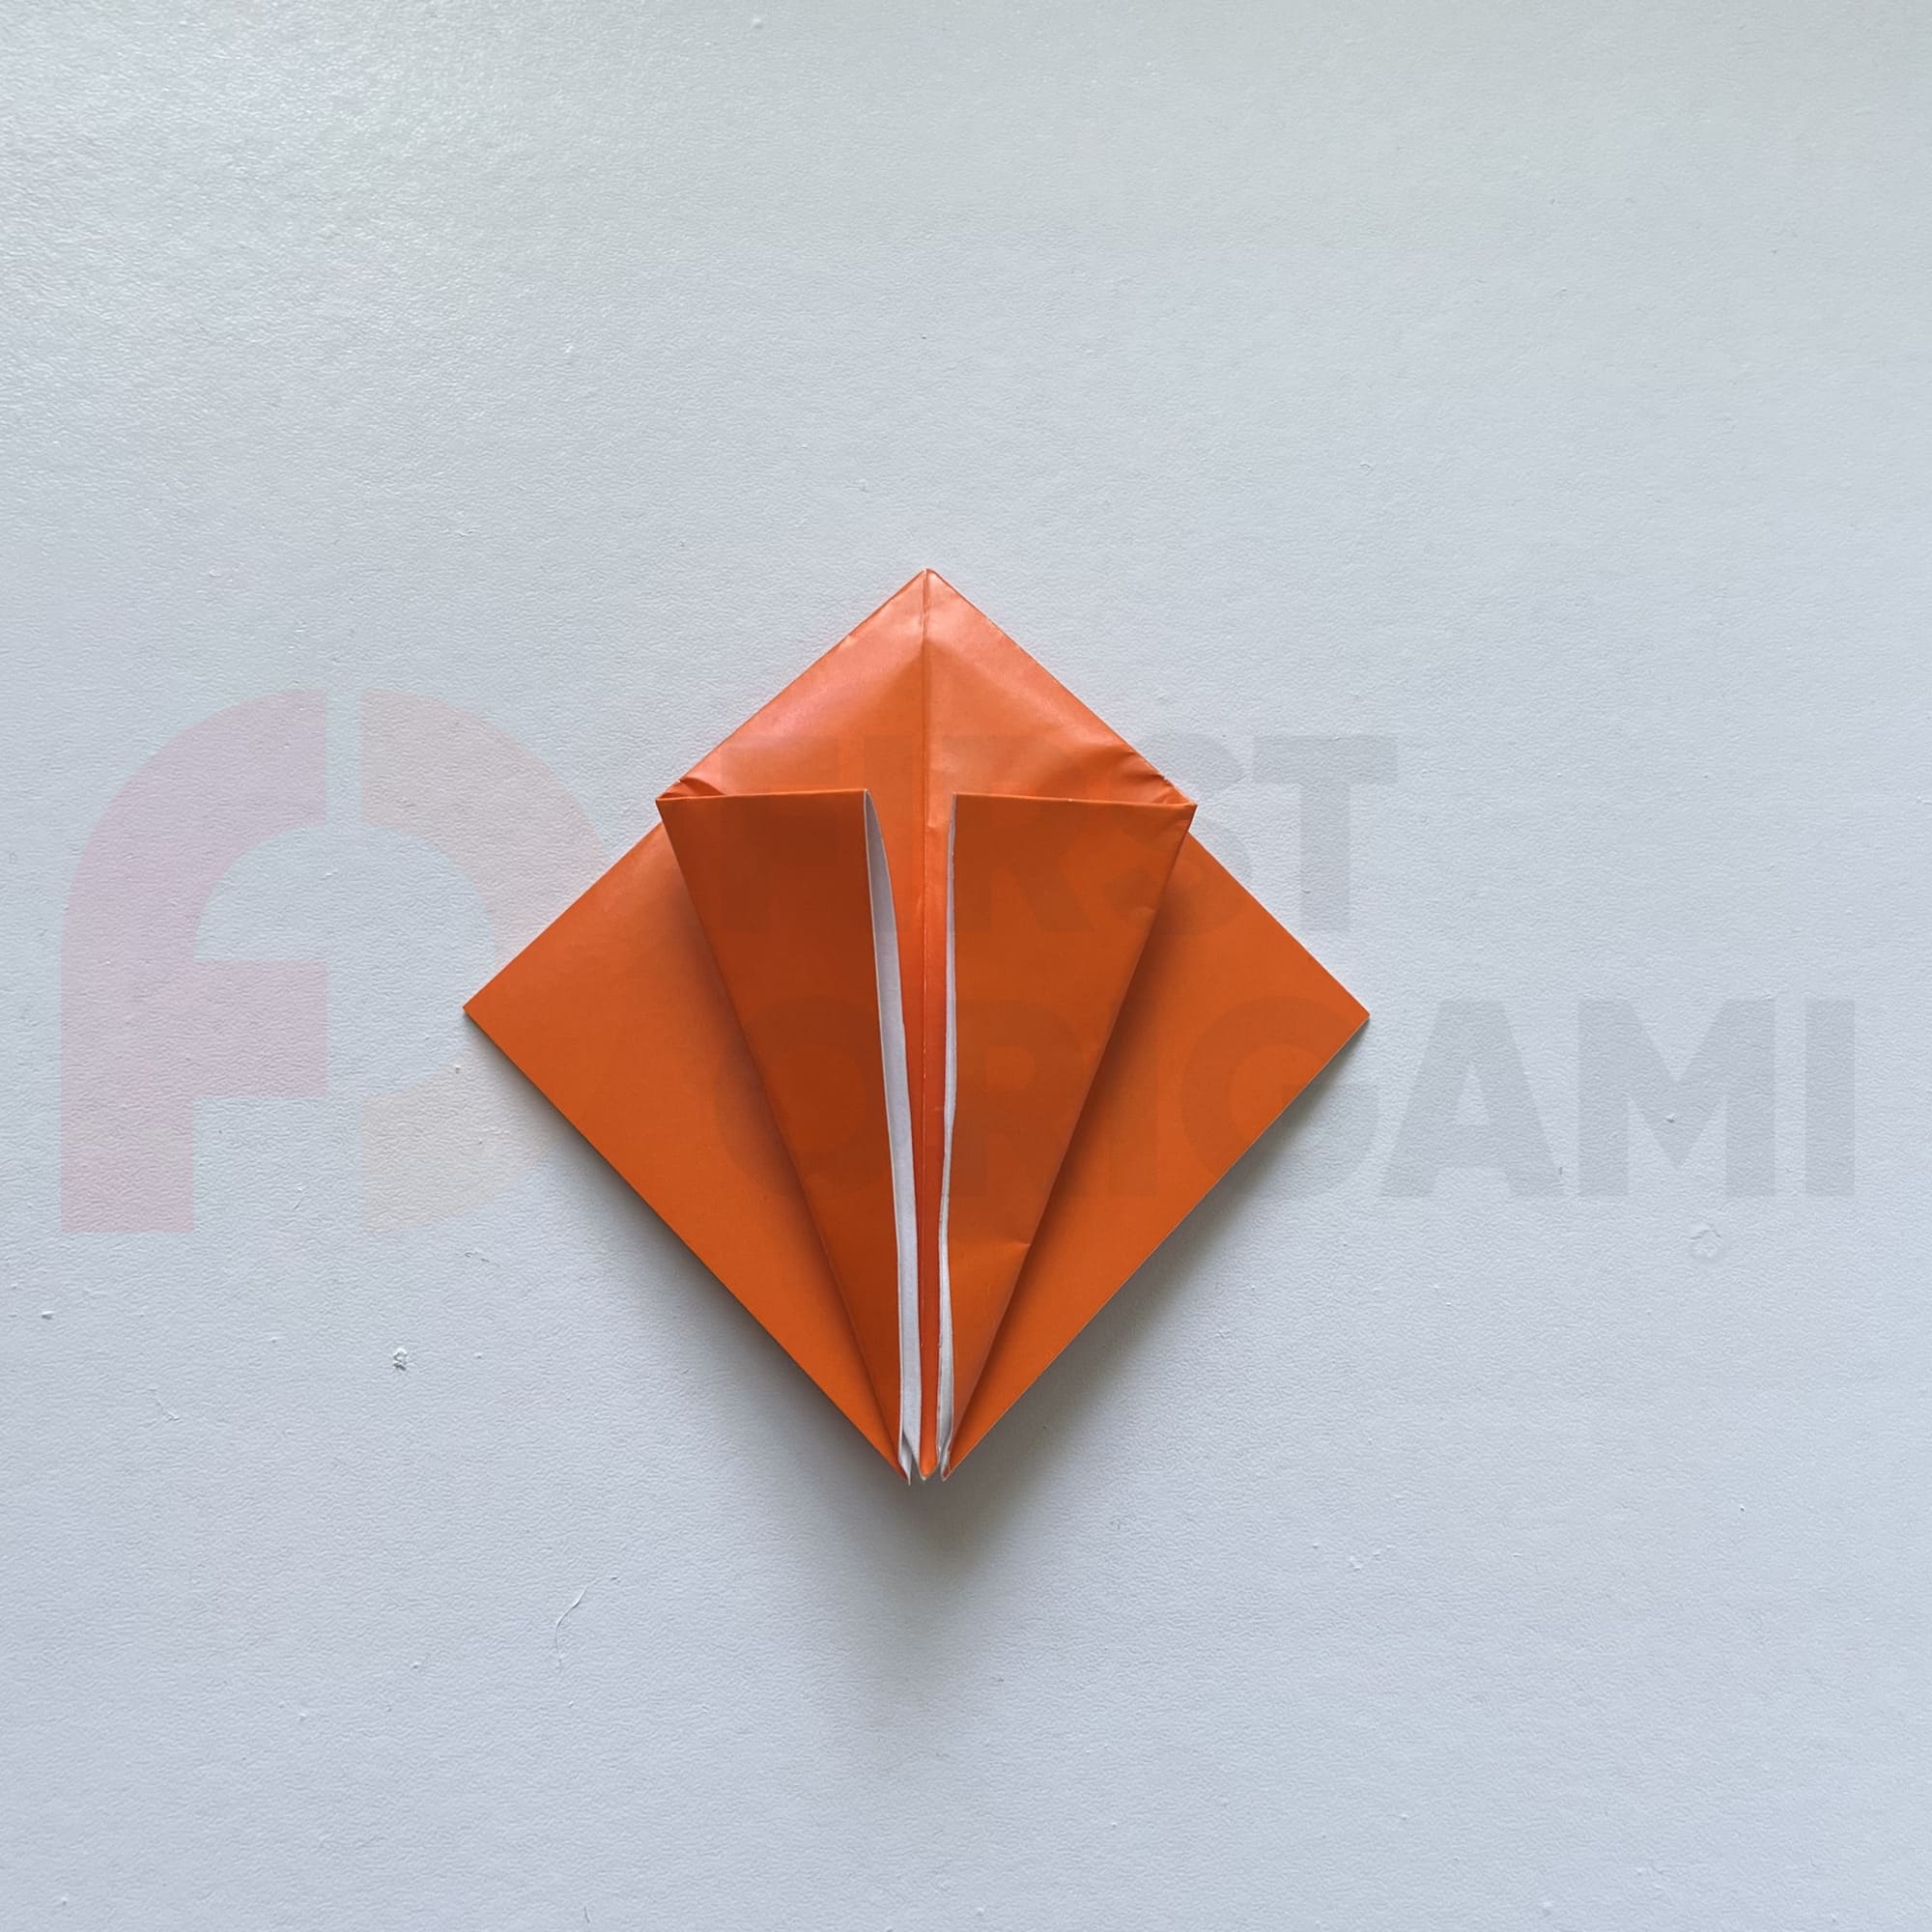
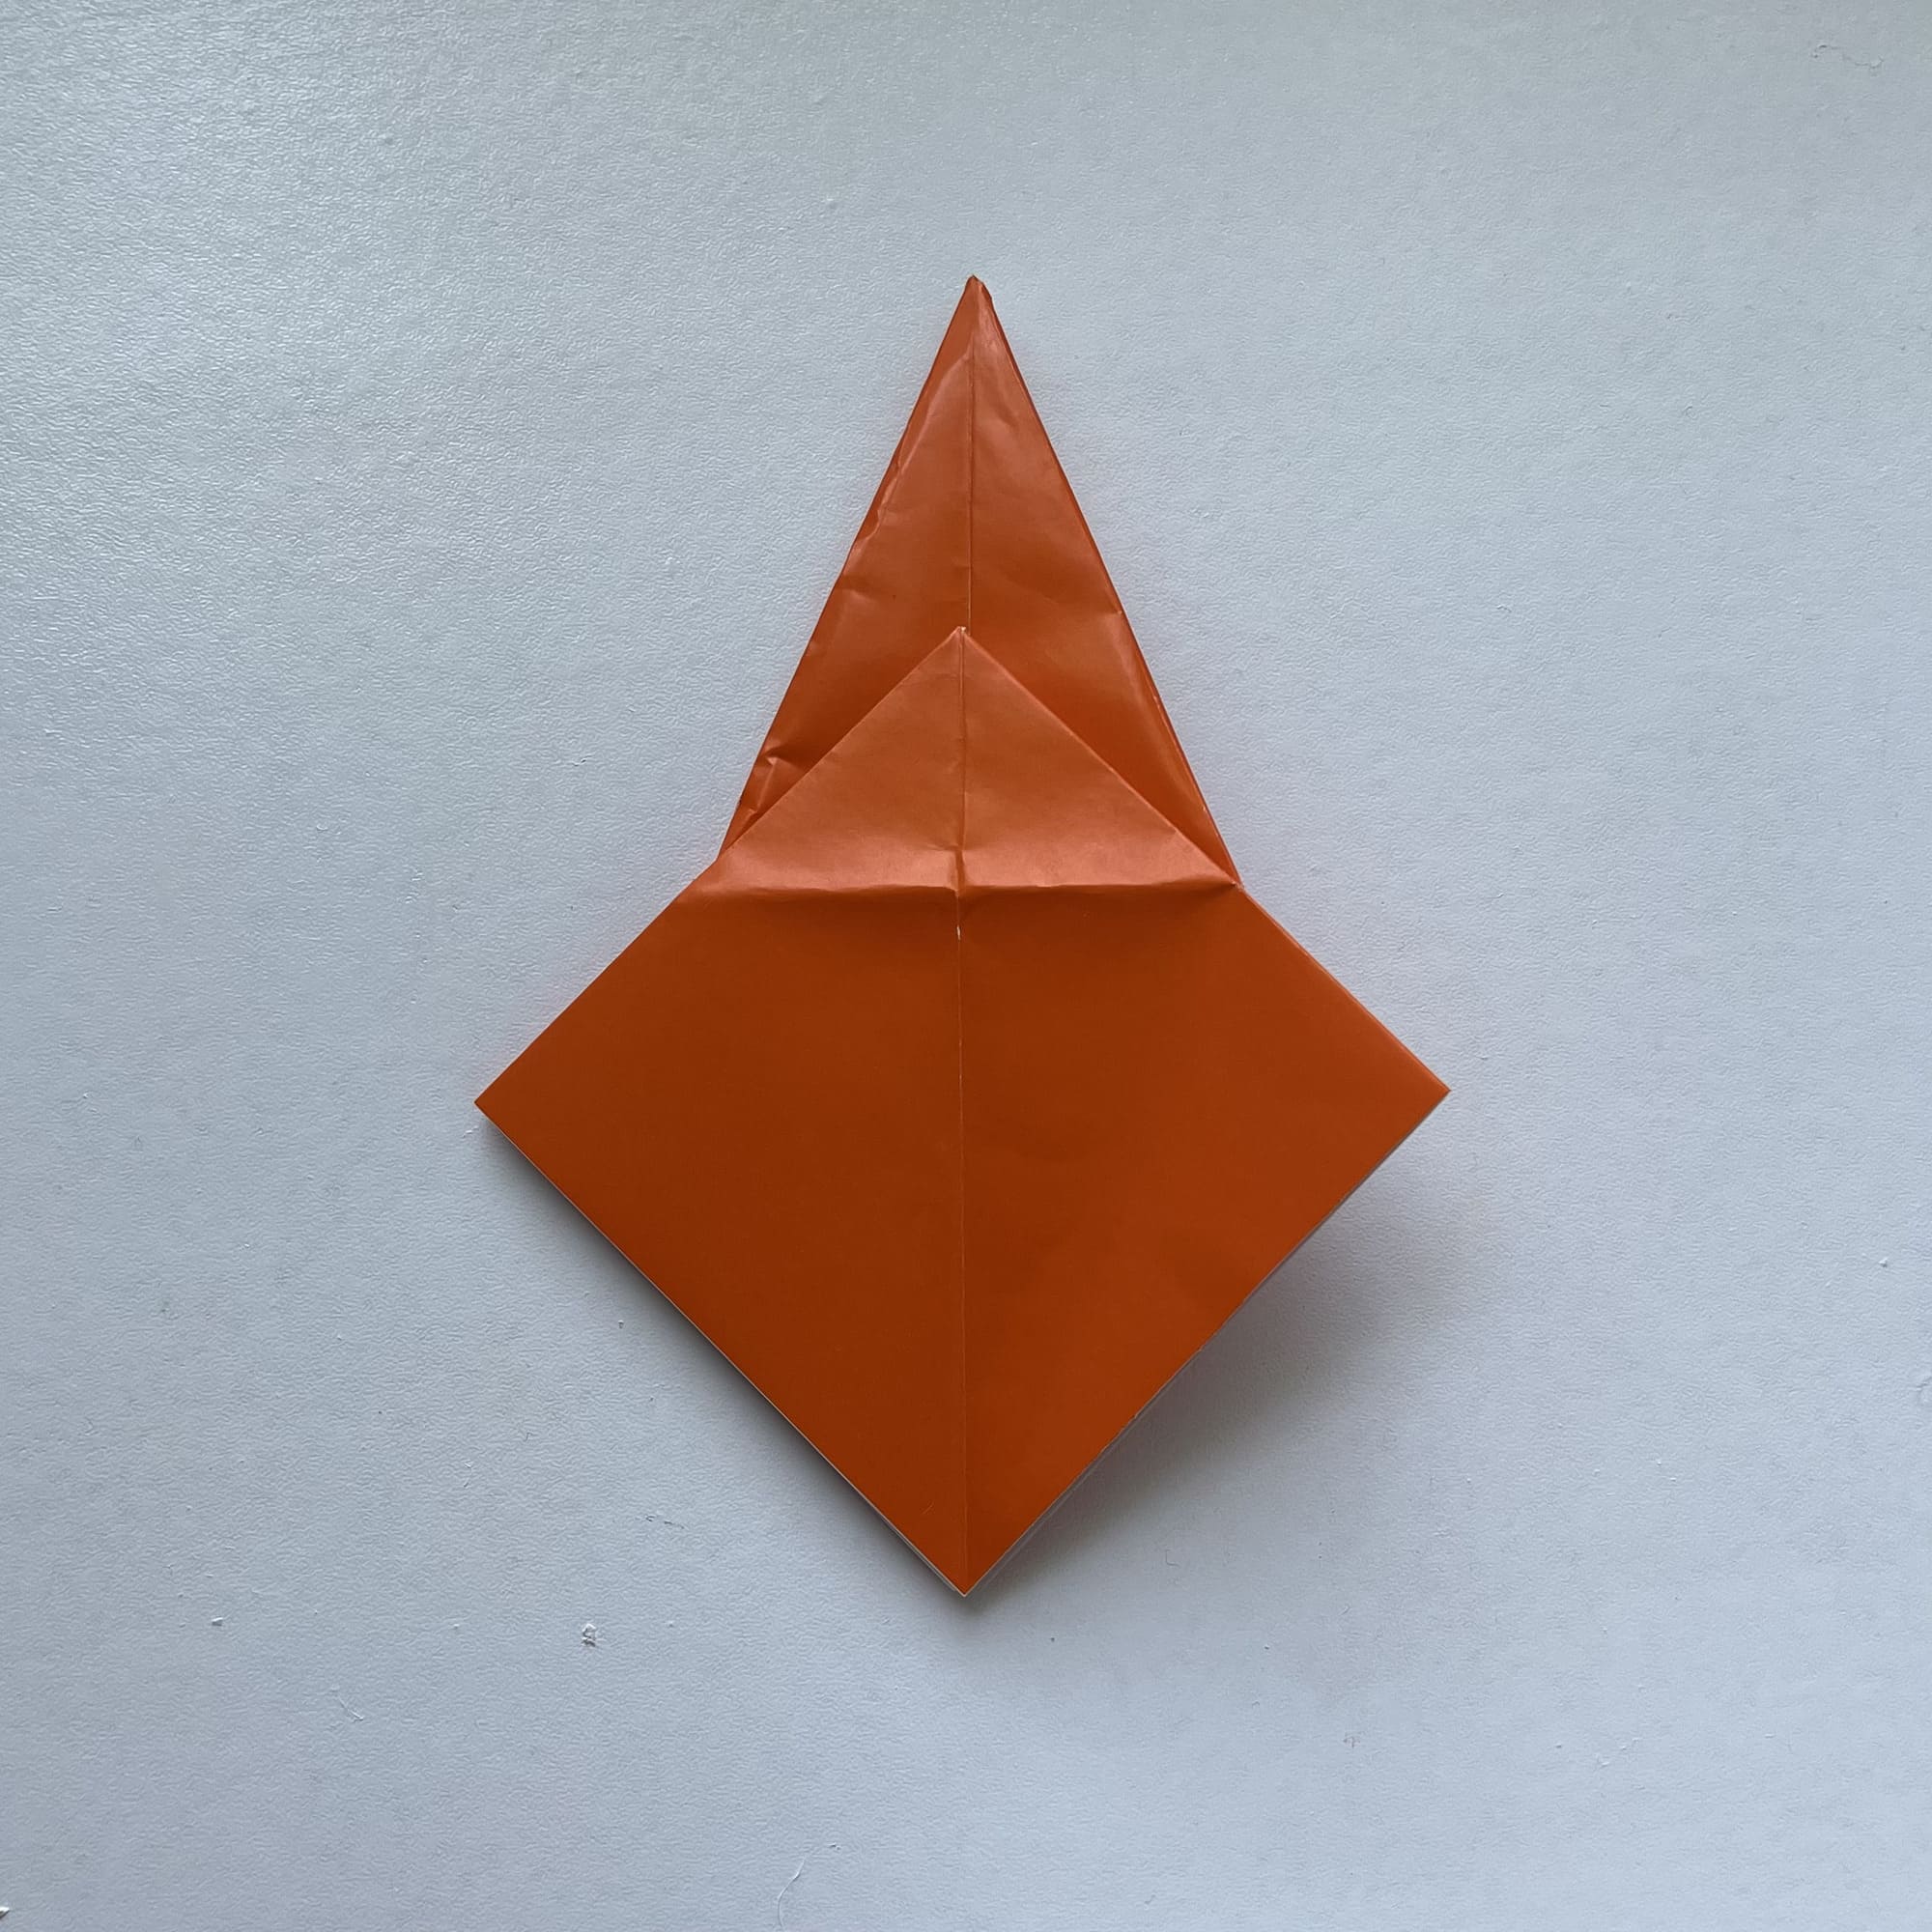
Fold the corners inward so that they meet in the top third of the square.
Fold the top corner inward. Fold carefully so that there are still visible lines.
Unfold the last three folds. Make sure their lines are well-defined.
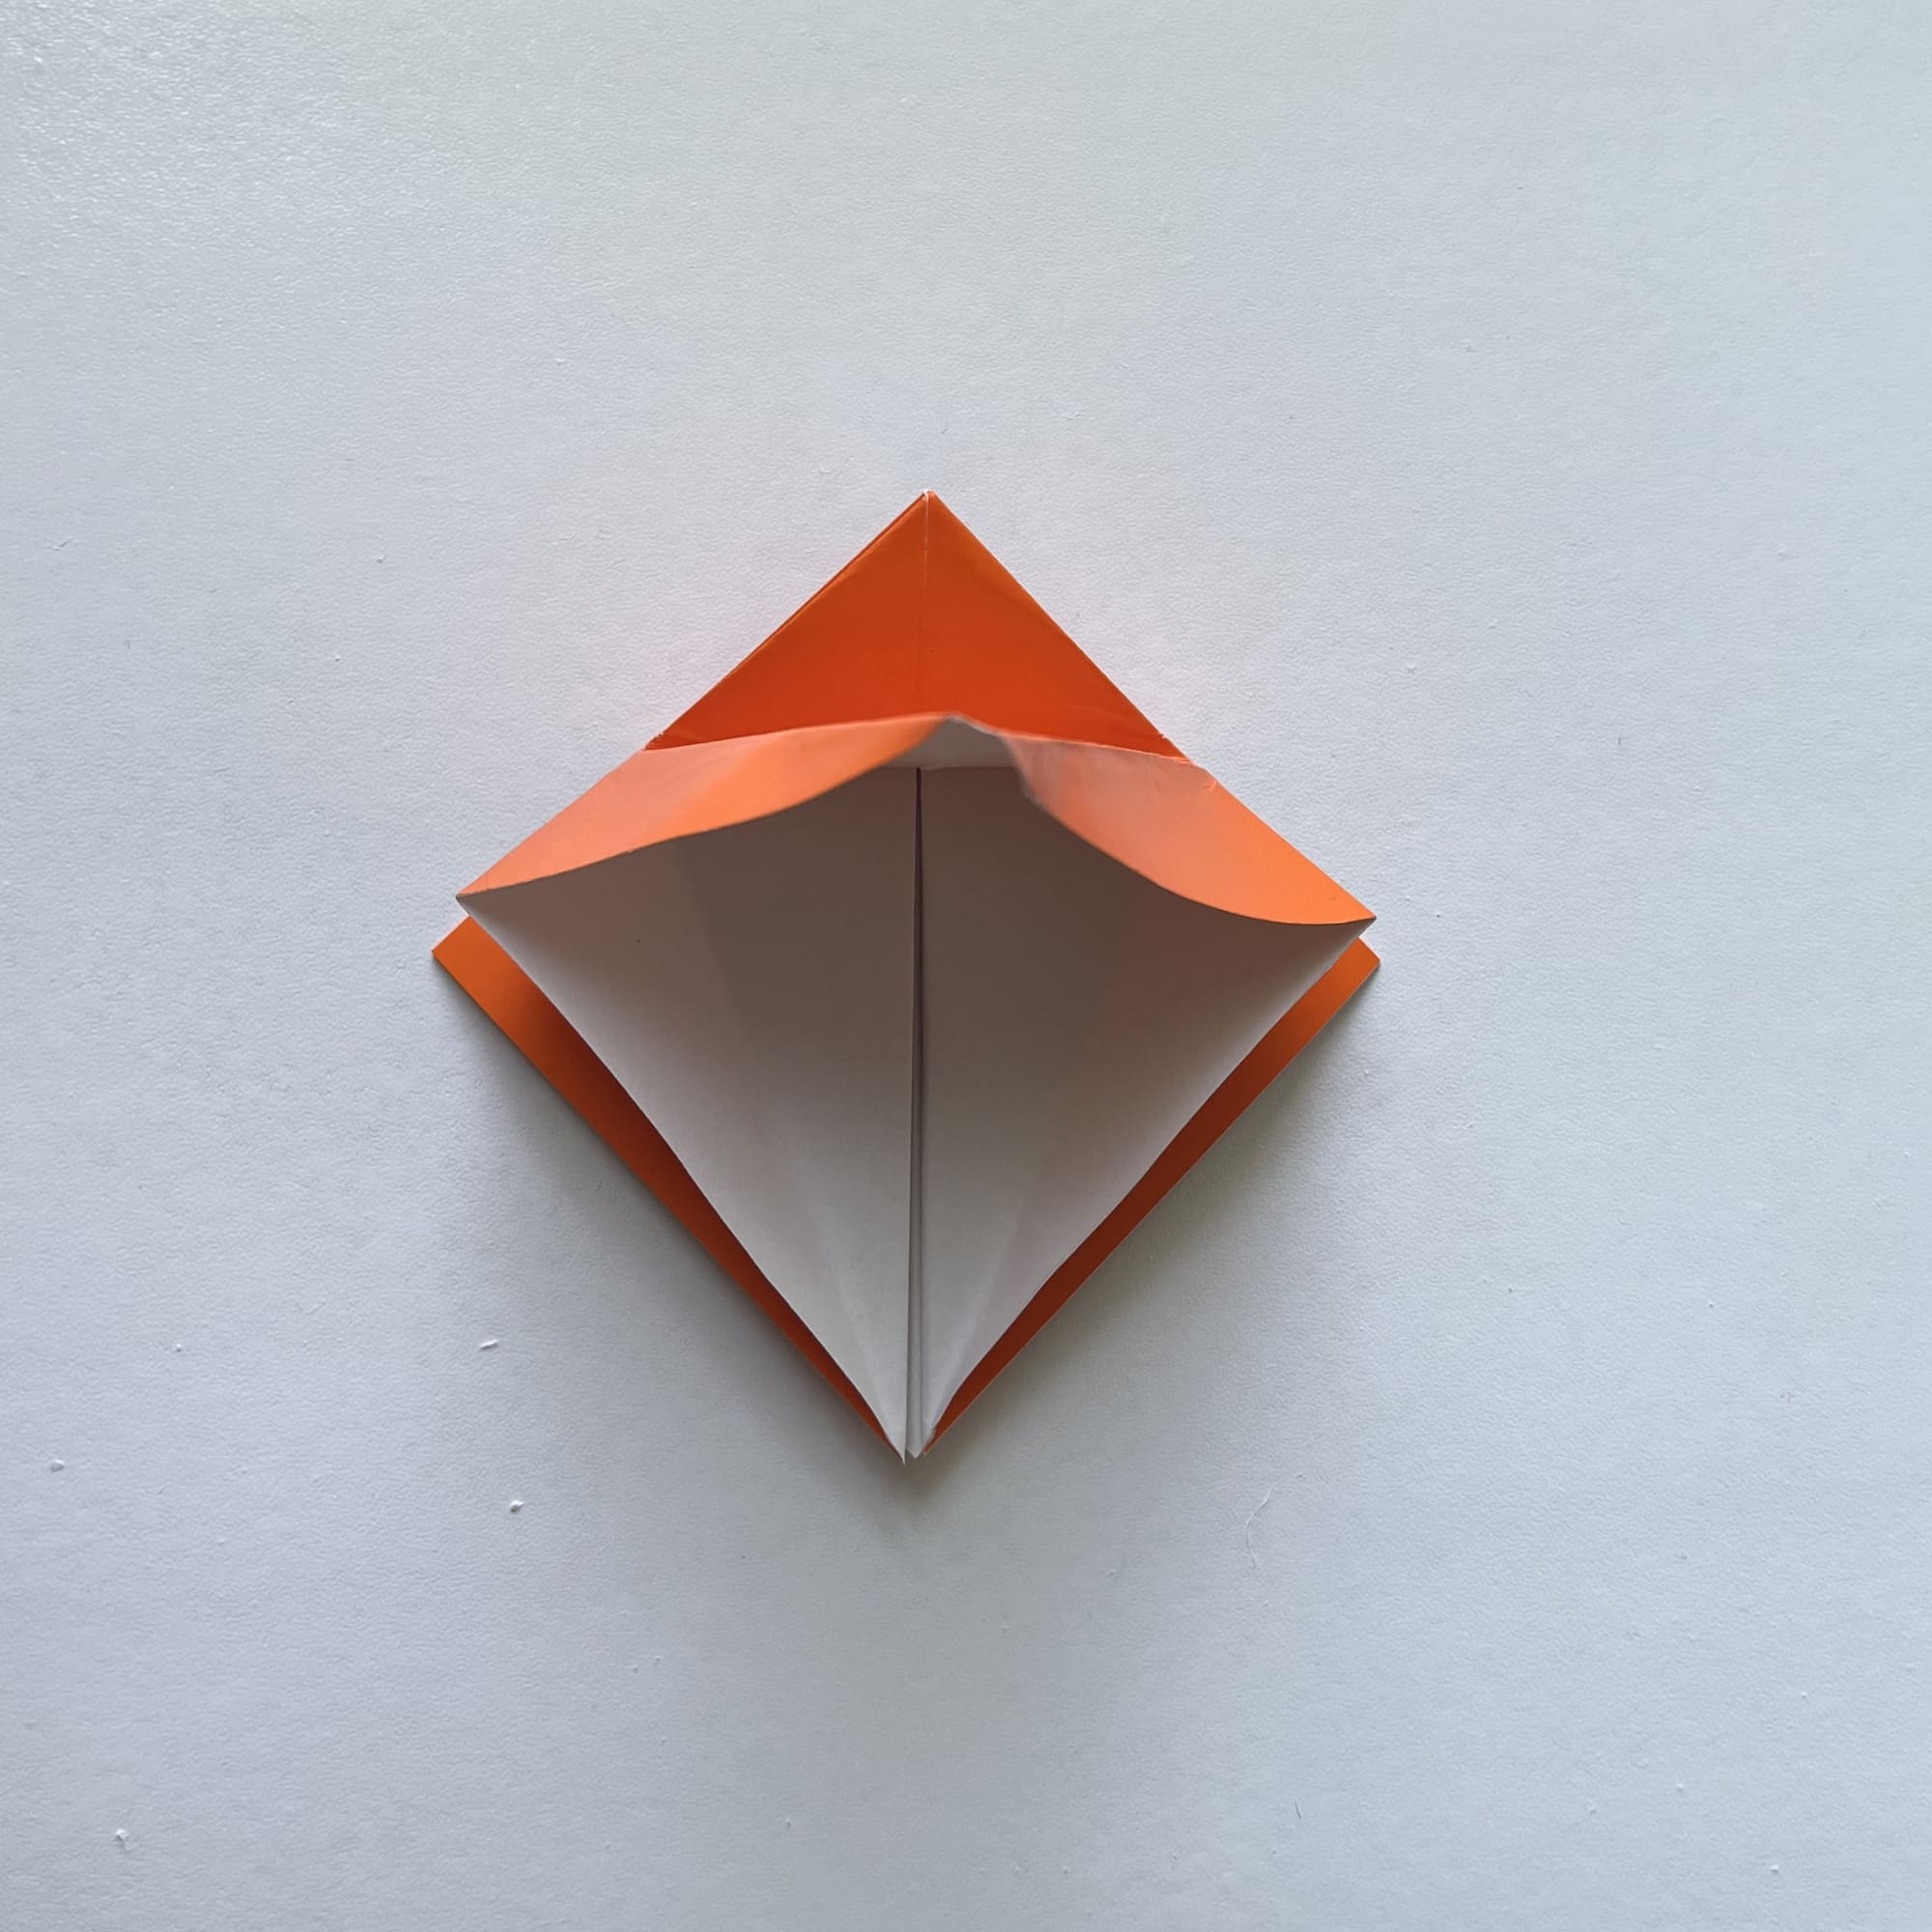
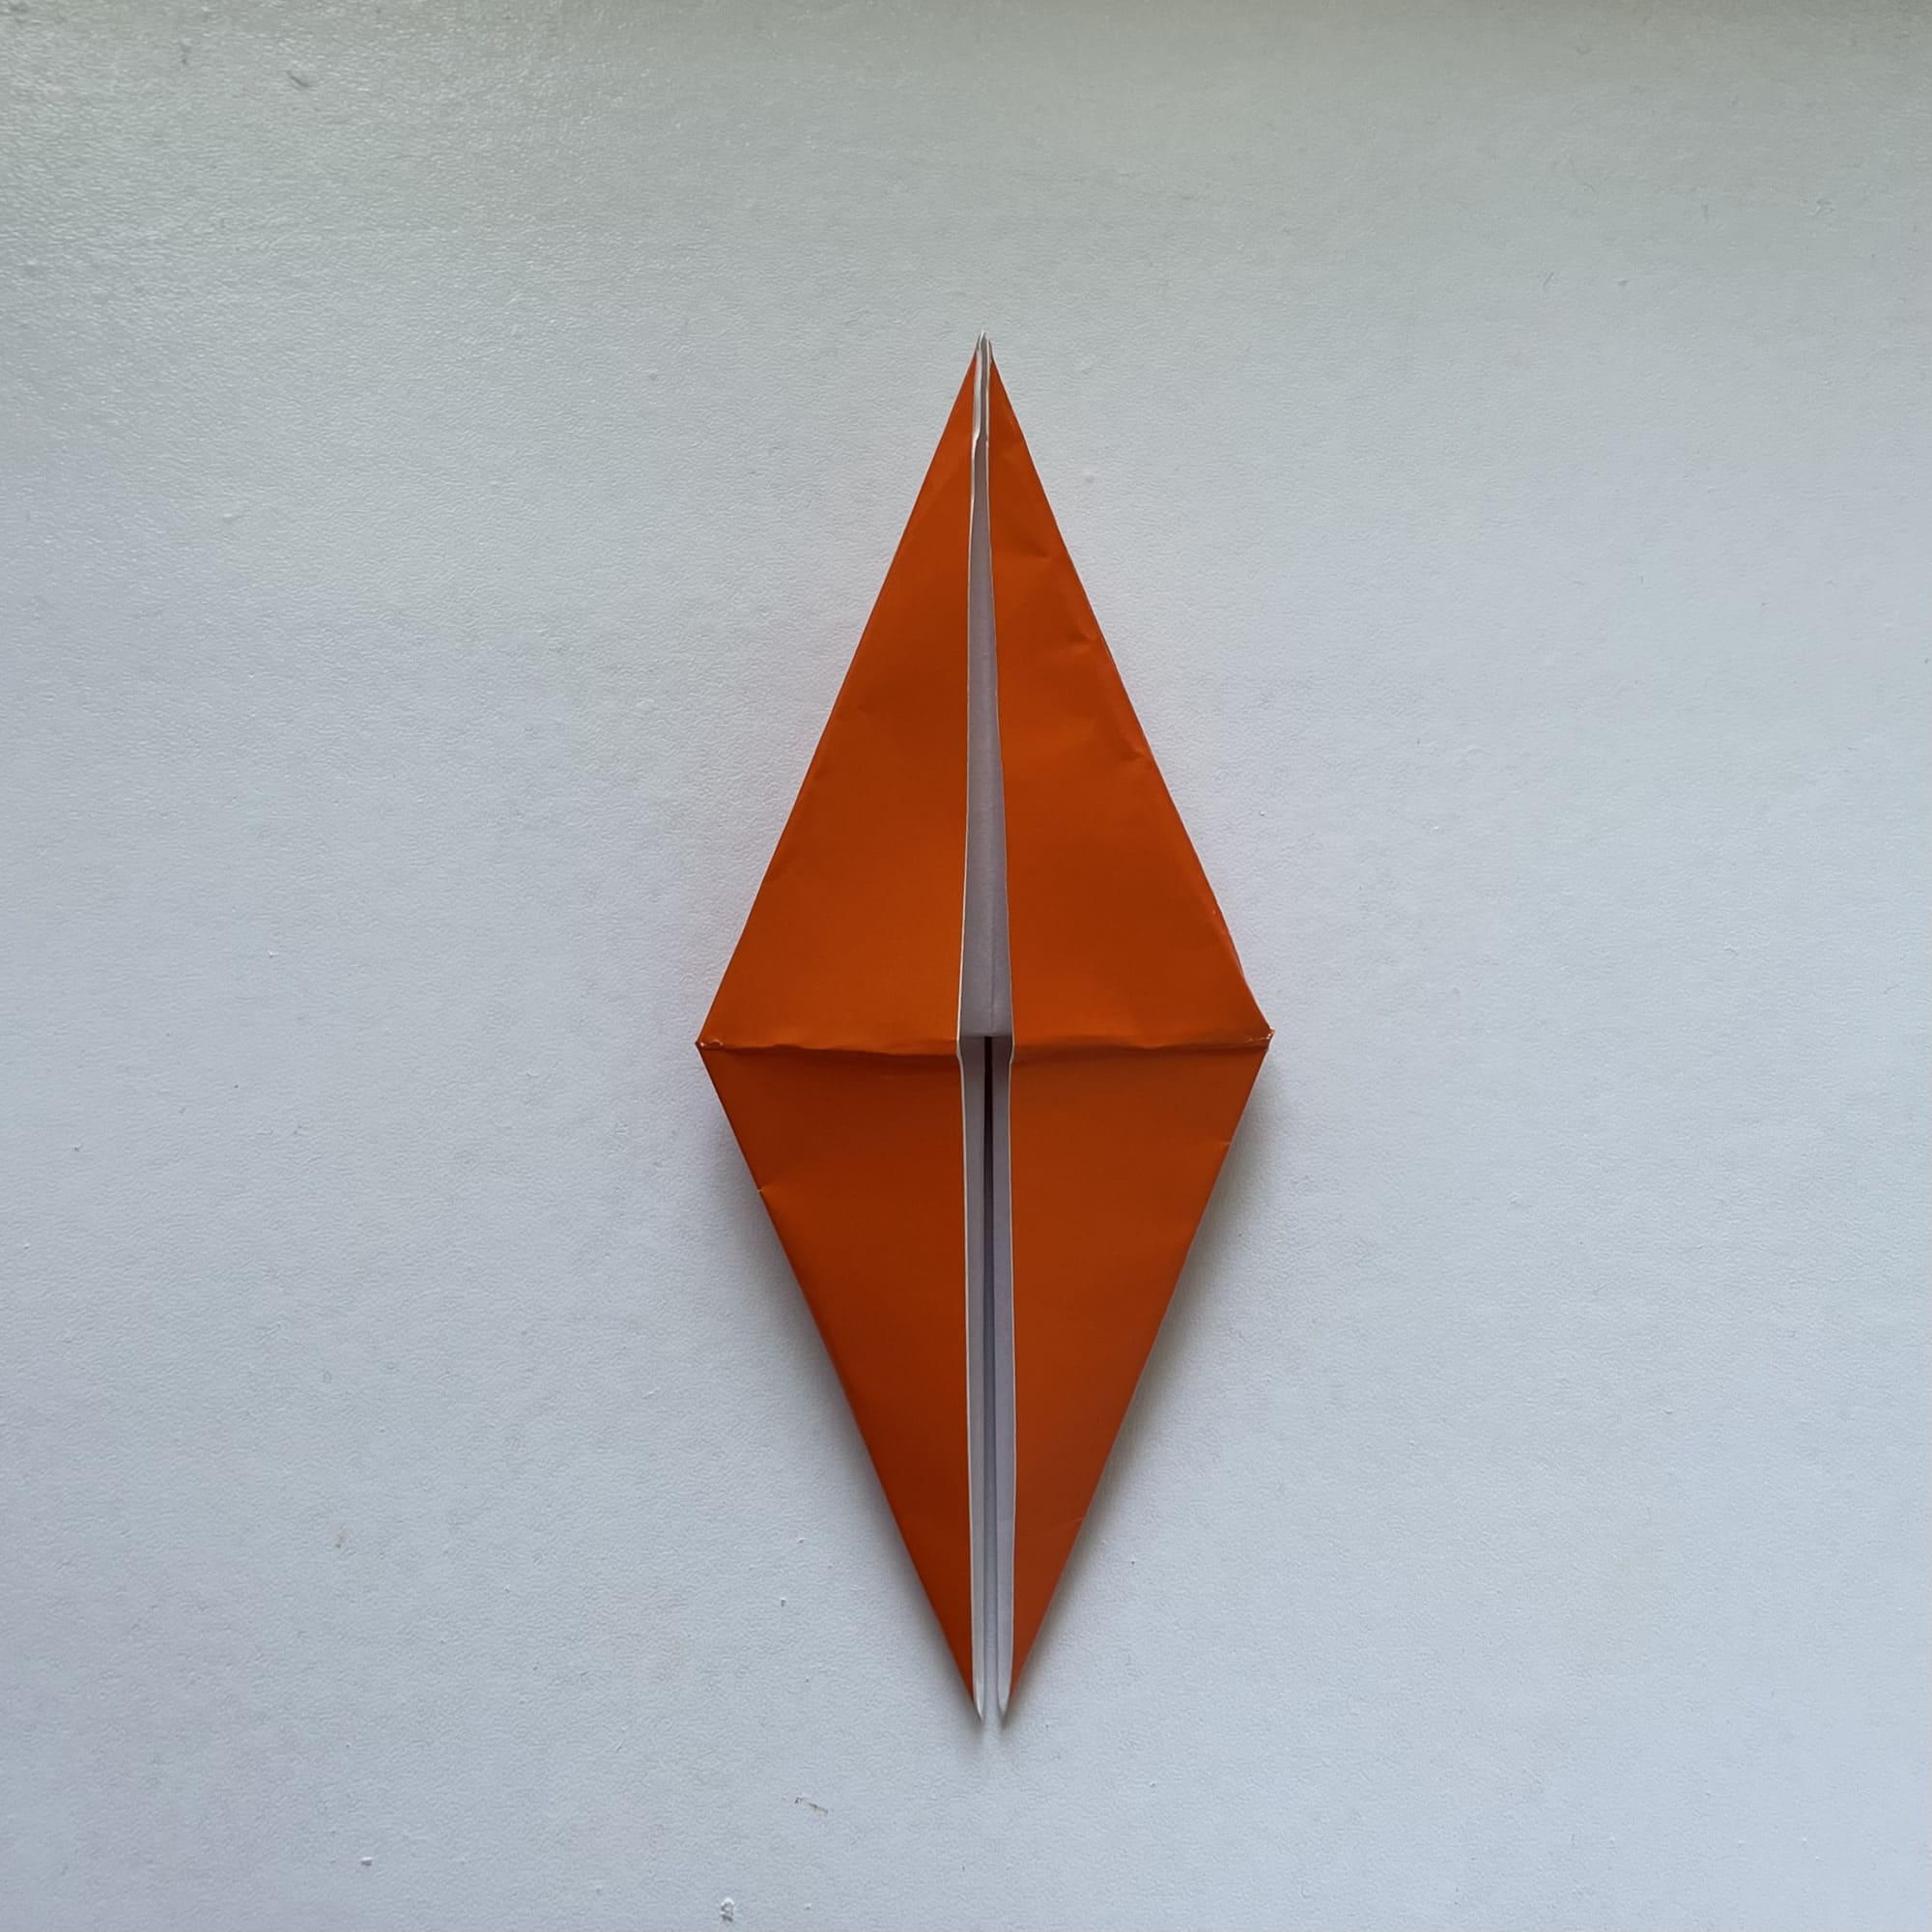
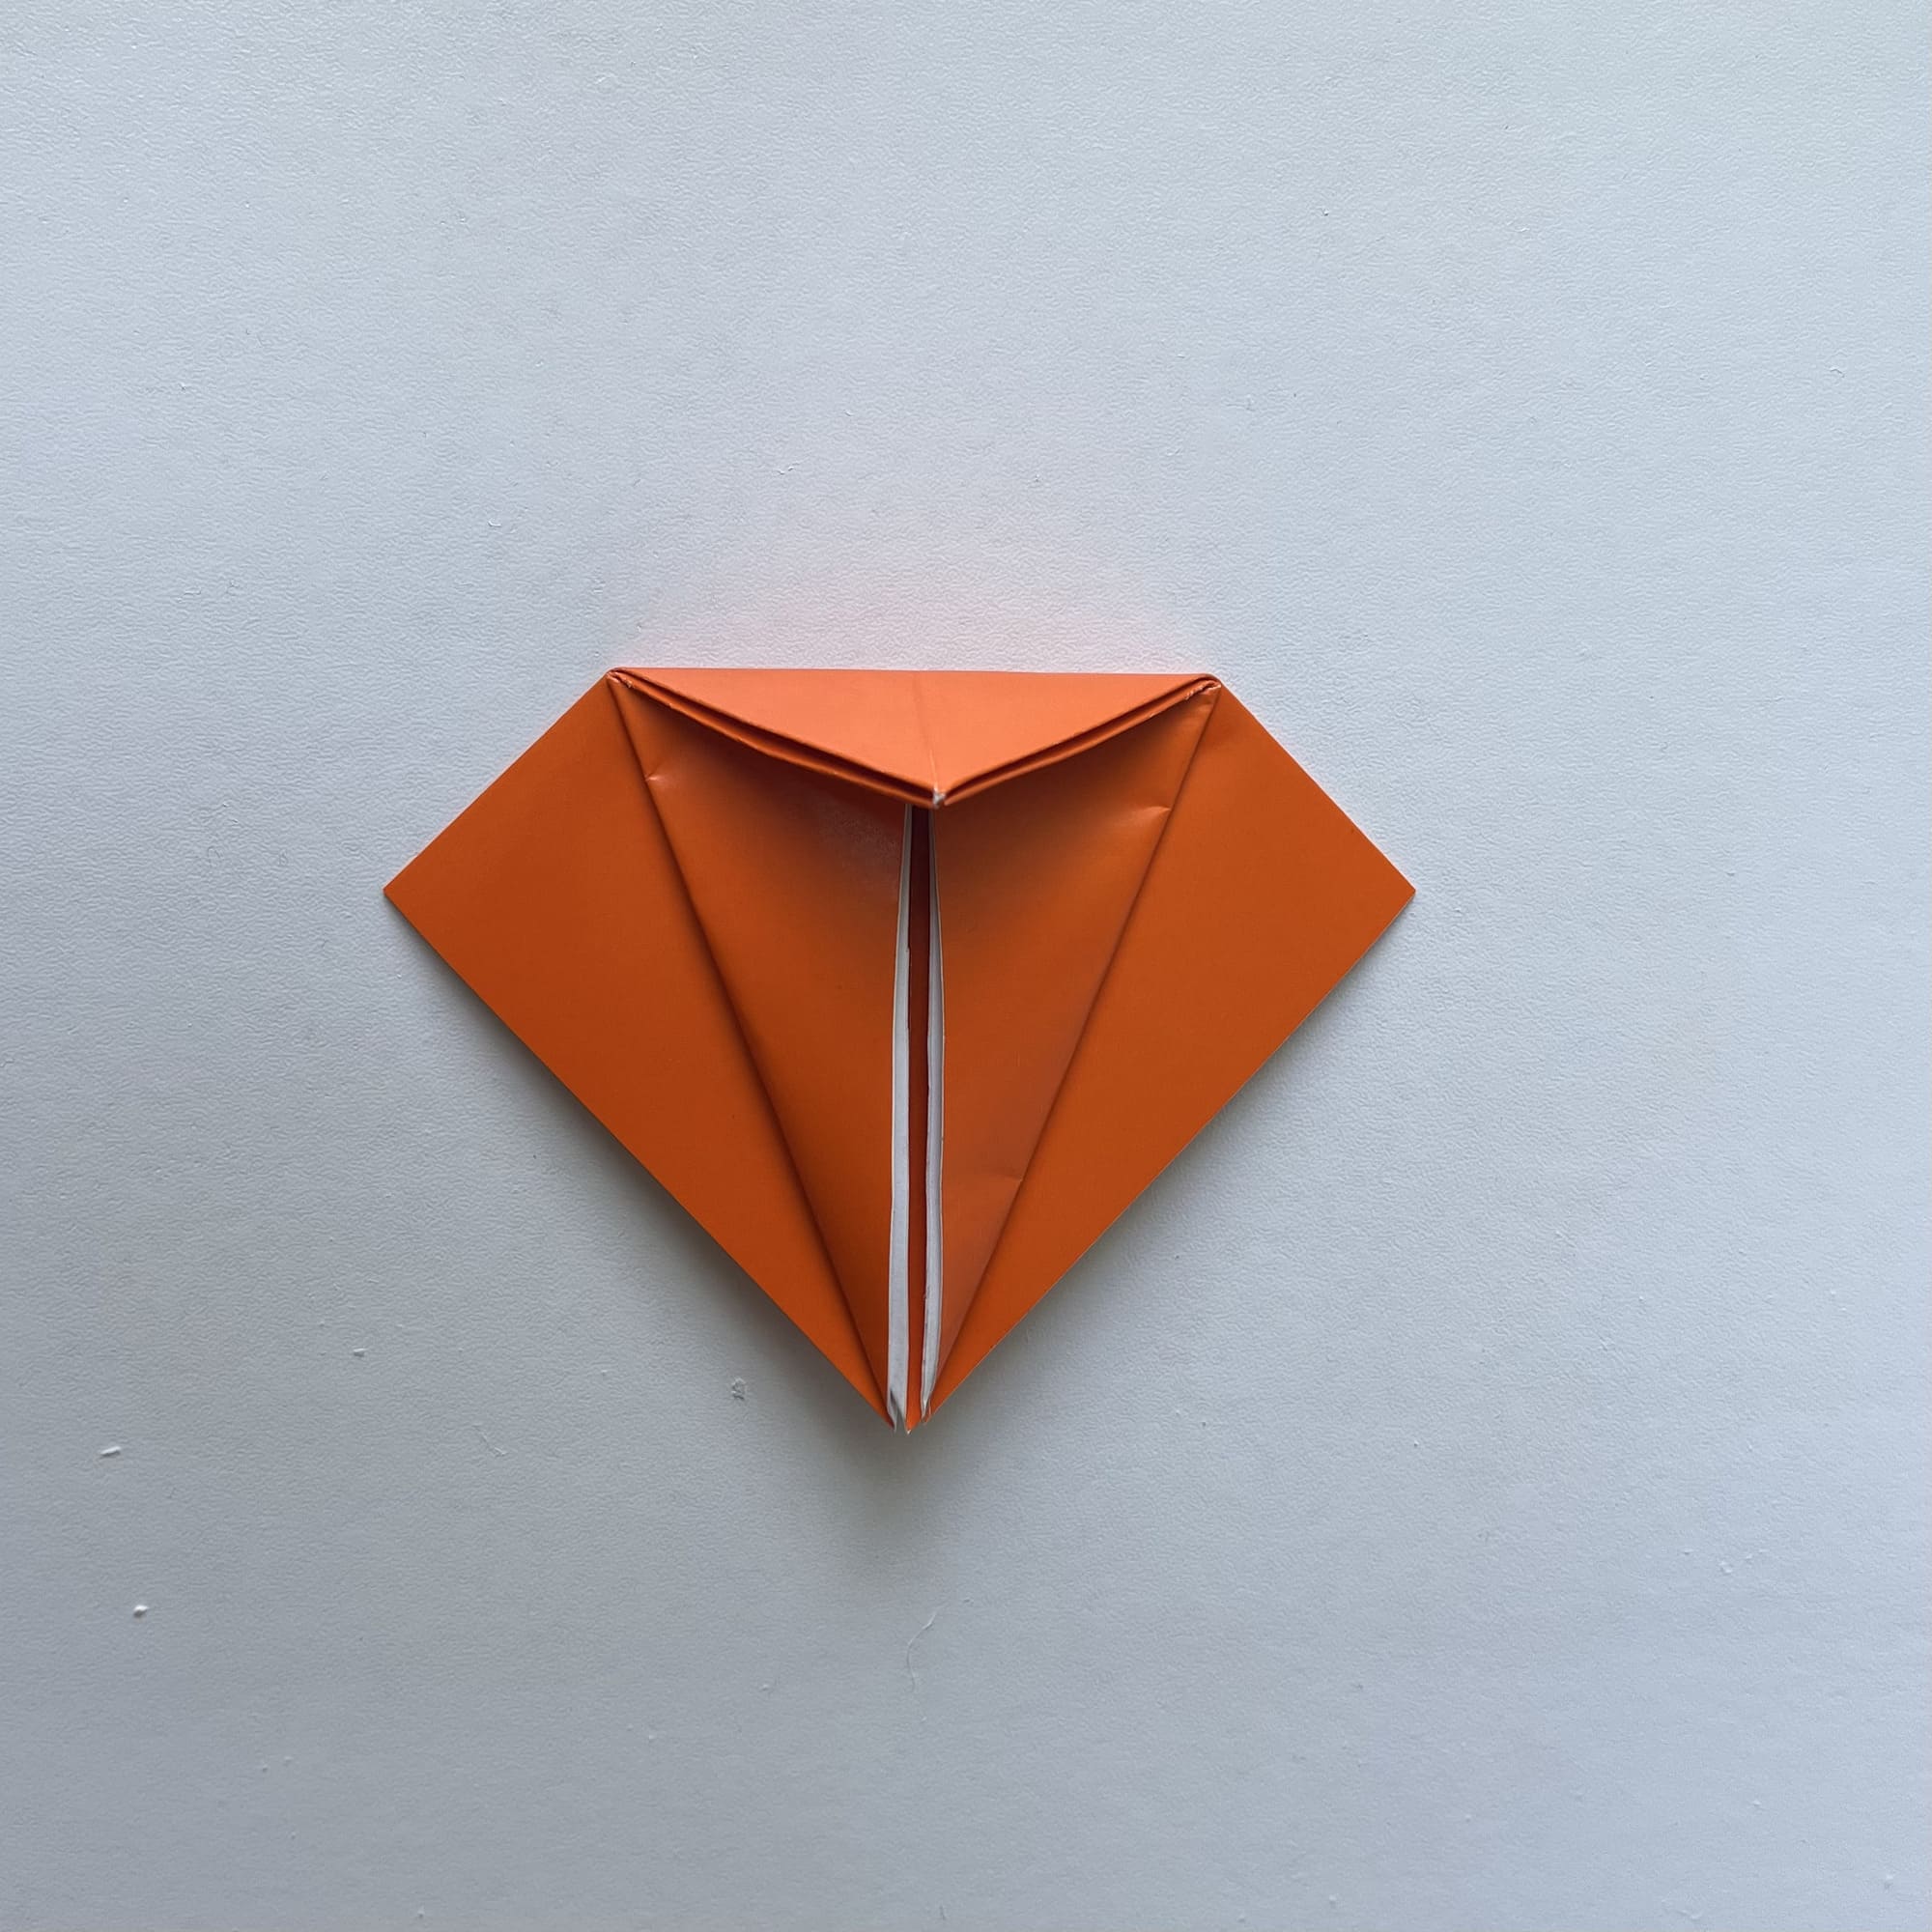
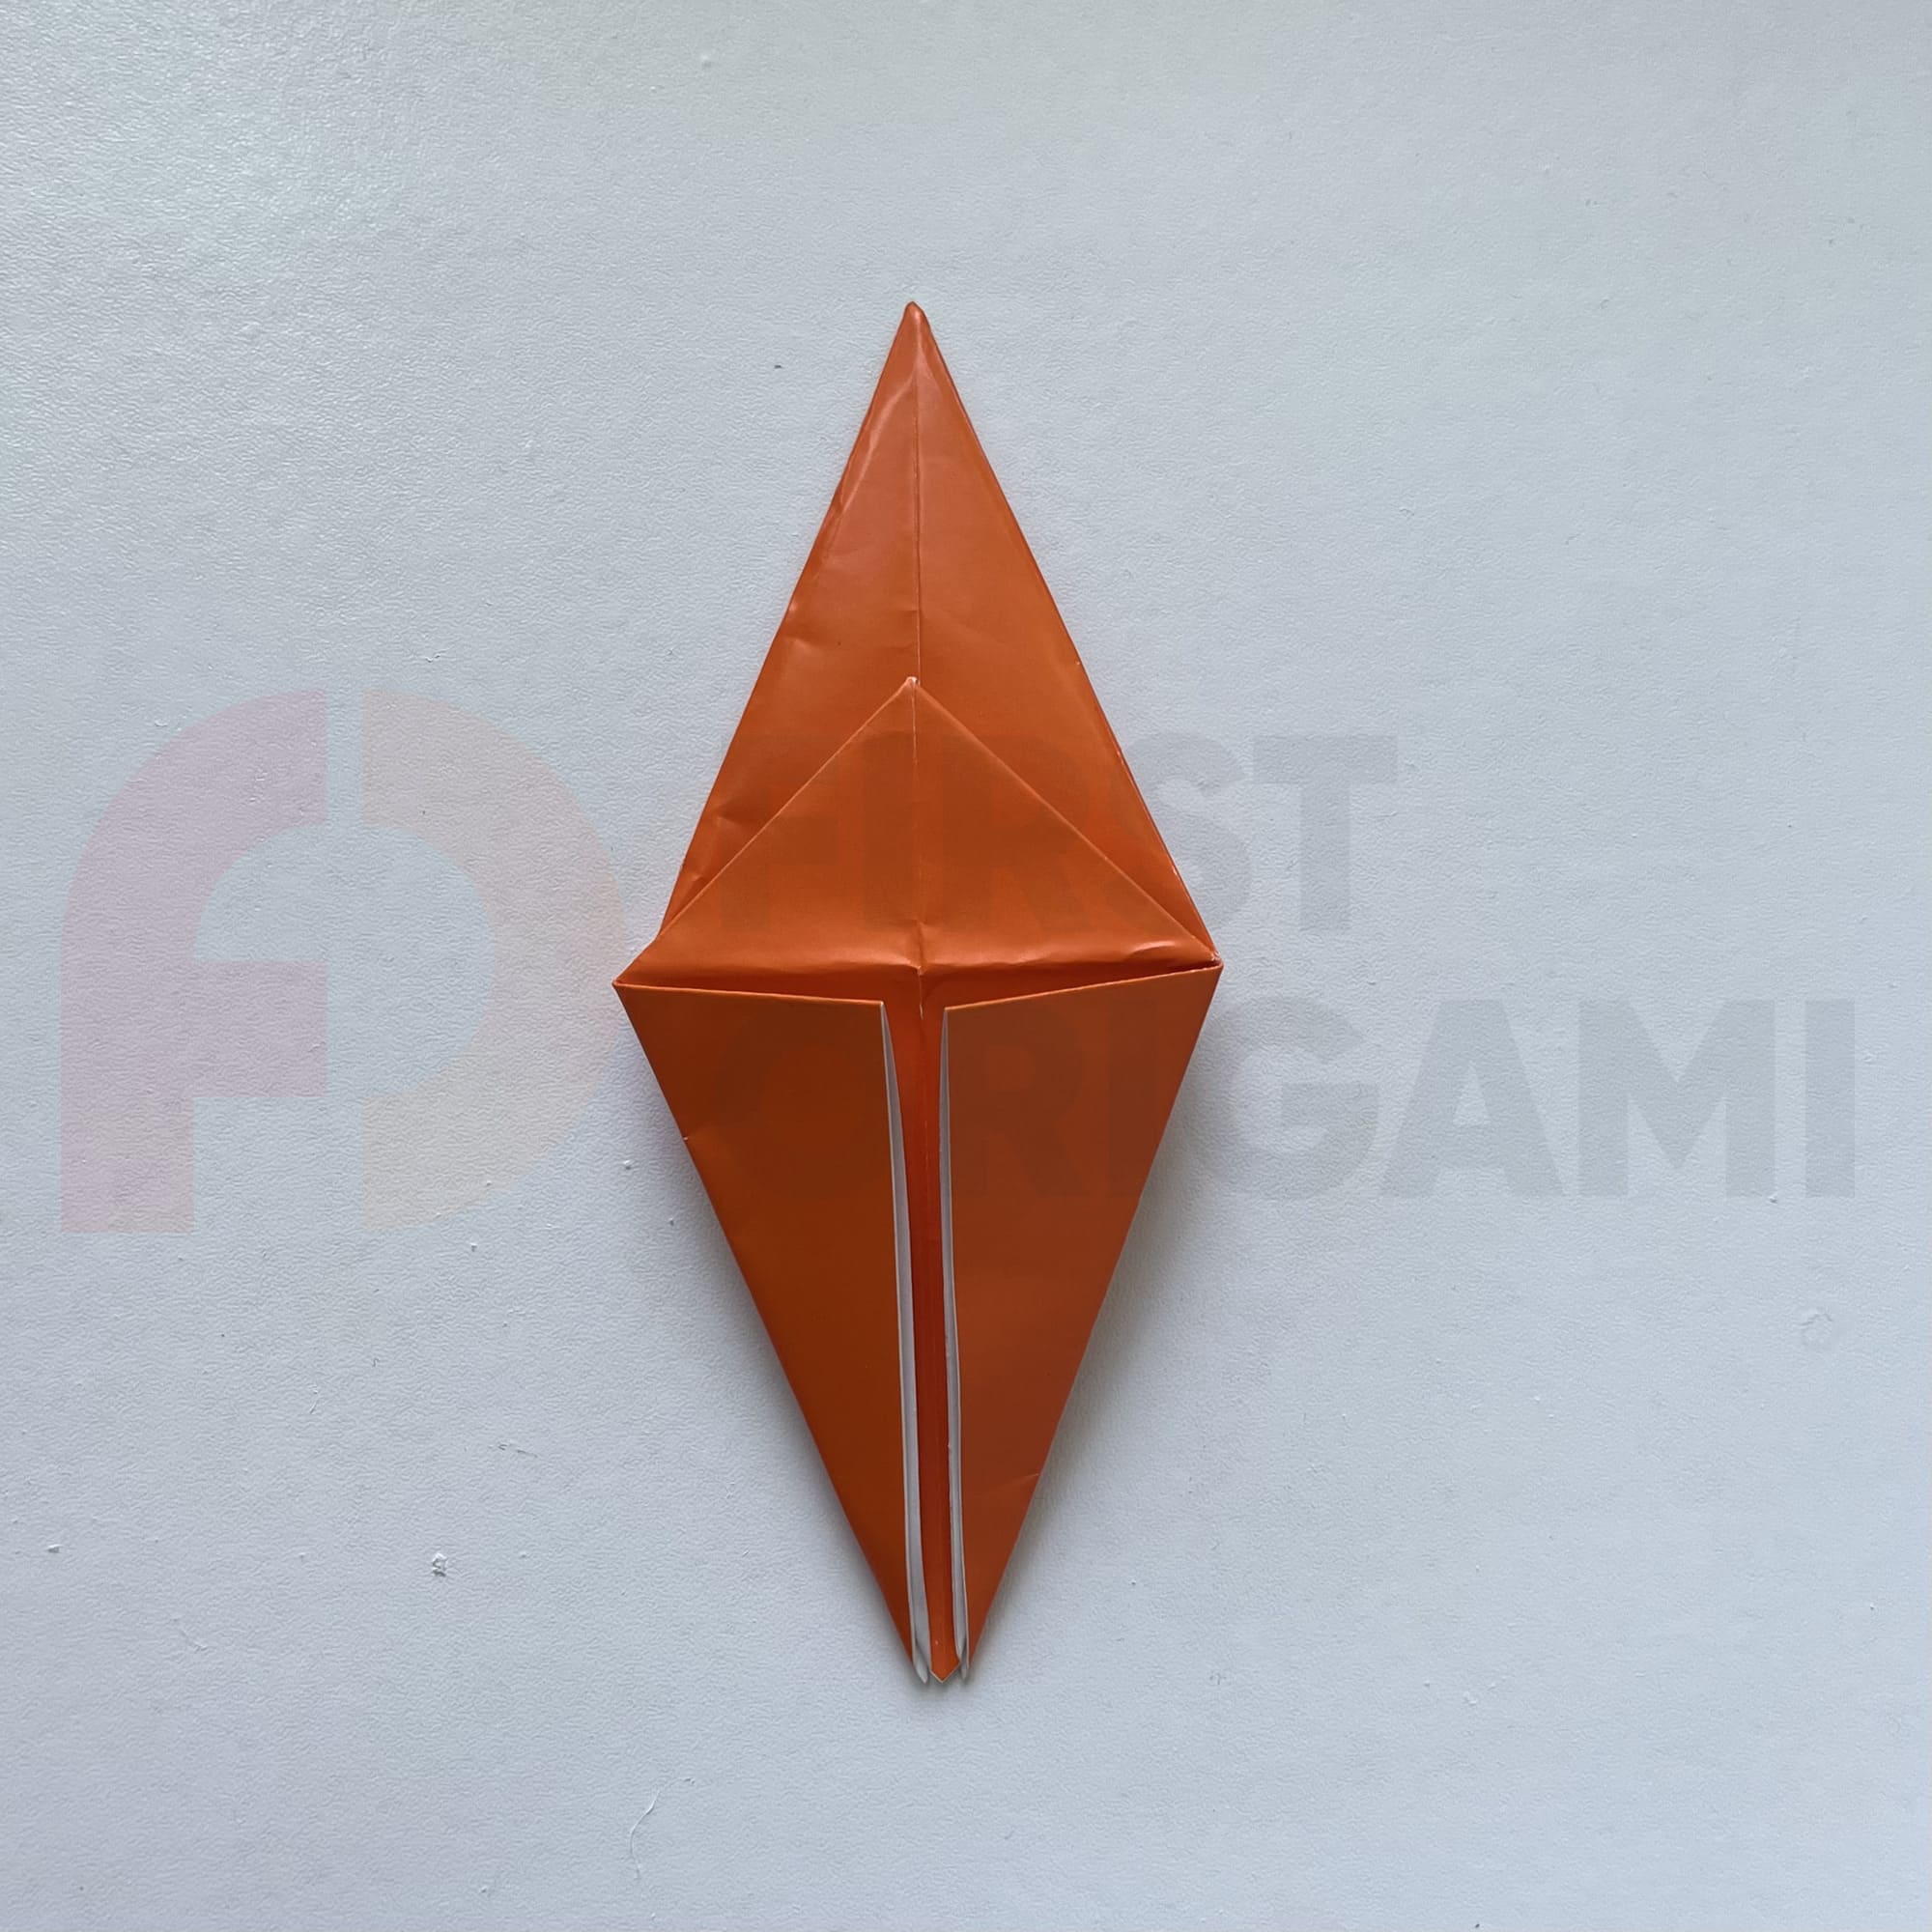
Grasp the bottom corner and lift it, thus opening the shape. Fold the sides inward and spread the paper out on the table to make a diamond.
Open a pocket more, lifting the top corner of the paper figure, and carefully stretching it vertically.
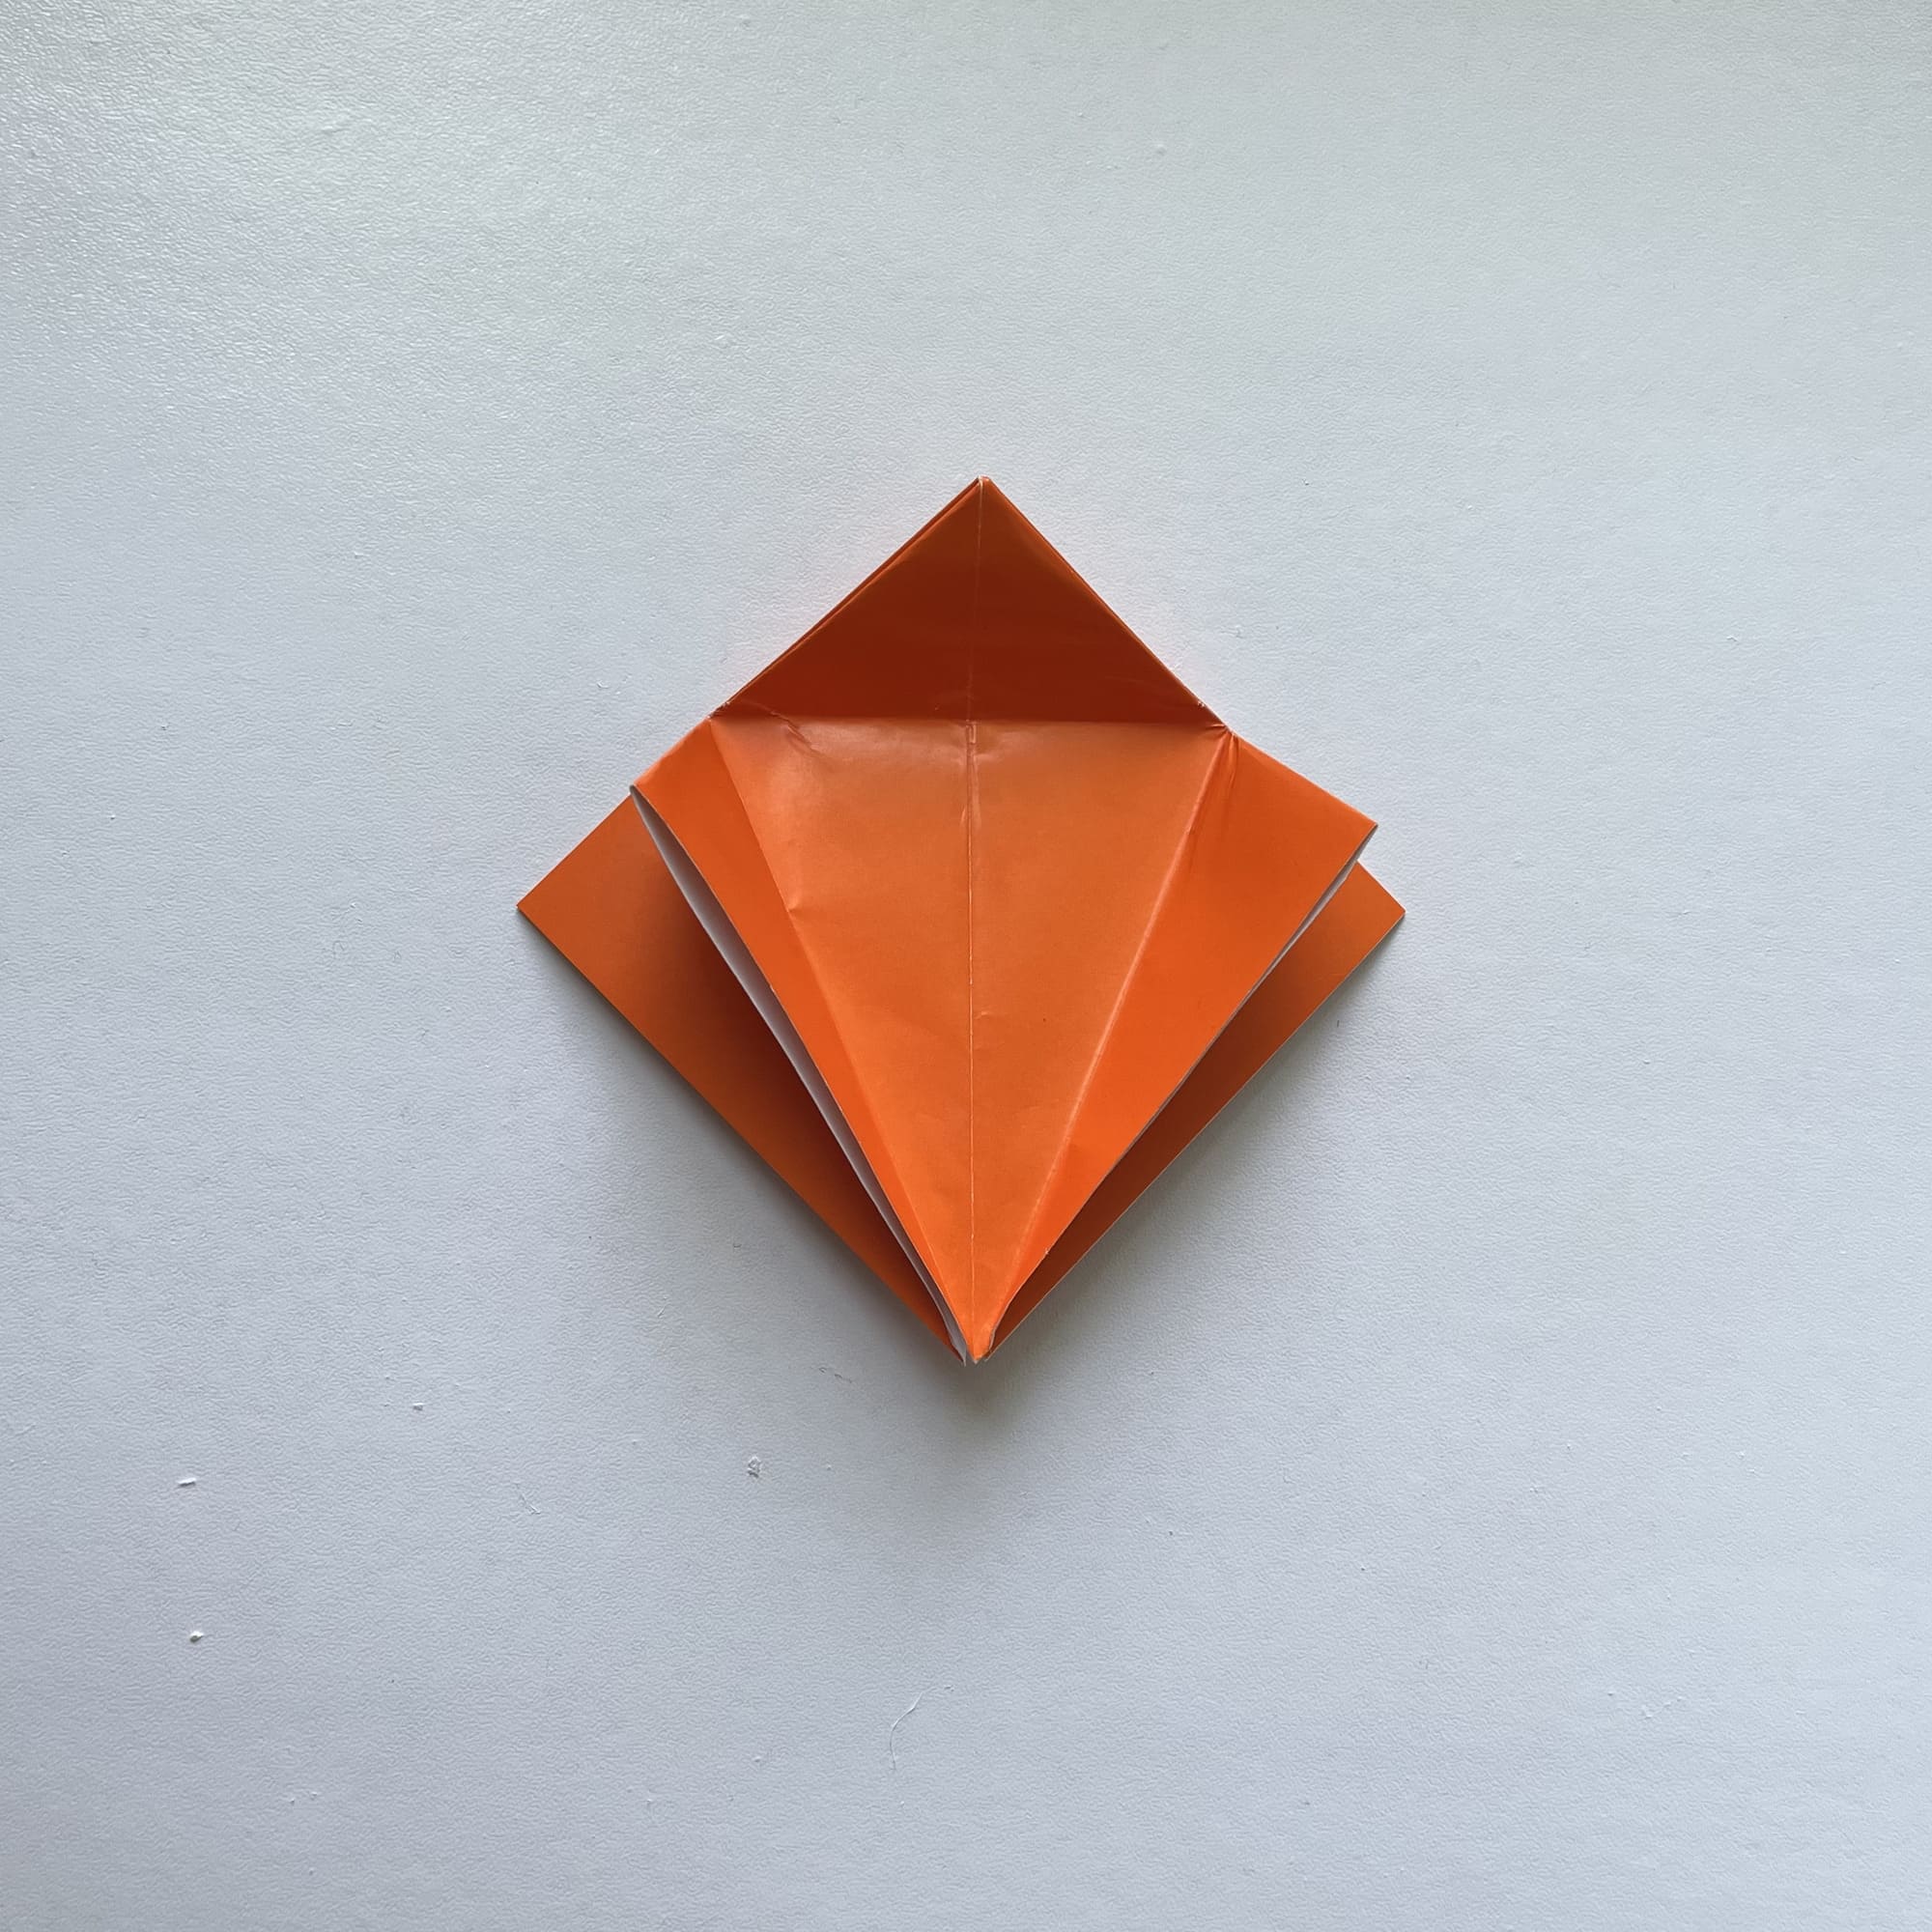
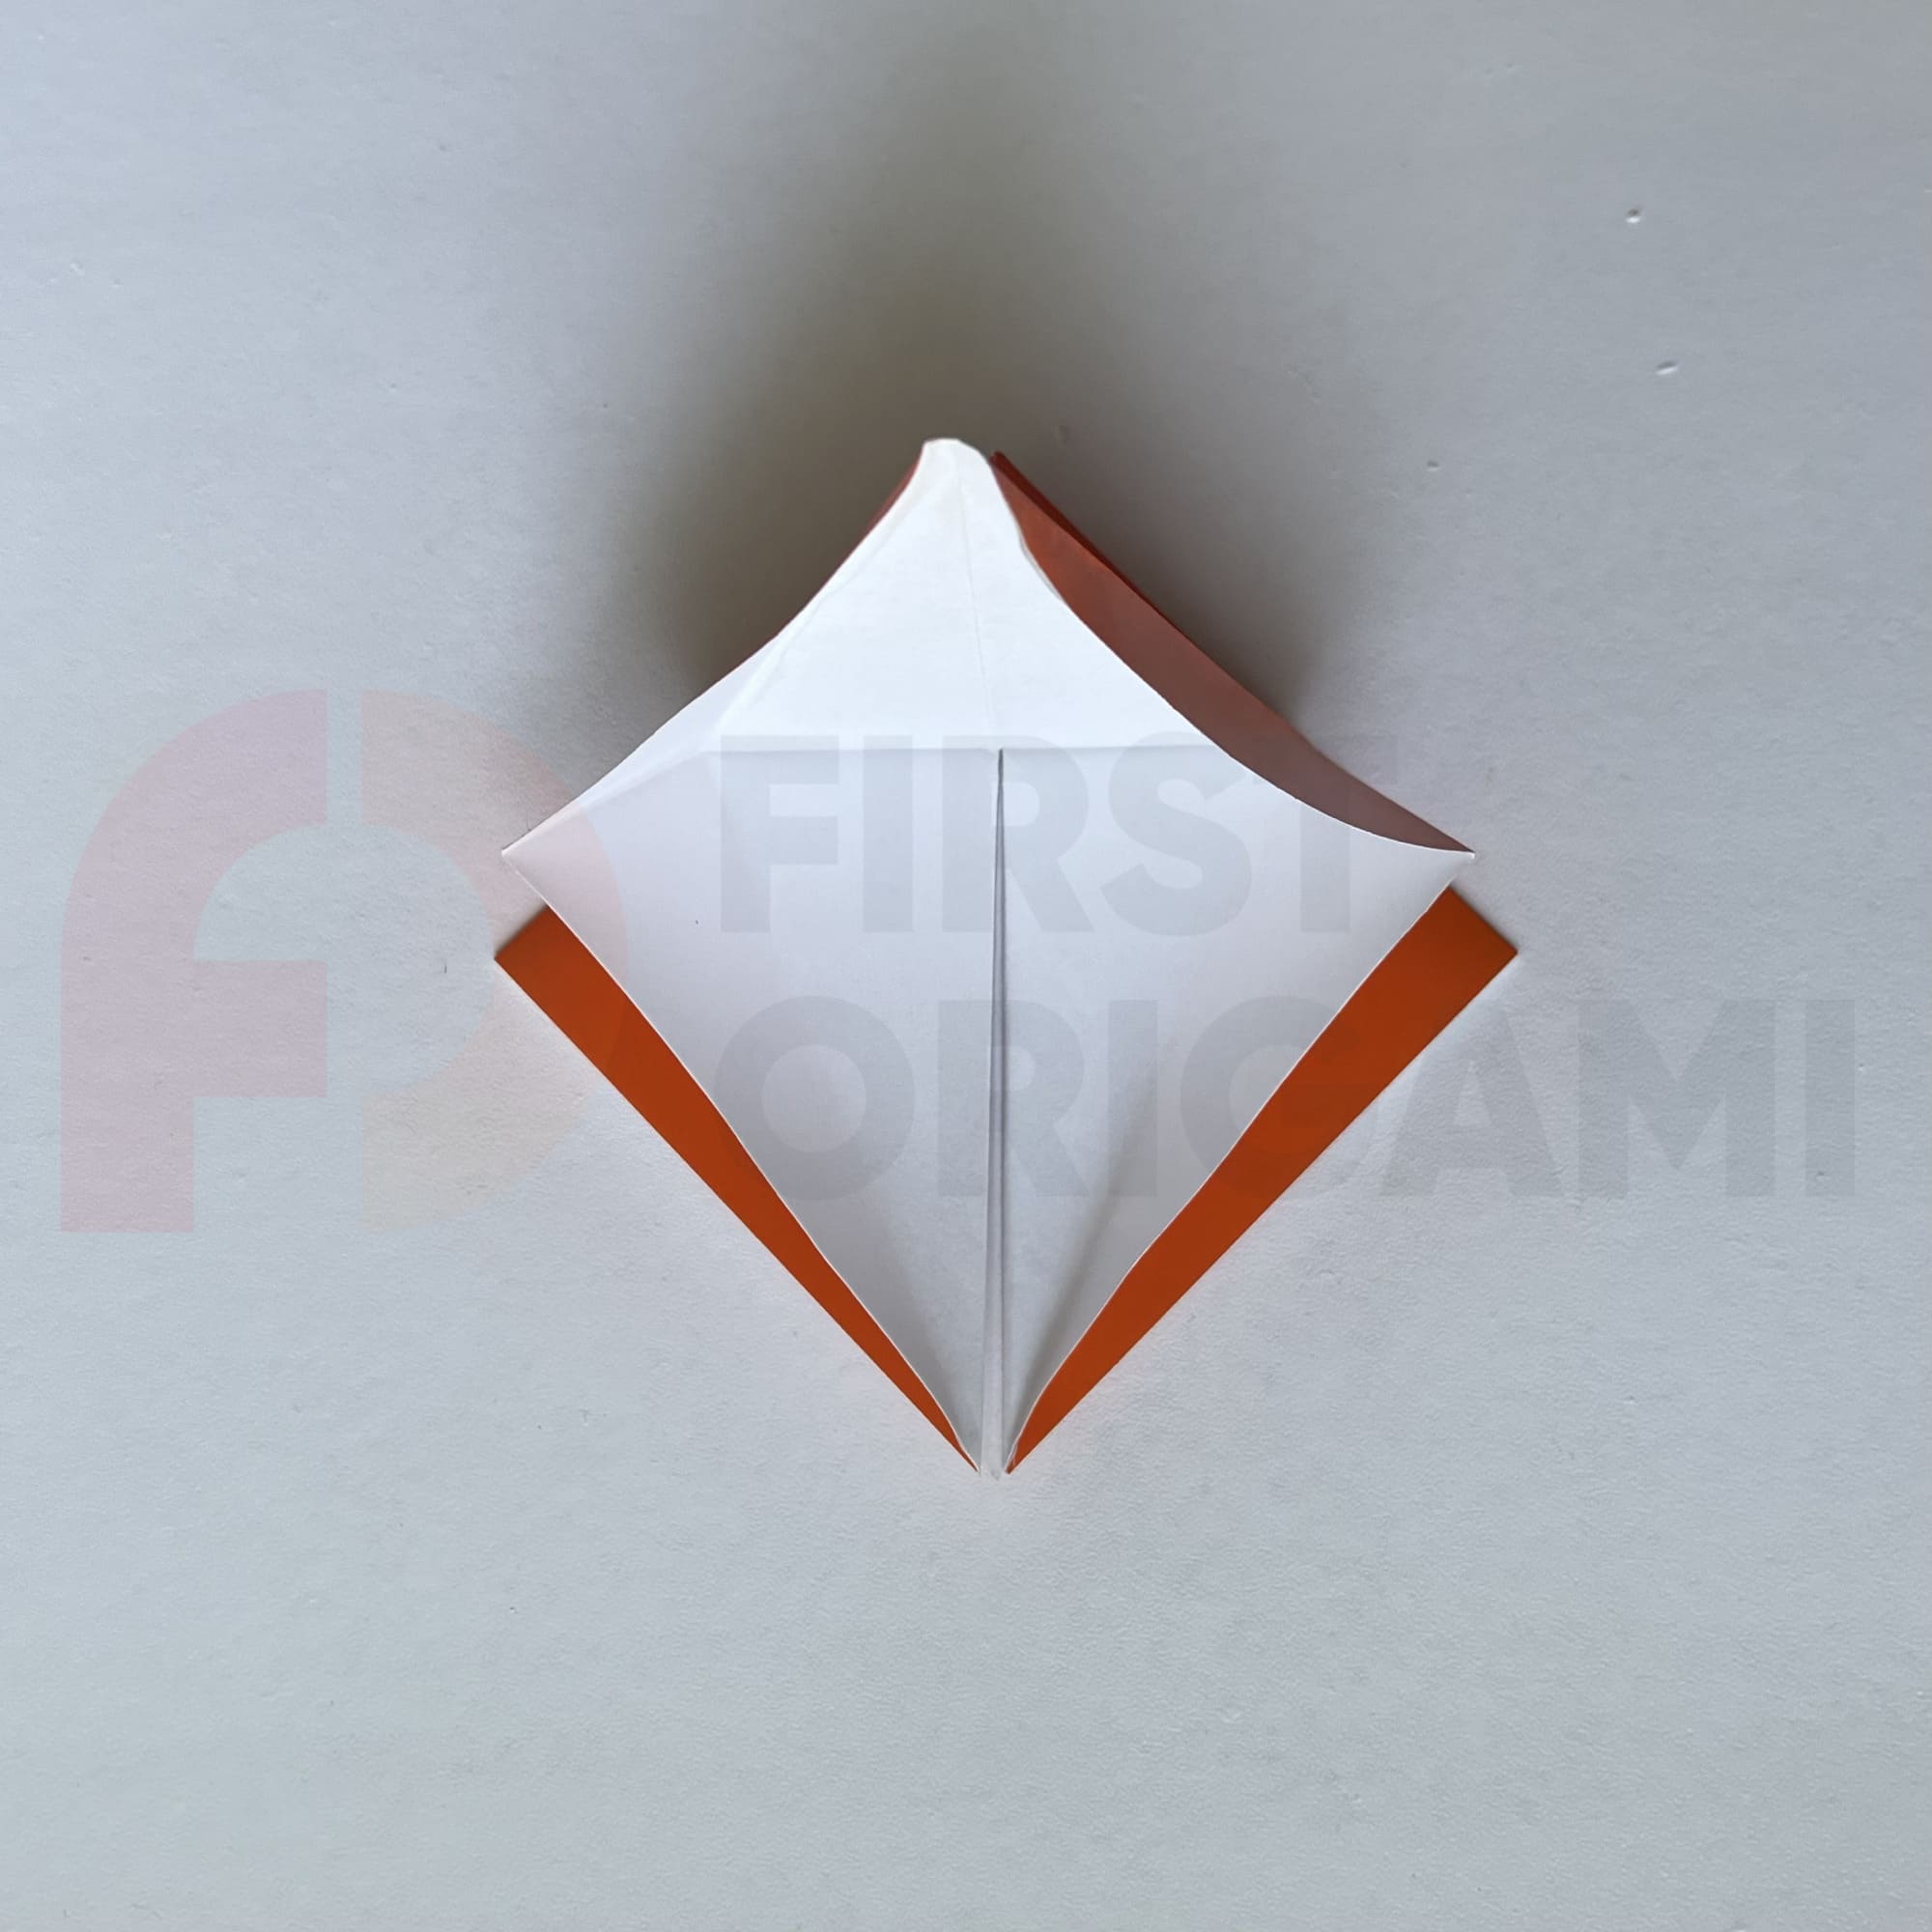
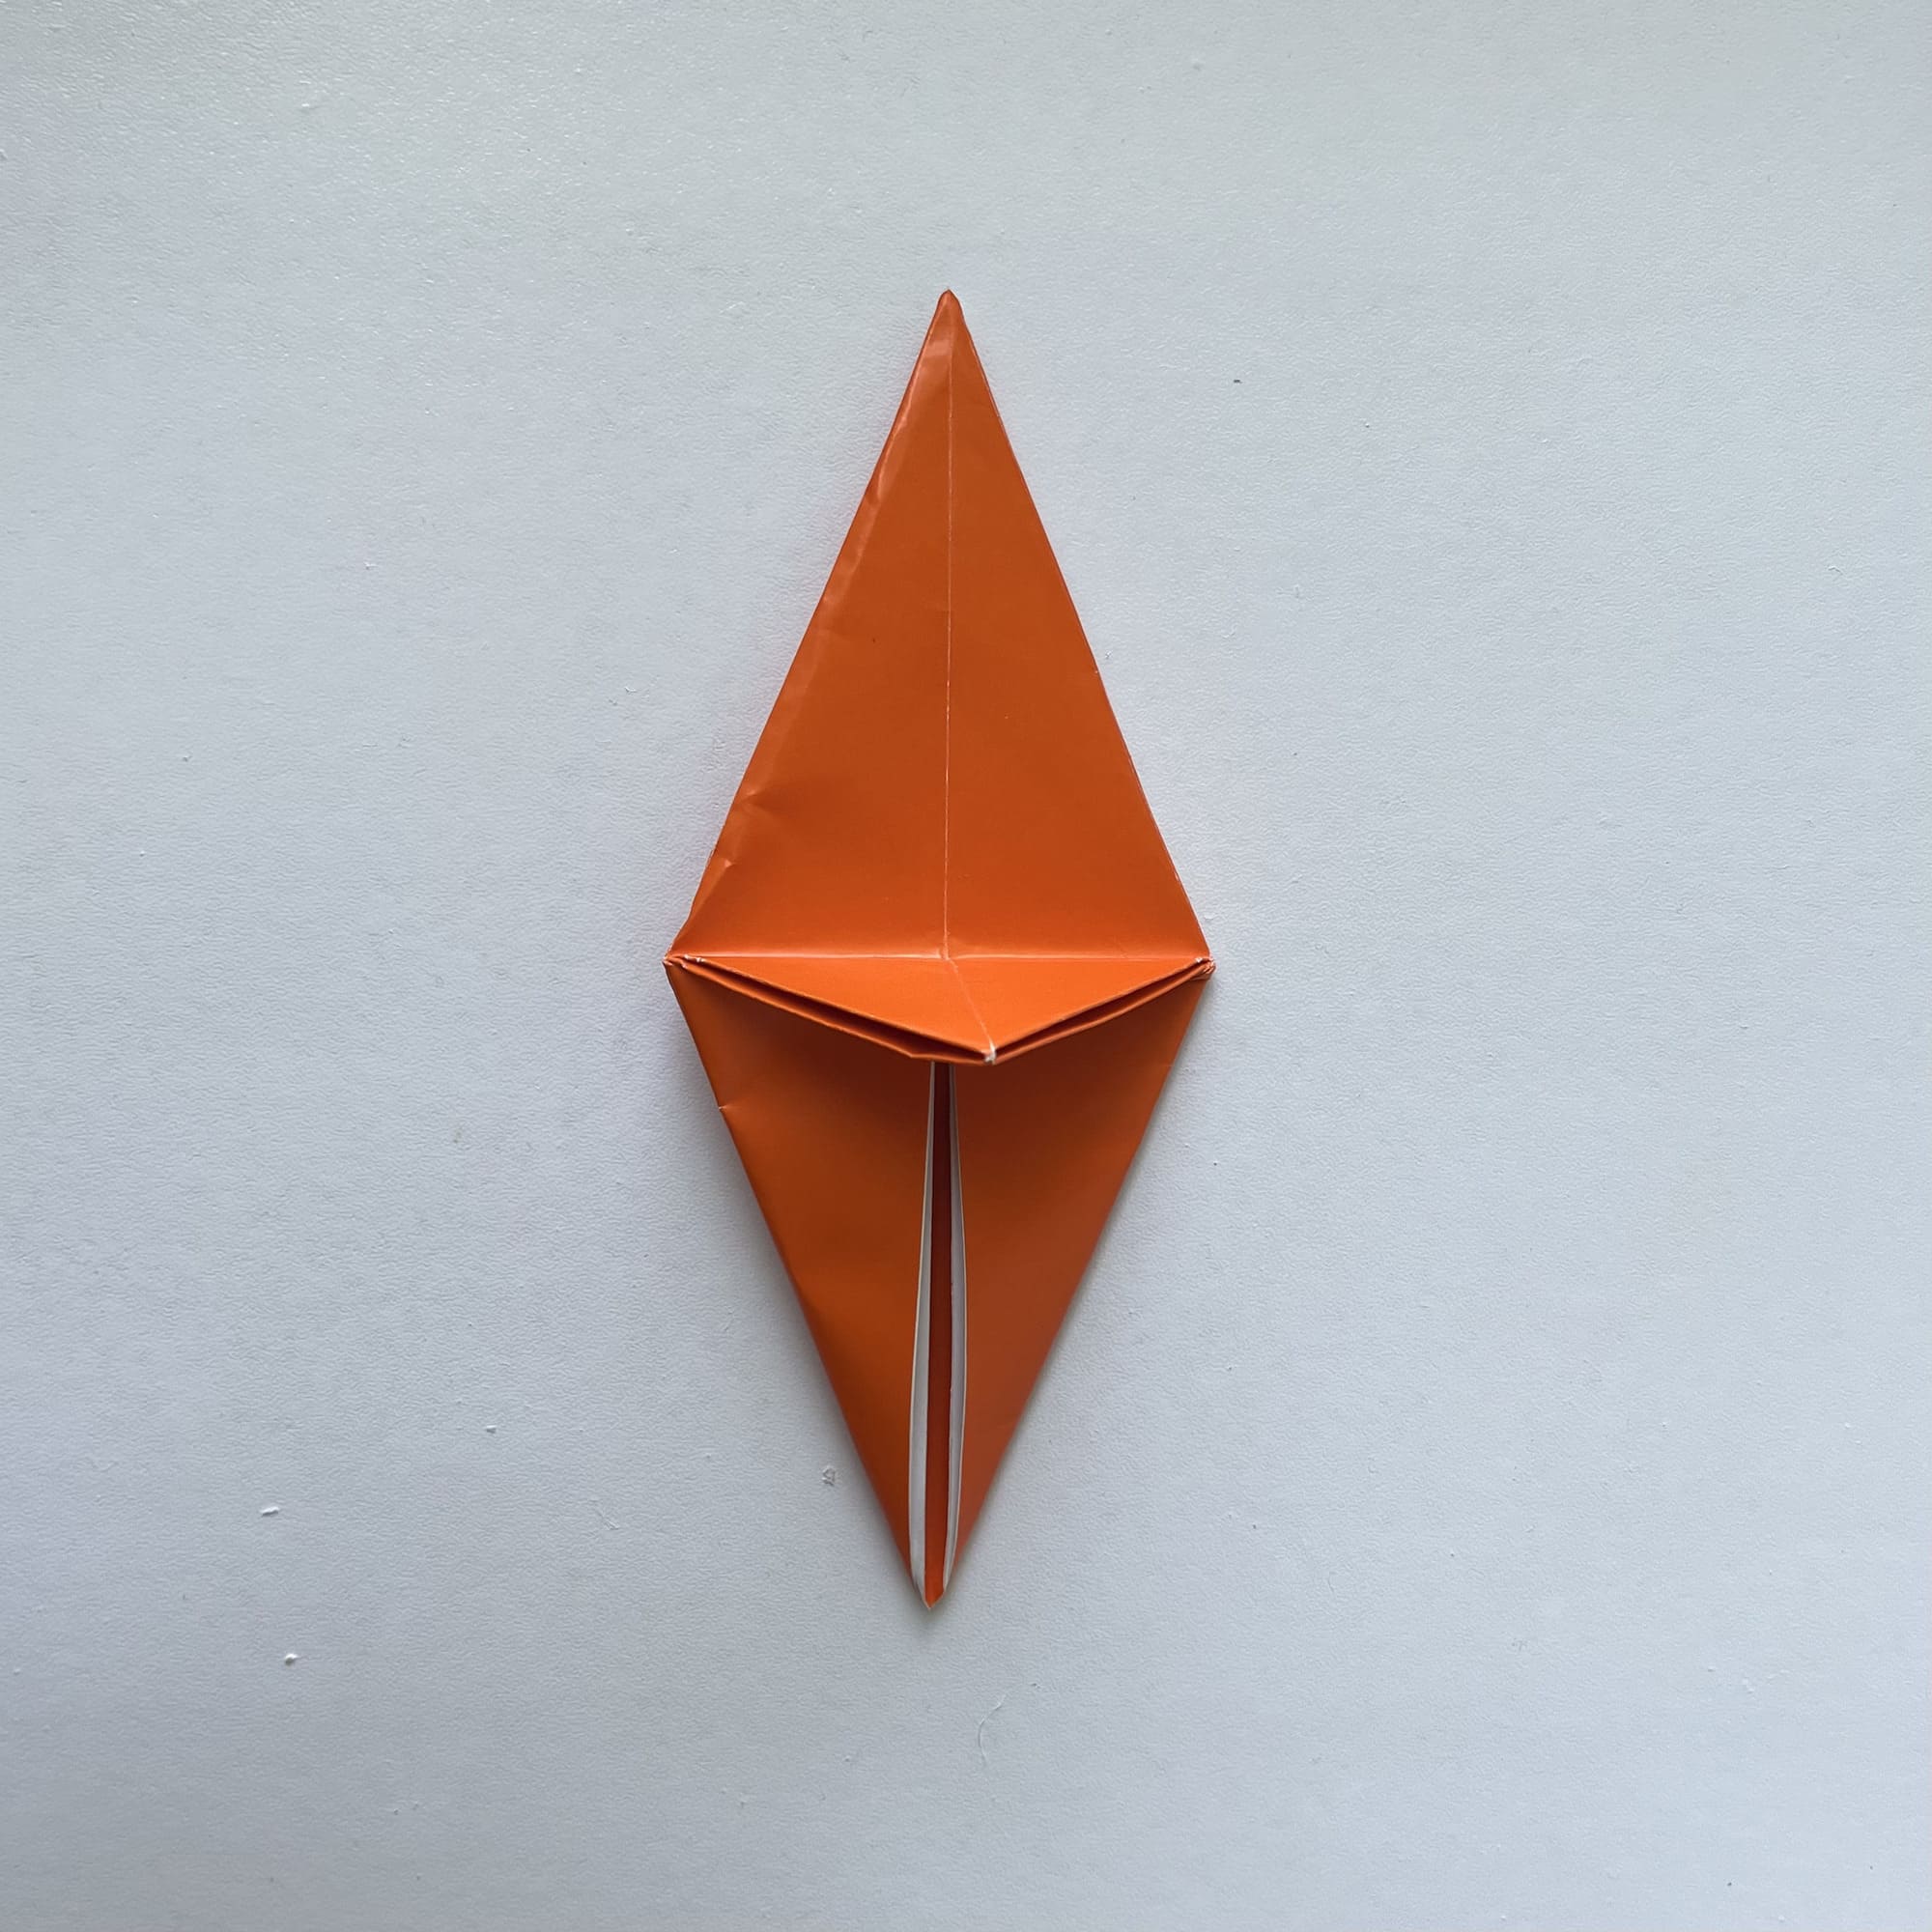
Iron the sidelines of the resulting figure, and press all the edges, so that you get the same shape as shown on the photo.
Bend the sides closer to the center line of the figure, and iron all the folds again.
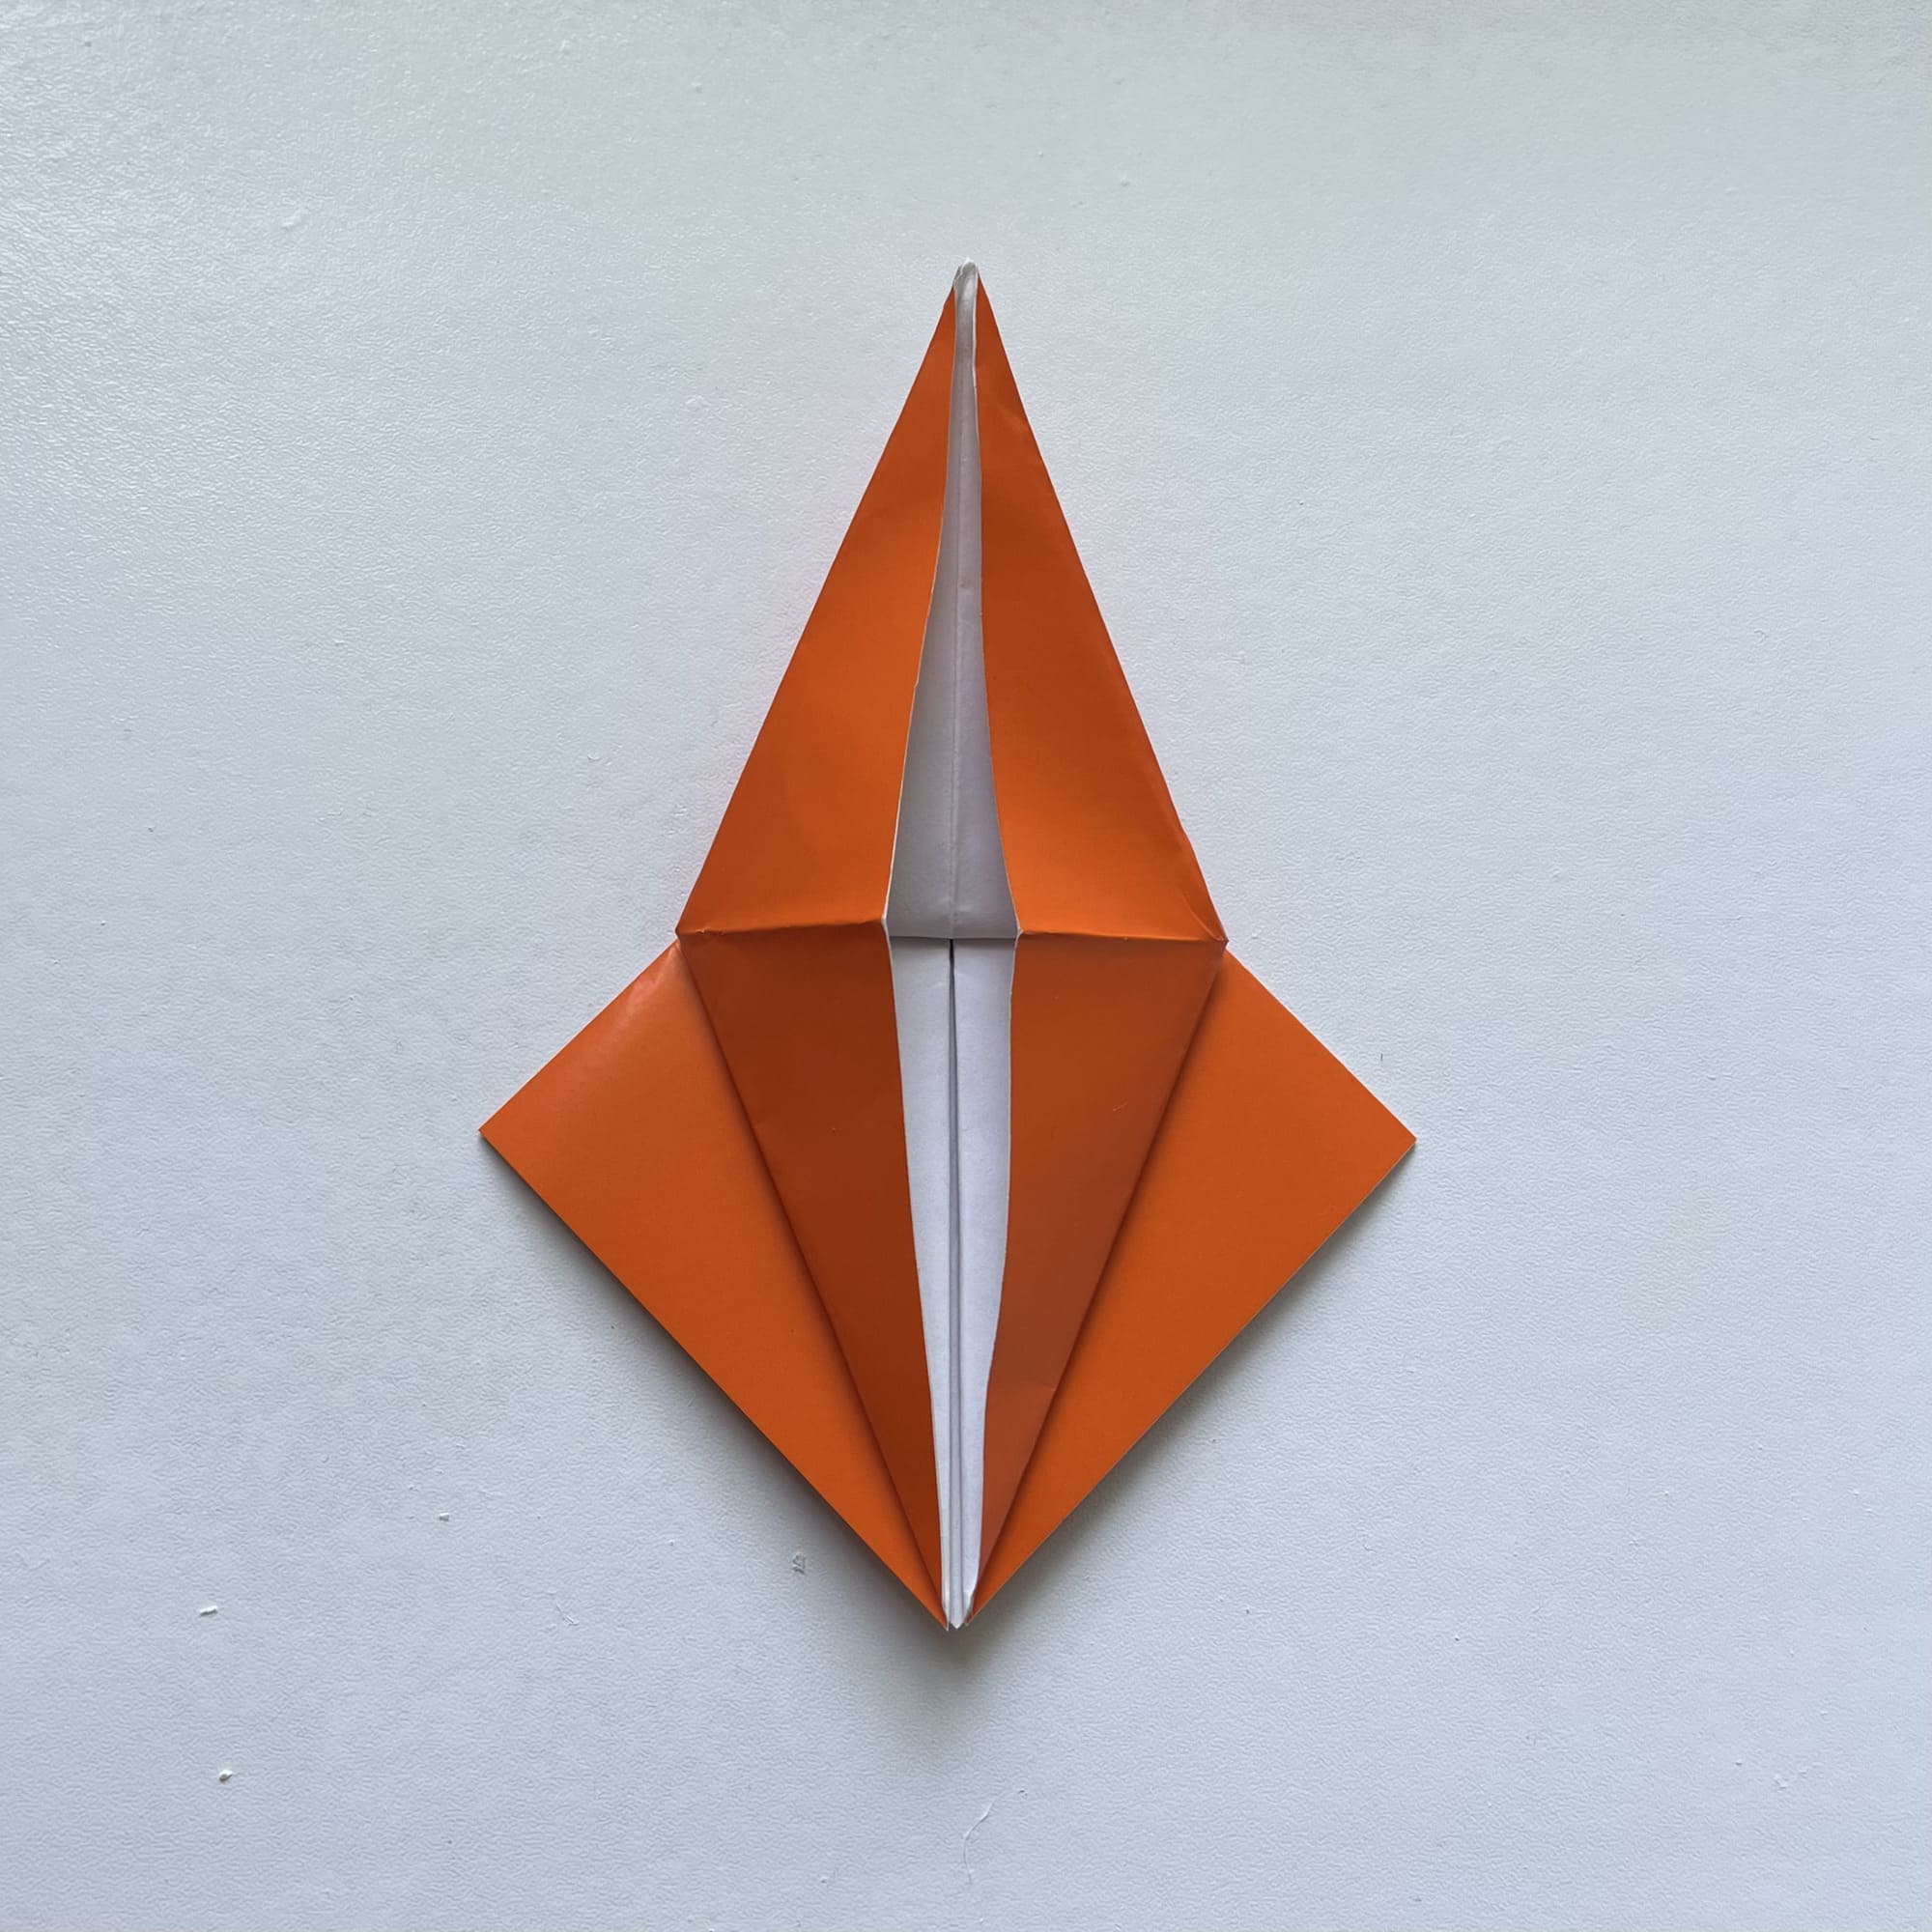
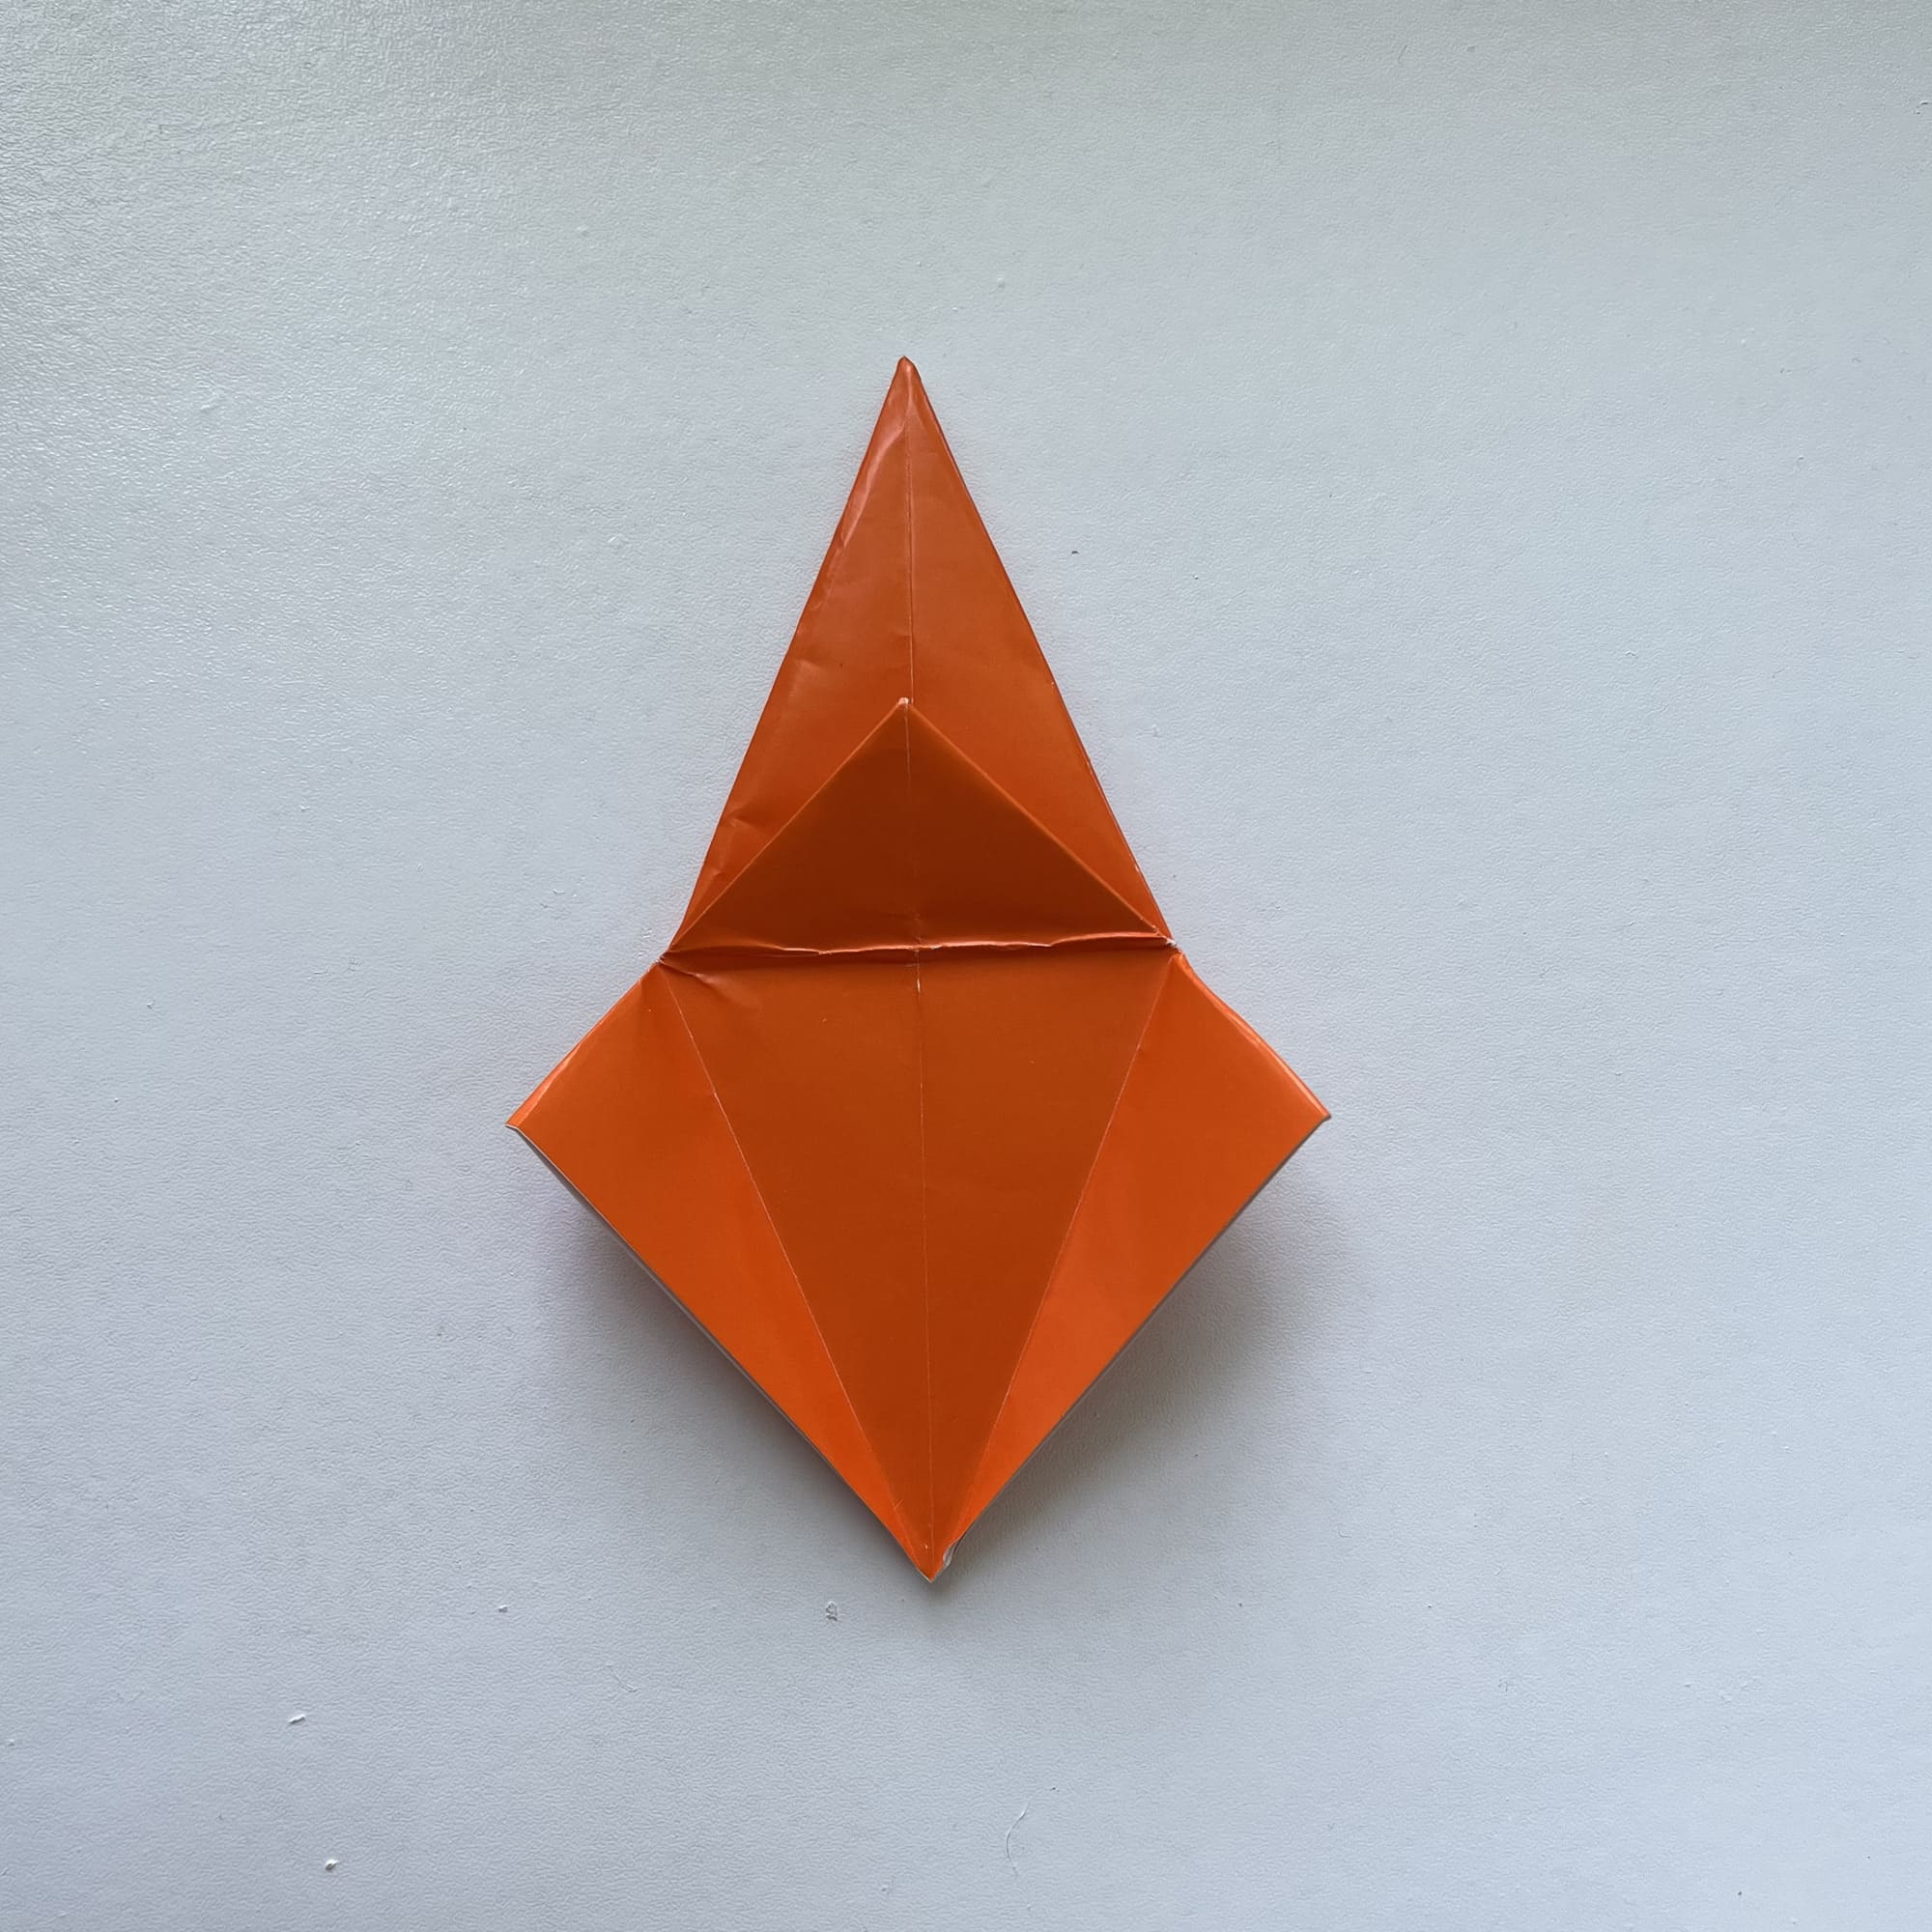
Turn the shape over and repeat all the previous steps starting from the second.
Bend the side corners to the center line, making up a narrow triangle pointing down.
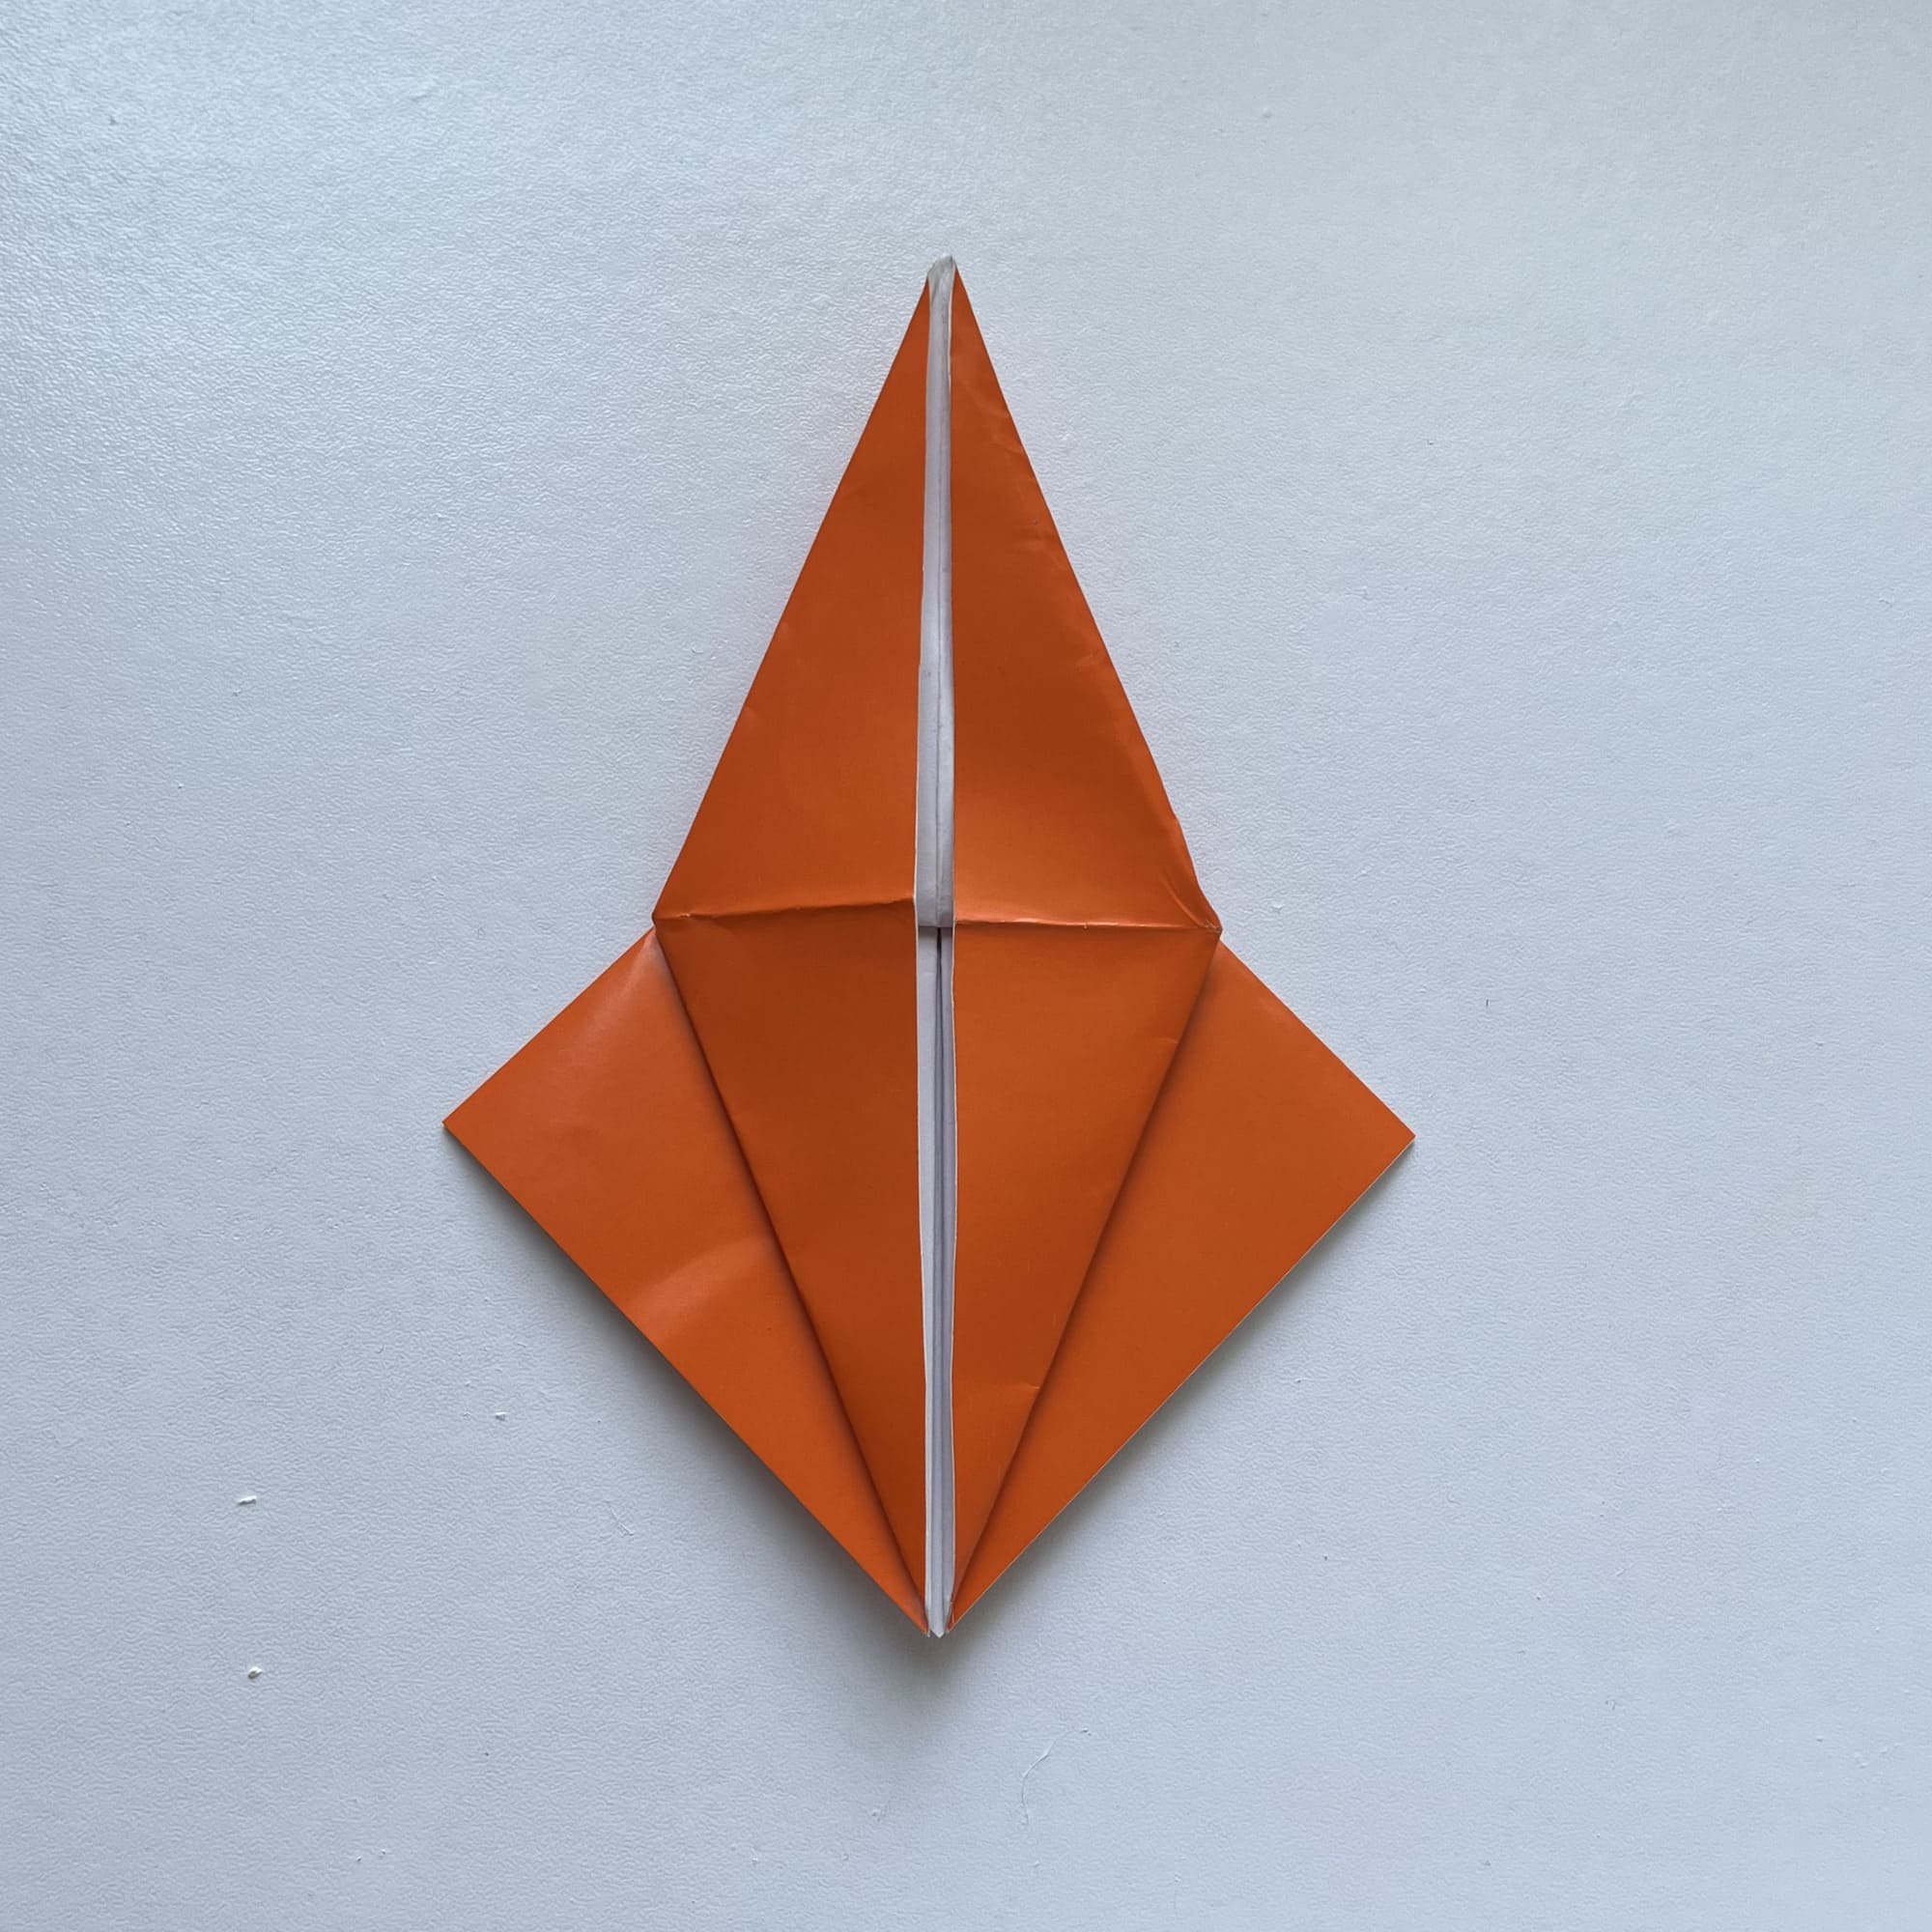
Lift the small triangle so that it is positioned perpendicular to the body of the figure.
Unfold the side bends and turn the figure over.
The bird base is done!
Now you know how to make the basis for origami birds. You will need such a simple design for the further assembly of a wide variety of origami.