Origami Bow
It is difficult to determine exactly who was the first person who came up with the idea of decorating hair, clothes or tying gifts with bows. One thing is certain: now it is impossible to imagine the modern world without this beautiful and elegant detail.
This origami will become one of the most unusual and popular in your collection. It is made not quite in the classic technique: in the process of making it, we will need to make several cuts with the help of scissors. But the bow is so cute that we couldn’t resist!
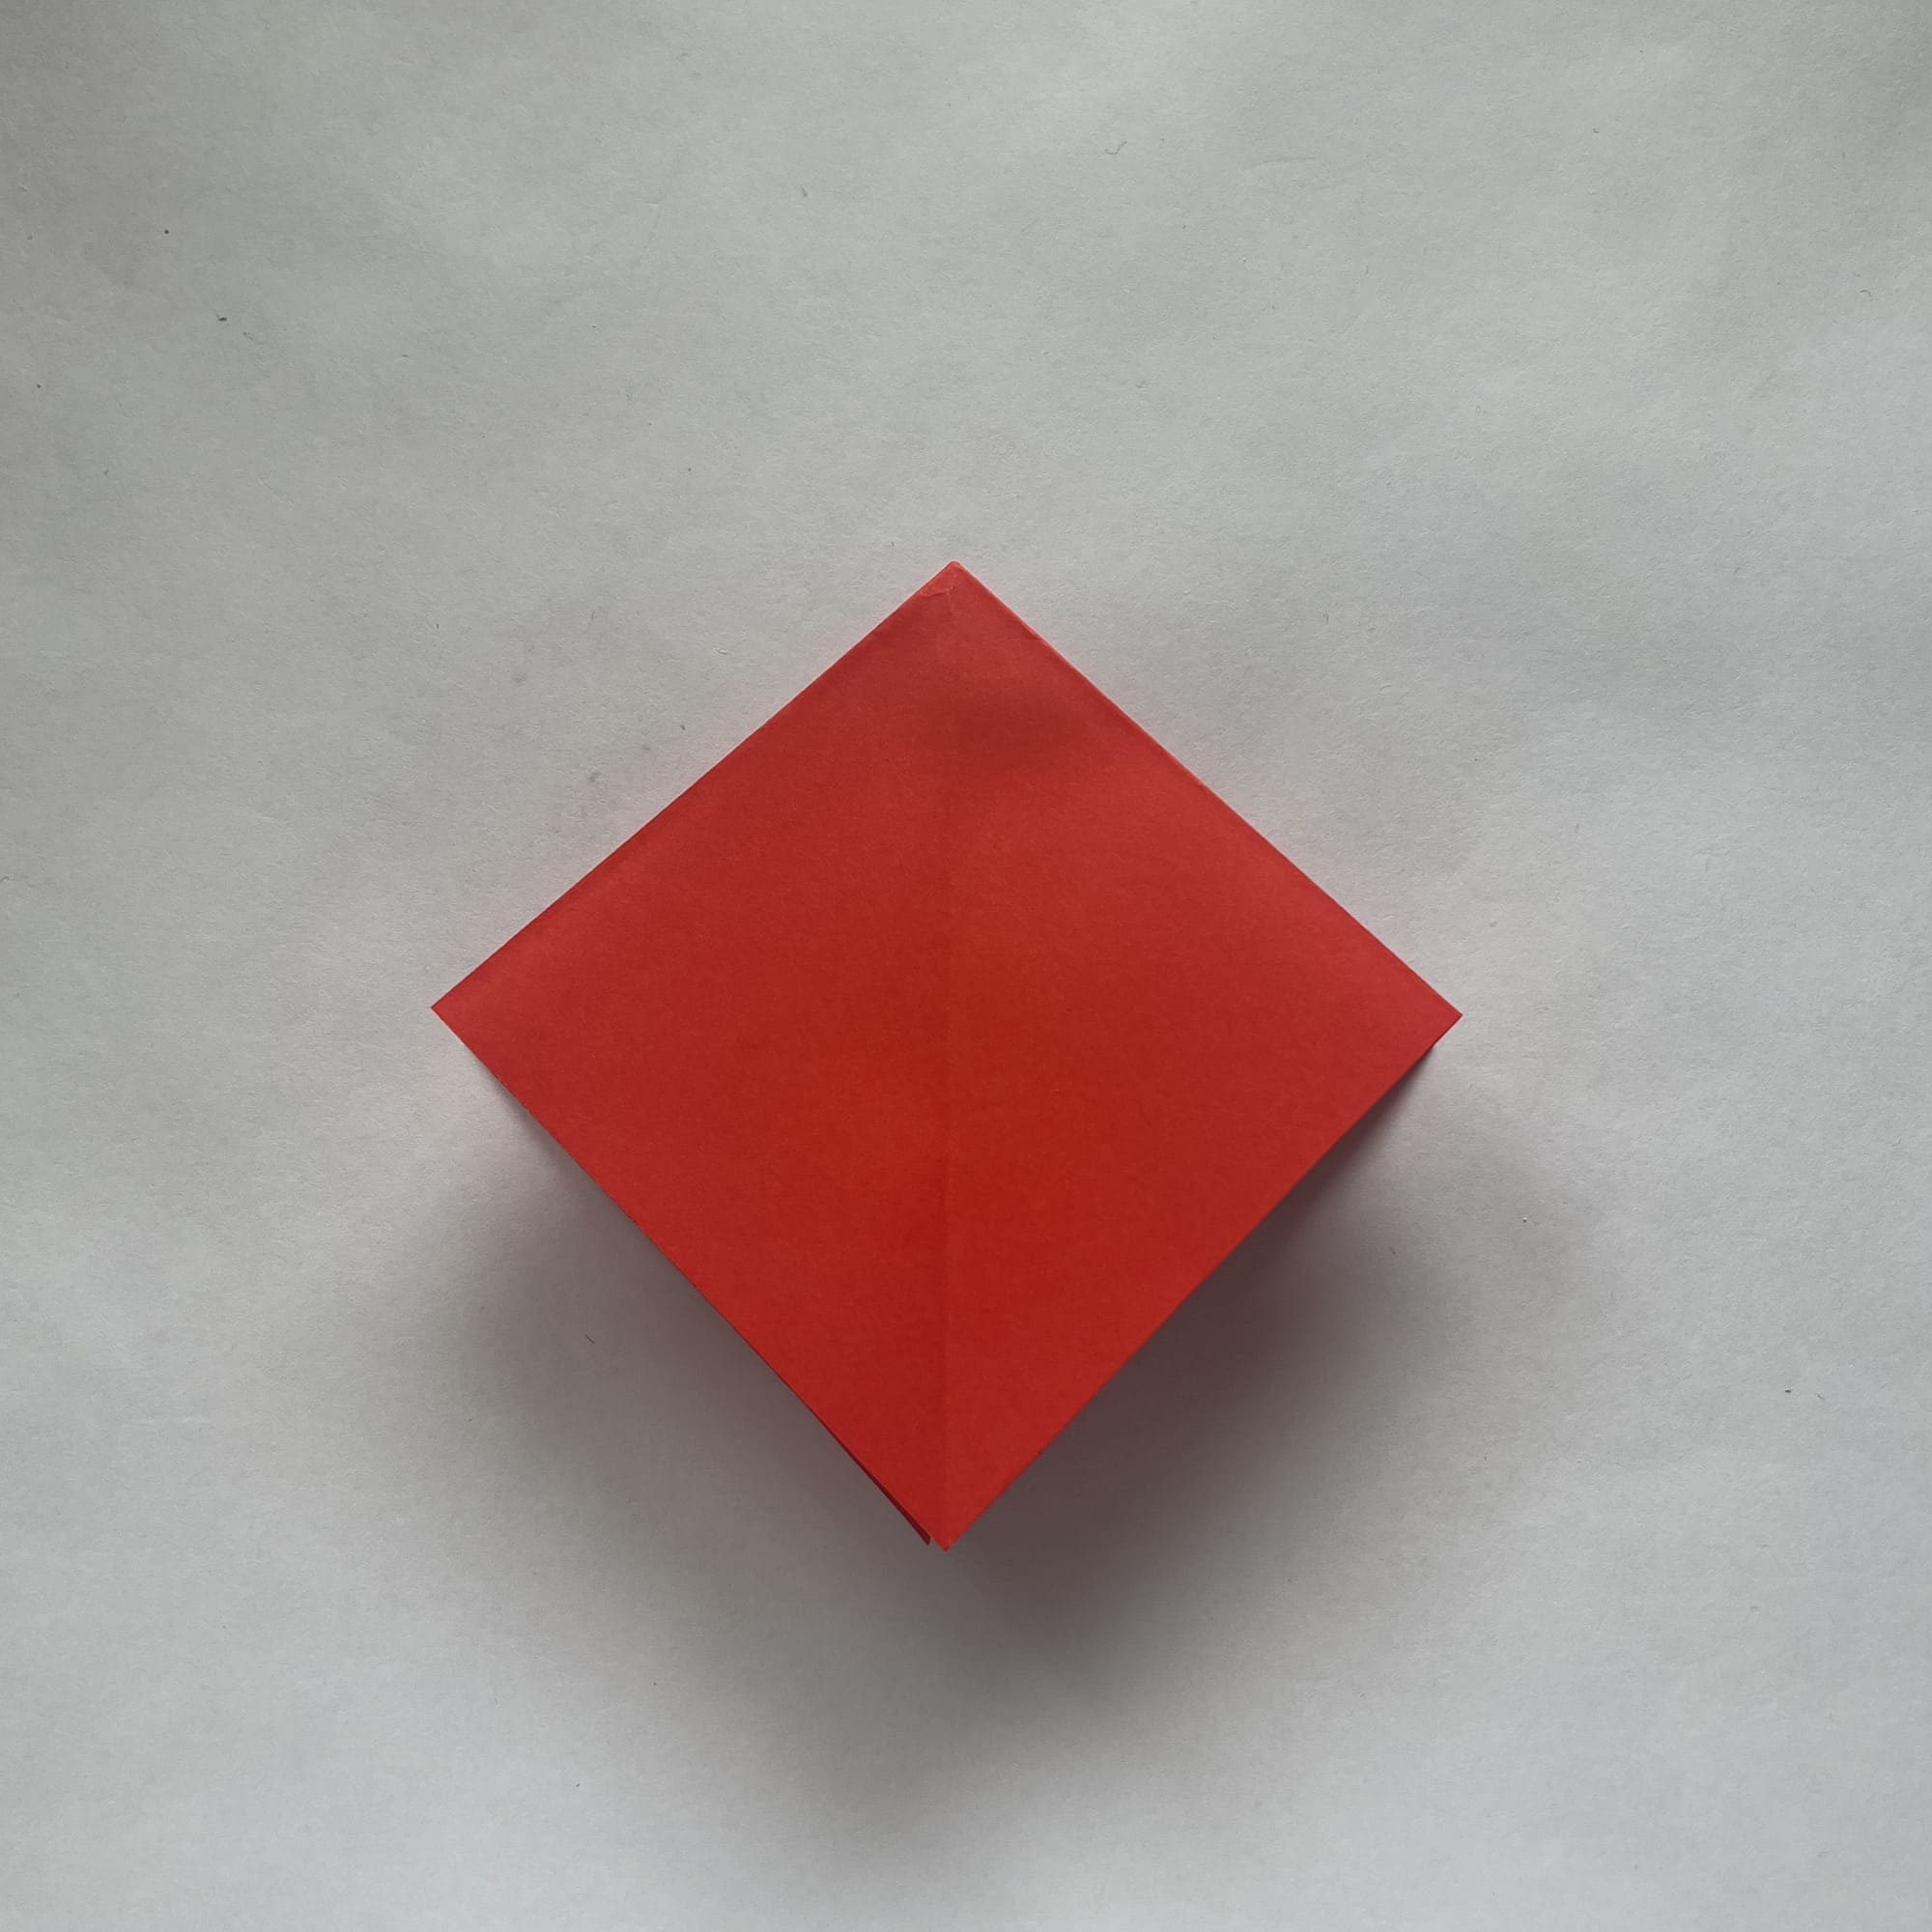
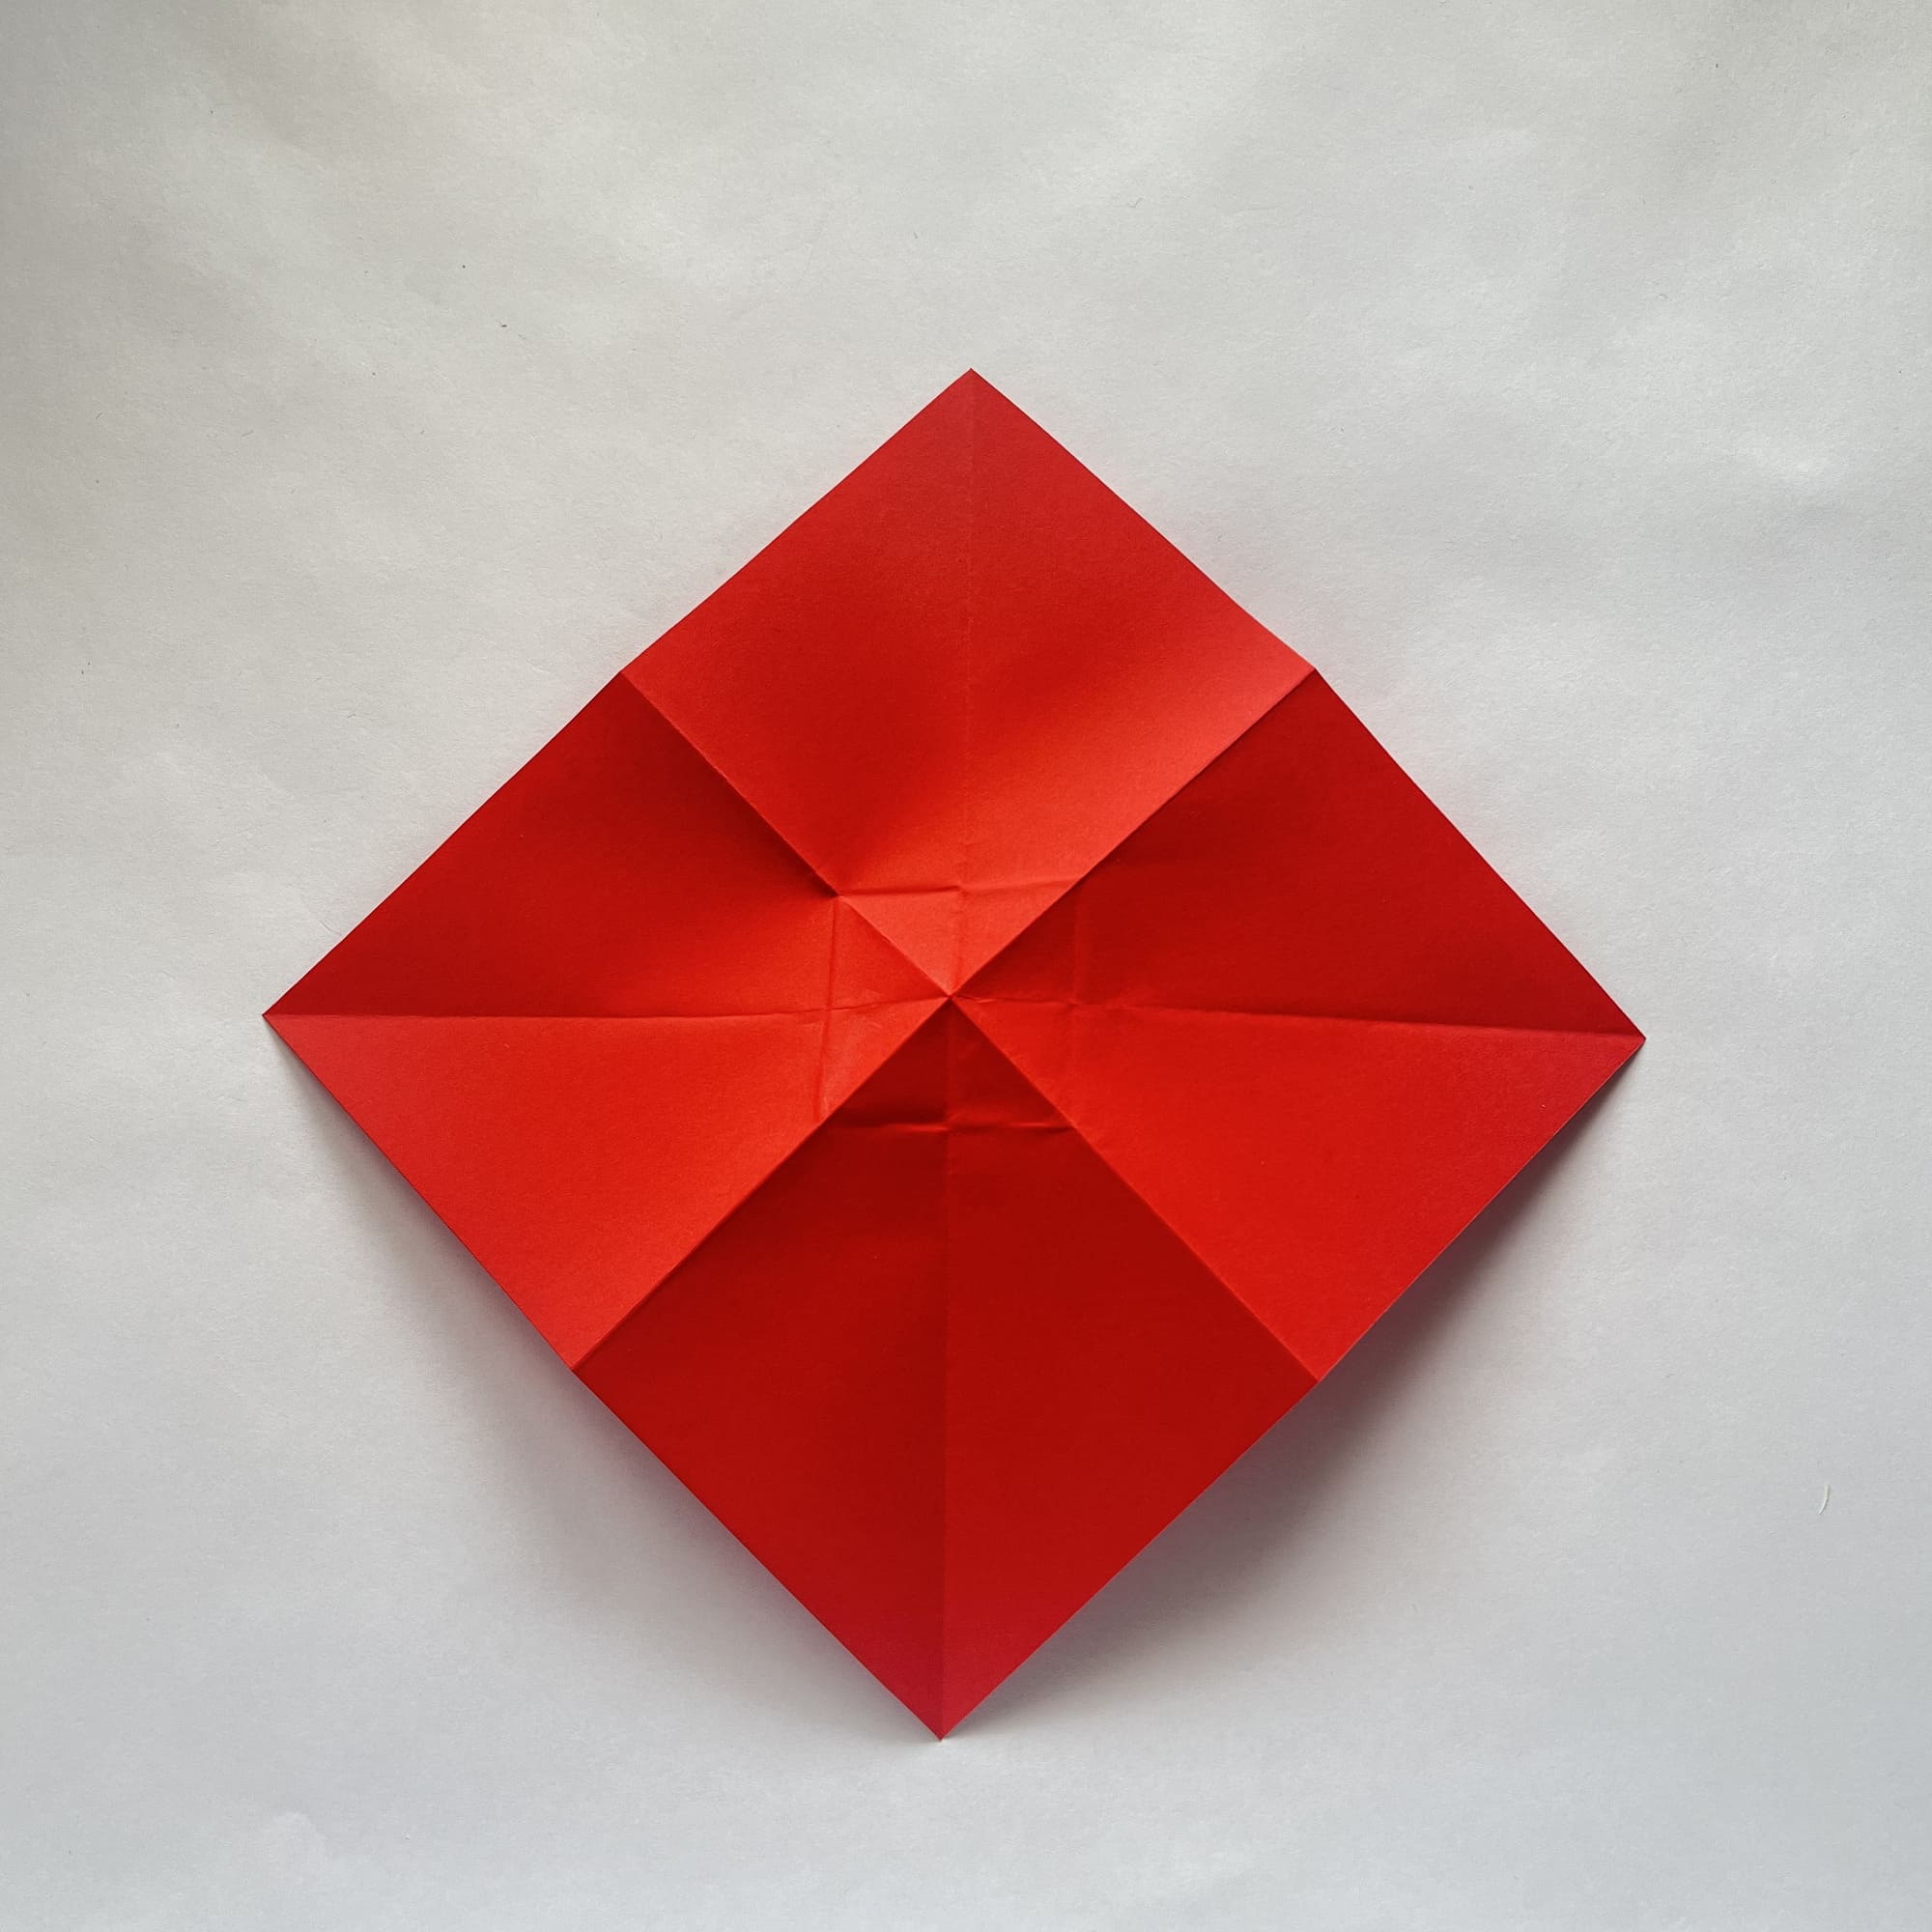
Fold the square origami base. If you have one-sided paper, the colored side should be inside.
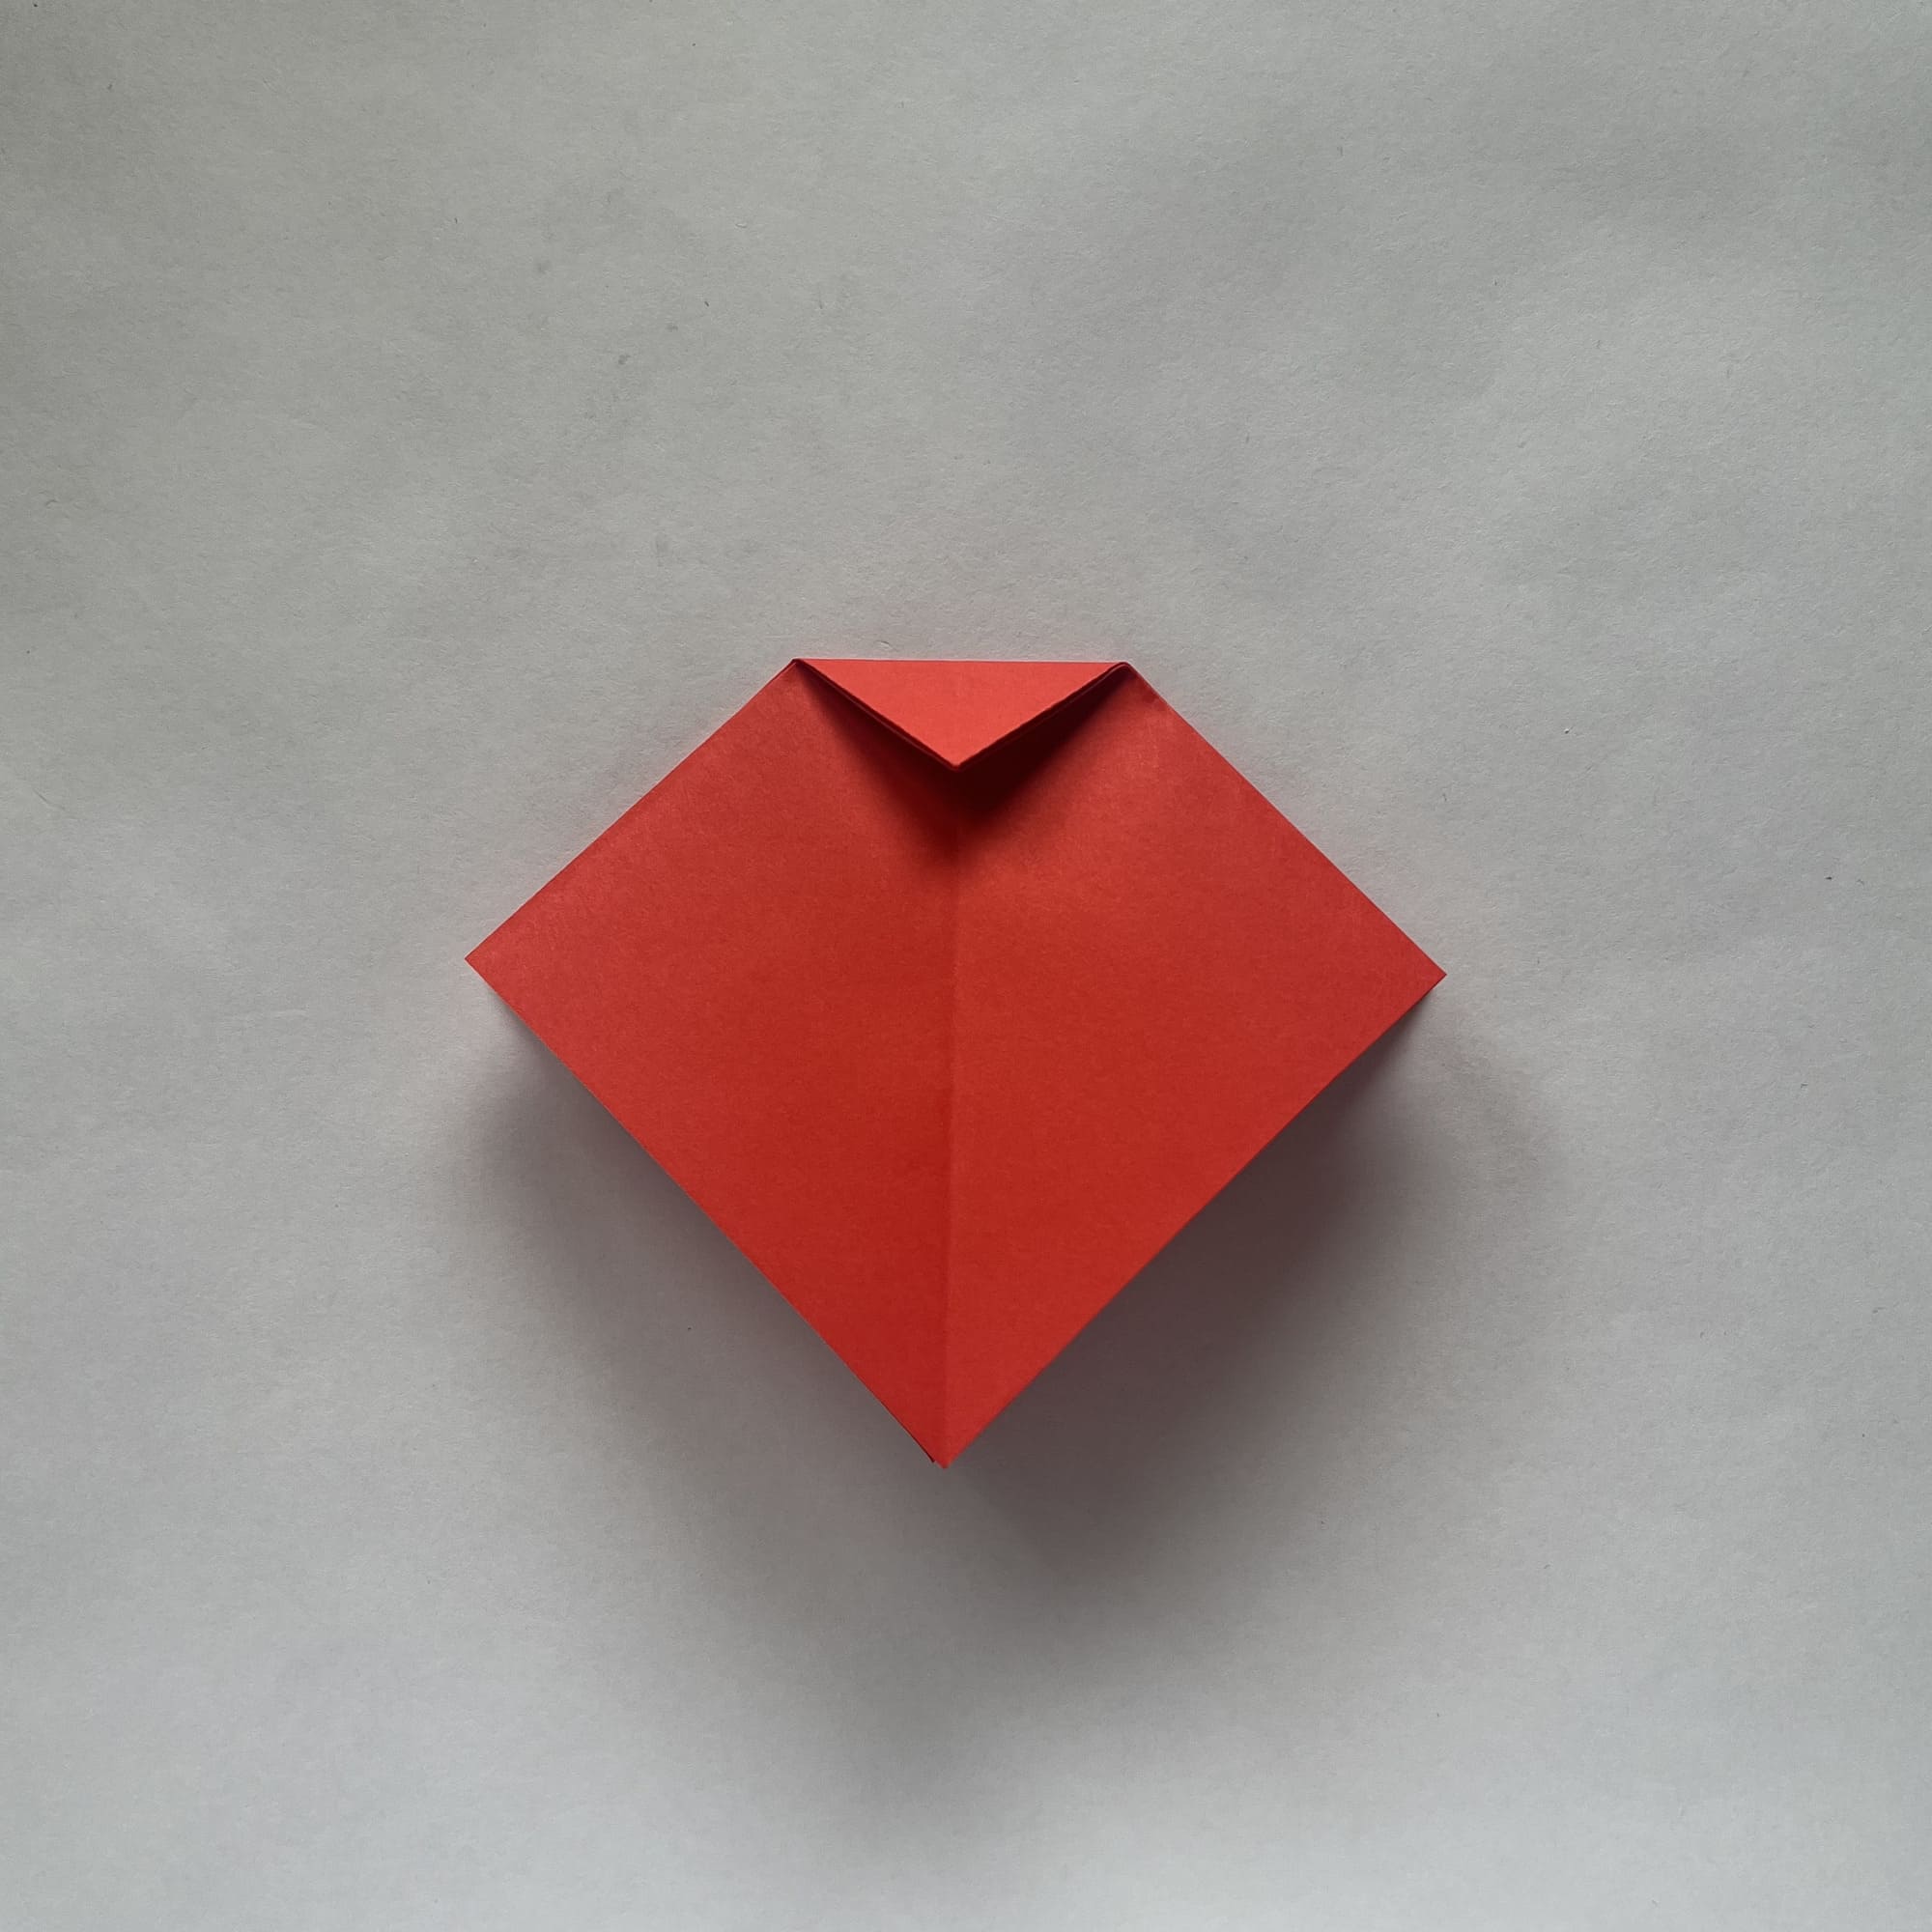
Fold the top tip inwards, about 2 cm apart.
It is important to work the fold well.
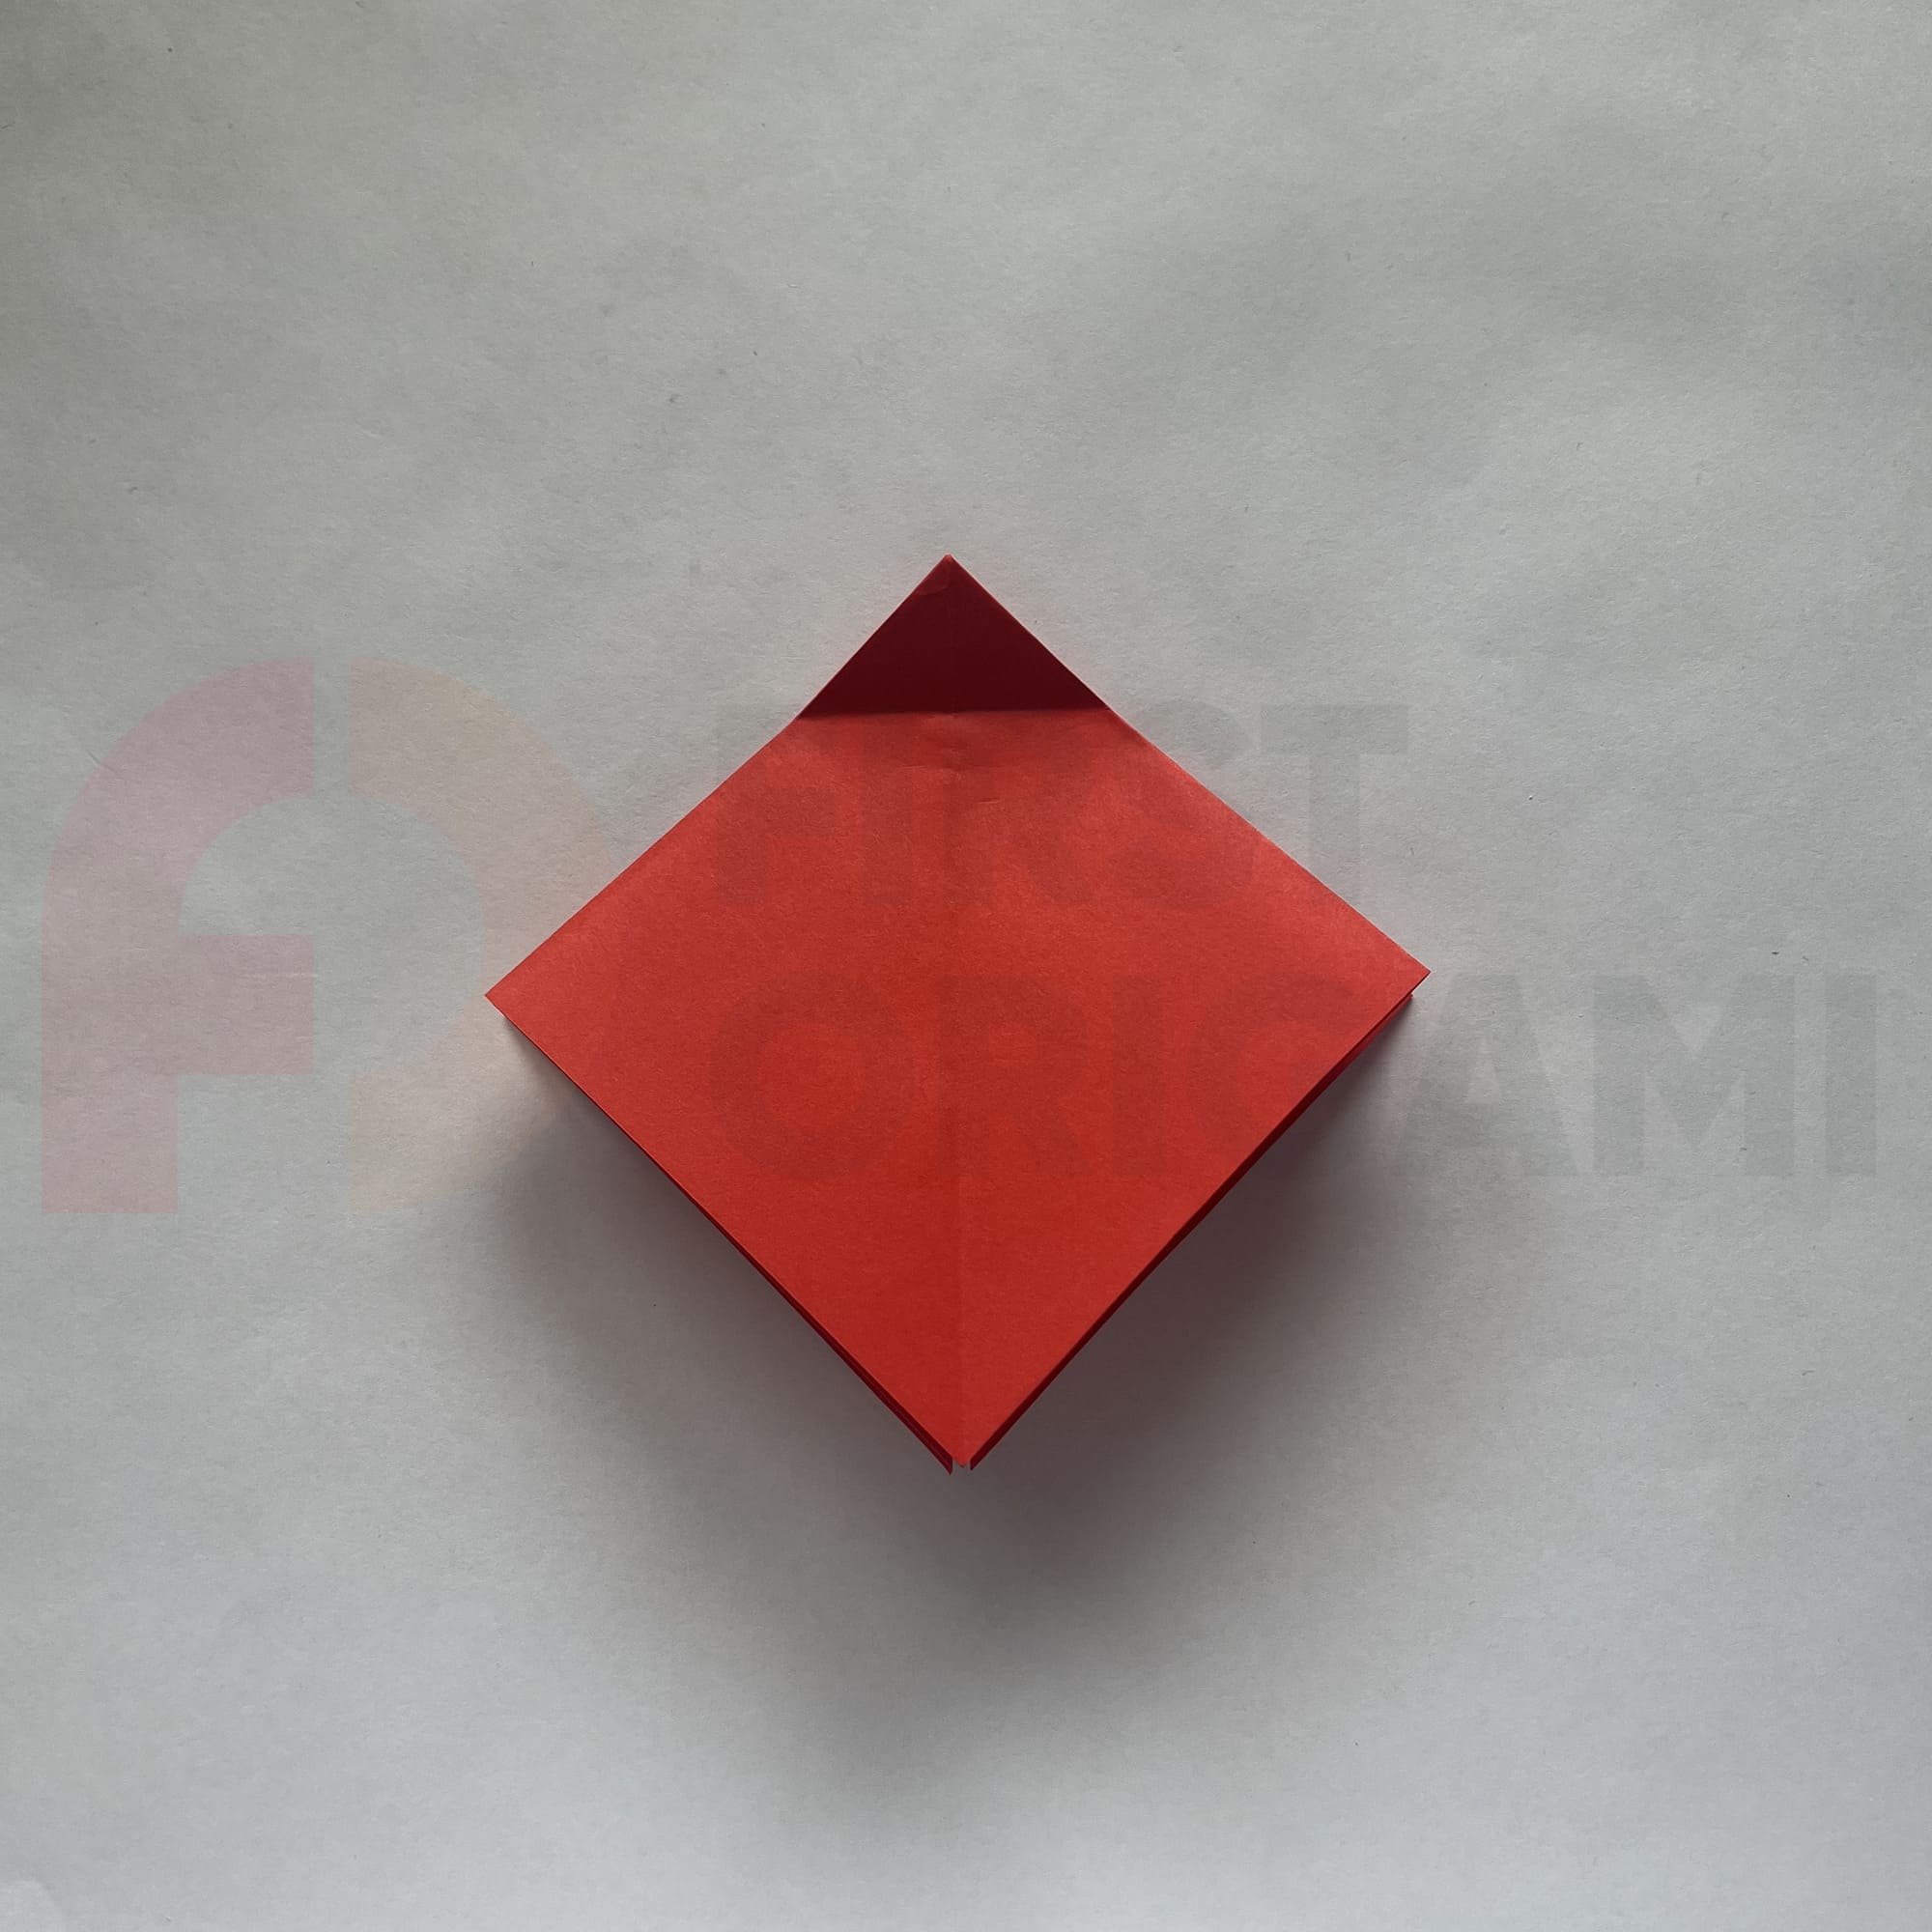
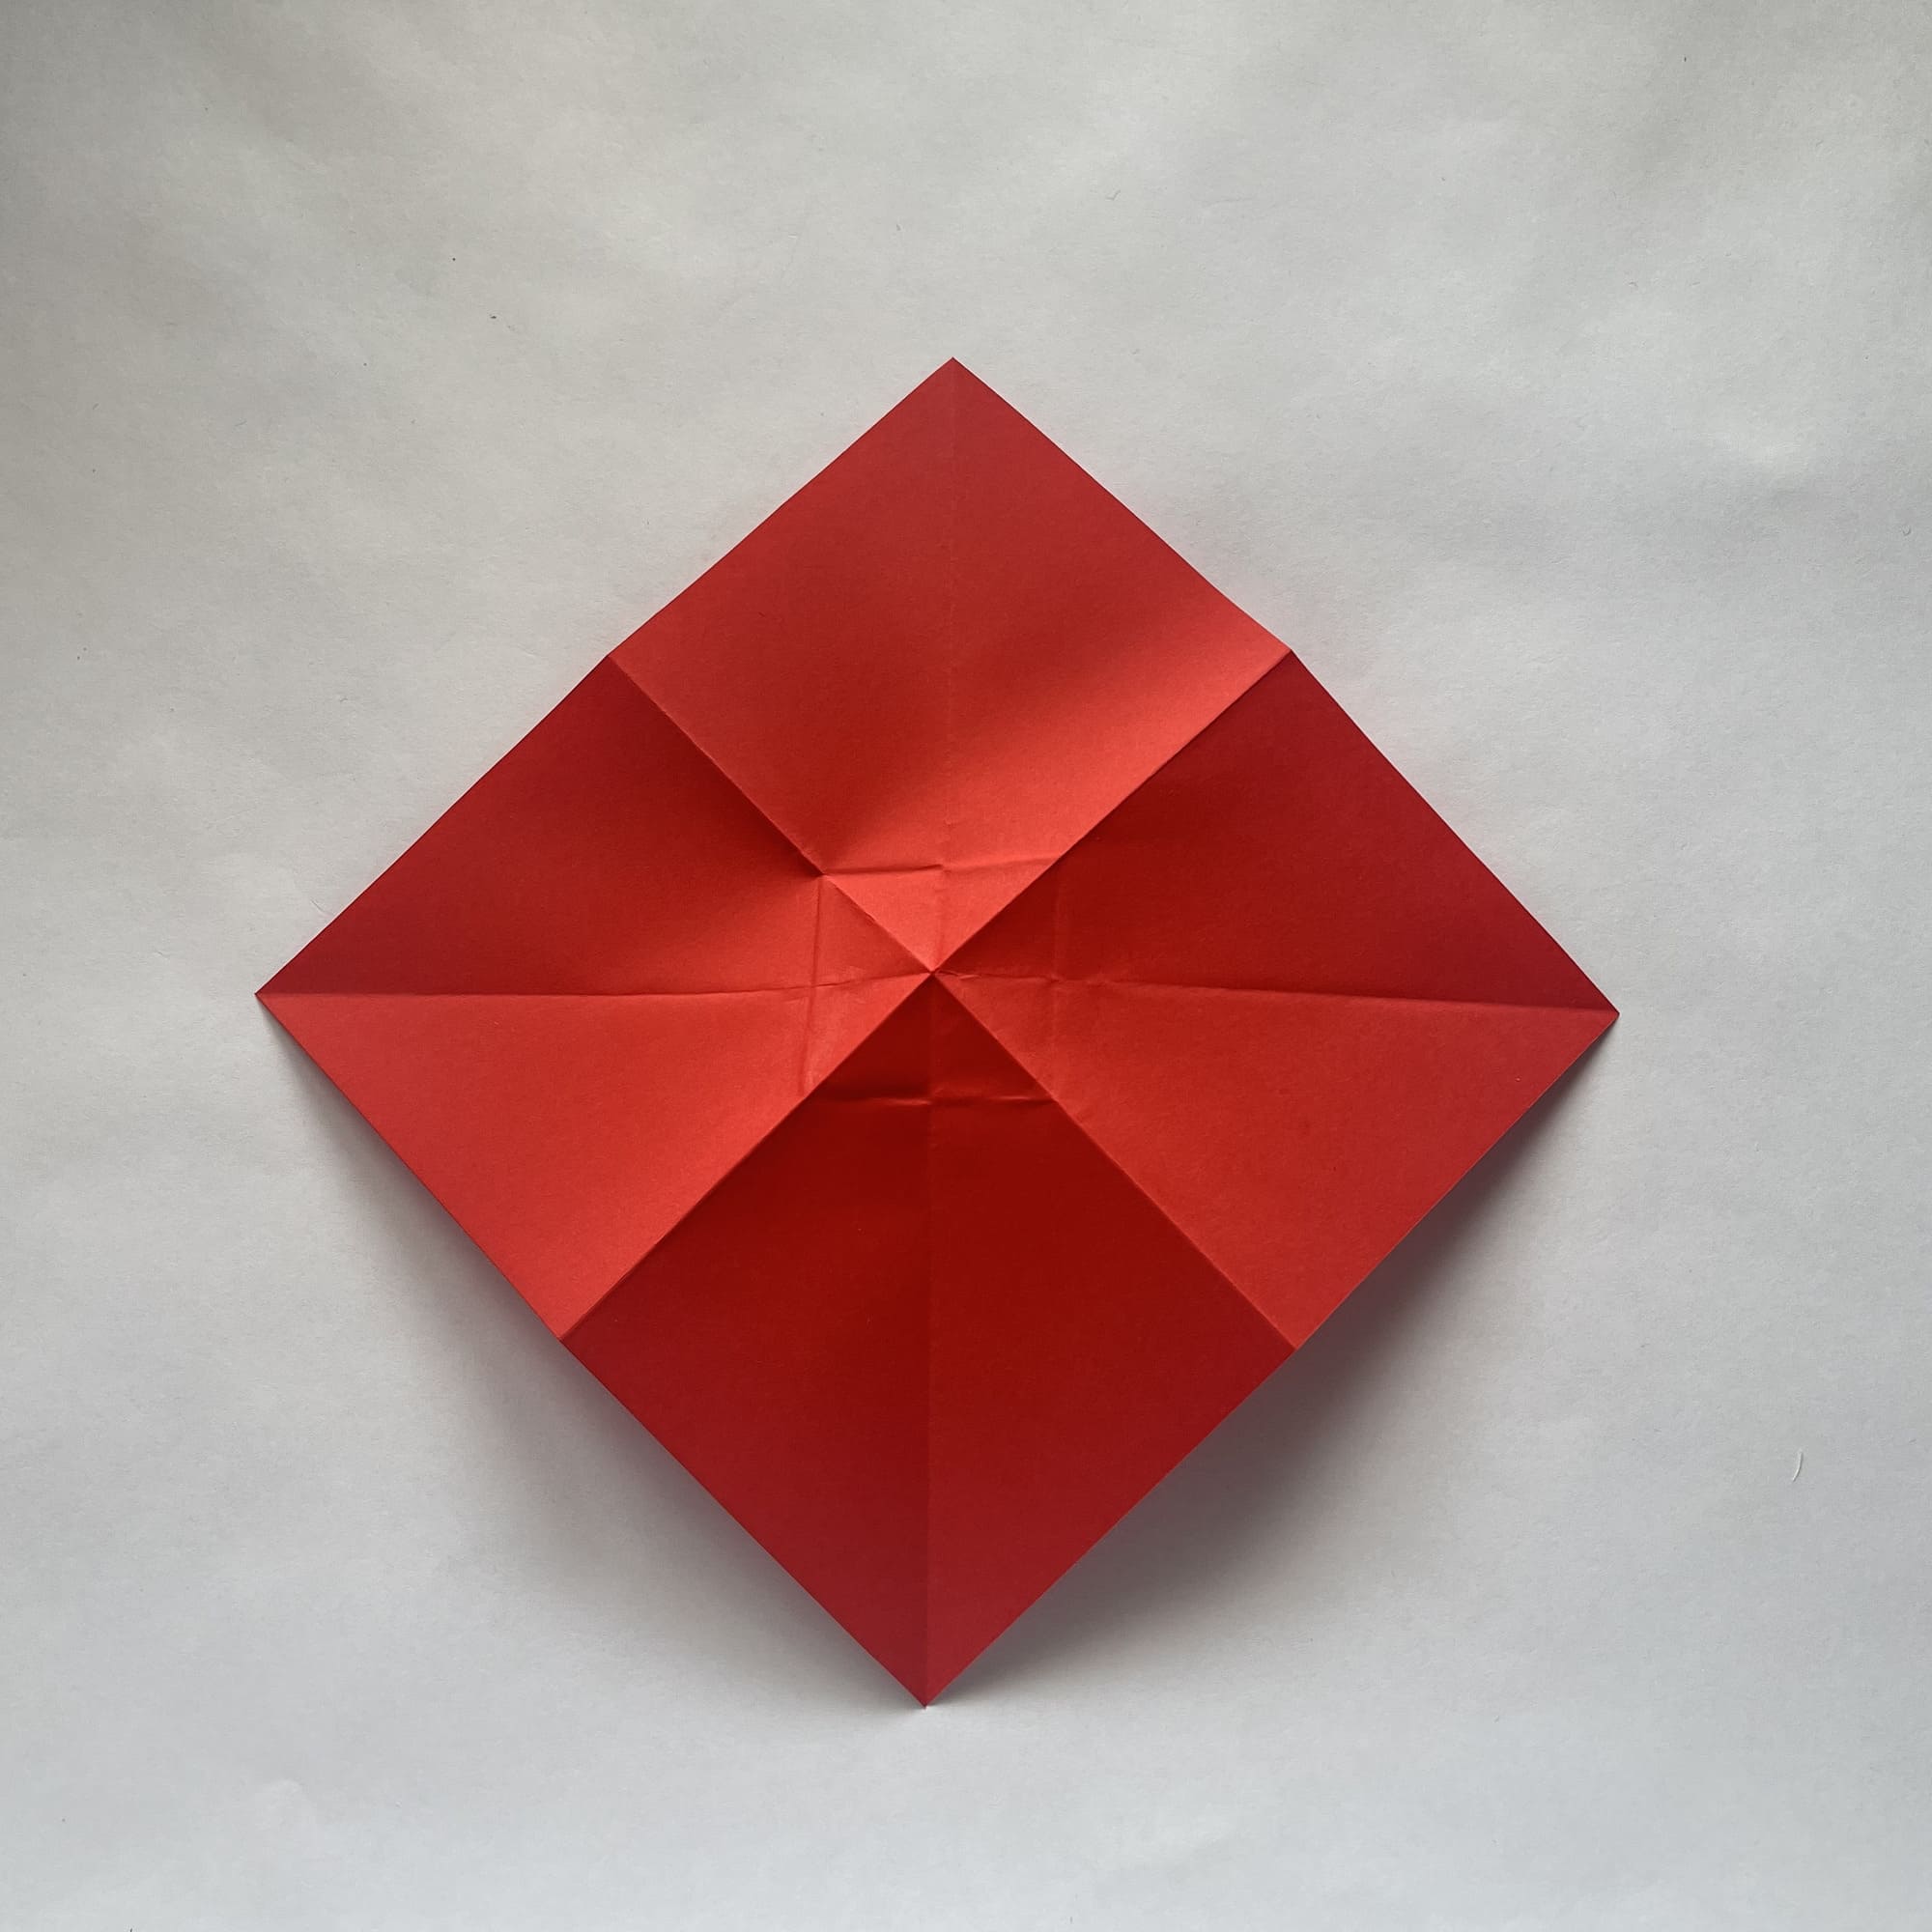
Fully unfold the paper.
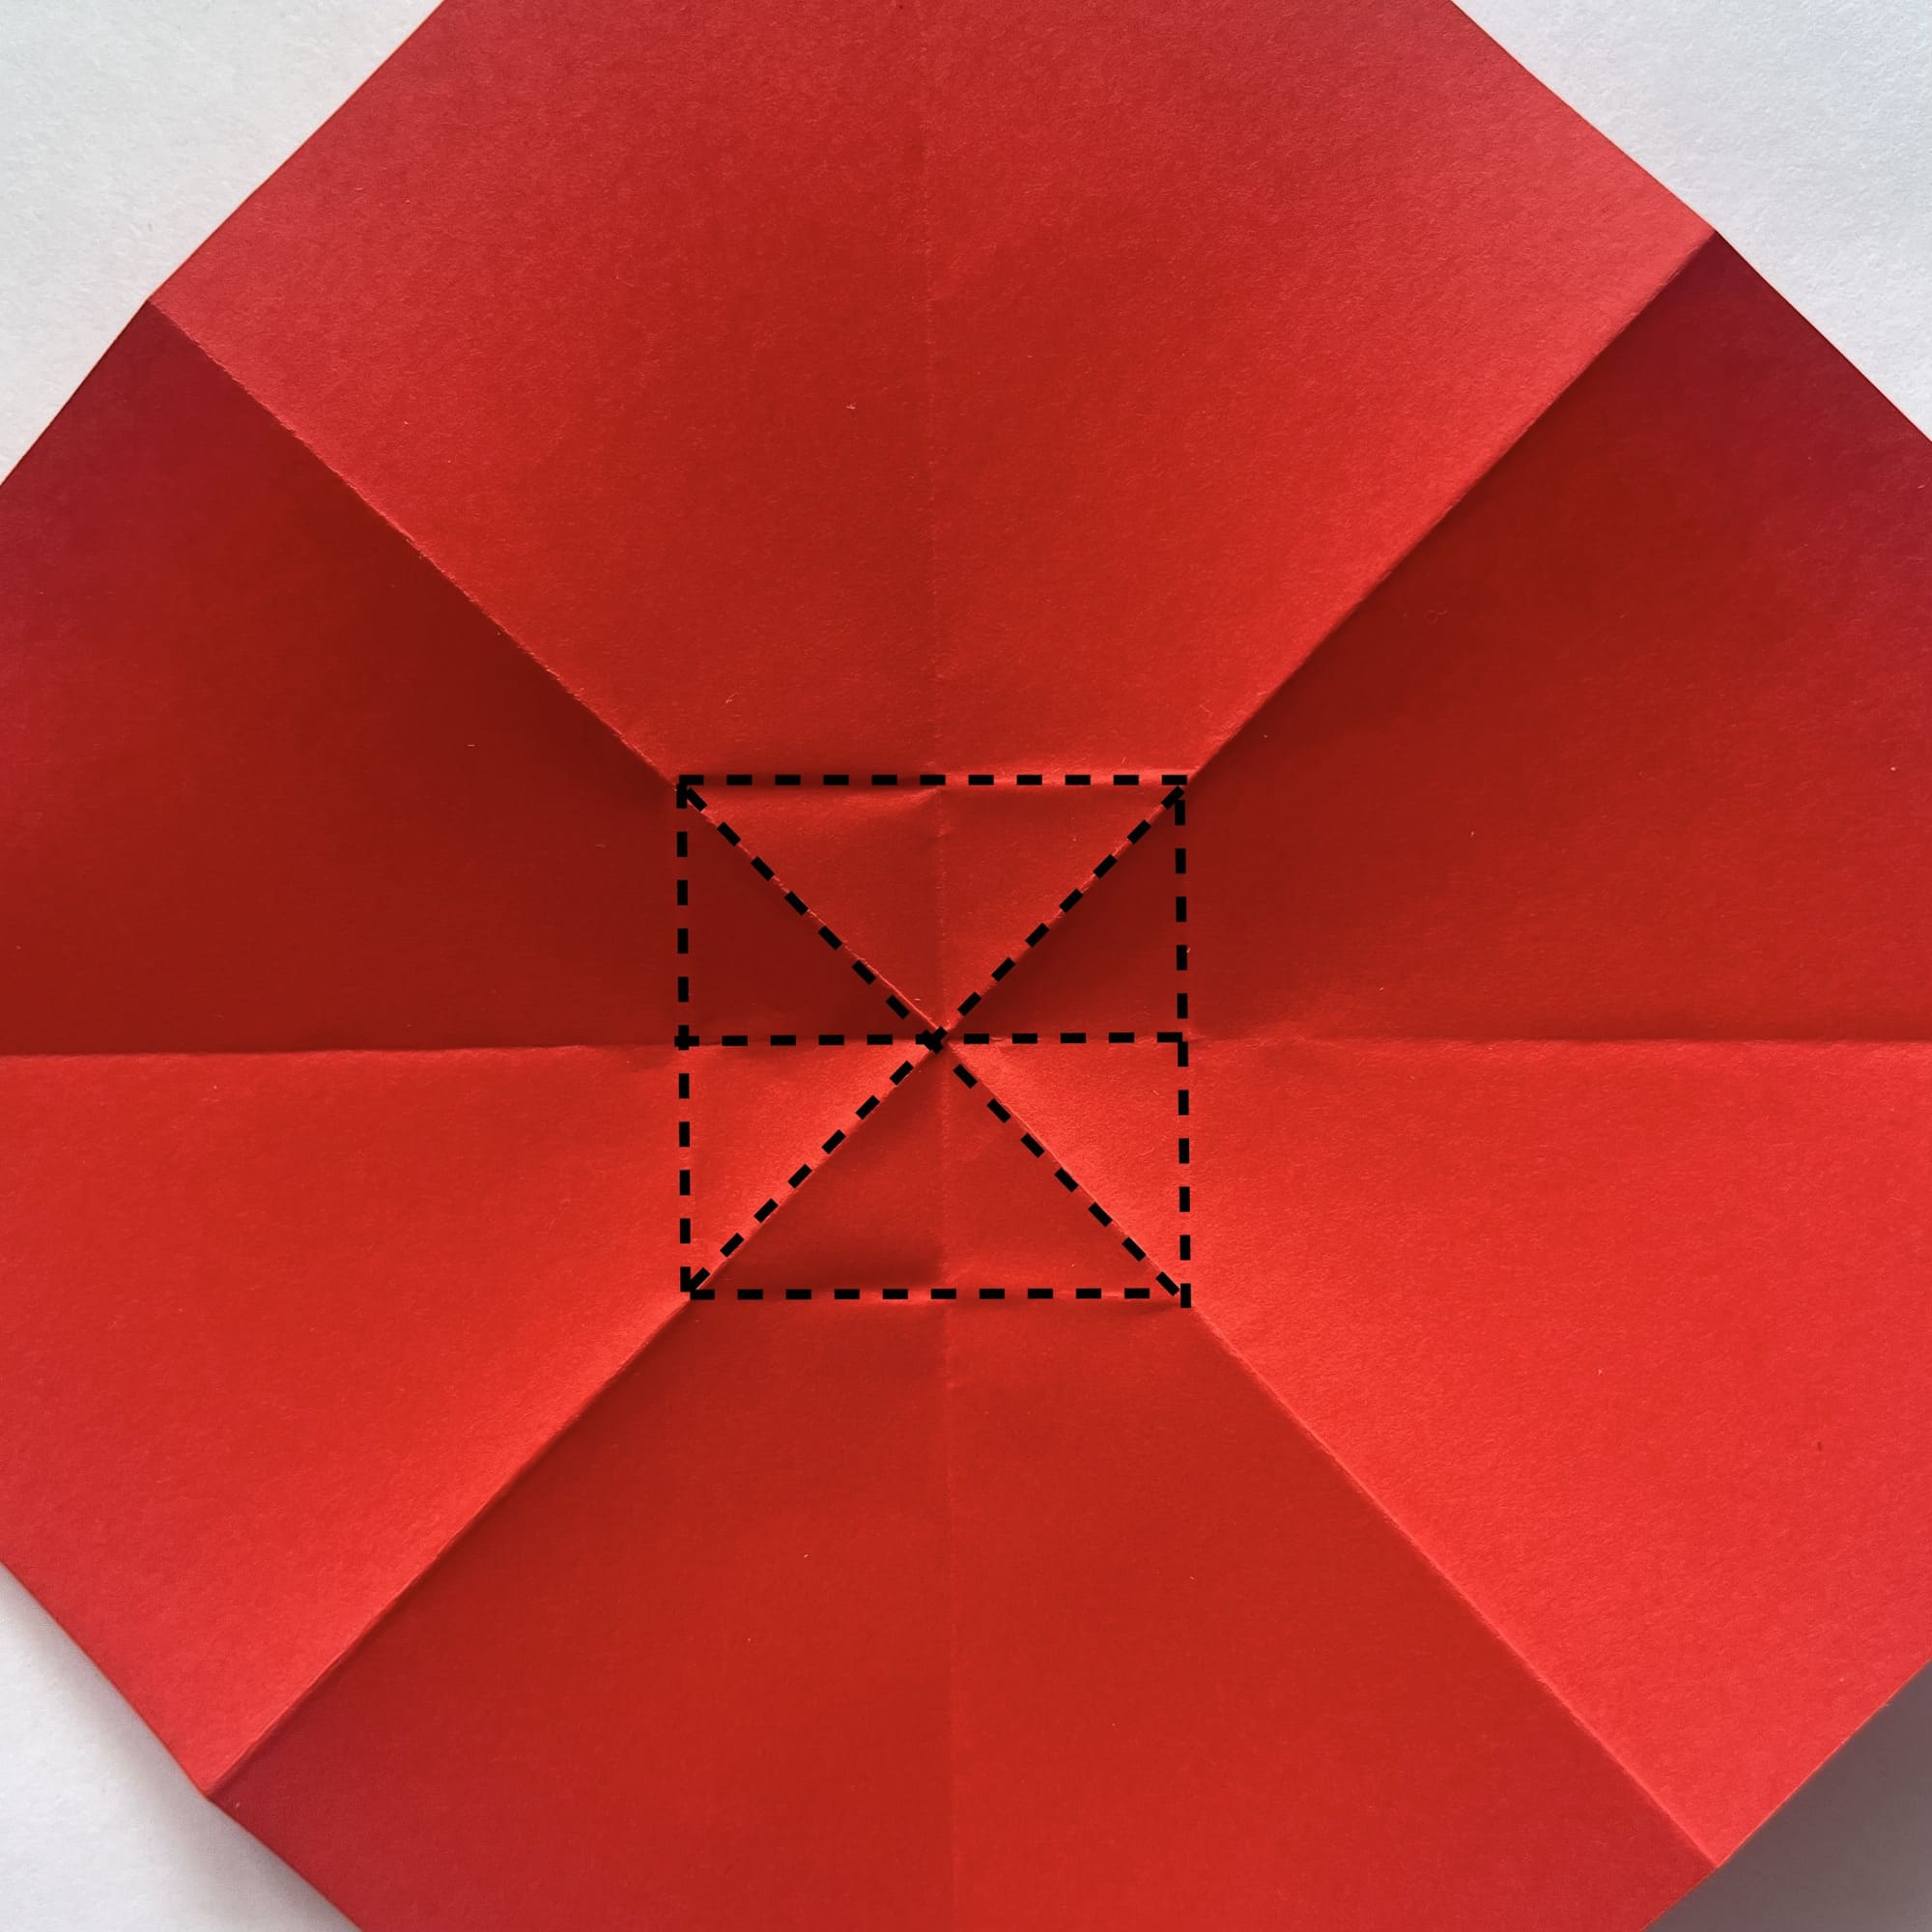
Now we need to recess its center part inside. To do this, you need to make a “Shell” fold, the technique of which is described in detail on our website.
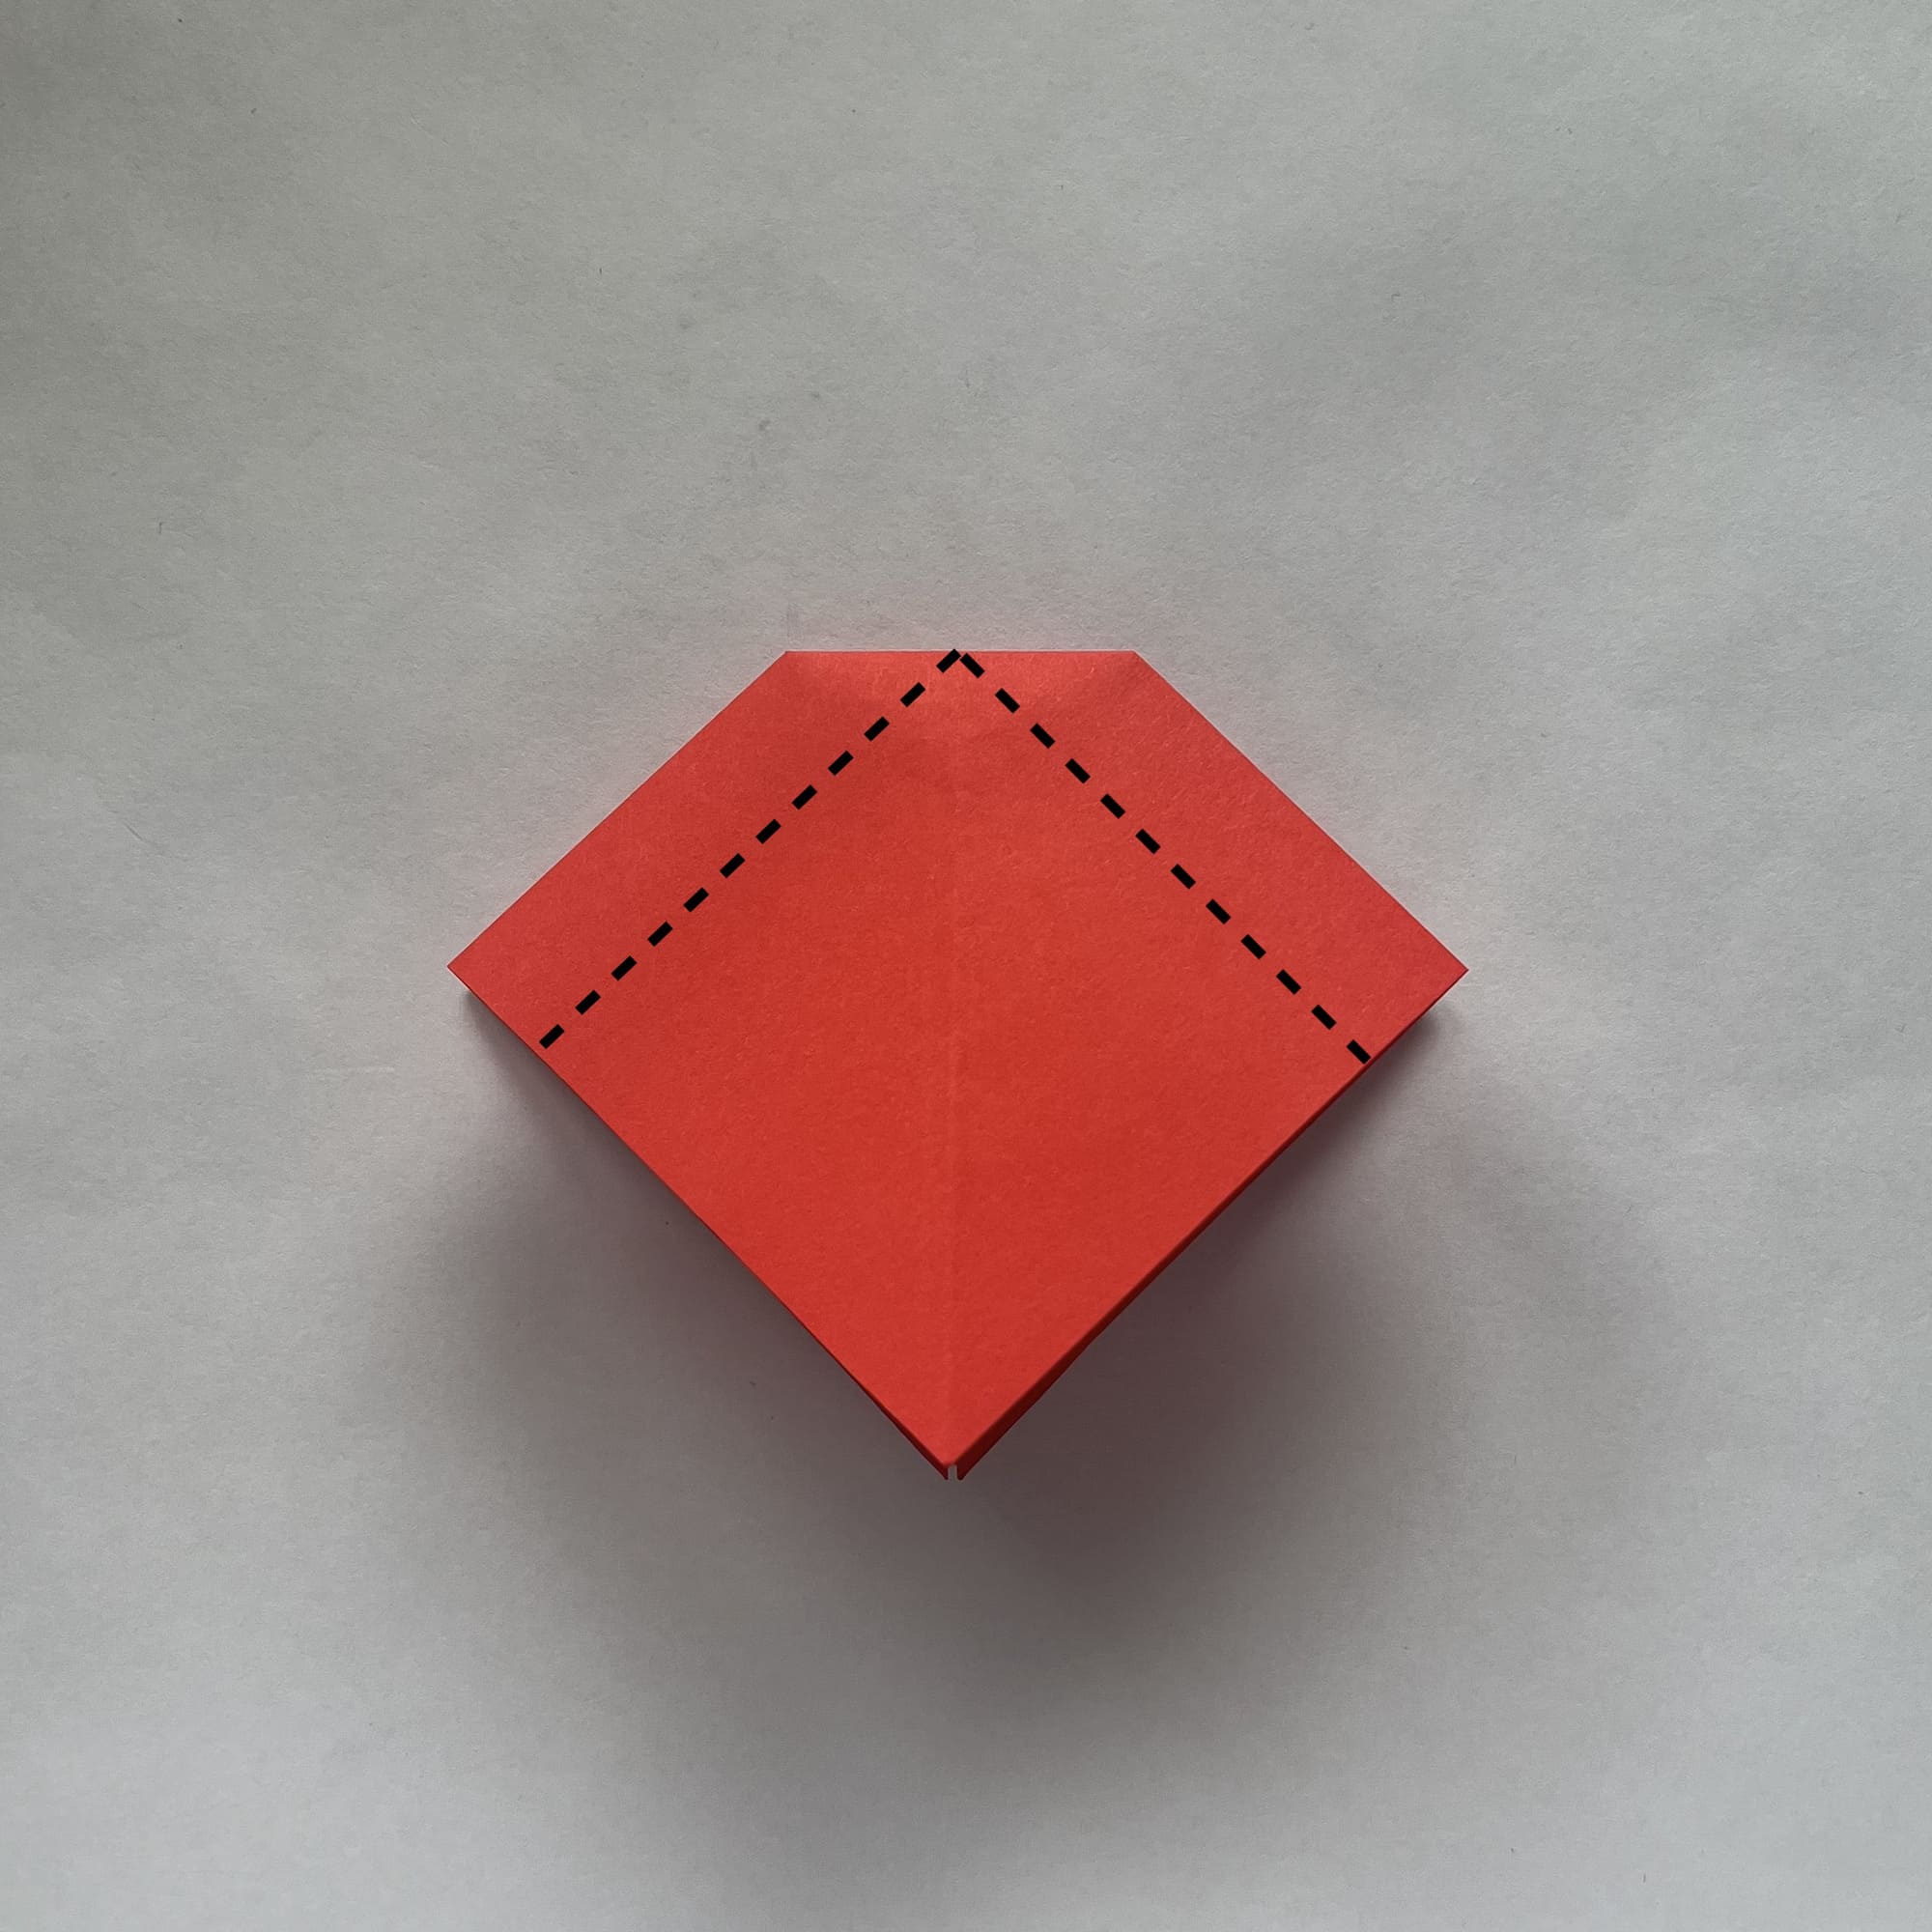
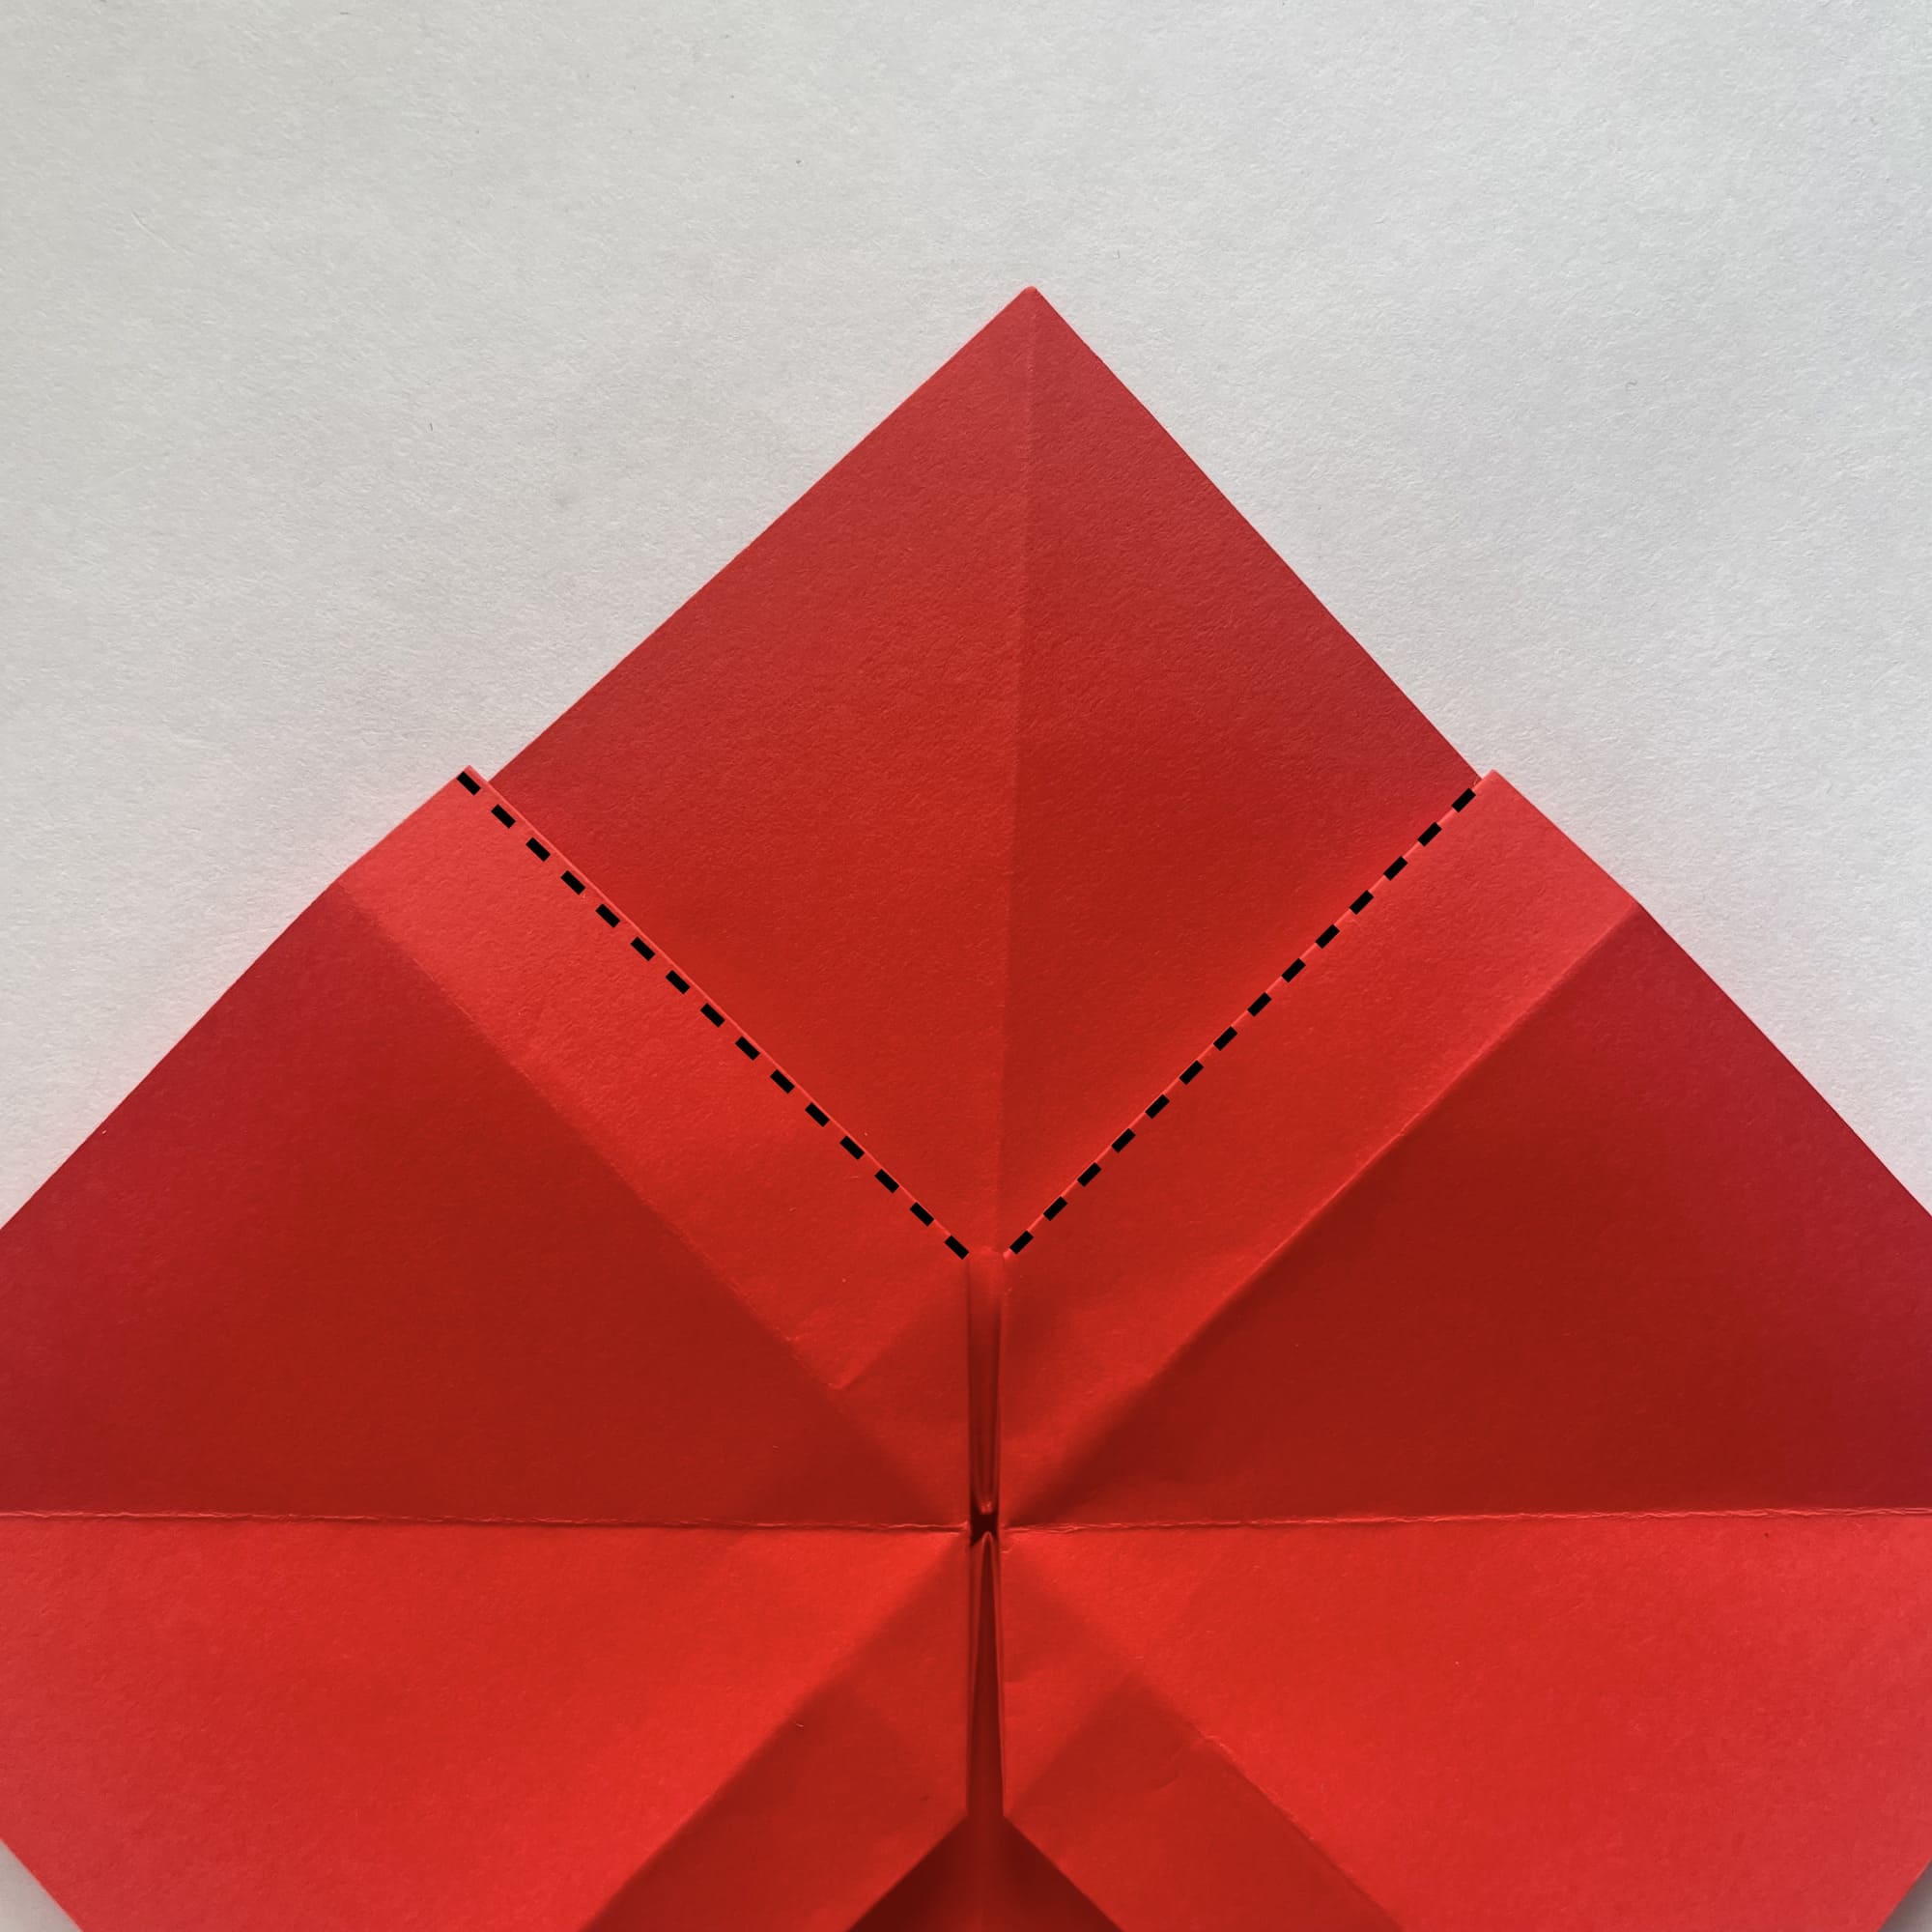
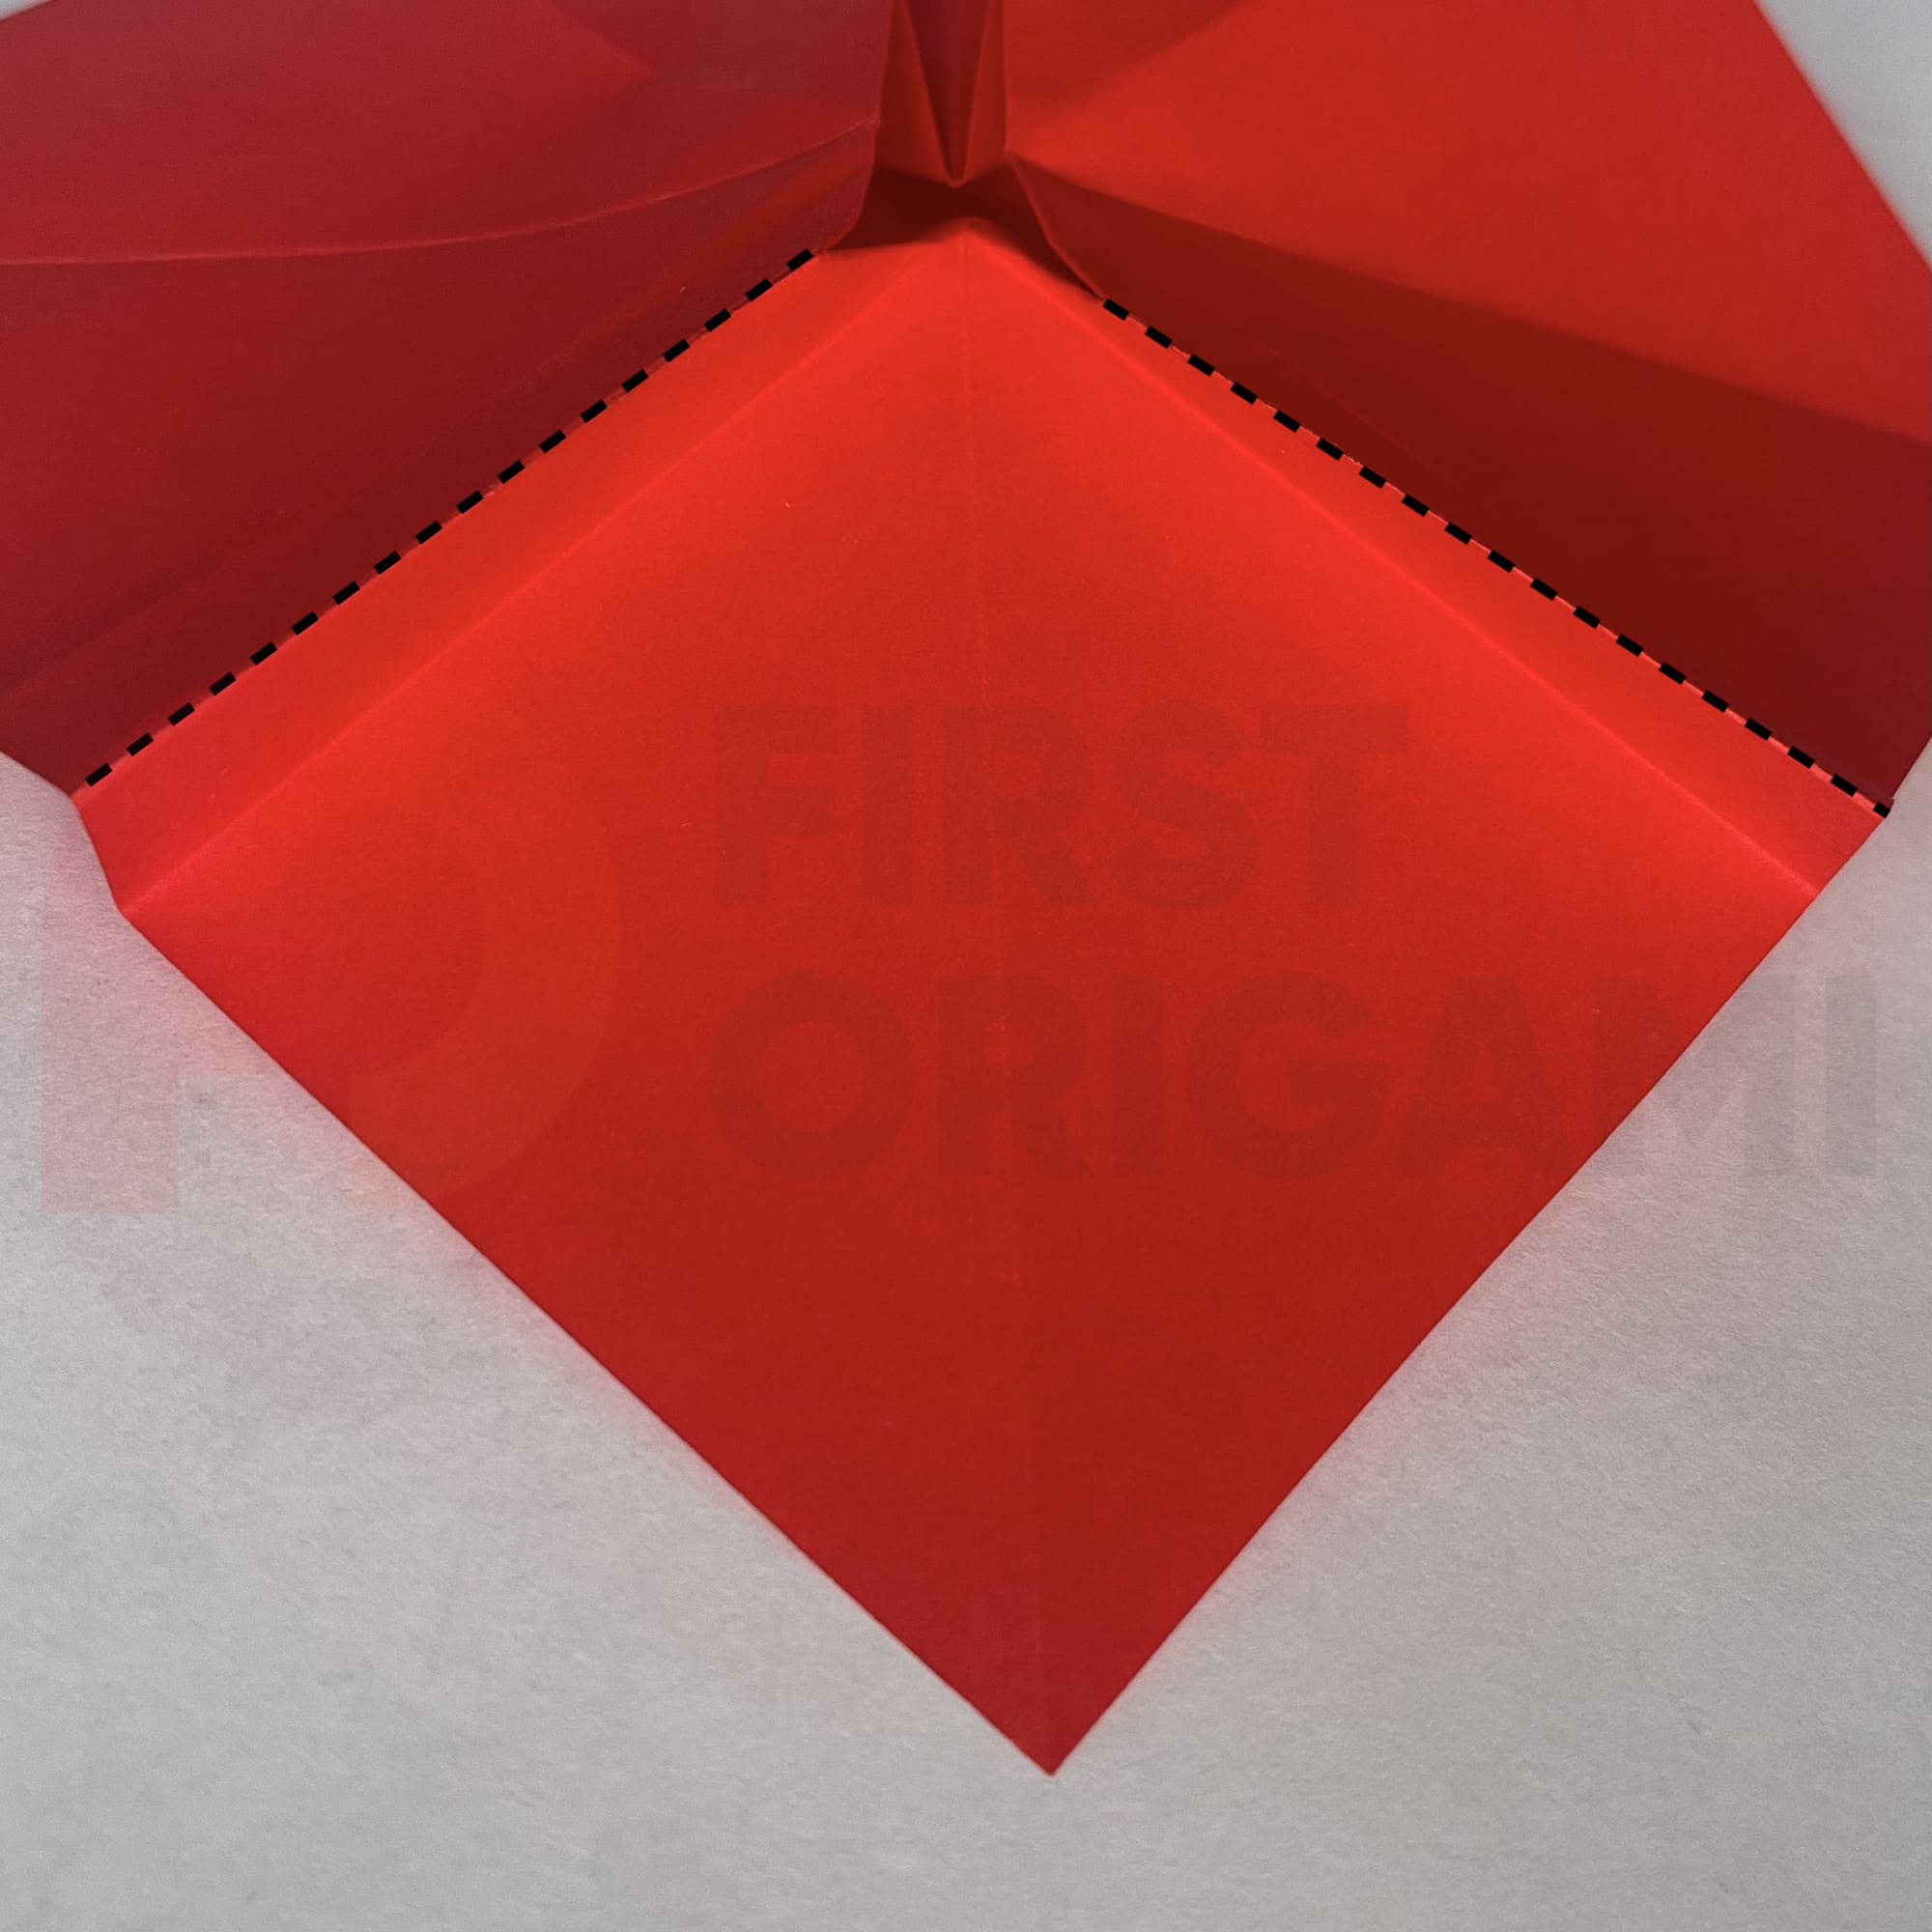
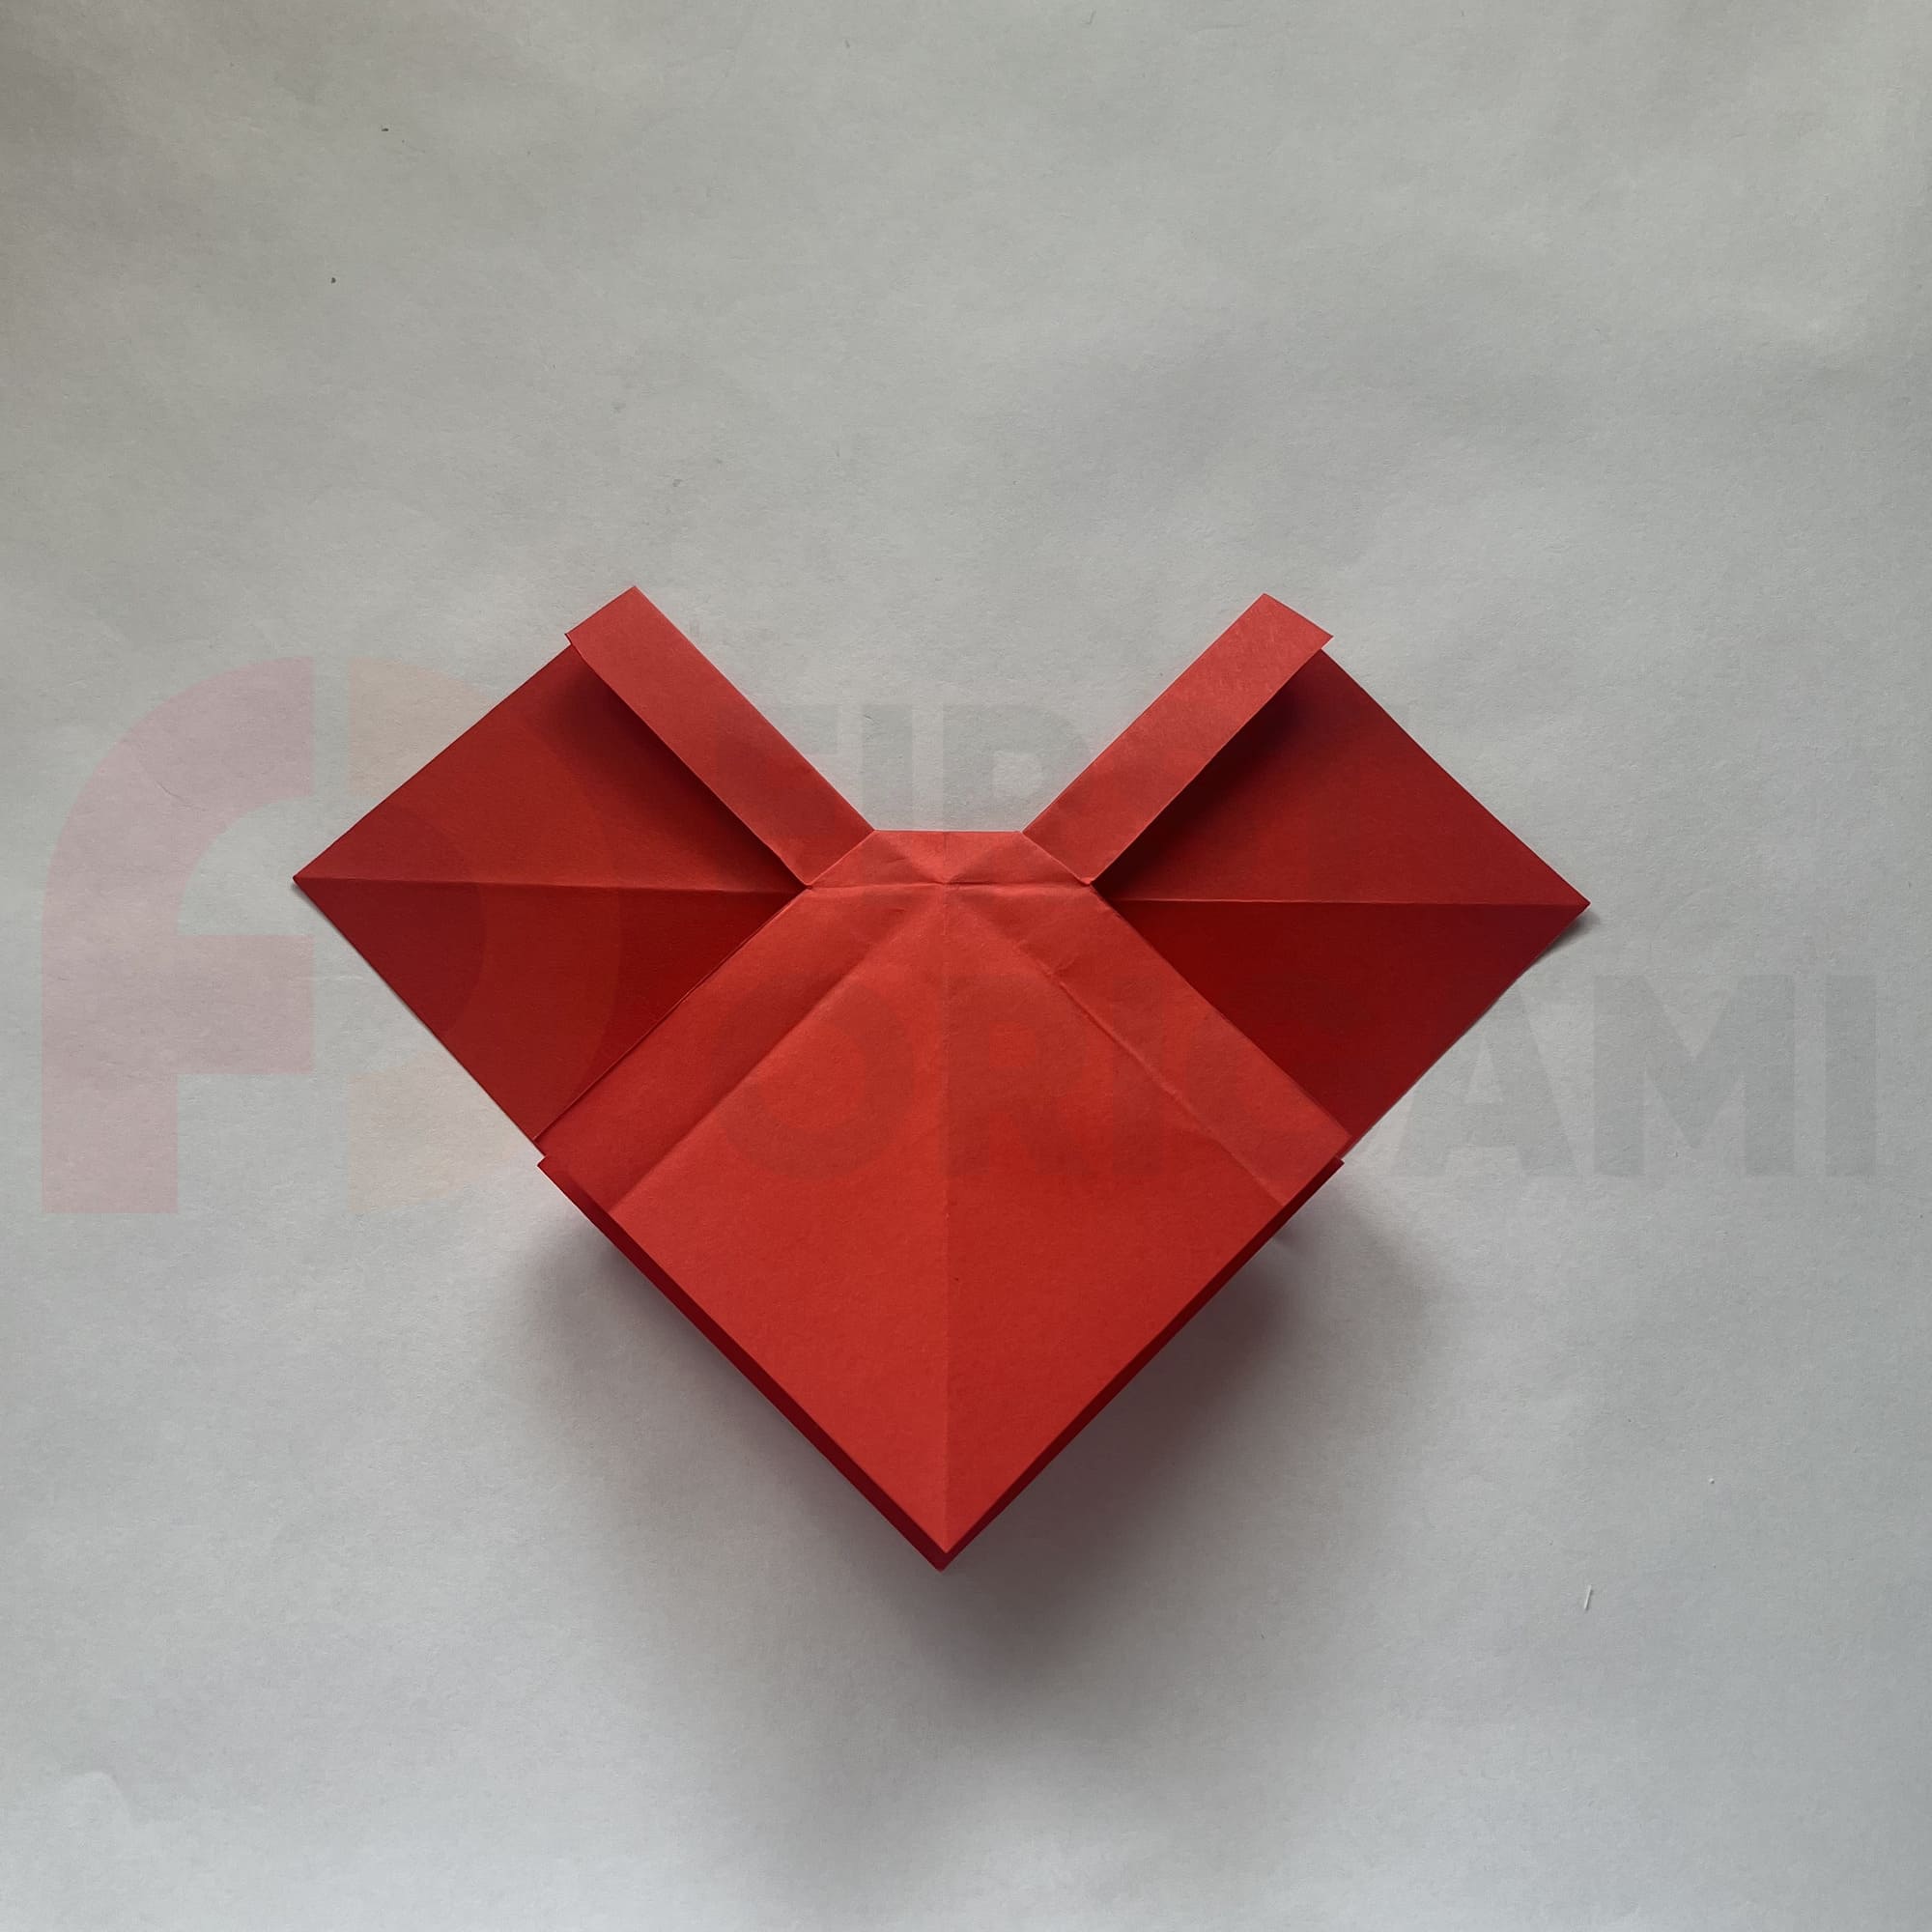
Make the folds along the dotted lines, shown in the photo, to form the convex folds.

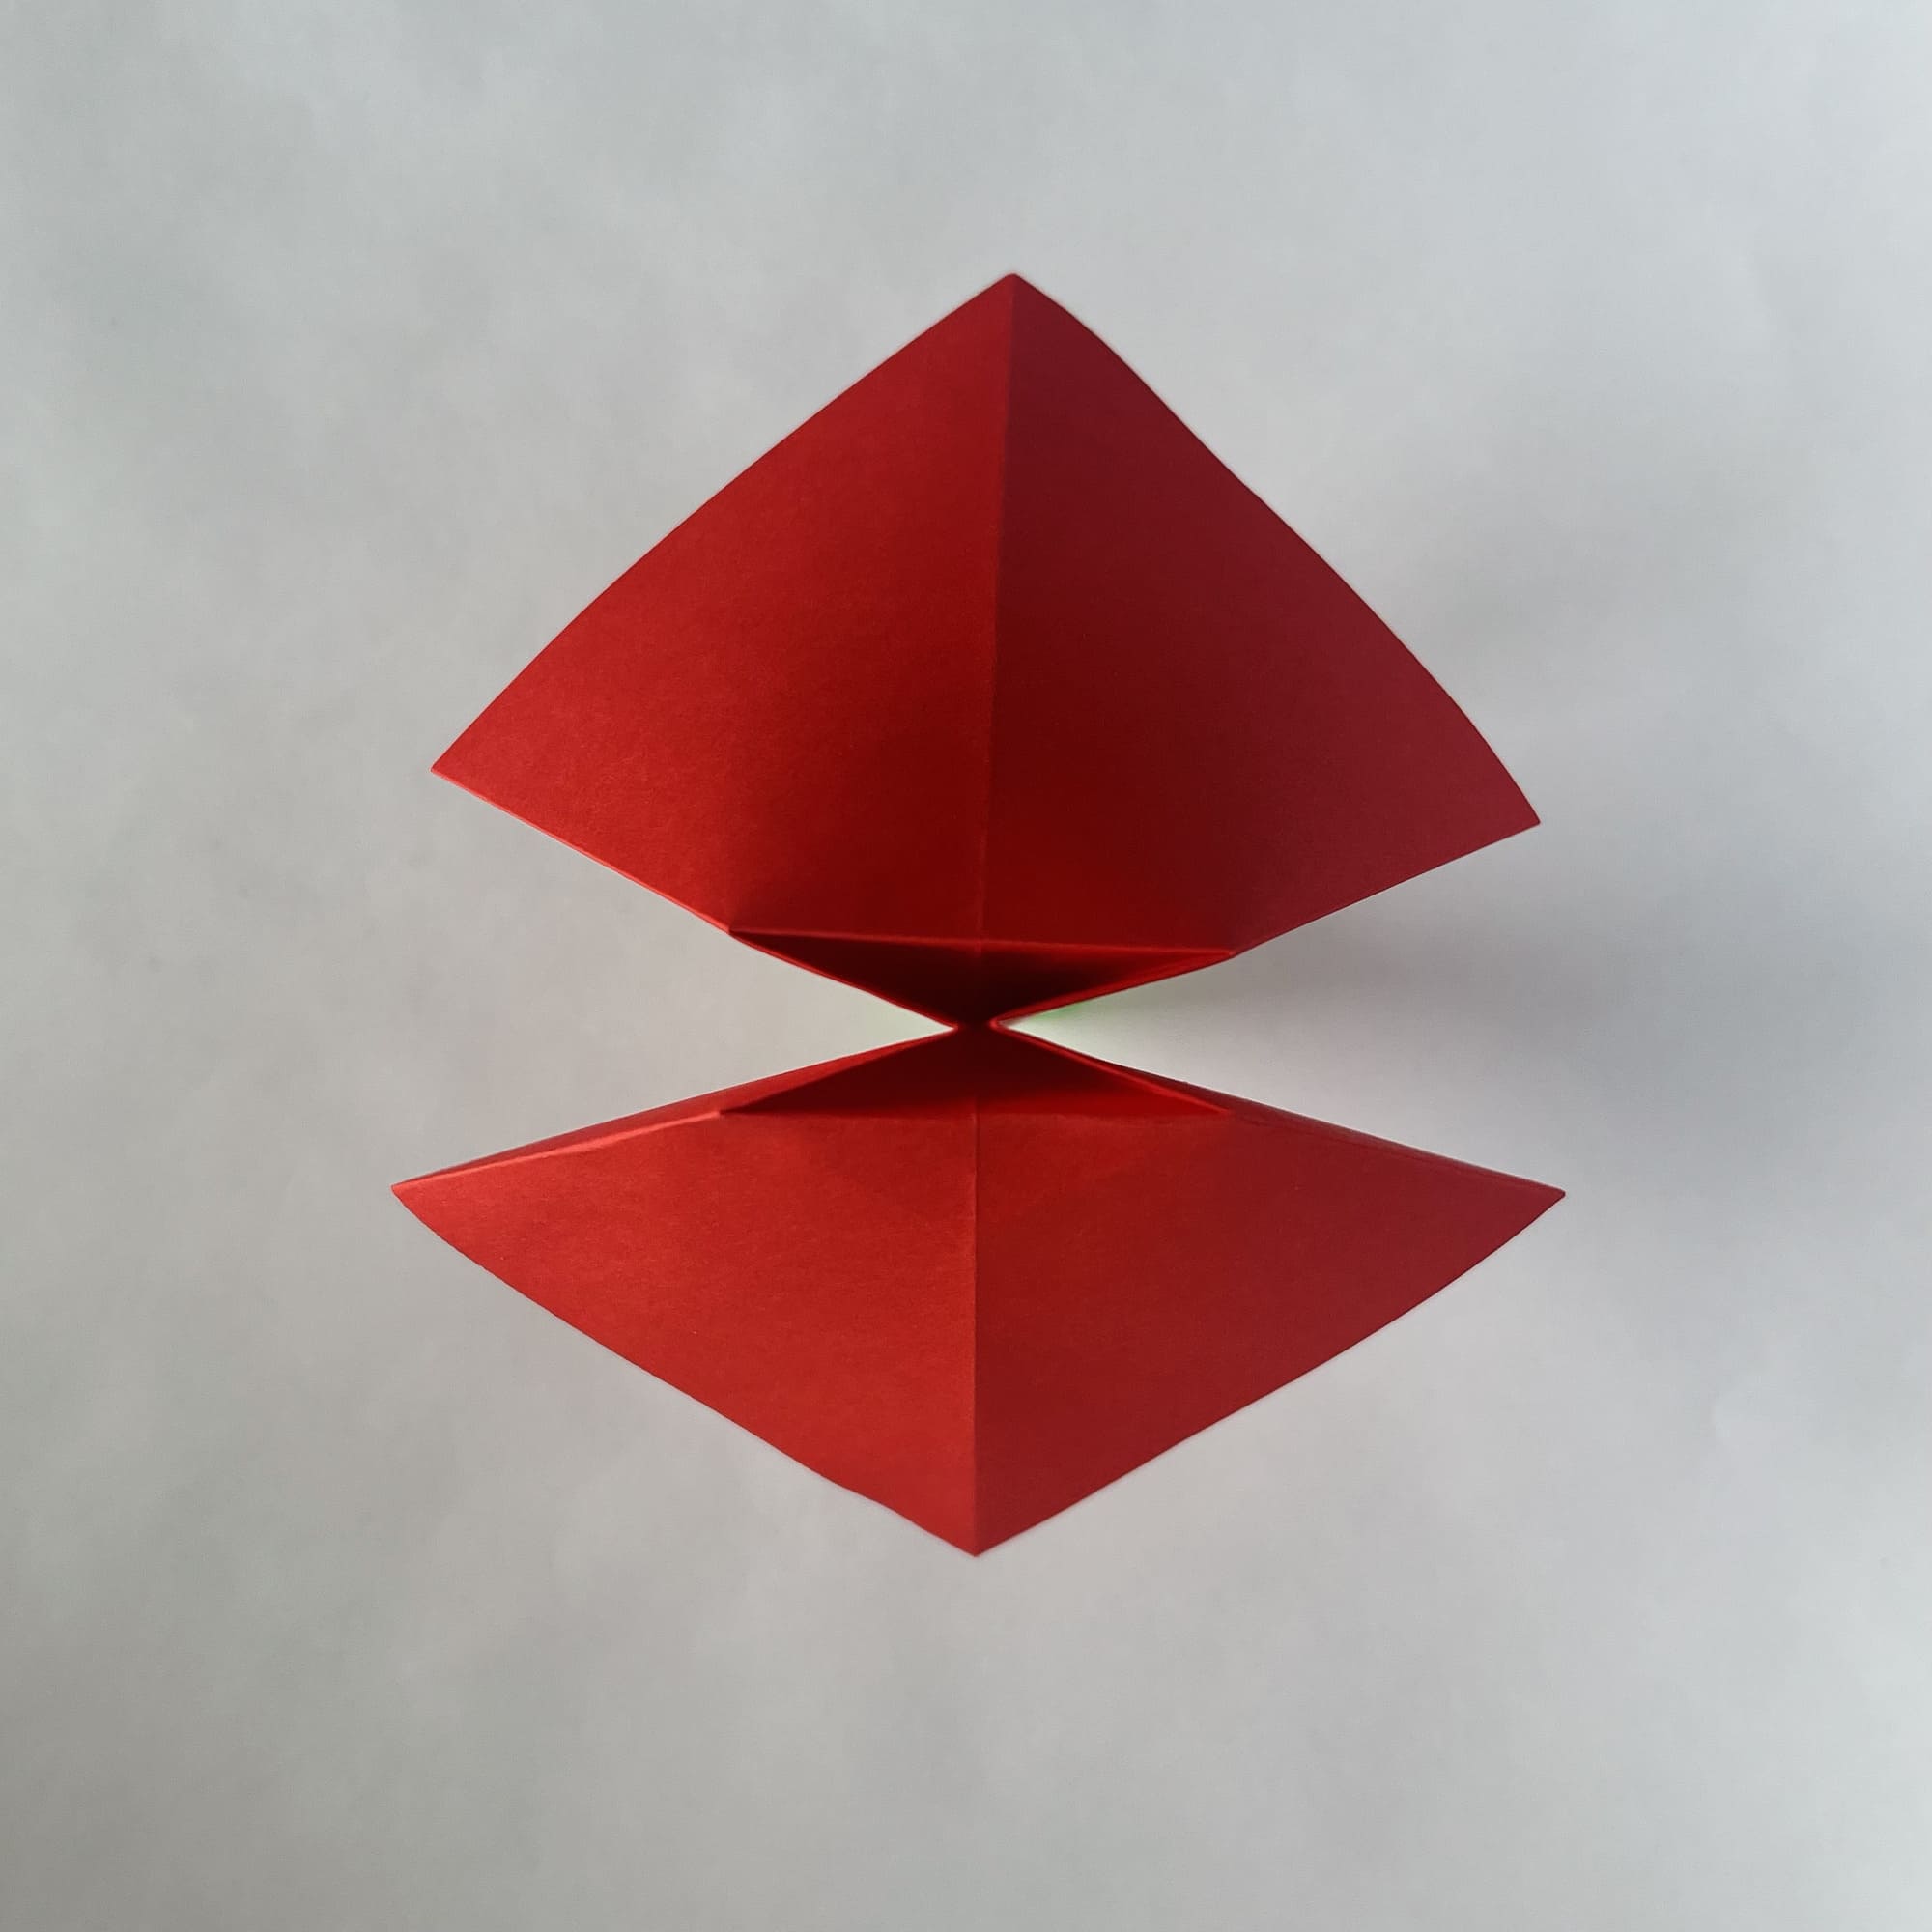
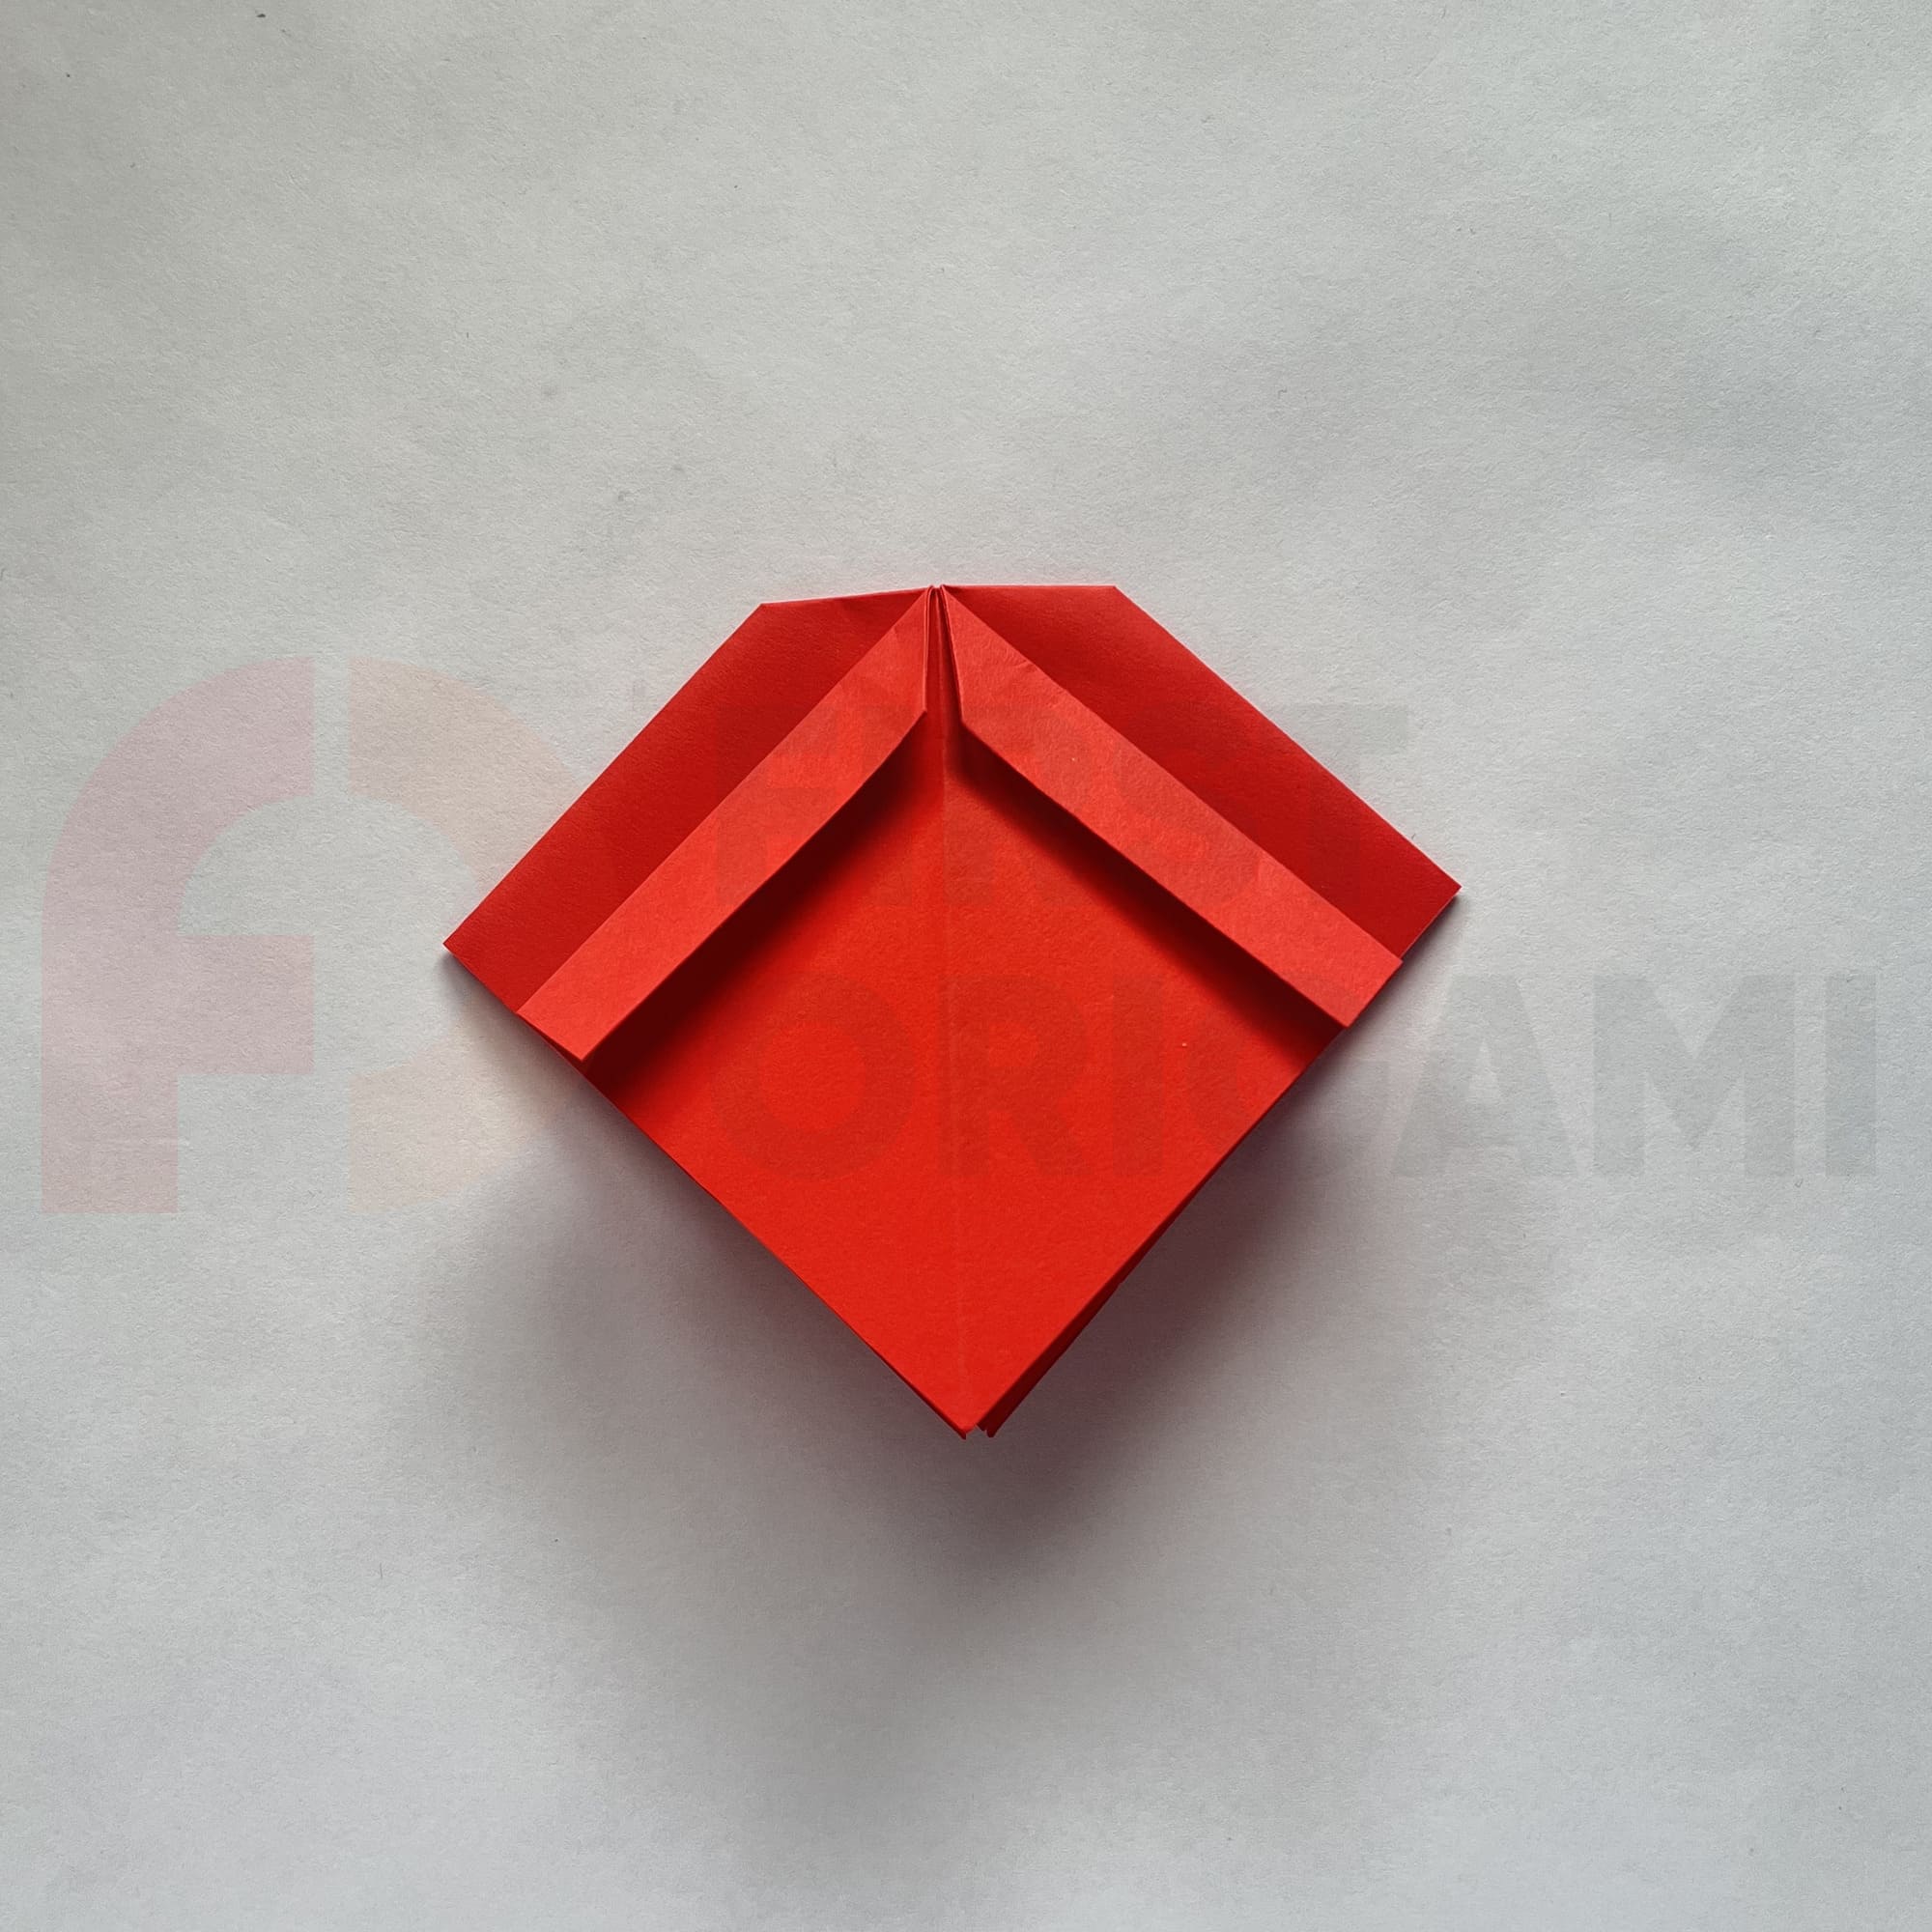
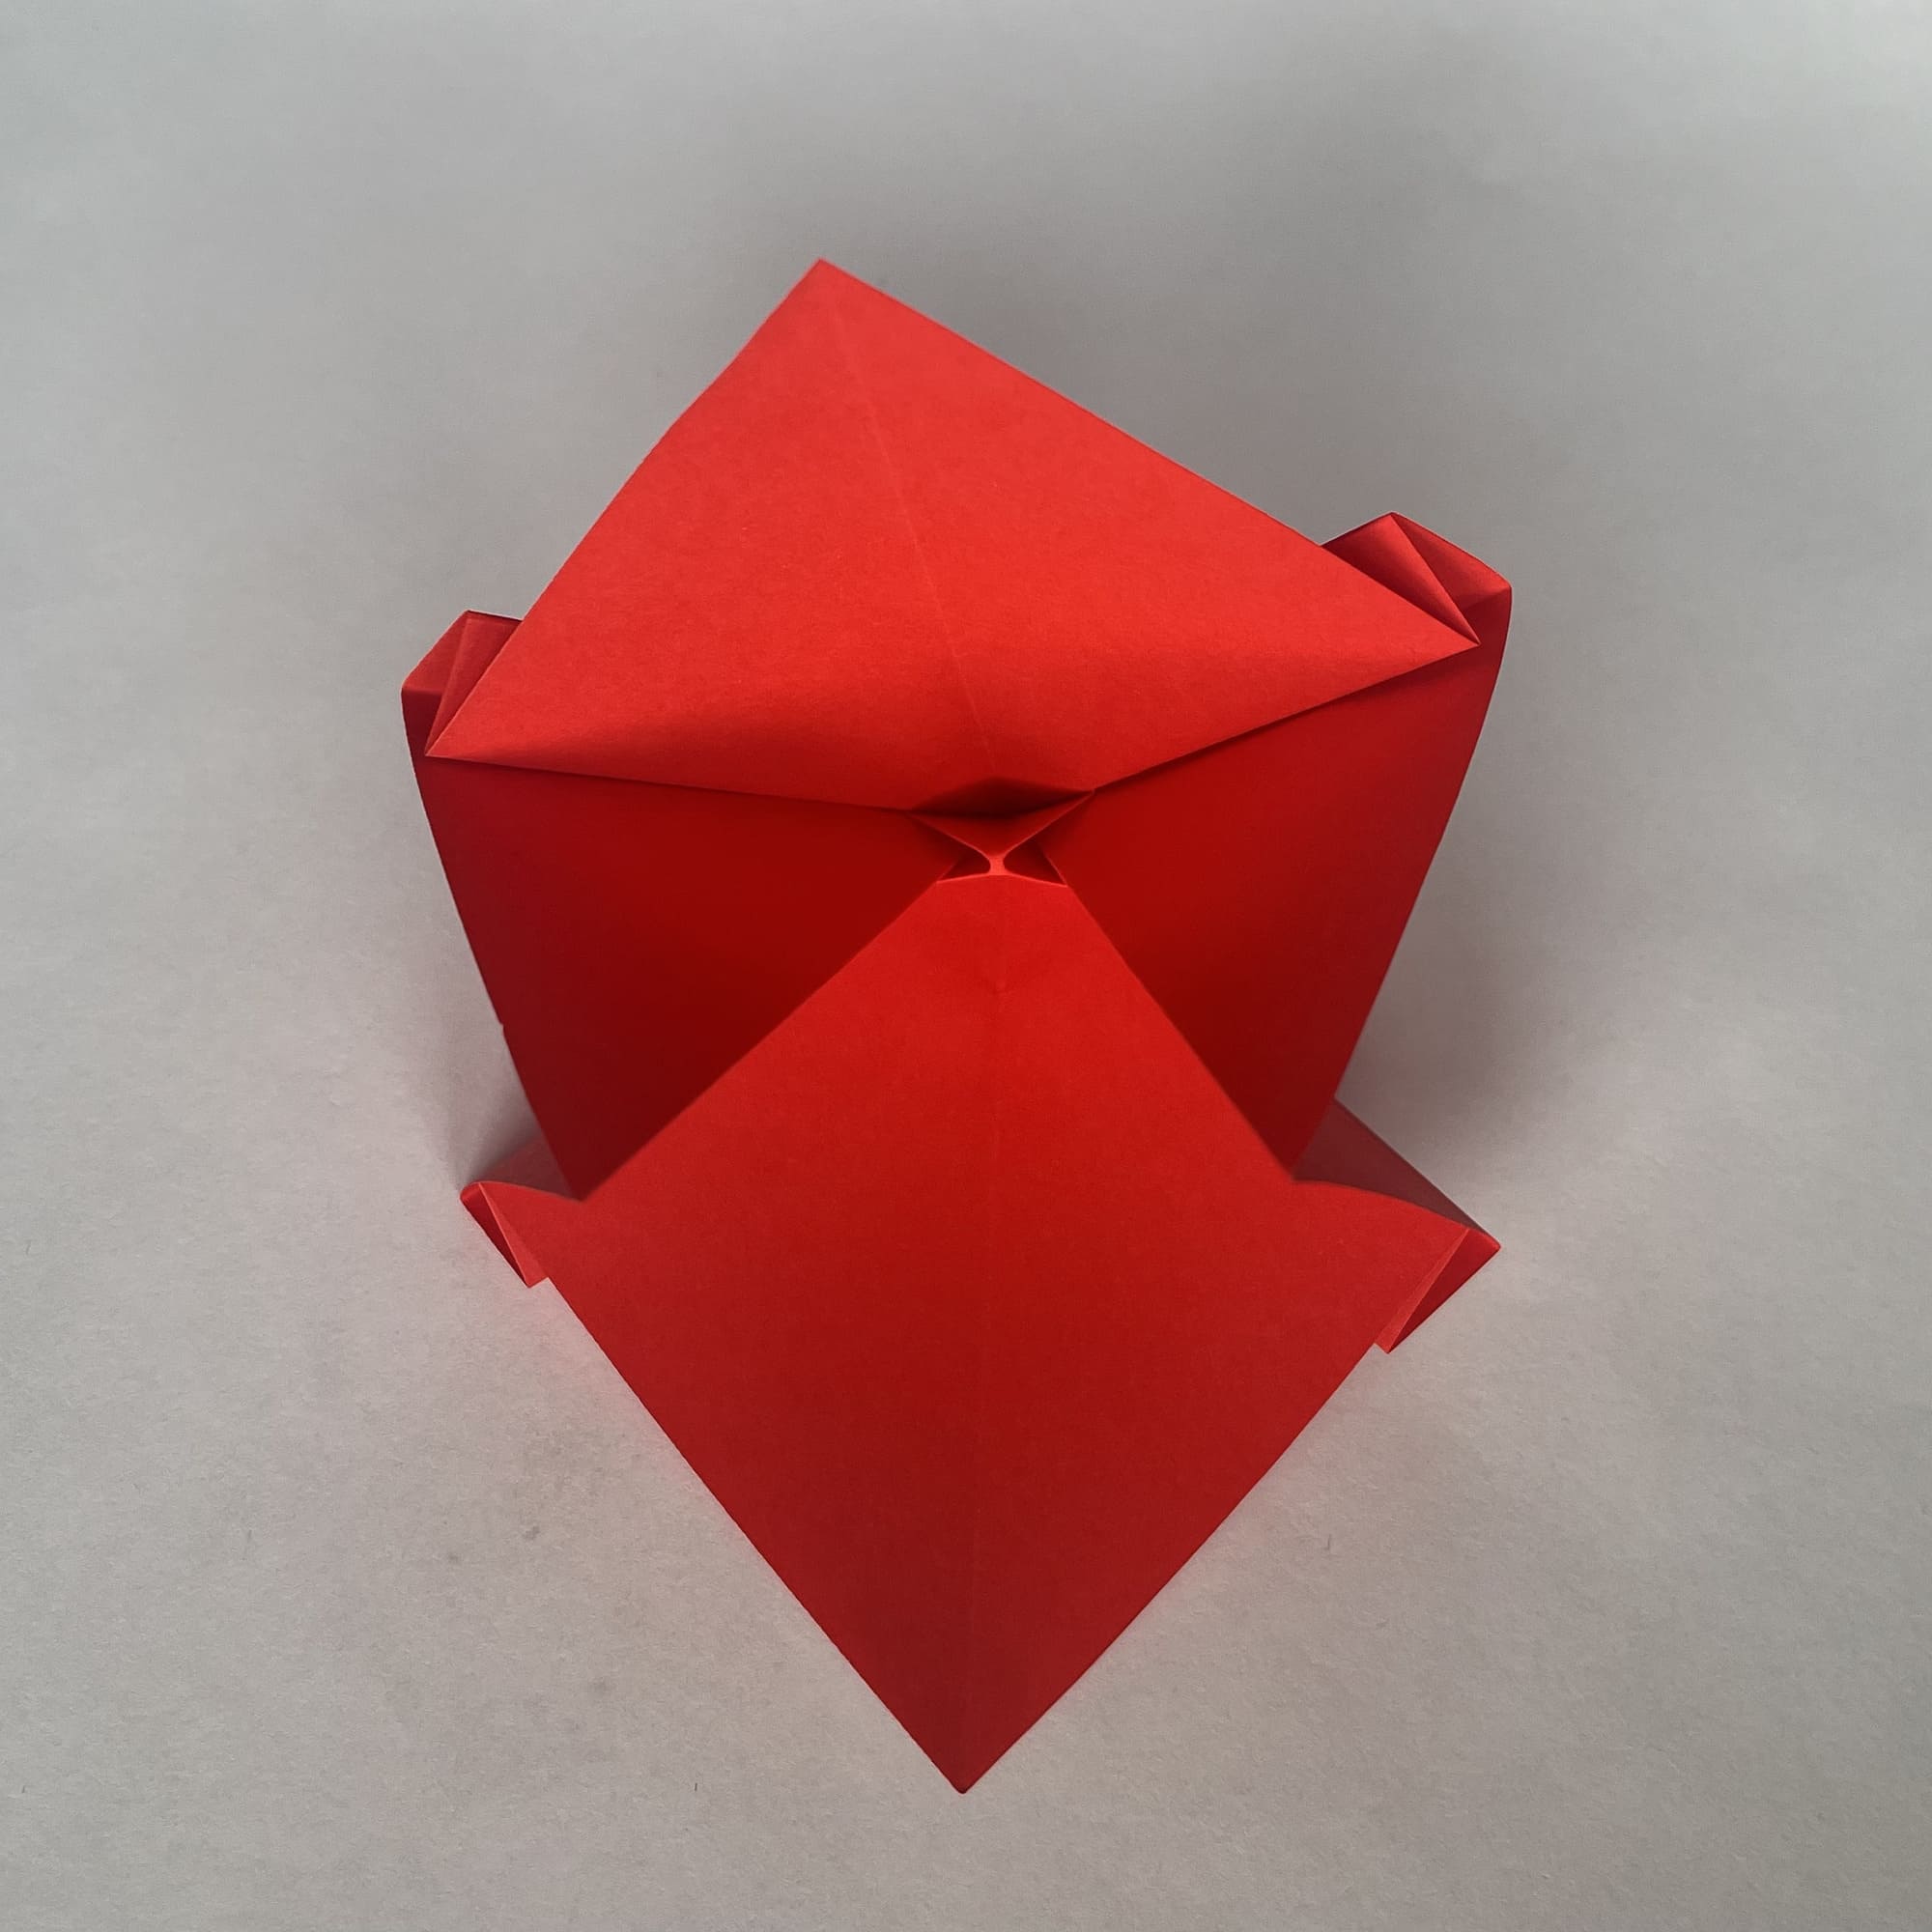
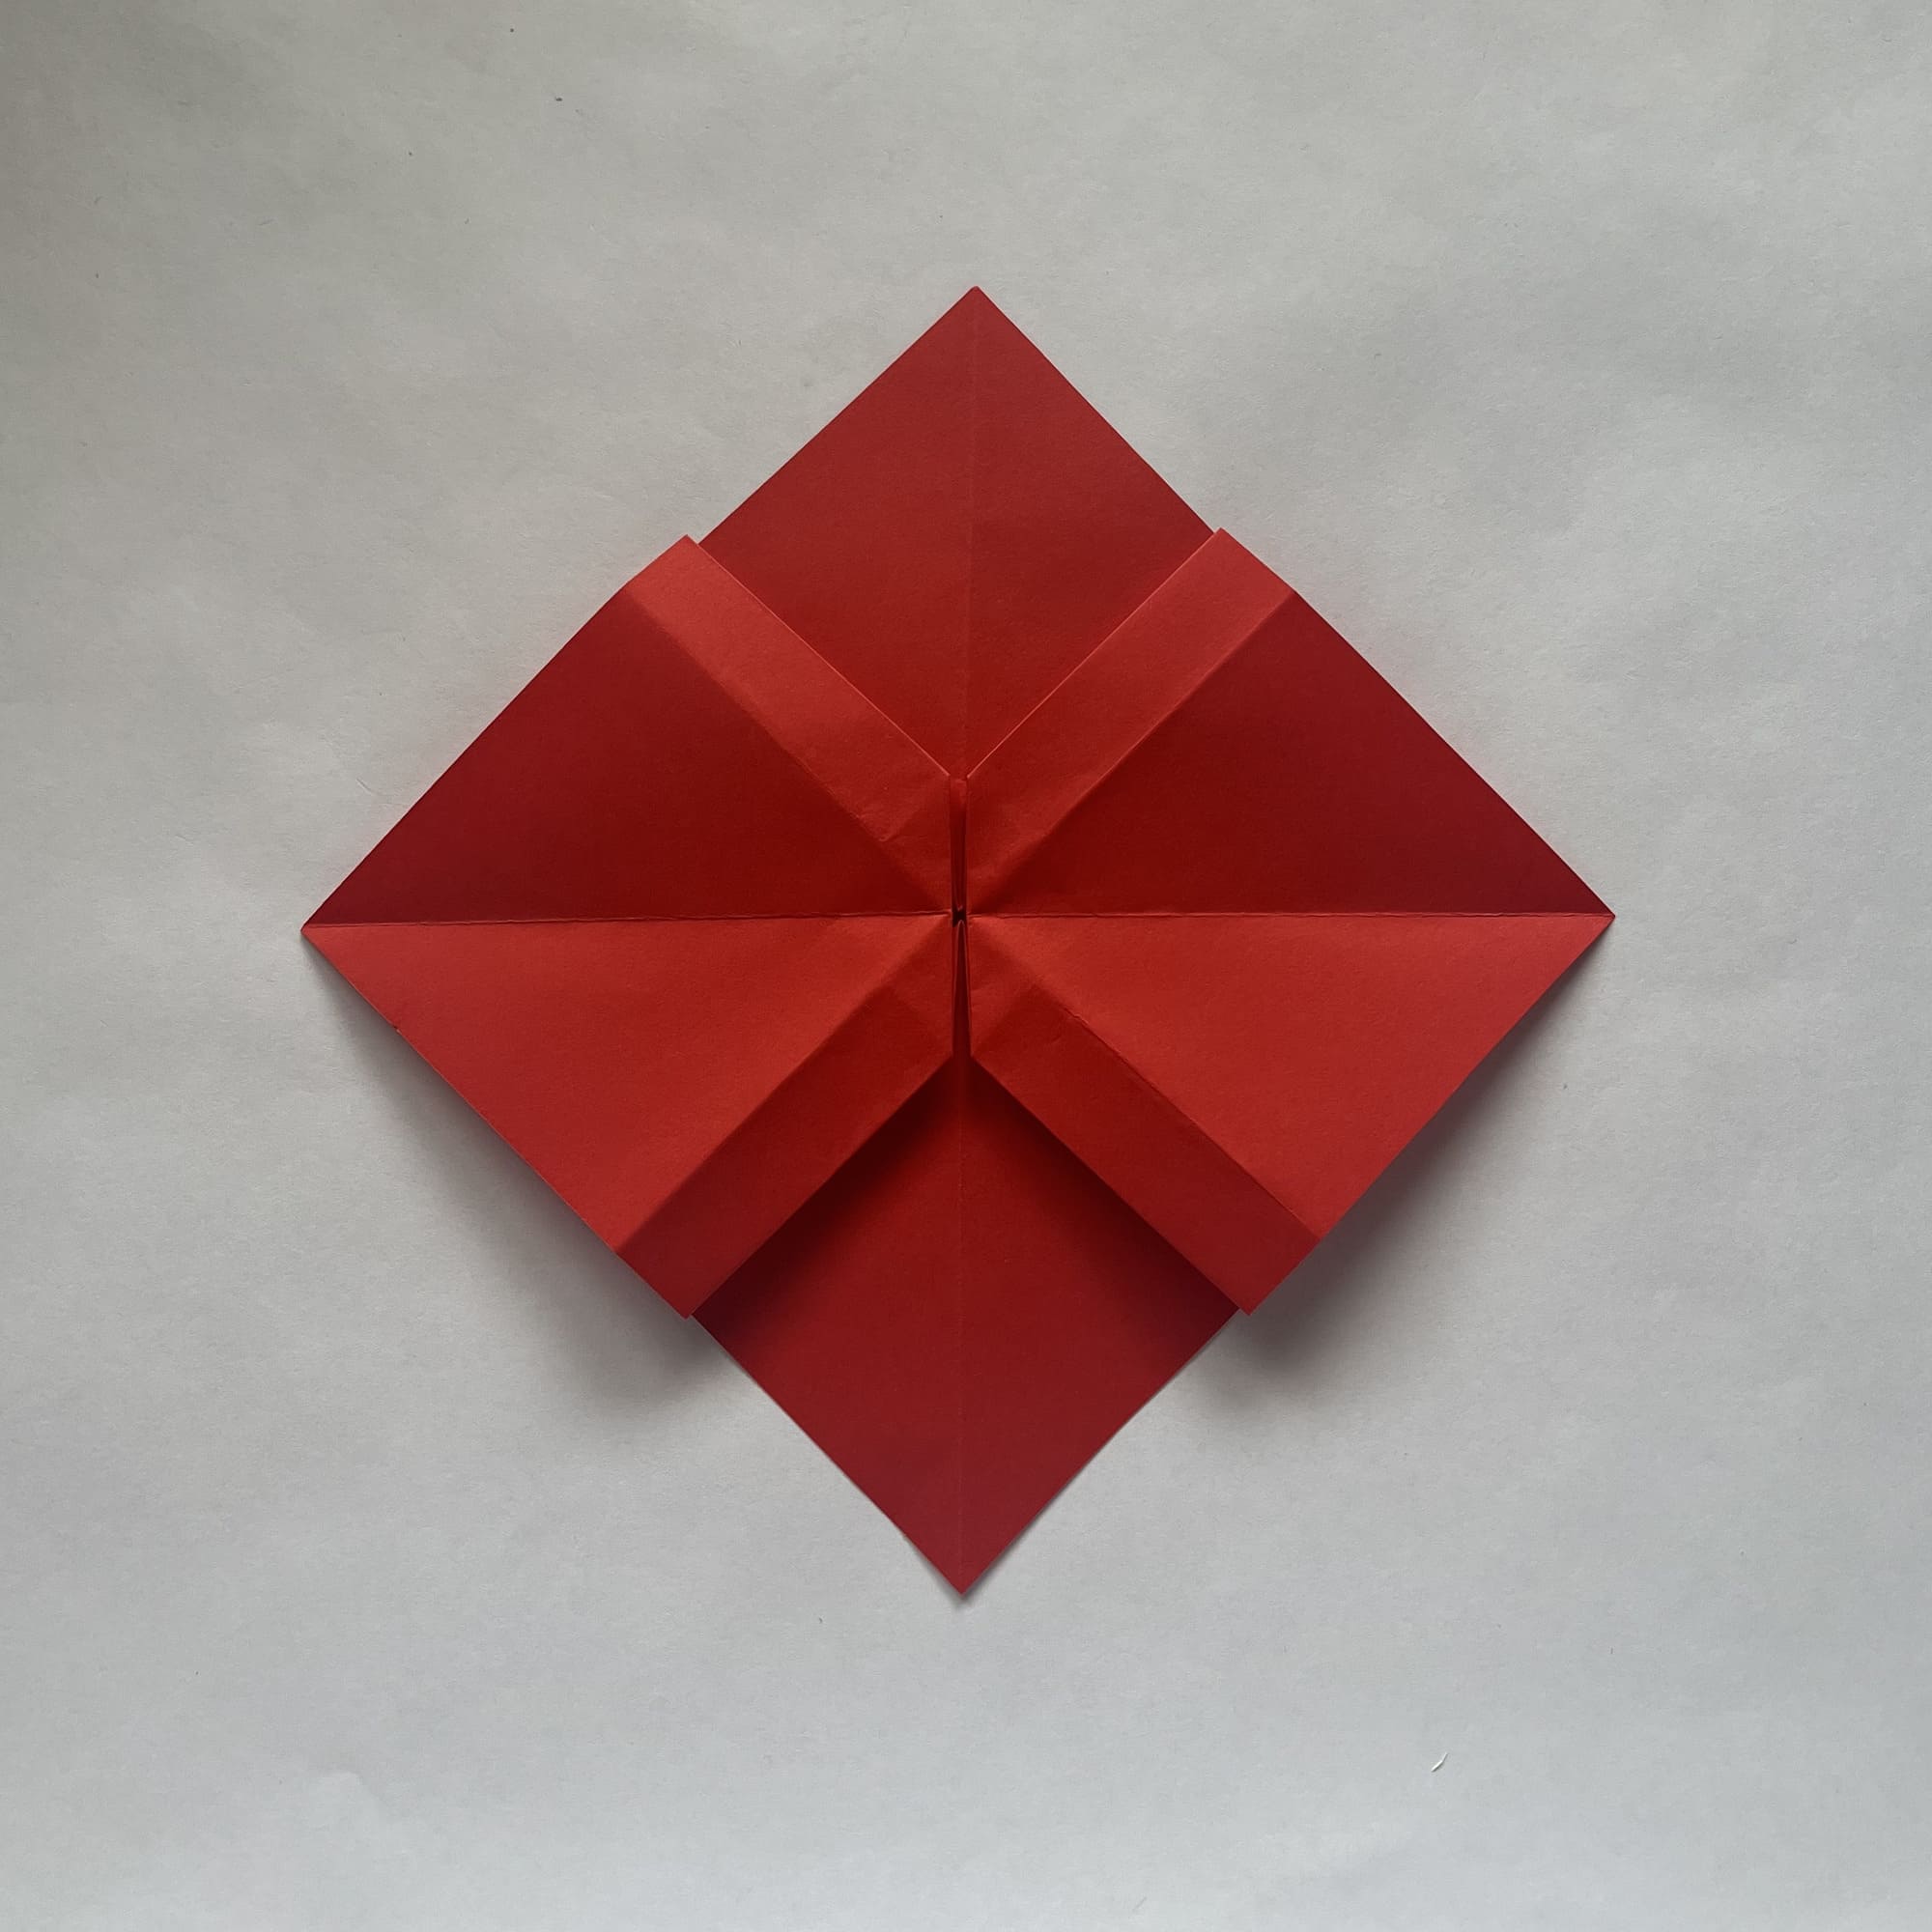
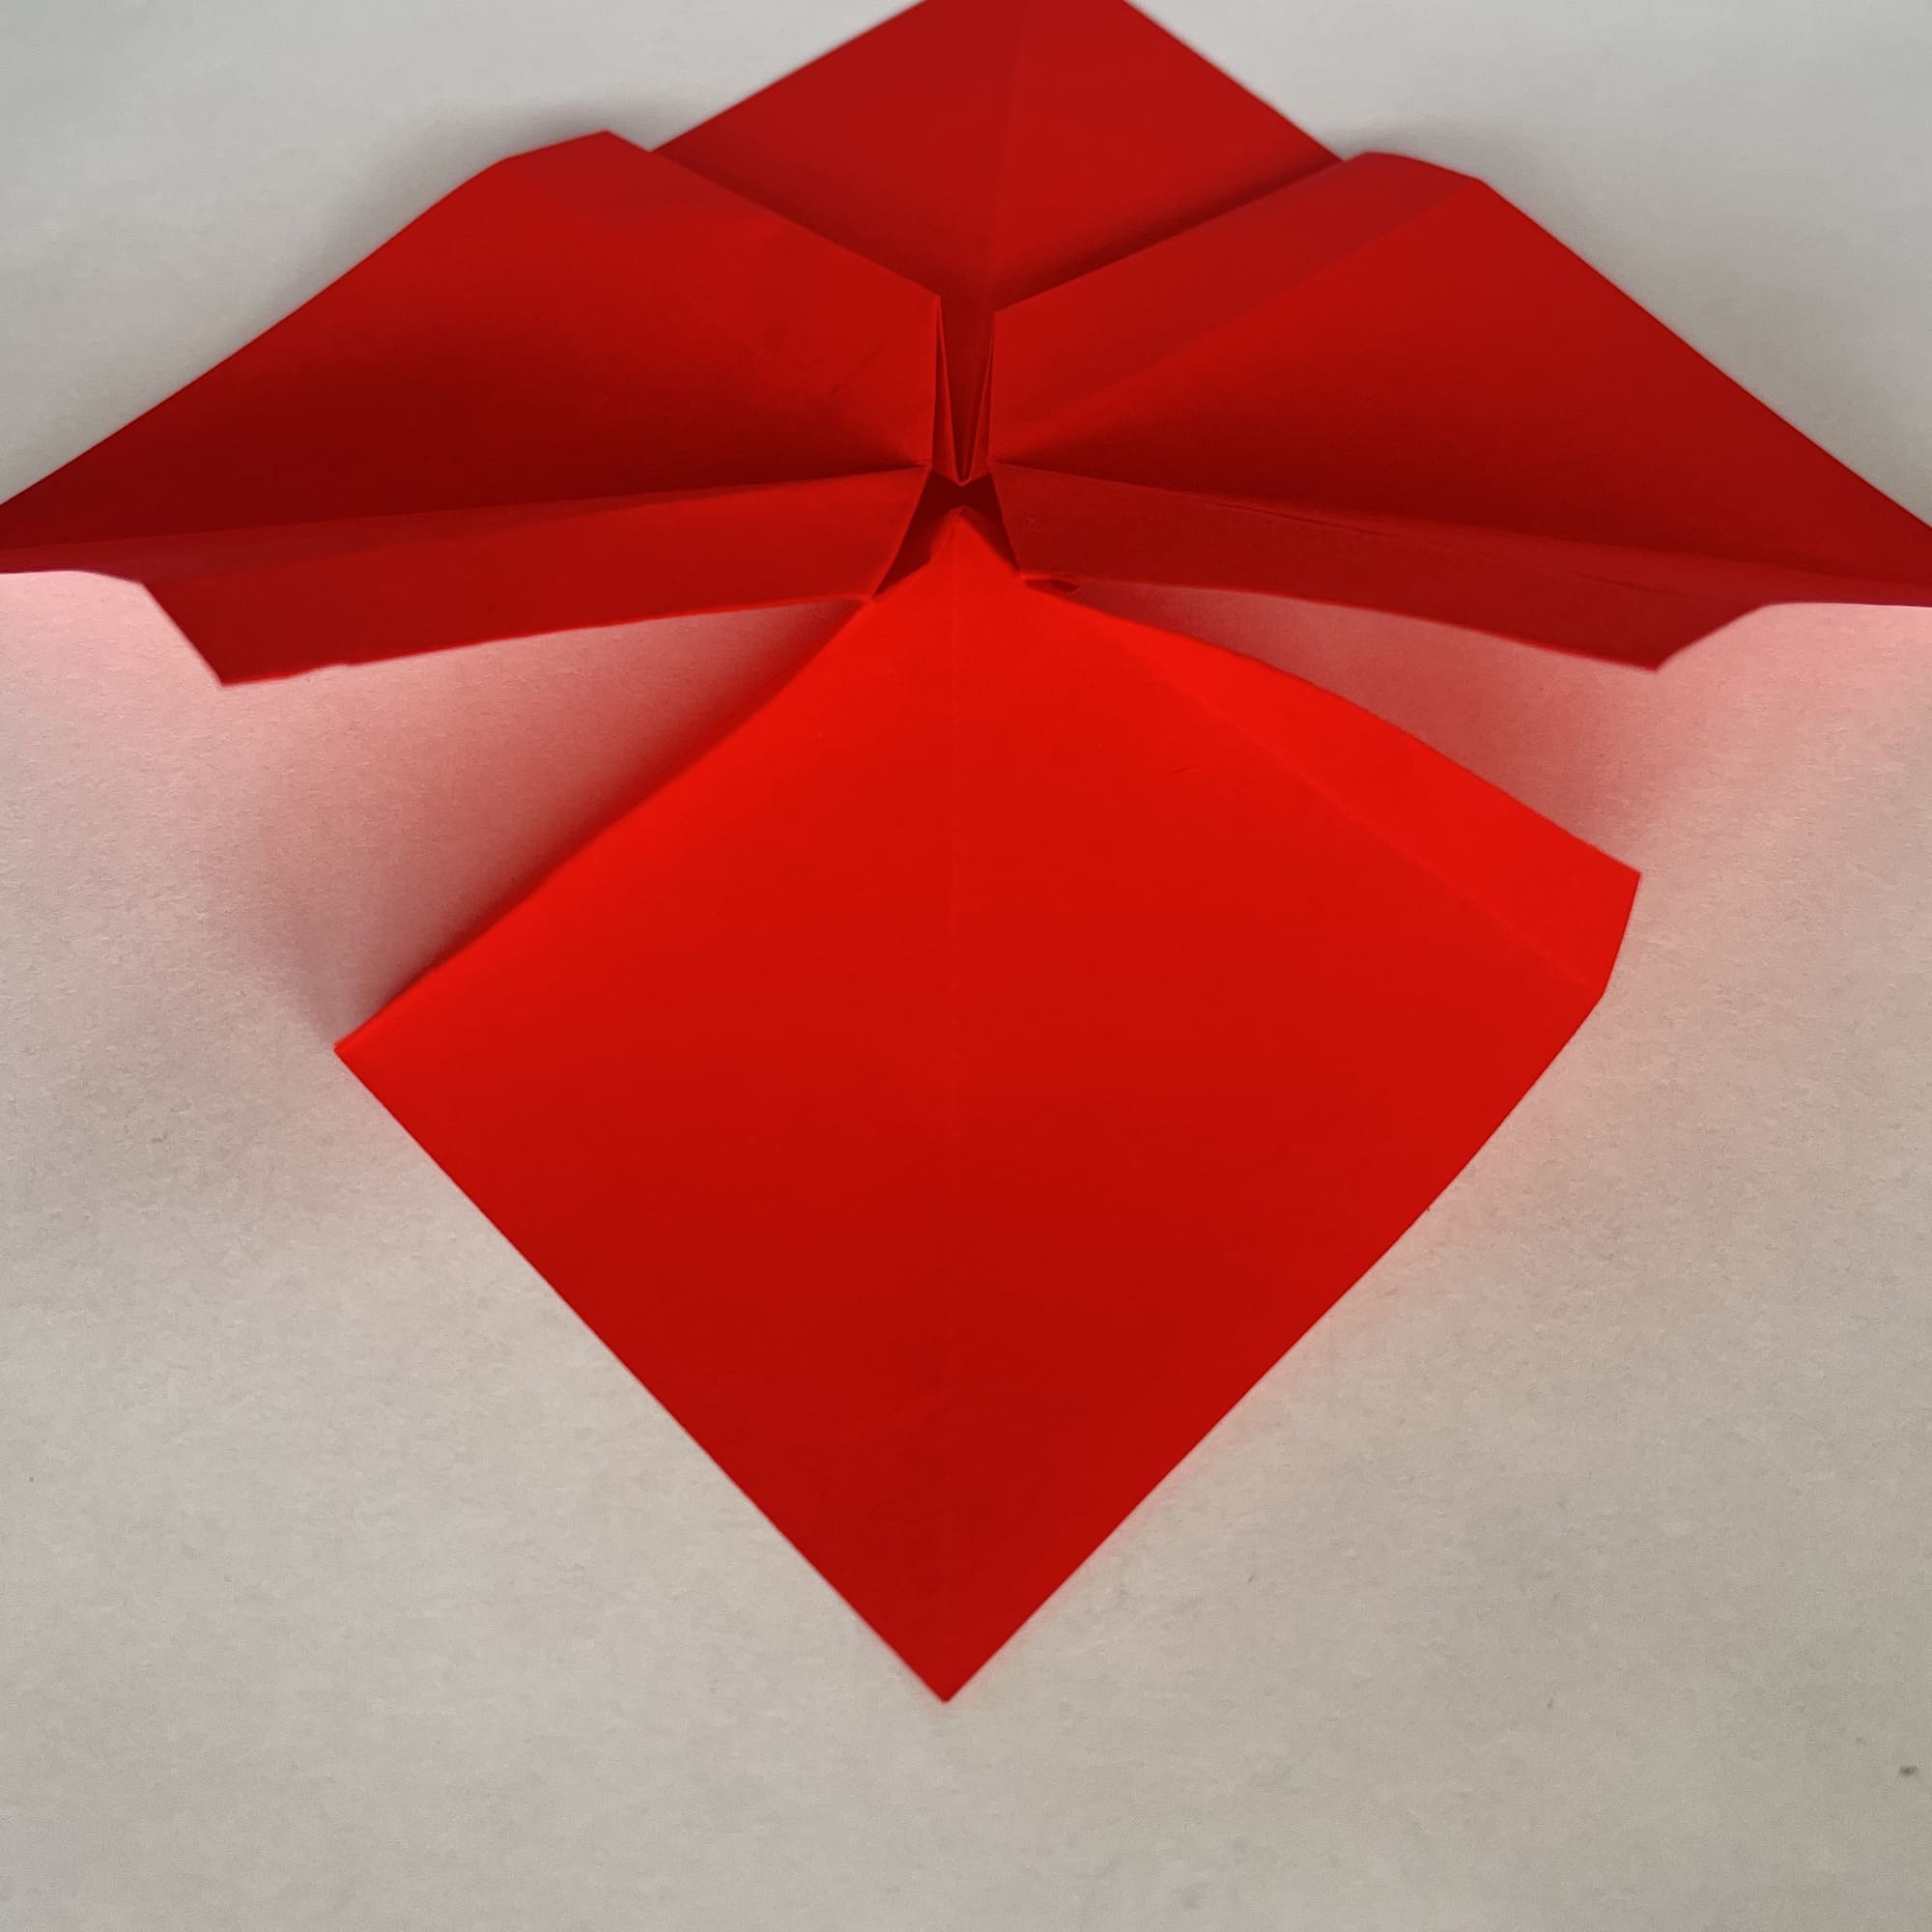
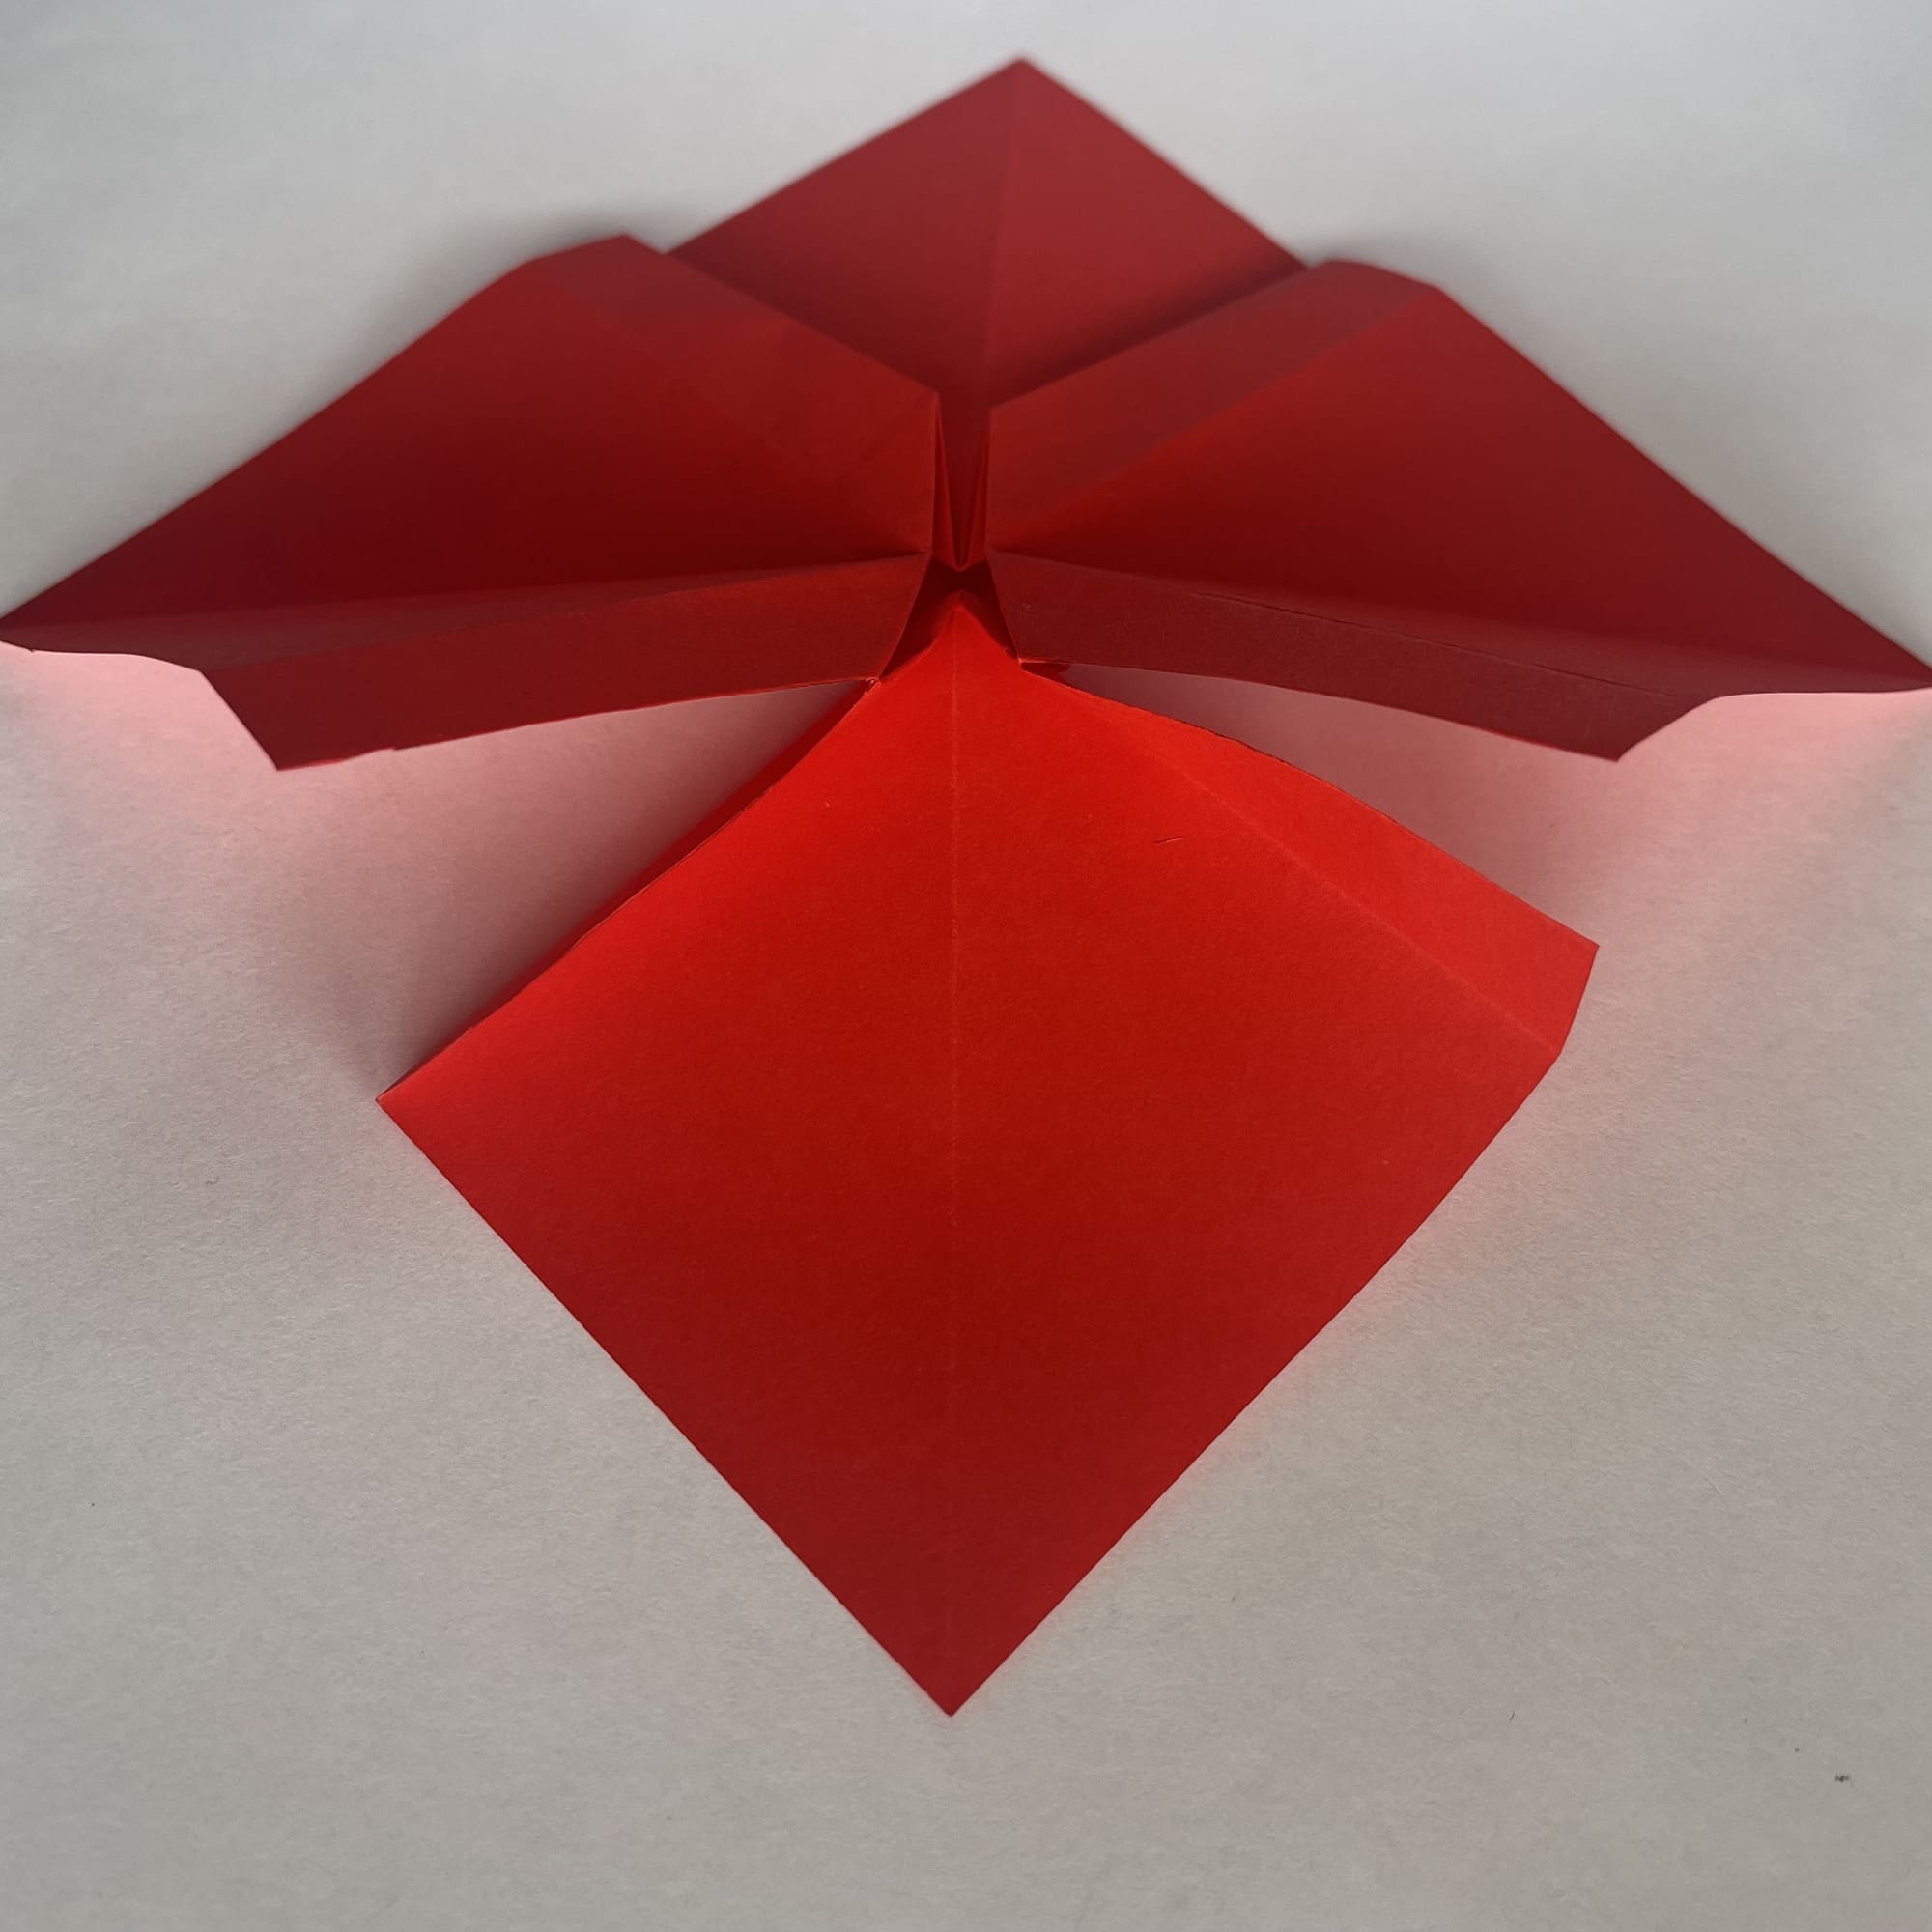
Press the paper from the sides, as shown in the photo, then spread the figure on the table.

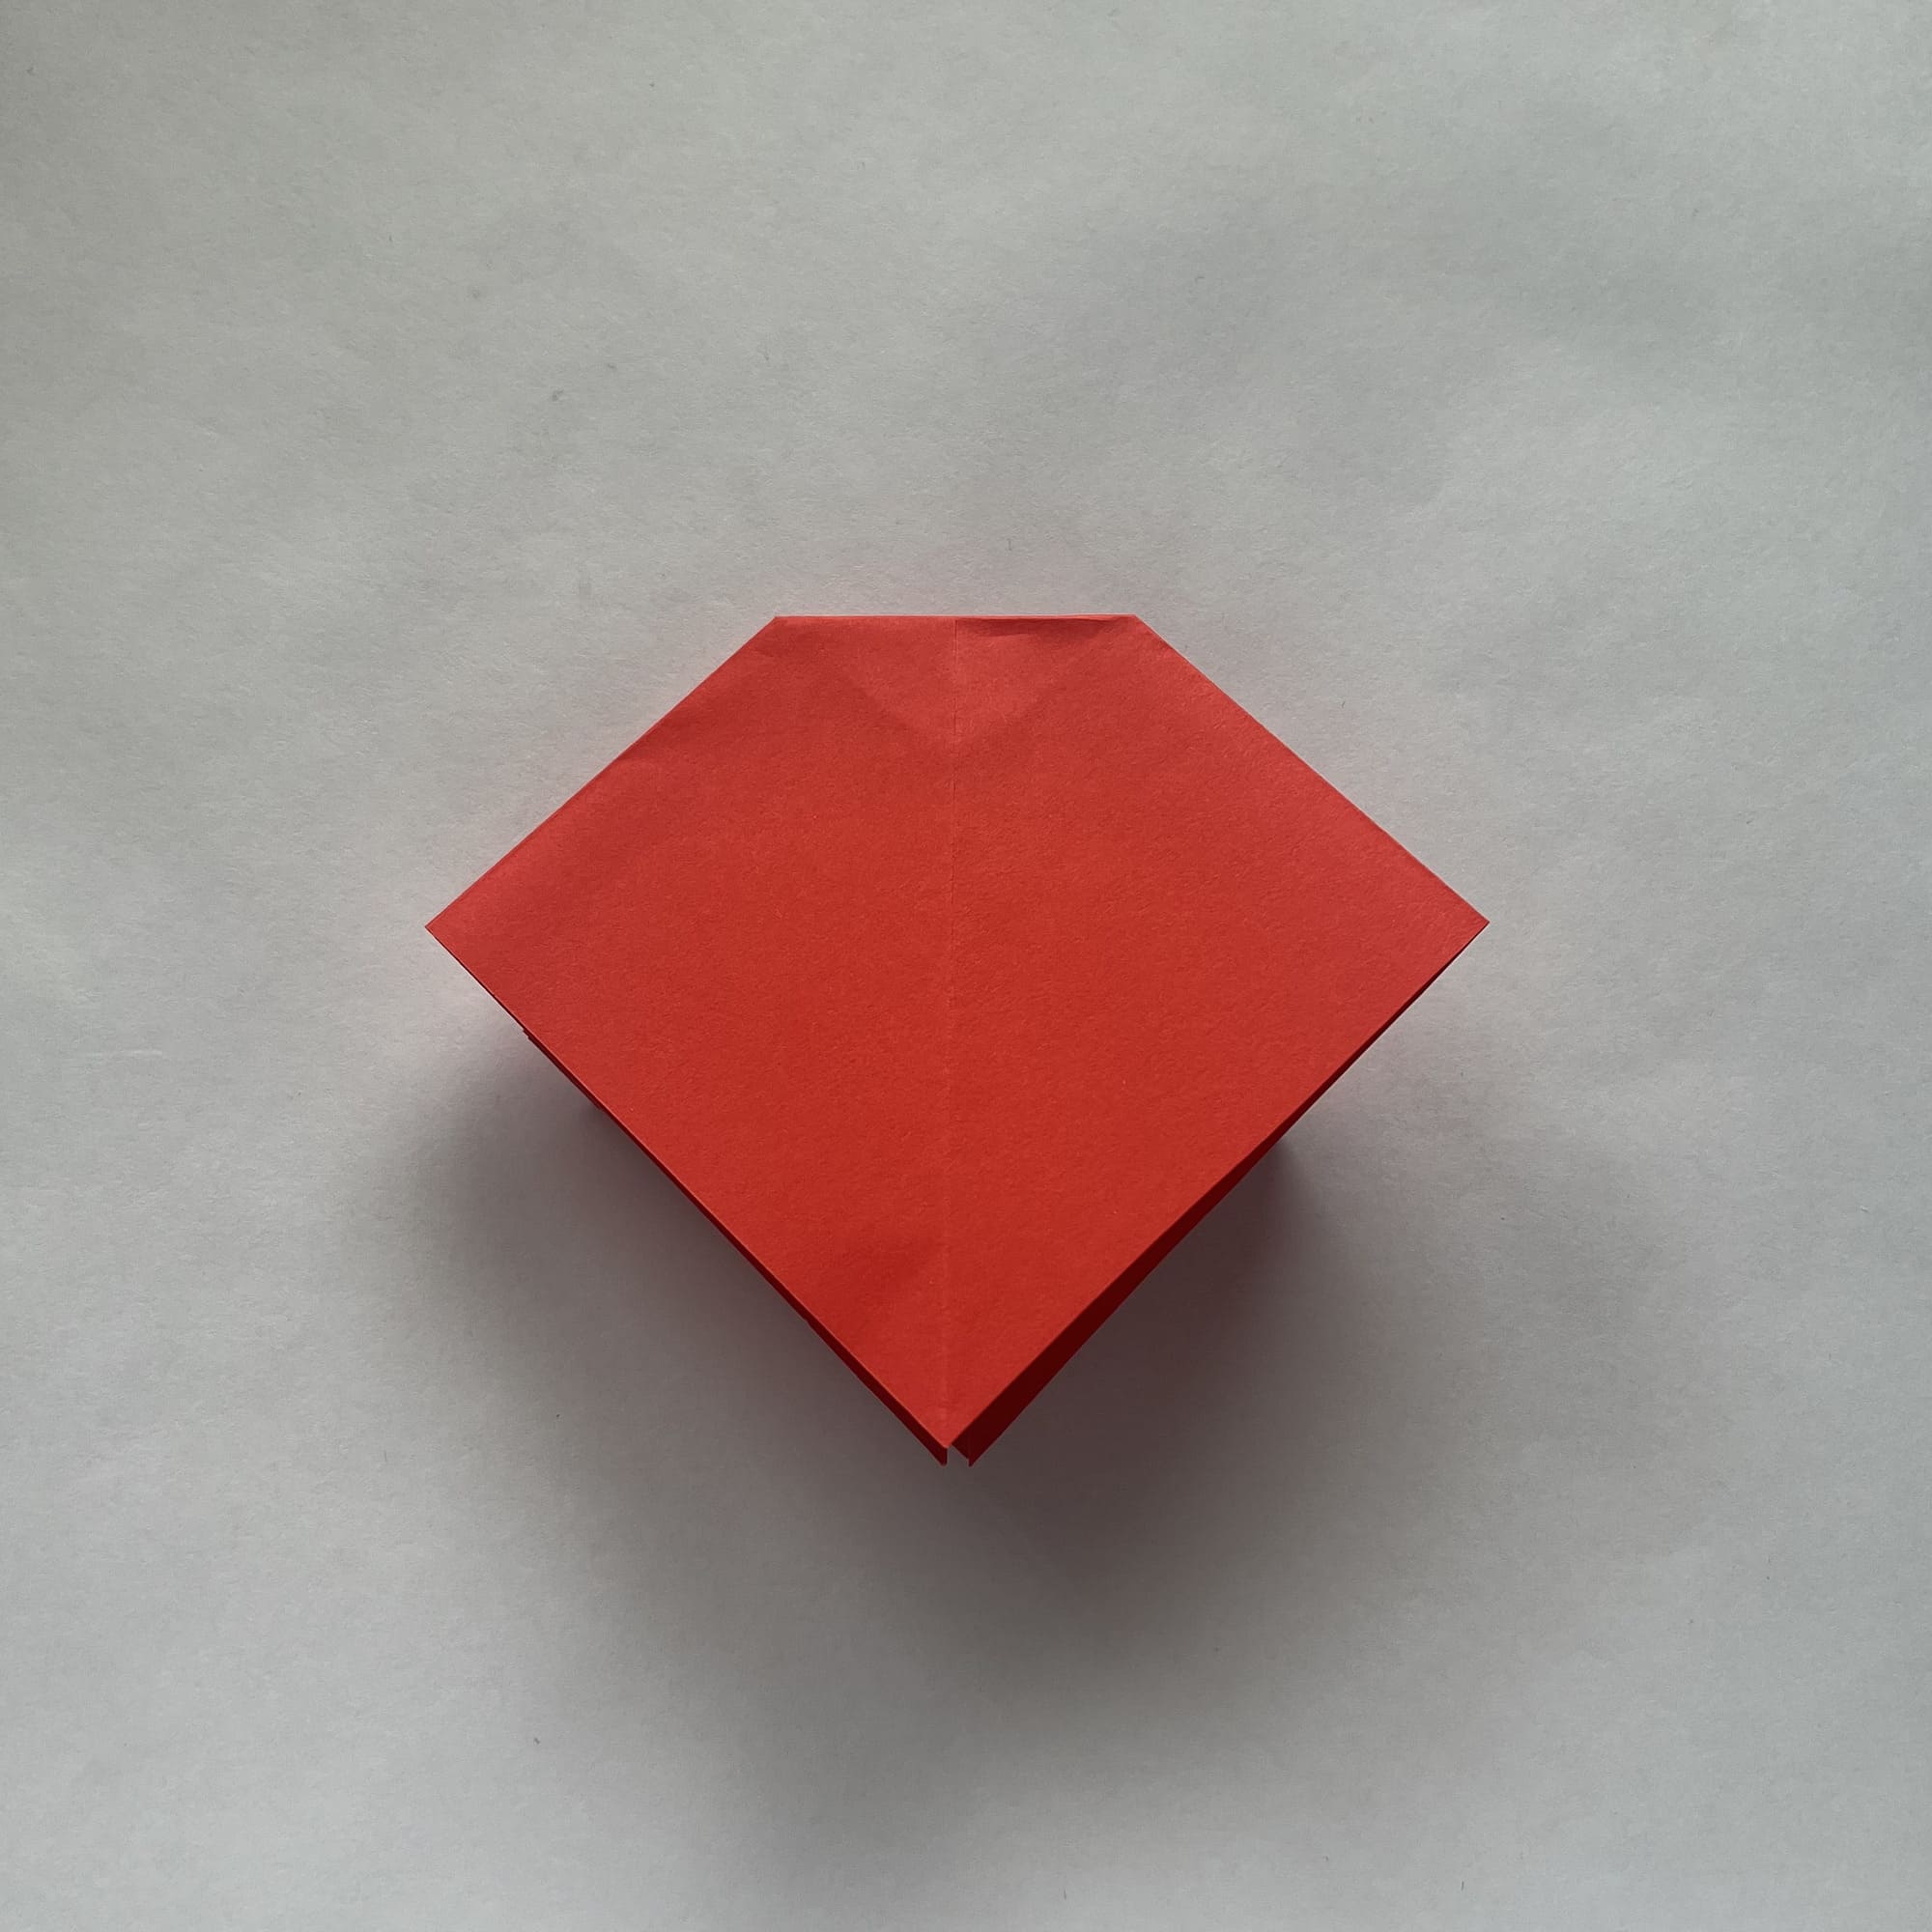
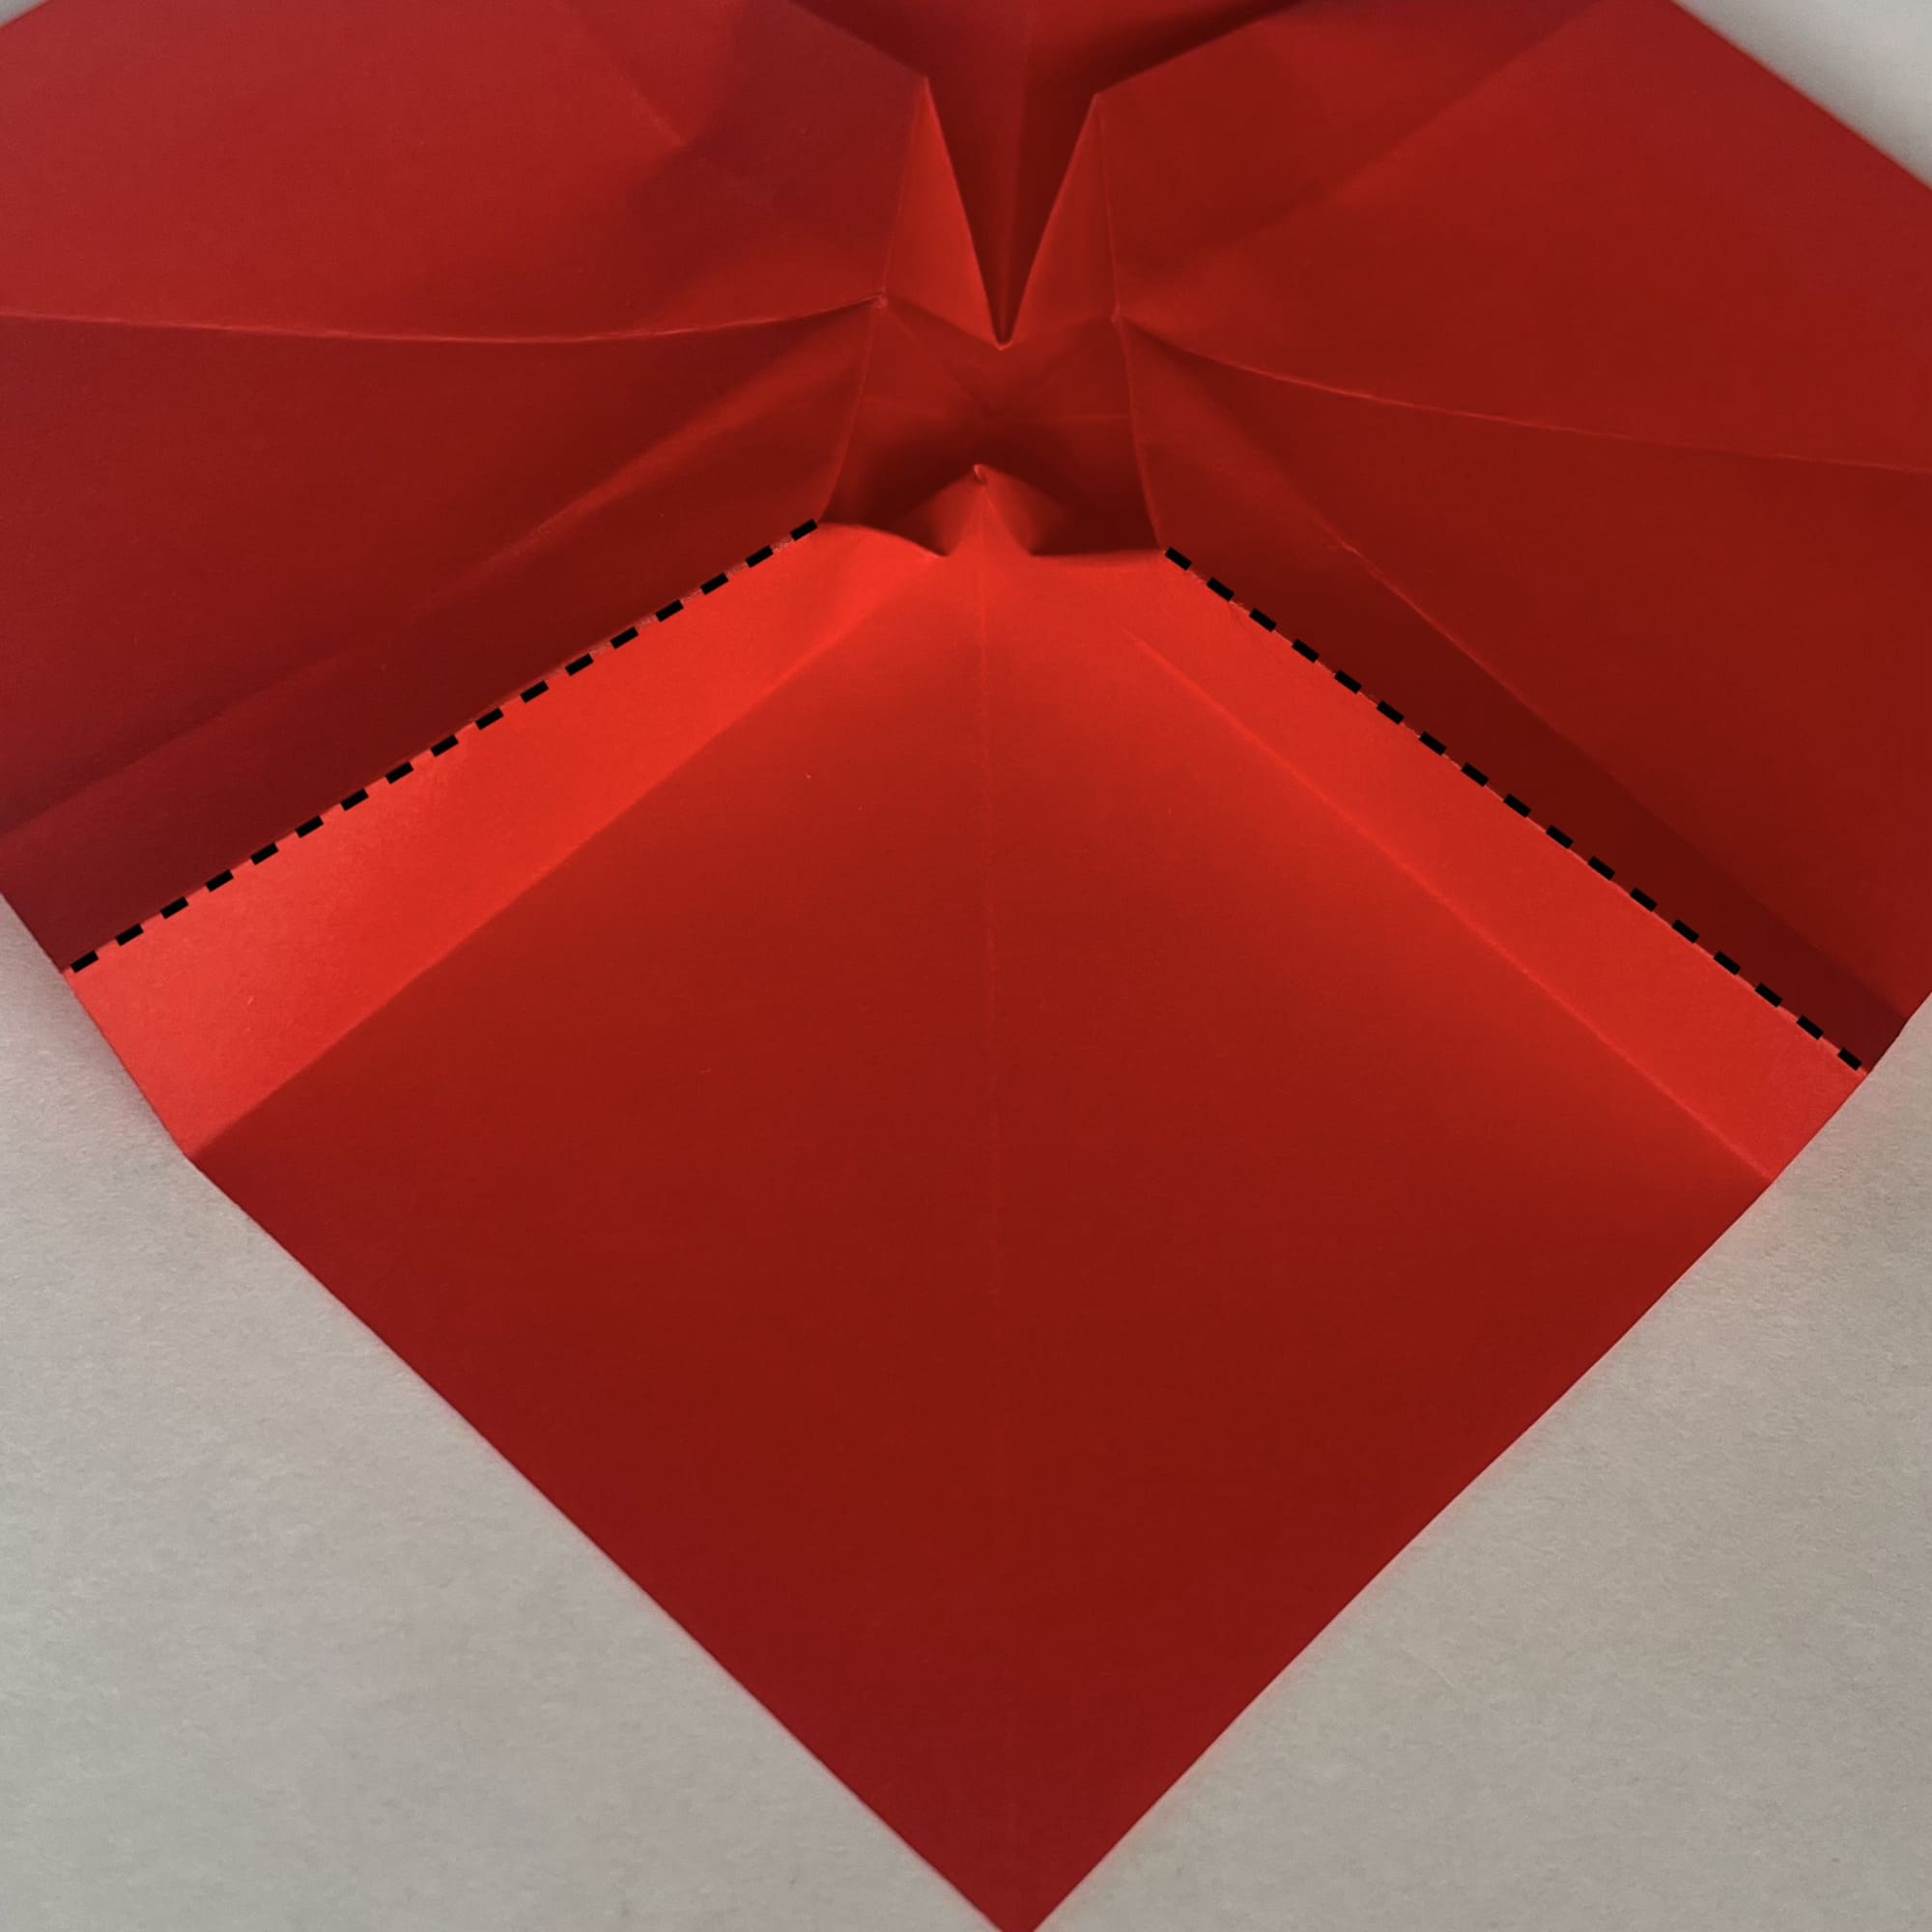
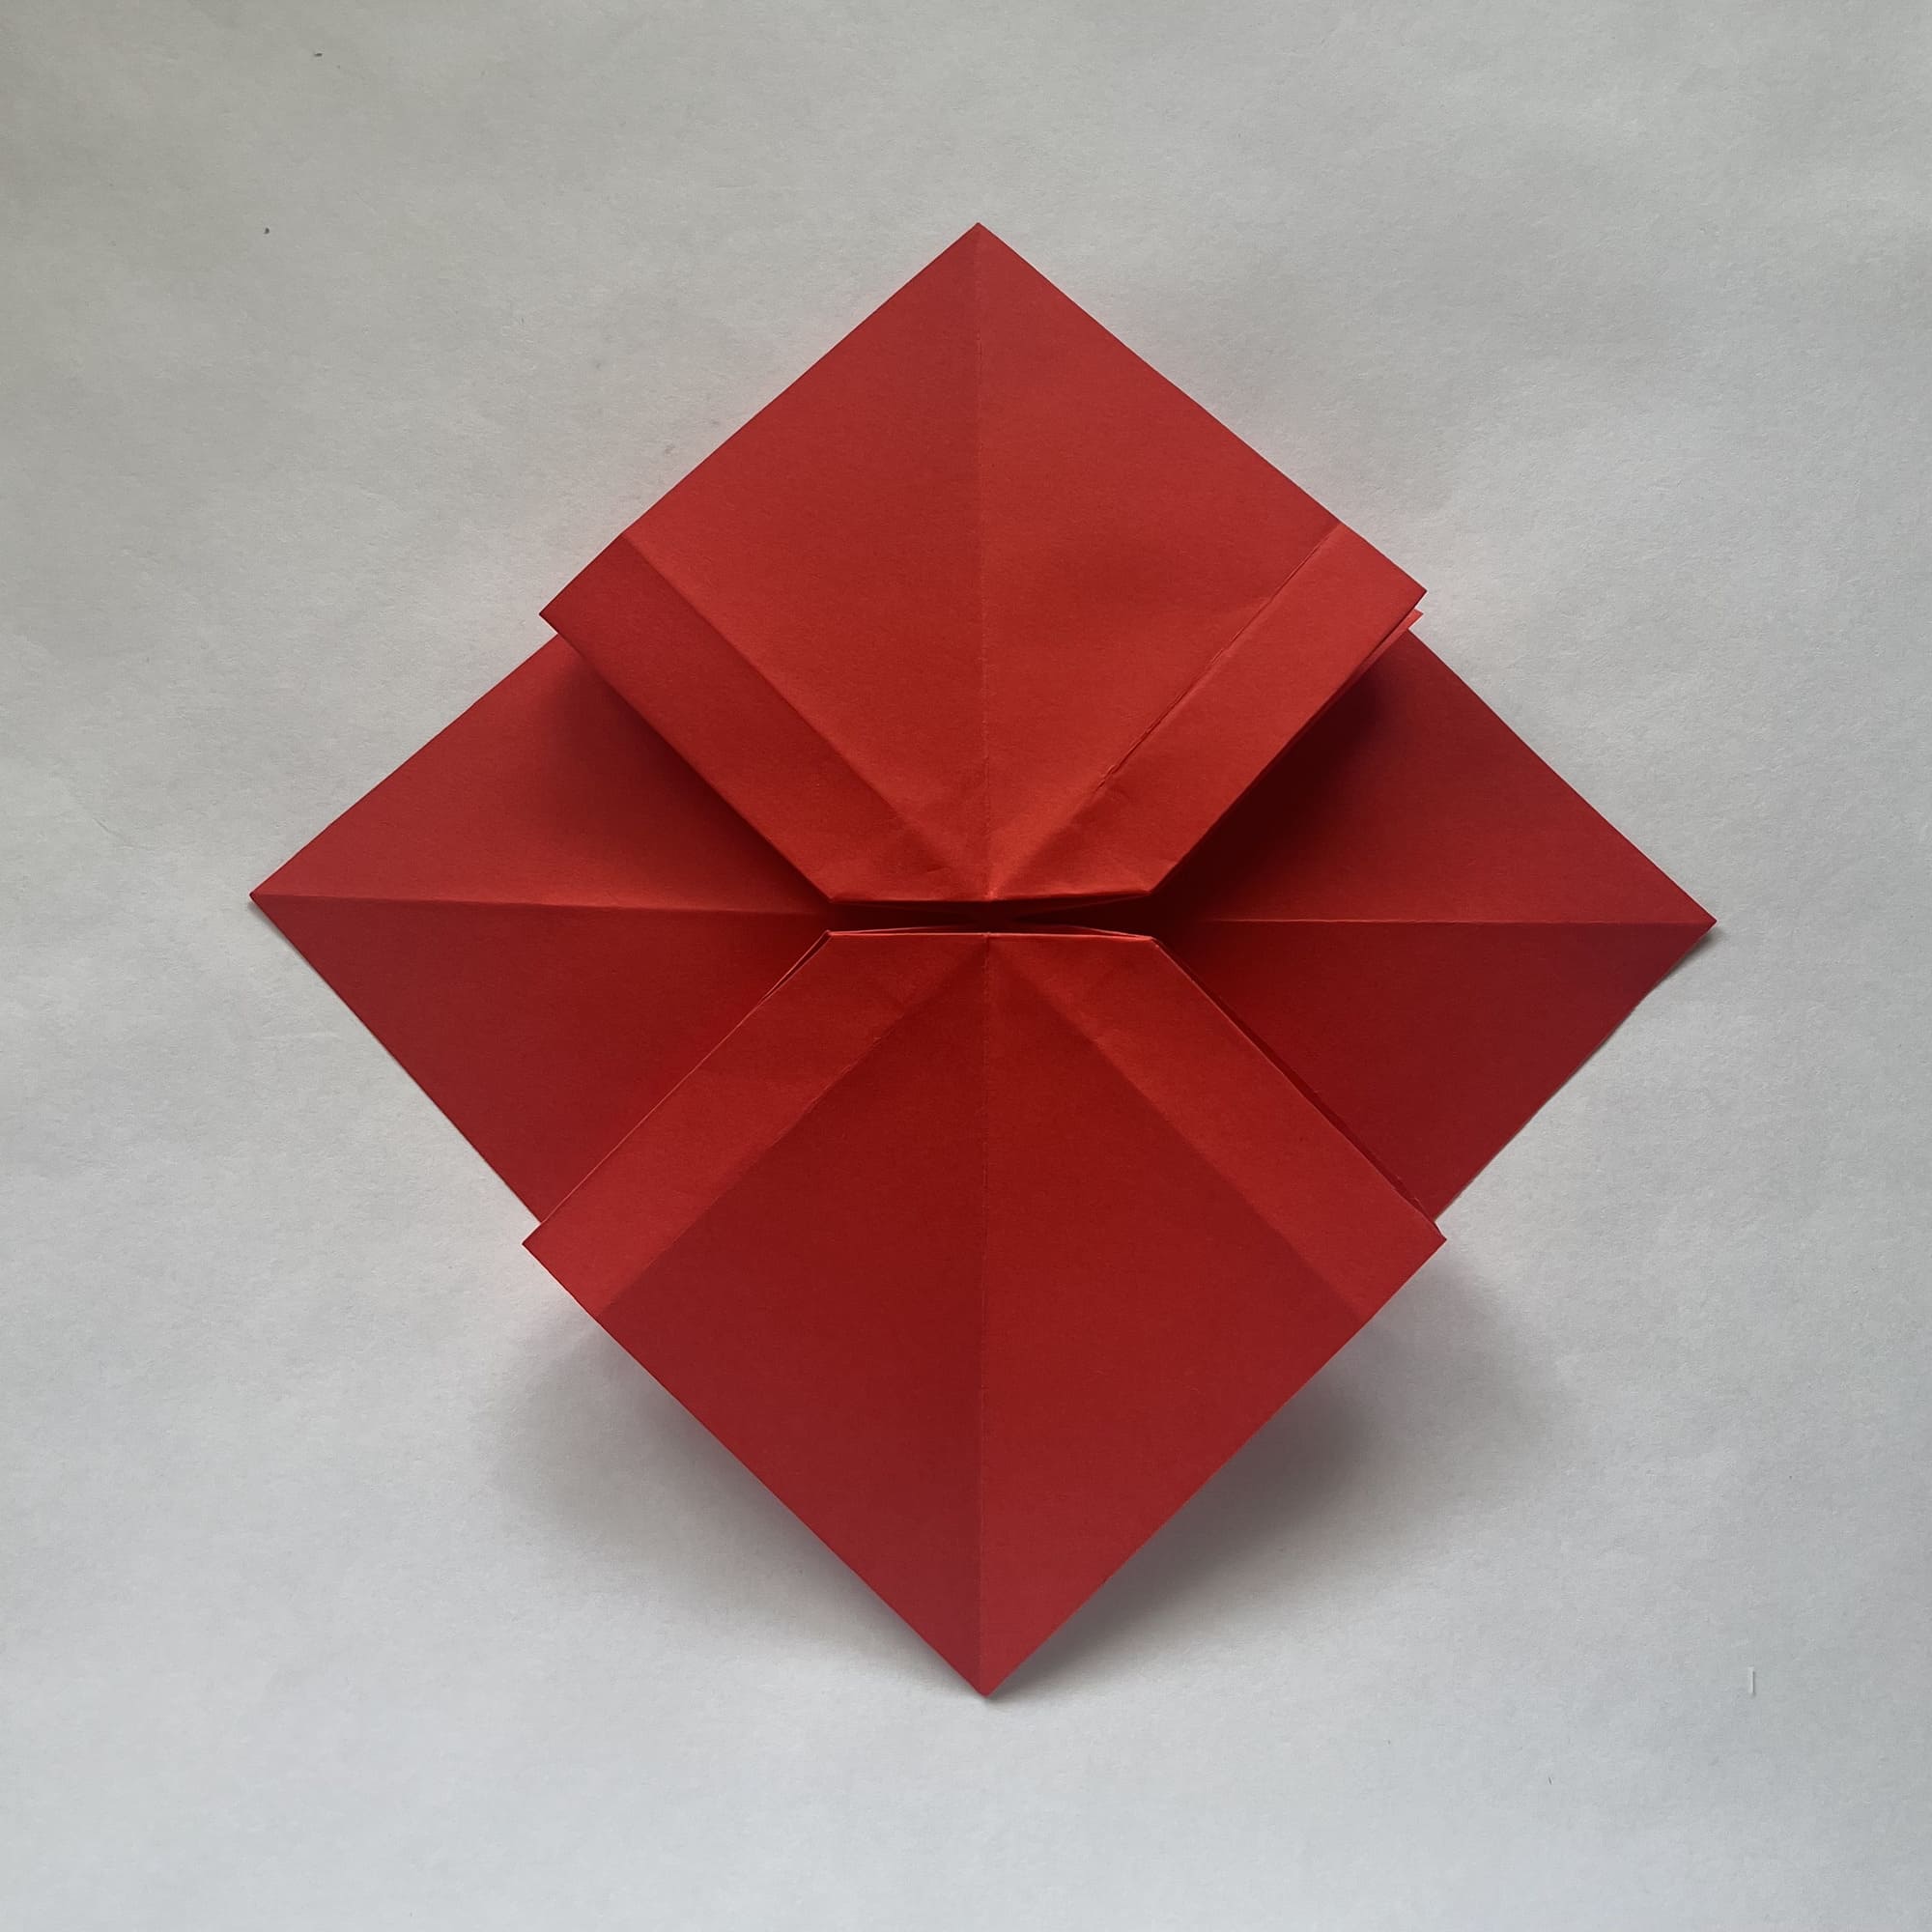
Fold the top layer inward along the dotted lines.
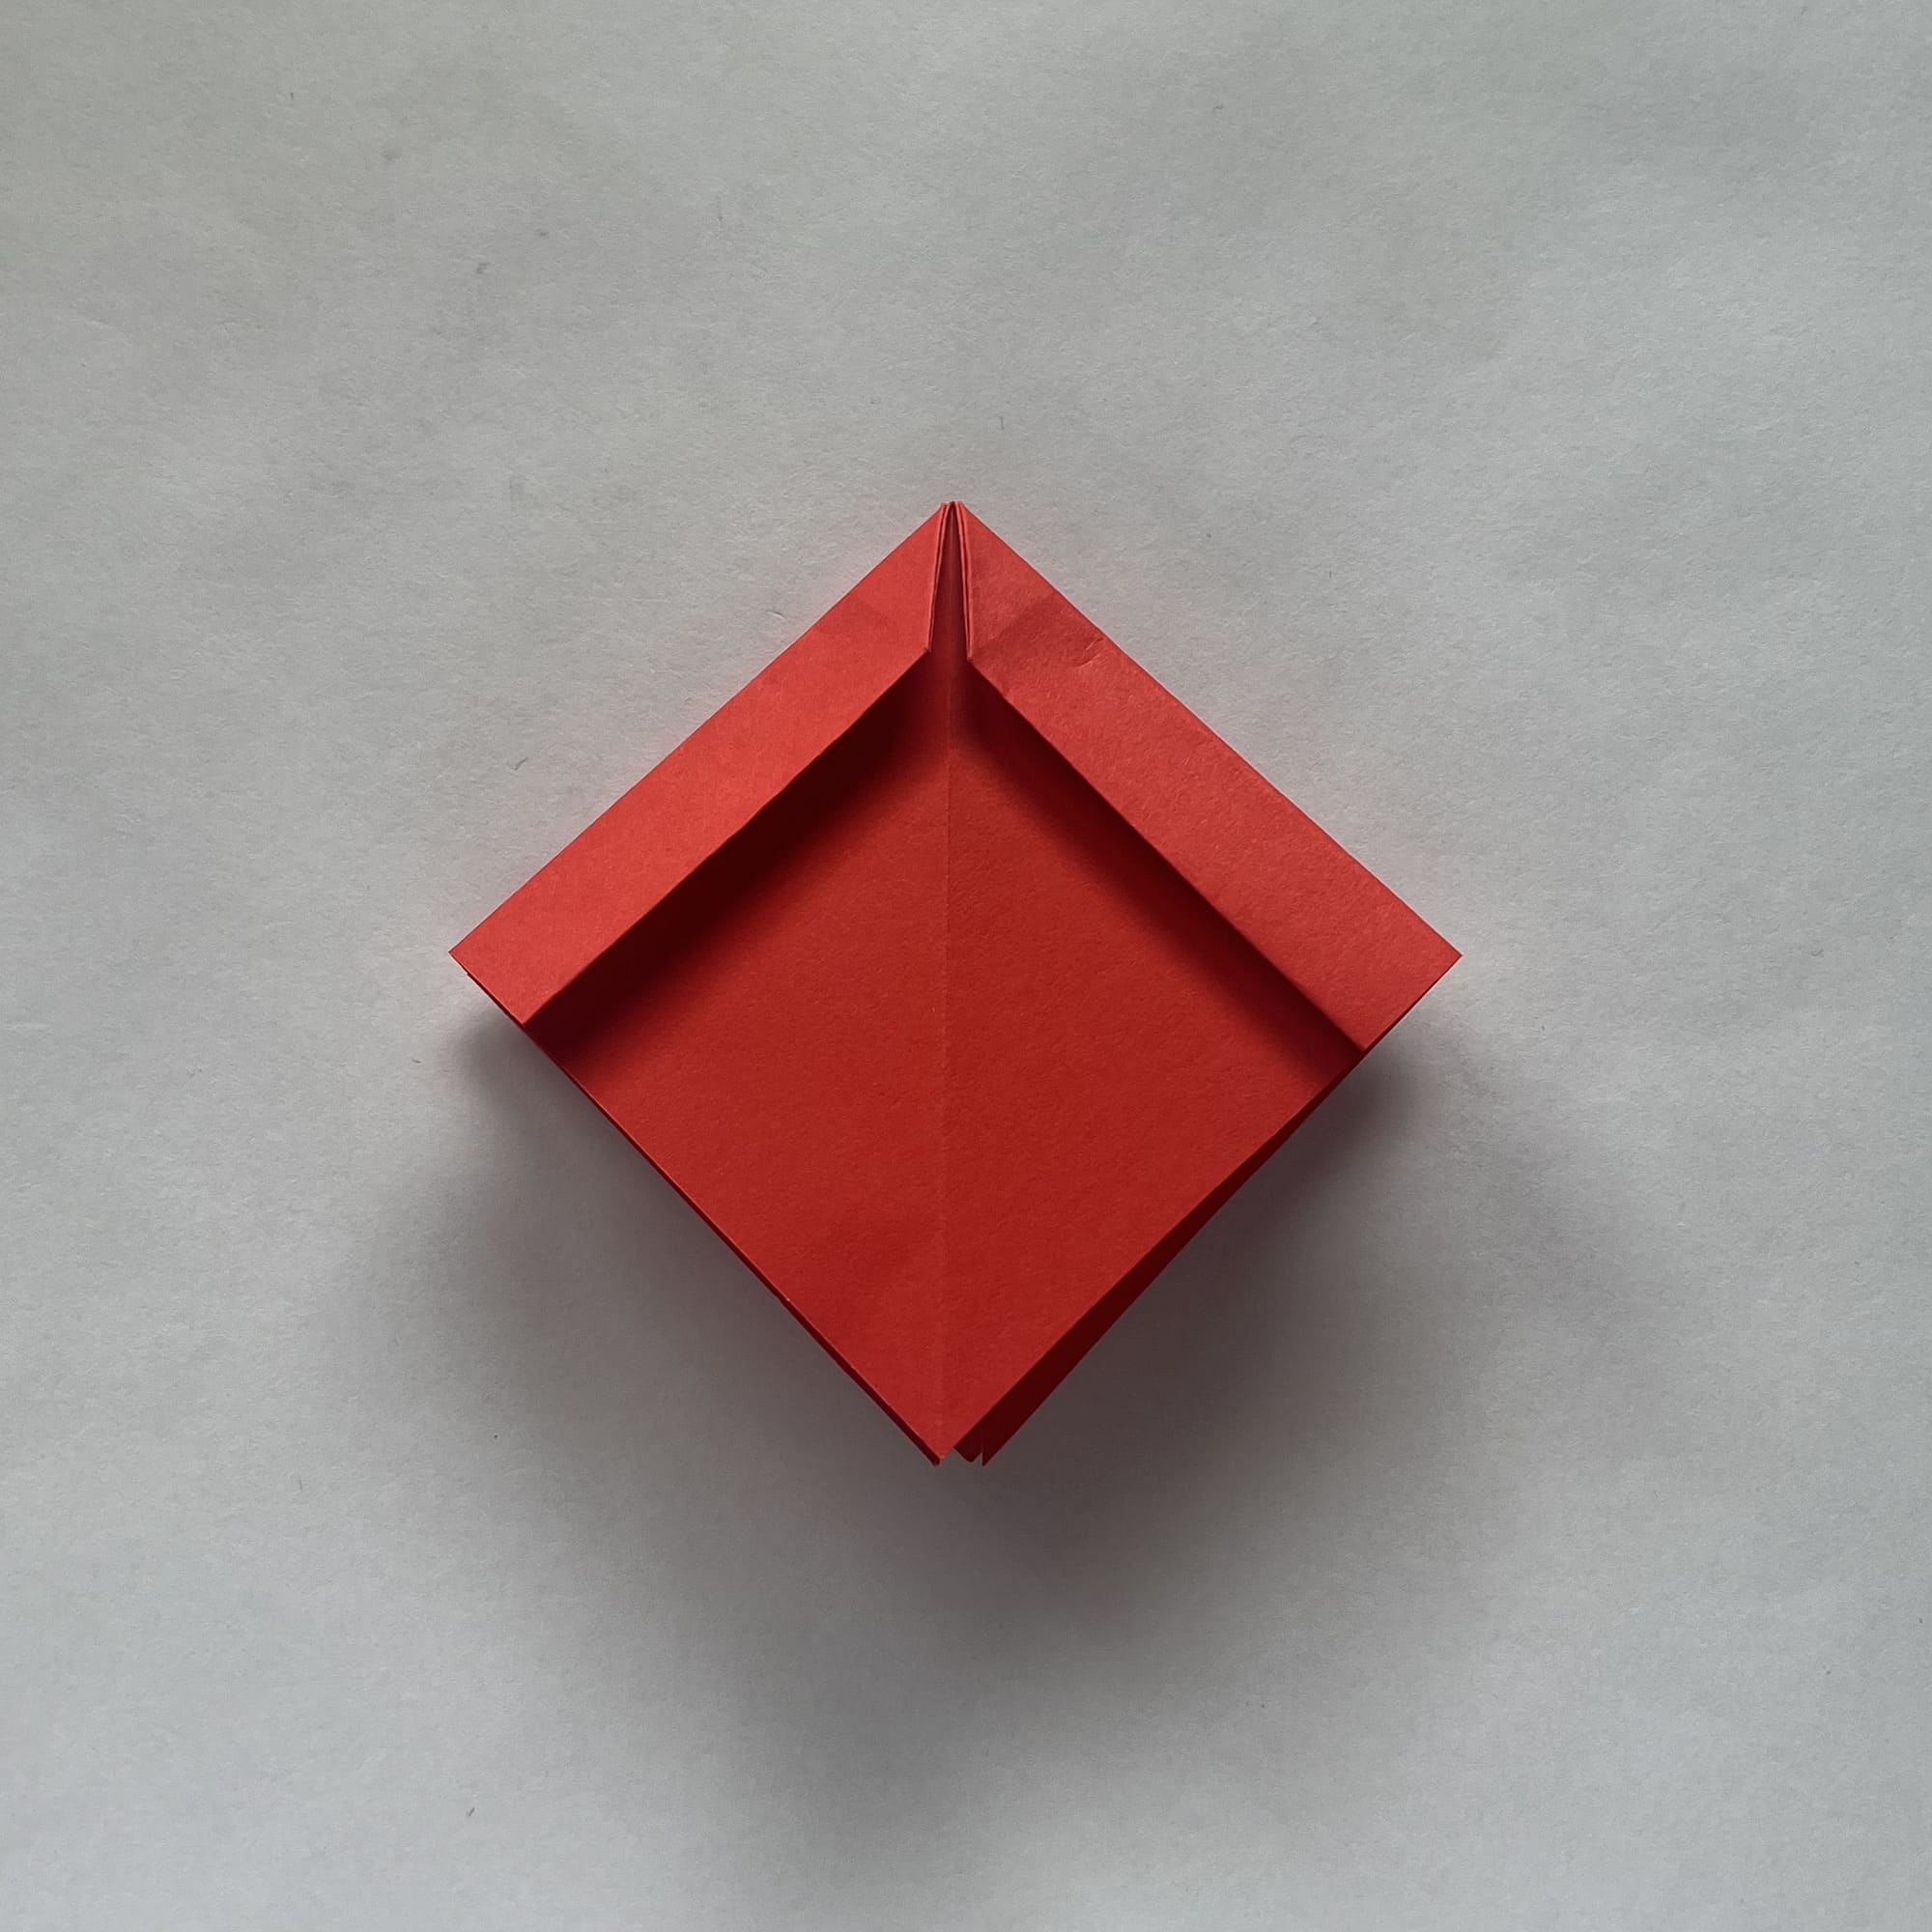
Flip the paper over and repeat Steps 10 and 11.
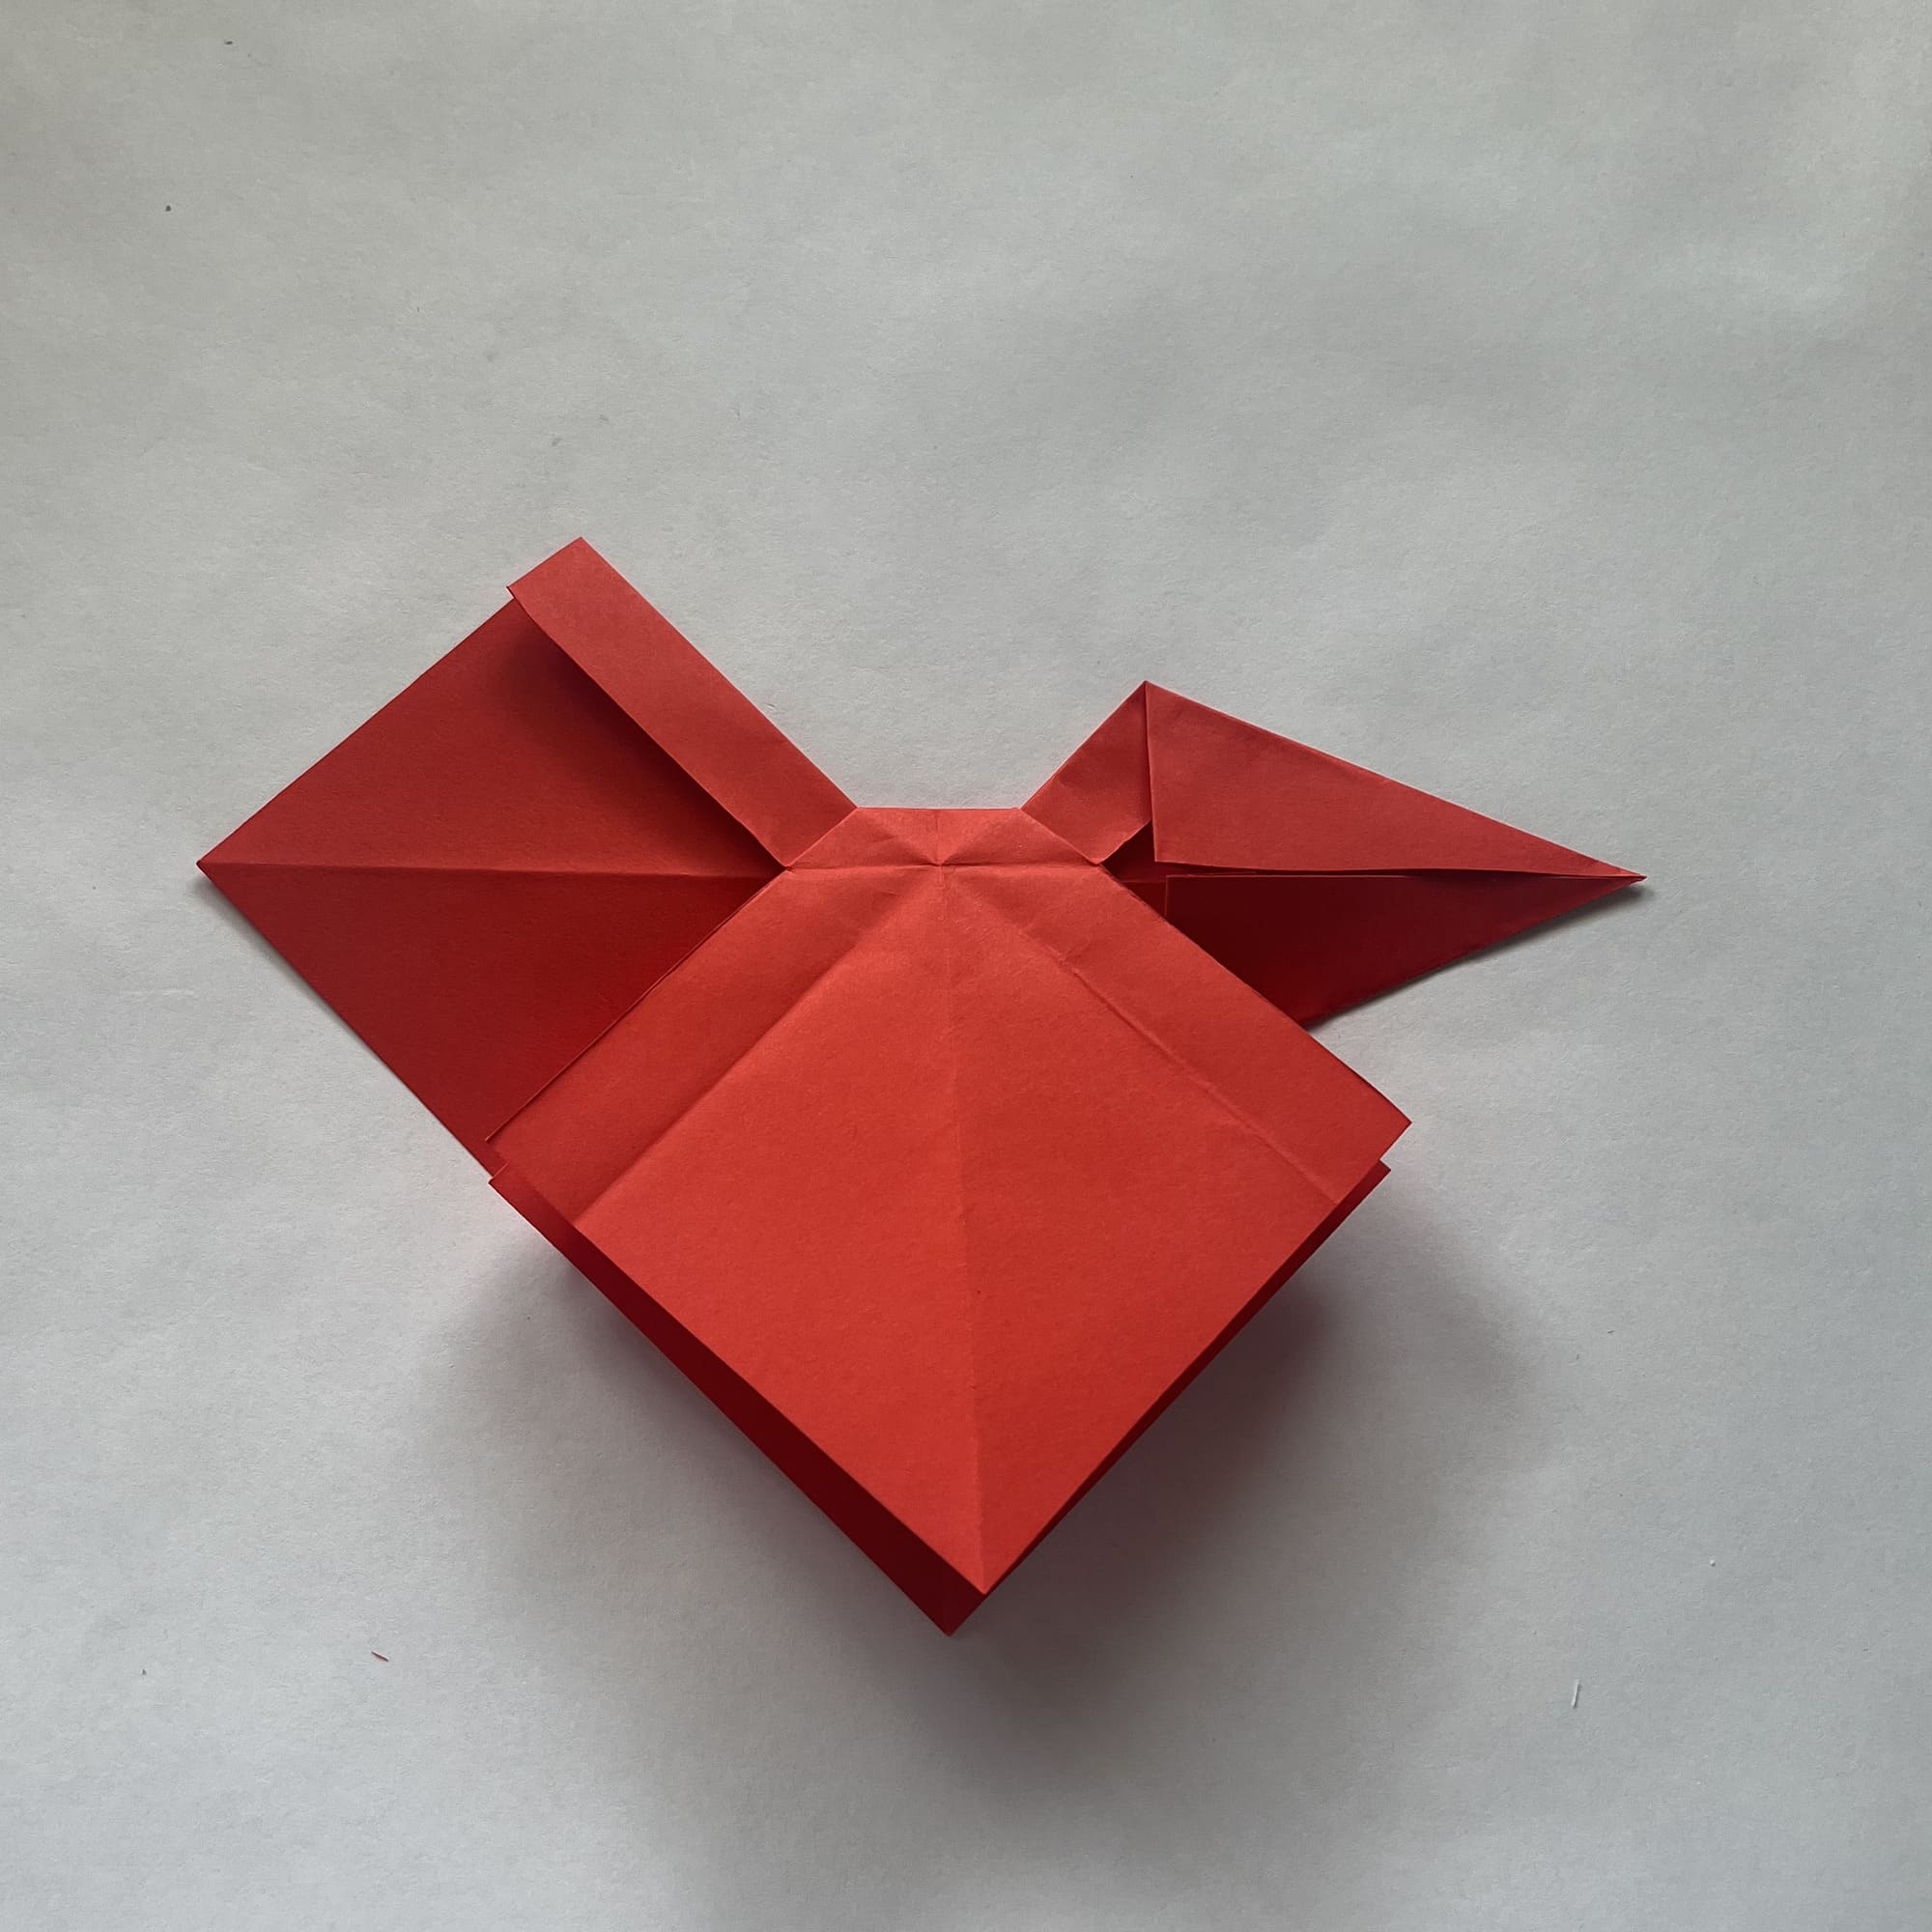
Now slowly unfold the paper from the bottom.

Gently pull on all 4 corners until you see a small square in the center.

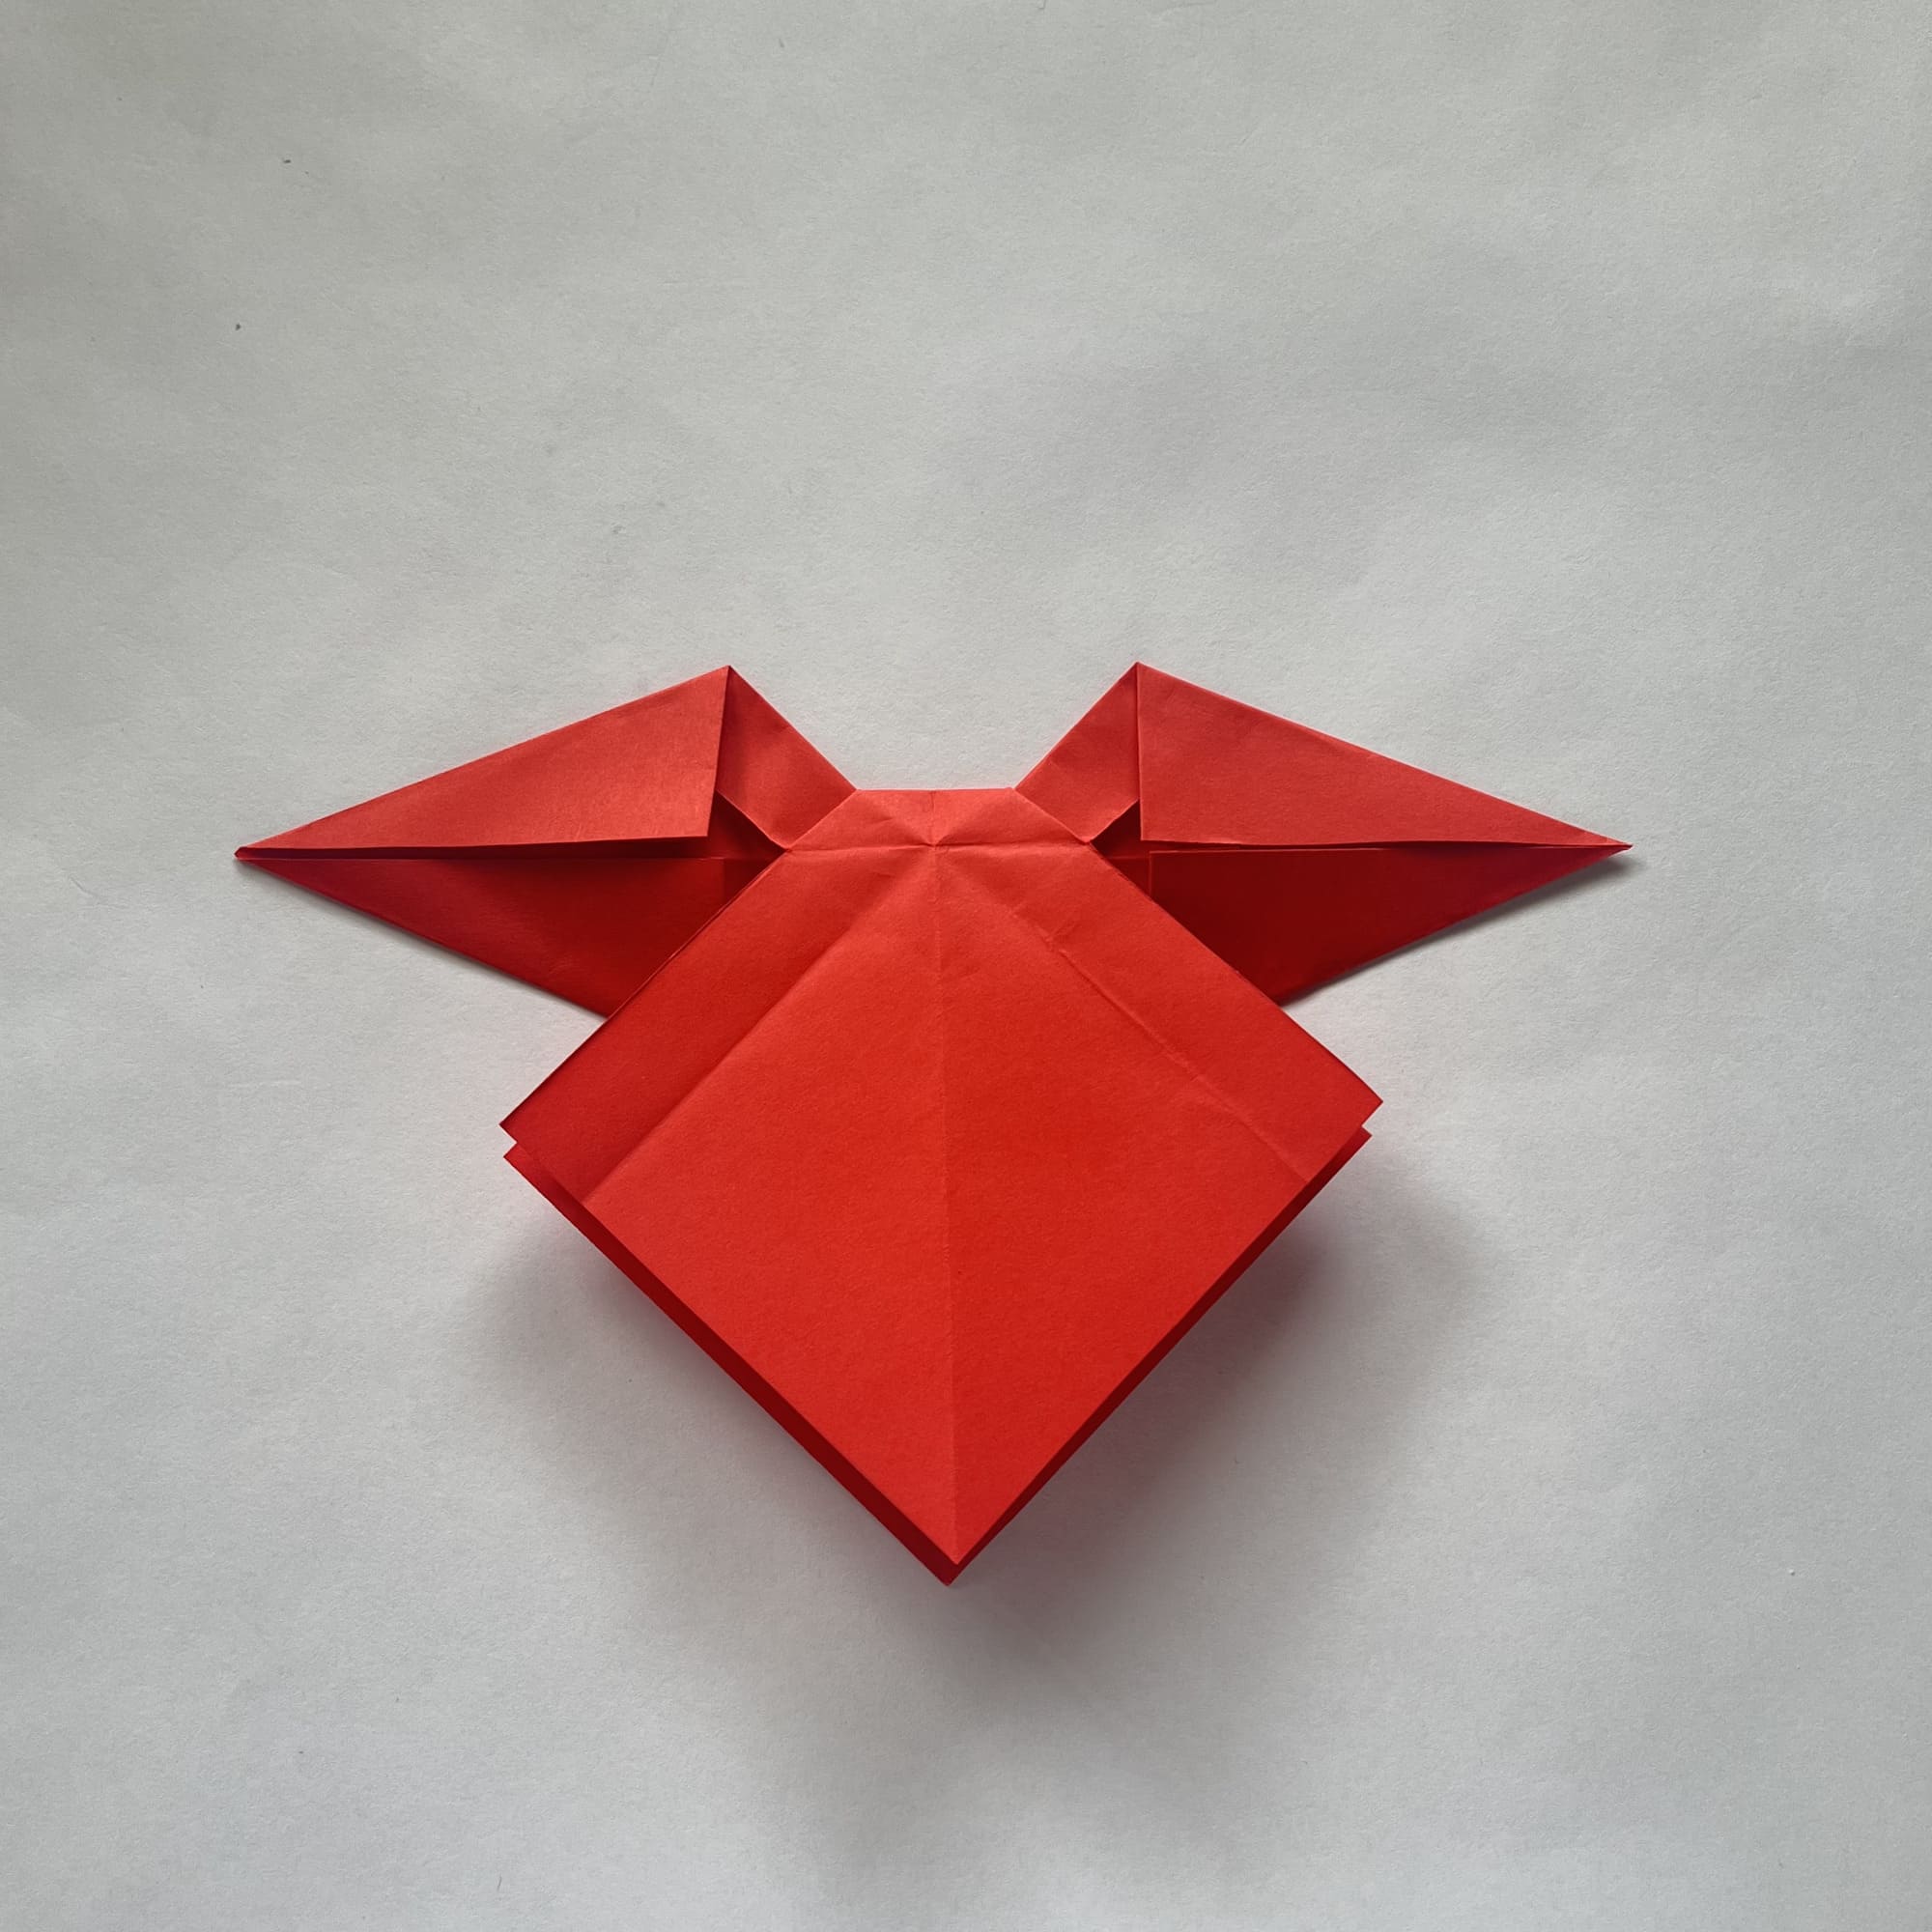
Press and spread the square and the whole paper on the table.
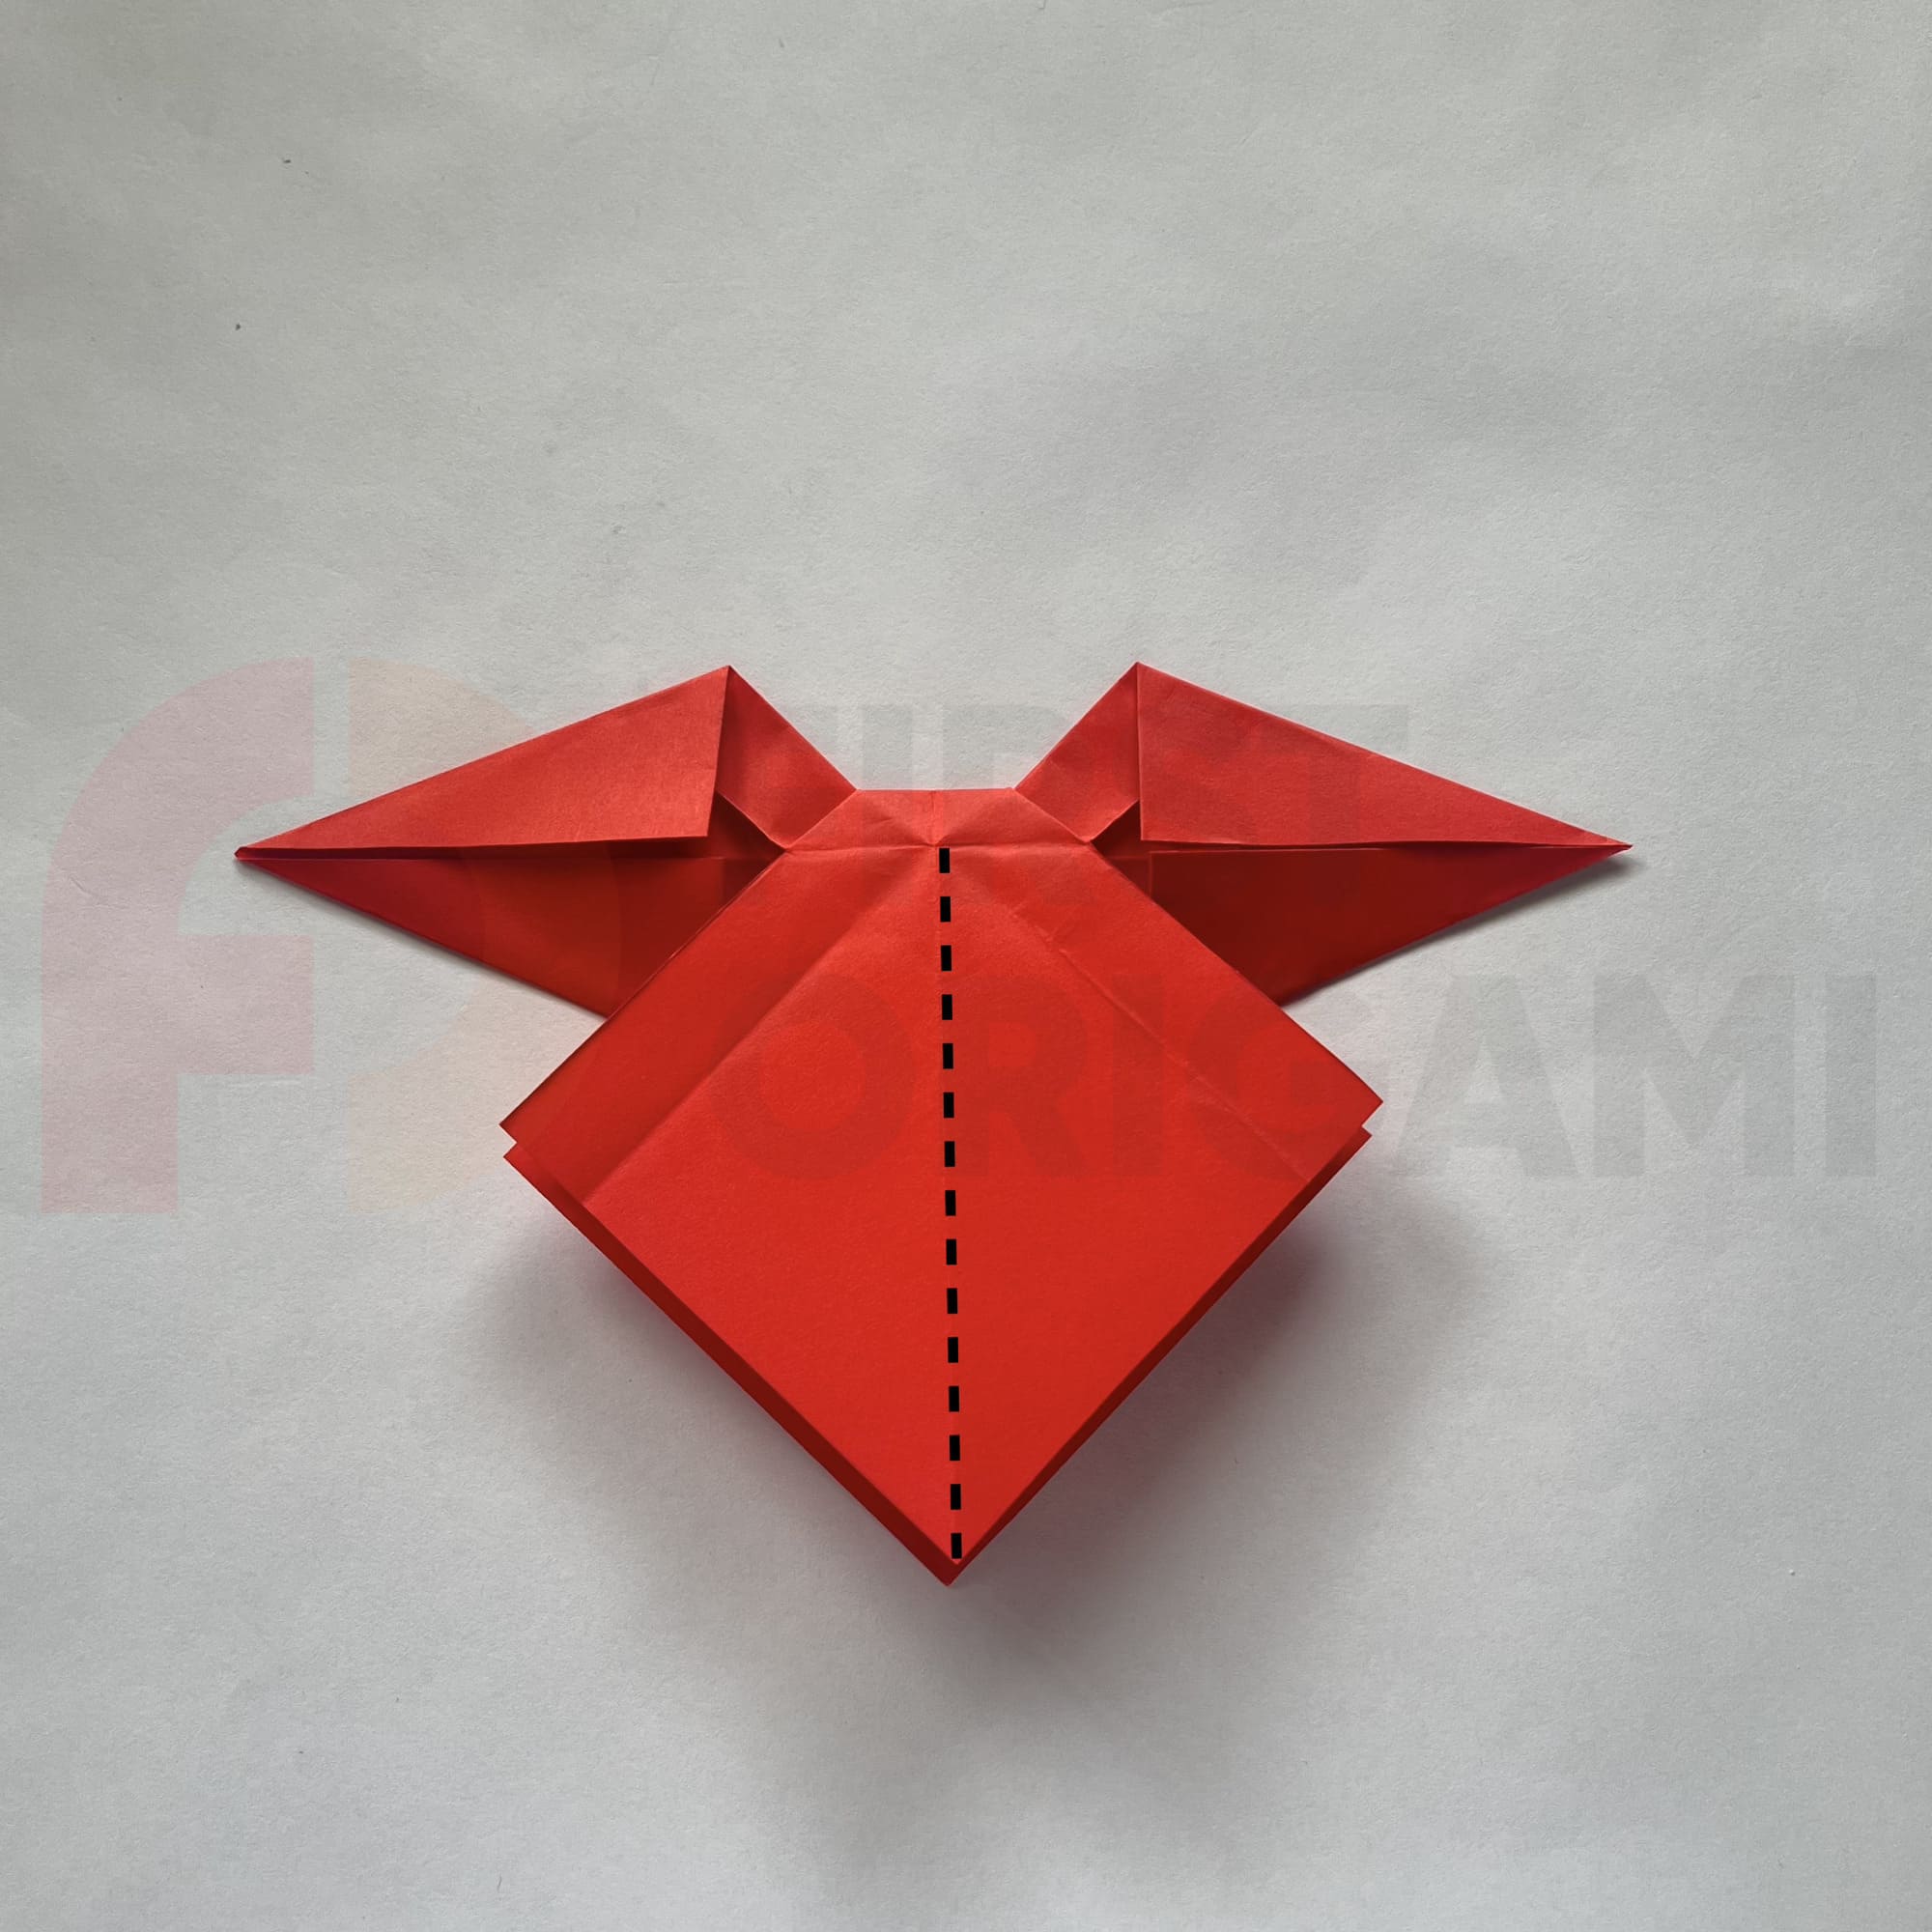
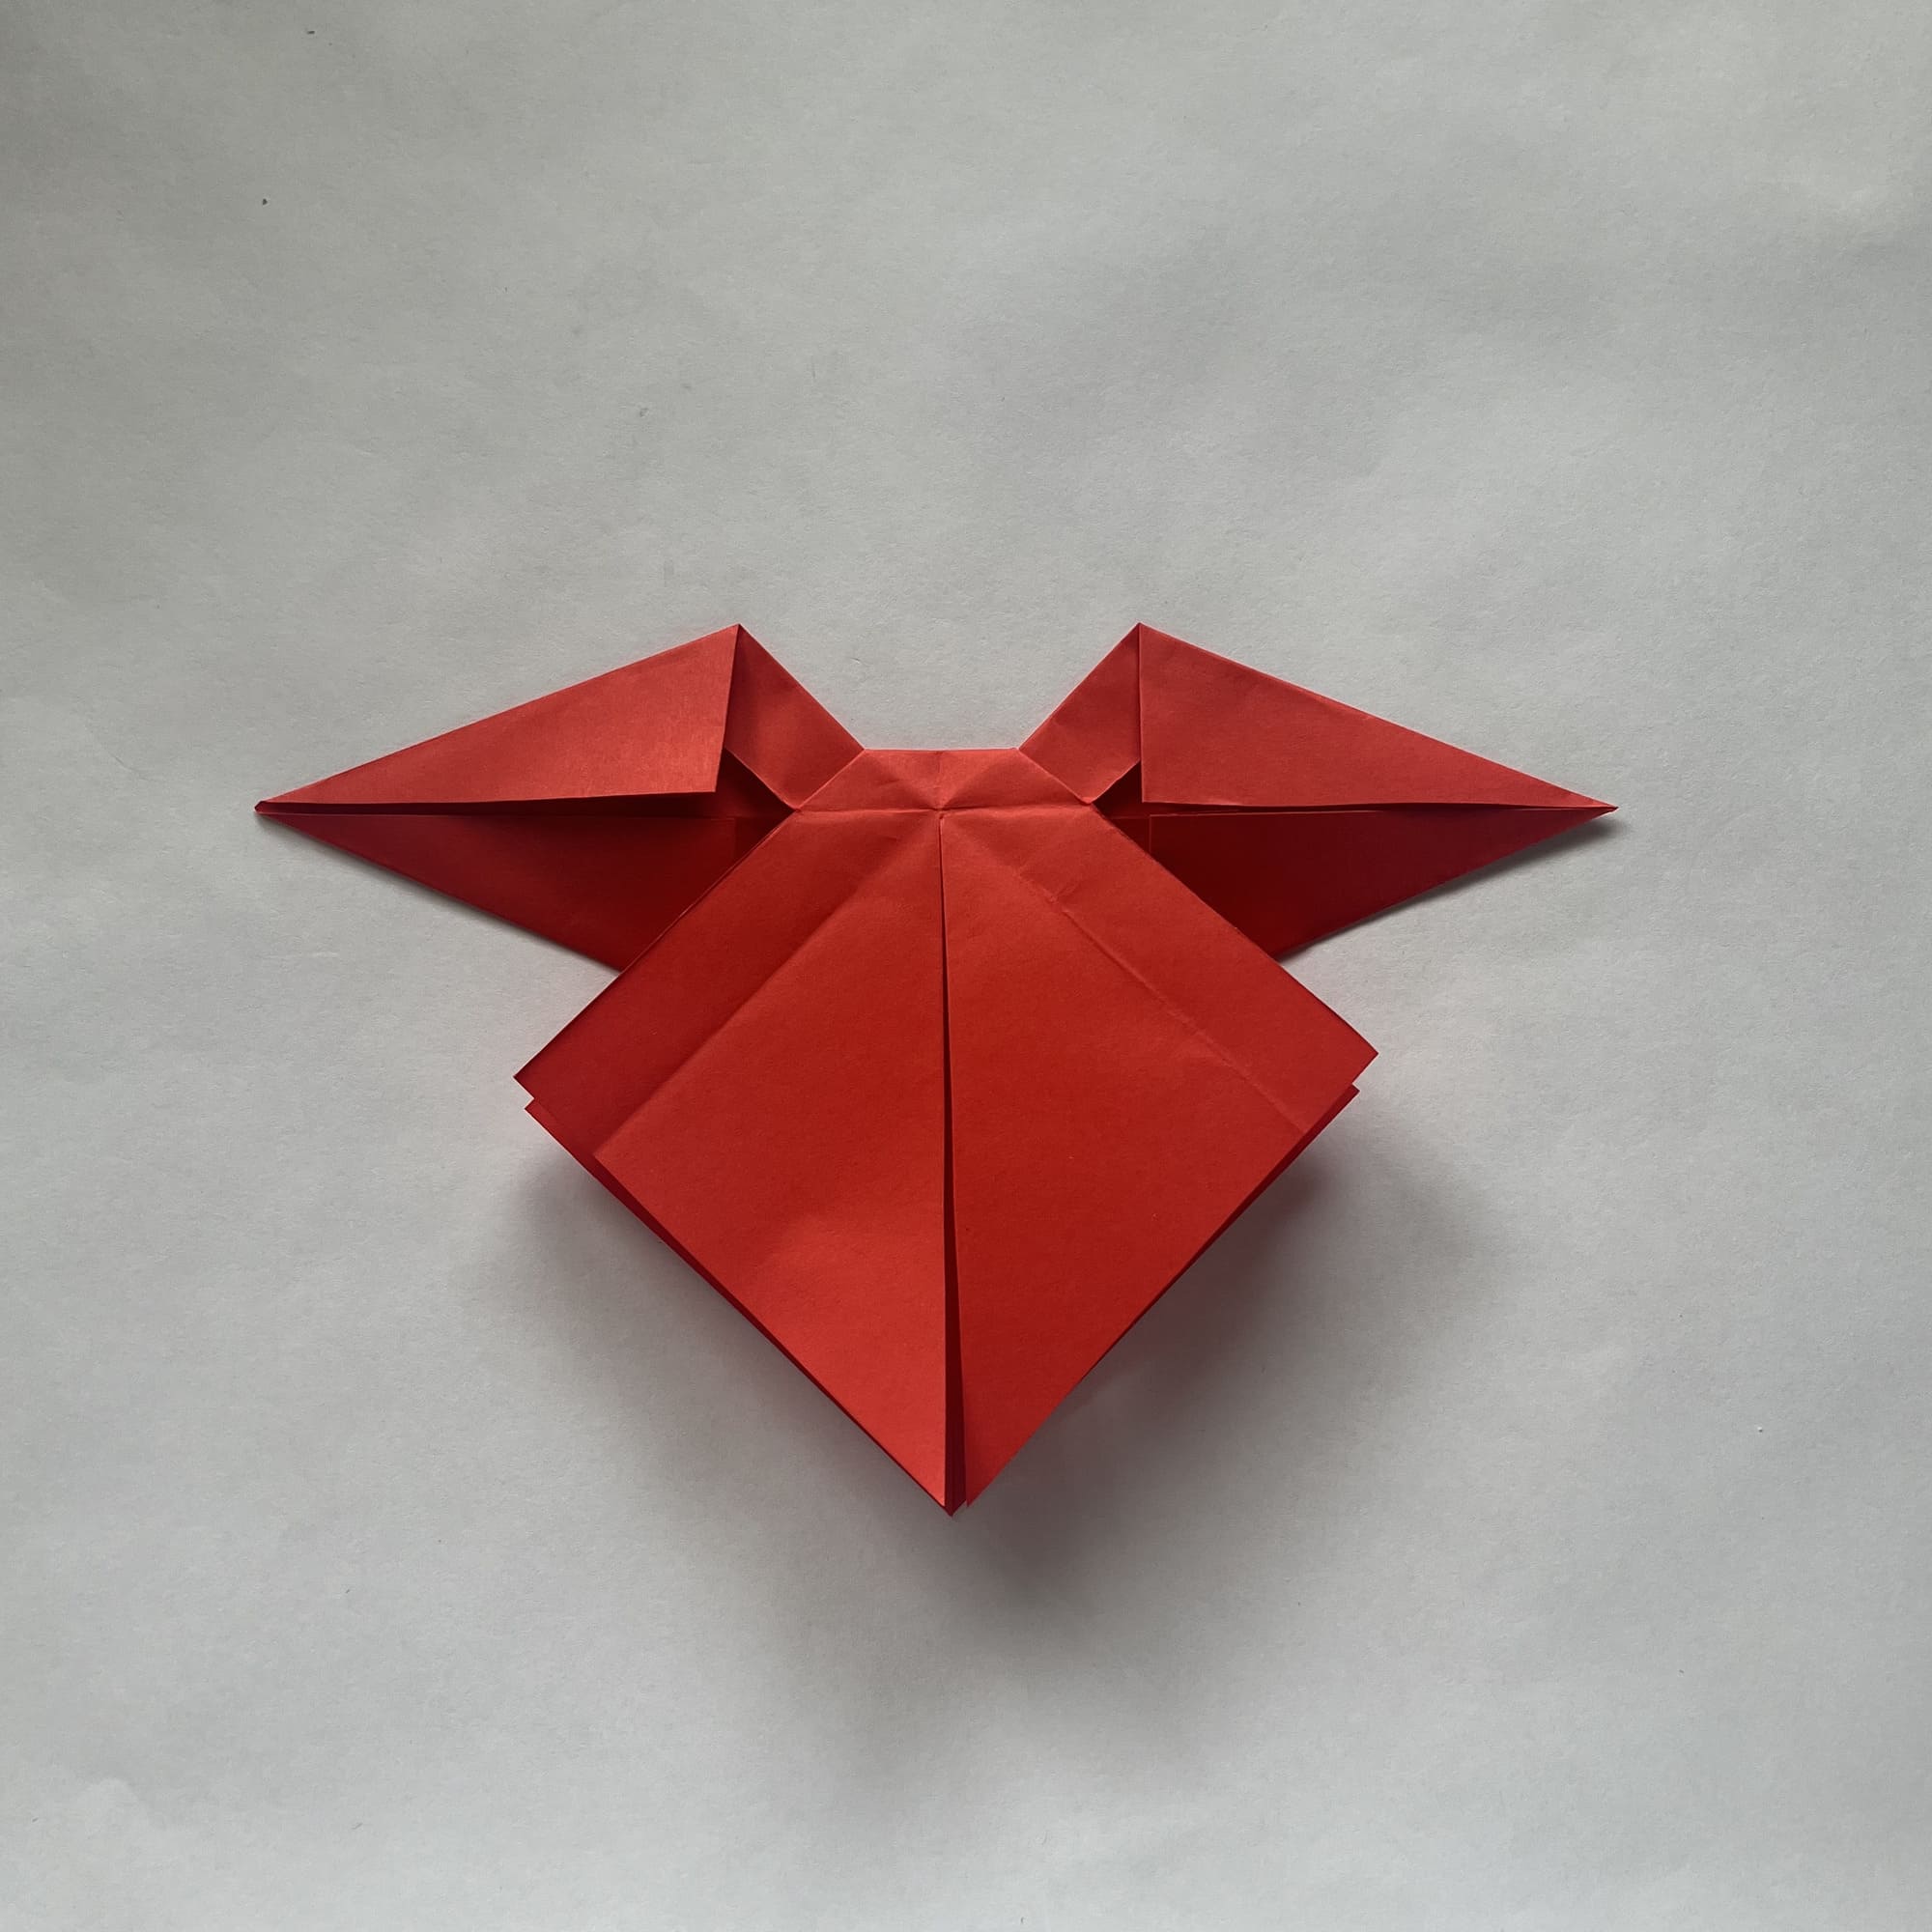
Turn the paper over and make four symmetrical cuts, carefully checking the instructions in the photo: the cut lines are indicated with dotted lines.
Fold the top half down.
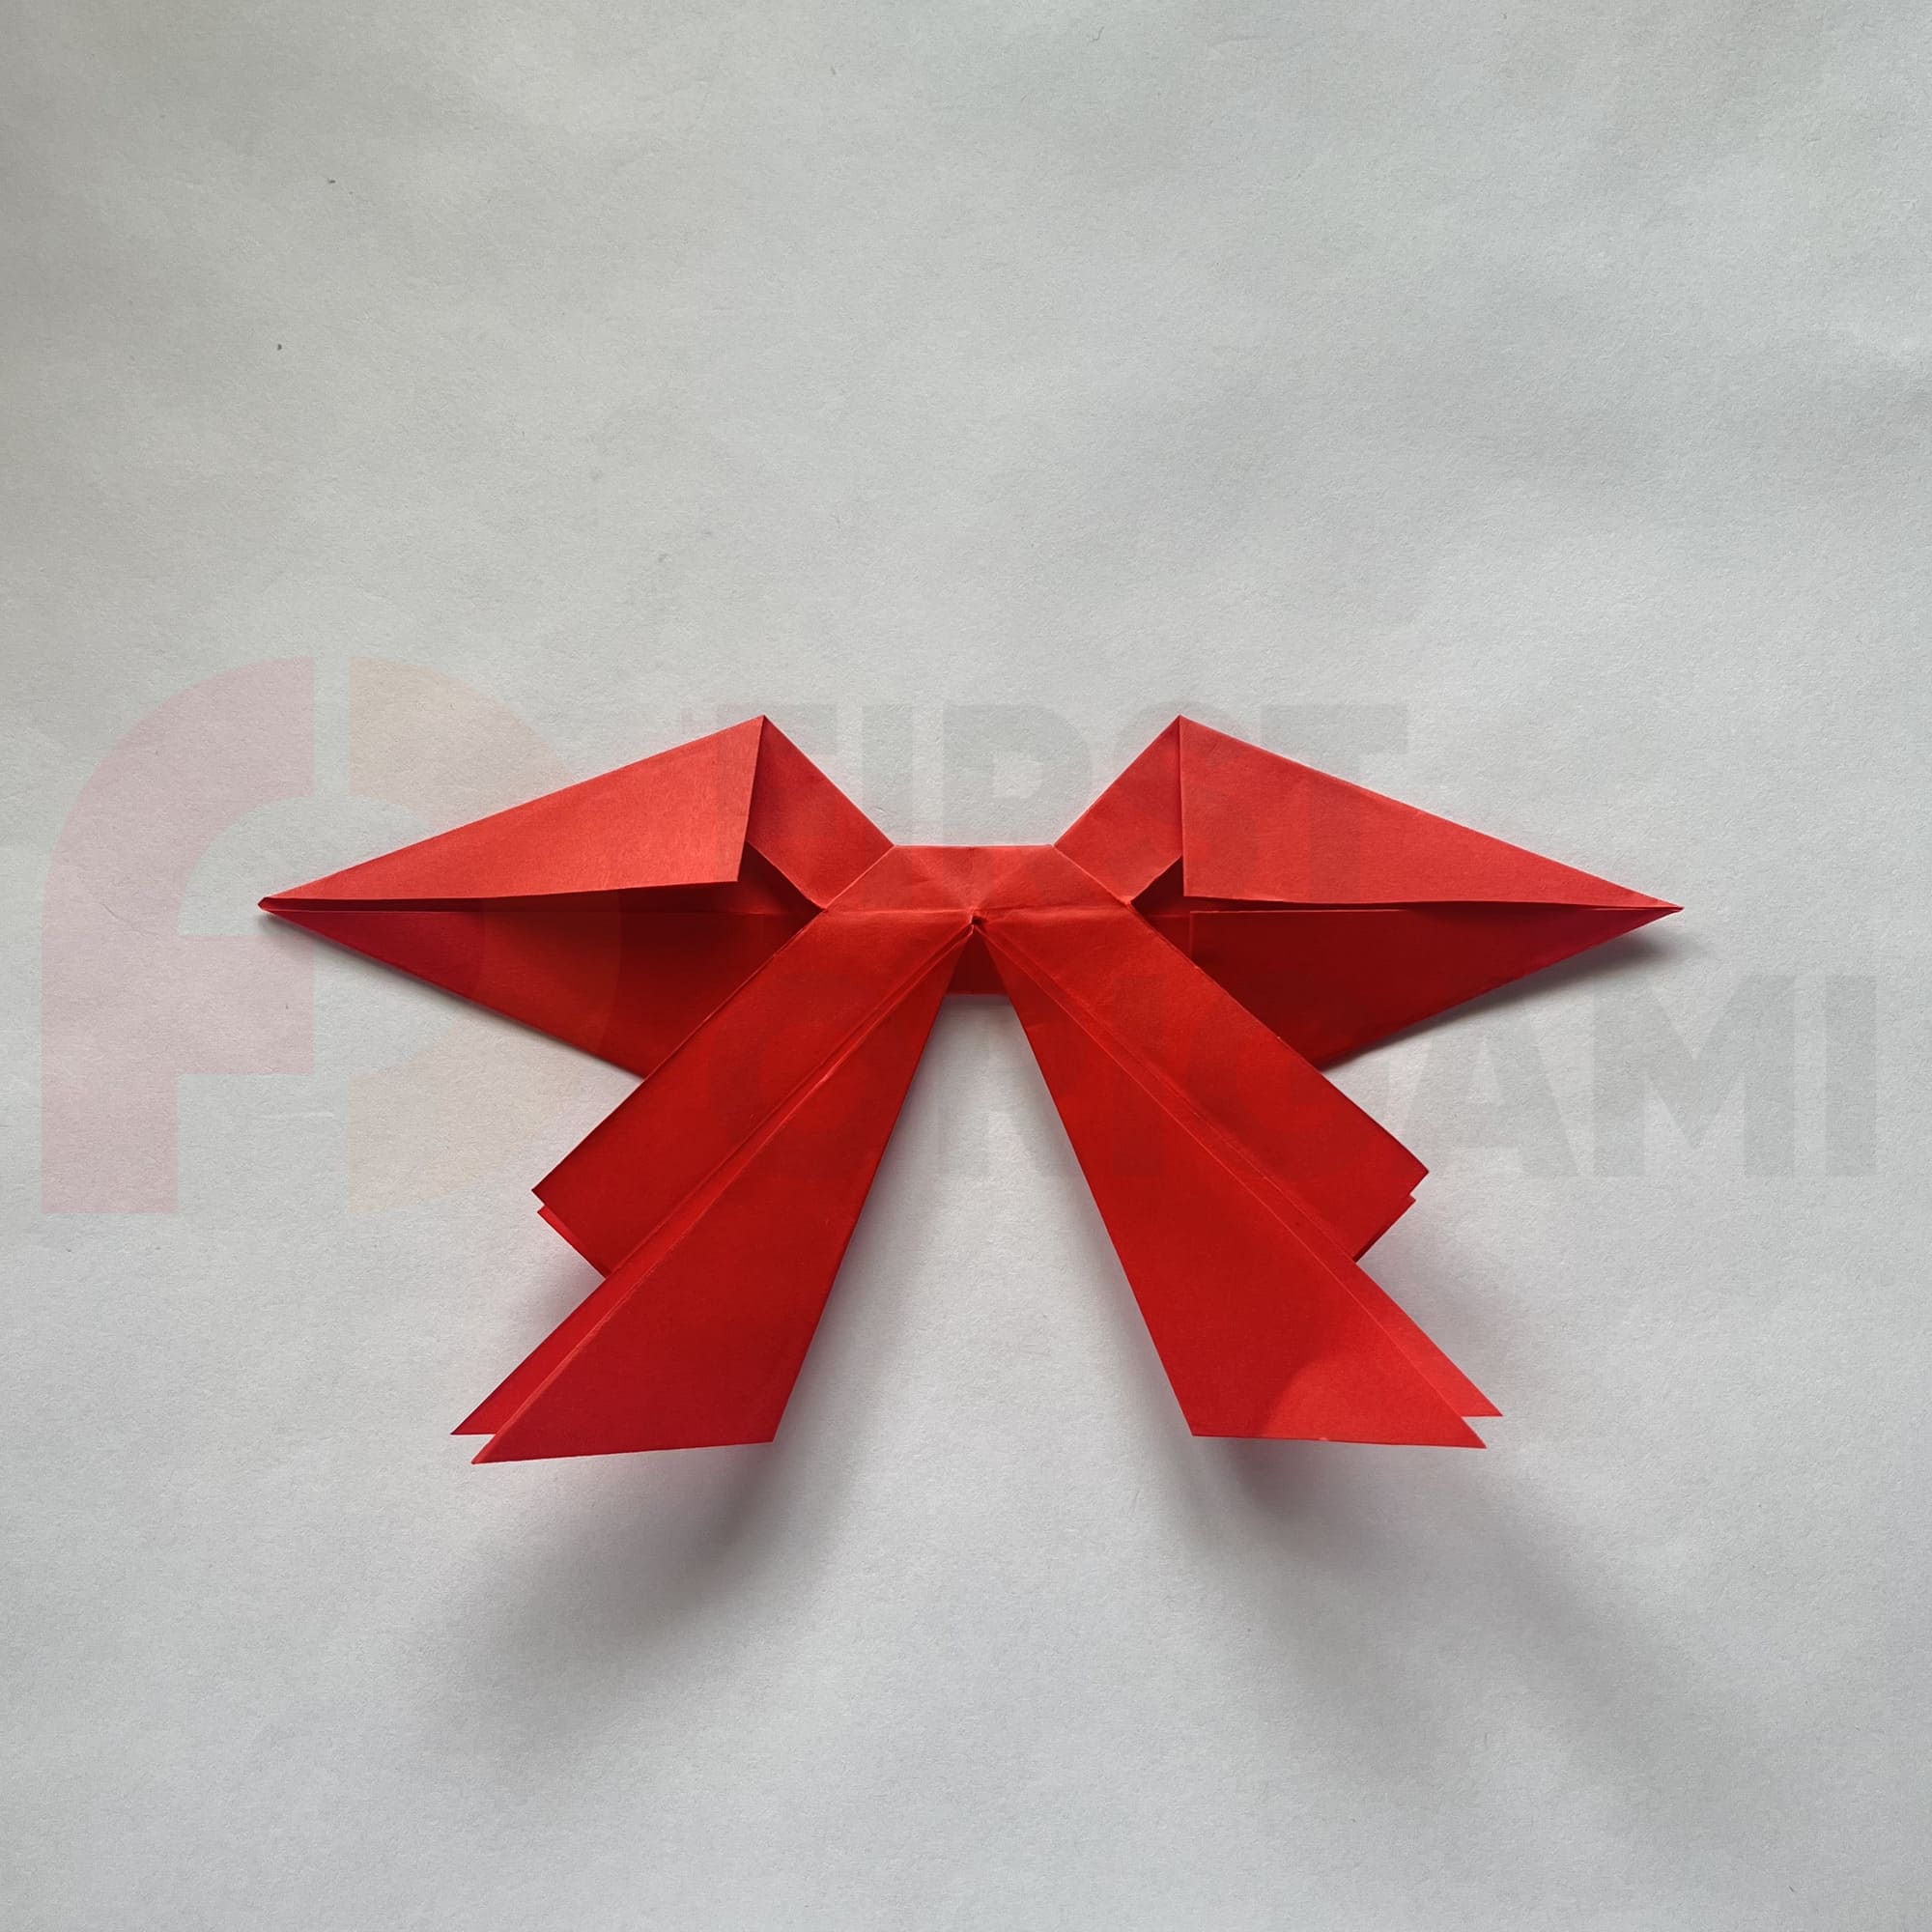
On the right and left, fold the top and bottom corners together, making diagonal folds.
Make another cut in the center, touching both layers of paper.
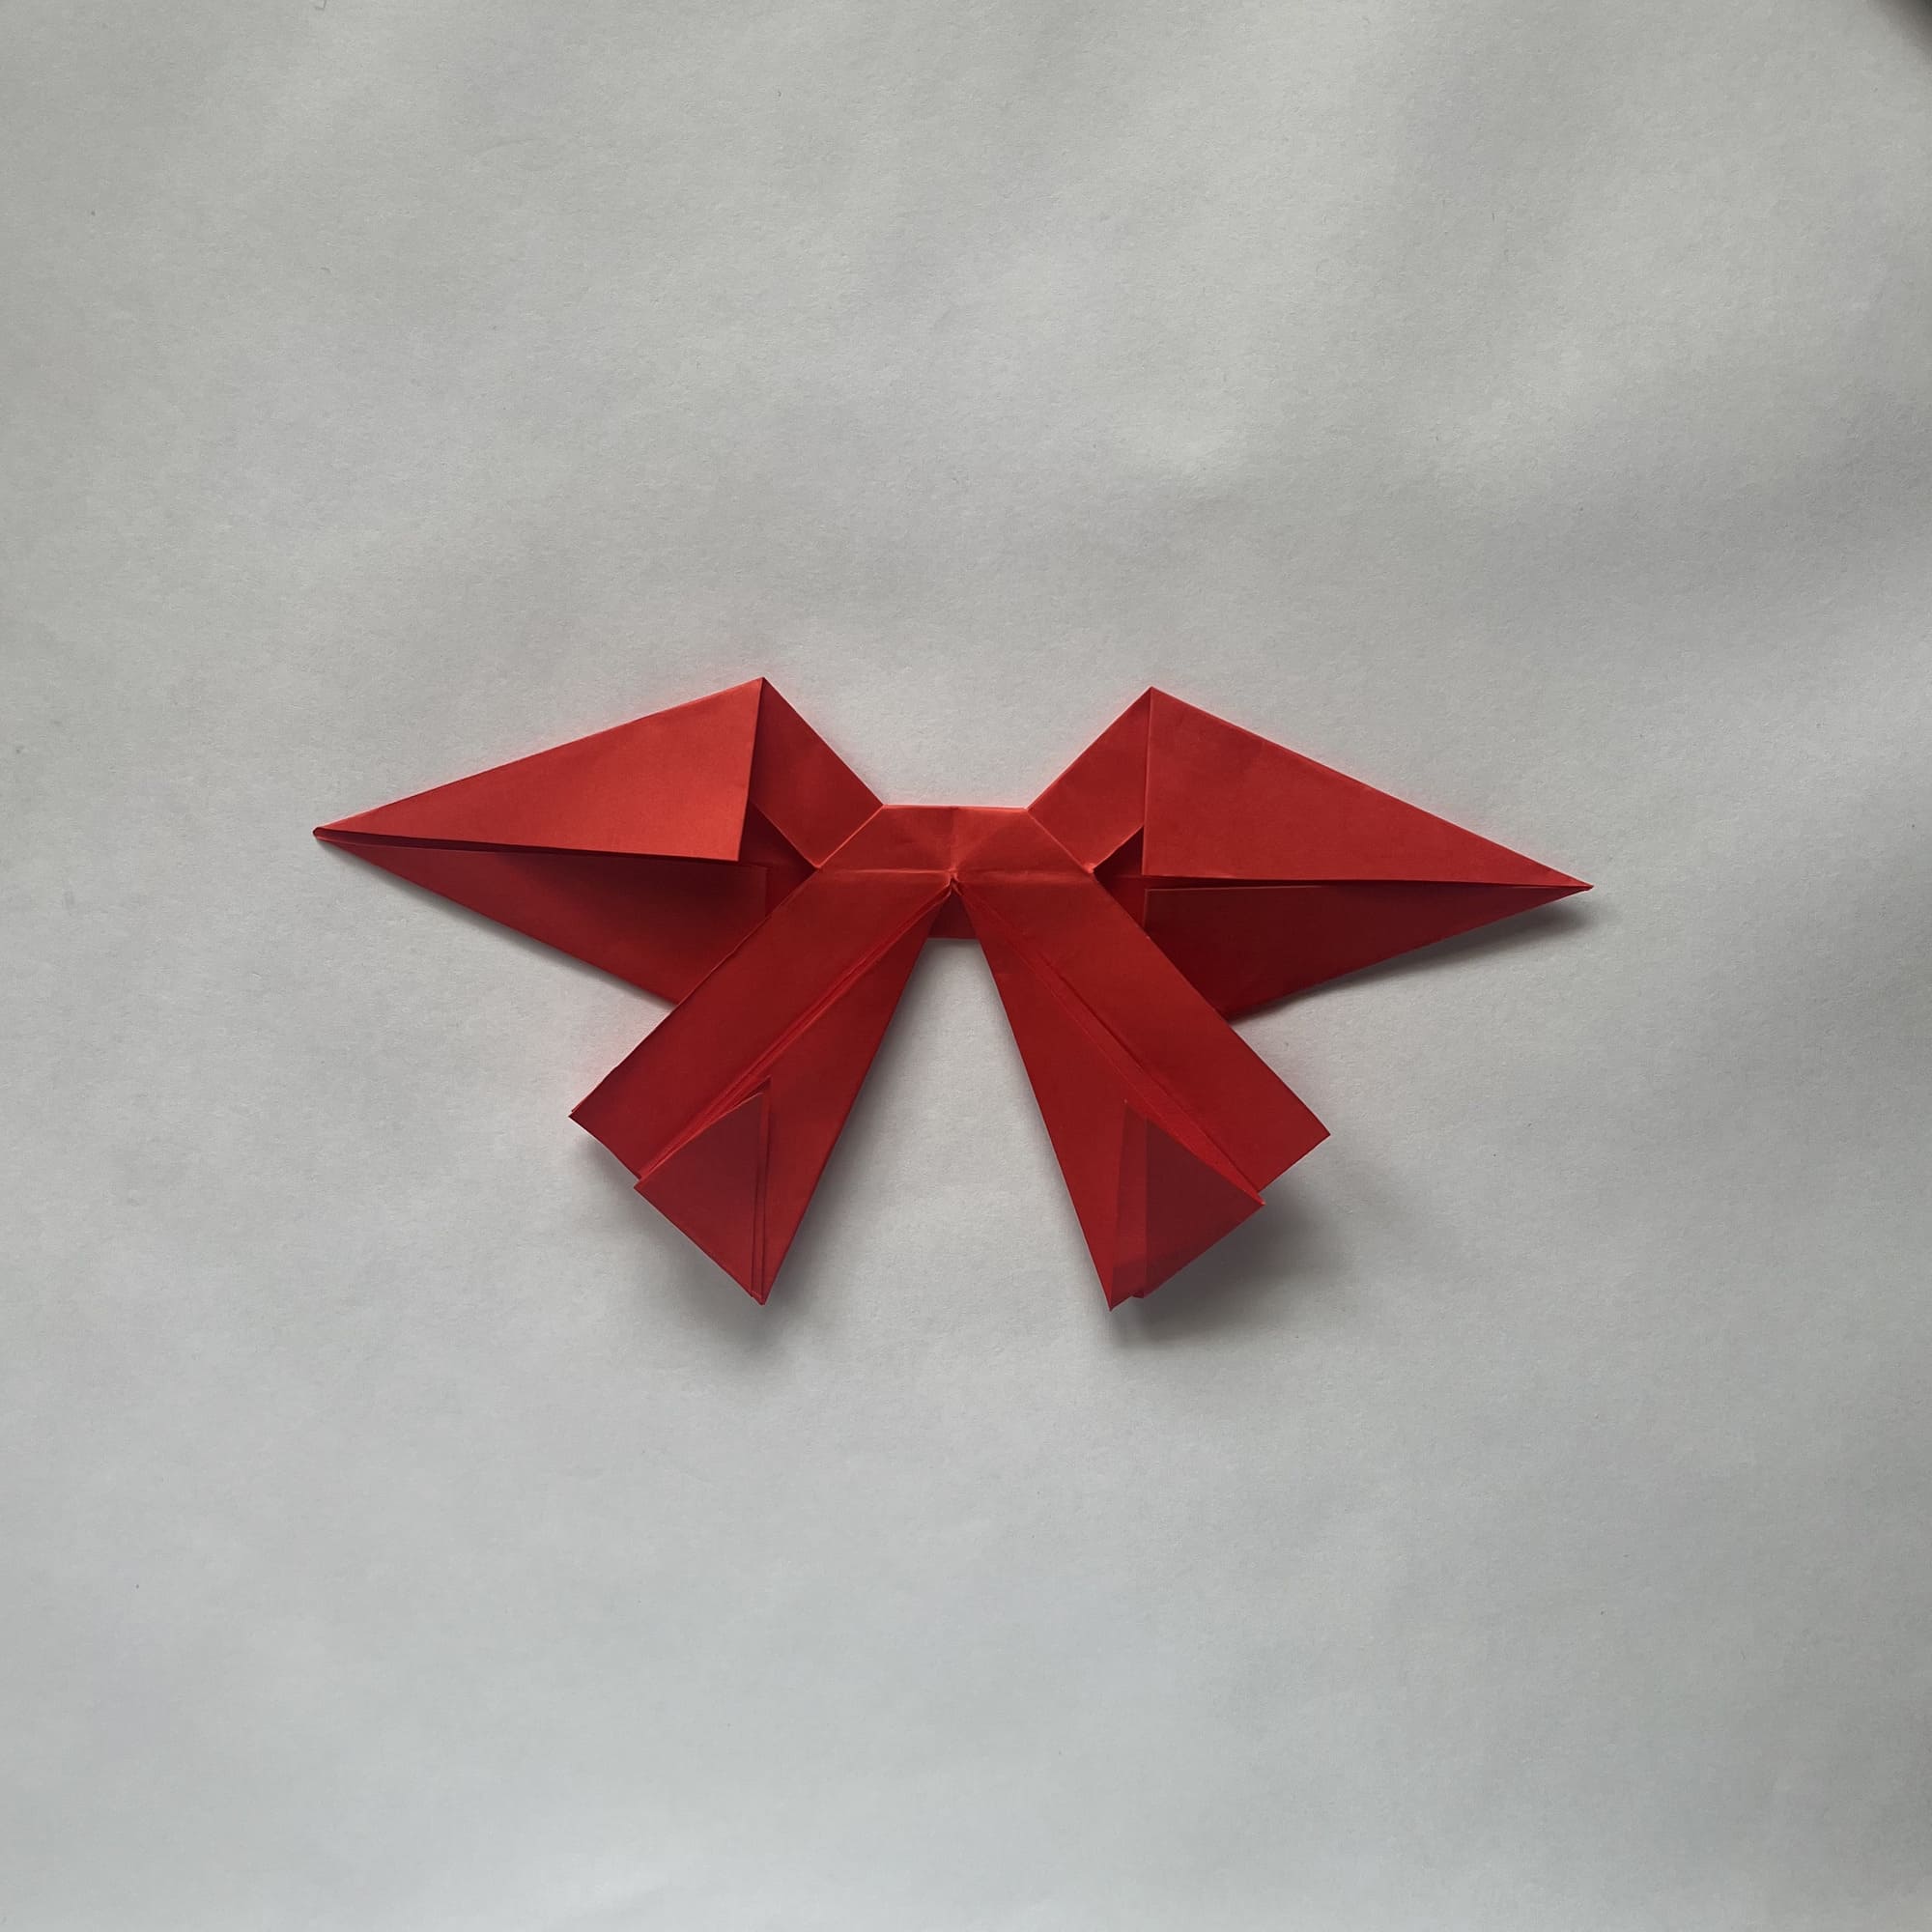
Bend the corners of the cut to the outside.

Bend the bottom tips upward so that the edge is even.
Fold the sides inward.
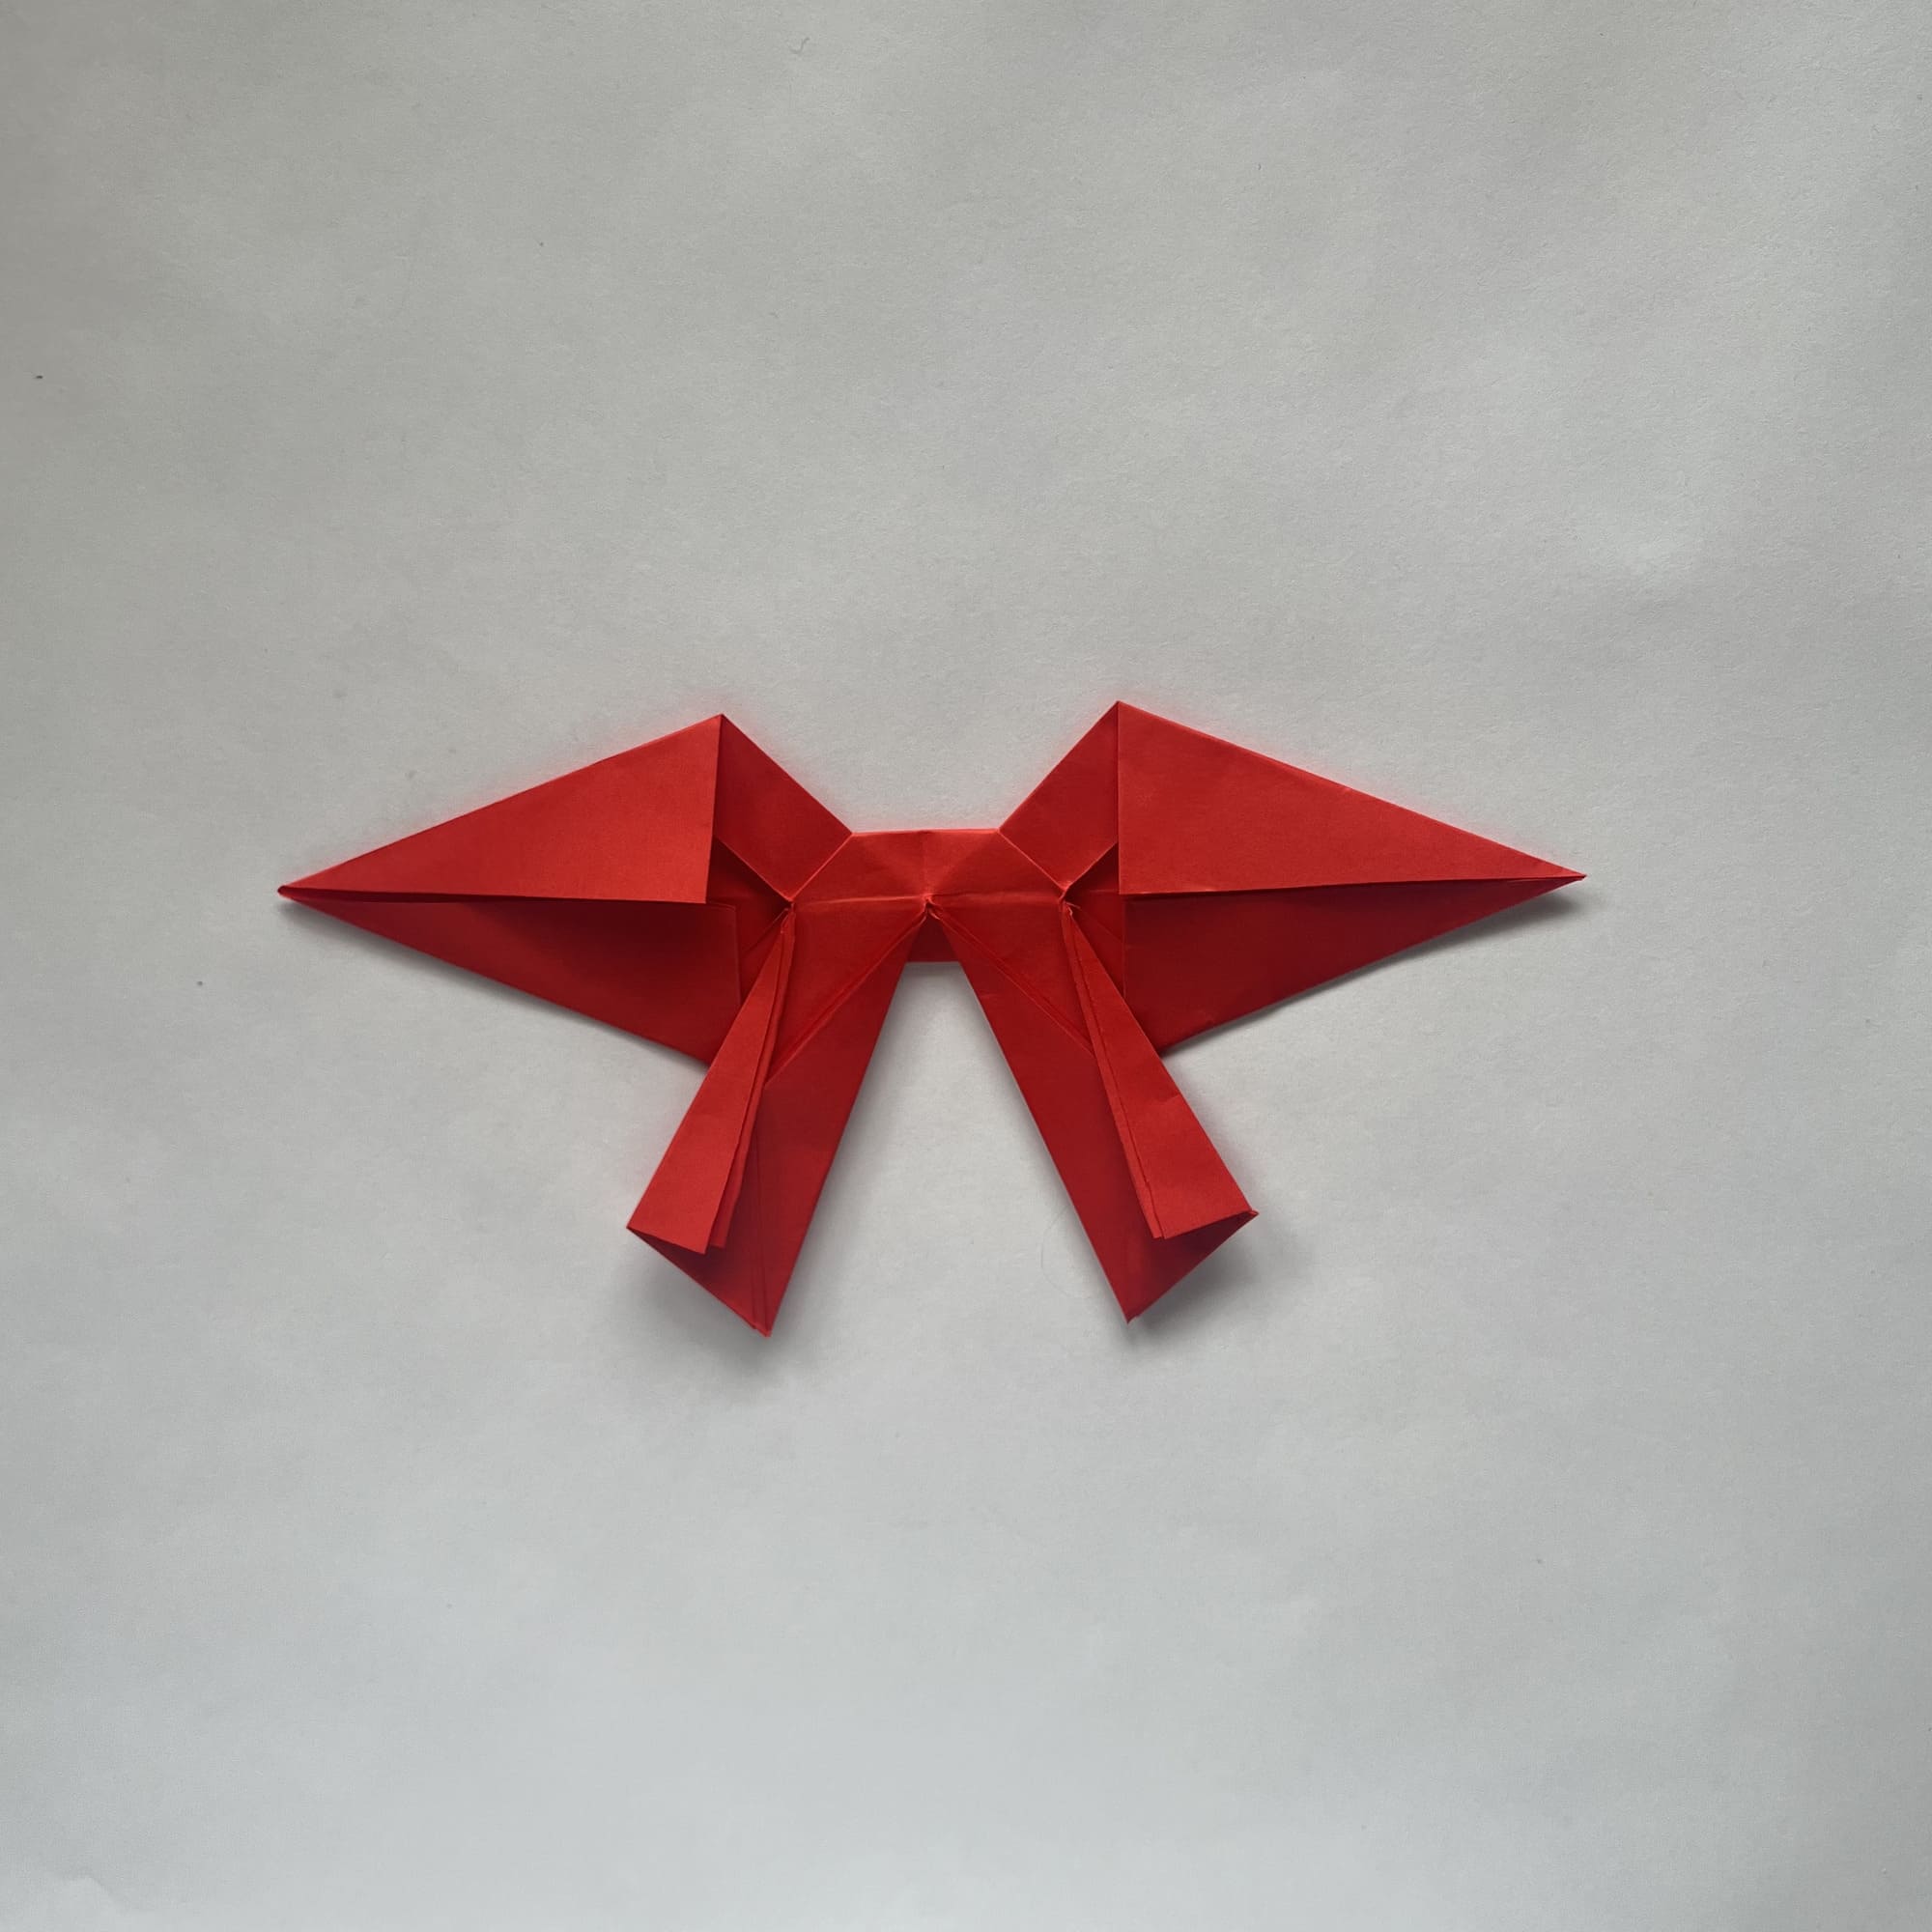
Turn the figure over.

It remains to wrap the corners sticking out on the right and left sides under the square in the center.

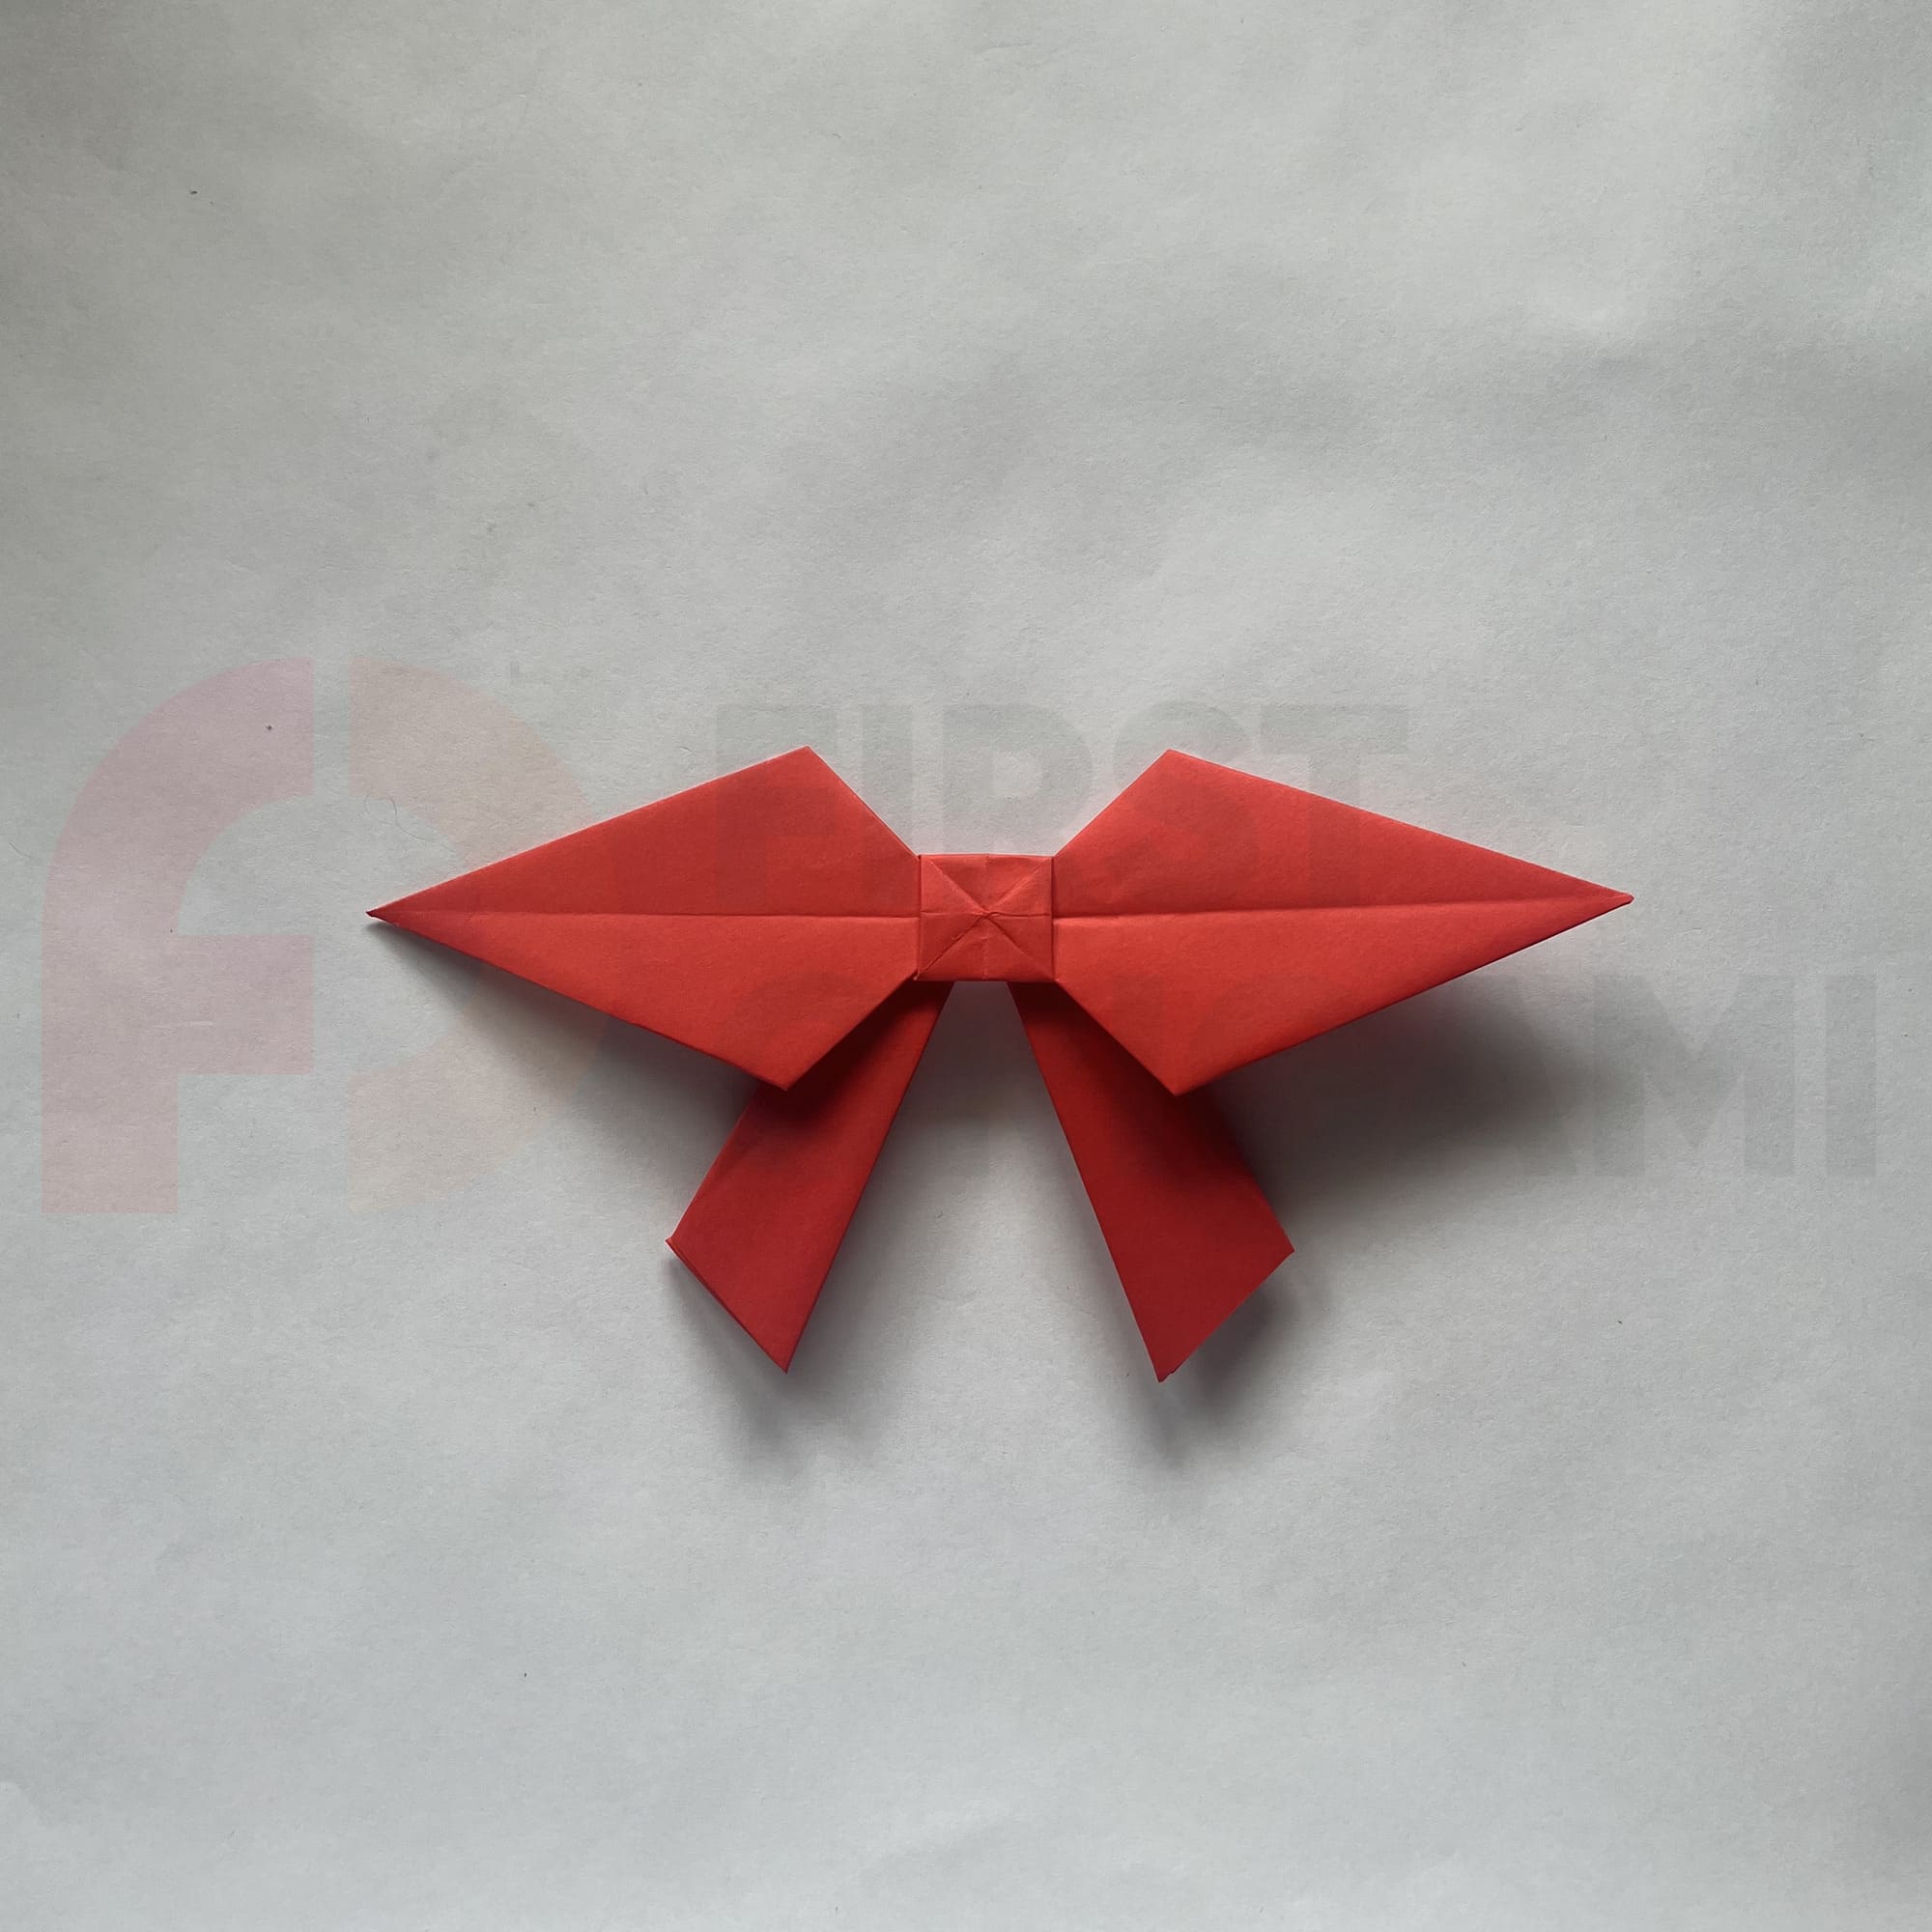
Done!
Such a bow can be hung on the refrigerator, so that it pleases the eye every day, or make several to decorate the apartment for the party. And if you decorate a gift box with such a bow instead of the usual one, we guarantee, that it will delight the recipient, and make the gift even more pleasant!


