Origami Fish
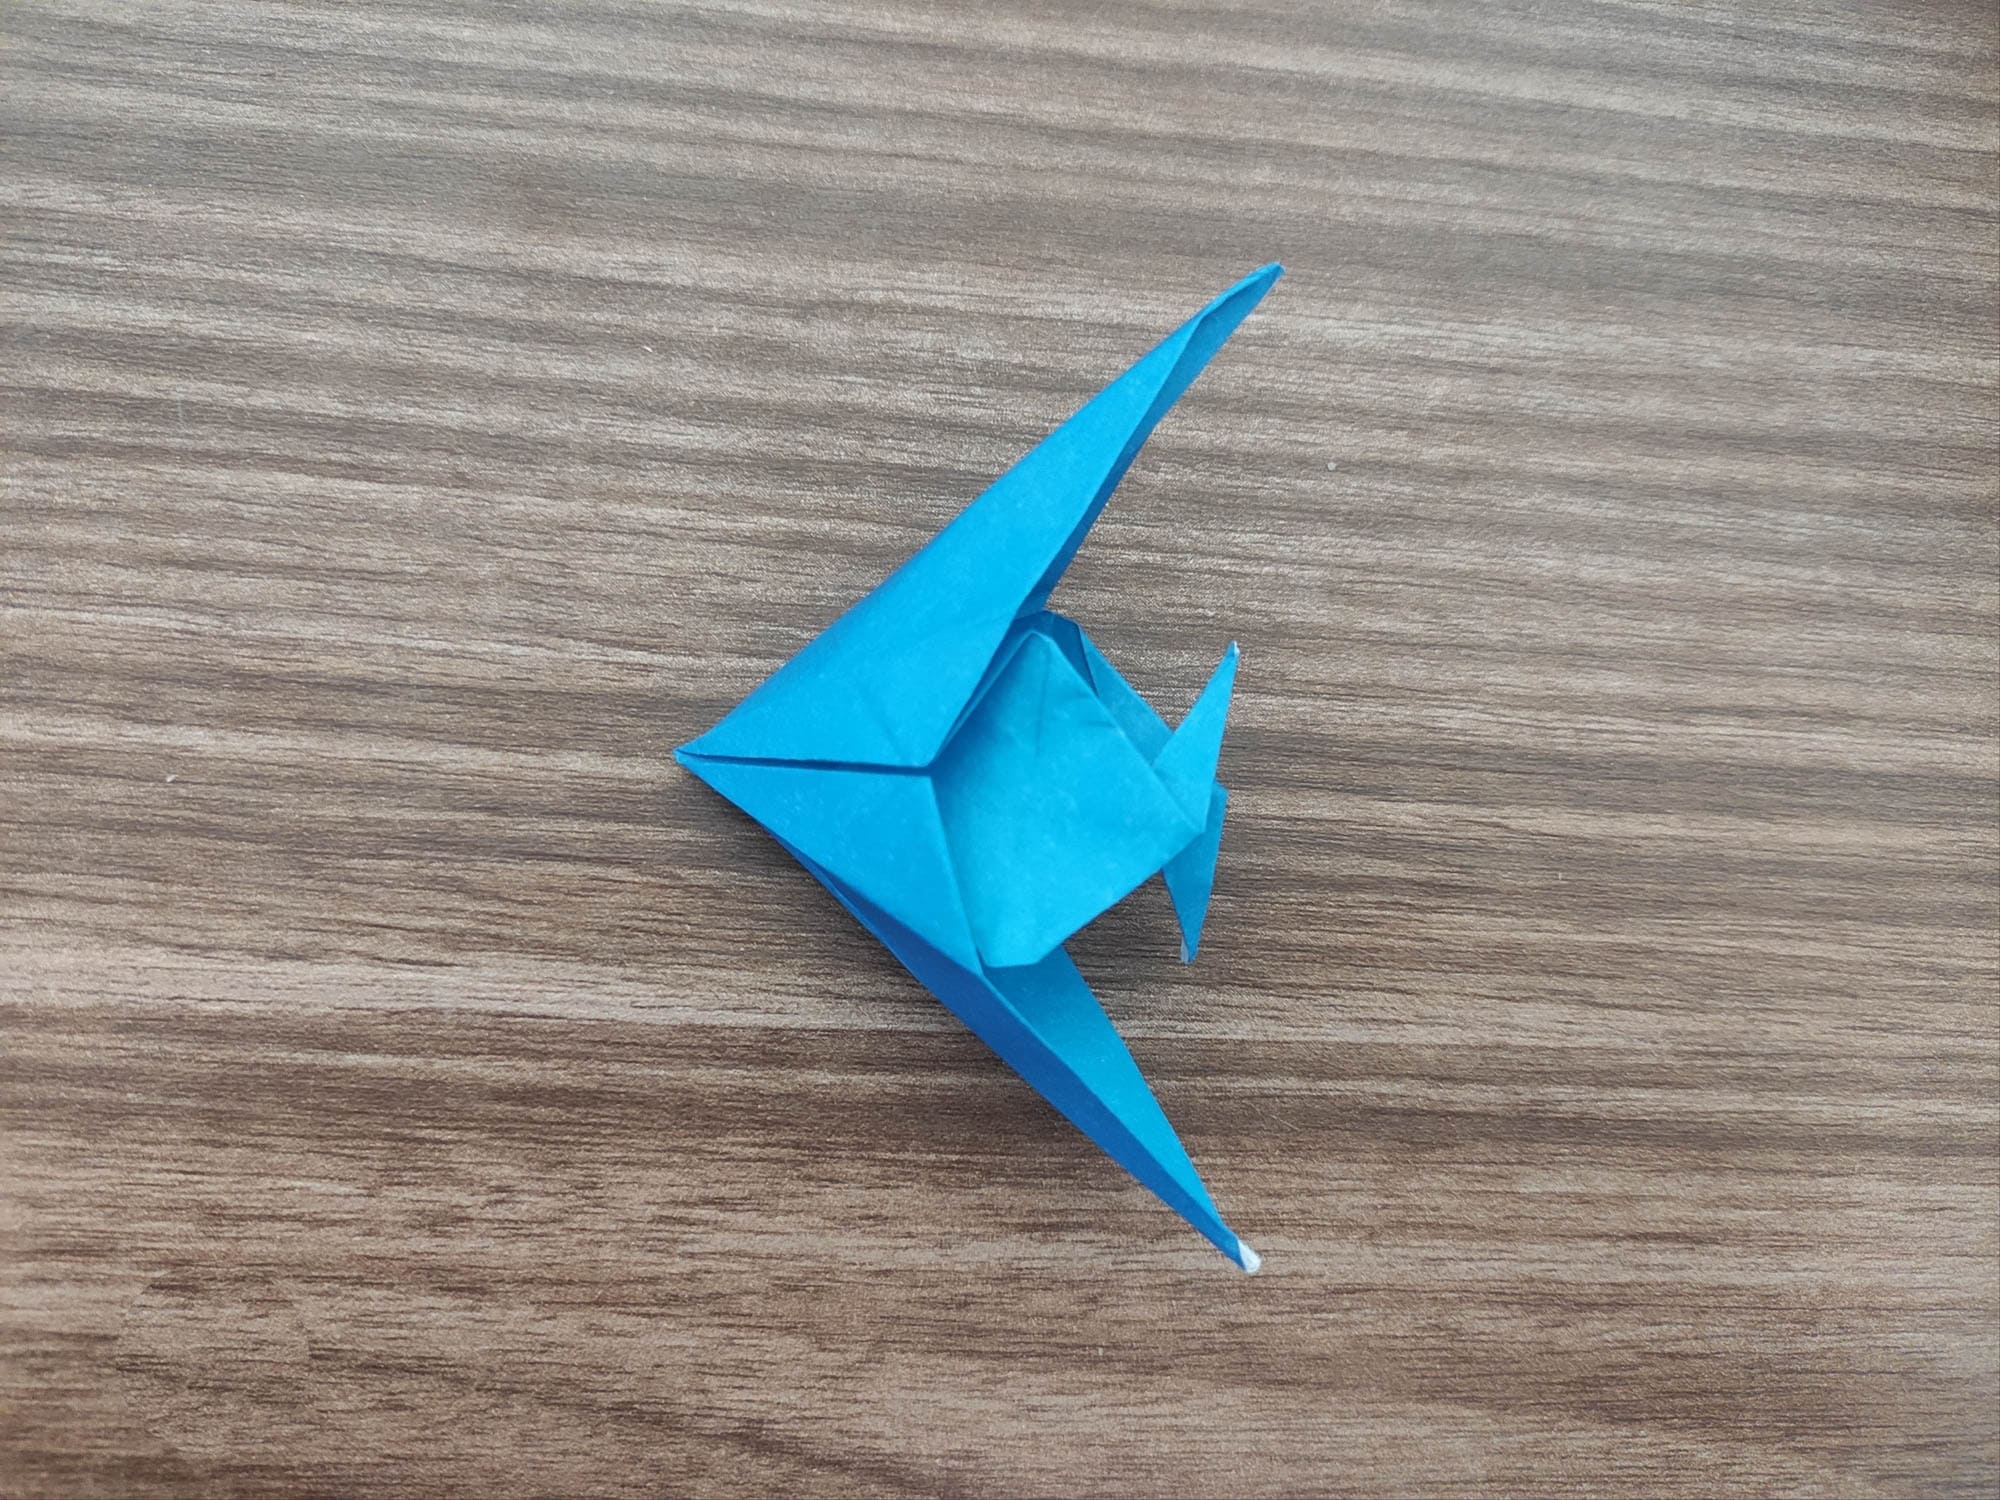
Inhabitants of sea waters besides scientific names very often have nicknames: swordfish, zebra fish, urchin fish. This is usually due to the peculiarities of their structure. Angelfish got its name because of the shape of the fins. They are very similar to the wings of an angel. These are the most beautiful creatures, existing in a huge variety of bright colors. And today you can create a unique angel fish with your own hands!
To fold an angel fish in the origami technique you will need only a little patience and a piece of an origami paper of purple, lemon, or orange color. Let’s go!
First, fold Origami Bird Base from a square of origami paper with a side of 15 cm.
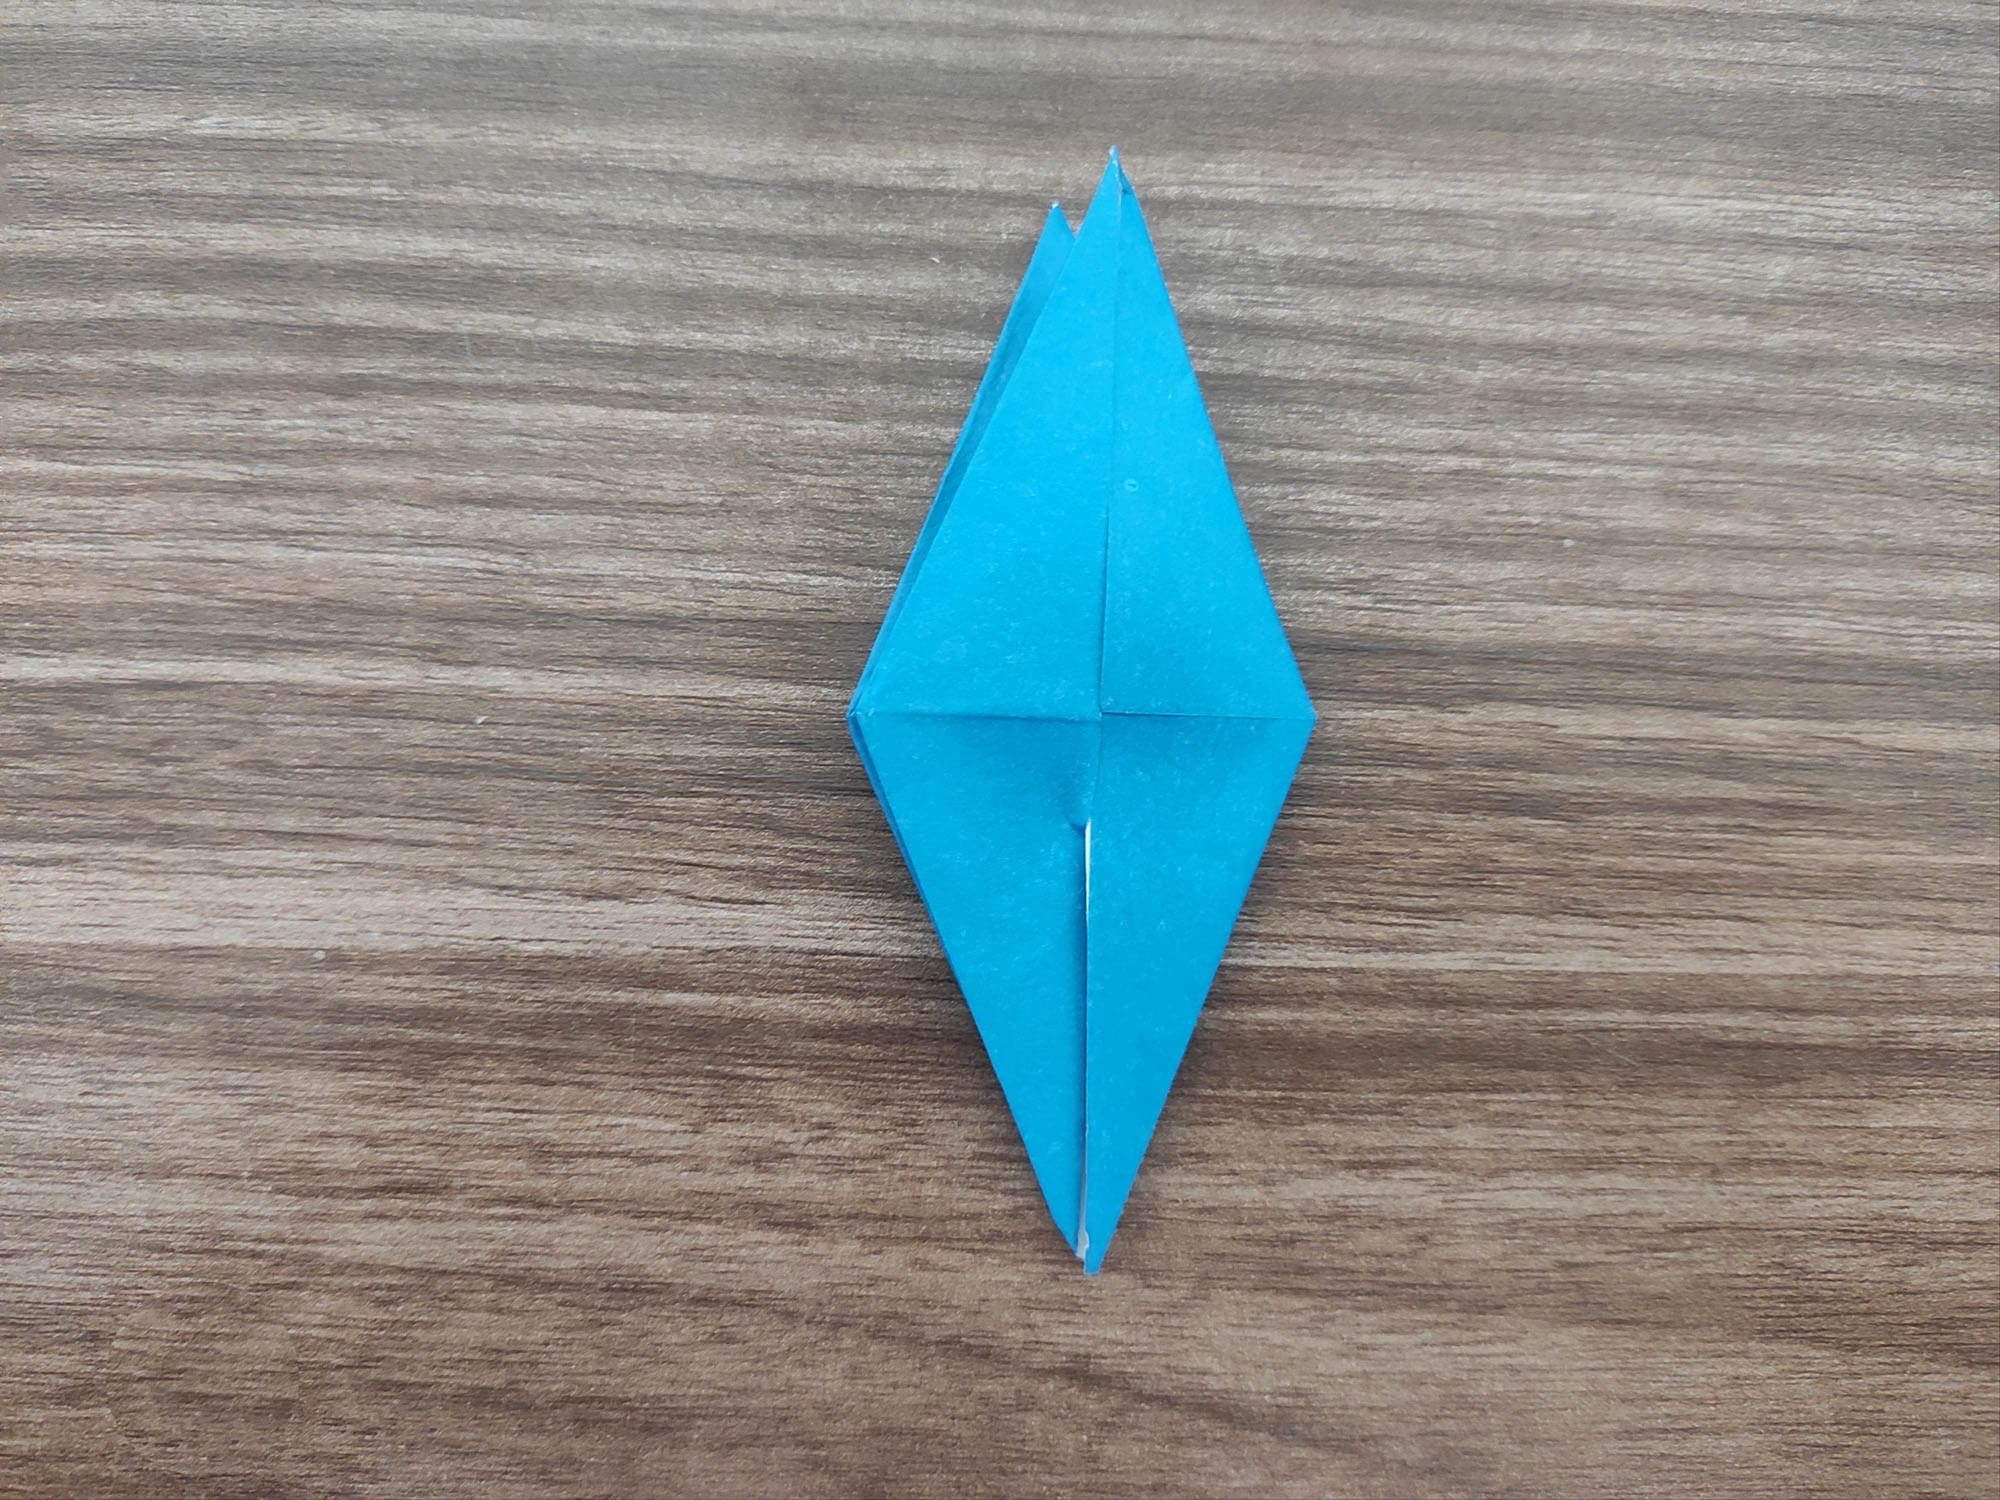
Fold the top half of the base down towards you so that the sharp corners meet.
Do the same with the other half. You have to get a kite shape.
Lift the bottom sharp corner, connect it to the top corner, and iron the fold well with your fingers.
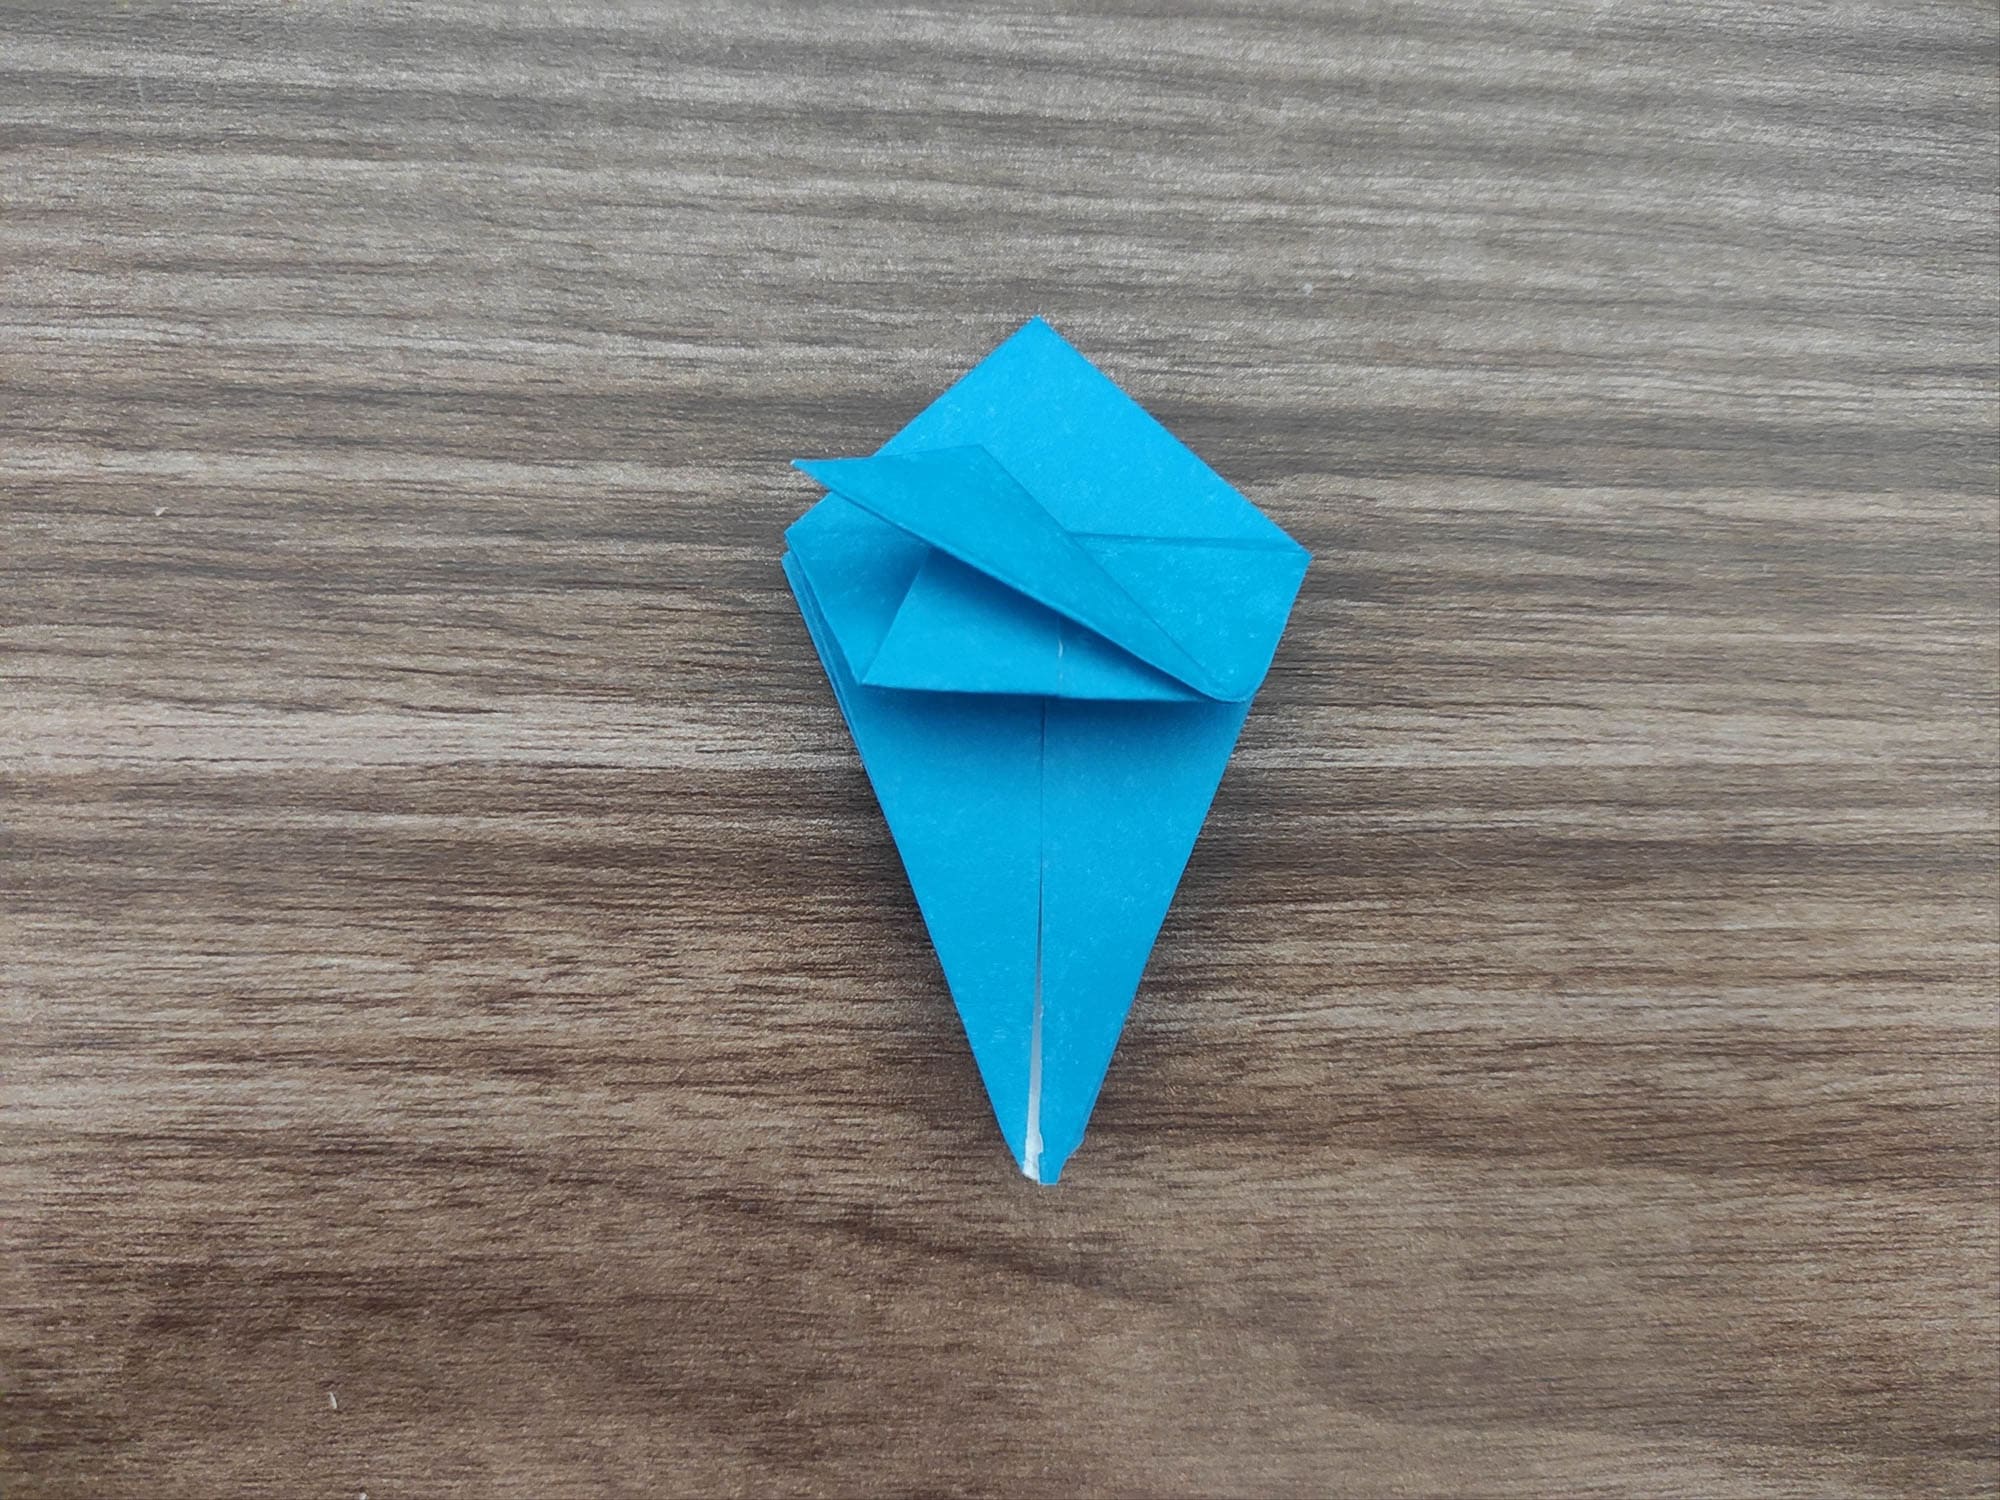
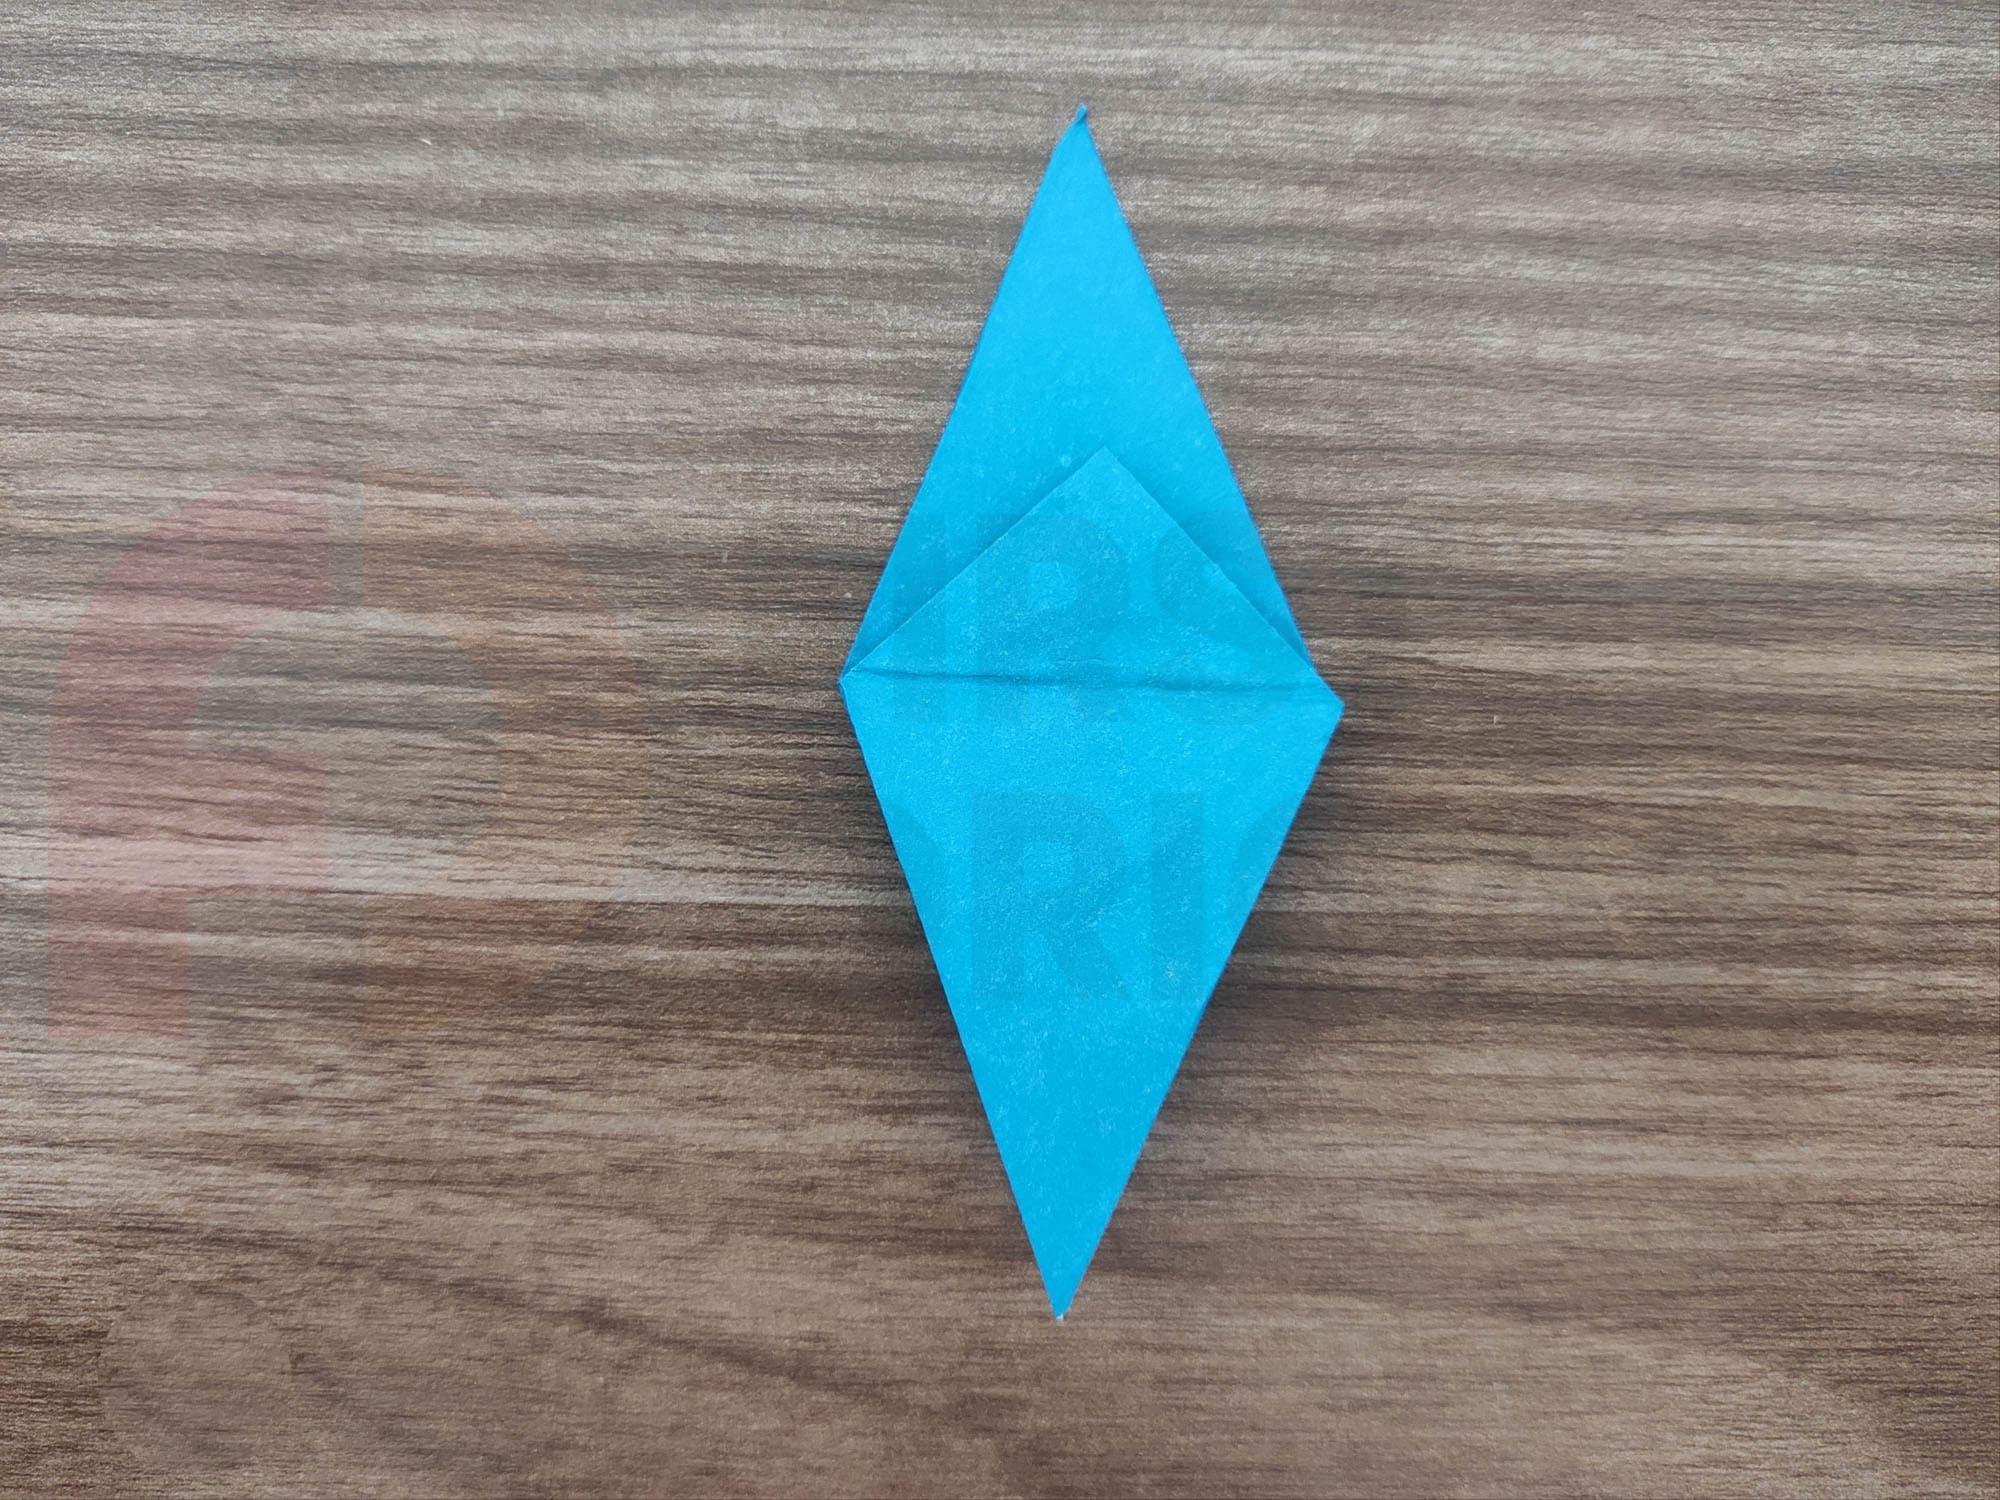
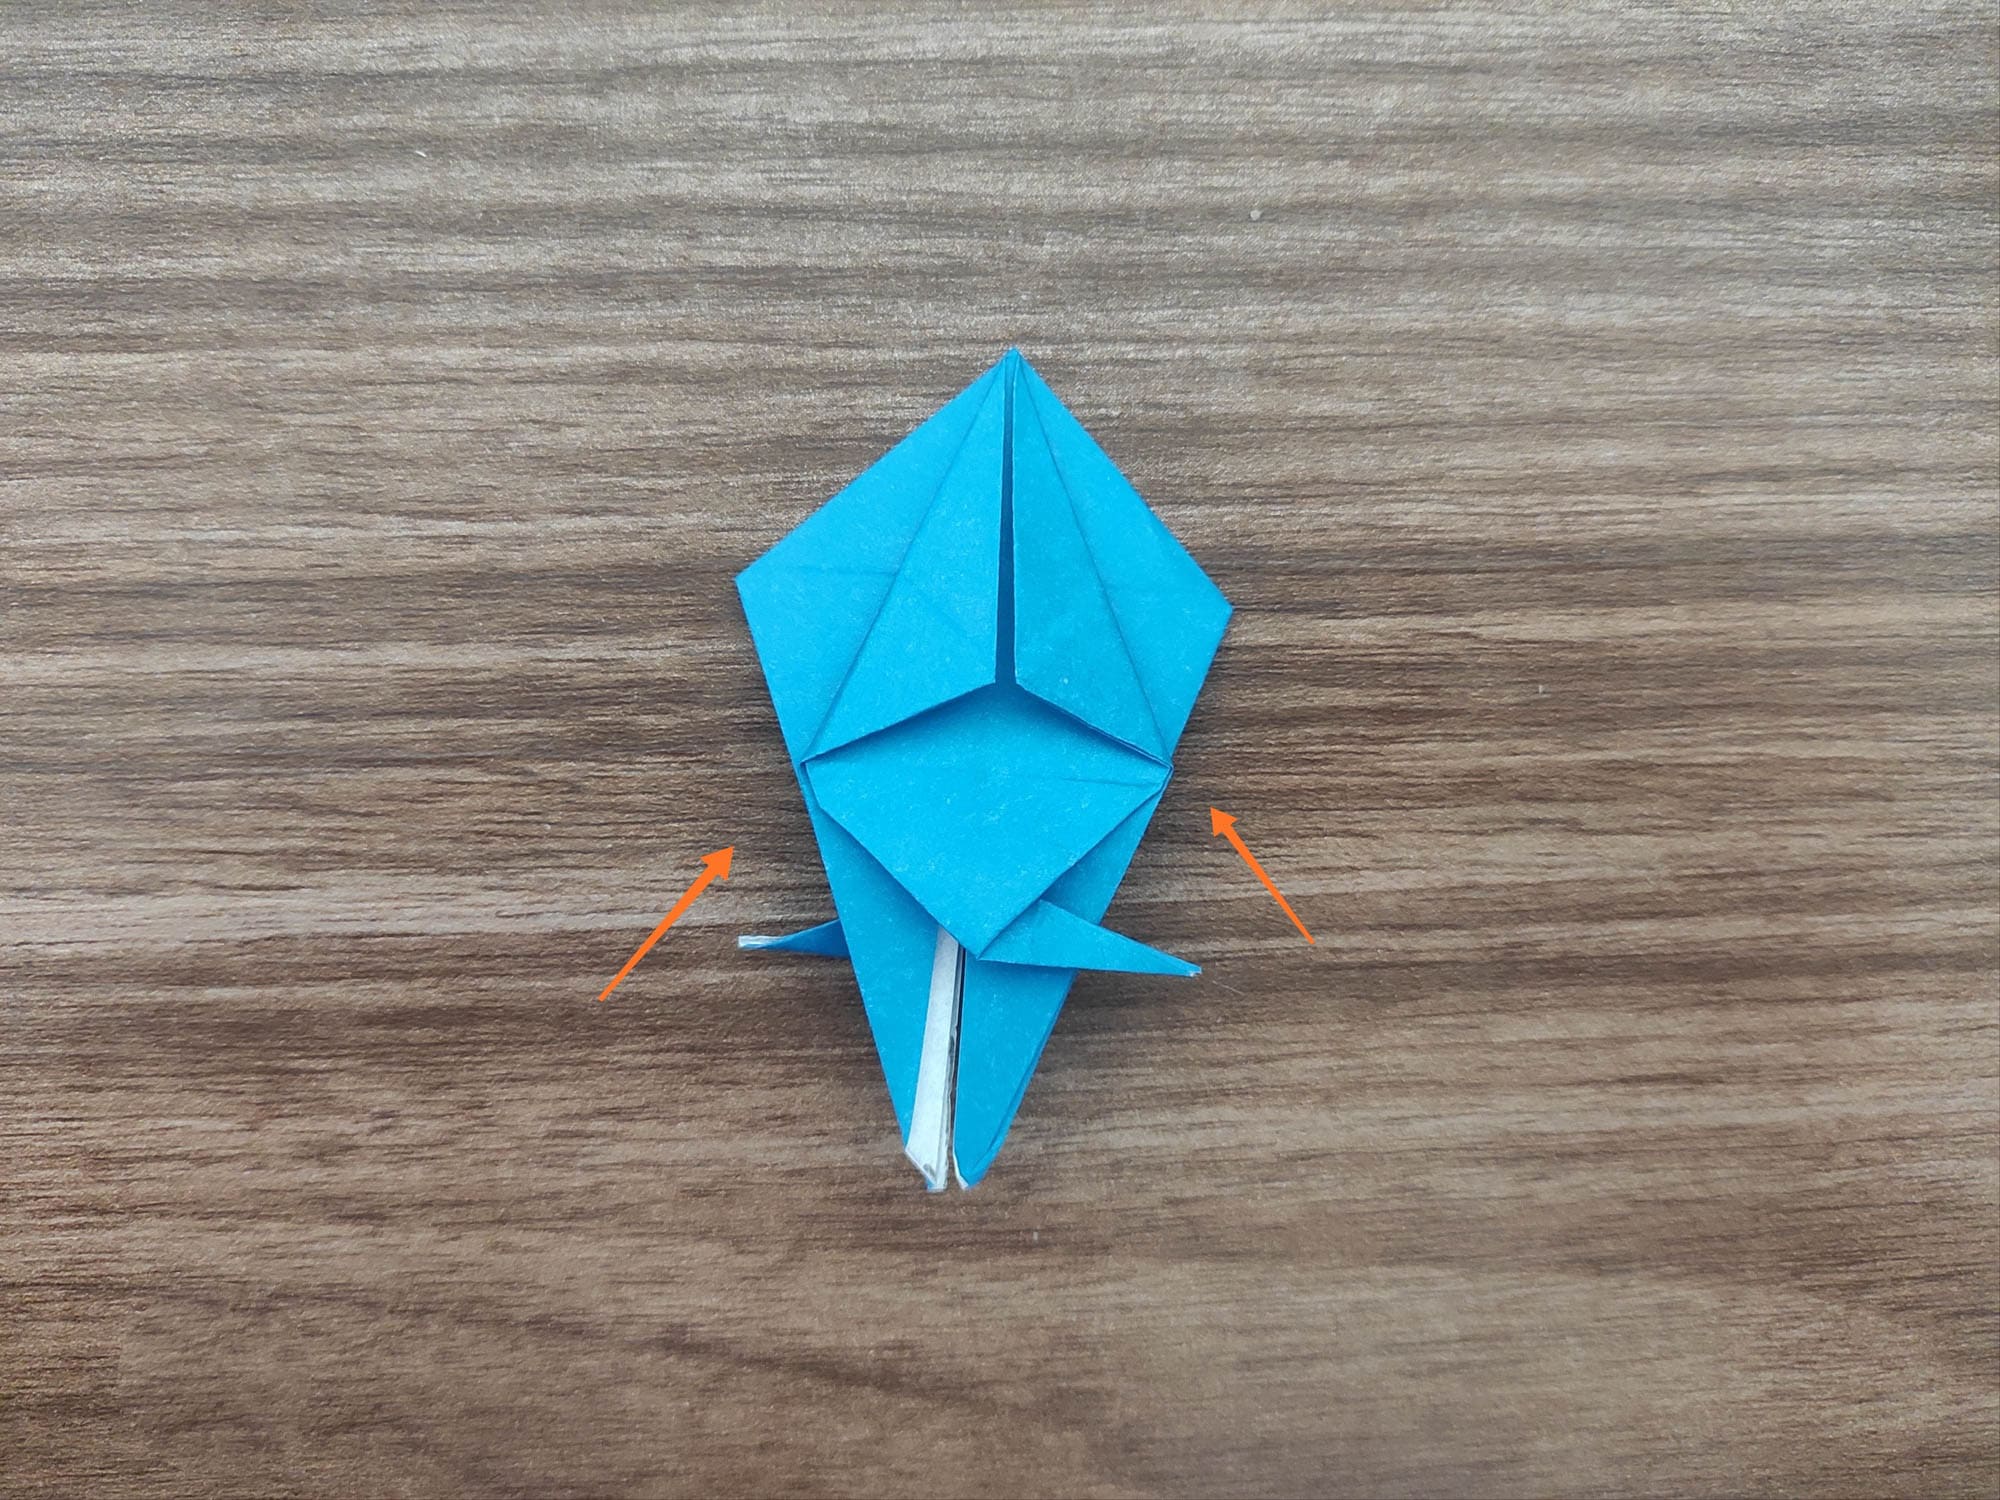
Now fold this corner first to one side, connecting it to the left corner, and then to the other side, connecting to the right corner.
You will have half of a fishtail ready.
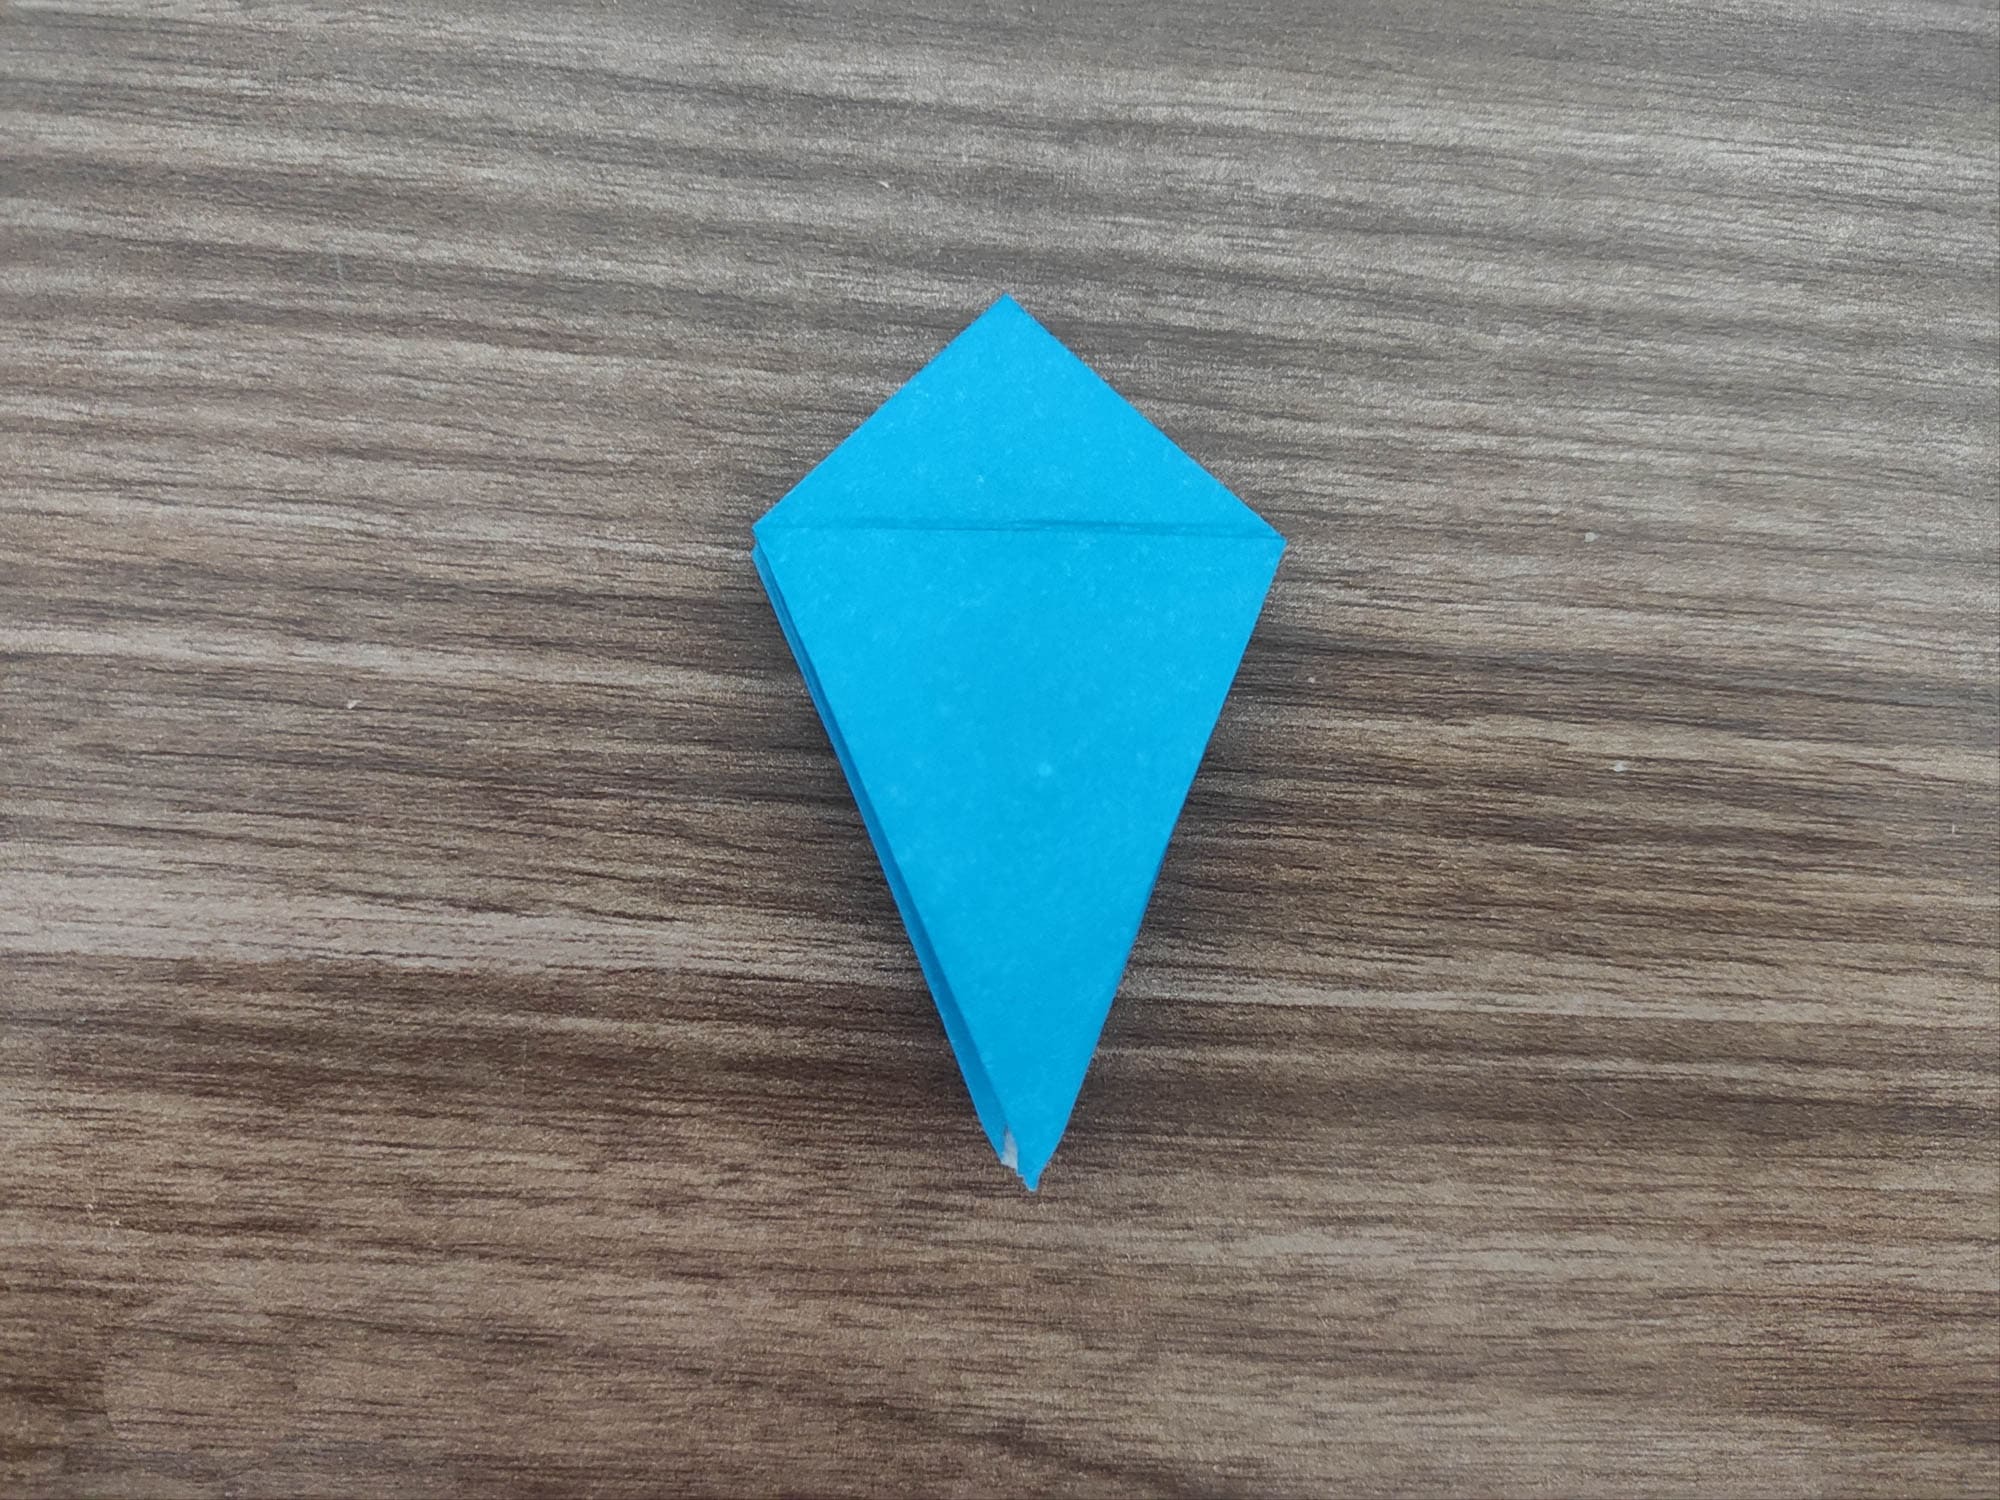
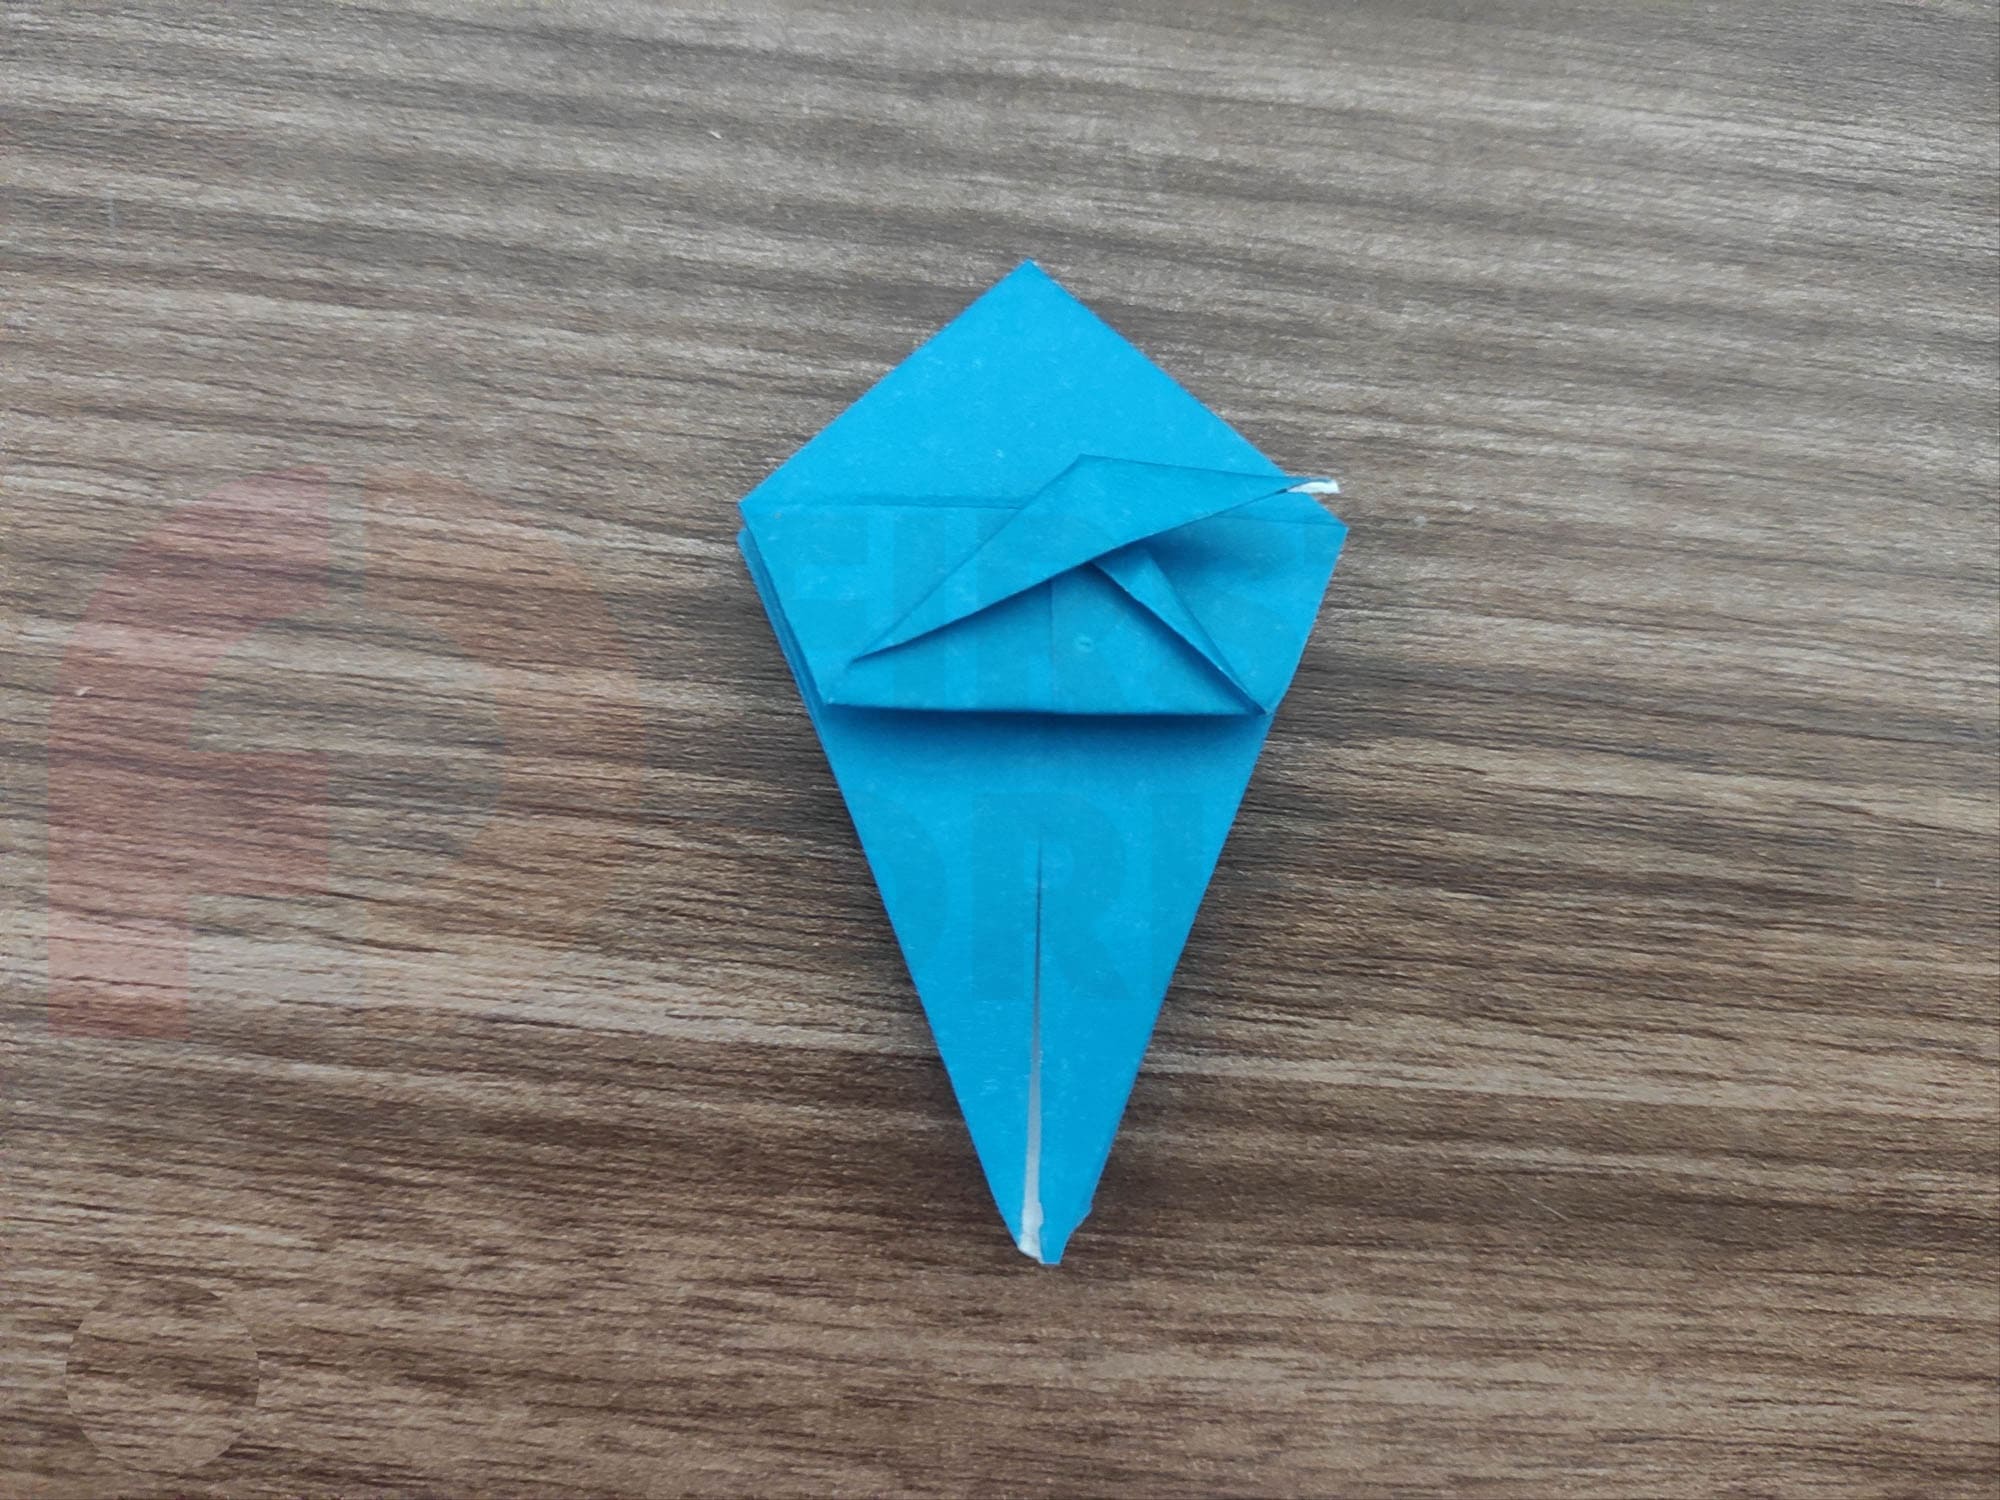
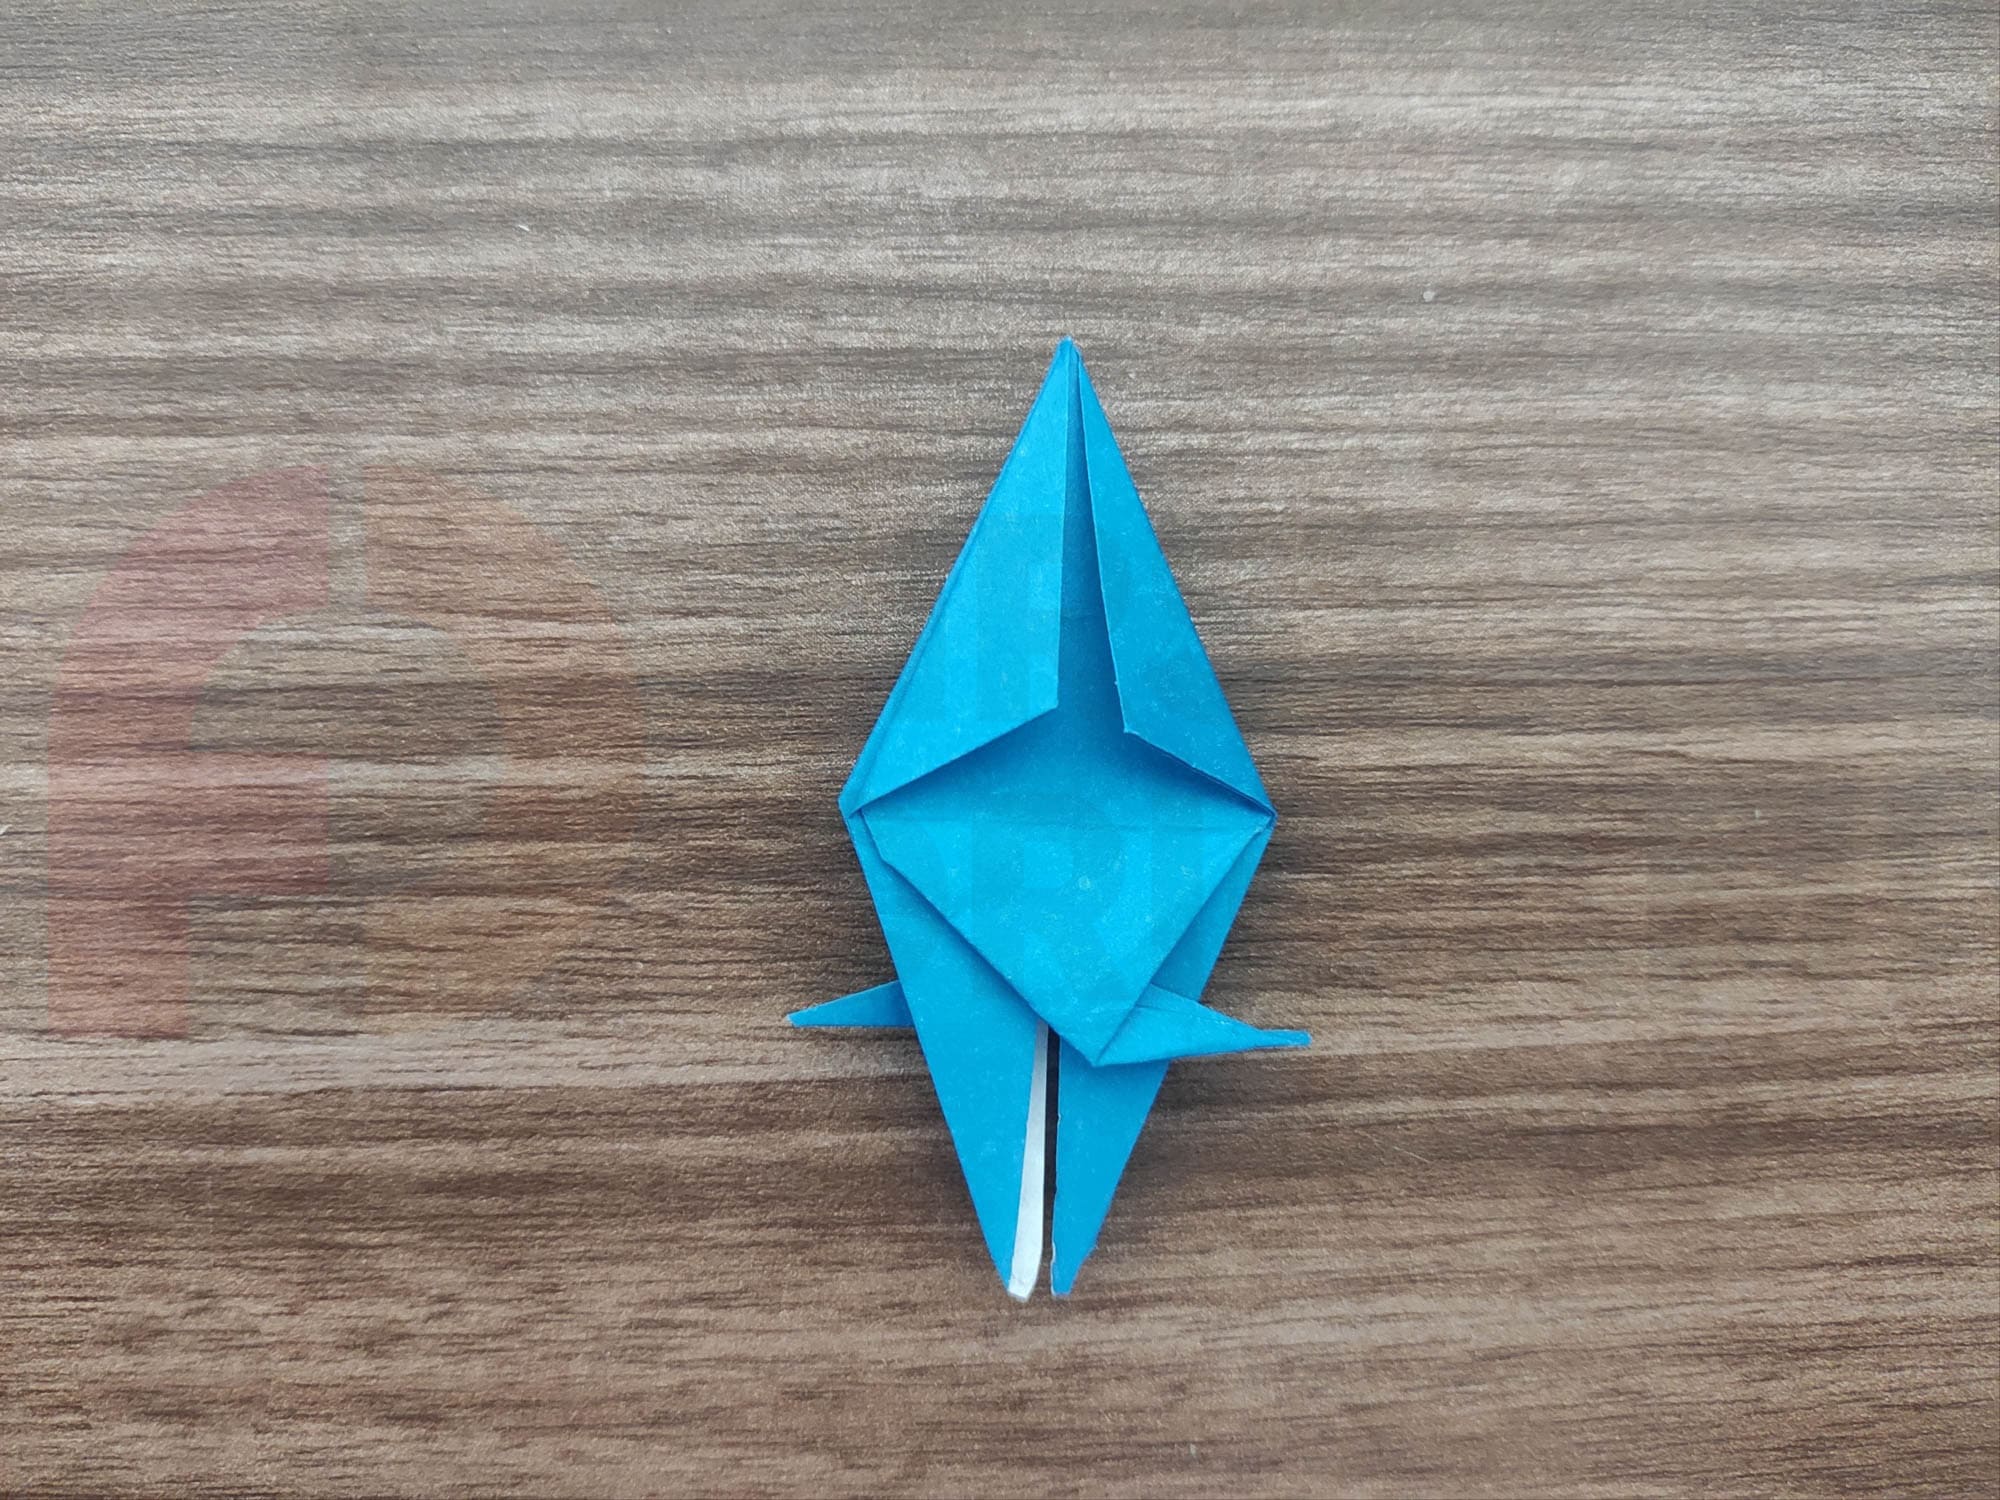
Fold half of the figure down.
Turn the figure over and repeat Steps 4 through 7 to make the other half of the tail.
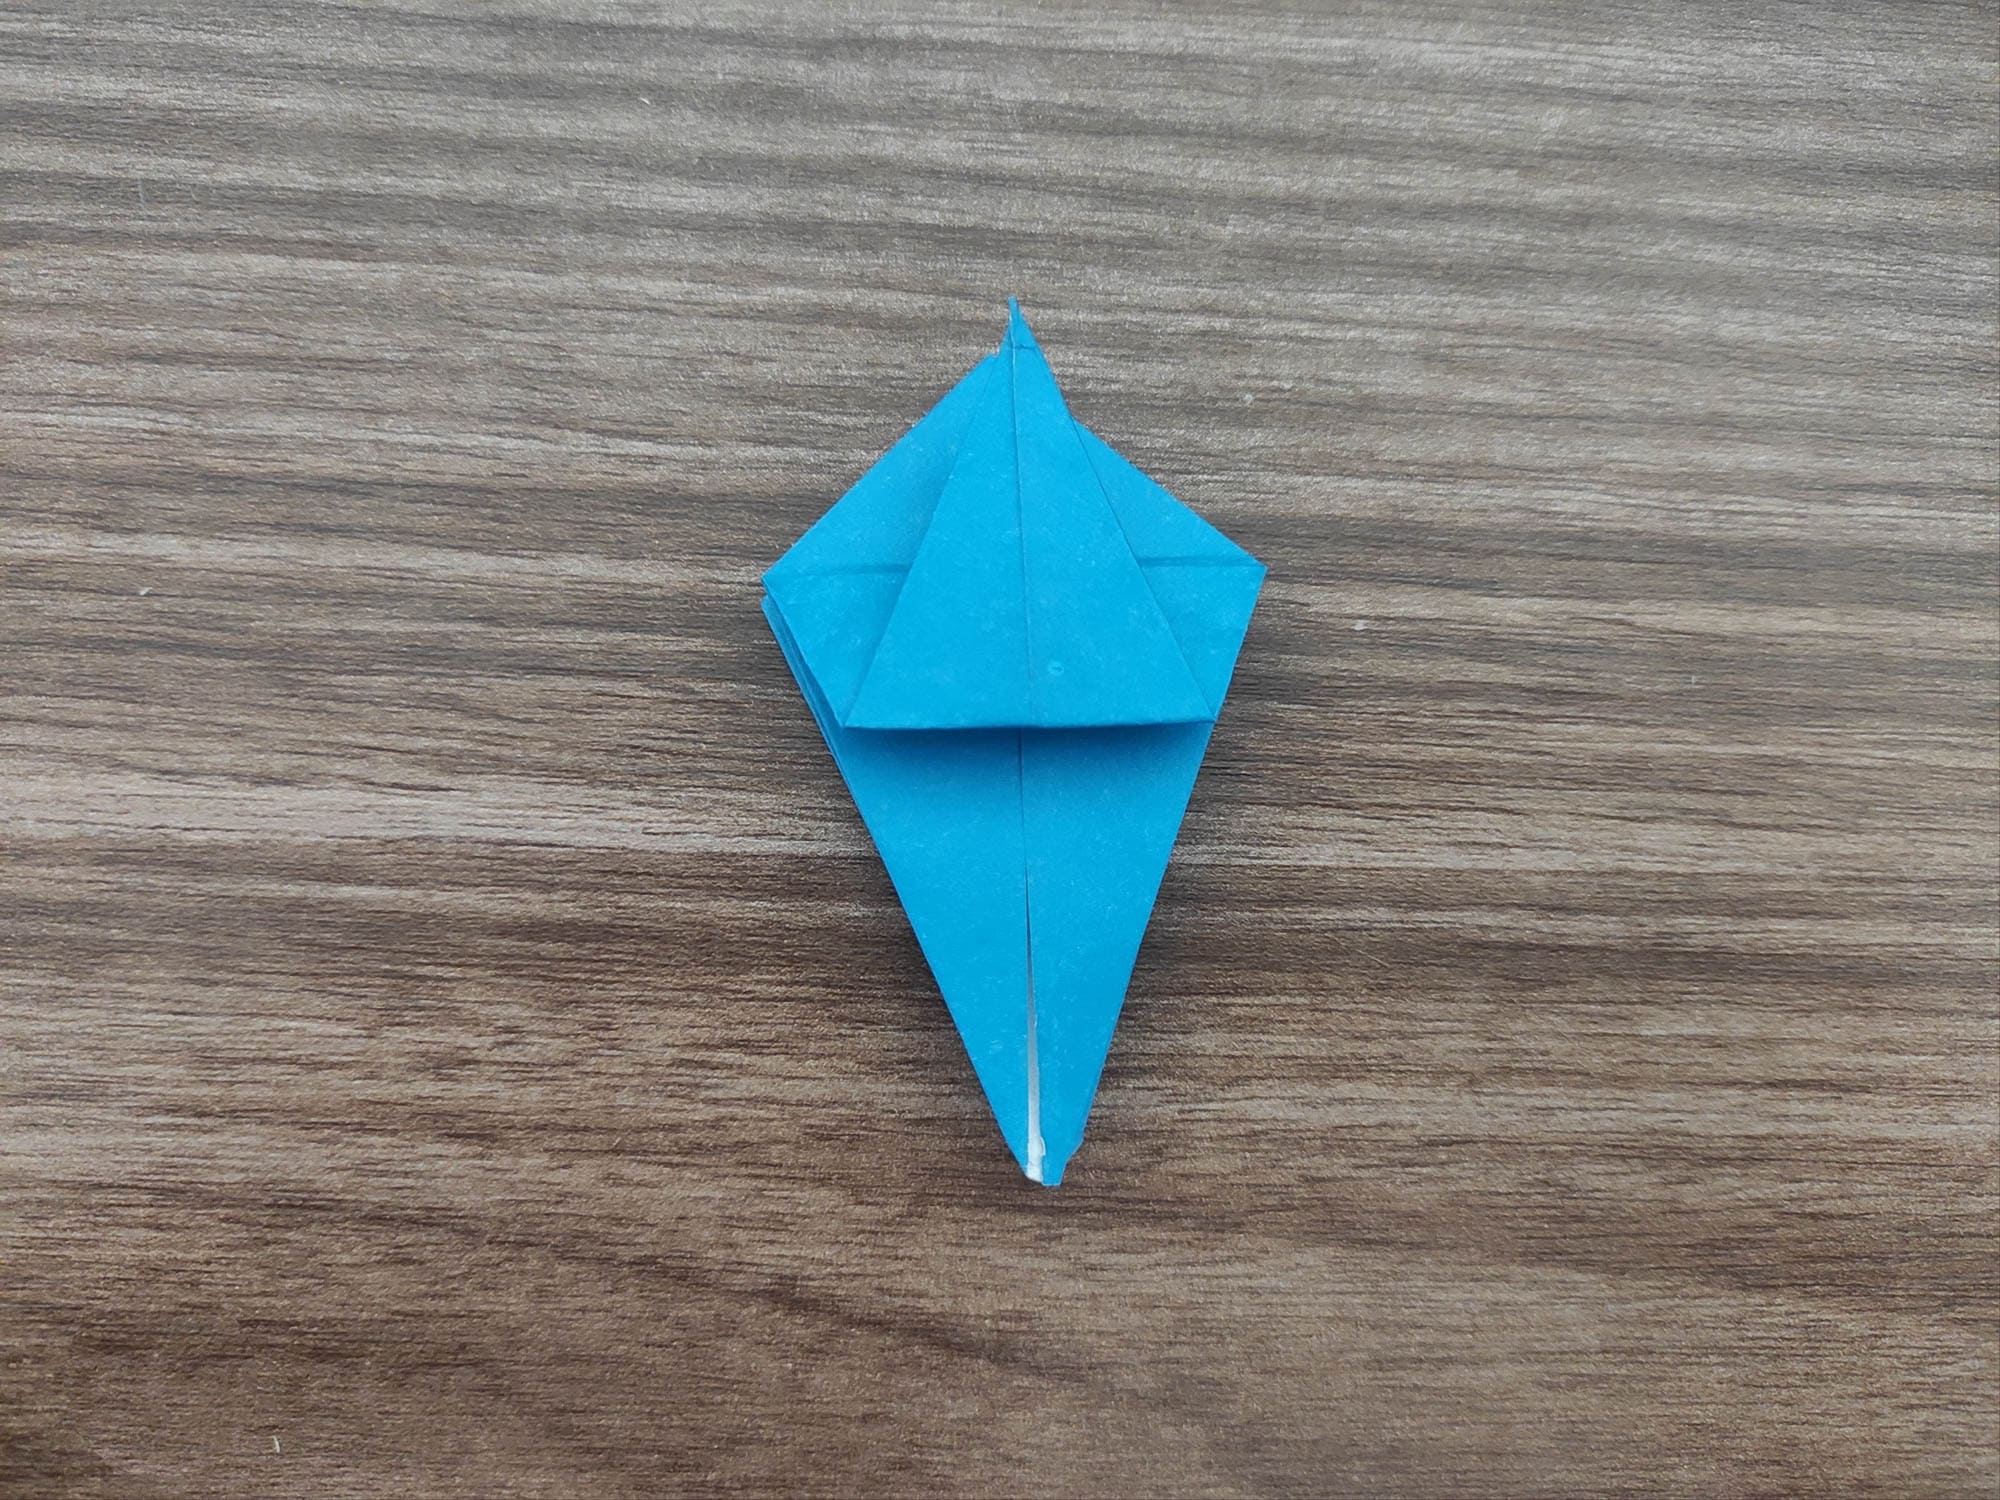
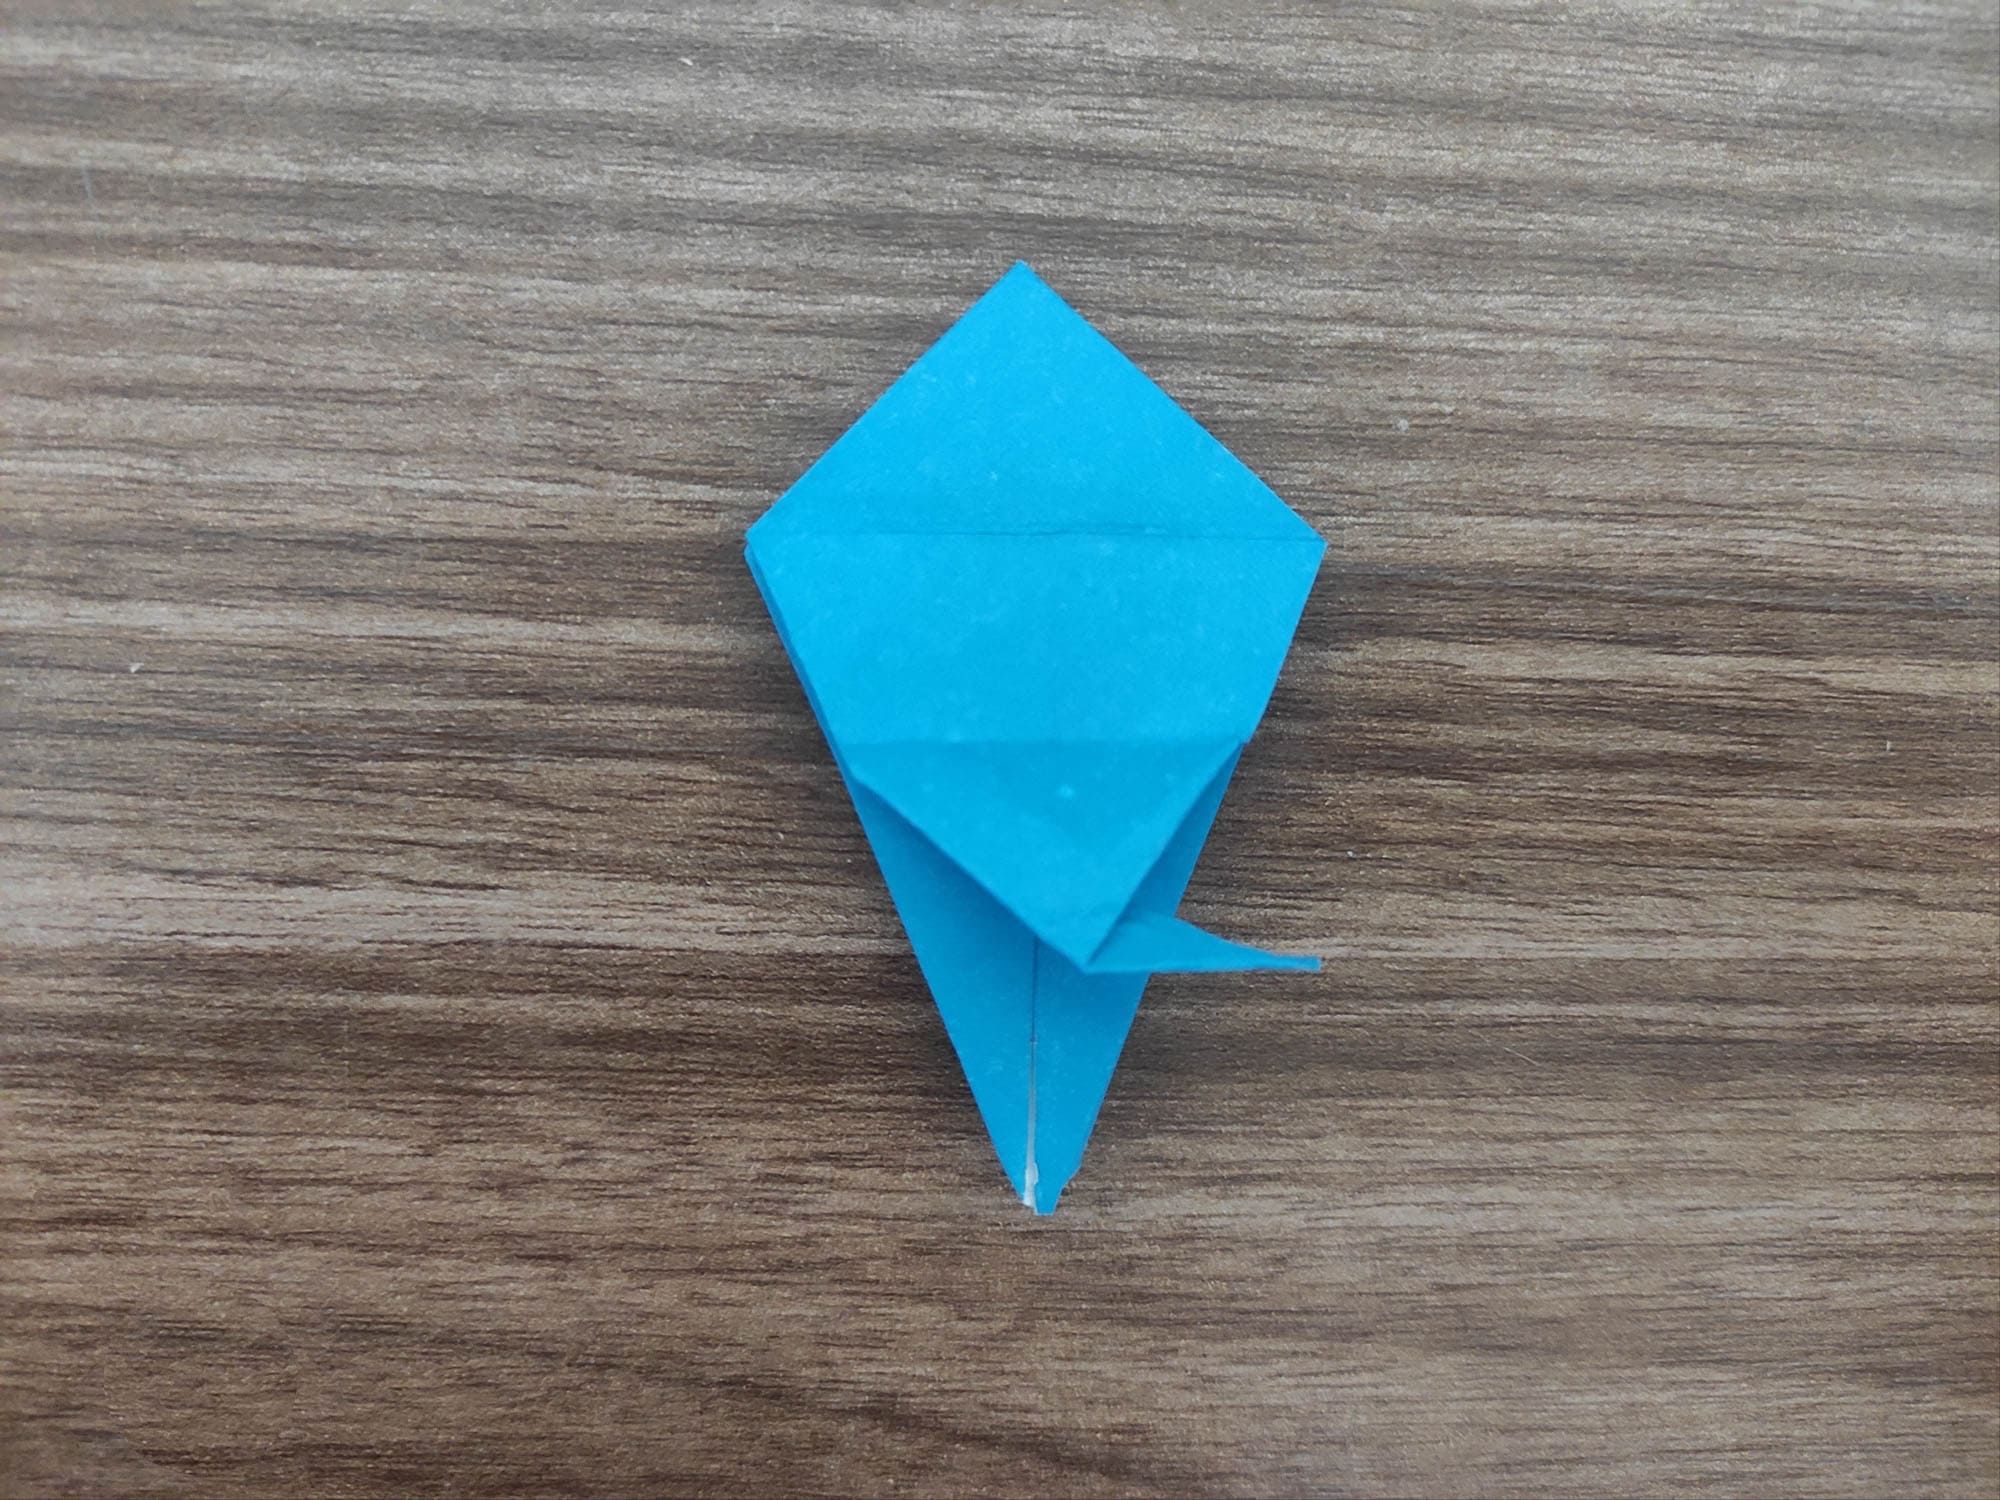
Fold the top right and left corners to the center fold line.
Repeat the same on the backside.
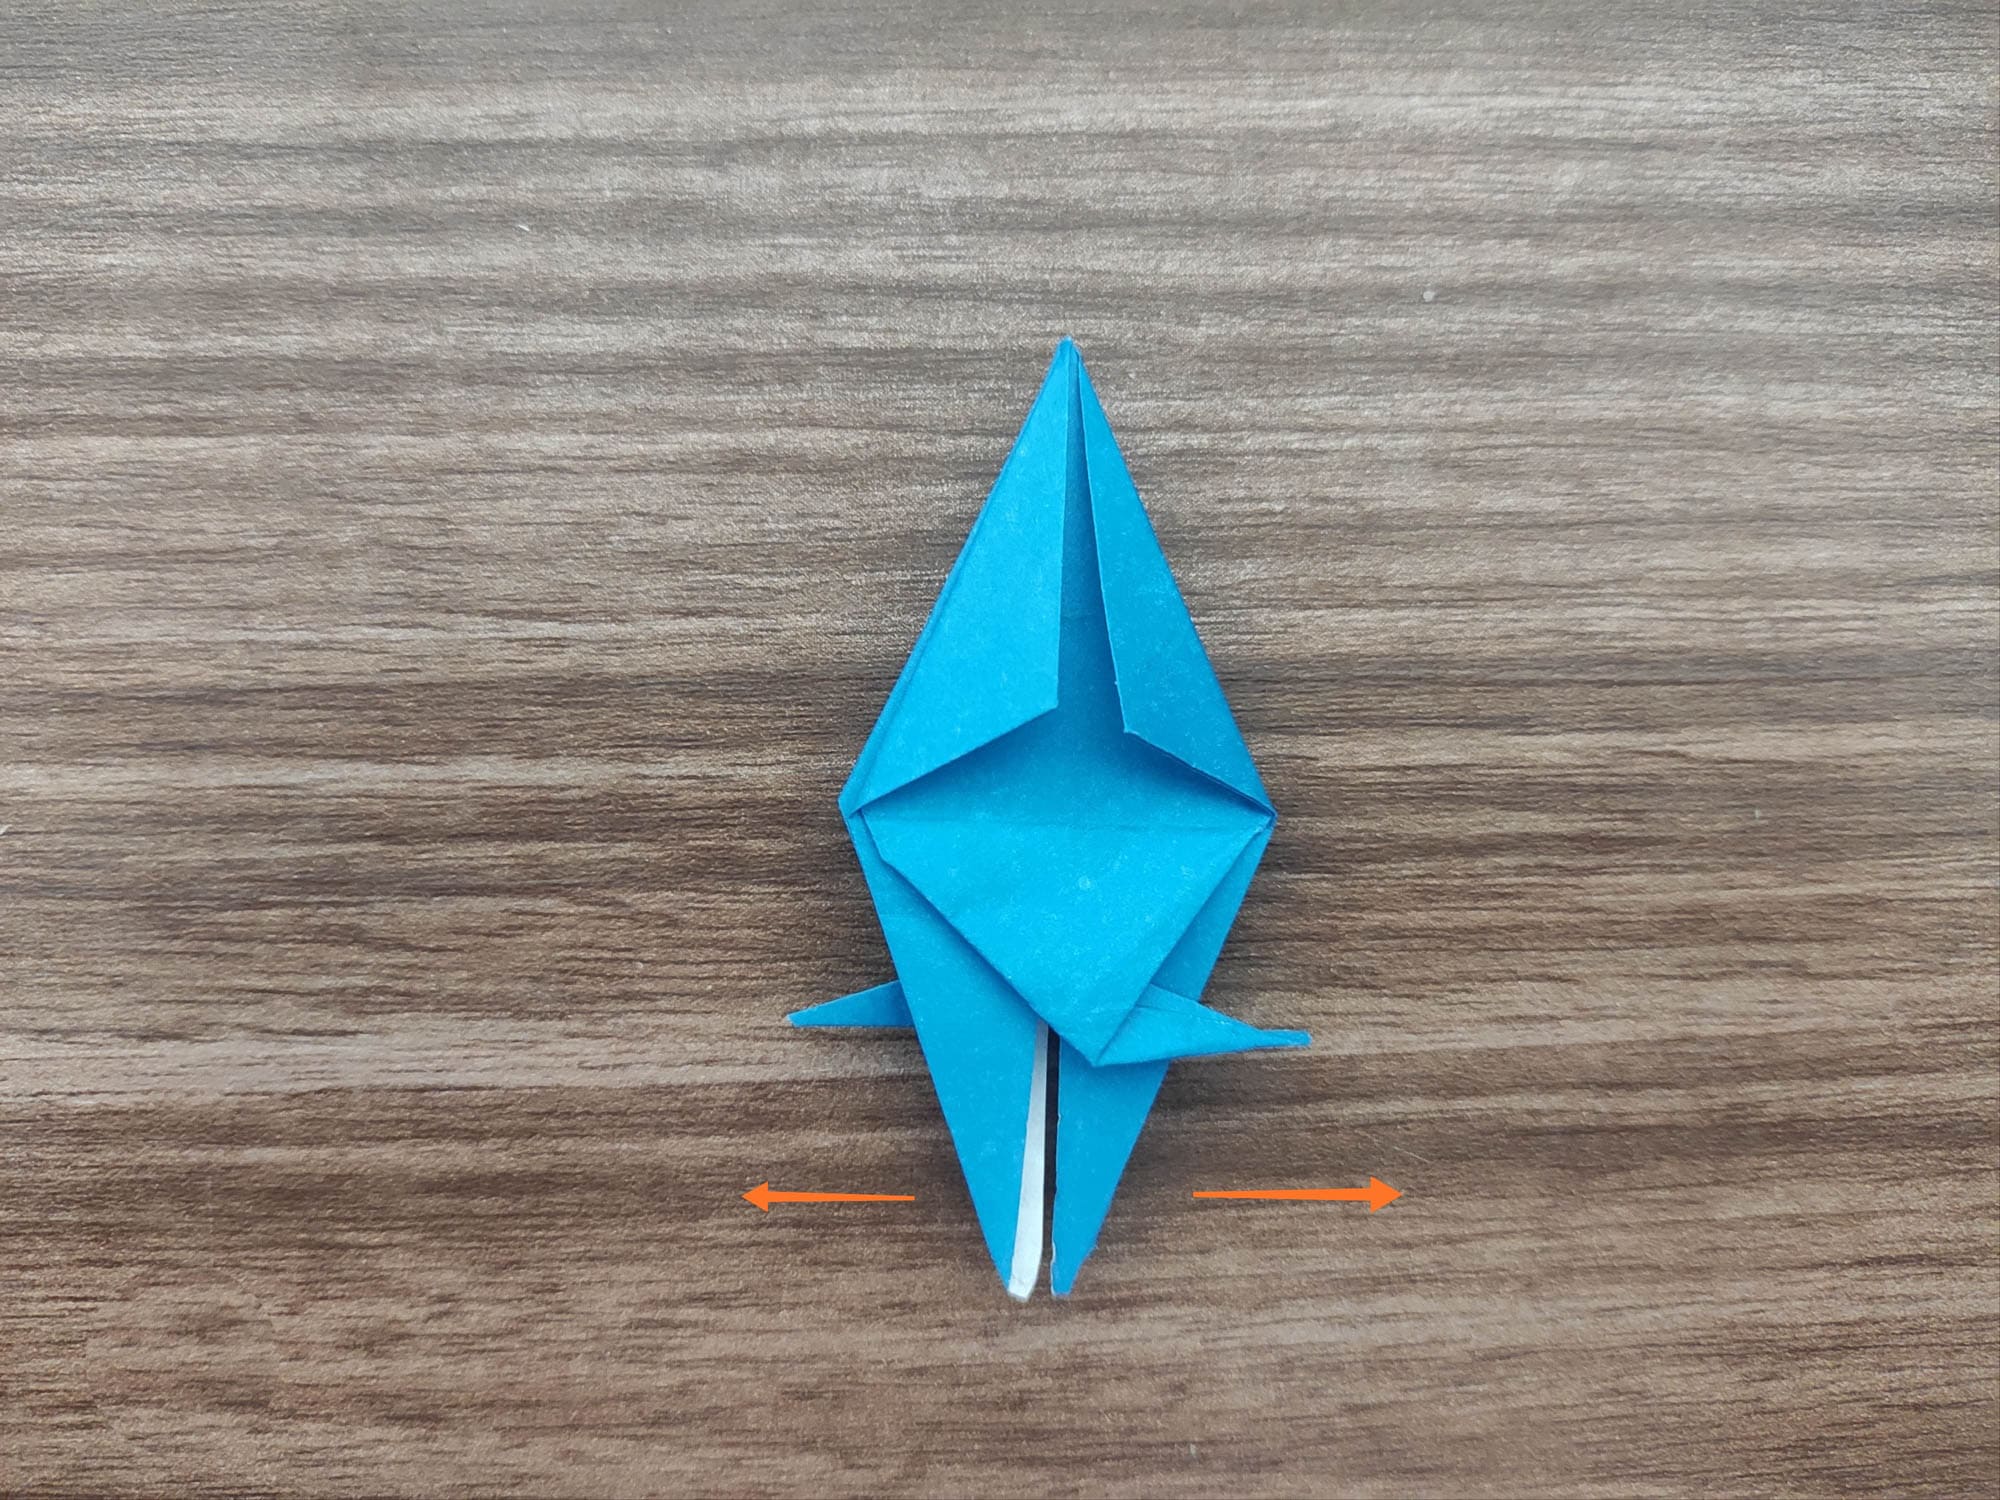
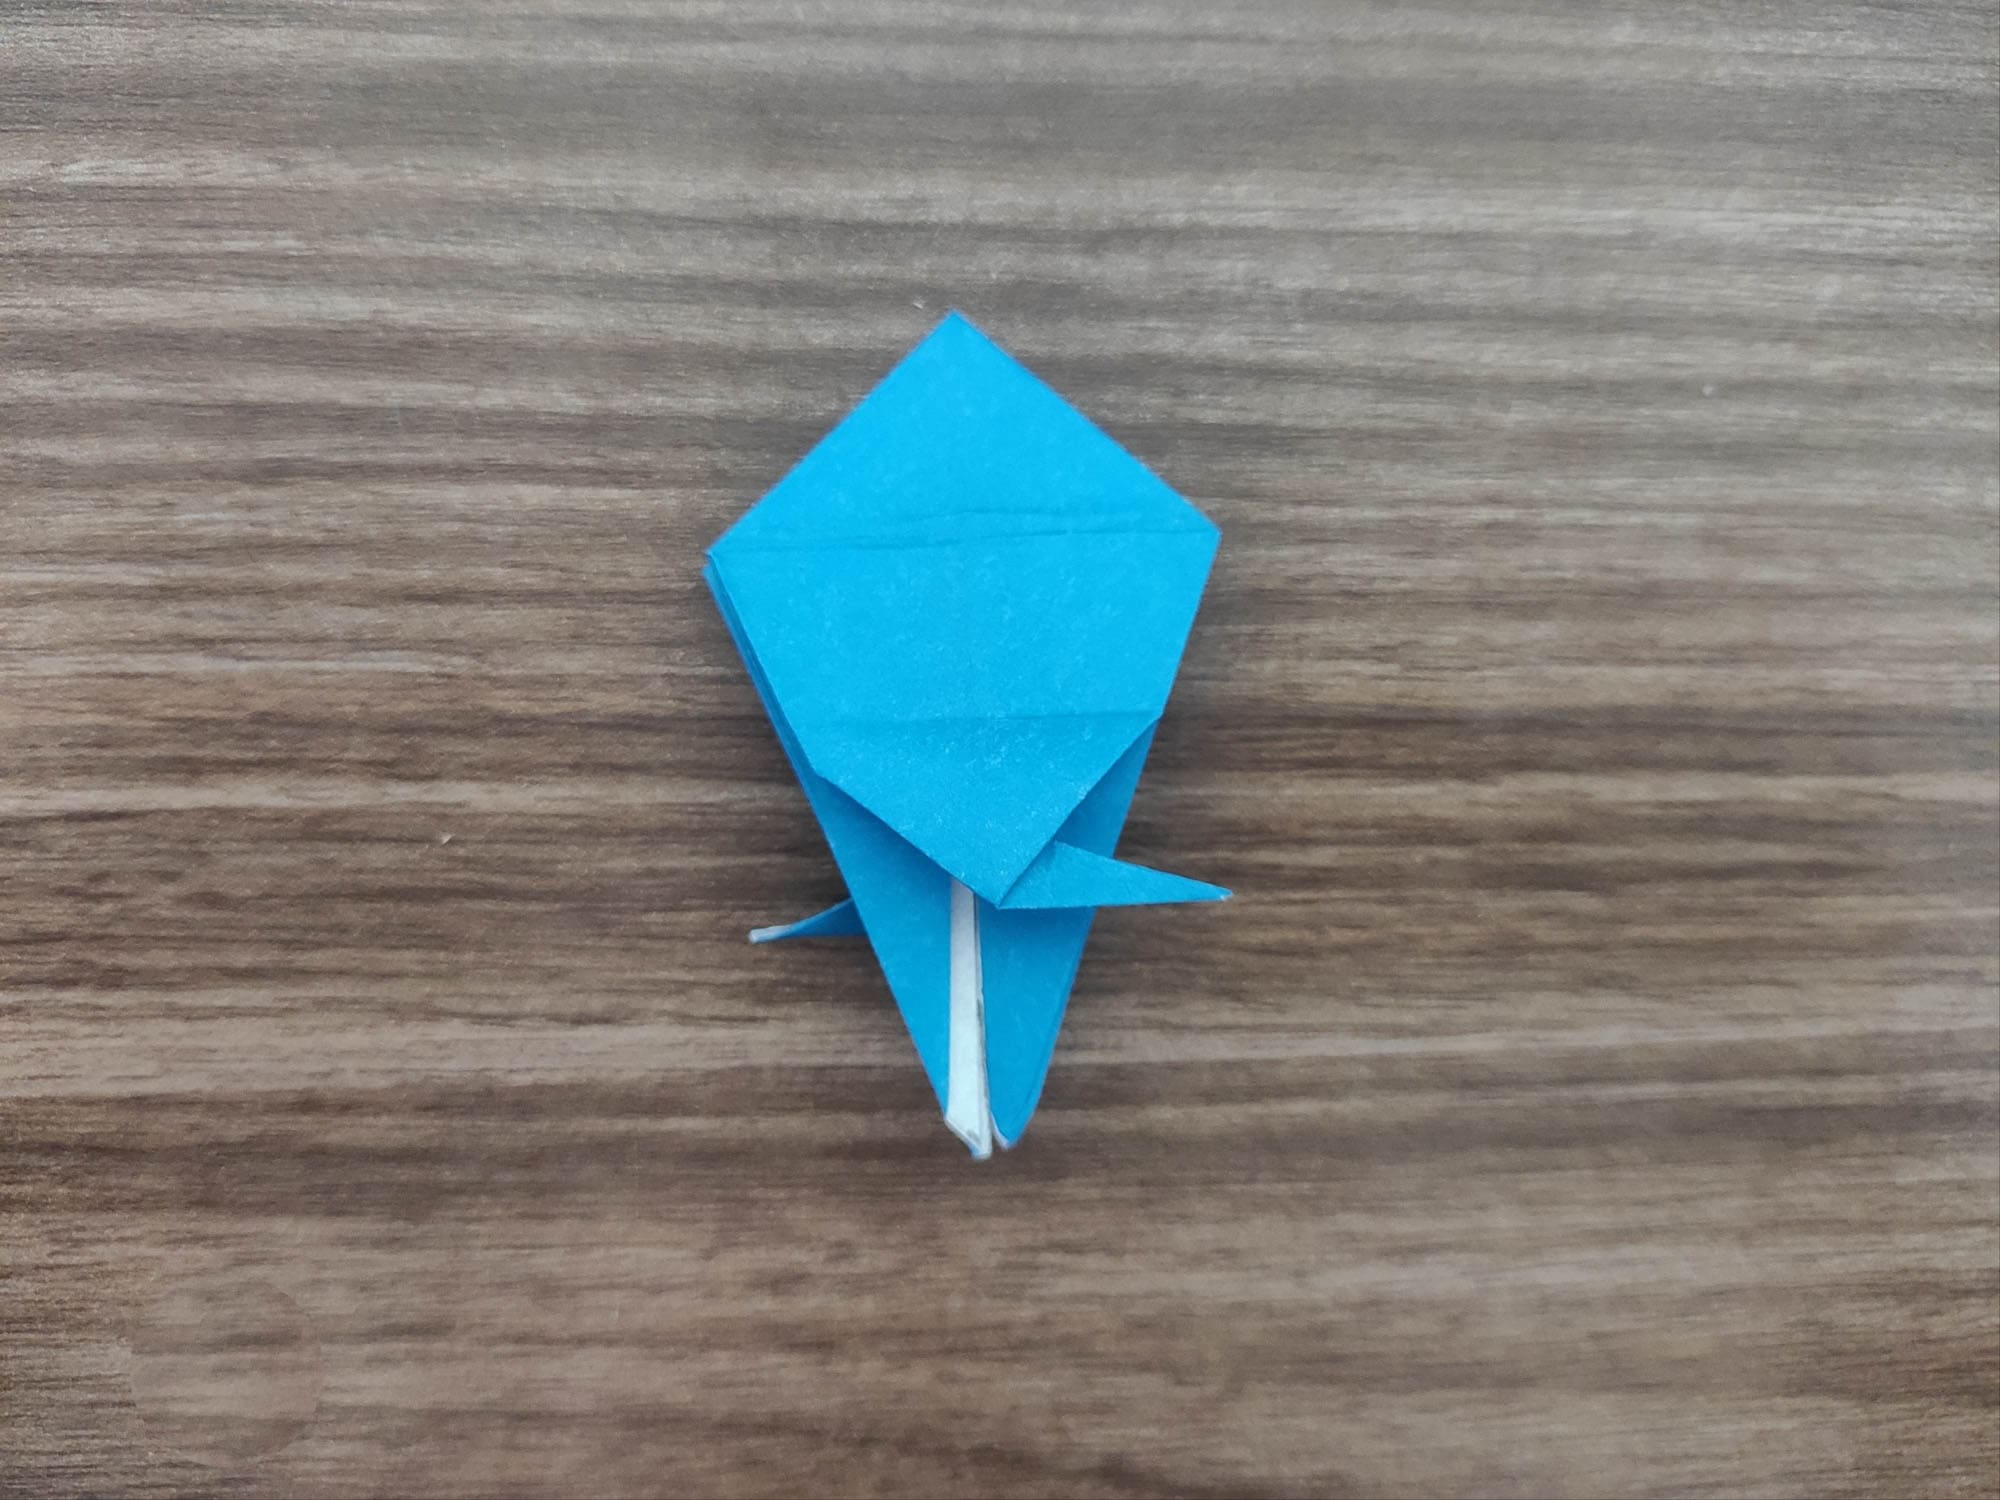
Holding both halves of the tail in place, gently pull the fins apart and spread them out.
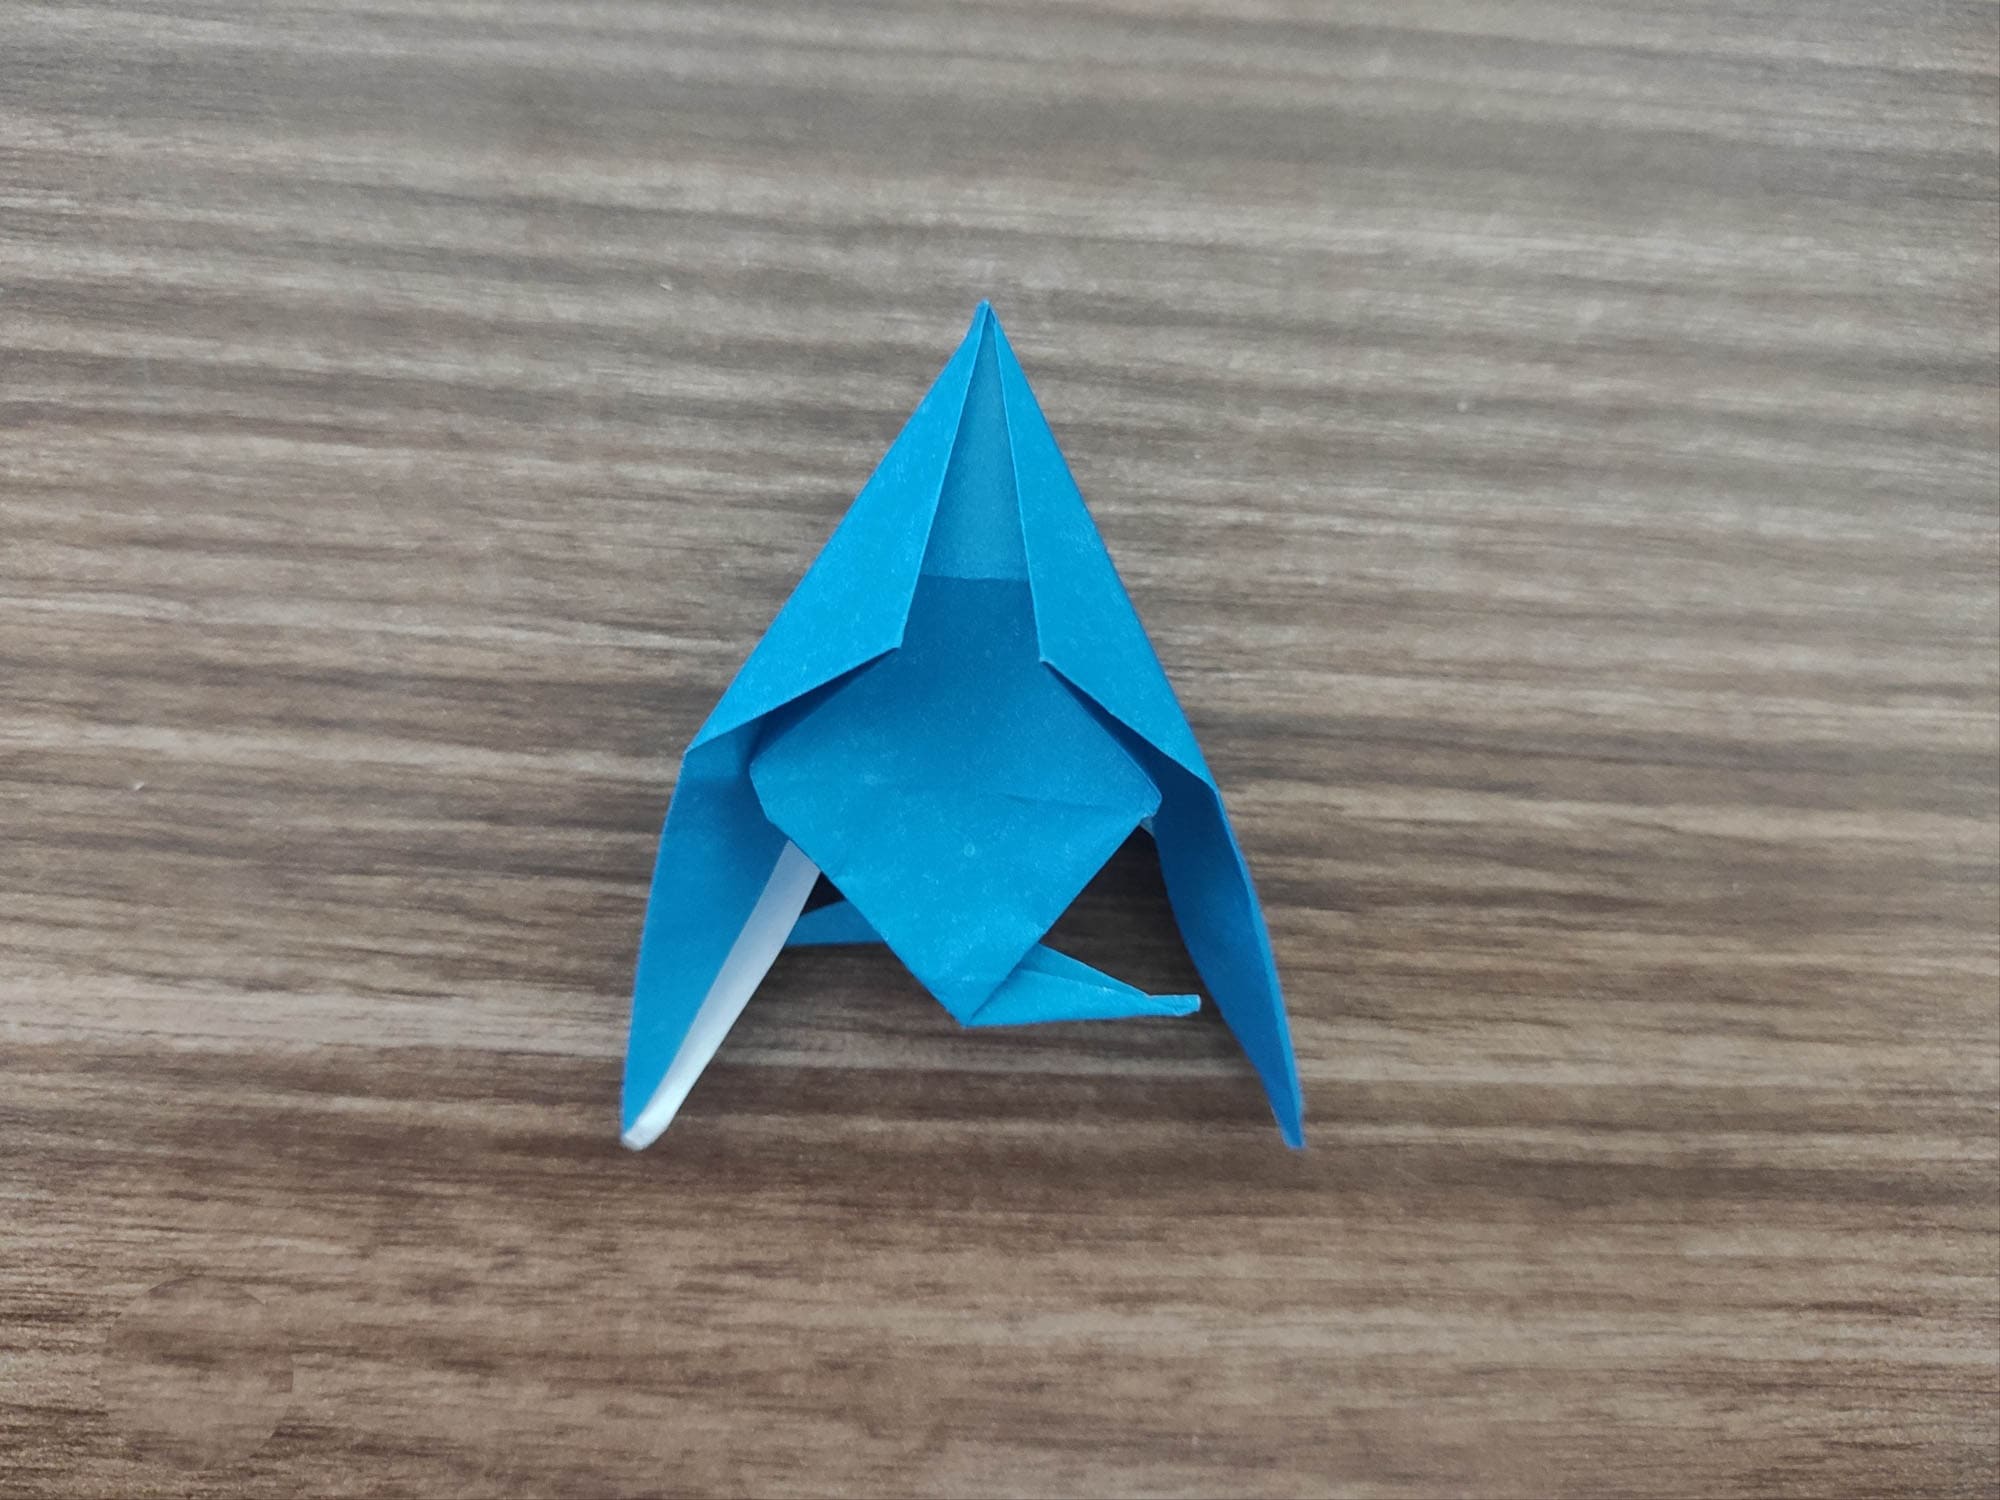
Angelfish in front of you!
To strengthen then the figure up, you can glue the tail halves together a bit, or use tape. And for more beauty — draw stripes on the body and fins.
Easy and fun, isn’t it?