Origami Halloween Pumpkin
Some of the most enjoyable crafts are decorations for various holidays. Today we will share with you the instructions for creating a very cool and bright pumpkin for Halloween. To get the finished product and decorate with it your home, you will only need a tedious color and size paper and a little time. Let’s get started!
To make this origami figure we will need a Water Bomb Base, instructions on how to make it can also be found on our site. Make it out of origami paper in a bright orange color.
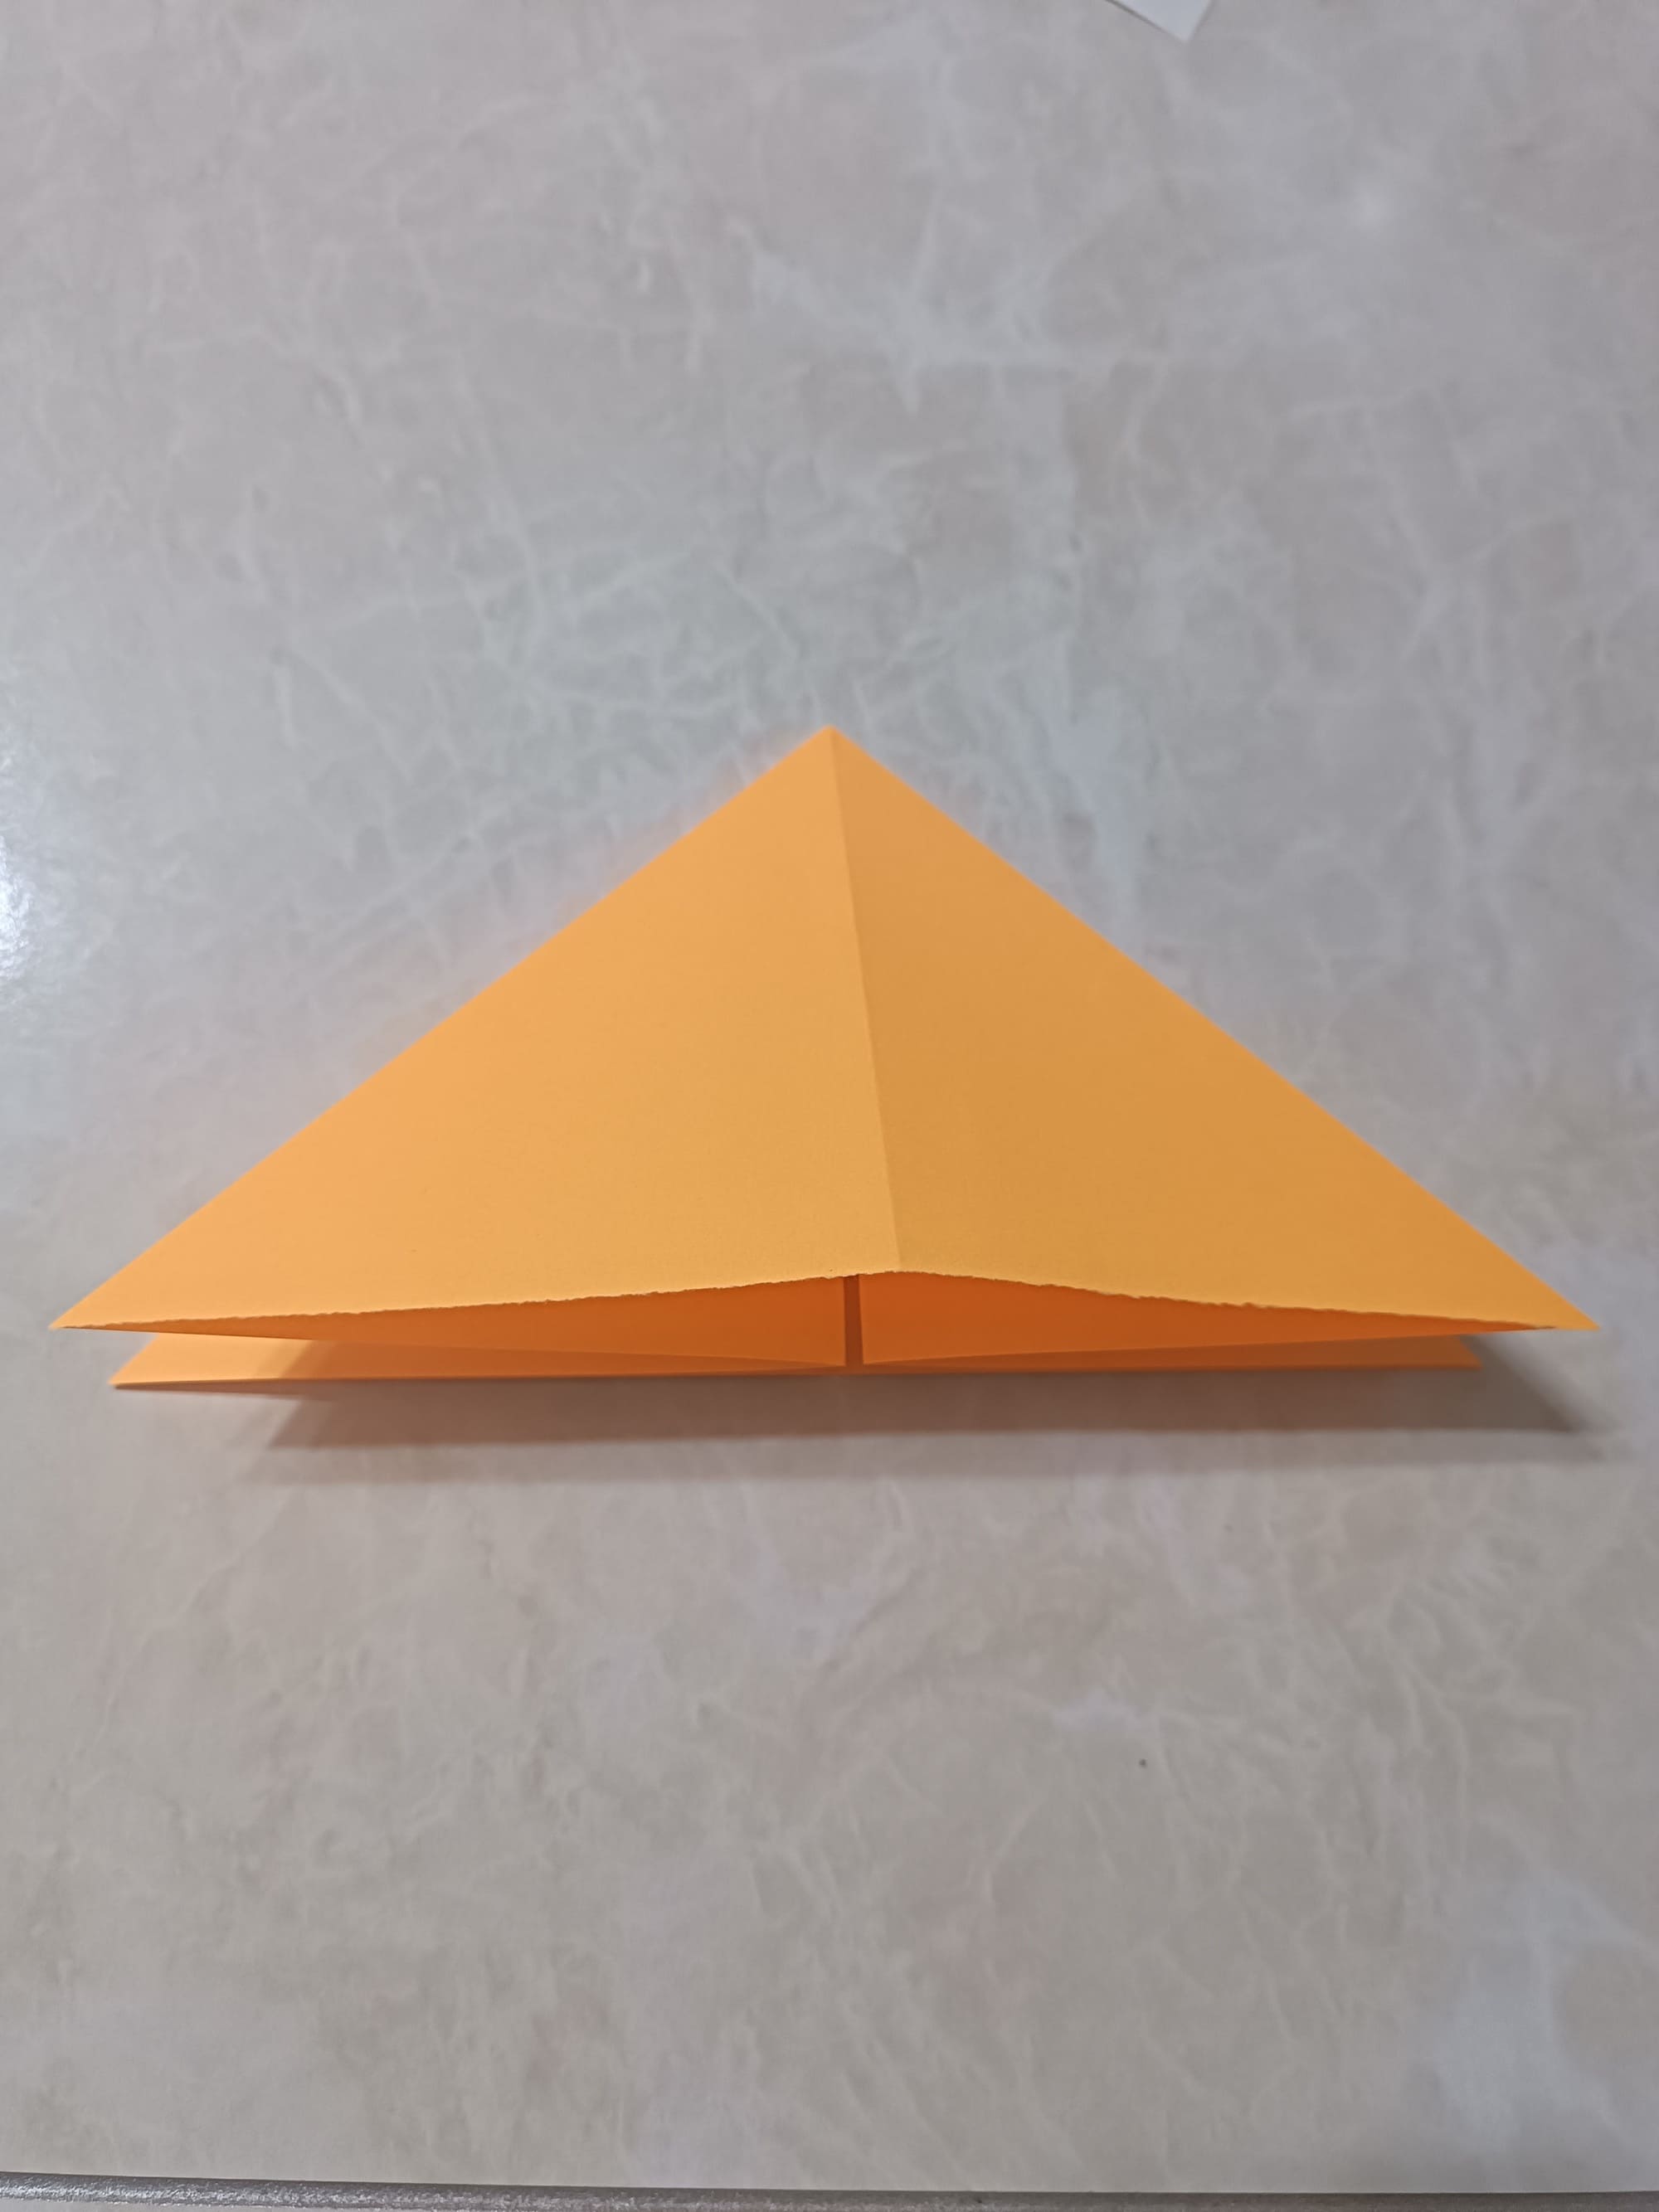
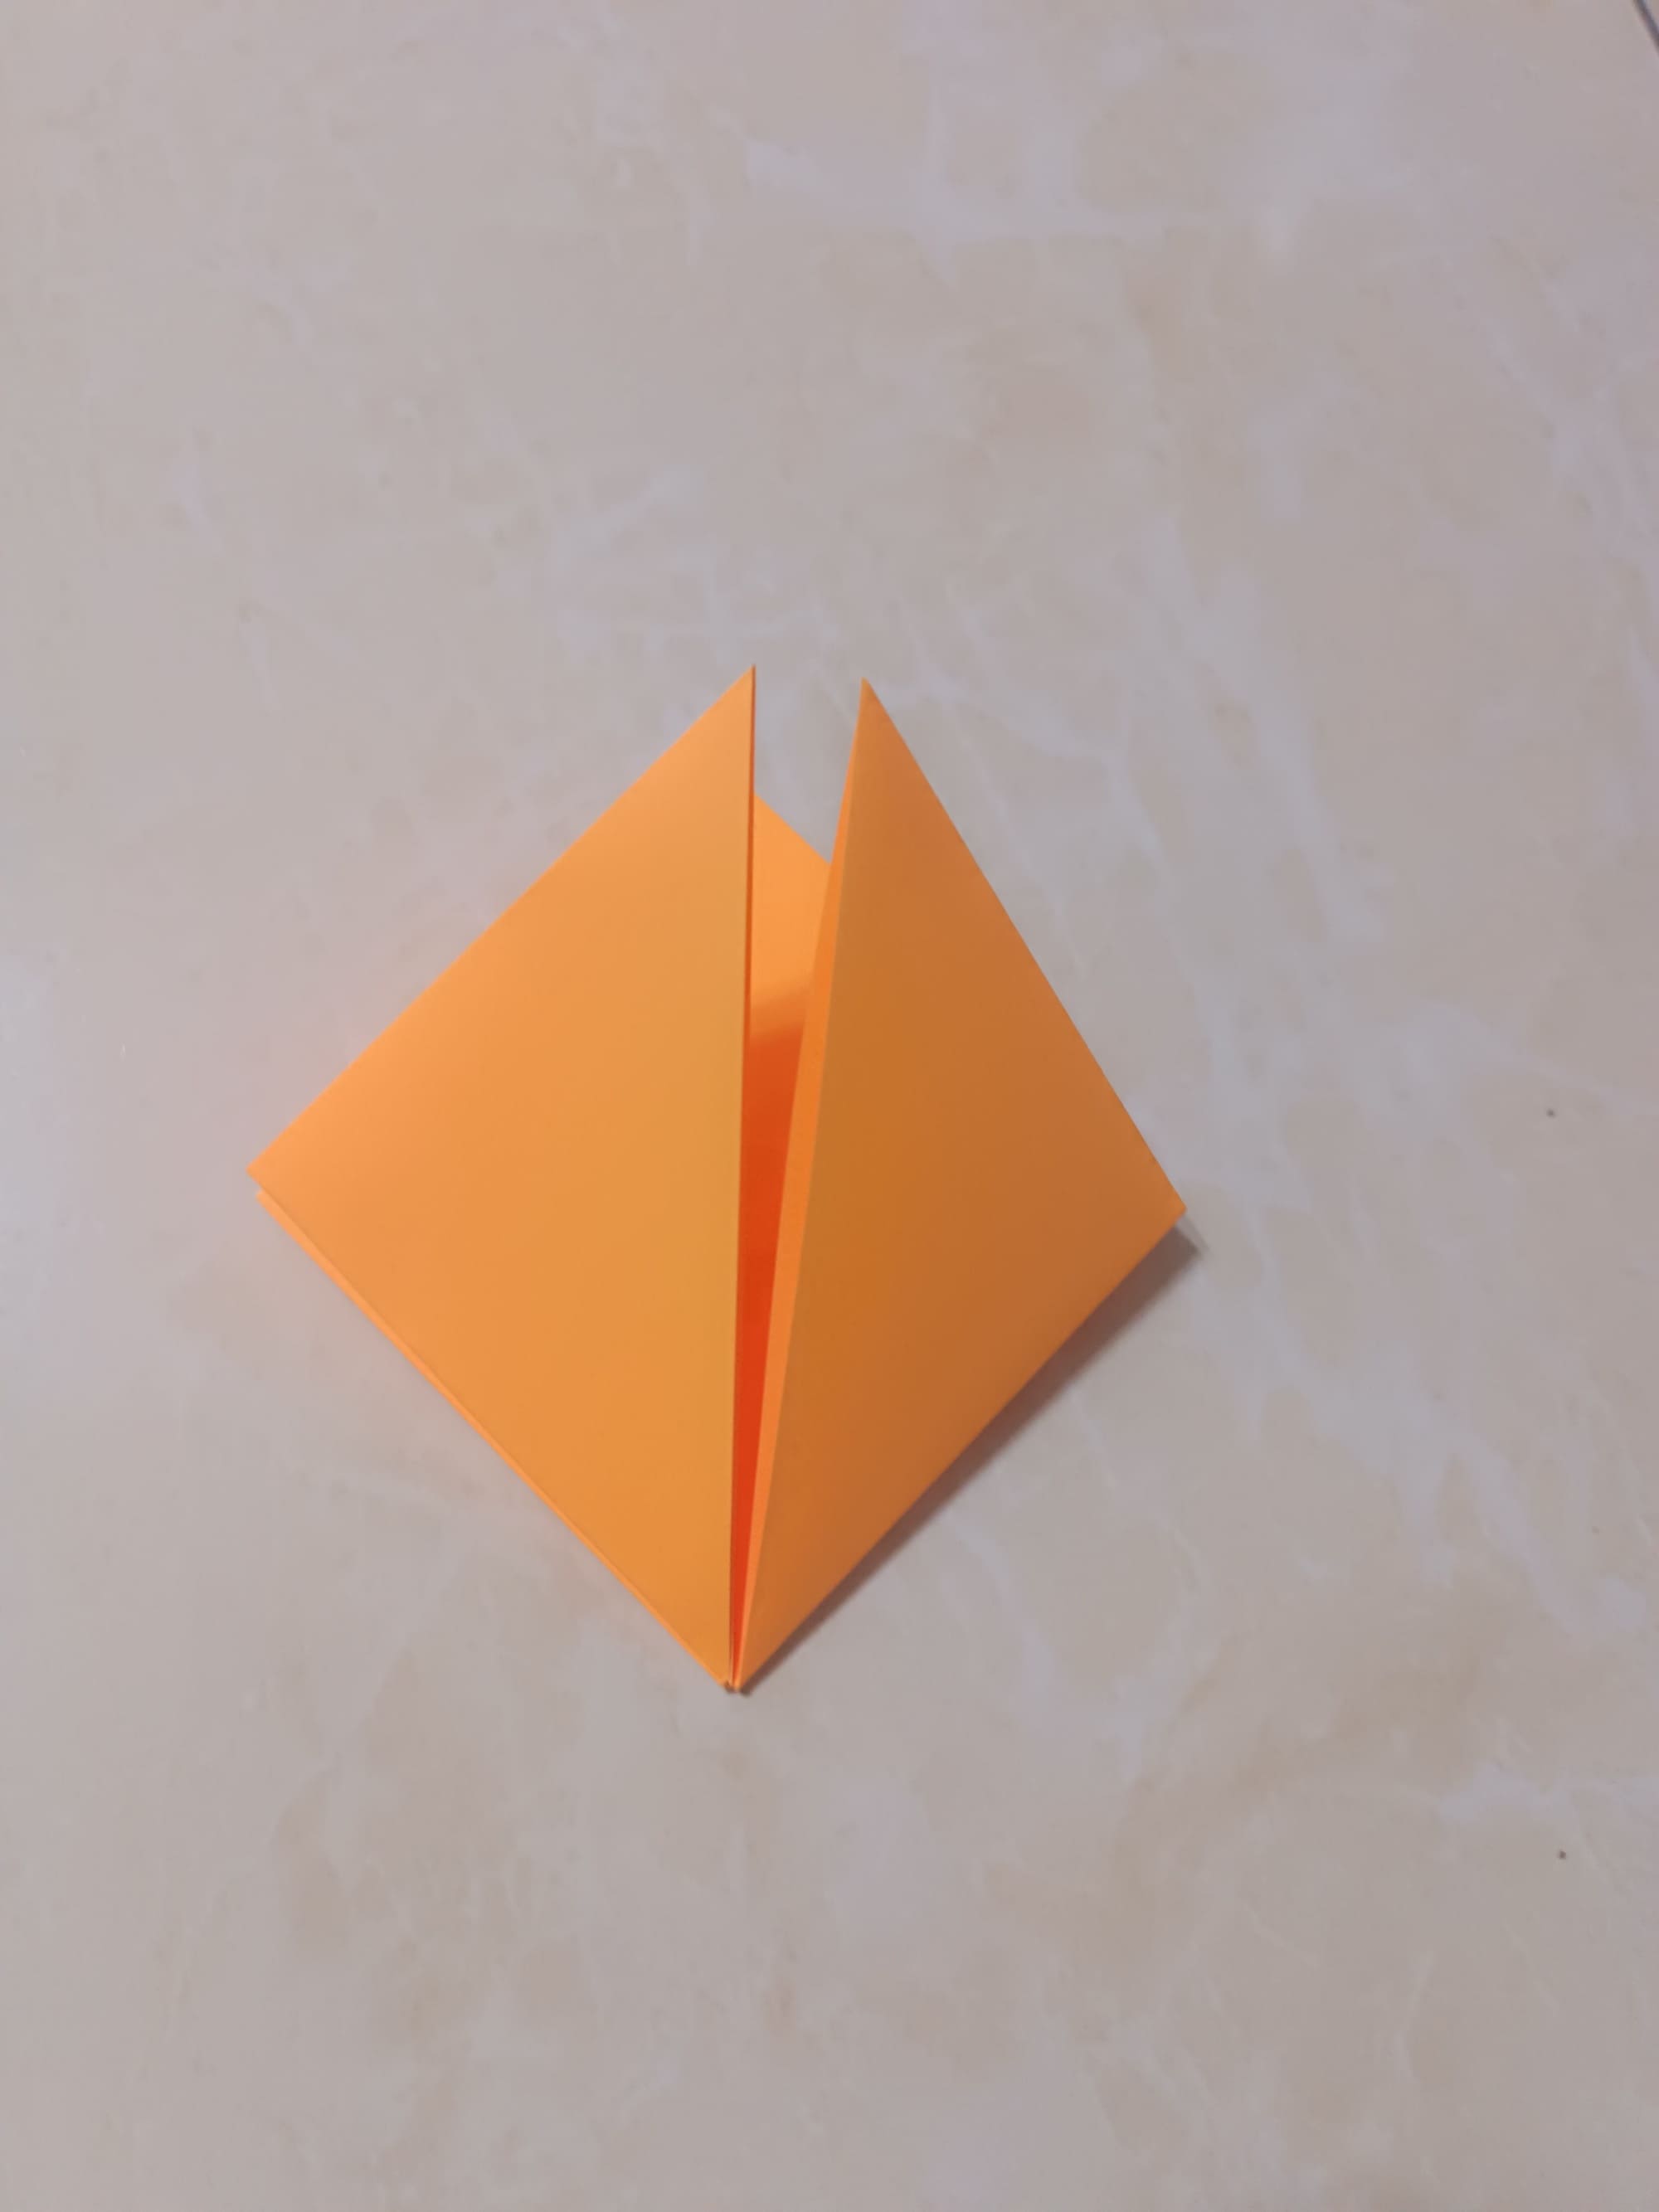
Now, to get the result shown in the photo below, you need to fold each of the four corners of this base upwards.
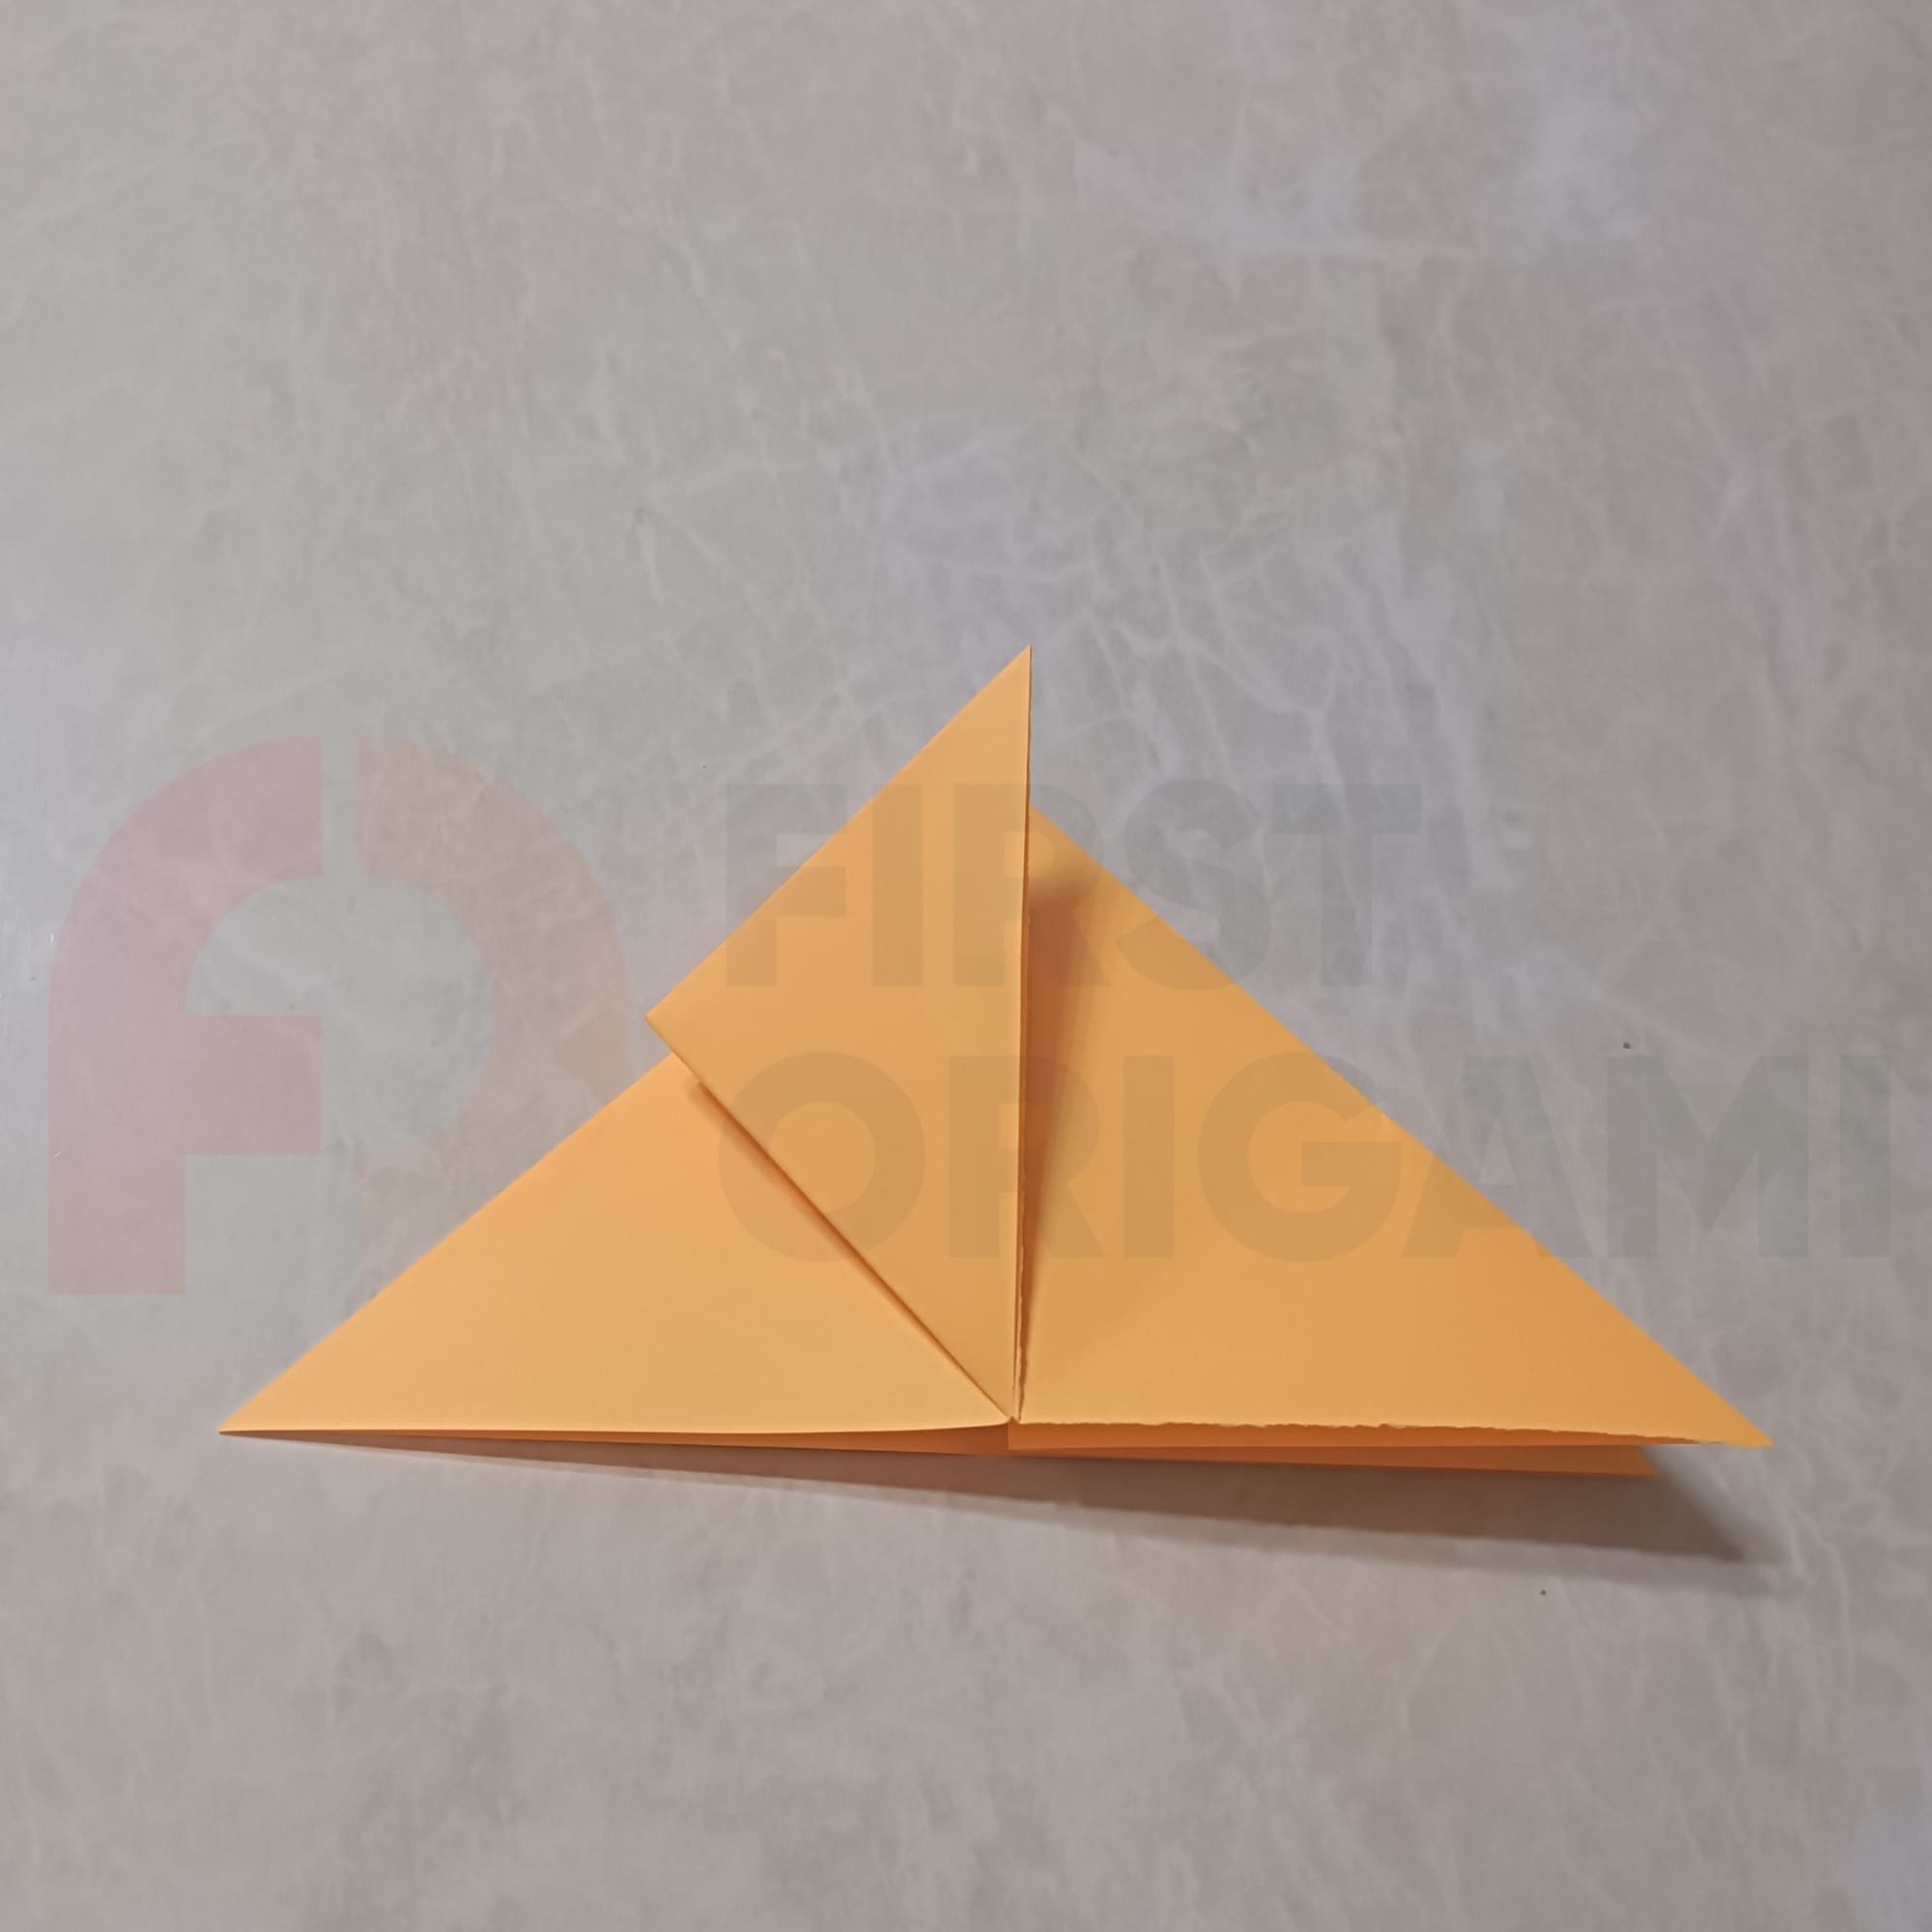
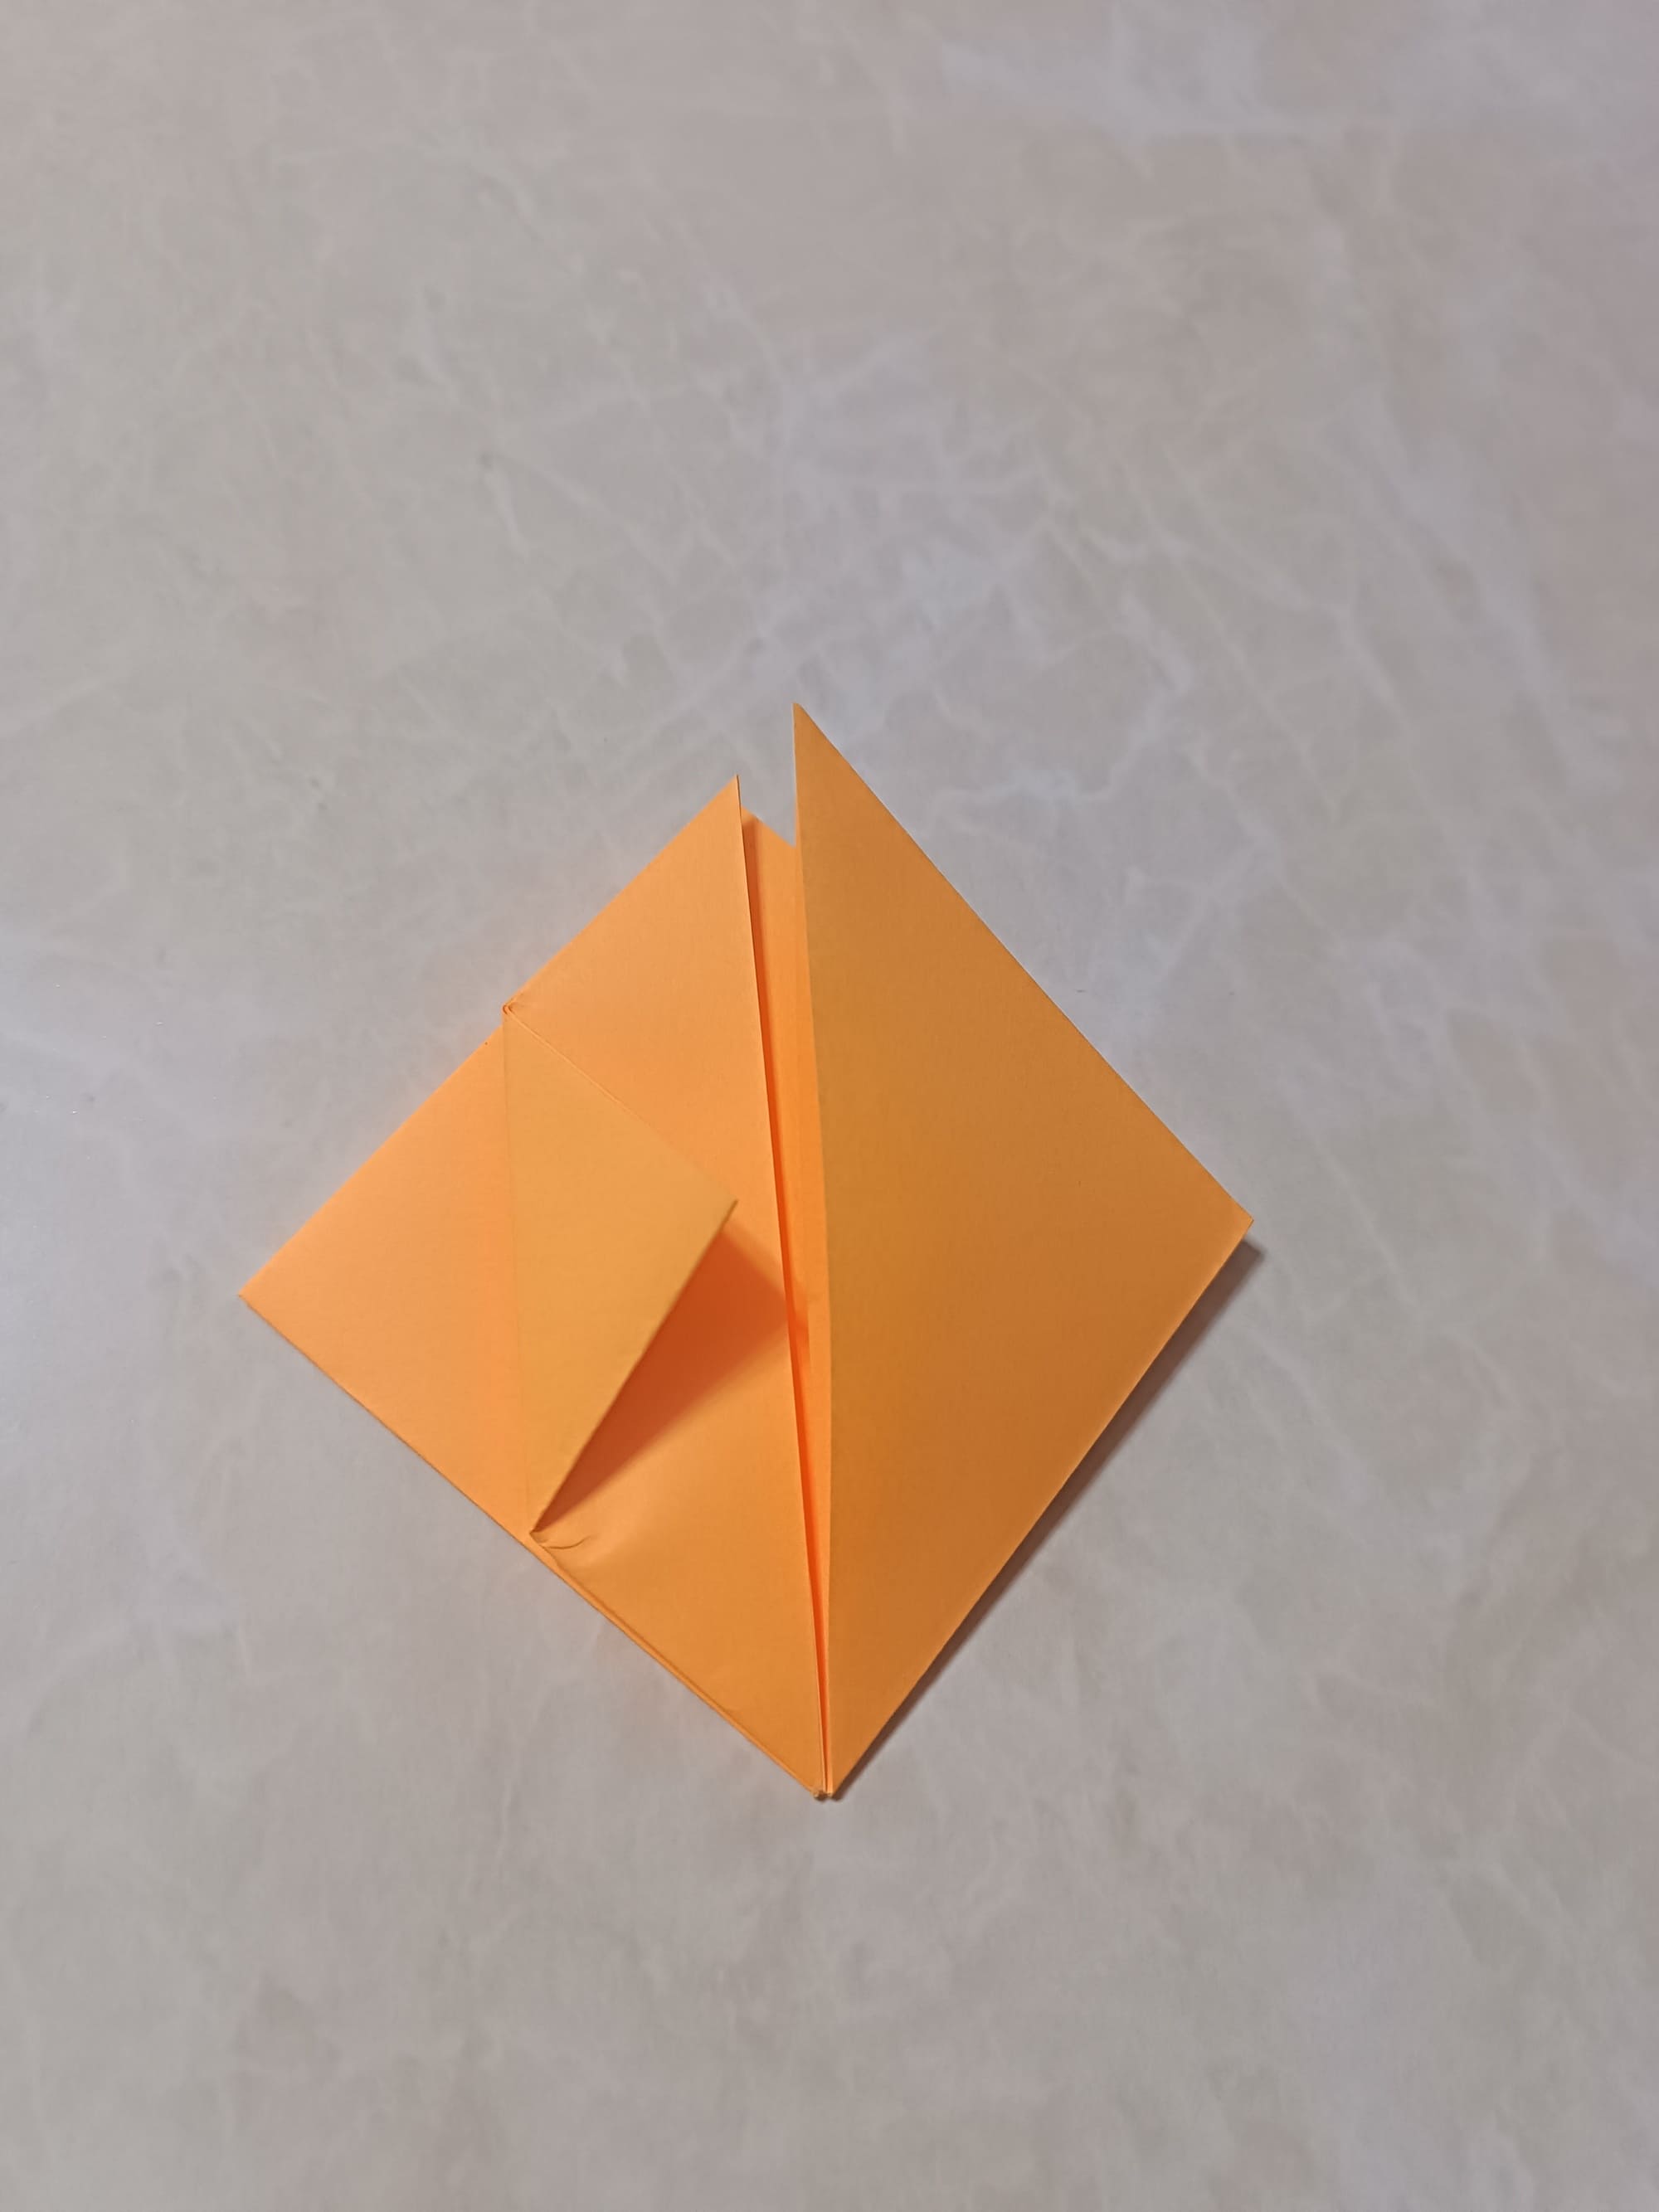
You have a new shape, all four horizontal corners of which need to be folded in the direction of the center, as in the photo.
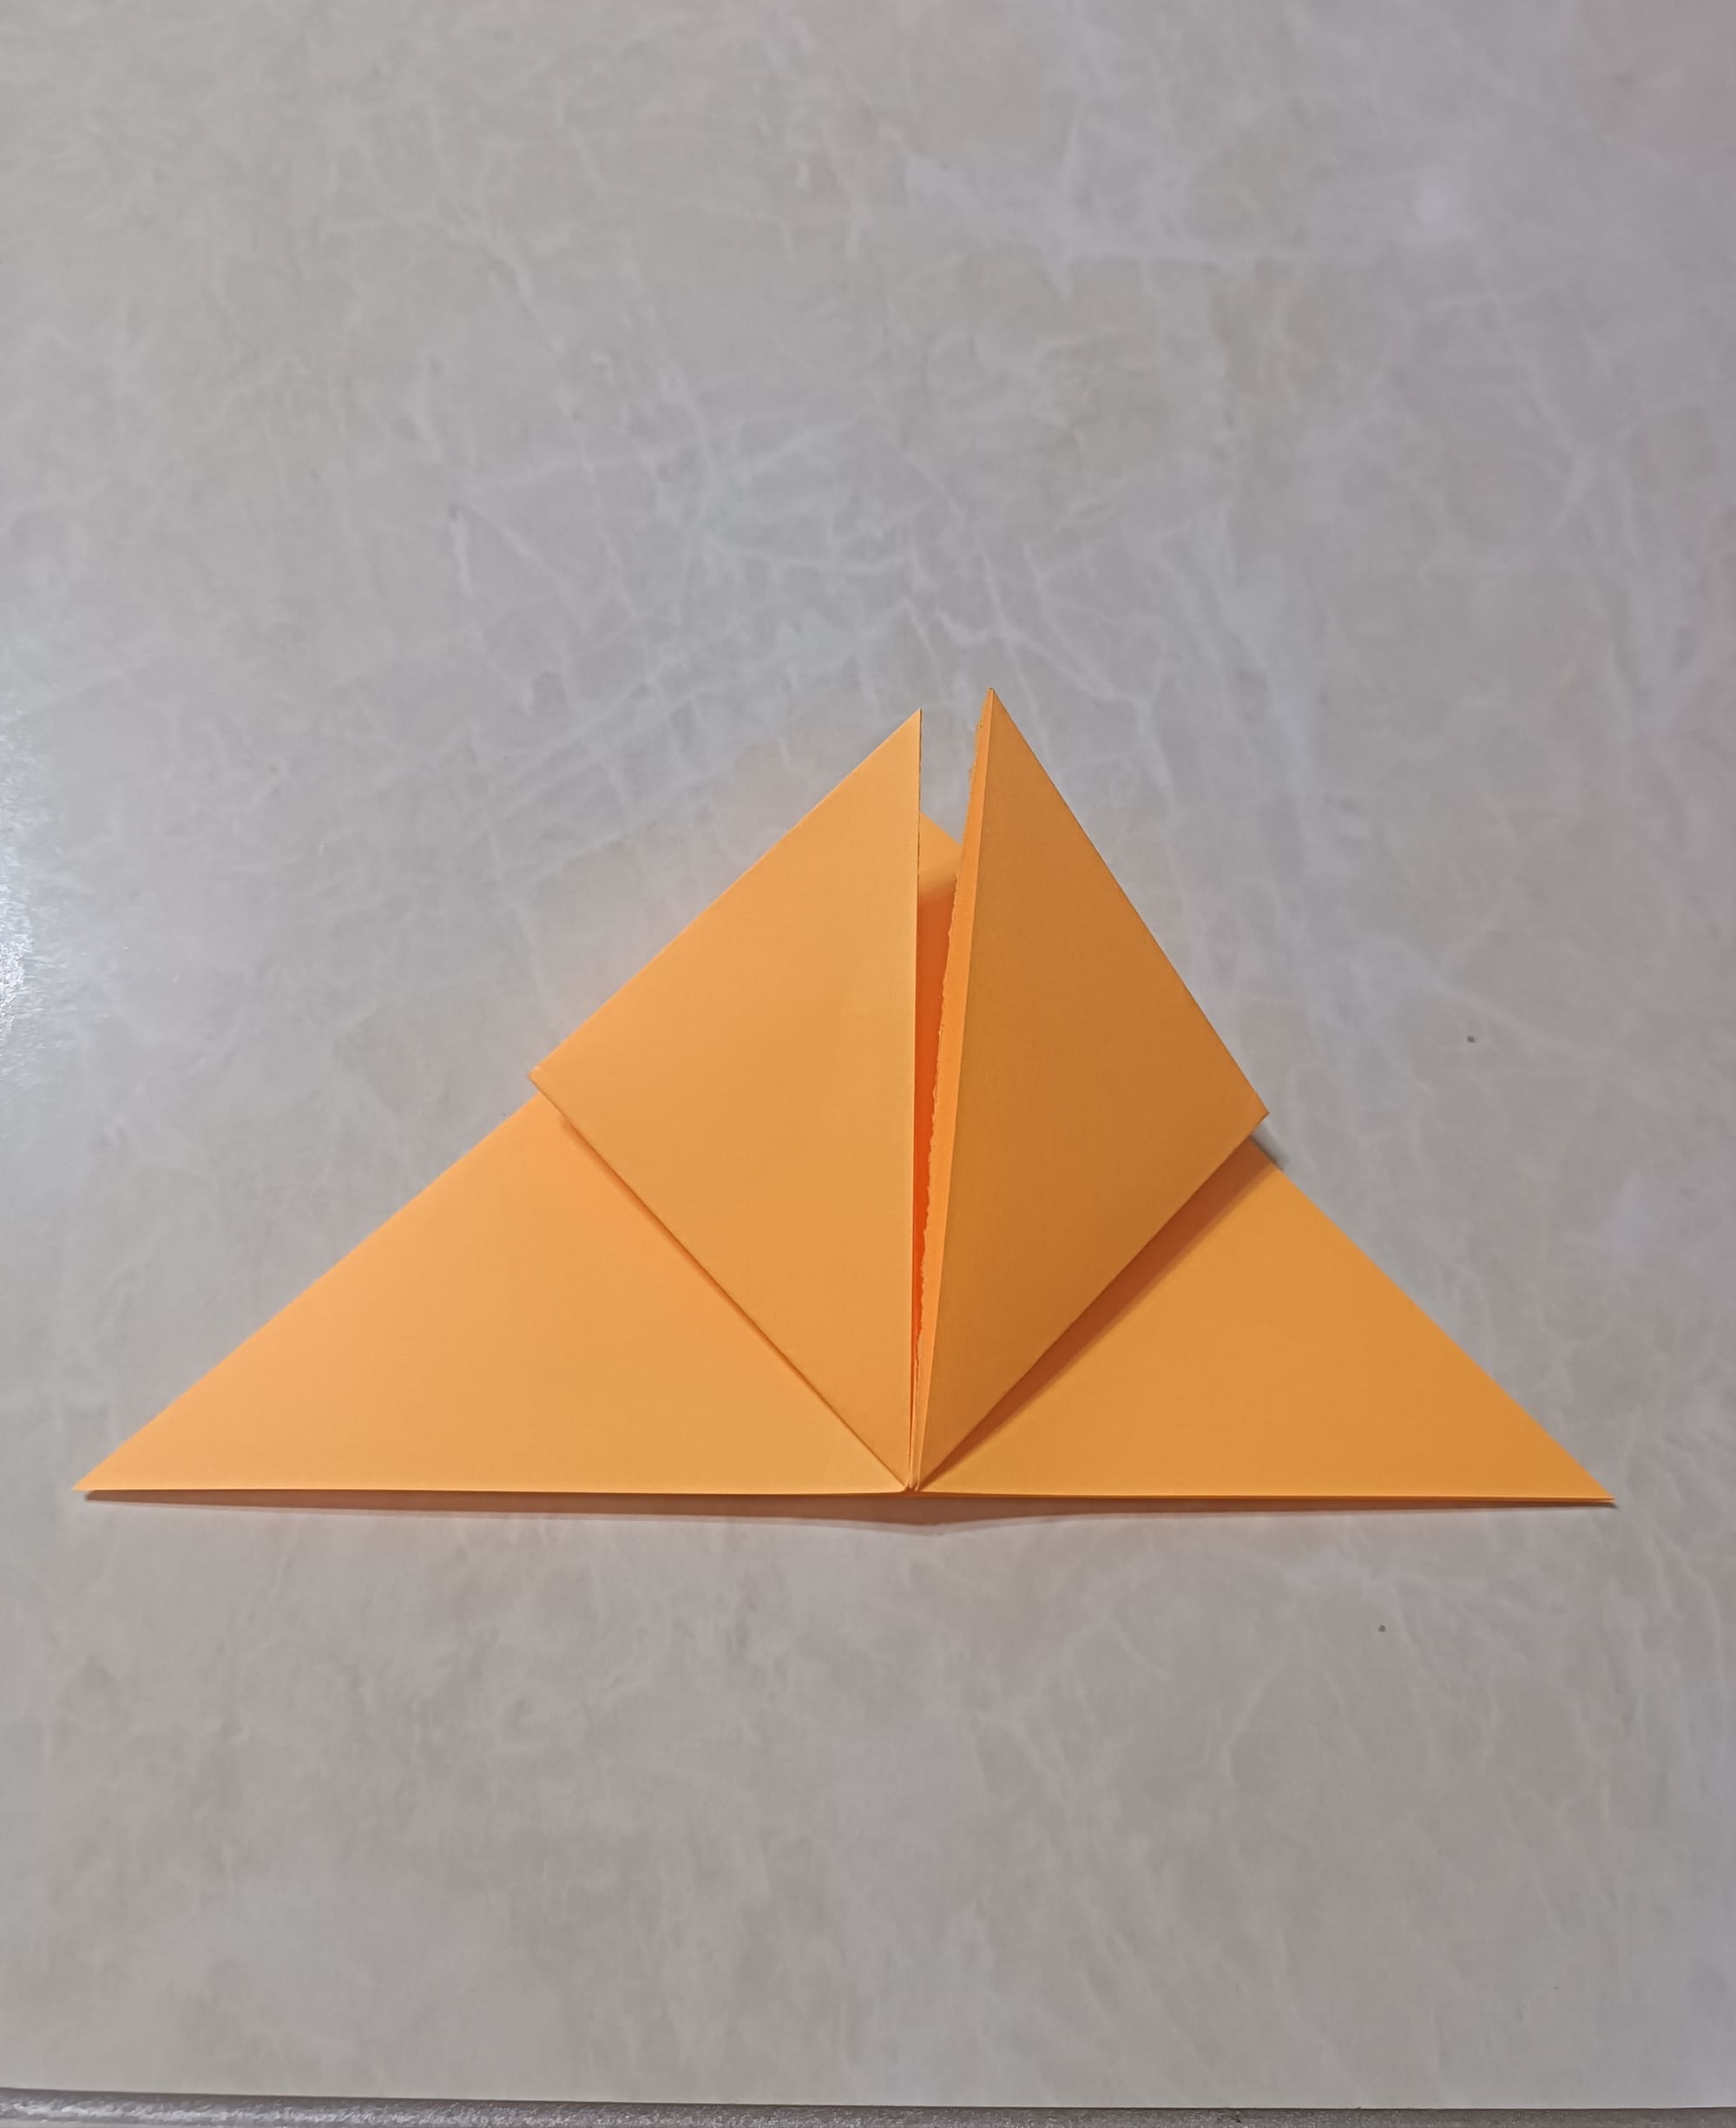
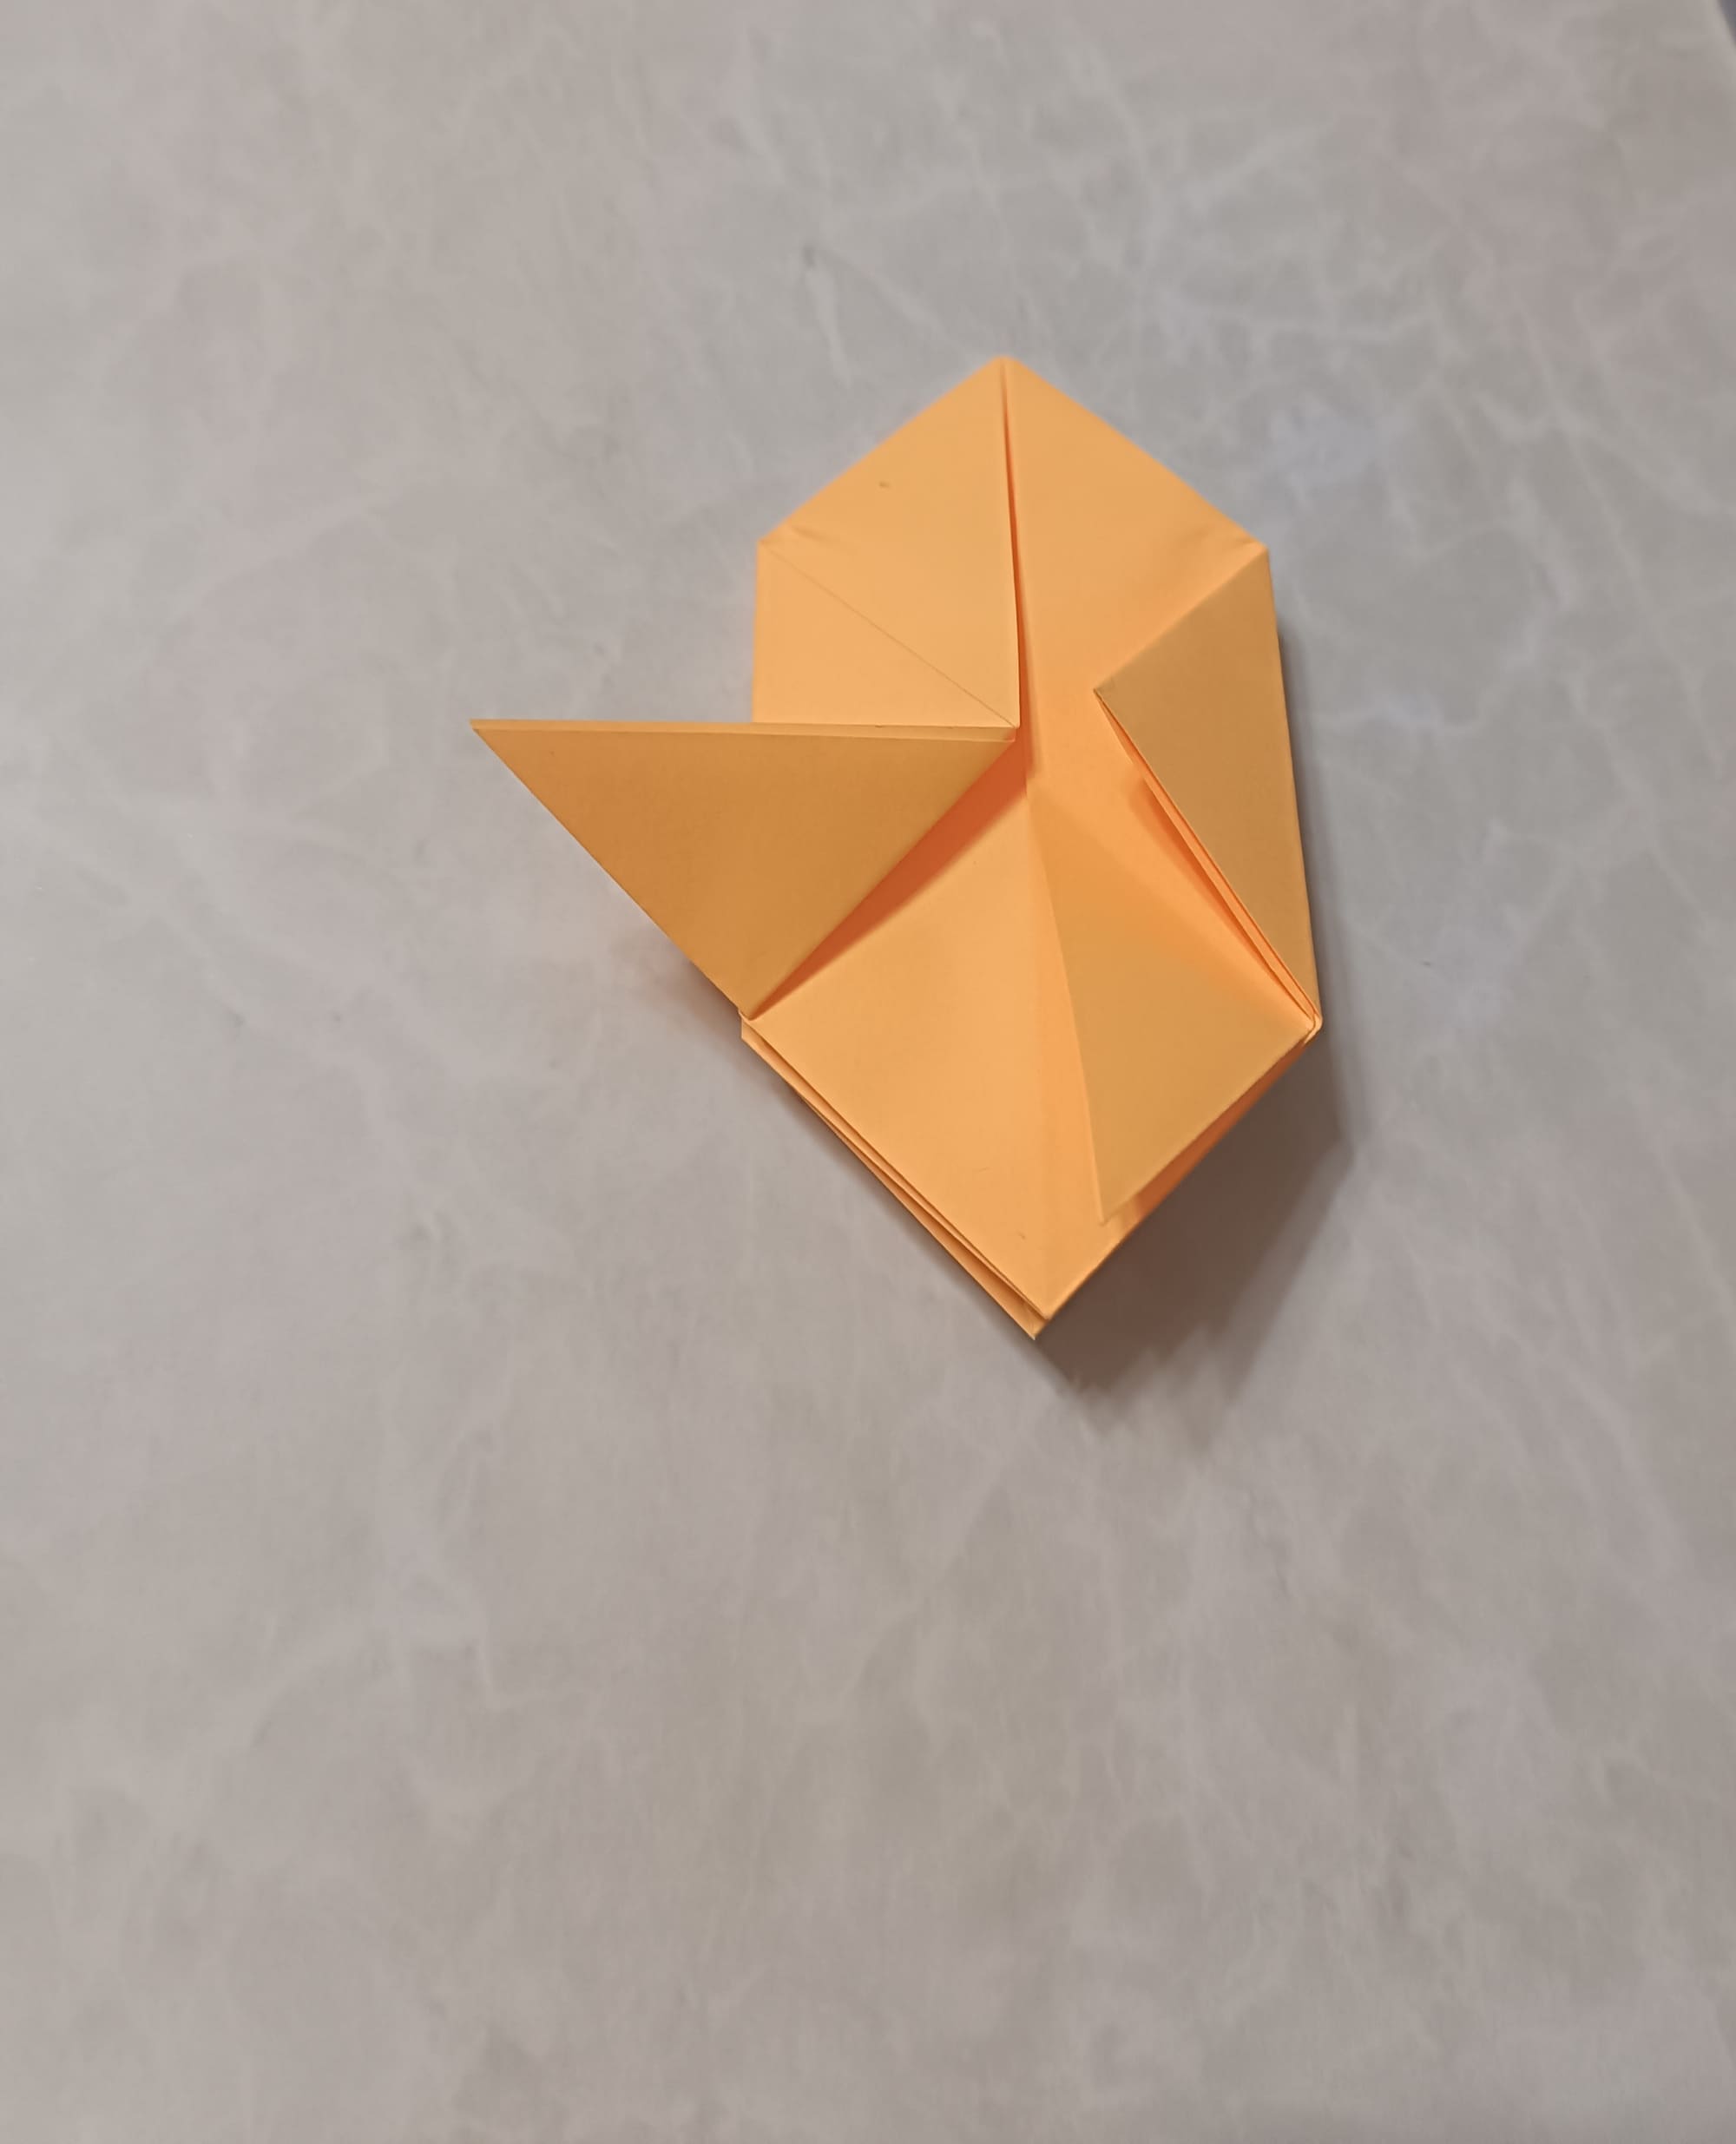
Now, use your finger to unfold the small resulting pocket into which you will need to slip the flap. Folding the flap in half beforehand, otherwise, it won’t fit in the pocket.
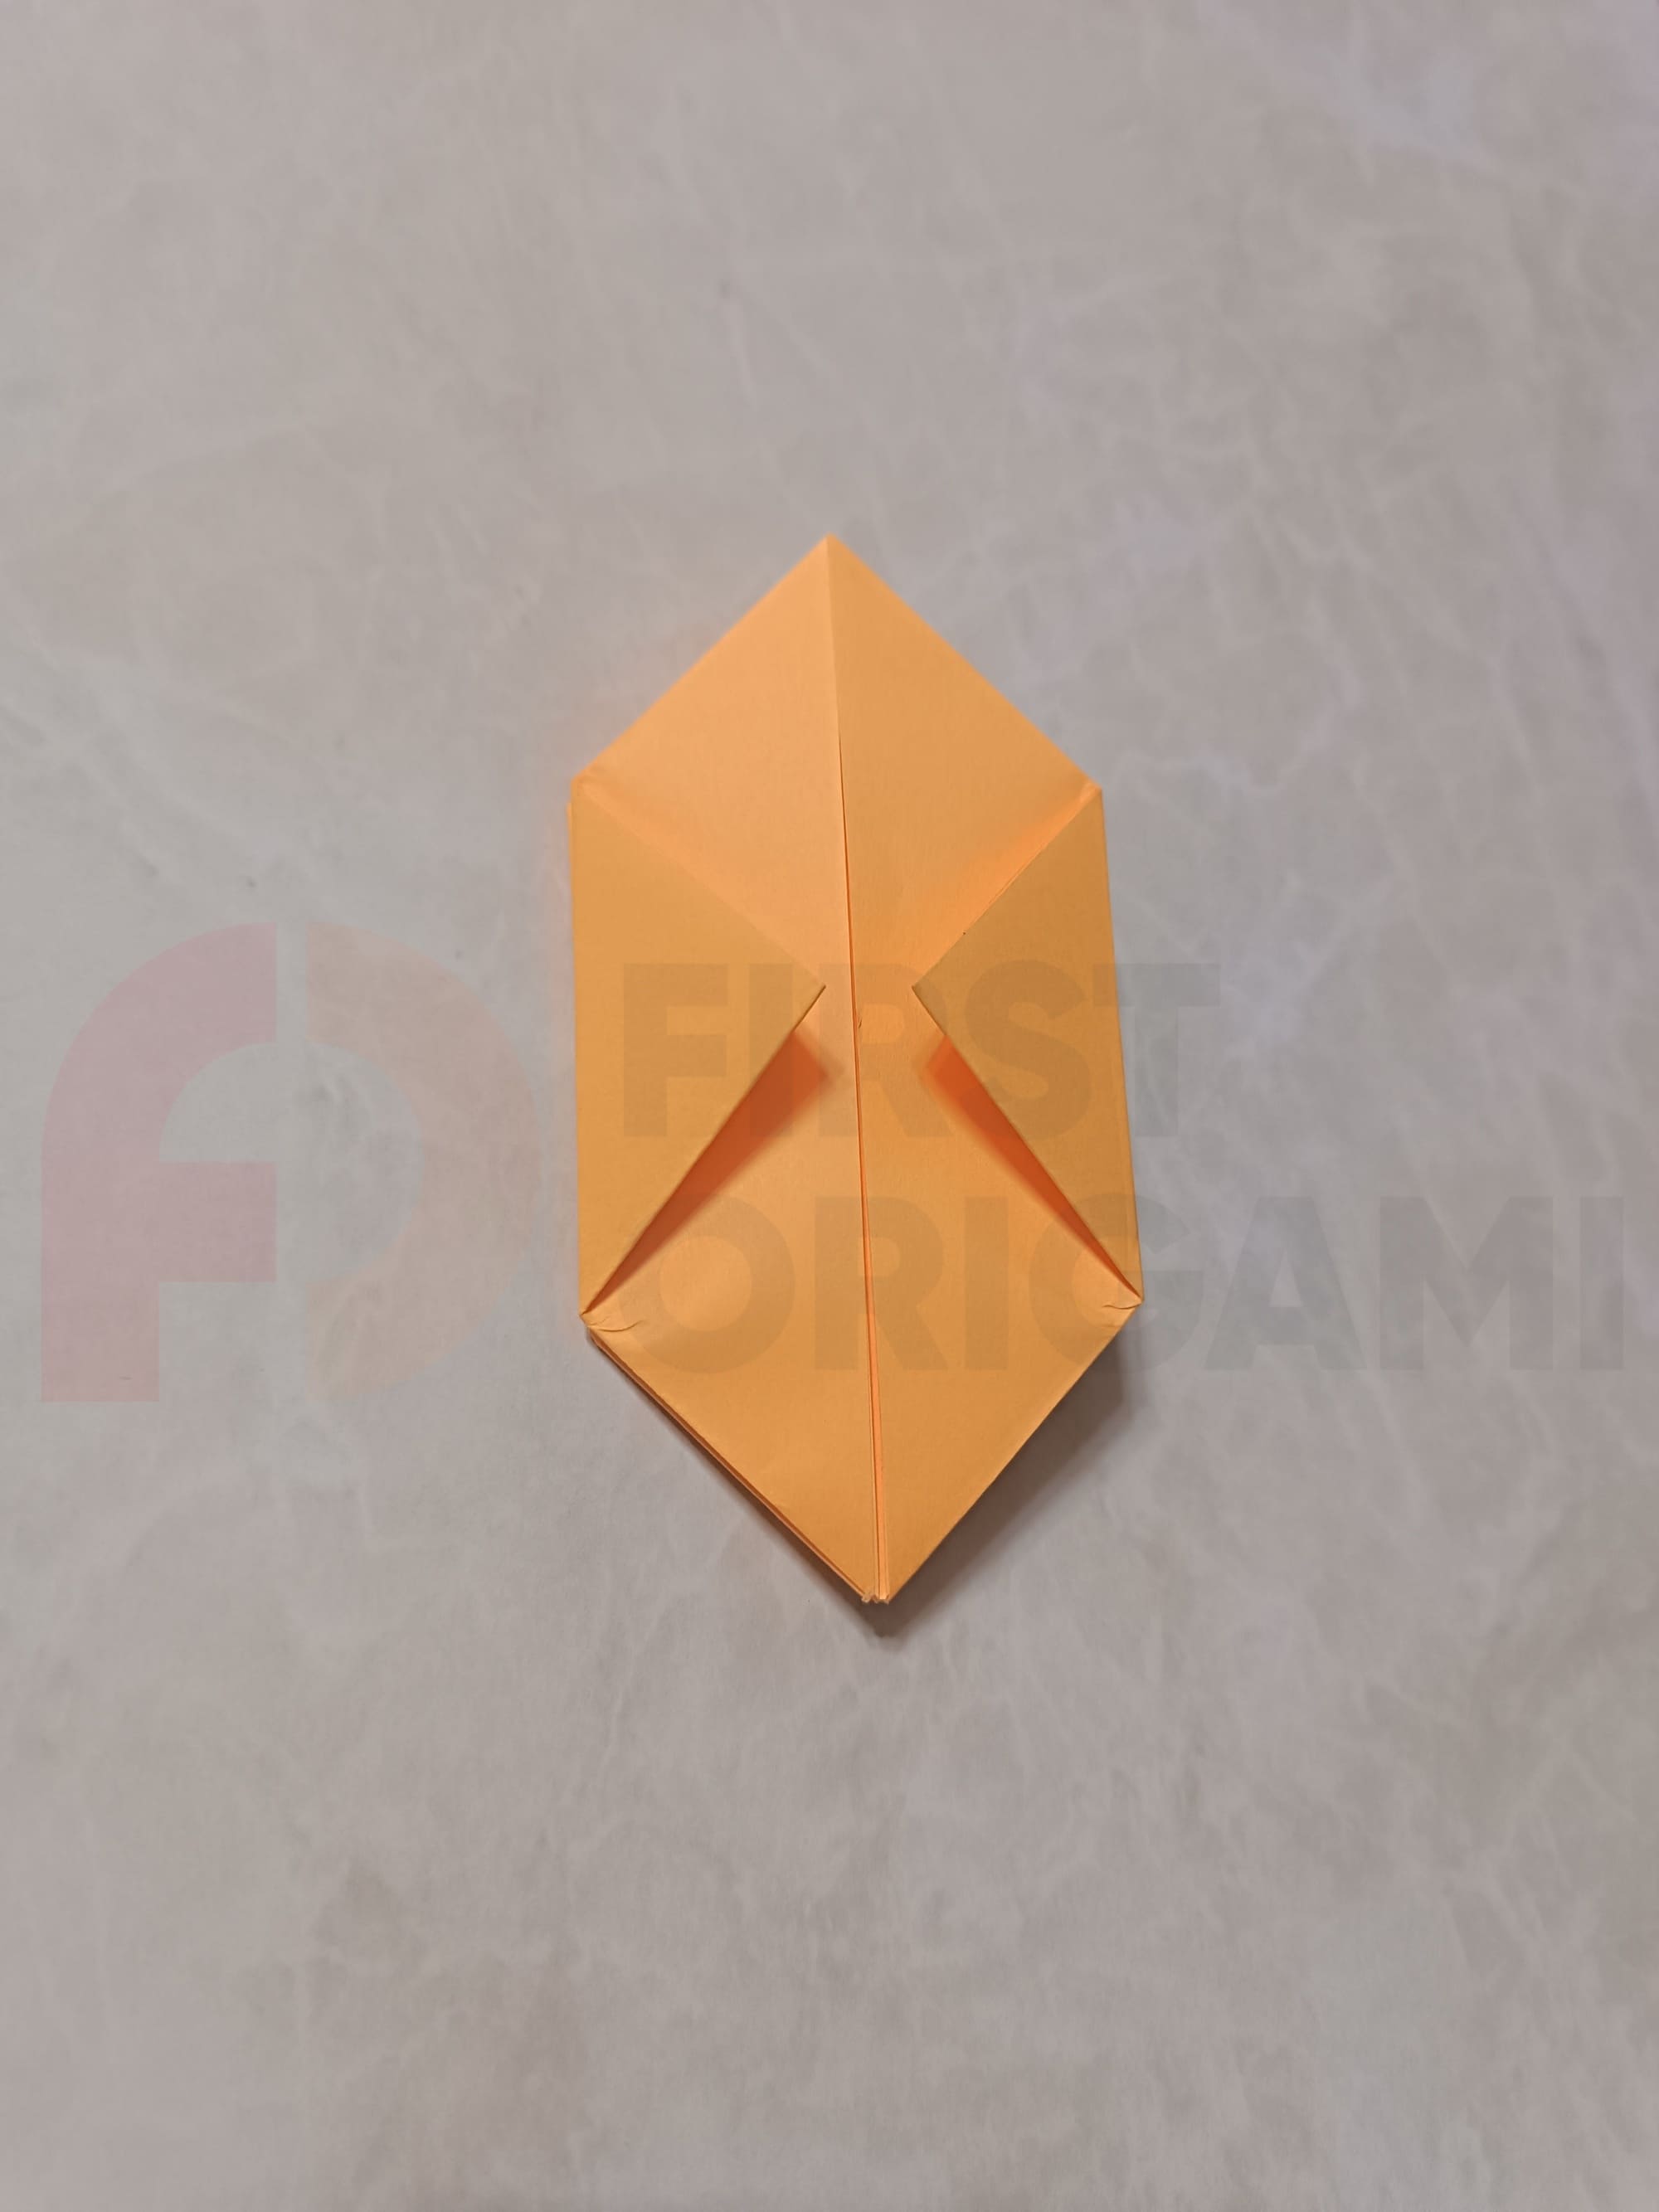
Repeat all the steps from Step 4, paying special attention to folding the flap and placing it in the pocket. Check your actions against the photo.
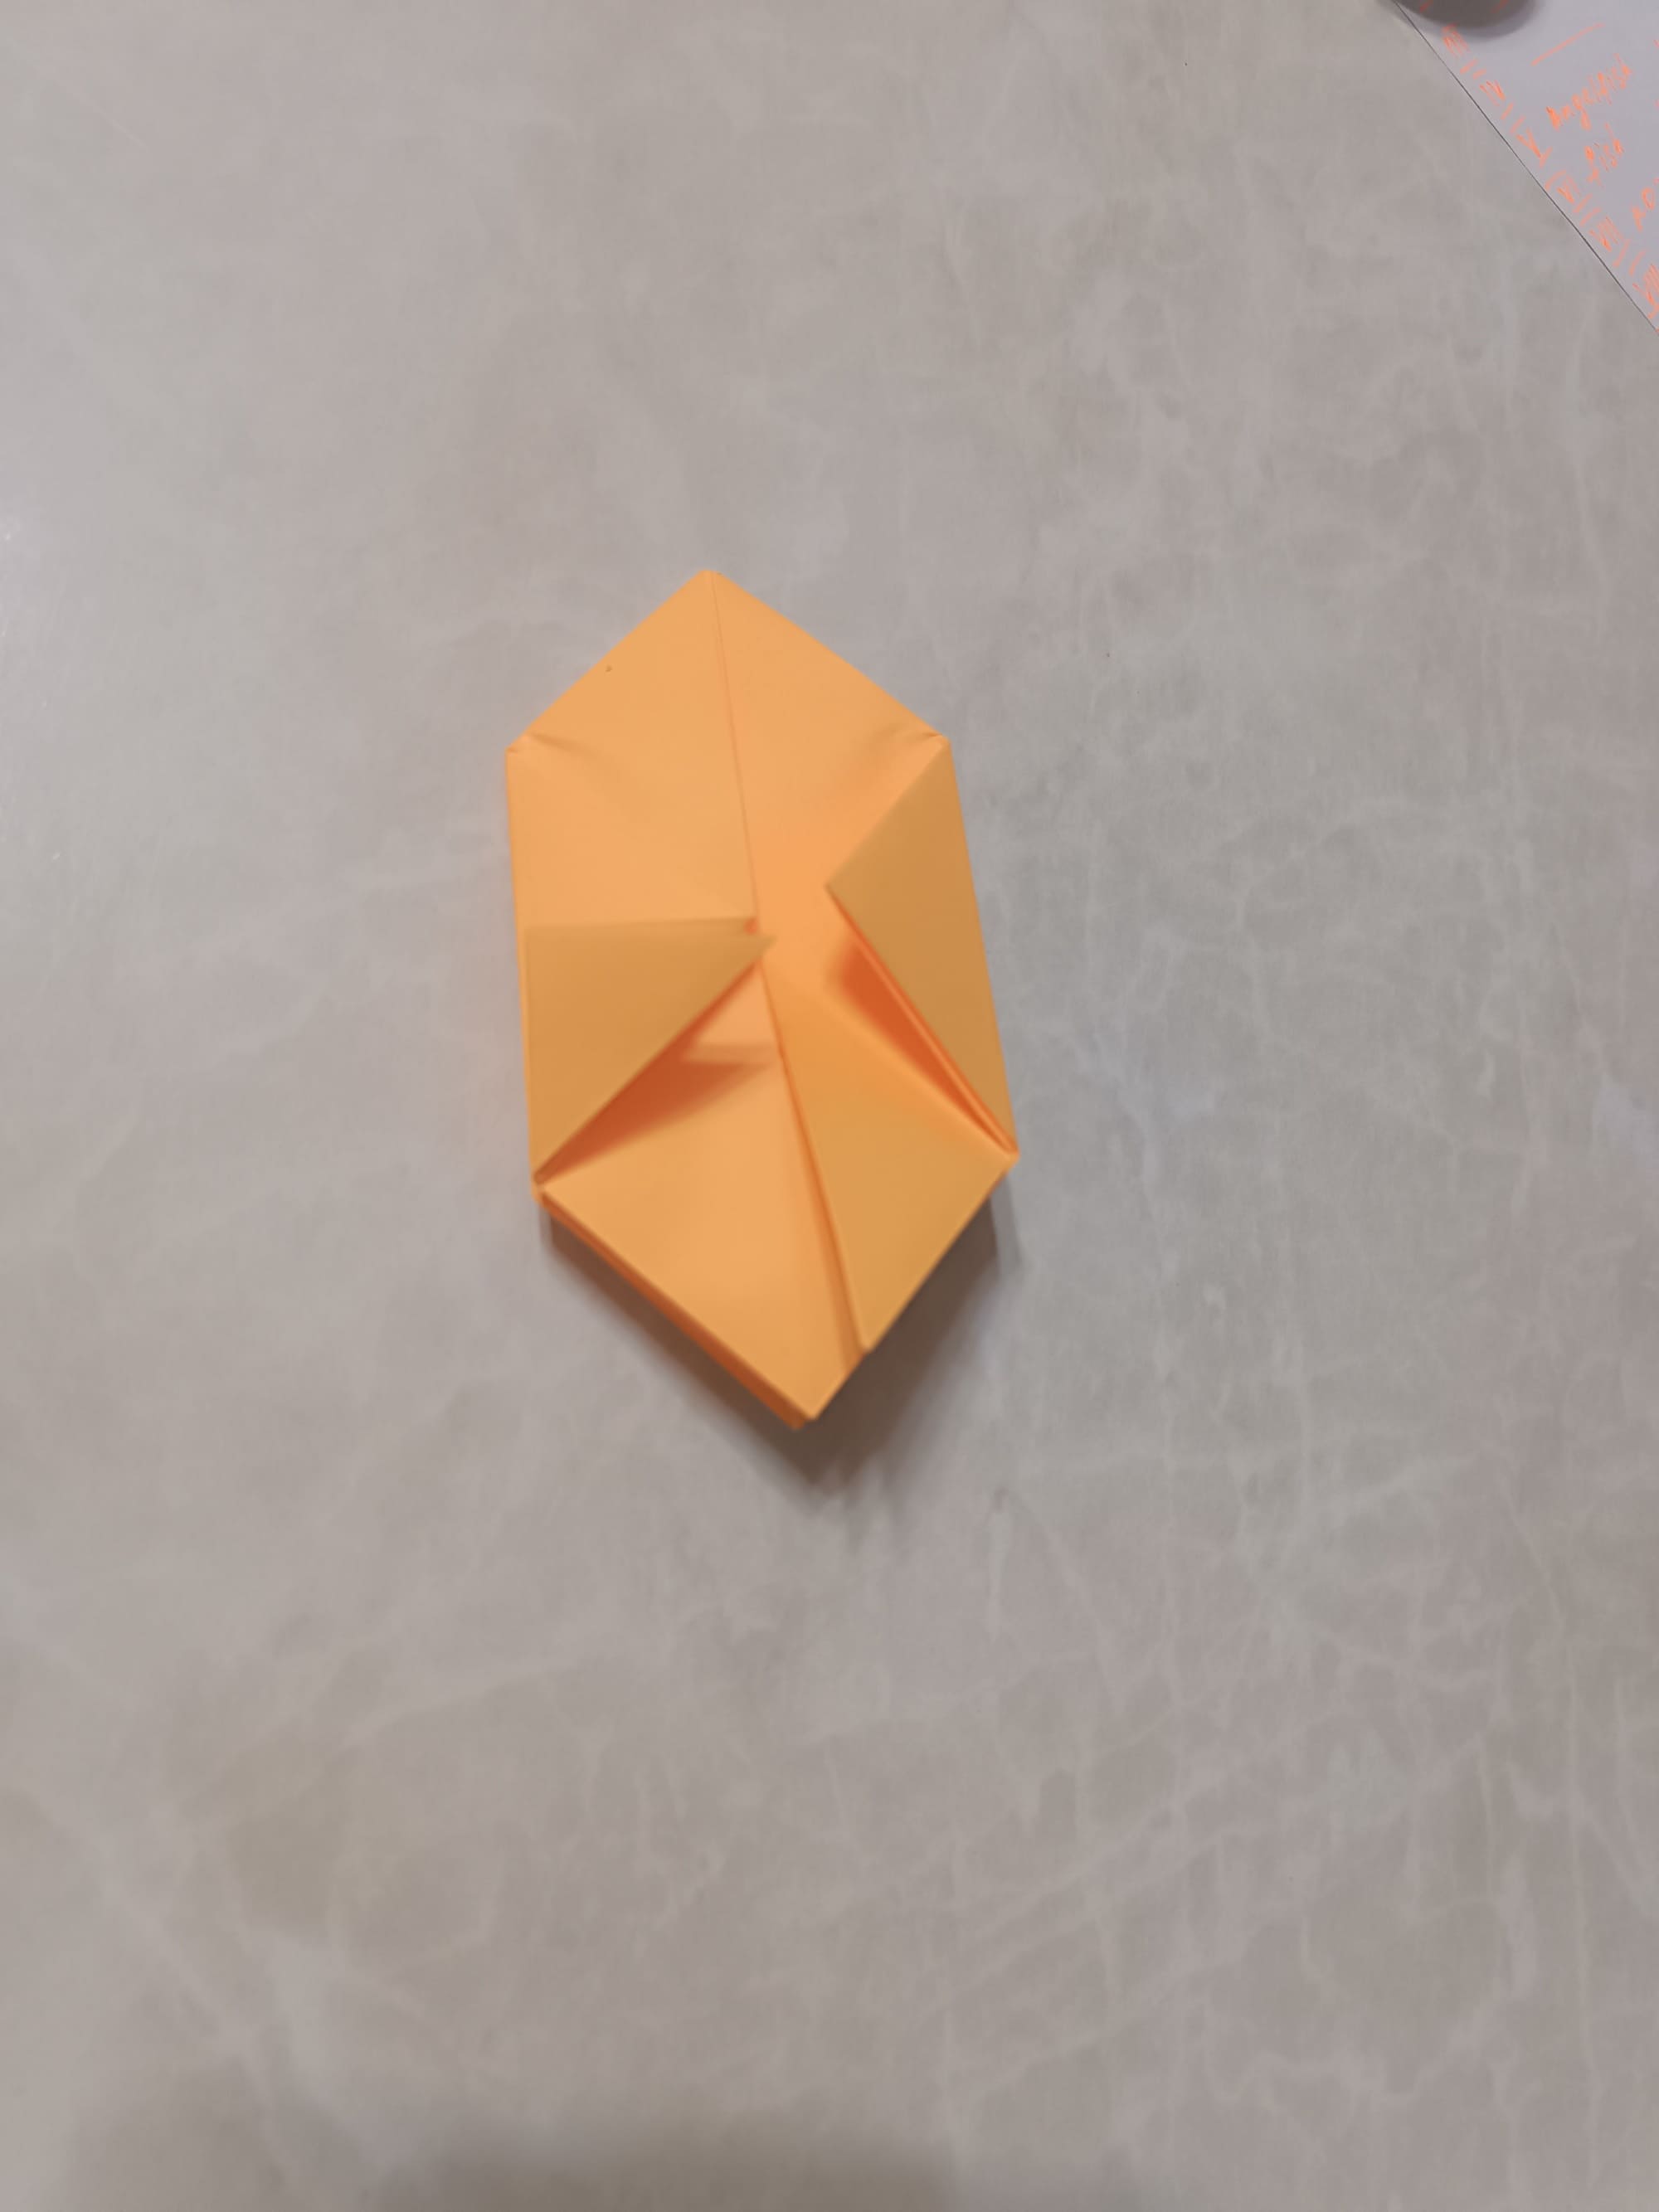
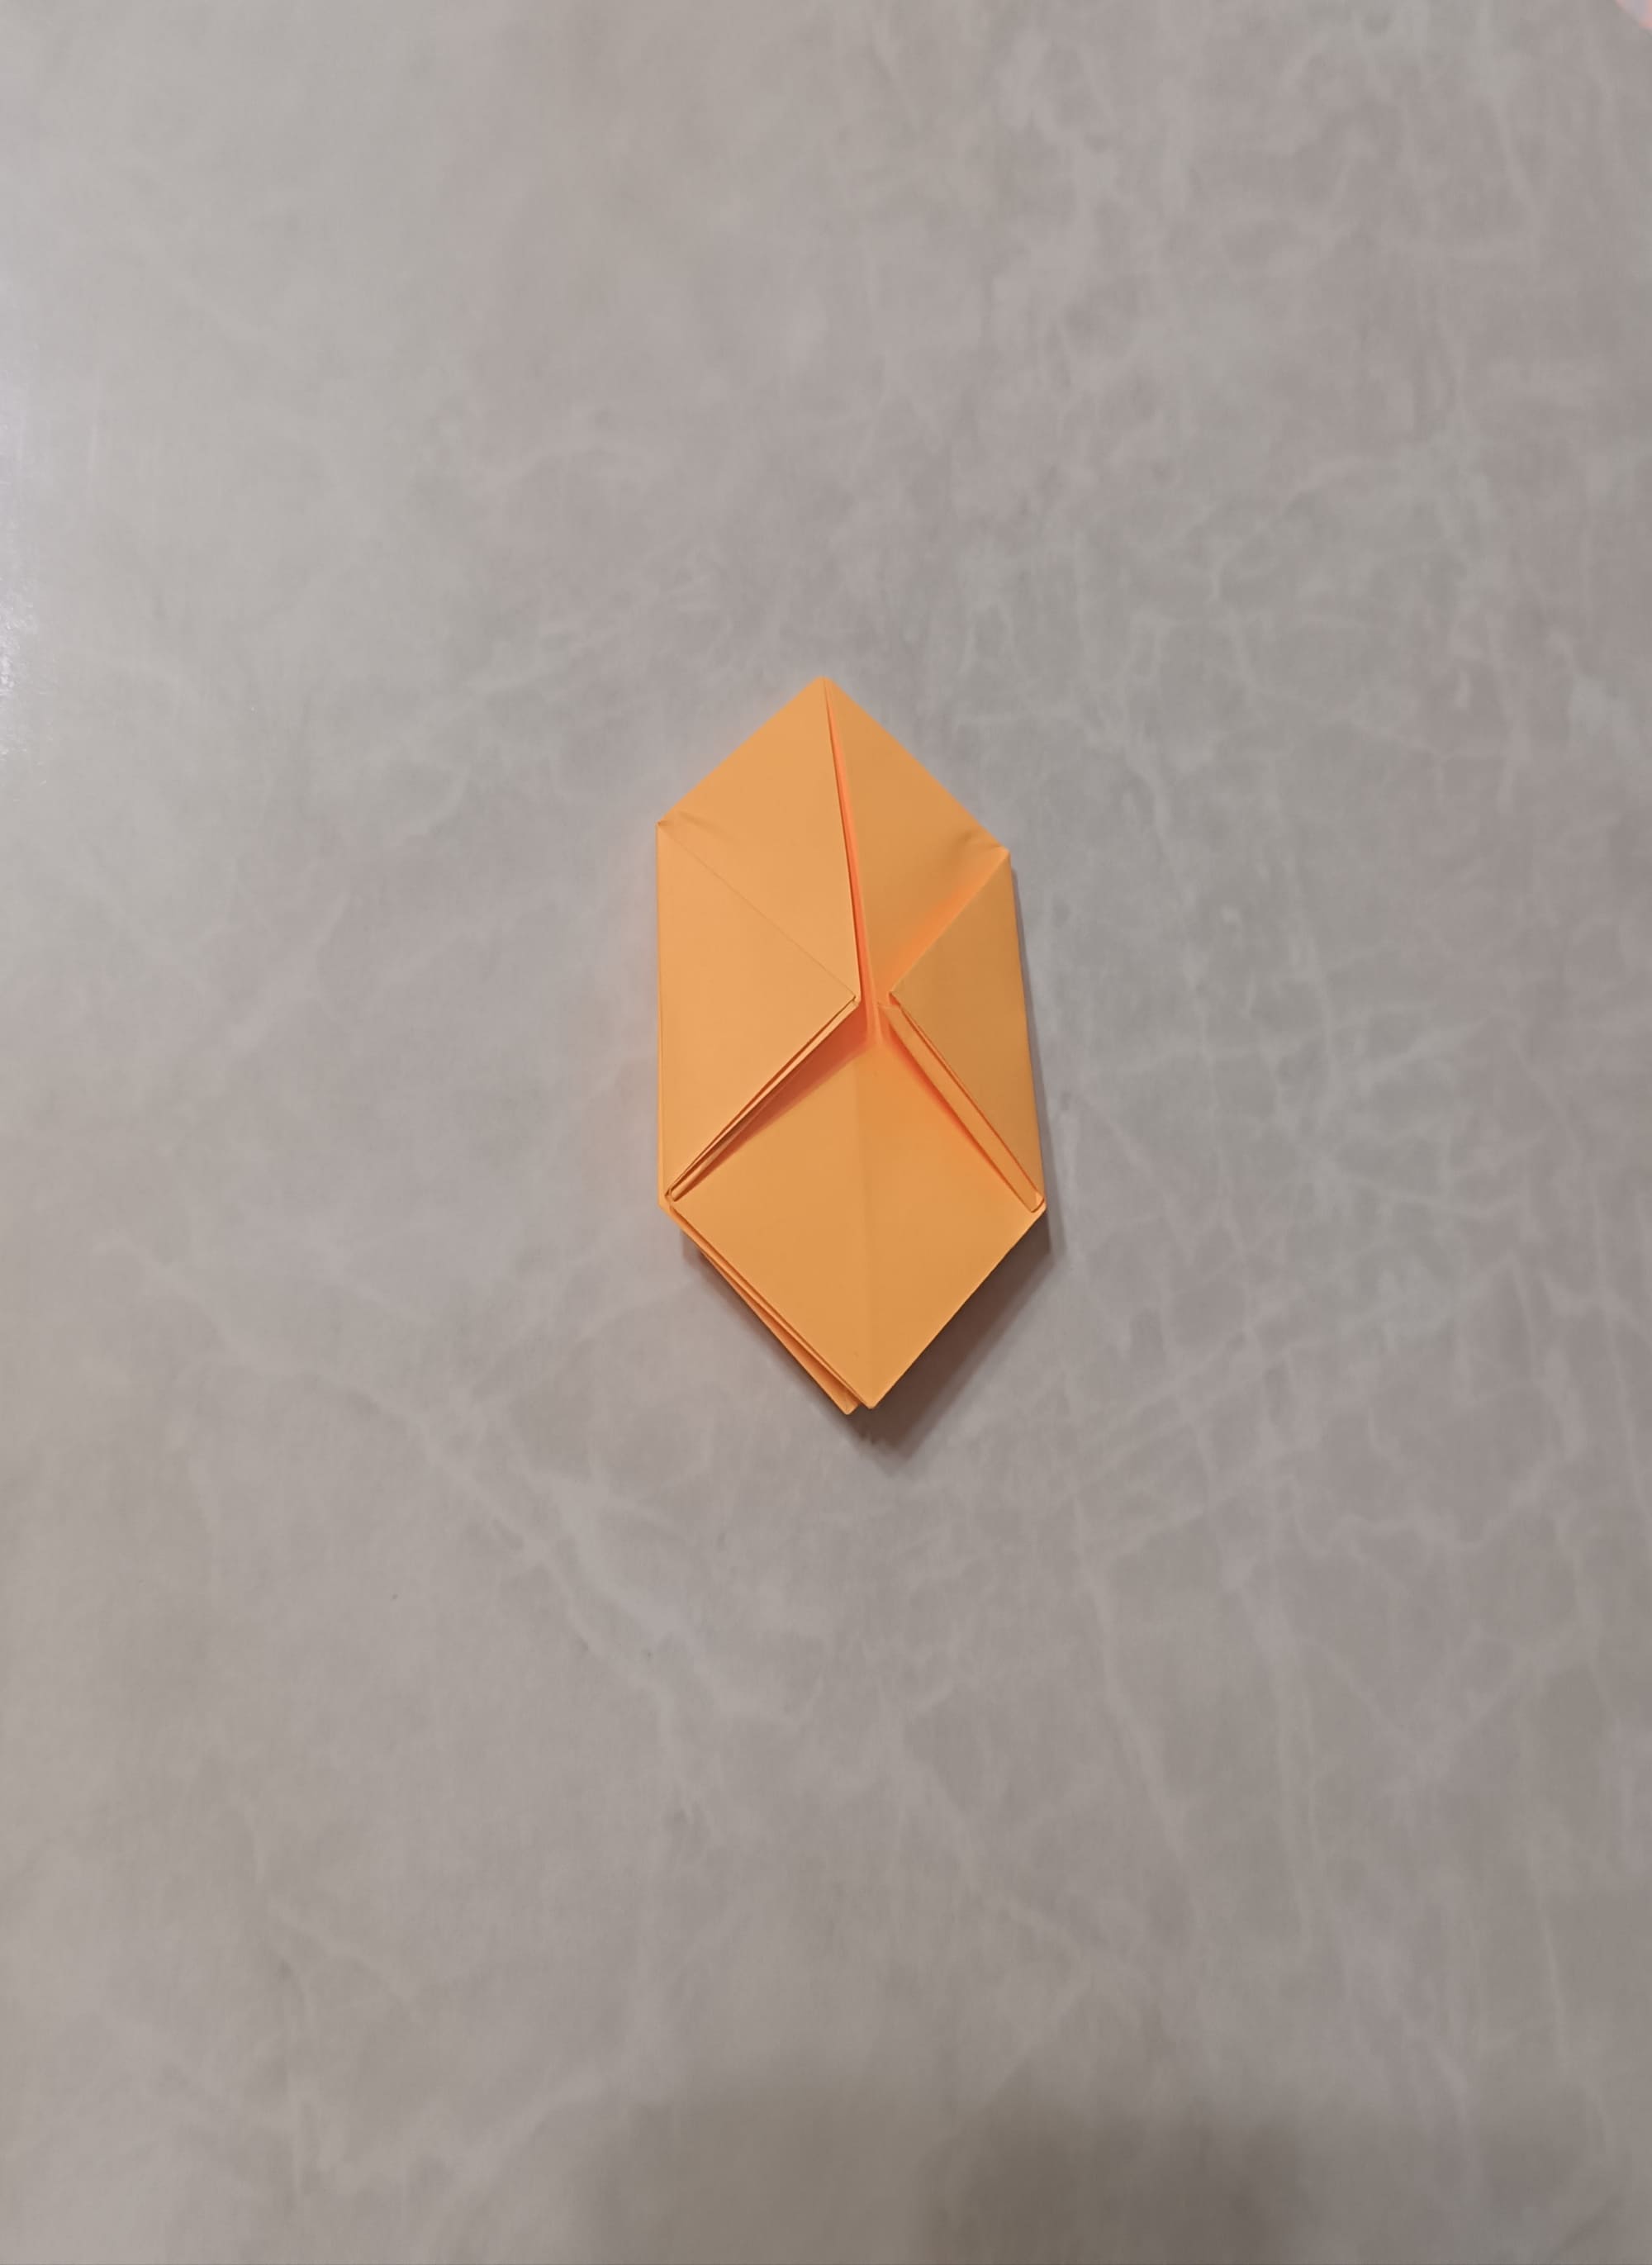
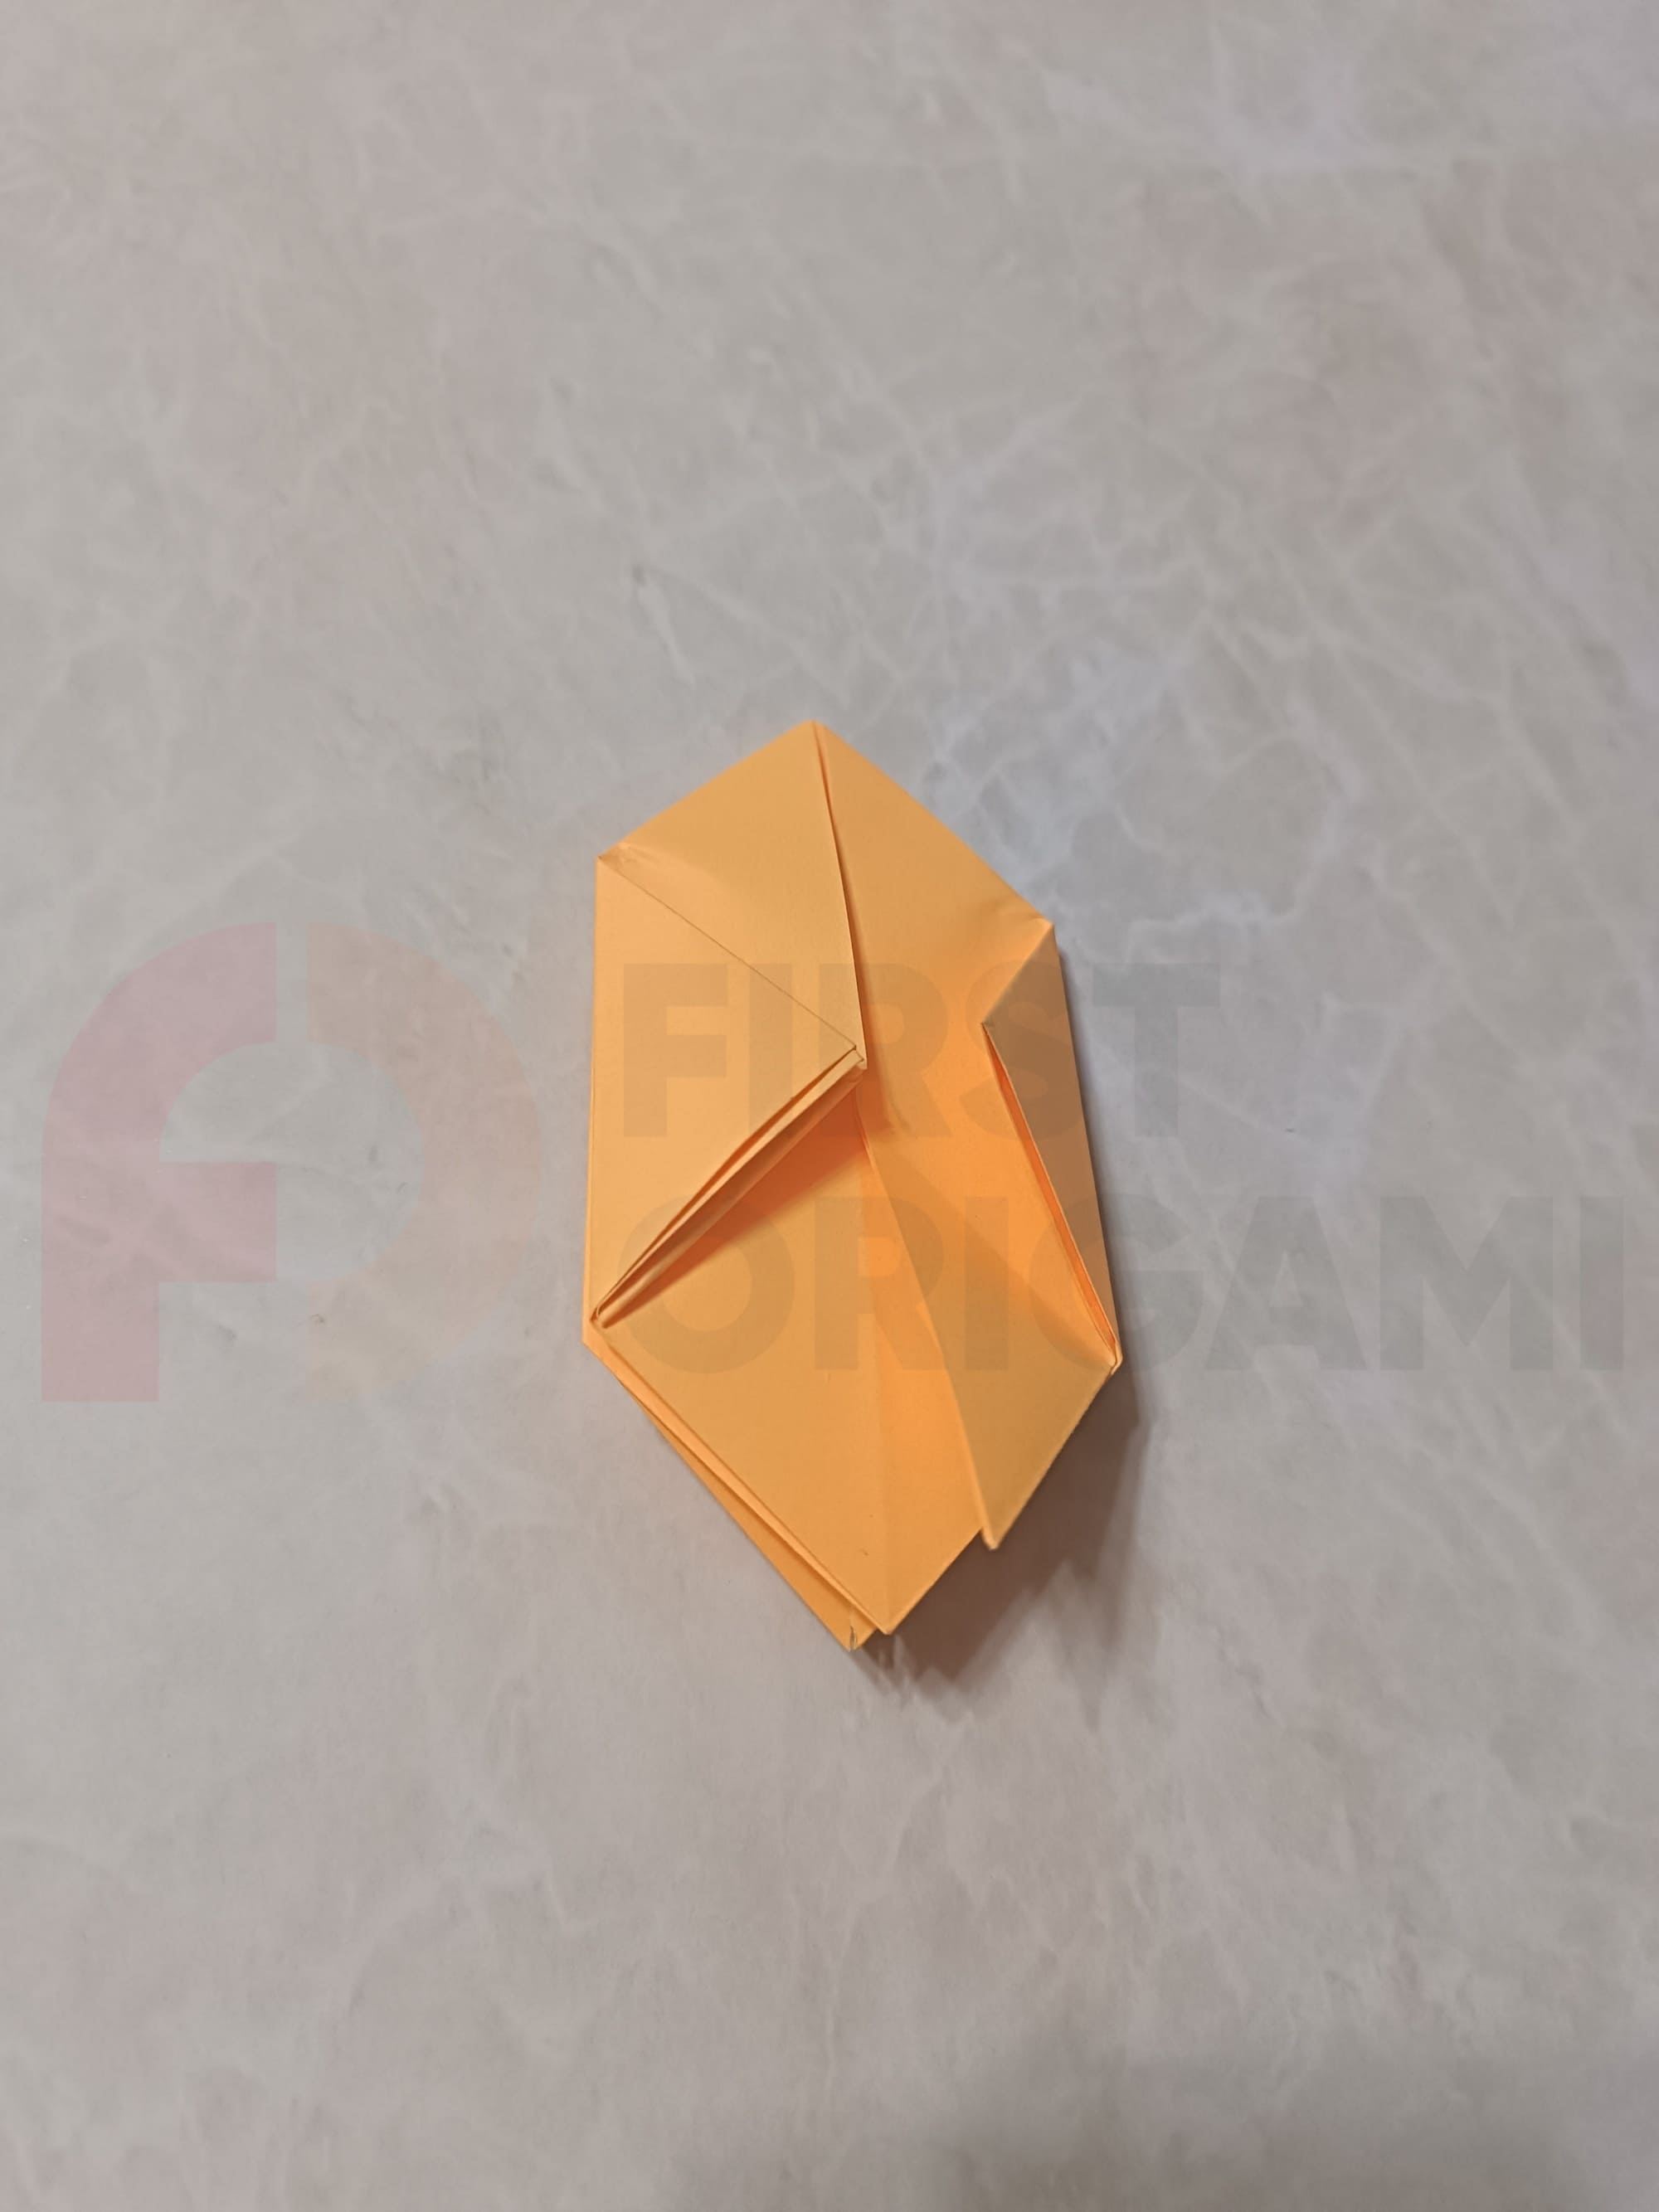
Repeat the steps with the remaining three sheets. This brings us as close as possible to the final result.
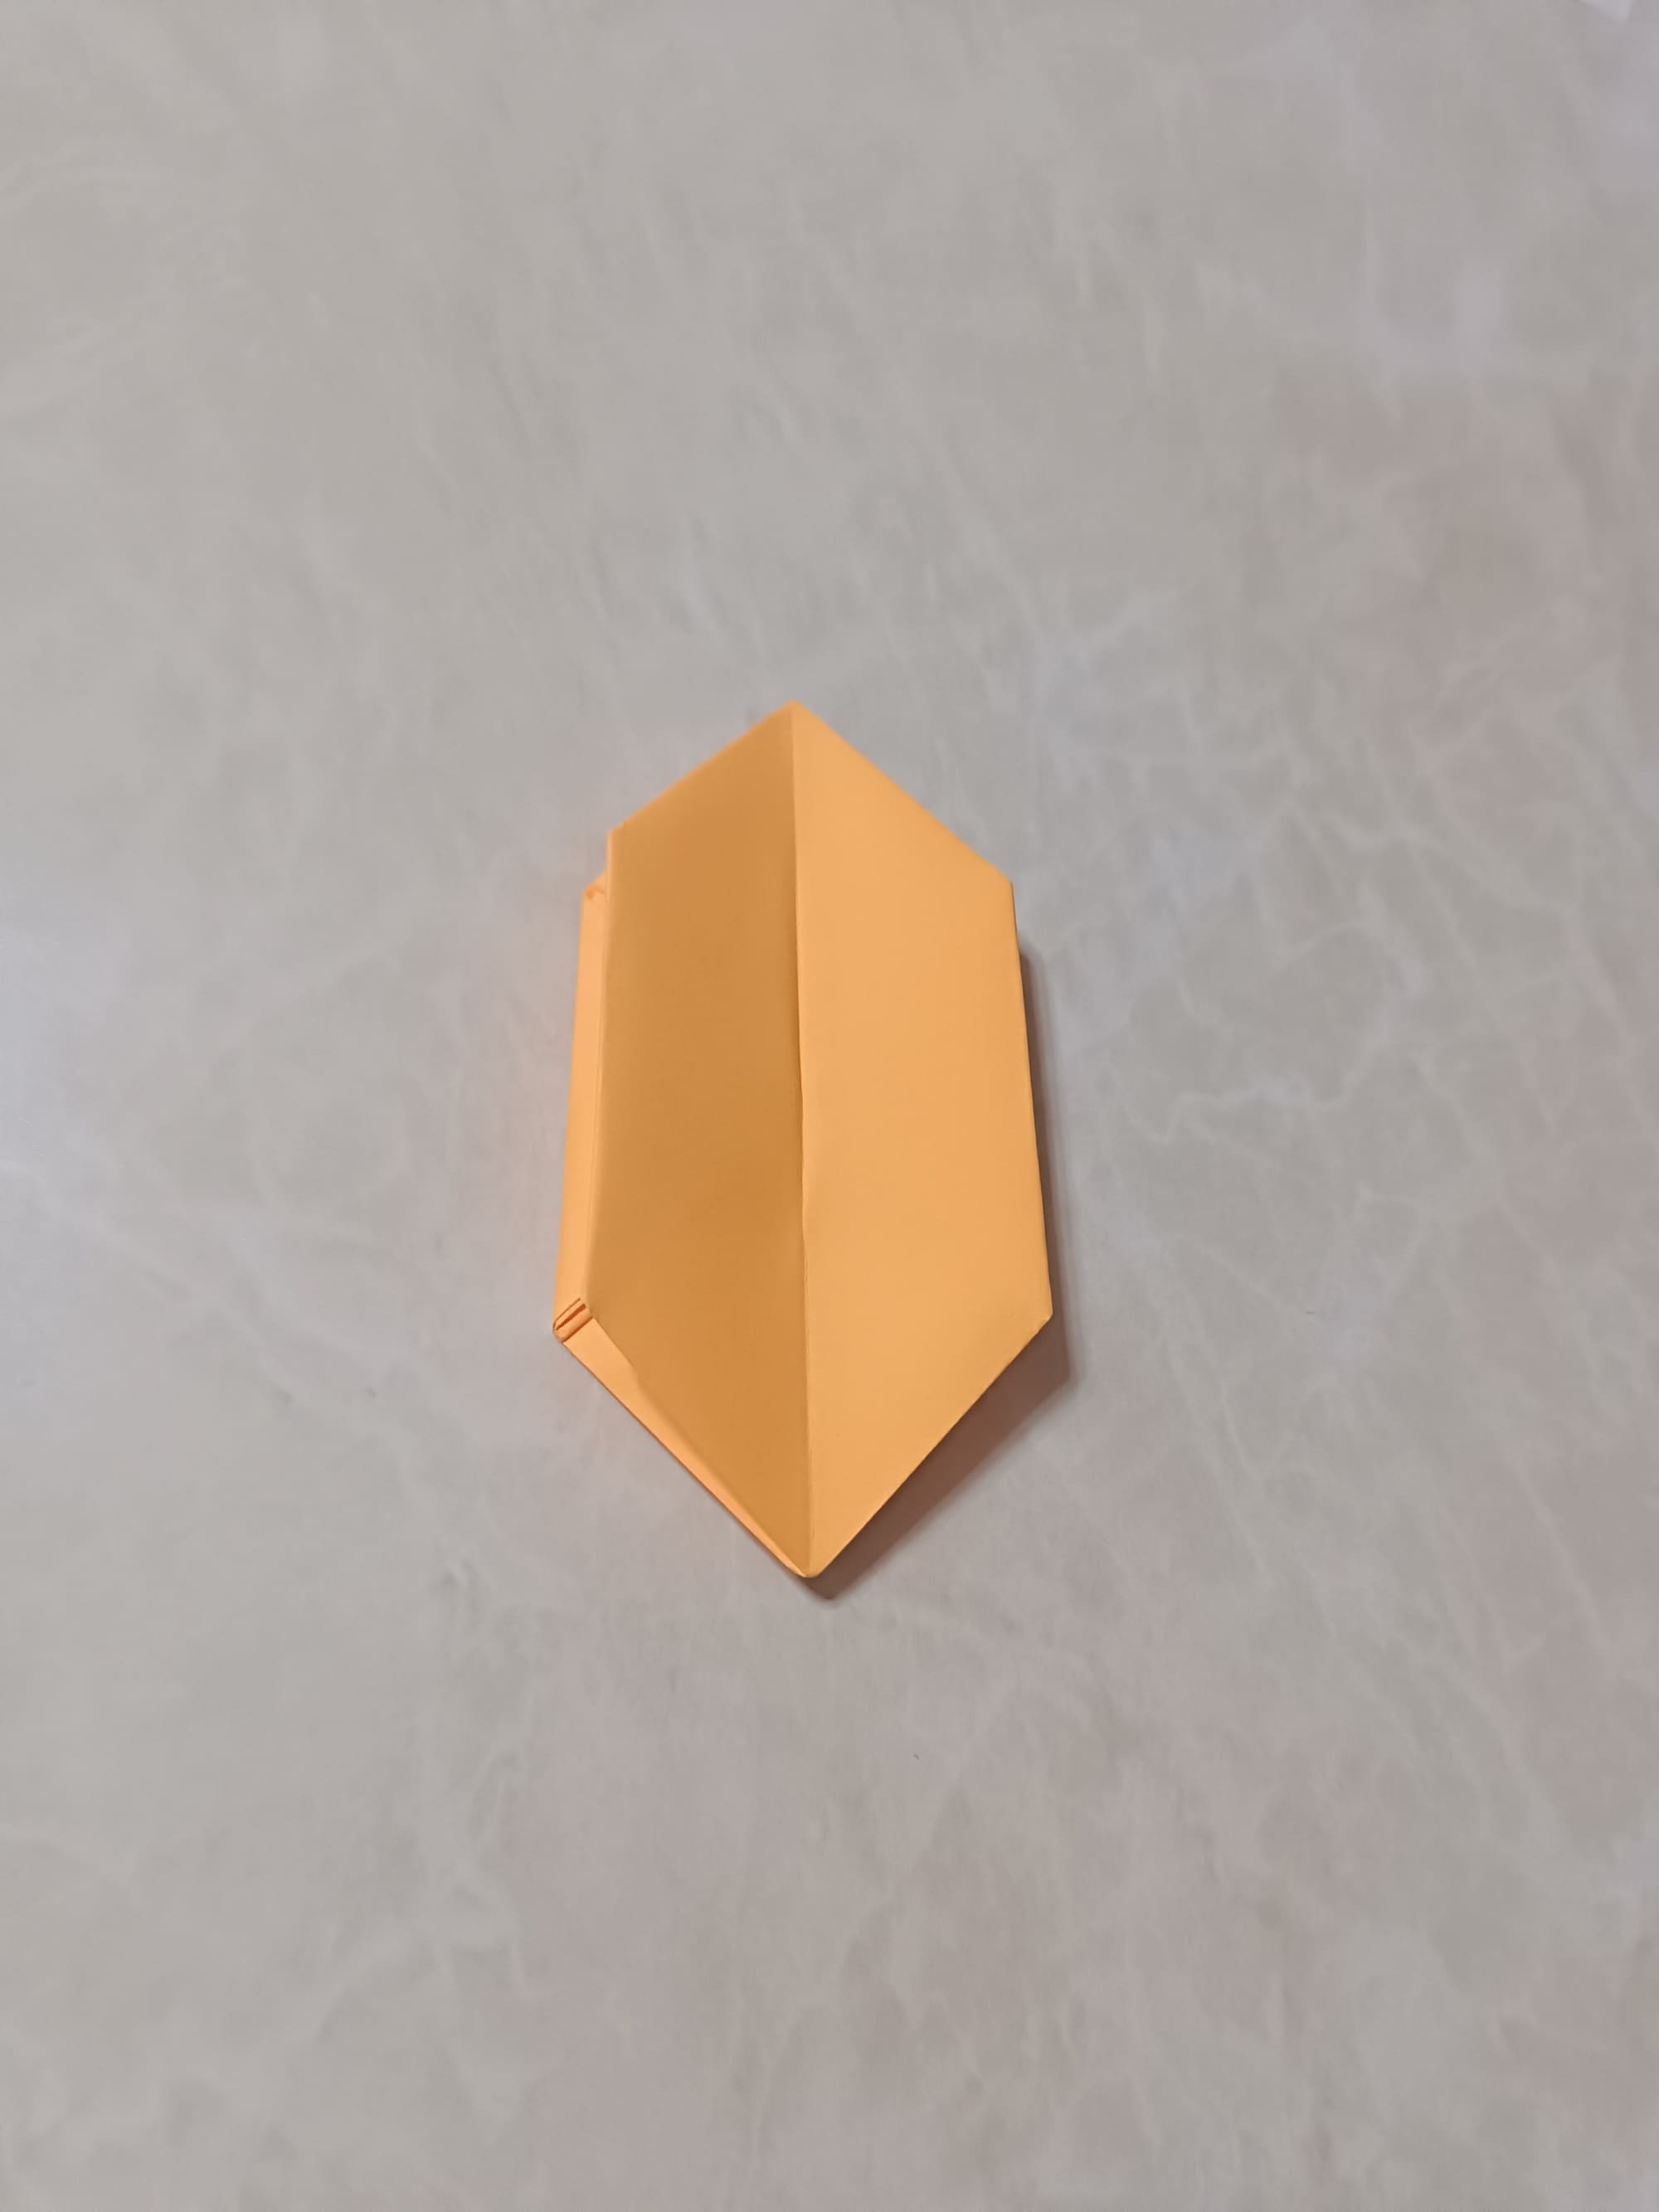
Now you should fold both parts of the product facing each other so that the smooth side of your future figurine becomes visible.
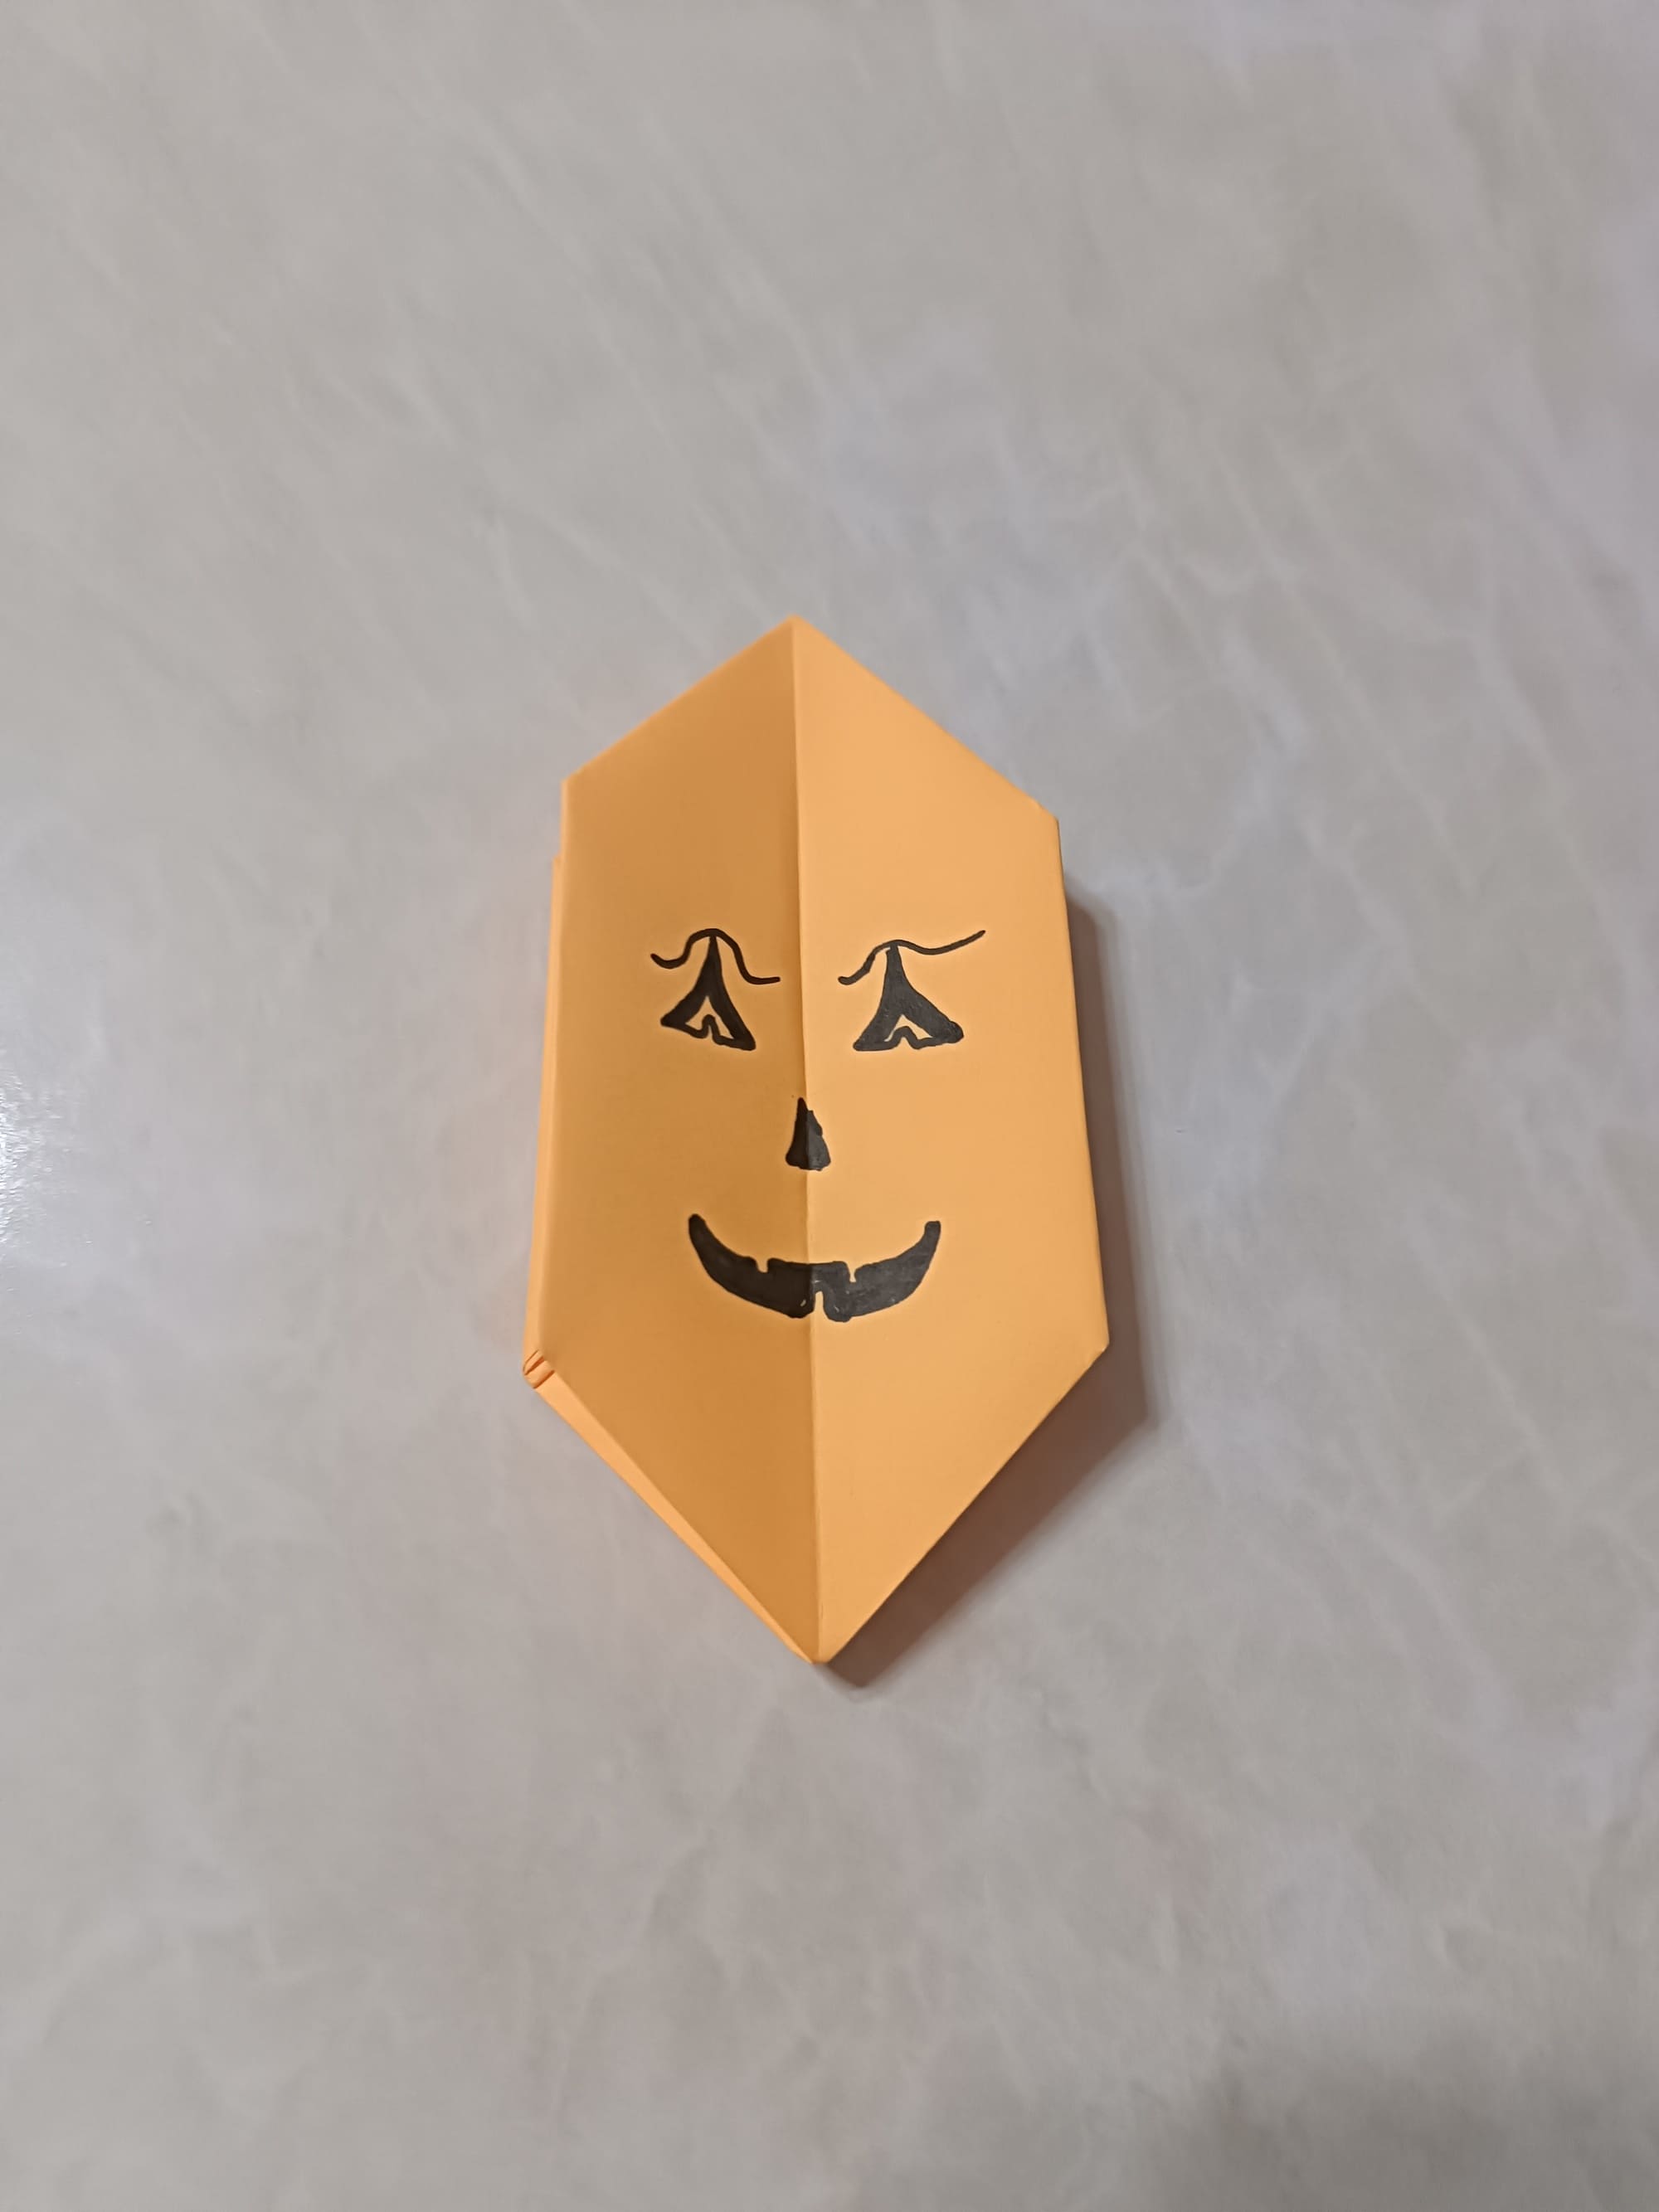
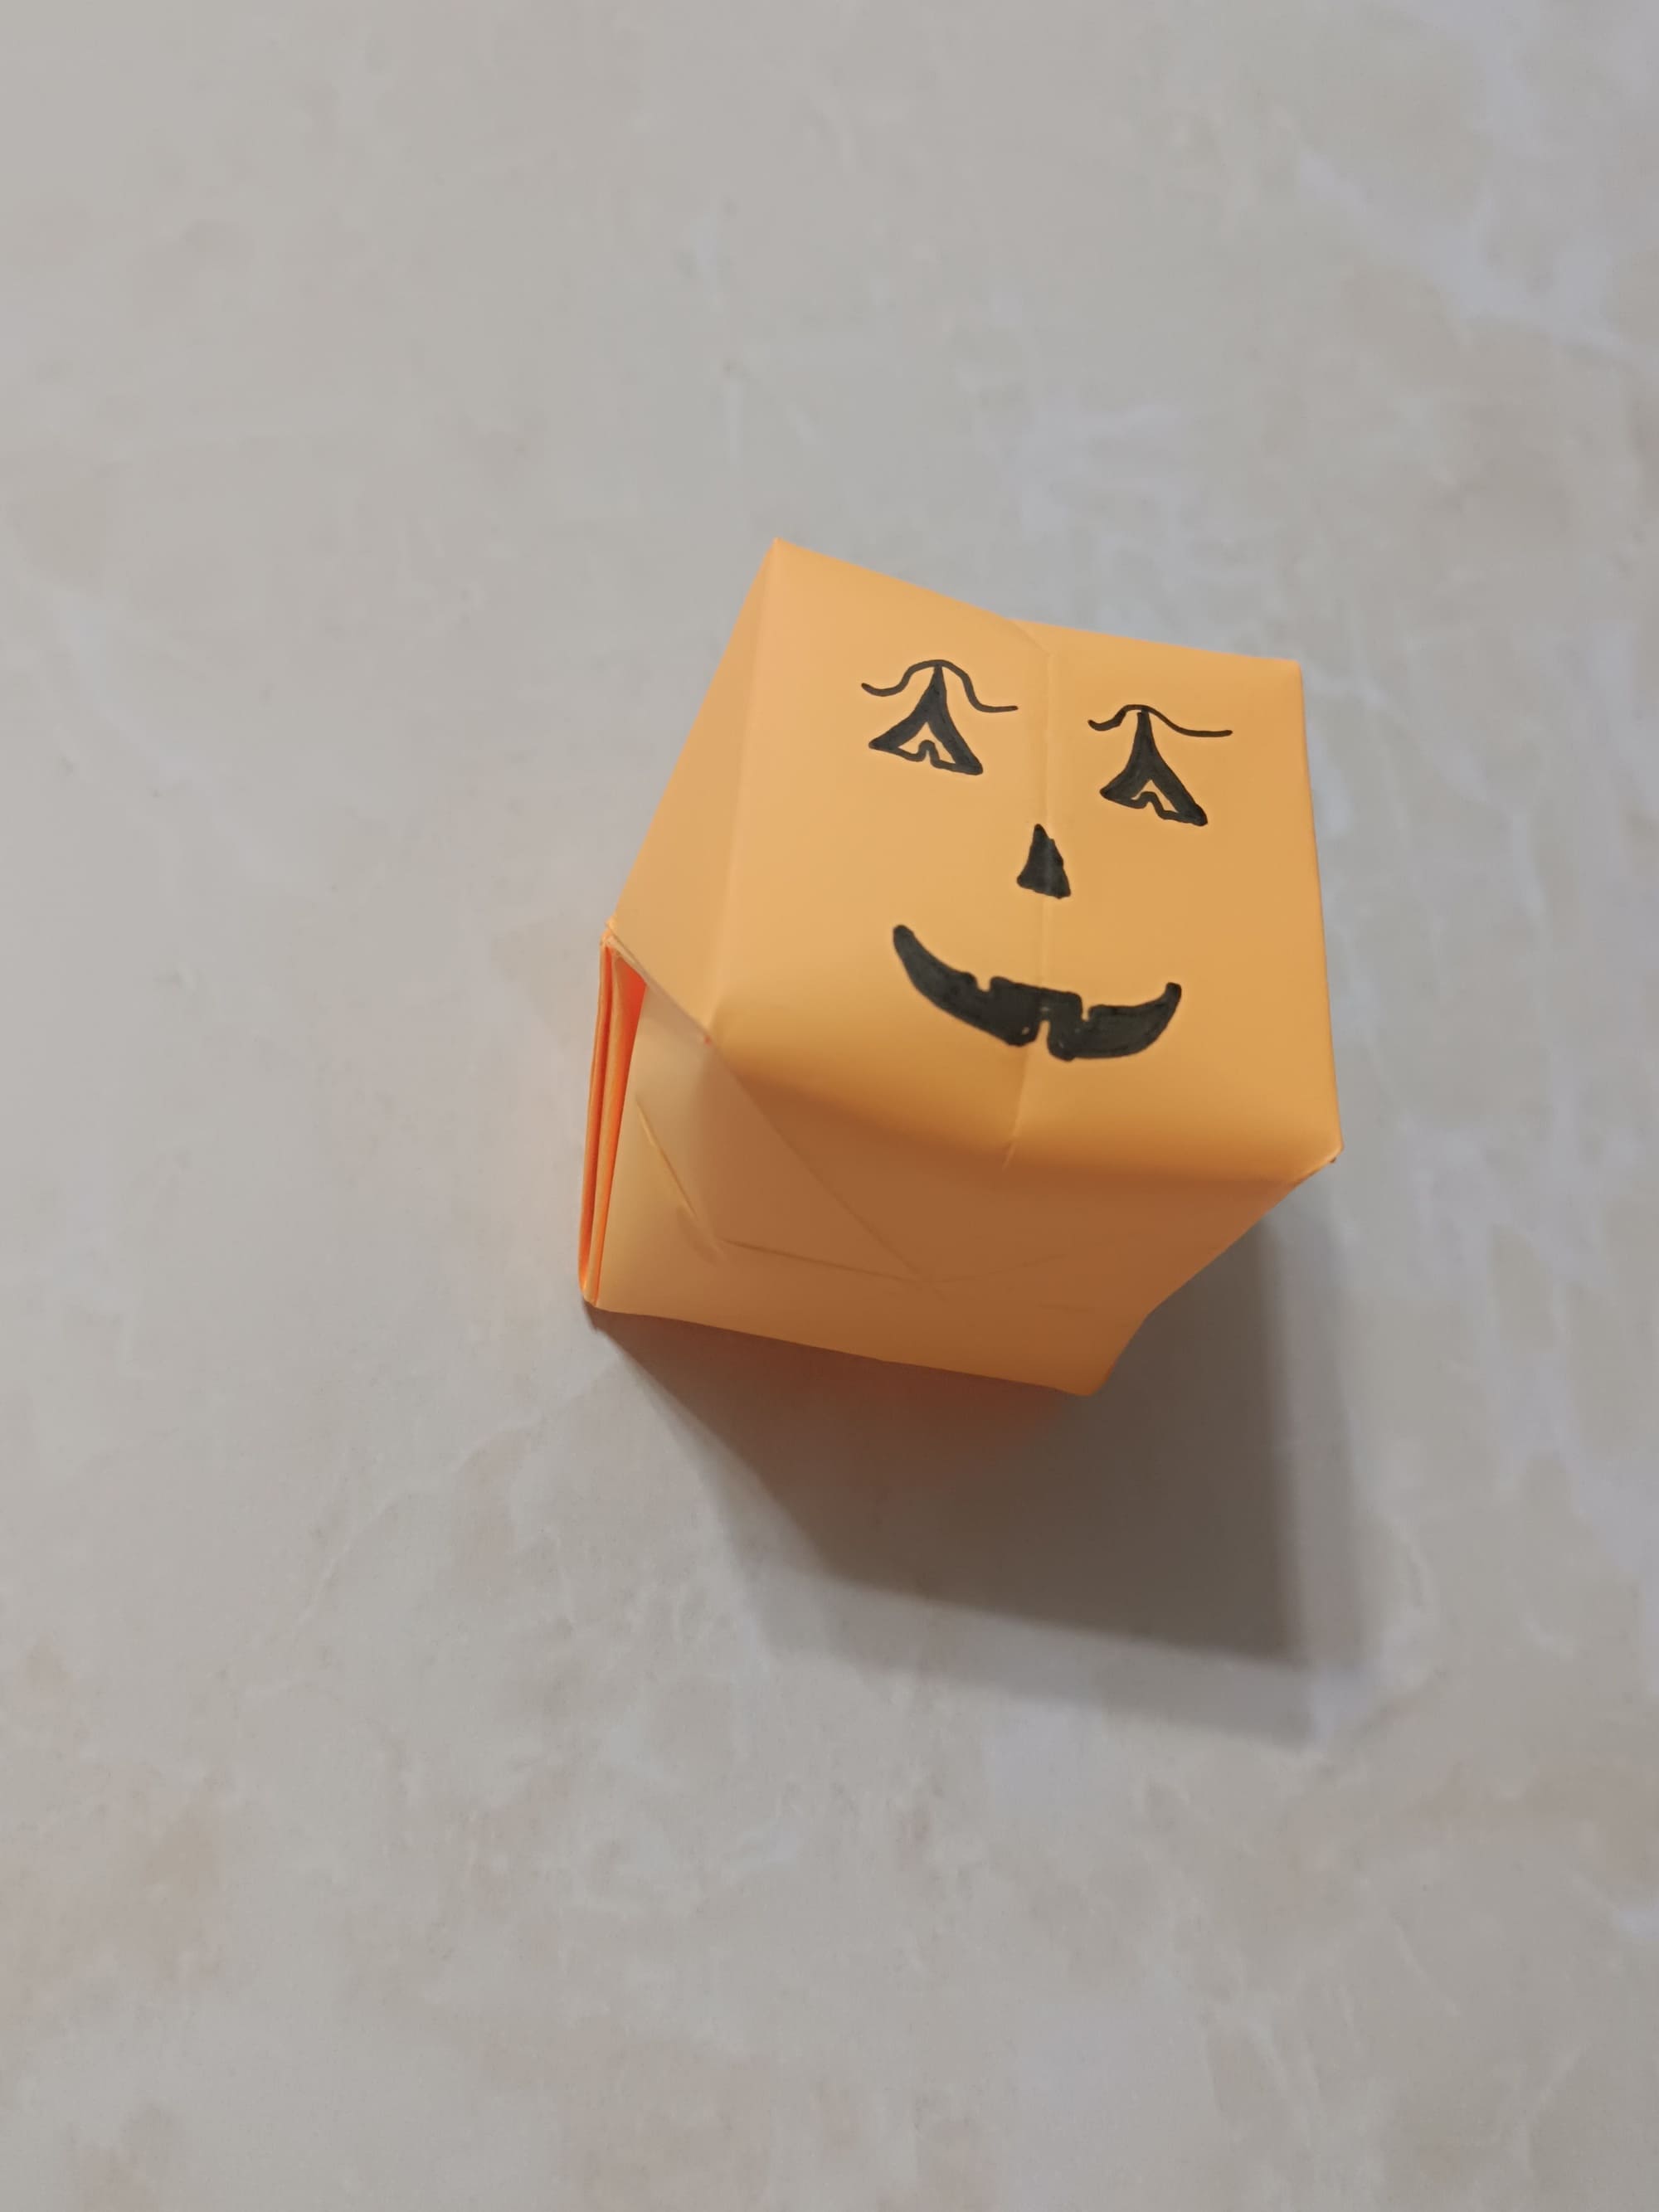
On the opened smooth side of the sheet draw the face of your pumpkin. It can be anything you want it to be – either funny and comical or scary and frightening.
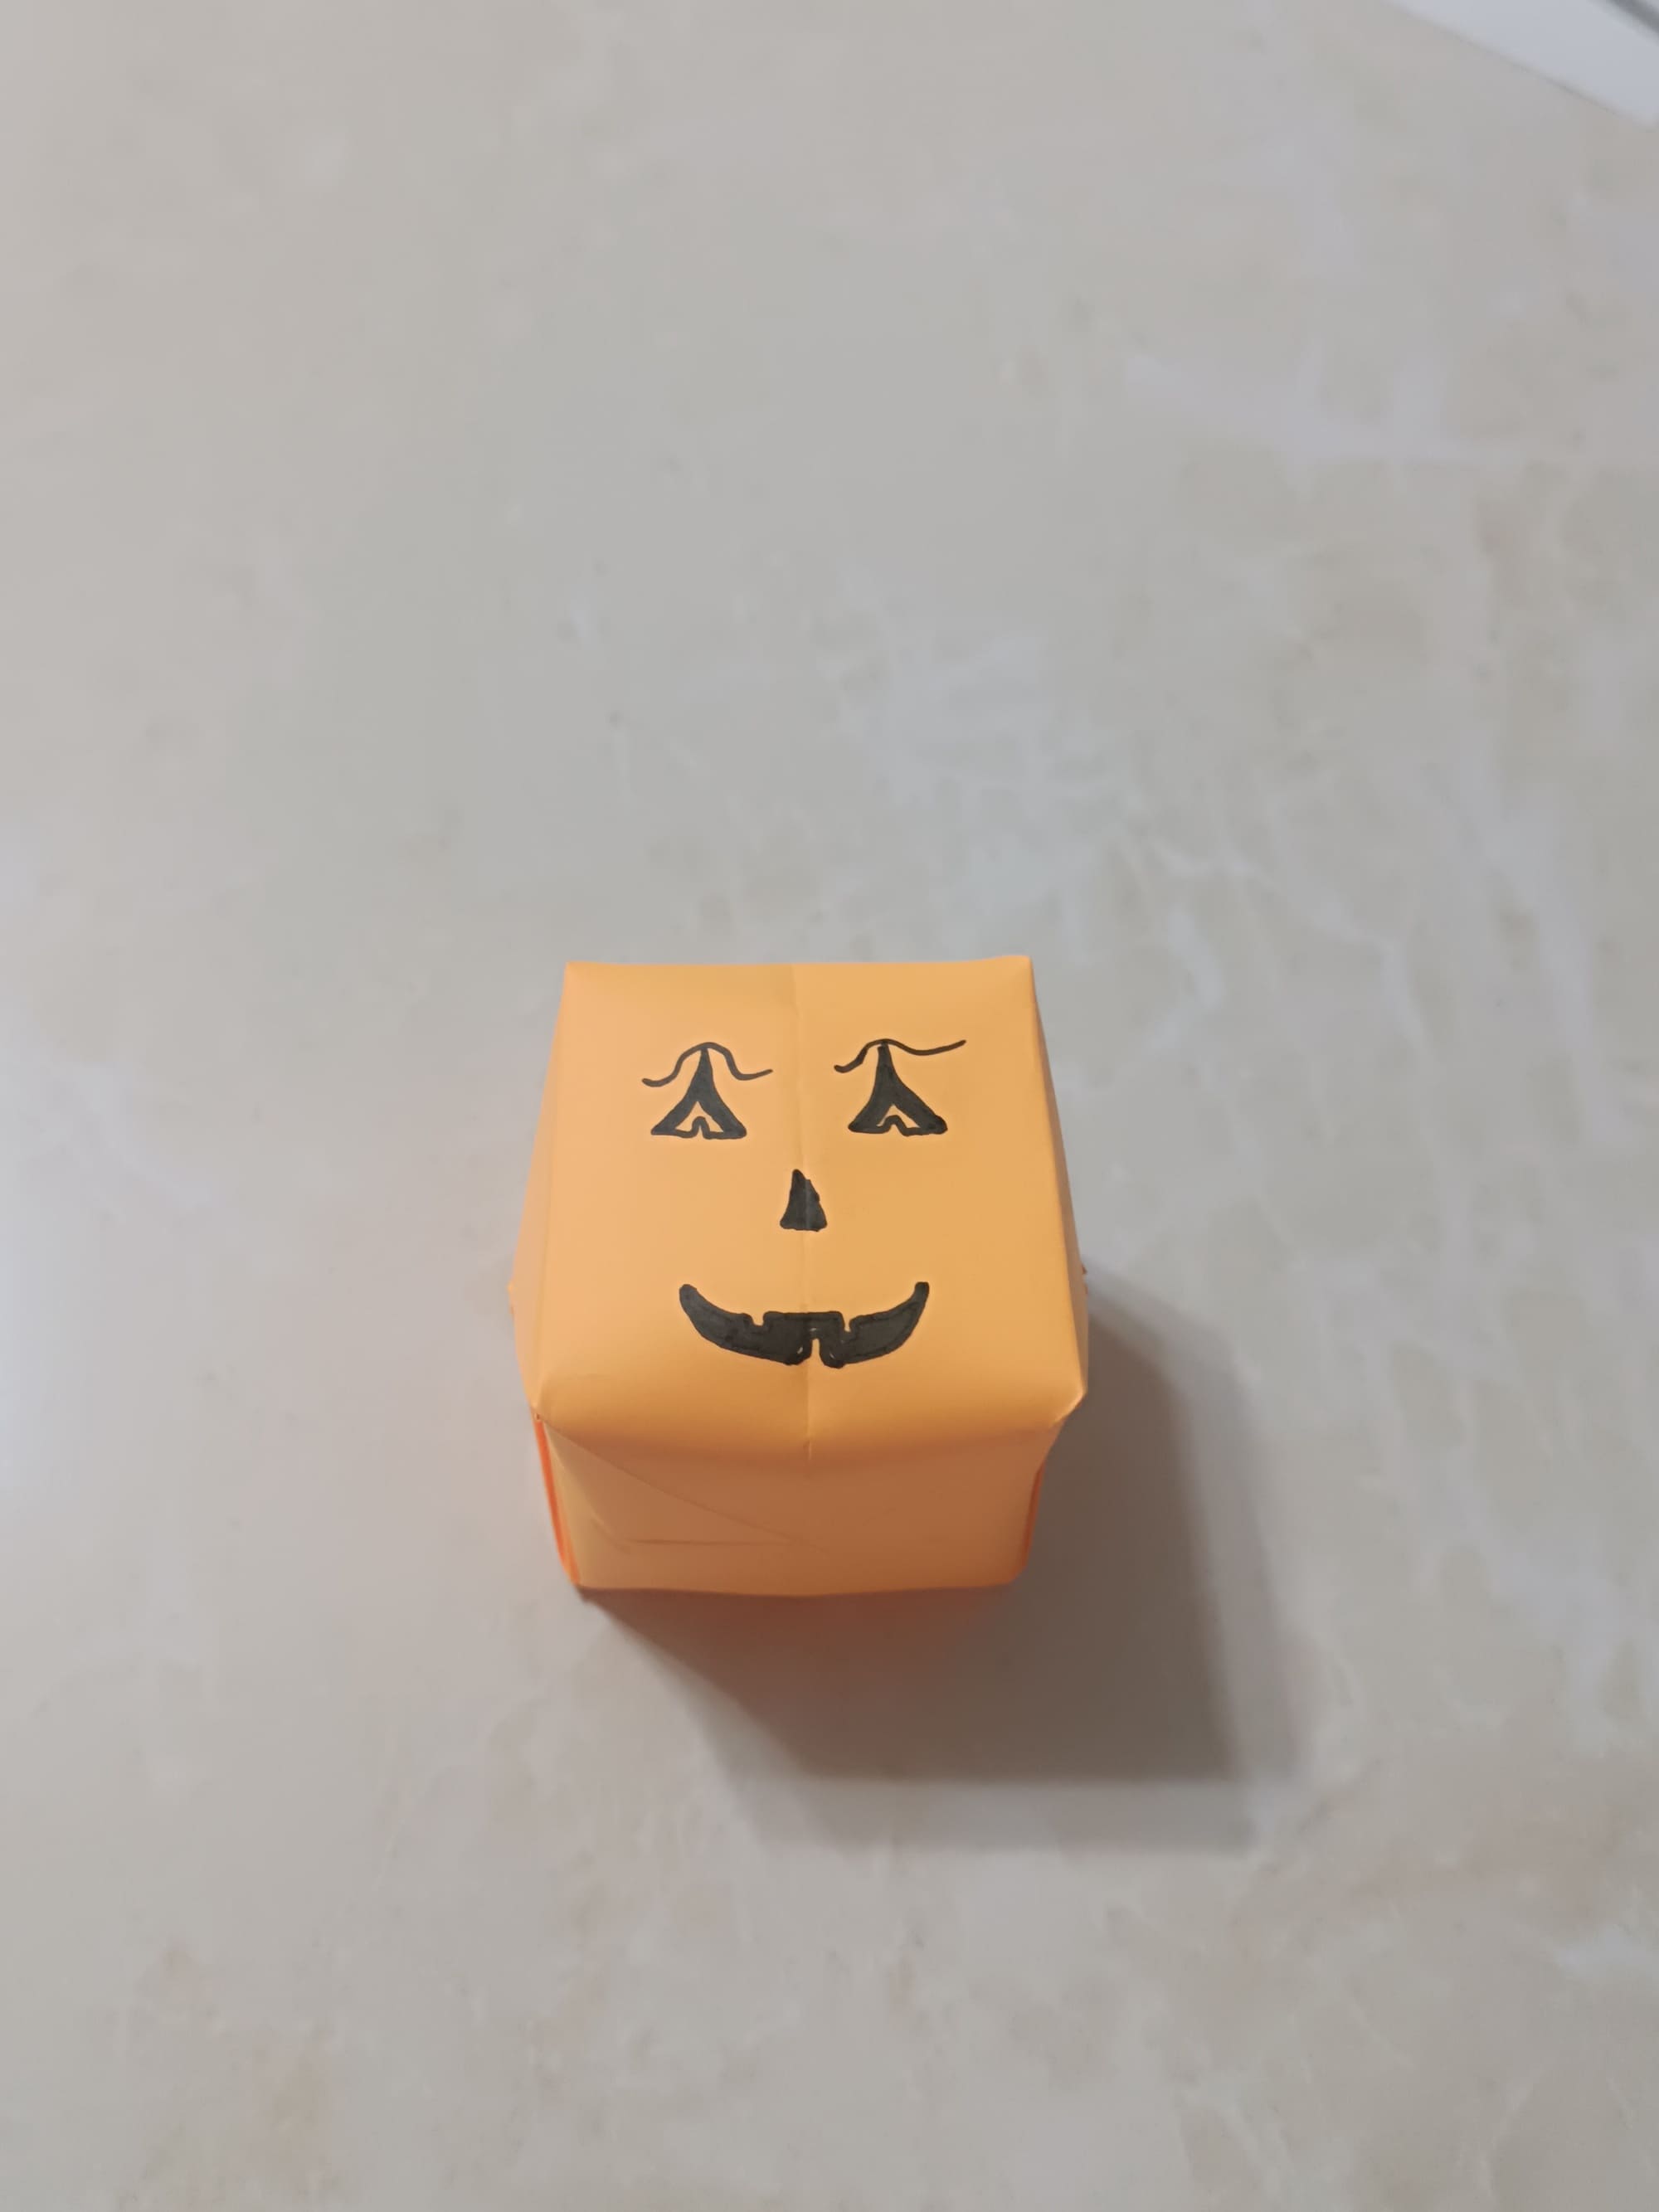
Through the hole in the top of the piece, you need to gently inflate the mush pumpkin.
Do not overdo it so as not to damage the figurine.
That’s it, your pumpkin is ready! Now you are one step closer to the perfect Halloween decoration for your home!


