Origami Inflatable Goldfish
Kids really like origami that can be inflated. It’s fun to see how a flat design suddenly becomes three-dimensional. We share one of such instructions with you below.
Follow the step-by-step diagram and create a cool toy for your kids. When you fold and inflate this origami, you will have a three-dimensional goldfish.
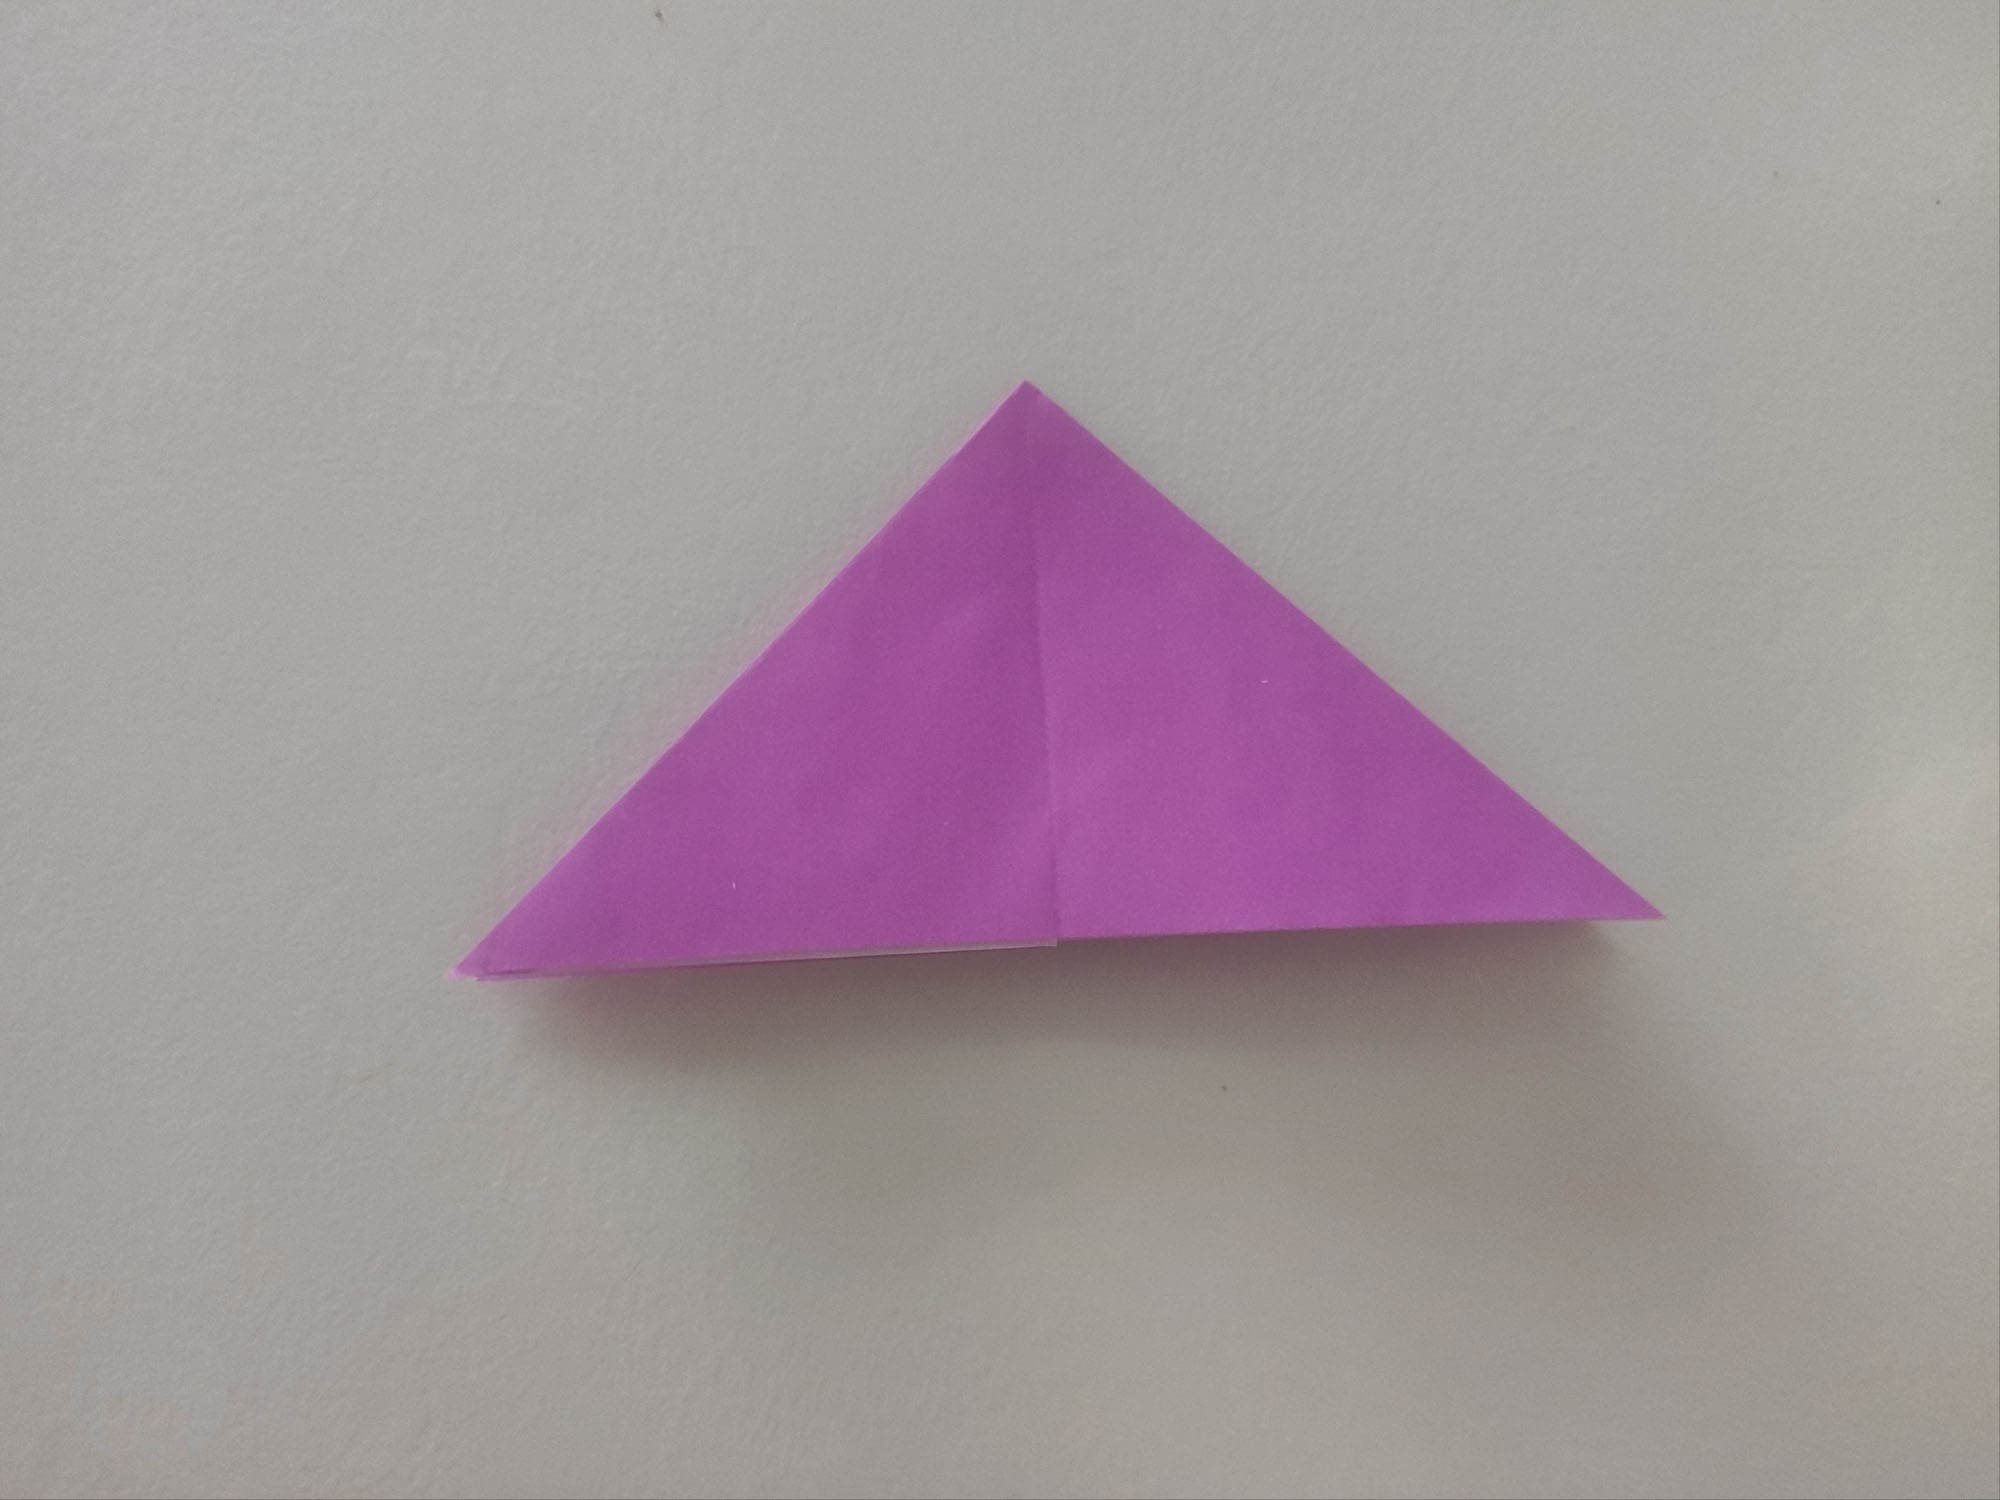
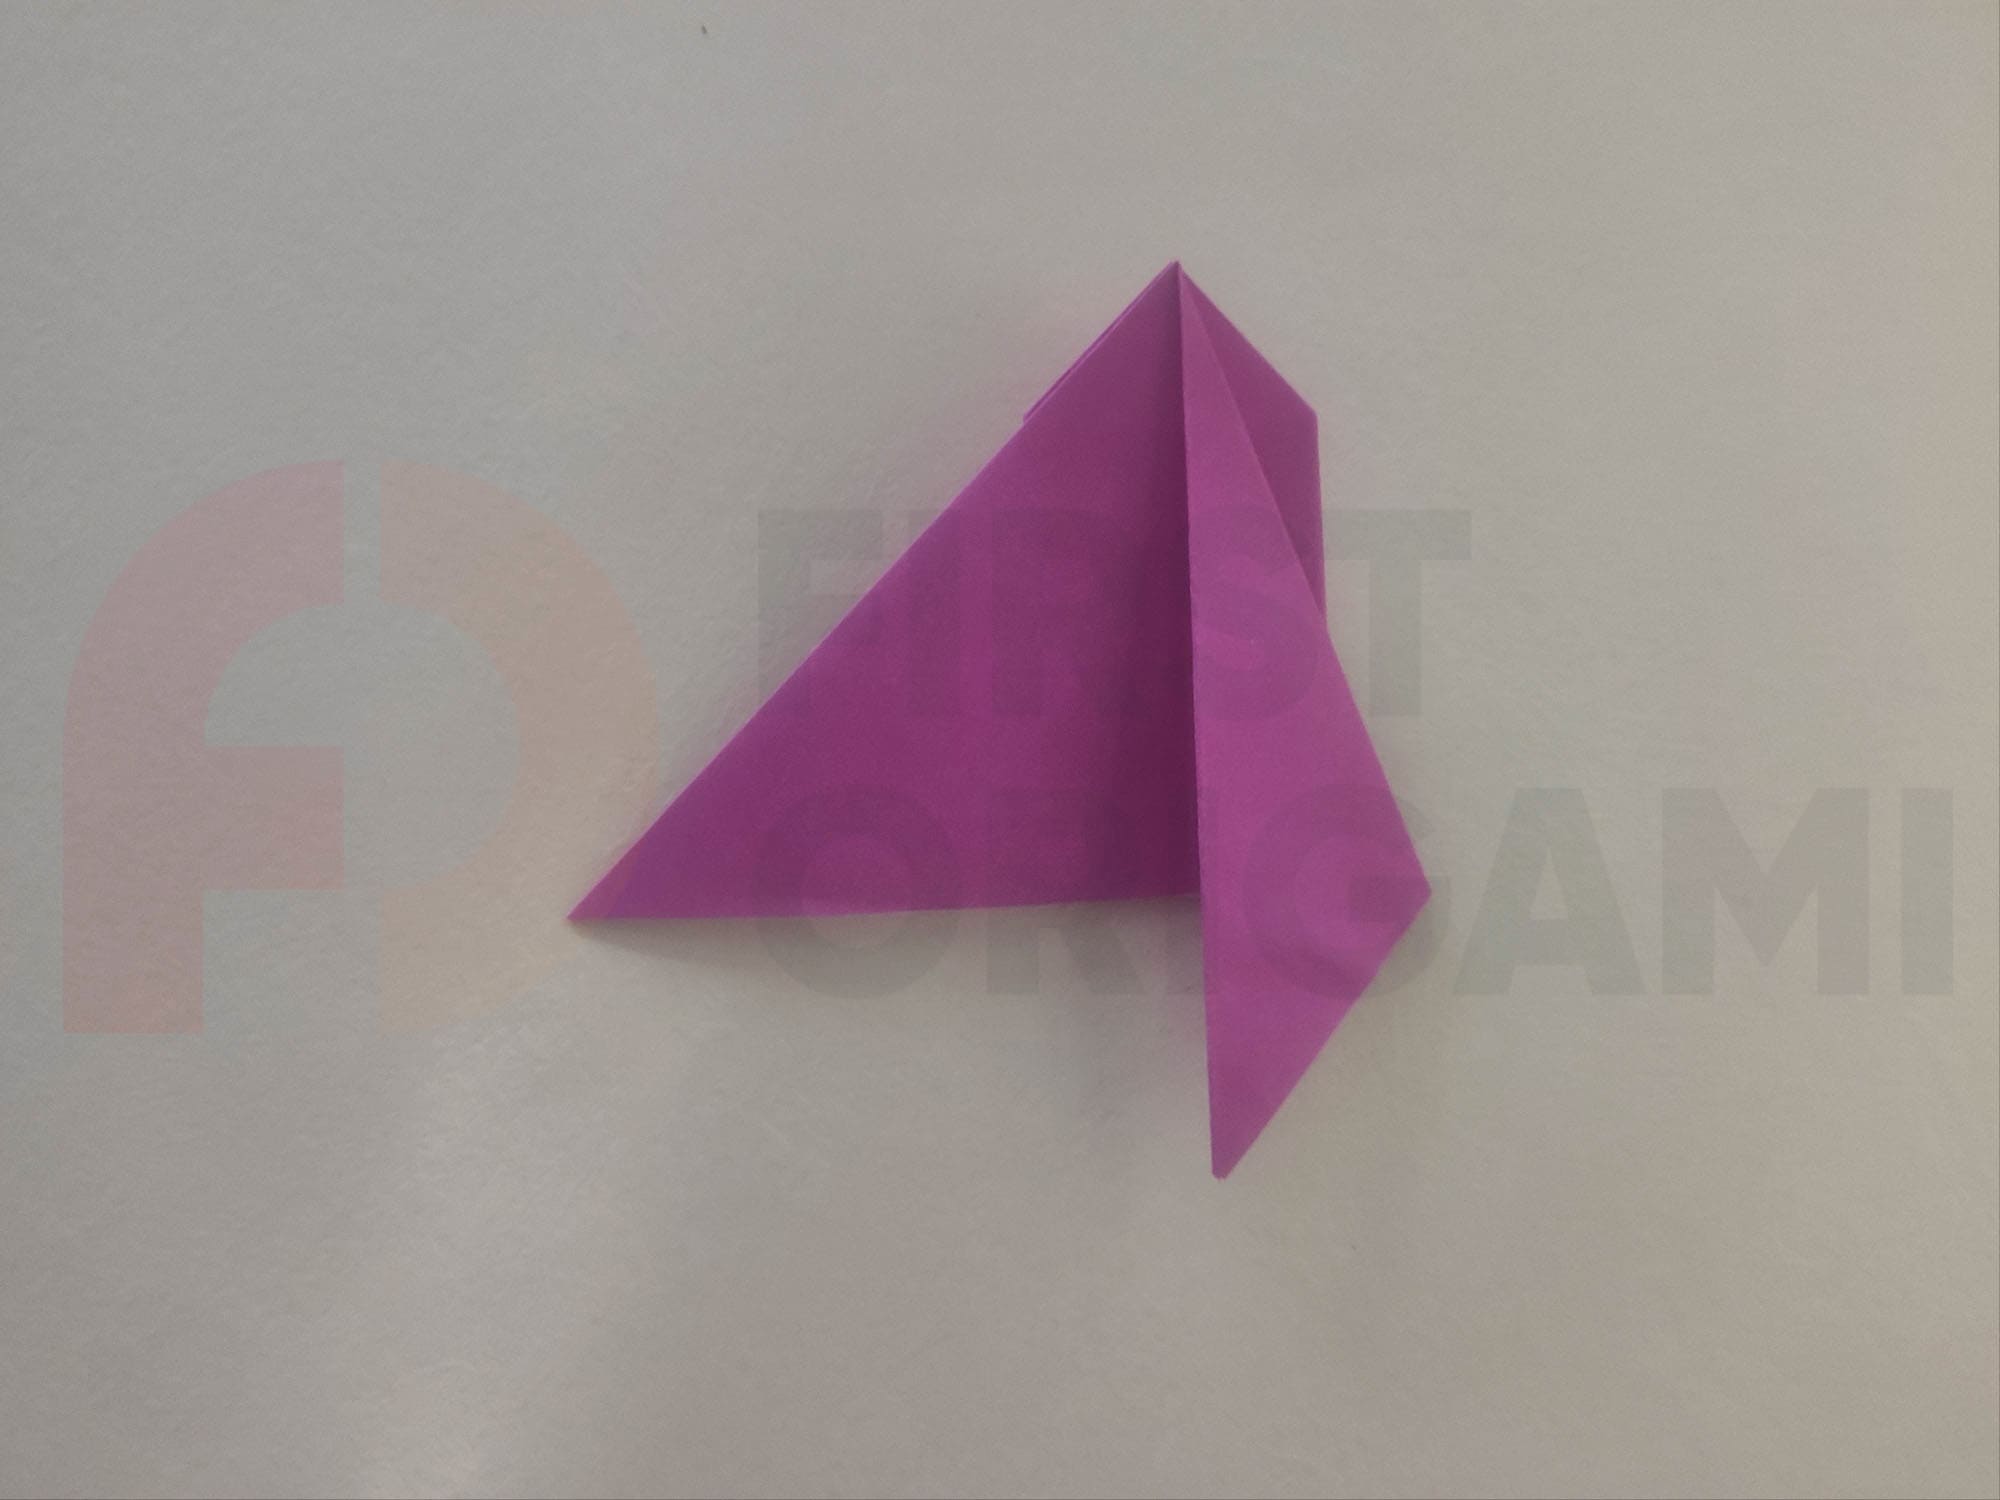
Make a basic origami Water Bomb detail.
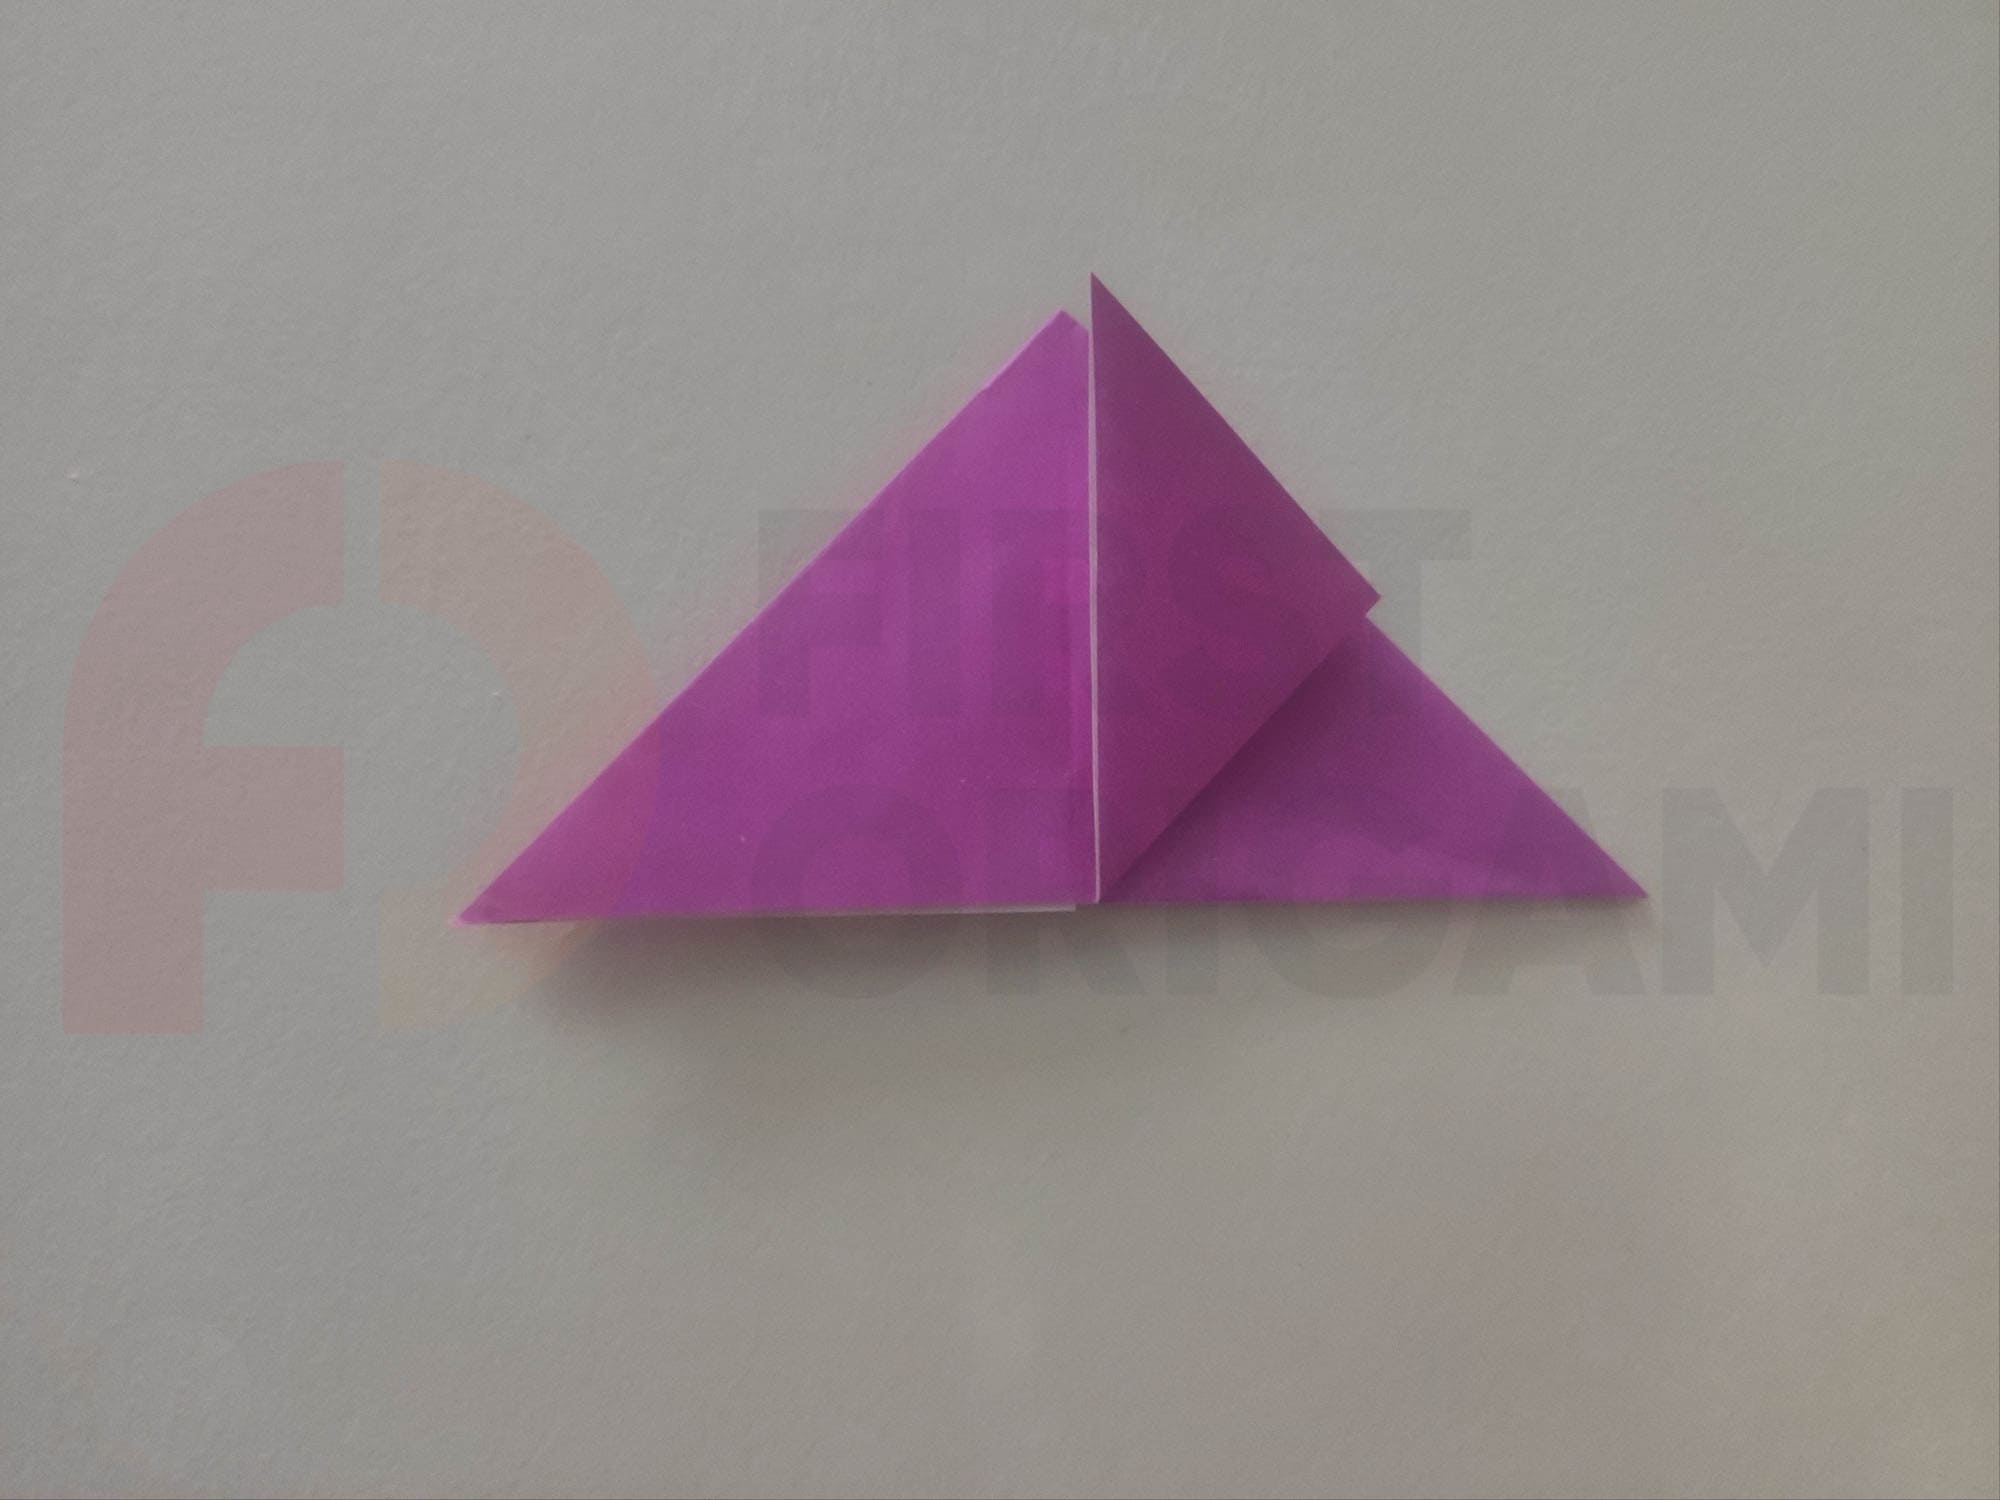
Fold up the right corner of the top layer so that it connects to the top of the base shape.

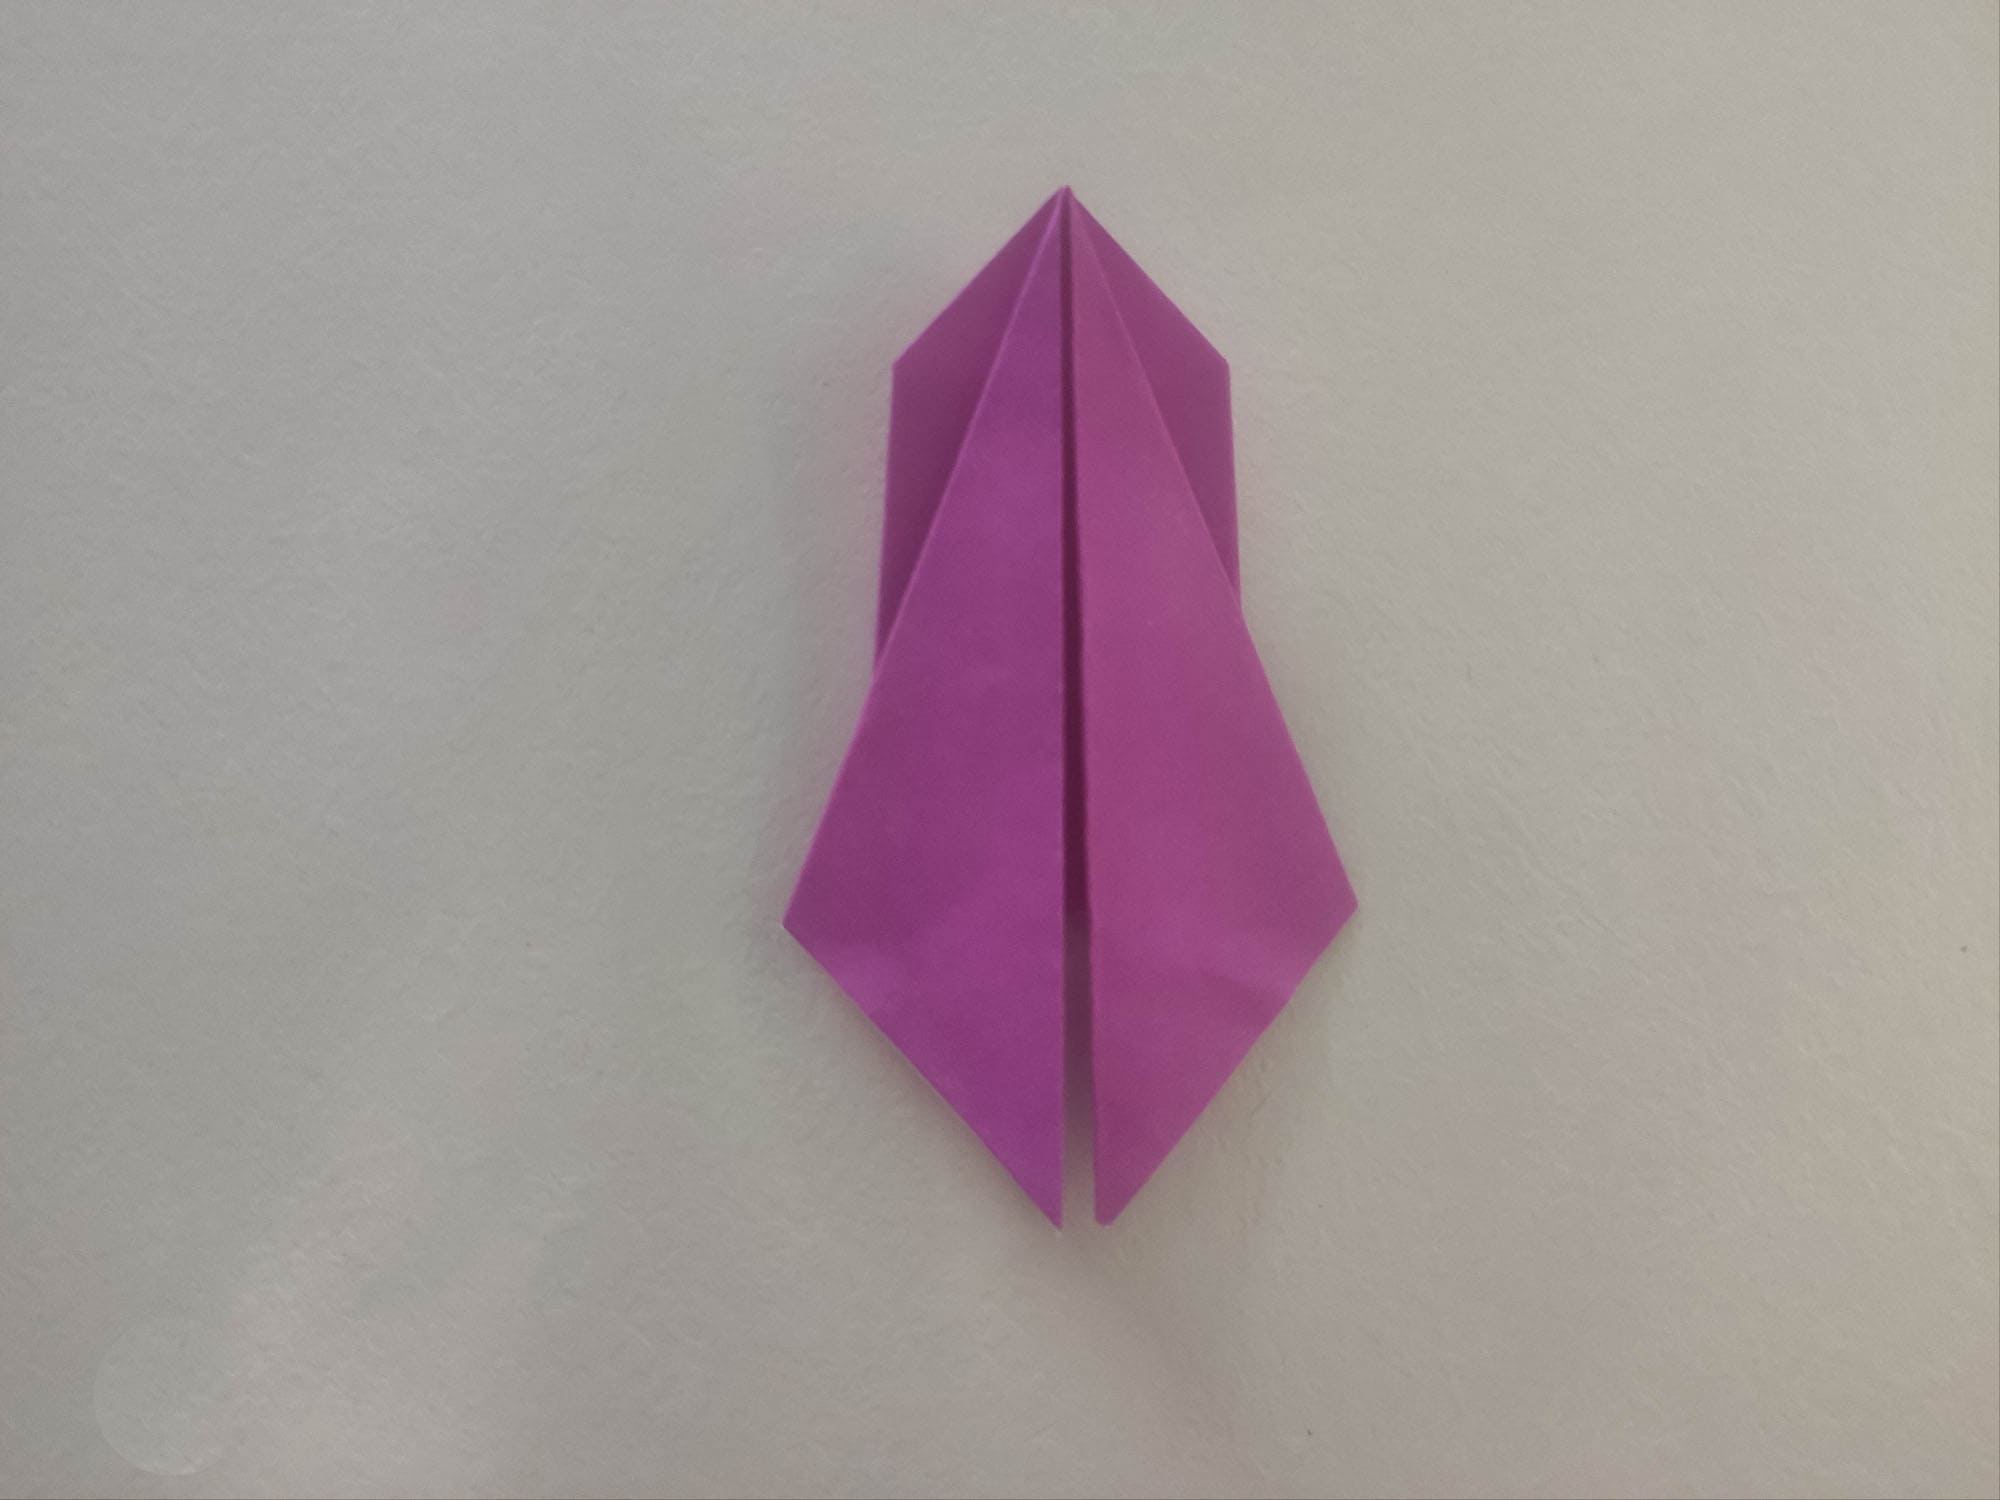
Do the same with the left corner of the top layer.
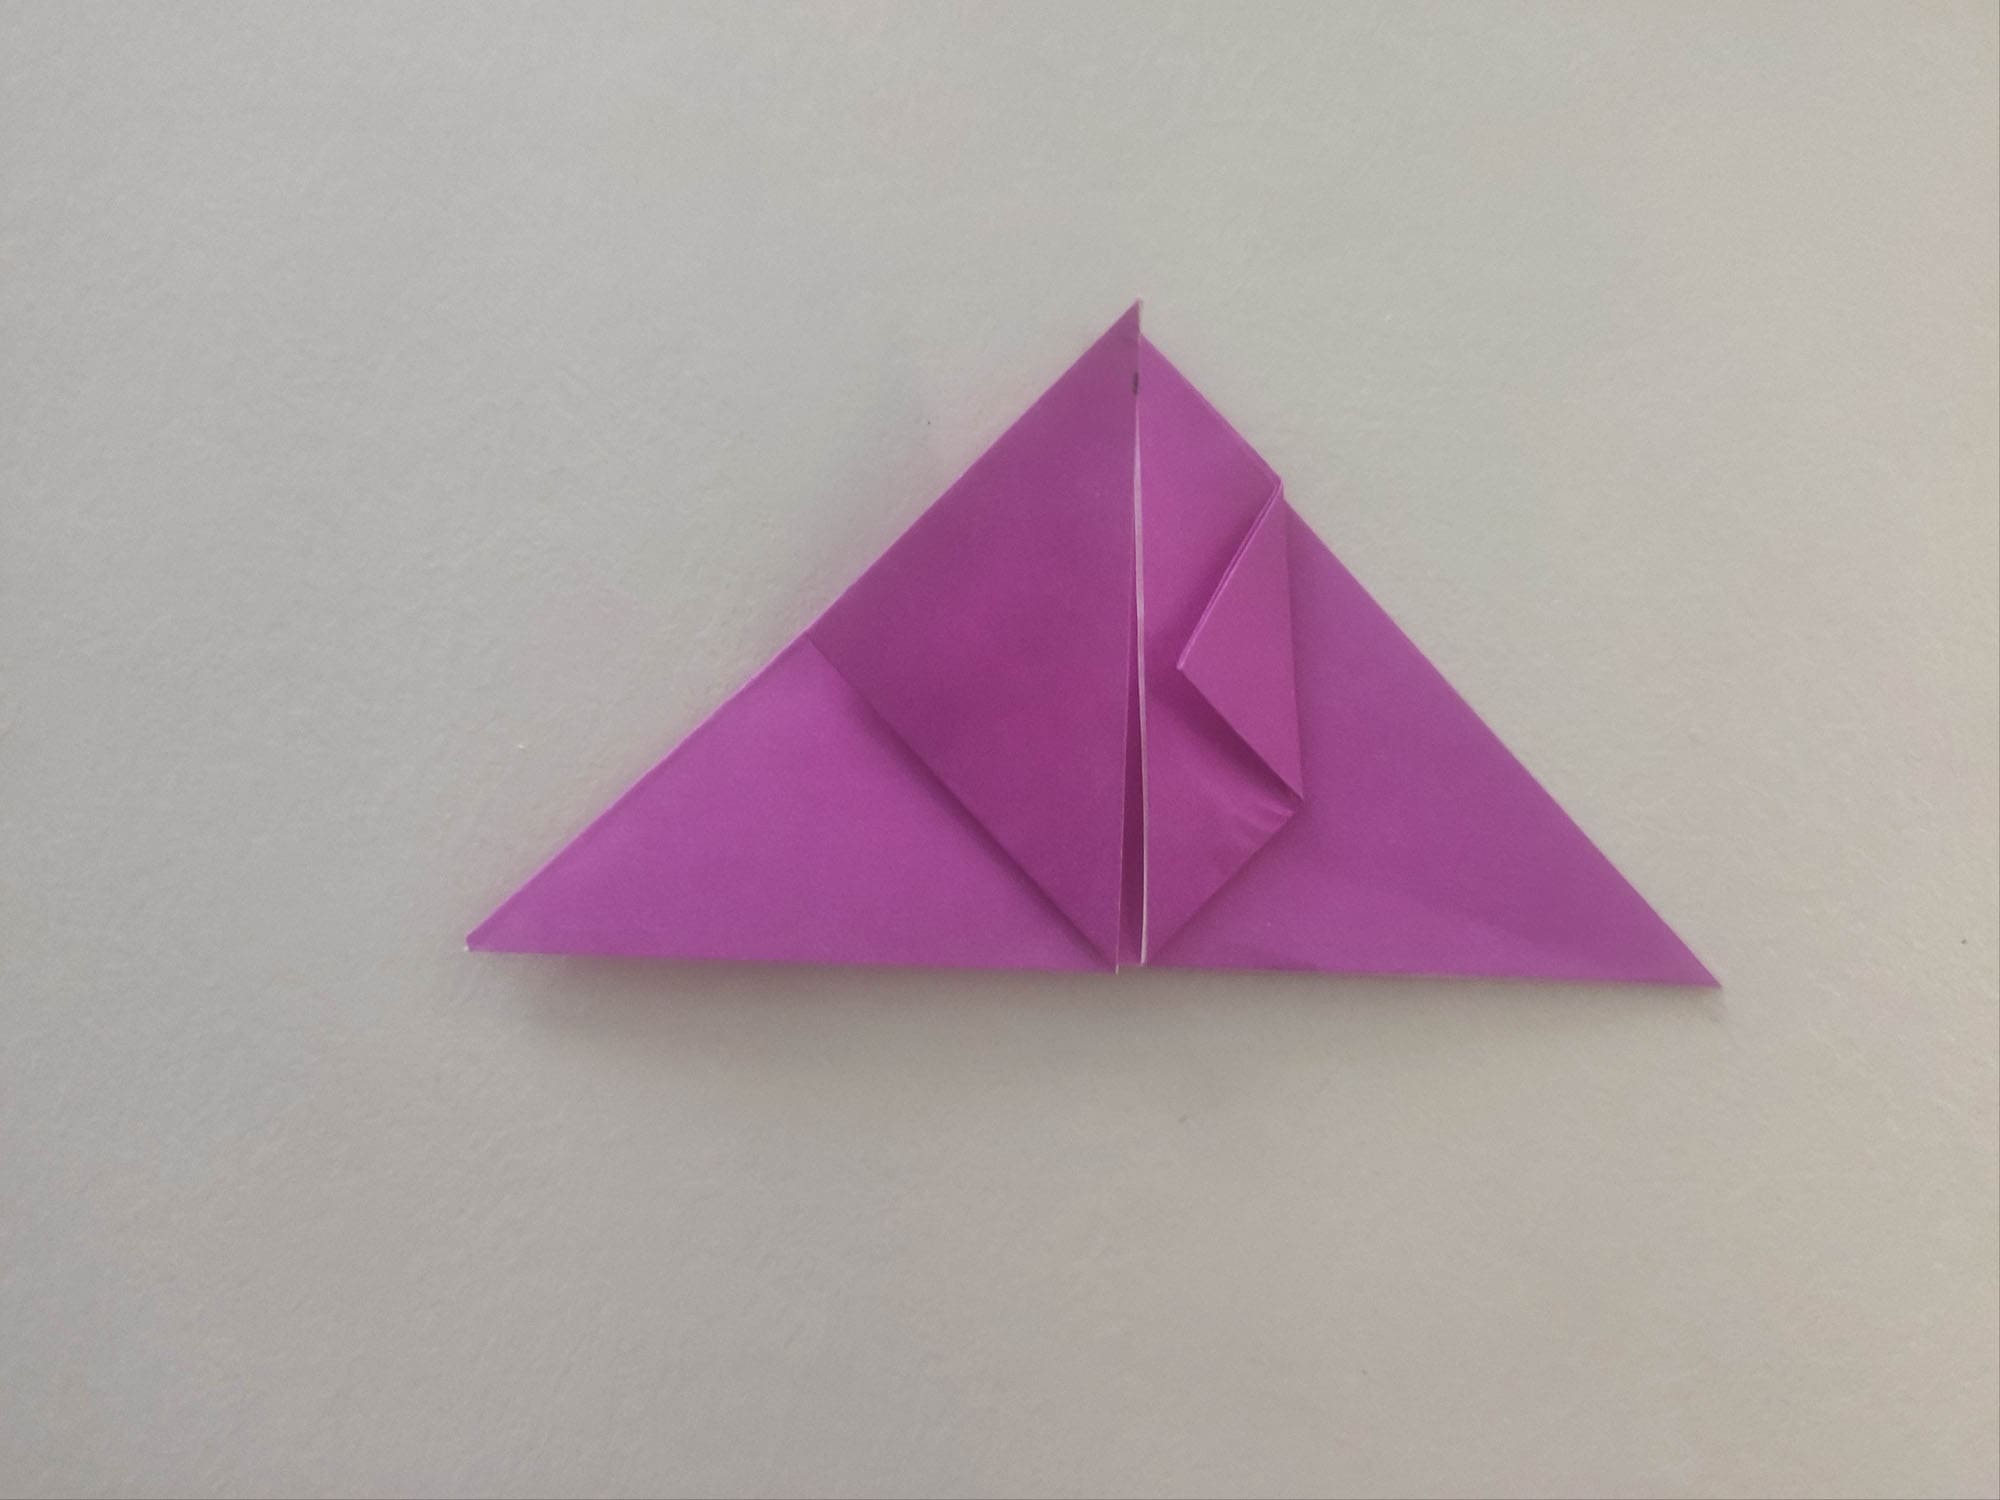
Fold the right corner of the resulting rhombus to the center fold line.
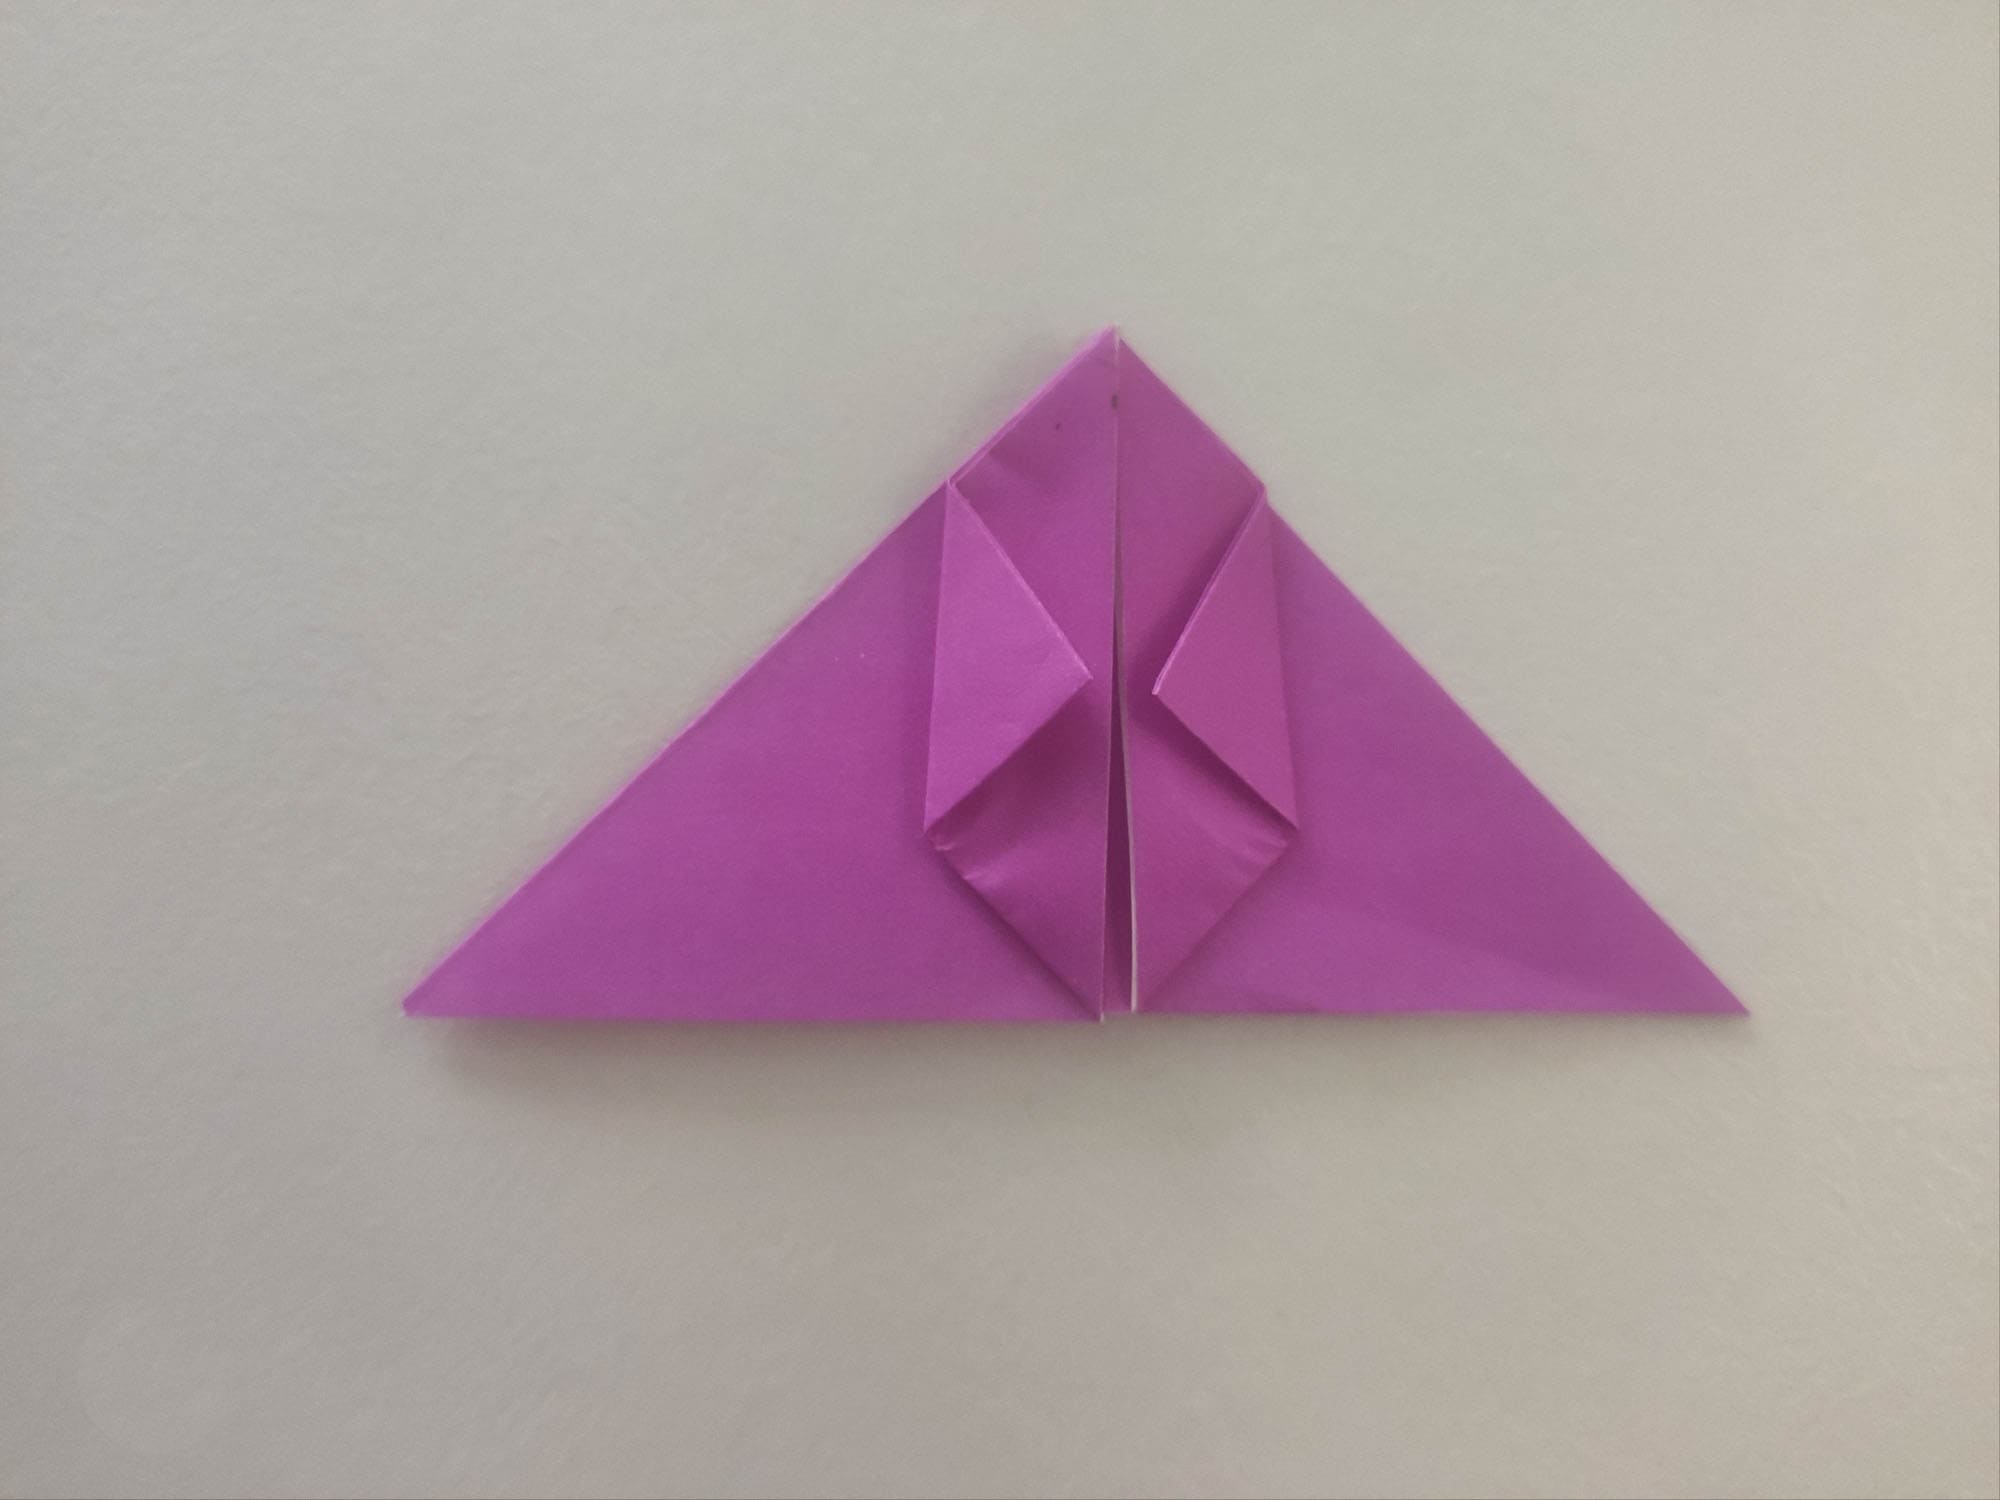
Do the same manipulations with the left corner of the rhombus.
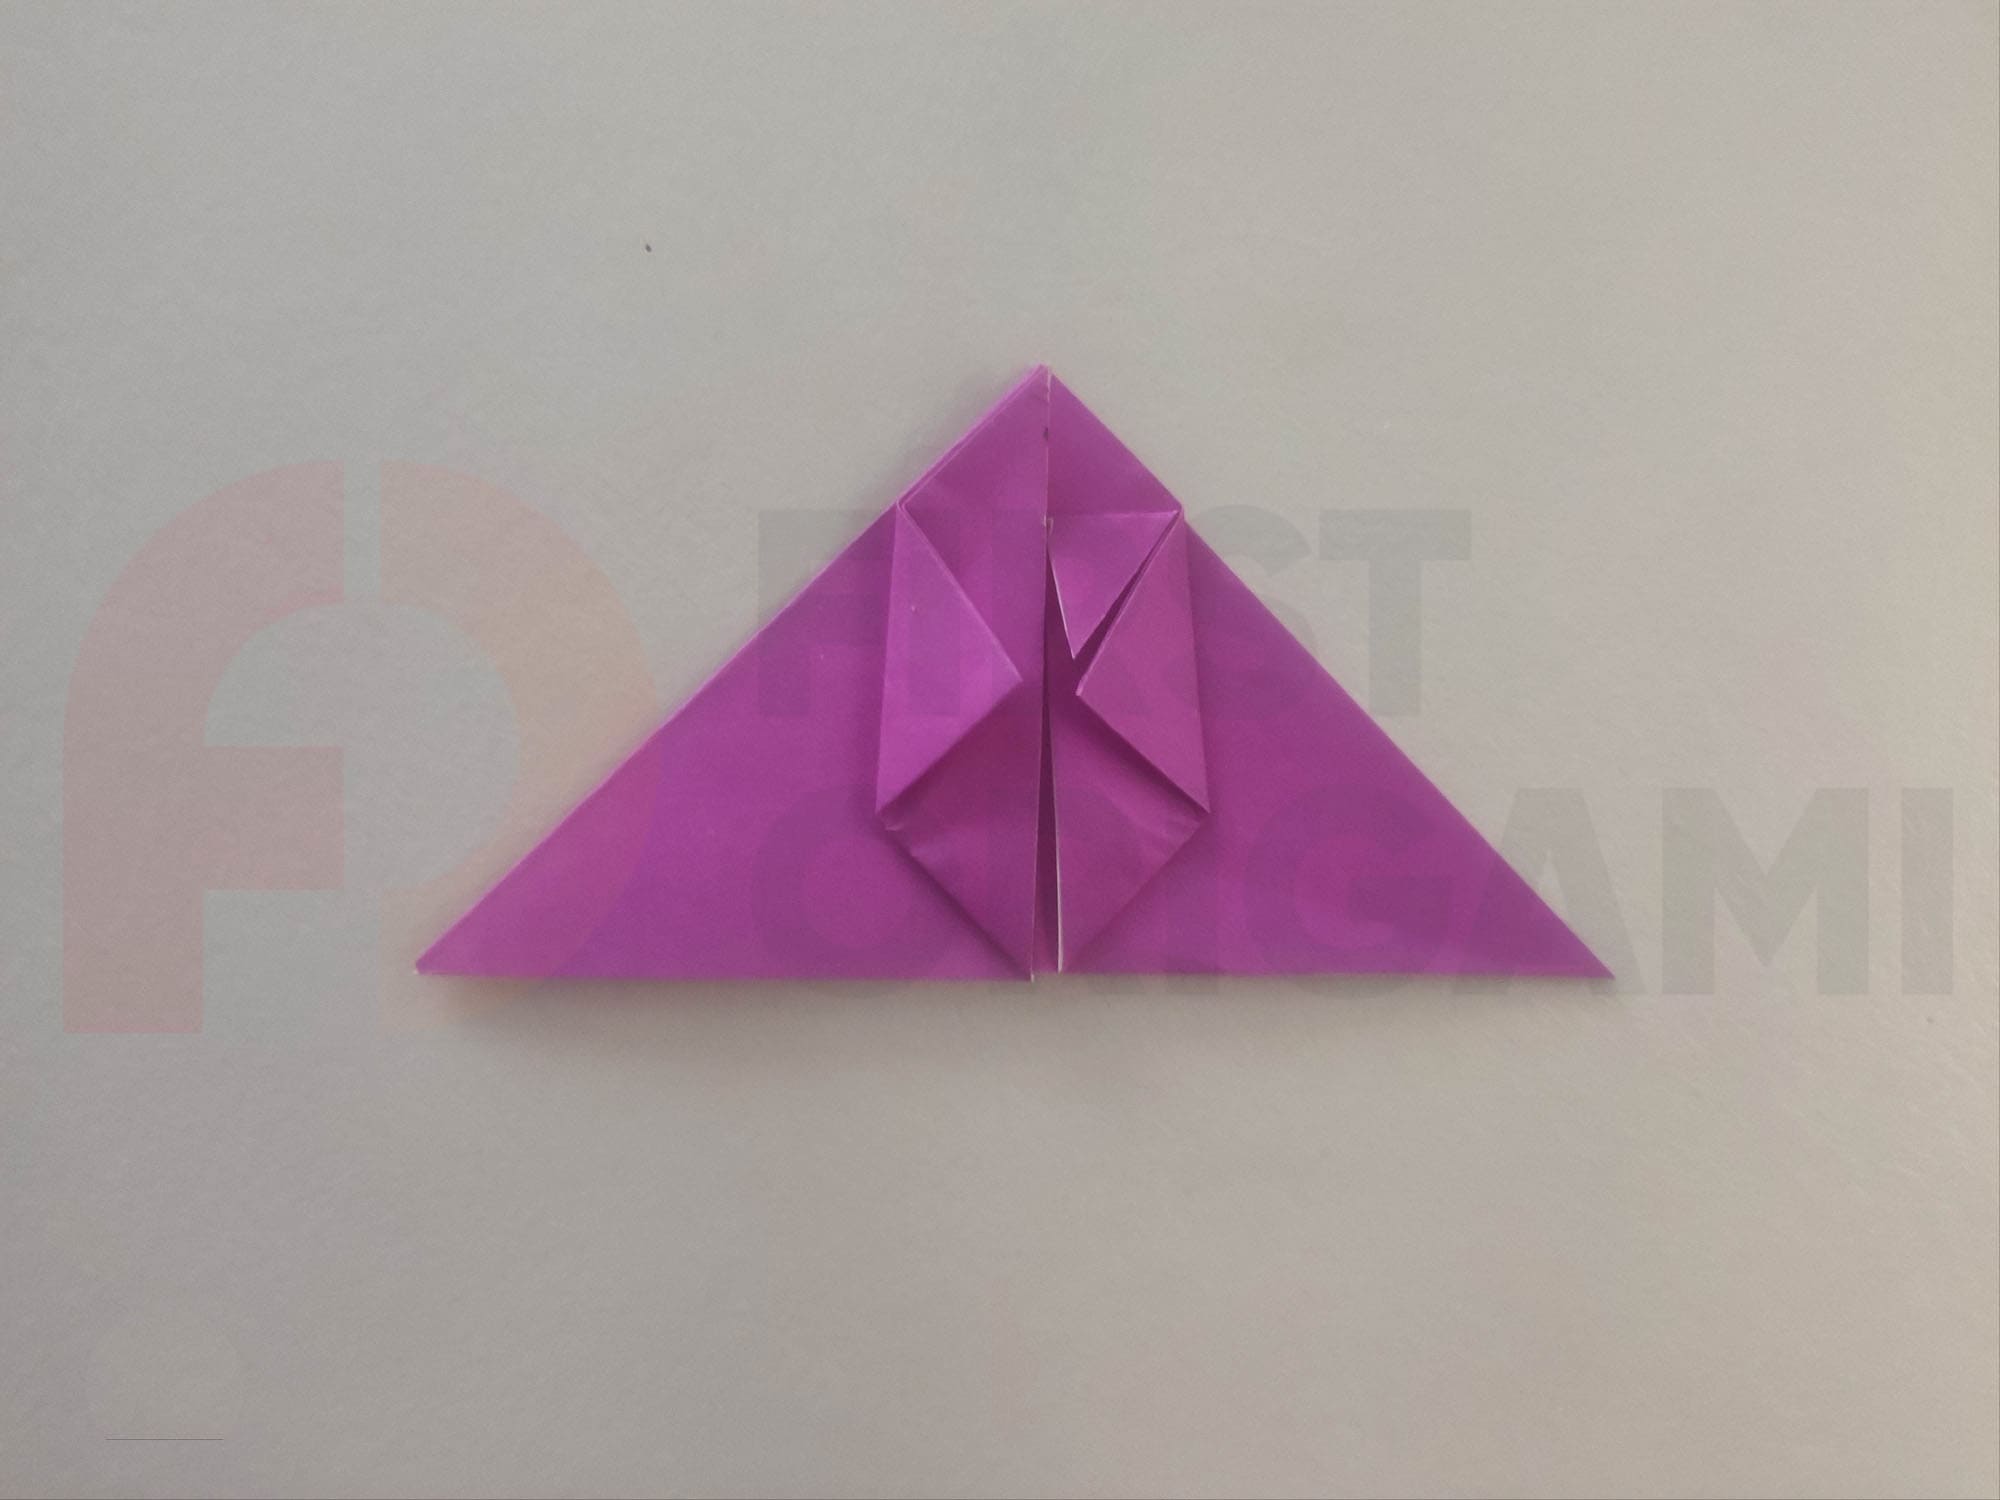
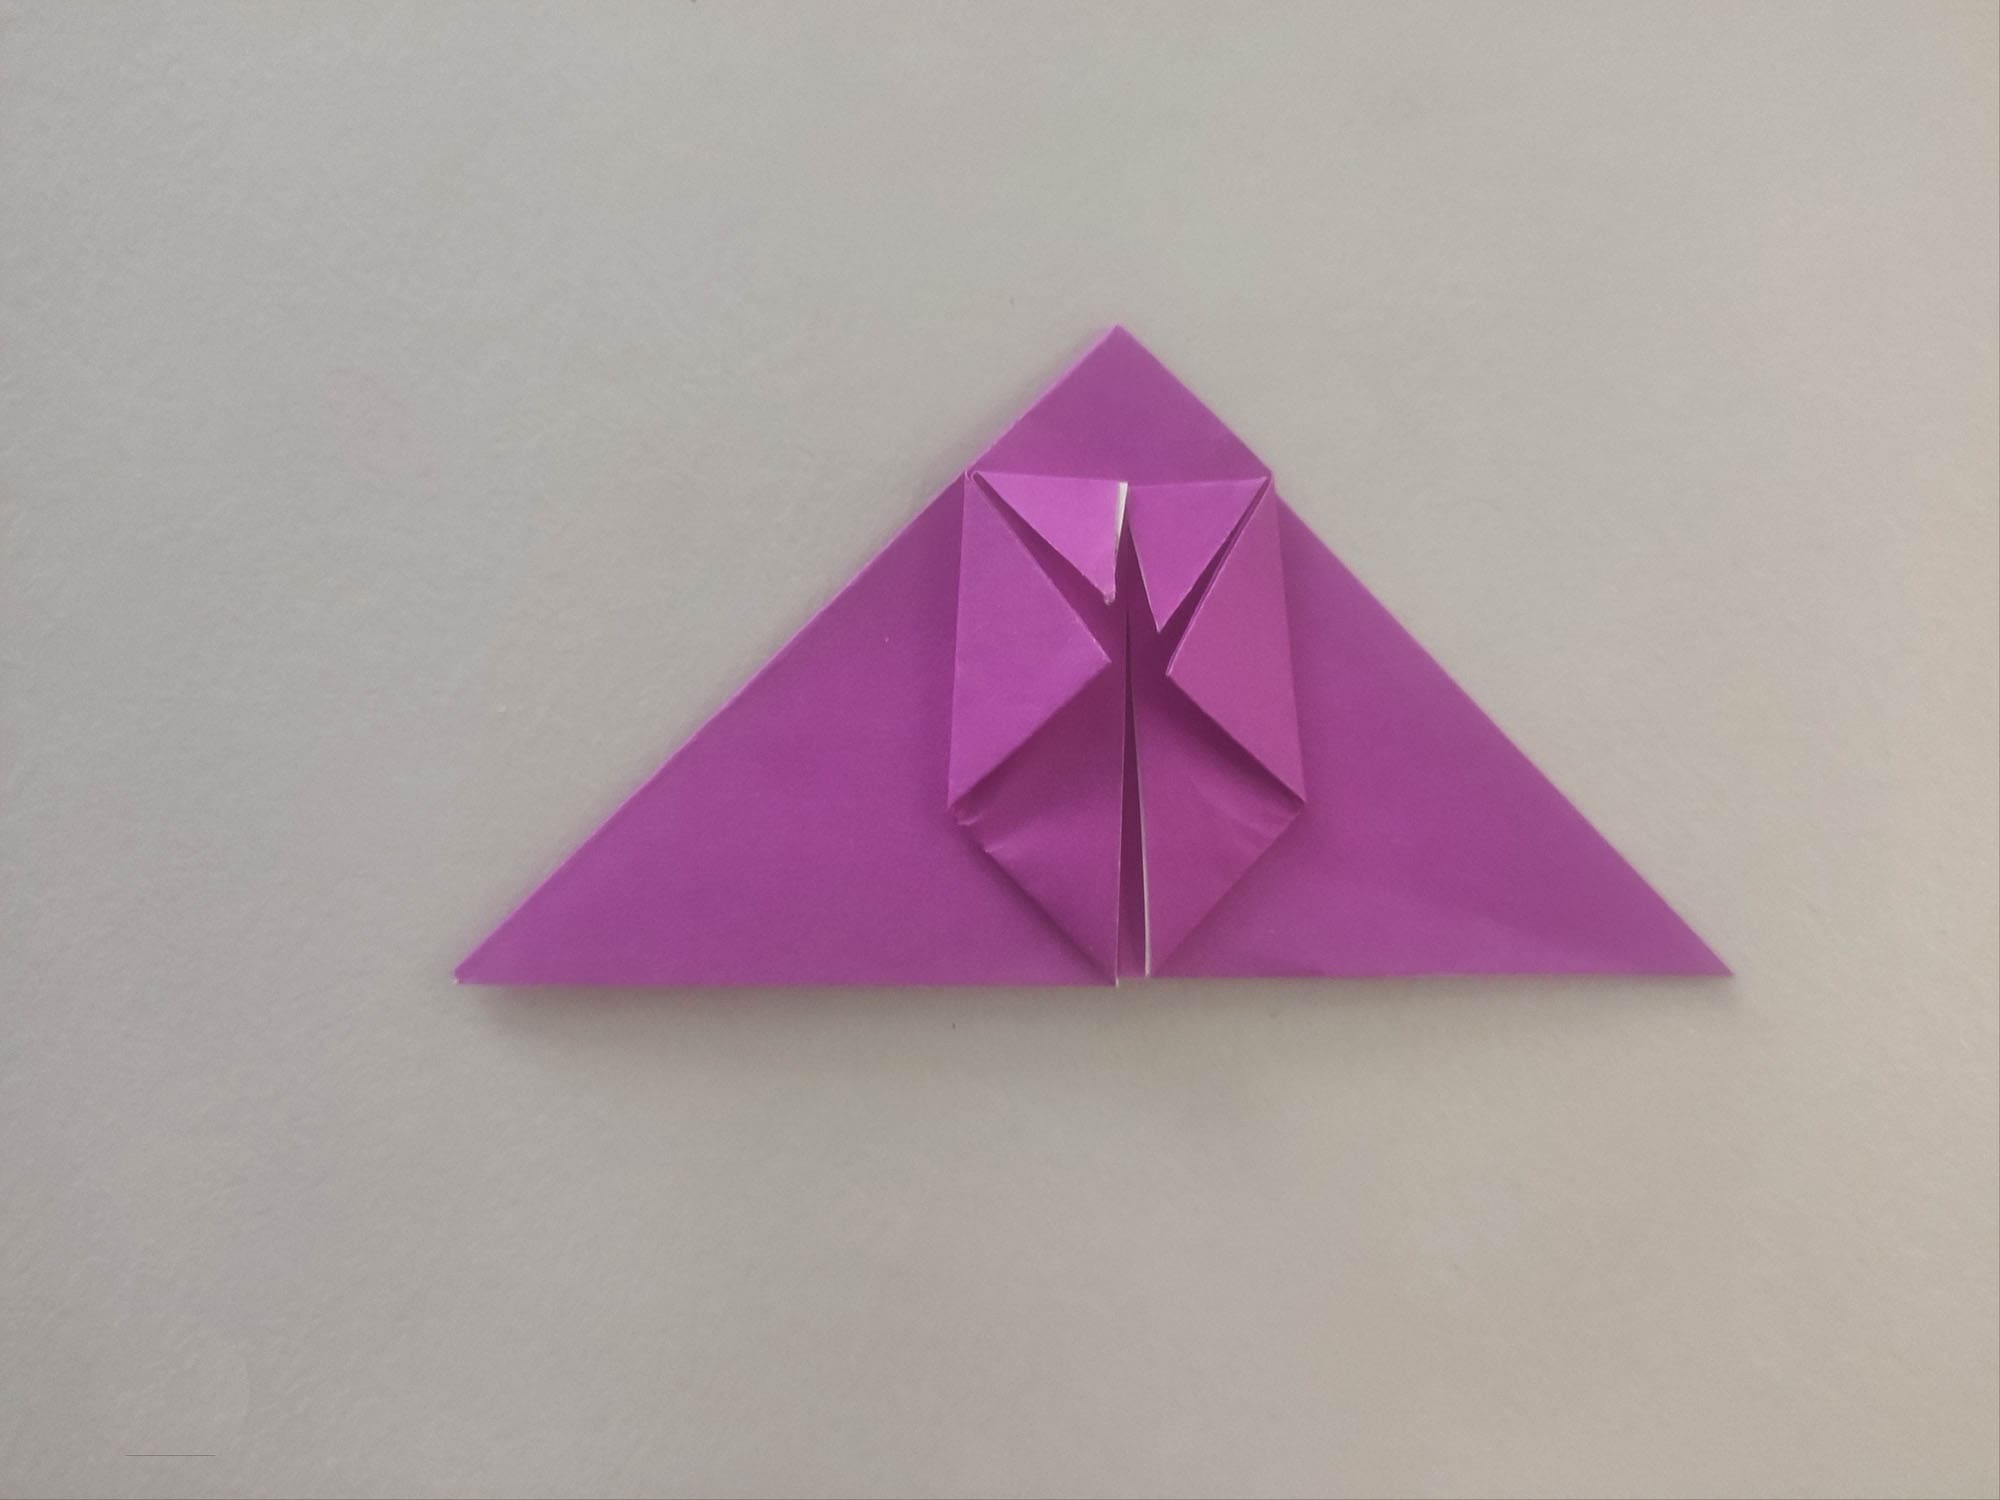
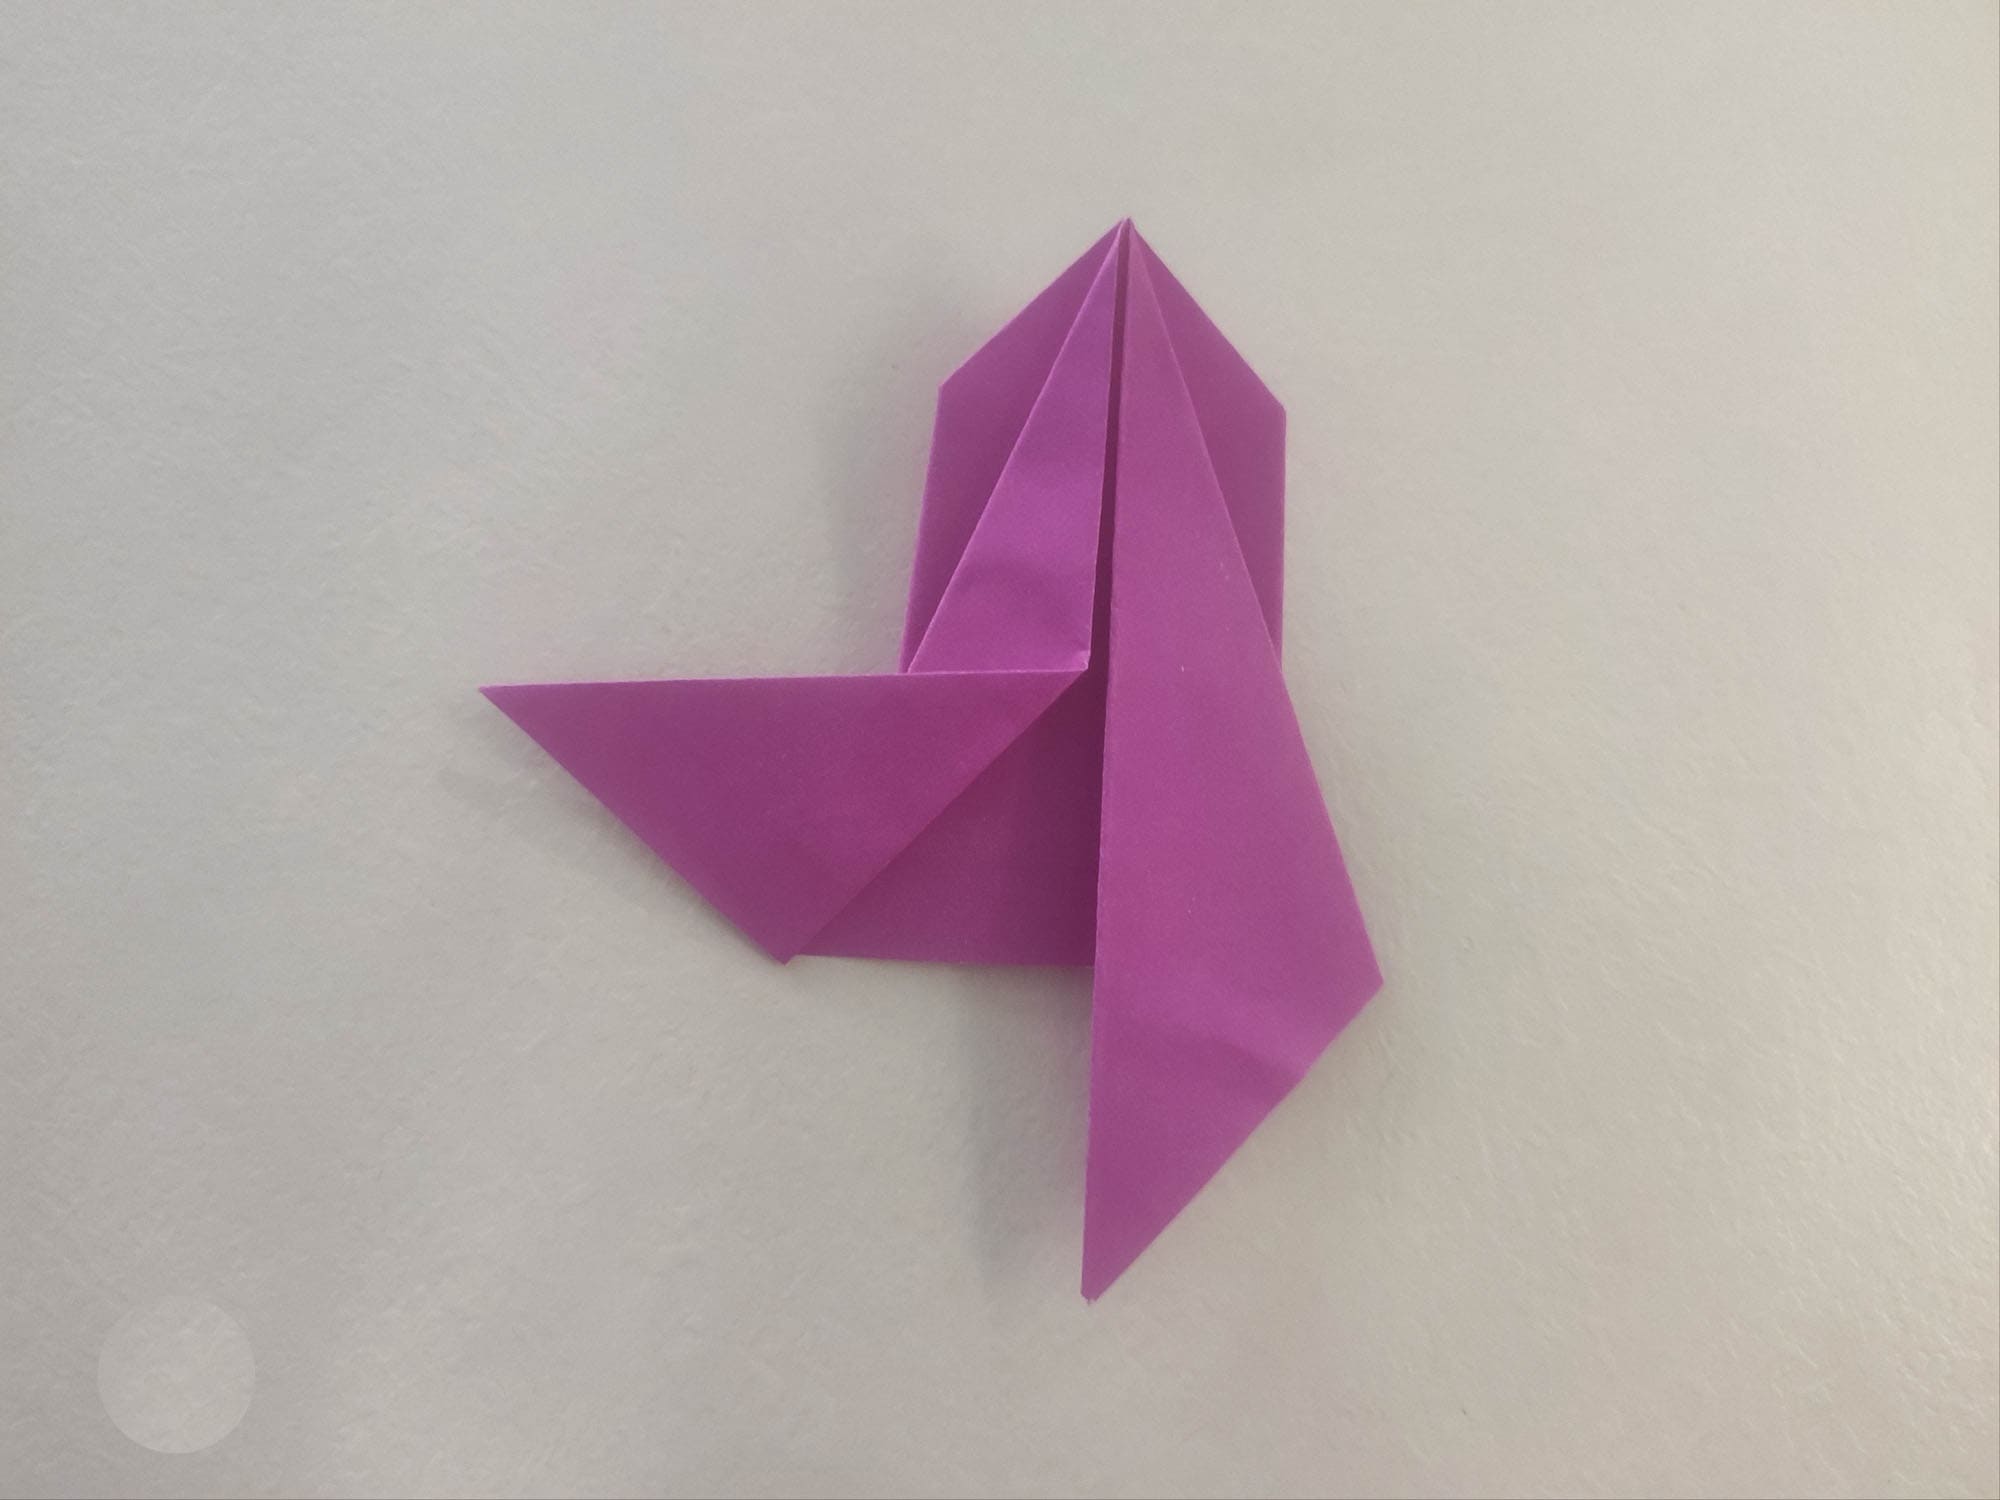
Now you need to carefully fold down the upper corners, as shown in the photo.
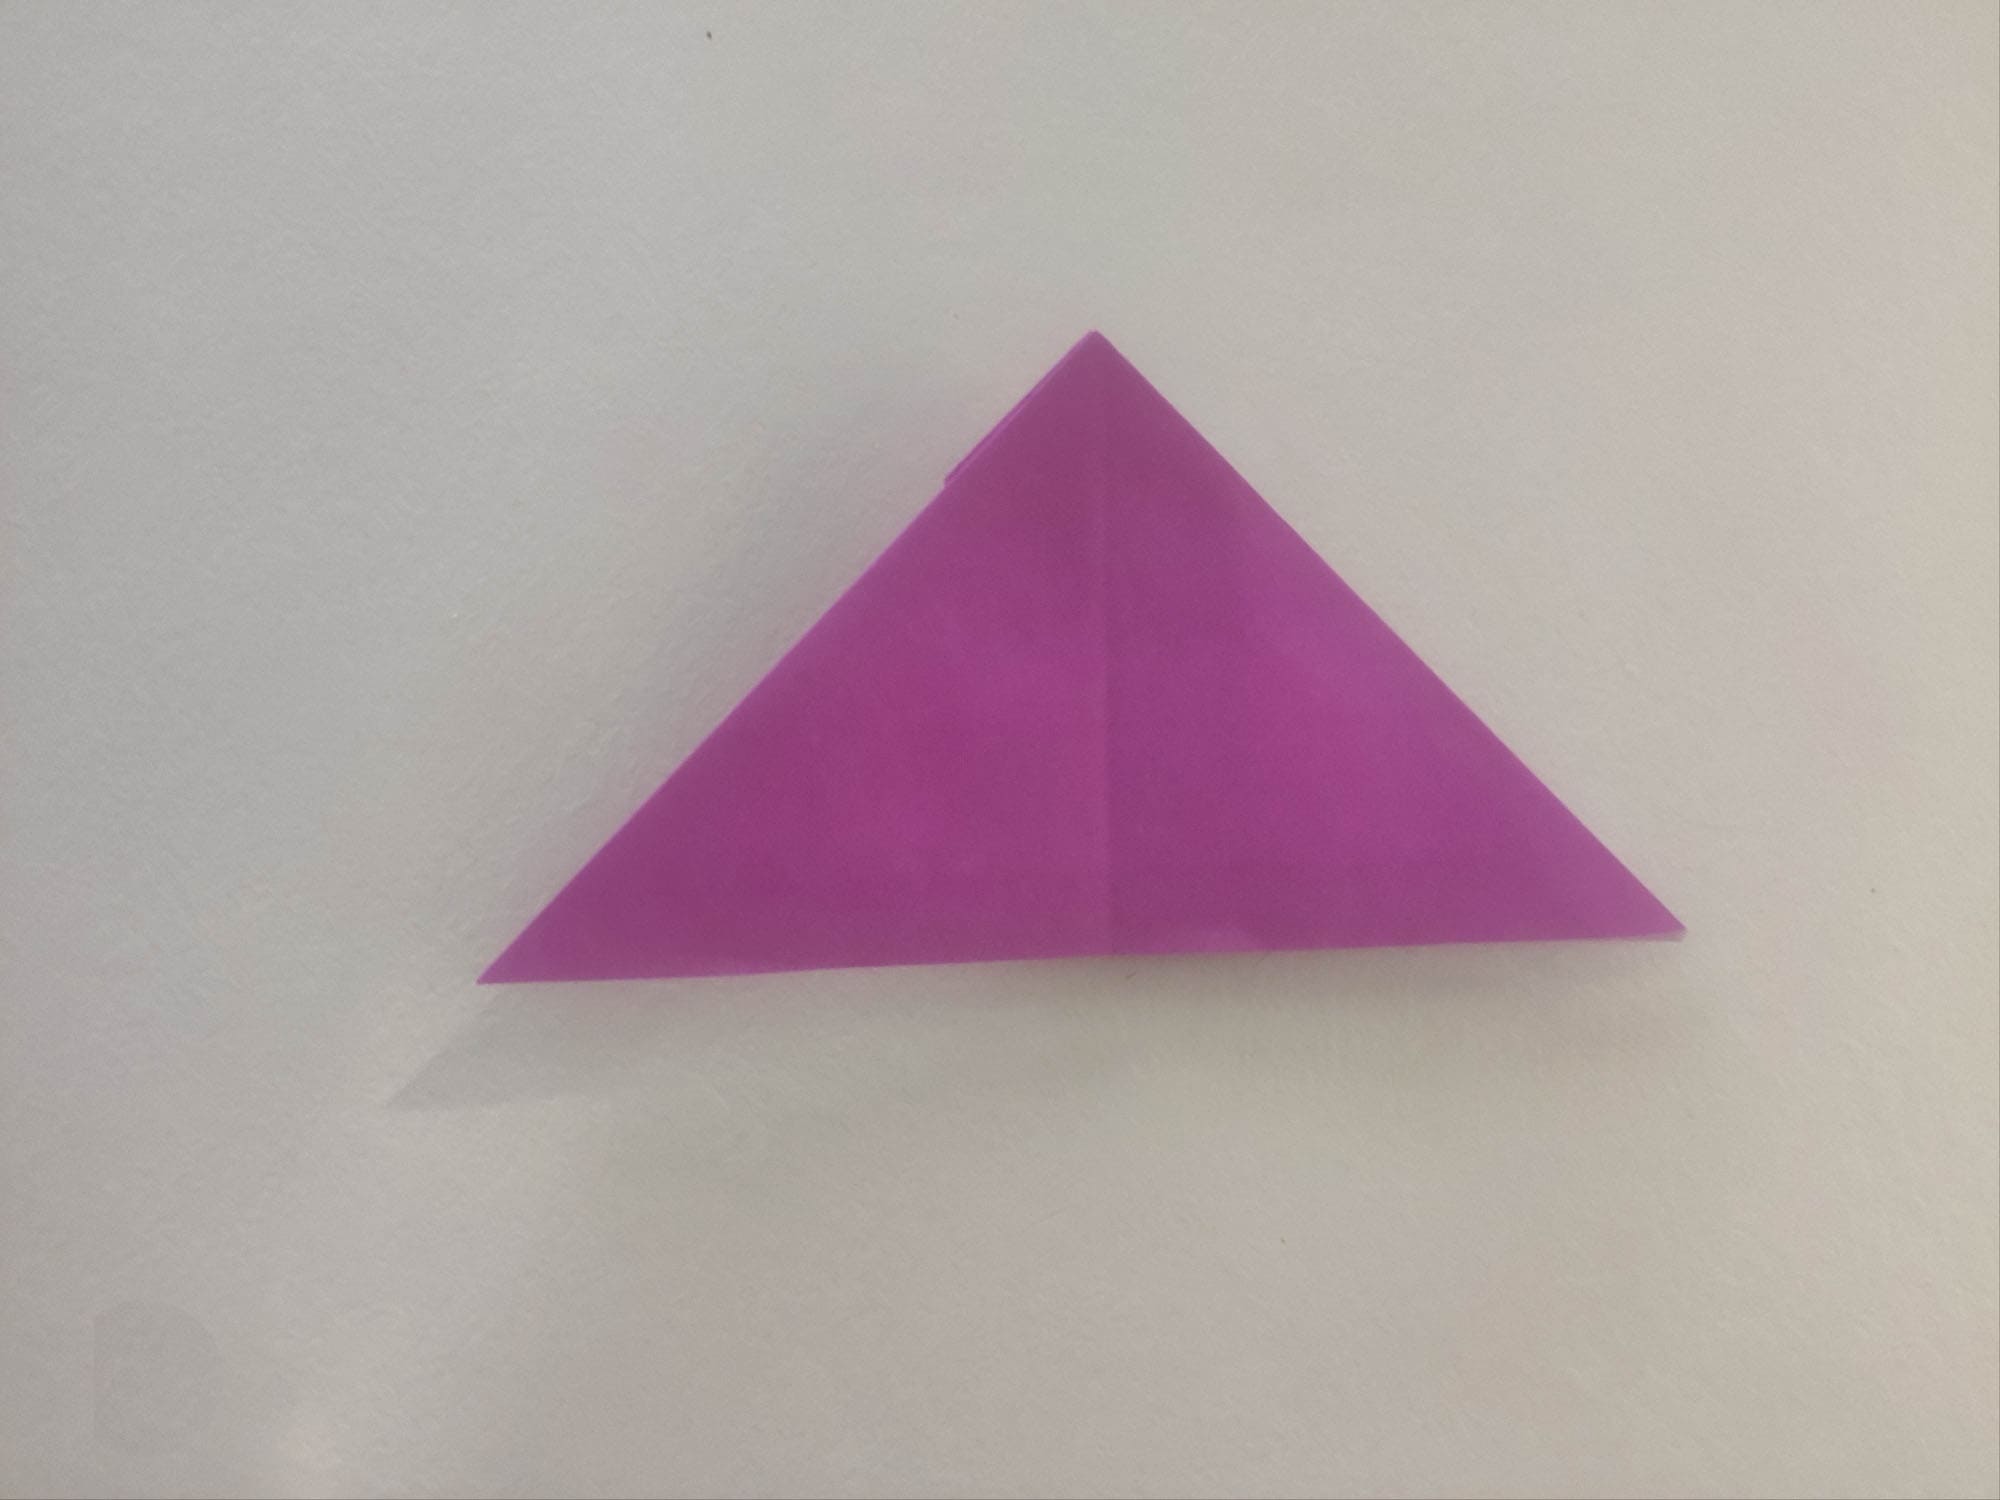
Turn the figure over with the backside up.
Make two diagonal folds toward the center.
The sides of the triangles should meet.
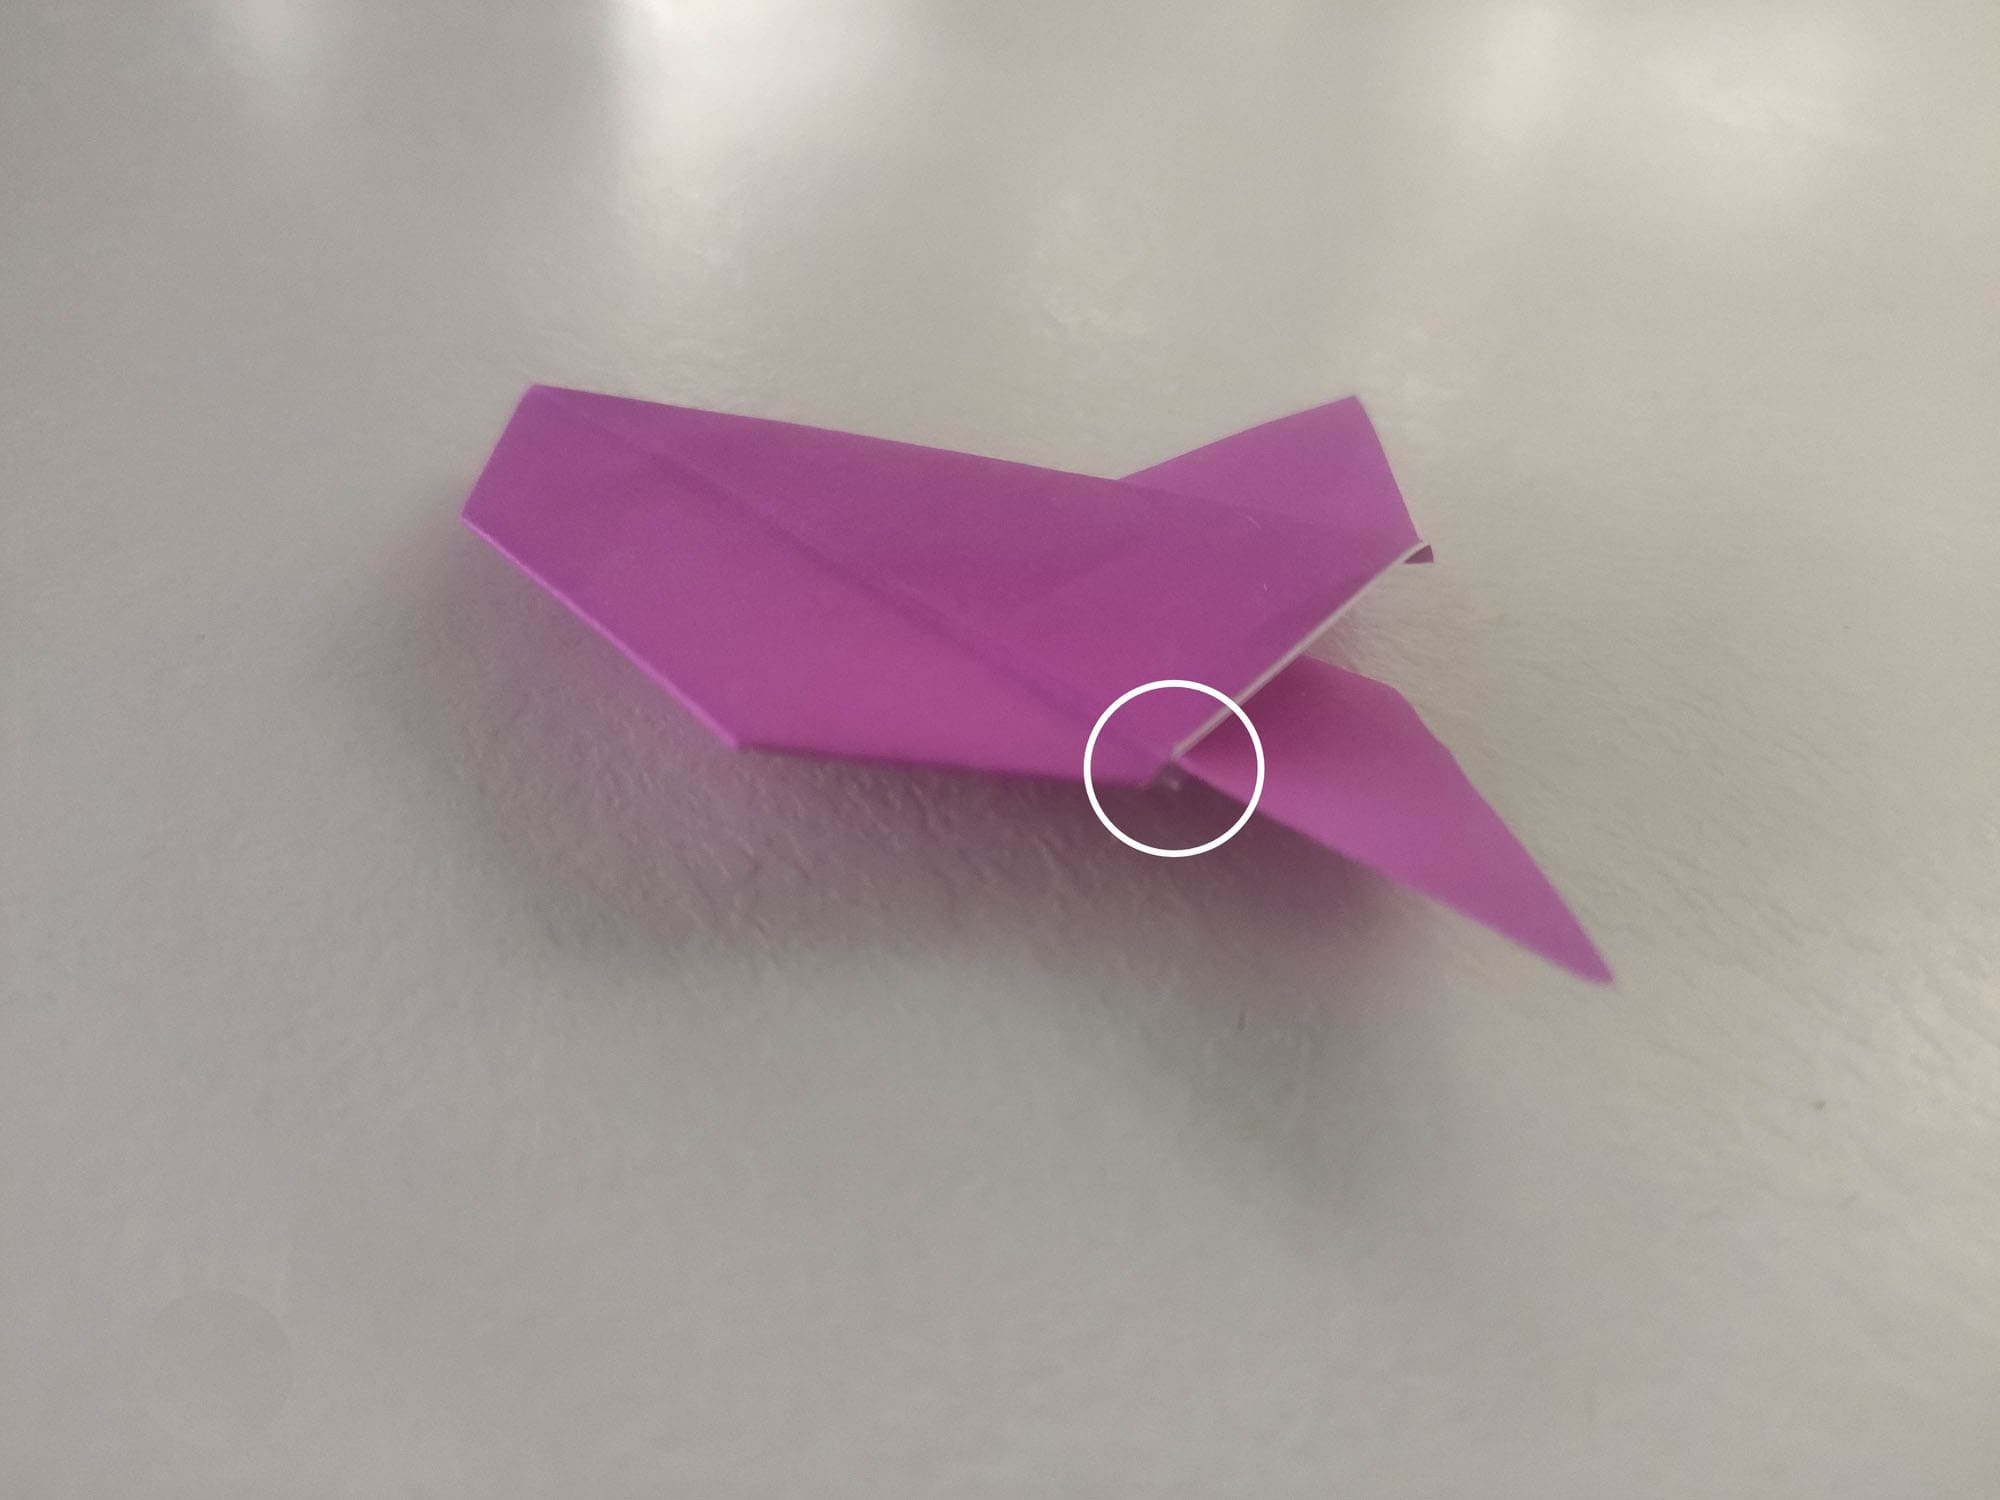
Fold the bottom of the left triangle to the left.
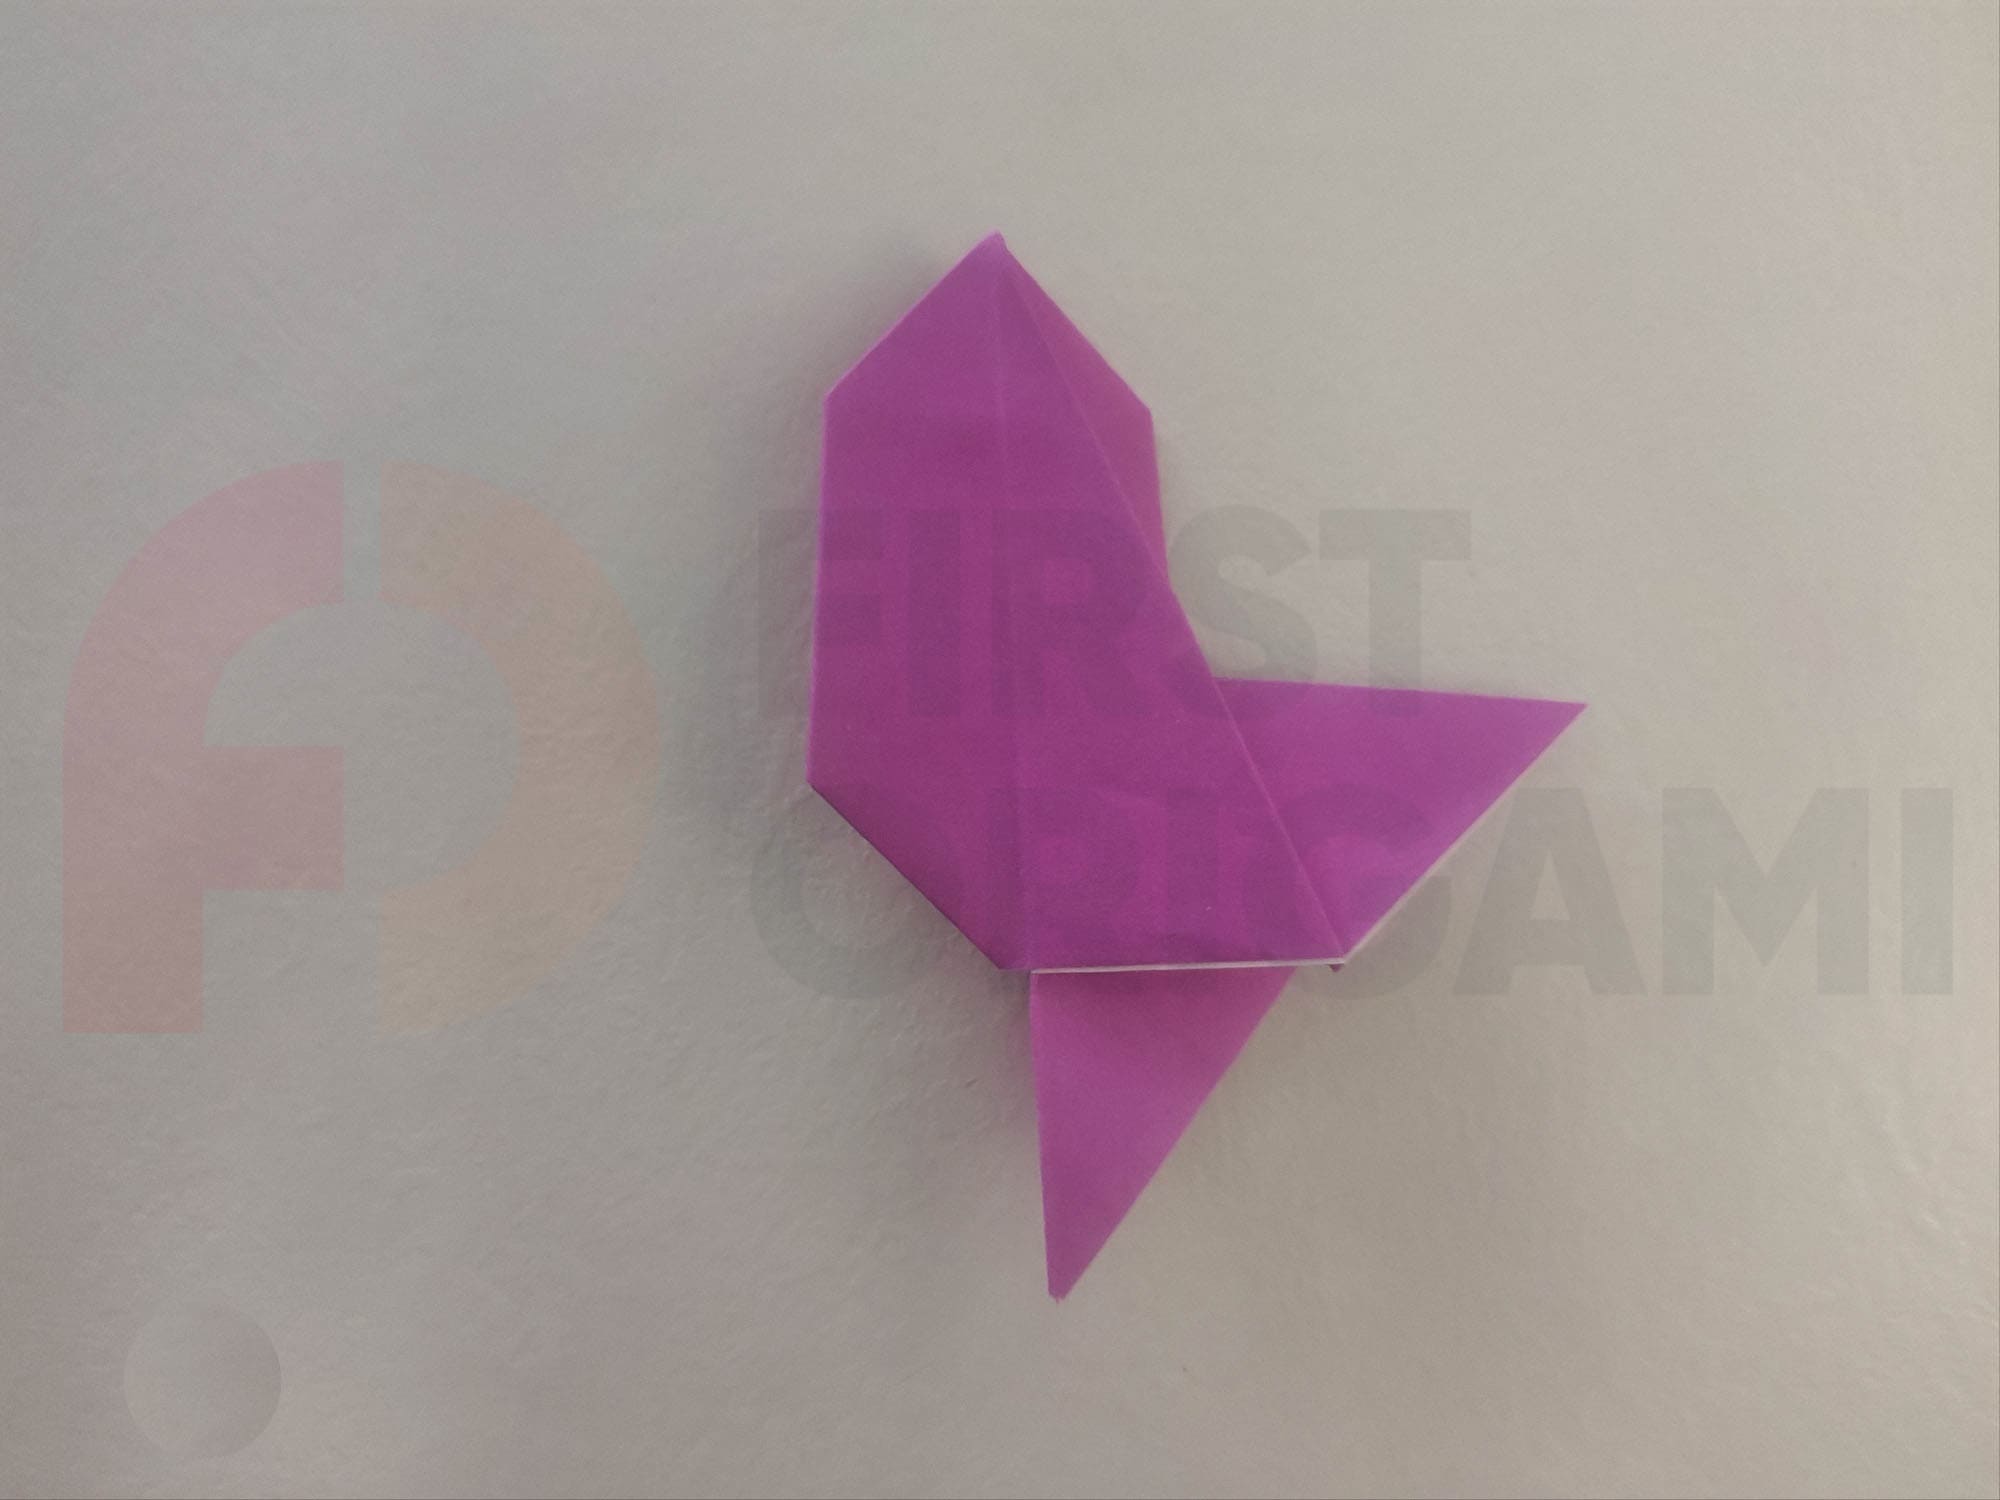
Move the left side of the design to the right, as if you were turning the page of a book.
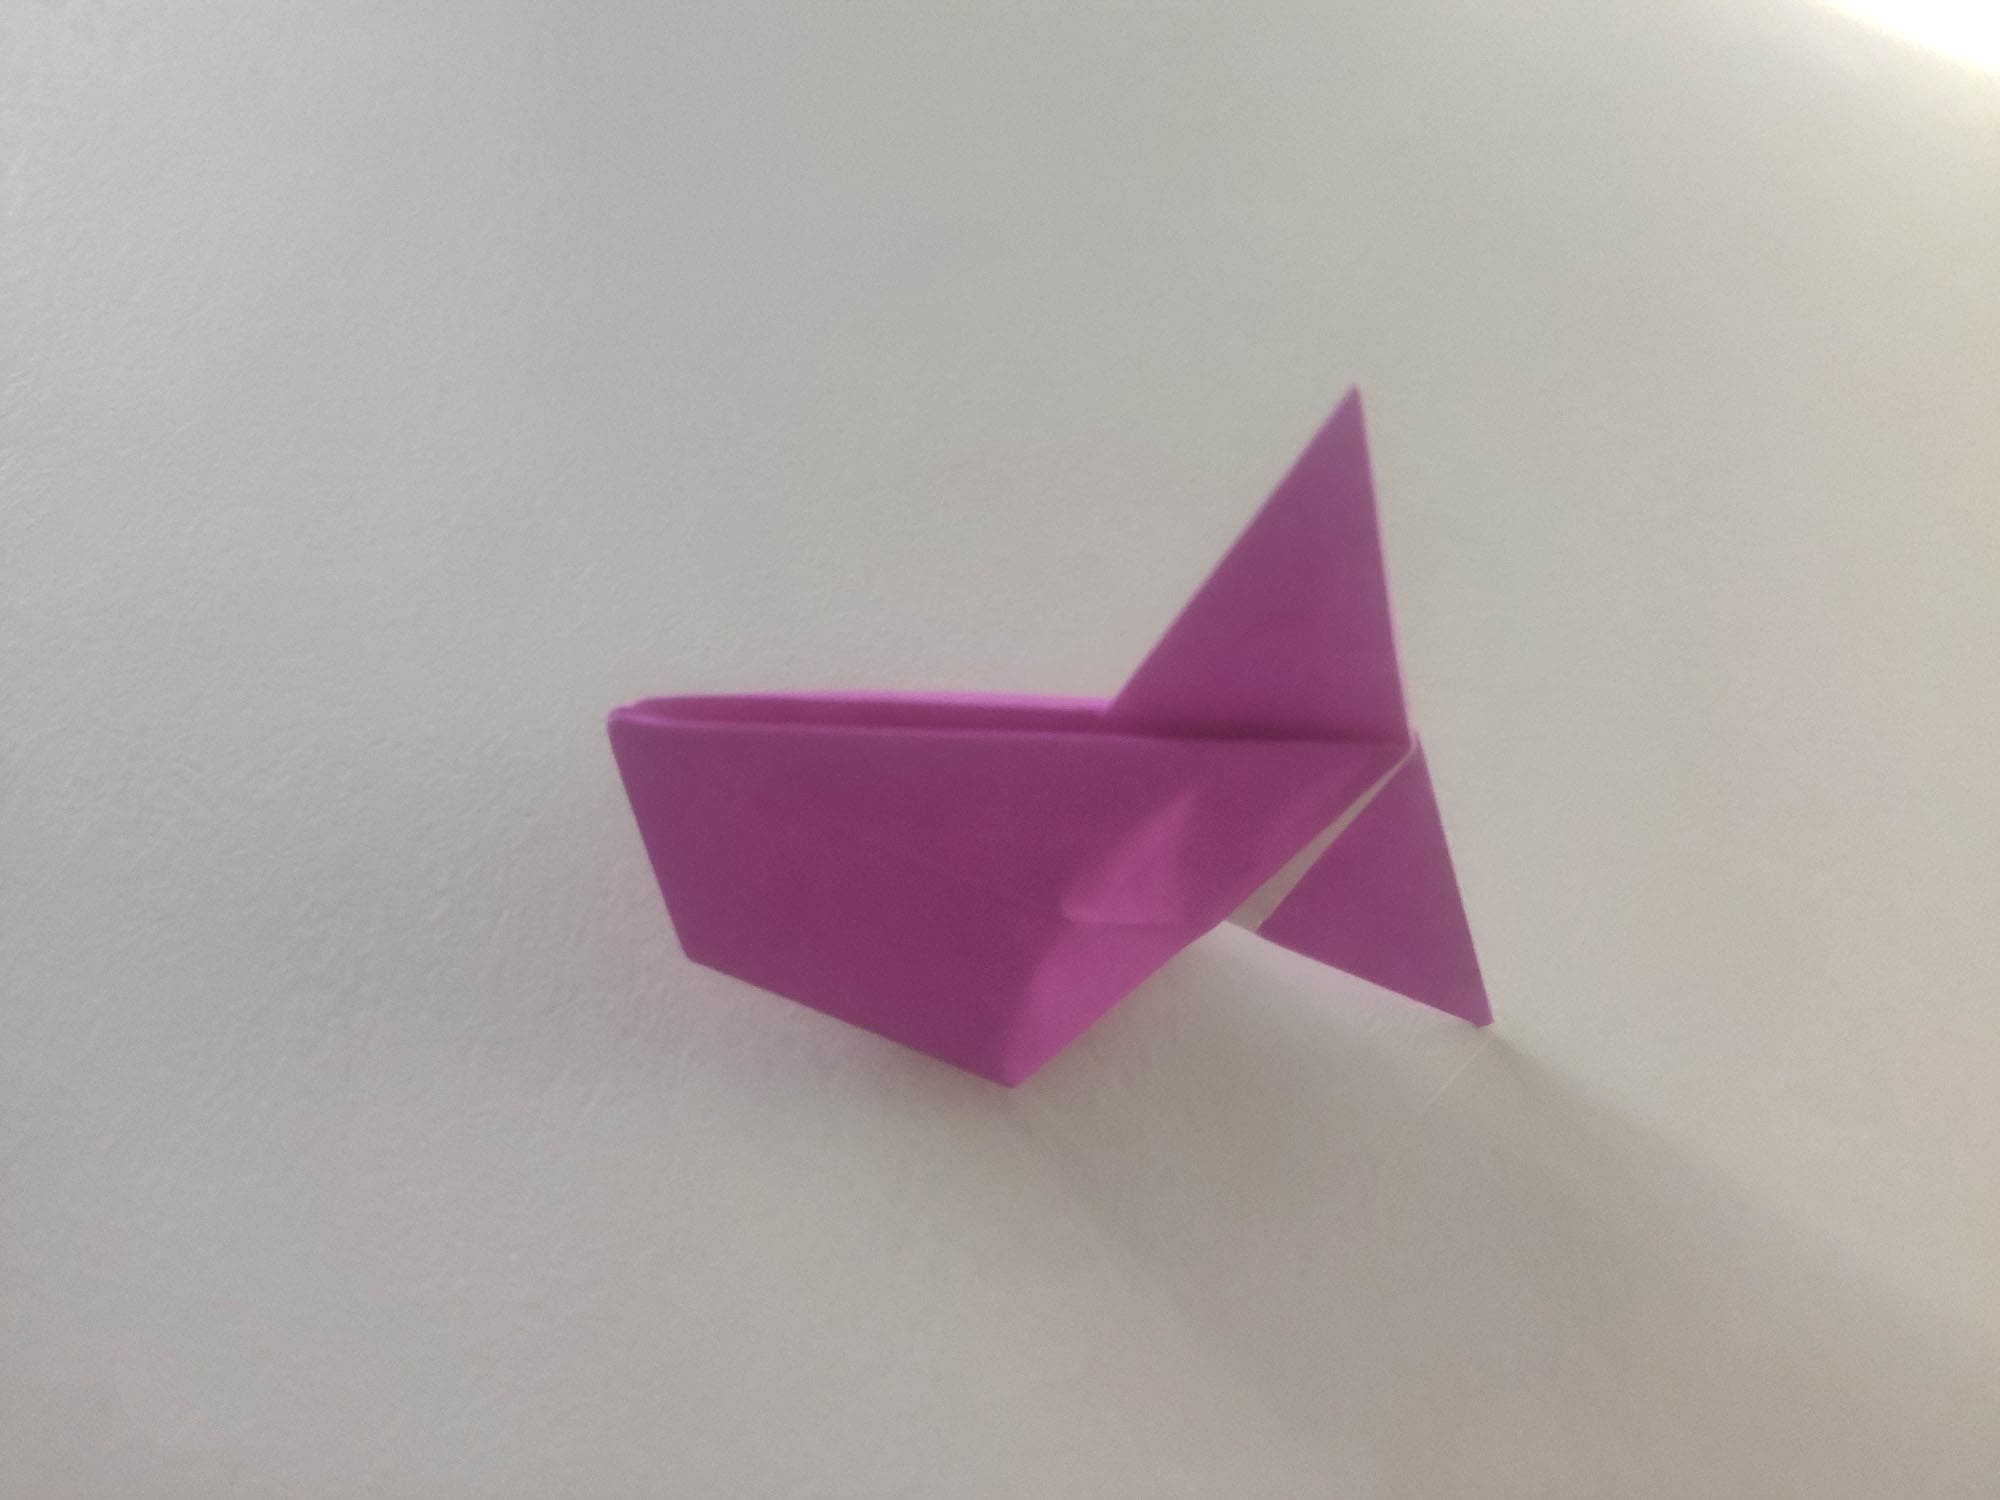
Take air into your lungs and inflate the fish through the hole shown in the photo. You can use a thin cocktail straw to do this.
That’s it, the goldfish is in front of you! In fairy tales, it usually fulfills three wishes. Let’s see what our origami fish can do.


