Origami Party Hat
Have an upcoming party, but not enough time to shop for a costume? We got your back! Below you will find easy-to-follow step-by-step instructions on how to create a cool and bright party hat with your own hands! You will only need a sheet of paper in the needed color, a bit of your time, and your hands!
With this hat, you will definitely stand out from the crown, and will never stay unnoticed. Maybe you want a family look? Craft the hats in different colors for all members of your family or friends!
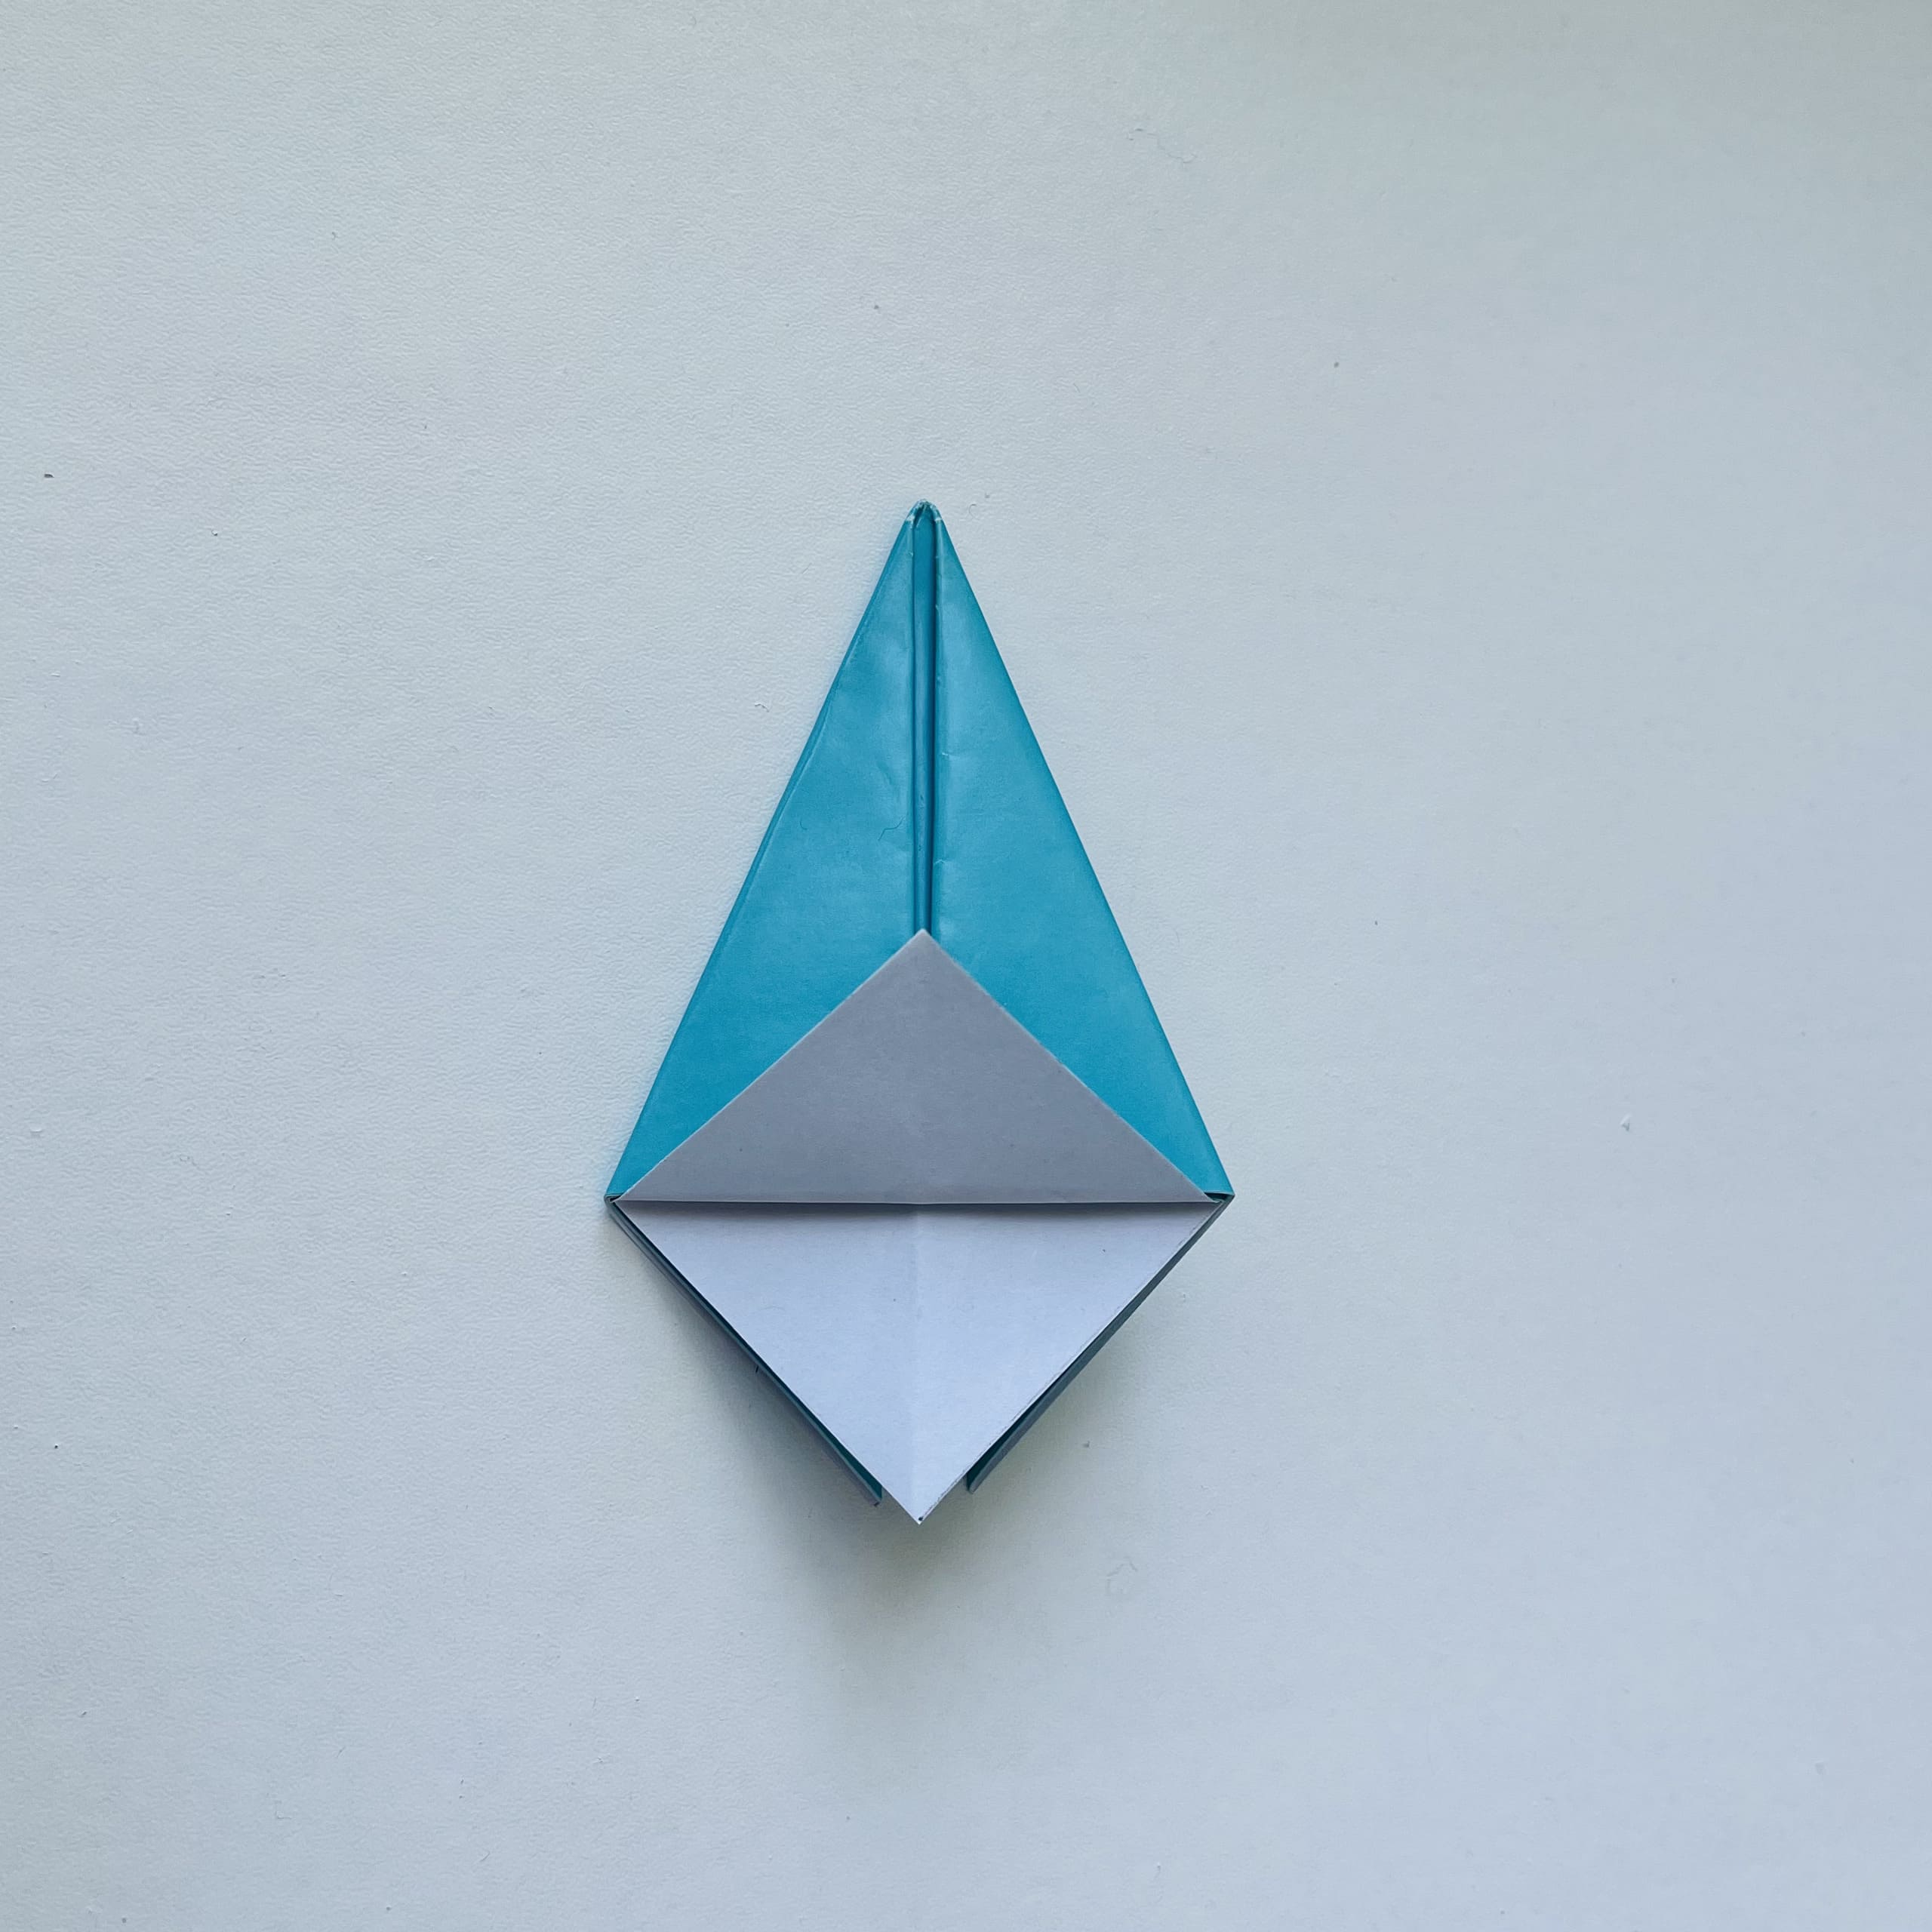
Fold the base of the origami Helmet.
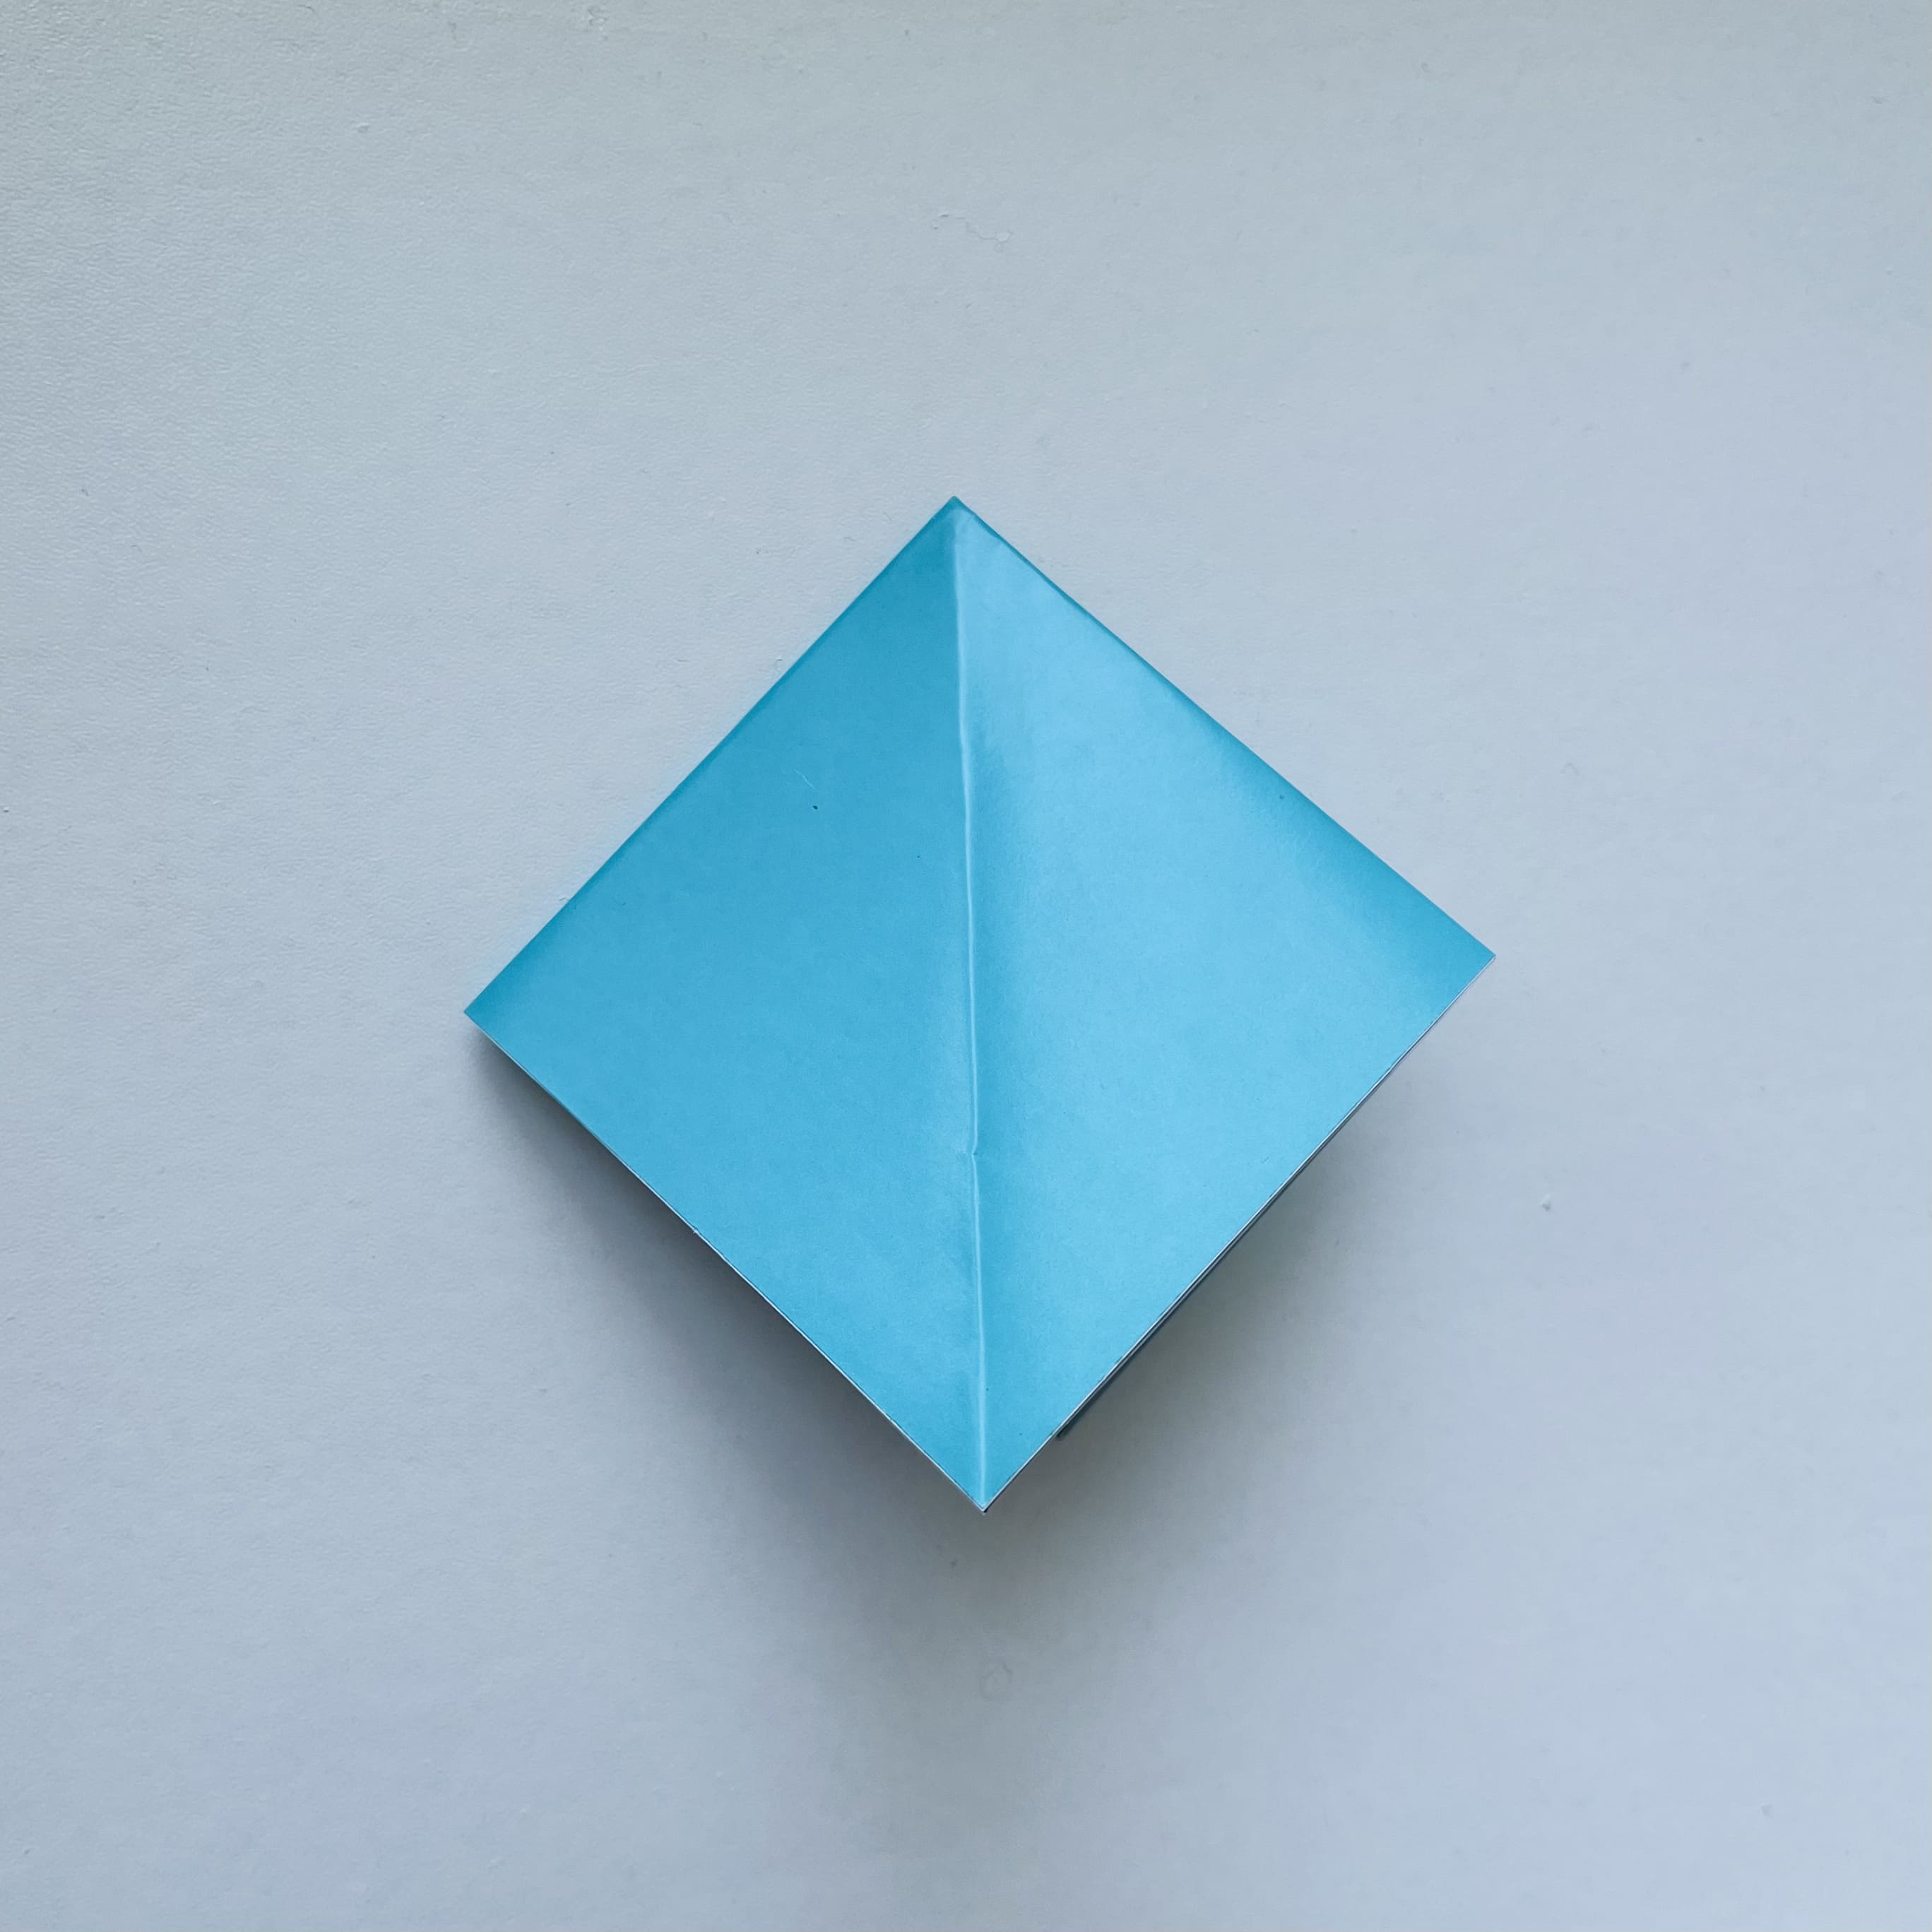
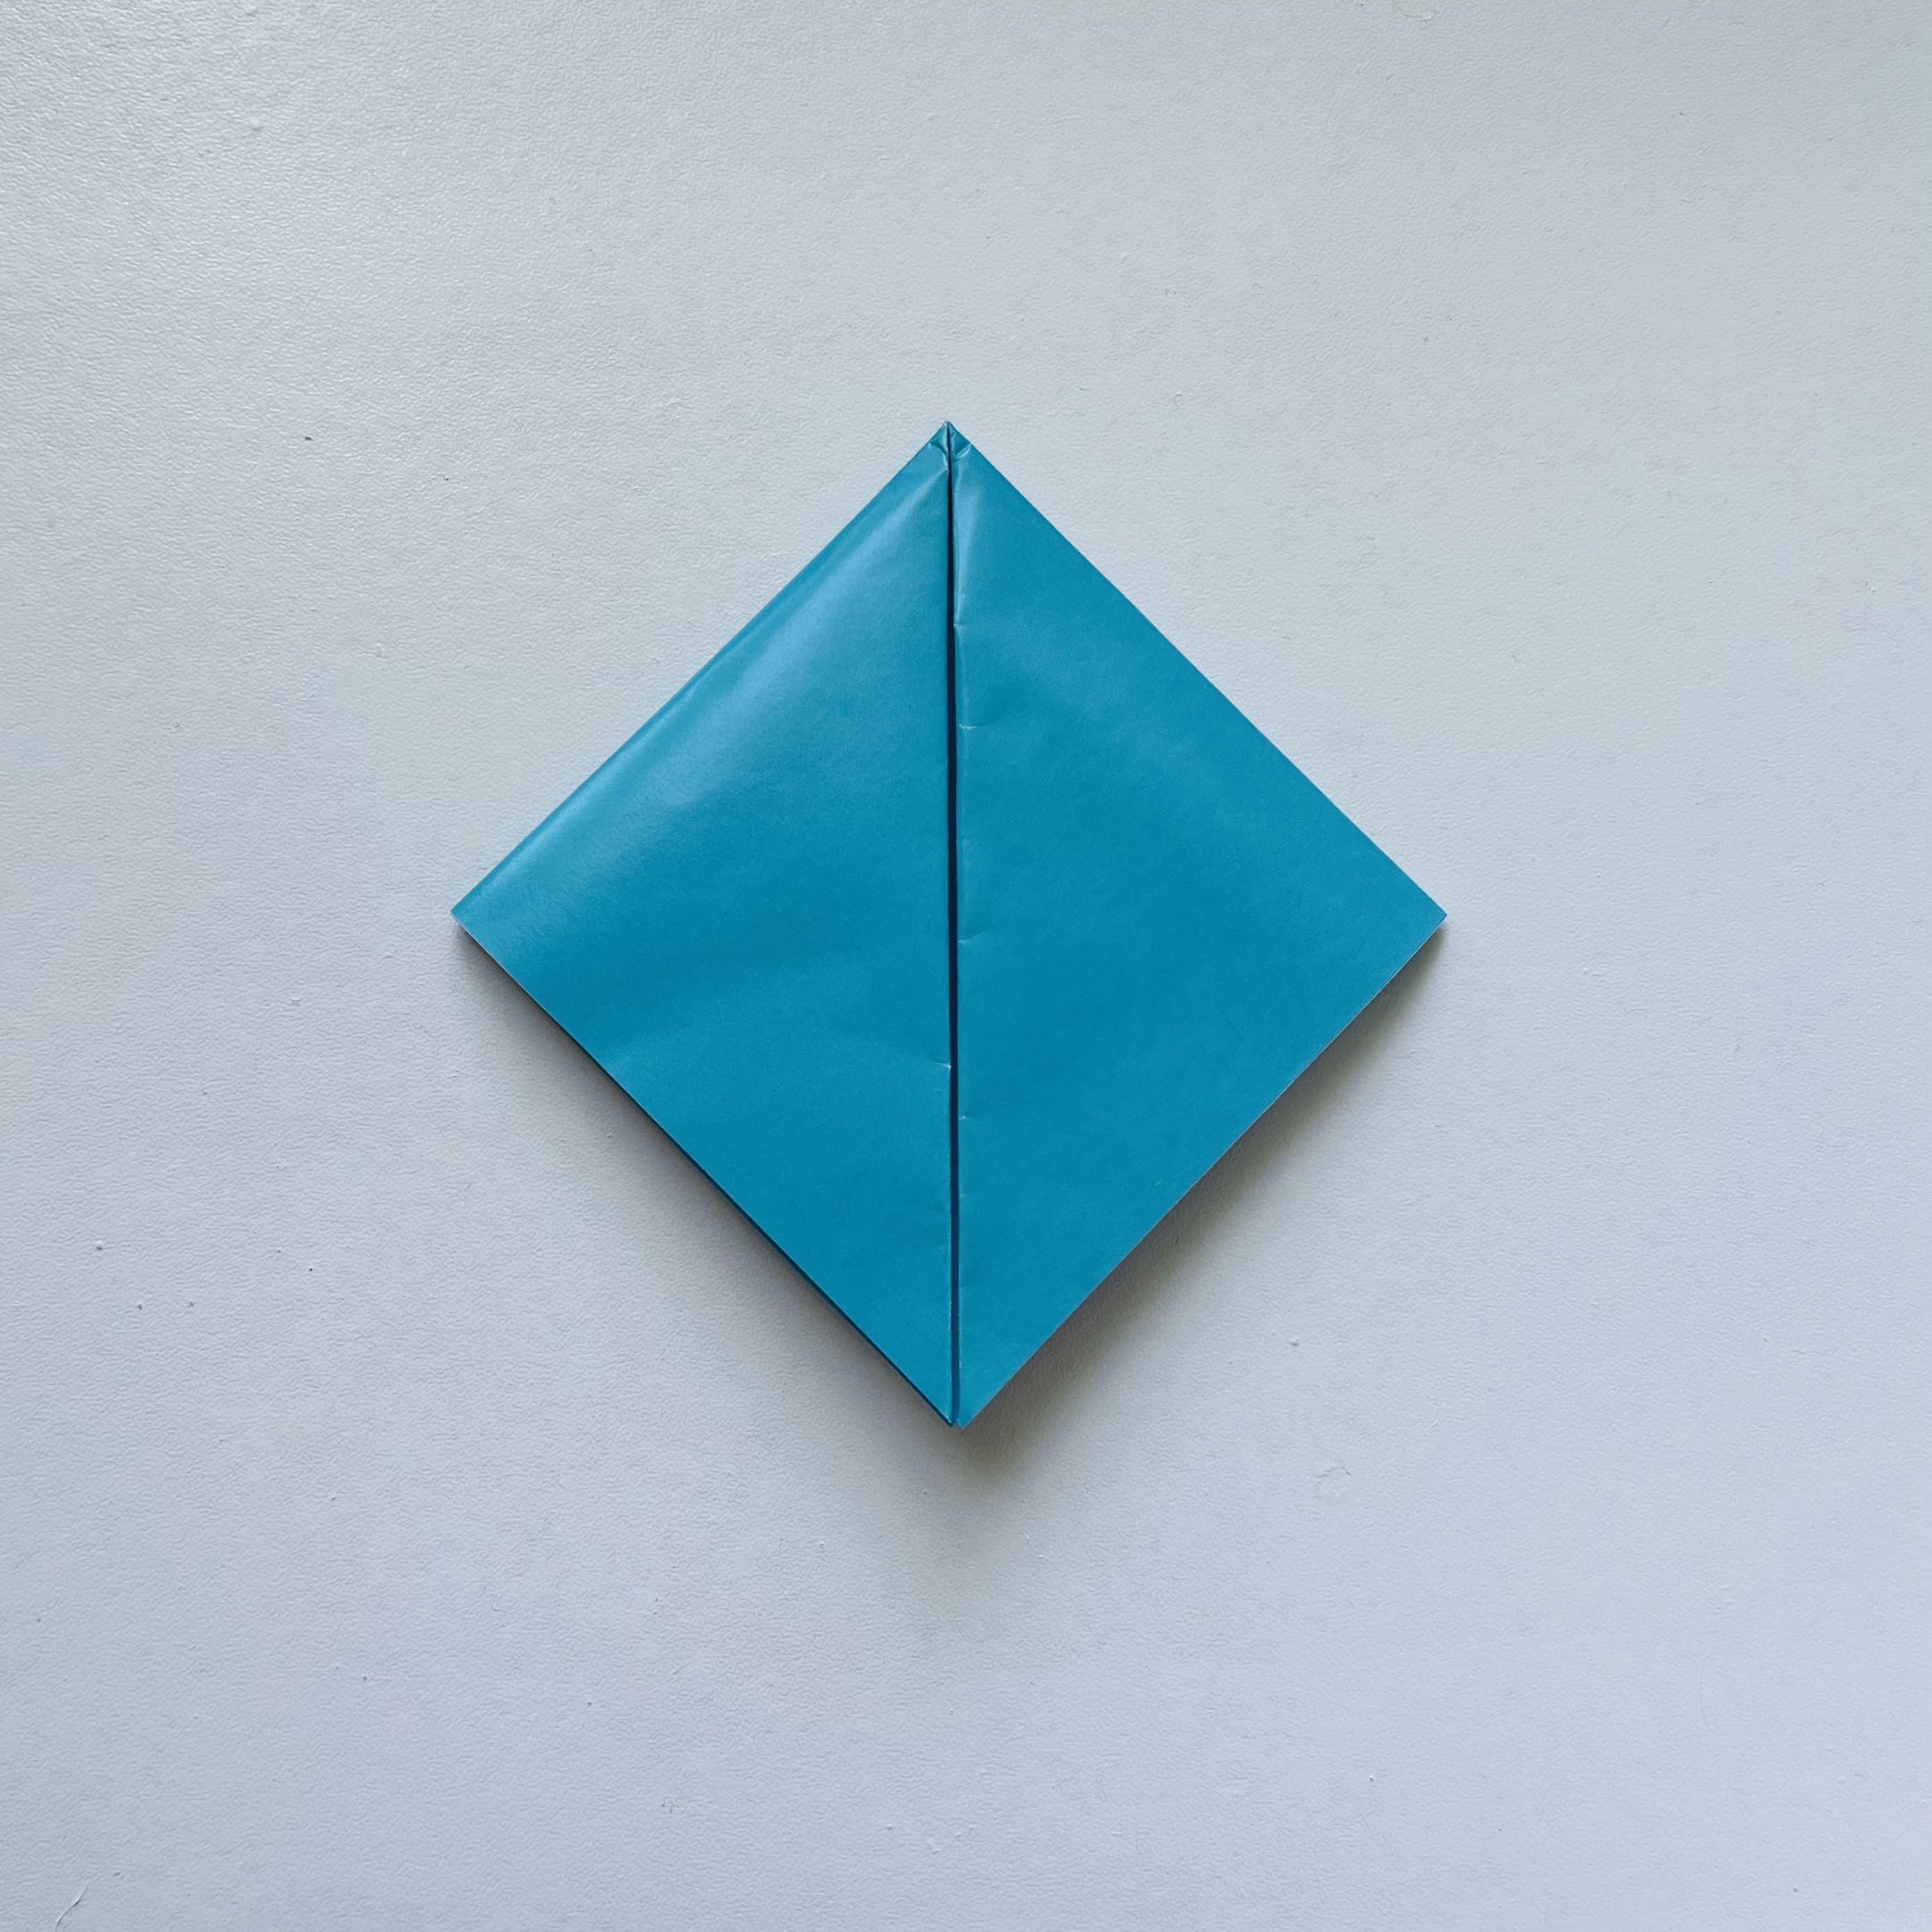
Flip the paper over. Fold the figure along the vertical axis, work out the fold, and fold back.
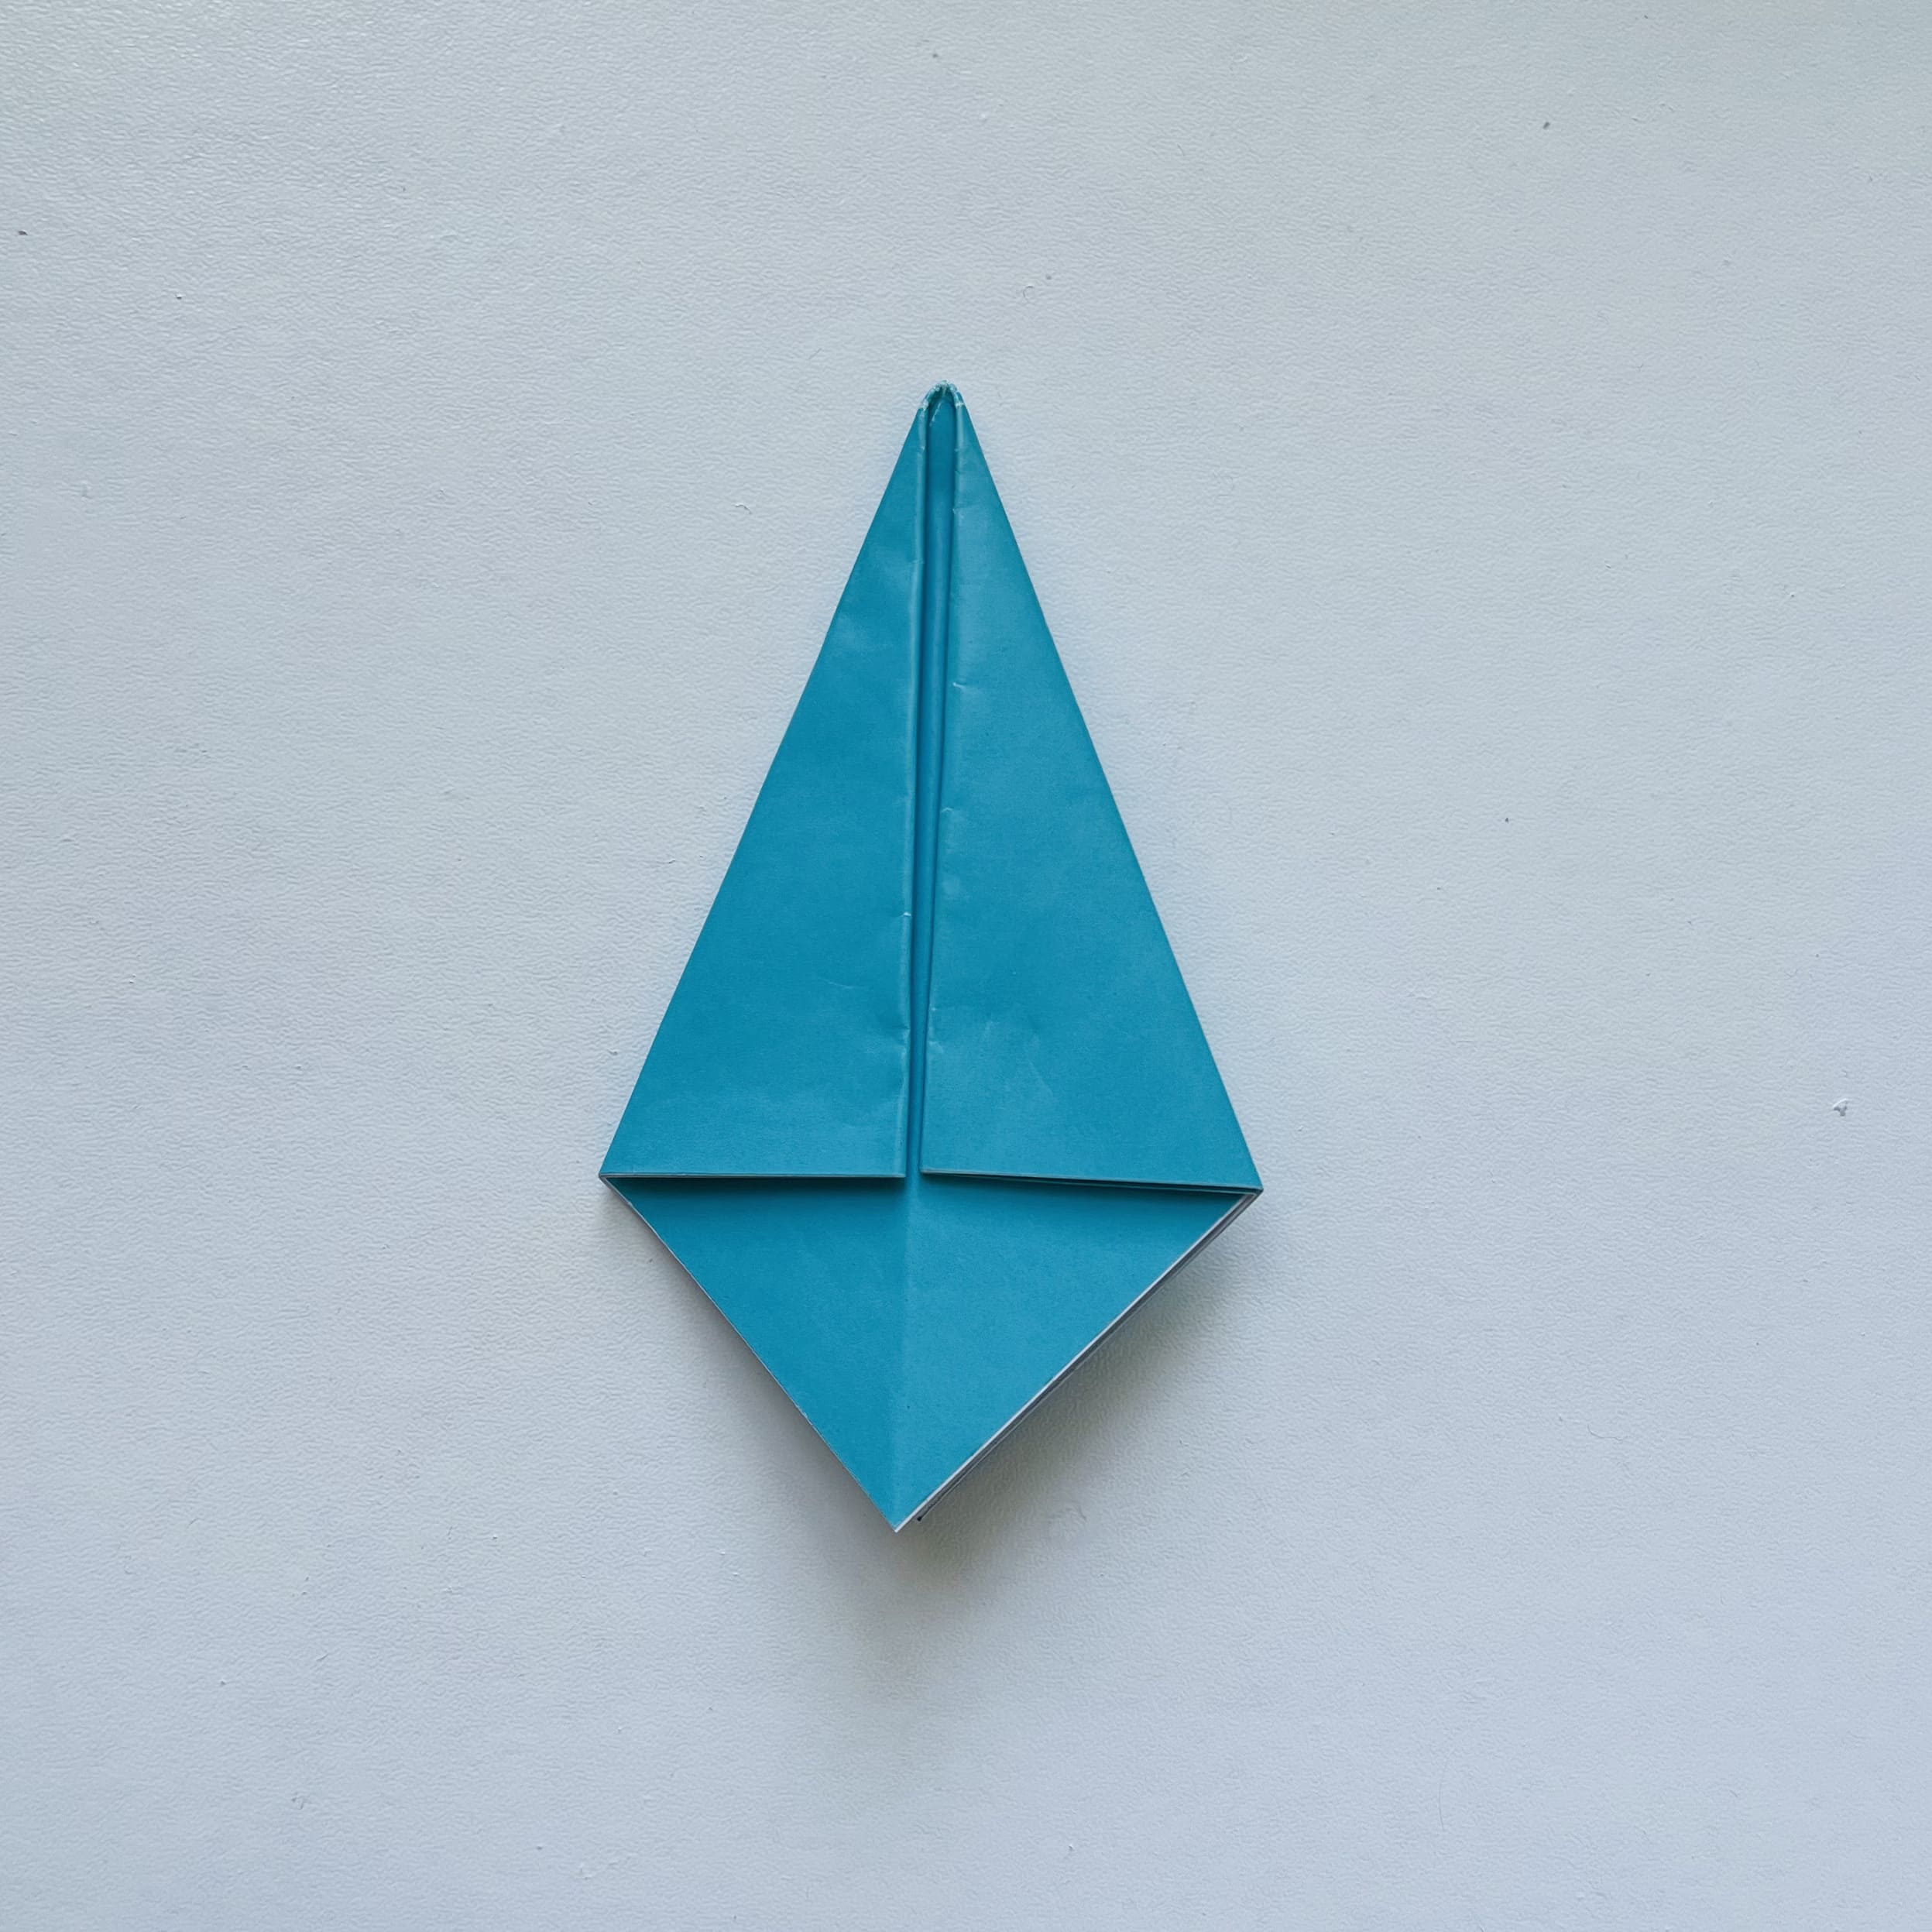
Fold the right and left upper parts to the center, as shown in the photo.
The bottom corner consists of several layers: fold the first one to the top.
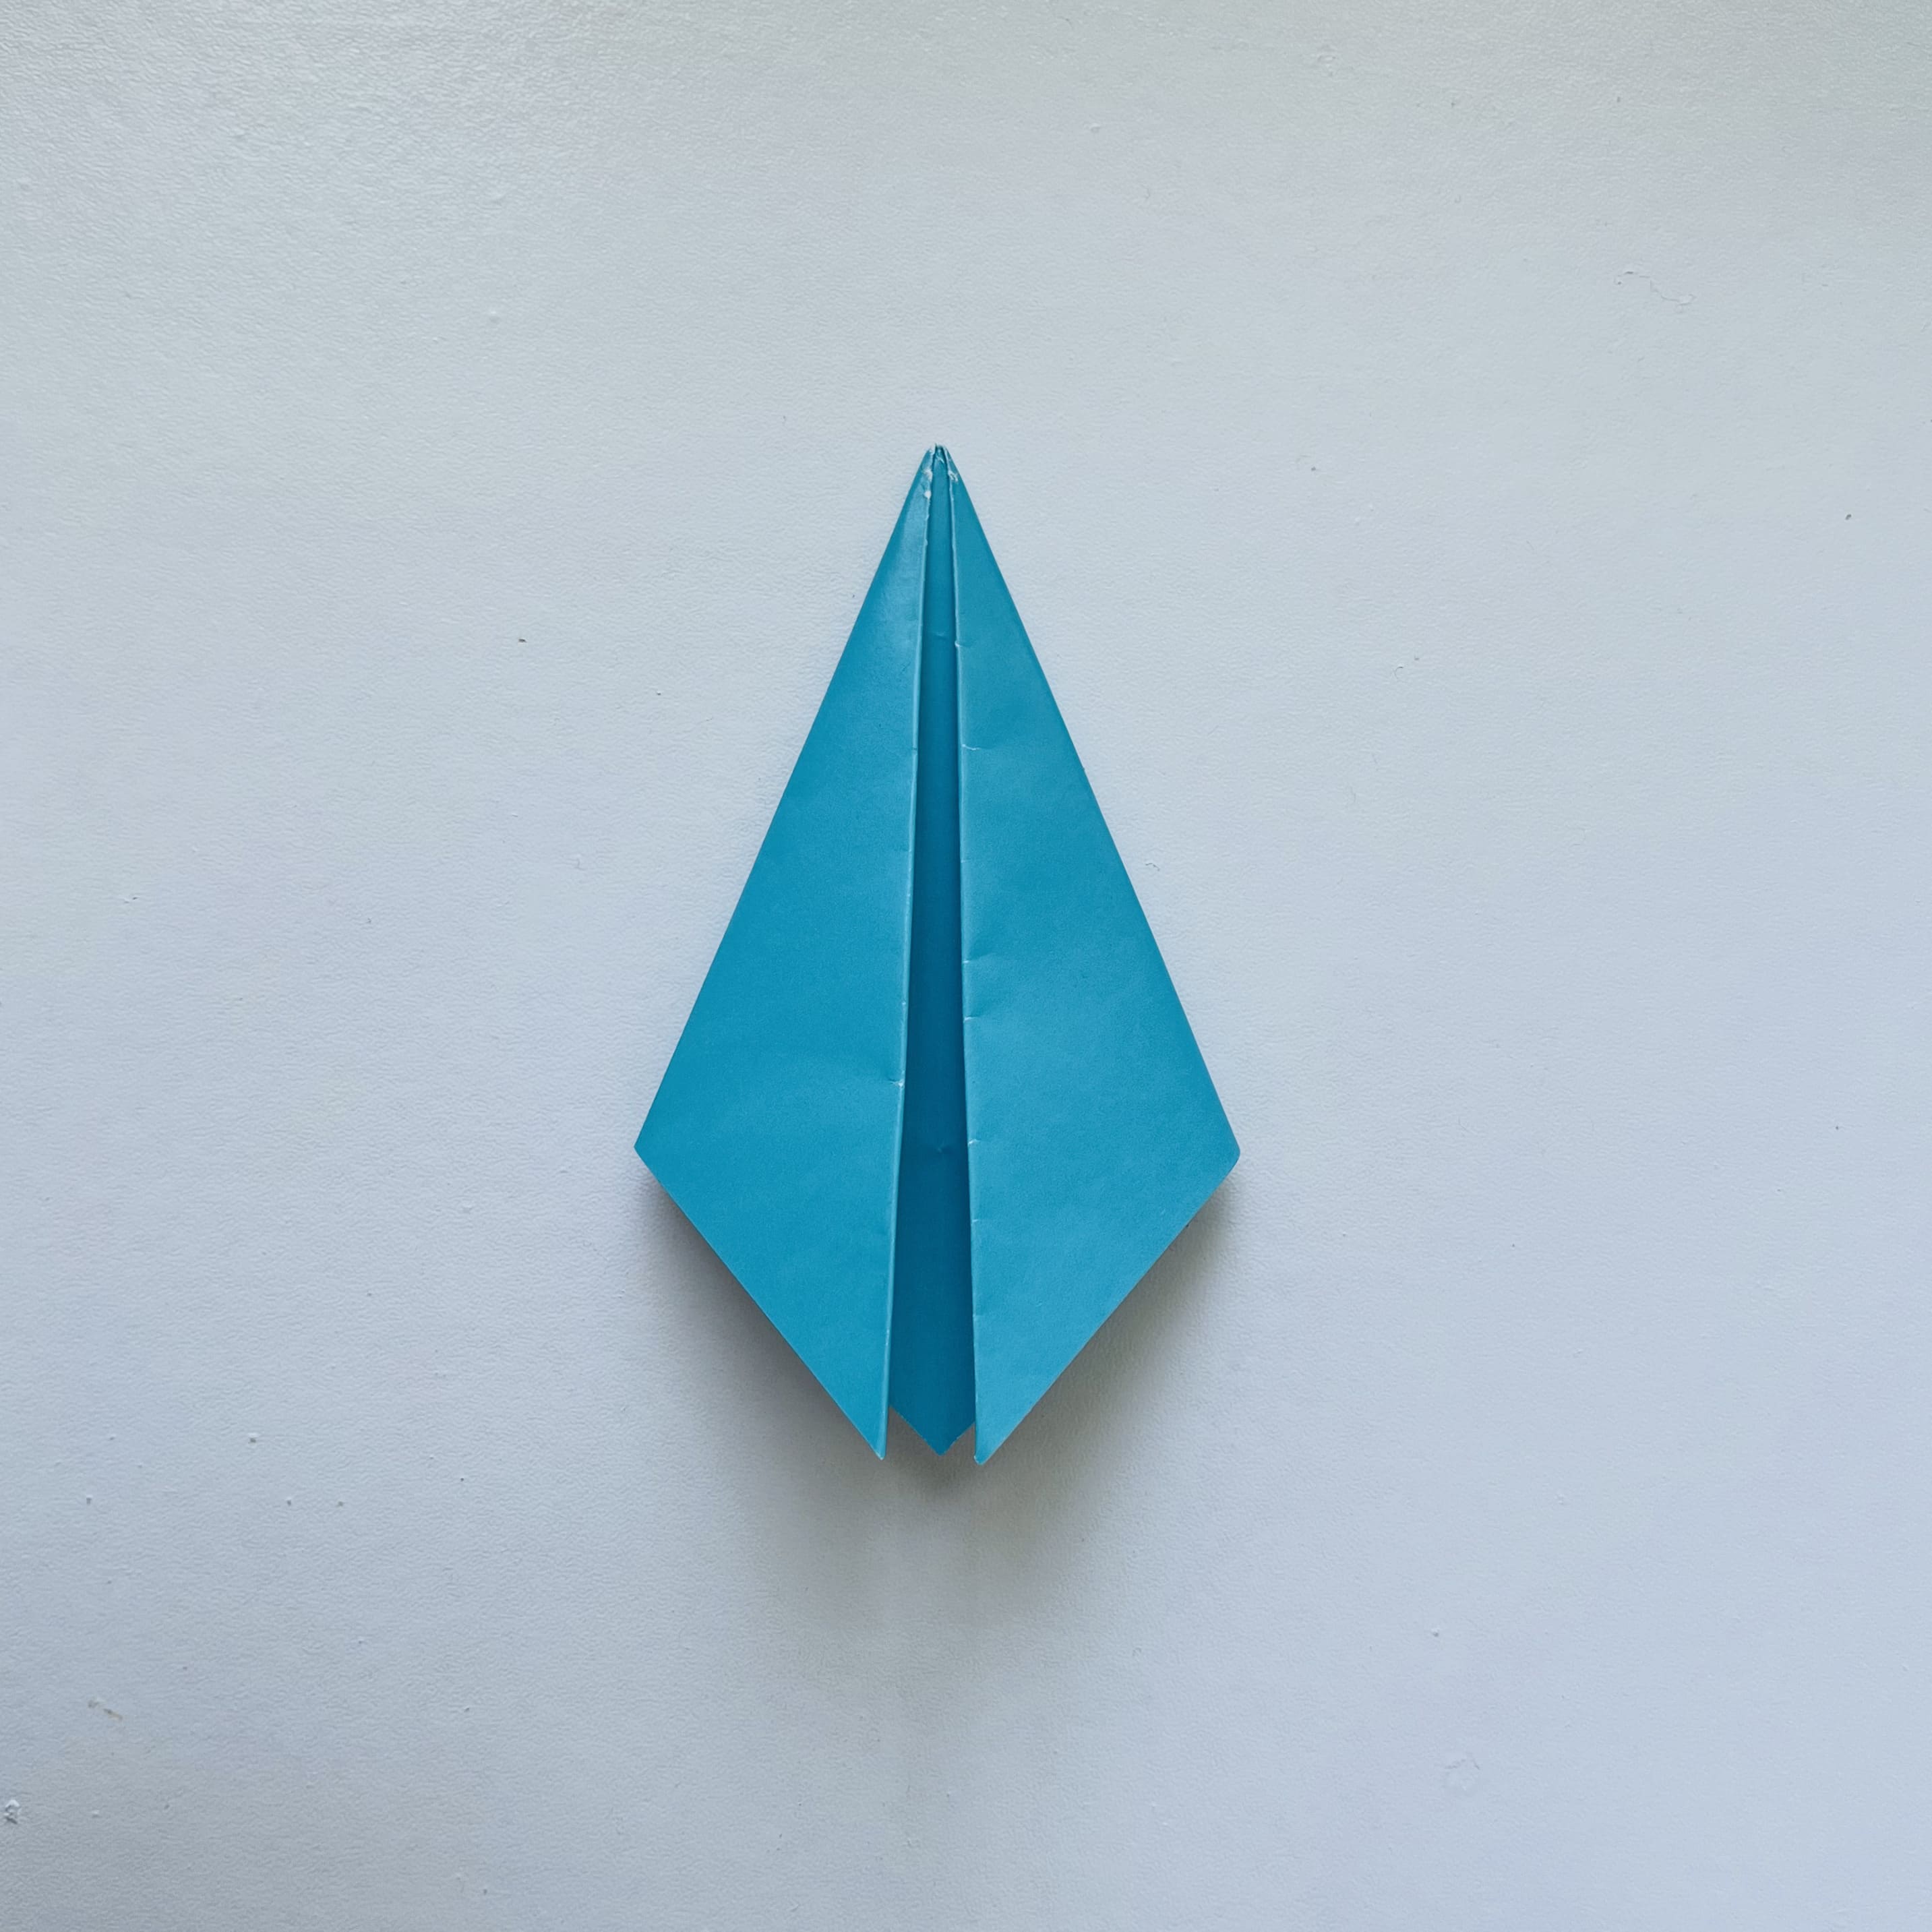
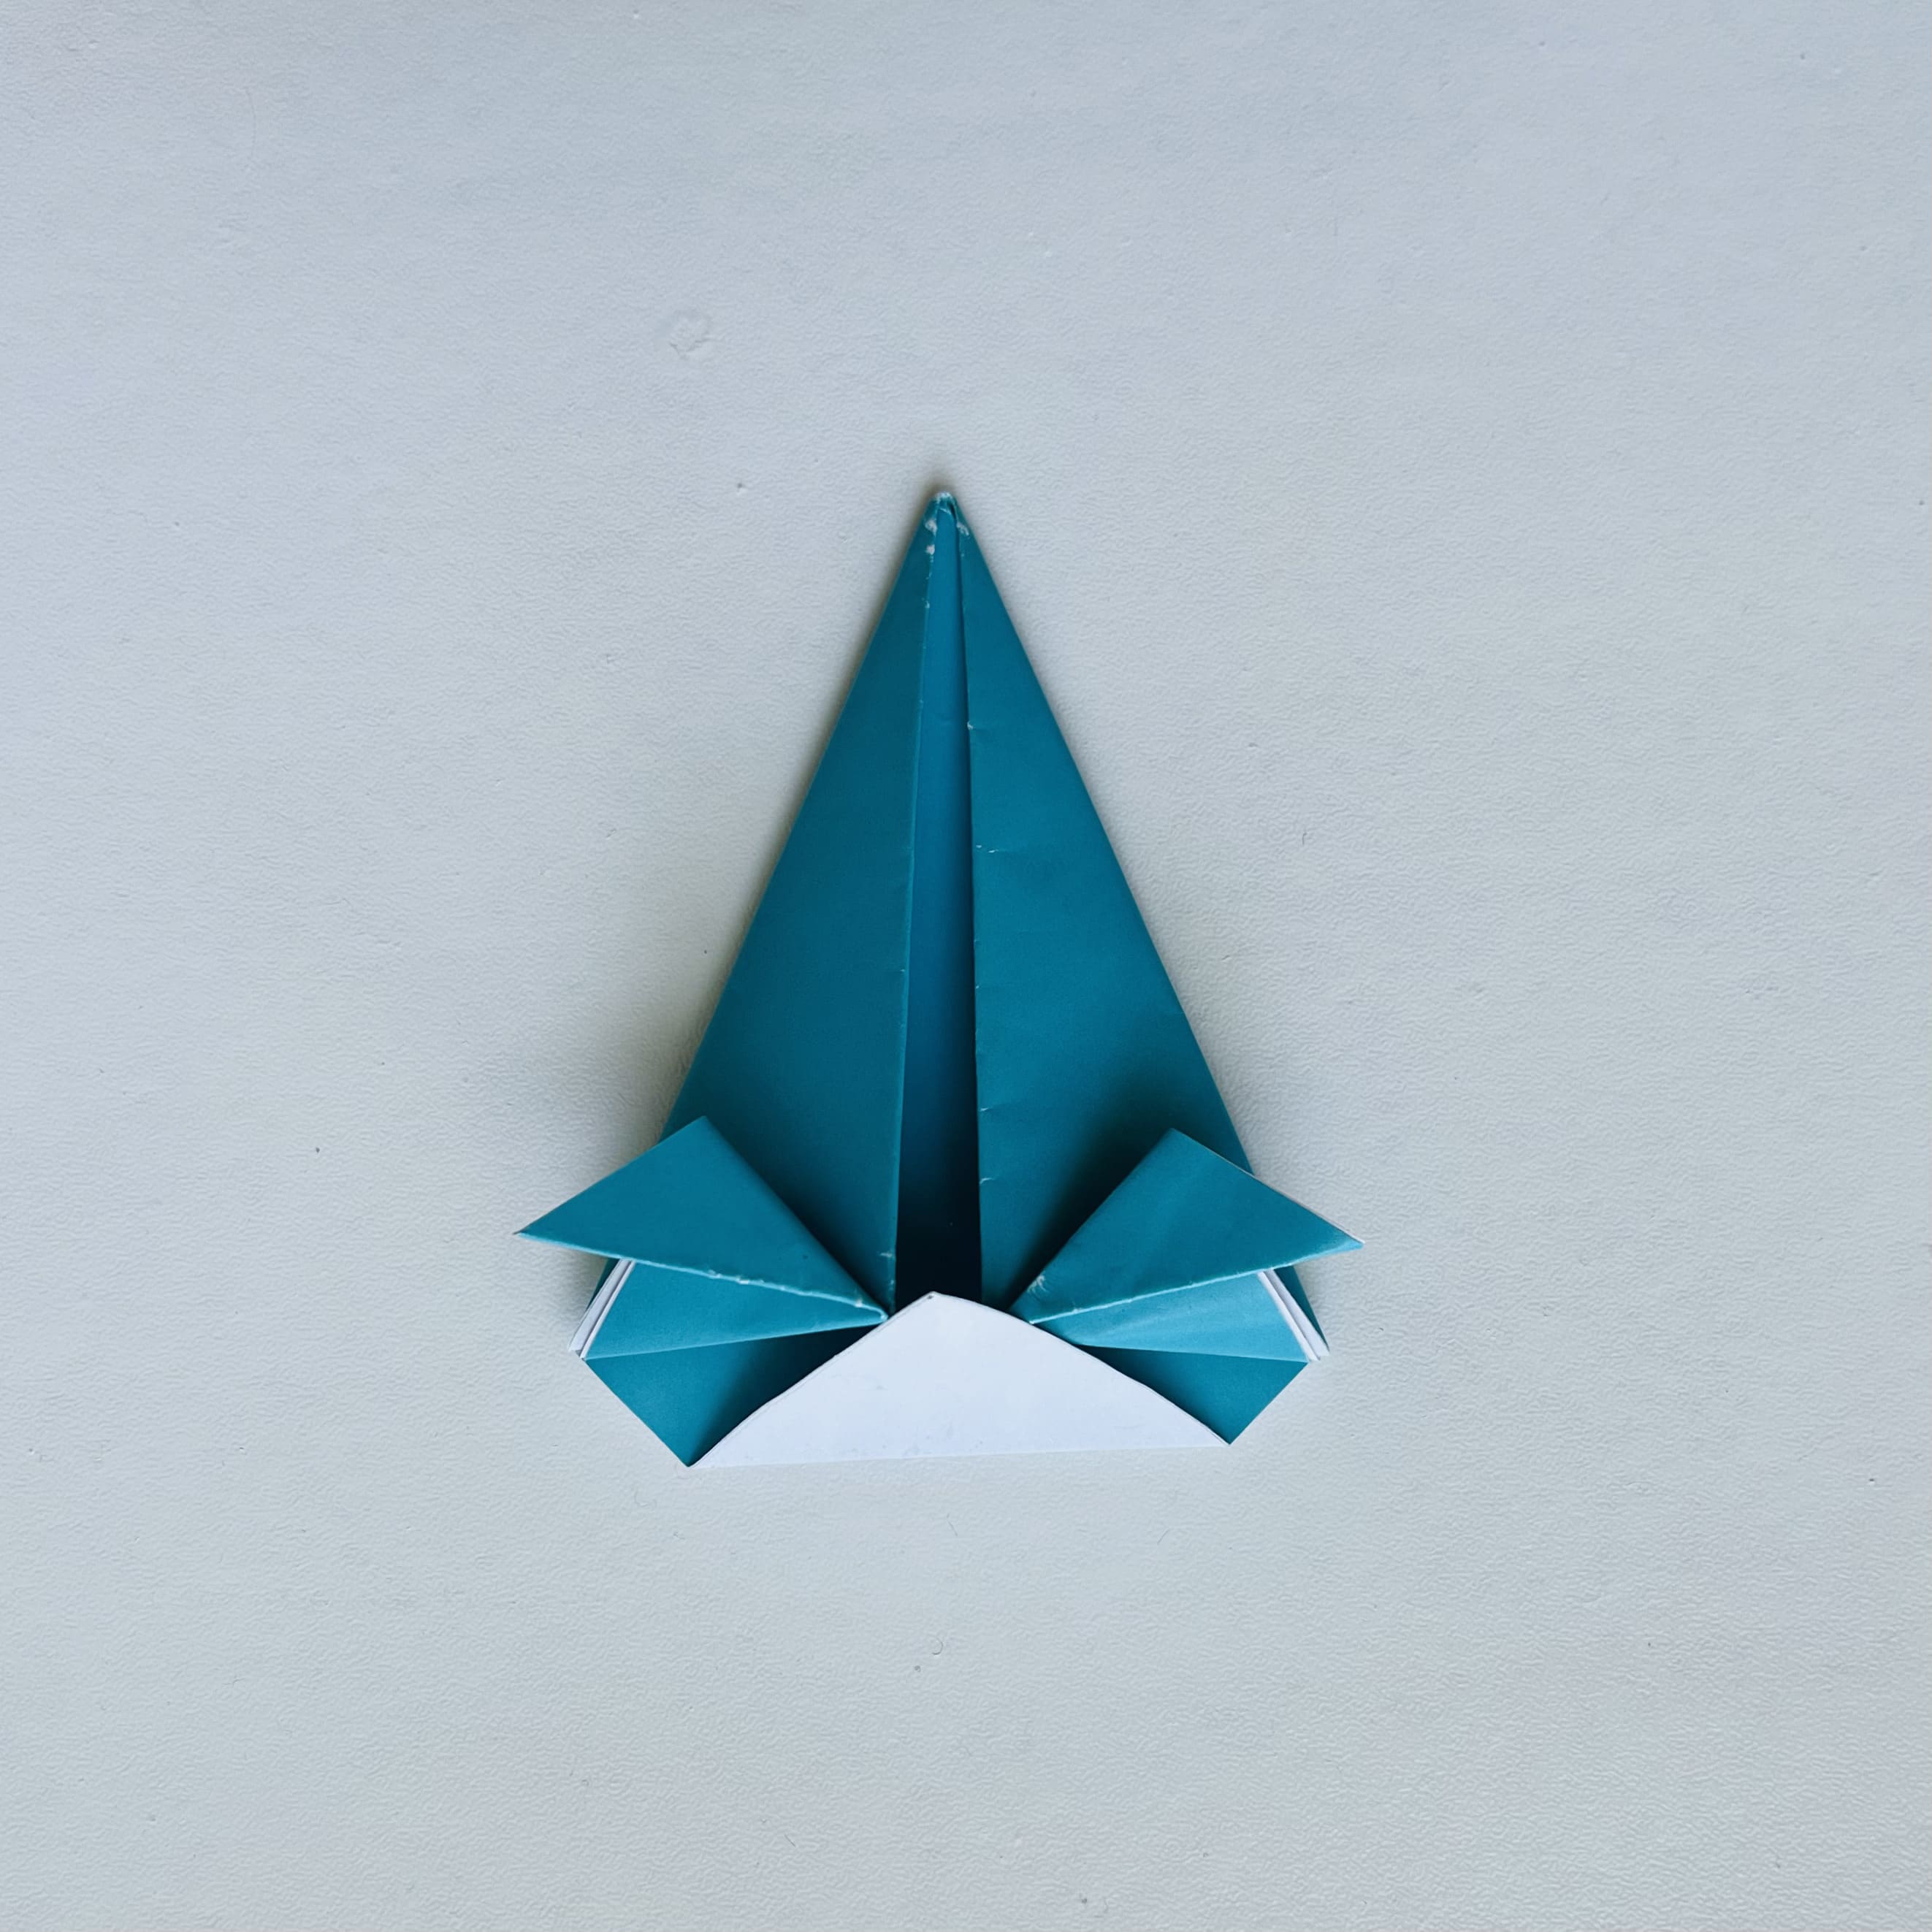
Flip the paper over. At the bottom you see two corners – fold them up to the center.
You should get the same figure as in the photo, check yourself.
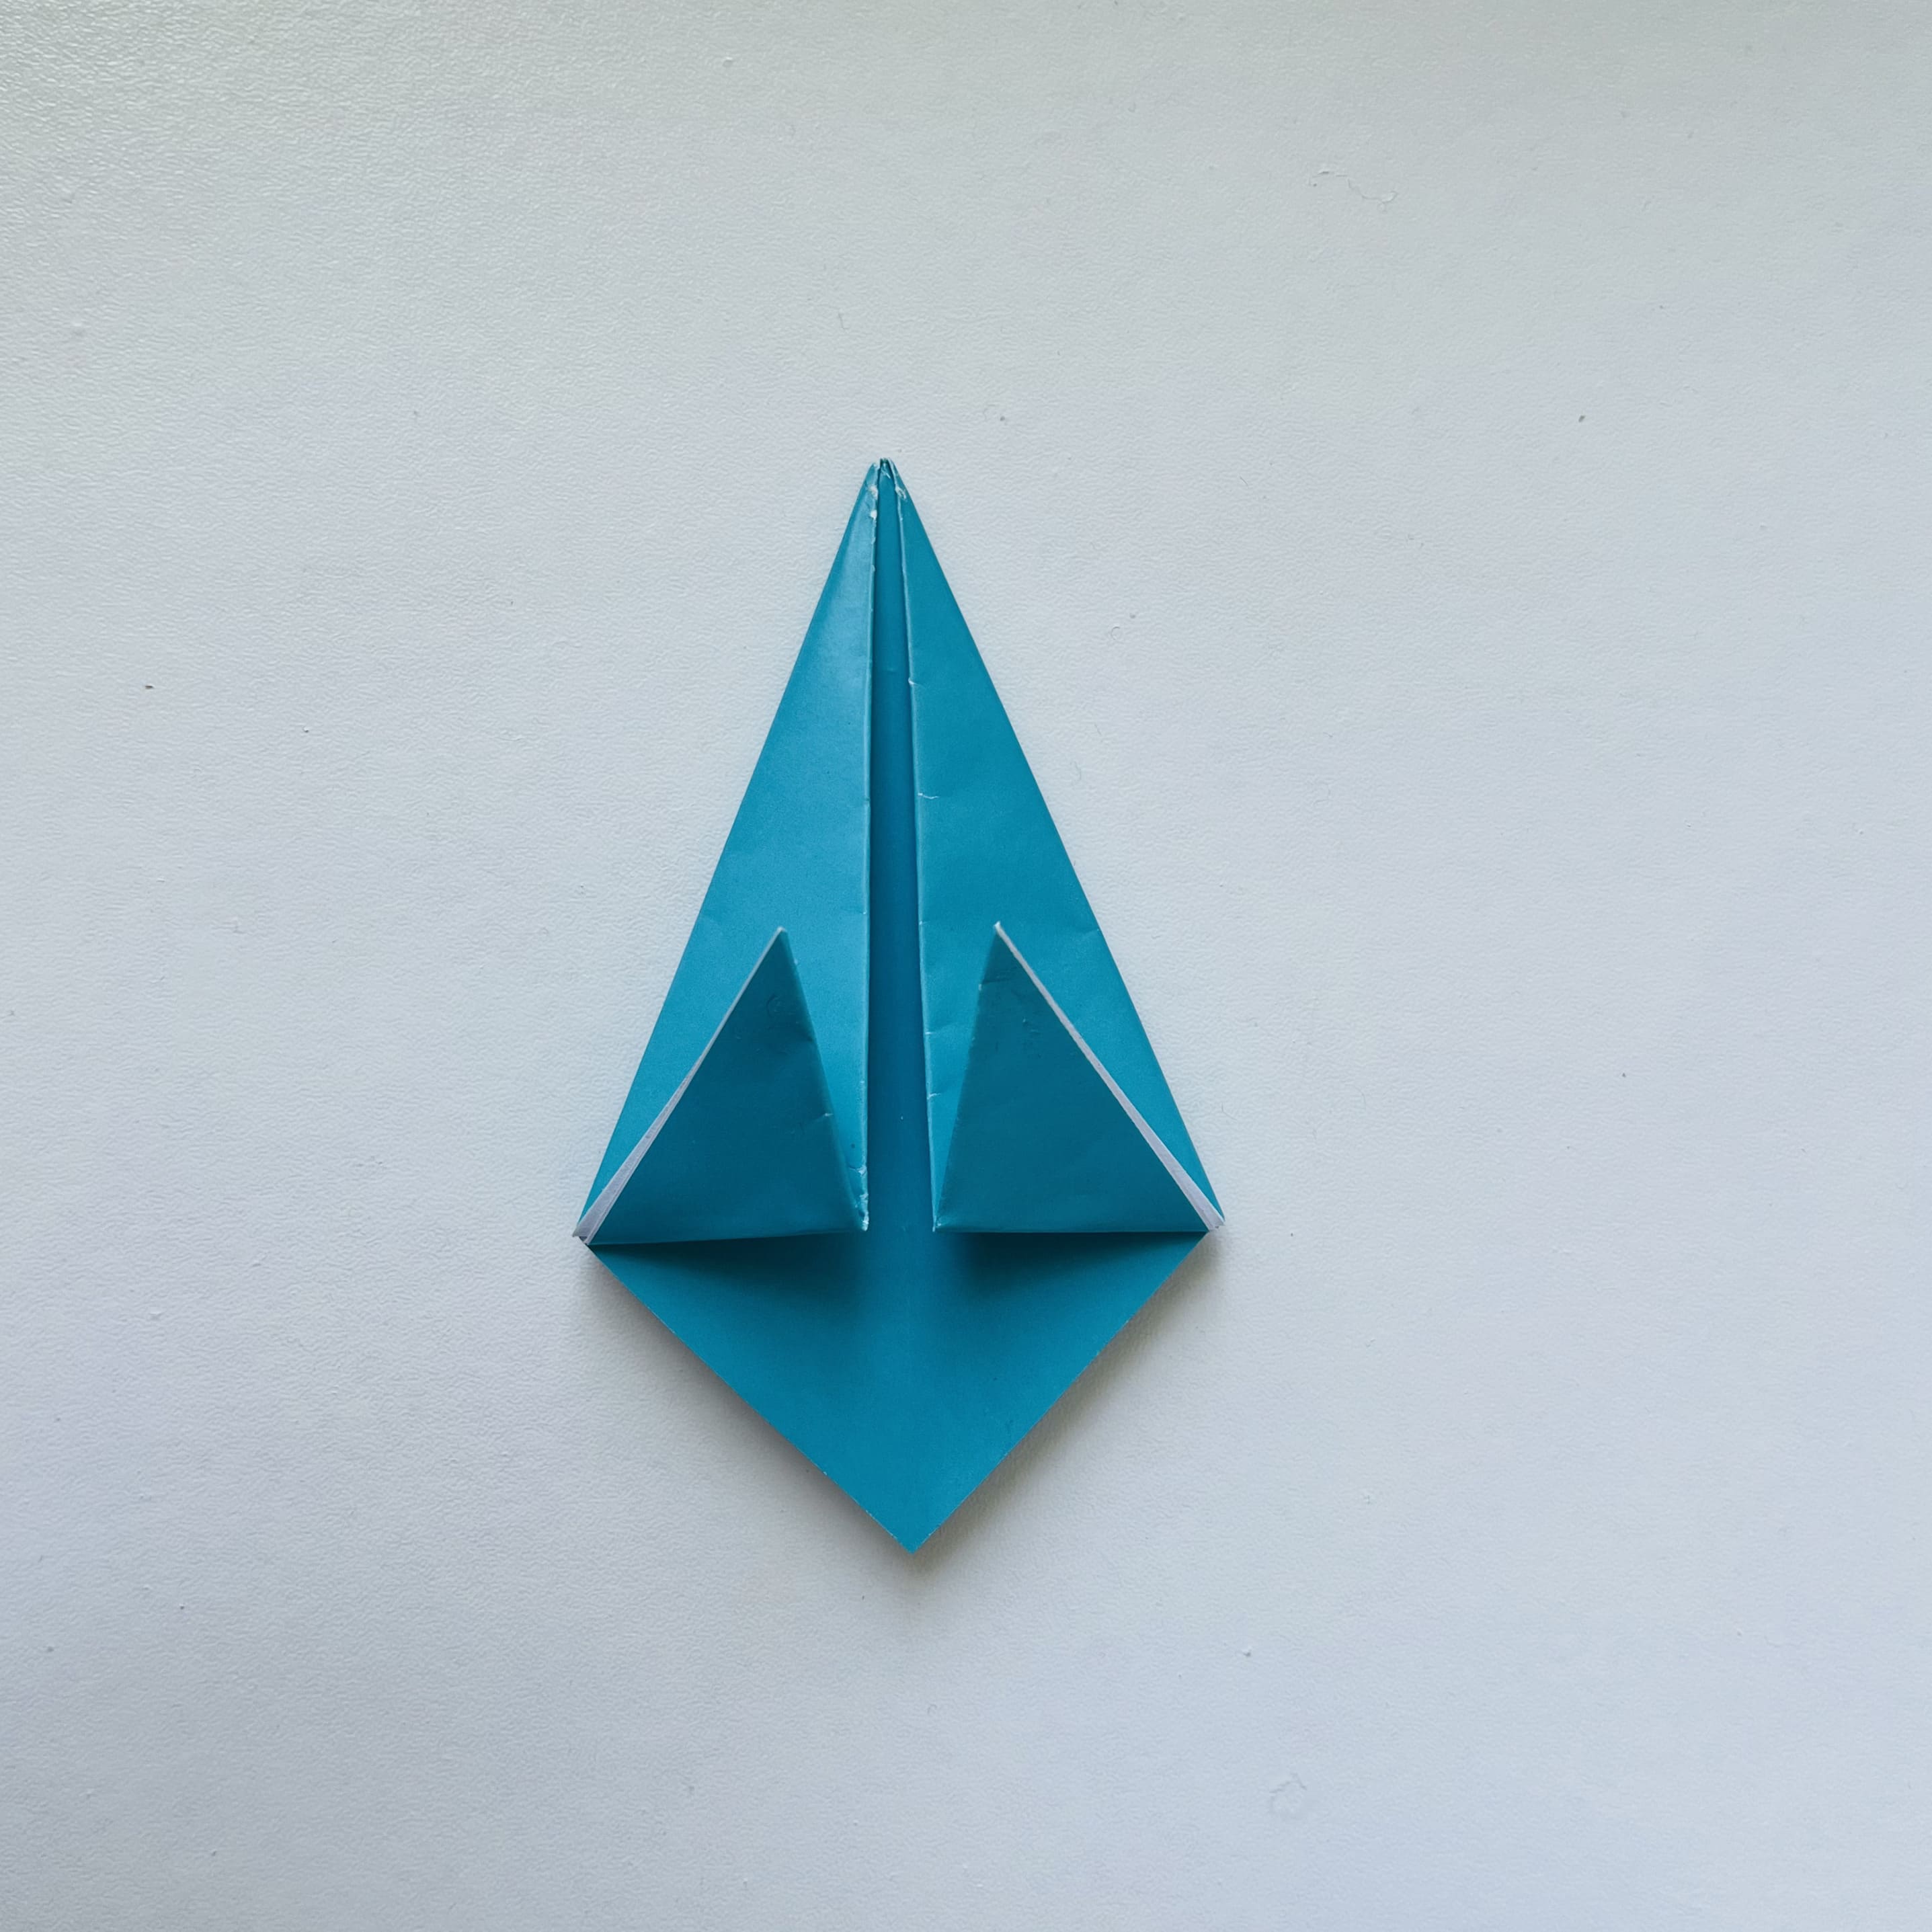
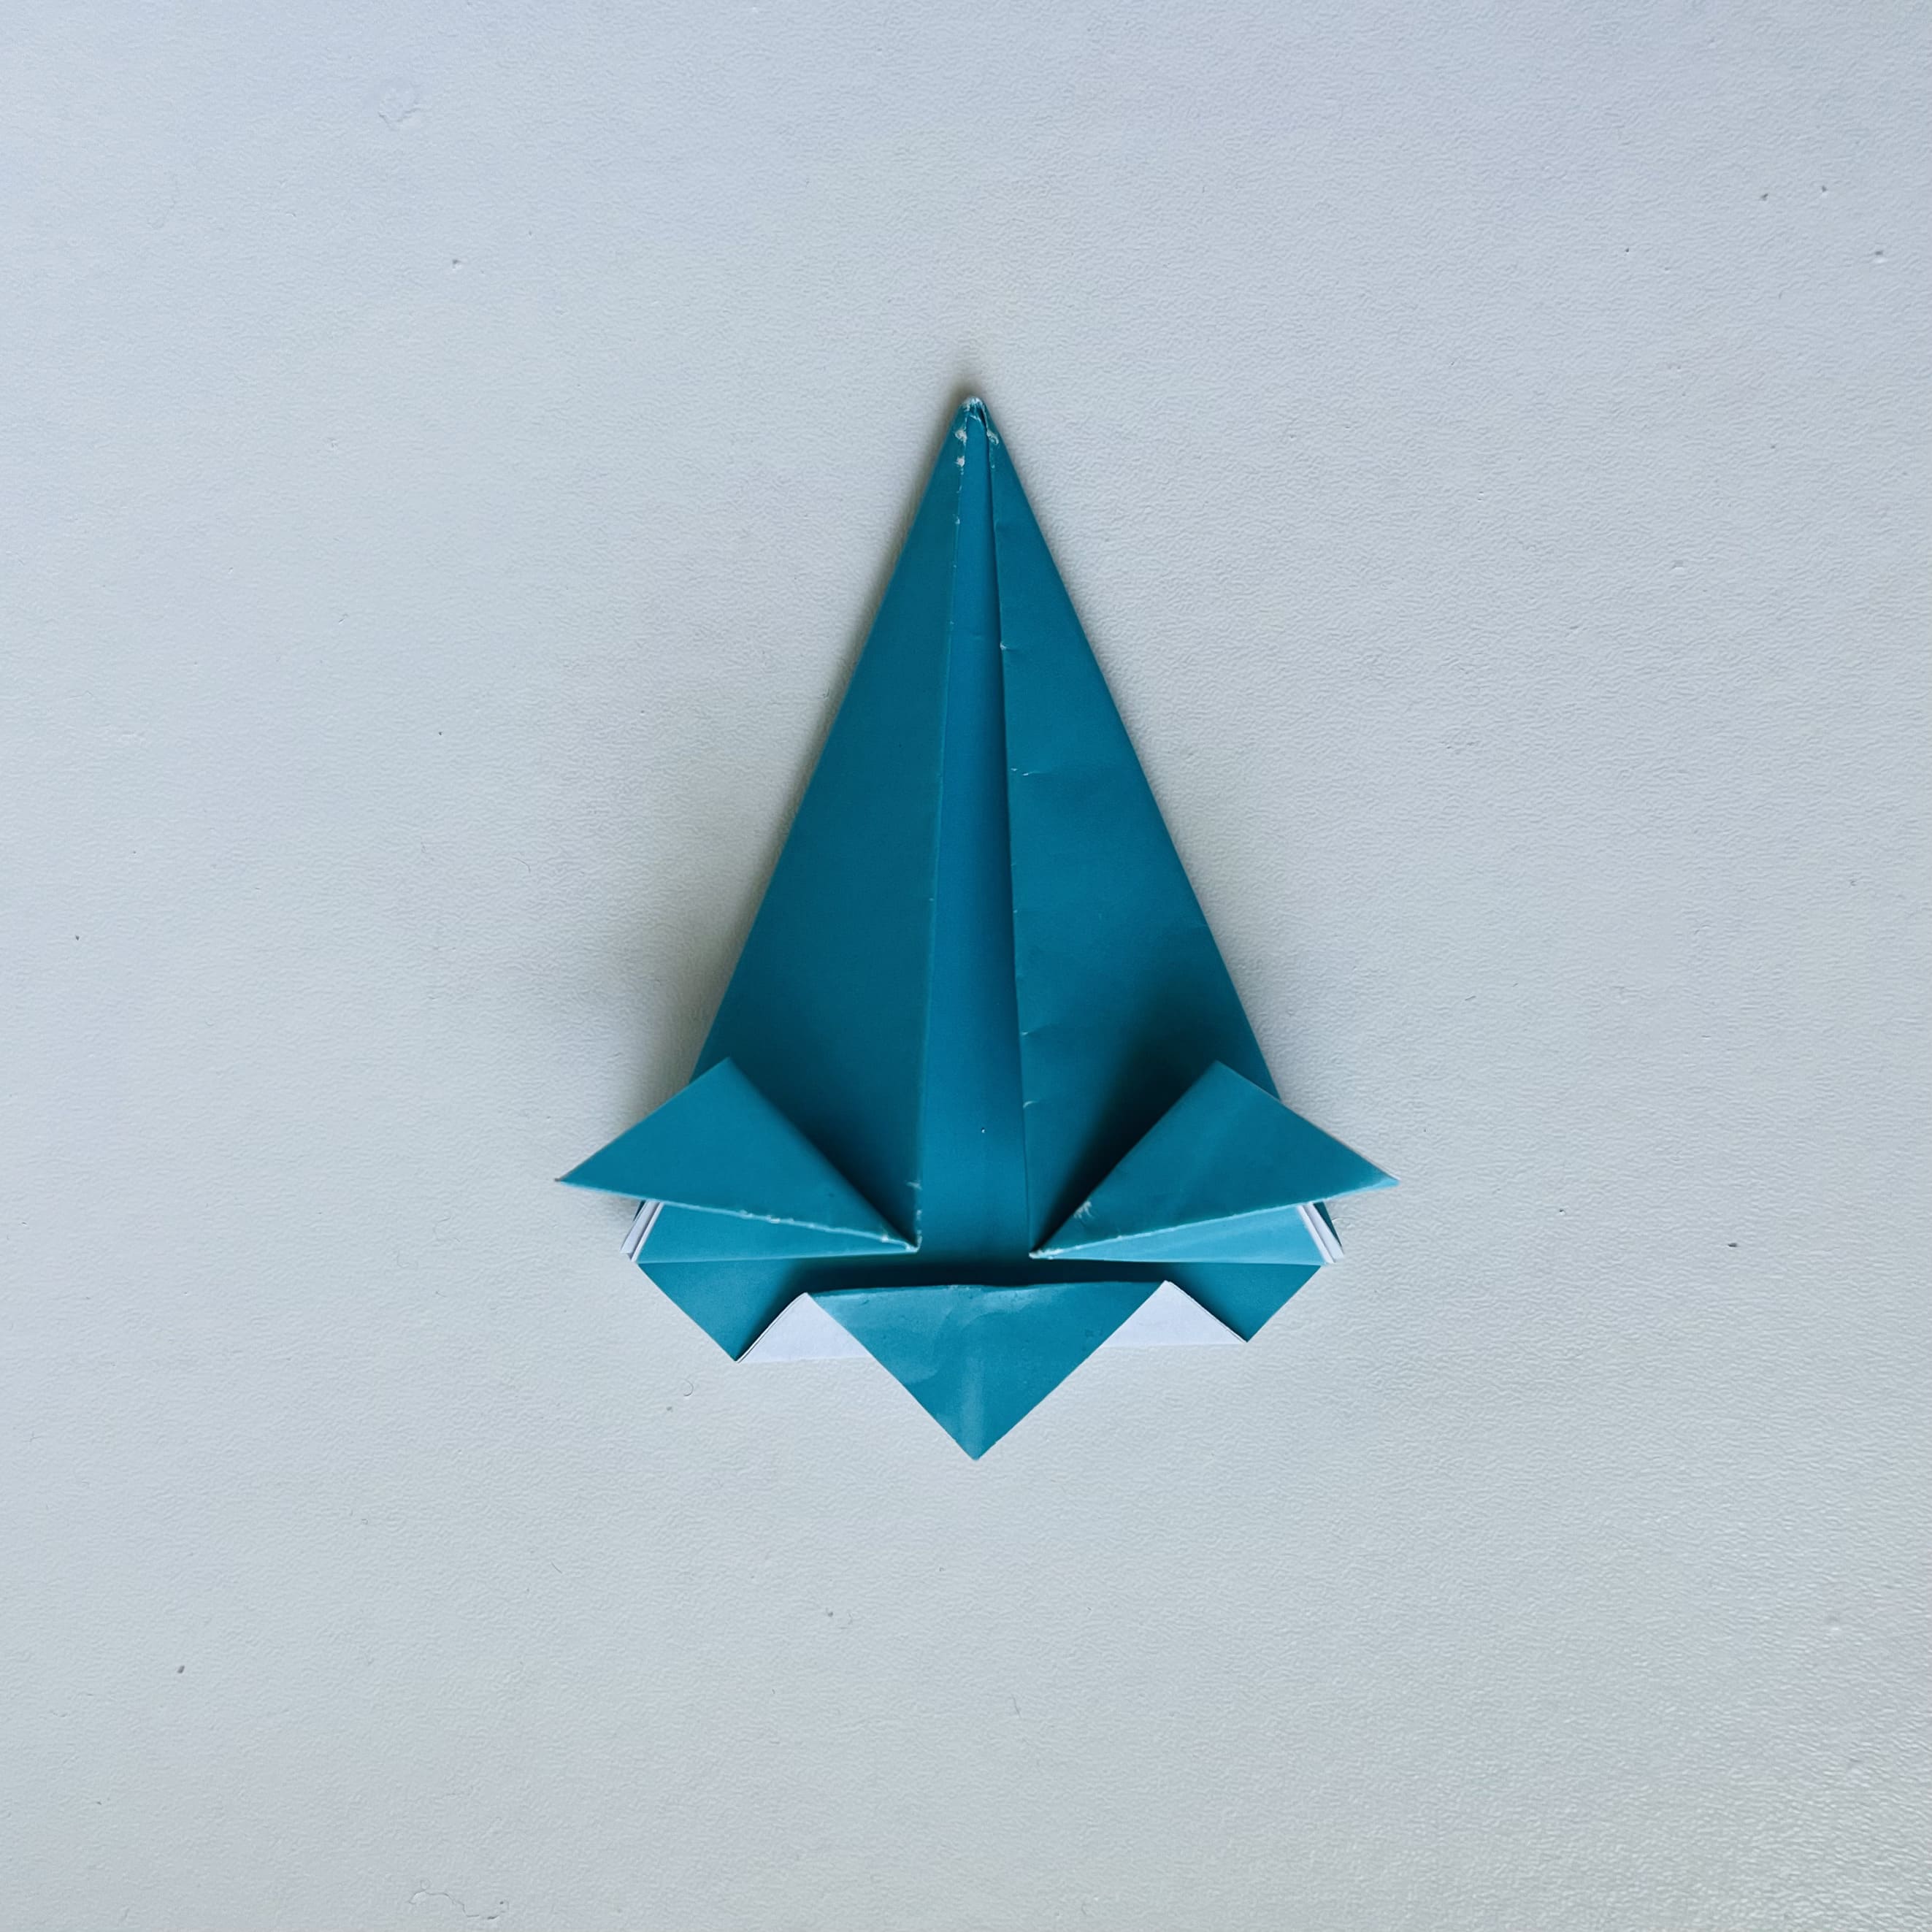
Now these corners should be bent in different directions, making a bend.
Fold the remaining triangle at the bottom upwards so that the fold line does not reach its base.
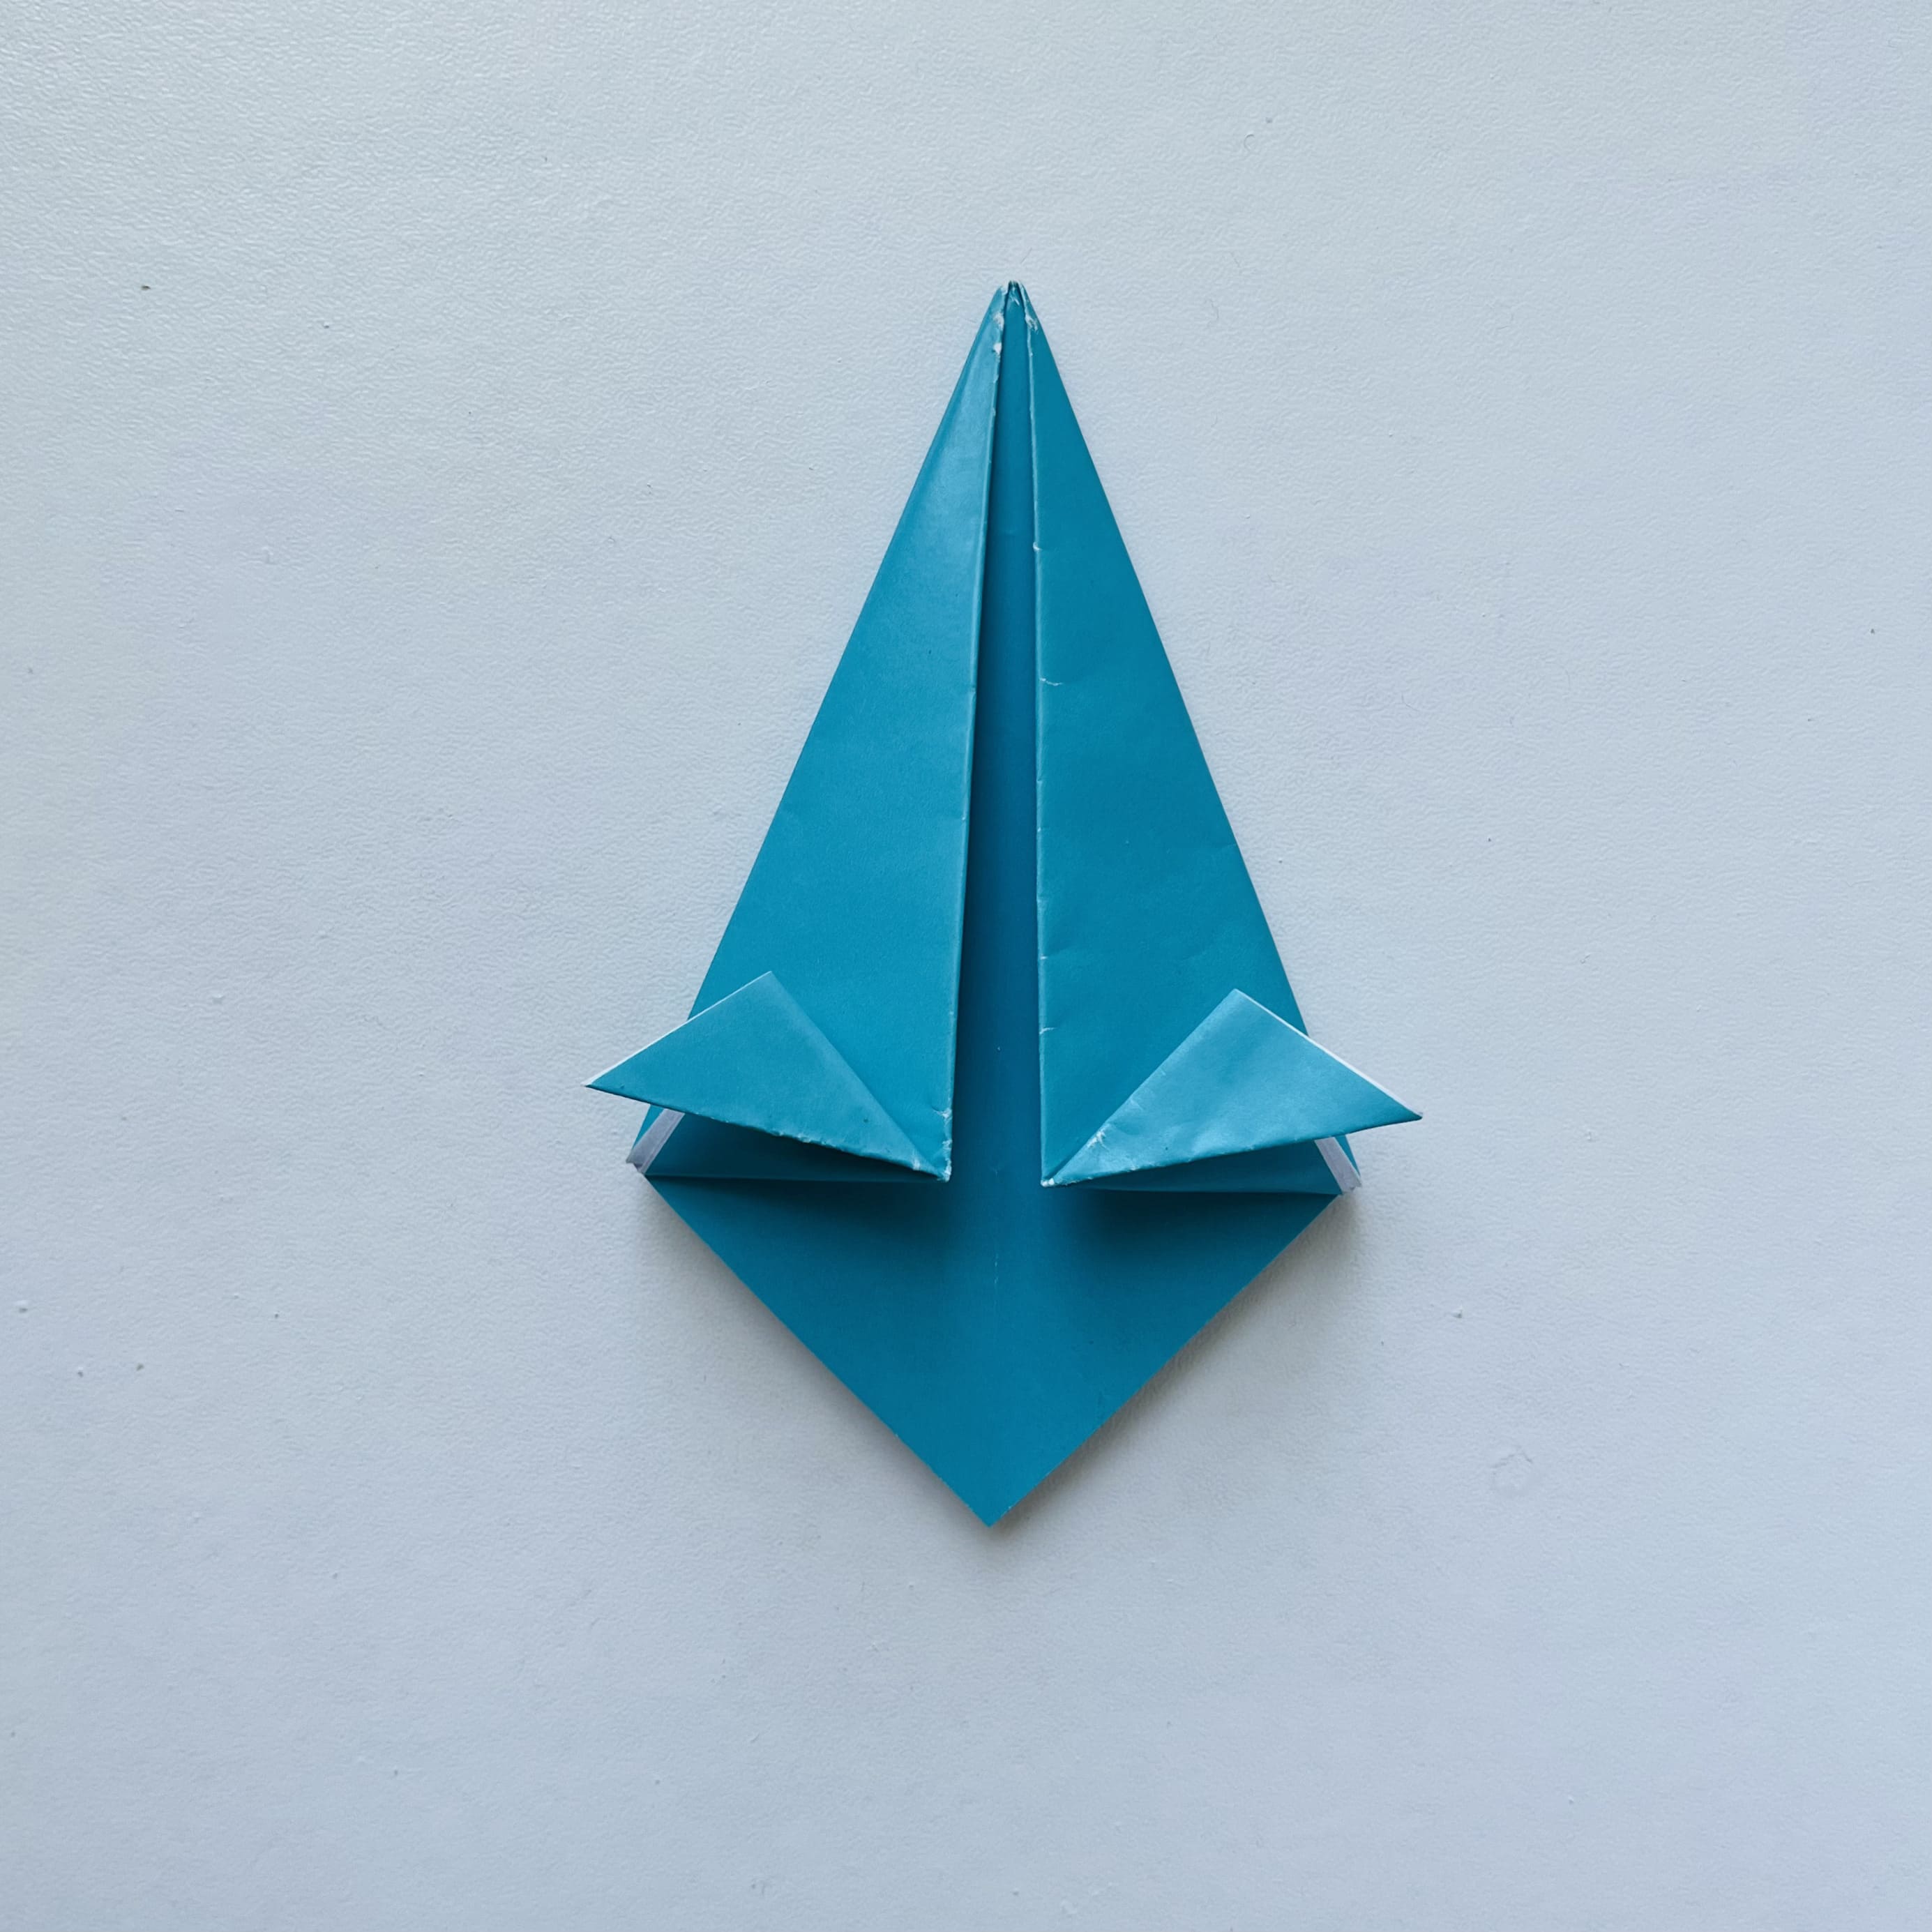
Bend the tip of the triangle downwards.
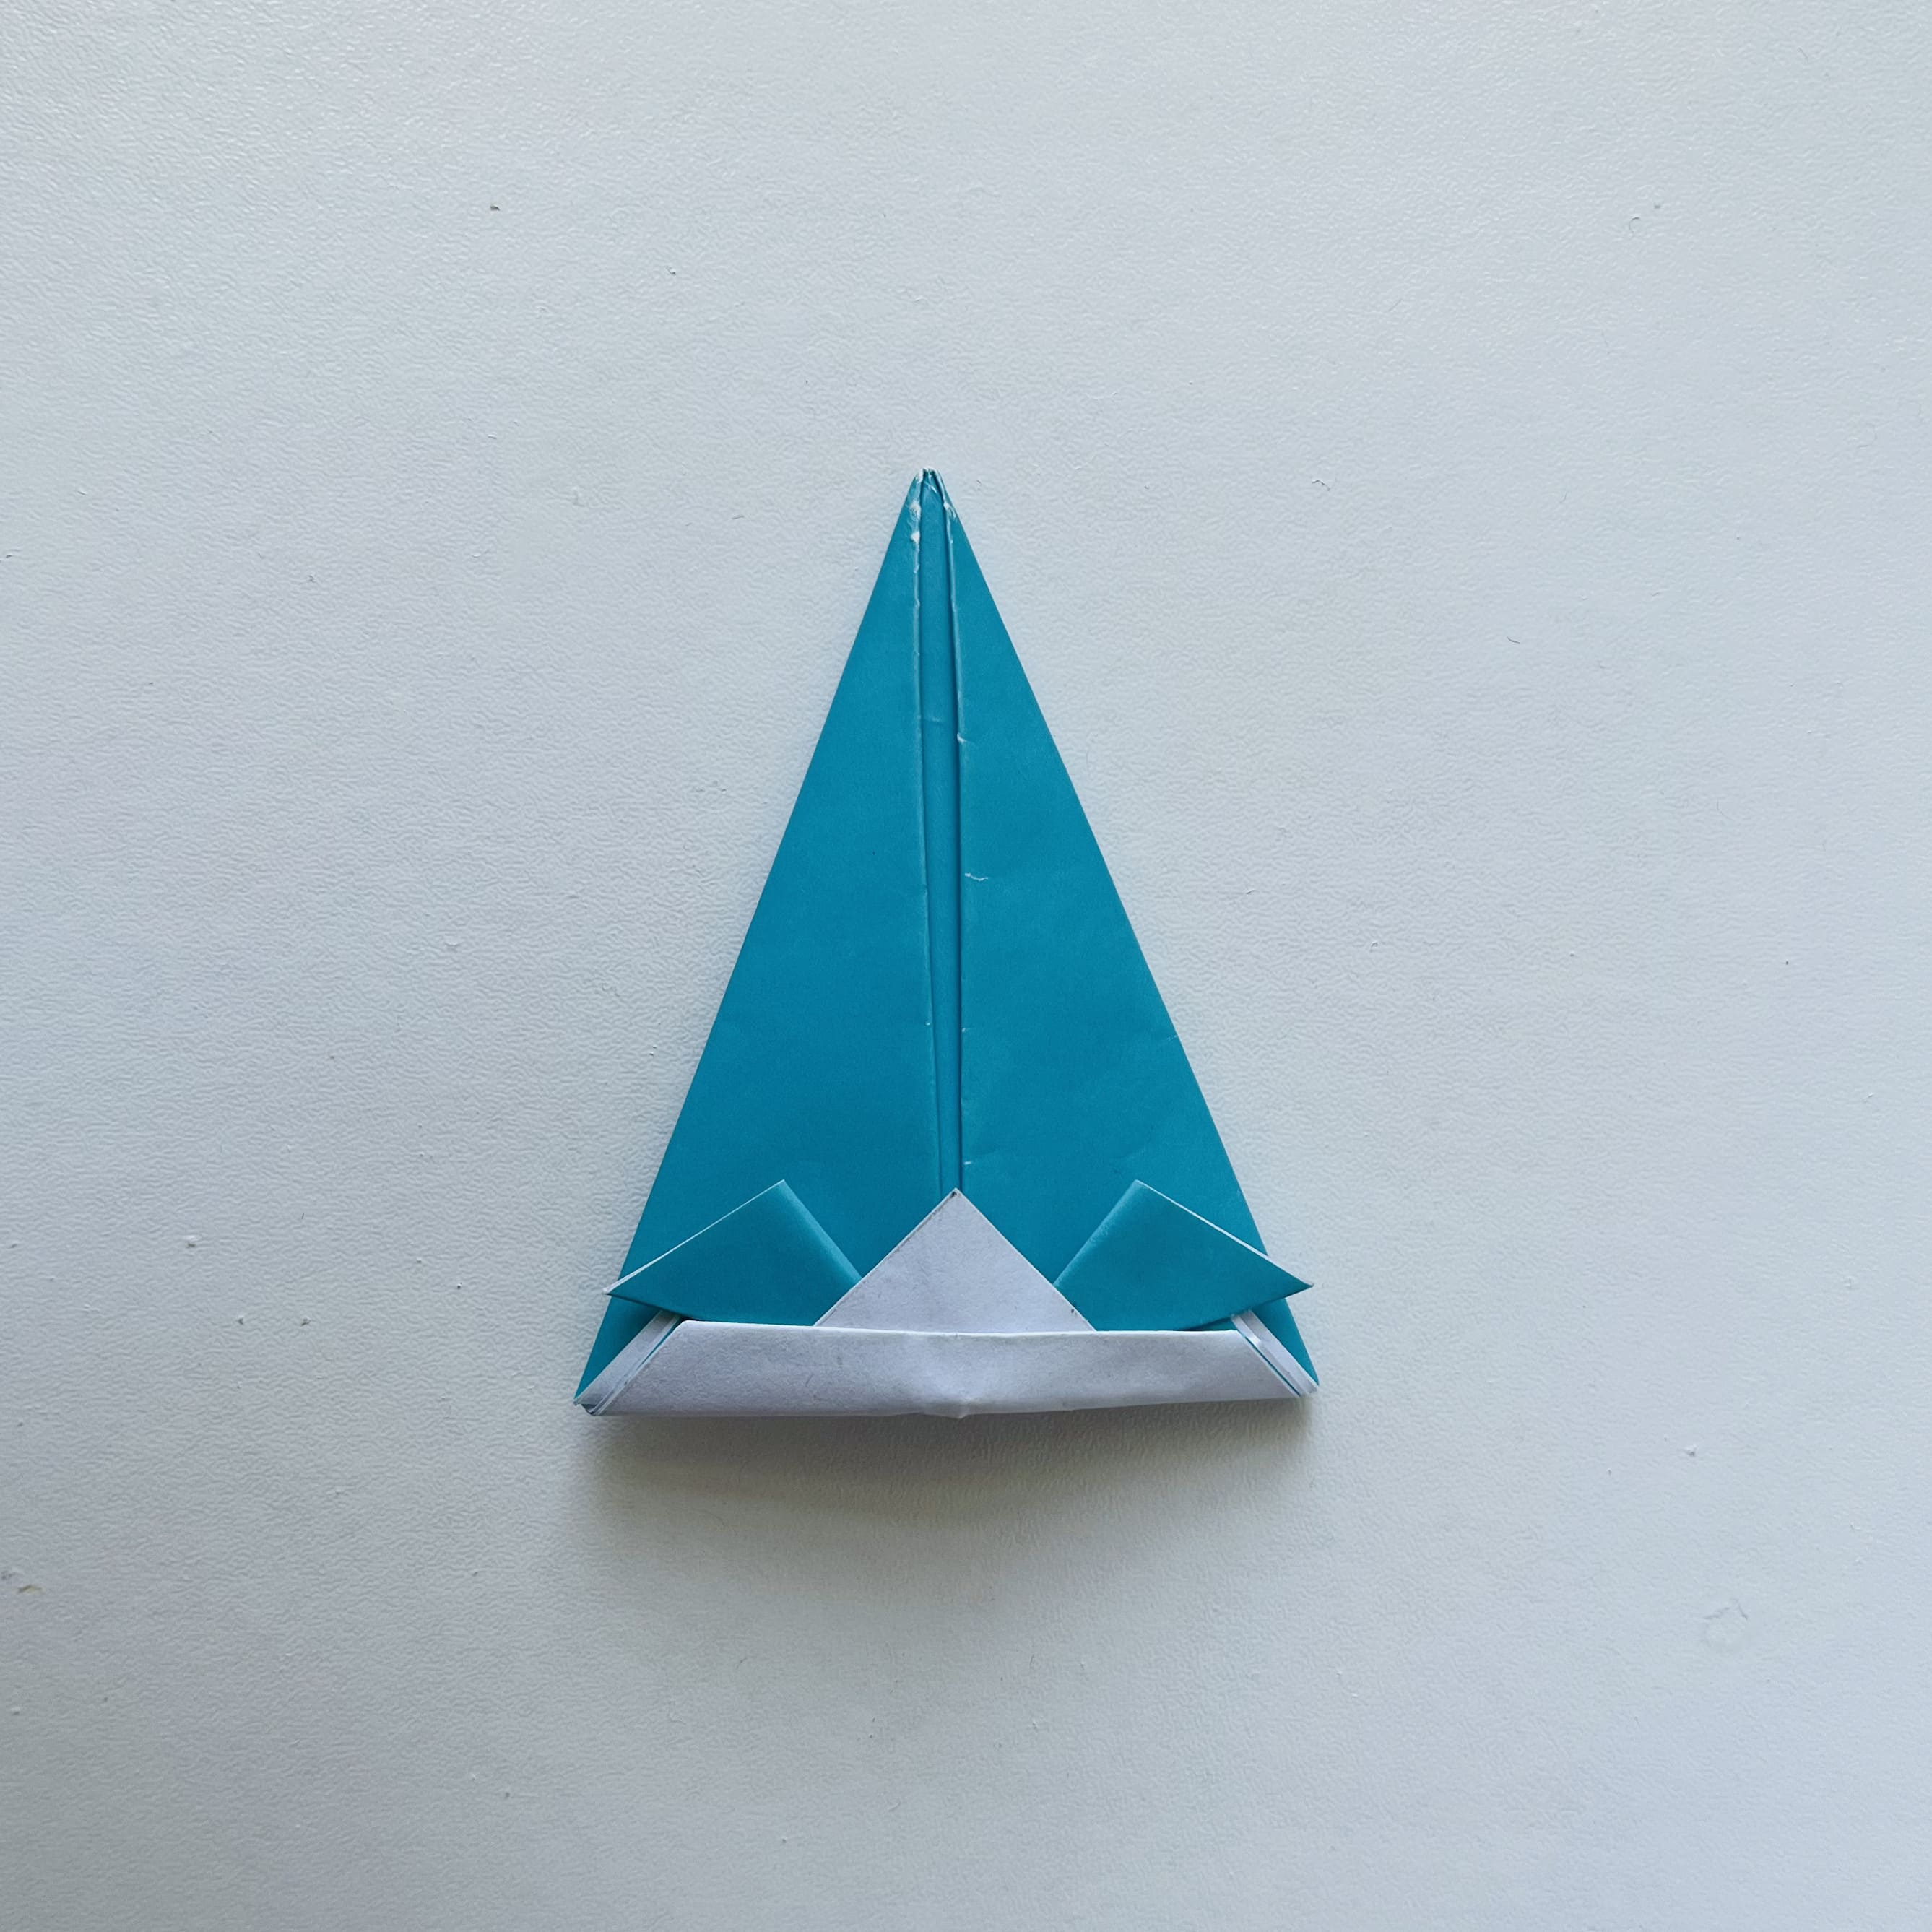
Now fold the triangle up one last time, drawing the fold line across the base.
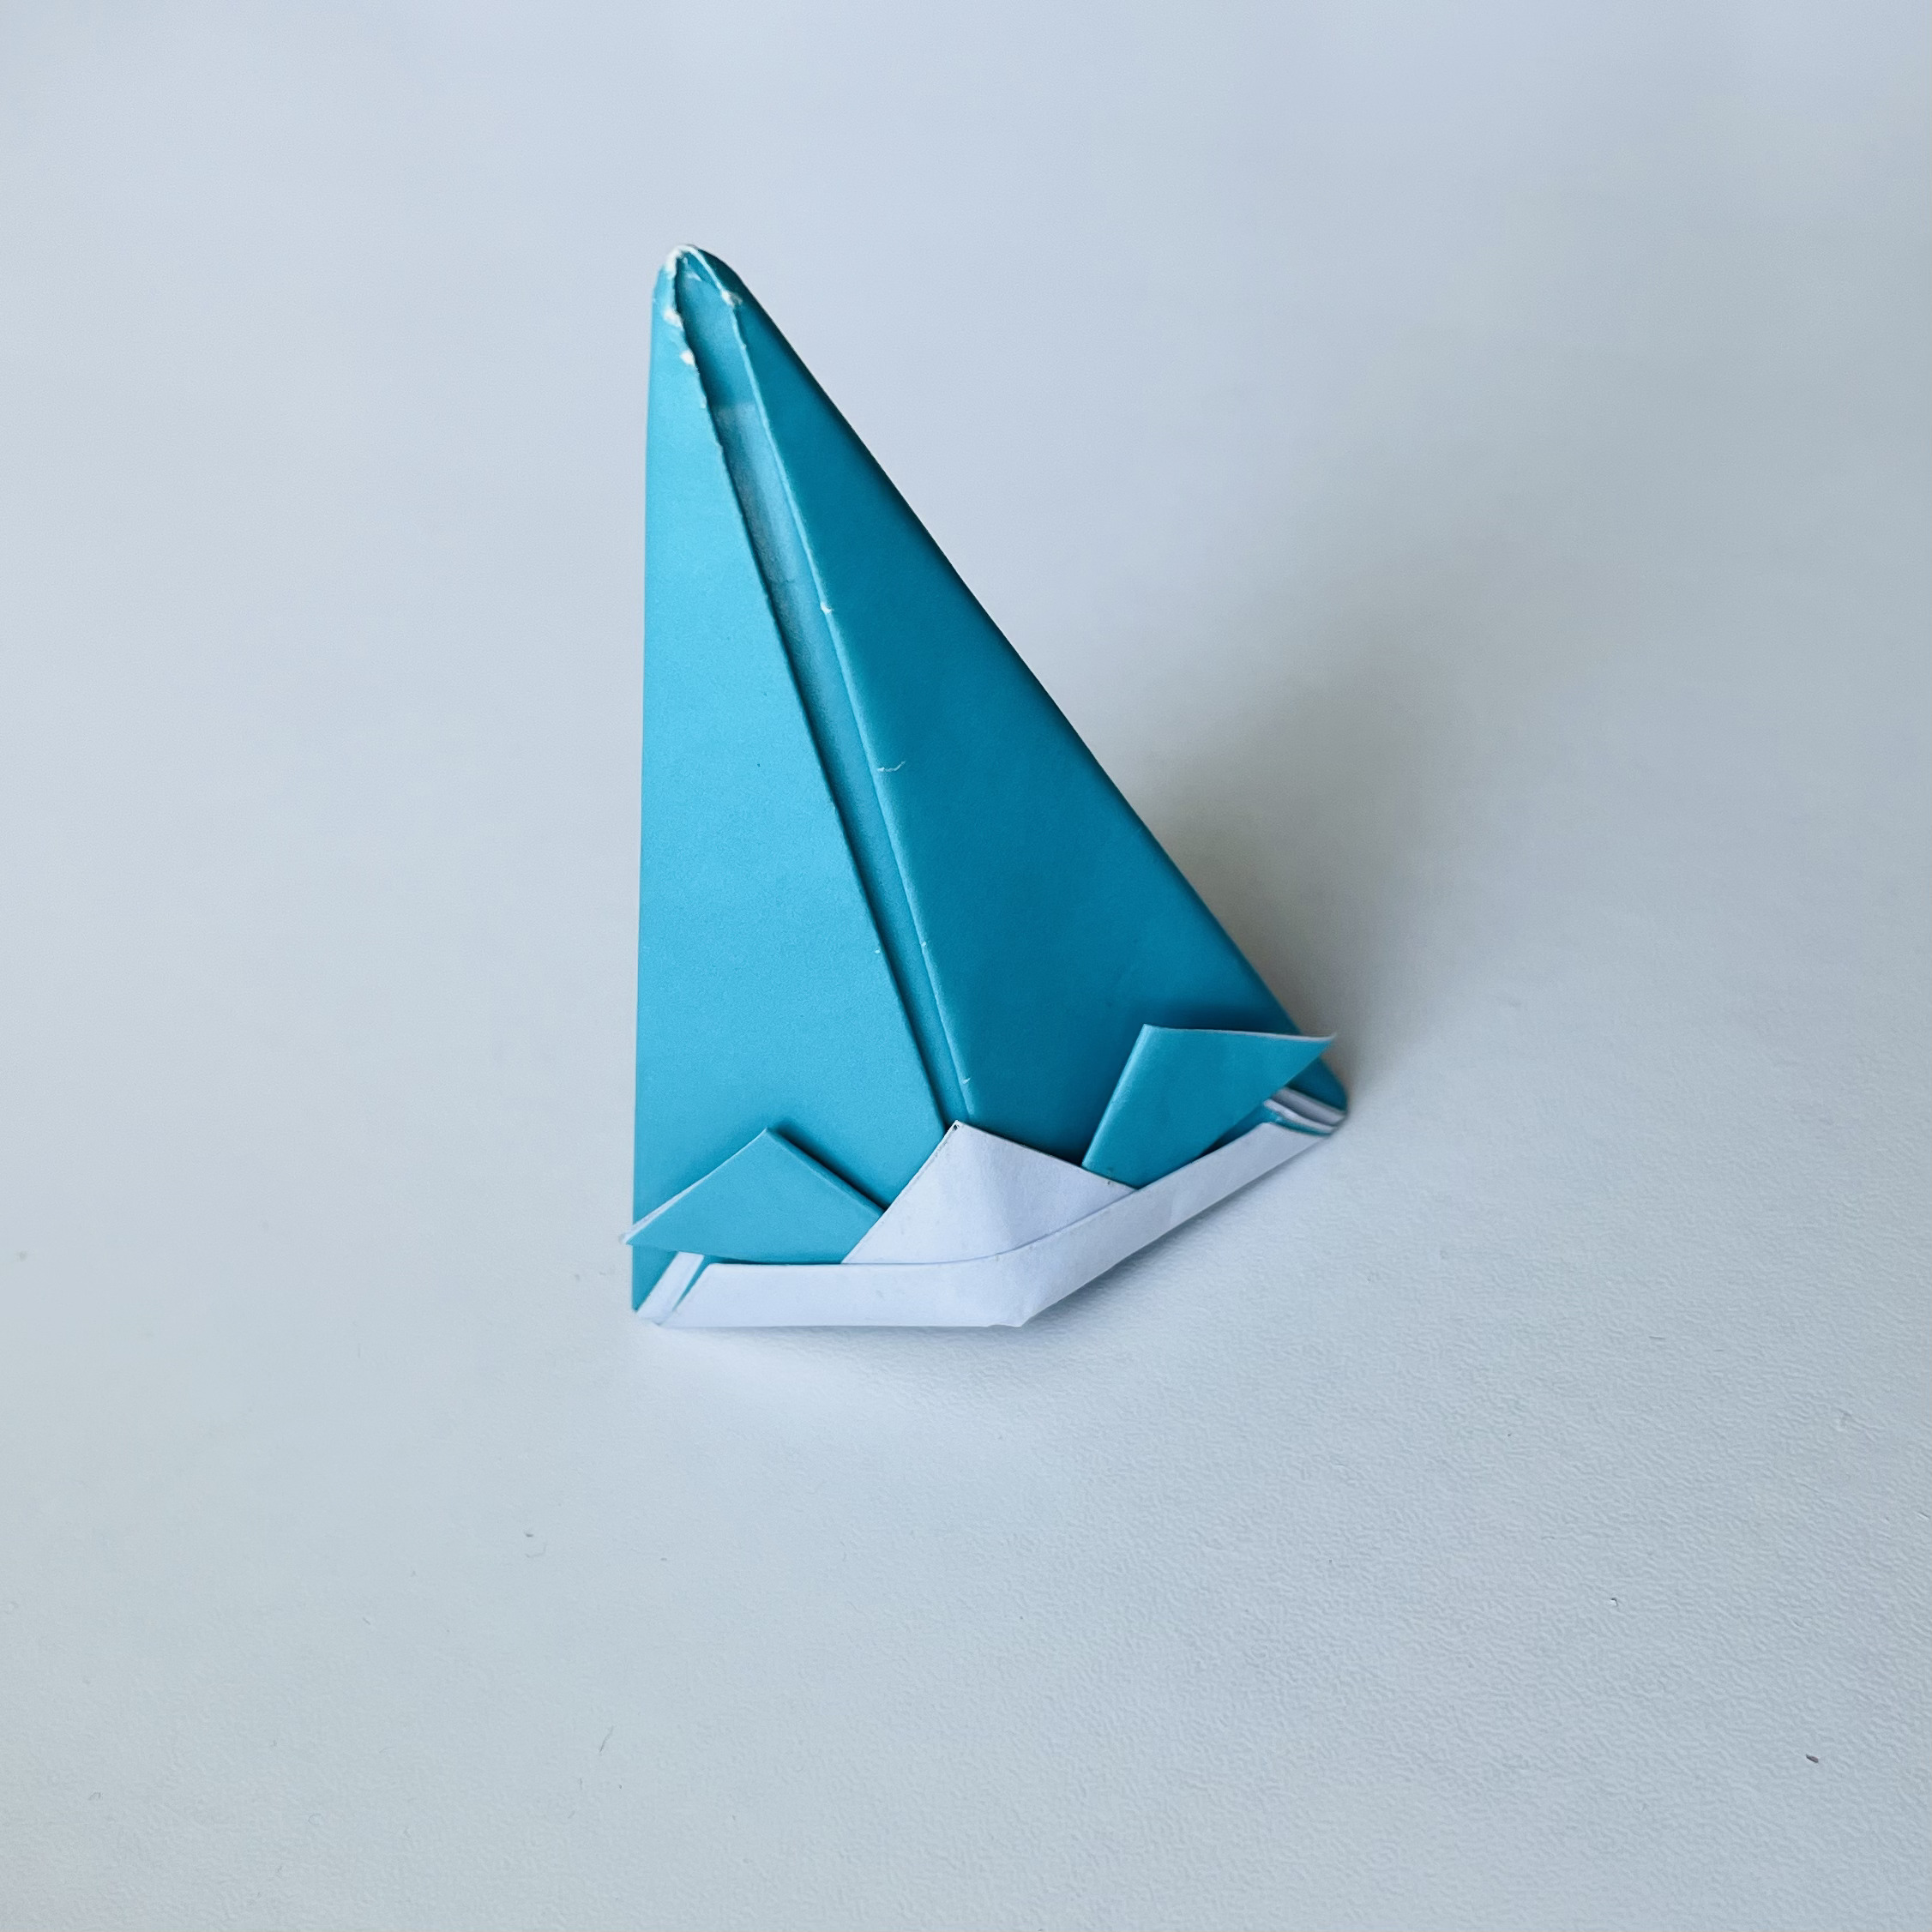
The hat is ready, and now you can use it as your imagination dictates!


