Origami Photo Frame

Today you can’t surprise anyone with a bought photo frame. But a gift made by your own hands will surely please a loved one, especially if you put your common photo there. This rather simple origami figure is a great idea both for a gift and for decorating your home.
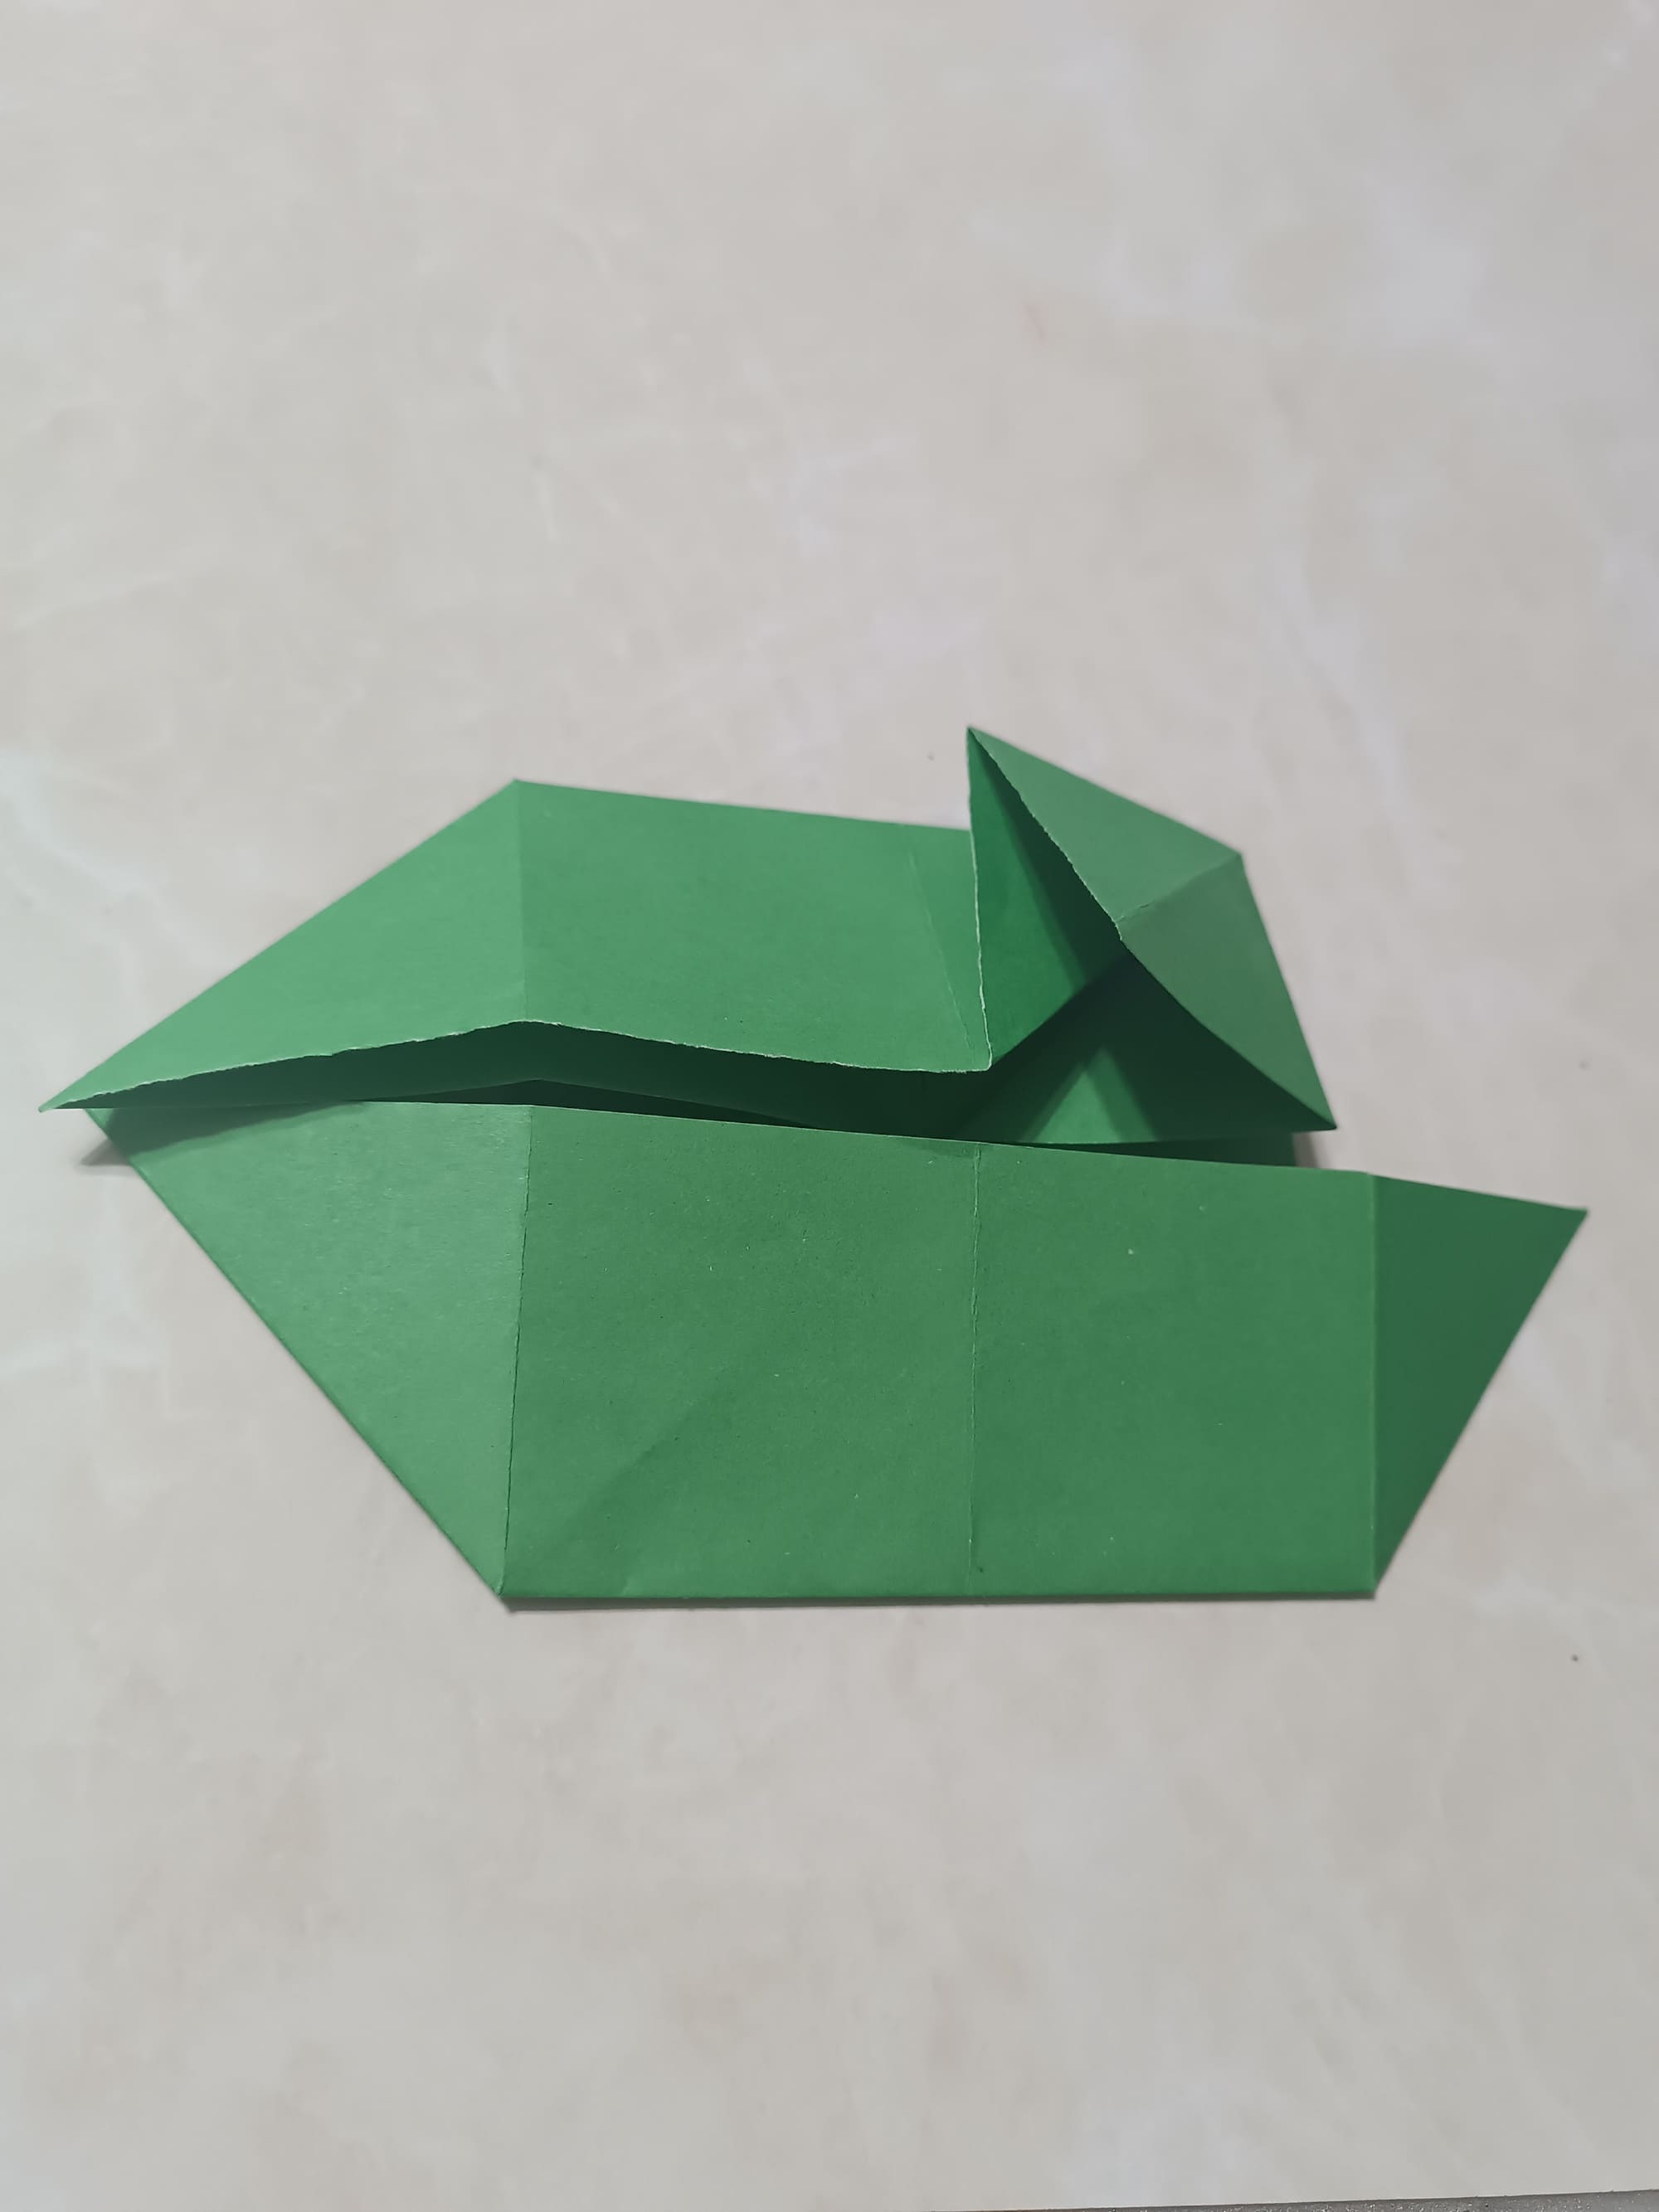
Origami Photo Frame is created based on a basic figure – Boat Base.
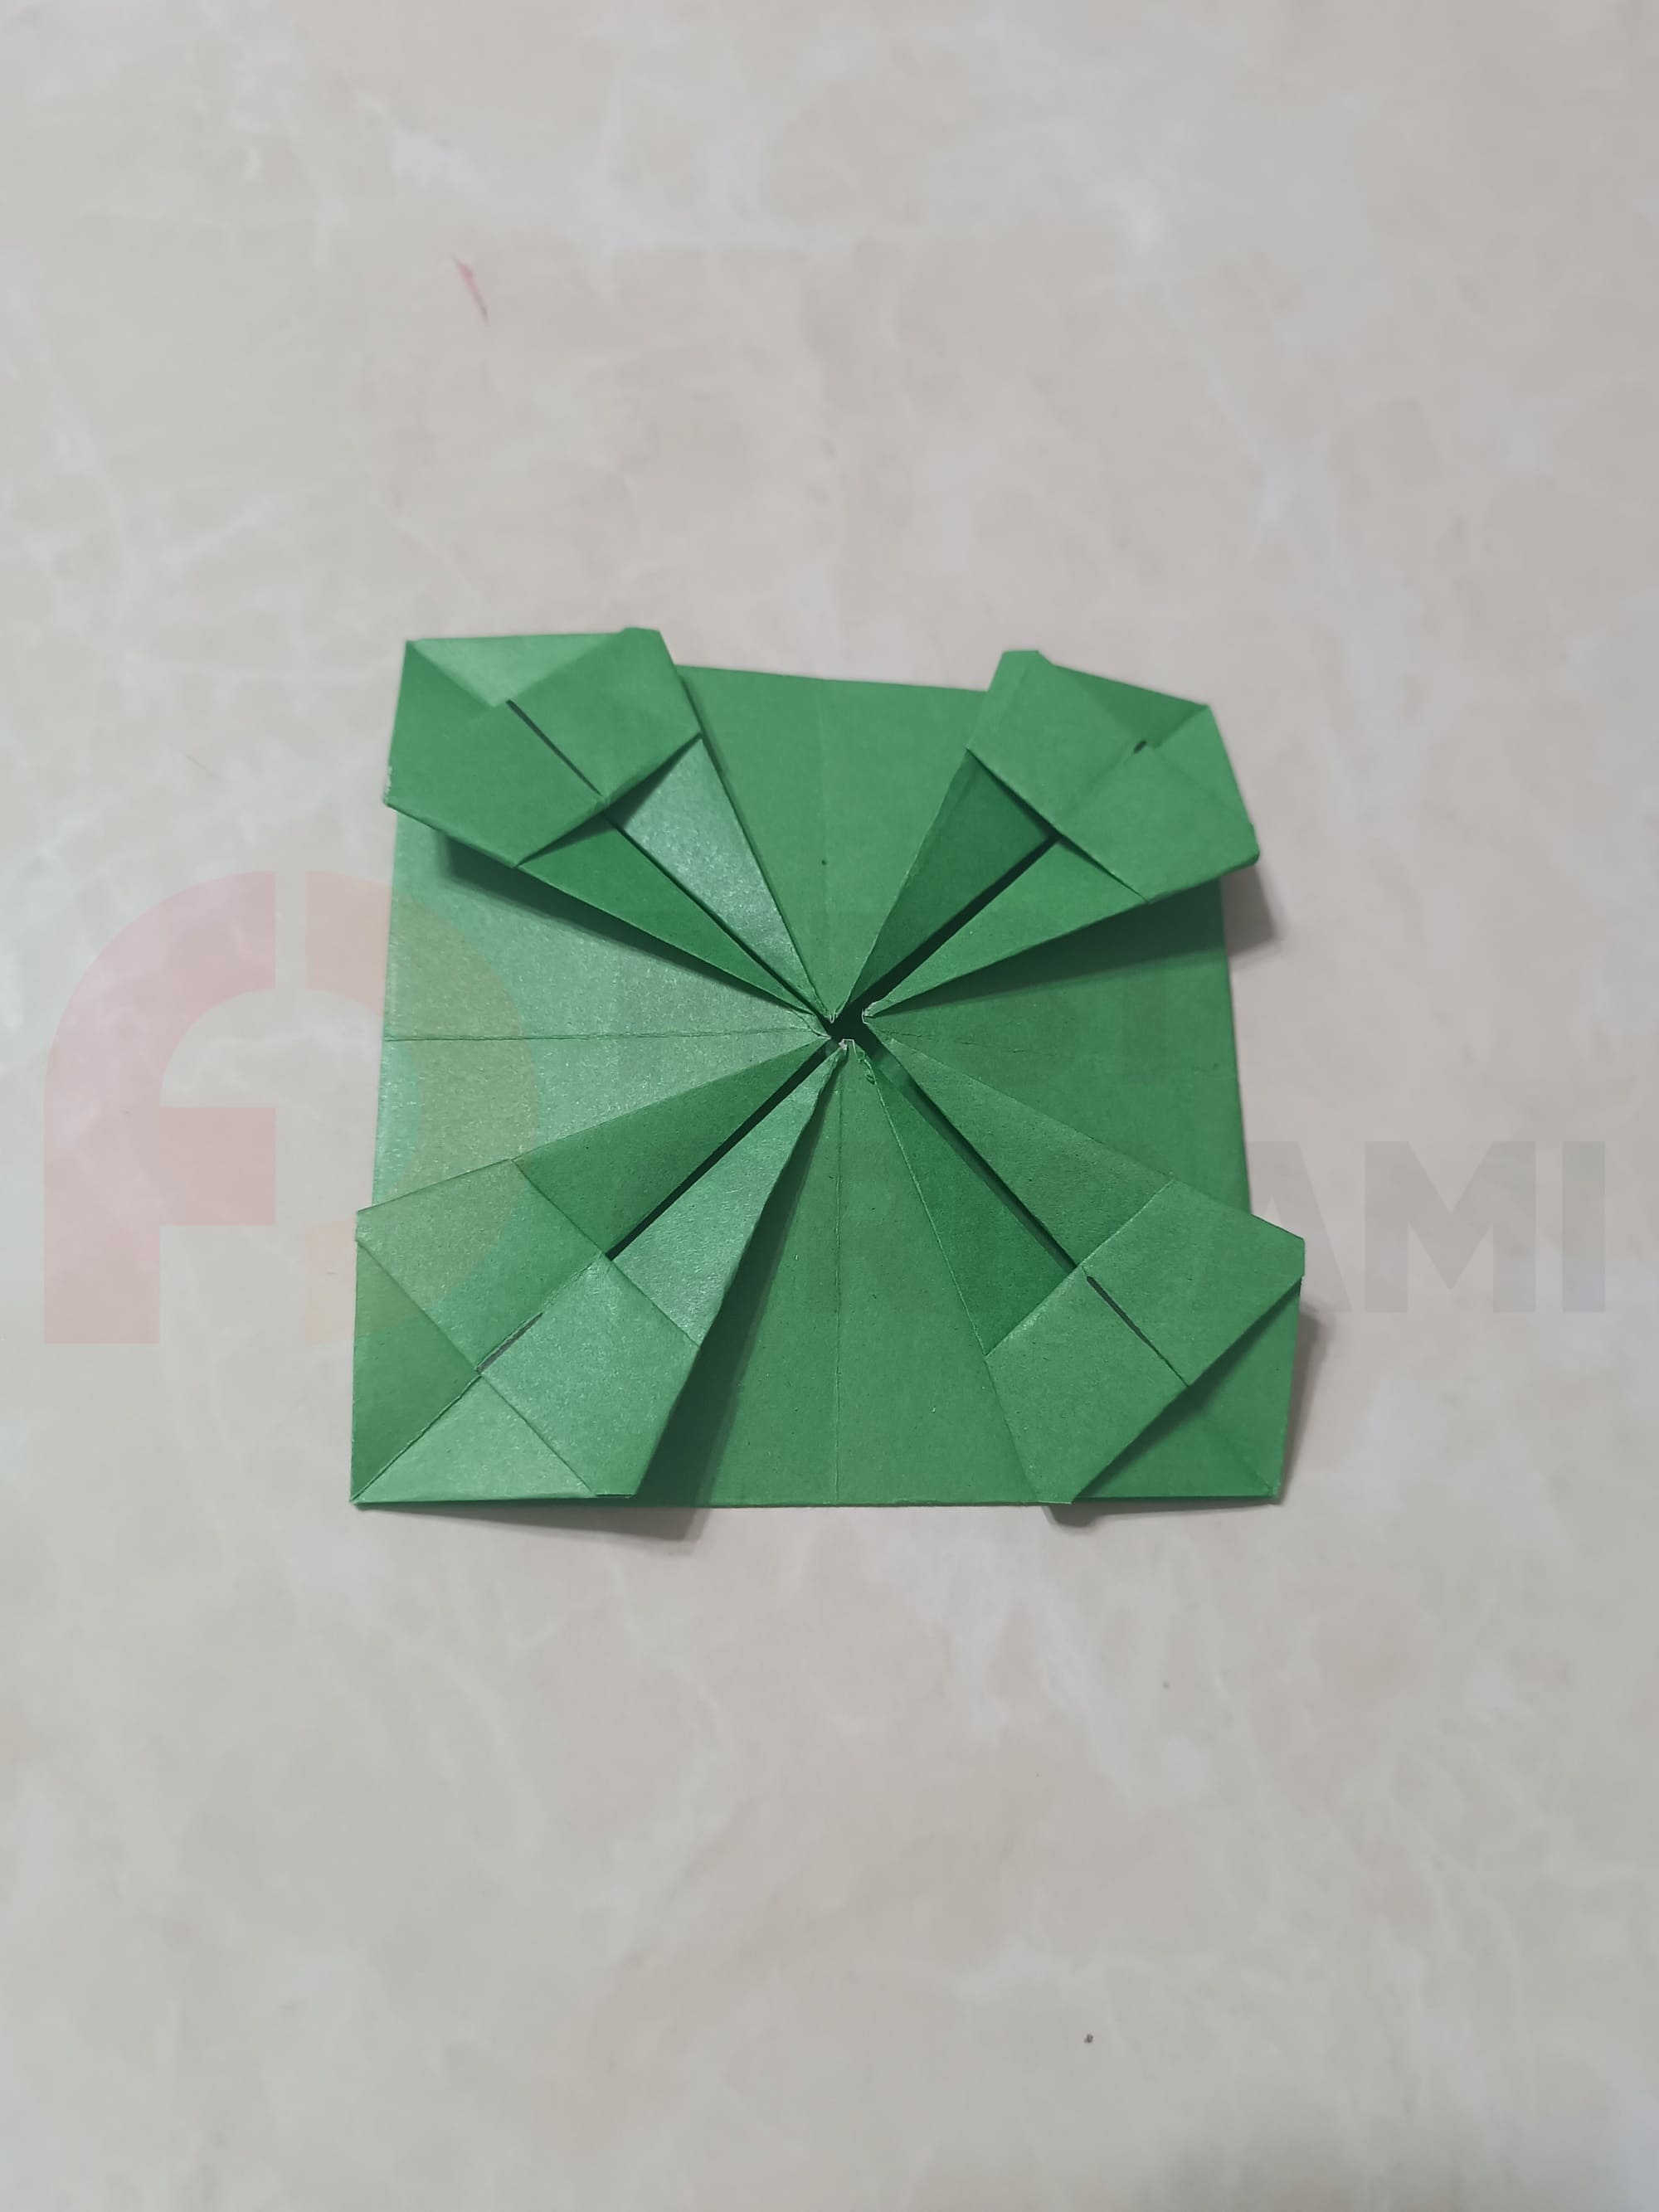
On the finished base, make a squash fold in the top right corner. Now fold back the paper, fold it diagonally, and press, carefully aligning the edges.
Repeat the steps from Step 1-2 for the remaining 3 corners of your piece so that you have a design like the photo.
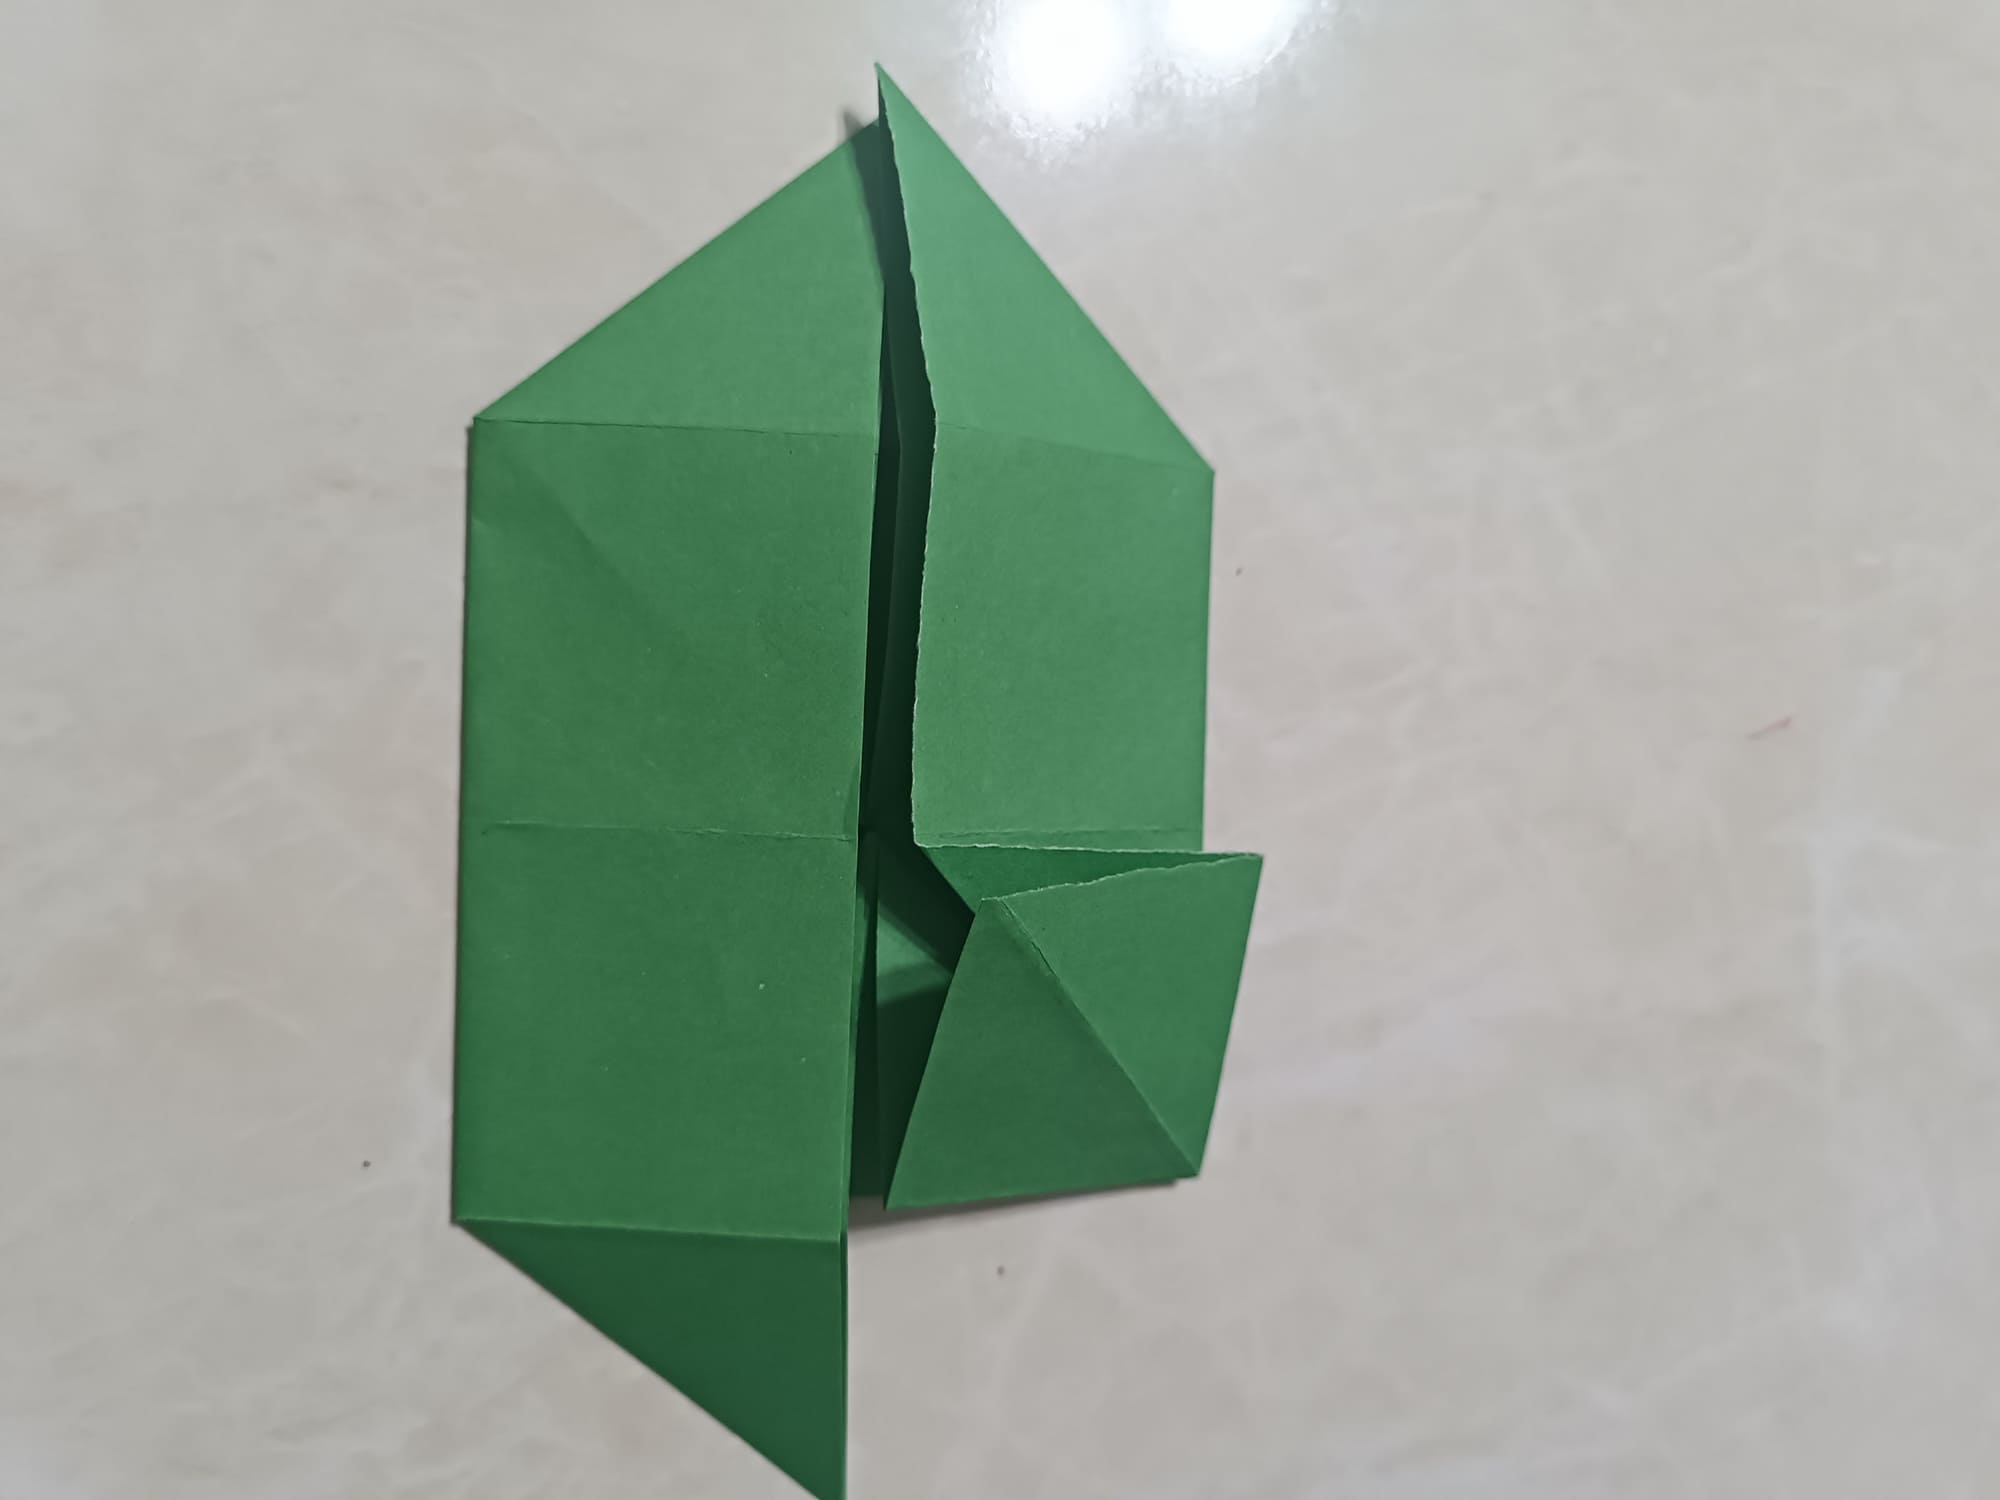
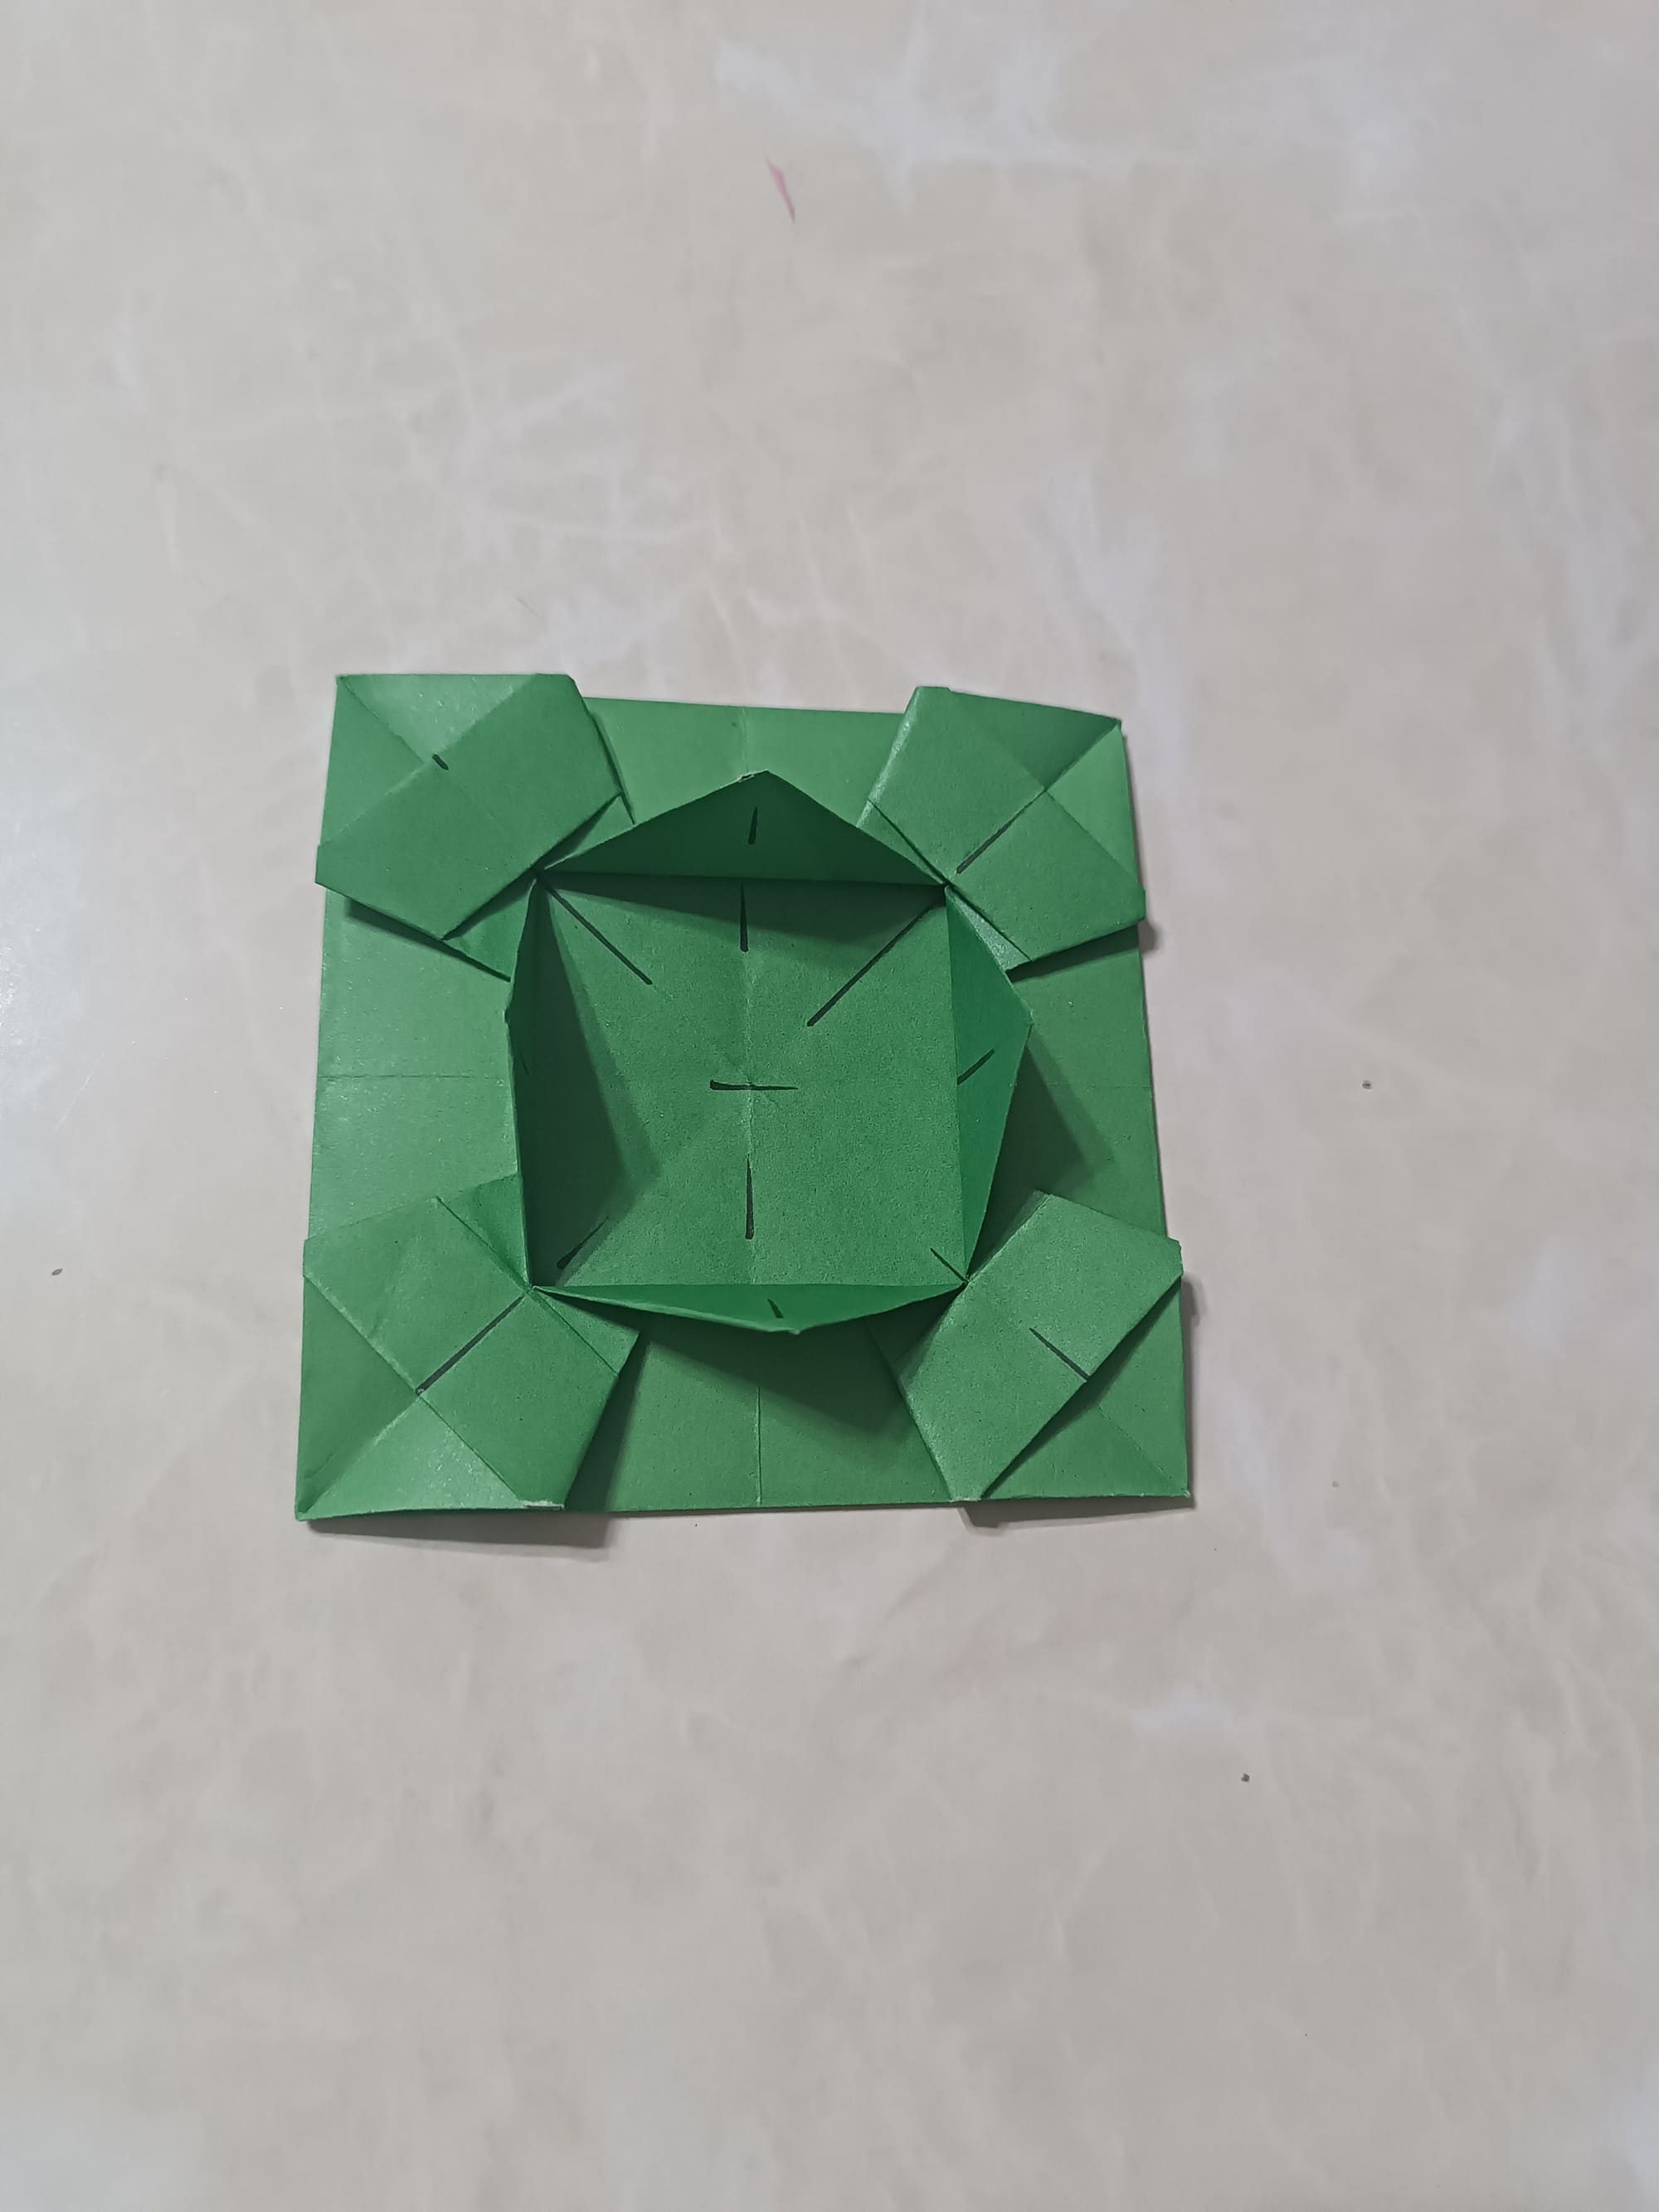
Now make a fold in the top right corner along the dotted line in the photo. Iron the fold lines well and unfold.
Now fold the tip of your product so that it matches the fold you just made.
Repeat the fold, in the “toward you” direction.
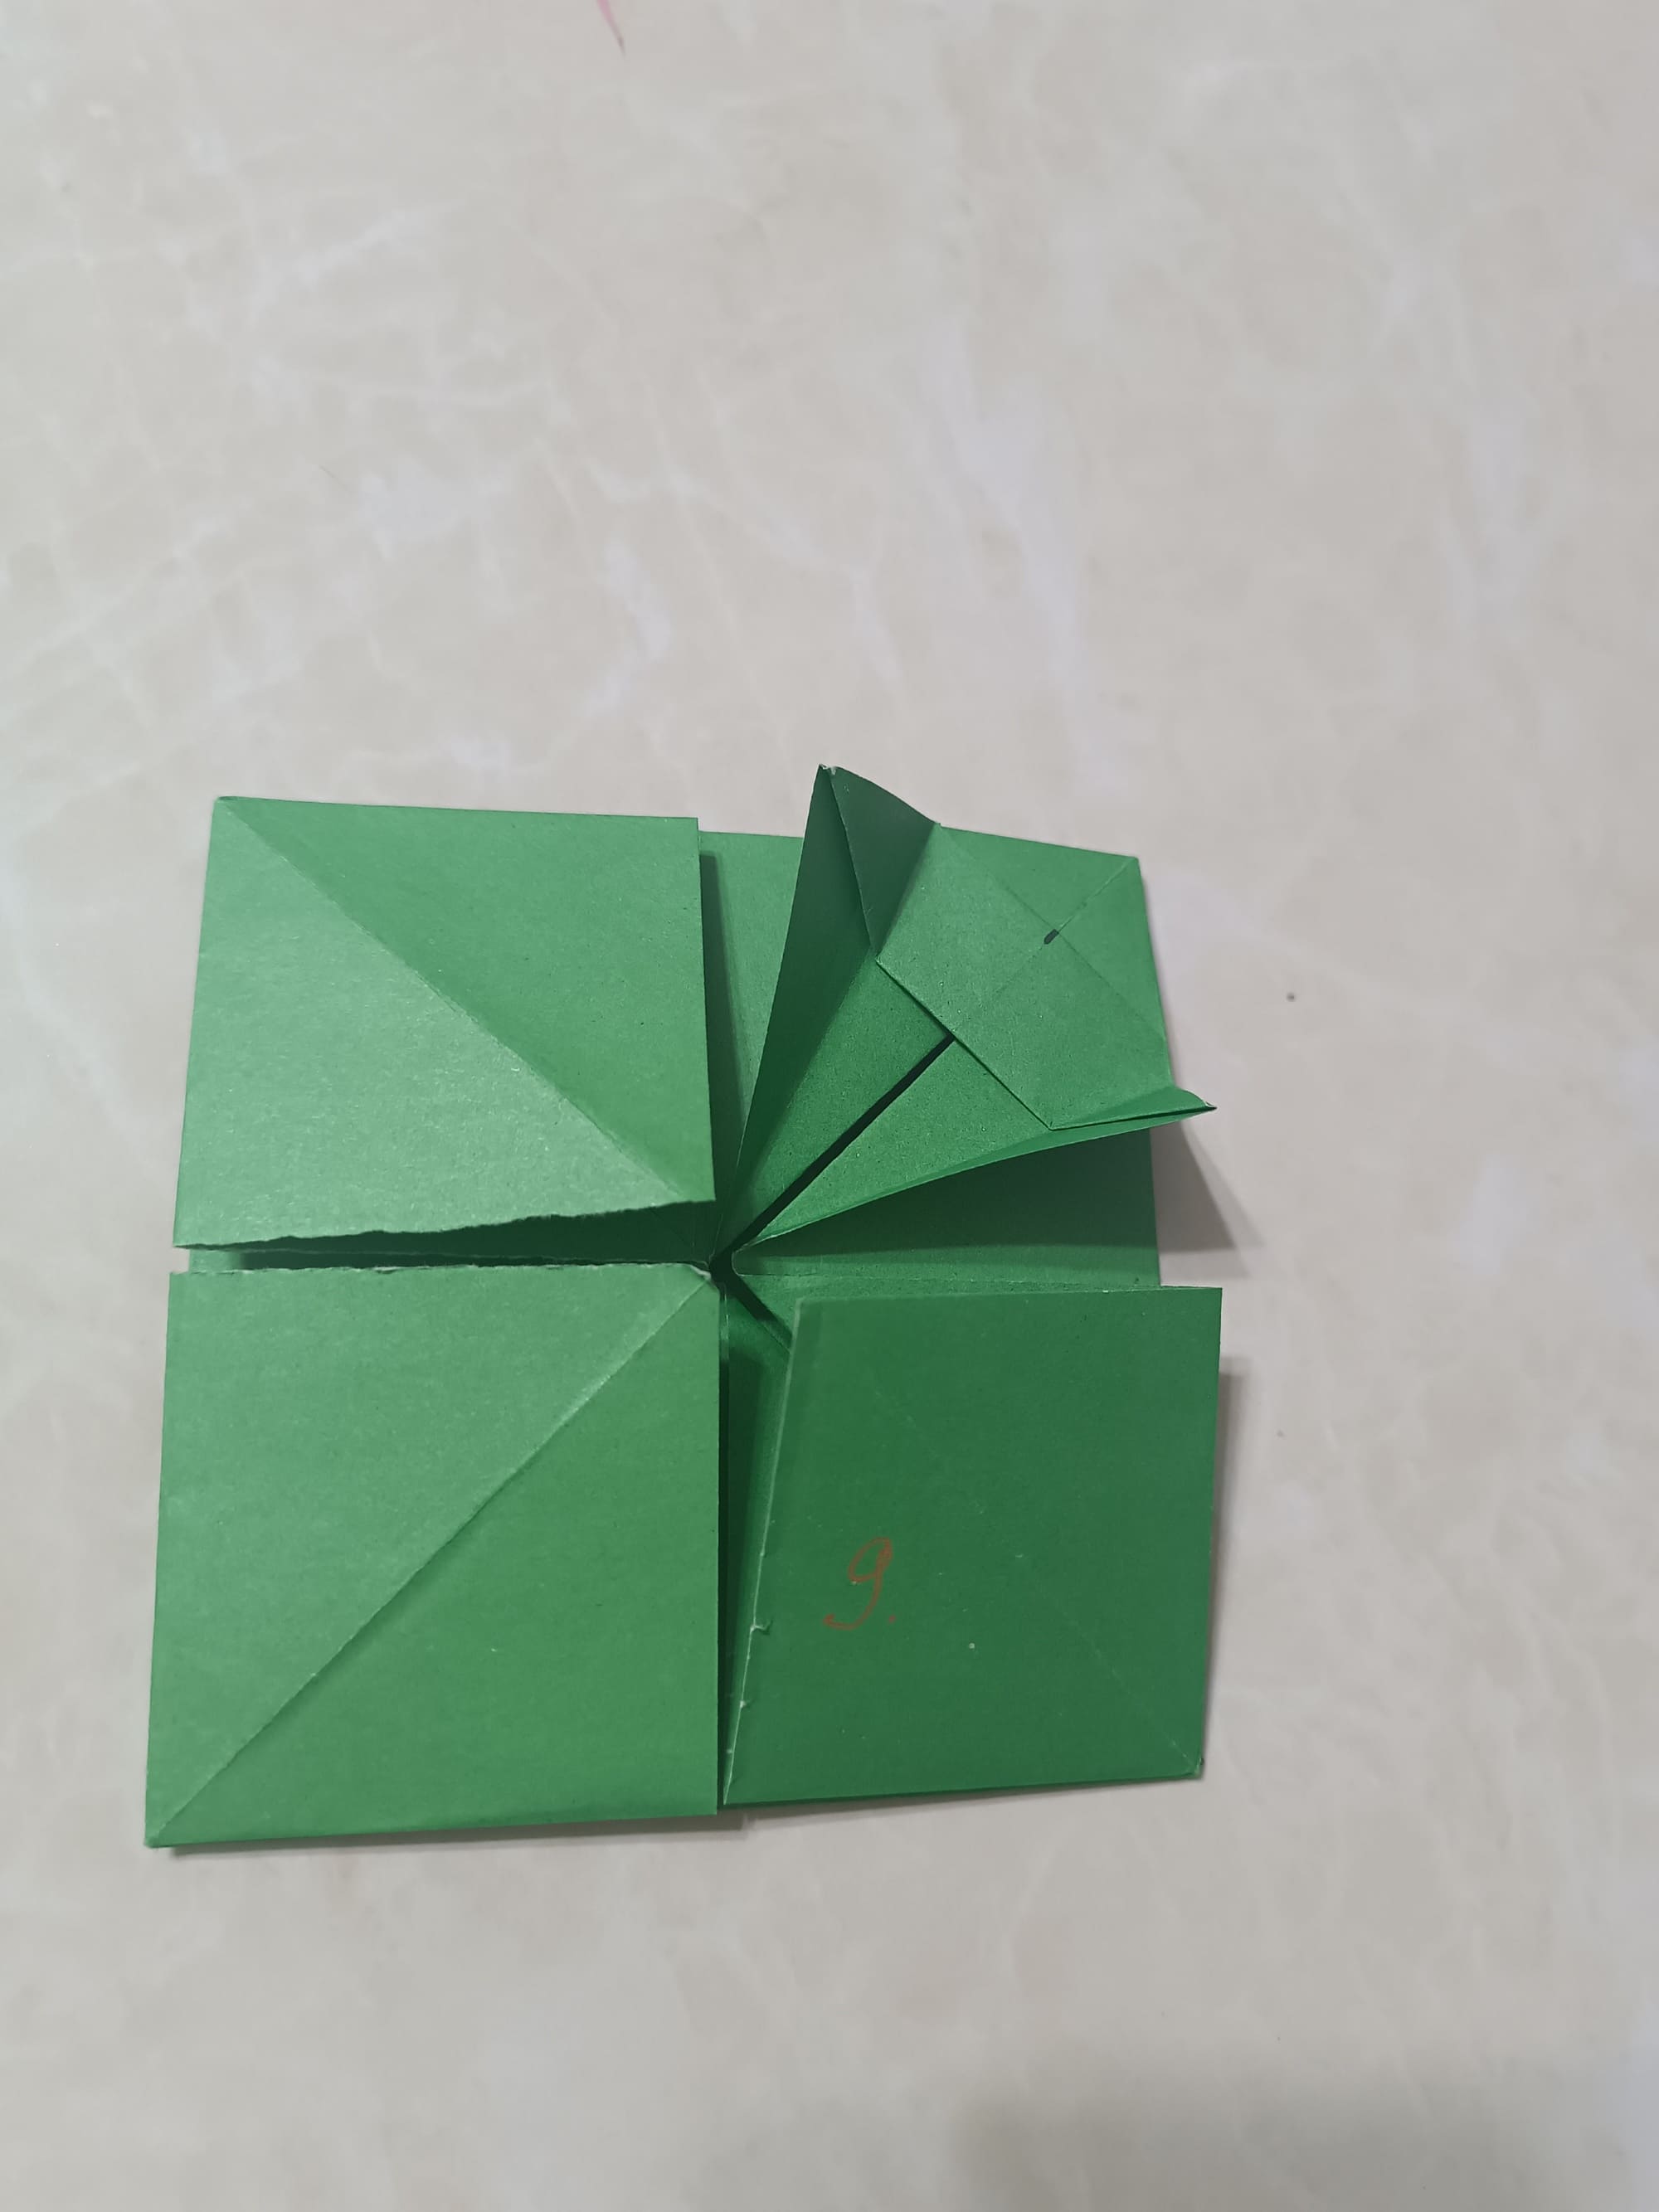
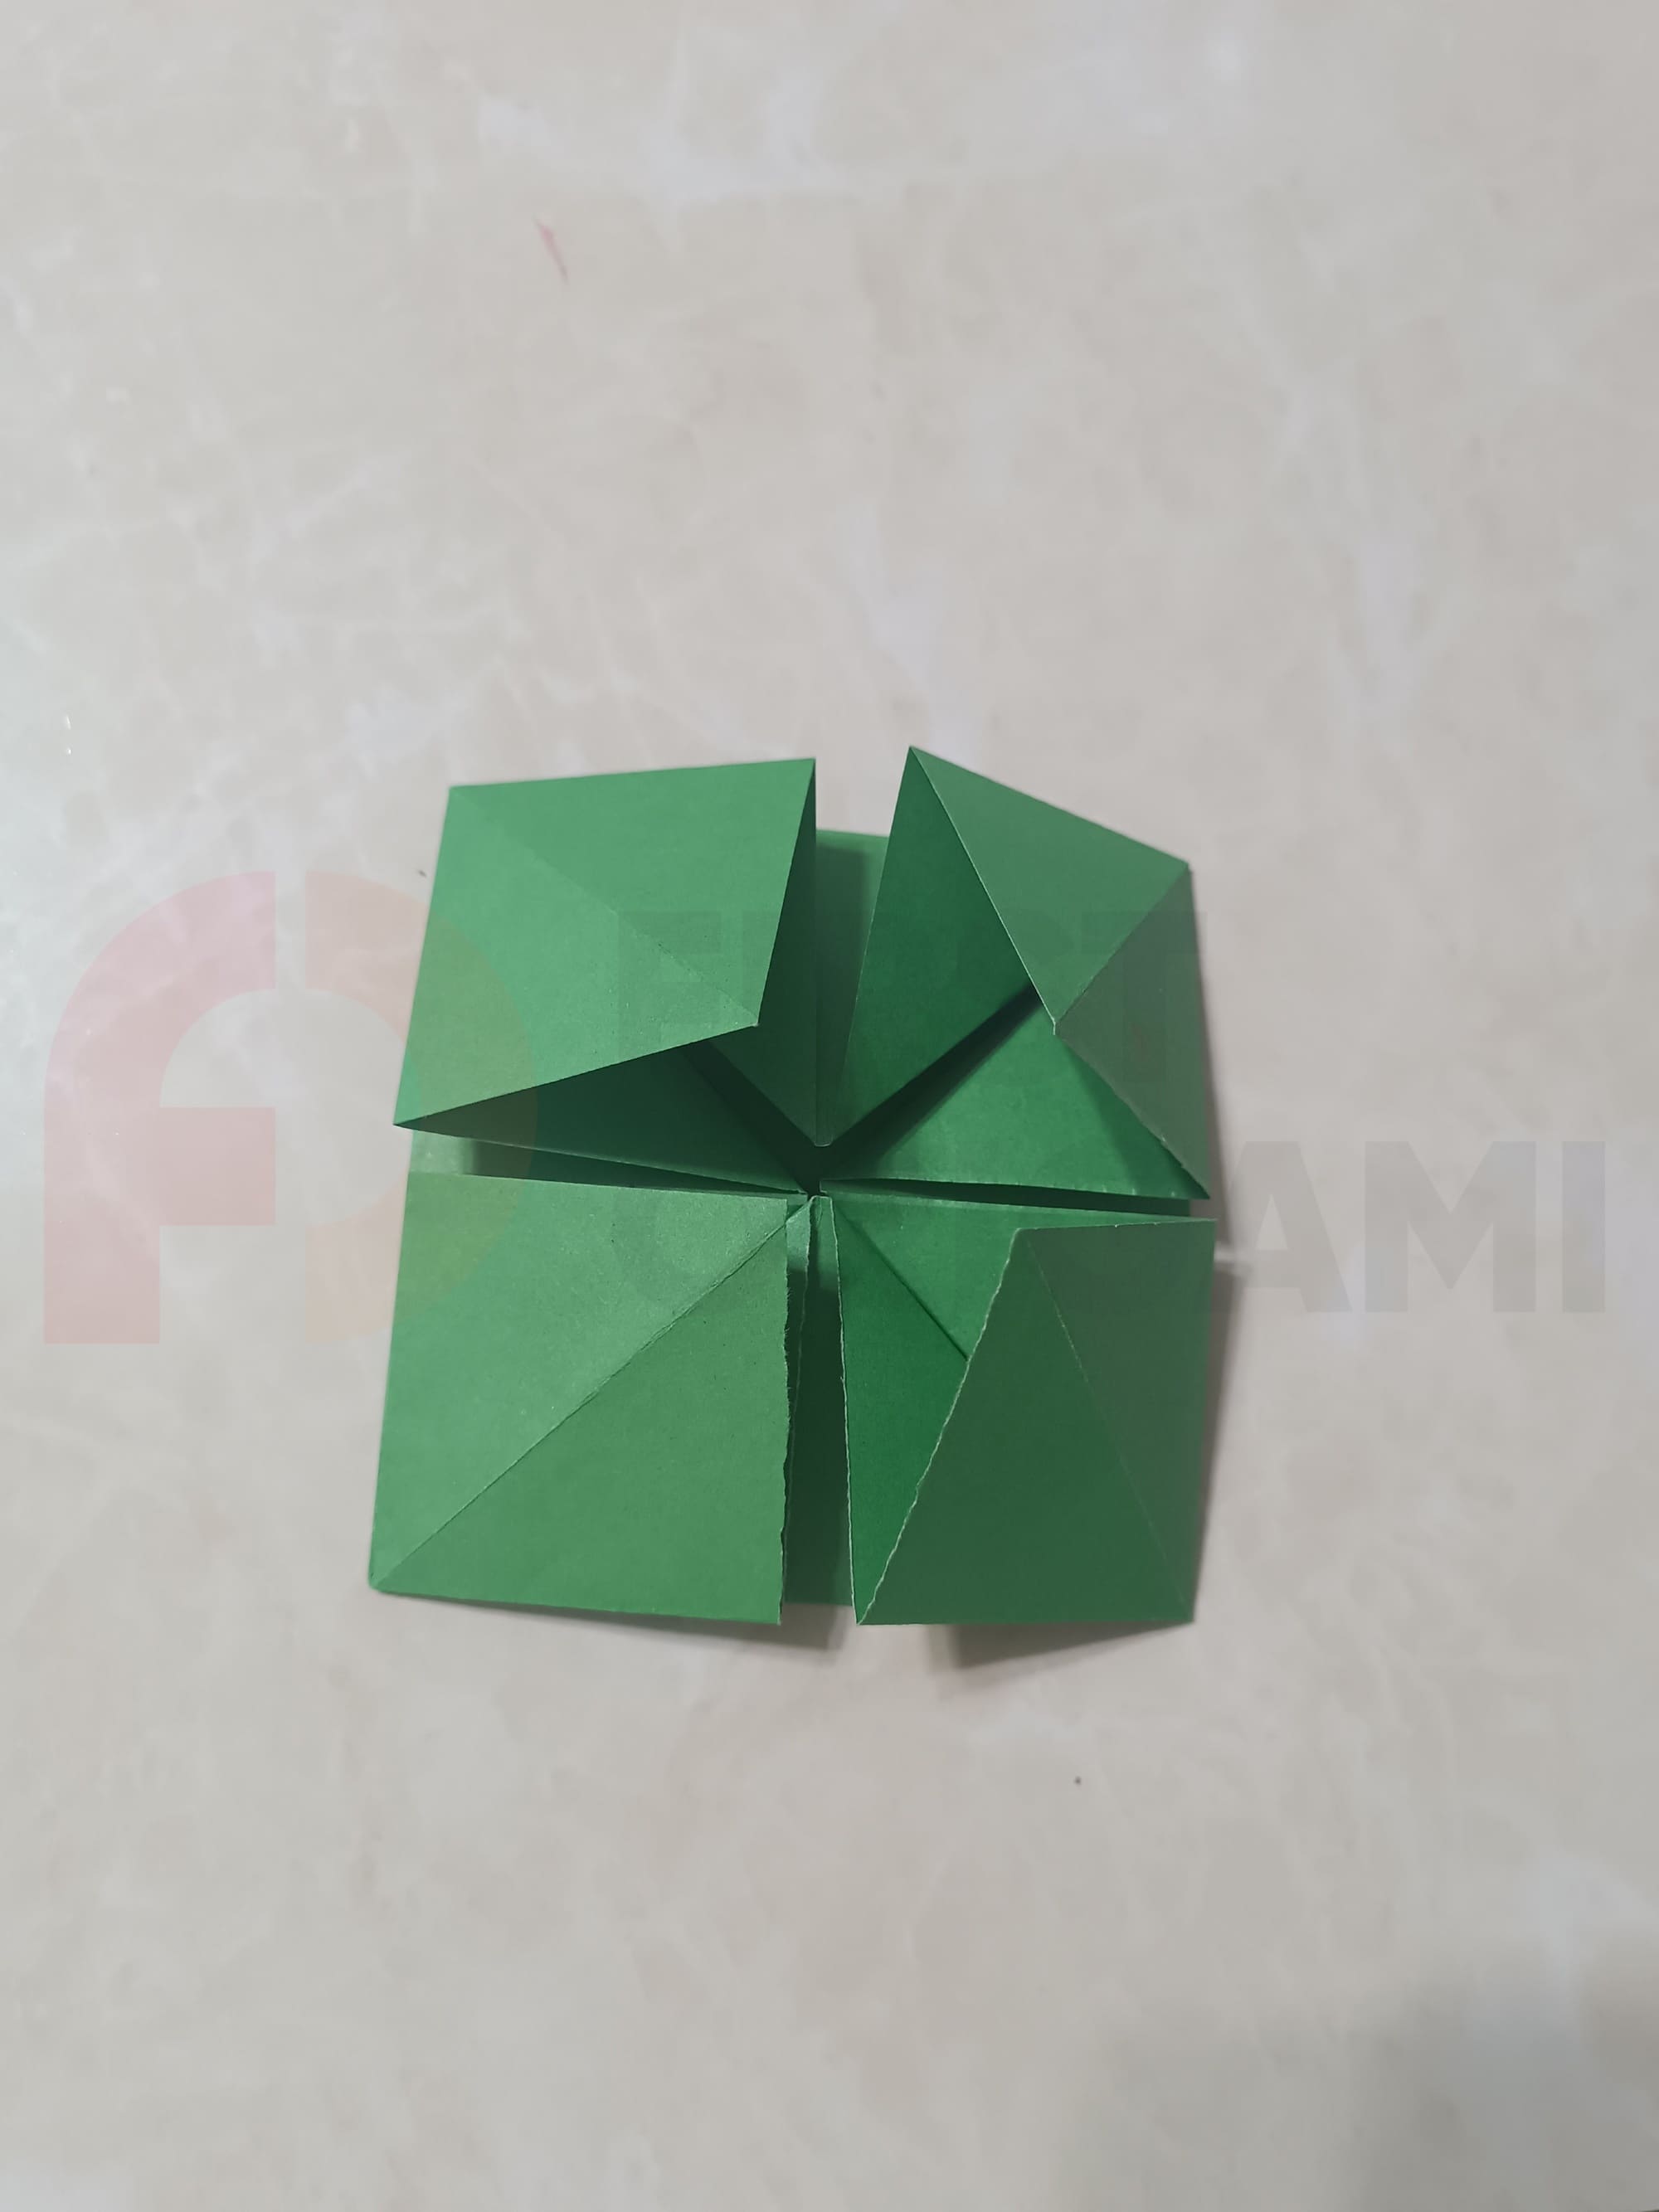
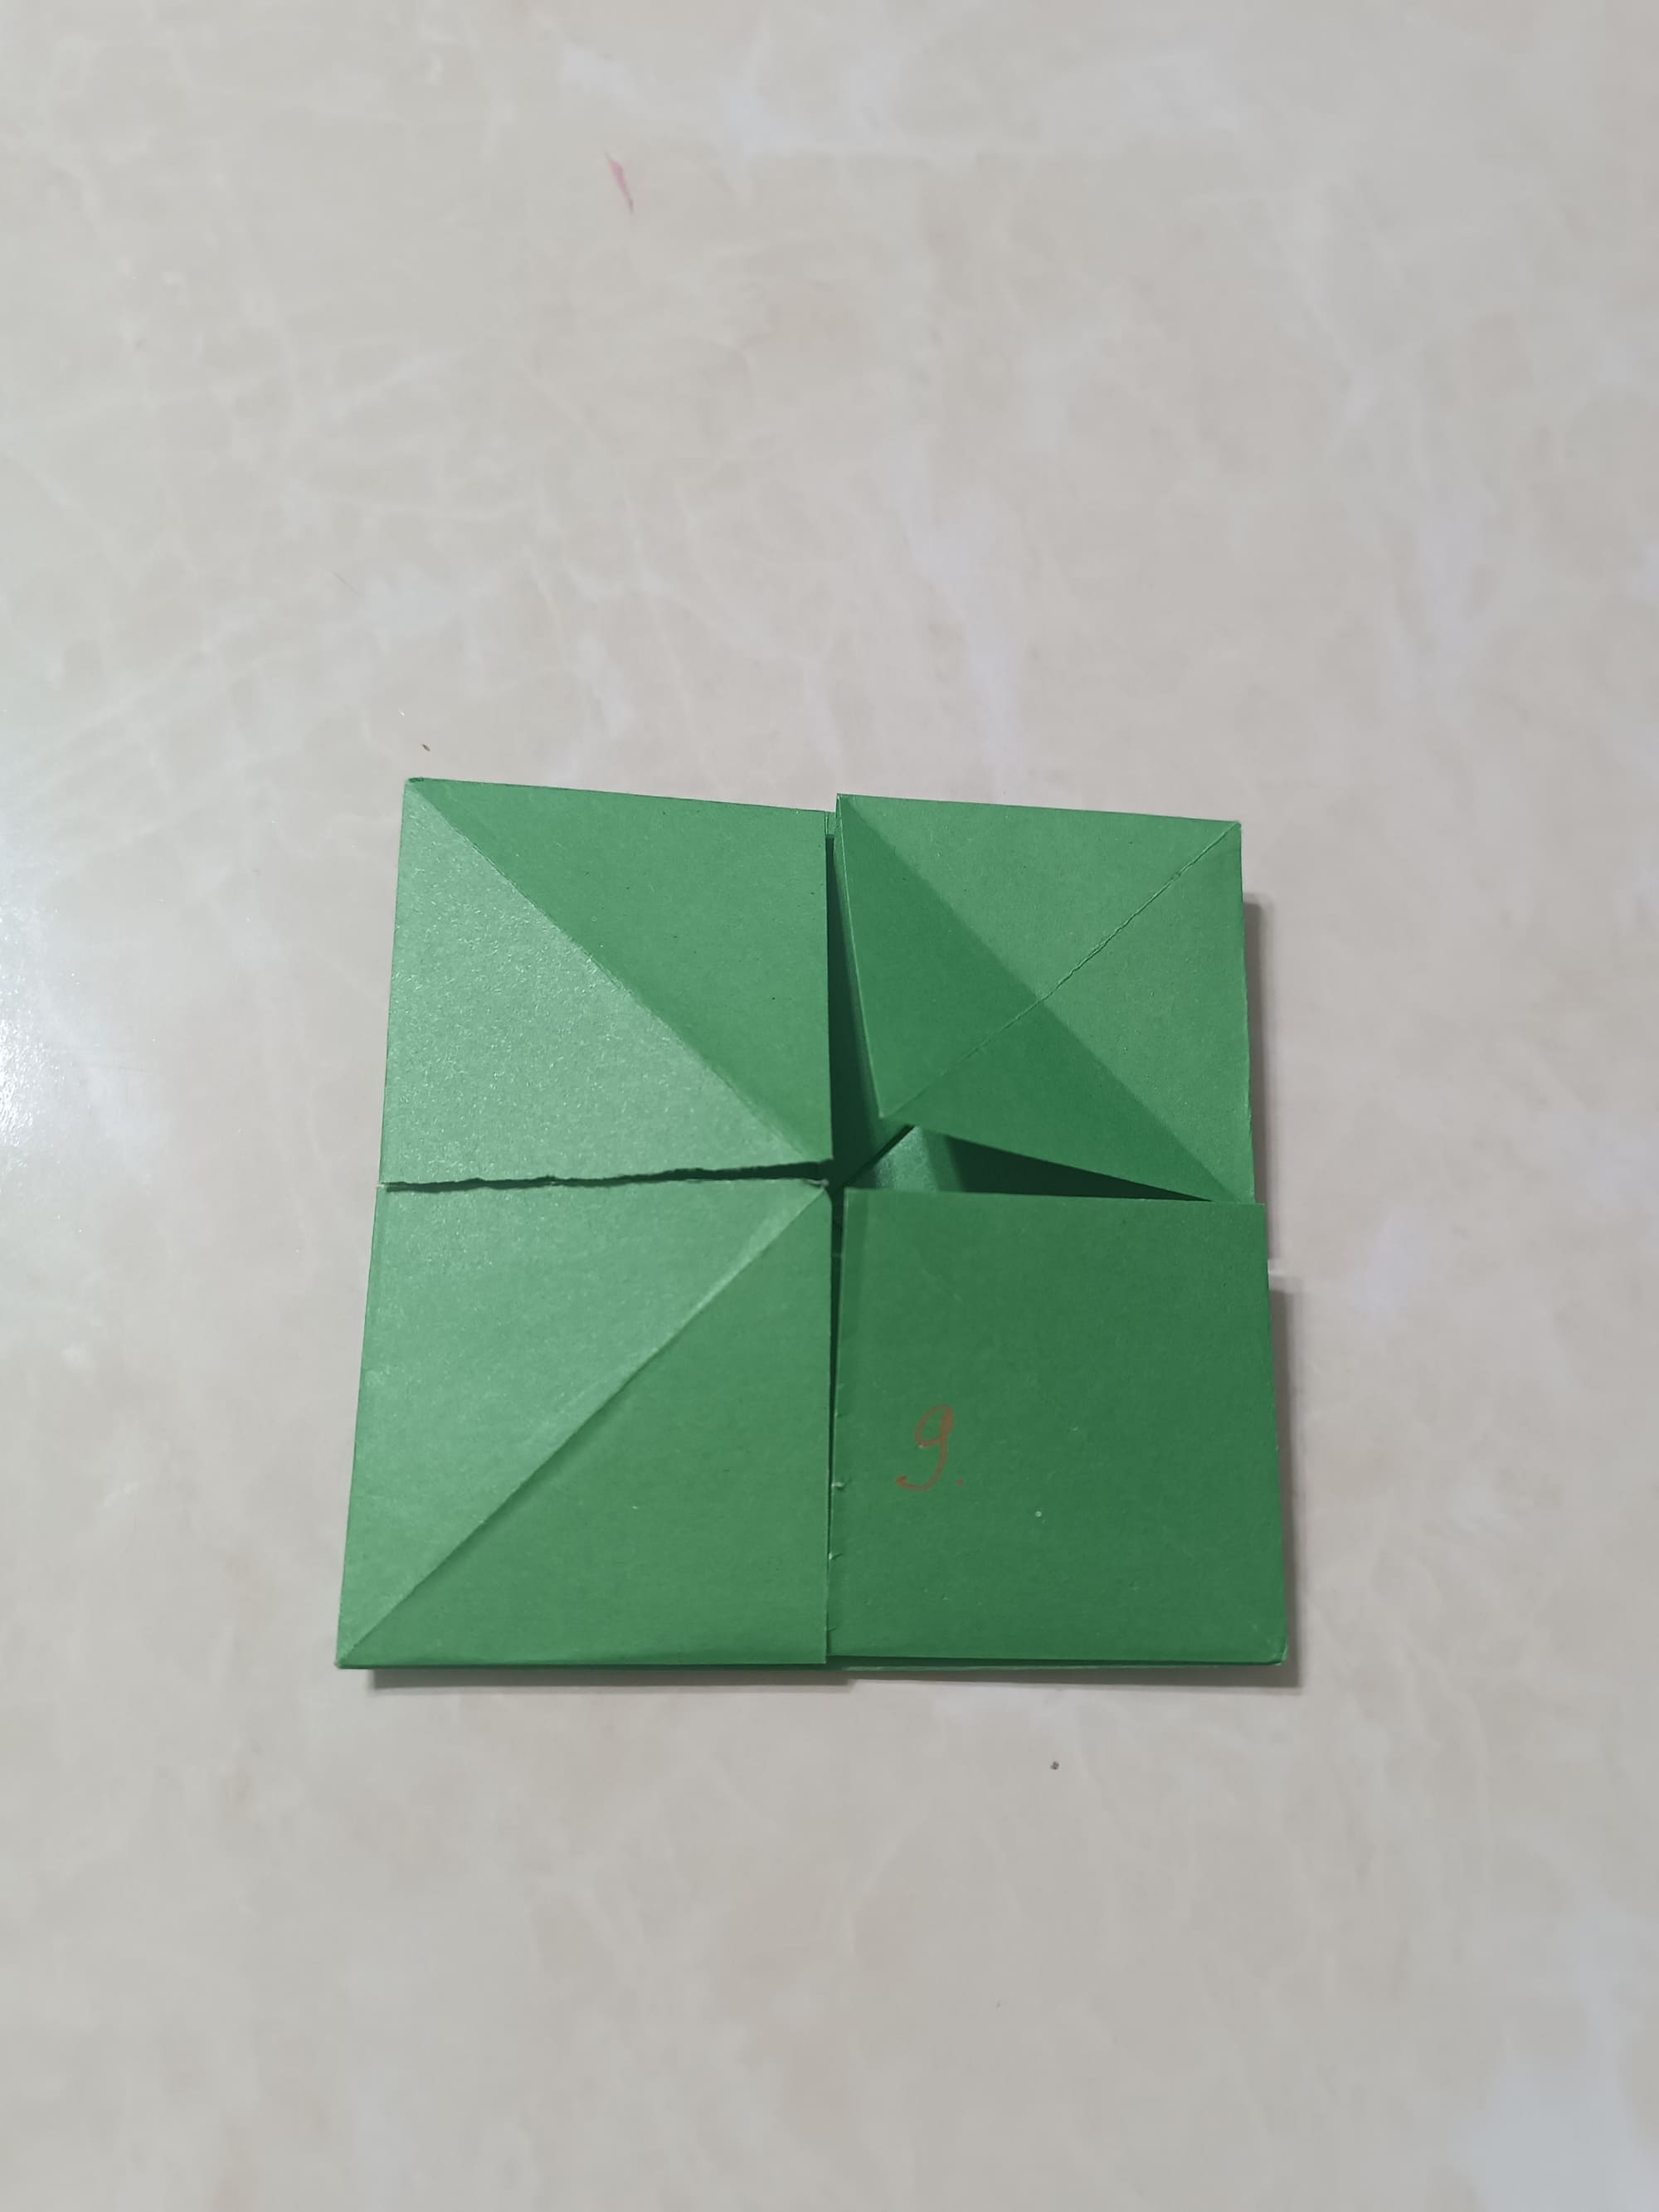
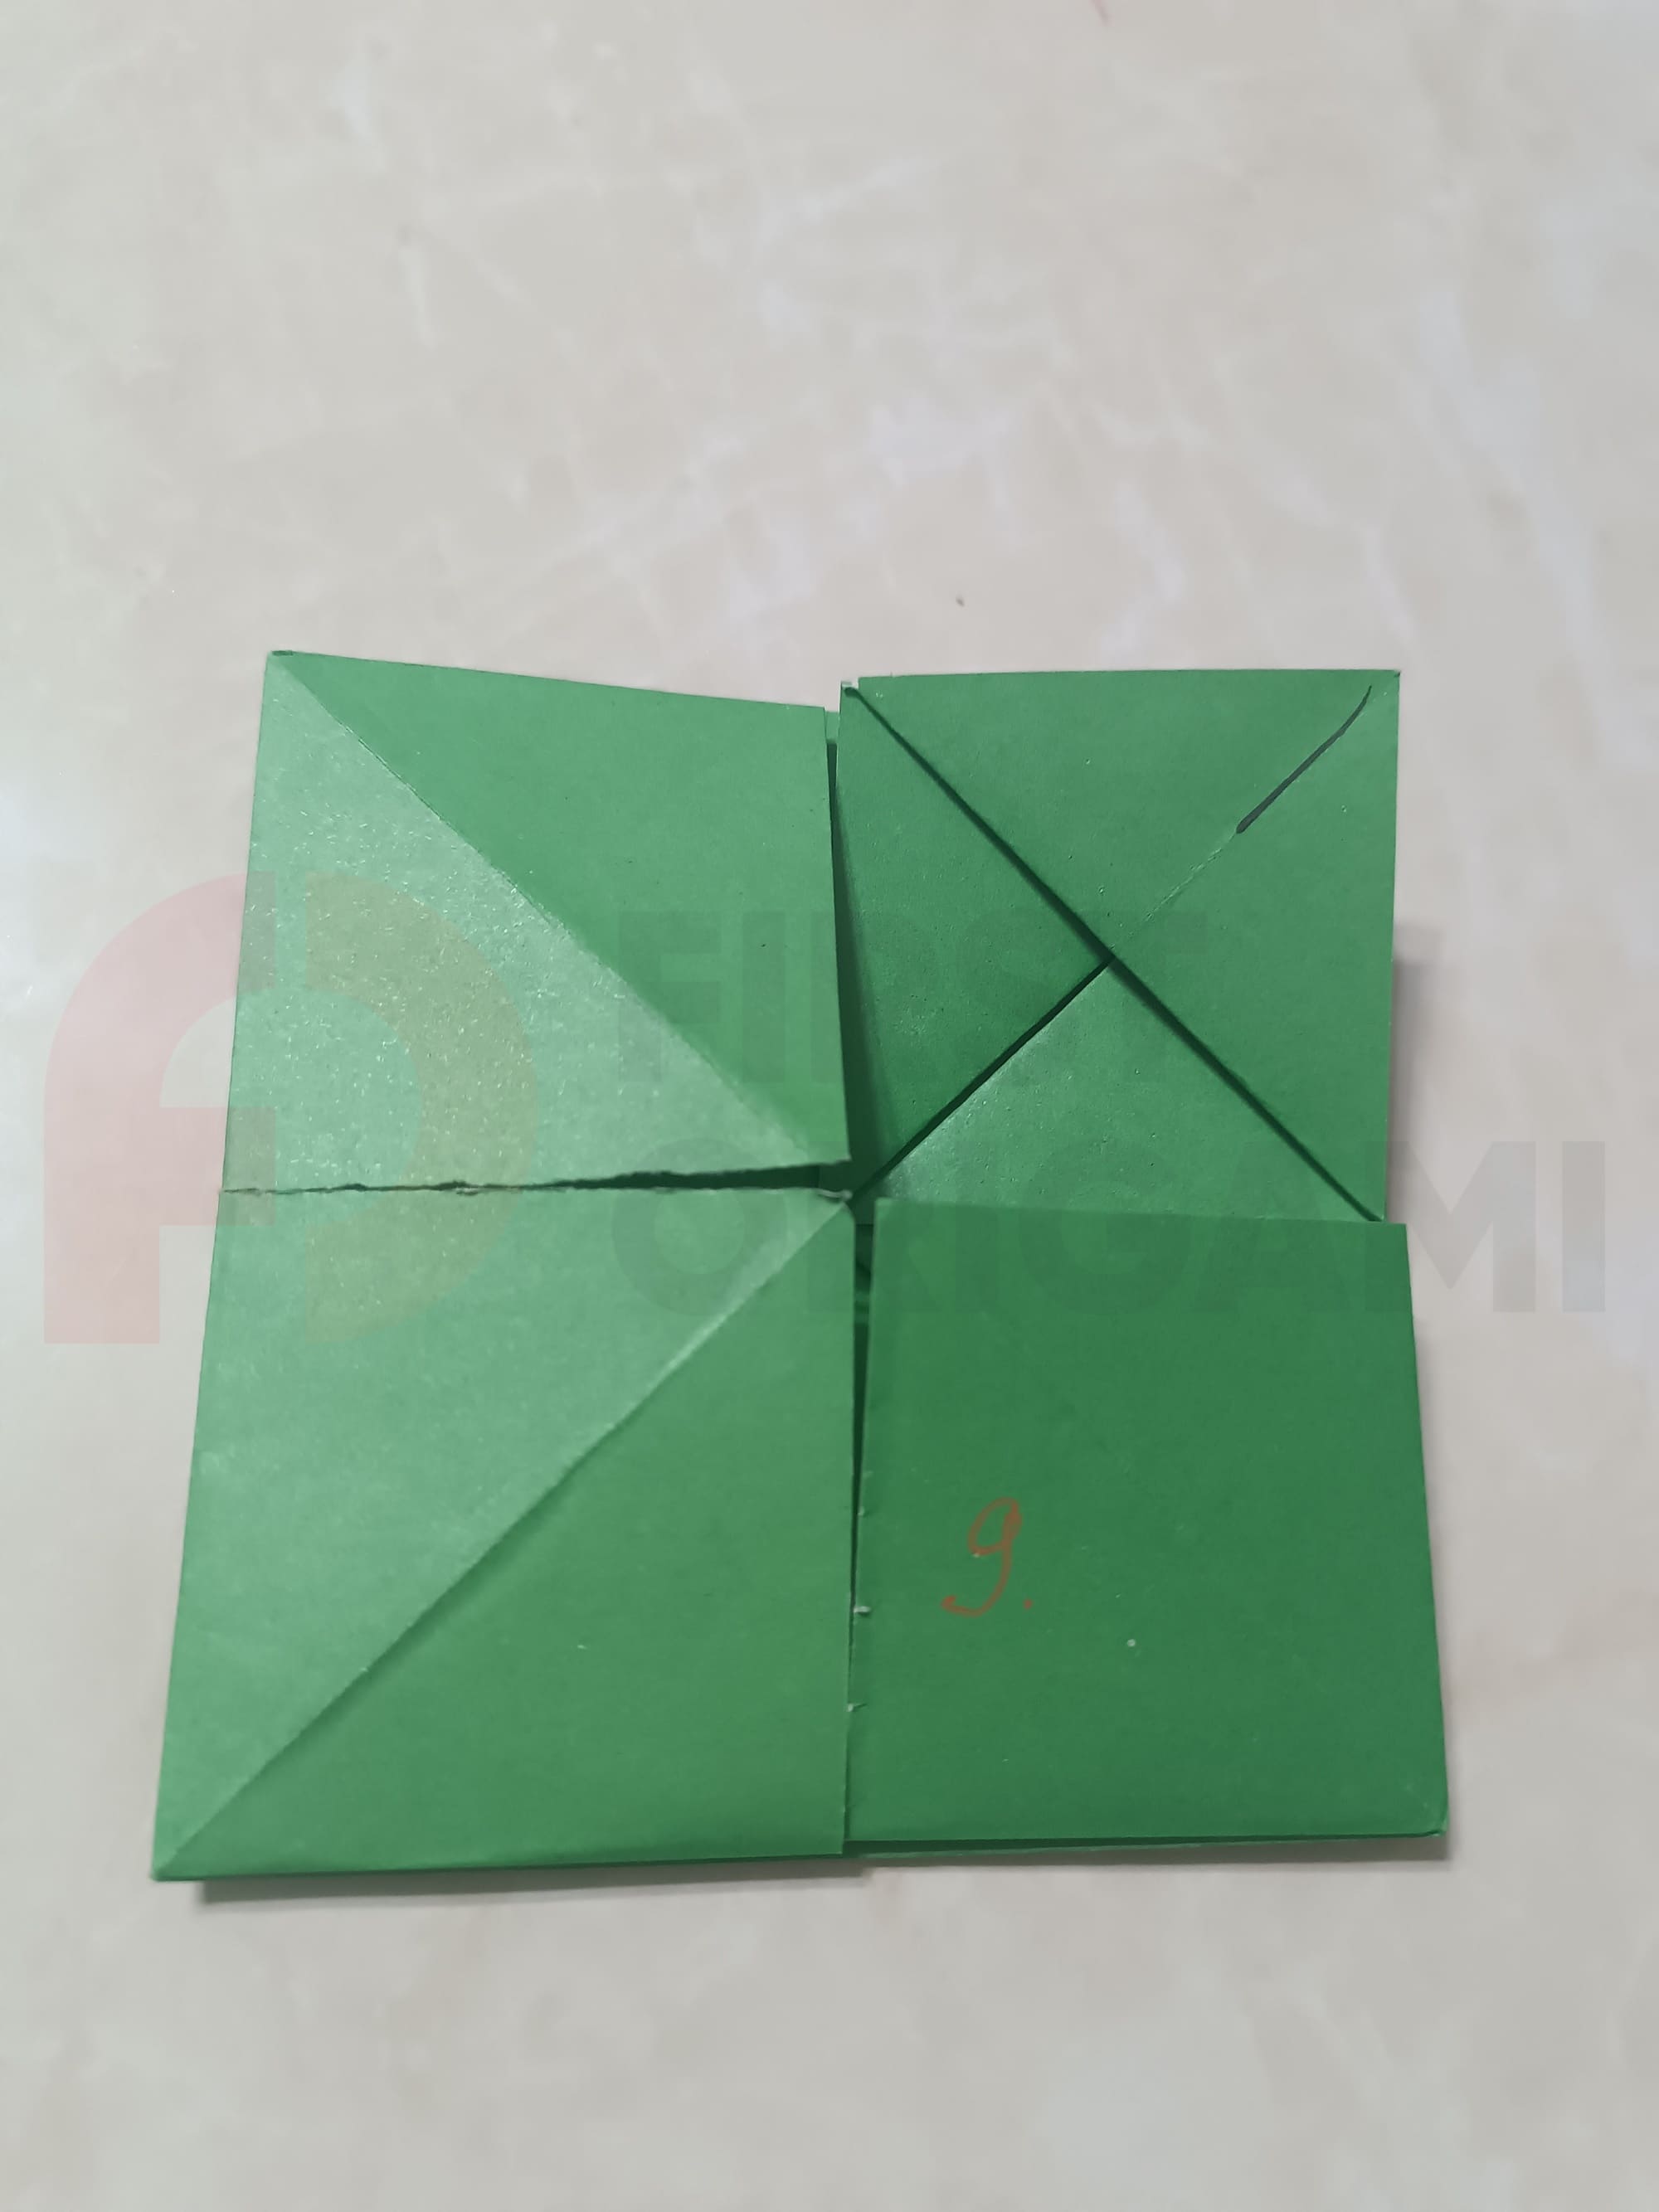
Now make two folds at an angle, as shown by the dotted lines in the photo.
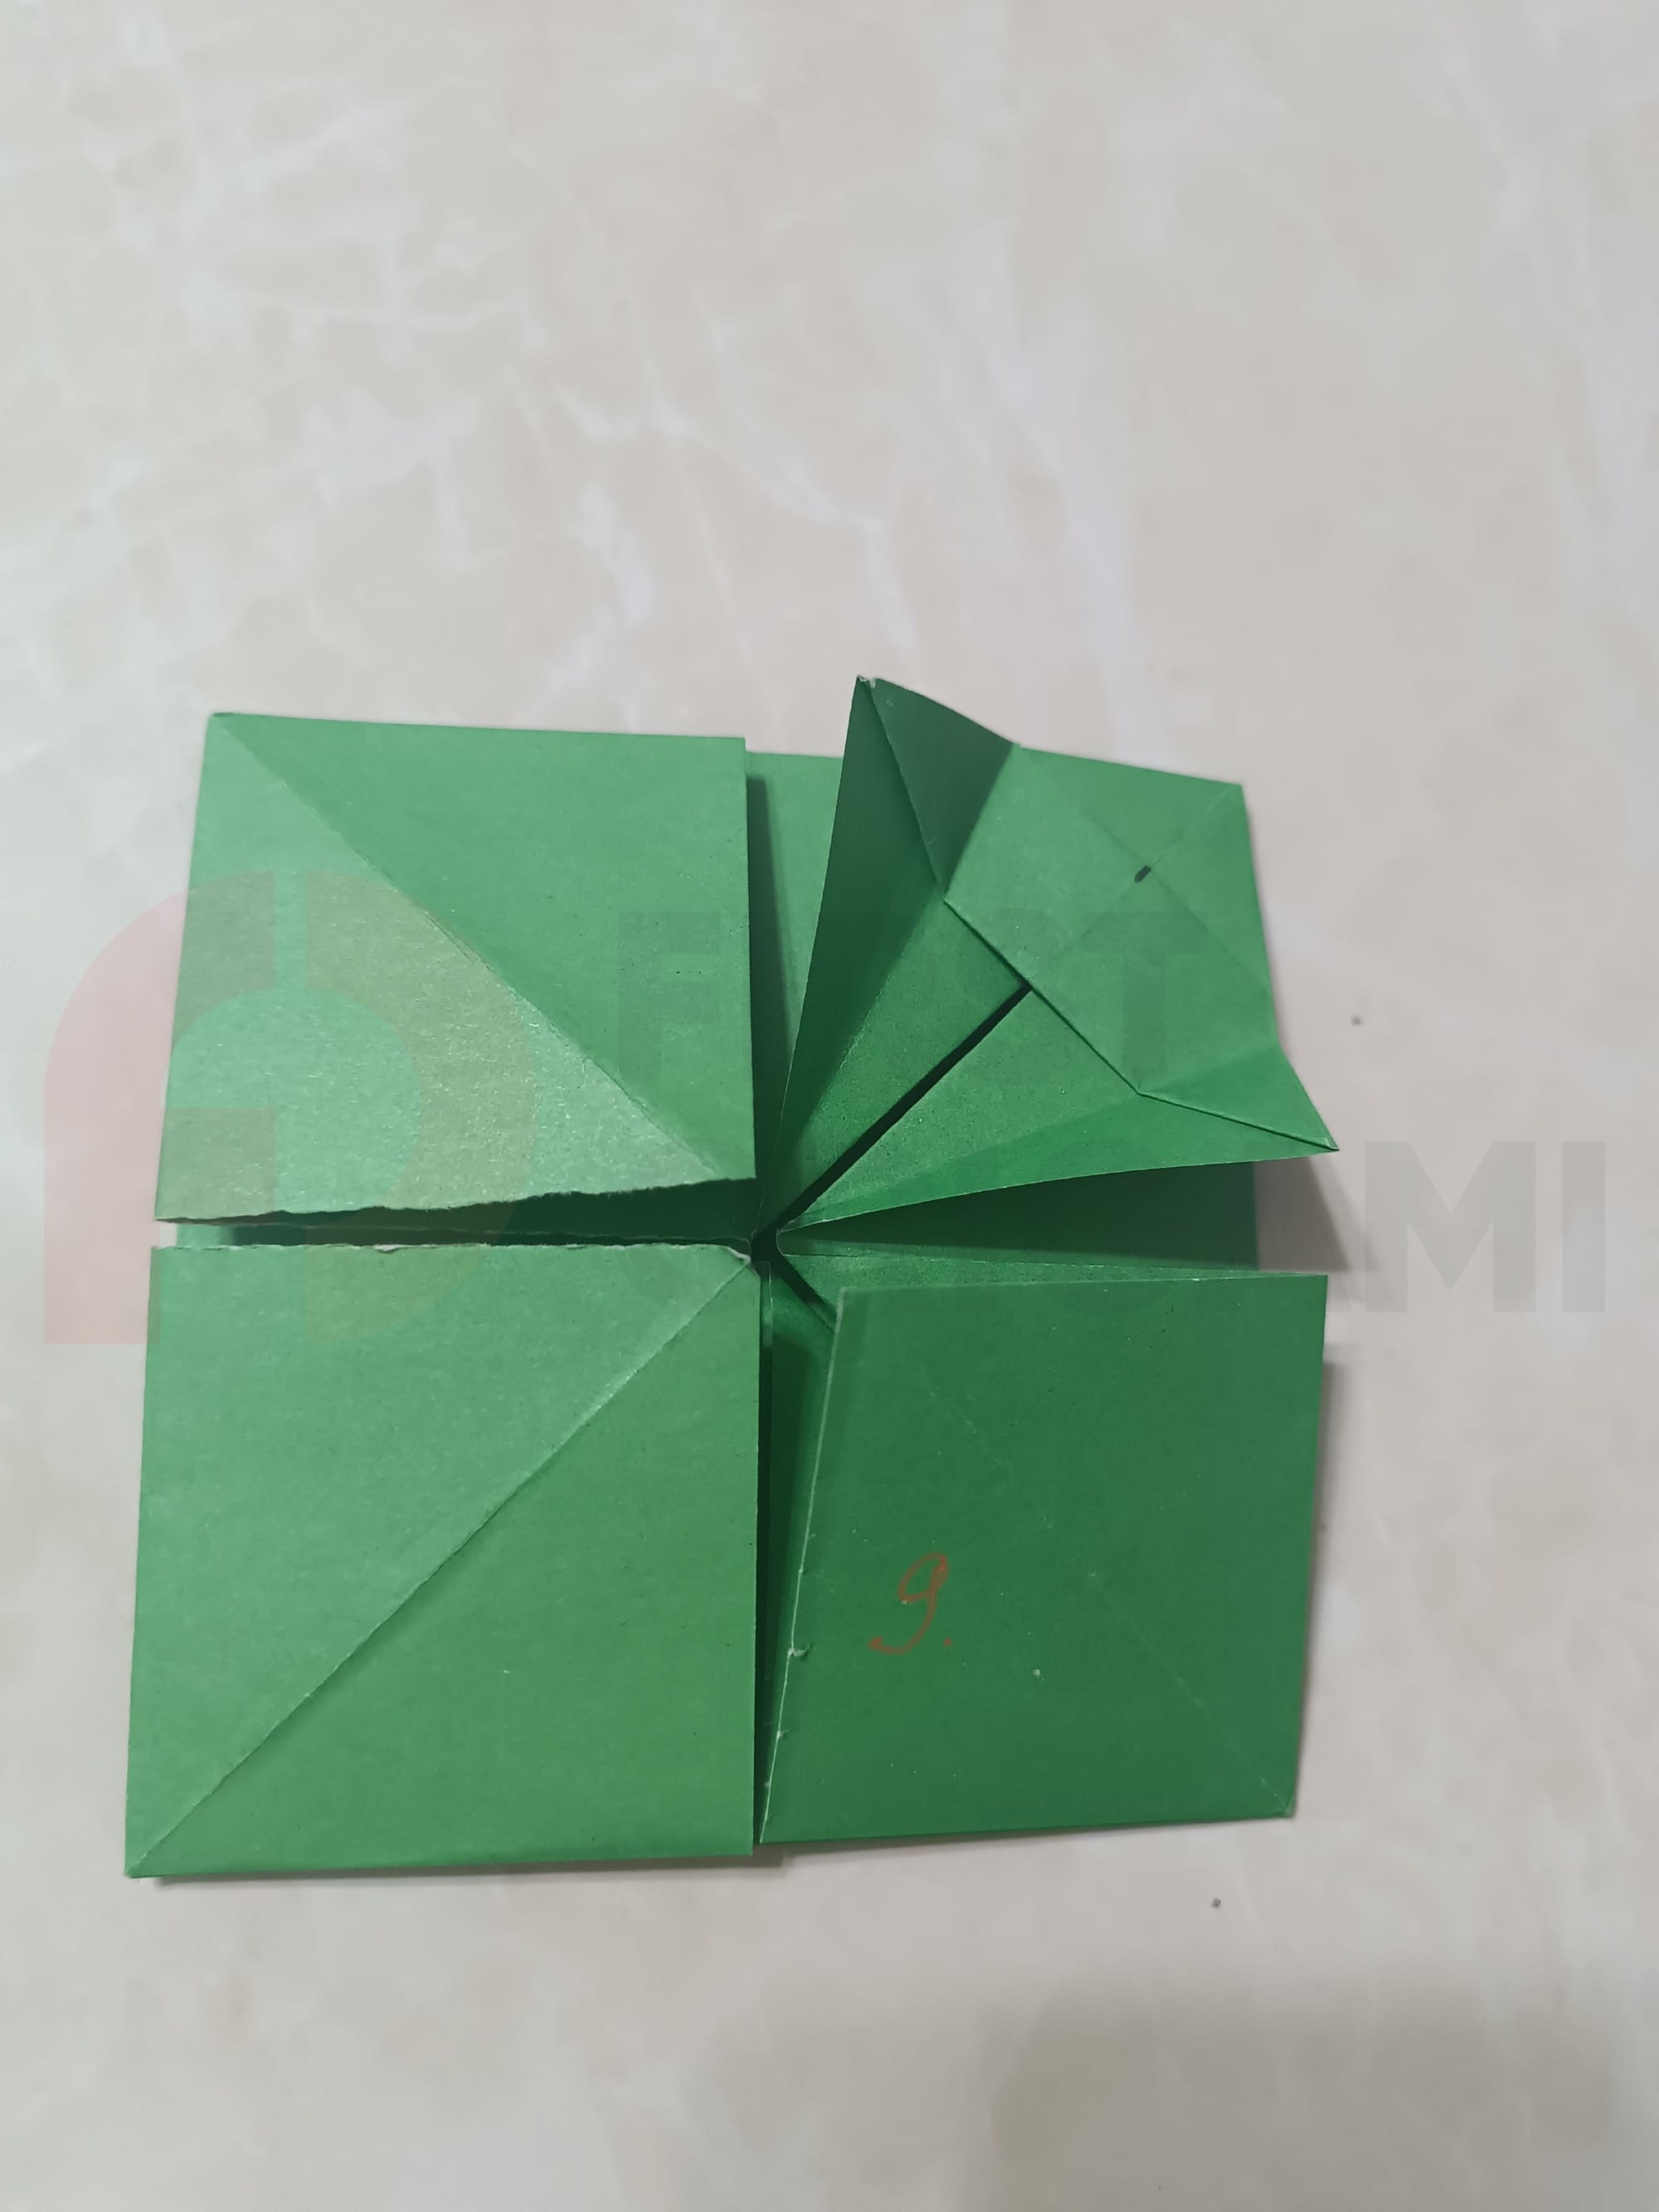
Repeat the steps for the remaining 3 corners so that you have the same shape as on the picture.
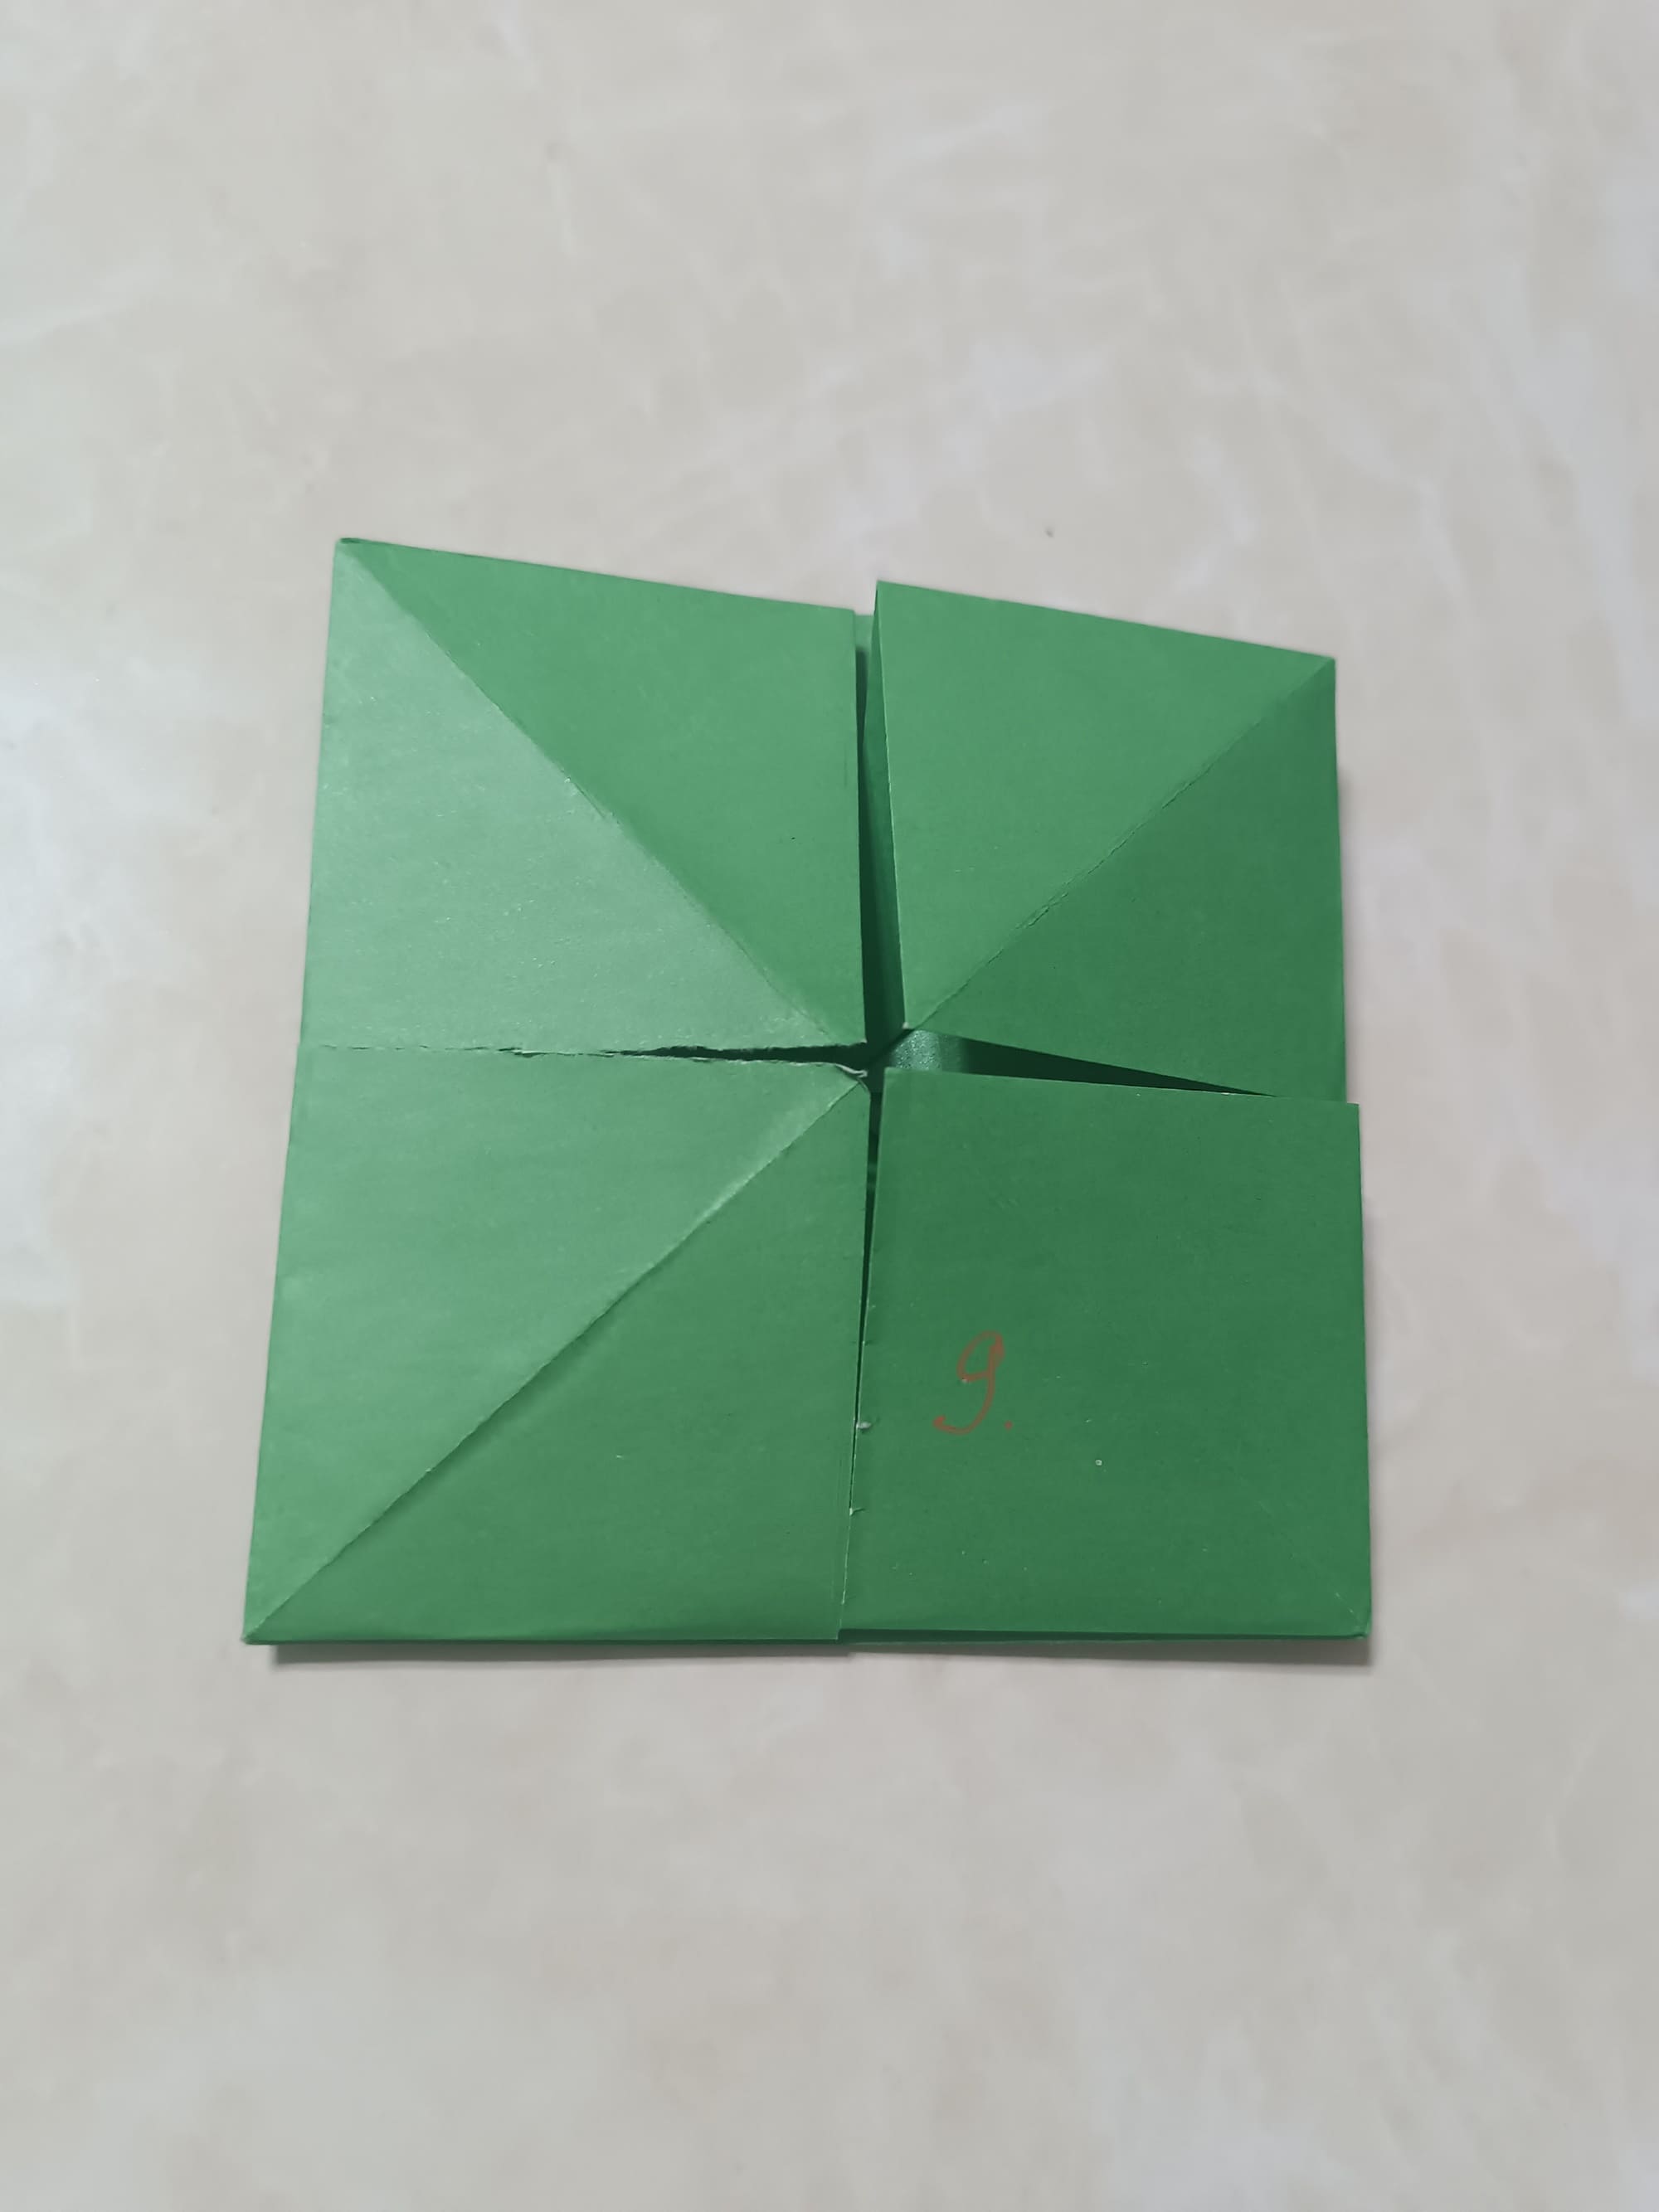
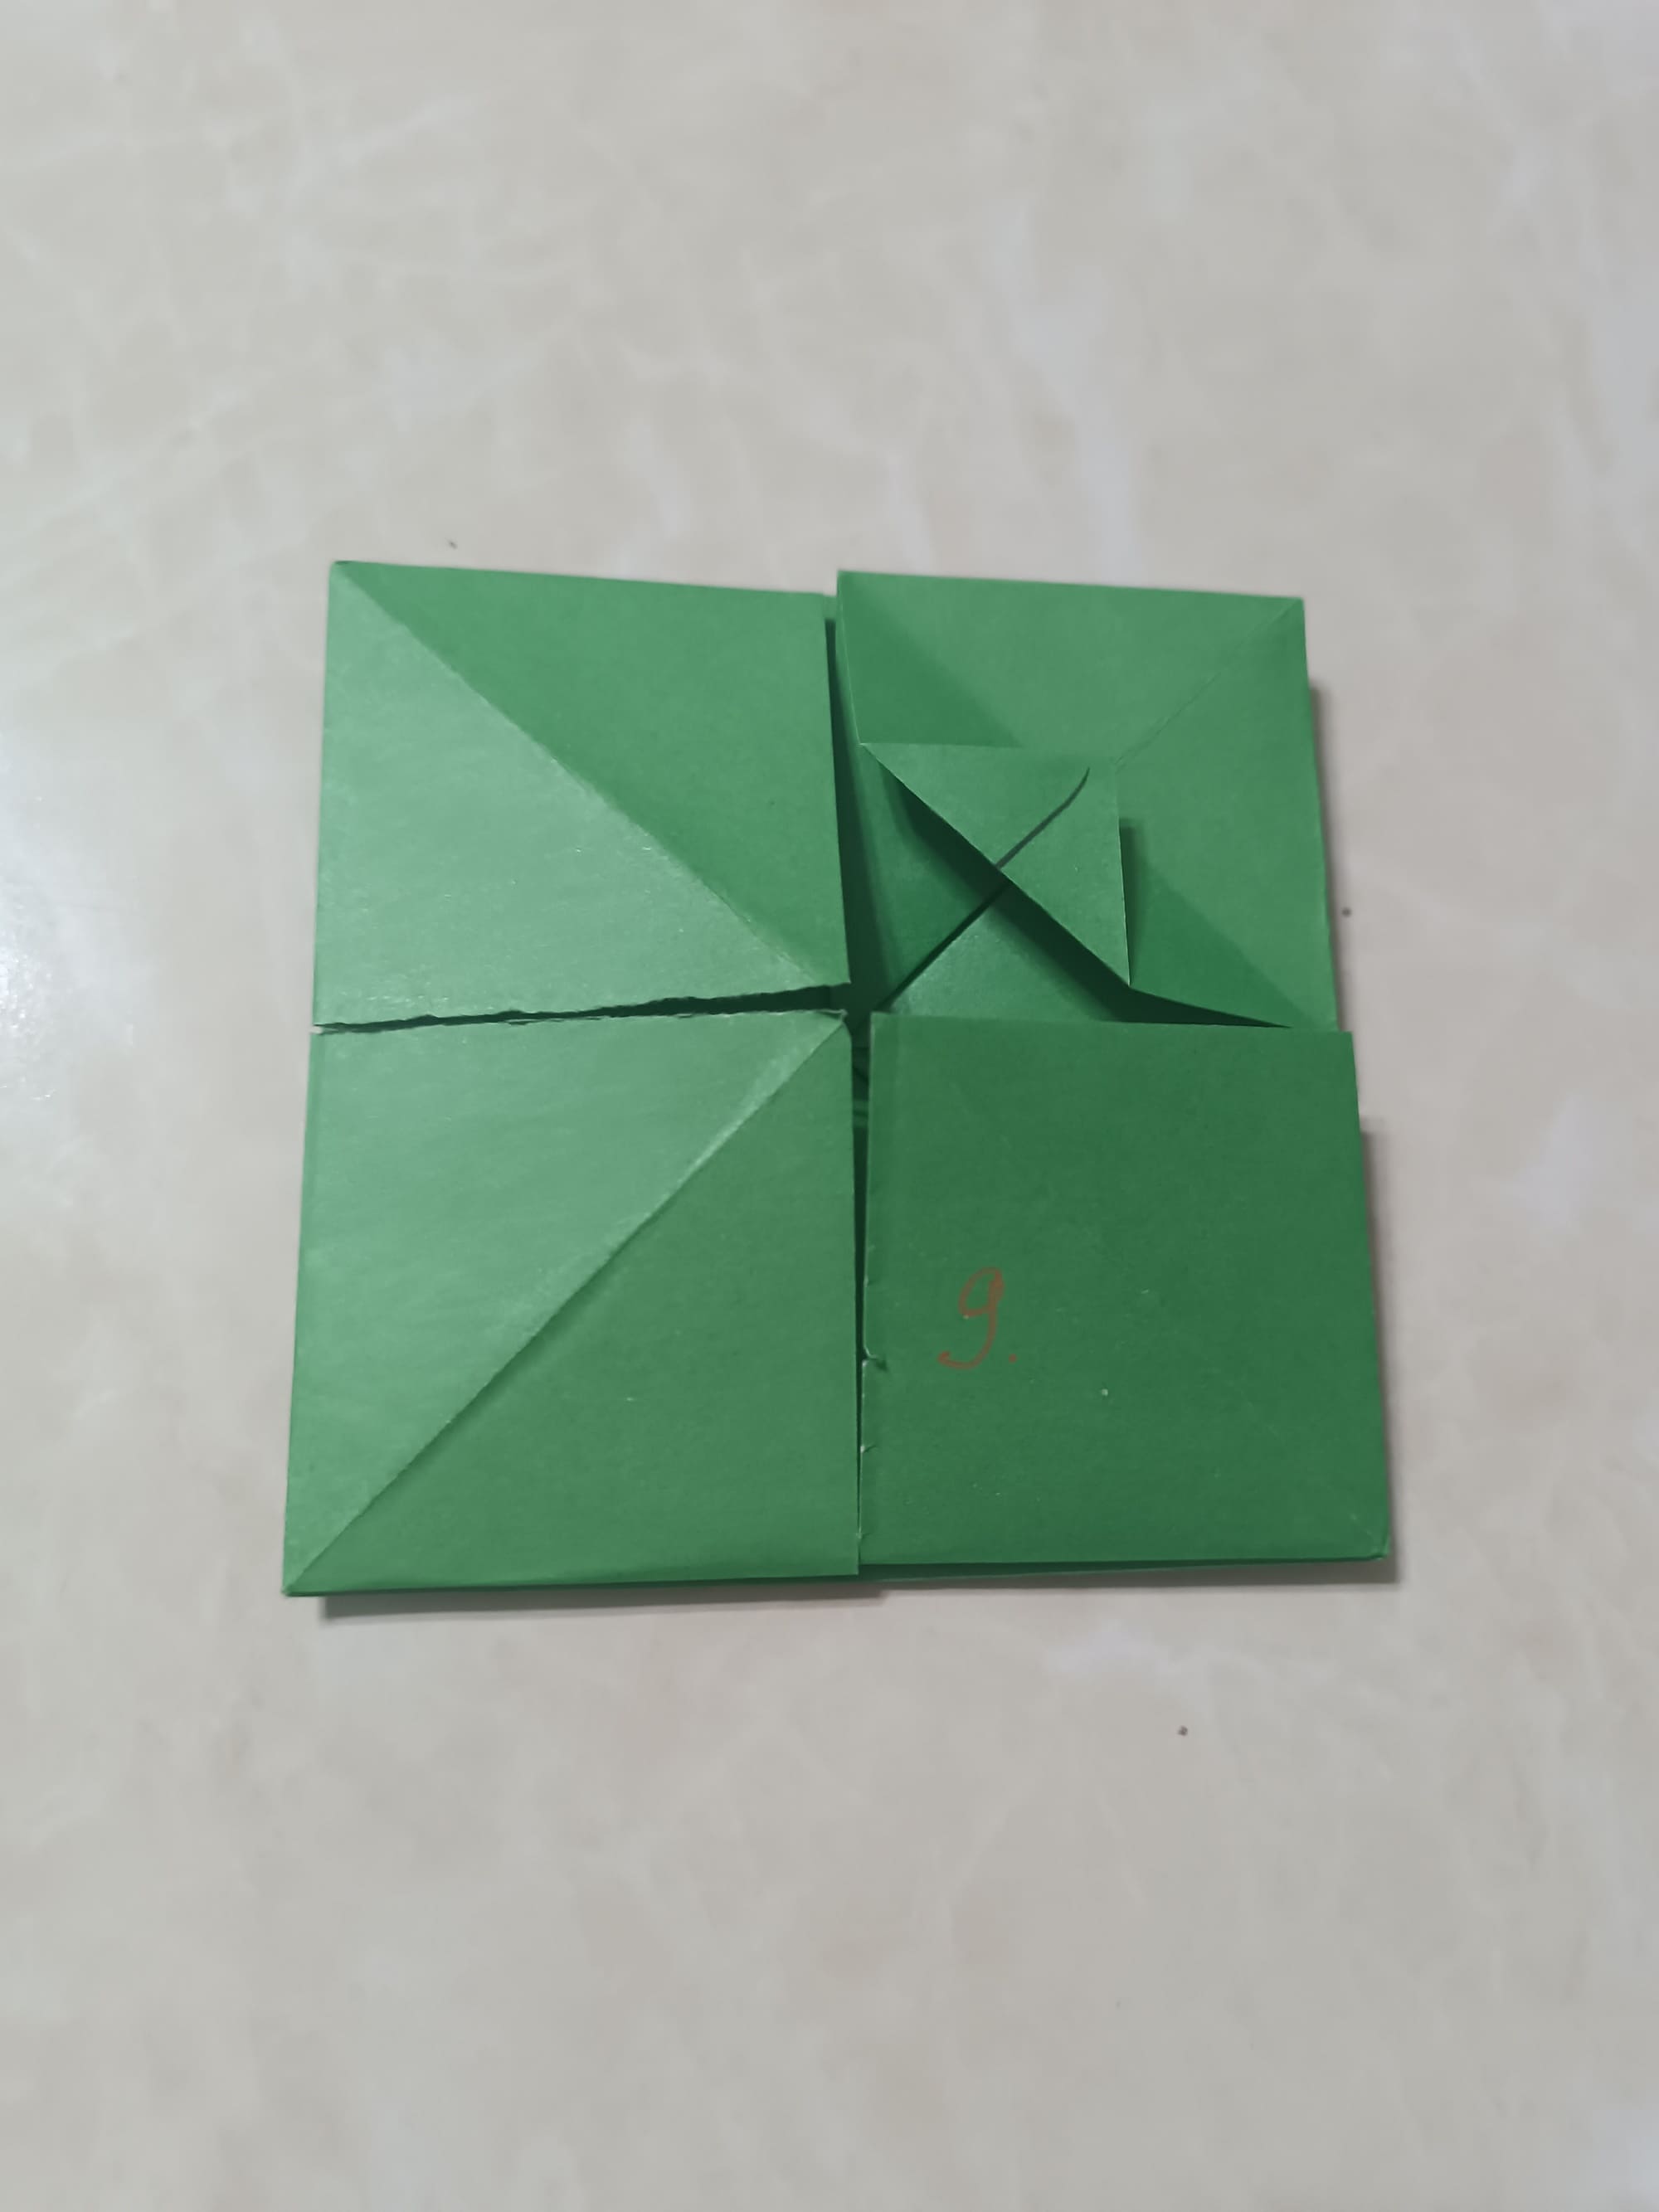
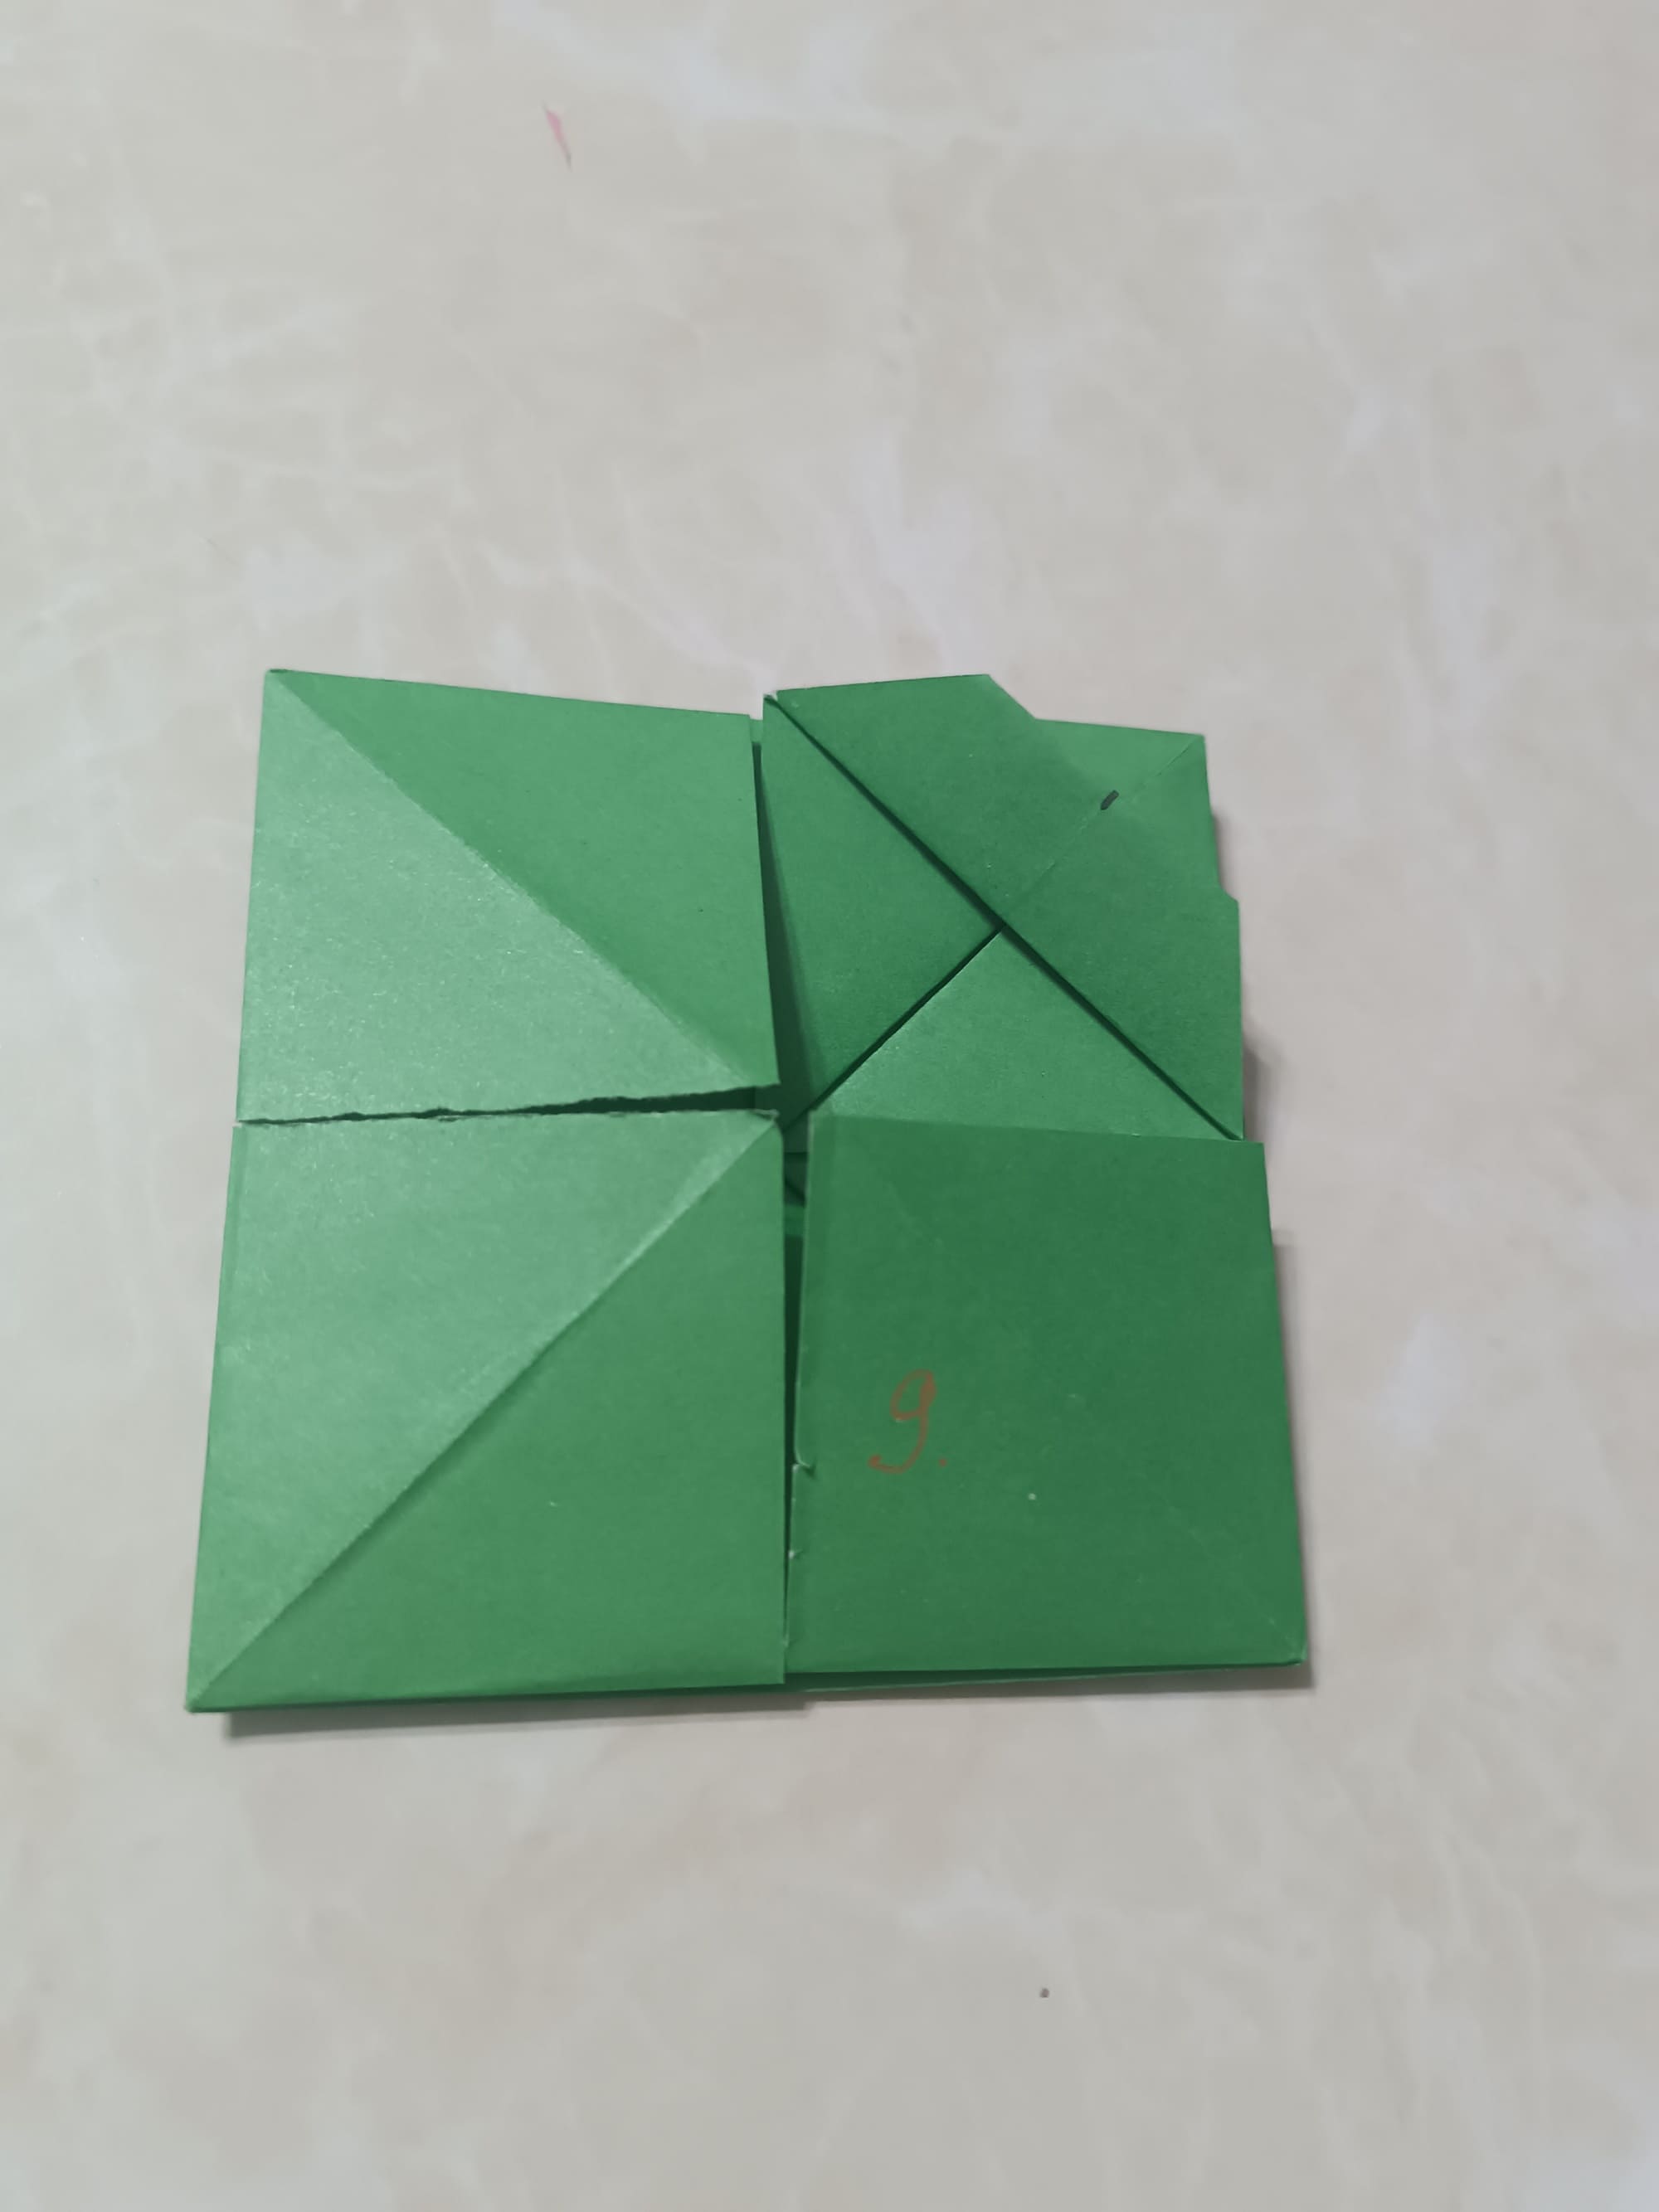
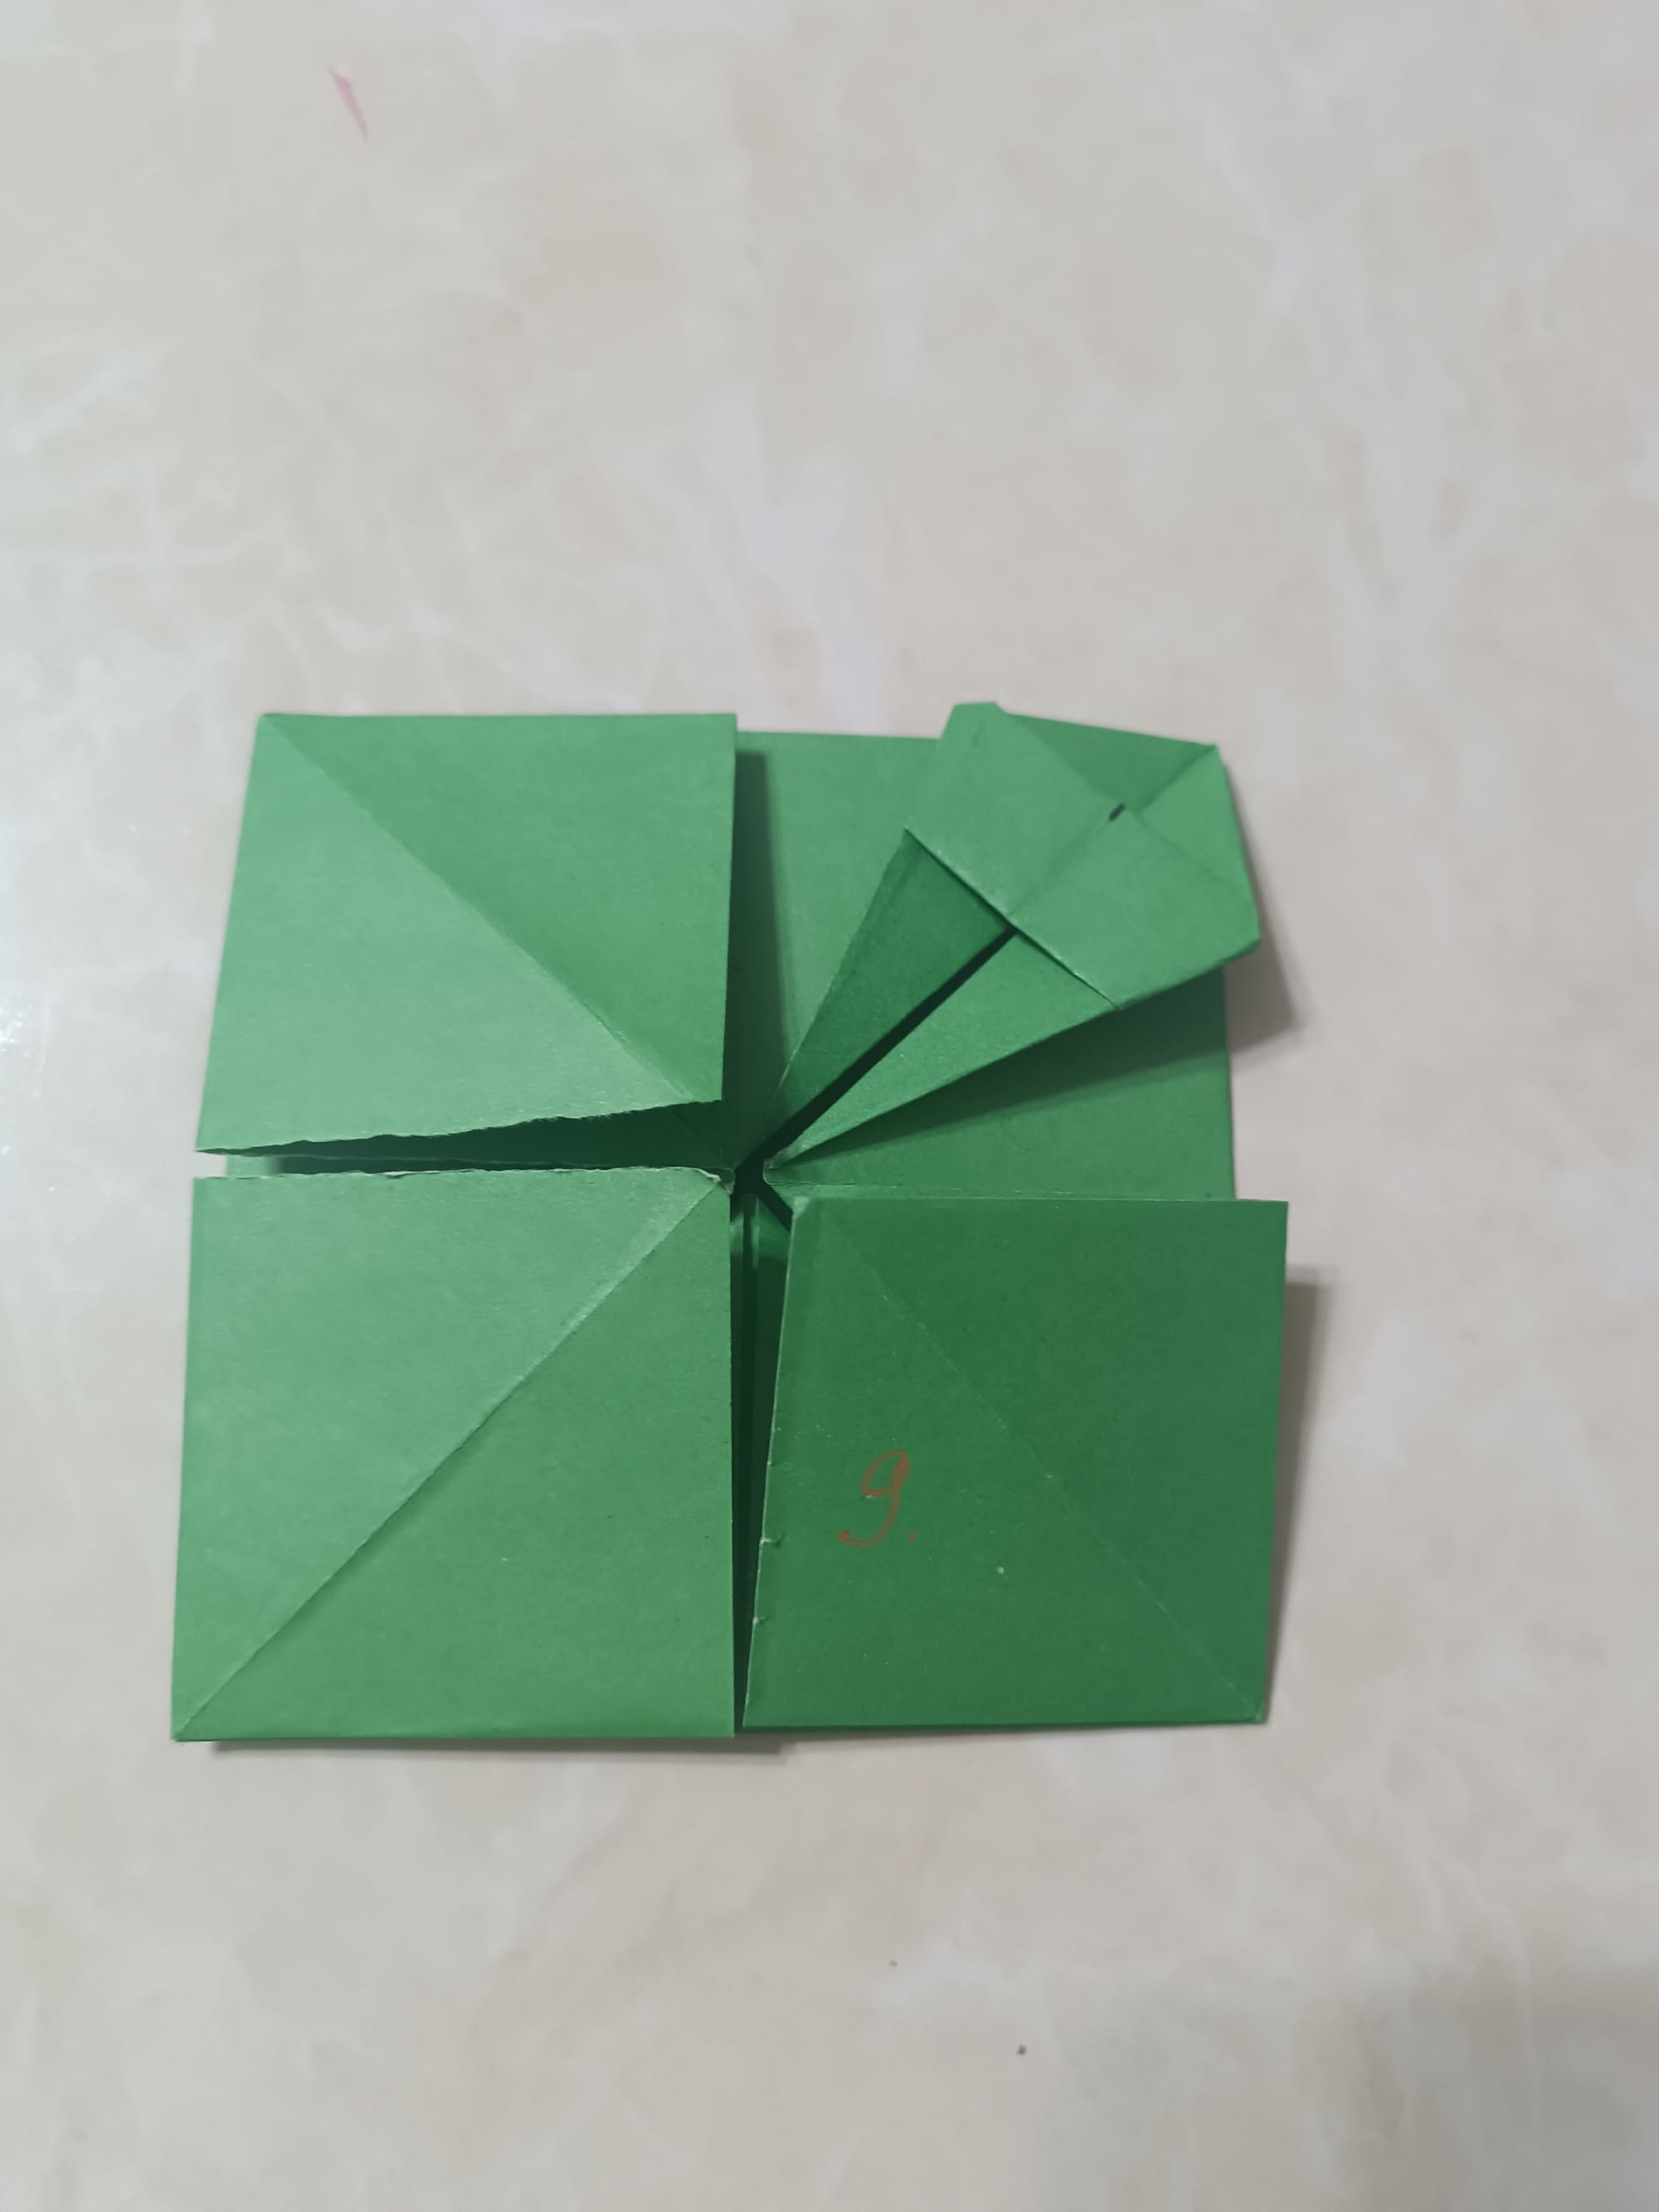
To finish your photo frame, there are just four simple folds left to make.
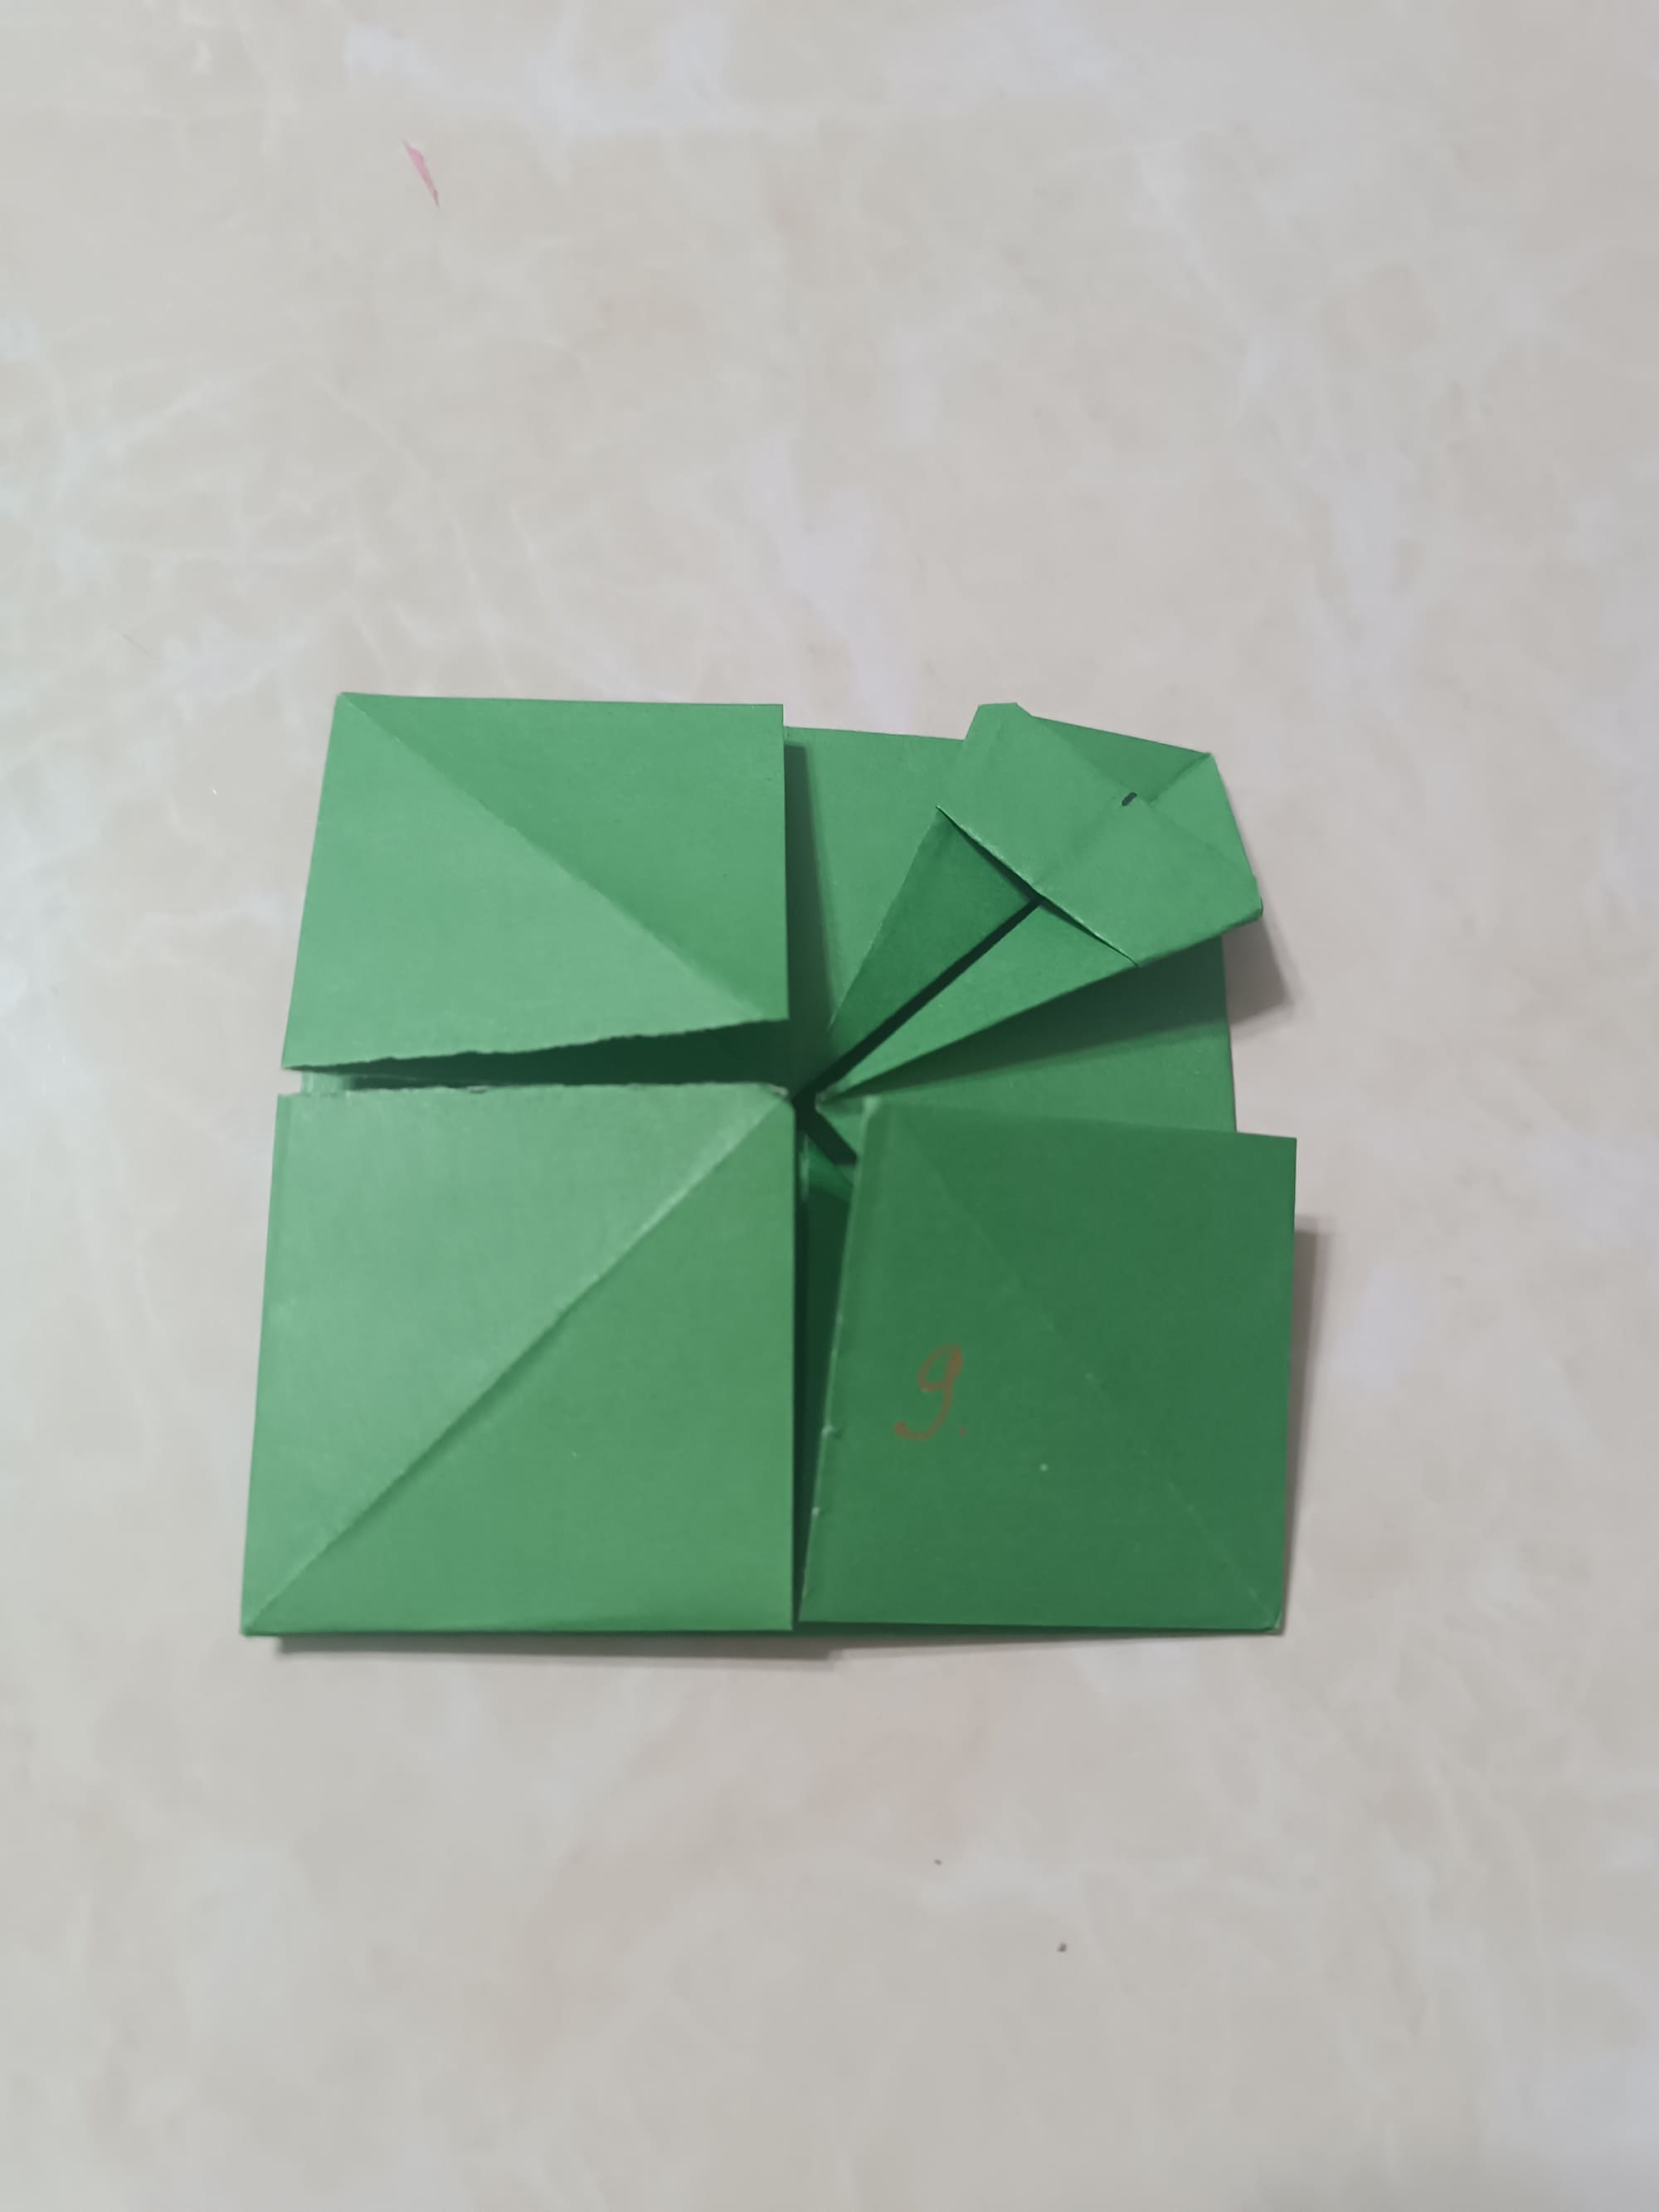
Et voila! Your paper photo frame is ready. All that’s left is to choose a suitable photo and find a place on your shelf.


